by Steve Laug
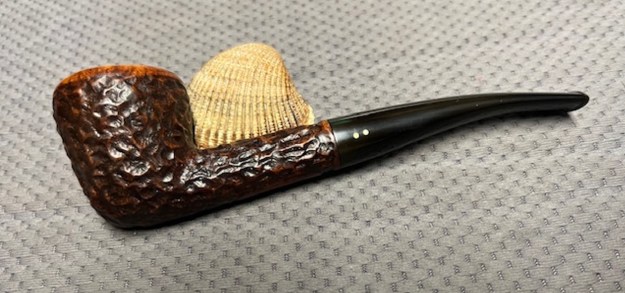
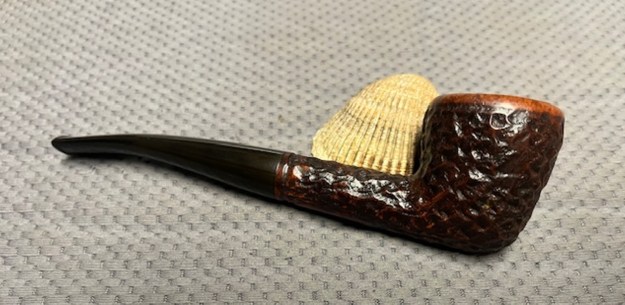
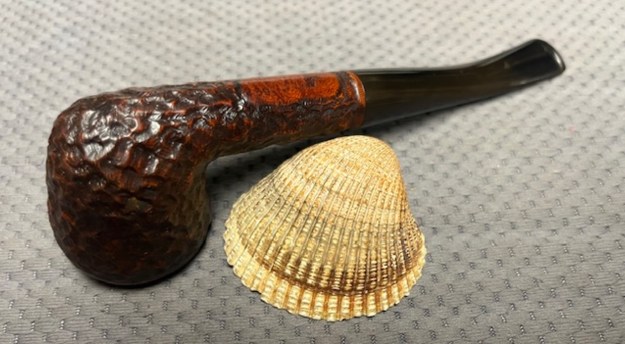
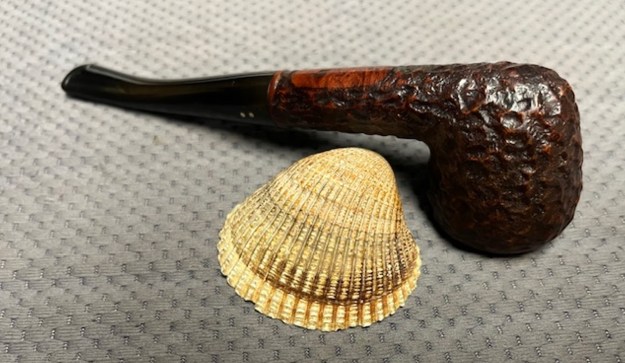
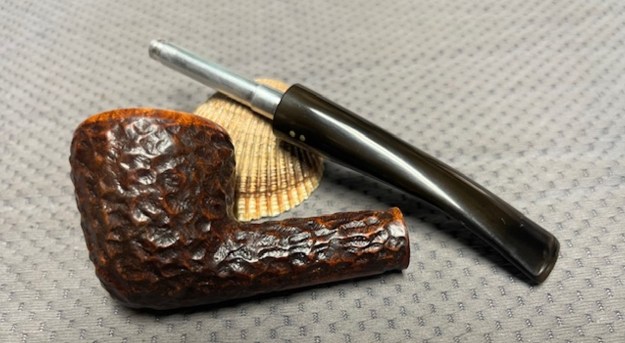
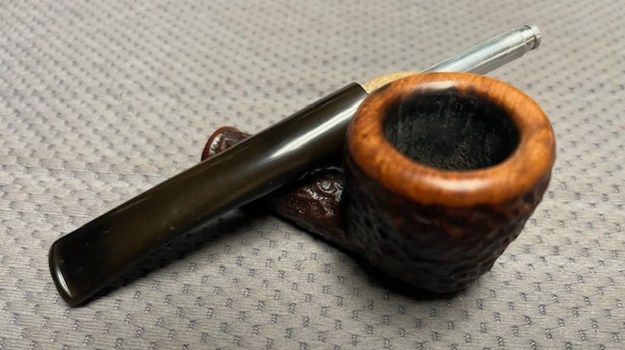
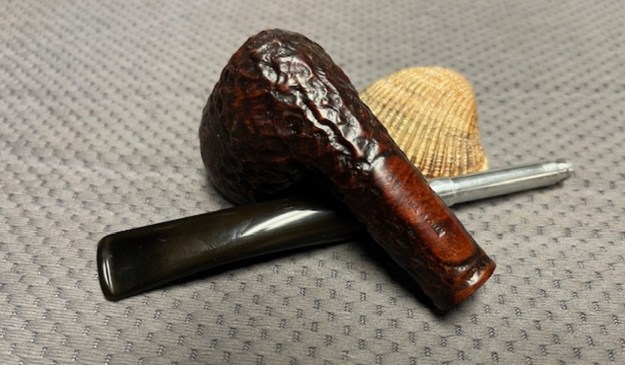
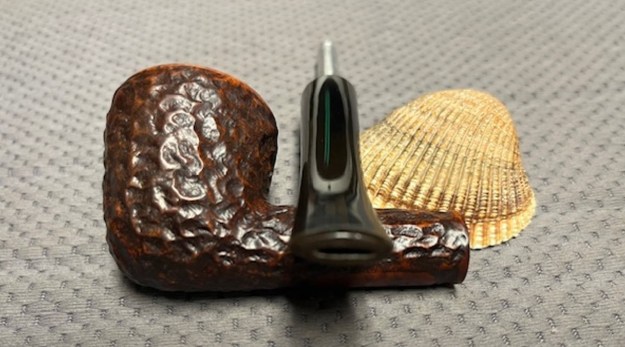
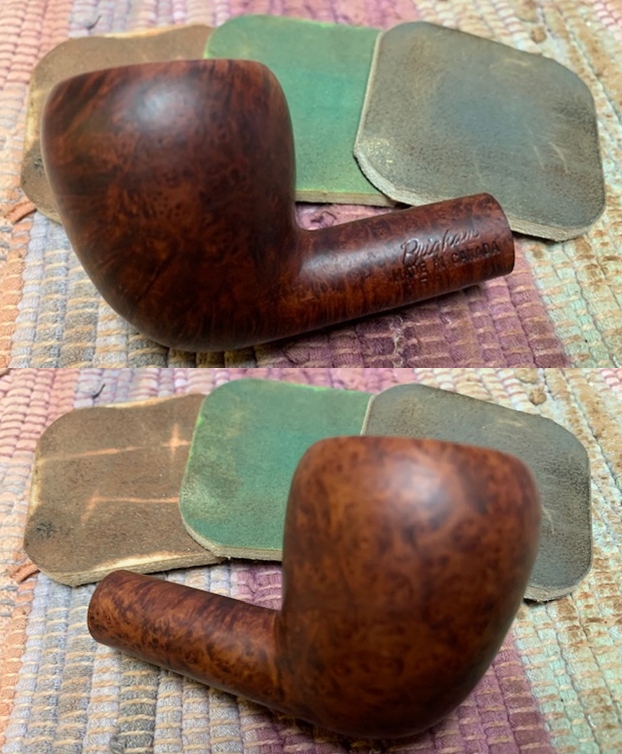
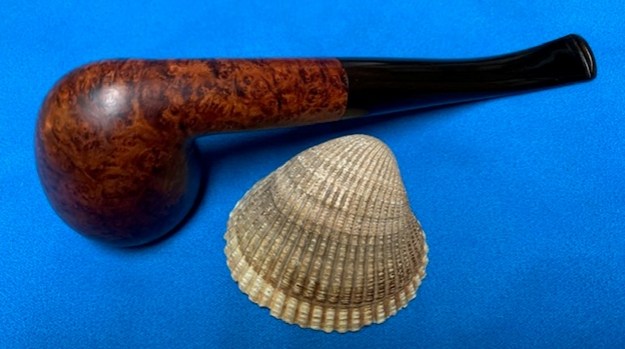
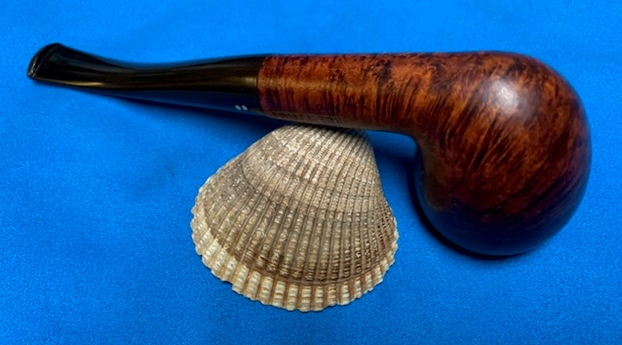
The next pipe I have chosen is a worn rusticated acorn shaped pipe that was stained with a rich brown colour. The mix of stains made the rustication take on depth even with the grime on the finish. We are not sure where we picked this pipe up – traded, found, purchased. No memory sadly. It was stamped on the underside of the shank and read shape number 259 followed by Brigham [over] Made in Canada. It was in decent condition when I brought it to the table. The finish was dirty with grime ground into the briar sides and rim but still looked okay. The bowl had been reamed and cleaned. The rim top and edges were a bit rough and the bowl was slightly out of round. The stem was oxidized and had tooth marks and chatter on the top and underside on and near the button. The Maple Distillator was in the aluminum tube and was well used. It appeared to have been rinsed off a few times as it bore stain but no oils. I took photos of the pipe before my cleanup work. They tell the story and give a glimpse of the promise in this pipe. 
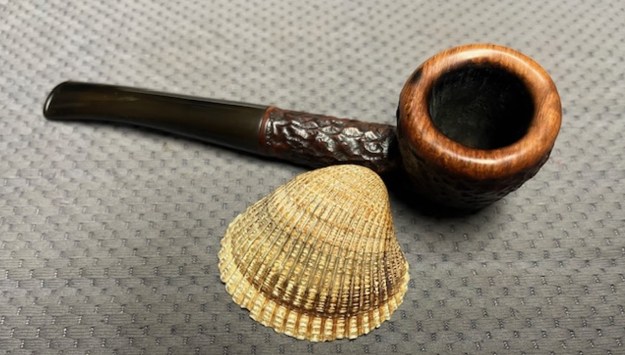
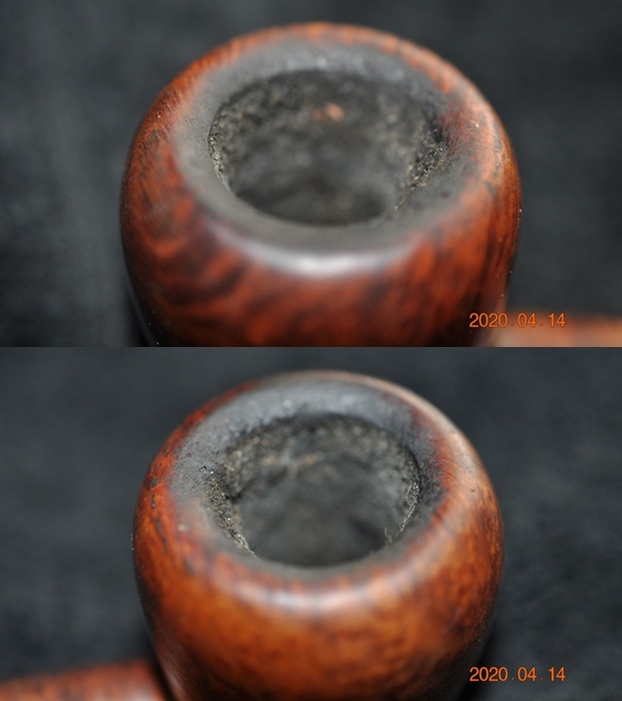
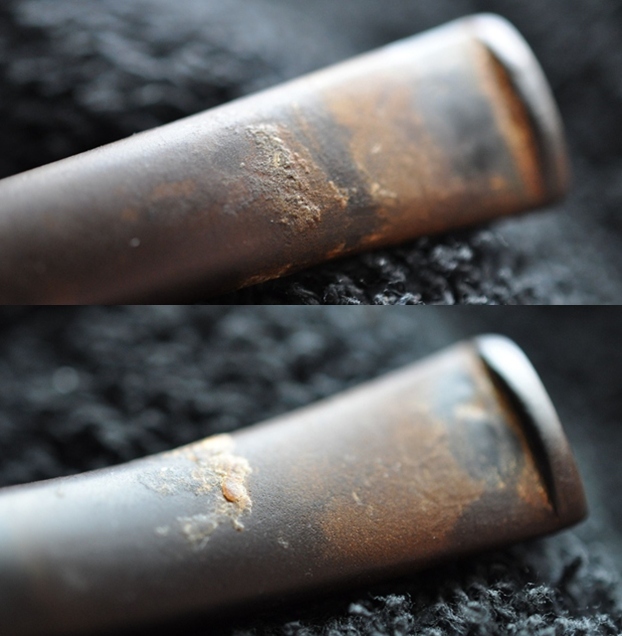
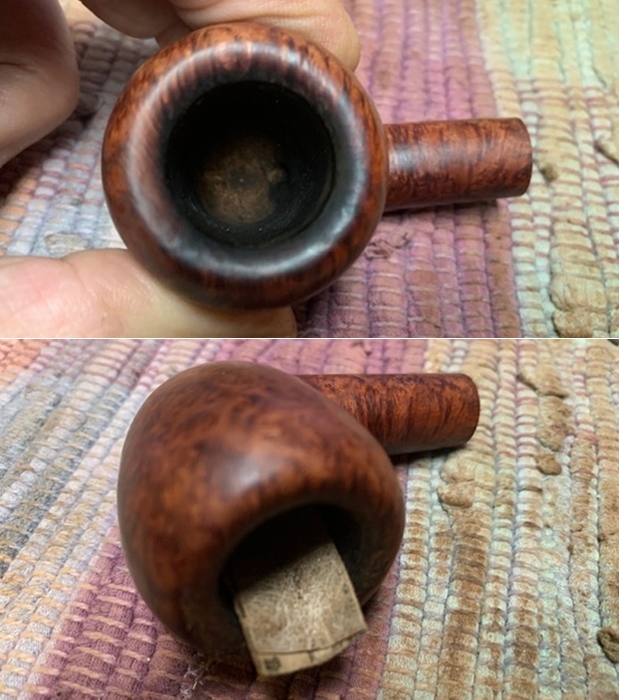
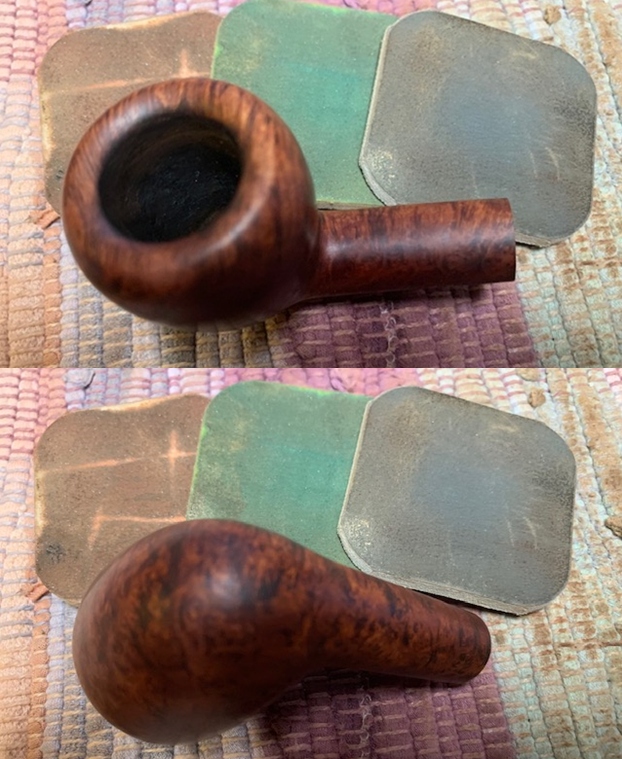
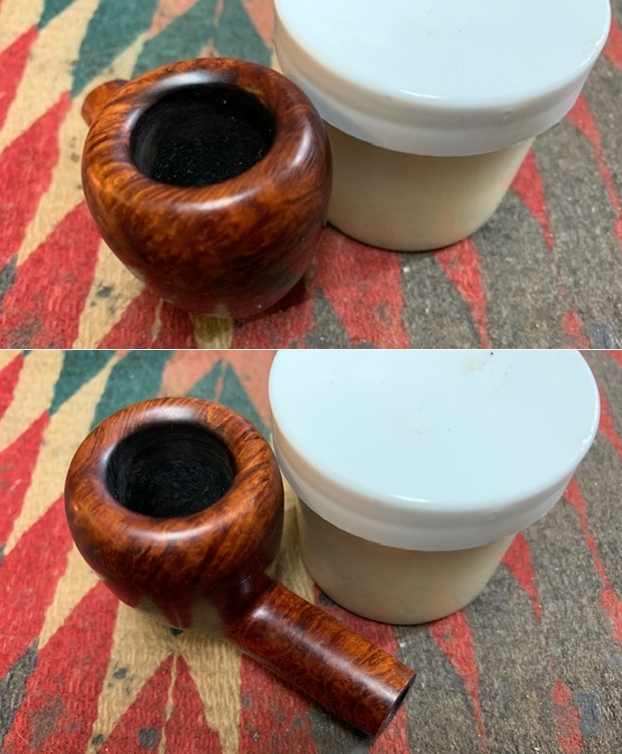
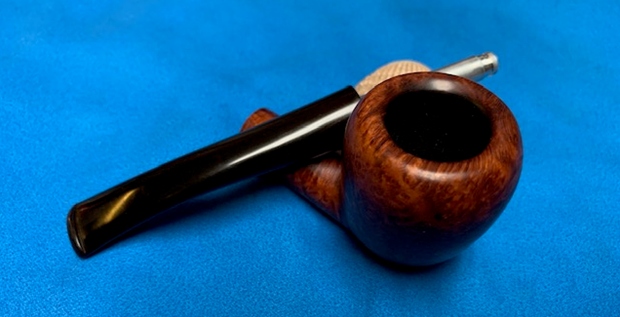
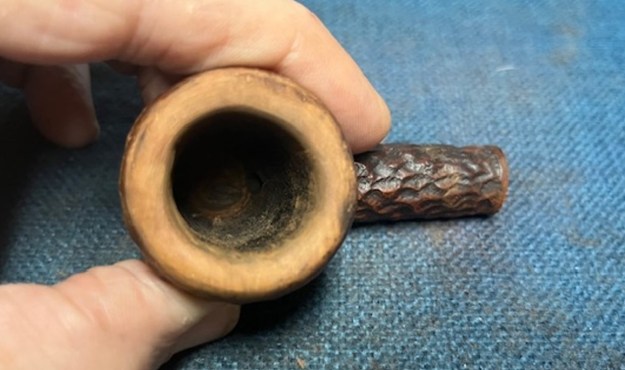
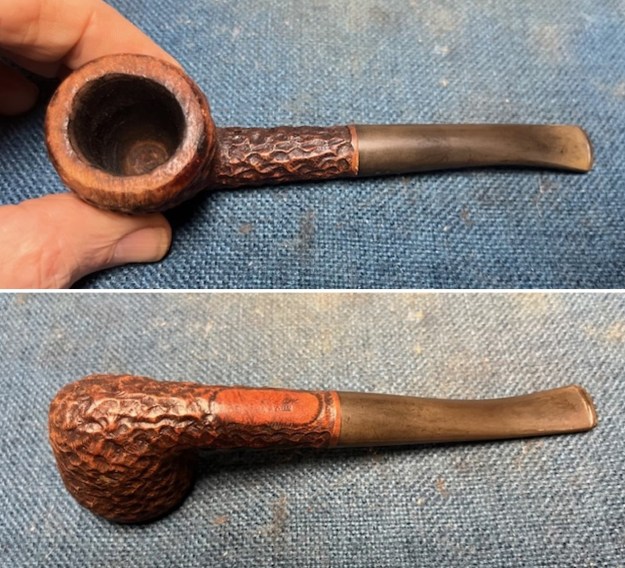 Jeff took photos of the rim top to show the interior the bowl and the rim top and inner edge. It has been reamed and the rim top and inner edge shows damage. The stem is oxidized and has tooth marks on the top and underside near the button.
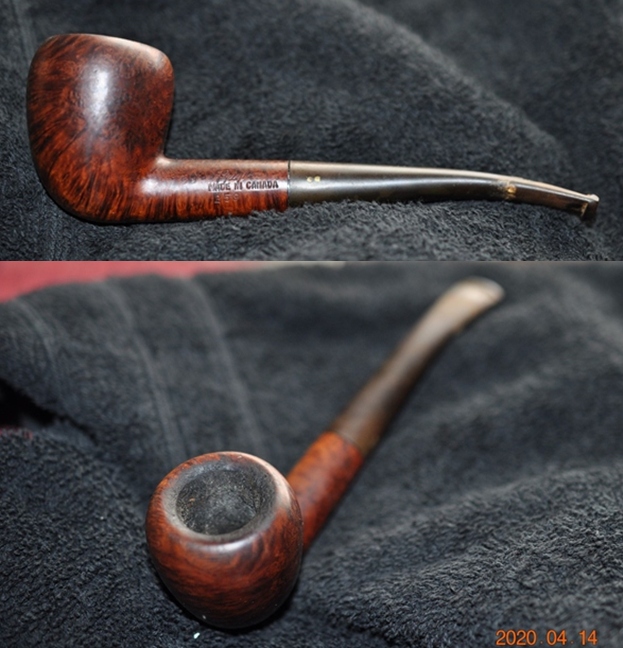
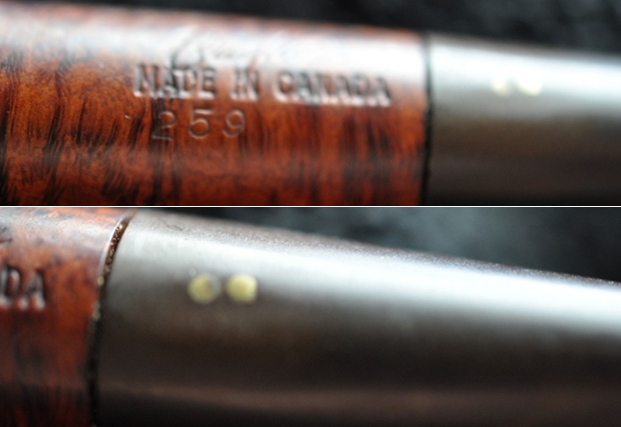
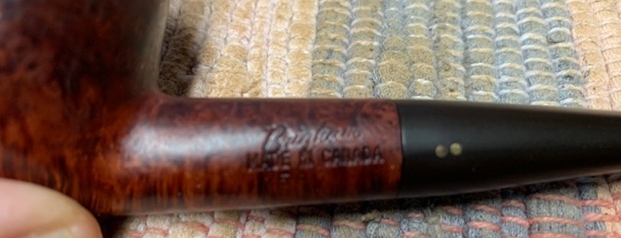
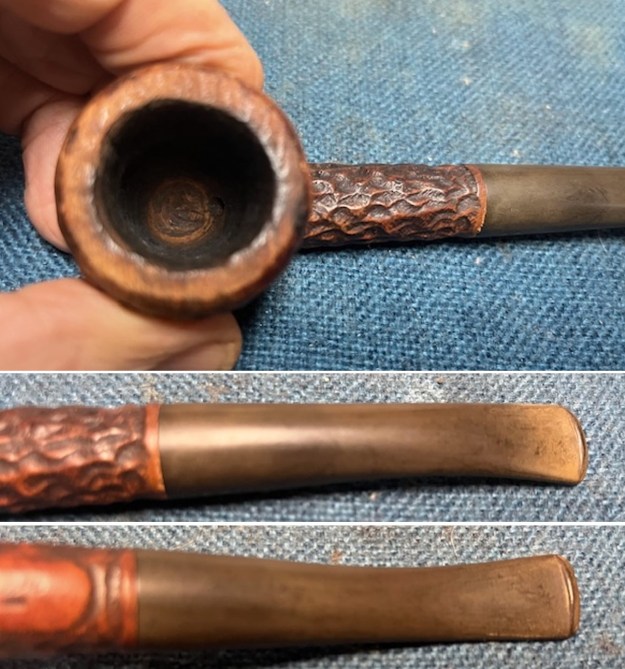 I took a photo of the underside of the shank to show the stamping. The stamping is faint but readable in the photo below and is as noted above – it reads 259 (shape number) Brigham in script [over] Made in Canada. The stem has two dots in a row on the left side.
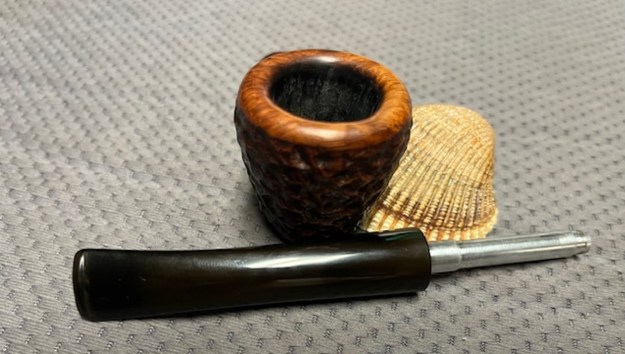
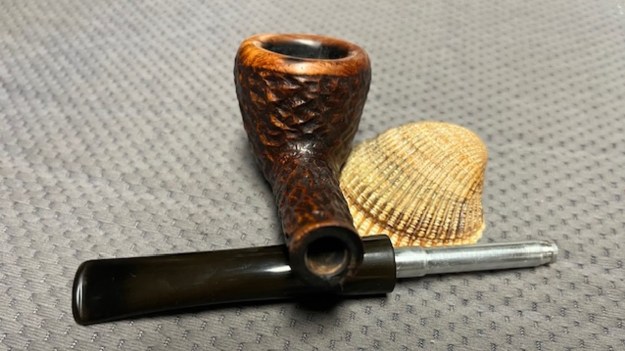
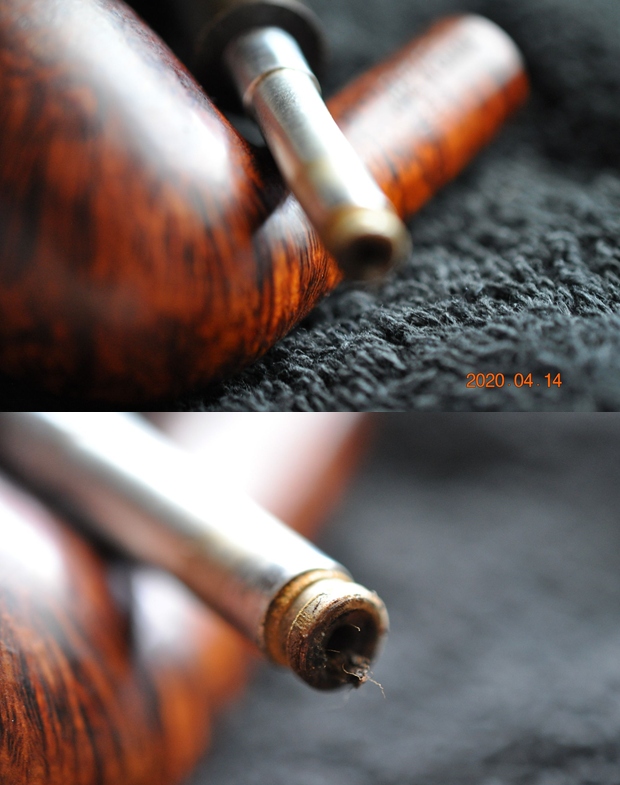
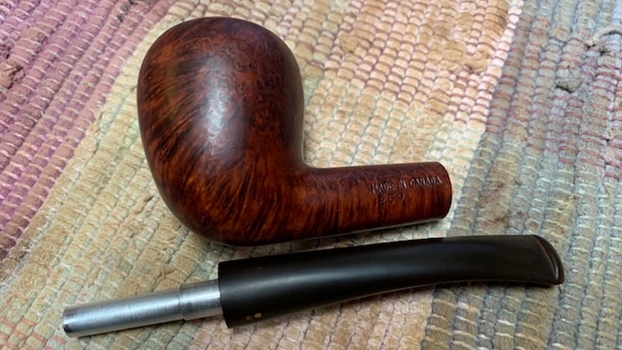
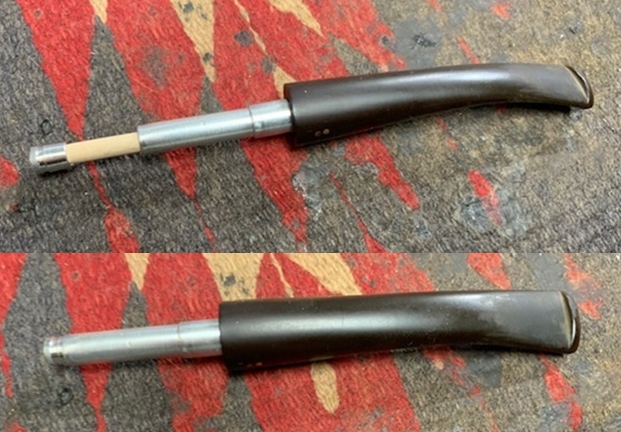
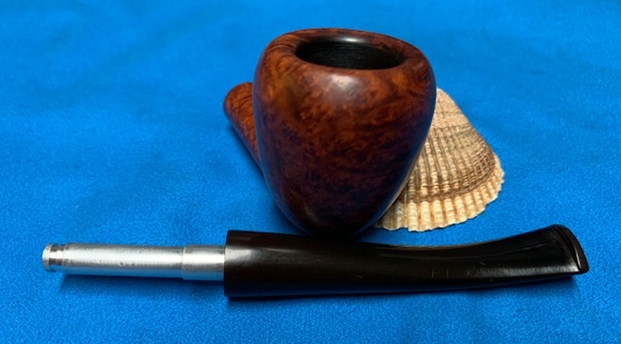
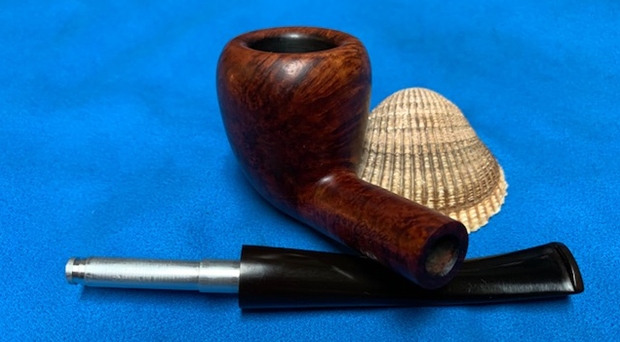
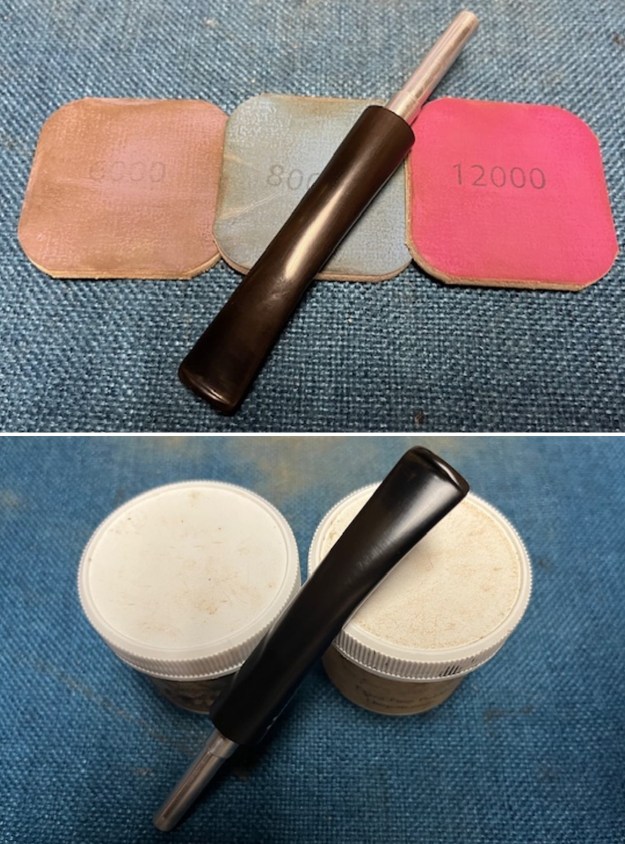
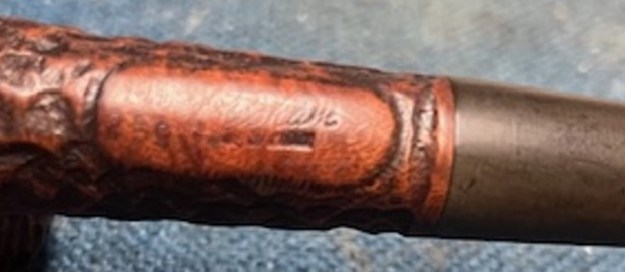 I took the stem off the bowl and took pictures of the aluminum tube tenon with the Maple Distillator in place and out of the tenon on top of the tube.
 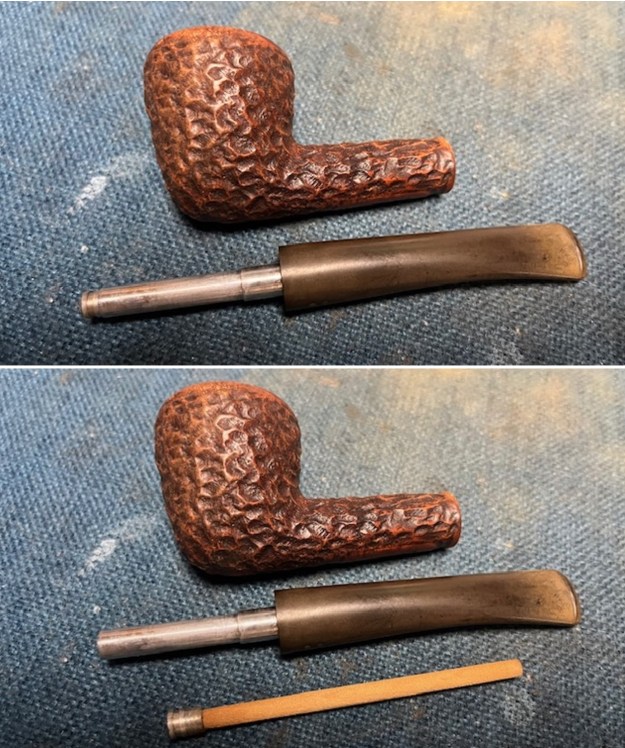 Before I get into the restoration part of this pipe I decided to include a poster I picked up that shows the filtration system of the patented Brigham Distillator. Give the poster a read. It also helps to understand the internals of these older Canadian Made pipes.
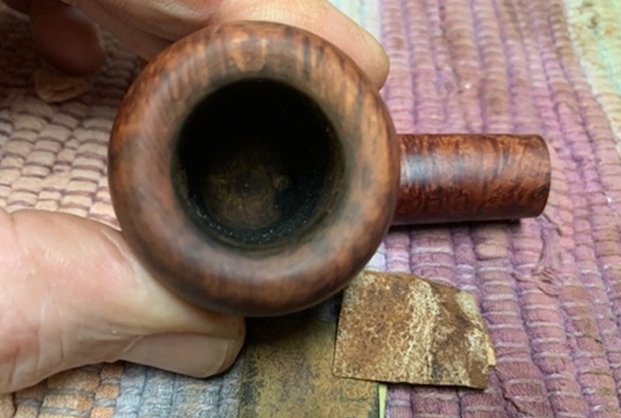
 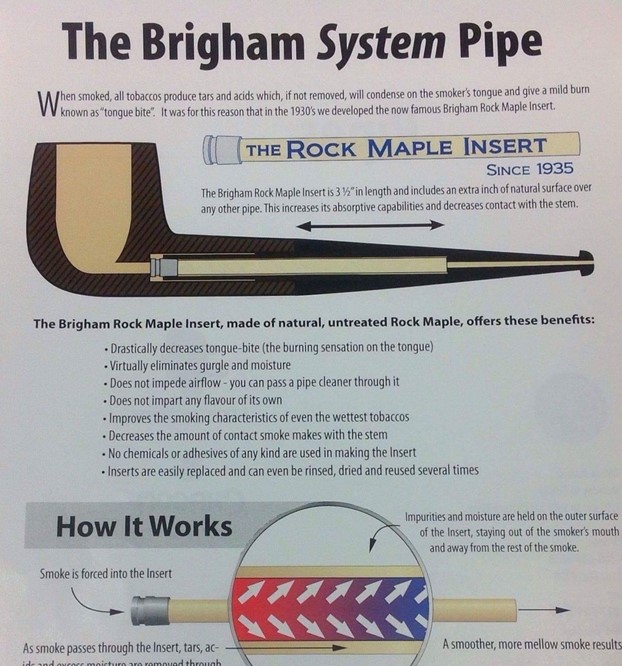 I decided to start my restoration work on this one by dealing with the damaged crown rim top. I used a wooden sphere and a piece of 220 grit sandpaper to deal with the damage on the top and inner edge of the bowl. It is slow tedious work but the finished product looks much better.
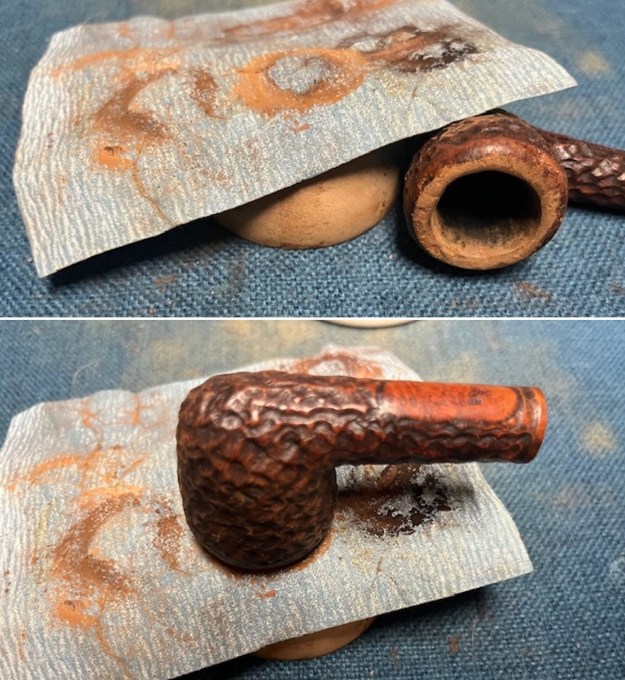
 I cleaned the shank and mortise as well as the airway in the stem with pipe cleaners, cotton swabs and alcohol. It smelled great and was ready for the next pipe man or woman who takes on the trust.
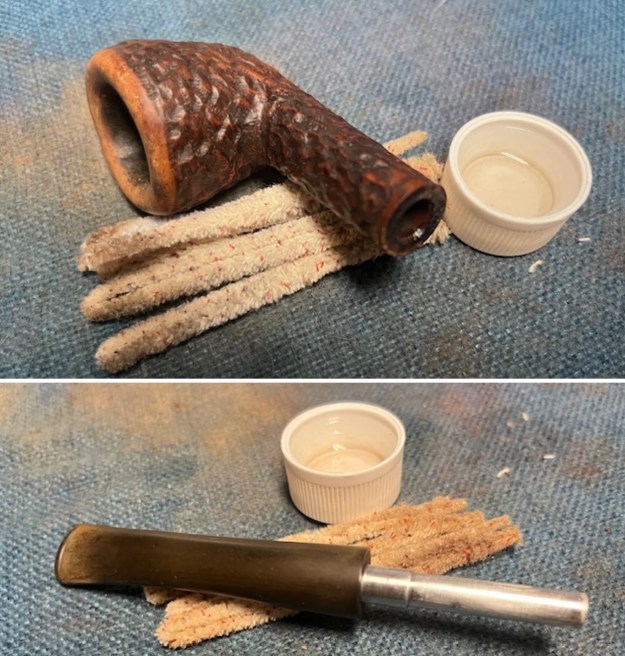 I sanded the smooth rim top and edges with 320-3500 grit 2×2 inch sanding pads. I wiped the briar down with a damp cloth after each pad. The rim began to look much better.
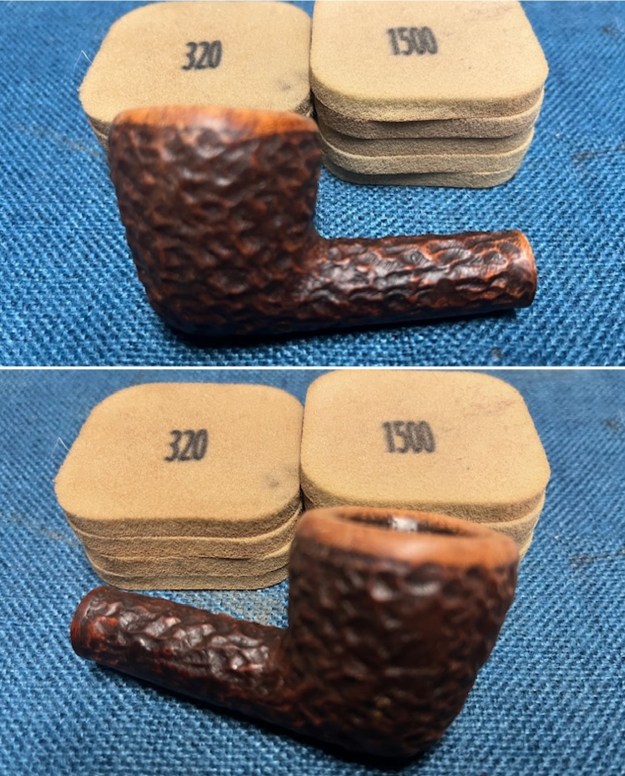
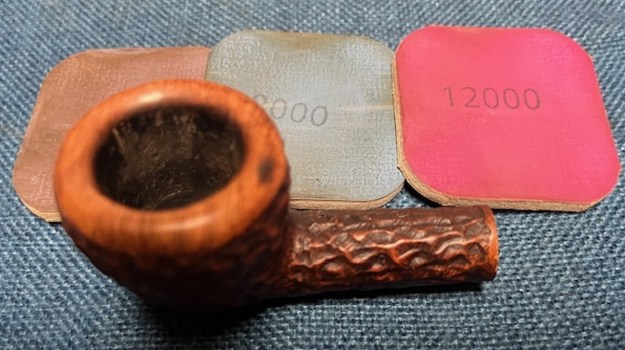
 I polished the smooth rim top and edges of the briar with micromesh sanding pads – dry sanding it with 1500-12000 grit pads. After each pad I wiped the briar down with a damp cloth.
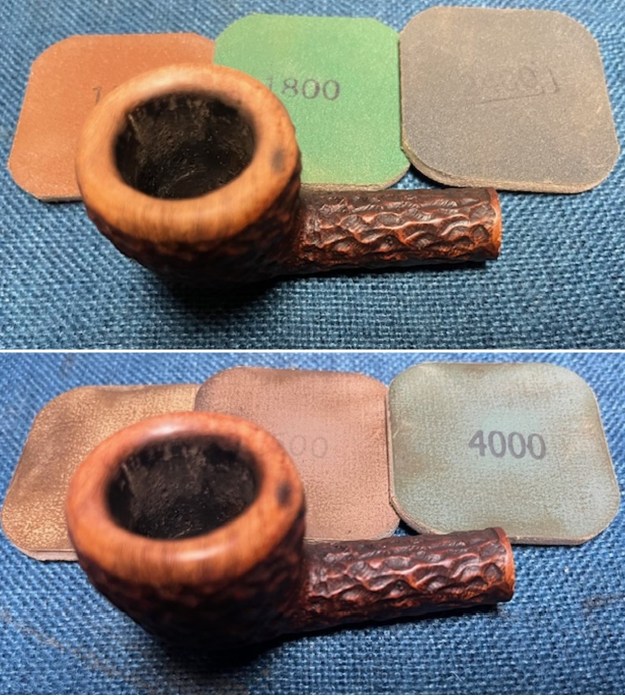
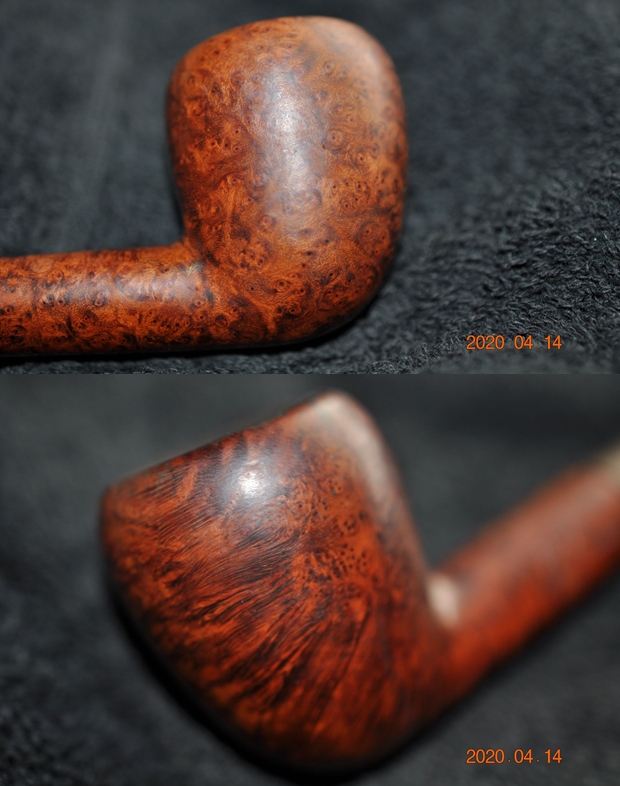
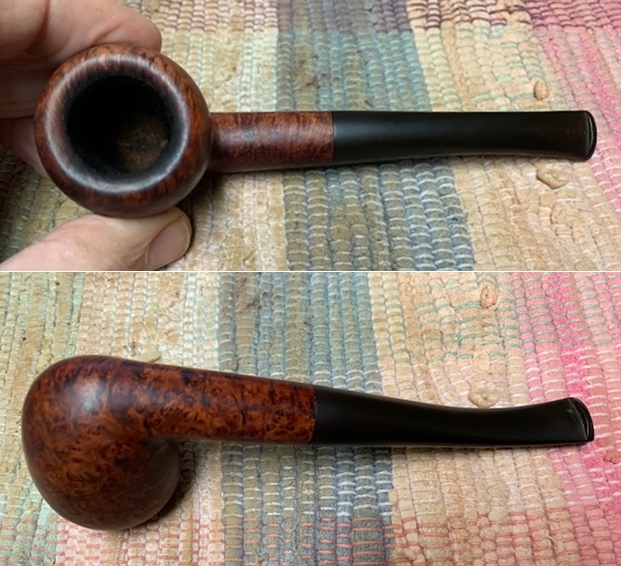
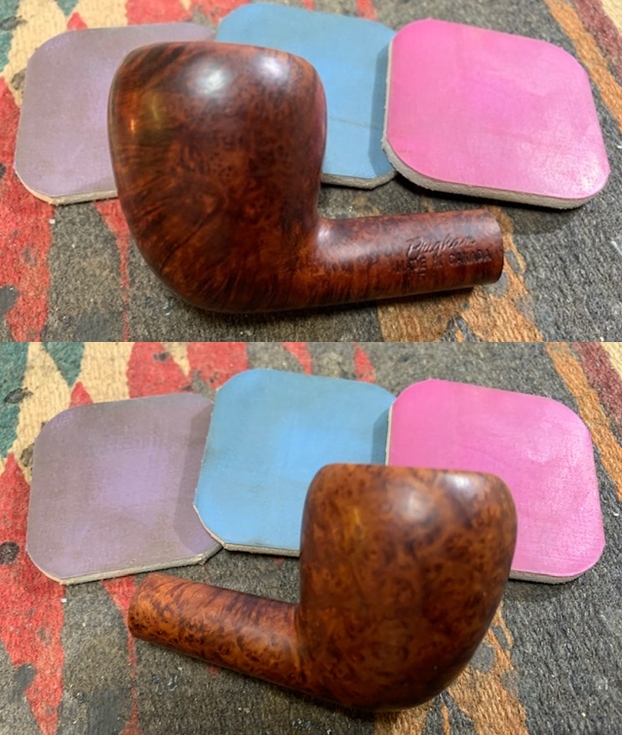
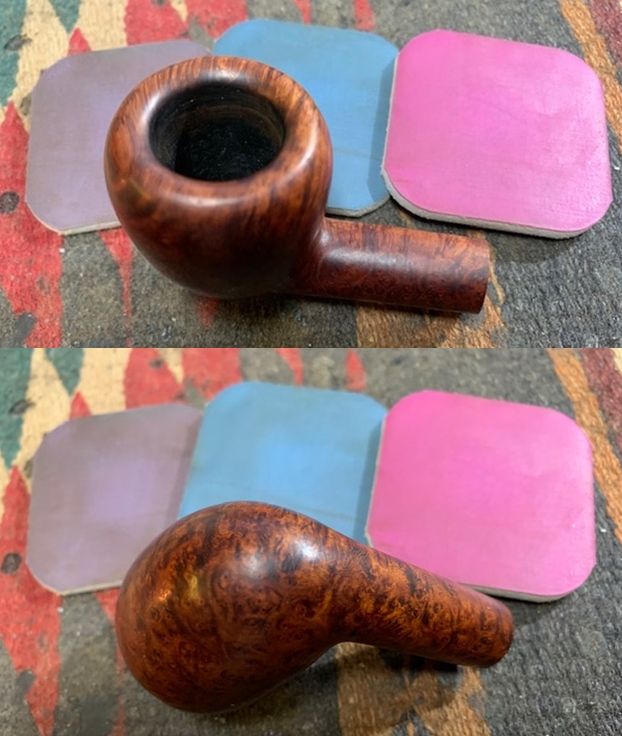
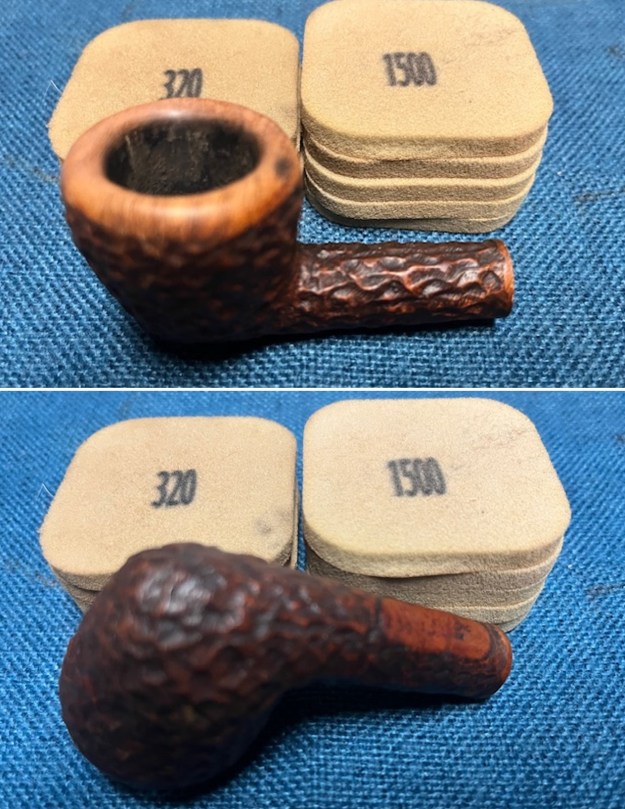
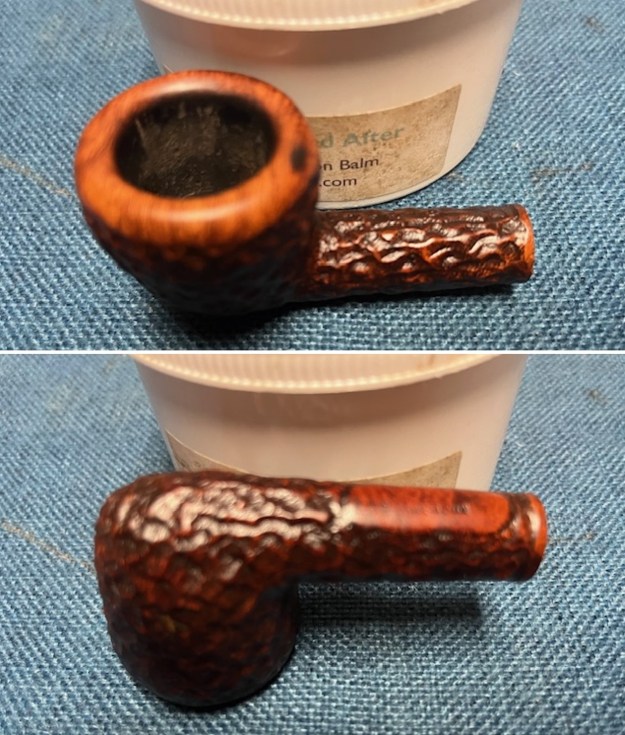
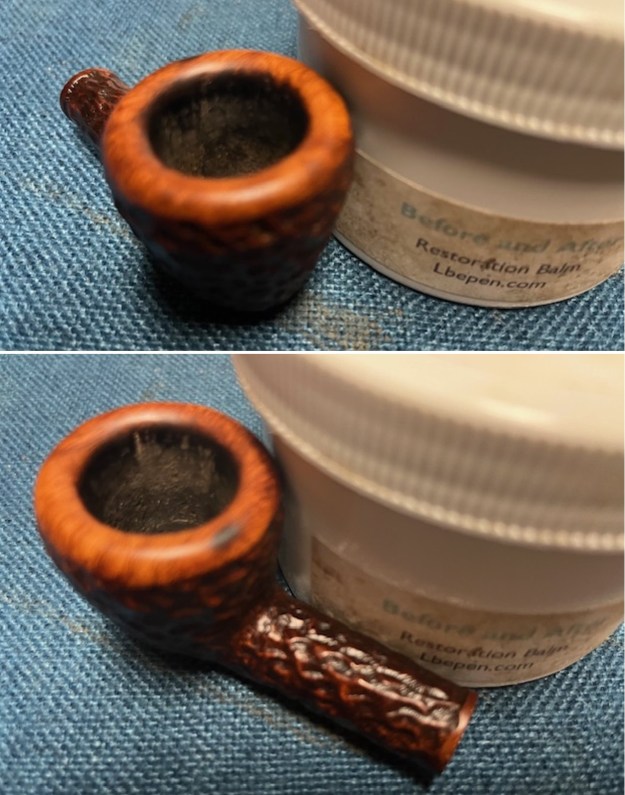
 I worked some Before & After Restoration Balm into the surface of the briar with my fingertips and the rustication with a shoe brush to clean, enliven and protect the briar. I let the balm sit for a little while and then buffed with a cotton cloth to raise the shine. The photos show the bowl at this point in the restoration process.
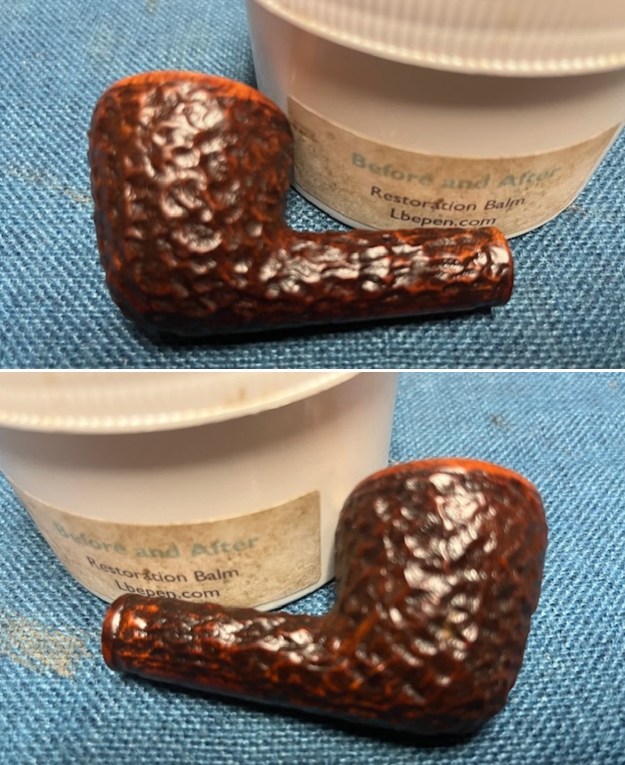
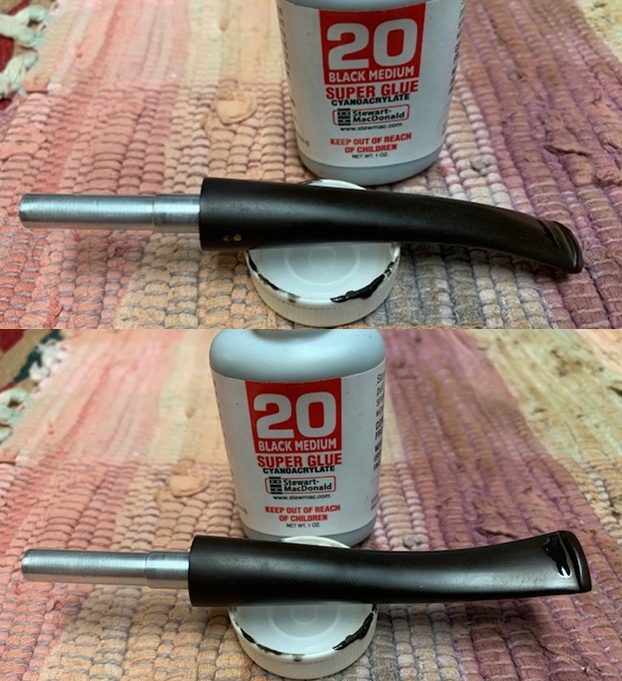
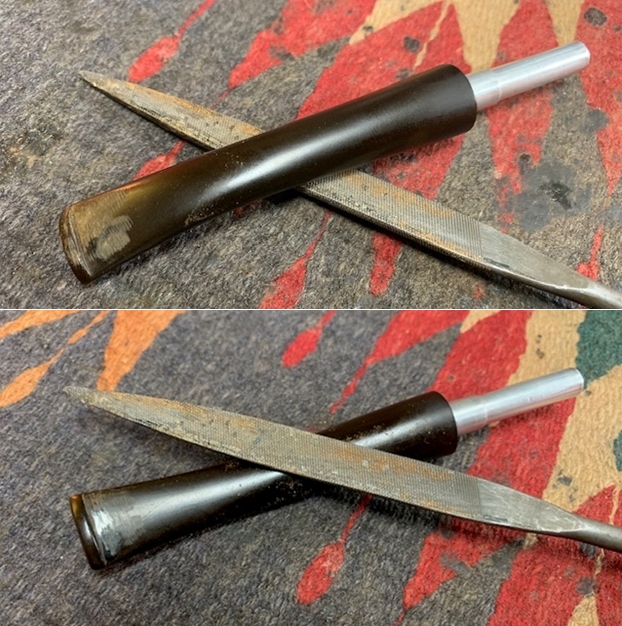
 I sanded out the light tooth marks and chatter with 220 grit sand paper to blend them into the rest of the stem surface.
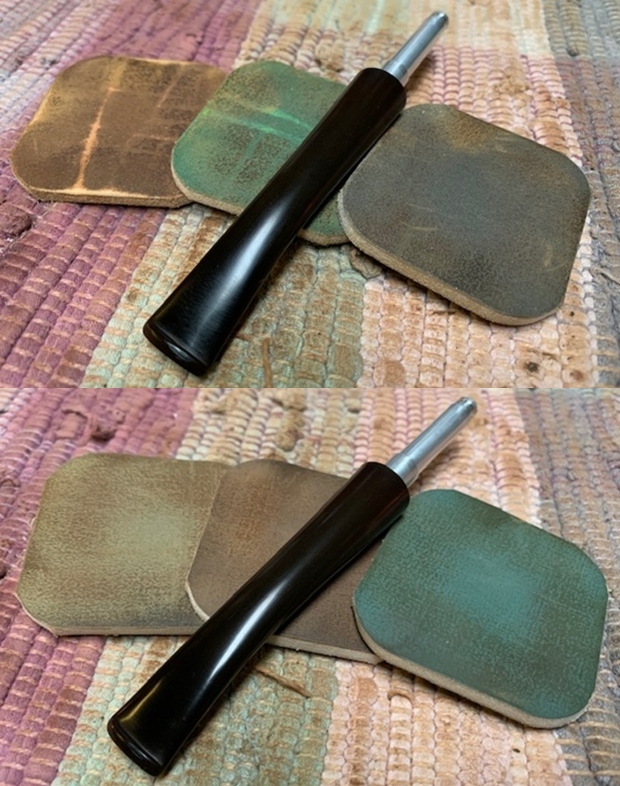
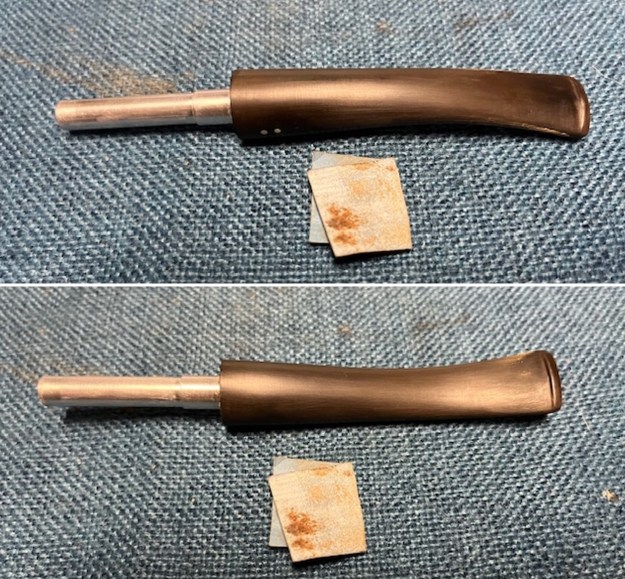 I dry sanded the stem with 320-3500 grit 2×2 inch sanding pads. I wiped the stem down after each sanding pad with a damp cloth to remove the sanding debris. It began to take on a rich shine.
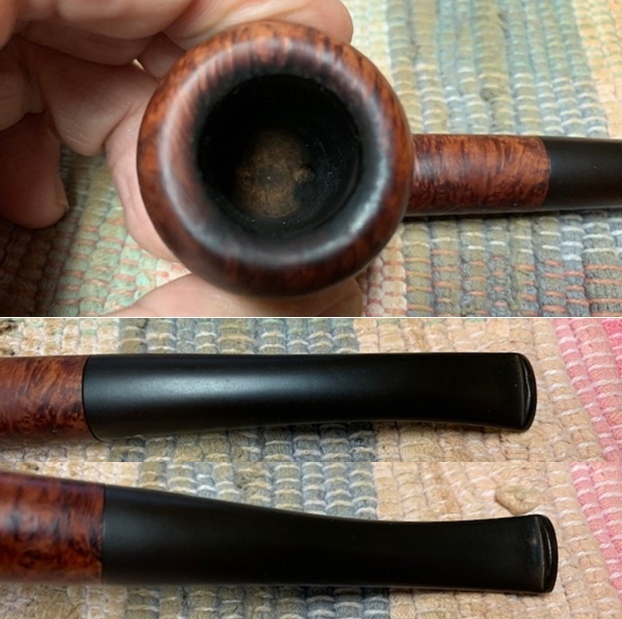
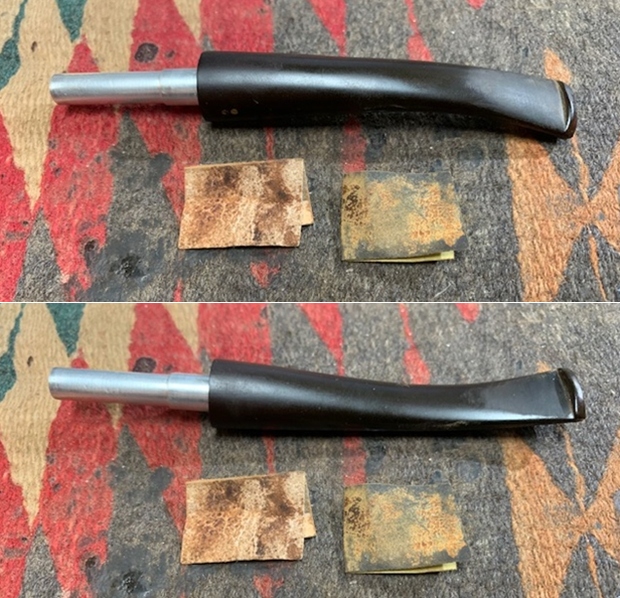
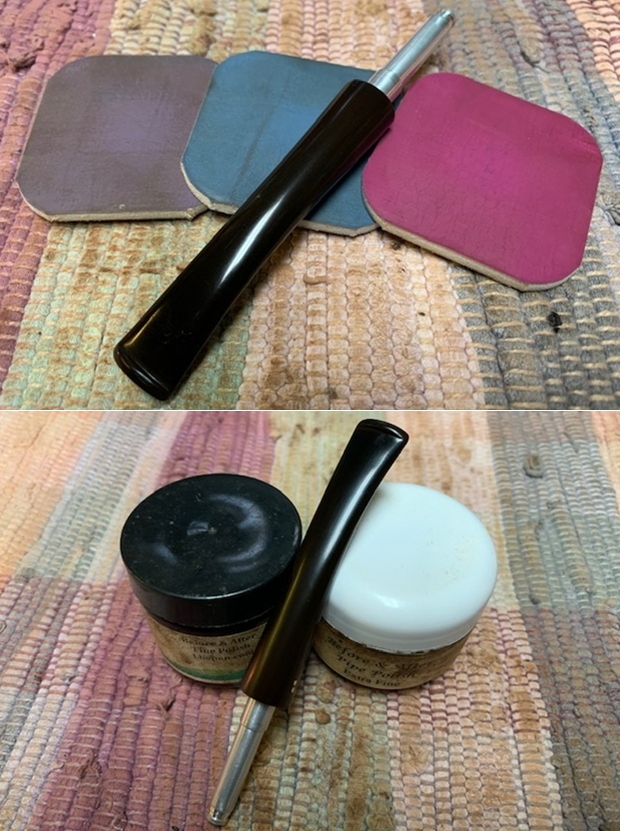
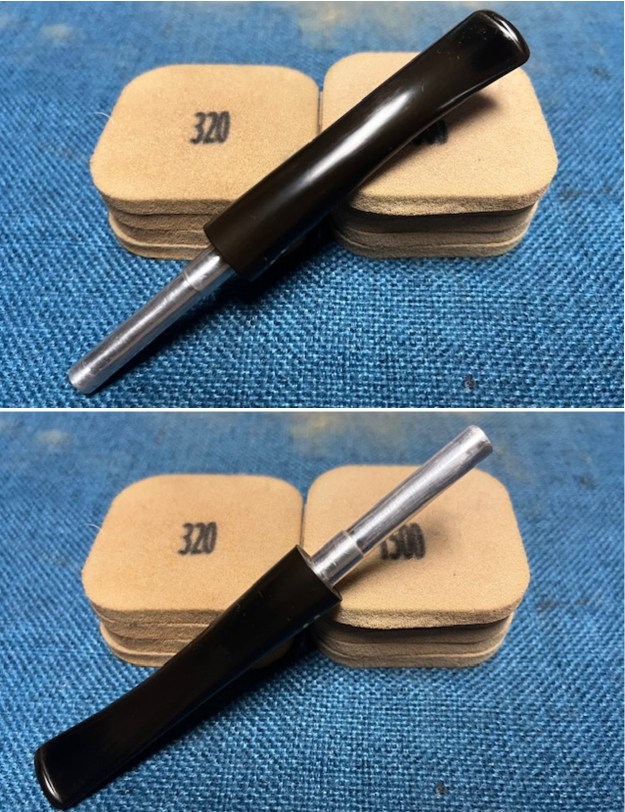 I polished the stem with micromesh sanding pads – dry sanding with 1500-12000 grit sanding pads. I wiped it down after each sanding pad with Obsidian Oil. I polished it with Before & After Pipe Stem Polish – both Fine and Extra Fine.
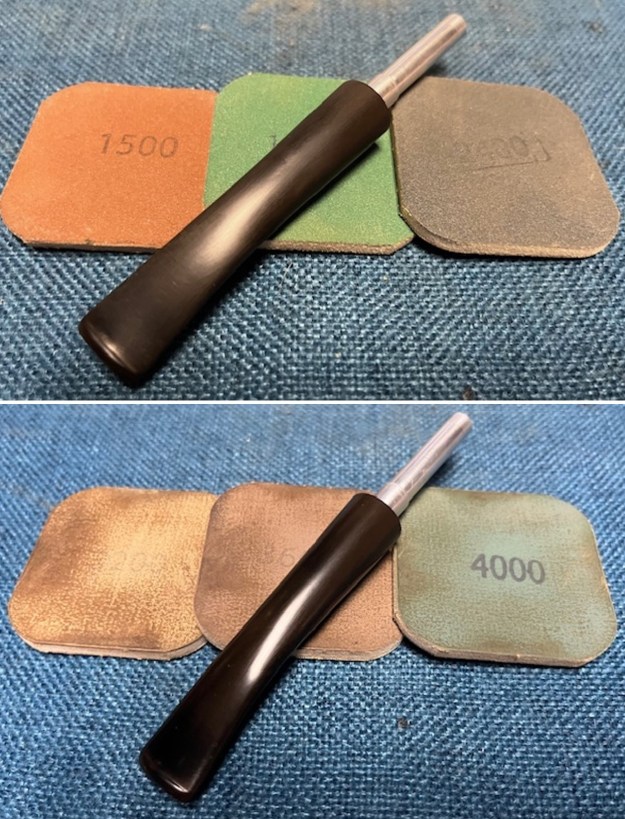
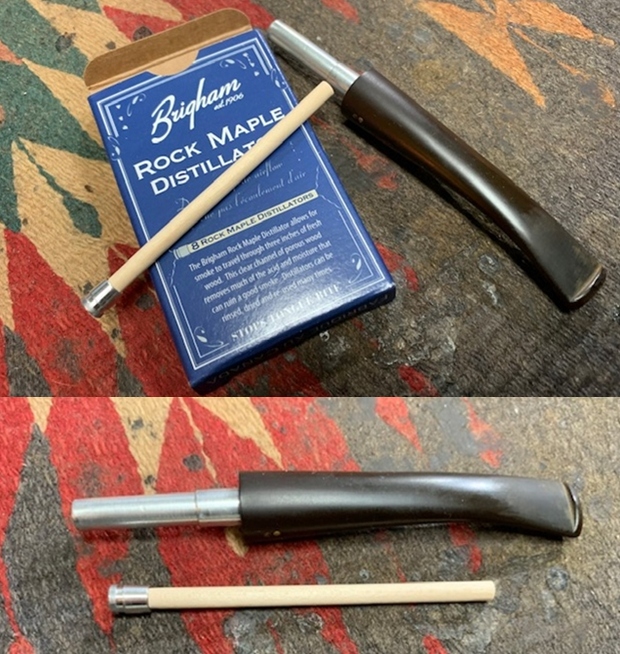
 Before I finished polishing the stem I fit it with the new Rock Maple Distillator. The photos show the box and the new Distillator on the box and then in place in the tenon.
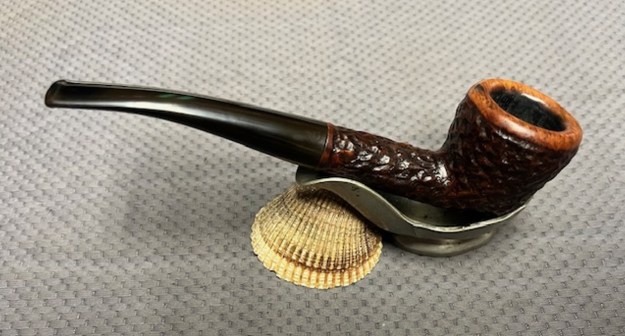
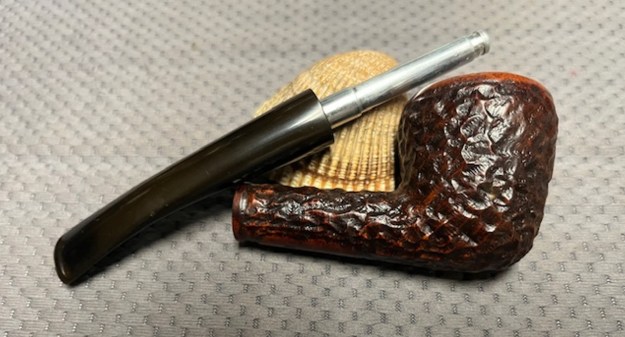
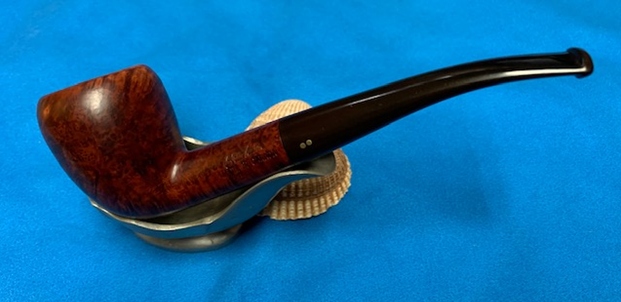
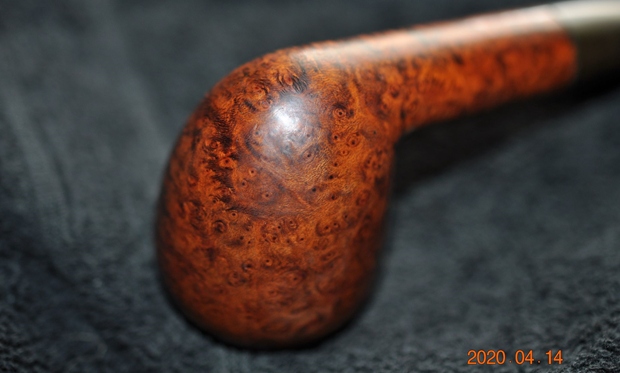
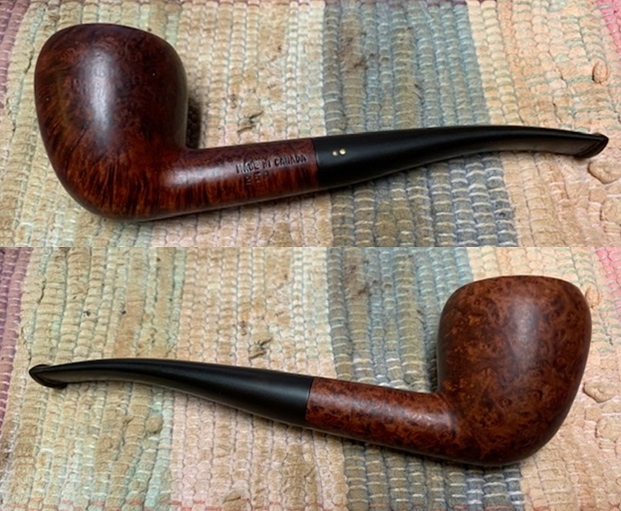
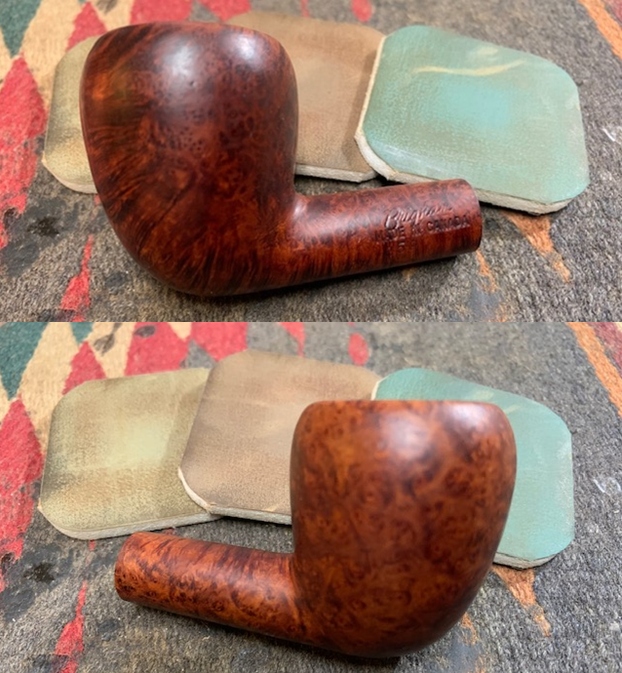
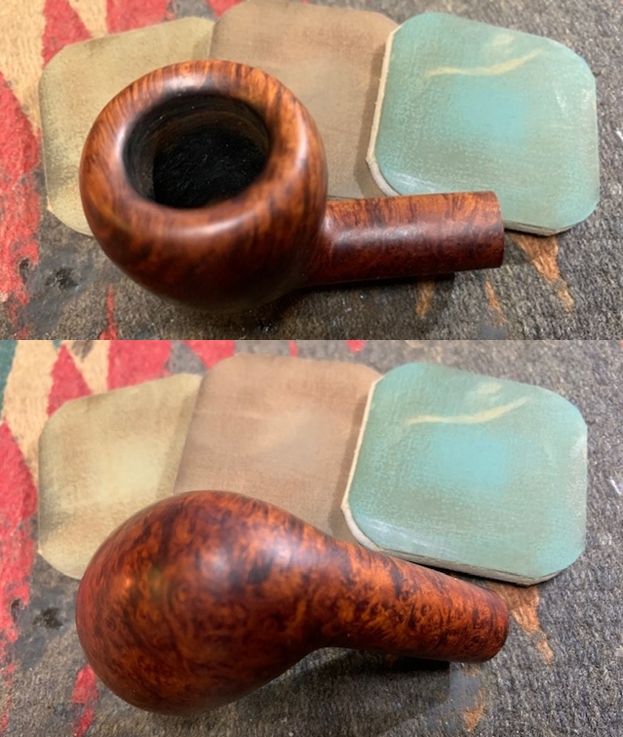
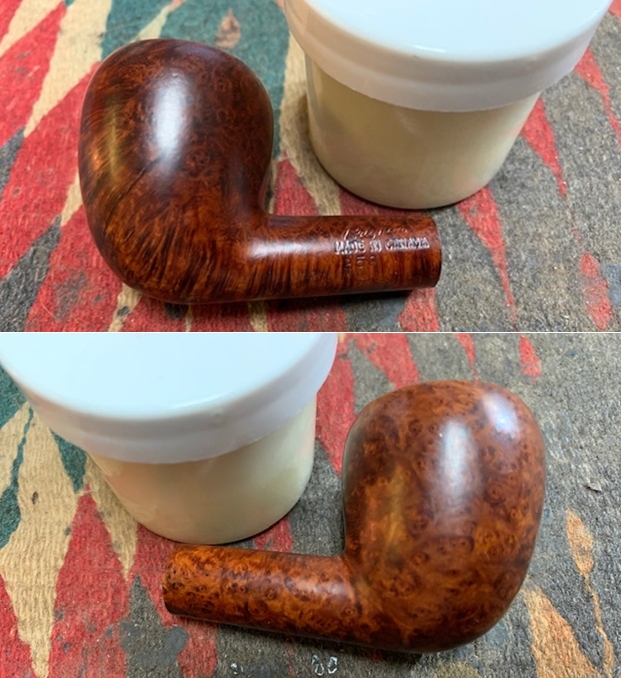
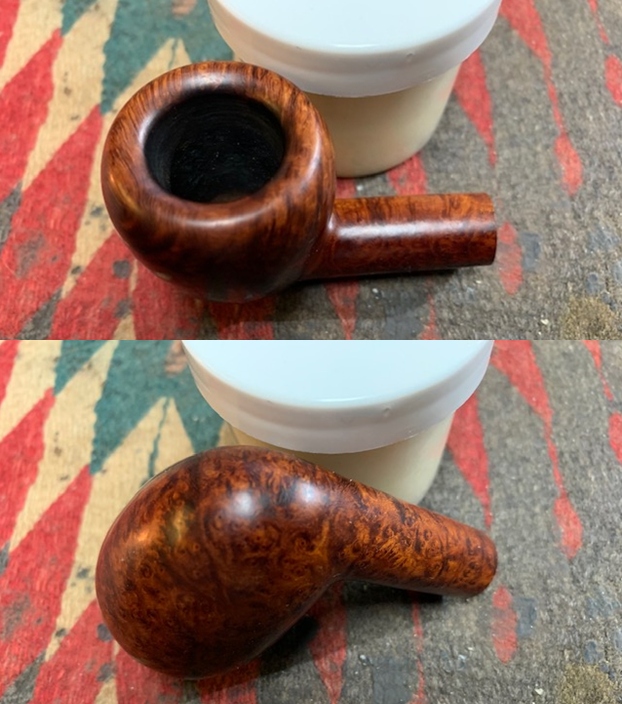
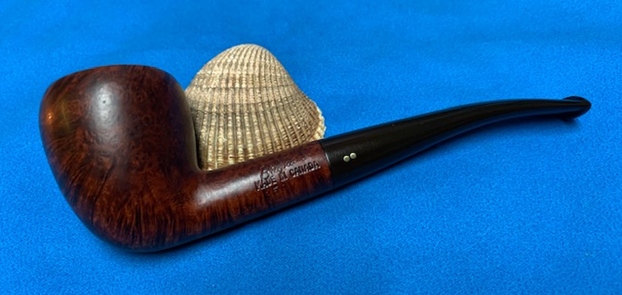
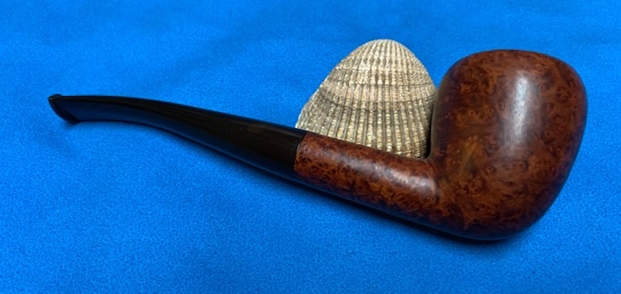
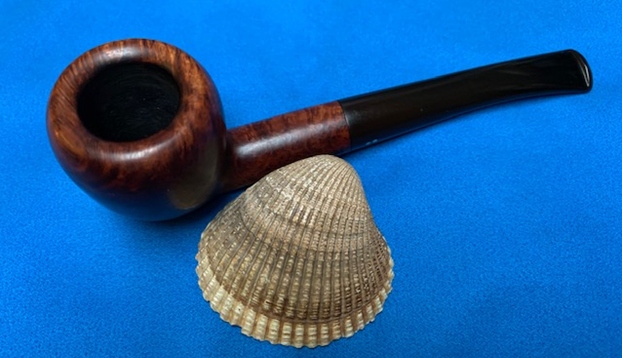
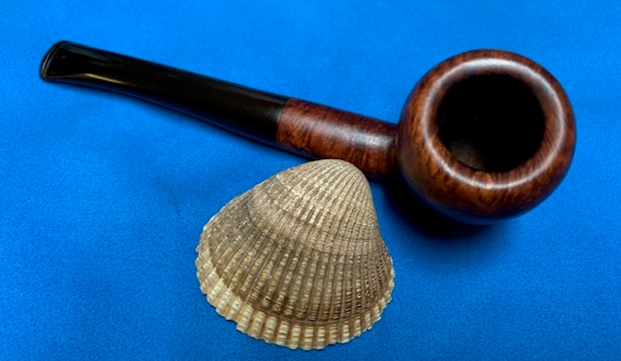
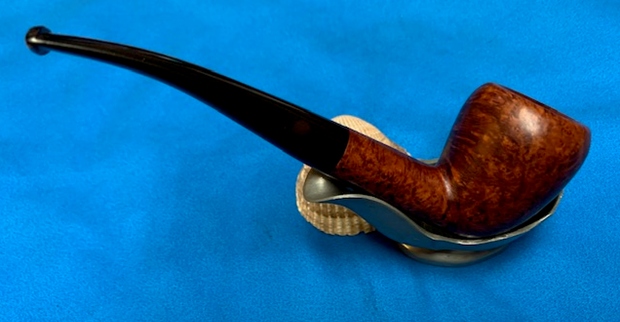
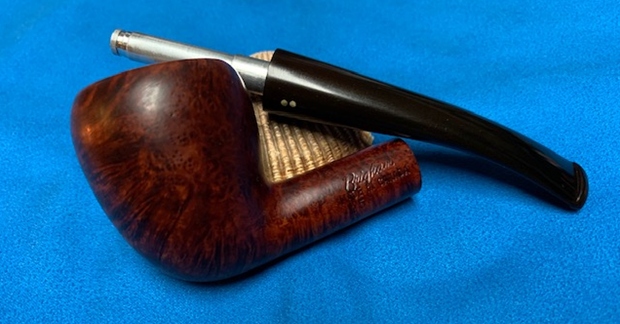
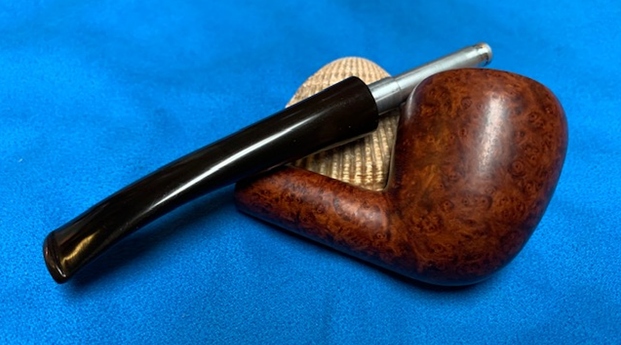
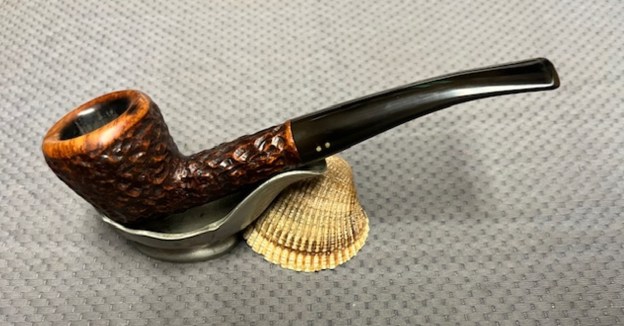
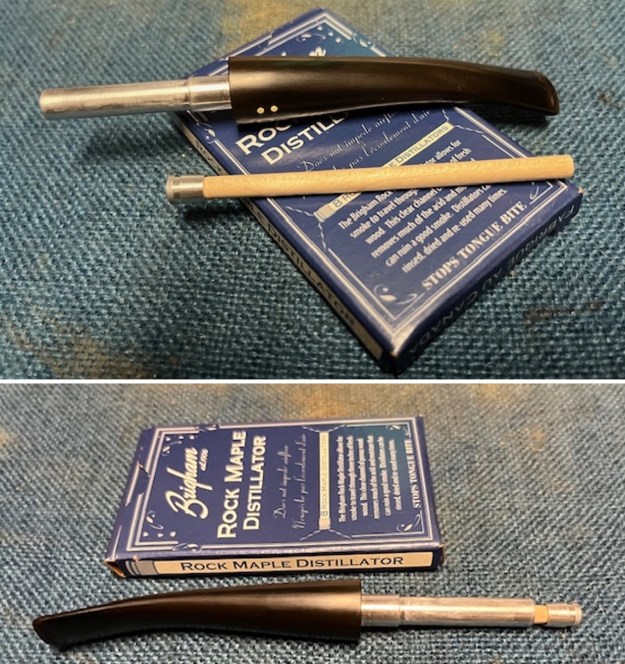 I am glad to finish this Brigham Made in Canada 259 Rusticated Acorn. I put the pipe back together and buffed it with Blue Diamond on the buffing wheel. I gave the bowl and the stem multiple coats of carnauba wax. I hand buffed the pipe with a clean buffing pad to raise the shine. It is fun to see what the polished bowl looks like with the grain popping through on the bowls sides and rim top. Added to that the polished black vulcanite stem with the shining brass pins was beautiful. This mixed grain on the smooth finish Brigham 2 Dot Acorn is nice looking and the pipe feels great in my hand. It is light and well balanced. Have a look at it with the photos below. The dimensions are Length: 6 inches, Height: 1 ¾ inches, Outside diameter of the bowl: 1 ½ inches, Chamber diameter: ¾ of an inch. The weight of the pipe is 1.27 ounces/ 36 grams. It is a beautiful pipe and one that will be in the Canadian Pipemakers Section on the rebornpipes store soon. If you are interested in adding it to your collection let me know.
Thanks to each of you who are reading this blog. Remember we are not pipe owners; we are pipemen and women who hold our pipes in trust until they pass on into the trust of the next generation.