Tag Archives: bowl – finishing

Carved from a kit – a predrilled block and stem


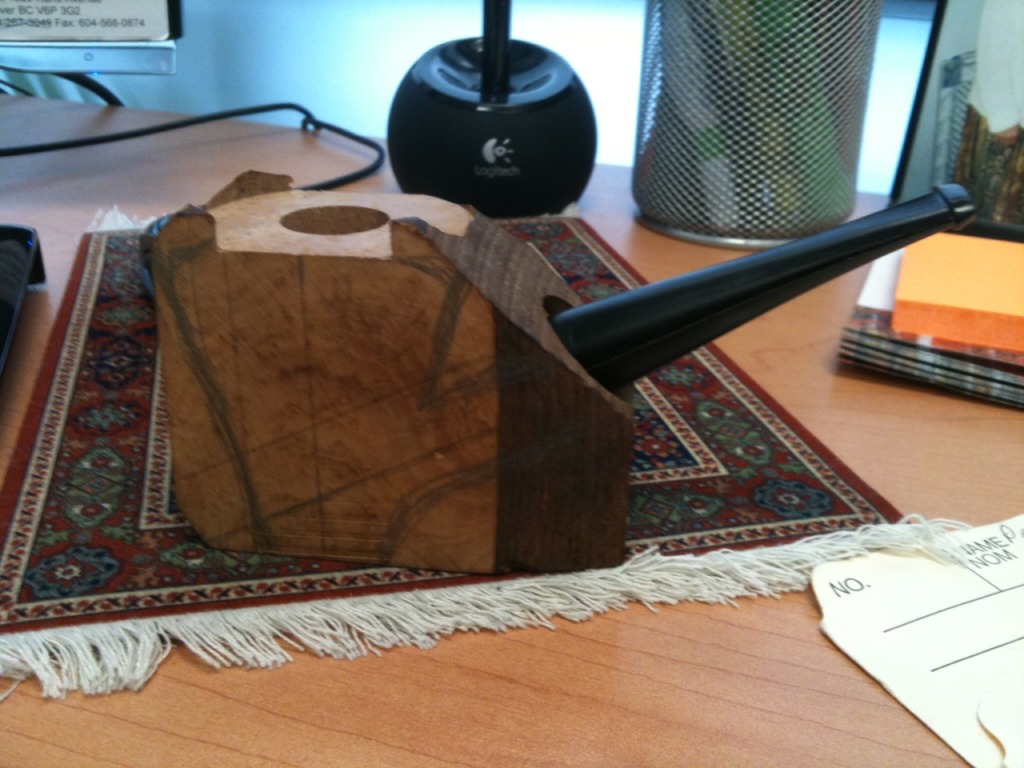
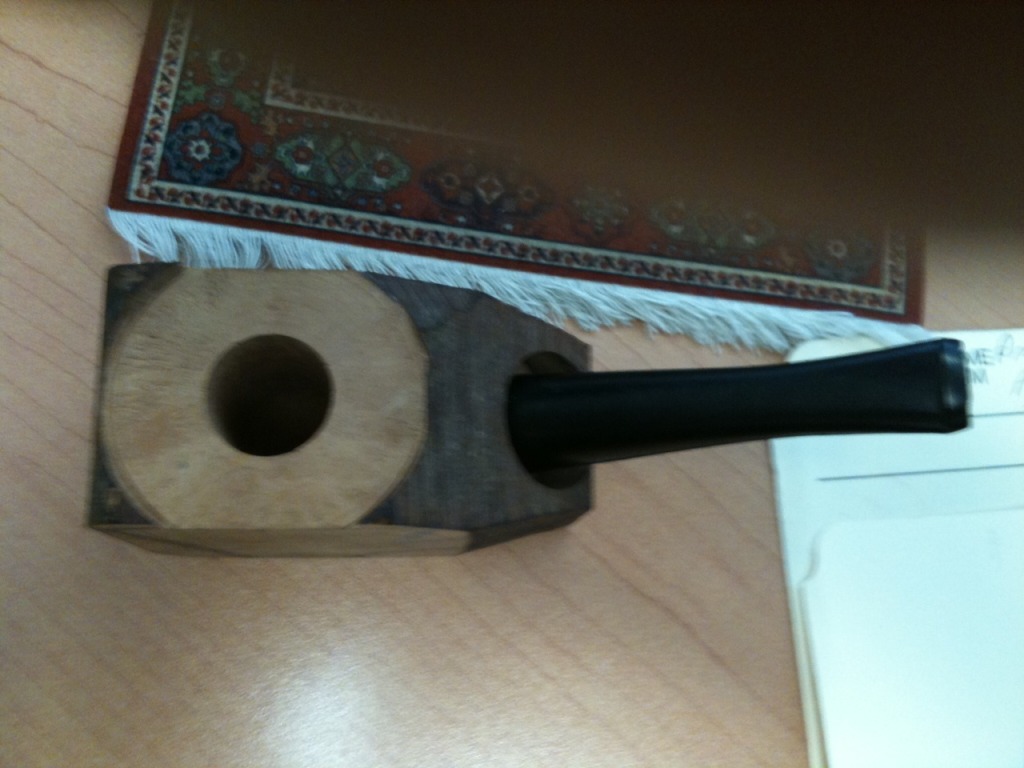
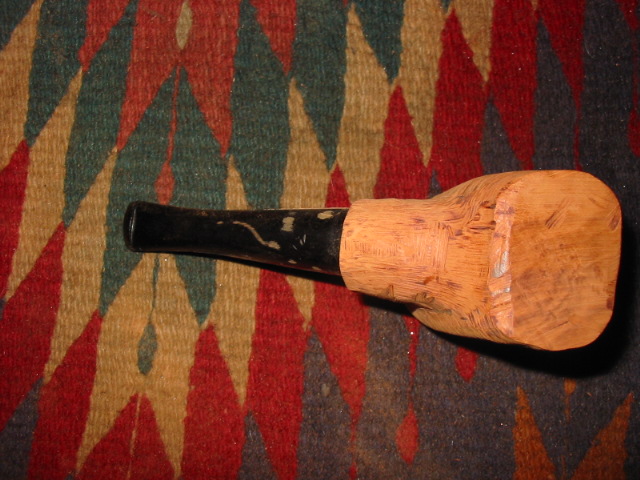
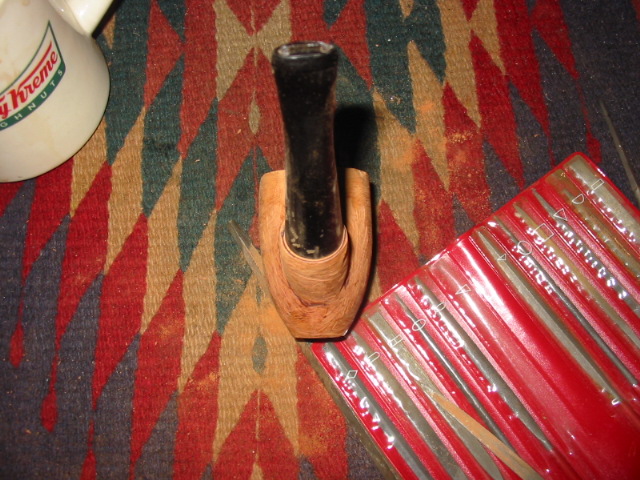
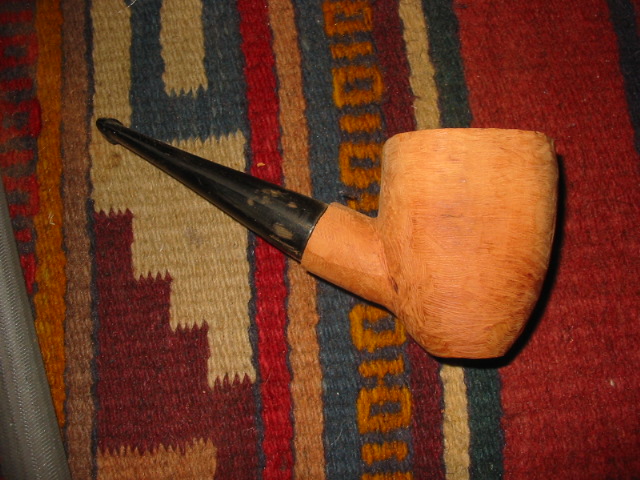
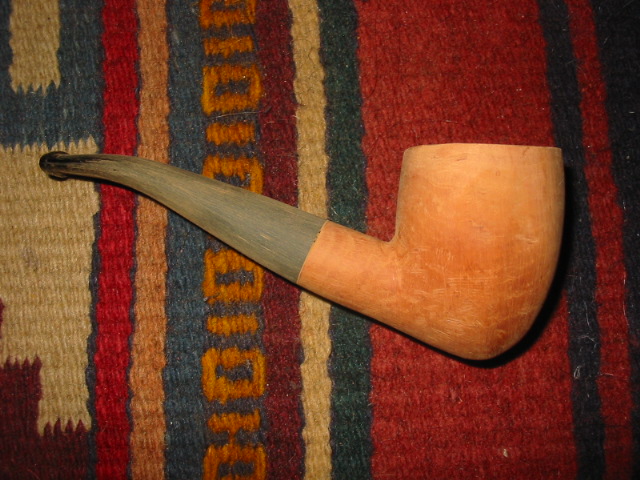
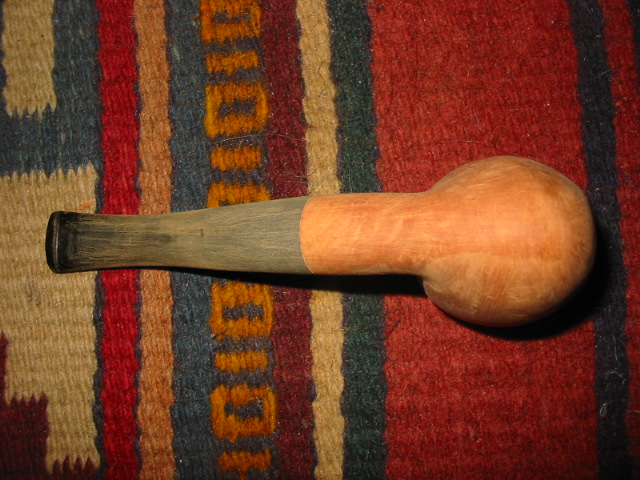
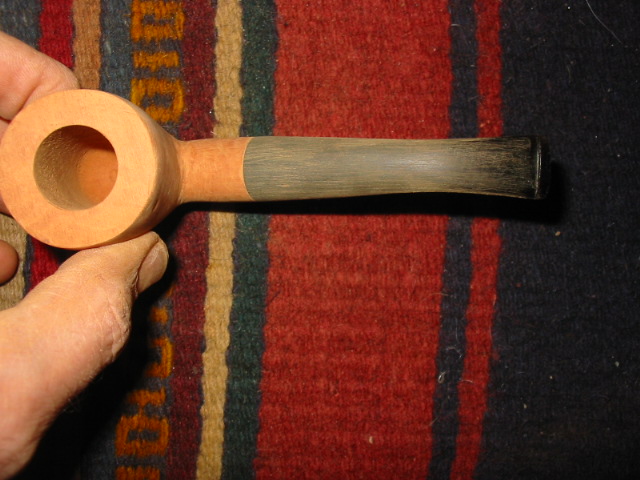
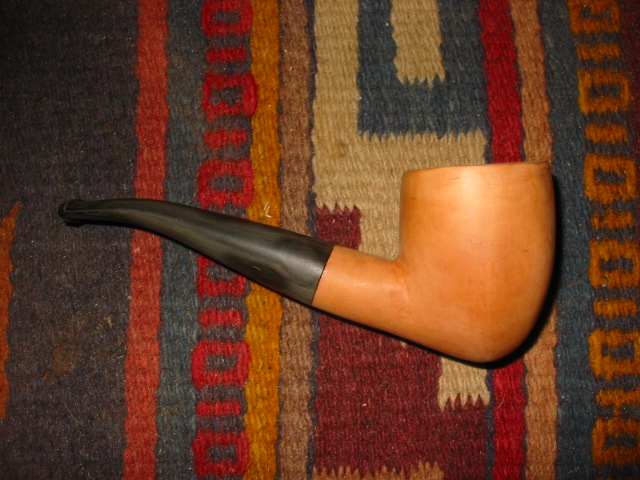
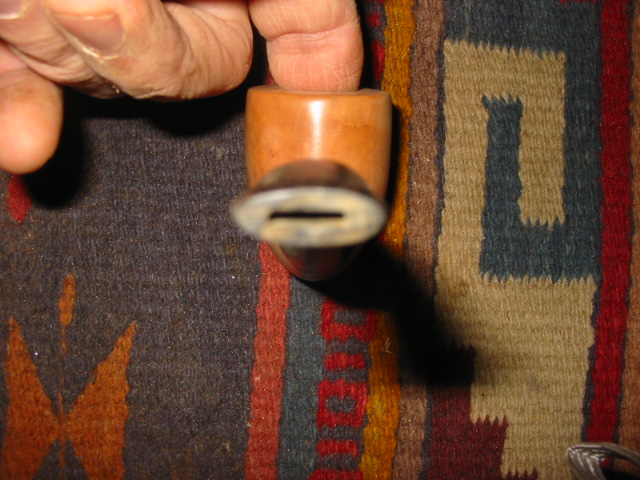
I took this photo essay of a pipe I carved from a pipe kit I purchased from smokindawg (Steve) on Smokers Forums and Pipe Smokers Unleashed. It was a predrilled block of briar and a straight vulcanite stem fit with a Delrin tenon. I actually only had to shape and finish this one. Steve did the hard work in drilling and prestemming it for me. Here is a photo journal of the progress in making the pipe. I used a hand held Dremel with the larger sanding drum to bring the pipe out of the block. At the junction of the bowl and shank I used a wood rasp and a long file to get the angle cut the way I wanted it to be.

Photos 1-3 the block when it arrived (I sketched a potential shape with pencil on both side of the block to give me an idea of where I was going to go)ImageImageImage

Photos 4-5 show the initial sanding to remove material.ImageImage

Photos 6-9 Making more briar dustImageImageImageImage

Photos 10-13 – Making more dust – Shape emergingImageImageImageImage
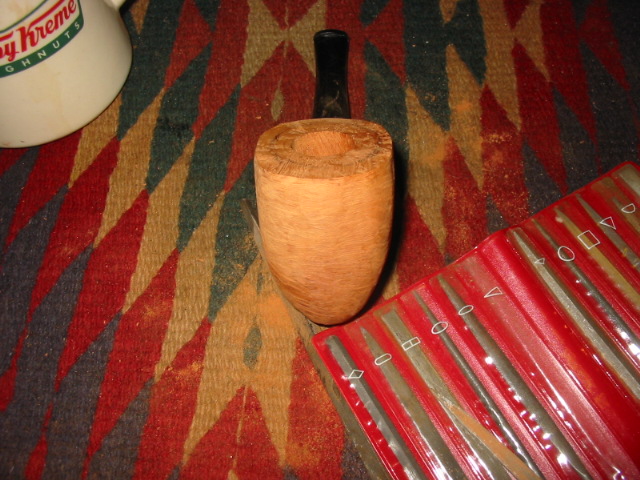
Photos 14-17 Making more dust – shape is coming. I bent the stem with heat to get an idea of the curve of the stem. Also removed some of the vulcanite on the stem.ImageImageImageImage
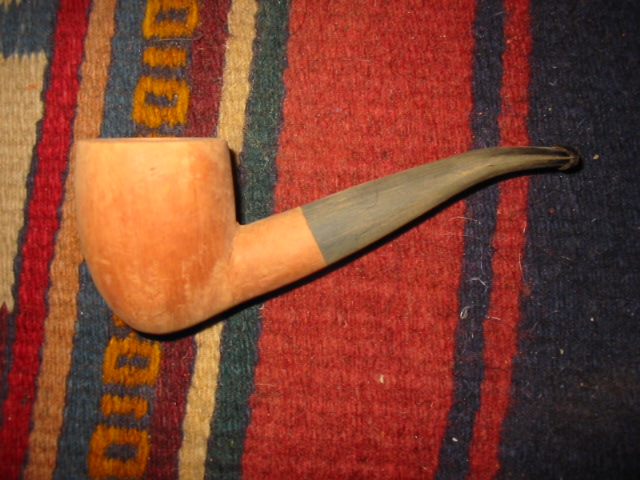
Photos 18-23 – The shaping is done. The pipe has been sanded with 240 grit sand paper and then buffed with Tripoli and White Diamond. I then sanded it with 400 and 600 grit wet dry sandpaper.ImageImageImageImageImageImage
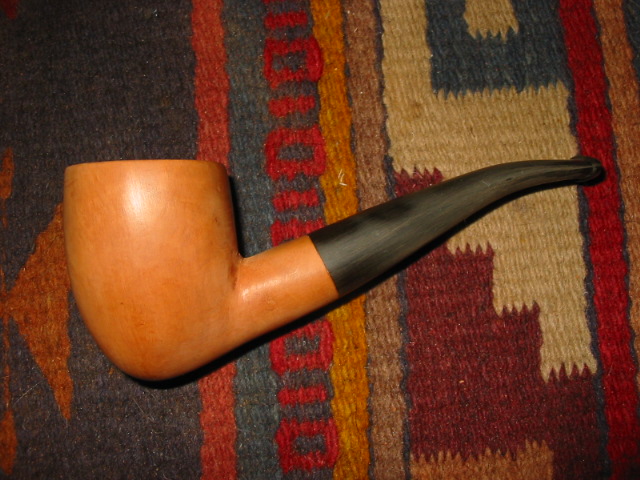
Photos 24-27 – Black Stain. After some more sanding I stained the entire bowl with black aniline stain as an undercoat.

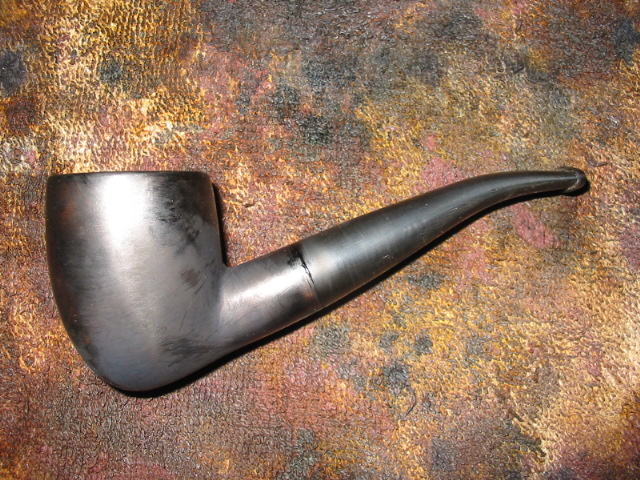
ImageImageImageImage

Photos 28-31 – Excess black stain removed. With the buffer and Tripoli I removed the excess of the black undercoat of stain. My goal was to leave it in the grain patterns to highlight them.

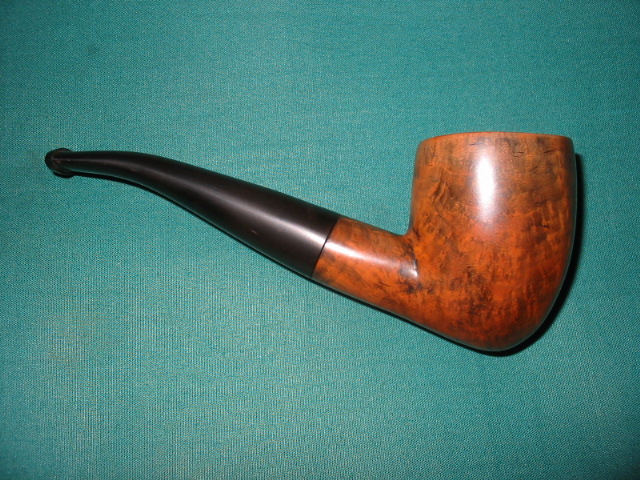
ImageImageImageImage

Photos 32-36 – More buffing and sanding. ImageImageImageImageImage
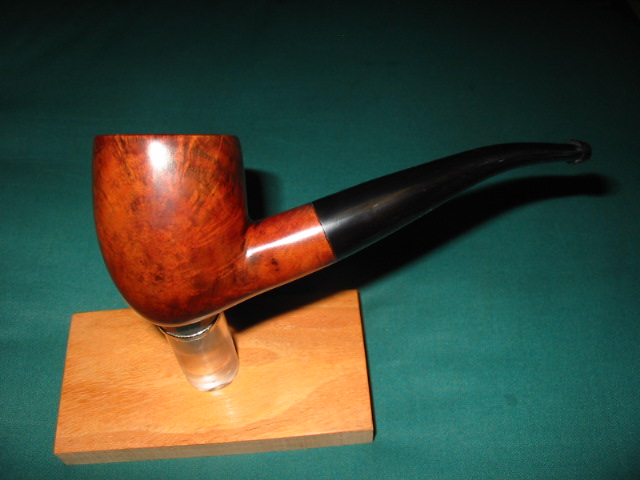
Photos 37-40 – Top stain of Oxblood Aniline for contrast. ImageImageImageImage
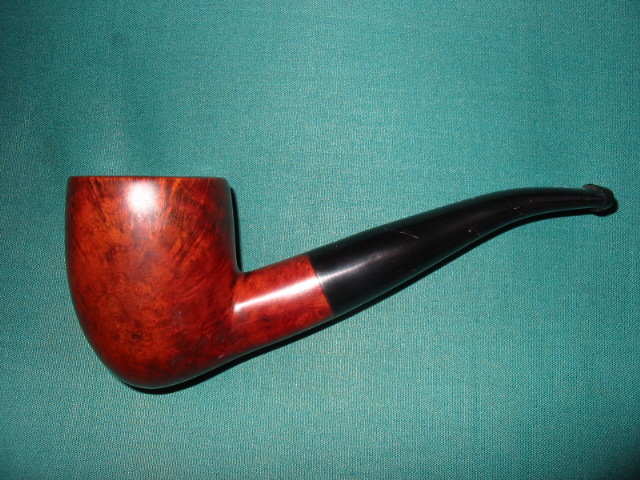
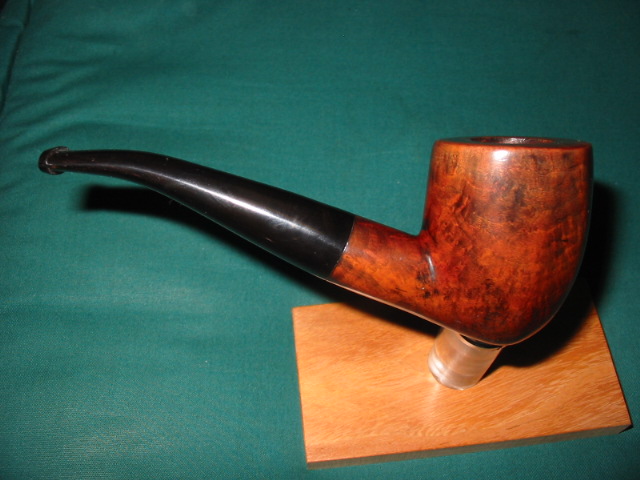
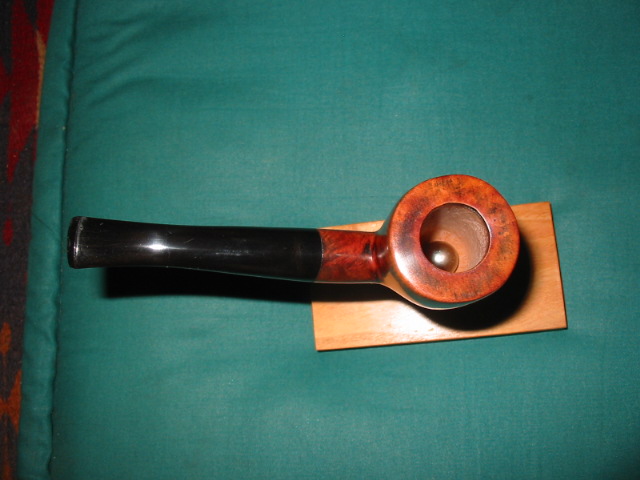
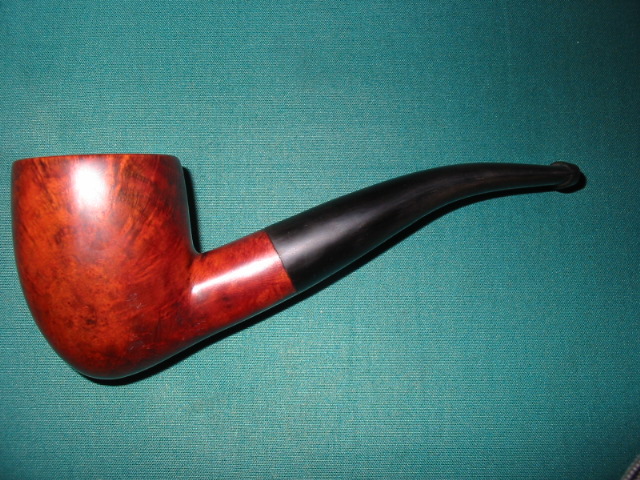
Photo 41 – An adjustment to the bend. I reheated the stem and curved the bend a bit more to match the curve of the underside of the bowl.
Image

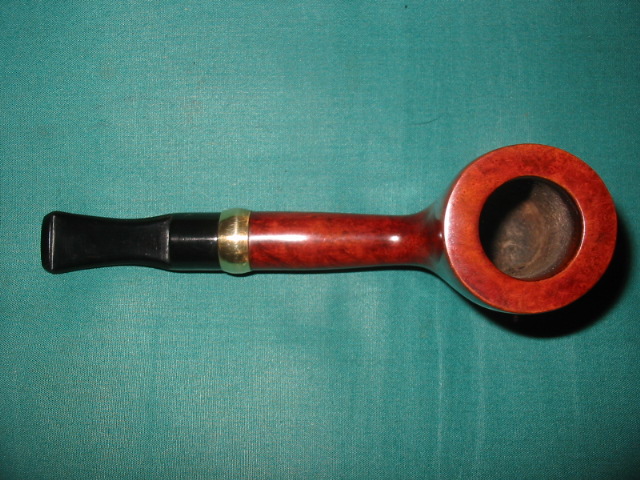
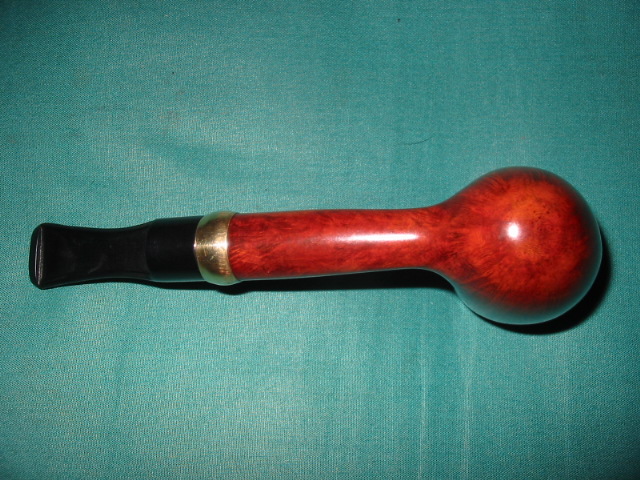
The ongoing evolution of a handmade pipe


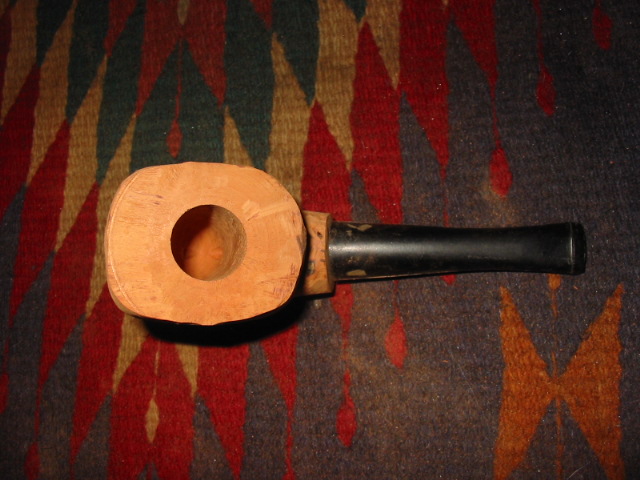
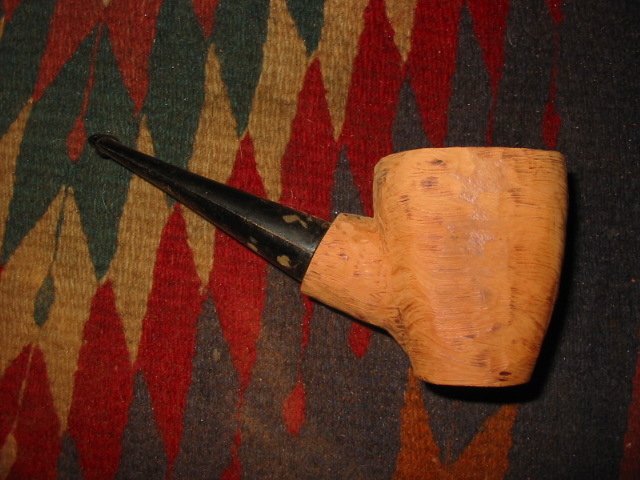
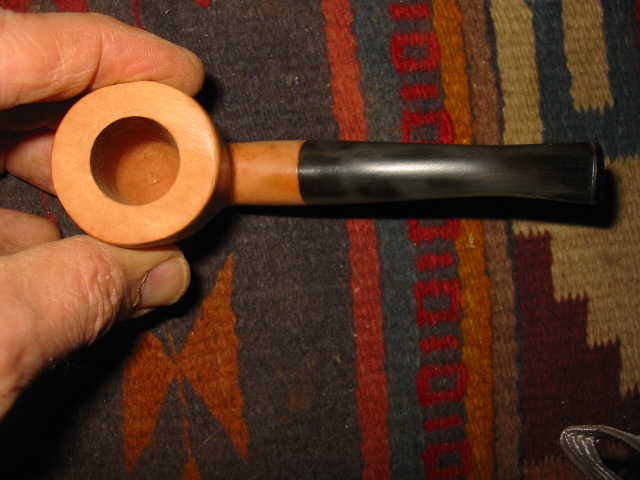
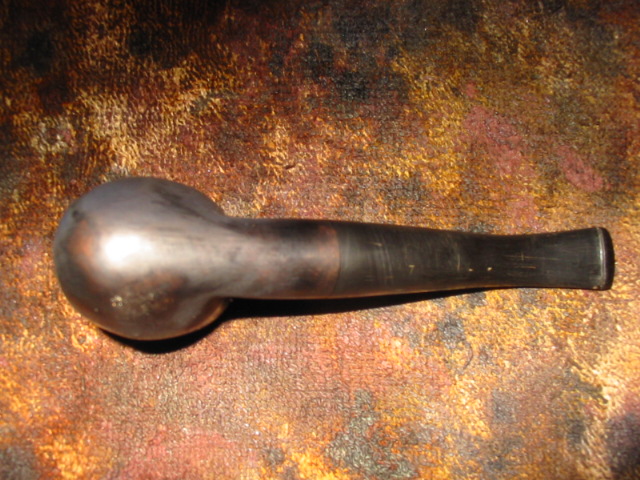
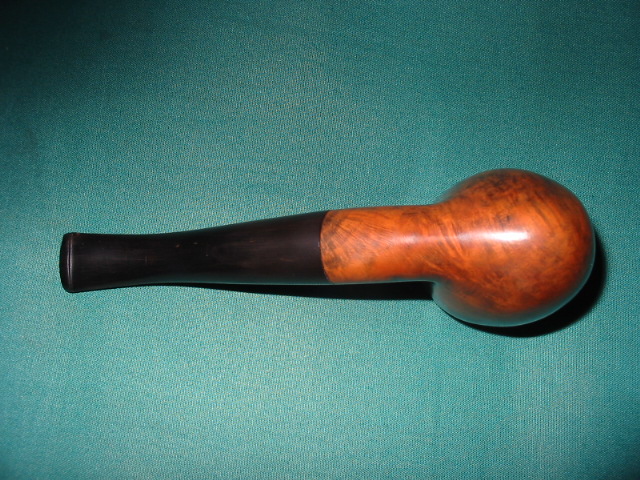
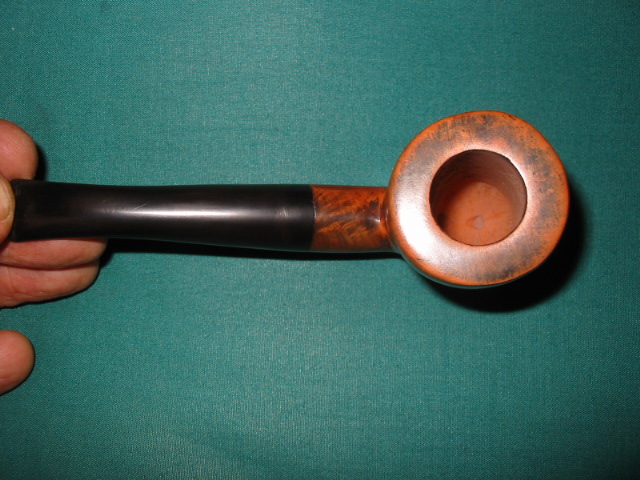
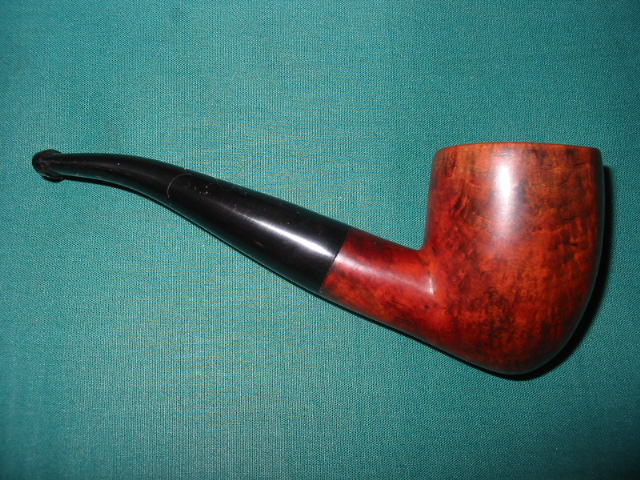
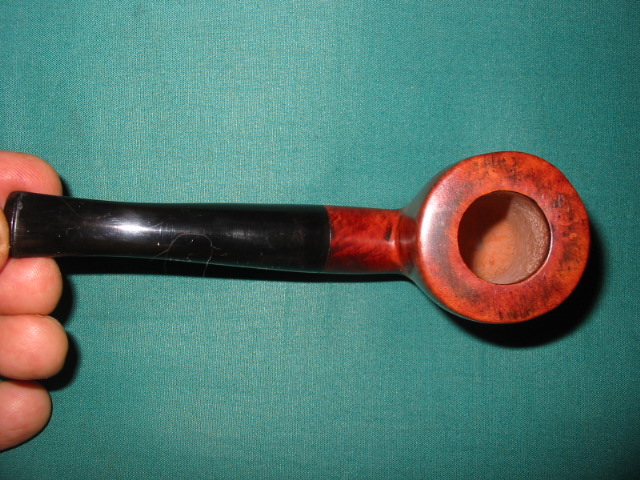
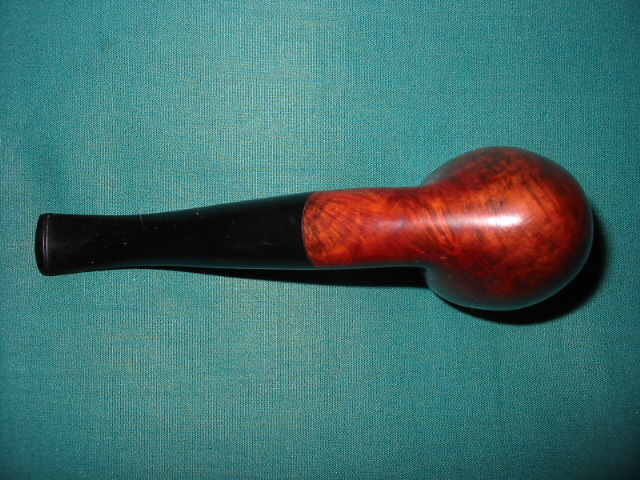
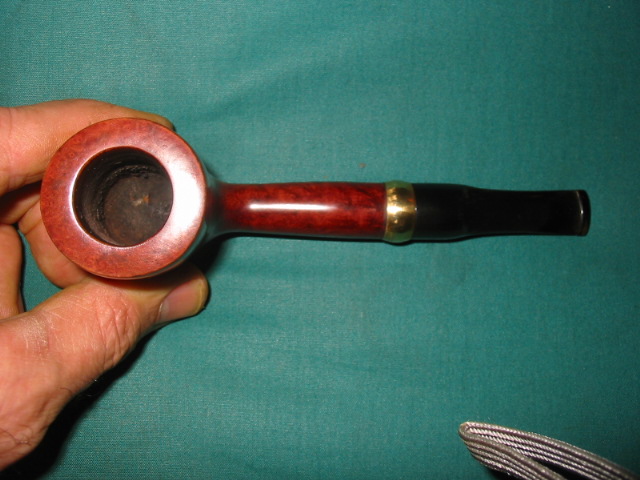
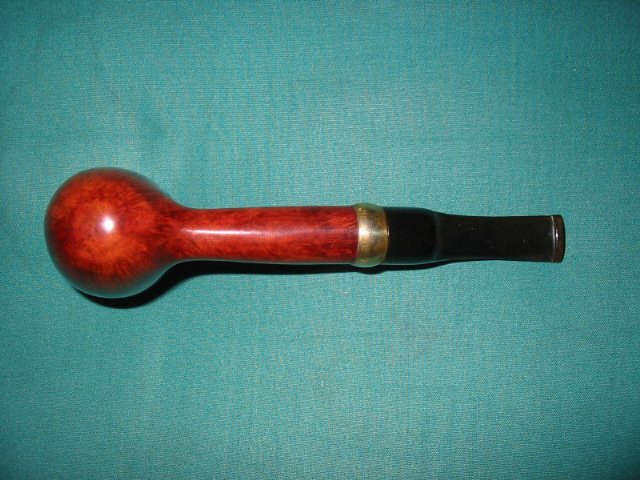
With all the refurbishing and staining I have done lately it is no wonder that when I pulled out this pipe from my rack it seemed just plain dull! This is a pipe I carved probably ten or more years ago and then reworked and thinned down in the past three or four years. It is great to be able to pull out one of my own pipes – carved by me – and rework it as the desire rises. I have no qualms about doing that as they are my creation and I am not changing someone else’s work. I had originally stained this pipe with a black understain and then used a very thin mix of medium brown stain on it. At the moment it looked good to me. But over the years that finish has grown faint and lack lustre. I have buffed it and given it new coats of wax but it still was lacking.

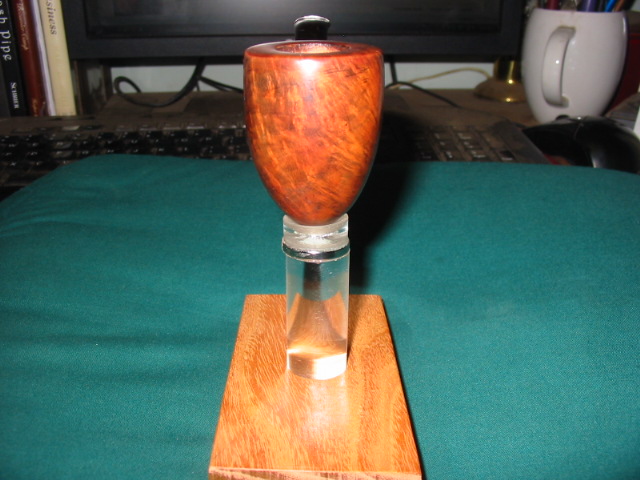
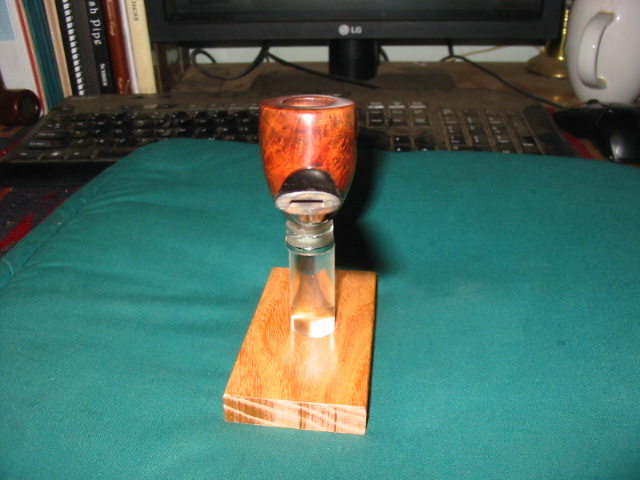
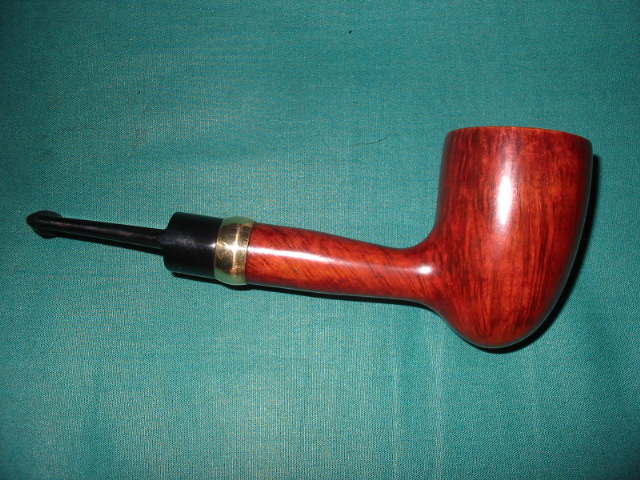
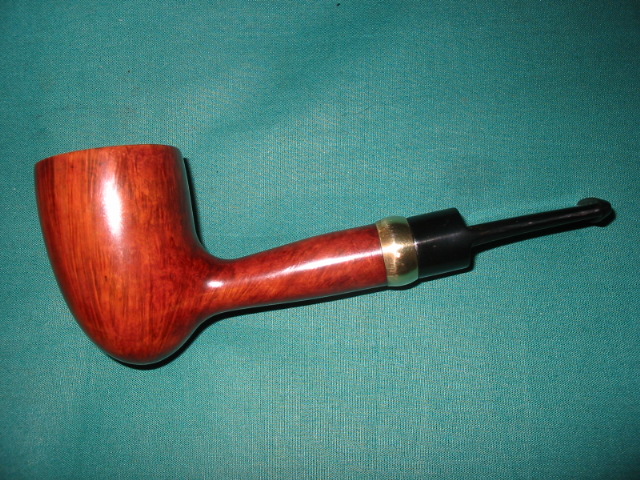
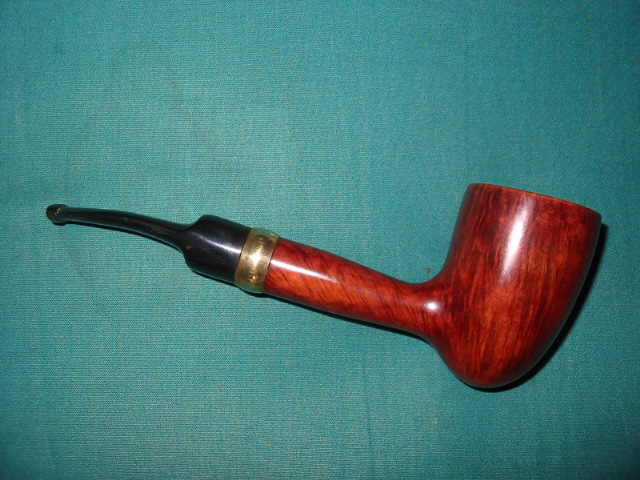
The morning I pulled it out was the day for a makeover. I finished the bowl I was smoking in it and while the briar was still warm I took it to the work table to restain. I decided to give it a coat oxblood aniline stain to liven it up and give it some warmth over the dark understain that had become more prominent with time. I rubbed on a coat of the stain and flamed it and then buffed it off so that the pictures below show its new look. I am enjoying its new look. I know it does not make it smoke better (it always has been a great smoking pipe) but the newness makes me reach for it more often.

I am thinking of restemming it now with a wider blade and tapered saddle but we shall see. These things seem to take a life of their own so truly there is no end to the changes that could be made over the years. Here it is now in its process of development!

ImageImageImageImage

UPDATE!!
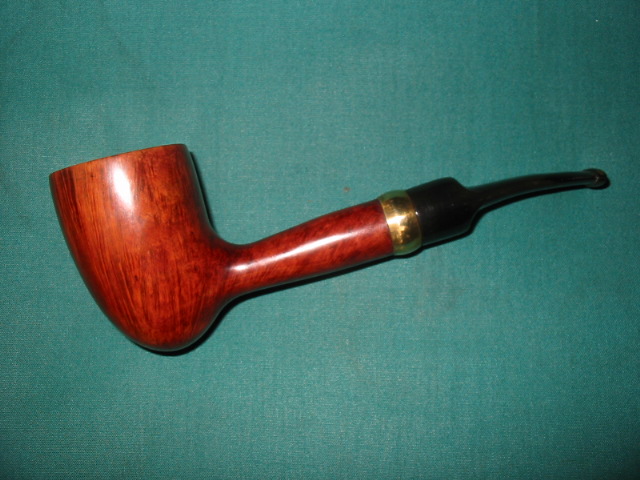
Last evening (Aug. 8, 2012) after work I decided to cut a different stem for this pipe. The narrowness of the blade (flat portion of the stem from saddle to button) just did not look right to me. The more I looked at the pictures the less I liked it. I did not have any rod stock so I found a precast stem in my jar of stems that would work for now. I cut the tenon down so that it would fit and also reworked all the casting marks along the edges of the stem. I opened the draw and also reworked the slot and button for more comfort and ease of cleaning. Here are the pictures of how the stem looks now. I think it is better than before. Oh, I also decided not to bend the stem this time.

The stem looks shorter than the previous stem but it is actually the same length. The proportions are thicker and thus give the illusion of a more stubby looking stem.