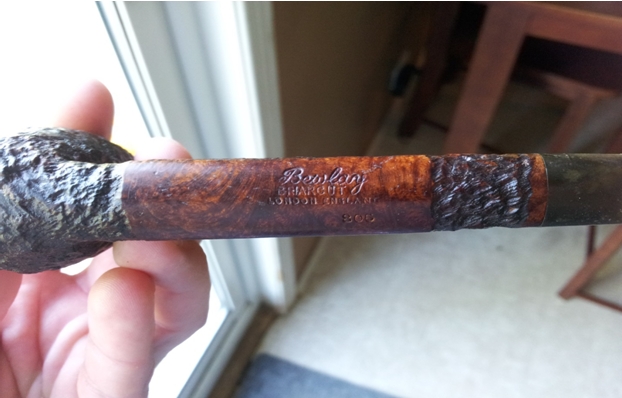
It is a pleasure to post this blog piece by Bill Tonge. He is the friend who sent me the Hardcastle’s Dental Briar I posted about earlier. I met Bill on Pipe Smokers Unlimited and have appreciated the photos and write ups of pipes he has refurbished or rusticated. I also follow him on Twitter so I saw this pipe in a Tweet he did earlier today. I really like Bewlay pipes and love the fact that they are made by such pipe companies as Orlik and Barling as well as others. This particular pipe caught my eye when I saw it in its raw state and in Bill’s finished photos. Bill does excellent work on the pipes he refurbishes and I always learn something from his efforts. I think you will appreciate the minimal tools he uses to get the results he does. I asked Bill about why he enjoys refurbishing and he responded with the following. I think it summarizes why many of us begin the process of refurbishing. Here are Bill’s own words: “As a person that is economically challenged, I enjoy fixing up the ugly ducklings. I take pride in taking that $5.00 pipe that no one else wants and converting it to something that fits beautifully in a pipe collection.” Without further introduction here is Bill’s first article on the blog. Thanks so much Bill, for sharing your work with us.
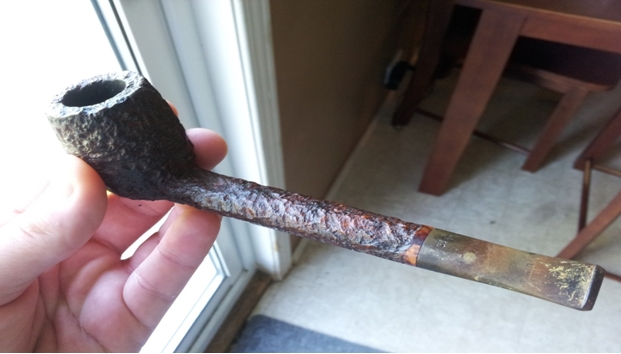
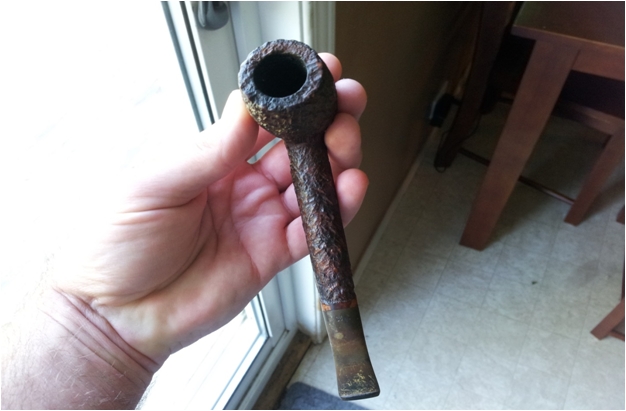
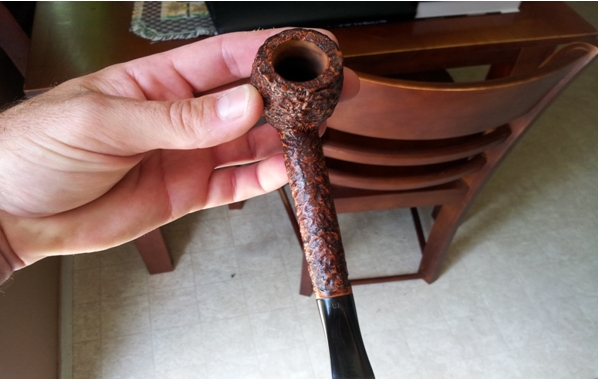
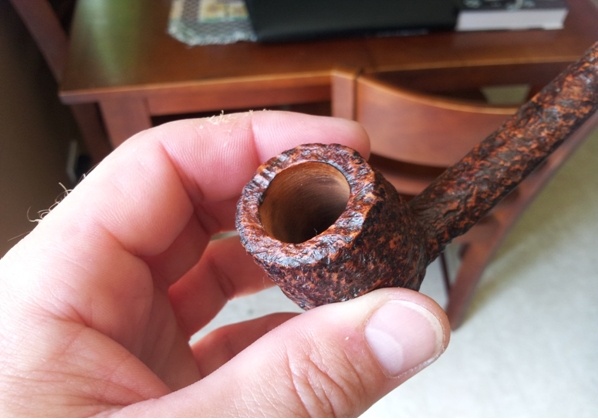
I recently received a care package from some very good friends. Inside was a ton of tobacco and three pipes: a Bewlay and 2 Trypis. As you will see from the first set of pics the Bewlay was a project pipe.
I only use a Dremel, wire brush attachment, fibre brush attachment, sanding attachment, some wool balls, micro mesh, magic eraser and carnauba wax. I do enjoy the time I spend bringing pipes back to life. I have only been doing this since January but I want to show you don’t need oodles of tools to clean up a pipe.

I used the wire brush attachment in the Dremel to highlight the high spots on the pipe and the sanding attachment to clean the inside of the bowl. I then sand the smooth spots on the pipe with the micromesh. Then I take the wool ball, load it up with carnauba wax not worrying about leaving a caked on looking wax build-up, and apply it to the whole pipe. I then take the fibre brush attachment in the Dremel and use it to remove the excess wax, as it leaves an extremely nice buff and shine. I use a rag to finish off the smooth spots and give it a final wipe.
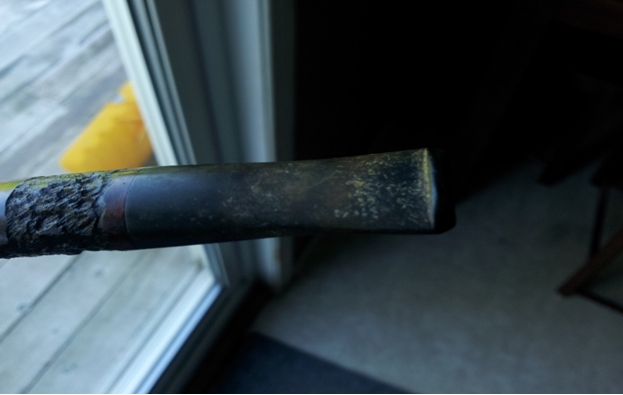
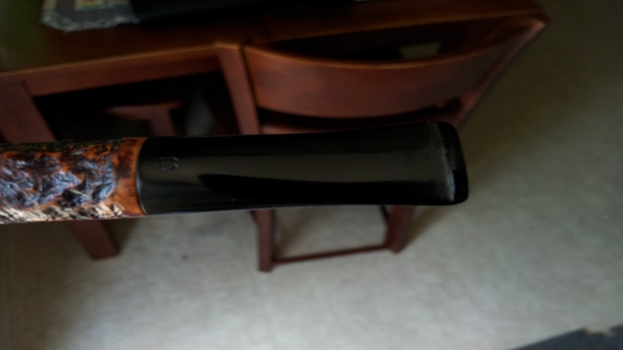
I use the Oxi Clean and Magic Eraser to clean the stem and then go at it with the micro mesh pads. If stems are worse I will use 400-1000 grit wet paper before the pads. Then I apply a coat of wax to the stem with the wool ball and buff with a rag.
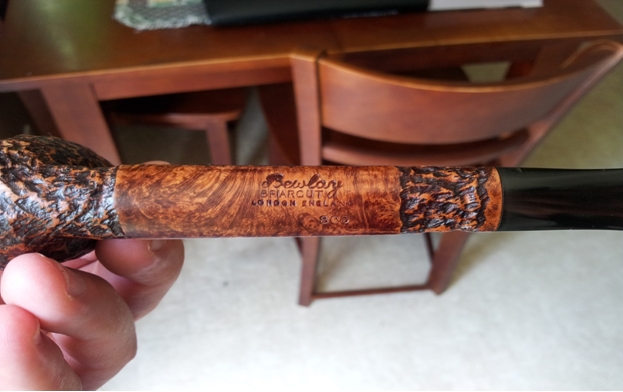
This is the finished pipe. I like my pipes on the lighter coloured side so I am very happy with the way it turned out.
Thank you to Steve for allowing me to post on his blog. I enjoy reading it and seeing the history of all the pipes you work on. My next project is a pipe that was gifted to me by Steve.
