Blog by Steve Laug
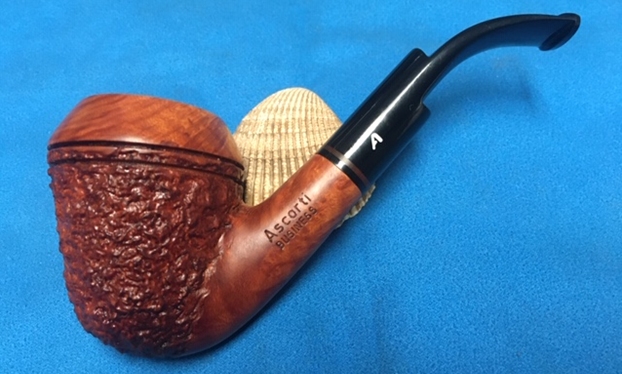
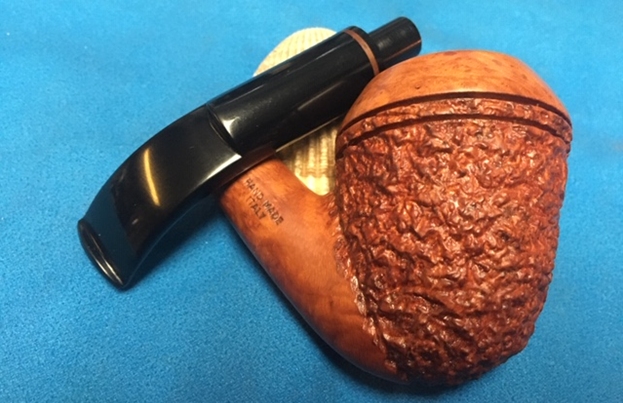
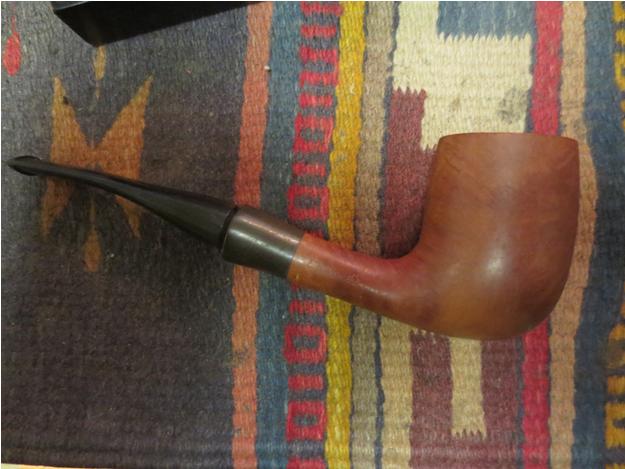
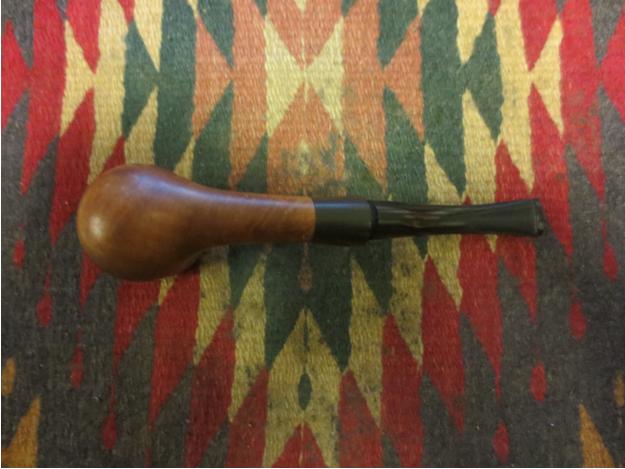
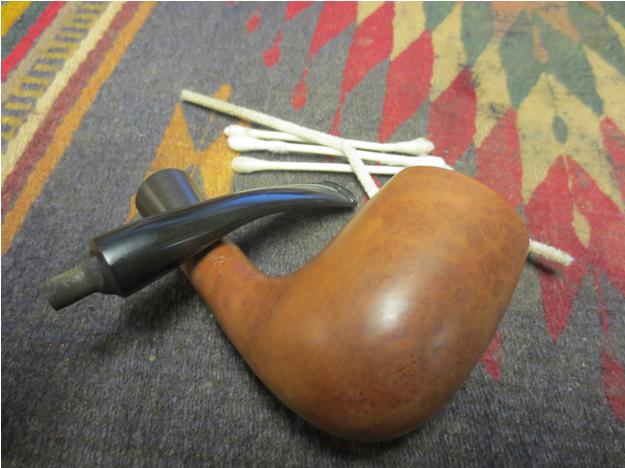
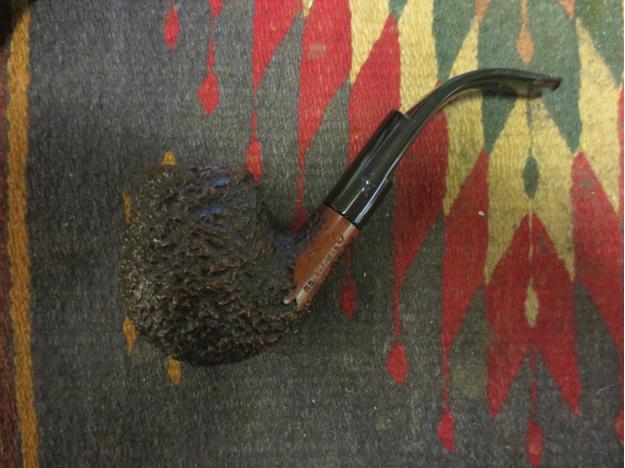
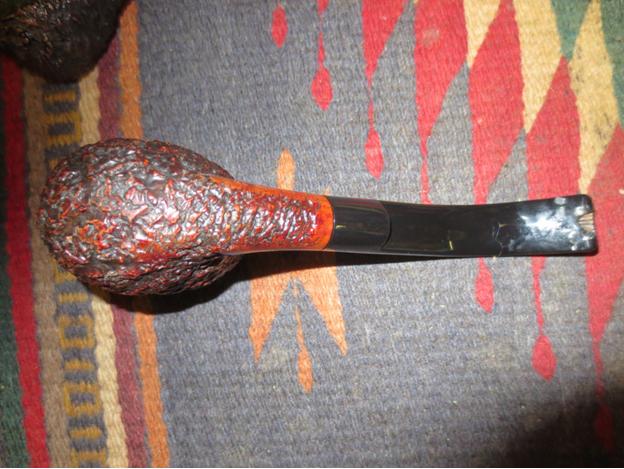
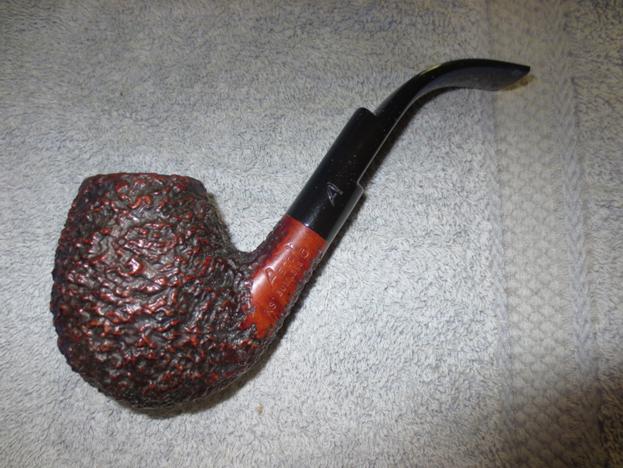
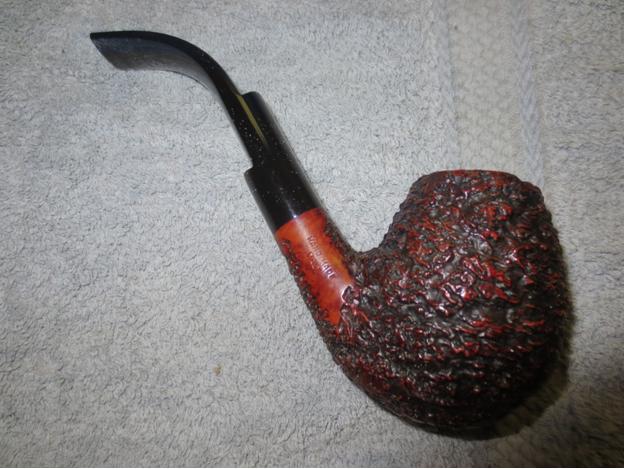
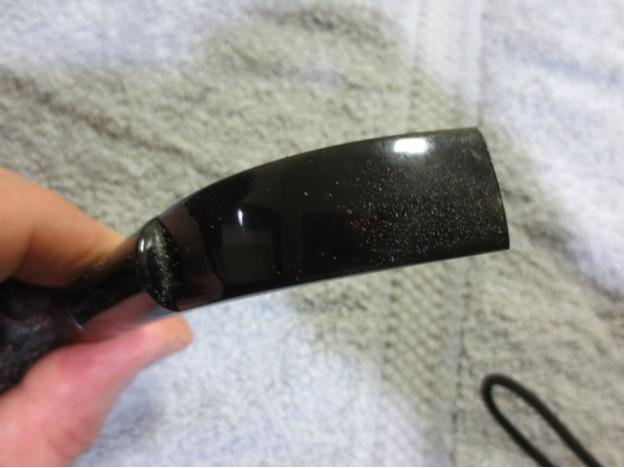
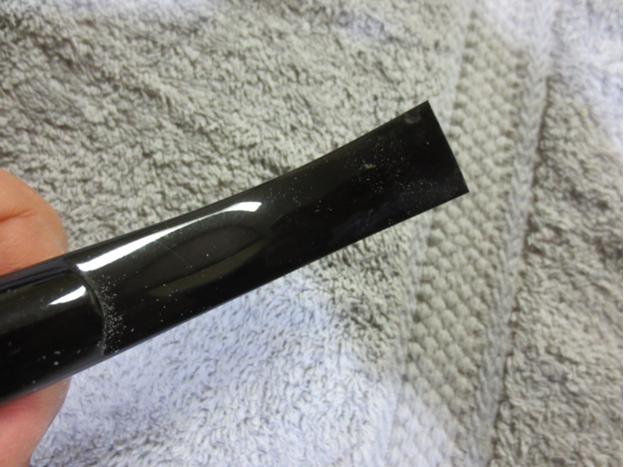
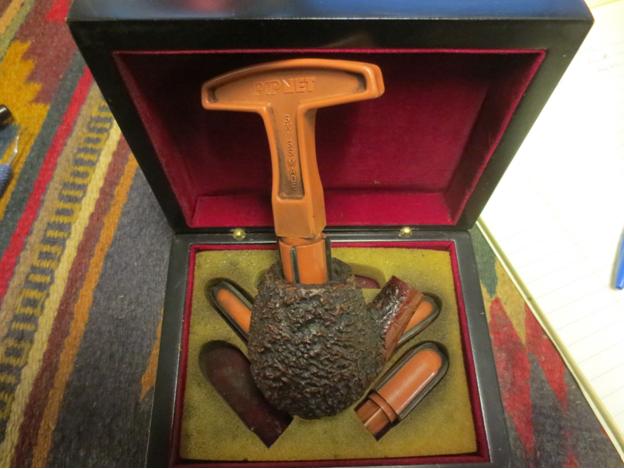
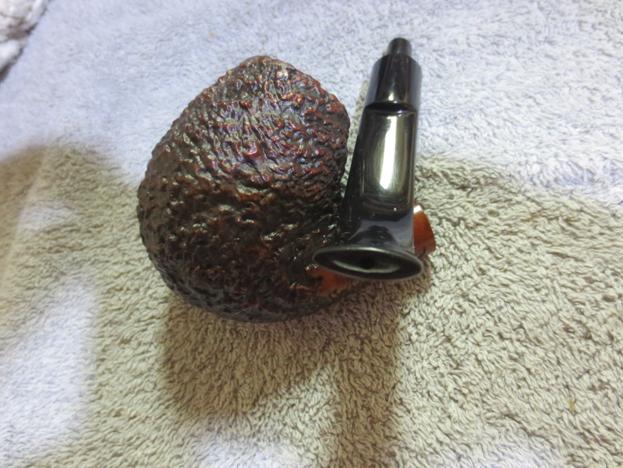
The next pipe on the work table is an interesting Ascorti Business Bent Bulldog. I had passed over this one a few times in the past weeks but this morning I decided it would join the days queue. It is a great looking and obviously well-loved pipe from the previous pipeman. It was a really filthy and had some damage on the rim top and edges when we received it. The bowl had a thick cake and the lava overflow on the rim made it impossible to see in the inner edge of the bowl. The outer edge had damage and burns on the right side of the rim cap. The bowl was rusticated in the typical Ascorti Business rustication but the camp and shank were smooth. The finish had a lot of dust and debris in the deep pockets of the finish and some stains as well on the surface. The twin rings around base of the cap were also filled in with debris and dust. The smooth portions had some nice grain on them under the grime and the finish appeared to be in good condition. A lot would be revealed once Jeff had worked his magic on it. The stem was very dirty and had heavy tooth chatter and marks on both sides ahead of the button. The button surface appeared to be unharmed. Jeff took photos of the pipe before he started his cleanup work.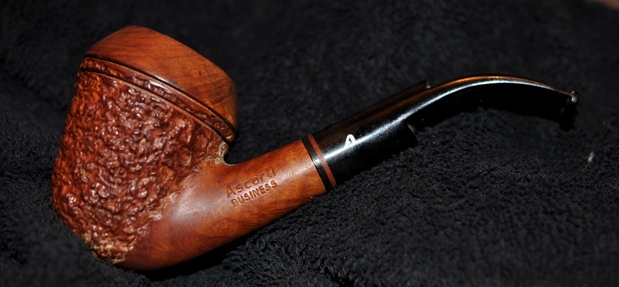
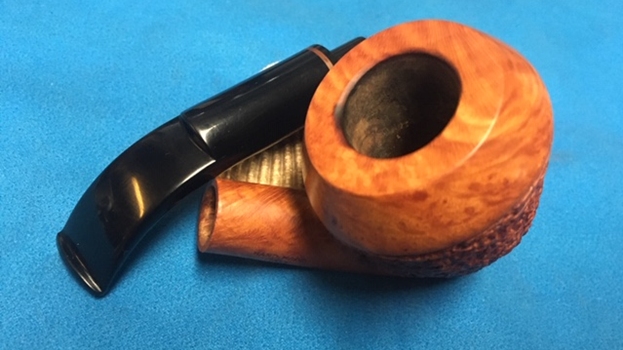
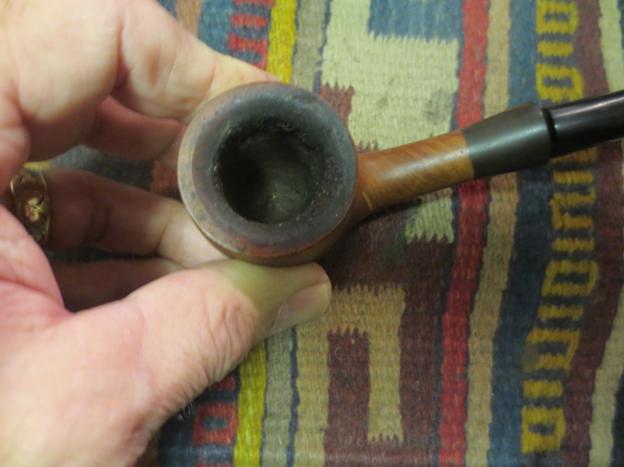
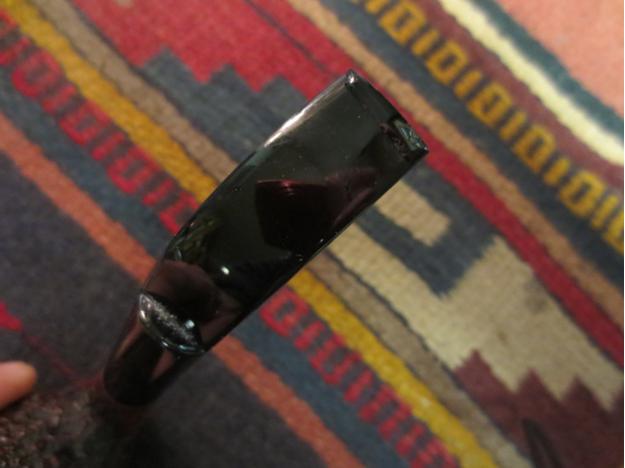
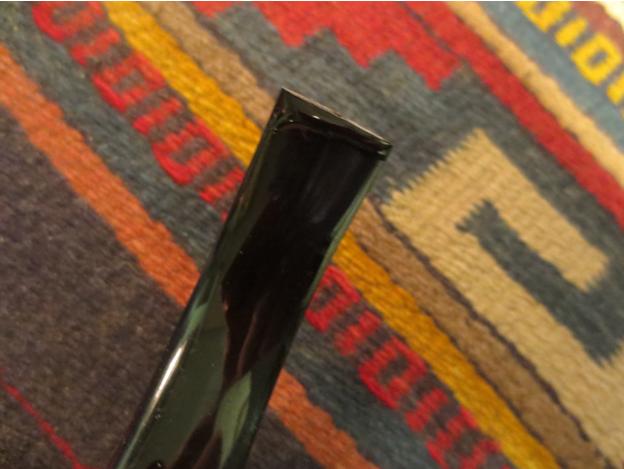
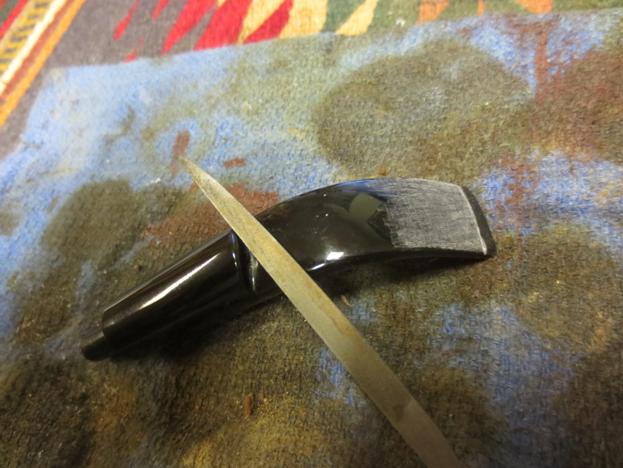
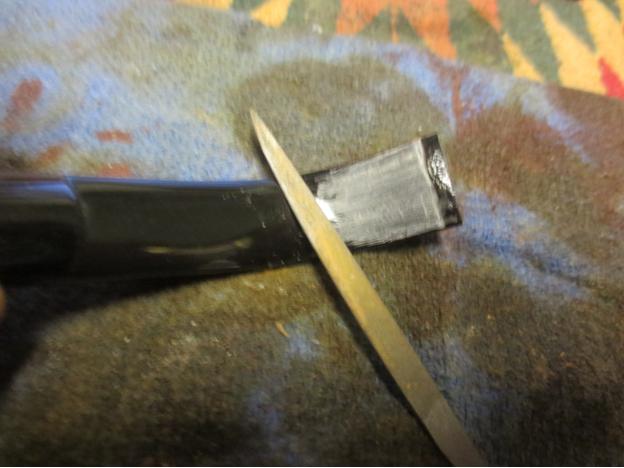
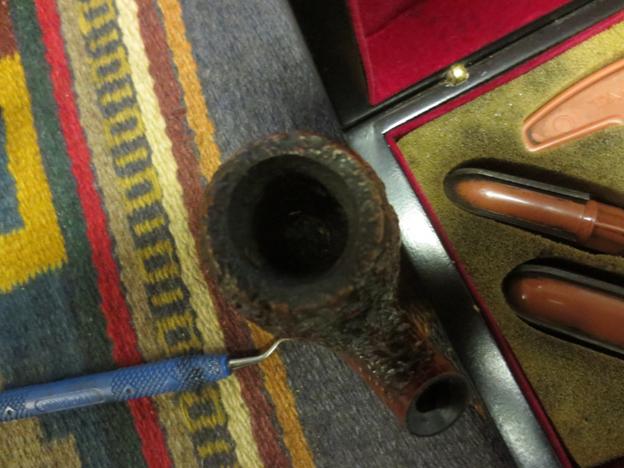
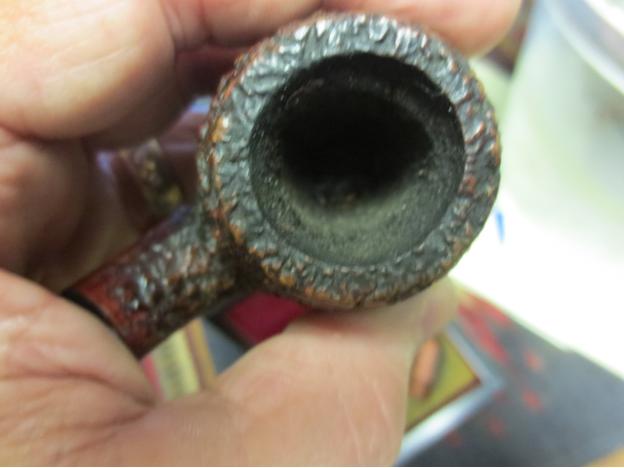
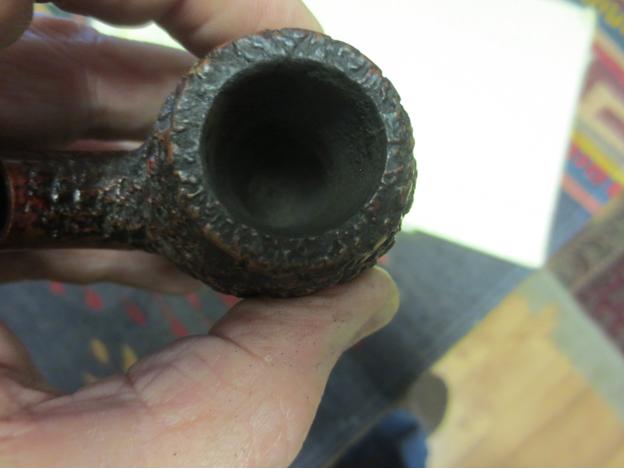
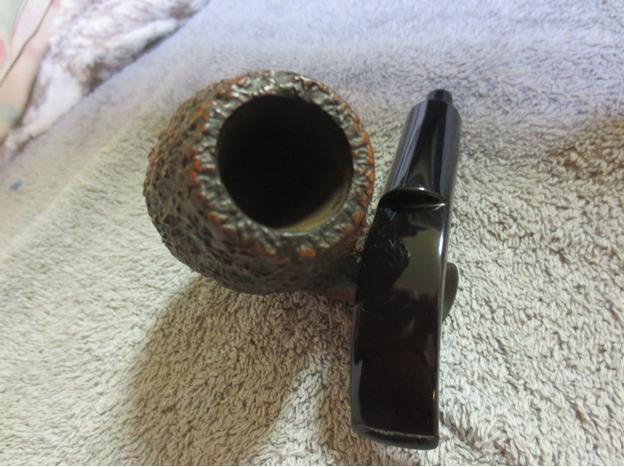
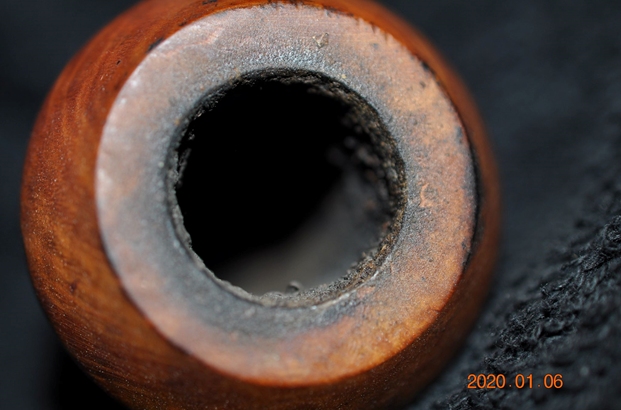
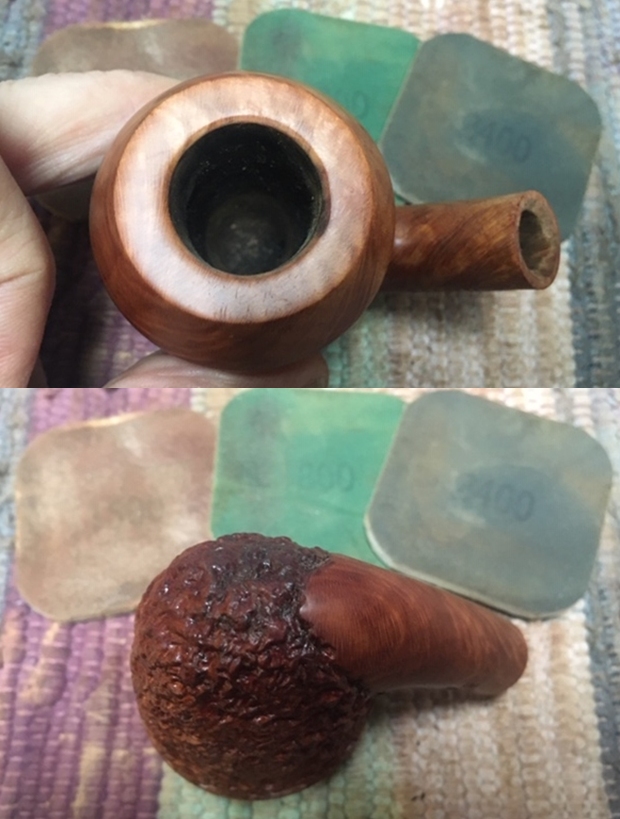
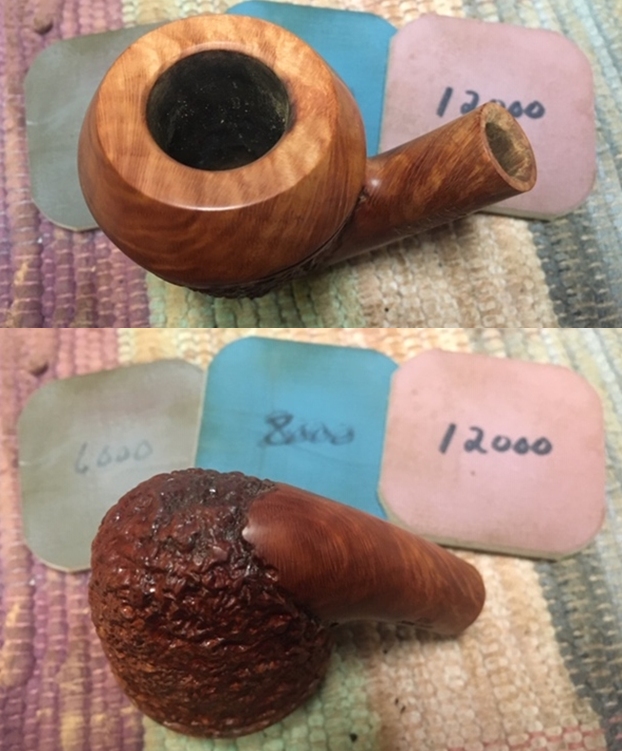
 Jeff tried to capture the condition of the bowl and rim top with the next series of photos. You can see the work that is ahead of us in the photos. It was obviously a well-loved and oft enjoyed pipe!
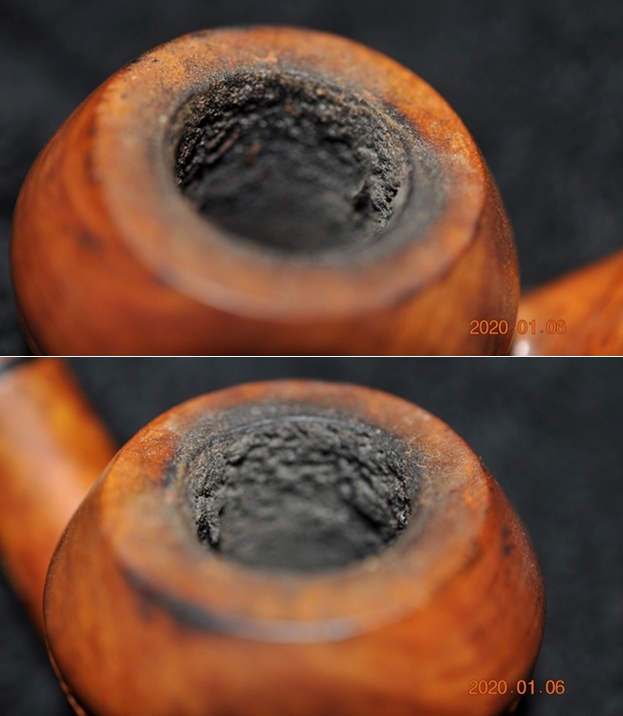
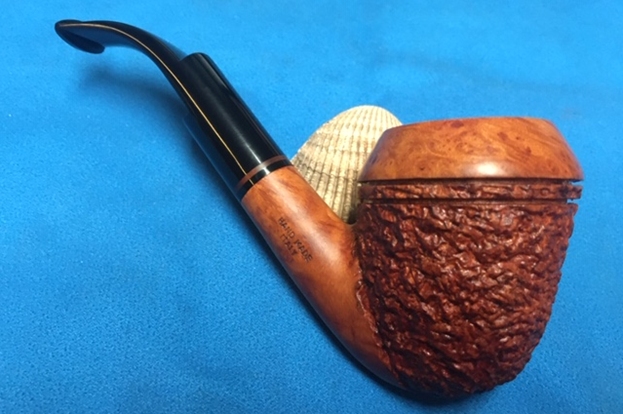
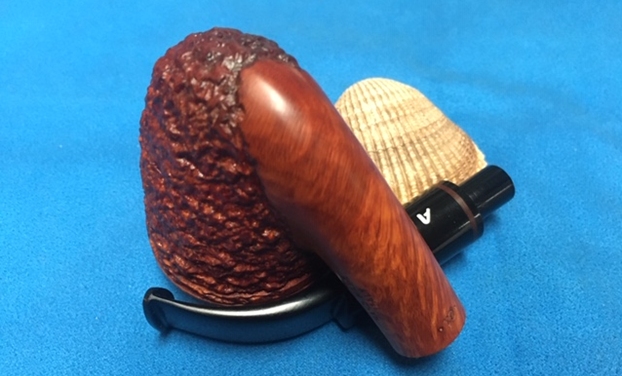
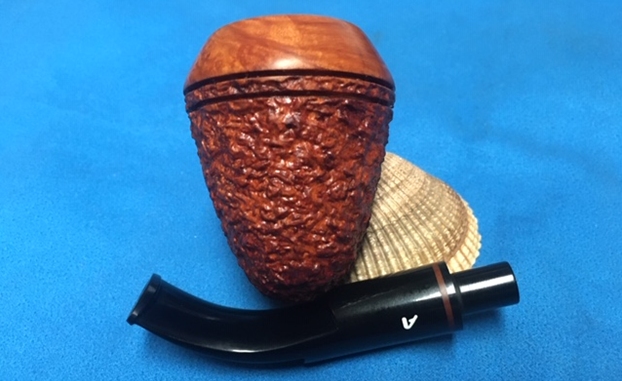
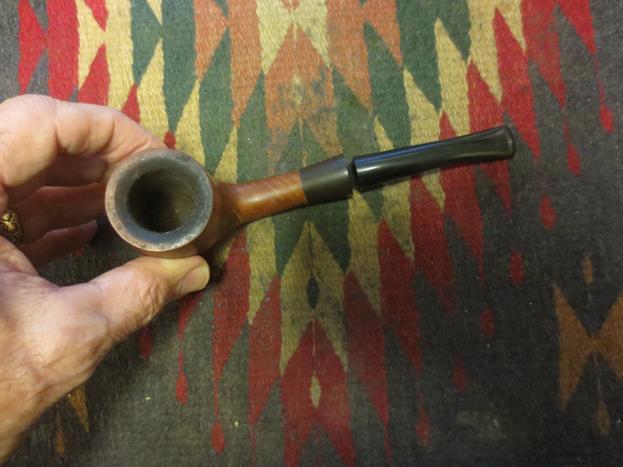
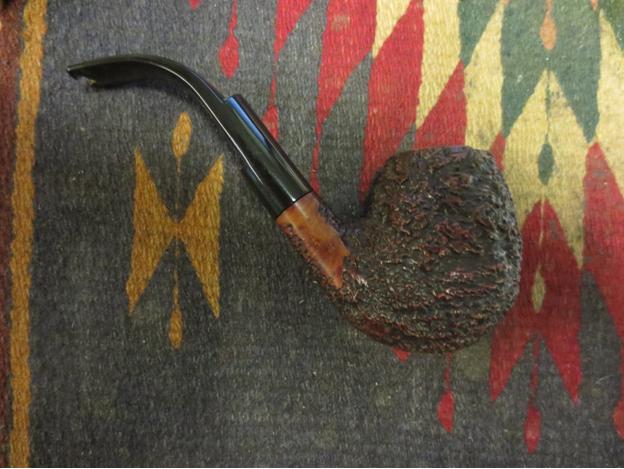
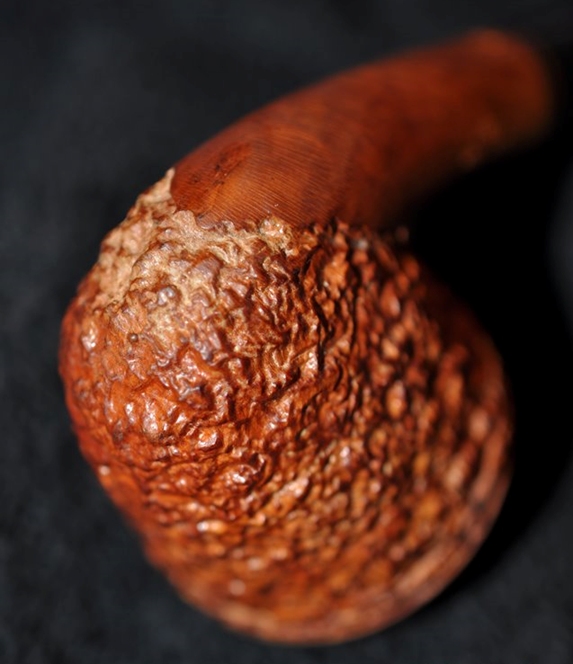
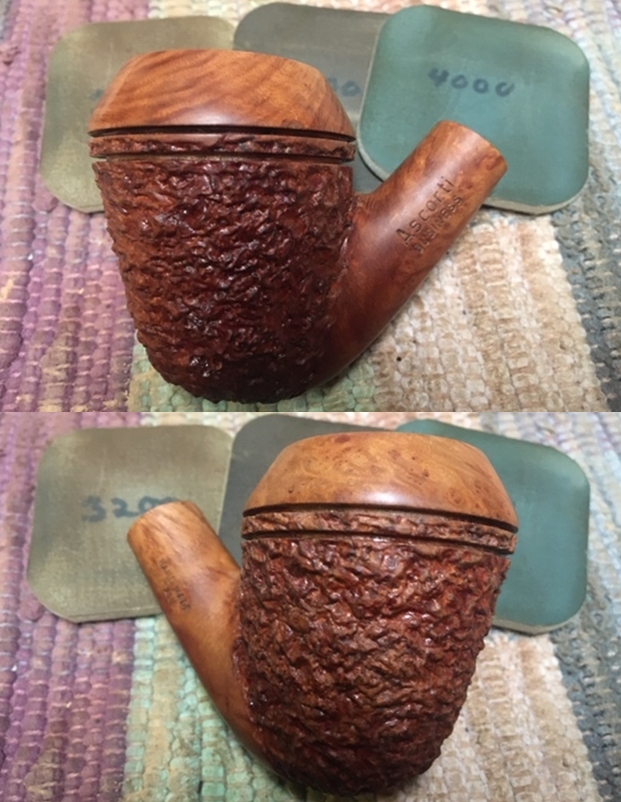
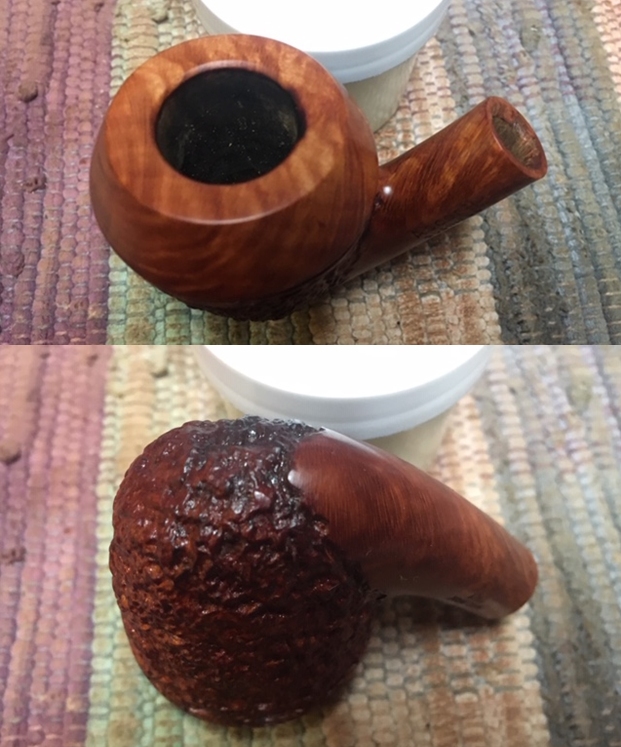
 Jeff took some great photos of the sides of the bowl and heel showing what is underneath the grime and debris of time and use.
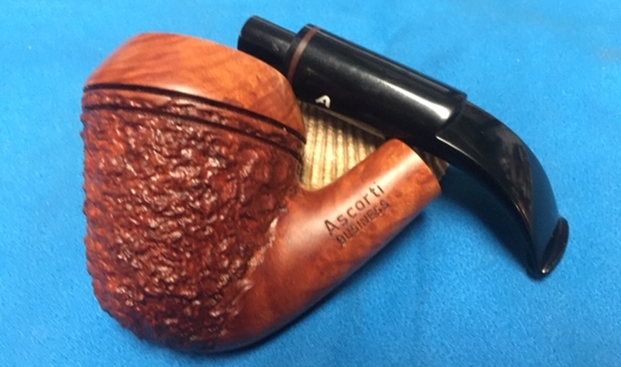
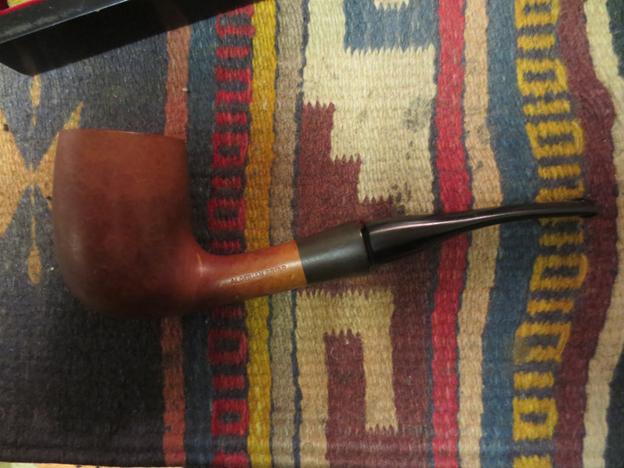
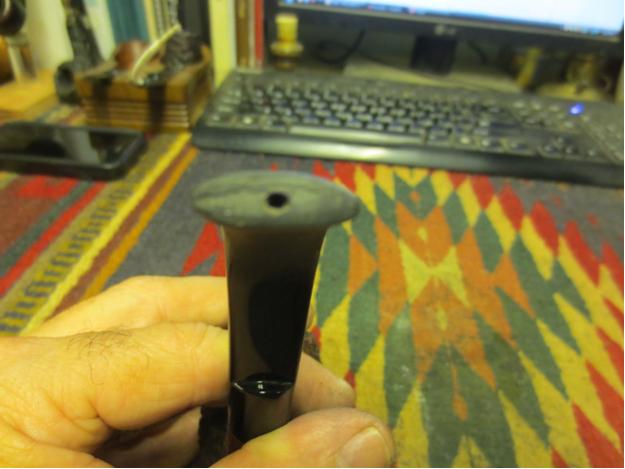
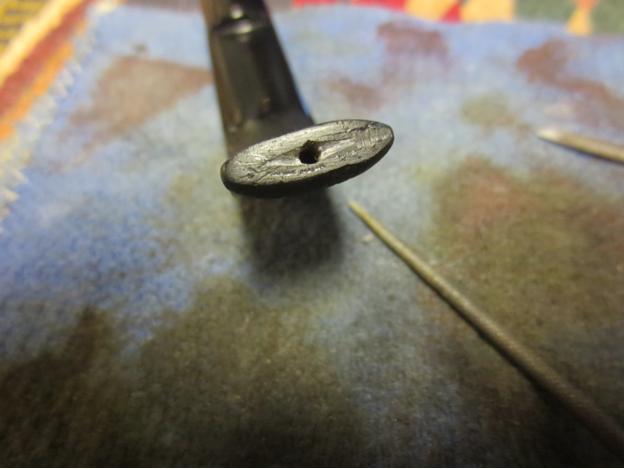
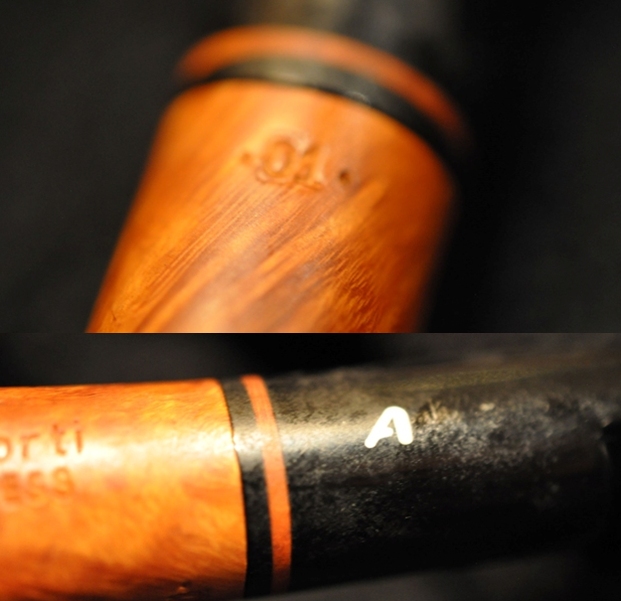
 He captured the stamping on the sides of the shank and the left side of the tapered stem. They are clear and readable. The left side reads Ascorti over Business. On the right side it reads Hand Made over Italy. On the underside of the shank it is stamped 01 next to the shank/stem junction. The last photo below shows the Ascorti logo “A” on the left side of the saddle stem.
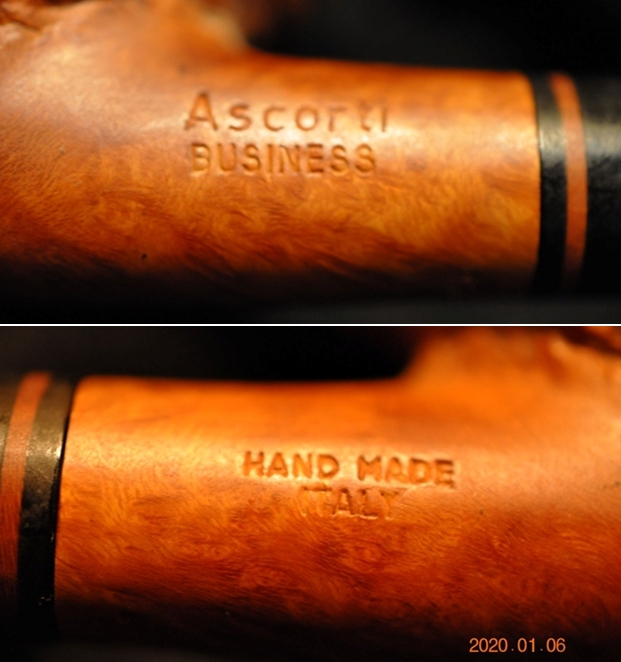
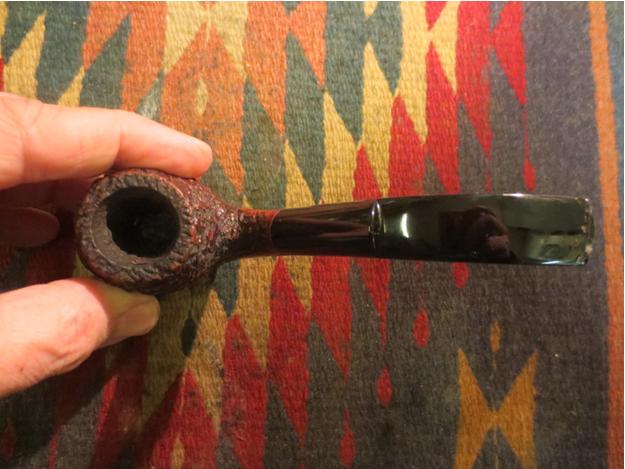
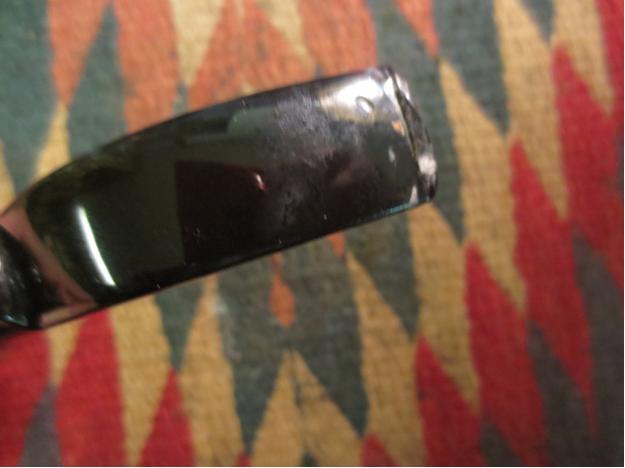
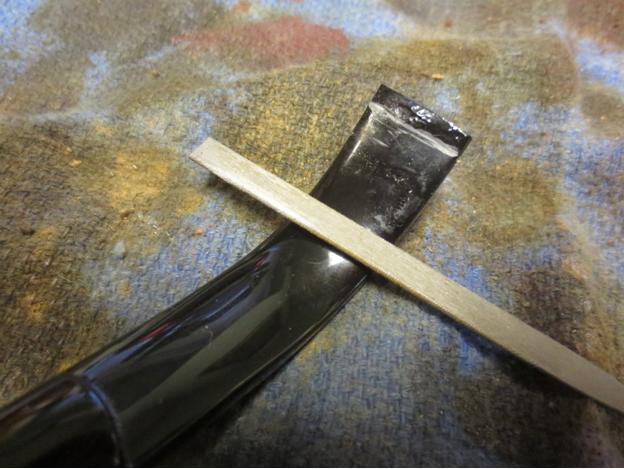
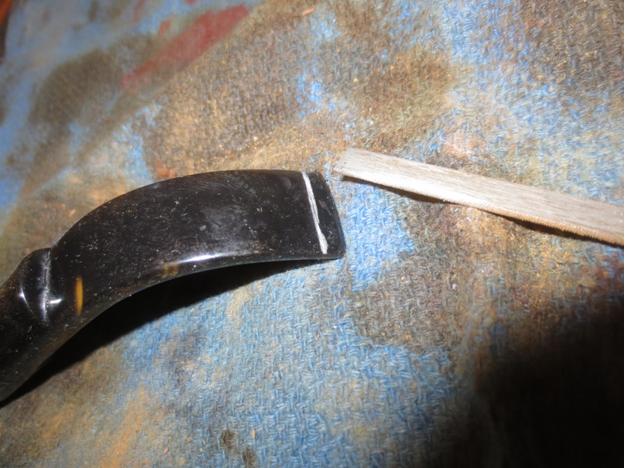
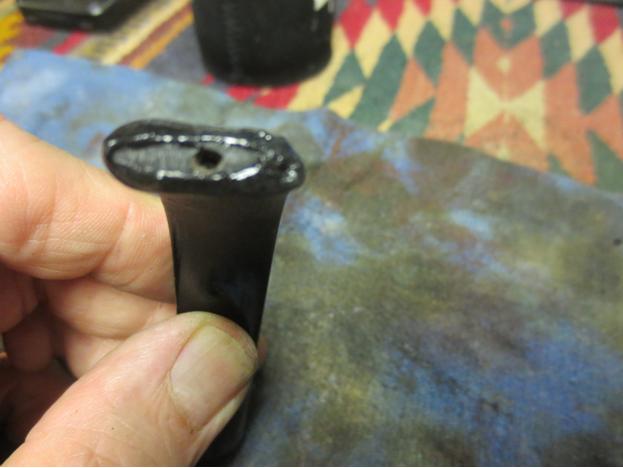
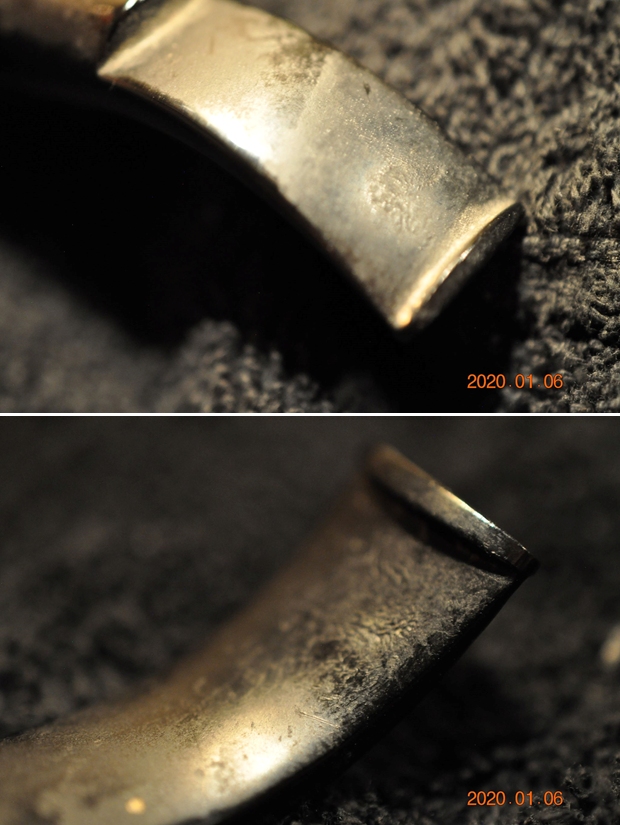
 The photos of the stem show the thick grime on the stem surface as well as the tooth marks and chatter on both sides ahead of the button. It was probably one of the filthiest stems I have seen in a very long time.
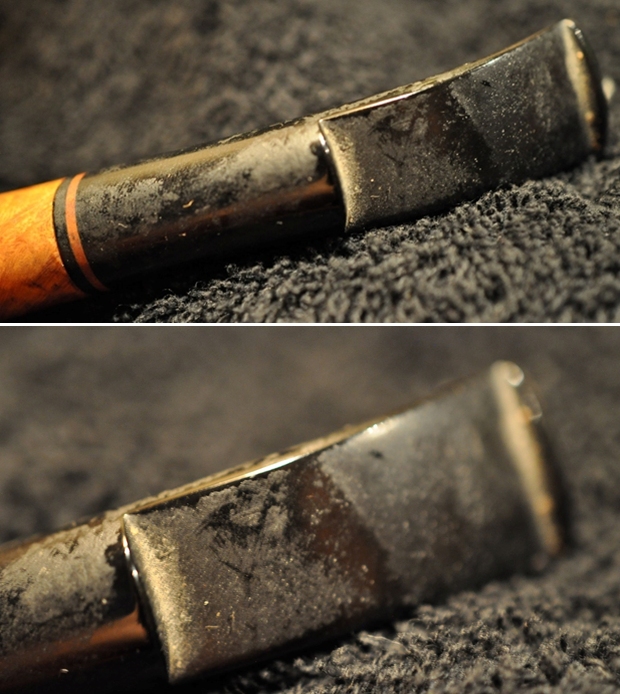
 I have worked on a few Ascorti Business pipes in the recent months – two straight billiards so I turned to a blog on one of them to refresh the background information before I started my part of the work (https://rebornpipes.com/2020/03/18/repairing-banding-and-restoring-a-damaged-hand-made-ascorti-business-billiard/). I quote from that blog:
Before I started my part of the repair and restoration I wanted to have a clear picture of what the stem logo looked like on the Ascorti Business pipe. I turned to Pipephil as he often has some photos that give me the information that I am looking for (http://www.pipephil.eu/logos/en/logo-a8.html). Sure enough he had a photo showing the rough stamped A on the stem. It is white and it is rough which is exactly how this one looks. Hopefully in the restoration process I can get it back a bit. I did a screen capture of the picture on the site and include it below.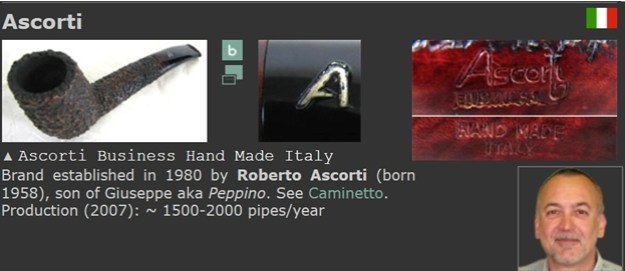 With that information in hand I knew what I was dealing with in terms of the stamping and the age of this pipe. I knew from the information from the section above that the pipe came out after 1980 when the company started. I could not get the date more focused so it was time to work on the pipe.
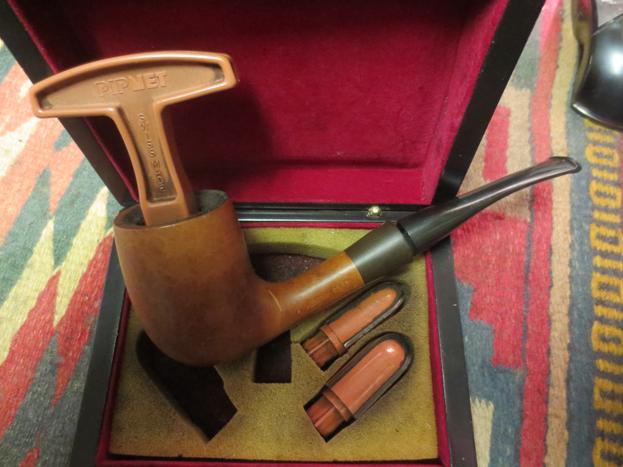
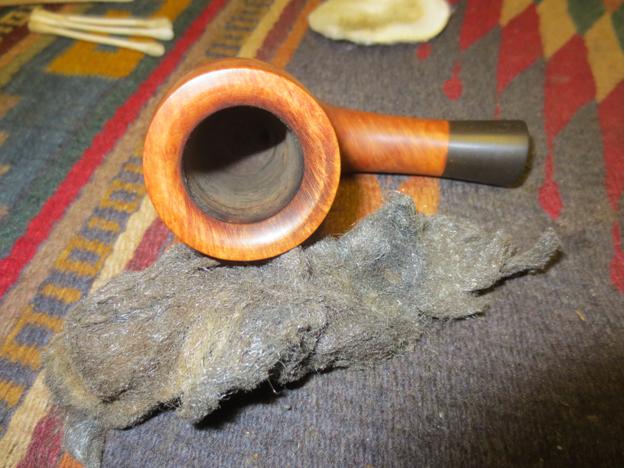
I was seriously wondering how this beast would clean up as it was such a mess. I was not sure Jeff would be able to get all of the grime out of the rustication and the rings. It really was in bad shape. But I should not have even worried about it. Jeff cleaned the pipe with his usual penchant for thoroughness. When I took it out of the box I was amazed at how good it looked it really looked like a different pipe. He reamed it with a PipNet pipe reamer and cleaned up the reaming with a Savinelli Fitsall Pipe Knife. He scrubbed out the internals with alcohol, pipe cleaners and cotton swabs until the pipe was clean. He scrubbed the exterior of the bowl with Murphy’s Oil Soap and a tooth brush to remove the grime and grit on the briar and the lava on the rim top. The finish looks far better than I expected and the rim top/cap damage was less than I thought it would be. Jeff scrubbed the stem with Soft Scrub to remove the grime and it came out looking far better. There was definitely tooth damage to address but nothing otherwise. When the pipe arrived here in Vancouver for the second stop of its restoration tour it looked very good. I took photos before I started my part of the work.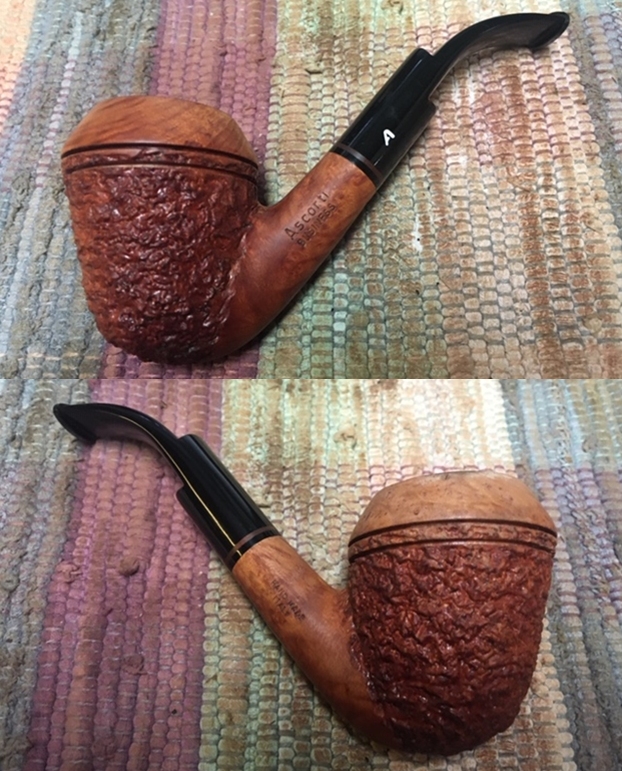
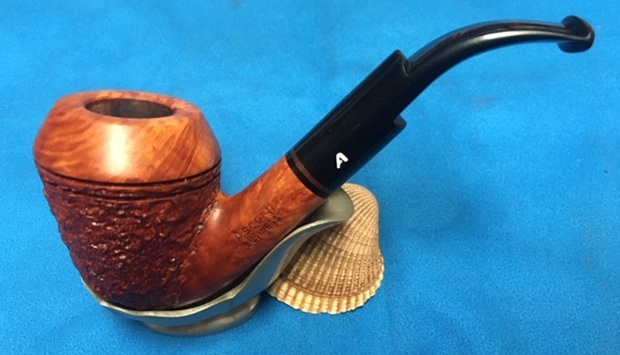
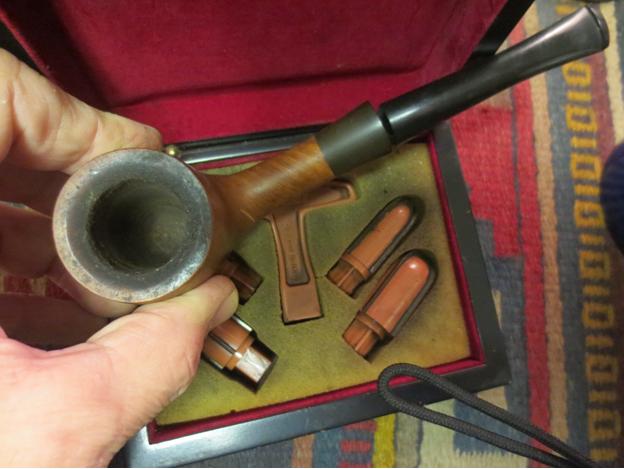
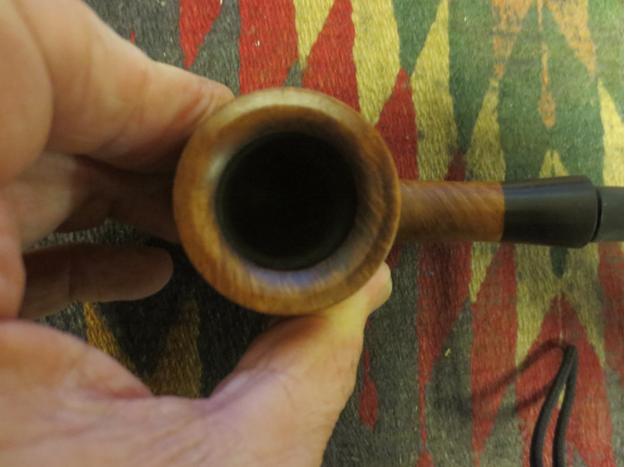
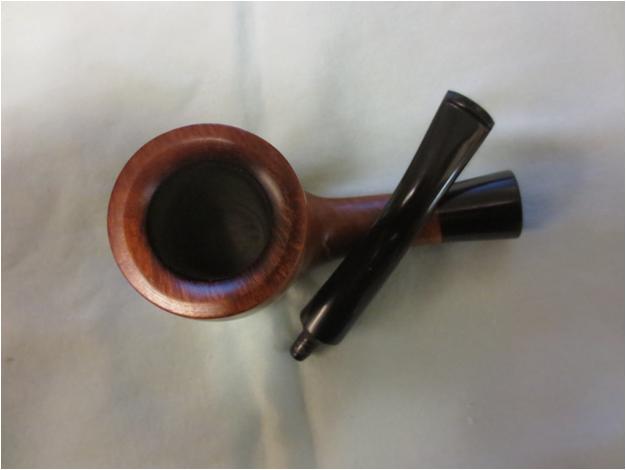
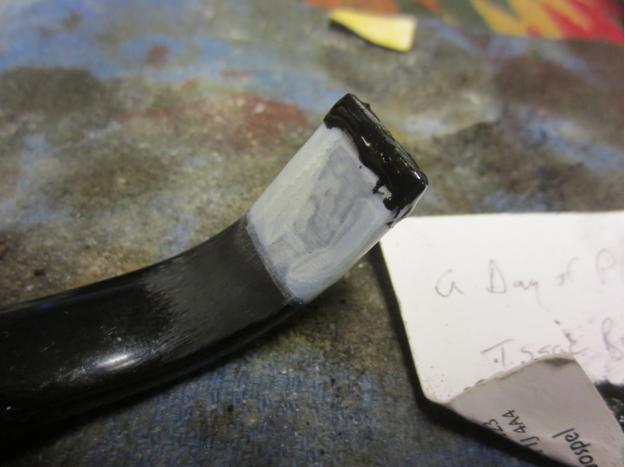
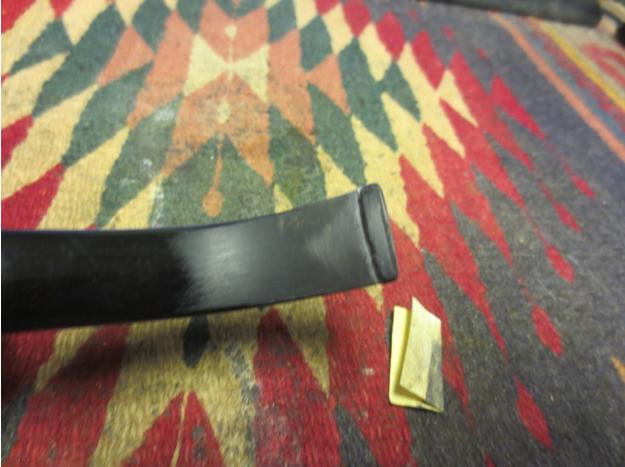
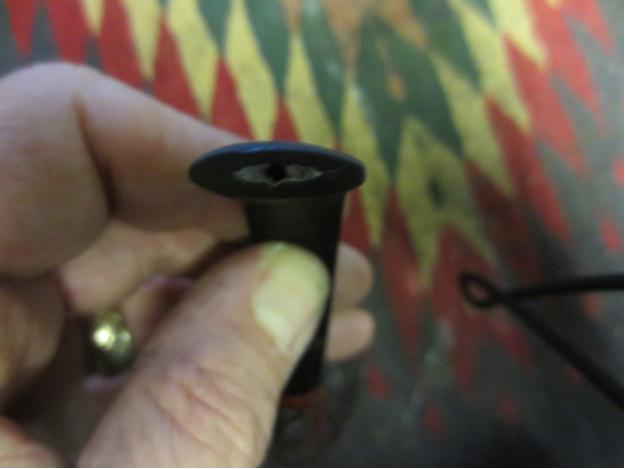
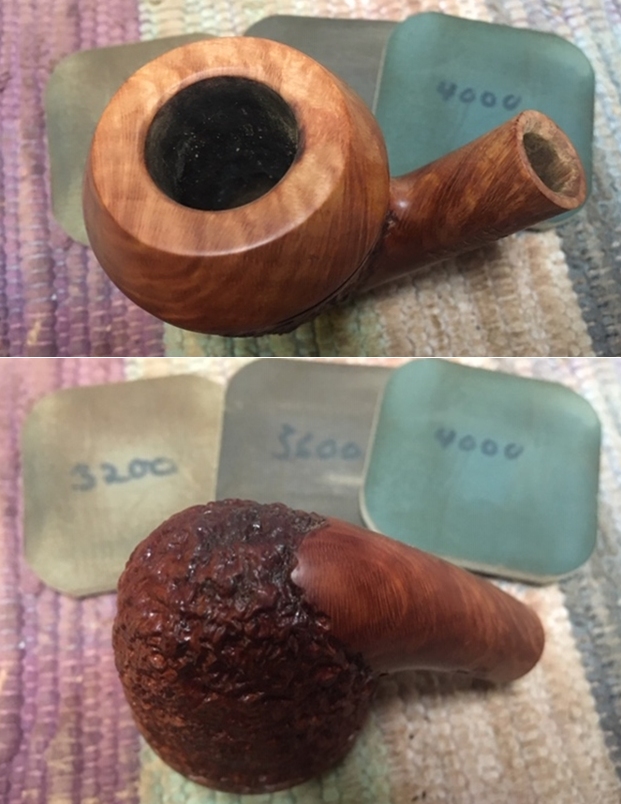
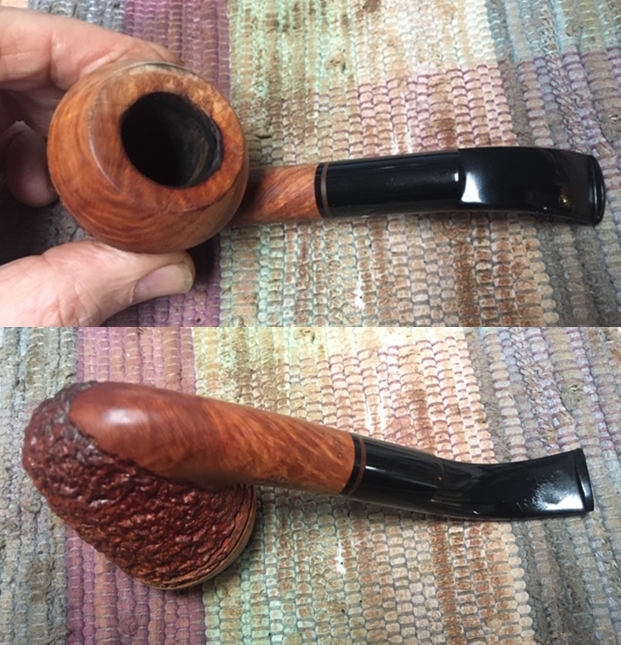 I took some photos of the rim top and stem. The inner edge shows some damage on the back right side and on the outer edge and top on the right side. The close up photos of the stem shows that is it very clean but you can see the tooth chatter and marks in the acrylic.
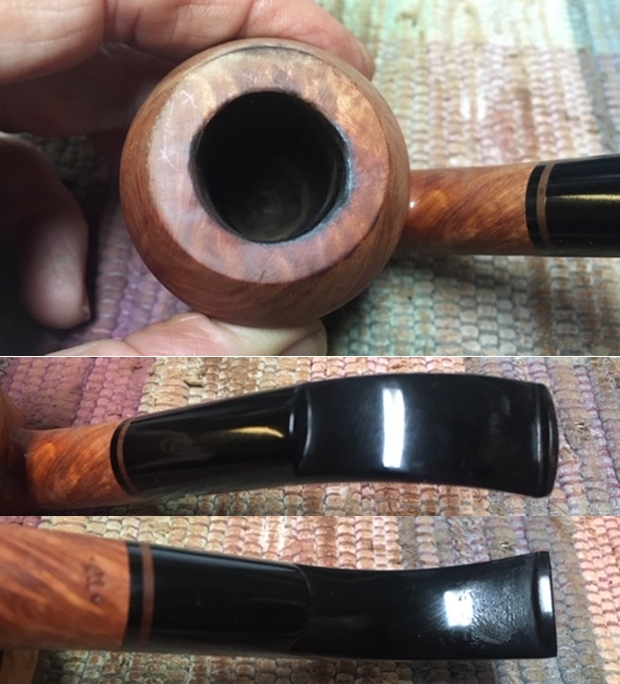 I took photos of the stamping because they also cleaned up very well.
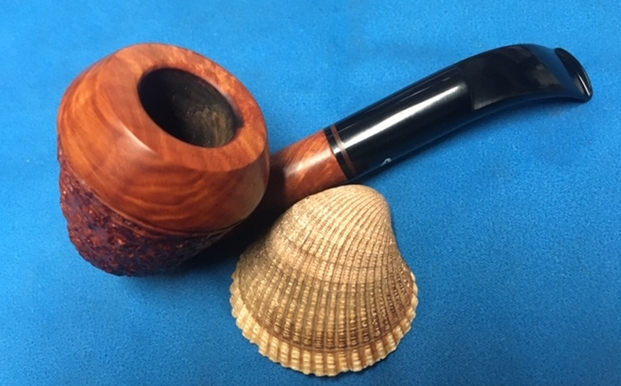
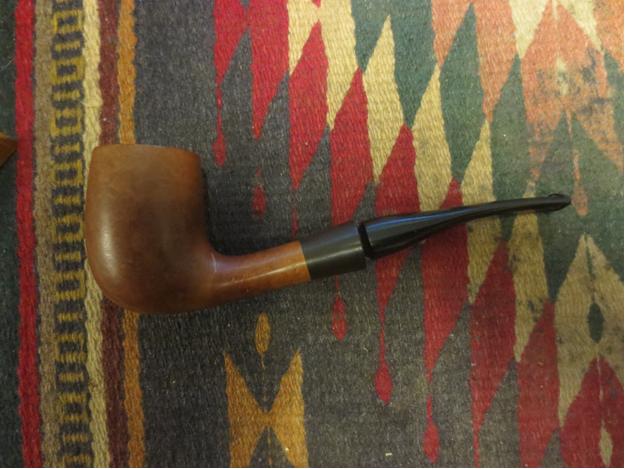
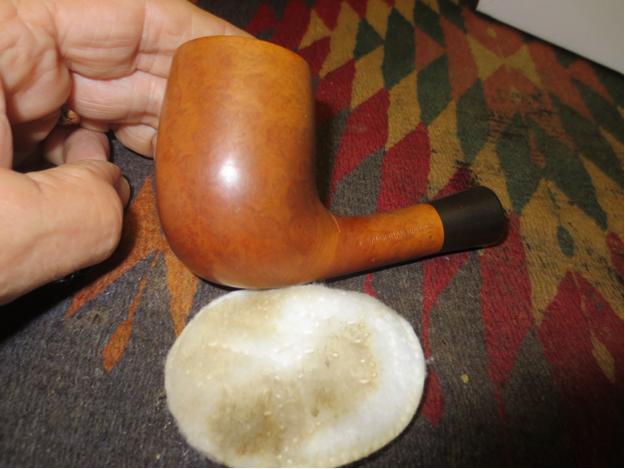
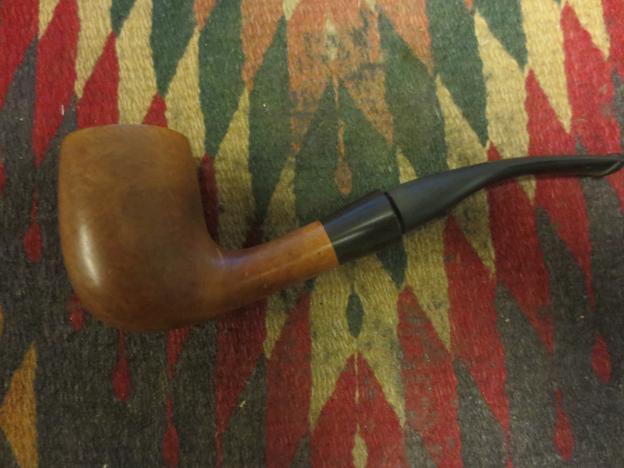
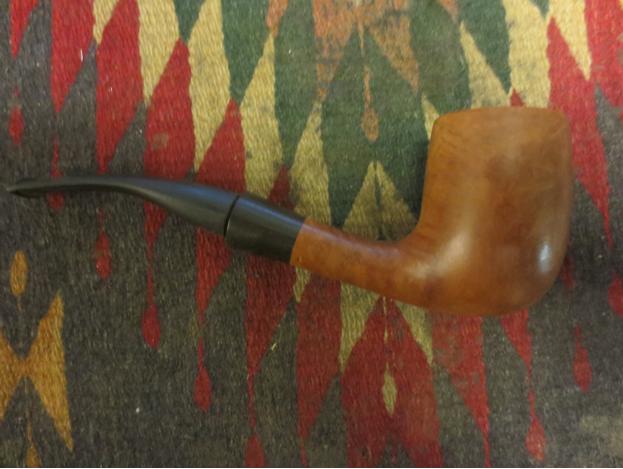
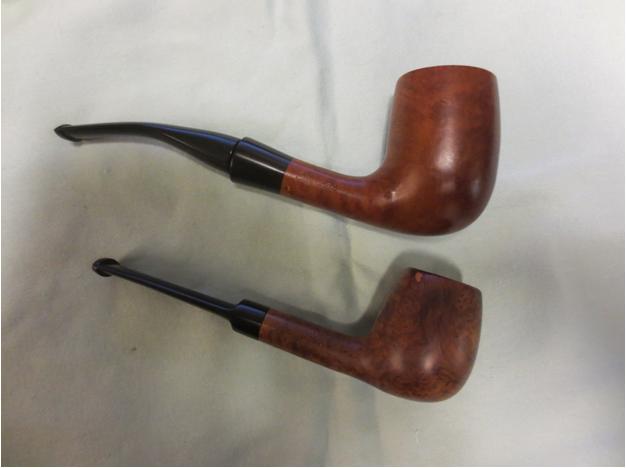
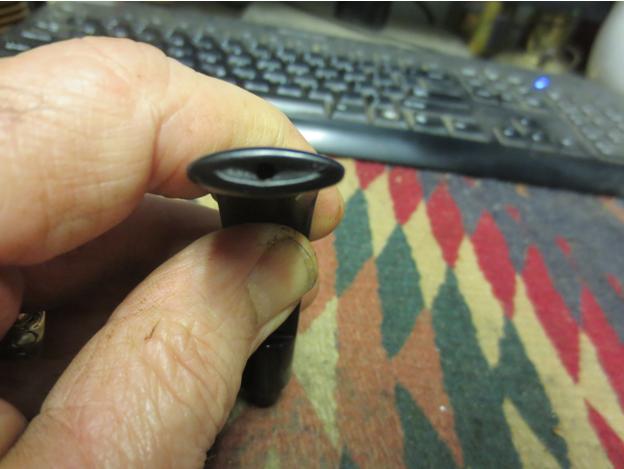
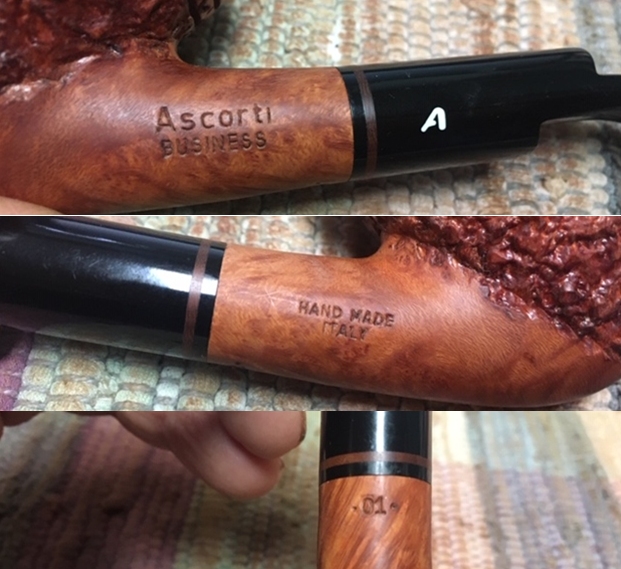 I took the stem off the shank and took a picture of the pipe. It really is a nice looking pipe with great lines.
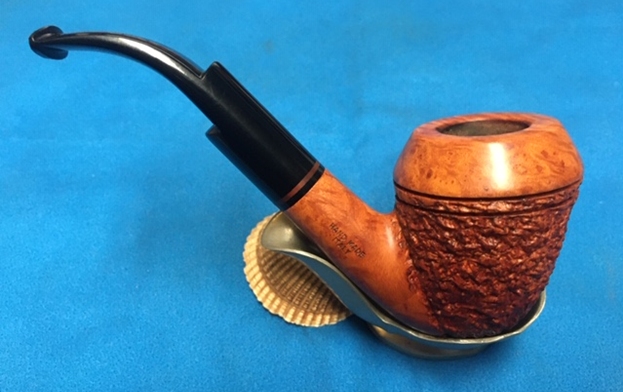
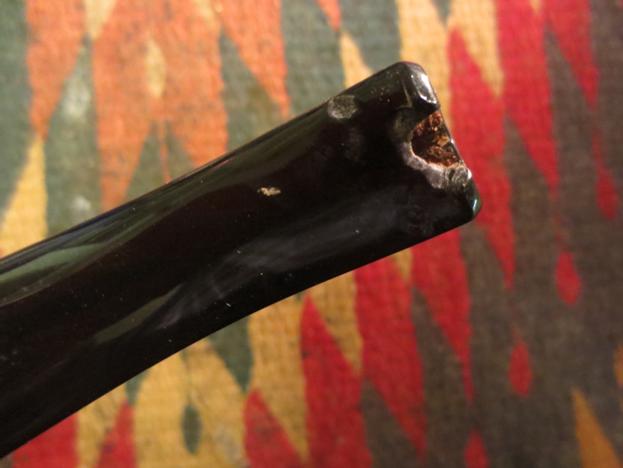
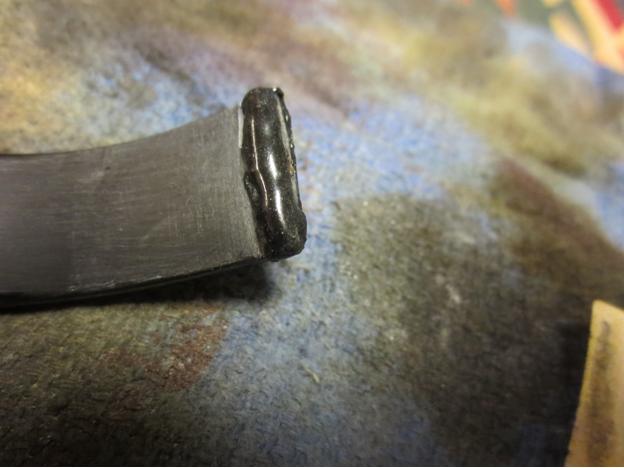
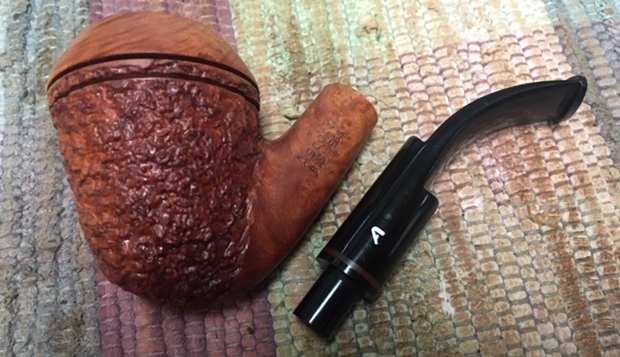 The major issue with this pipe was the burn damage on the rim top and the inner and outer edges of the bowl. I started my restoration work on the pipe by addressing that damage. I topped the bowl to remove the burn damage on the top of the cap and to try and minimize the damage to the inner edge. I then used a folded piece of 220 grit sandpaper to smooth out the inner edge and bring the bowl back to round. I gave the inner edge of the rim a slight bevel to further mask the damage. The rim top looks much better and will polish out pretty well with the micromesh.
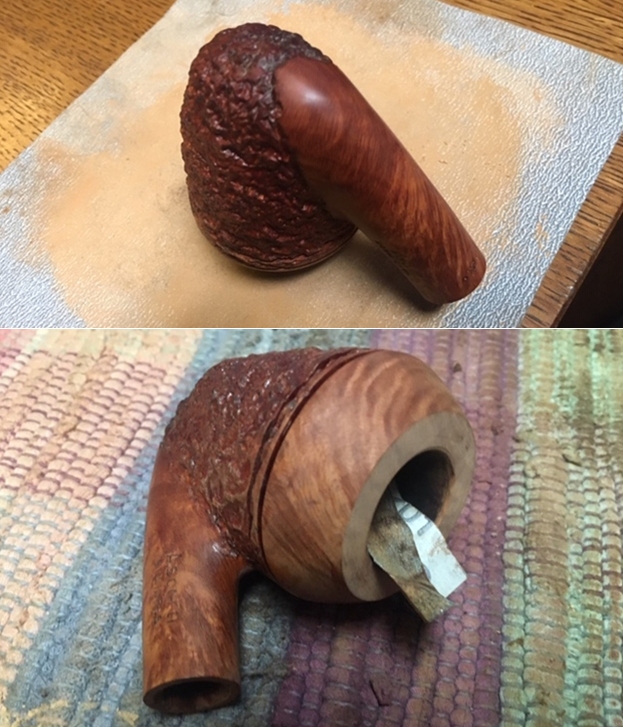
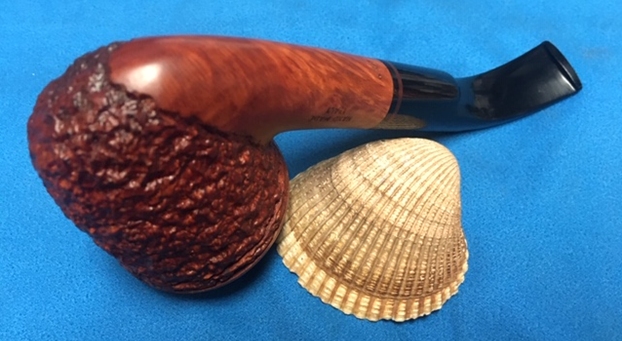
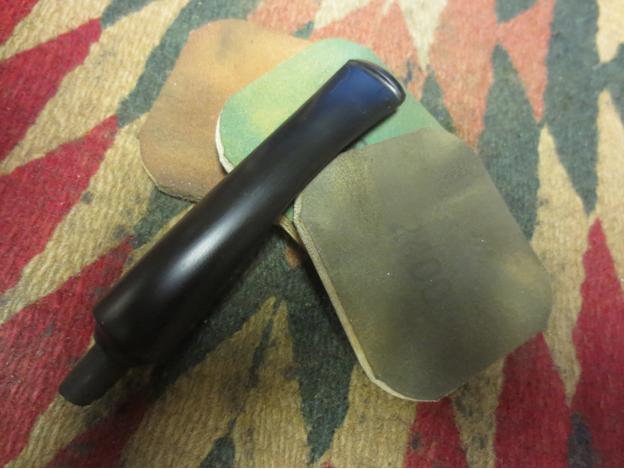
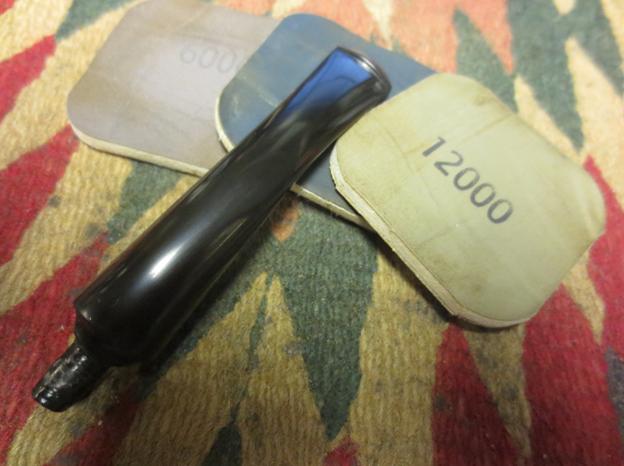
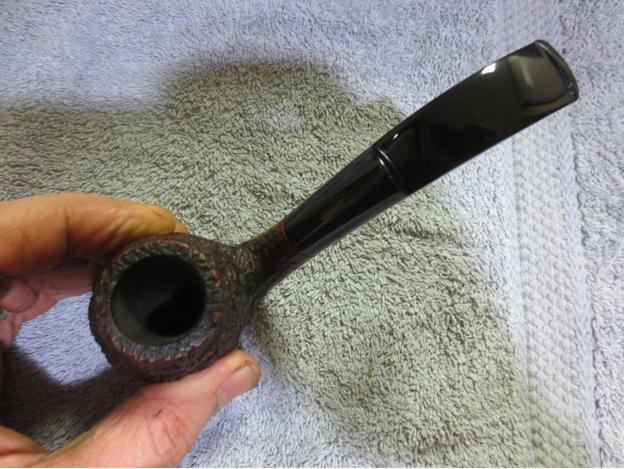
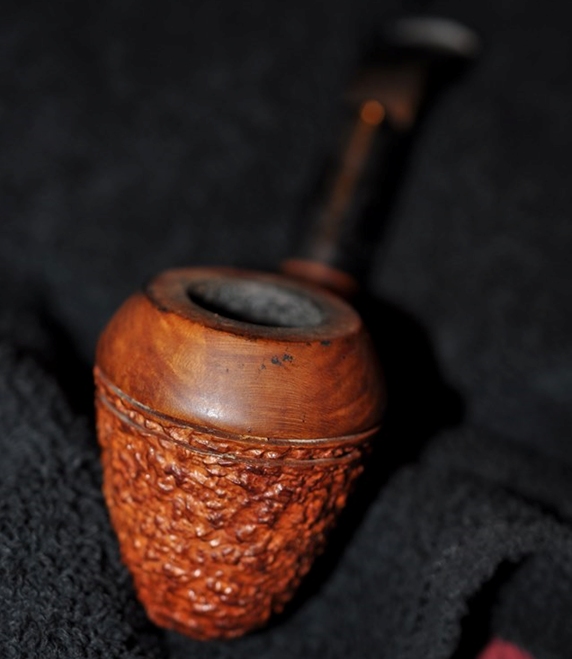
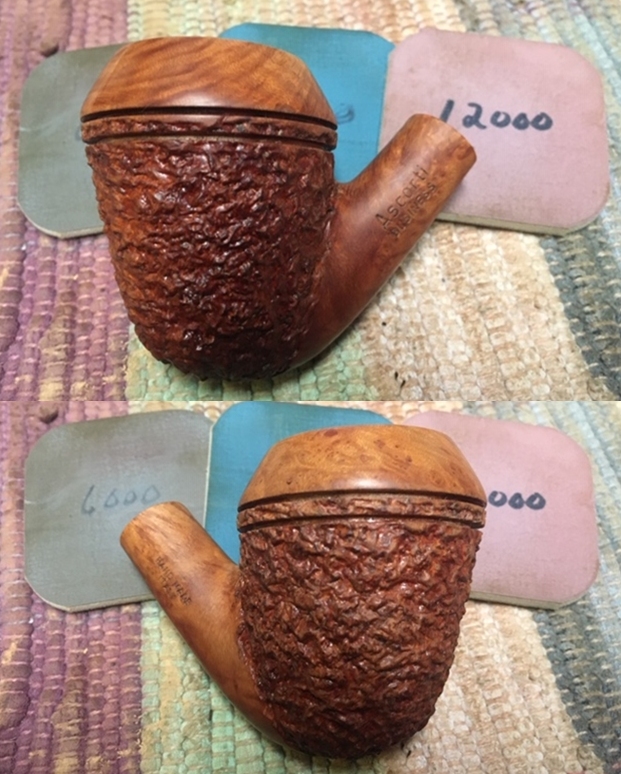
 I polished the smooth briar of the rim cap and the shank with micromesh sanding pads – dry sanding with 1500-12000 grit pads. I wiped the bowl down after each pad with a damp cloth. The grain really began to stand out and the finish took on a shine by the last sanding pad. The photos tell the story!
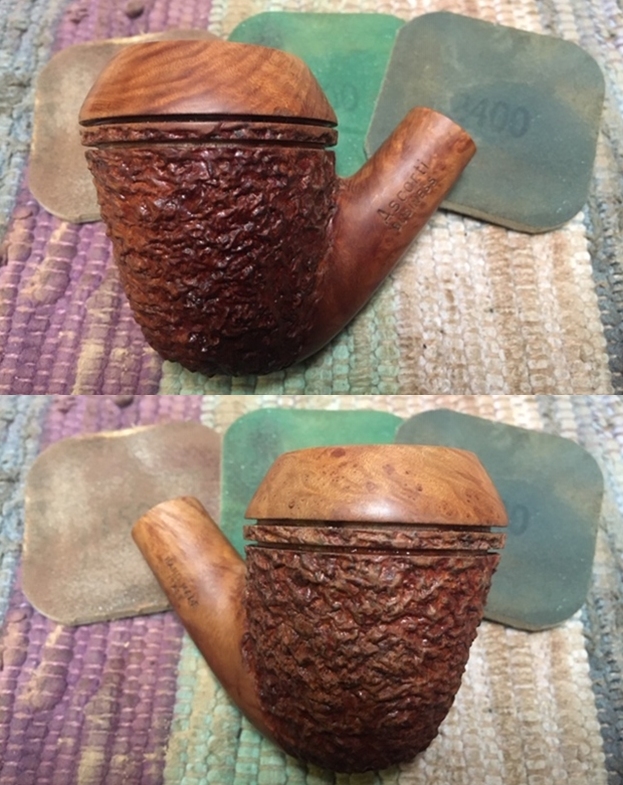
 I worked some Before & After Restoration Balm into the surface of the smooth and rusticated briar with my fingertips and a horsehair shoe brush. The product works to clean, enliven and protect the briar. I let the balm sit for about twenty minutes and then buffed with a cotton cloth to raise the shine. The photos show the bowl at this point in the restoration process.
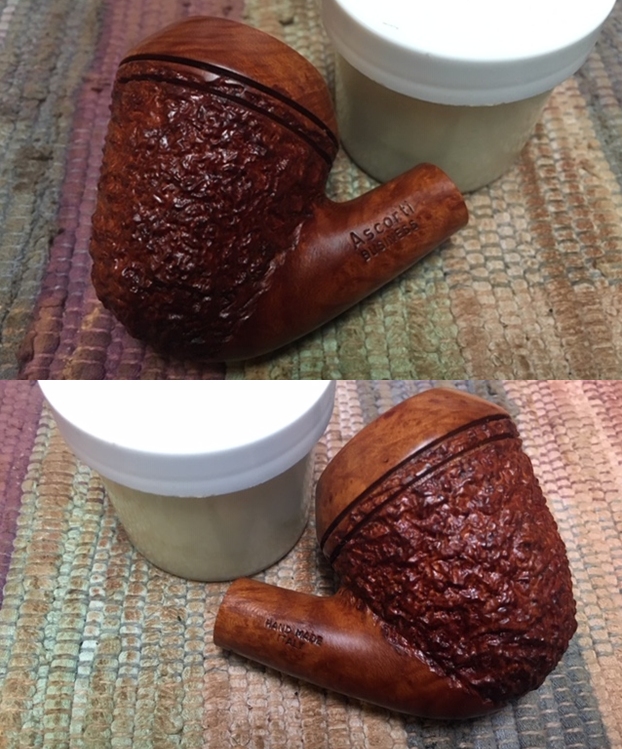
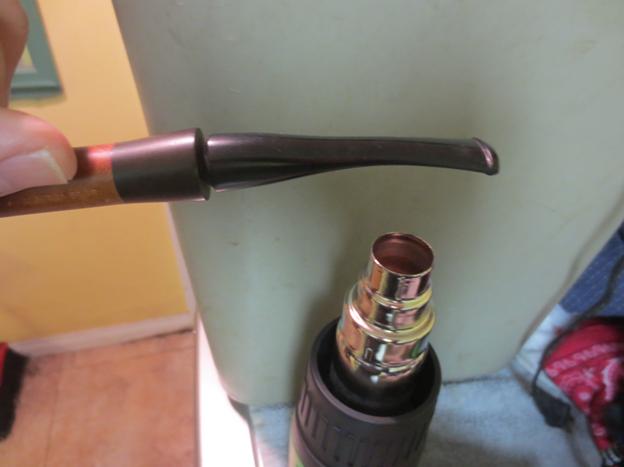
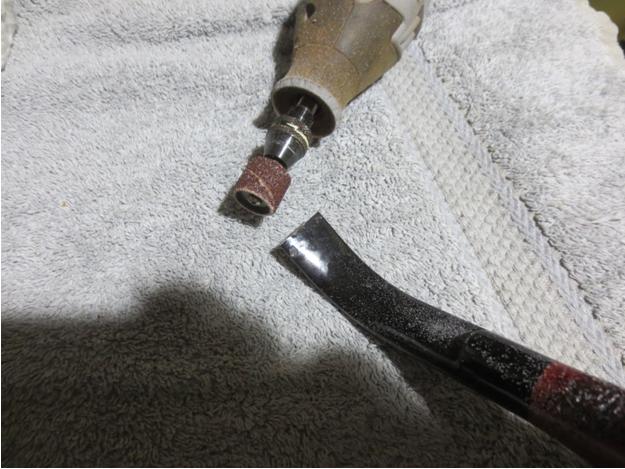
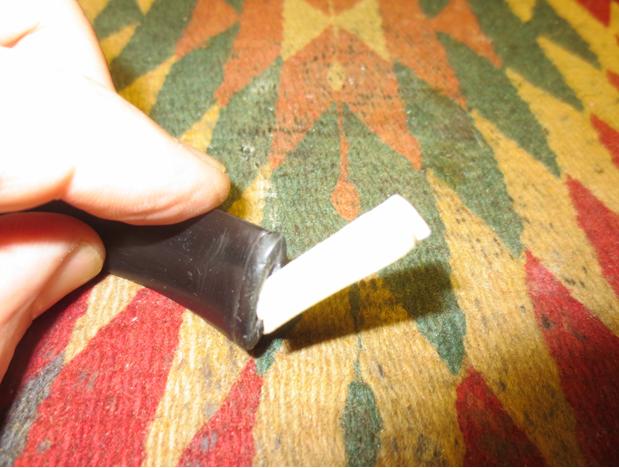
 I laid the bowl aside and turned to deal with the stem. I sanded the tooth marks and chatter on the stem with a folded piece of 220 grit sandpaper to blend them into the surface of the stem and started polishing with 400 grit wet dry sandpaper.
  I polished the stem with some Denicare Mouthpiece polish – a red gritty paste that feels a lot like the texture of red Tripoli. It works well to polish out some of the scratches. I find that it does a great job preparing the stem for polishing with micromesh sanding pads.
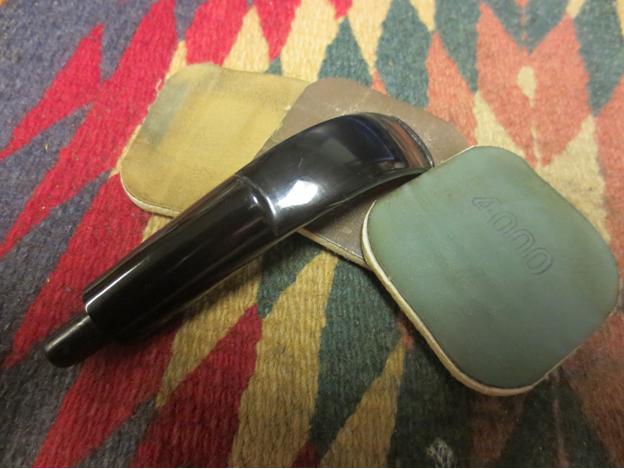
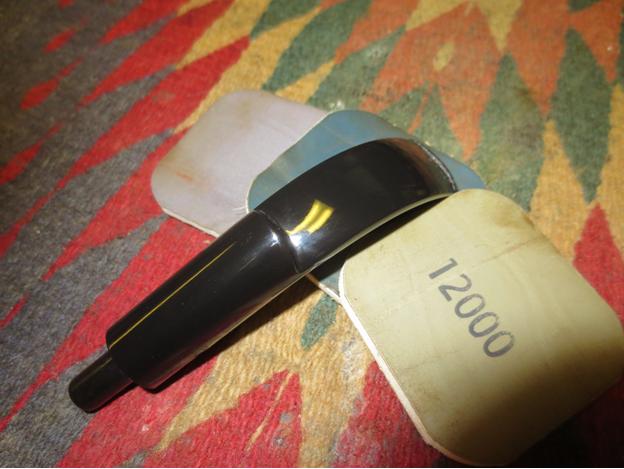
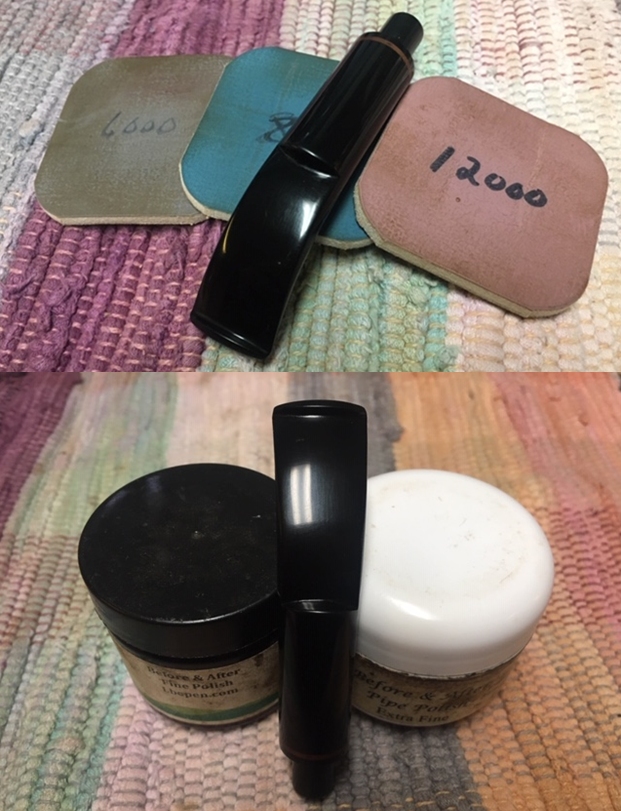
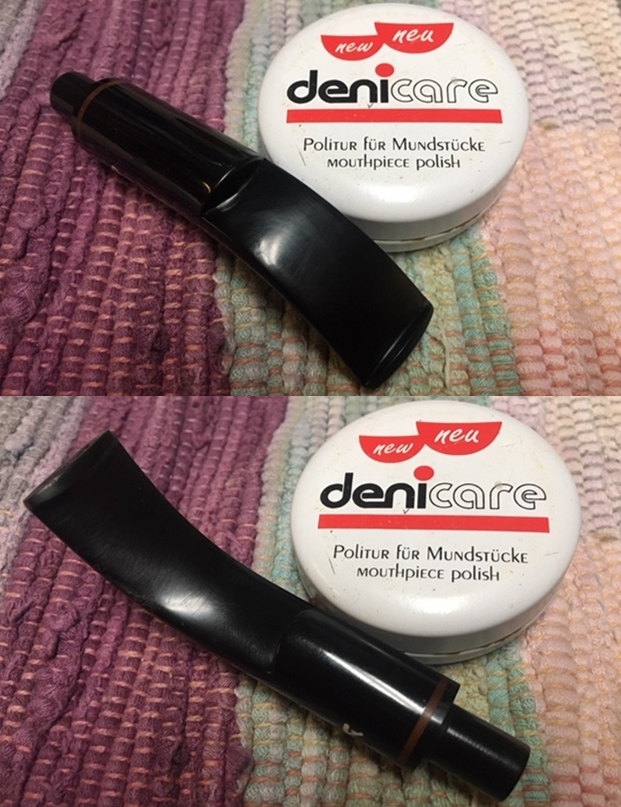 I polished the stem with micromesh sanding pads – dry sanding with 1500-12000 grit sanding pads. I wiped it down after each sanding pad with a cloth containing some Obsidian Oil. I finished polishing it with Before & After Pipe Stem Polish – both Fine and Extra Fine and buffed it off with a cotton cloth.
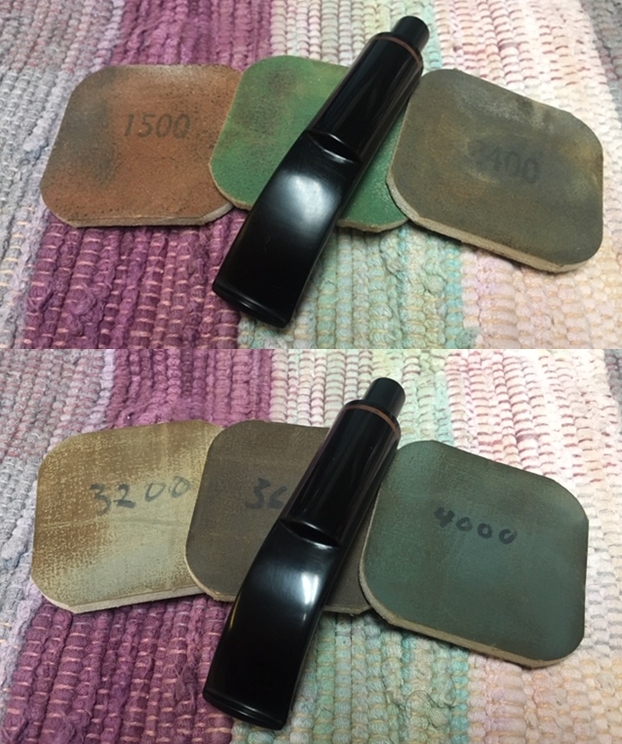
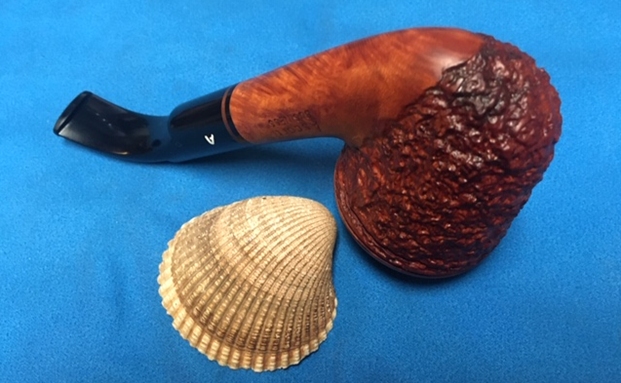
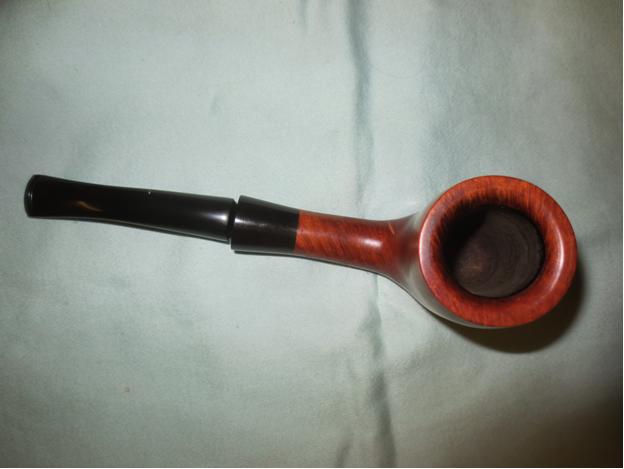
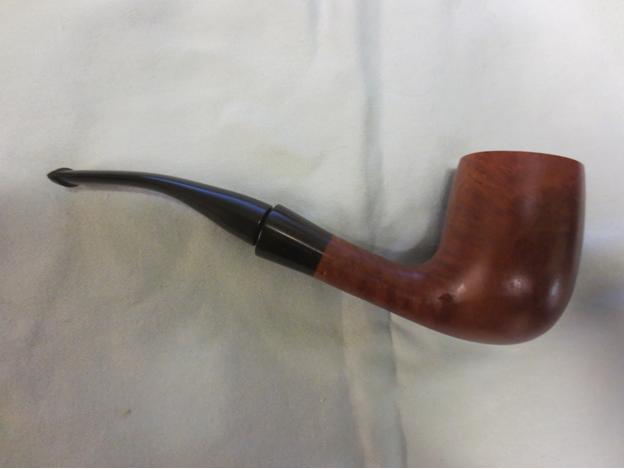
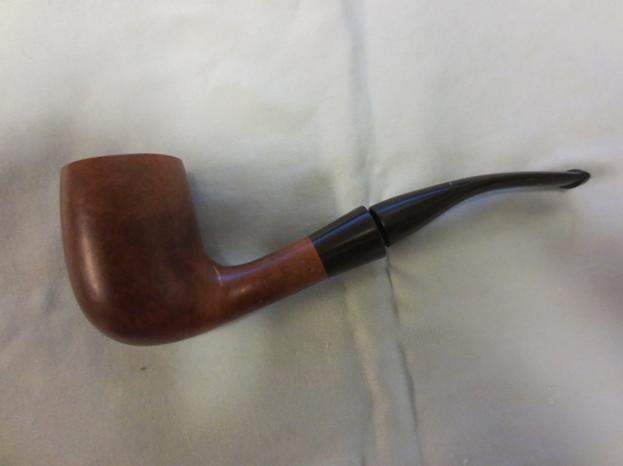
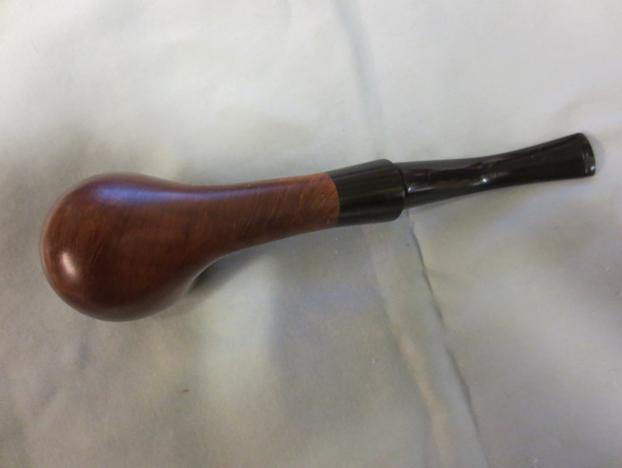
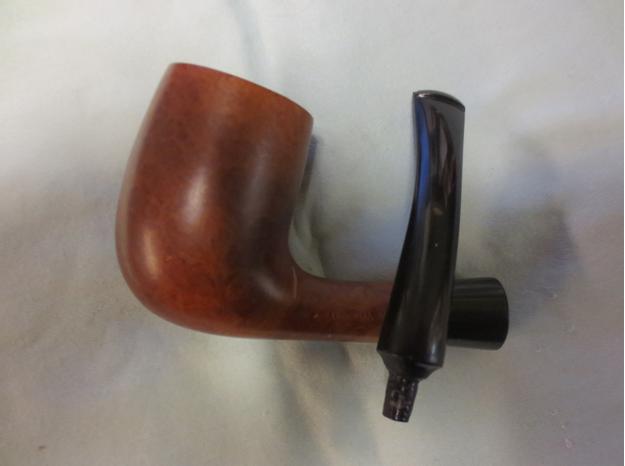
 This Ascorti Business Bulldog was a pipe I was looking forward to seeing what it looked like when I put it back together. The change in condition and appearance of the pipe was remarkable. With the grime and debris gone from the finish and the bowl it was a beauty and the grain and rustication just pop at this point. I put the stem back on the bowl and buffed the pipe with Blue Diamond on the buffing wheel. I carefully avoided the stamping on the shank and stem during the process. I gave the bowl multiple coats of Conservator’s Wax and the stem multiple coats of carnauba wax on the buffing wheel and followed that by buffing it with a clean buffing pad on the buffer. I hand buffed the pipe with a microfiber cloth to deepen the shine. The finished pipe is quite beautiful and is a lovely bent Bulldog shaped pipe. The variegated finish on the bowl combines various stains to give it depth. It is very well done. Give the finished pipe a look in the photos below. I can only tell you that it is much prettier in person than the photos capture. The dimensions of the pipe are Length: 5 ½ inches, Height: 2 ½ inches, Outside diameter of the bowl: 1 ½ inches, Chamber diameter: ¾ of an inch. I really like the way that Ascorti combines the rusticated finish with the smooth shank and rim cap. This is a great looking pipe in great condition. Thanks for walking through the restoration with me as I worked over another beautiful pipe. I will be adding it to the rebornpipes store soon. If you want to add it to your collection send me an email or a message! Thanks for your time.