Blog by Aaron Henson
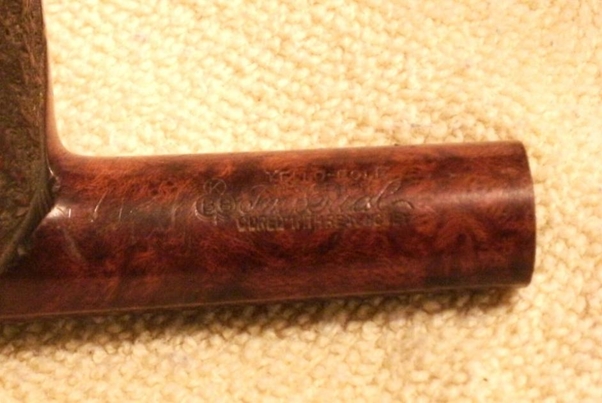
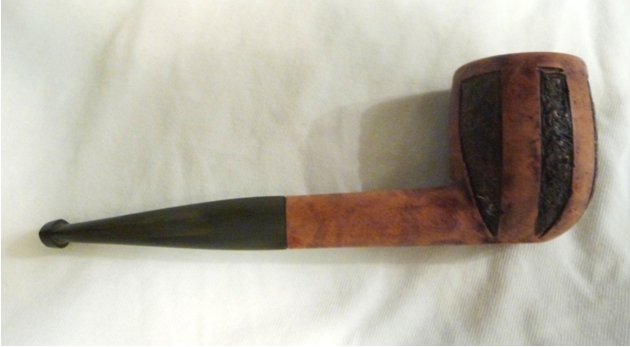
Last fall I went to a flea market at our fair grounds and found a pipe that I could not leave without. It is was a Yello-Bole, Chesterfield, bent billiard with P-lip stem and nickel-plated shank band. It had been well used but was in good shape. When I got into restoring it I found that it had two significant issues, one of which was a deep burn on the outside of the rim. After a consultation email with Steve, I decided to build up the outside of the bowl and then rusticate the bowl to hide the repair. Since I had not rusticated a bowl before I thought I should try my hand on another pipe first. This is the story of my first pipe rustication. I’ll do a write up on the Chesterfield when I get it done.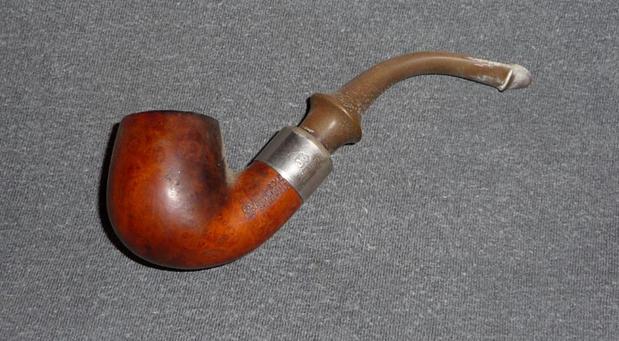 Incidentally, I also picked up a white bent billiard at the same flea market. Truth be told (and revealing my inexperience), I thought I was buying a smooth meerschaum. It had a nice smooth bowl, with a gold shank band and a yellow acrylic stem. The stem attached to the bowl with a tenon that threaded into an insert in the shank. The rim was dark and heavy with tar. It wasn’t until I cleaned off the rim that I noticed the chipped paint and the wood underneath and realized my error.
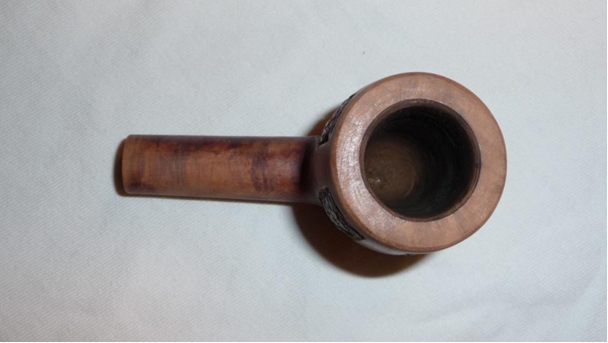
 After deciding to rusticate the Chesterfield, I thought that this pipe would be a perfect candidate on which to practice. I began by reaming the bowl and cleaning the shank. The tar was very thick and hard even the stem was plugged about halfway. Once the internal of the stummel were cleaned I started removing the white paint. Not a necessary step but I wanted to see just what kind of wood lay underneath the white coat of paint. To my surprise it wasn’t briar at all. I’m still not certain what it is; very little grain, very light in color and quite soft compared to briar. My guess is pear wood but it could be any of a variety of alternate woods.
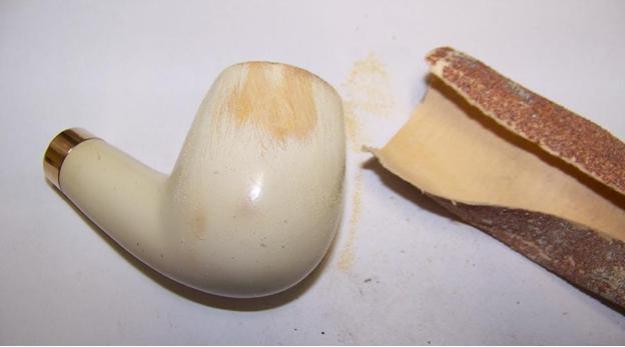
 I used 60-grit sand paper to remove the paint which left a rough surface. I didn’t bother to smooth in any further but rather applied a heavy coat of black aniline dye. The dye was sacrificial and would help me see the extent and depth of the rusticating.
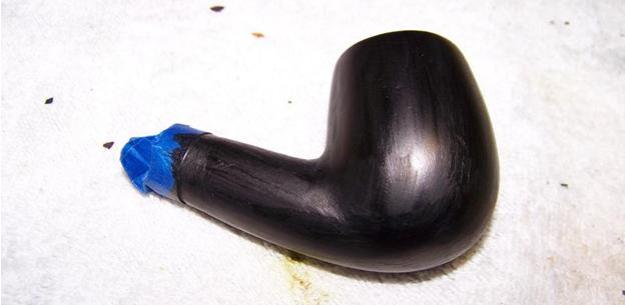 I made my rustication tool using ten 10d nails set with Gorilla Glue into the hollowed out end of a large dowel. Before gluing the nails, I cut off the heads and sharpened the points. Taping them all together so the points were even I set them in the dowel and waited for glue to set. The nails extended a little more than 2 inches from the dowel and I later found that this was too far. Using the push and twist method the nails would flex and separate while twisting the tool. Placing a hose clamp around the nails about half an inch from the end kept the nails together and the tool worked much better.
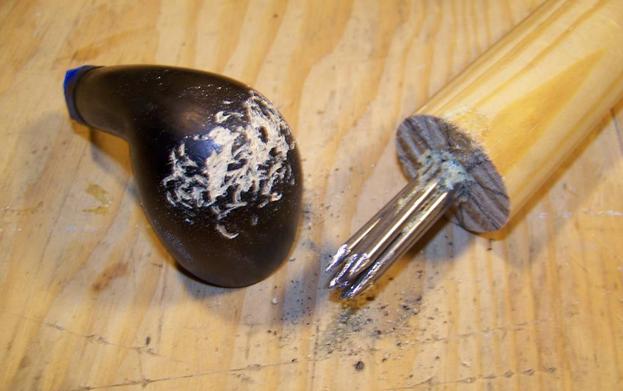
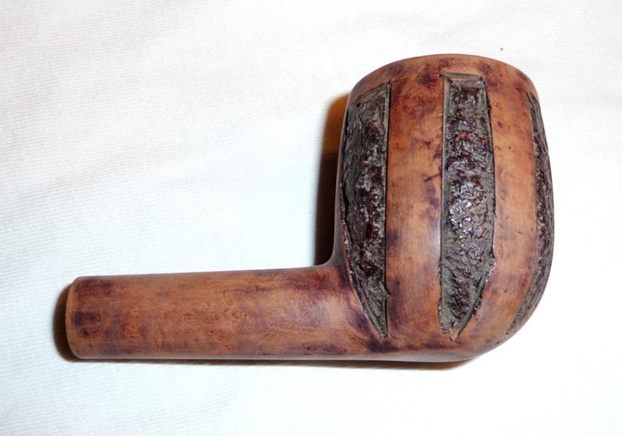
 At this point the bowl had a very sharp and coarse texture so I knocked it down with a wire brush and then switched to a light sanding with 60-grit sandpaper. With the texturing done, I applied another two coats of black Feibing’s dye and flamed them to set the color.
 I wanted to try a contrasting stain, so I took some 400 grit paper and worked the stain off high points. By the time I got done and wiped the stummel down with alcohol, I had a slightly rusticated pipe with white high points and blue (faded black) low points. I was not very happy with the results so I set it aside to dwell on it for a while.
 Reflecting on the pipe I realized that the wood was not very interesting and did not seem to absorb stain well; I can see why it was painted in the beginning. I also reminded myself not to get ‘attached’ to this pipe. It was for practice after all; experiment and learn.
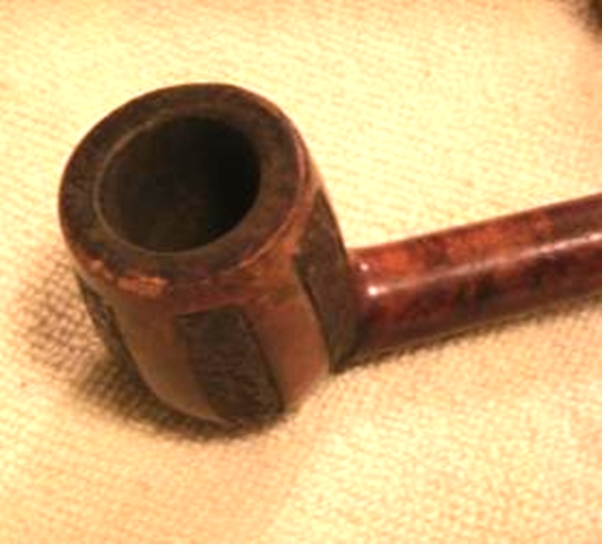
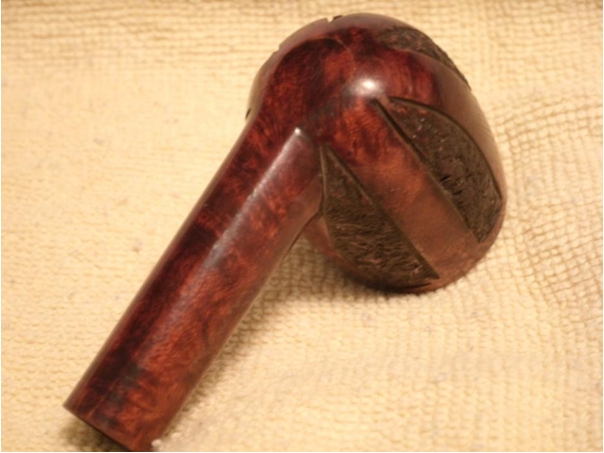
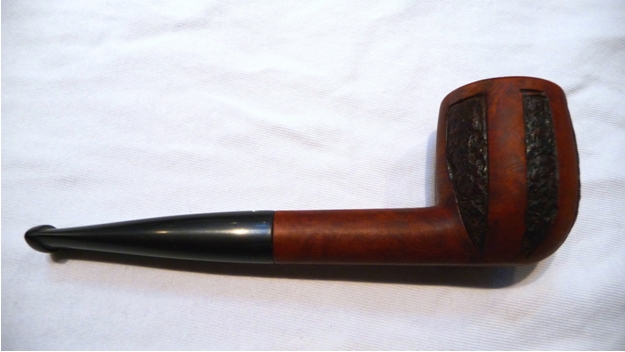
The texture that I got with my rustication tool was not what I wanted for the Chesterfield. So I took the white and blue stummel back to the workbench again and this time used a small carving bit on my Dremel. I went over the low spots and making them more defined and just randomly played with the tool. In the end I had something I kind of liked, and more importantly, something that I felt I could use on the Chesterfield.
To finish the stummel I decided to go simple and leave it all black. I gave it two coats of black dye and set it aside to dry. Because the wood didn’t seem to hold the stain well I was concerned about buffing the finish. Instead I finished the stummel with two coats of clear shellac.
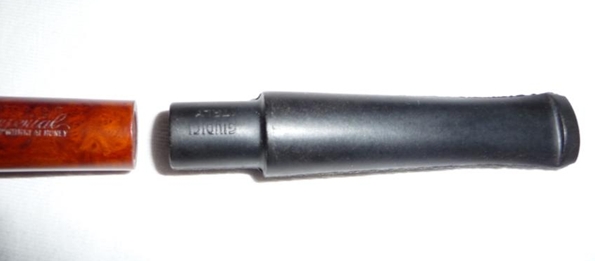
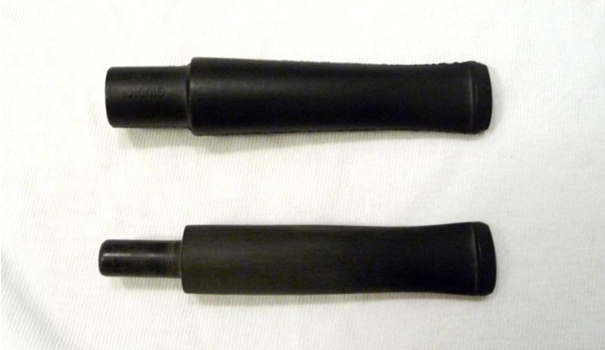
Then, I turned my attention to the stem. I had decided early on that the yellow acrylic stem would not work with the new look so I would need to fashion a new one. I liked the idea of an acrylic stem but after looking at stems online I could not find just what I wanted. So I ordered two different round tapered vulcanite stems from Vermont Freehand. Having only worked with vulcanite stems with integral tenons I was on the low end of the learning curve for this type of tenon. In the shank, there is a threaded (female) insert. The tenon itself (the other part) is double ended (male-male) – one threaded and other end smooth. The threaded end is simple enough to understand and the smooth part fit into the end of the stem.
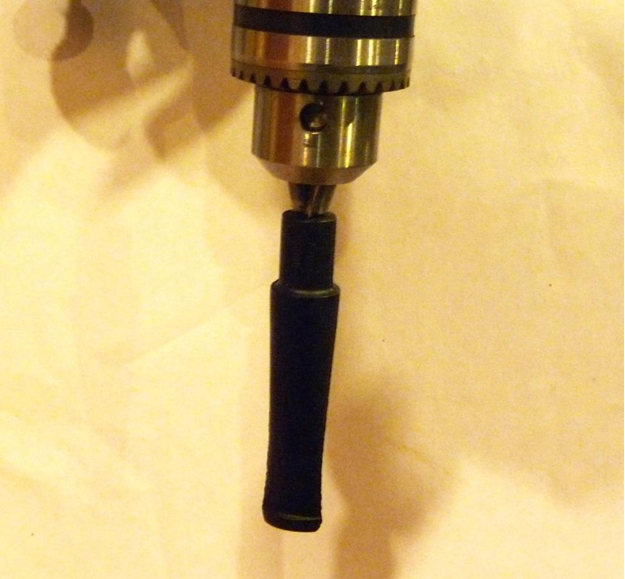
 When I received the stems I selected the one I thought would look best and took it to the work bench. First I cut off the formed tenon, then using progressively larger drill bits, enlarged the air hole. I made the mortise for the smooth end of the plastic tenon. I have a detachable chuck for my hand drill and I used it to hold the bit while I turned the stem by hand.
  I then had to counter sink the mortise to seat the tenon ring.
  After the tenon was fit to the shank and the stem was rotated correctly, I marked the top of the stem and taped off the band to protect it. Using a flat micro file I shaved off stem material until it closely match the shank diameter. I finished the shaping with 240-grit wet/dry sand paper taking care not to round the shoulder of the stem.
 Once the stem was fully fitted and shaped to the stem I used a heat gun to soften the vulcanite and bend it to match the shape of the original stem. I set the shape by dipping the stem in cool water. This is where I ran into my next challenge. The heat from bending the stem also expanded the mortise and now the tenon was too loose. My solution was to coat the inside of the mortise with a thin layer of super glue. I am not sure how this will hold up long term but it works well for now.
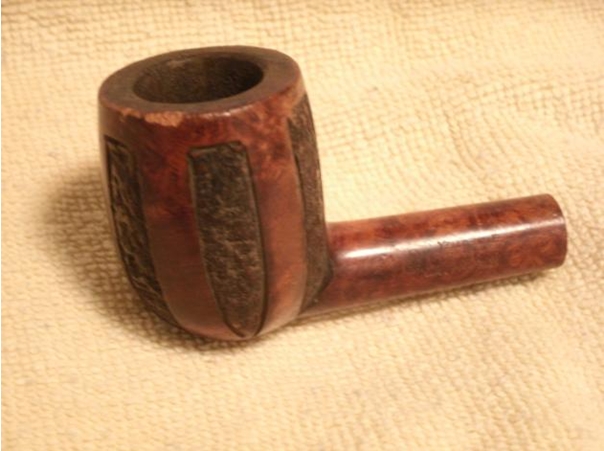
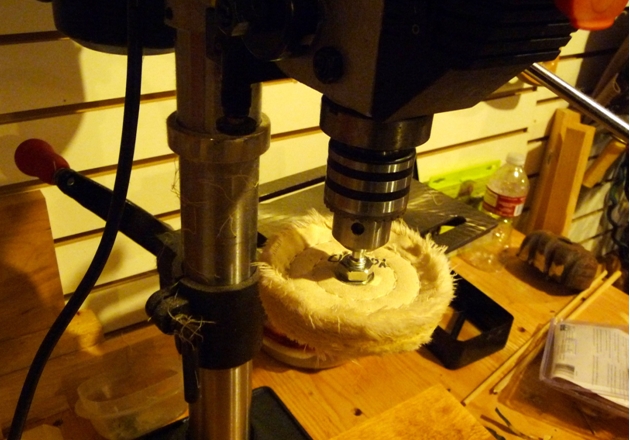
Lastly I polished the stem with micro mesh pads (1500–12,000) using a little mineral oil between each set of three. I finished the stem with white diamond on the buffing wheel then three coats of carnauba wax.


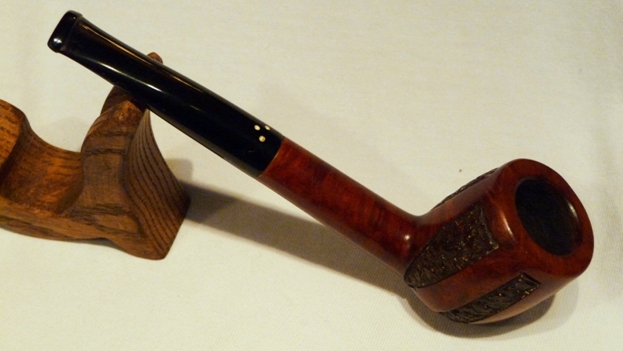
 All things considered, I am happy with the results. I am under no illusions, this pipe is no master piece, but I did learn a few things and that was what I was after. Hopefully this will help someone else too. Your feedback is very welcomed. Thank you for taking the time to read this.