by Steve Laug
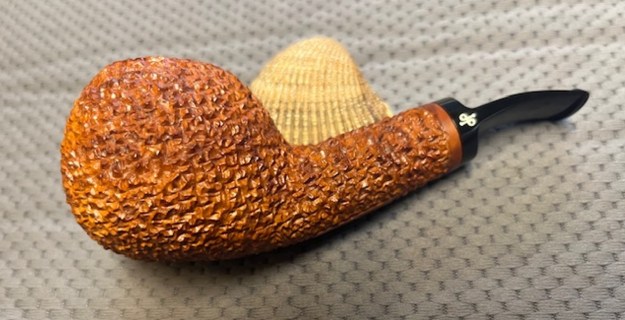
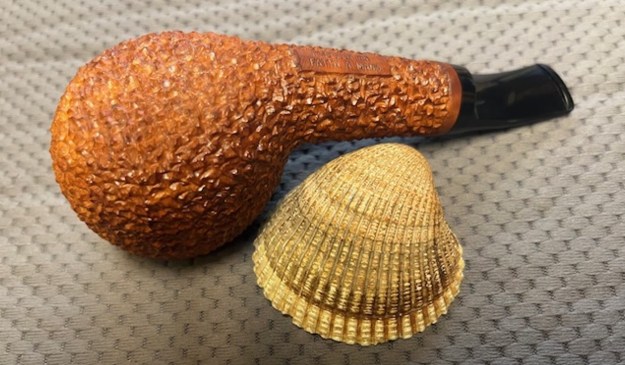
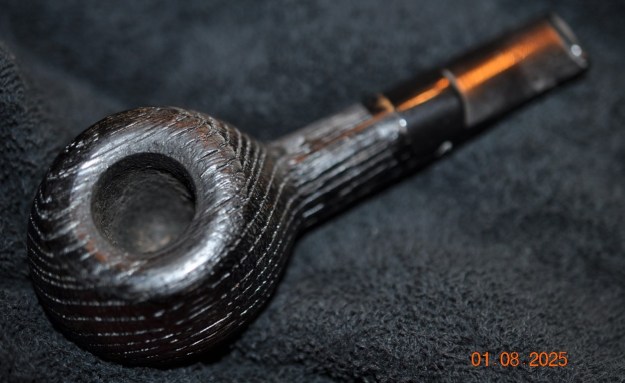
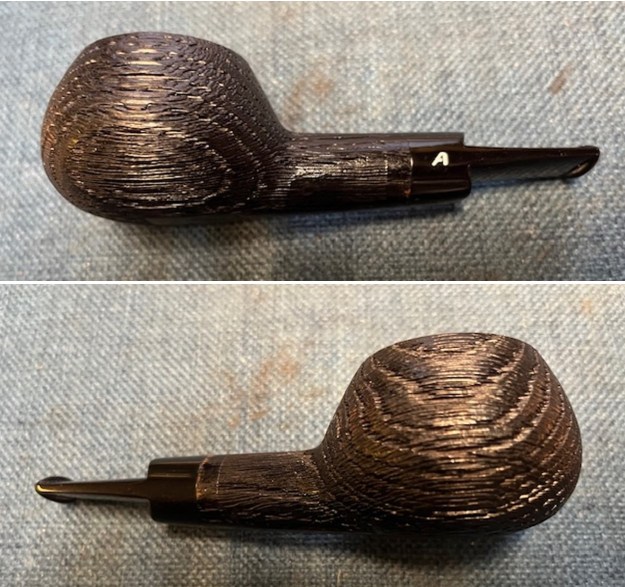
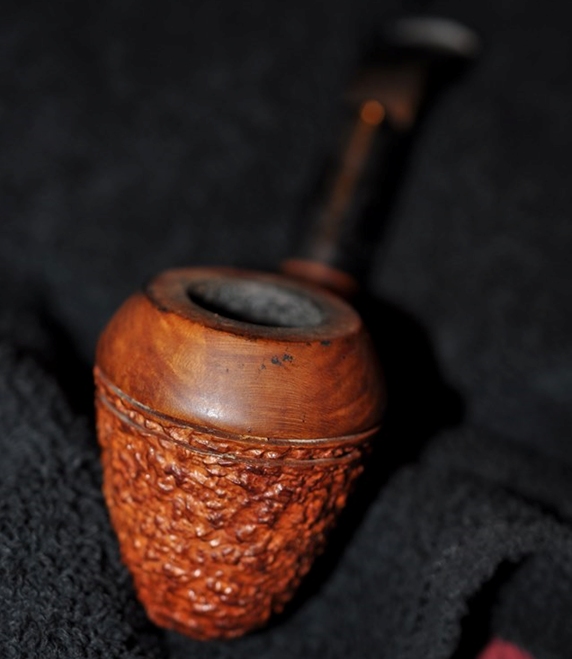
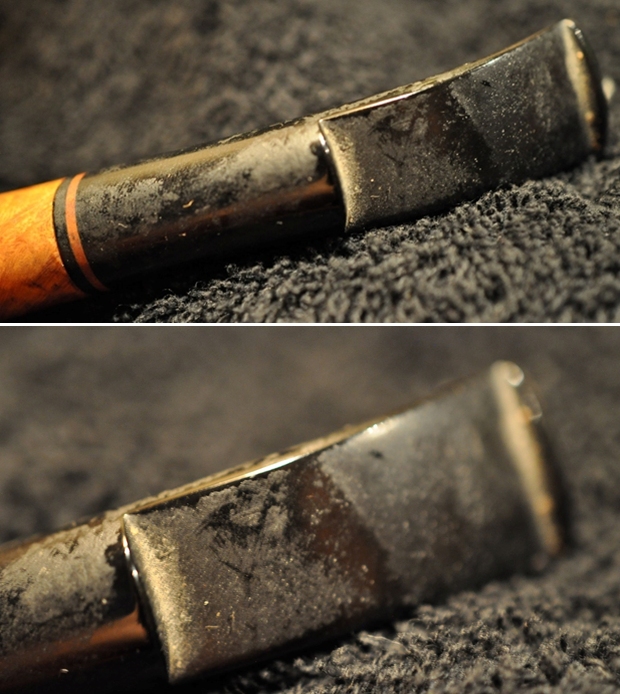
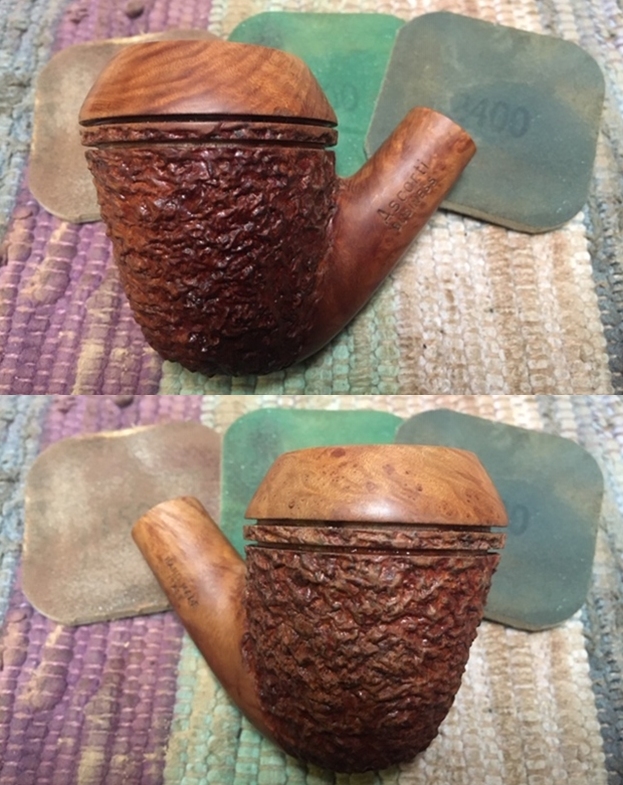
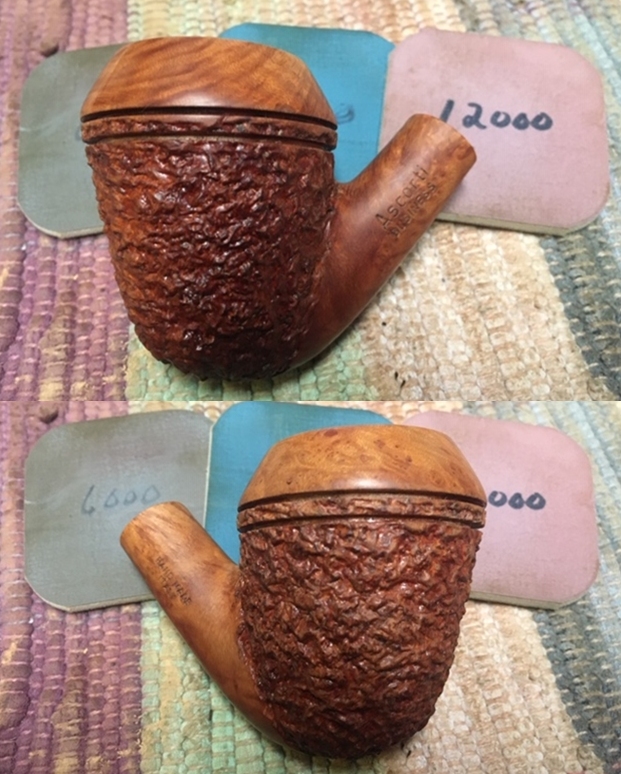
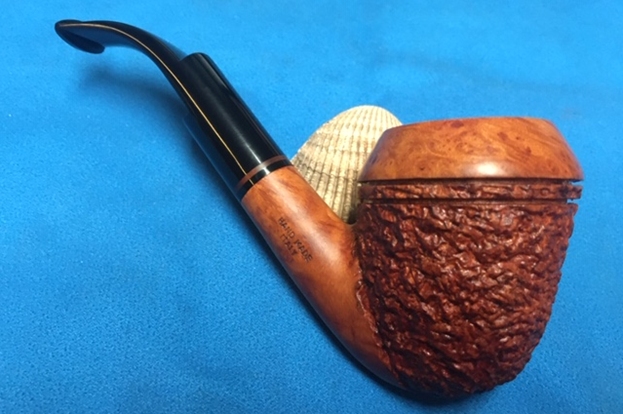
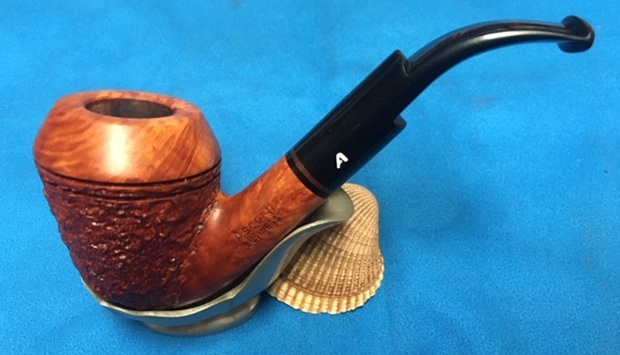
I have always been intrigued by heavily rusticated pipes – the look, the weight and the tactile feel of each one is a story in itself. In a conversation with a seller in Ogden, Utah, USA via zoom Jeff and I were able to see this beauty and make a deal. The date we picked it up was 12/12/2024. It is a short compact apple with a full-sized bowl. It is stamped on the underside of the shank and reads Posella RN [over] Fatta A Mano. There is also a stamped crossed horizontal “P” logo on the left side of the fancy saddle stem. The finish was a nicely heavily rusticated with an acrylic thin saddled stem. The pipe had been lightly smoked and there no cake in the bowl and no lava on the rusticated or the smooth portions of the rim top. The stem was dirty with what looked like grime from a softee bit on the stem. You can see the line where the bit had ended. The beauty was that there were not any tooth marks or chatter on the stem surface. Jeff took photos of the pipe before he started his cleanup work on it. I have included them below.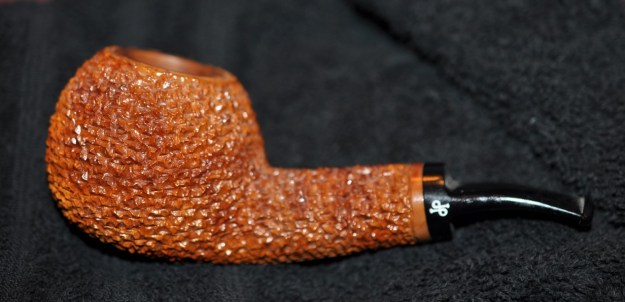
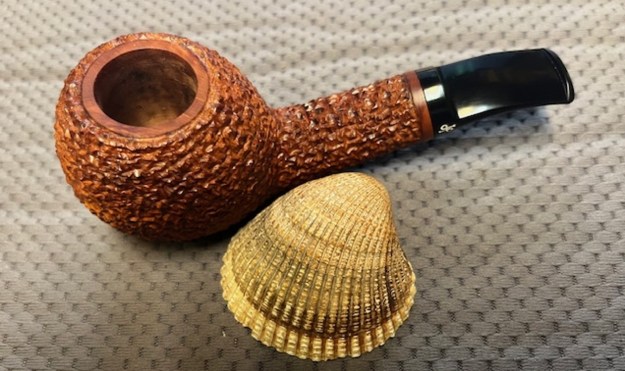
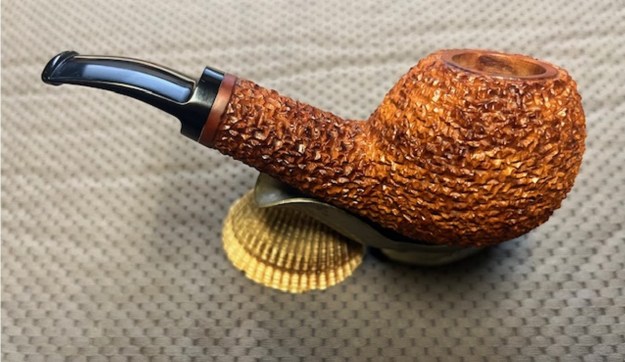
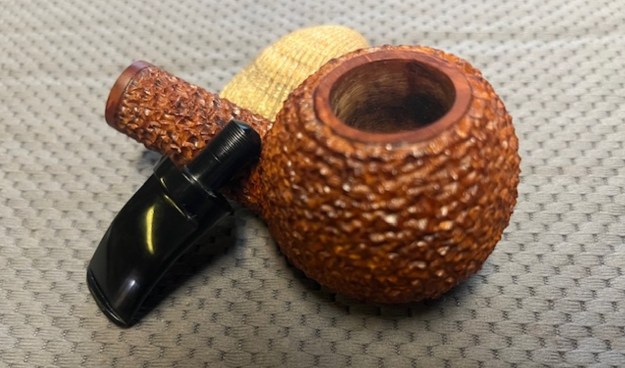
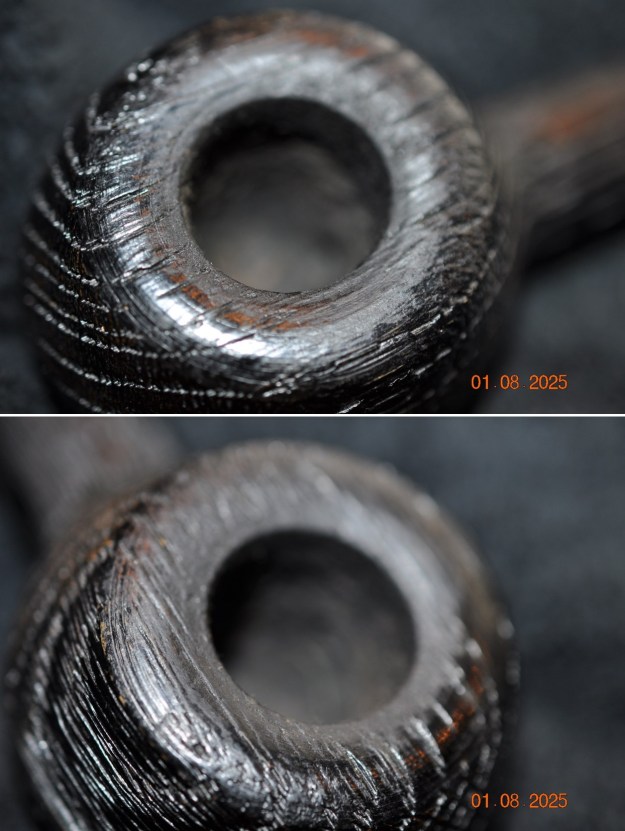
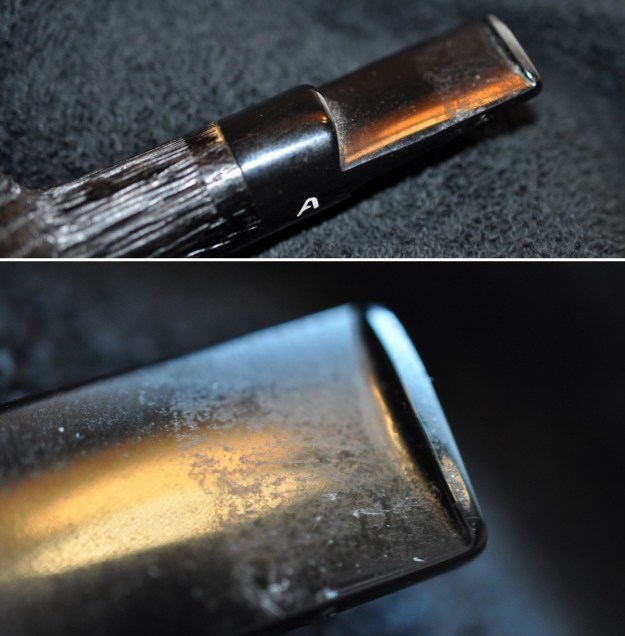
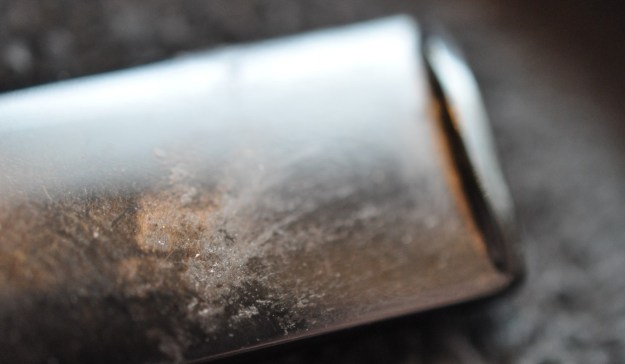
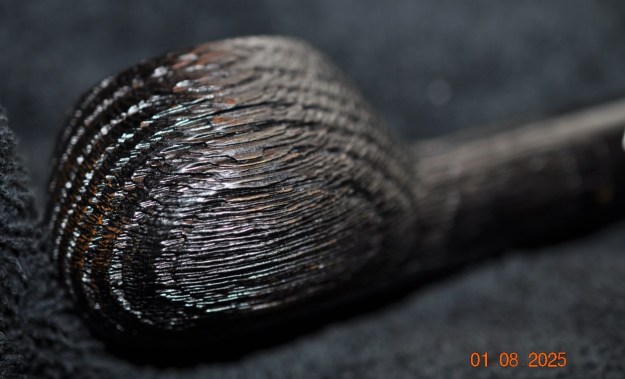
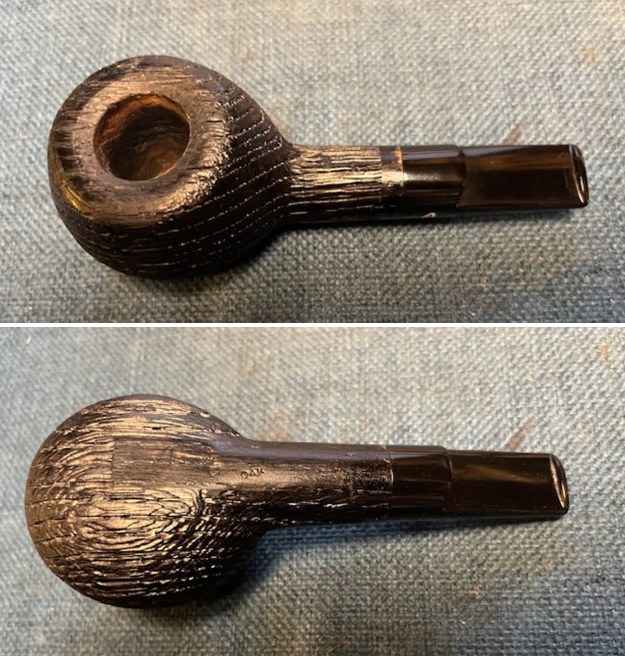
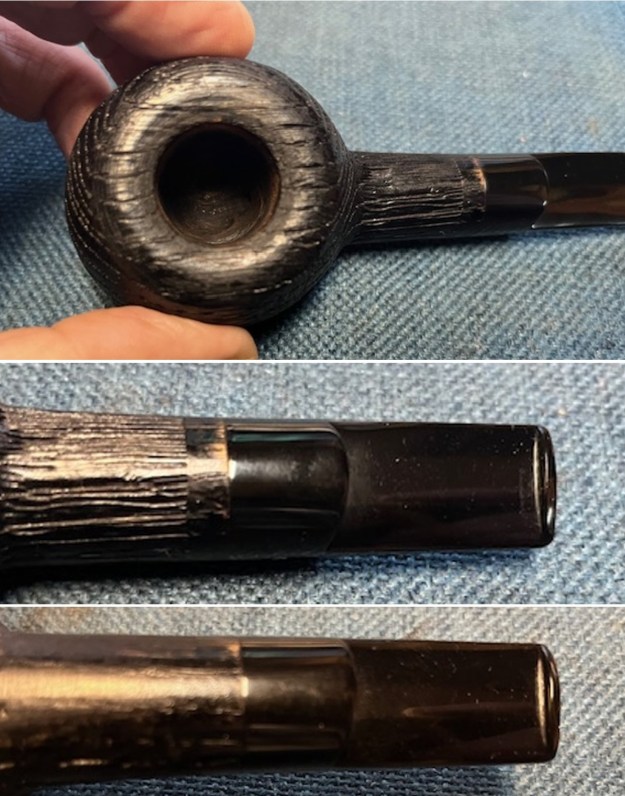
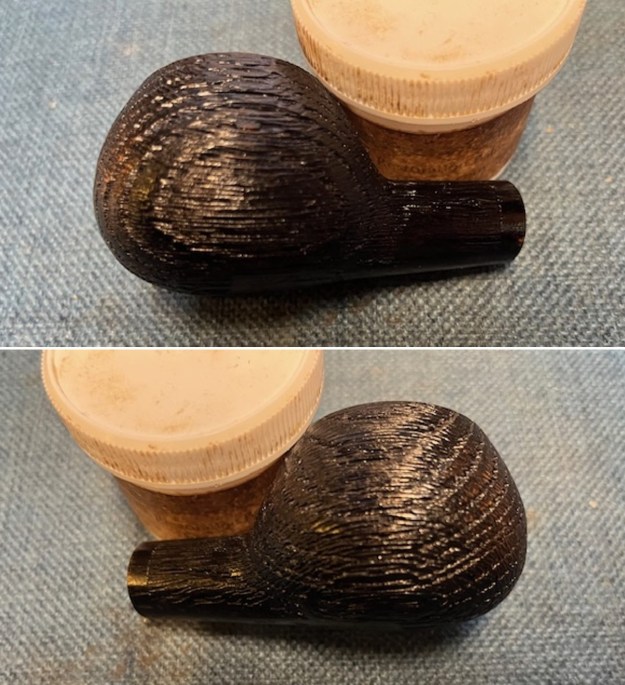
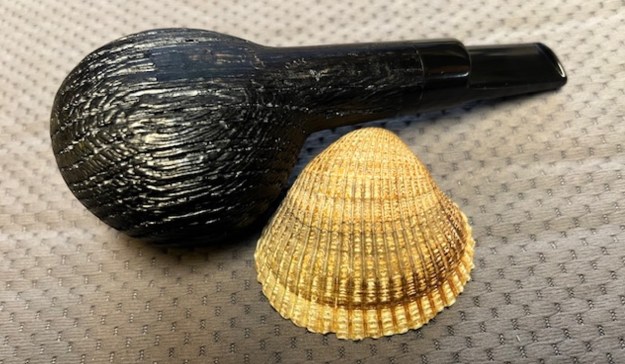
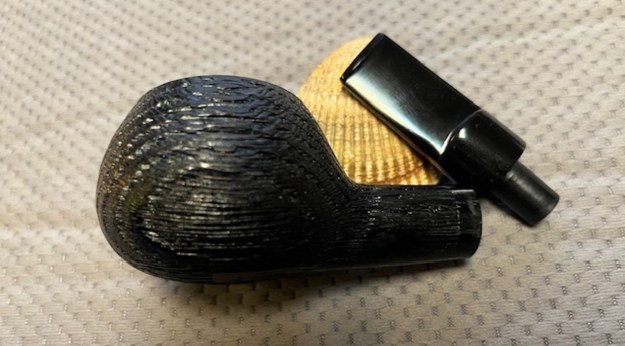
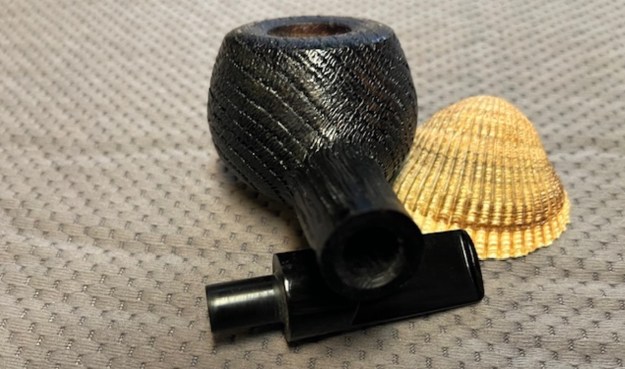
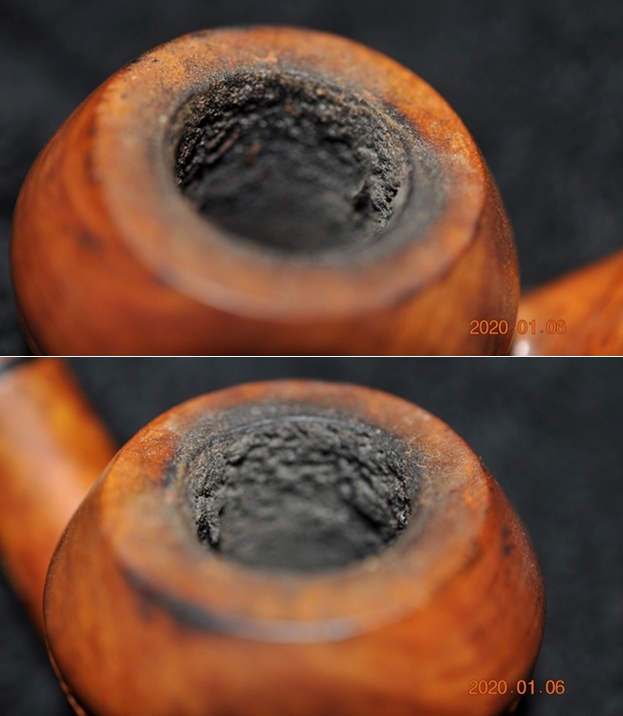
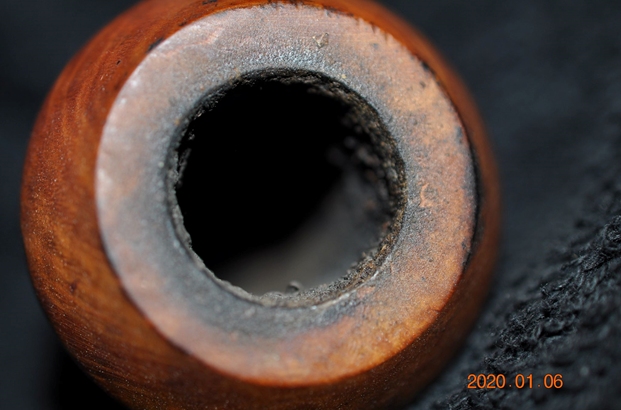
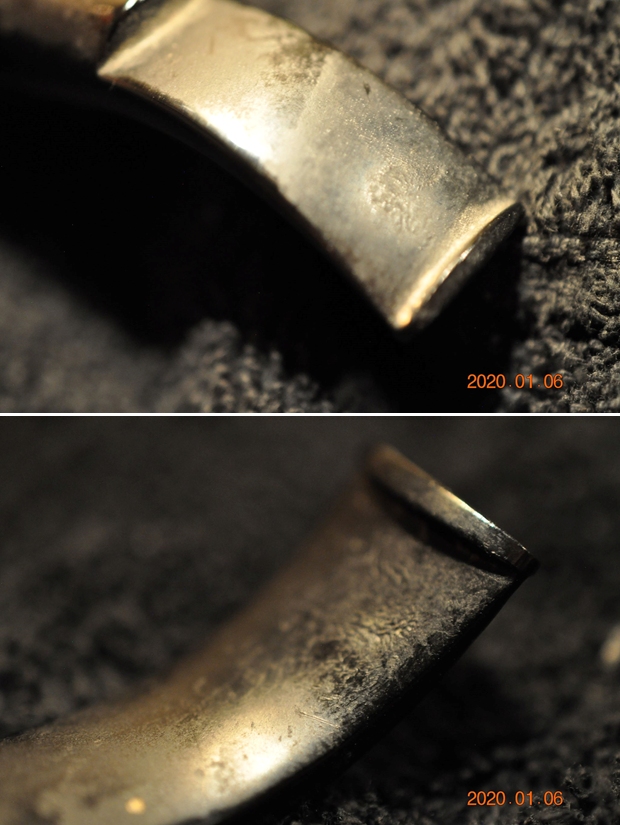
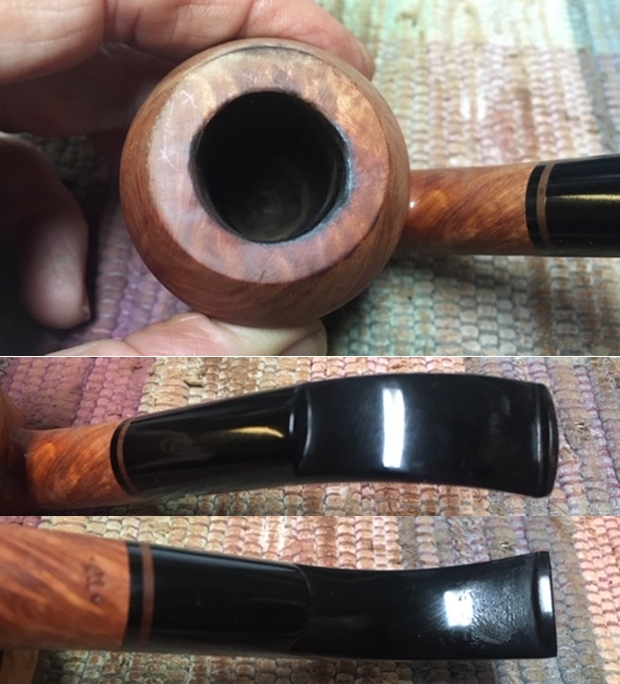
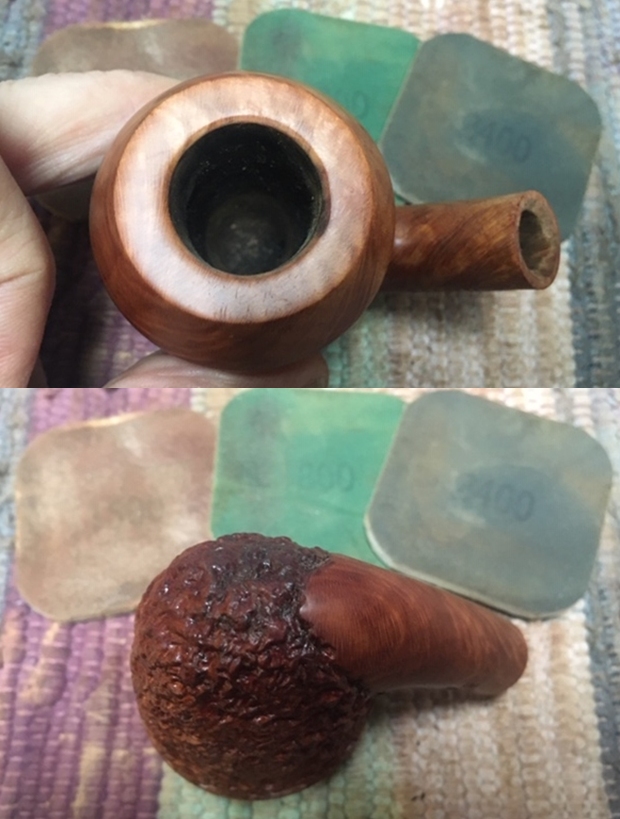
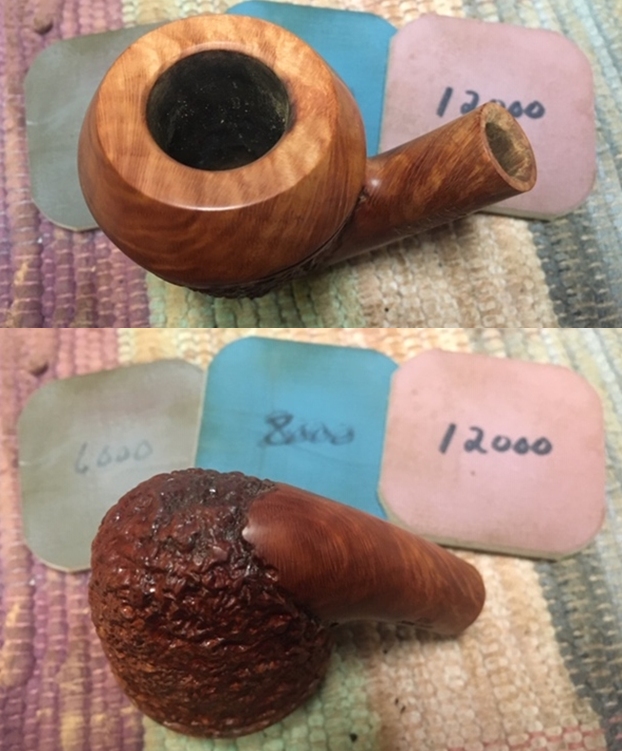
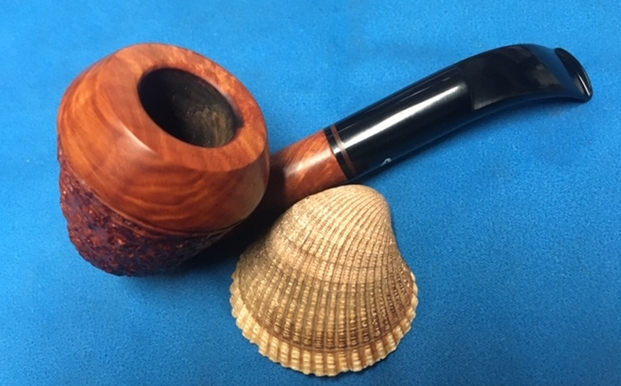
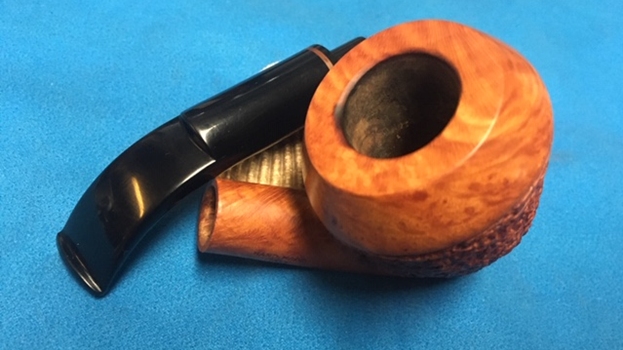
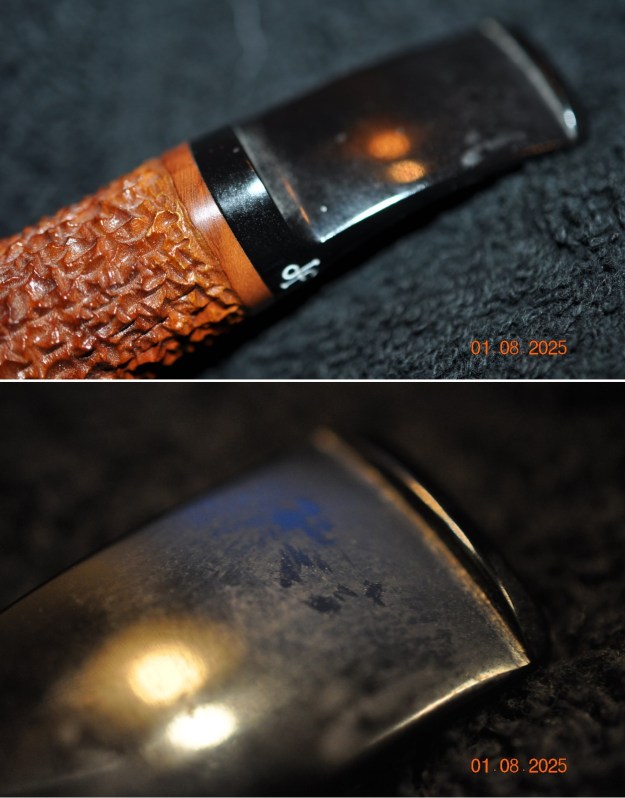
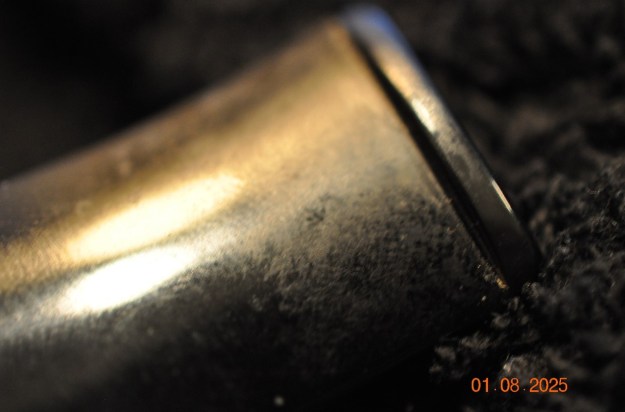
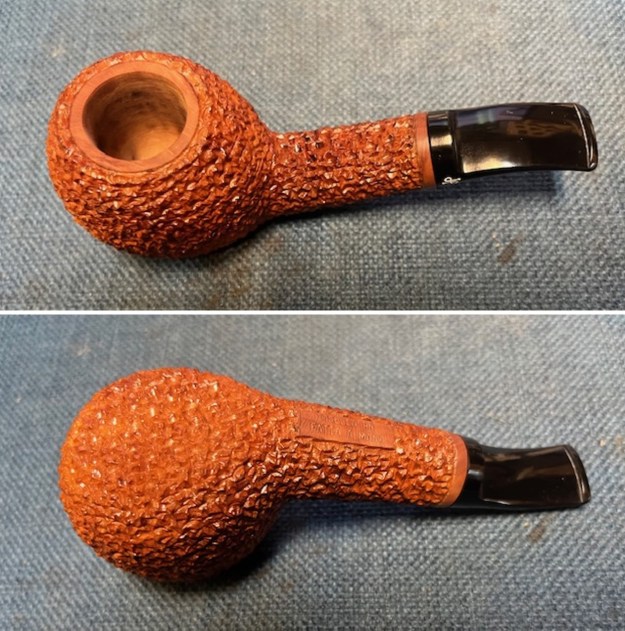
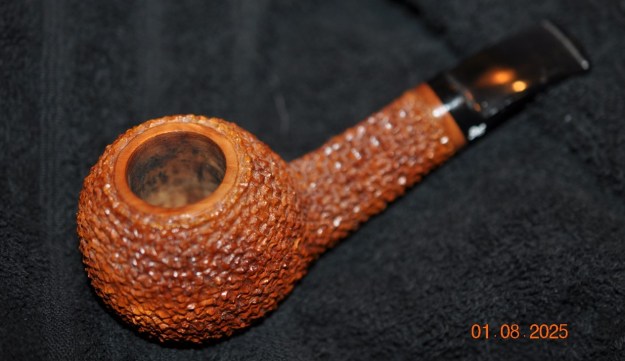 Jeff took photos of the rim top and stem to show the general condition of the pipe. The bowl is very clean with some slight darkening in the bowl showing that it may have been smoked only once or twice. The stem looked surprisingly good under the dirt and grime on the surface of the acrylic. It should cleanup very well.
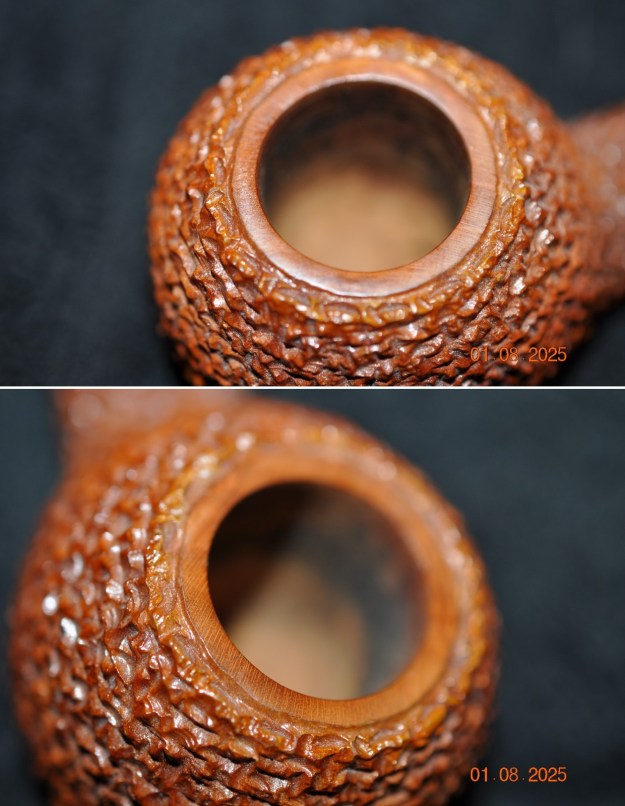
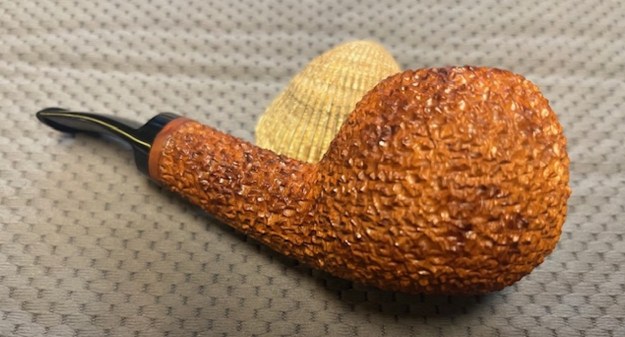
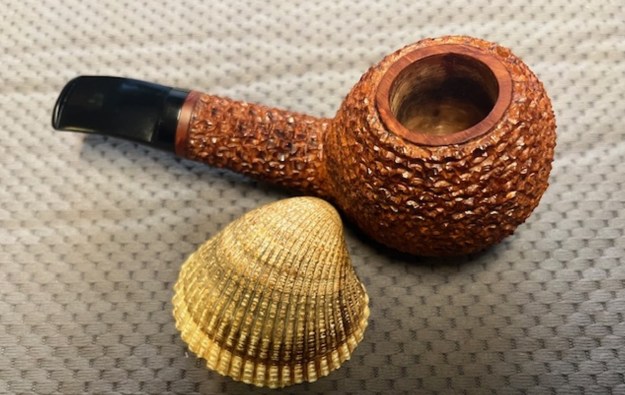
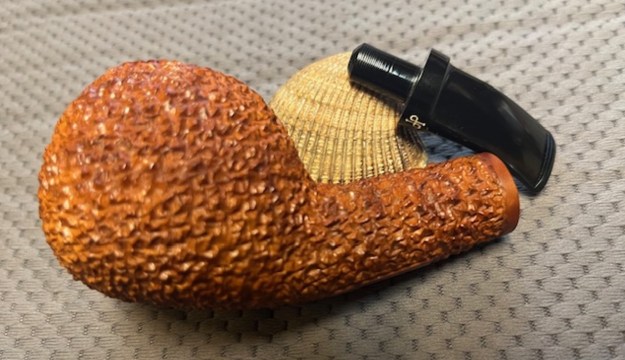
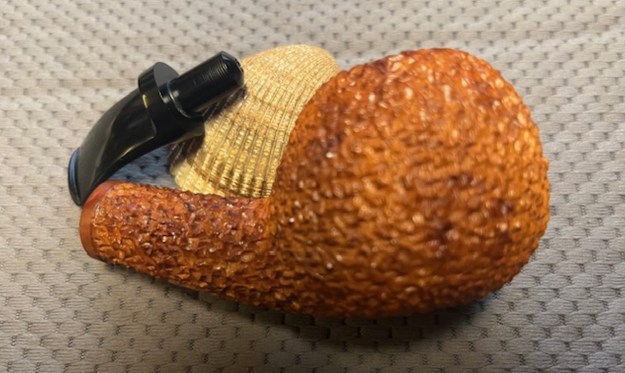
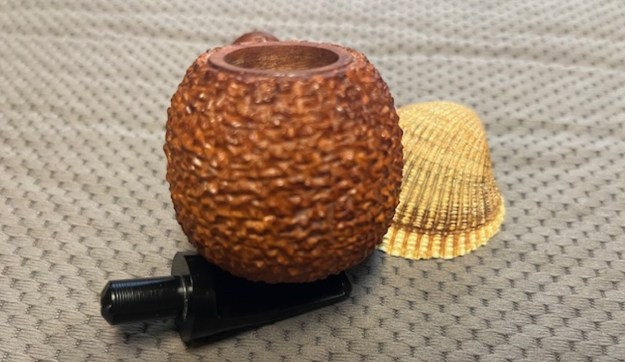
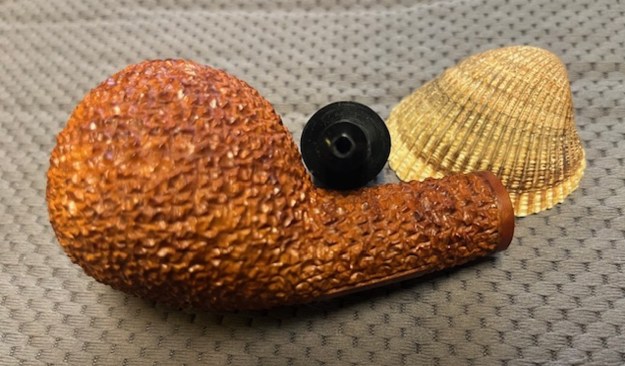
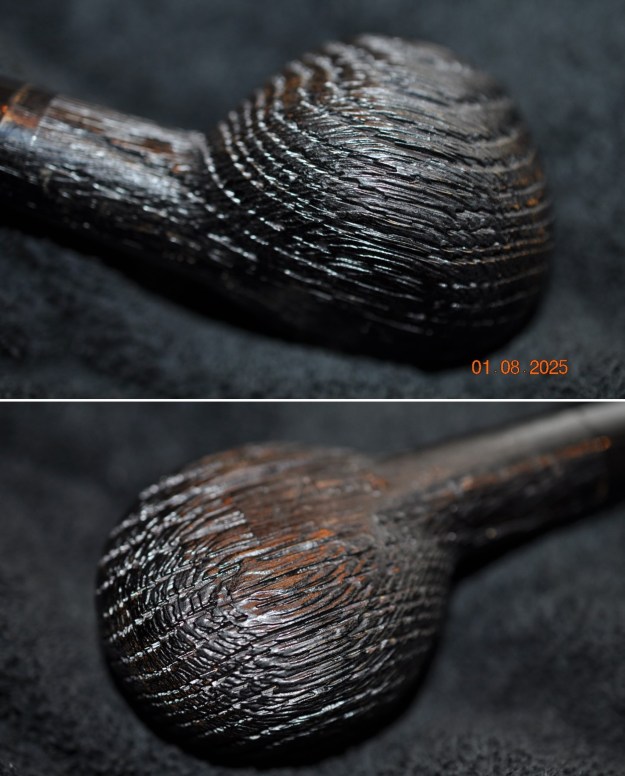
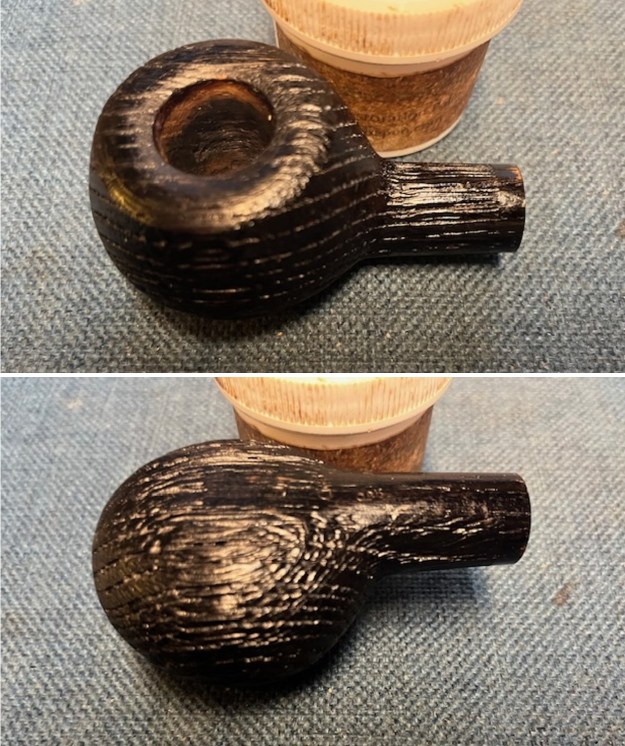
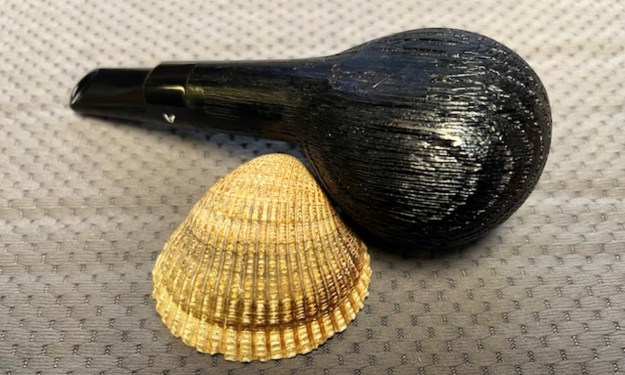
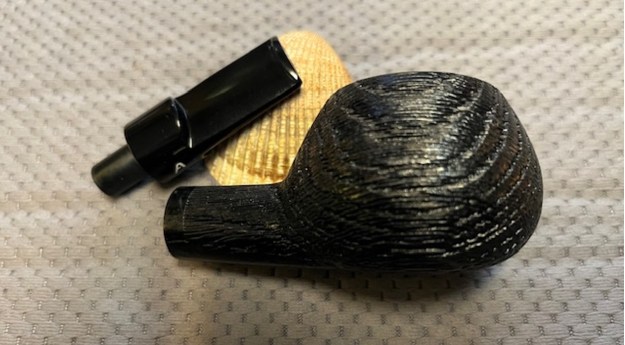
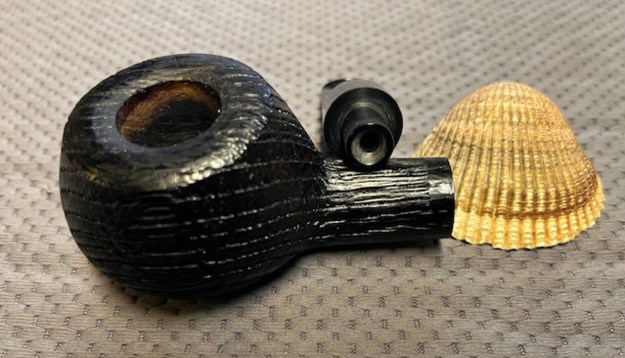
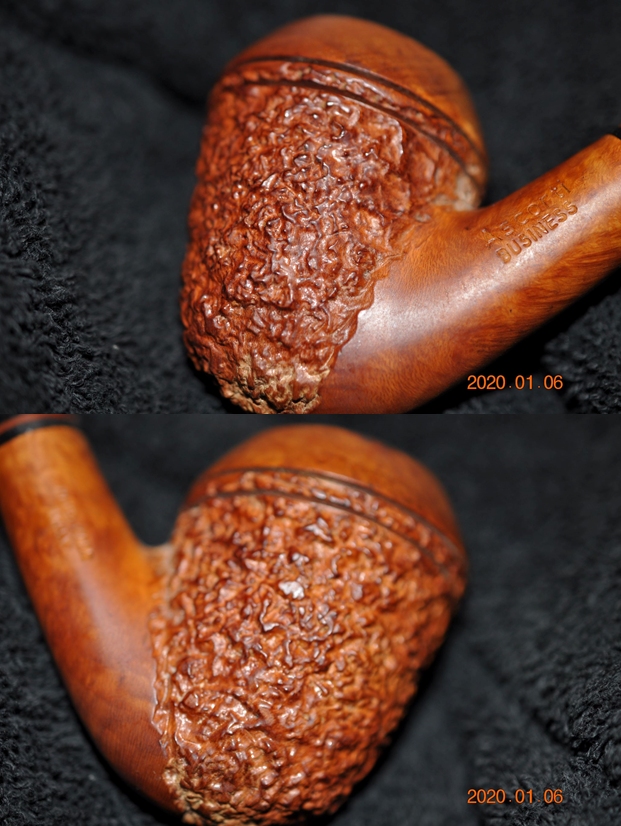
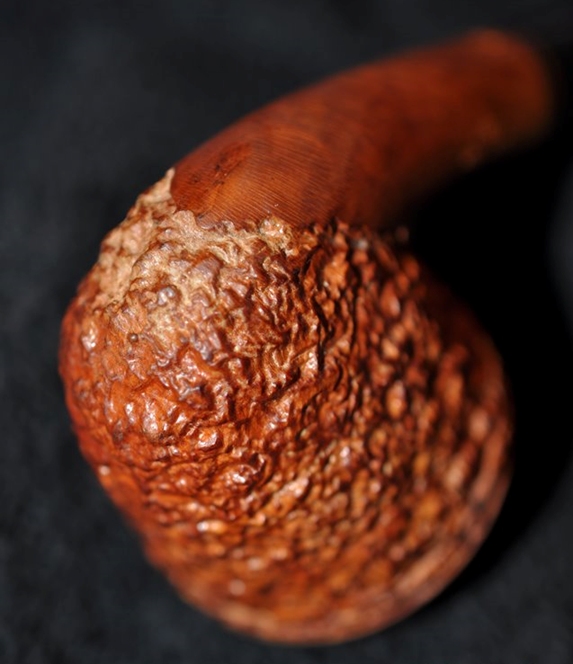
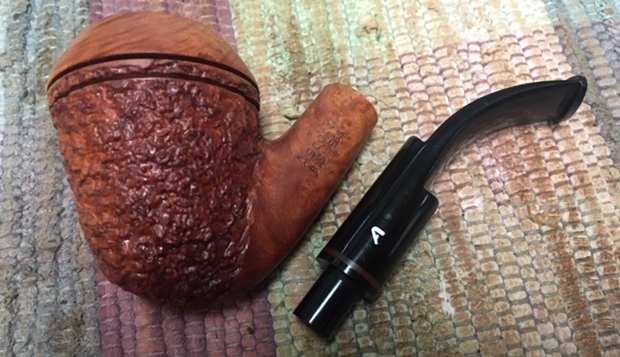
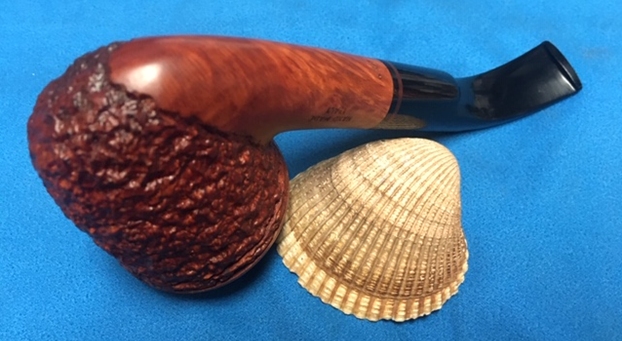
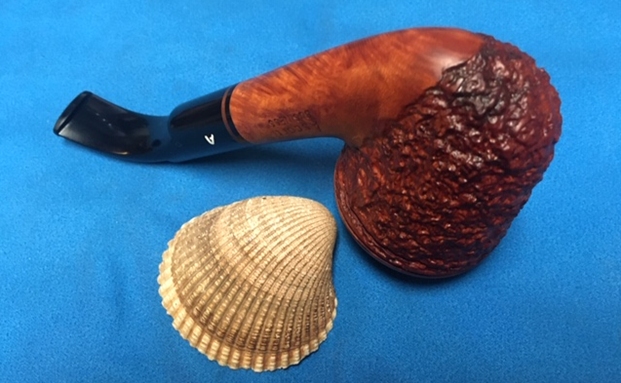
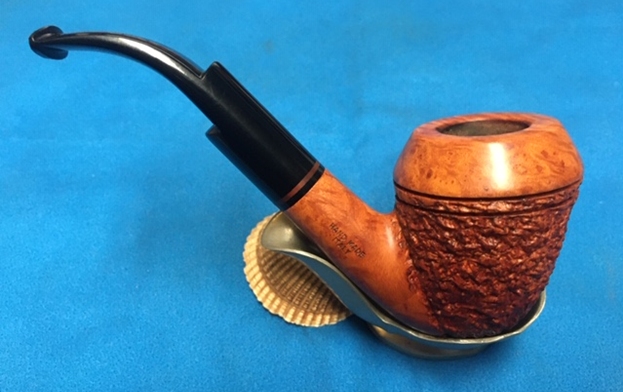
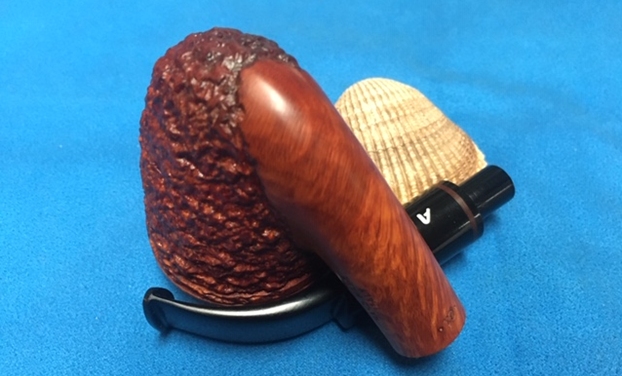
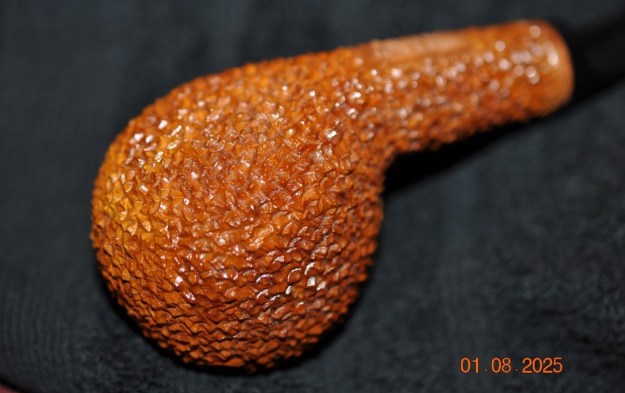
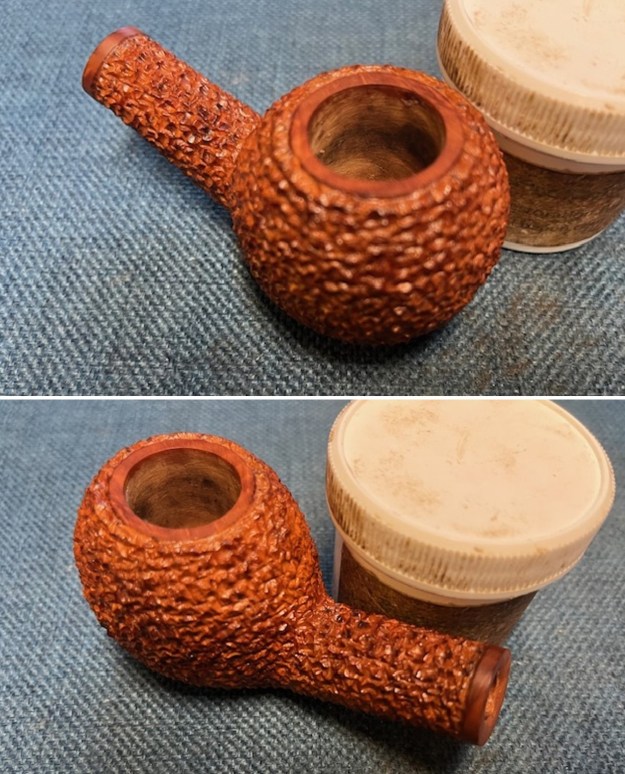
 Jeff took photos of the bowl sides and heel to show the unique and beautiful rustication that was around this bowl. There was some light grime in the finish but it was quite clean.
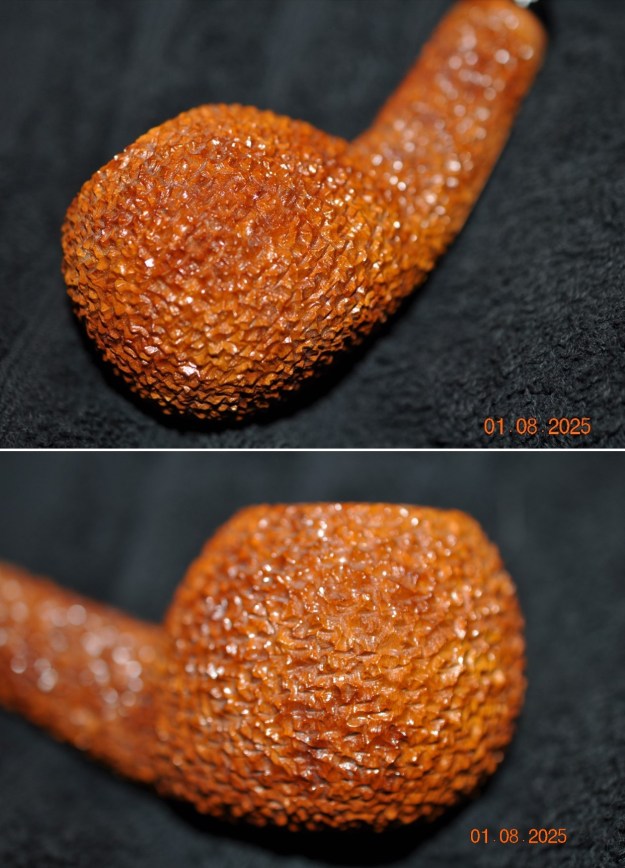
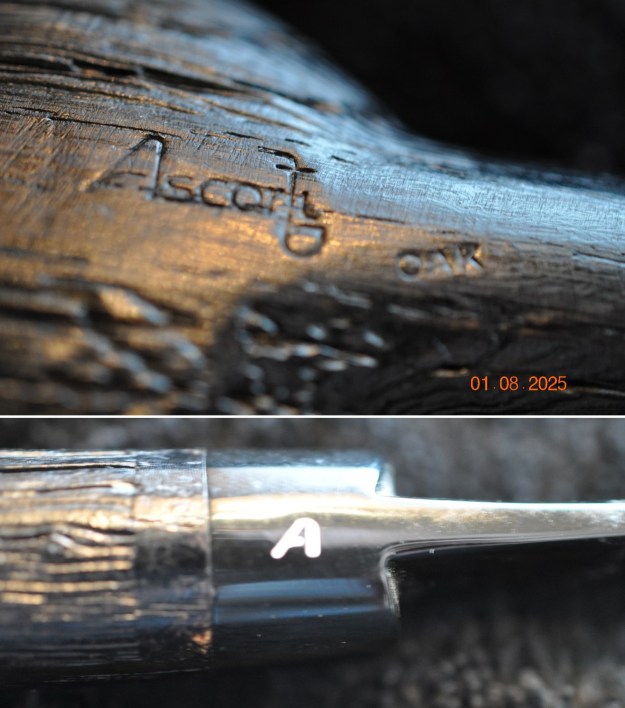
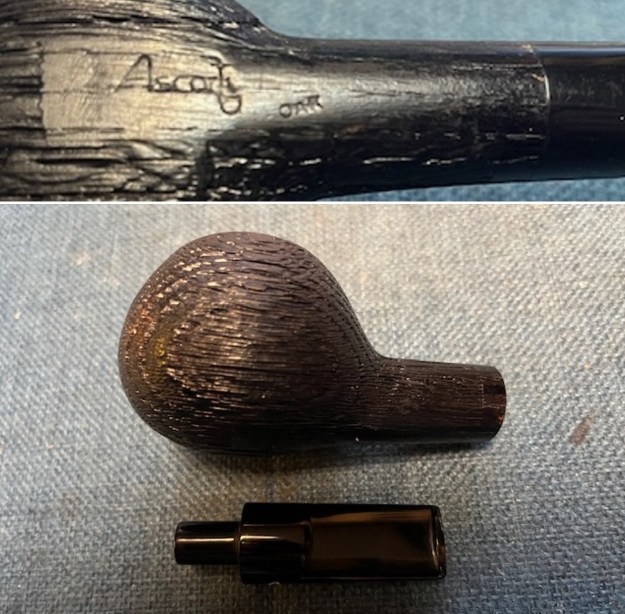
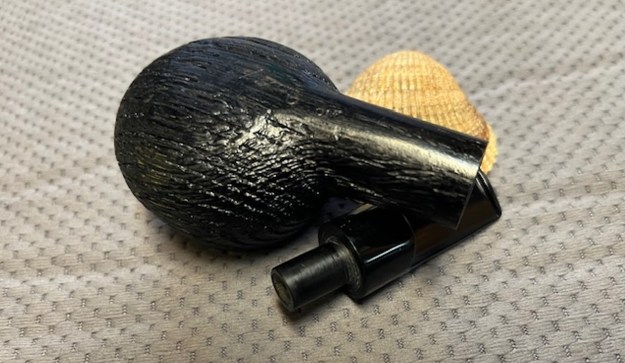
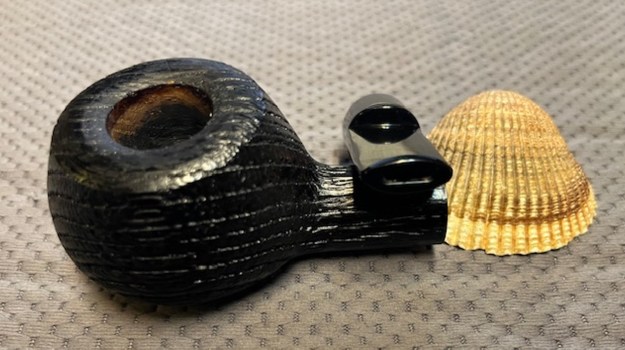
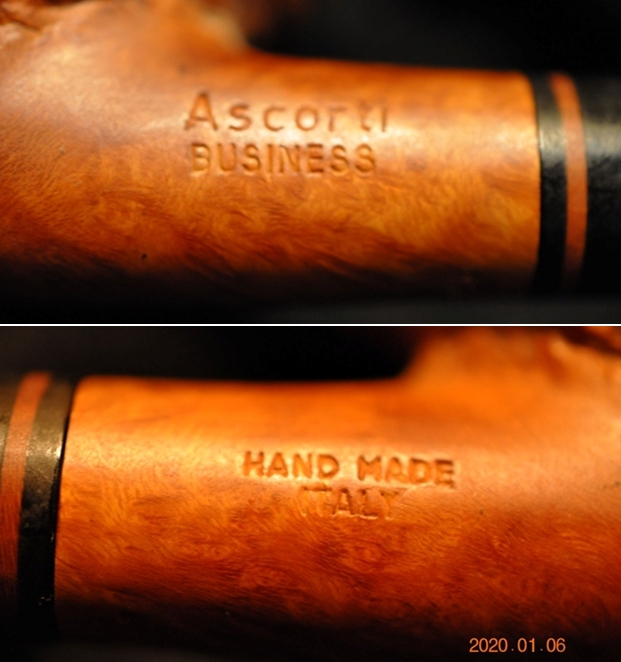
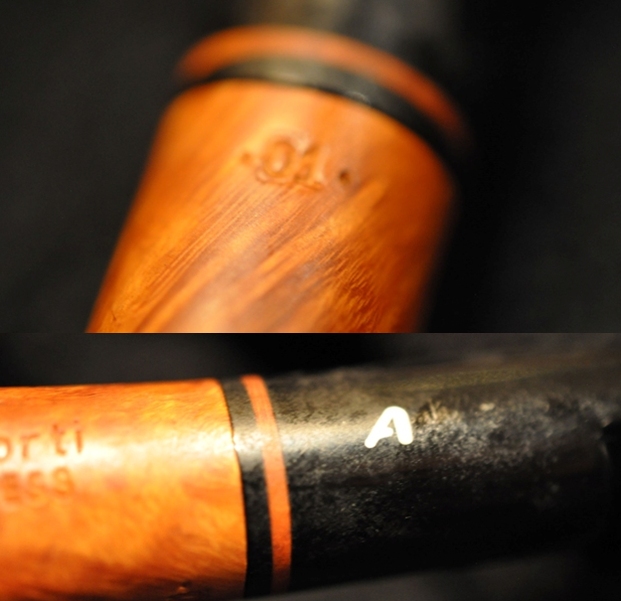
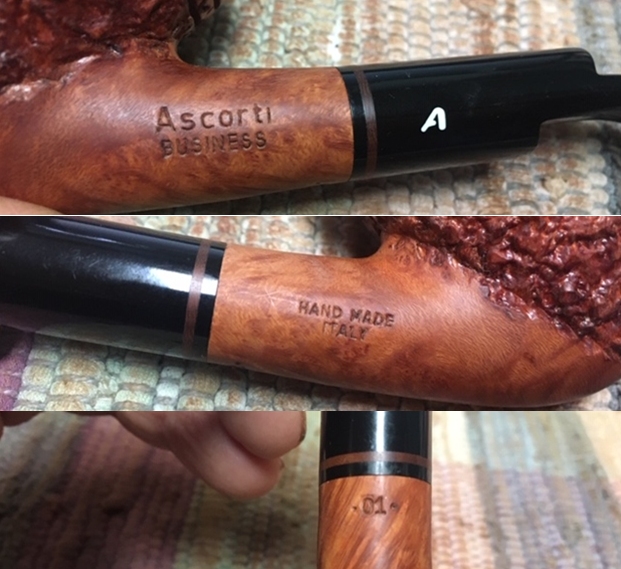
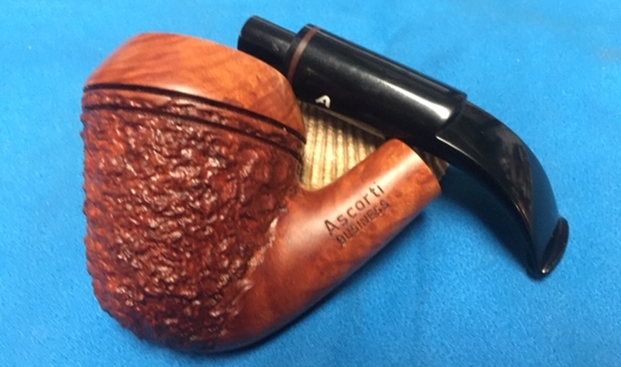
 He took a photo of the underside of the shank to show the stamping. The stamping is clear and readable in the photos below as noted above. He also captured the “crossed horizontal Ps” logo on the left side of the saddle. It in excellent condition.
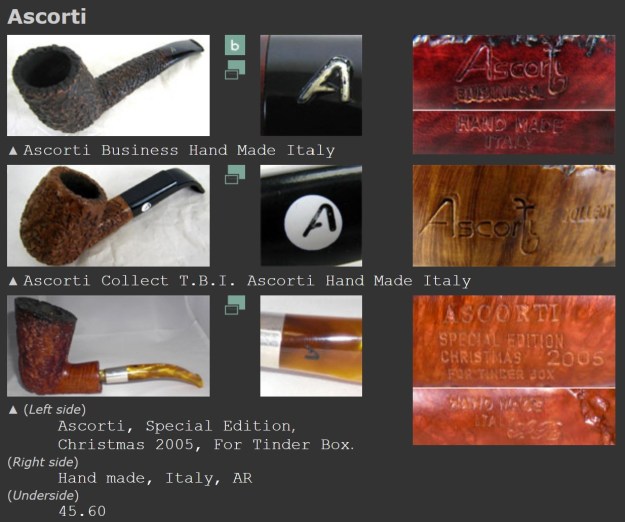
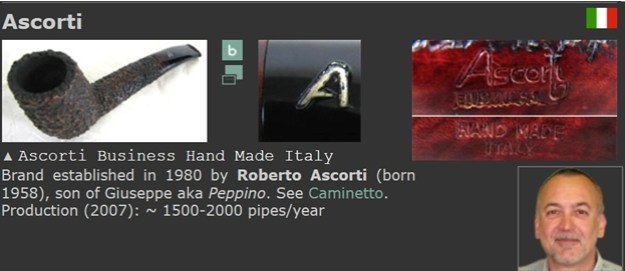
 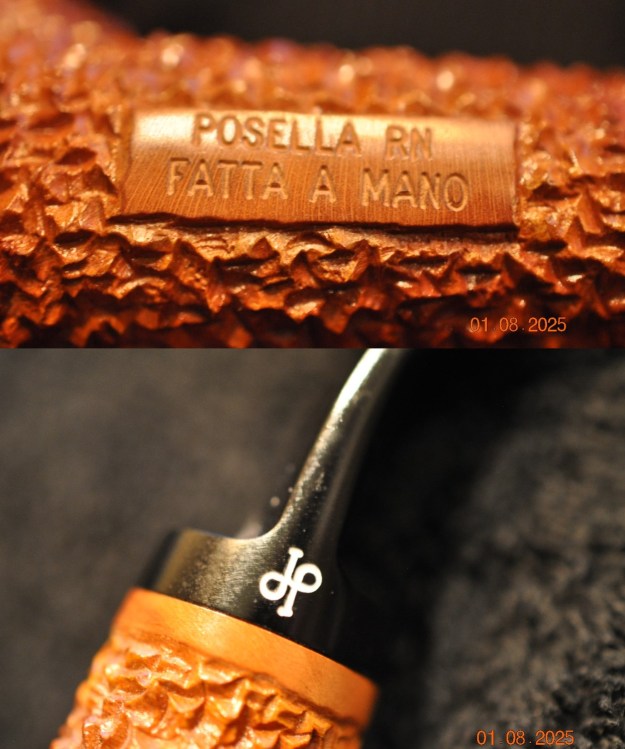 I turned to Pipephil’s site to get a sense of the brand as it is a new brand to me. I had no sense of the details other than it is an Italian pipe (http://www.pipephil.eu/logos/en/logo-p4.html). The photo of the pipe that is included is very different than the one I am working on. The logo on the stem and the shamping on the shank is similar. It was also helpful to see the explanation of the grading on the pipe. In this case the pipe in hand is an “R” meaning rusticated. The “N” is for Natural finish. There were no tier numbers or stars. I have also included the side bar information below the photo below.
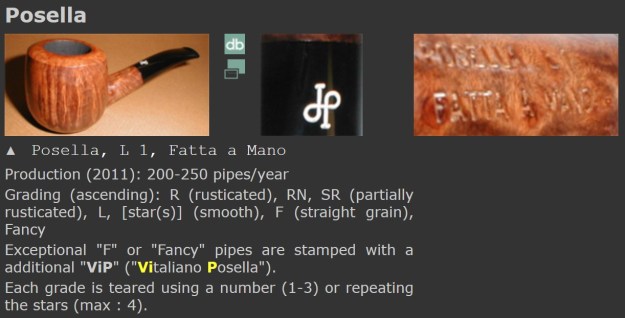 Artisan: Vitaliano Posella is the son of Salvatore Posella who was a briar cutter. He started making pipes with his brother-in-law, Tonino Jacono and established on his own when Jacono moved to Jesi. Address: Via Umberto I, 183. 88067 San Vito sullo Ionio (Calabria)
I turned to Pipedia to gather some more information on the Posella brand and some history (https://pipedia.org/wiki/Posella). I have included a short piece of information from the site below.
Vitaliano Posella is a pipemaker in San Vito sullo Ionio (Provincia di Catanzaro, Regione Calabria). He found to the handicraft art of pipemaking after having acquired a lot of experience in the briar industry. His pipes are exclusively produced with Calabrian briar.
There was also a link to an article on the Posella Grading system. However, the link is not functioning and locks down. I will include below it as I hope that it will become available soon http://www.theitalianpipe.com/infowell/guides/posella.htm.
I googled for further information and found a link to a site that sells Posella pipes. It also gave a great bit of background to the brand and the pipemaker. Here is the link to the site and the information (https://tabaccherialentofumo.com/en/brand/posella-pipes-en/). I quote that information below.
The Posella family has a long history of sawing on their backs, dedicating themselves to the production of briar for pipes in Calabria, one of the most famous lands for the raw material of our precious products.
Vitaliano Posella has been making pipes for several decades, obviously using briar from the family. For this reason, their pipes are seasoned for at least 10 years, for a high quality in the mechanics and a greater fragance when smoking.
The Posella pipes have a great reception also abroad, in places like China or America. These pipes are manufactured entirely by hand, perforated with great precision, with 100% attention to details to offer a product who lives up the expectations of the demanding and expert smokers.
In hand-made mouthpieces, Posella uses methacrylate for its luster in time and resistance to scratches. In addition, from this material is made the tenon, with a custom work for each pipe.
The way to rustic a pipe is unique and captivating, with a long and meticulous process, making it very particular and valuable, being its baseline. Its forms are classic but with its own interpretation, being a recognizable and suitable style for any type of interested person in the subject.
Now it was time to work on the pipe itself. Jeff had done a great job cleaning up the pipe as usual. He reamed the pipe with a PipNet reamer and cut back the cake back to the bare briar. He cleaned up the walls with a Savinelli Fitsall Pipe Knife. Surprisingly the walls looked unscathed from the heavy cake. He scrubbed the interior of the bowl and shank with pipe cleaners, cotton swabs and alcohol to remove the tars and oils. He scrubbed the exterior of the pipe with Murphy’s Oil Soap and a tooth brush to remove the grime from the finish. He scrubbed the inside of the stem with alcohol and pipe cleaners. He scrubbed the exterior of the stem with Soft Scrub and then soaked it in Briarville’s Deoxidizer. He washed it off with warm water to remove the Deoxidizer. When I examined the stem, it looked very good. The pipe looked far better when it arrived.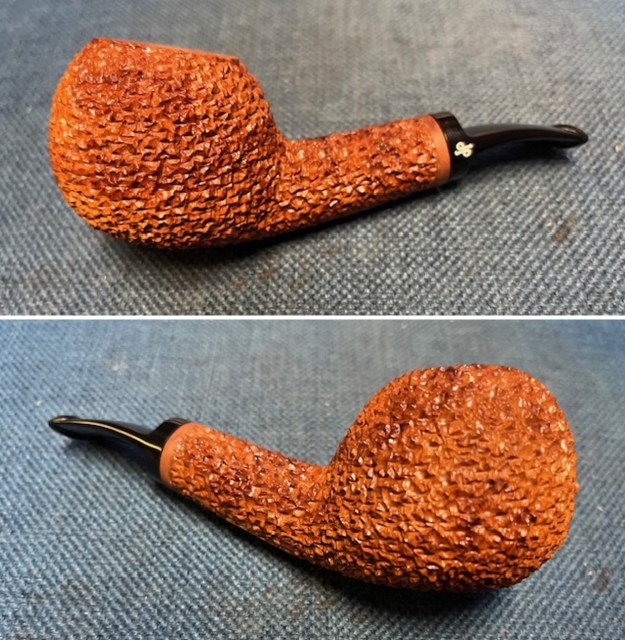
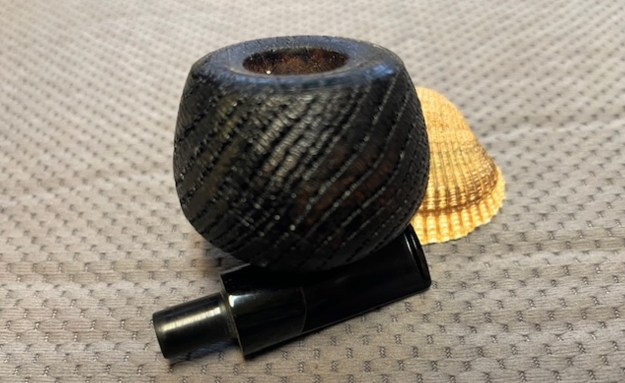
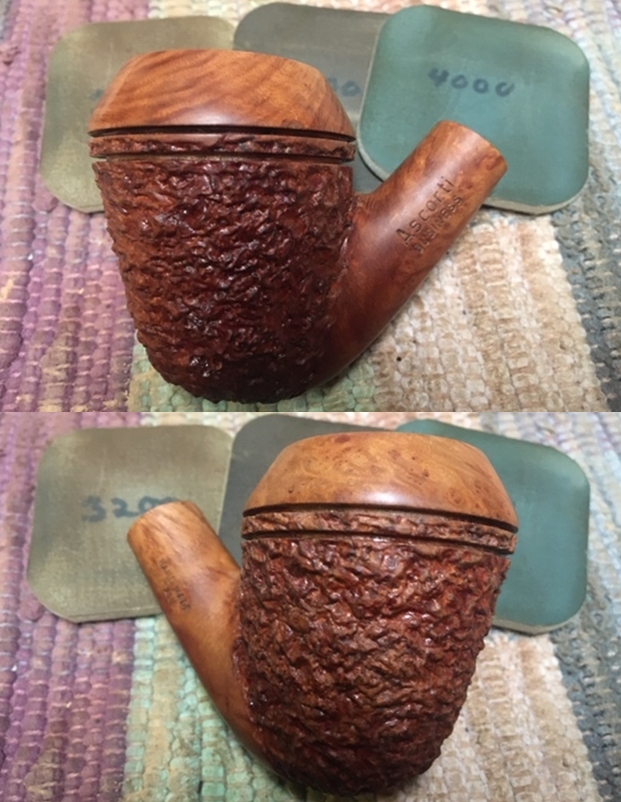
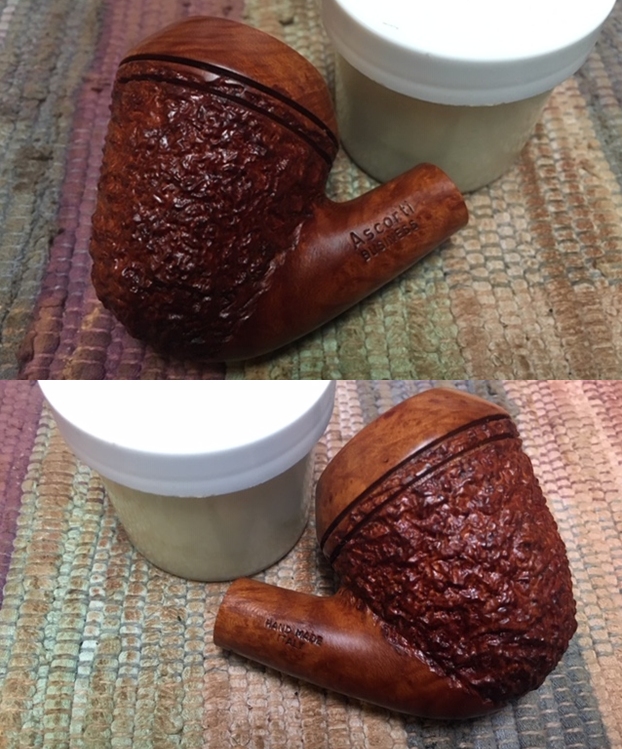
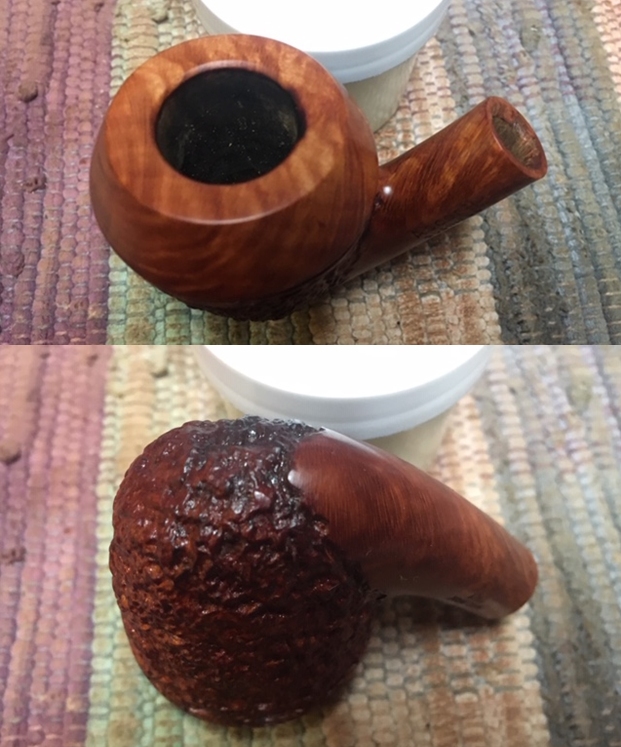
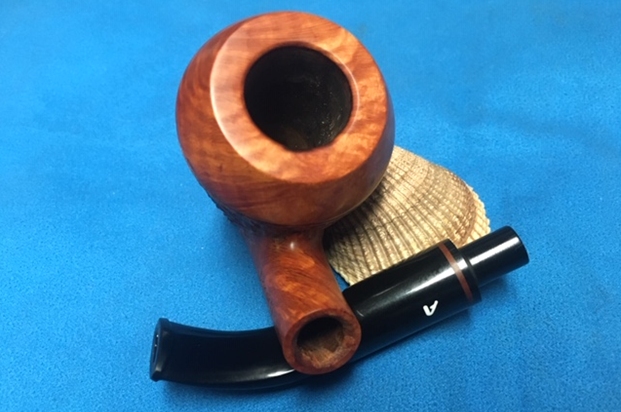
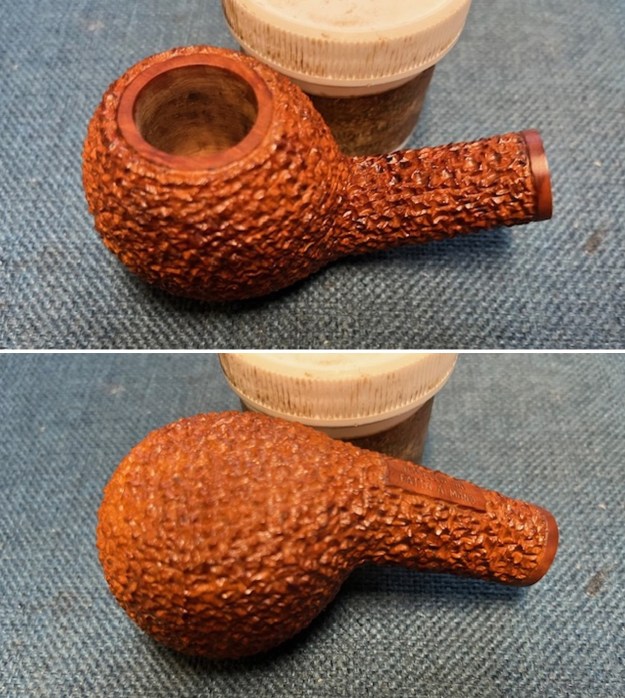
 I took some close up photos of the rim top and edges to show how well it had cleaned up and the edges around the bowl. I also took close up photos of the stem to show the light tooth chatter on the surface ahead of the button on both sides.
 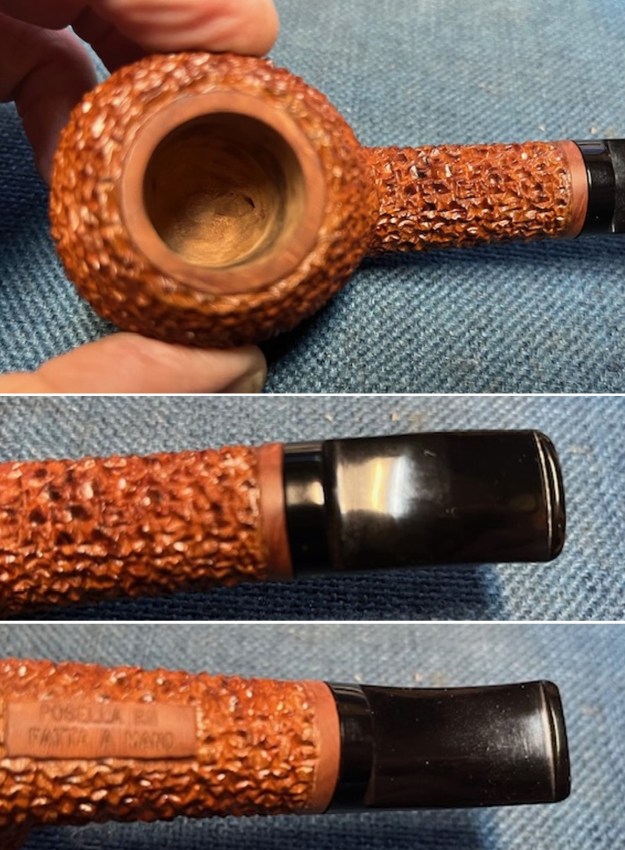 I took a photo of the stamping on the heel of the bowl. It is clear and readable as noted above. I removed the stem and took a photo of the pipe to have a look at the parts and overall look.
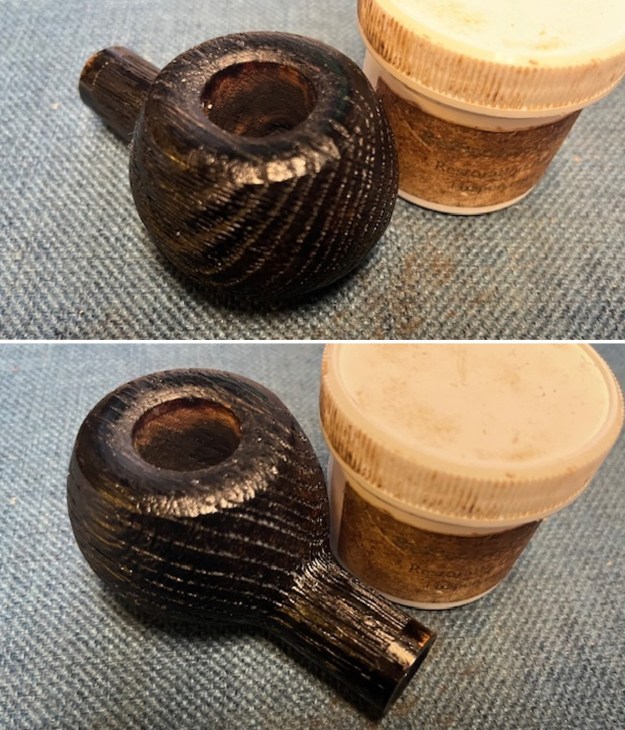
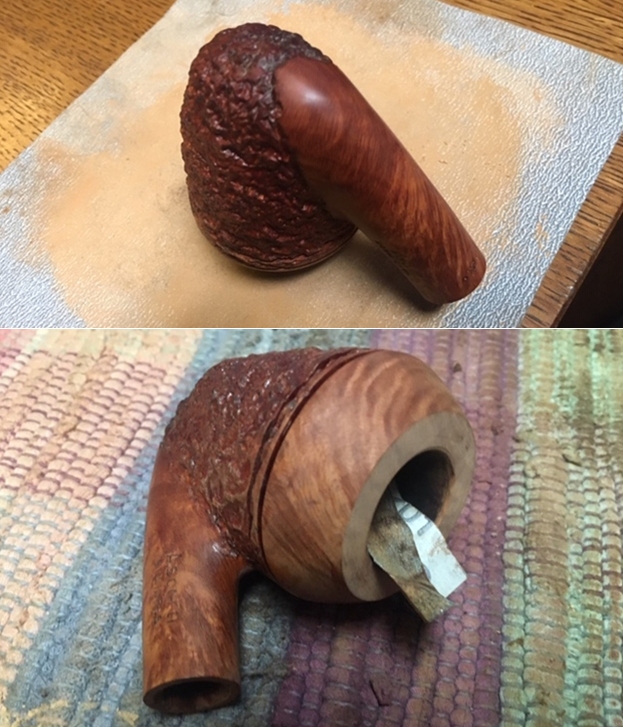
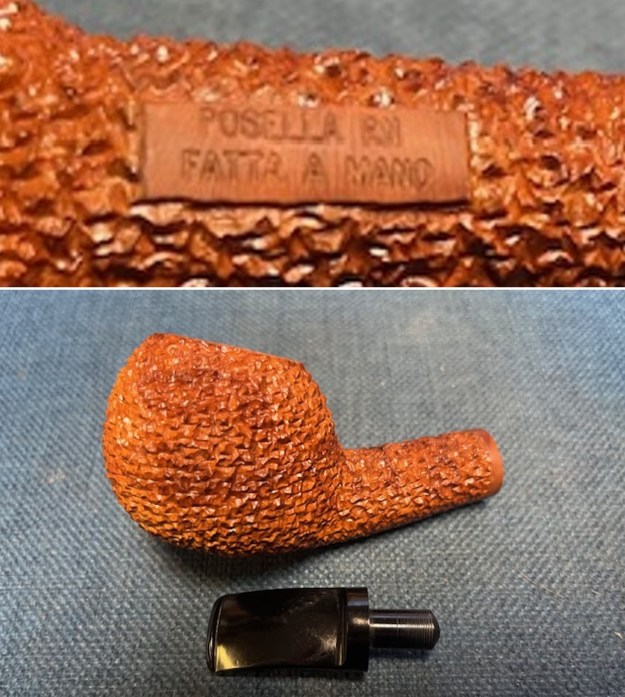 I worked some Before & After Restoration Balm into the surface of the briar with my fingertips and a shoe brush to clean, enliven and protect the briar. I let the balm sit for 15 minutes and then buffed with a cotton cloth to raise the shine. The photos show the bowl at this point in the restoration process.
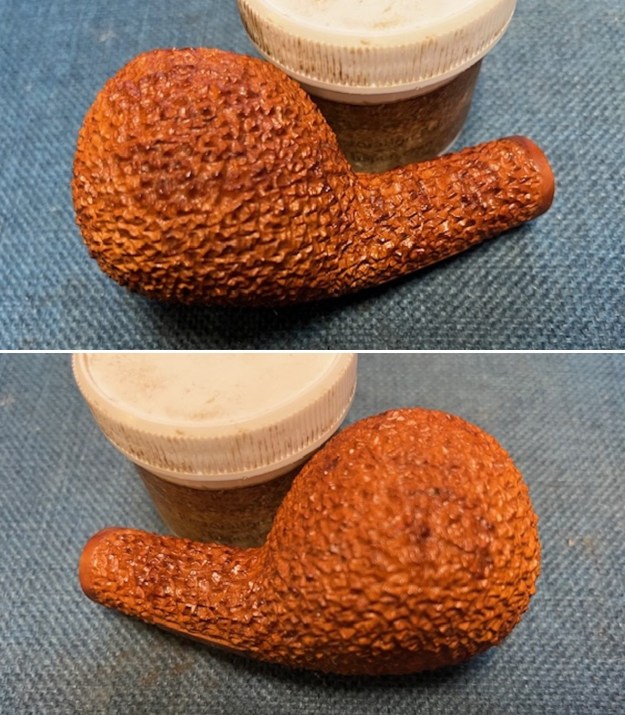
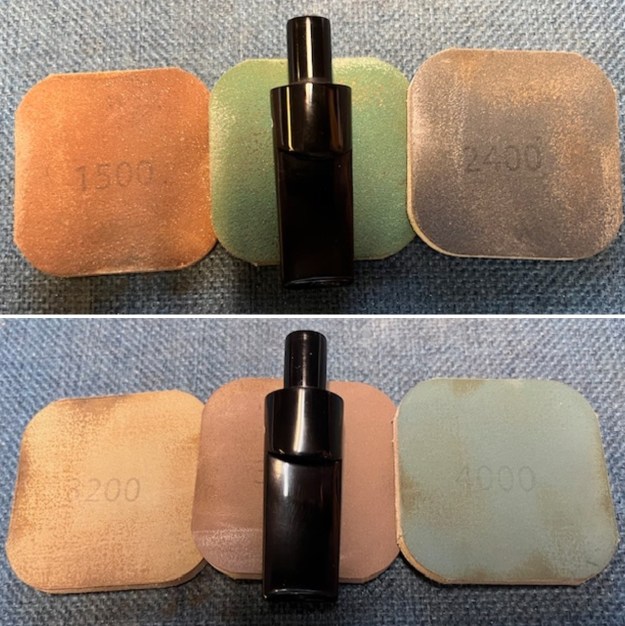
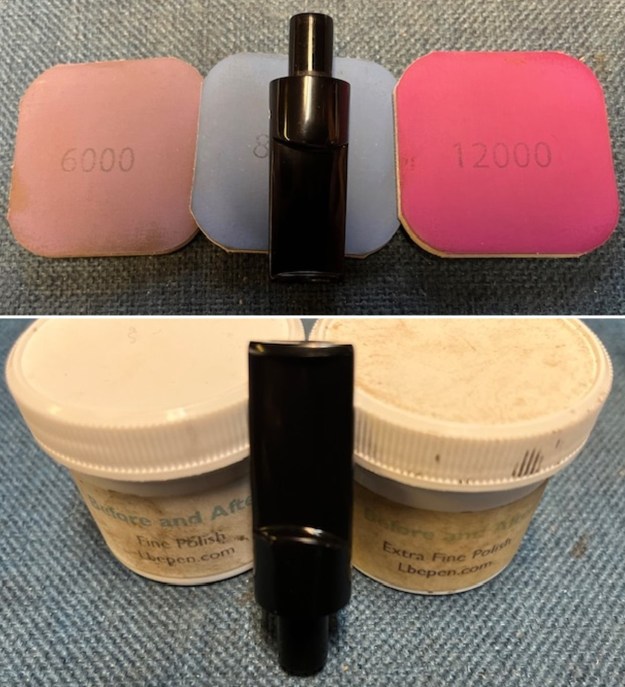
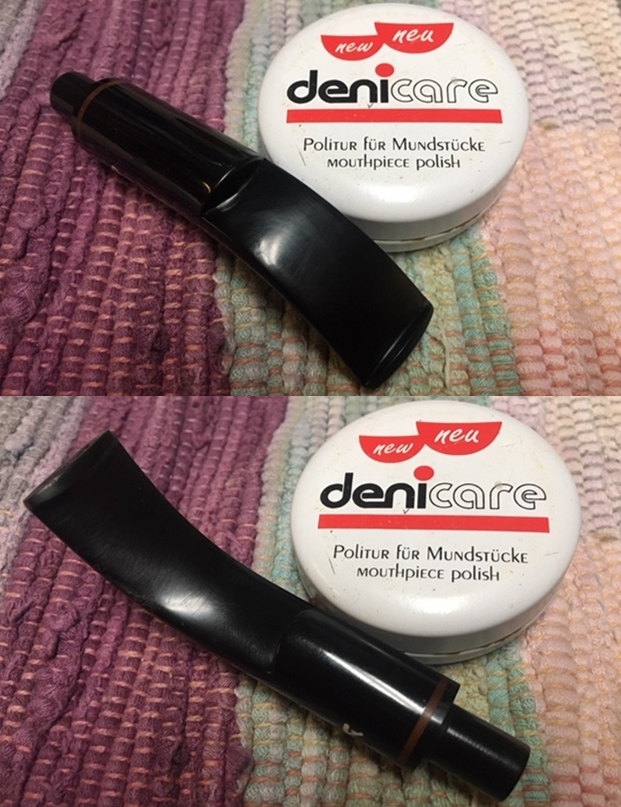
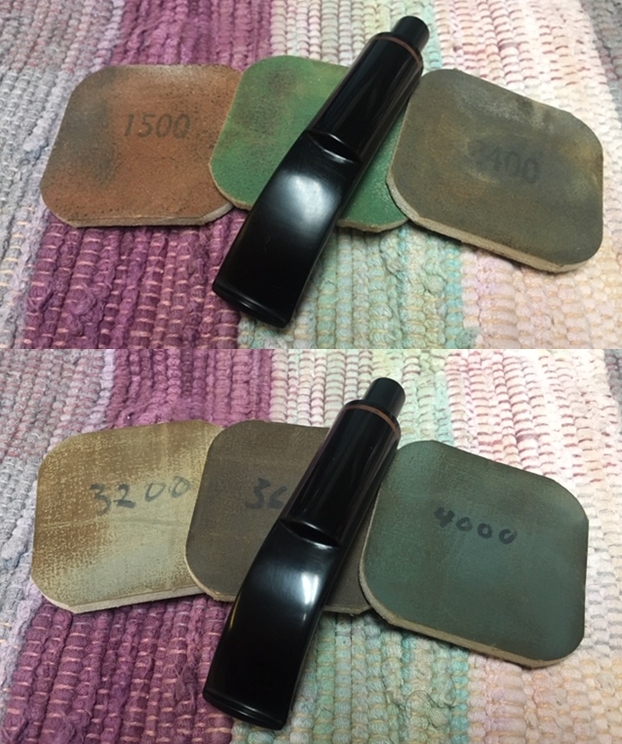
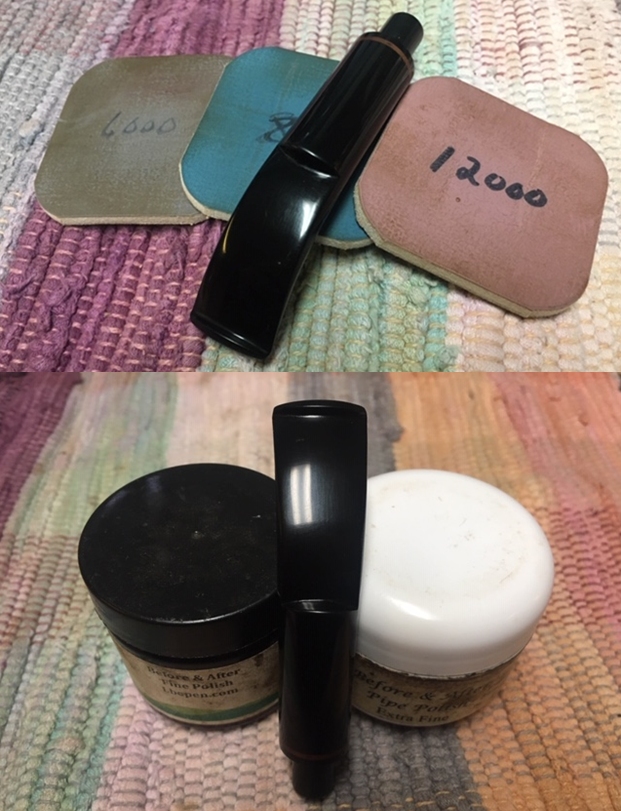
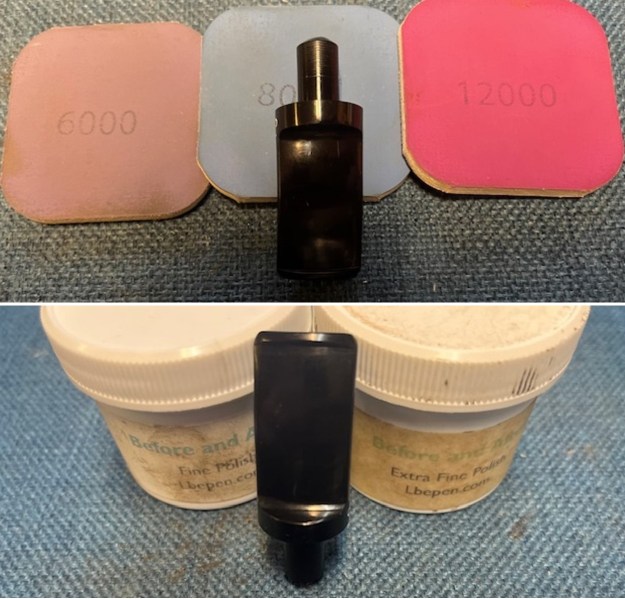
 I polished the stem with micromesh sanding pads – dry sanding with 1500-12000 grit sanding pads. I wiped it down after each sanding pad with a cloth containing some Obsidian Oil. I finished polishing it with Before & After Pipe Stem Polish – both Fine and Extra Fine and buffed it off with a cotton cloth.
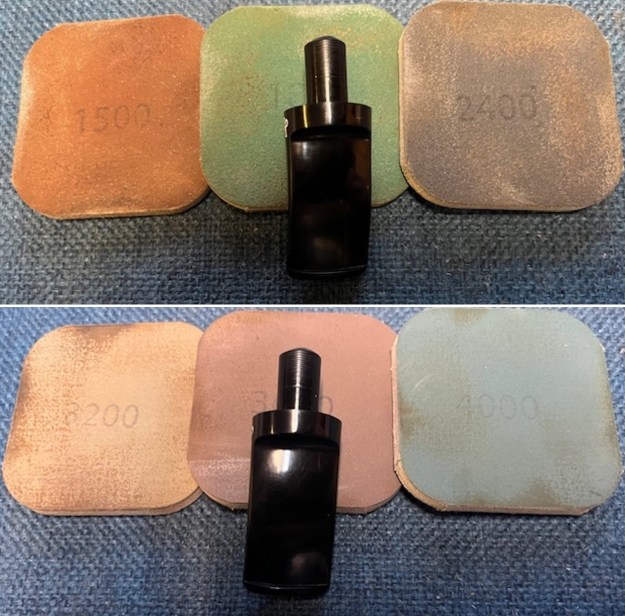
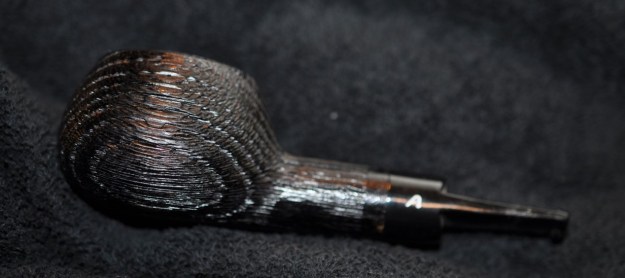
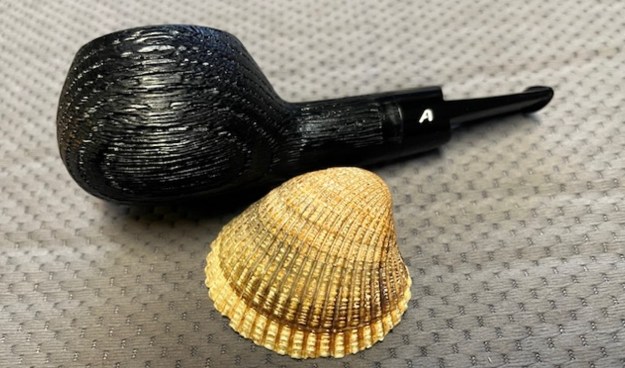
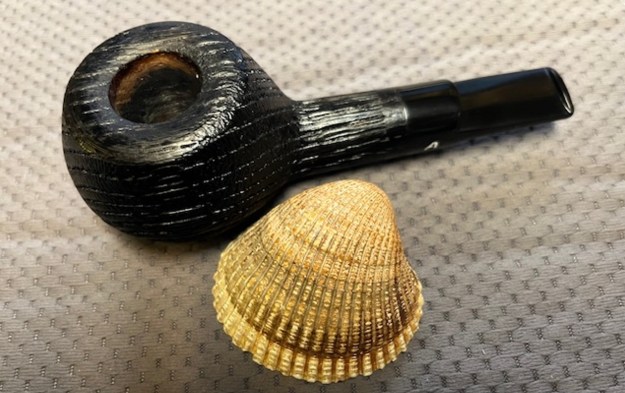
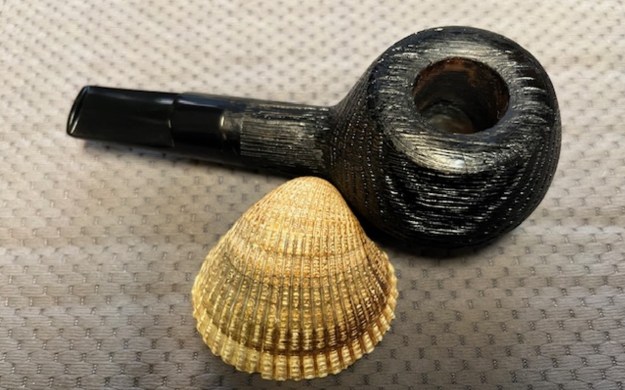
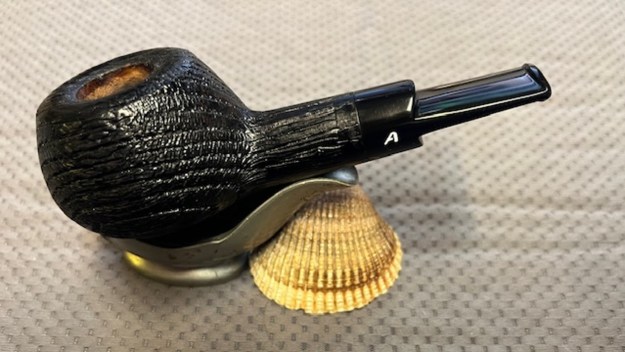
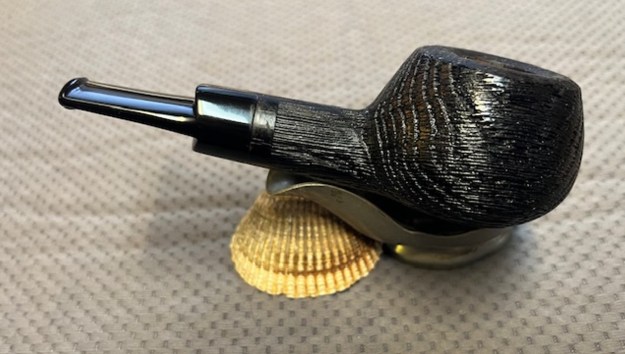
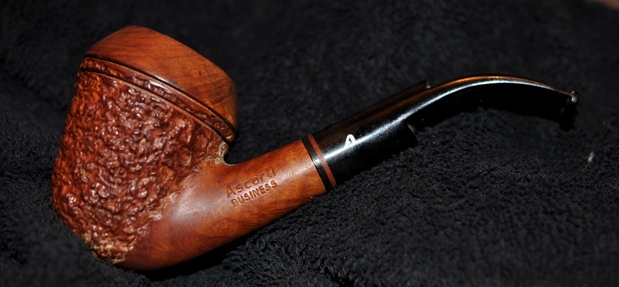
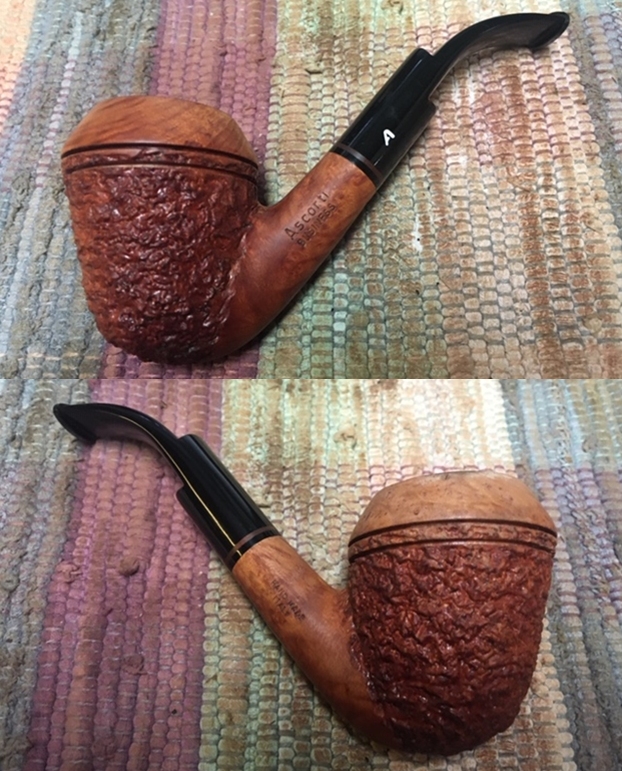
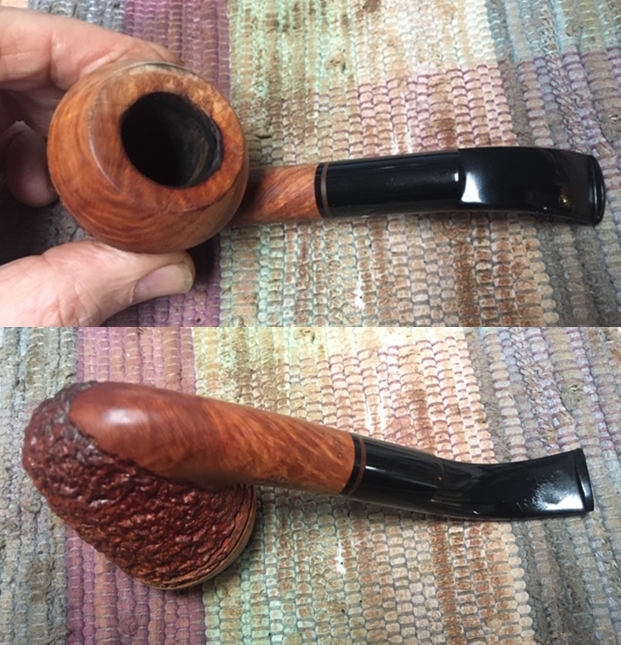
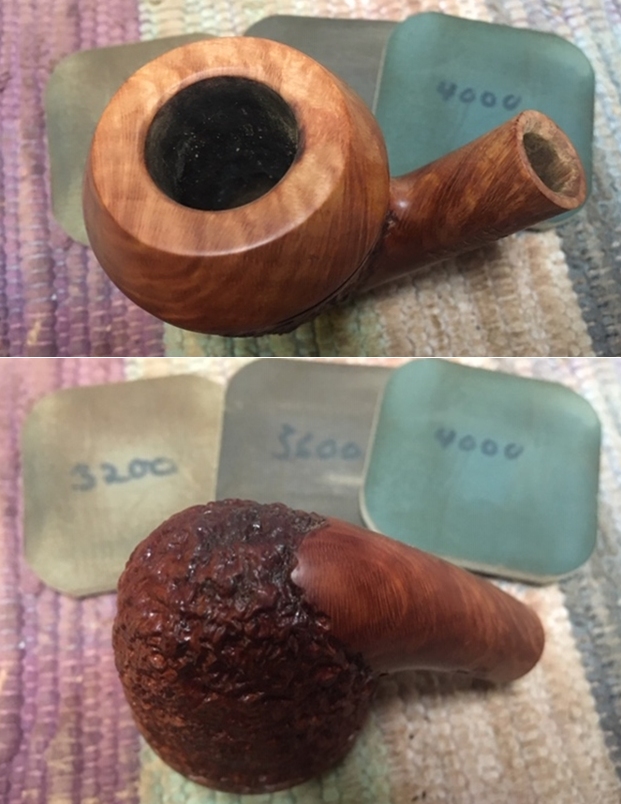
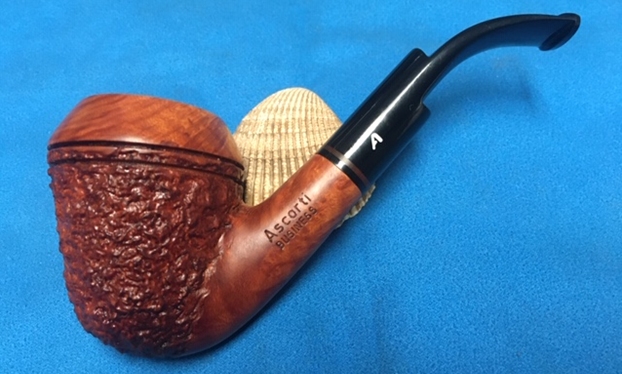
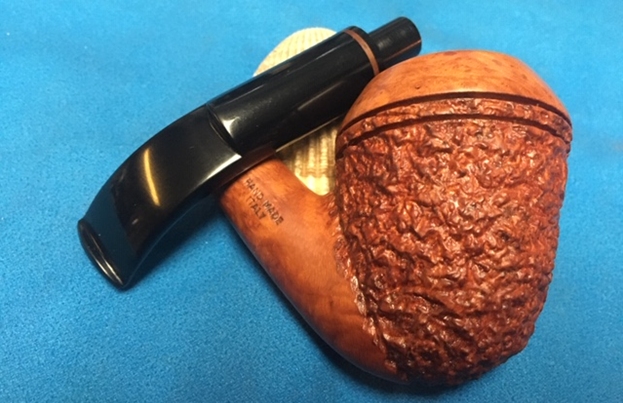
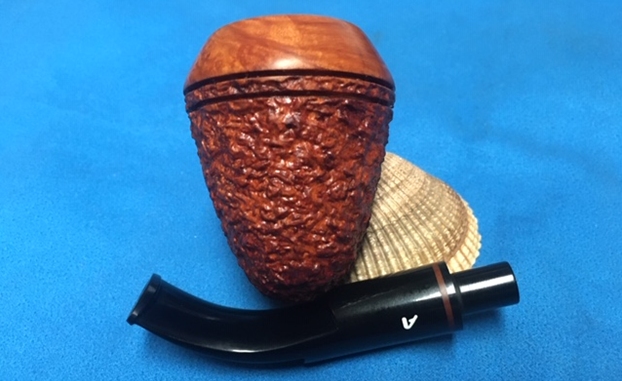
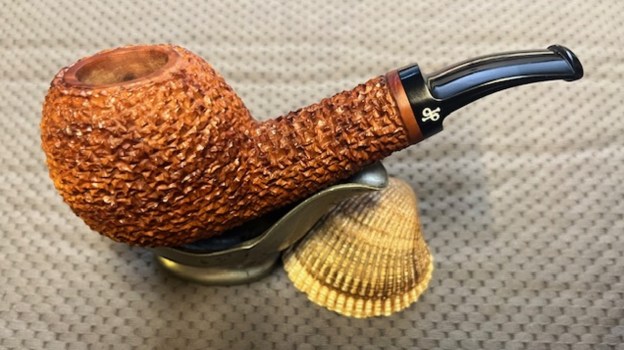
 This Posella RN Fatta A Mano Rusticated Apple was a pipe I was looking forward to seeing what it looked like when I put it back together. With the grime and debris gone from the finish and the bowl it was a beauty and the depths of the rustication just pop at this point. I put the acrylic stem back on the bowl and lightly buffed the pipe with Blue Diamond on the buffing wheel. I carefully avoided the stamping on the shank and stem during the process. I gave the bowl multiple coats of Conservator’s Wax and the stem multiple coats of carnauba wax on the buffing wheel and followed that by buffing it with a clean buffing pad on the buffer. I hand buffed the pipe with a microfiber cloth to deepen the shine. The finished pipe is quite beautiful and is a lovely large bowl apple shaped pipe. The natural colour of the rusticated briar is very well chosen and shows depth in the finish. Give the finished Posella RN Rusticated Apple a look in the photos below. I can only tell you that it is much prettier in person than the photos capture. The dimensions of the pipe are Length: 5 inches, Height: 1 ¾ inches, Outside diameter of the bowl: 1 ¼ inches, Chamber diameter: ¾ of an inch. The weight of the pipe is 63 grams/2.22 ounces. I really like the unique rustication around the bowl and shank. This is a great looking pipe in great condition. Thanks for walking through the restoration with me as I worked over another beautiful pipe. I may hold onto this one – at least for awhile! Thanks for your time.