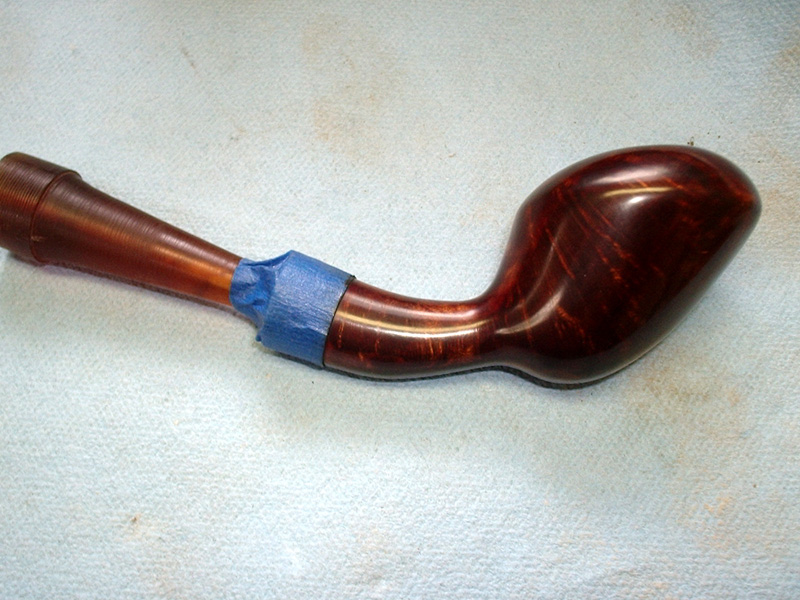
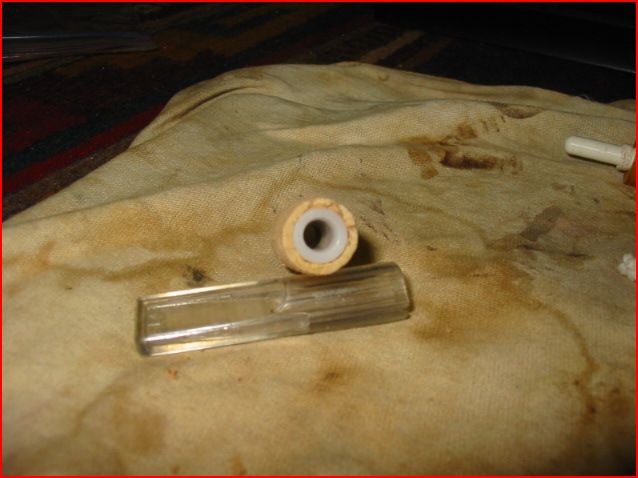
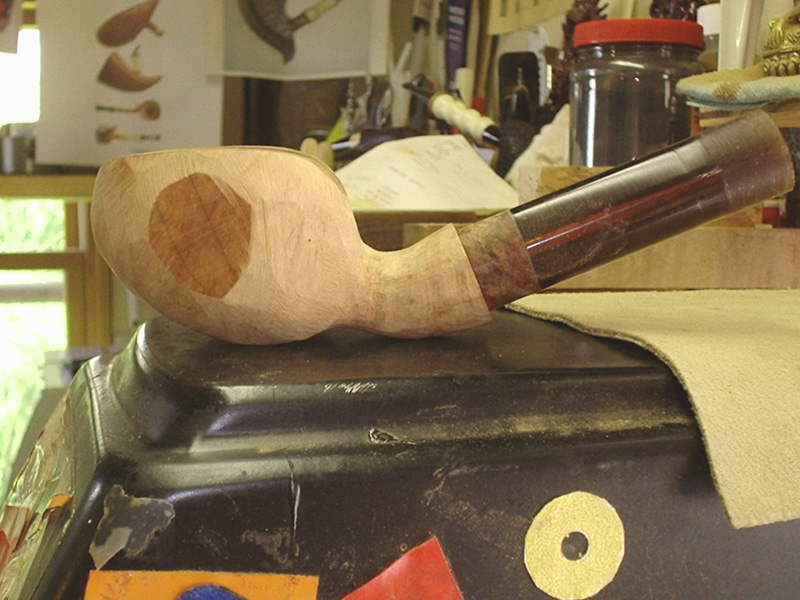
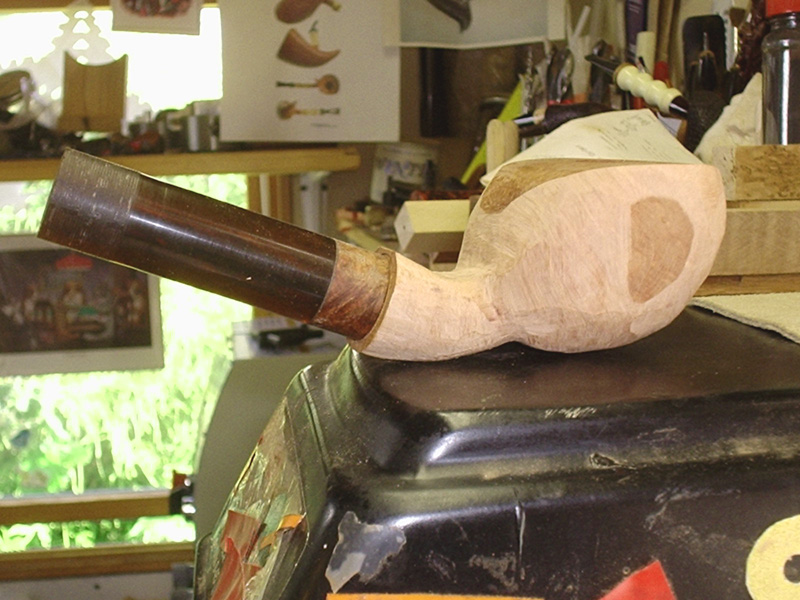
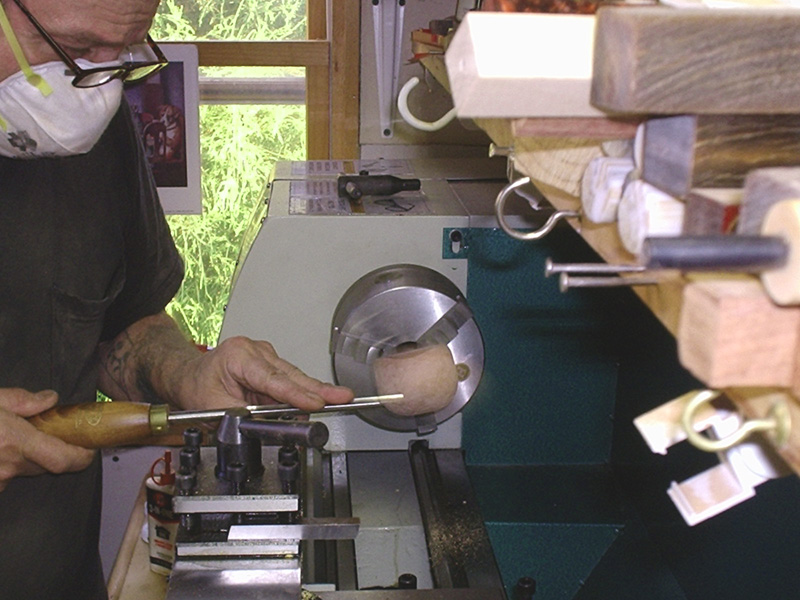
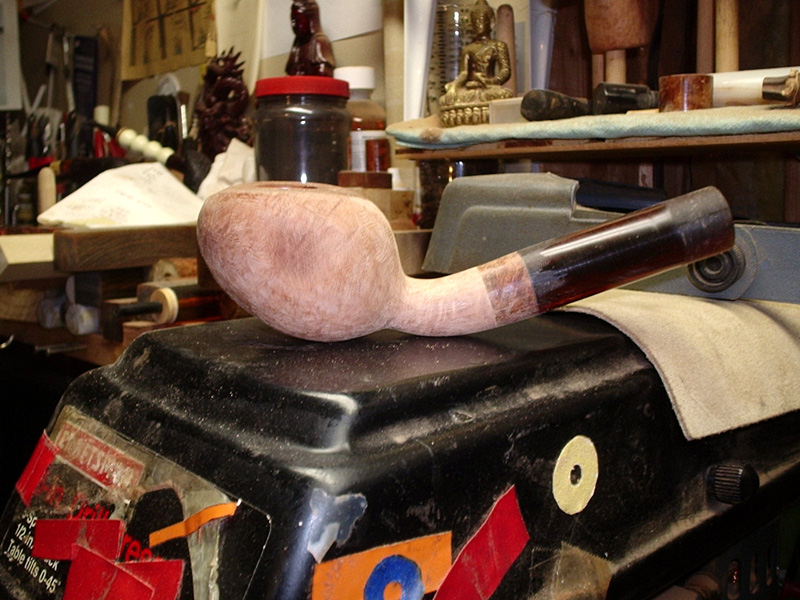
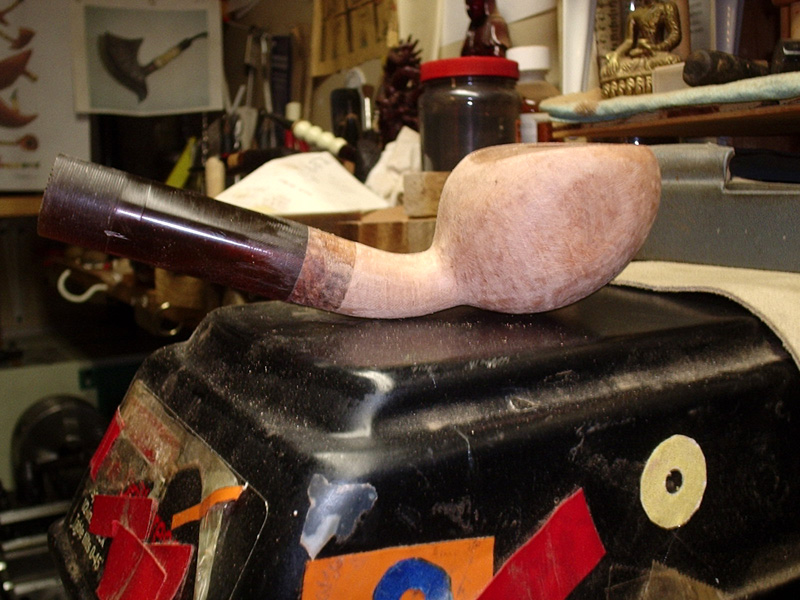
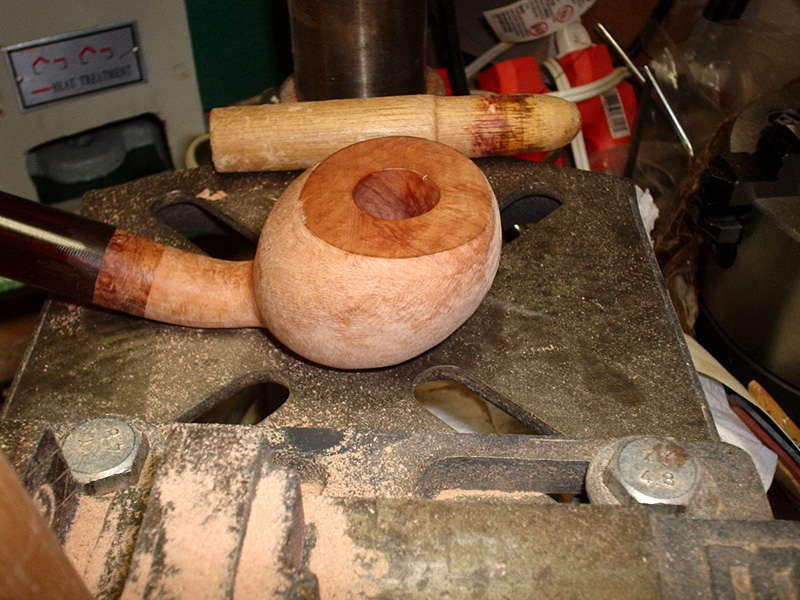
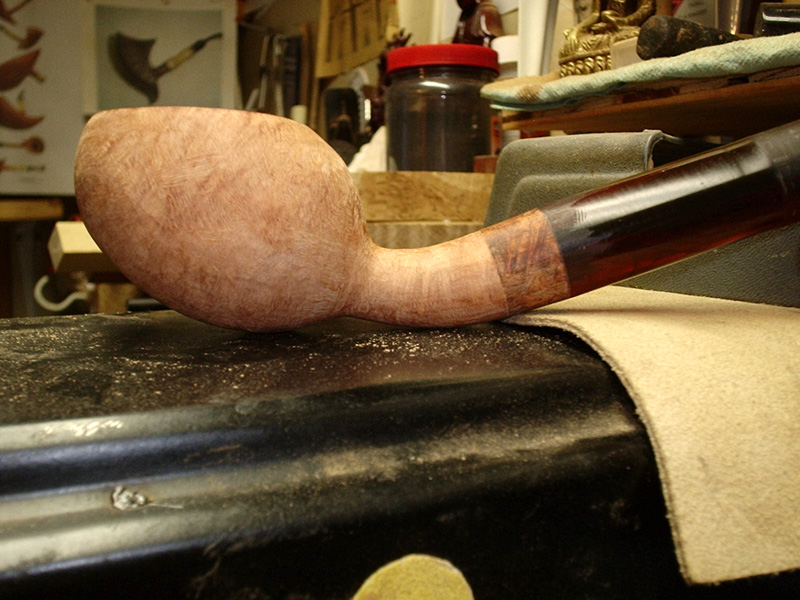
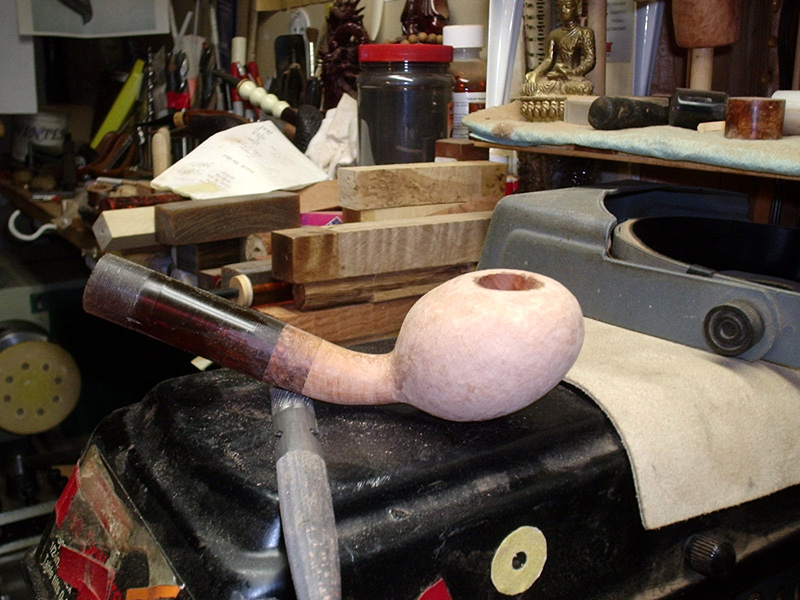
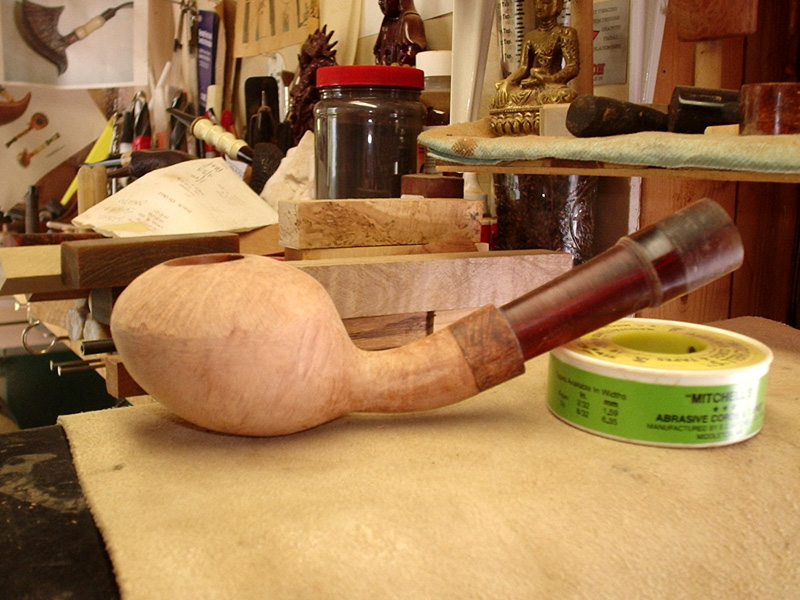
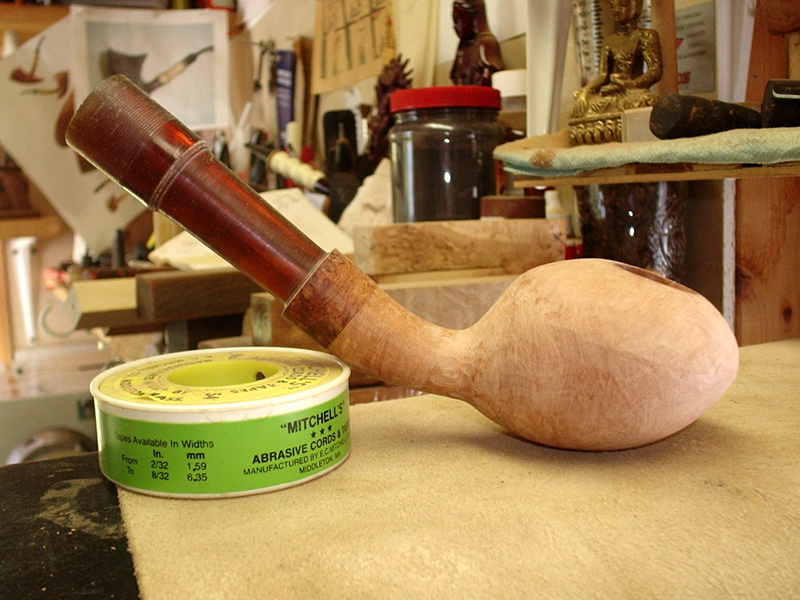
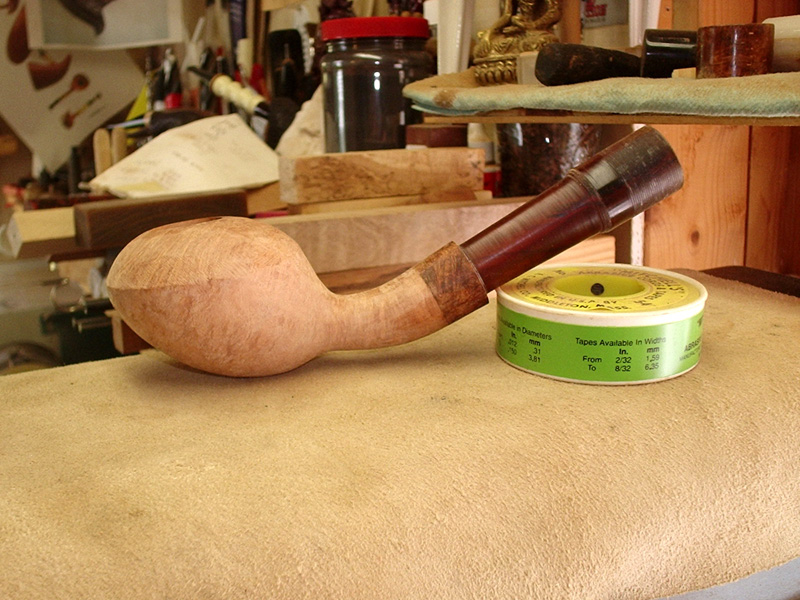
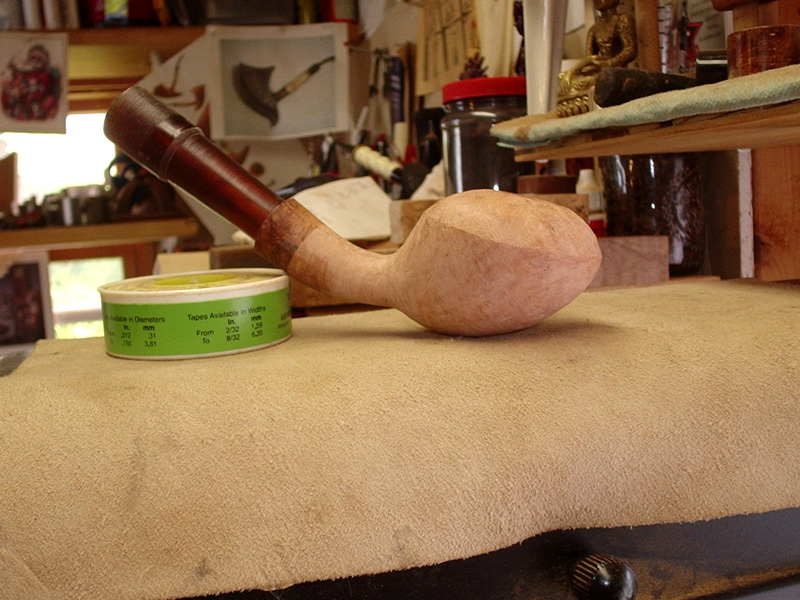
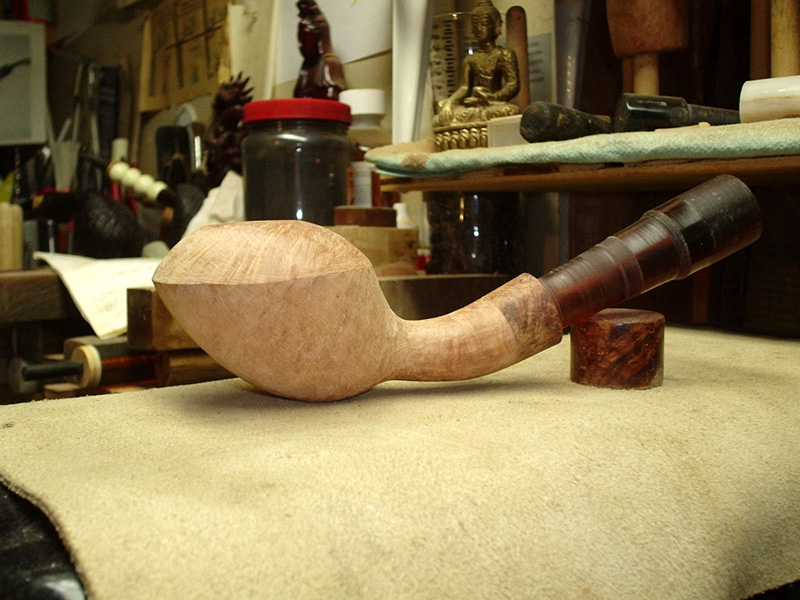
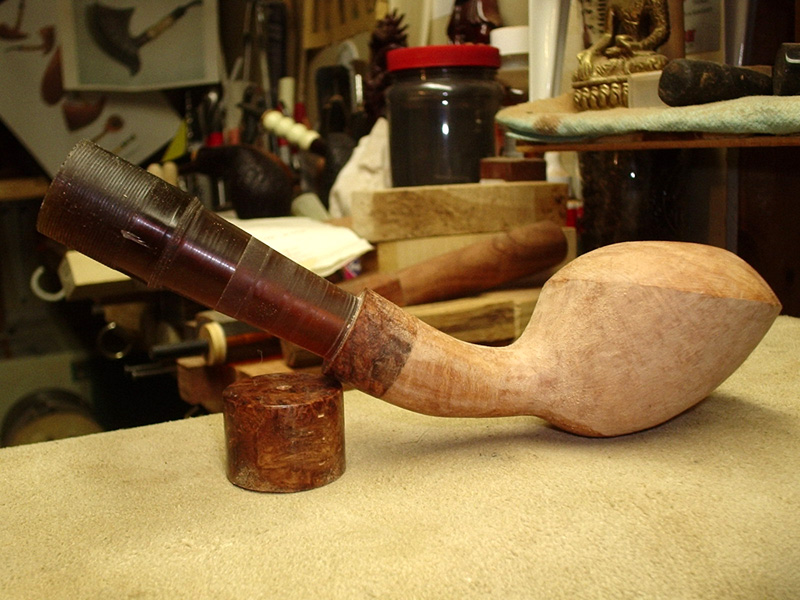
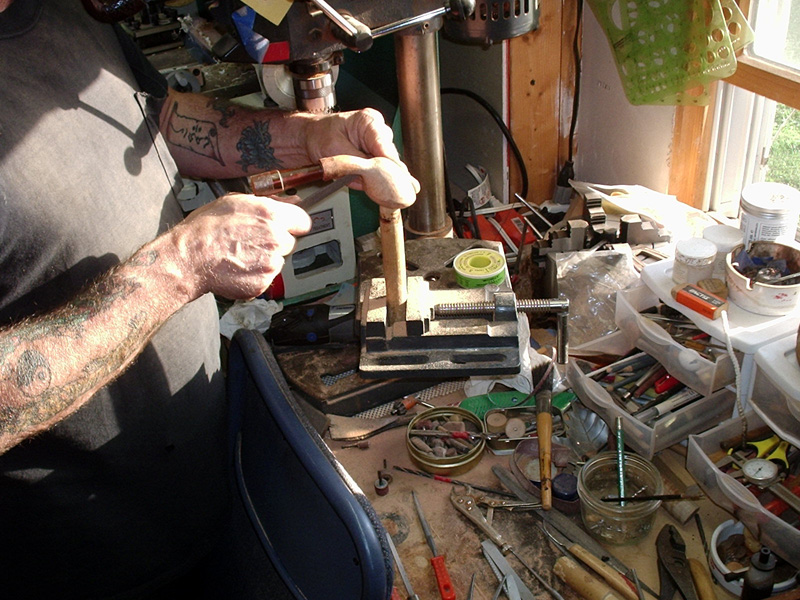
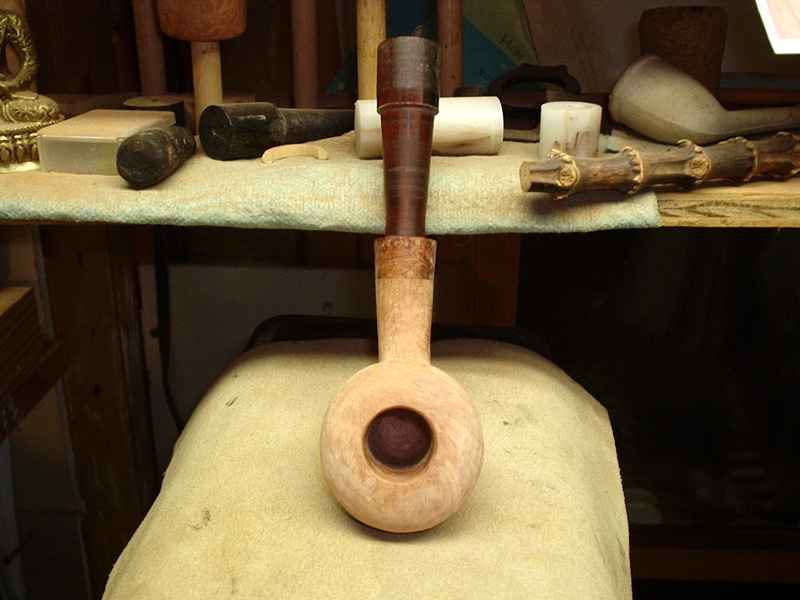
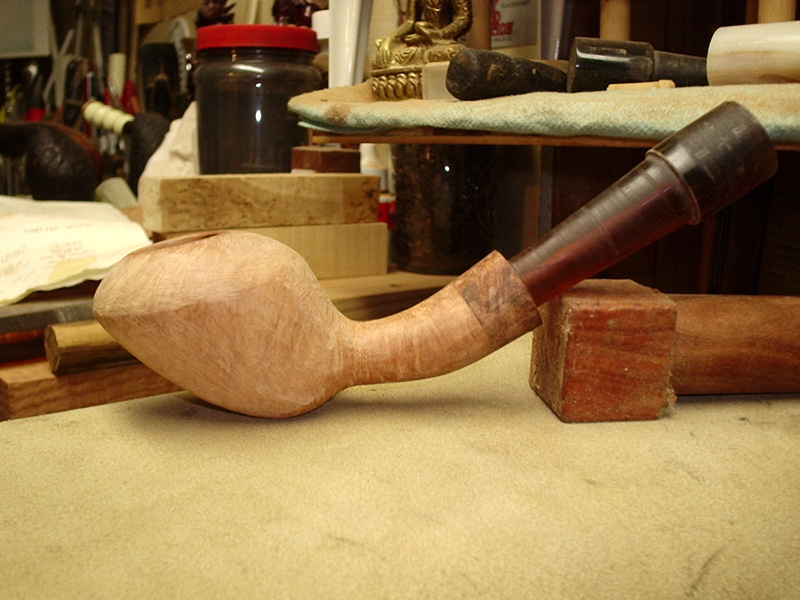
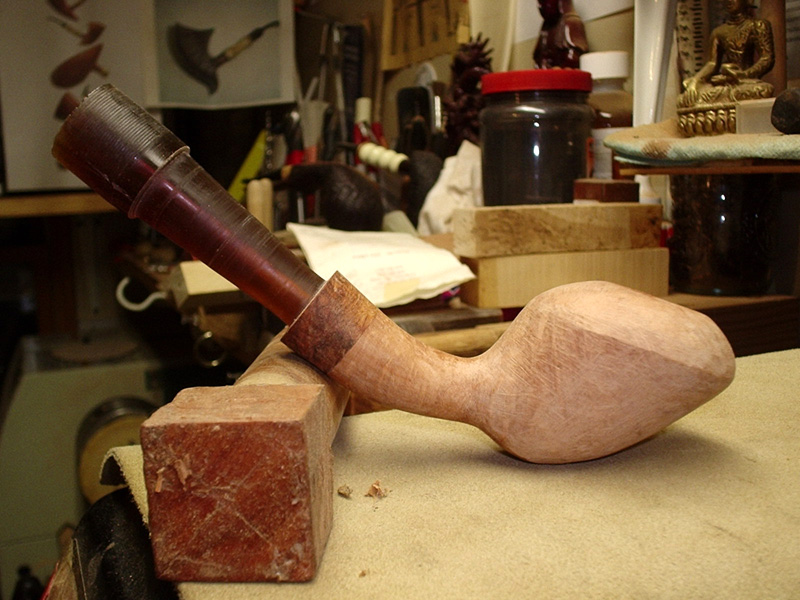
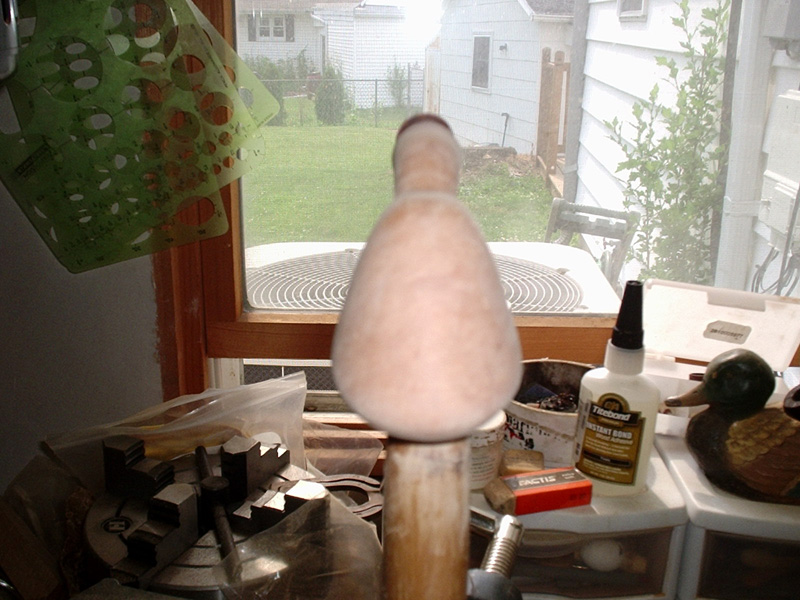
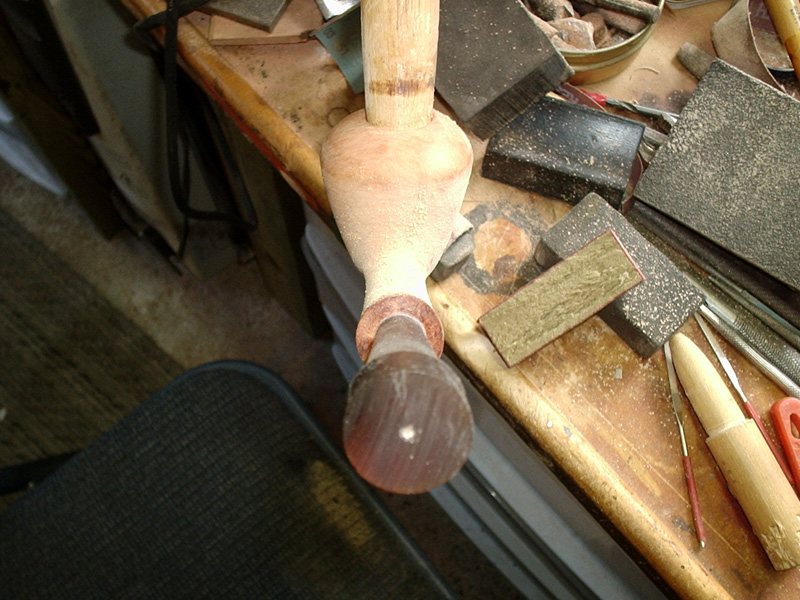
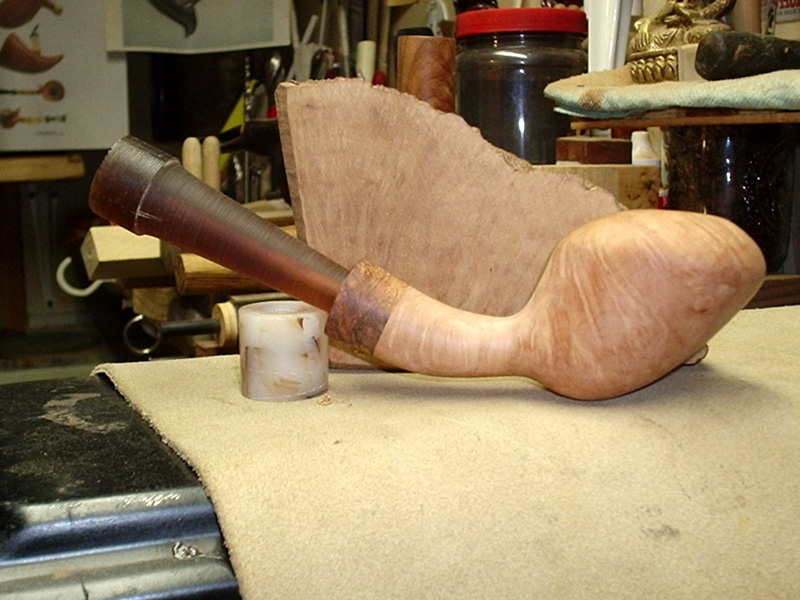
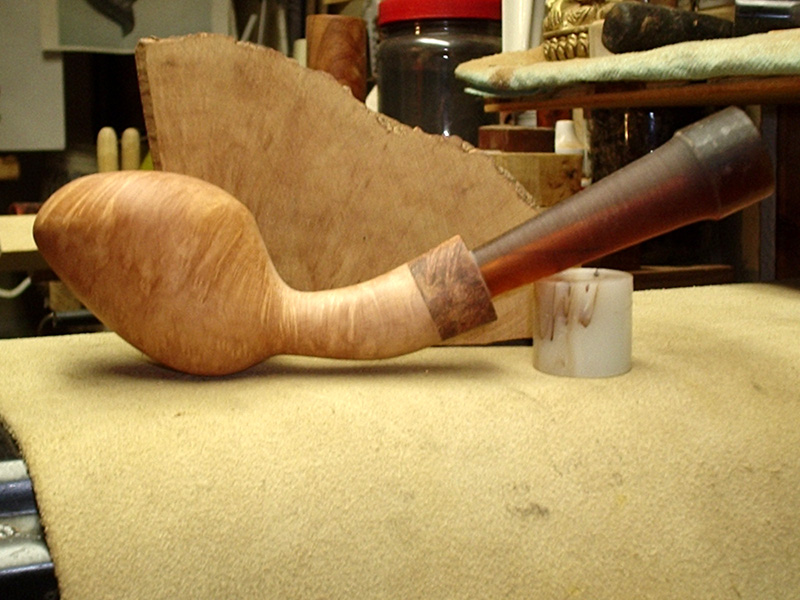
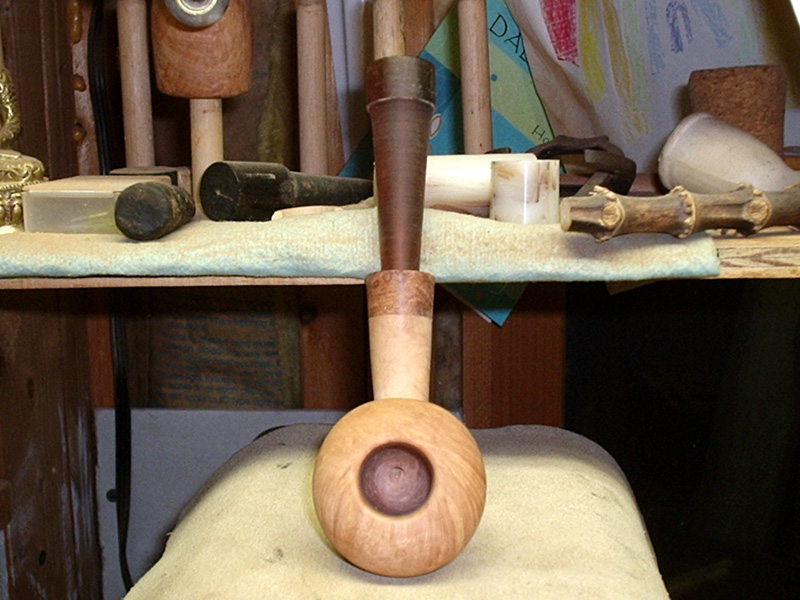
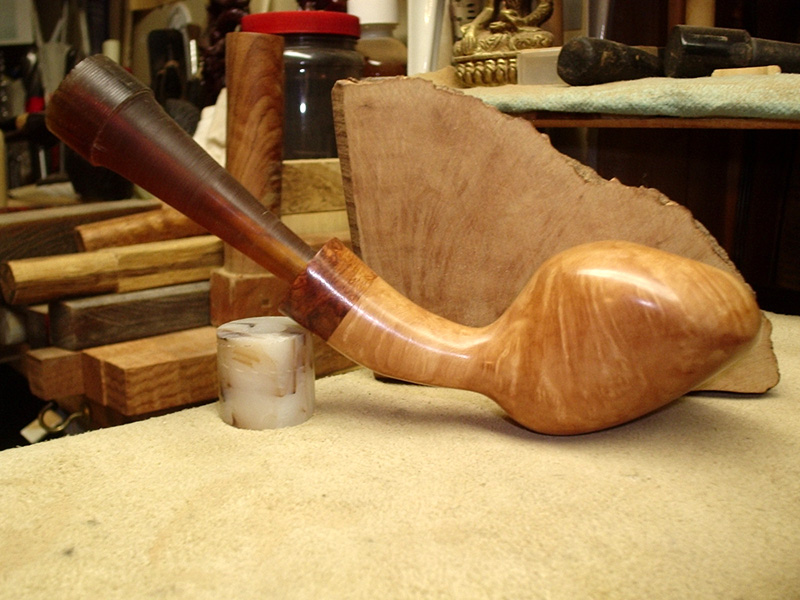
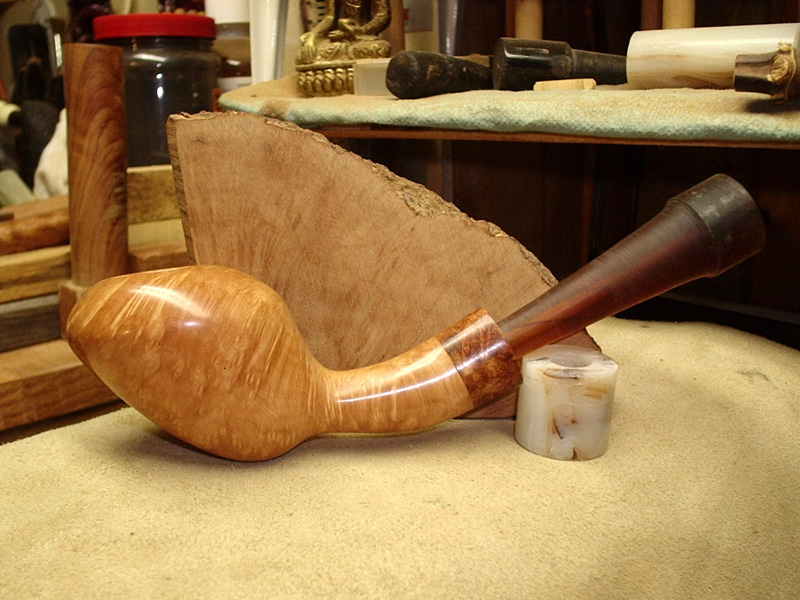
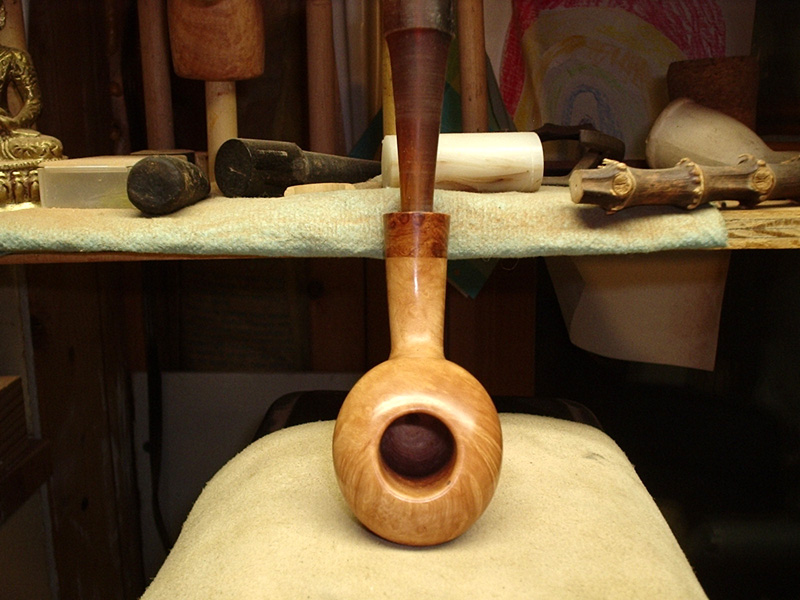
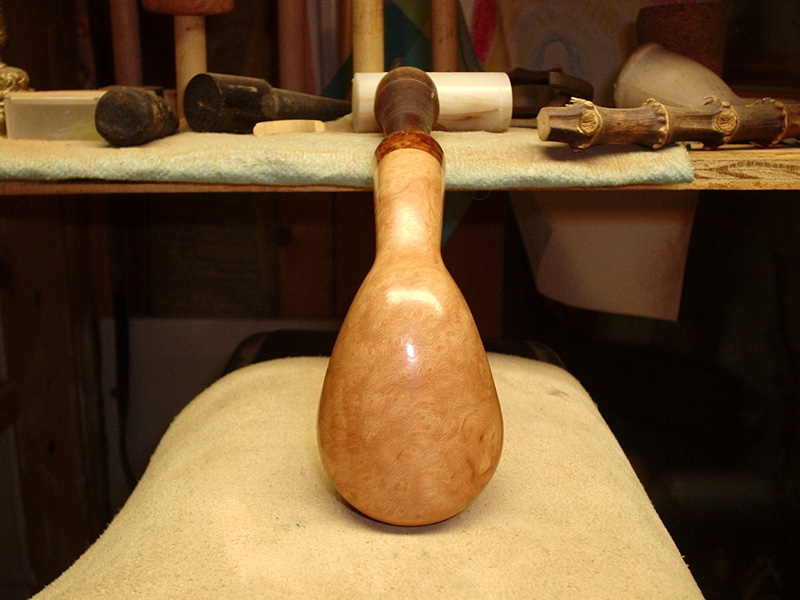
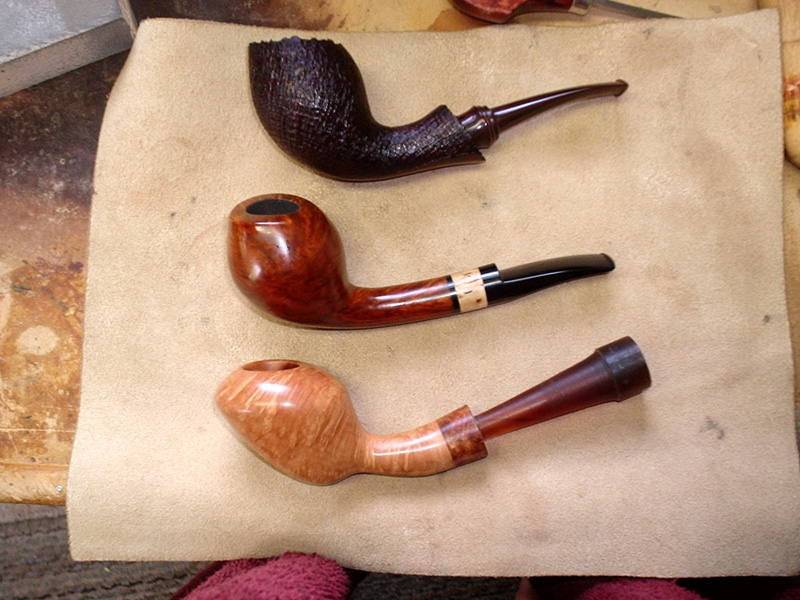
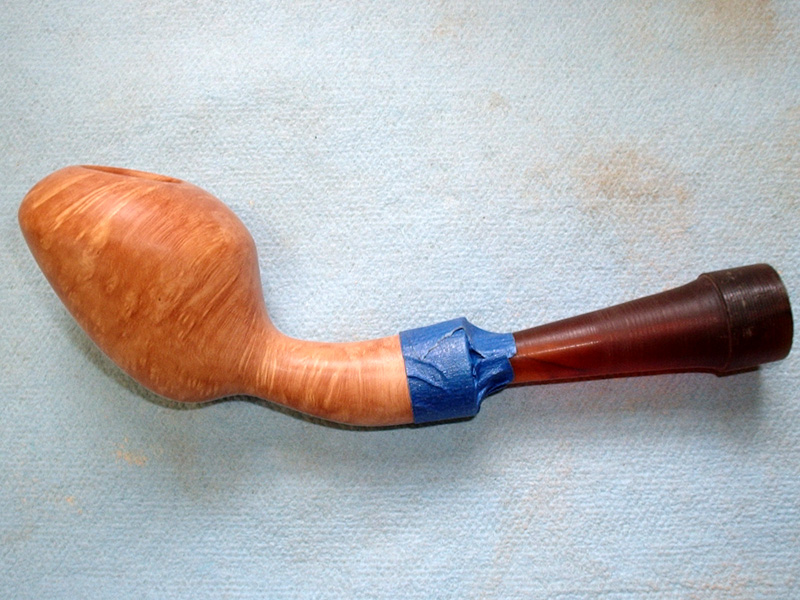
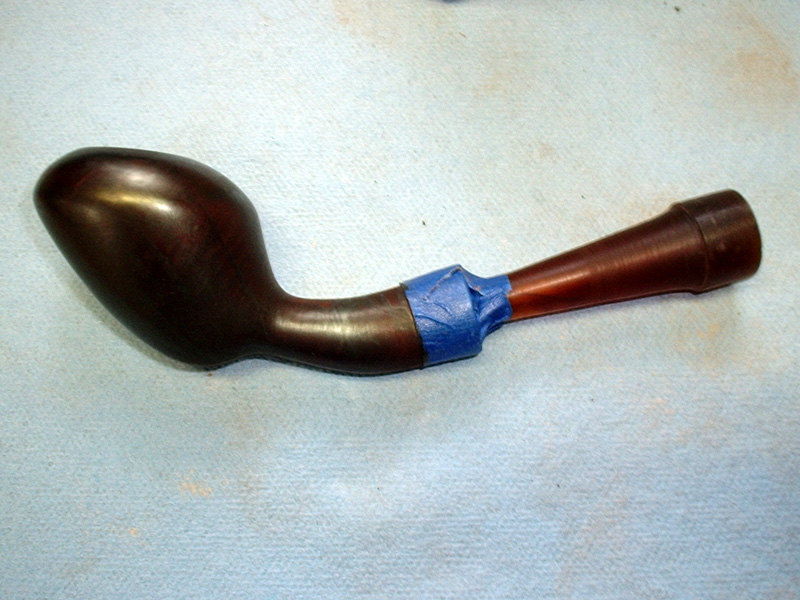
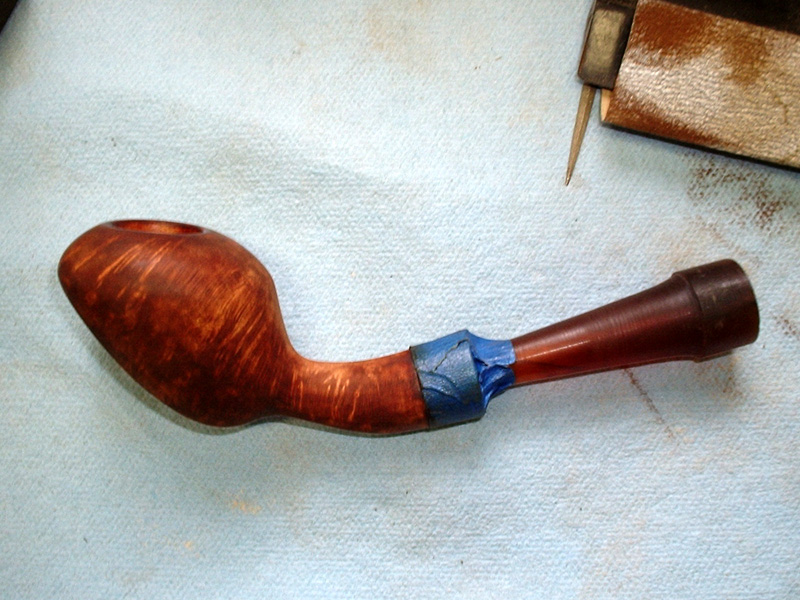
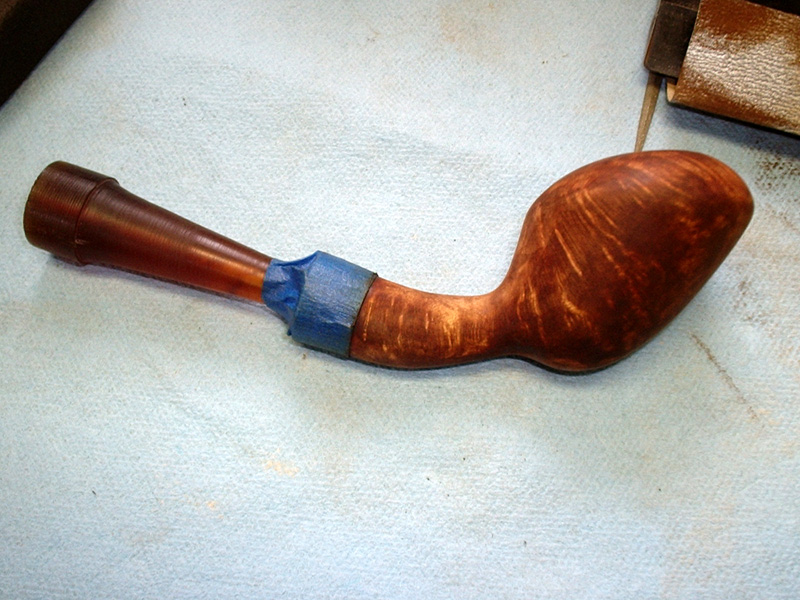
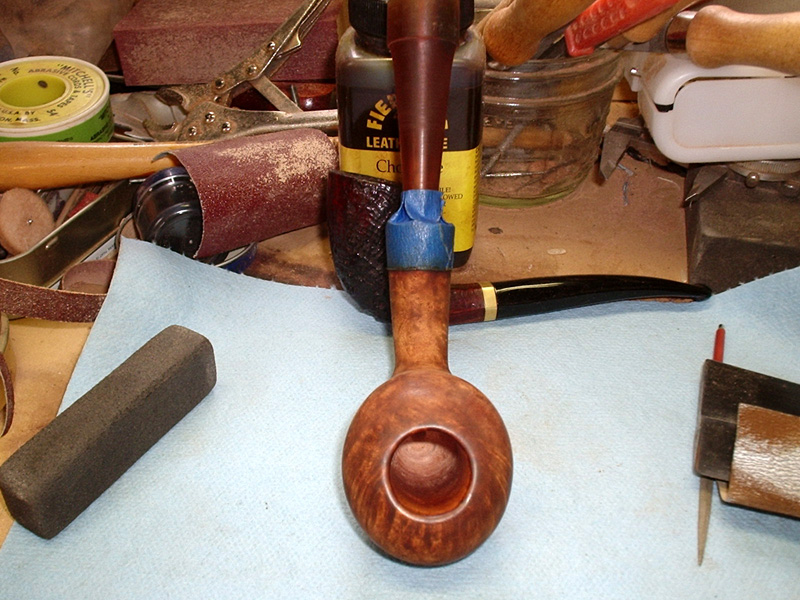
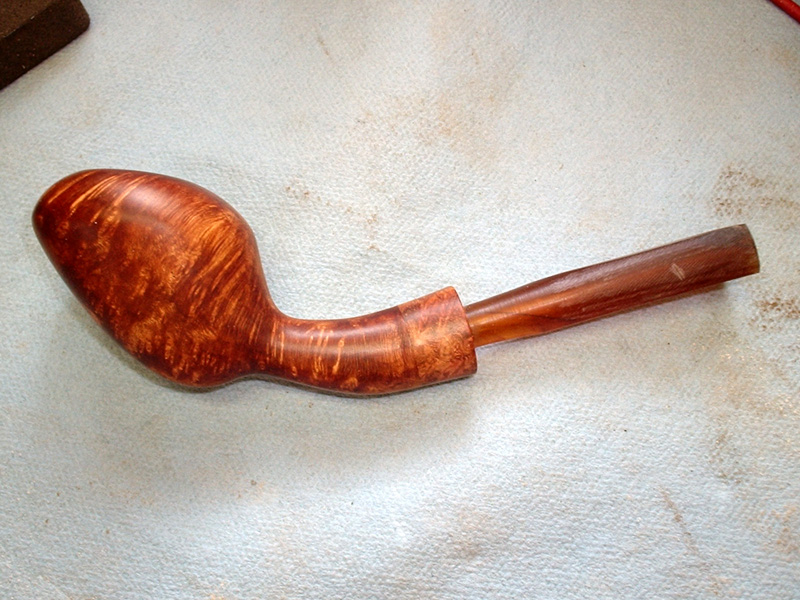
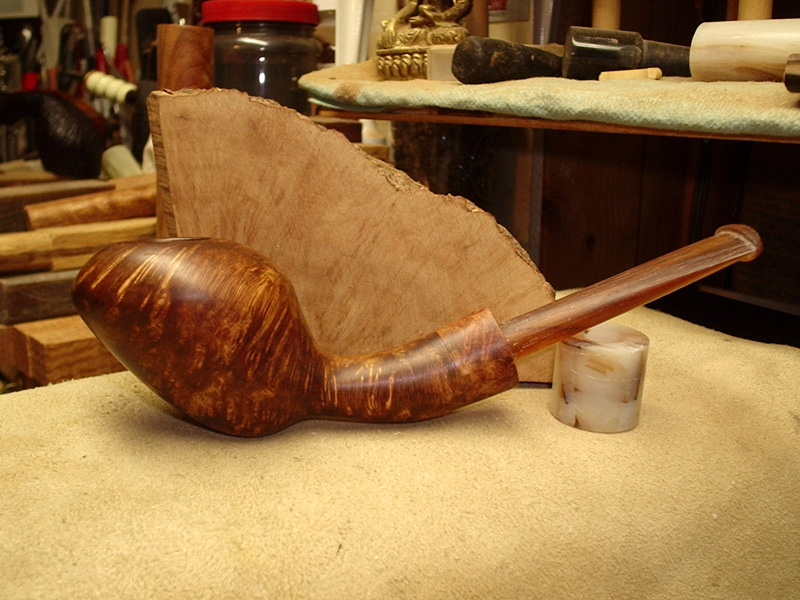
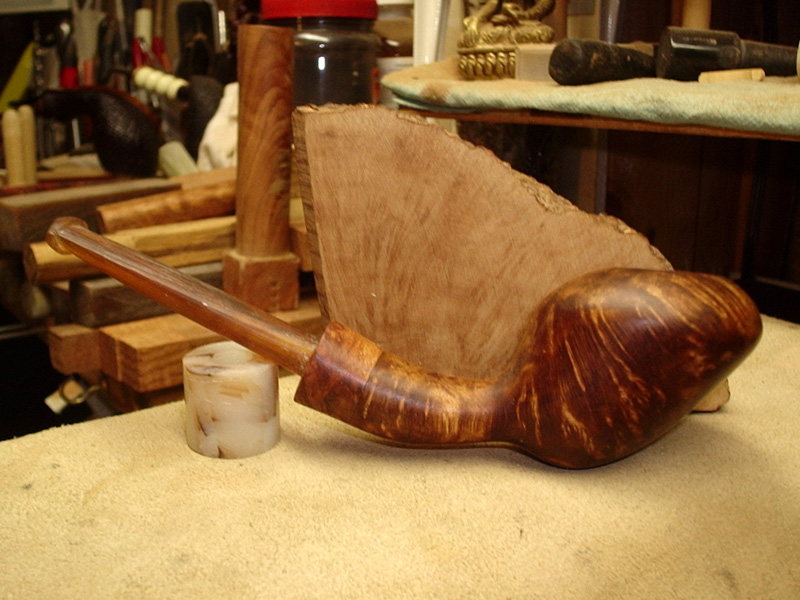
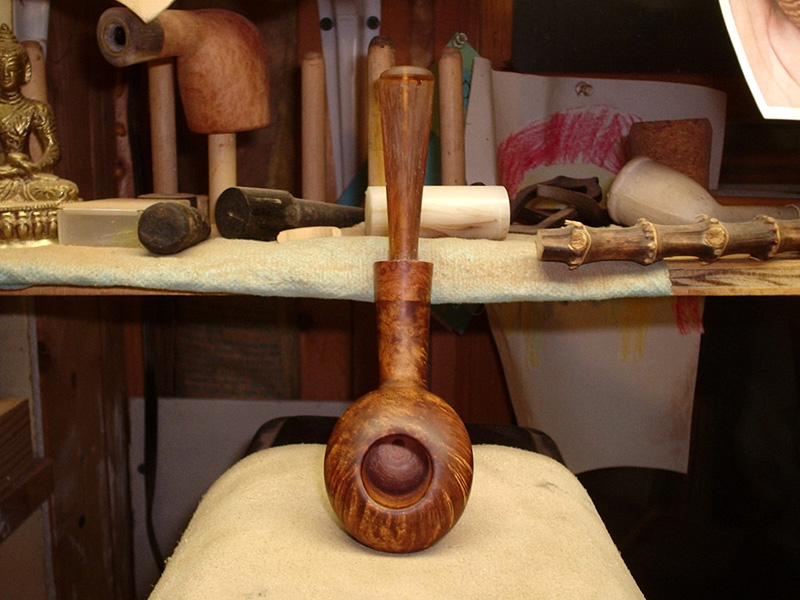
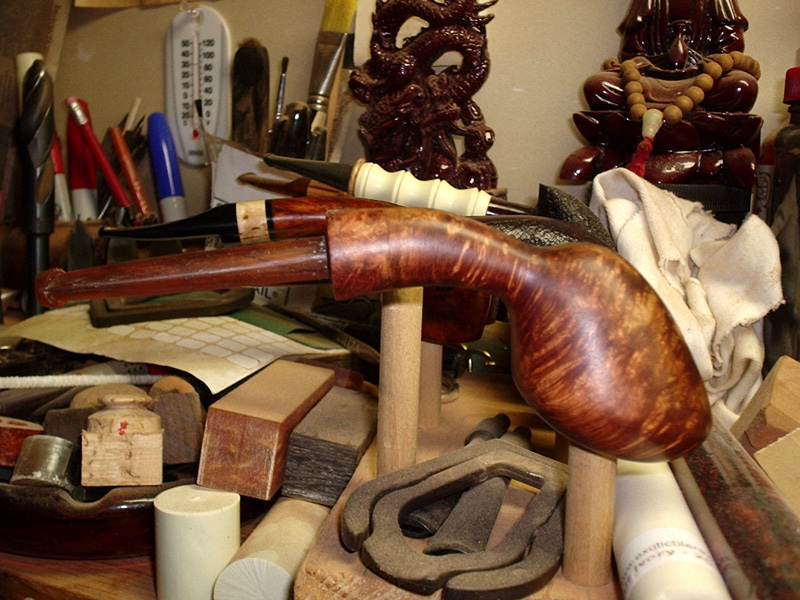
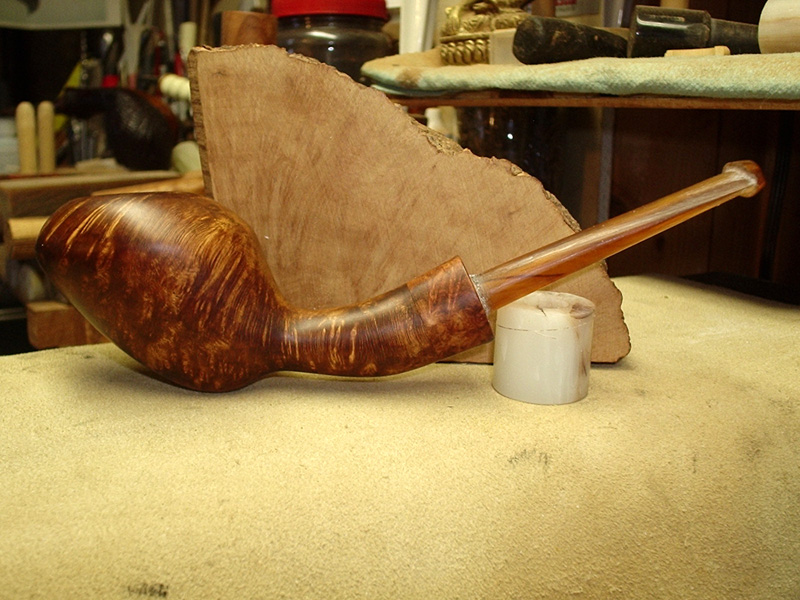
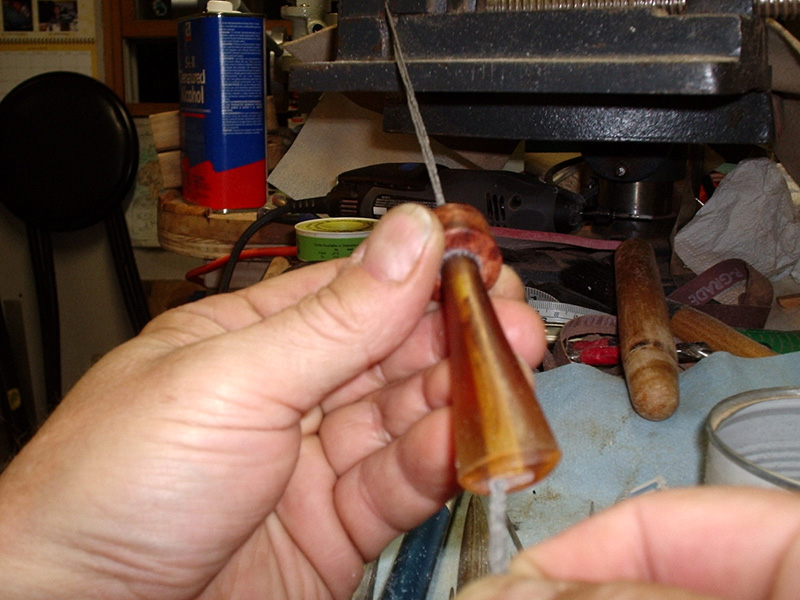
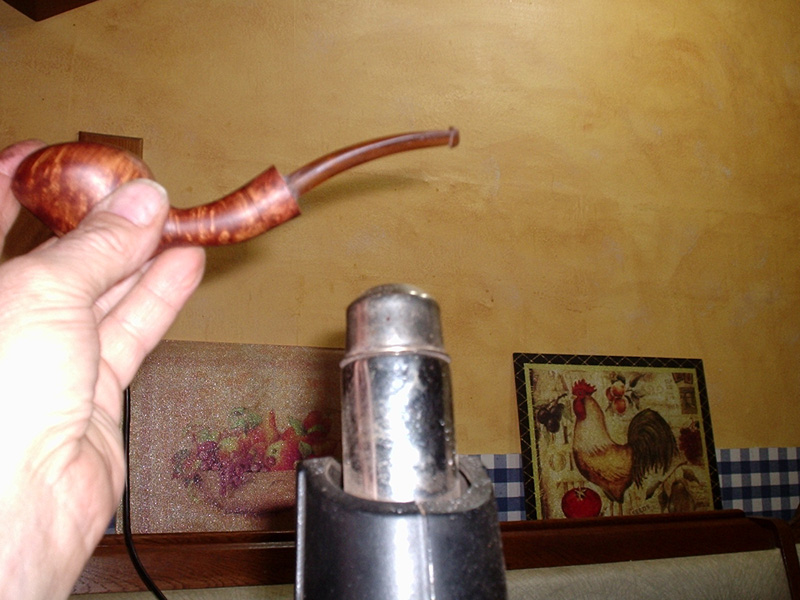
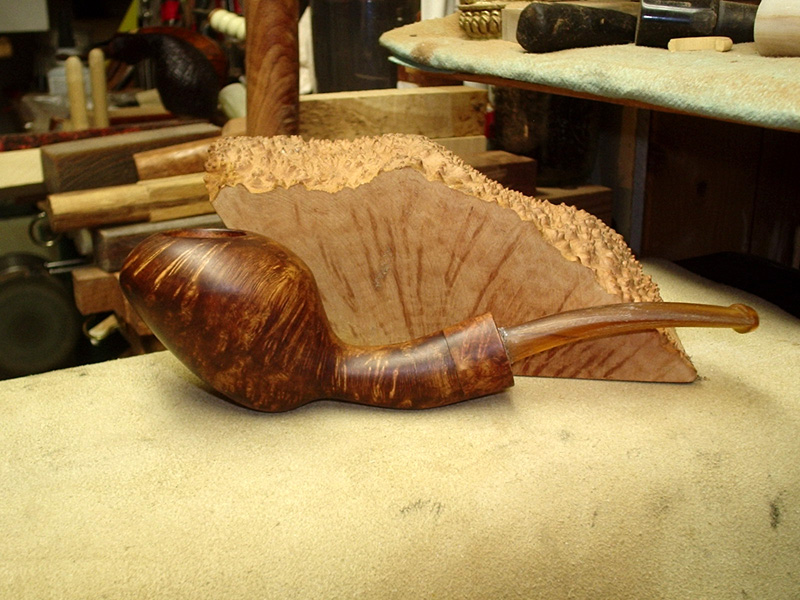
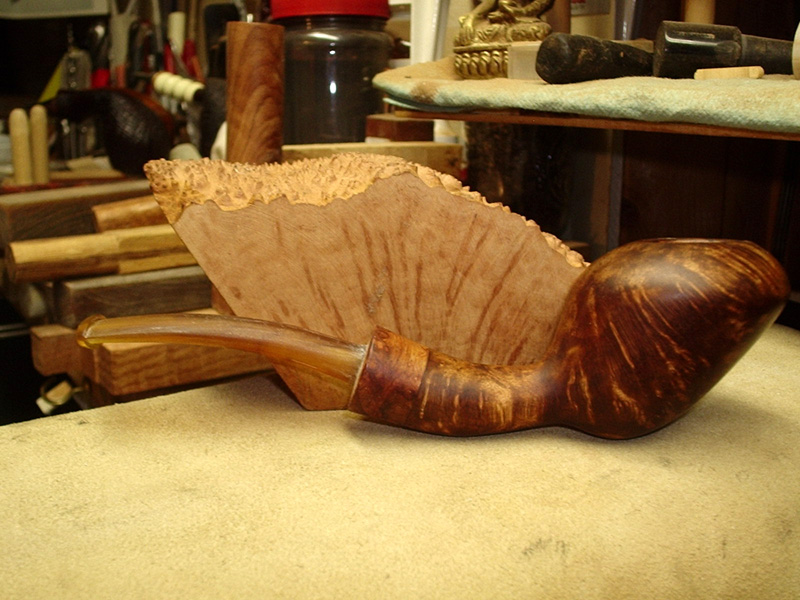
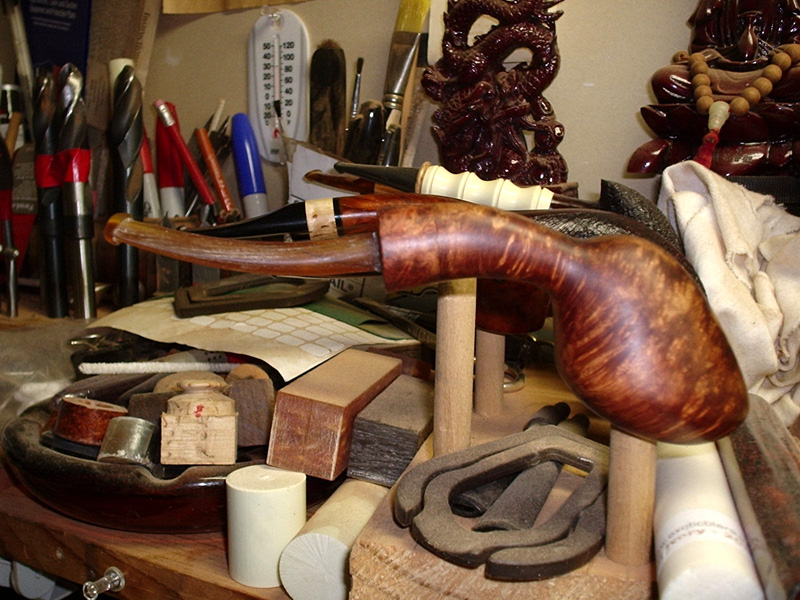
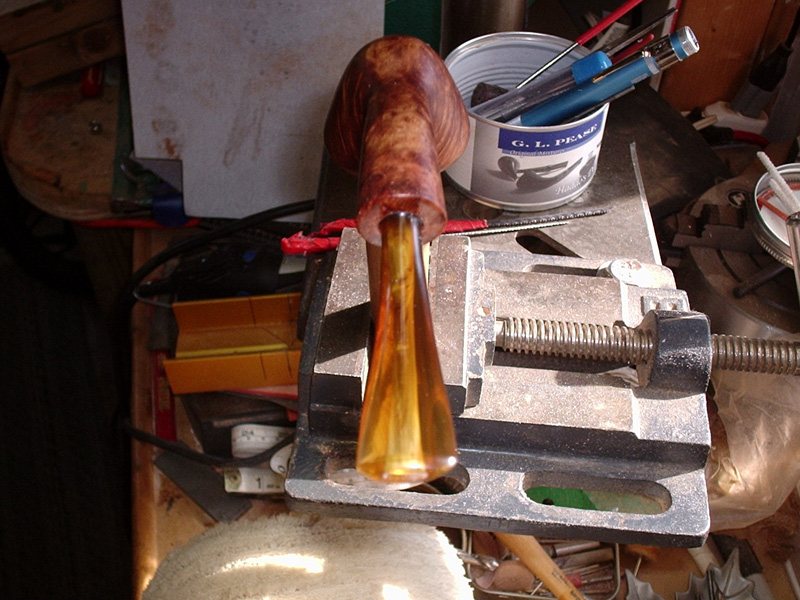
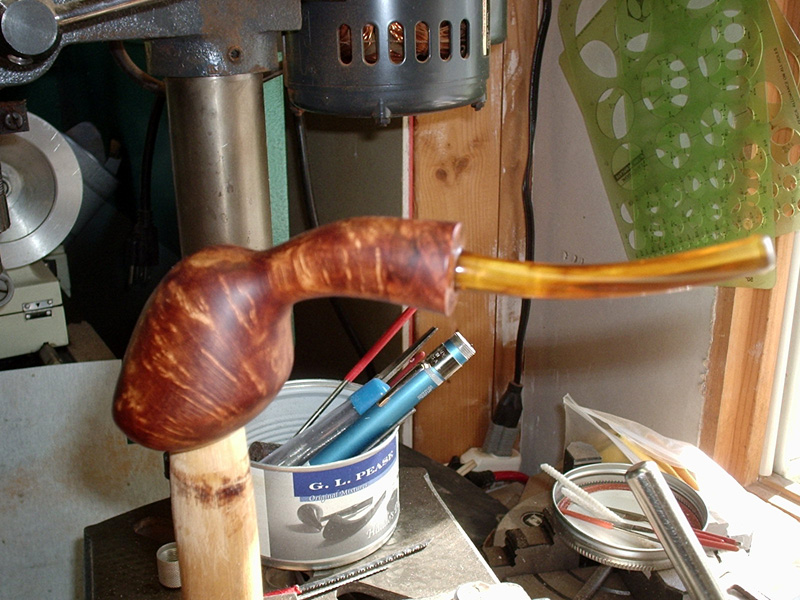
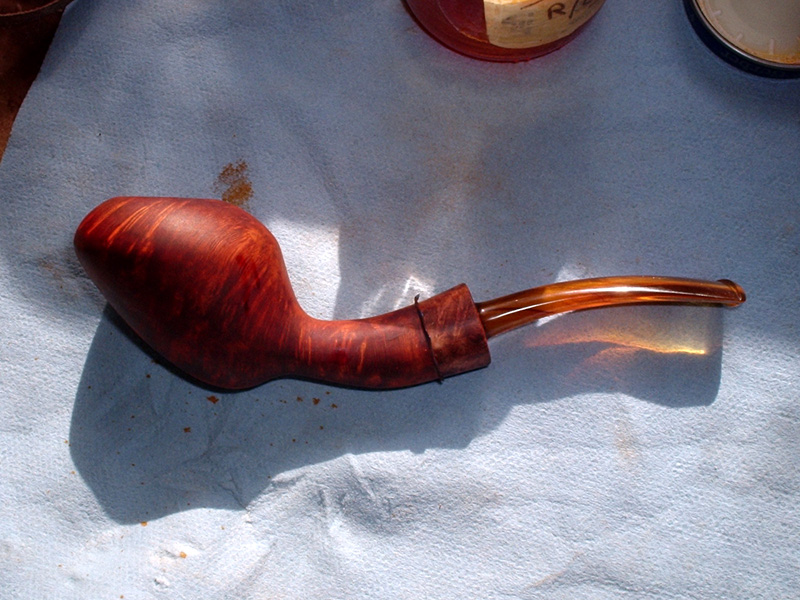
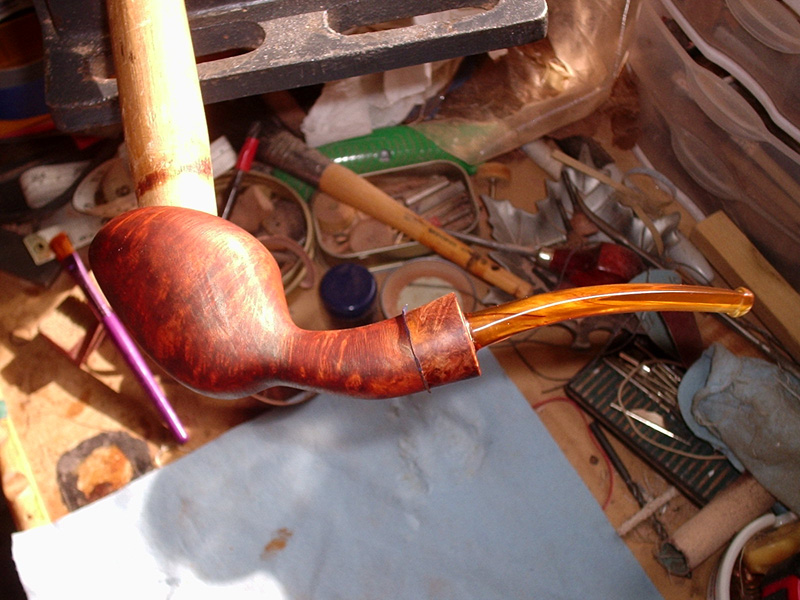
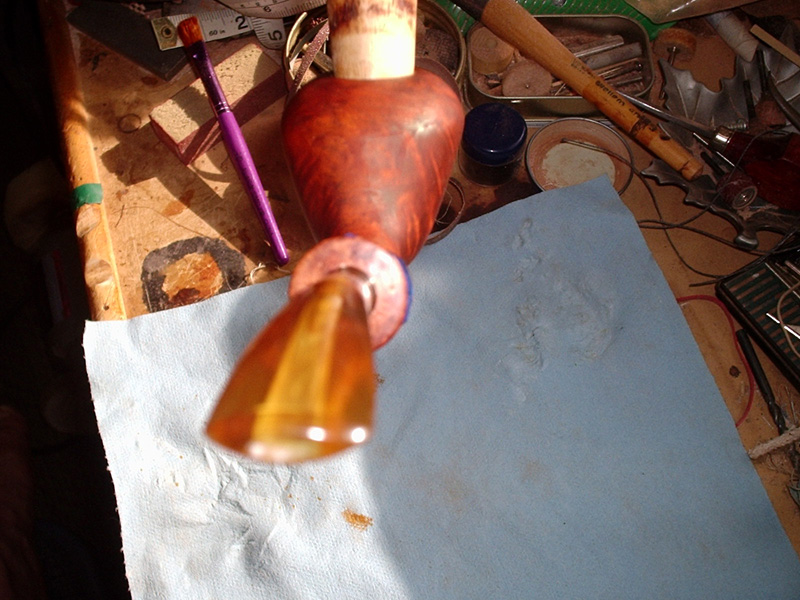
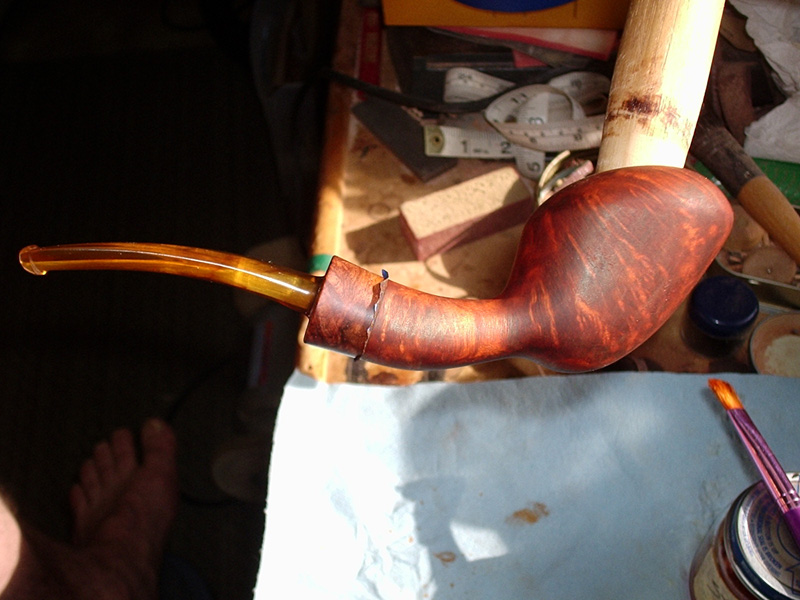
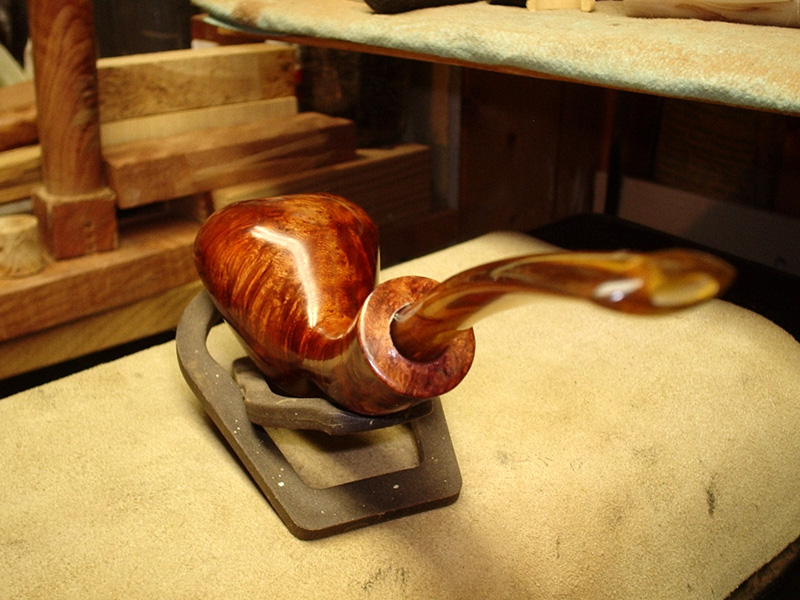
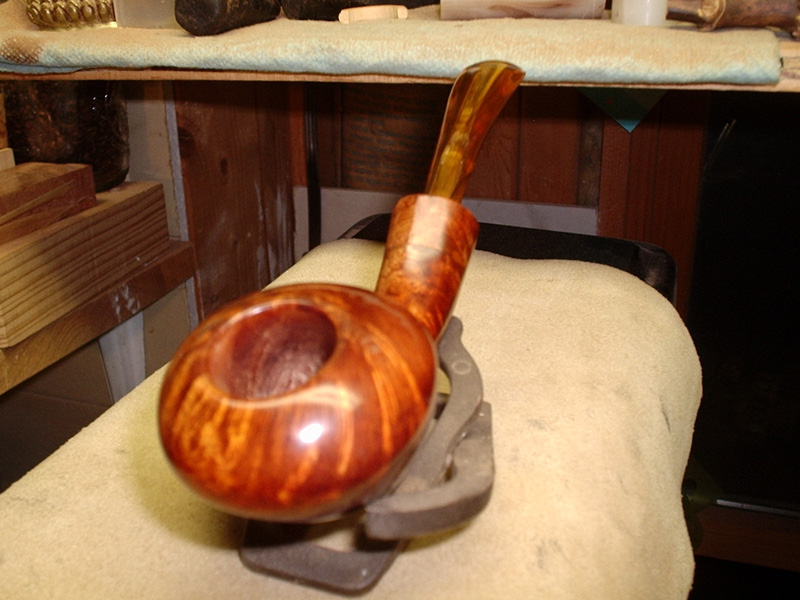
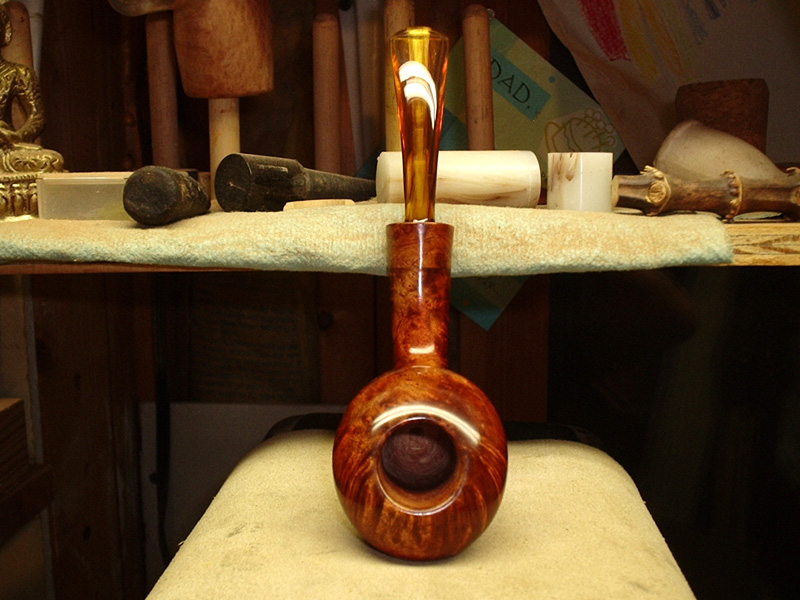
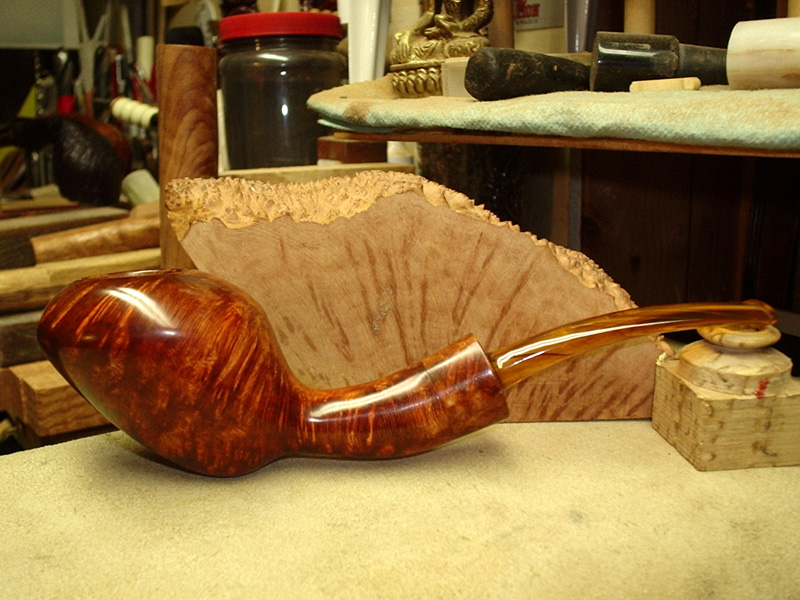
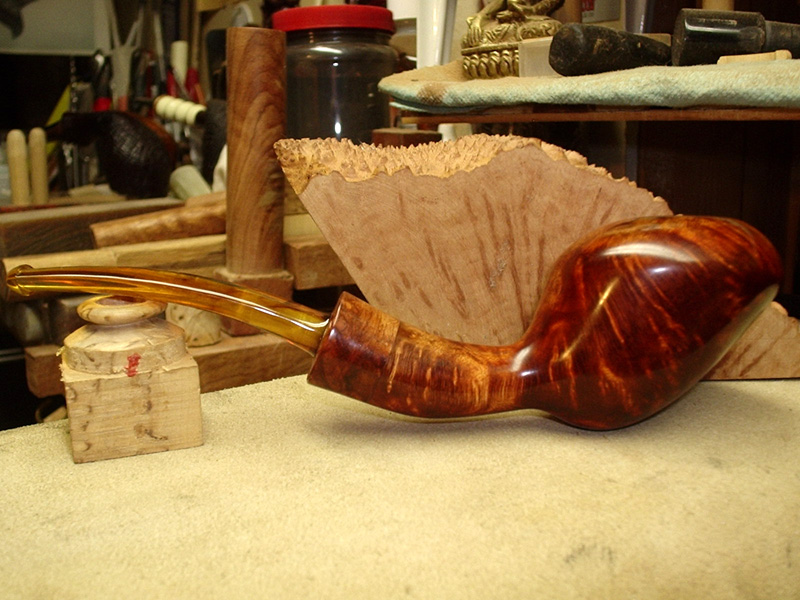
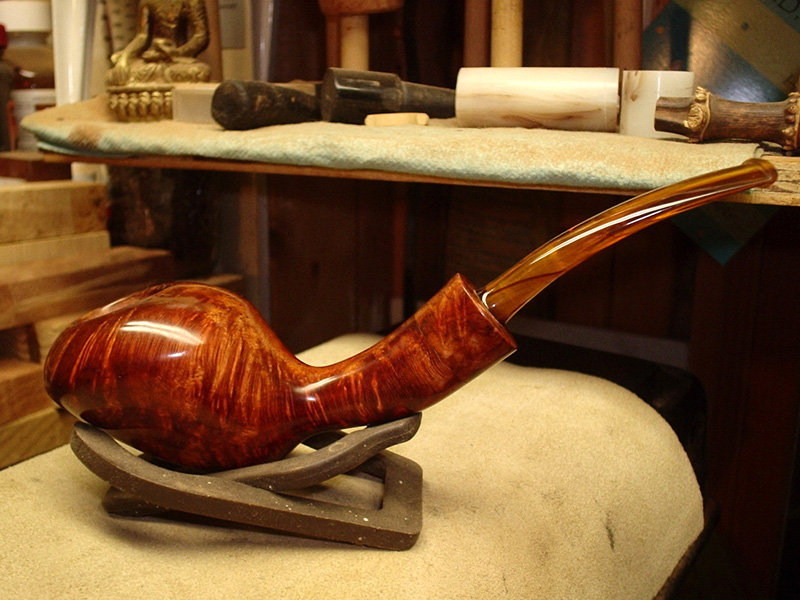
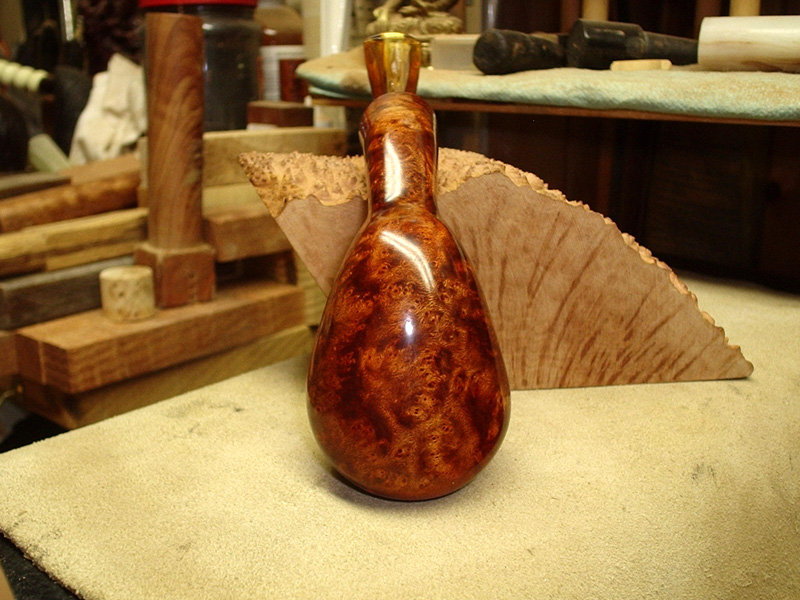
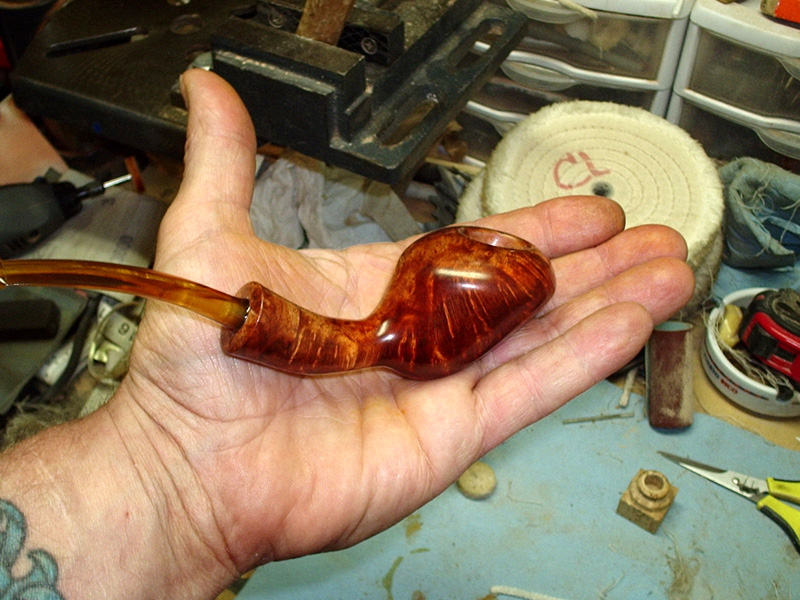
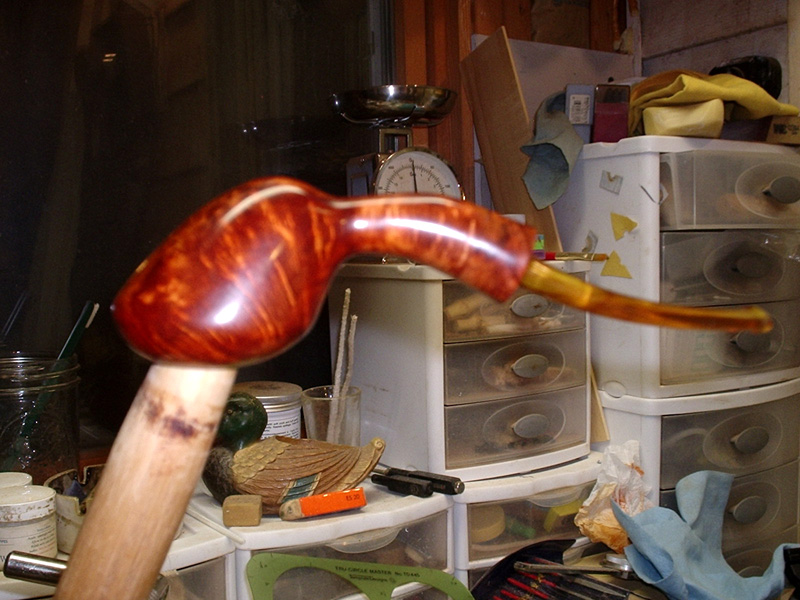
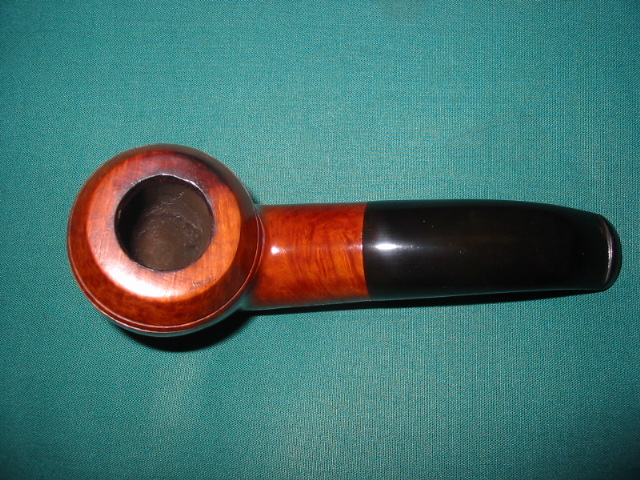
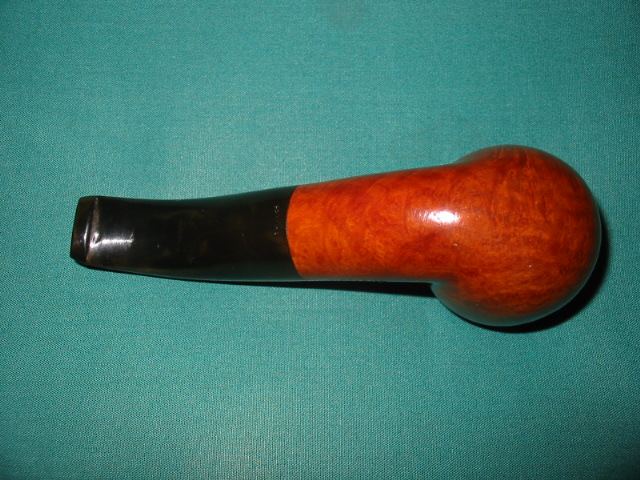
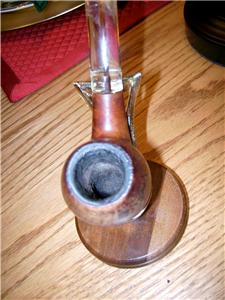
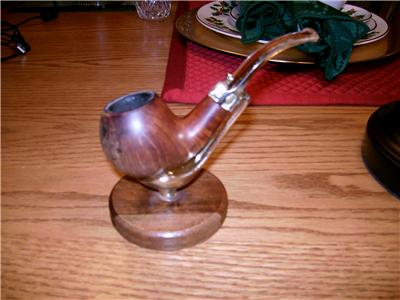
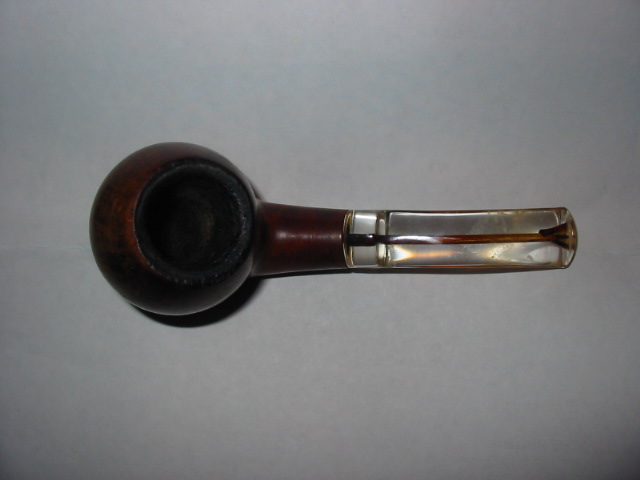
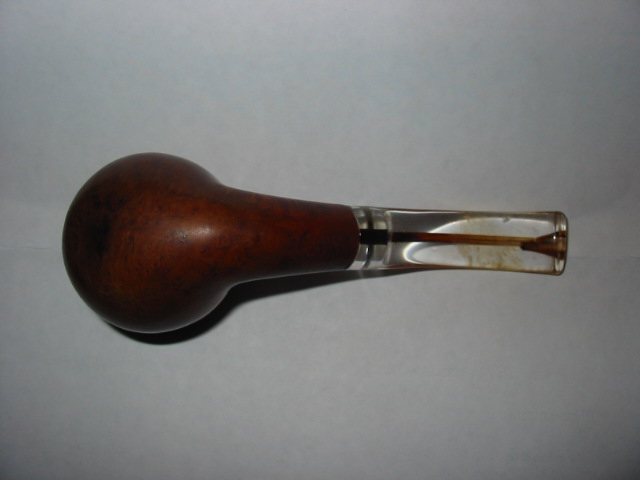
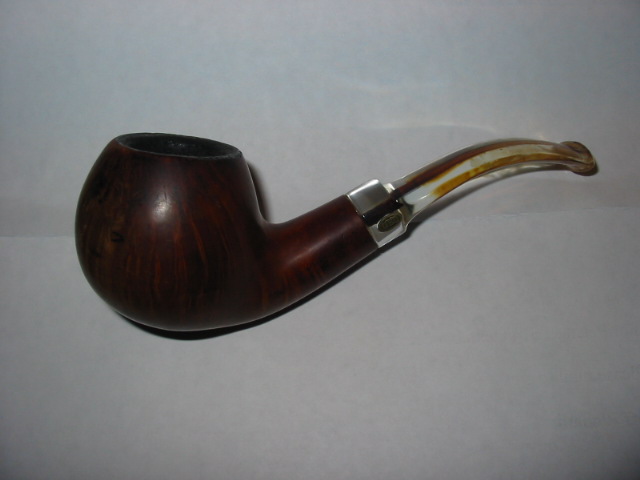
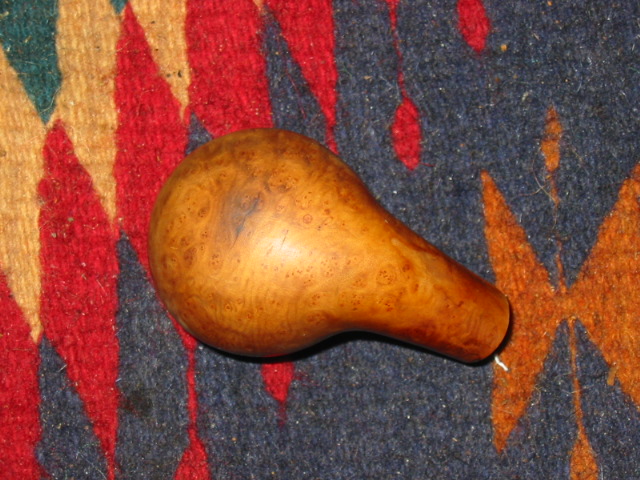
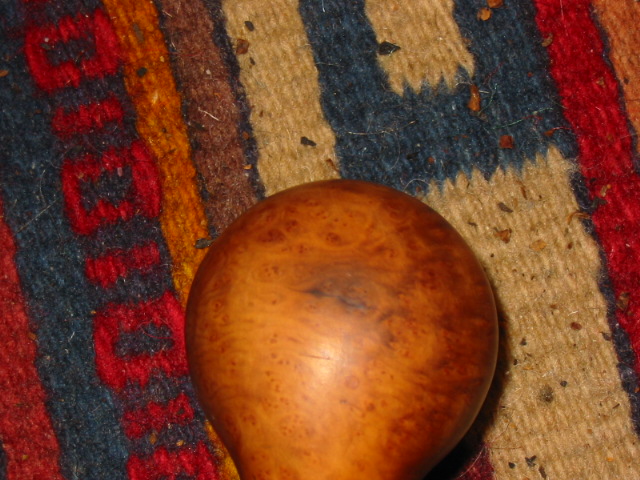
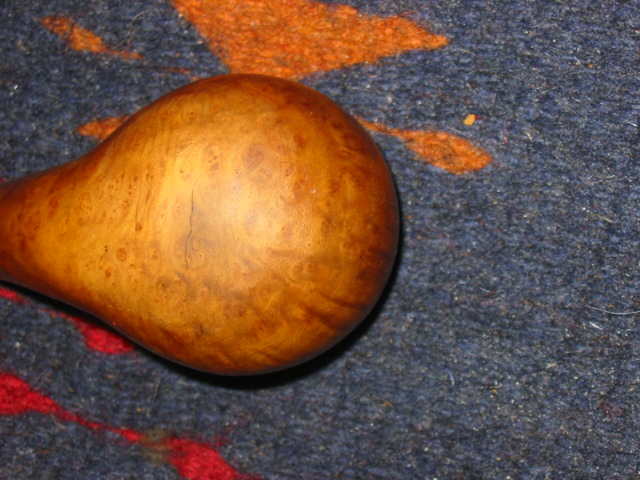
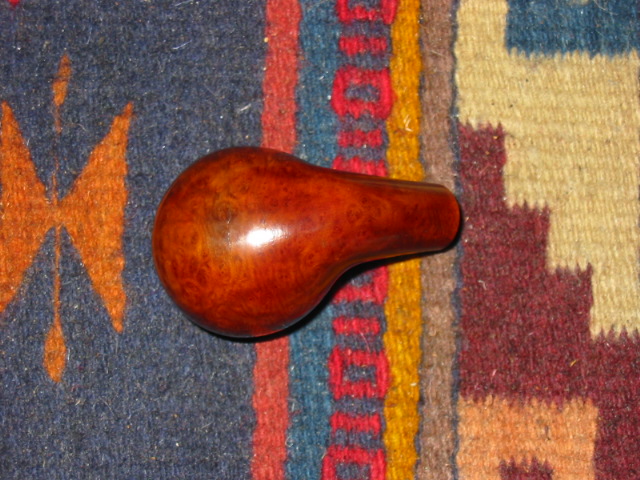
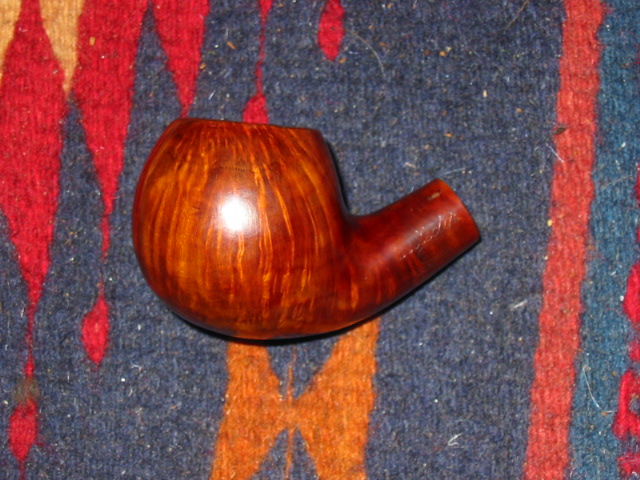
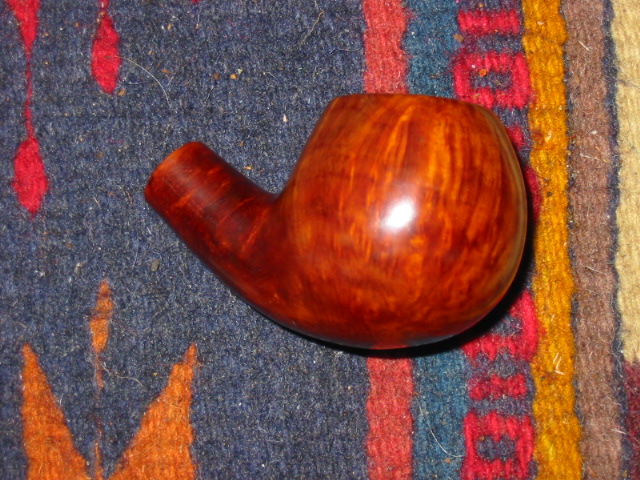
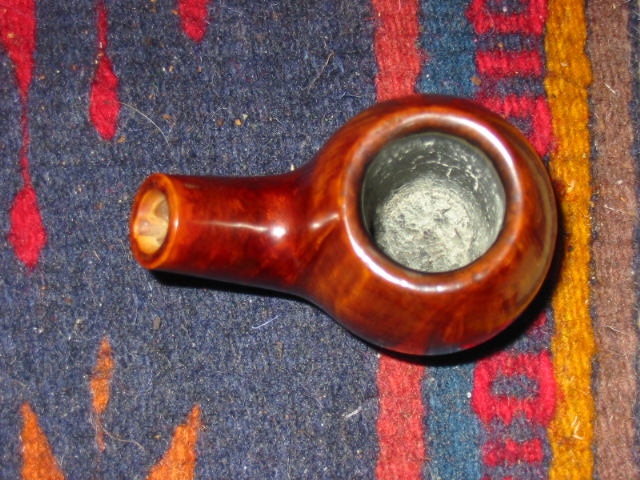
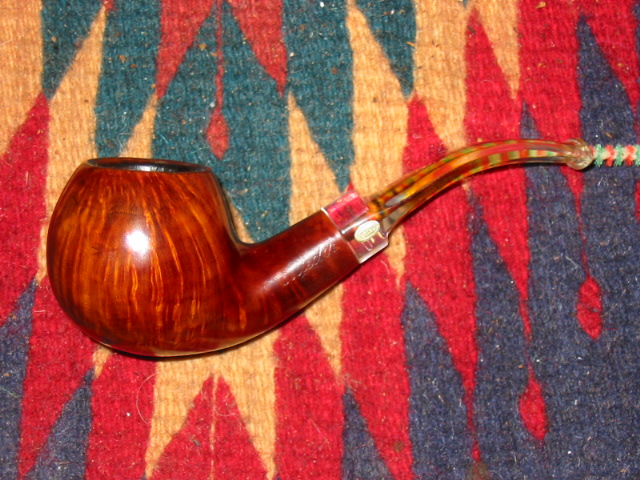
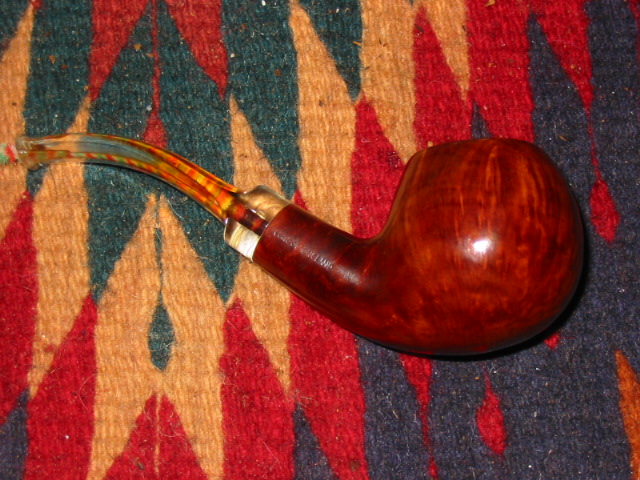
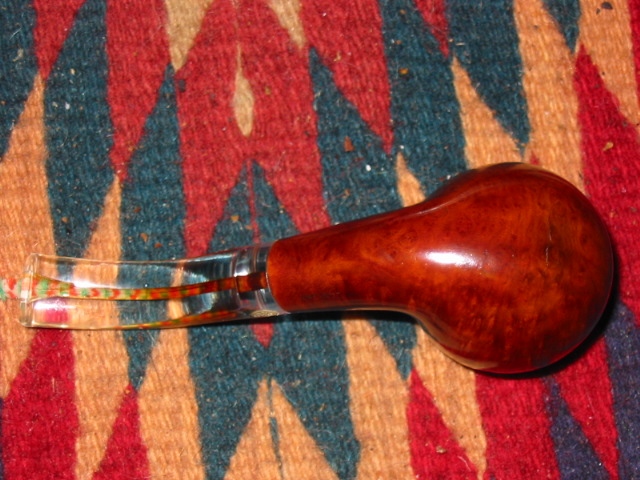
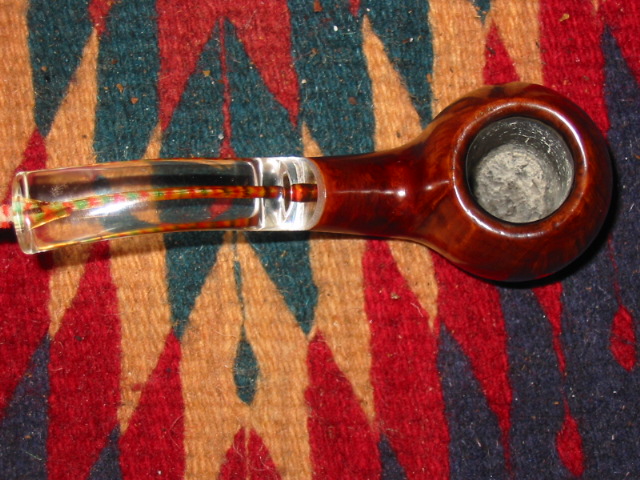
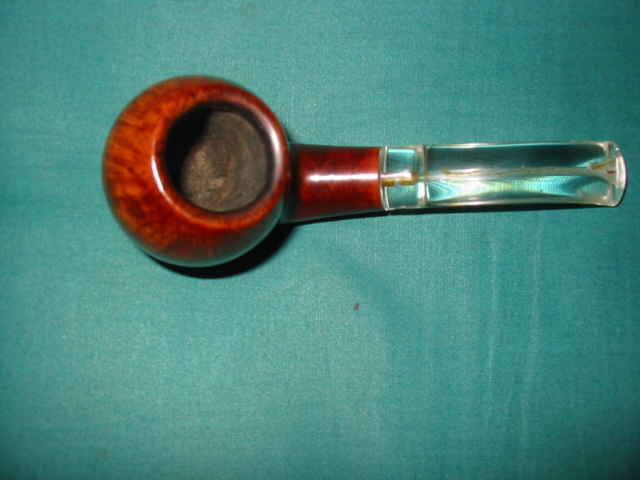
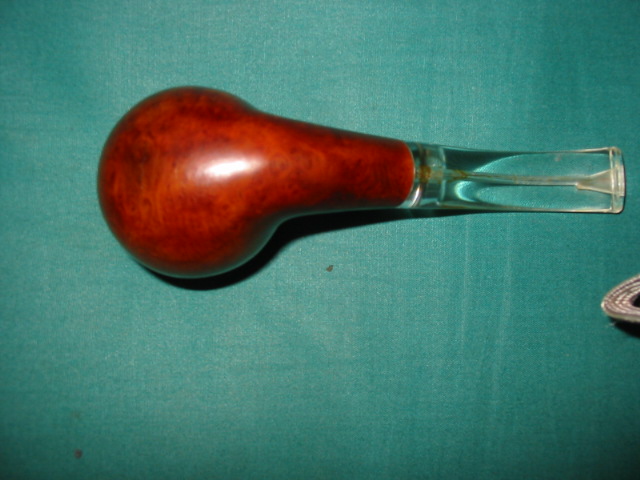
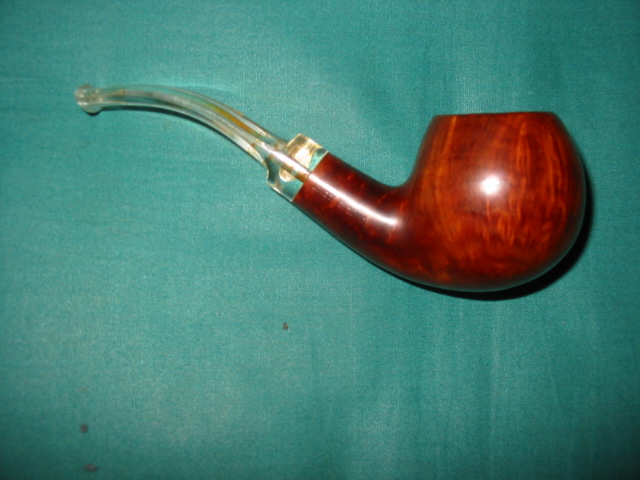
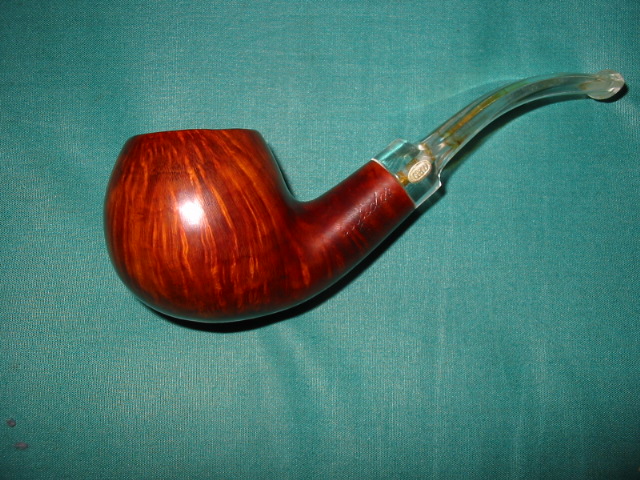
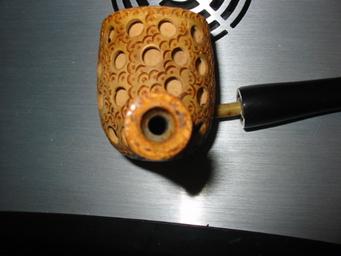
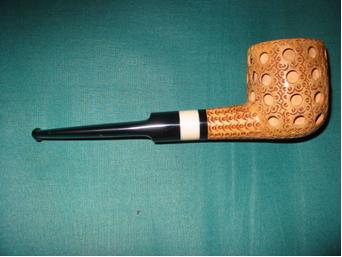
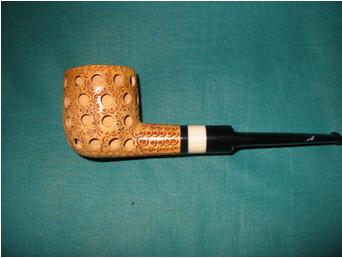
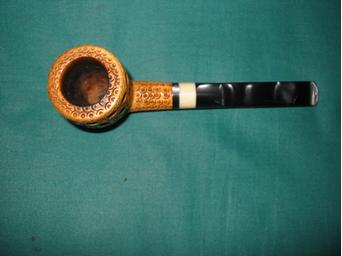
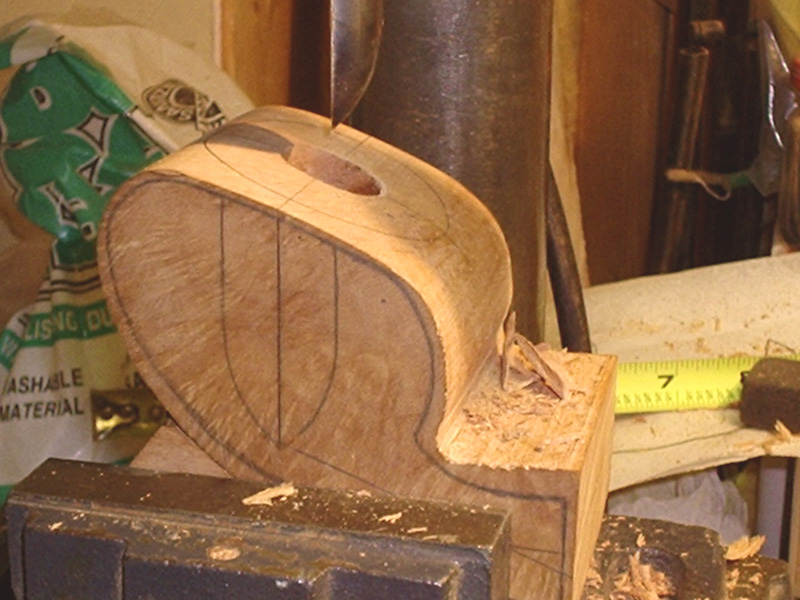
I contacted Dan Chlebove of Gabrieli Pipes in Bethlehem, Pennsylvania about carving a pipe for me. I wanted something in a shape similar to a Becker Wasp but with Dan’s own take on it. Over the time he worked on it he took these pictures to show me the development of the pipe from the initial drilling until it was finished. I collected the photos and made this photo essay on the birth of a comissioned pipe. I thought some of you would enjoy seeing the process from the initial drilling to the finish.
Reviving a Genod Shaped like a 9242 GBD
Blog by Steve Laug
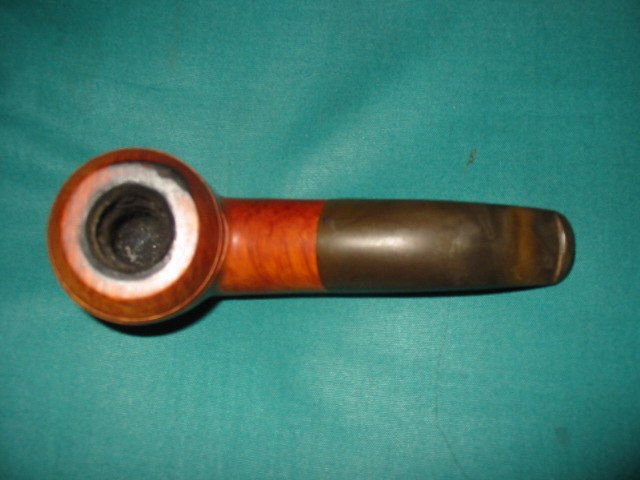
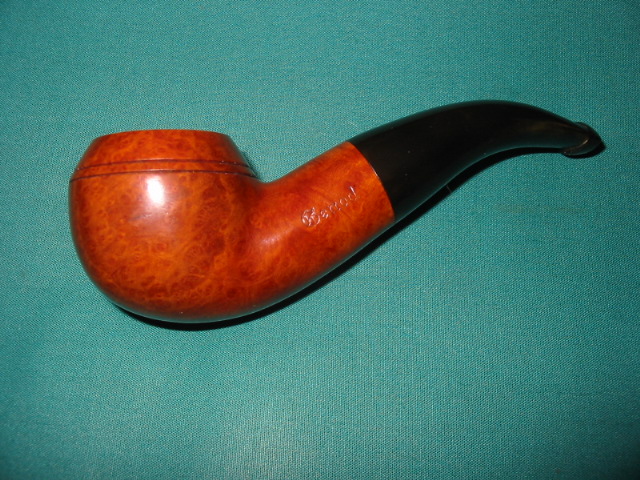
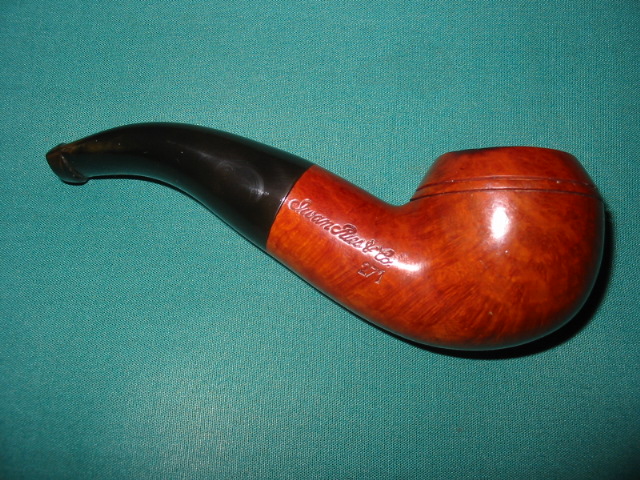
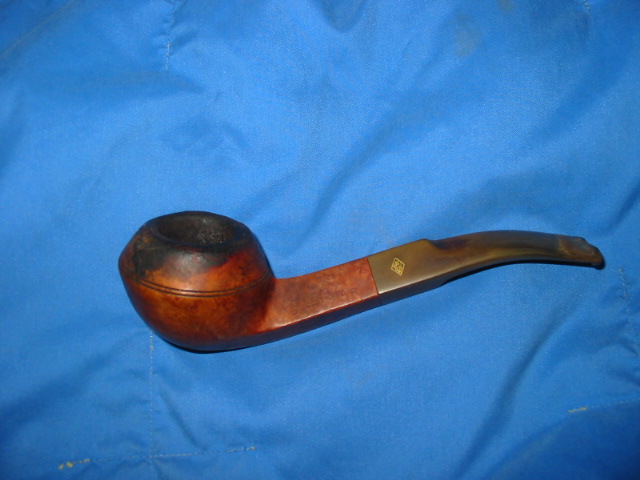
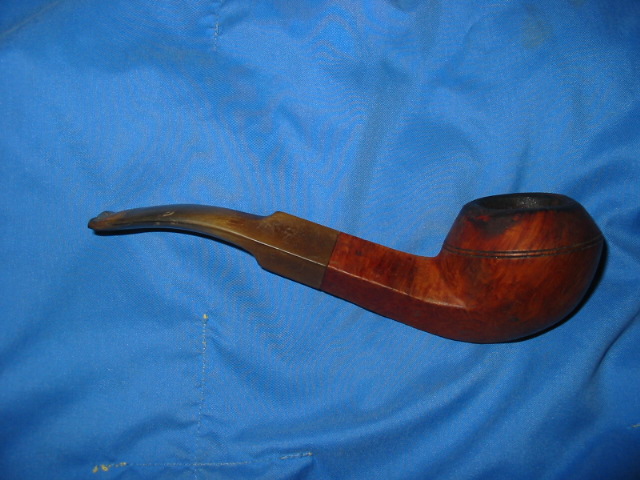
When I saw this one on EBay I immediately put in a bid that would make it mine. When it arrived this is what it looked like. The bowl was relatively clean and easy to work on. The rim had a pretty serious burn on the inside and the outside edge of the bowl on the right side. It is visible in the second photo below. The bowl was also slightly out of round due to reaming with a sharp blade. The stem was oxidized and was an uneven brown tone. There were two small tooth marks on the stem one on top near the button with a match on the underside near the button. The first picture is a bit blurry but I include it as it gives an idea of the shape of the pipe and why I compared it to a GBD 9242. This one is stamped Genod on the left side of the shank and on the right side Iwan Ries & Co (in script) over the shape 271.

I cleaned the bowl and reamed it carefully to remove the carbon build up and uneven cake. I then used sand paper to smooth the inner edges of the bowl and bring it back as closely as possible to round. I topped the bowl minimally to remove the burn damage on the flat surface and minimize it on the outer edge of the bowl. For the most part it came out but left a little darkening on the surface of the rim. The right edge also has some remaining darkening and a small divot out of the edge. I cleaned the shank with isopropyl alcohol and many pipe cleaners, cotton swabs and a shank brush. I then place the bowl in an alcohol bath to soak while I worked on the stem.
The stem is very hard vulcanite. The tooth dents are more cuts than dents and one day I may fill them with super glue but decided to leave them at this point. I sanded the stem with 400 and 600 grit wet dry sandpaper and water to remove the oxidation. It was not terribly deep so it came off very easily. I then used micromesh sanding pads from 1500-6000 grit to polish the stem. When it was finished I rubbed it down with some Obsidian Oil and set it aside to dry.
I took the bowl out of the alcohol bath and dried it off. I used some medium brown aniline stain mixed 50/50 with isopropyl alcohol to lighten and thin it. I rubbed it on with the dauber and then flamed it and buffed it. I put the stem on it before buffing and gave the entirety a buff with Tripoli and White Diamond. Once it was finished it was given multiple coats of carnauba wax.

Stem Repair and a Makeover on a BBB Bulldog
Blog by Steve Laug
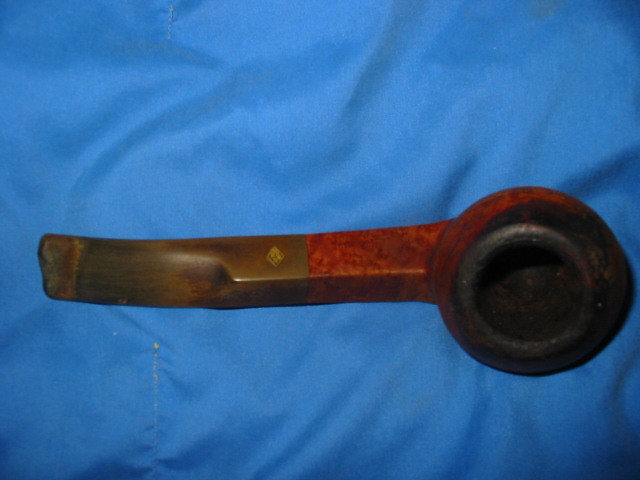
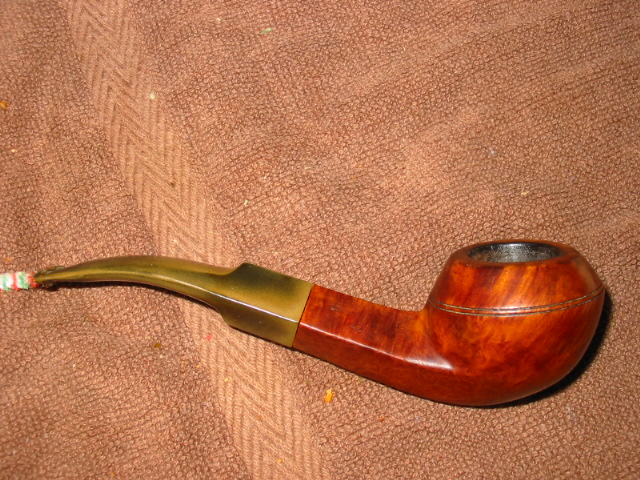
When I saw this old Bulldog on EBay I could not pass it up. It had several things about it that I enjoy – it was a BBB pipe, it was older, and it looked like a challenge as the stem was badly chewed but still retained the shape. In the first three pictures below you can see the overall state of the pipe. The bowl was badly tarred and the finish was ruined, both from the tars and from what appeared to be some water marks. The rim looked to be in bad shape – much buildup of tars and carbon. But as I inspected it I found that there were no dents in the rim. The grain on the pipe showed some promise. The stem fit well and had the stepped down tenon that is on the older BBB’s. The brass logo in the diamond was still pretty clear, a bit worn but still very distinguishable. The button was non-existent and was badly dented by teeth. There was one small bite through on the underside of the stem and the rest were large deep dents. The stem was badly oxidized and in places had a white lime like substance on it. 


I began the clean up by reaming the bowl and then giving it a thorough scrub with Murphy’s Oil Soap and a soft bristle tooth brush. This one took a lot of scrubbing to remove the grime from the rim and the edges of the slop on the bulldog. I also cleaned out the grooves around the bowl with a dental pick. Once the bowl was cleaned I did the inside of the shank and the stem. This took many pipe cleaners and cotton swabs with alcohol as well as a shank brush to scrub it out. I then greased a pipe cleaner with Vaseline and inserted it in the stem and flattened it in the slot so that the whole slot was filled. Once that was done I was ready to start rebuilding the button and the stem surface. 

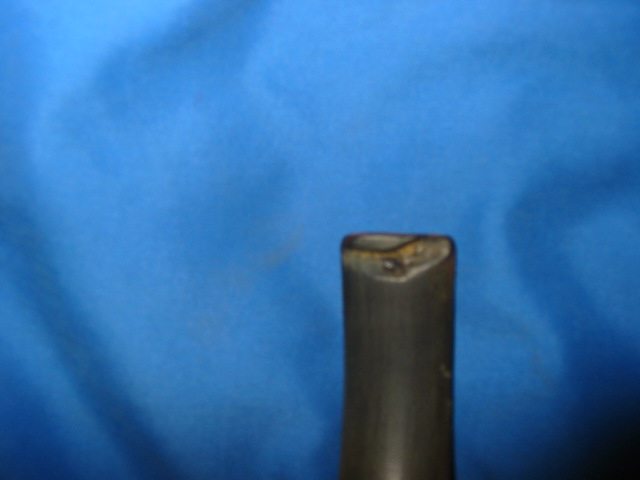
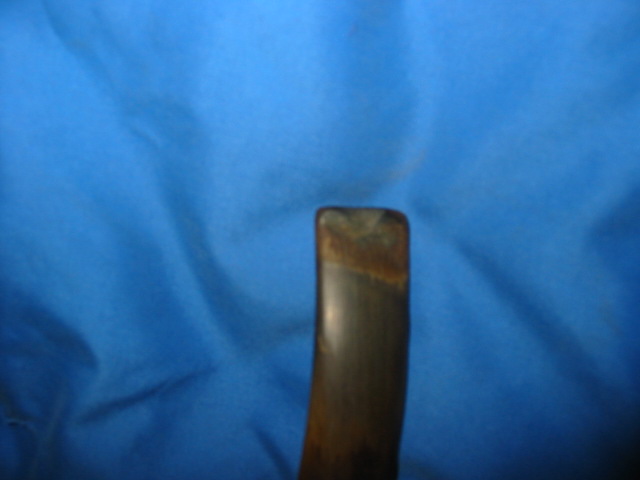
The next two photos show what remains of the button and the deep channels gnawed in the underside (first photo) the top of the stem (second photo). I heated the stem with my heat gun to raise the dents as much as possible but truly they were cut and deep so the heat did very little to remedy the situation. 

With the pipe cleaner and Vaseline inserted in the slot I used super glue to build up the bite marks. The first photo below shows the underside of the stem (remember the bite through and the deep groove in the picture above). I layered in the super glue until the hole and the groove were filled and the button also built up. I rebuilt the top edge as well with the superglue and repaired the button on that edge as well. It was not nearly as damaged as the underside so it took less work to rebuild it with the glue. 
The next photo shows the patch on the underside once it was dry and I had sanded it with 240 grit sandpaper to remove the ridges and the excess of the super glue. 
I continued sanding the surface on the underside of the stem and recut the button with my needle files. The photo below shows the underside of the stem after the work is basically finished cutting the button and smoothing the surface of the stem. 
With the top of the stem I also sanded it with 240 grit sandpaper and worked through the 400 and 600 wet dry sandpaper and water to smooth the surface and rebuild the button. I used the needle files to cut the lip on the button and sharpen the profile in the same manner as the underside photos above. Somehow the photos I took of the top side of the stem did not turn out so they are not included in the article. Suffice it to say that the work was the same on both the top side and the underside of the stem.
The next series of three photos shows the pipe when it was completed. The bowl was restained with a medium brown aniline stain and flamed to set it. Then it was buffed with Tripoli and White Diamond to polish it. The stem was cleaned with Oxyclean and sanded with 400, 660 and 1200 wet dry sandpaper and water. I left the area around the stem logo as I did not want to damage the metal logo. The work done on this stem was done before I “found out” about micromesh sanding pads. I will have to rework the stem when I take this pipe out the next tim and clean it up around the logo with the micromesh pads. They are perfect for the angles of the logo and it should be much simpler to clean up. Notice the top of the stem in the third photo and the profile of the button on the first two photos. The stem is fully functional and smokes absolutely great. The button is comfortable in the mouth and the bites and dents are not visible. 


GoedeWaagen Ceramic Double-walled Pipe Restemmed
Blog by Steve Laug
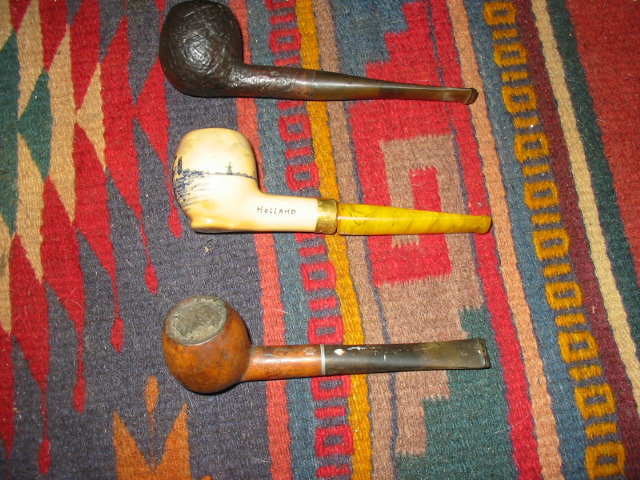
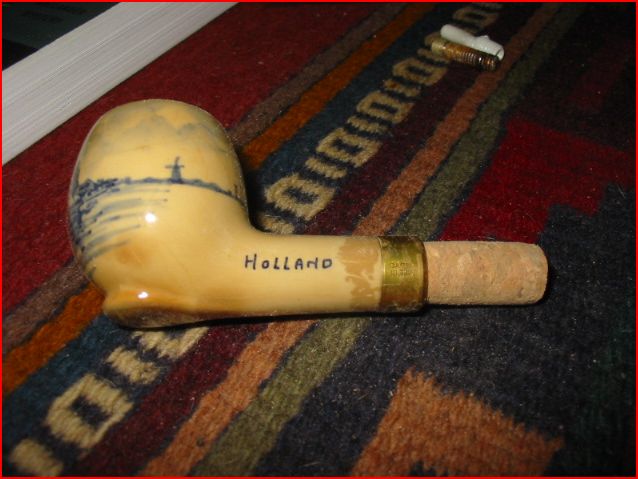
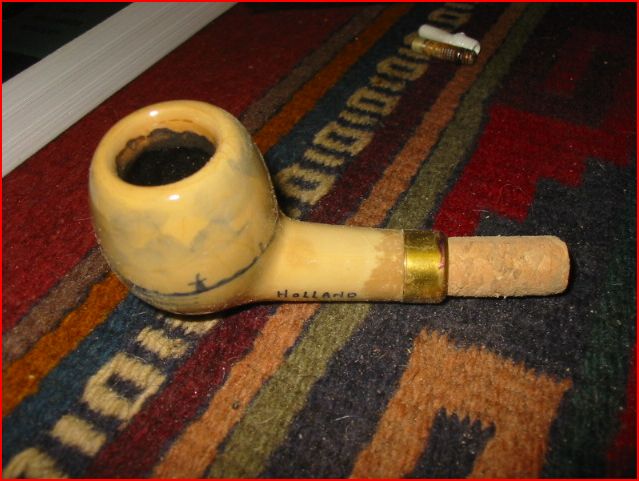
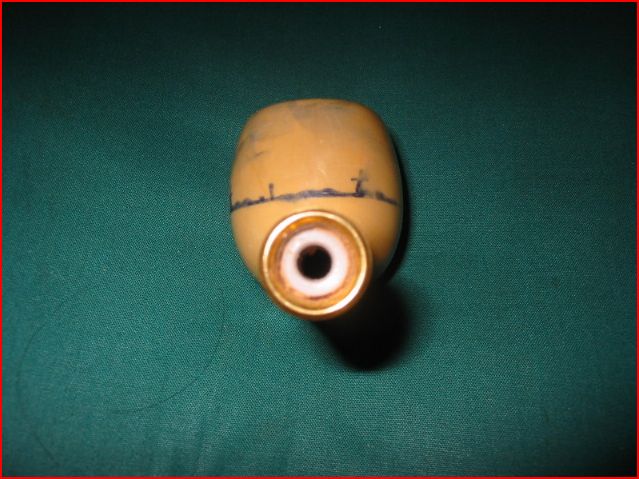
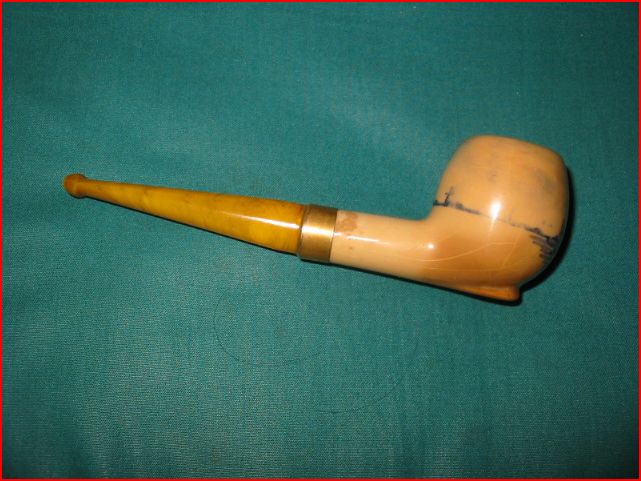
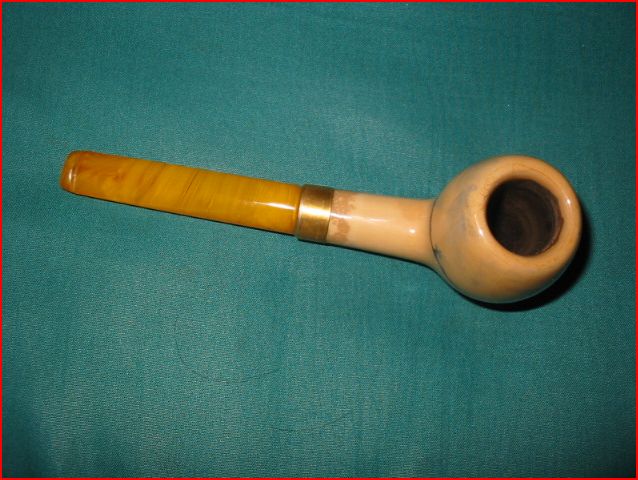
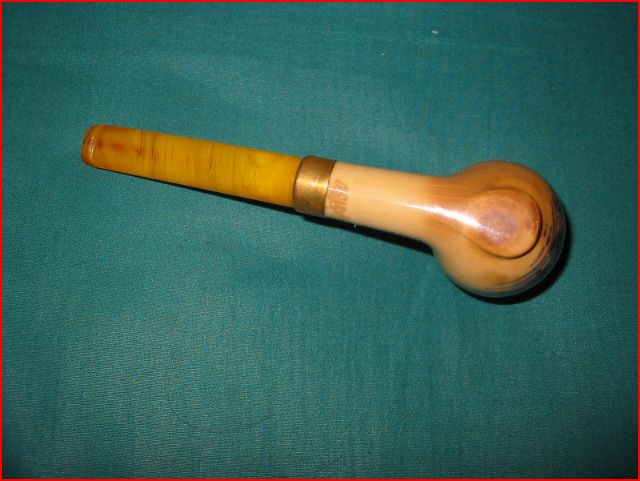
I picked this old ceramic double-walled pipe up at an antique shop. The thing that attracted me to it was the amber stem. Or at least it appeared to be amber. The stem was taped to the shank with scotch tape and the bowl was badly caked with thick tars and carbon. The outside of the bowl was spotty with grime and grease. There were fingerprints all over the grime. The stem was blackened on the inside and showed stain through the airway and button. The bowl was cream coloured porcelain under the grime and had a Delft blue Dutch windmill on the front and smaller ones on the horizon around the bowl. The bottom edge of the bowl and part way up the sides was had blue lines and shadows drawn in to look like a canal with the windmills on the other side of the water. Behind and above the windmills clouds and sky had been stylized into the scene. The entirety had been glazed with a clear glaze over the pipe. With a little work this might very well turn out to be a beautiful pipe.
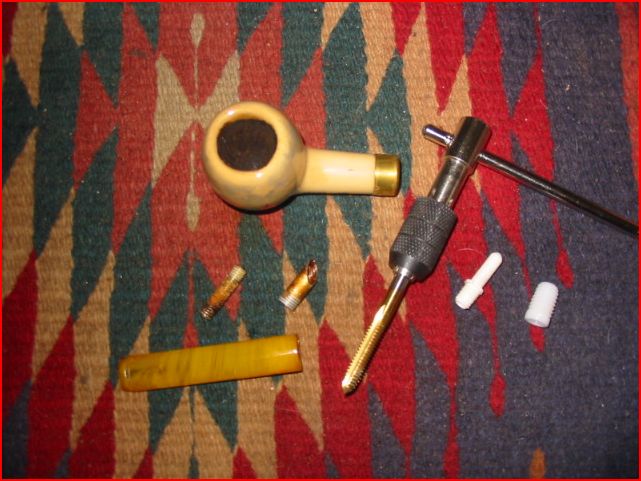
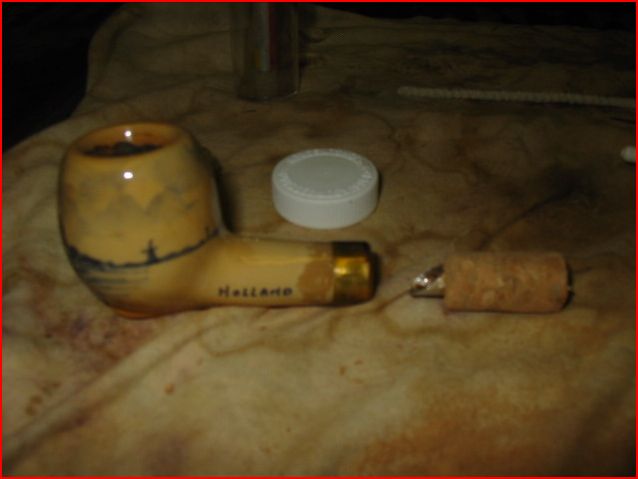
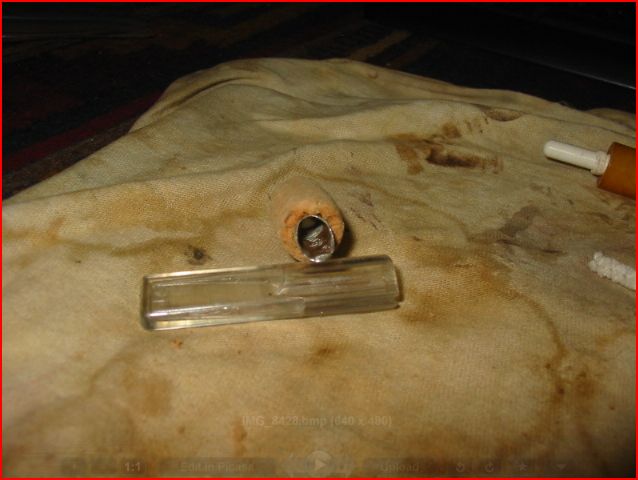
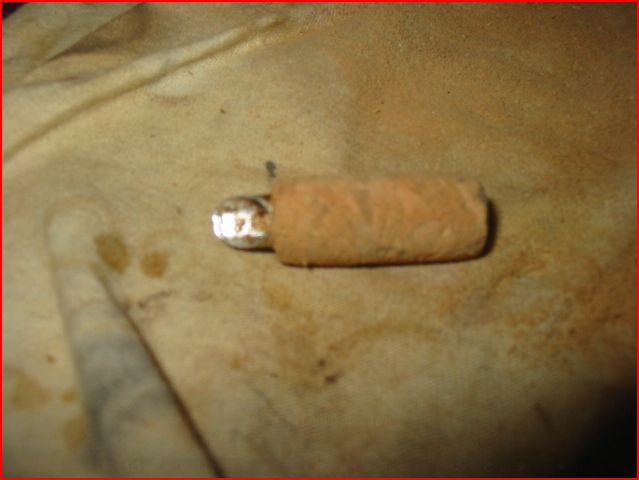
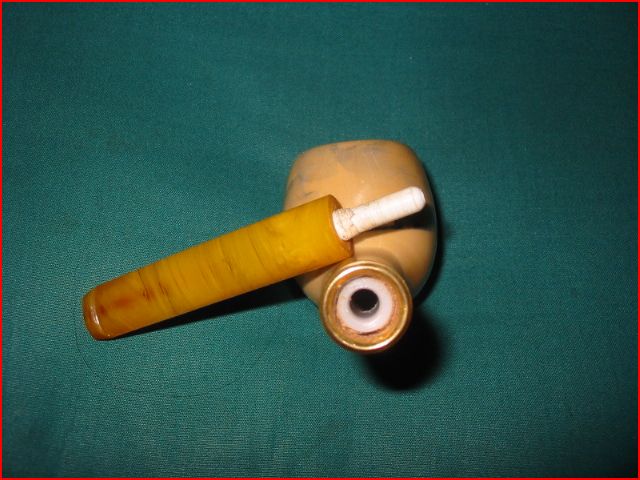
When I brought it home to work on it there was quite a bit to do to clean it up. I removed the scotch tape from the stem and shank and the stem dropped out of the shank on the work table. It had a metal screw tenon that was clogged and badly bent. I was able to remove the screw tenon from the stem with a pair of needle nose pliers. It was threaded into the stem so with a little effort I was able to unscrew it. The stem was indeed amber and as the screw tenon came out a small flake of amber came with it. I cleaned the airway on the stem with isopropyl alcohol, pipe cleaners and a shank brush. I scrubbed the button and slot to remove the blackening that was built up on it. I then removed the scotch tape from the shank using some acetone to soften the glue. It came off easily. The gold coloured band is stamped GoedeWaagen Made in Holland. I cleaned the band and polished it. I used a dental pick to remove the broken cork that was inside the shank. It was glued it and it was brittle. It came away with a bit of work. I used cotton swabs to clean out the shank. In the bottom of the shank was a metal piece that originally had been on the end of the cork insert and slid below the inner bowl of the double-walled pipe. I scrubbed the bowl with hot water and repeatedly ran water through it to loosen the buildup of tars inside between the walls. I scrubbed the outside of the bowl while I was washing it and was able to remove all of the grim. The remaining patina and coloration of the bowl is similar to a meer.


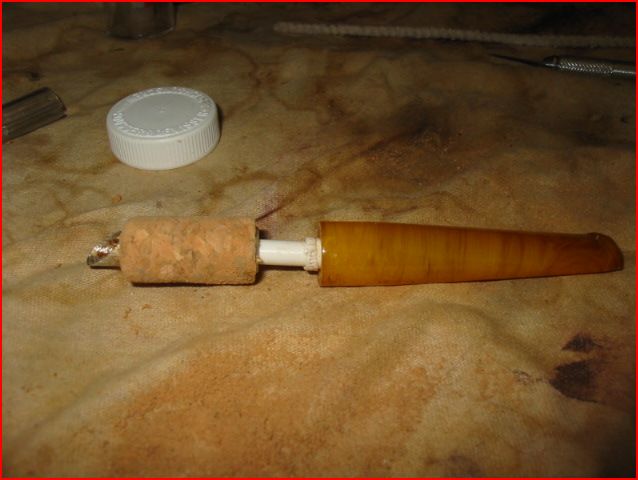
I decided to replace the original tenon with a Delrin pushpull tenon. That sound like an easy swap but it was not that simple. The tenon that was in the pipe was very small and the threads were fine. The new Delrin tenon was ¼ inch in diameter and was a good open draw. I drilled the amber very carefully with 3/16 inch drill bit to remove the threads and then a ¼ inch drill bit to open it up. I used a cordless drill that I adjusted to a slow speed and gently opened up the amber to ¼ inch. I took it back to the work table and used a tap to thread the newly drilled opening. Once that was clean and open I screwed in the new tenon and the stem was good to go. I cleaned up the tenon and stem junction and sanded it smooth so that the fit was smooth and transitionless.
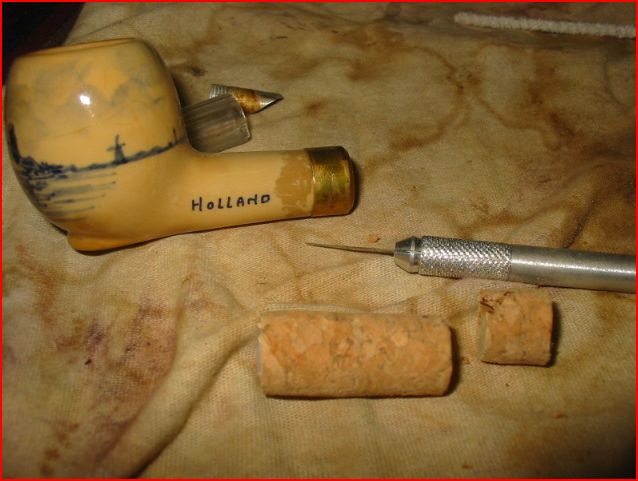
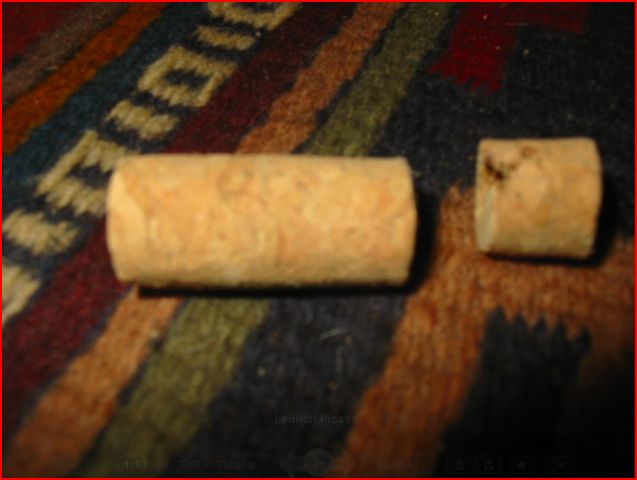
Then it was time to figure out how to work on the mortise. I did a bit of searching to see if I could find what the original mortise looked like when it was new. There was nothing that I could find to make the job a bit easier. So I began to work through some options. I had a wine cork that I kept here so I thought that might be a good base to begin with. I drilled the cork with a ¼ inch drill bit so that the airway through it would be open and easy to work with. 

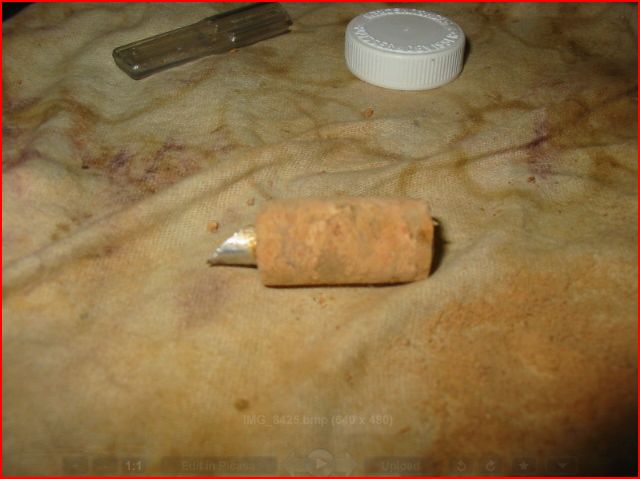
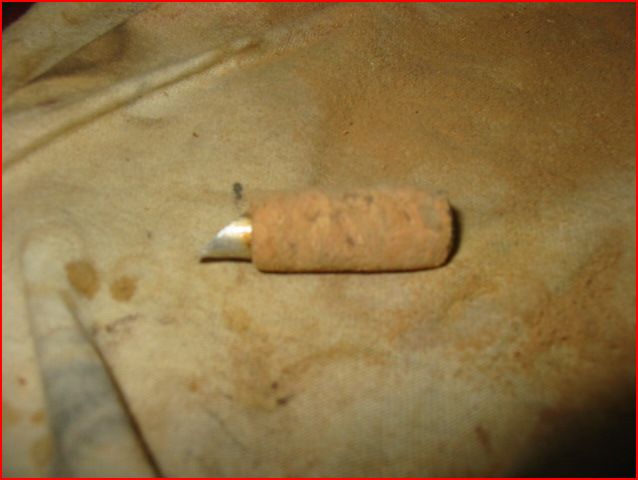
I screwed in the Delrin mortis portion of the push pull tenon on one end of the cork and threaded in the metal tip in the other end. I then took my Dremel to the cork to reduce the size of the cork. I removed the outside of the cork with the sanding drum until it was as close as I could get with the Dremel. I then sanded the cork with a folded piece of emery cloth until it was almost perfect. I unscrewed the metal tip and measured the depth of the shank so that the cork plus the tip would end up with the tip just below the air hole in the bottom of the bowl. I cut the cork with an art knife that was sharp until it was the correct length. Then I used my sanding board to level the cork so that when the metal tip was in it would sit smoothly. It took a bit of sanding but once it was done I reinserted the metal tip. 


With the cork the right length and ready to insert I needed to fine tune the fit. I decided to stabilize the cork around the metal tip and the Delrin insert as I did not want it to break when I inserted in the shank. I used super glue to stabilize the cork. I then sanded the cork by hand with the folded emery paper until it was round and smooth. I wanted it to be a tight pressure fit in the shank. From what I could read the cork insert was put in and left until the pipe smoker decided to remove it to clean it. Then a new cork would be used to replace it. I decided to keep that tradition. 


Once the cork fit correctly, I greased it with some Vaseline jelly and fit it in the shank. I was able to easily press it in place. When I was level with the end of the shank I use a ball point pen to set it a bit deeper to receive the tenon with a slight bevel. 

I pushed in the stem and aligned it and the fit was absolutely perfect! I polished the bowl and the stem with a quick buff of White Diamond and then gave the entirety several coats of carnauba wax to protect it. 


A Pair of Doodlers Restemmed
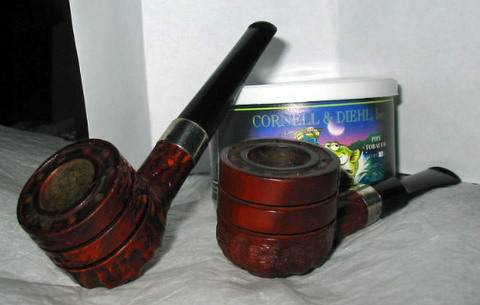
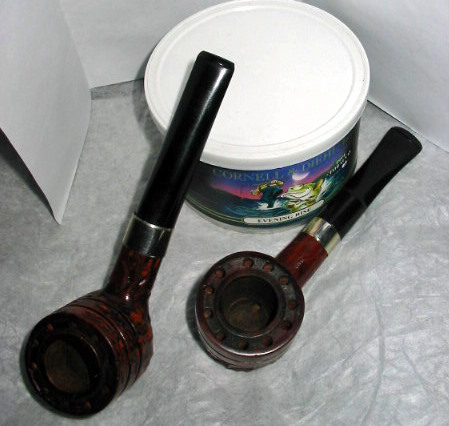
I picked up these two Doodler bowls that needed stemming. They were made by Tracy Mincer of Custom Bilt fame. They are unique in the pipe world, and often have been copied by others. The basic design involves deep grooves cut into the bowl and then holes drill from the rim to the bottom of the pipe. These tubes around the bowl and the open grooves are designed to cool the bowl as the pipe is smoked and deliver a cool dry smoke. These two were a mess when they arrived and need quite a bit of work. The shanks on both bowls were crack with hairlines crack in several places. They required gluing with super glue and then a pressure fit nickel band on each one. The bowls were reamed and cleaned and then restained with a medium brown aniline stain. I buffed them both with Tripoli and White Diamond to polish them.
I took two stems out of my can of stems – one a saddle and one a taper stem. I used the PIMO tool to turn the tenons to fit the shank. Then I used my Dremel to fit the stem to the shank. I took off the extra material until it was the same diameter as the shank. I used a variety of sandpapers to bring the stem down to the perfect fit. I used 400 and 600 grit wet dry sandpaper and water to remove all of the scratches. I used Micromesh from 1500-6000 grit to polish and smooth the stem. Both pipes and stems were polished with carnauba wax and a soft flannel buff. 

Explanation of Various Sandpapers I use for Stem Work
Blog by Steve Laug
I thought it might be helpful to take some time to address the issue of sandpapers and sanding with regard to the work I do on stems both in removing oxidation and the removal of tooth chatter. I found a great chart on the grits of sandpapers that will help explain the designation system I refer to when I speak of various grits of sandpaper.
When I start on stem that are highly oxidized I use the CAMI (or US Standard system) 240 grit sandpaper. This is the crossover grit between the medium grit sandpapers and the fine grit sandpapers. 280 grit is the first fine grit sandpaper and 220 grit is the last medium grit sandpaper. The 240 grit works very well in removing the surface oxidation and also tooth chatter and tooth dents that have been raised to the surface. I always sand with this paper in vertical direction from the tenon to the button. I have learned that to sand the horizontal direction leaves scratches that are deeper and much harder to remove with the finer grits of sandpaper.
From that point on I have used 320 and 340 fine grit sandpaper but will often skip ahead to 400 grit wet dry sandpaper that works well with or without water. I personally use it with water – wetting the stem and then sanding the scratches left by the 240 grit sandpaper. I begin sanding in a vertical direction up and down the stem and finish sanding the stem in the horizontal direction around the stem from tenon to button. This sanding removes much of the scratching and prepares the stem for further sanding with finer grit papers.
I skip to the 600 grit wet dry sandpaper next to keep refining the sanding of the scratches. By this point the stem is a matte black and clean of most of oxidation. Again I use the paper wet. I wet the stem and sand both vertically and horizontally. I finish the sanding horizontally before moving on to the next grit. If it is available to me I use 1200 grit wet dry paper next to finish off the sandpapers. This grade of paper gives a nice smooth finish.
From this point on in the sanding process I use micromesh sanding pads or micromesh sand paper in the fine grits. I begin with the 1500 grit sanding pad pictured in the photo to the left. The makers of the micromesh pads use a colour system to identify the grit of the pad. The 1500 is the copper/reddish brown coloured pad at the top left of the photo. I use all of the pads with water. I wet the stem and then sand it with the pad. The 1500 grit pad works well to remove any remaining scrat
ches and begins to polish the stem. The wet stem will need to be wiped off regularly of the slurry that is left from the wet sanding dust.
The 1800 grit pad brings the smoothness of the stem one step closer to finished. I always use it wet as well. Once I have sanded the stem to this point I wipe it down and wet it with clean water to see if any scratches remain. If there are some I work on them with the 1800 grit or go back to the 1500 grit until I have removed them. These pads work exceptionally well around stem logos. The 2400 grit takes the shine deeper into the vulcanite or Lucite. I use this to polish the entire stem from tenon to the button. Again I use all pads with water – wetting the stem and sanding them horizontally at this point. The 3200 through the 4000 grit polishes the stem more deeply with each higher grit pad. Used wet and wiped off after sanding the finish of the stem should begin to take on more of a shine and the matte finish should begin to disappear.
The last three grits of micromesh – 6000 to 12000 at first seemed to be over kill to me. But each time I use them I find that the difference between each one is significant. The difference between the 8000 and the 12000 grit is the most dramatic. The 12000 grit used wet leaves the stem with a glassy finish that is ready to have a final buff with carnauba wax.
Four Pipes Restored – #1 Charatan Special Shape 44
Blog by Al Jones
Recently a friend asked me to restore four pipes that came from the estate of a family friend . This gentleman, from Ohio, had previously gifted me two wonderful GBD’s from this same estate. So, I was more than pleased to restore this quartet for him to enjoy. From research into this group of pipes and my two, I belive they were purchased from the old Smokers Haven in Ohio.
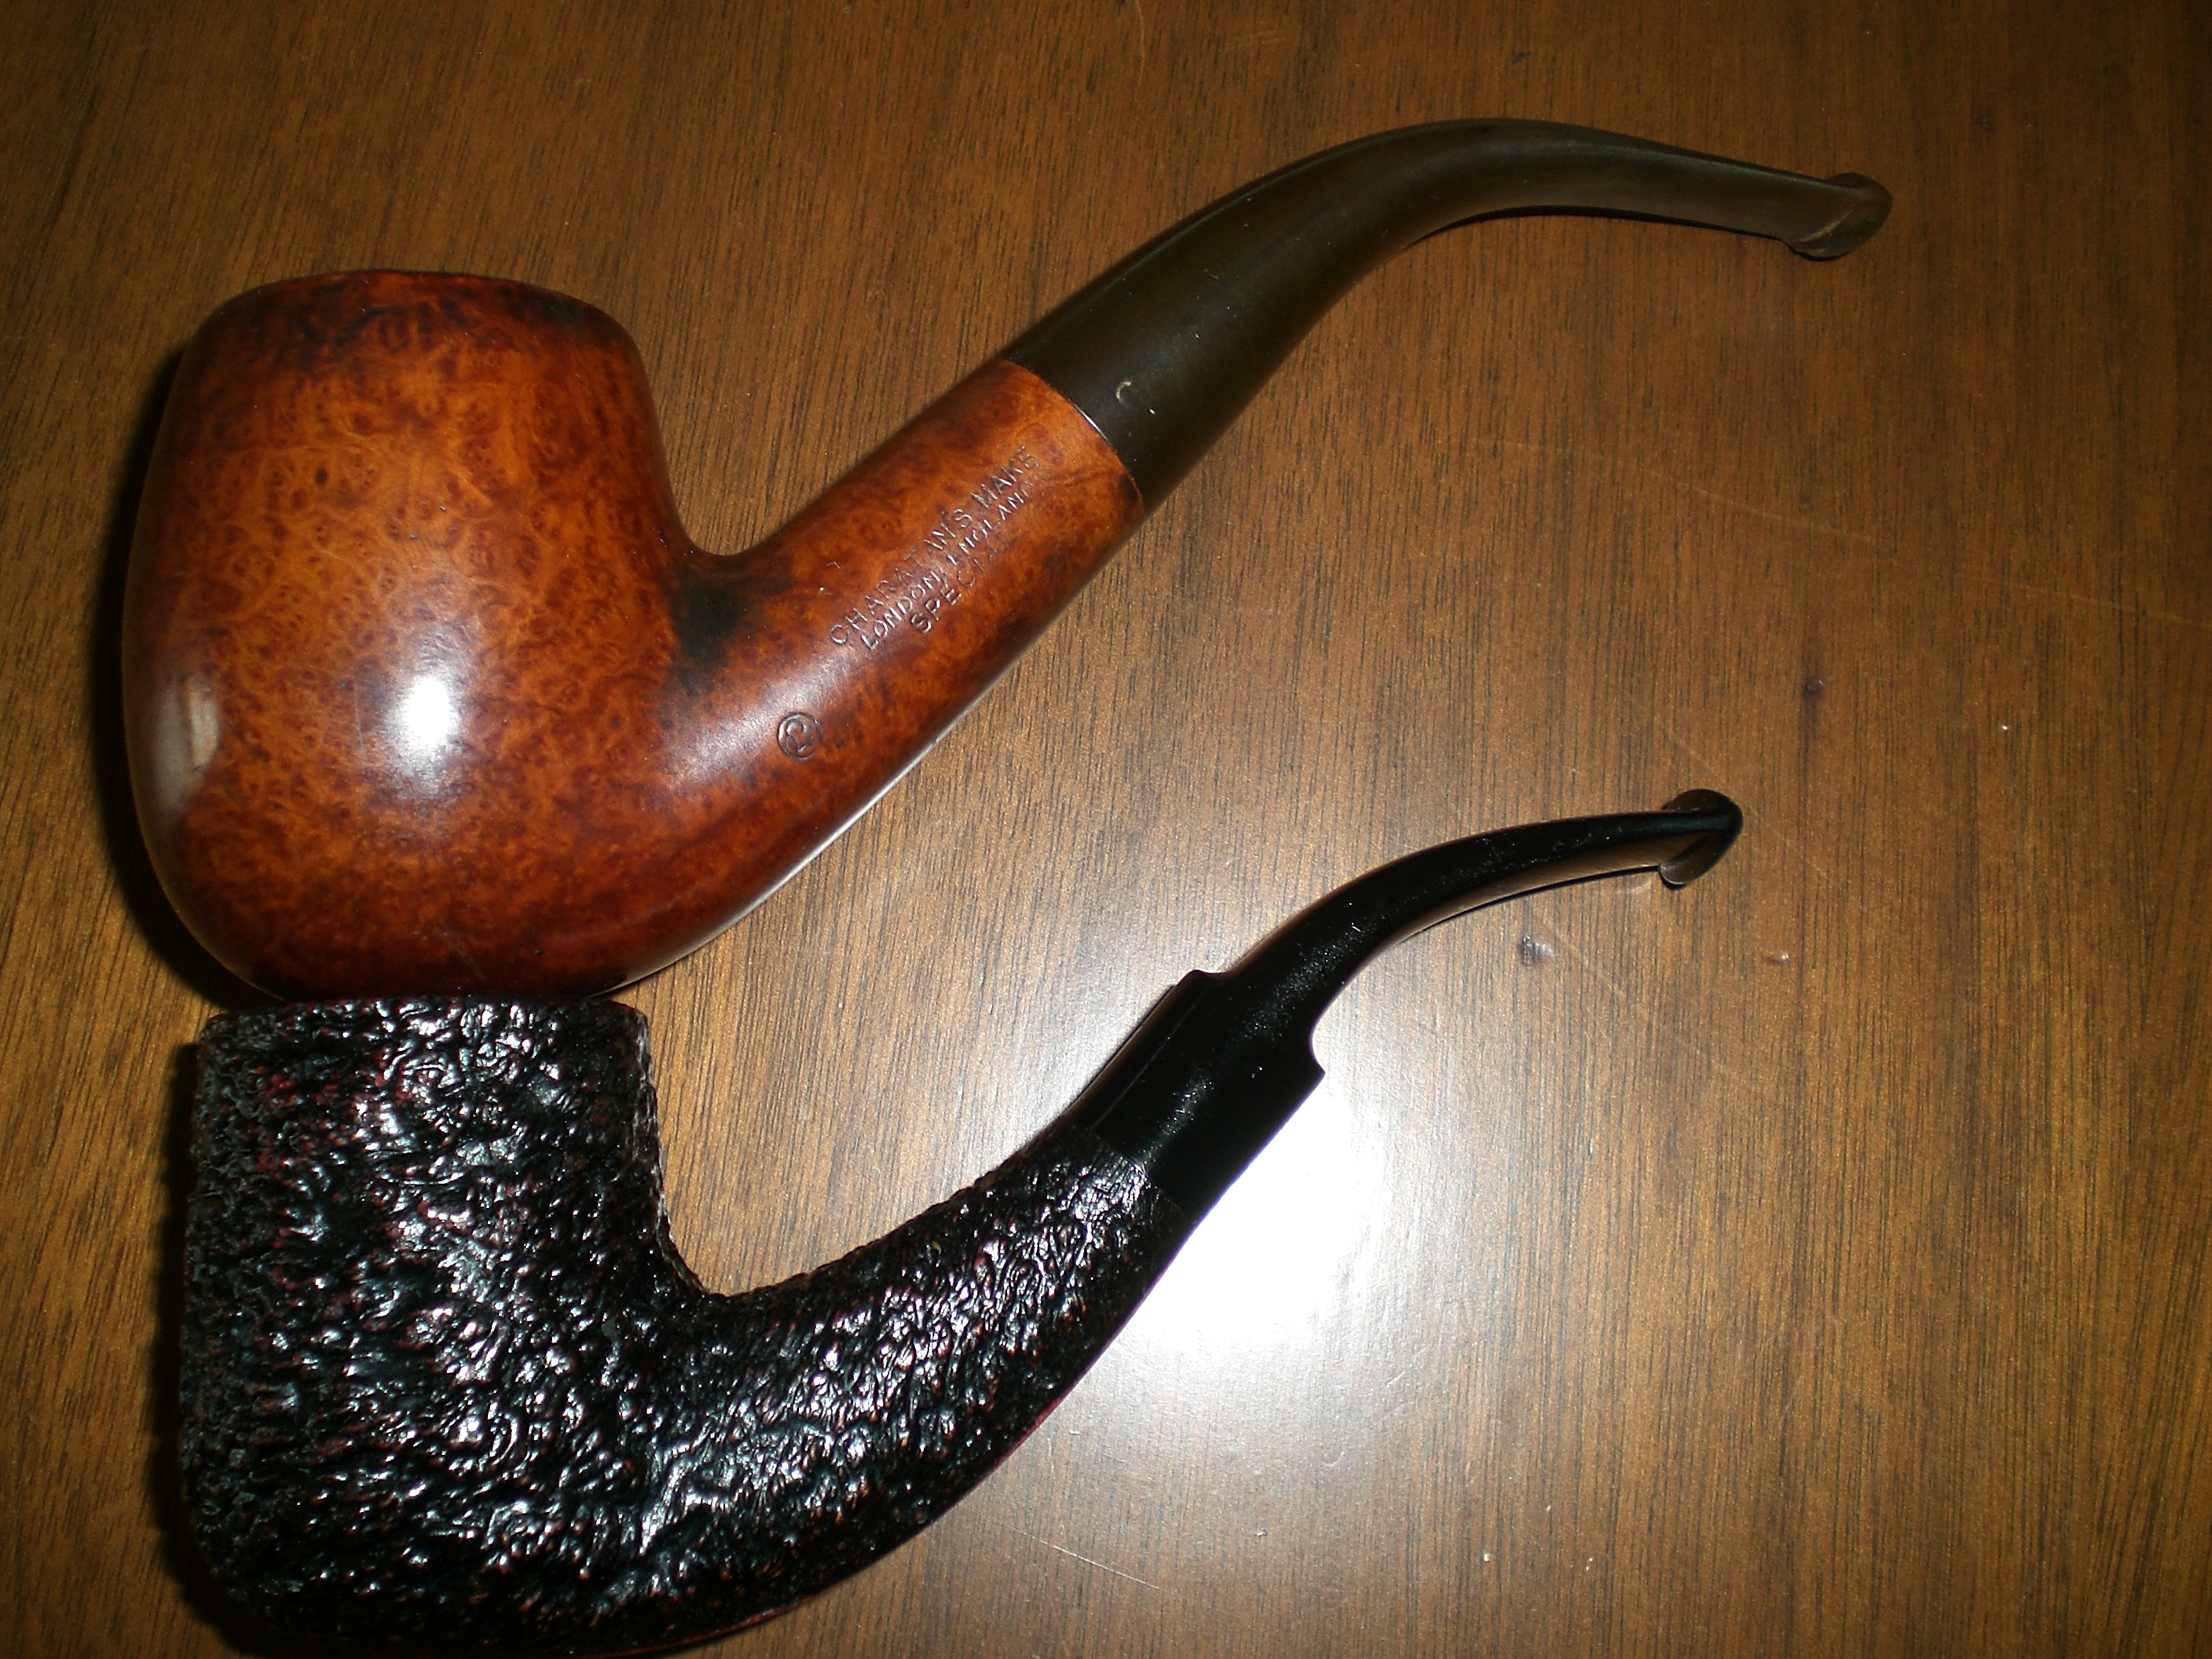
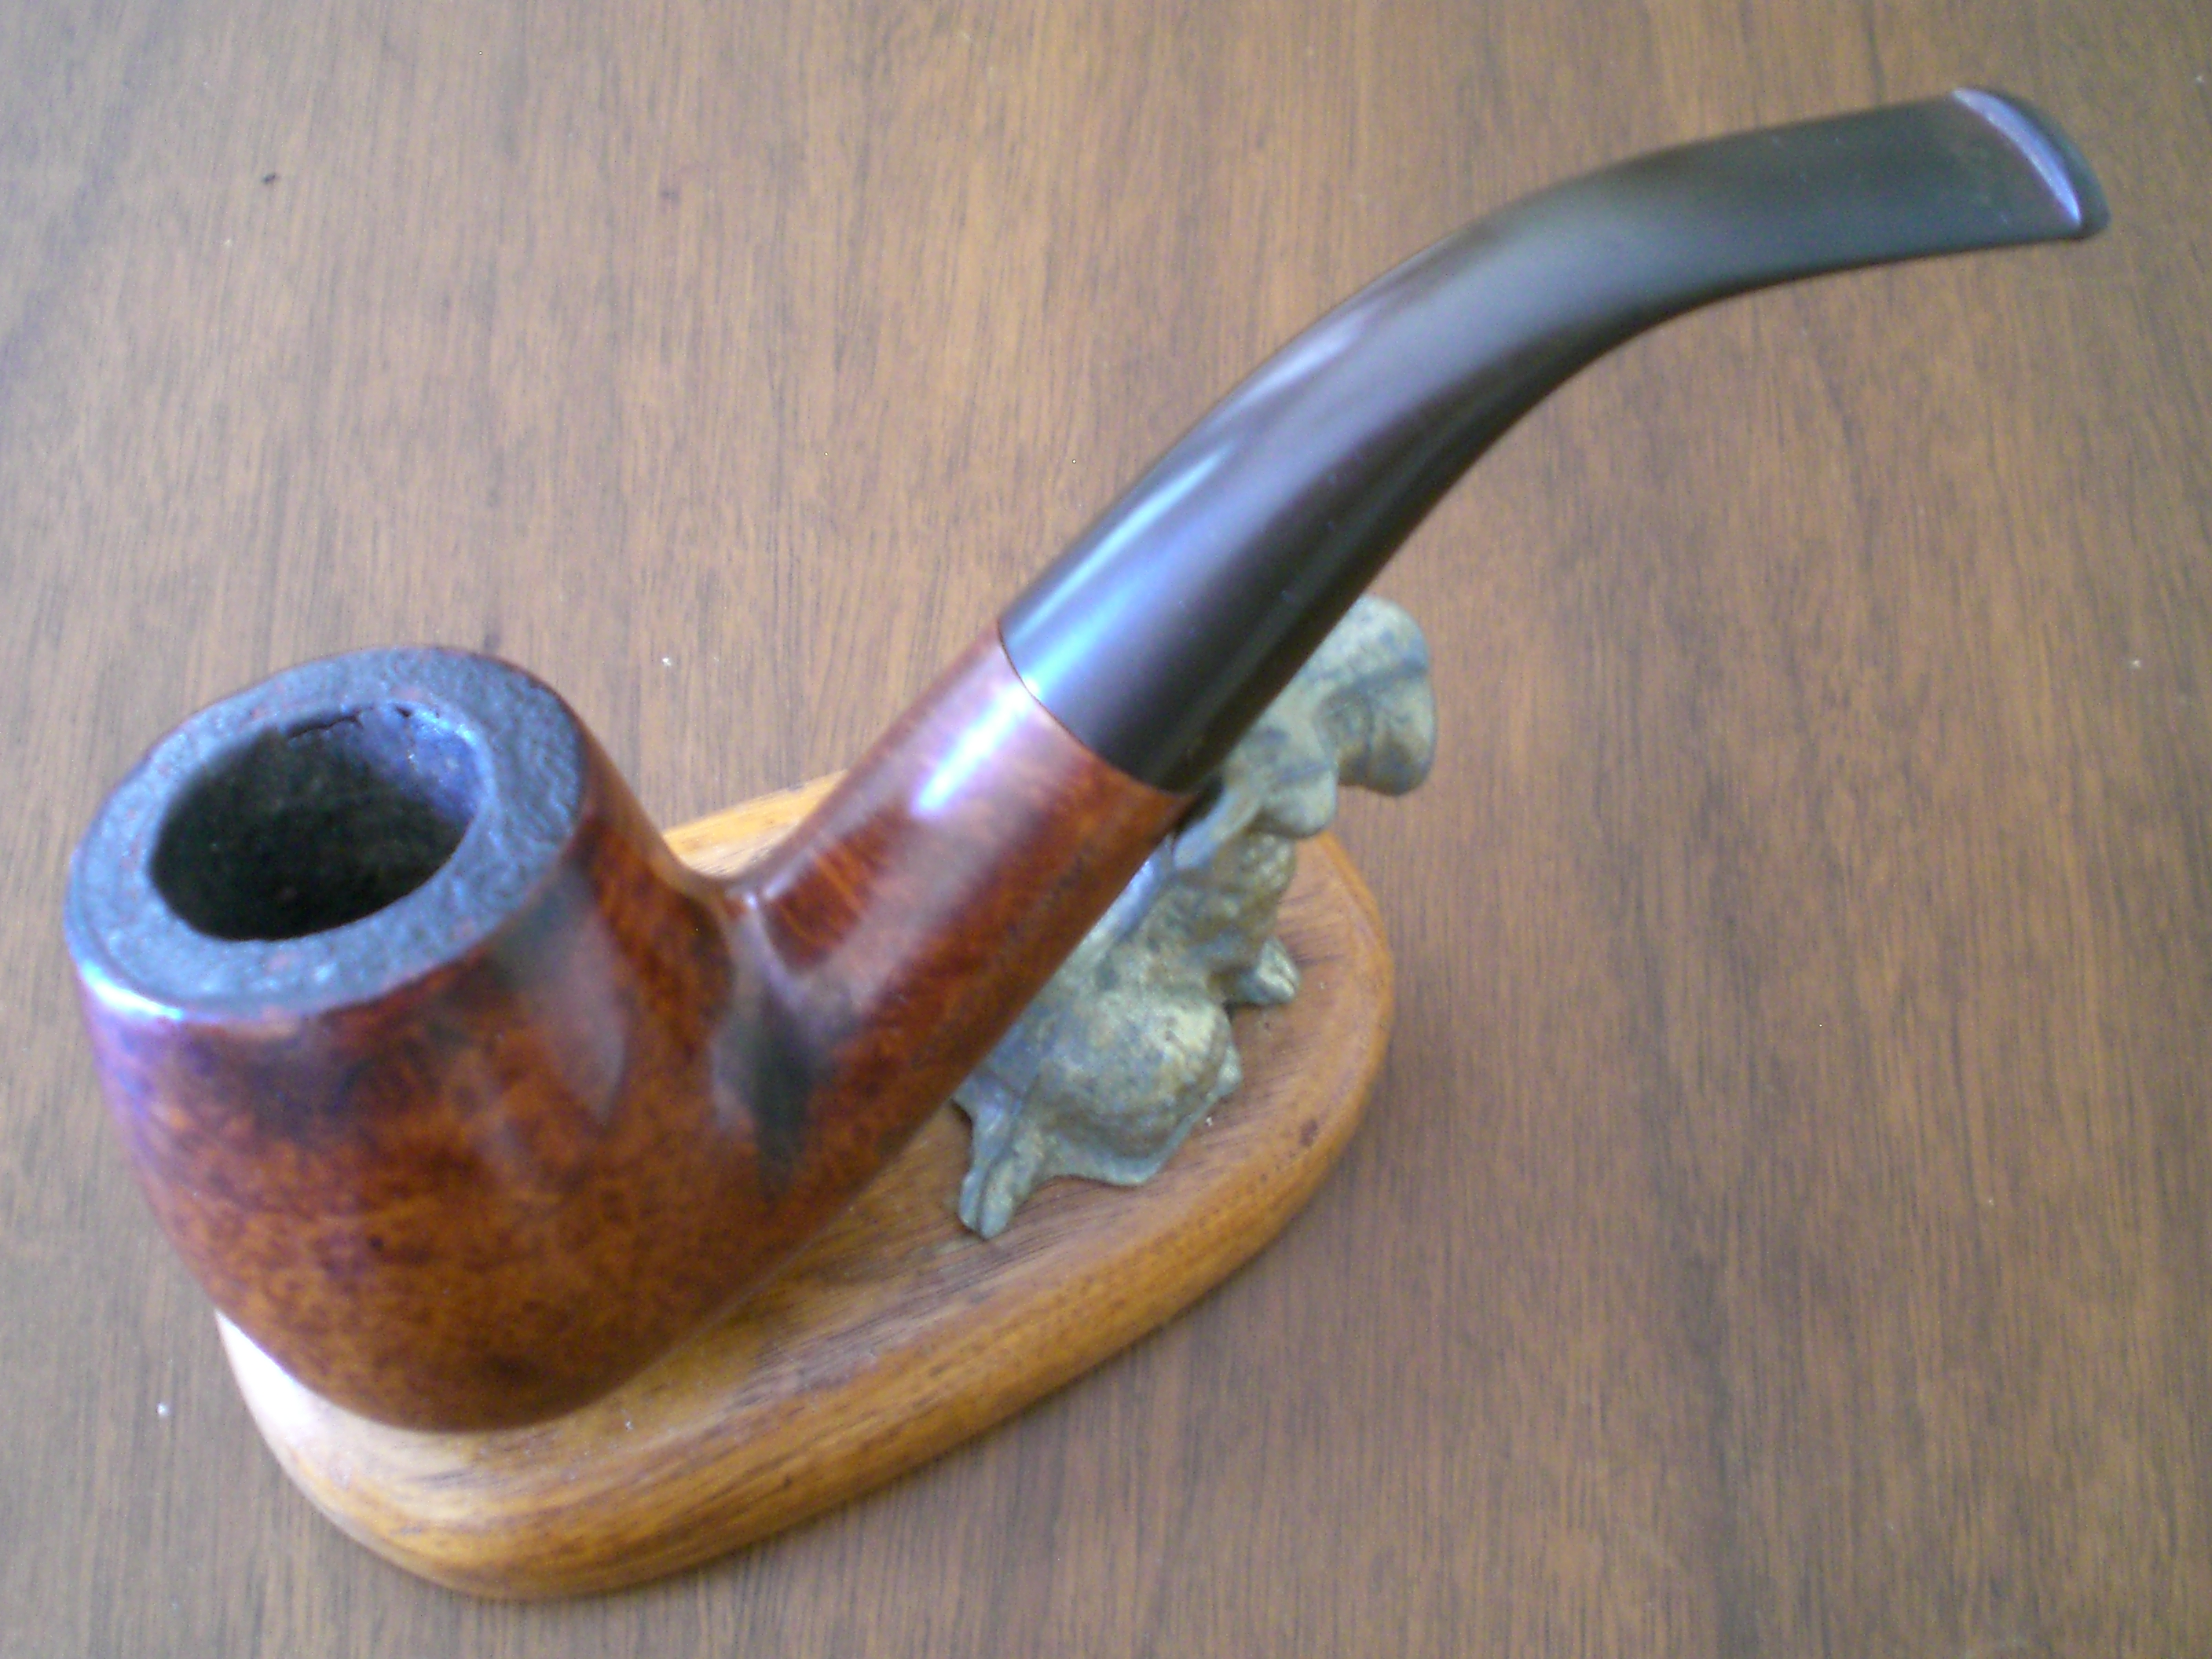
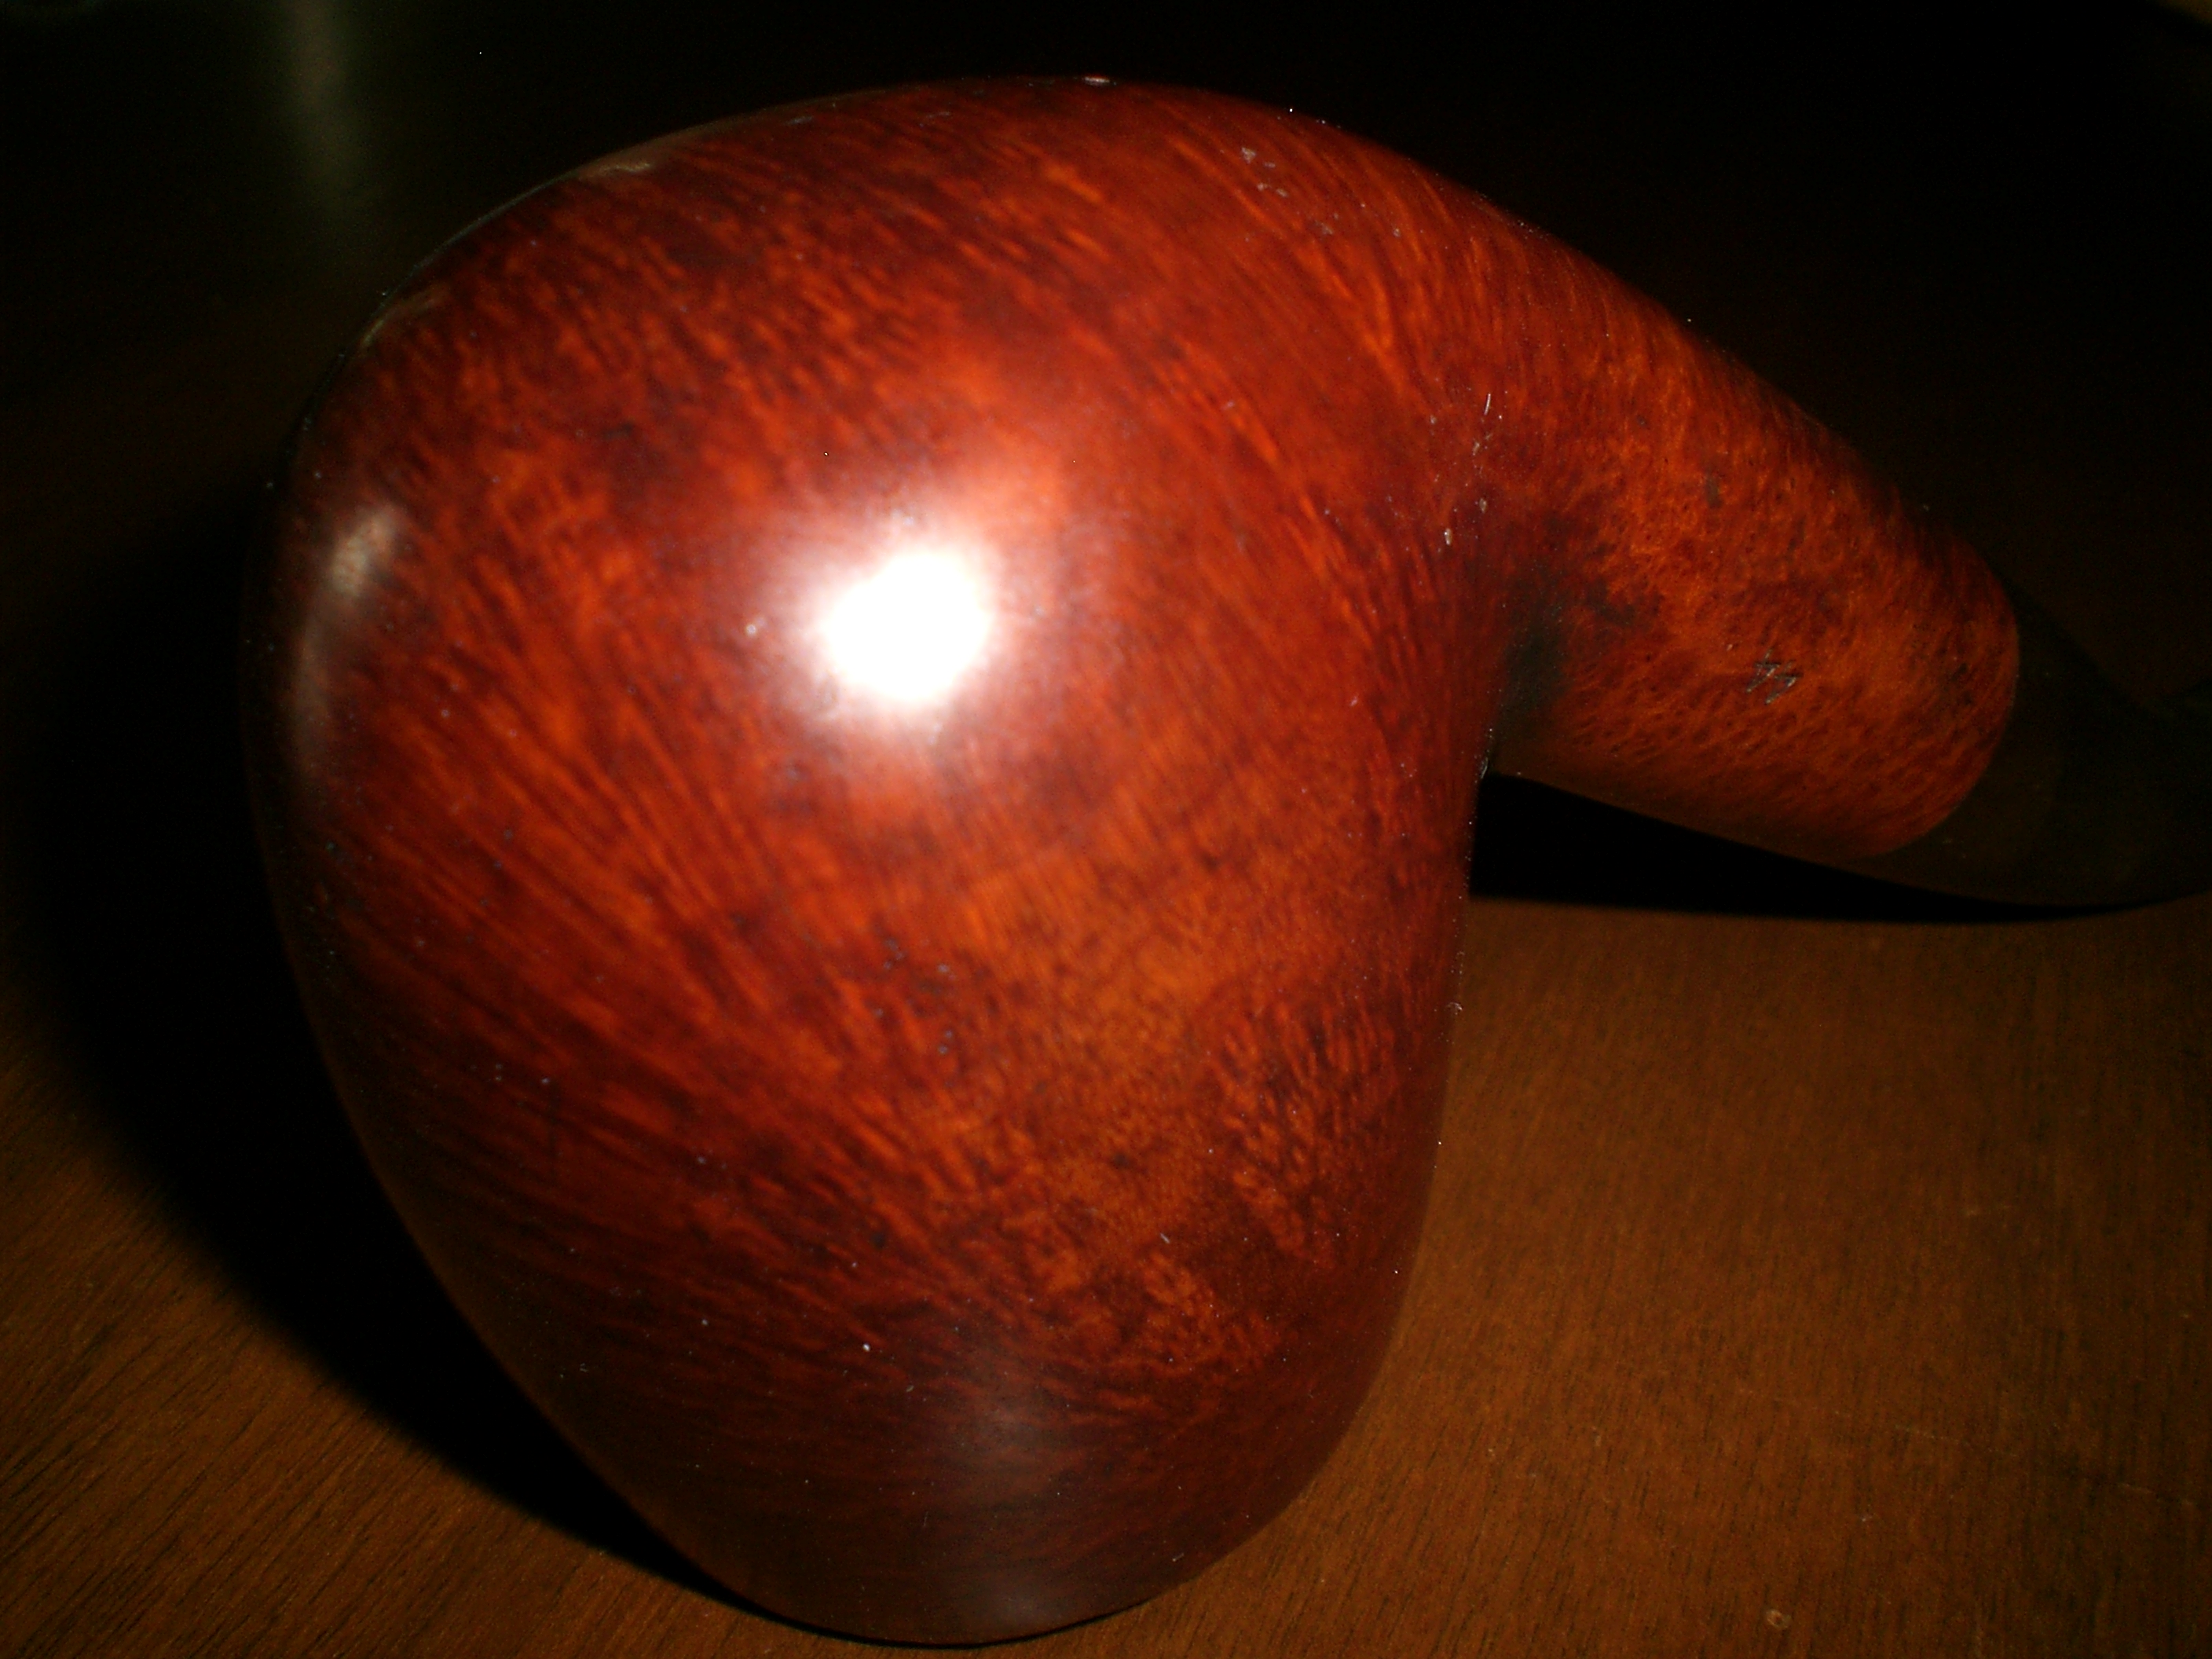
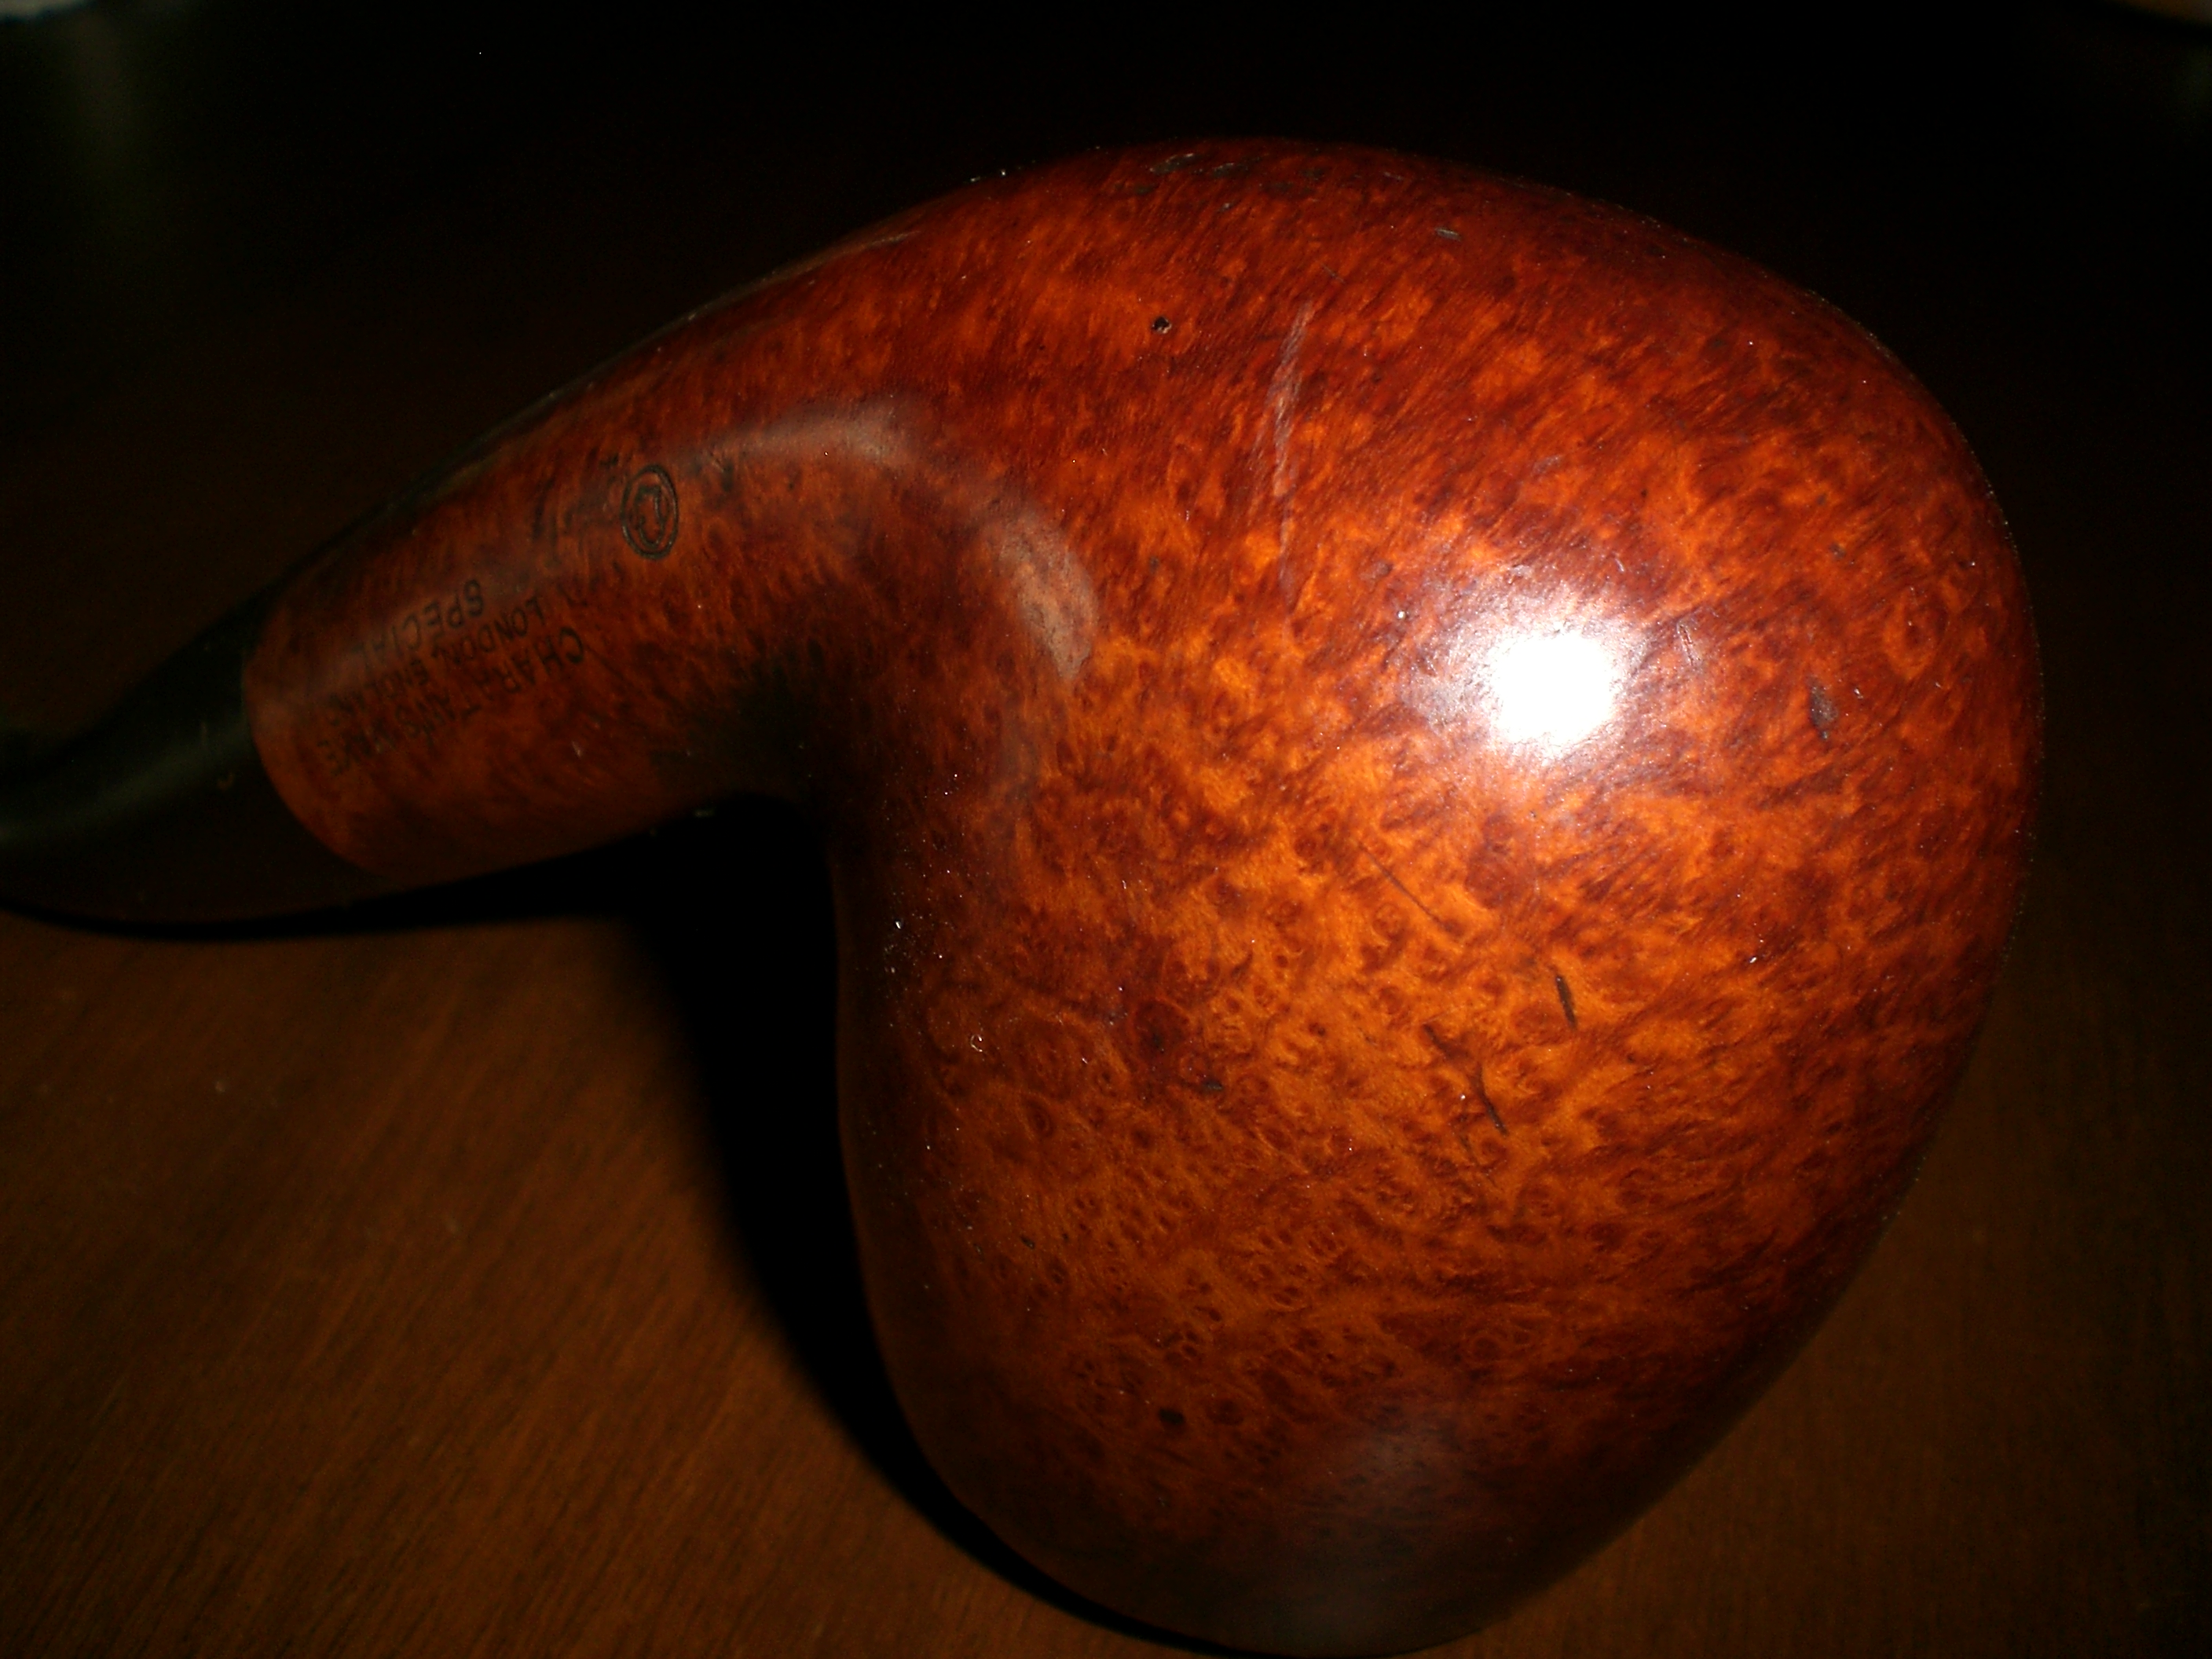
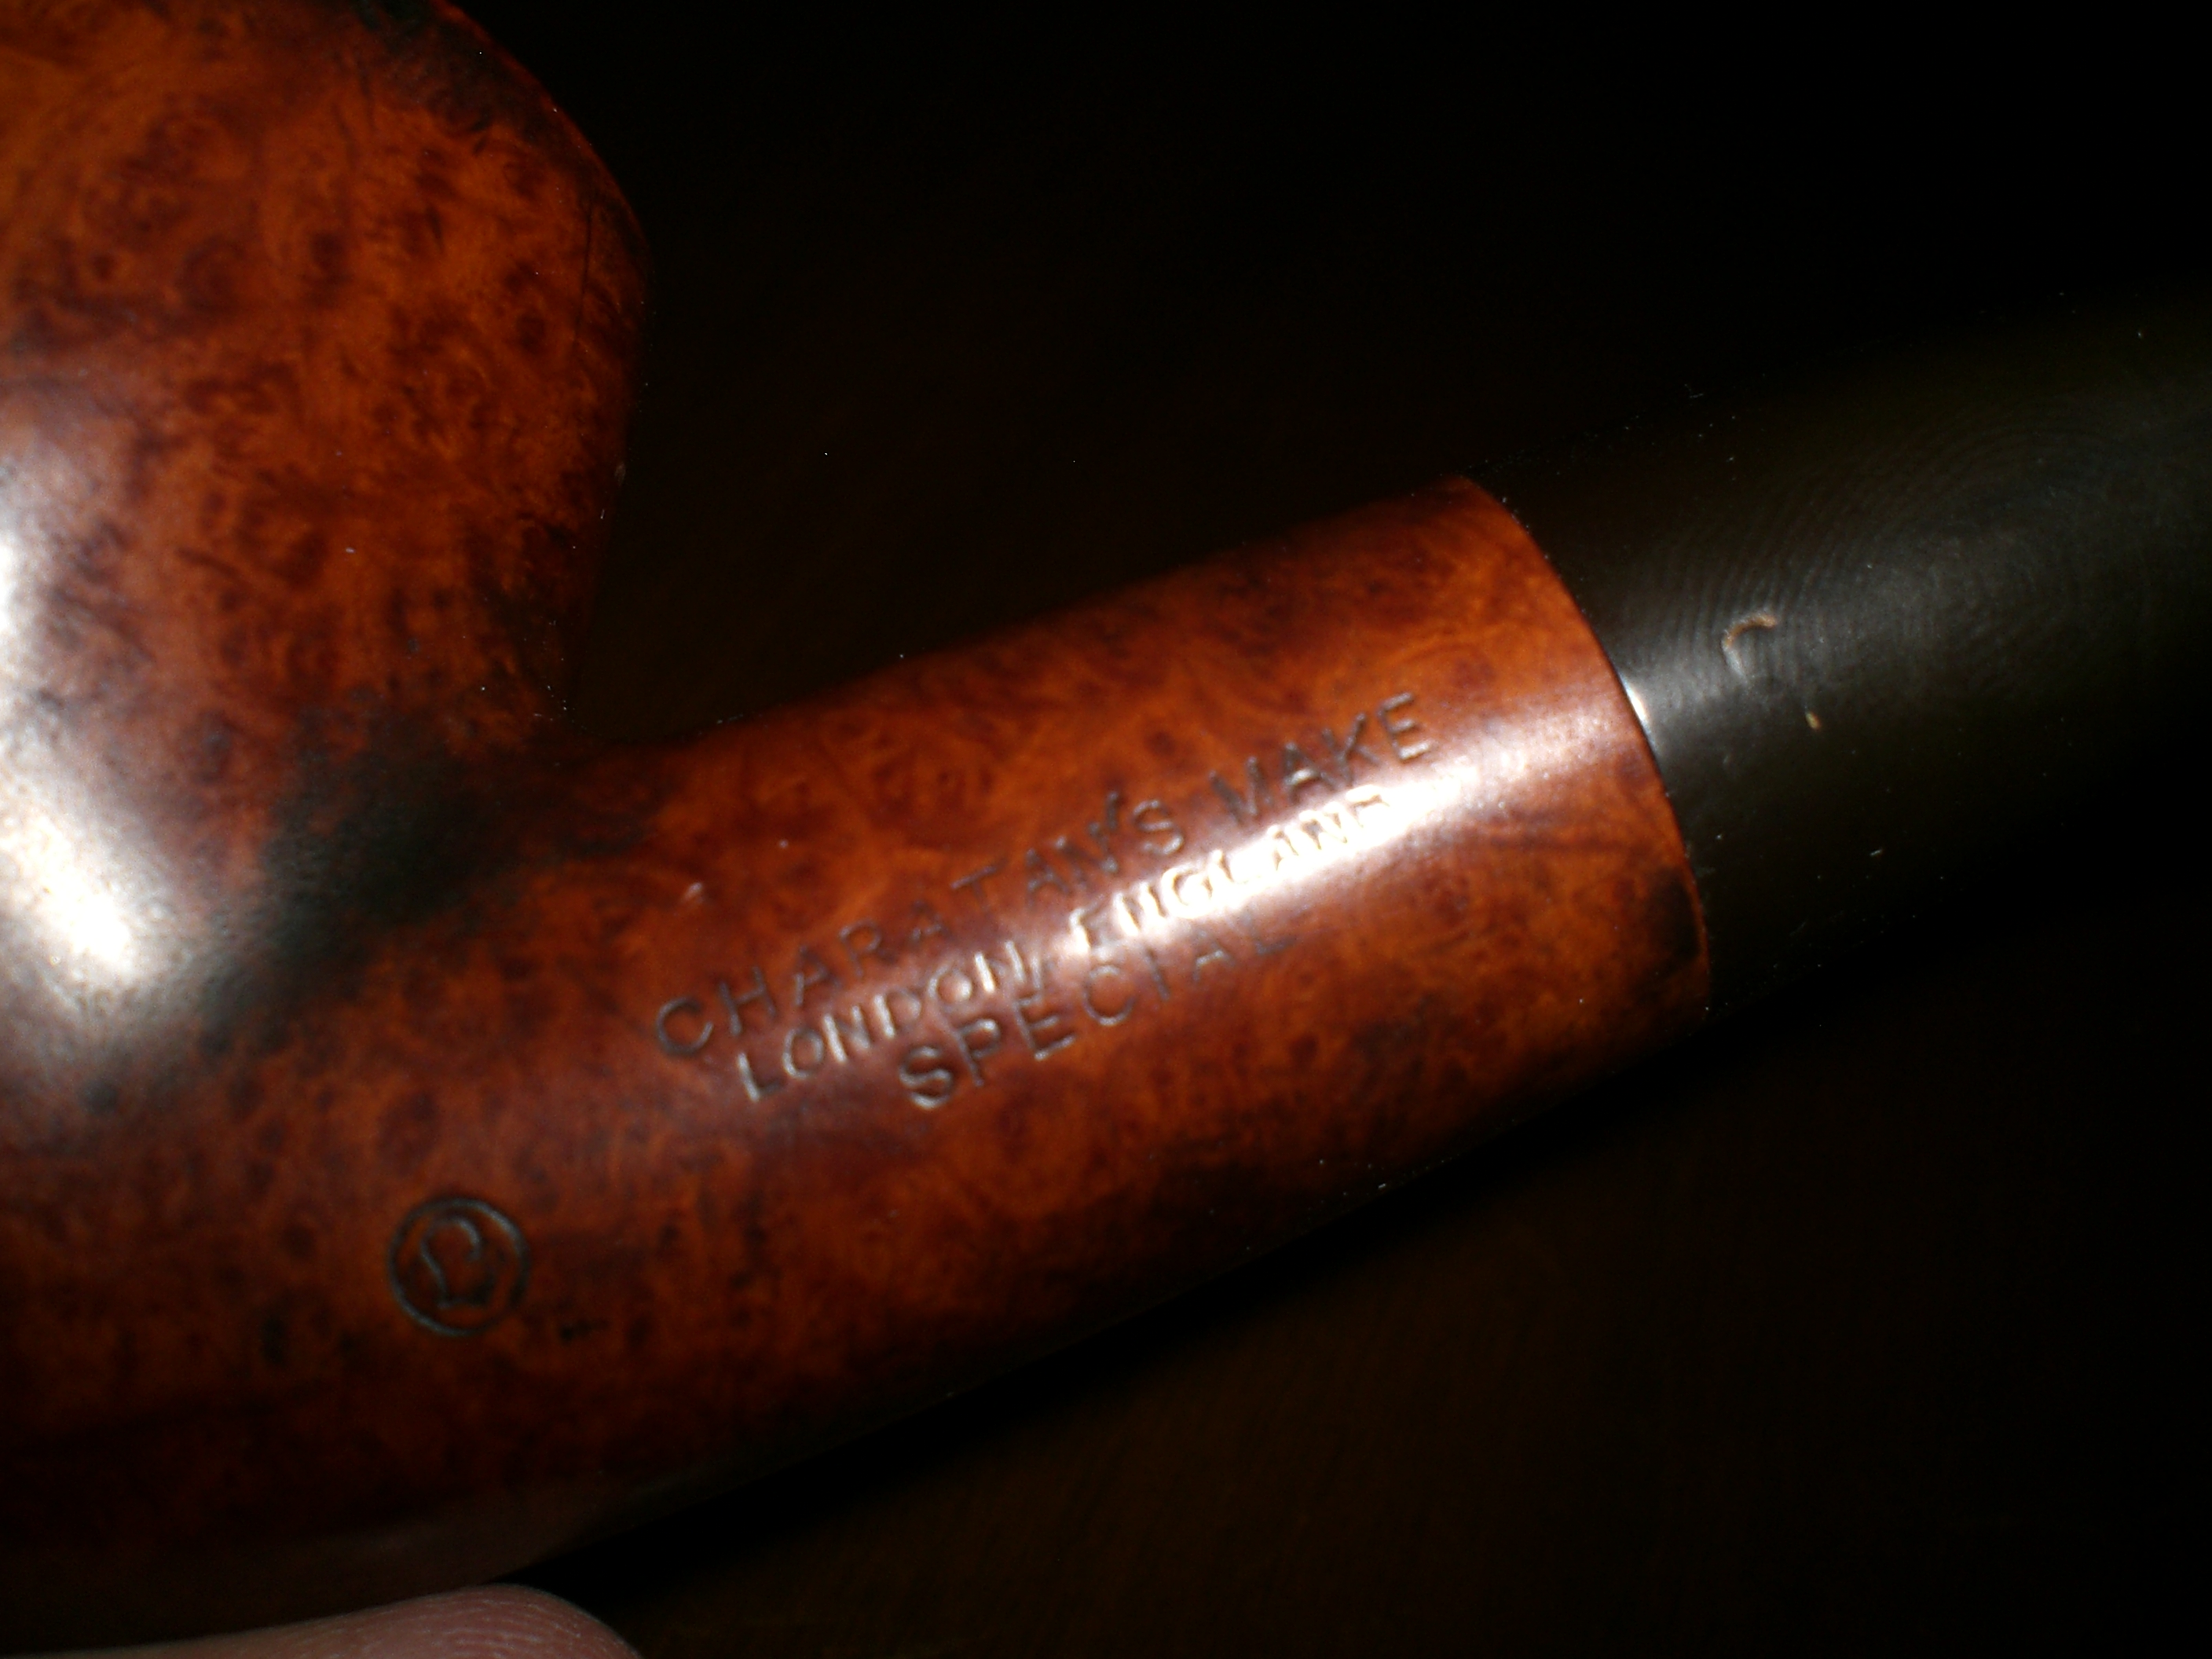
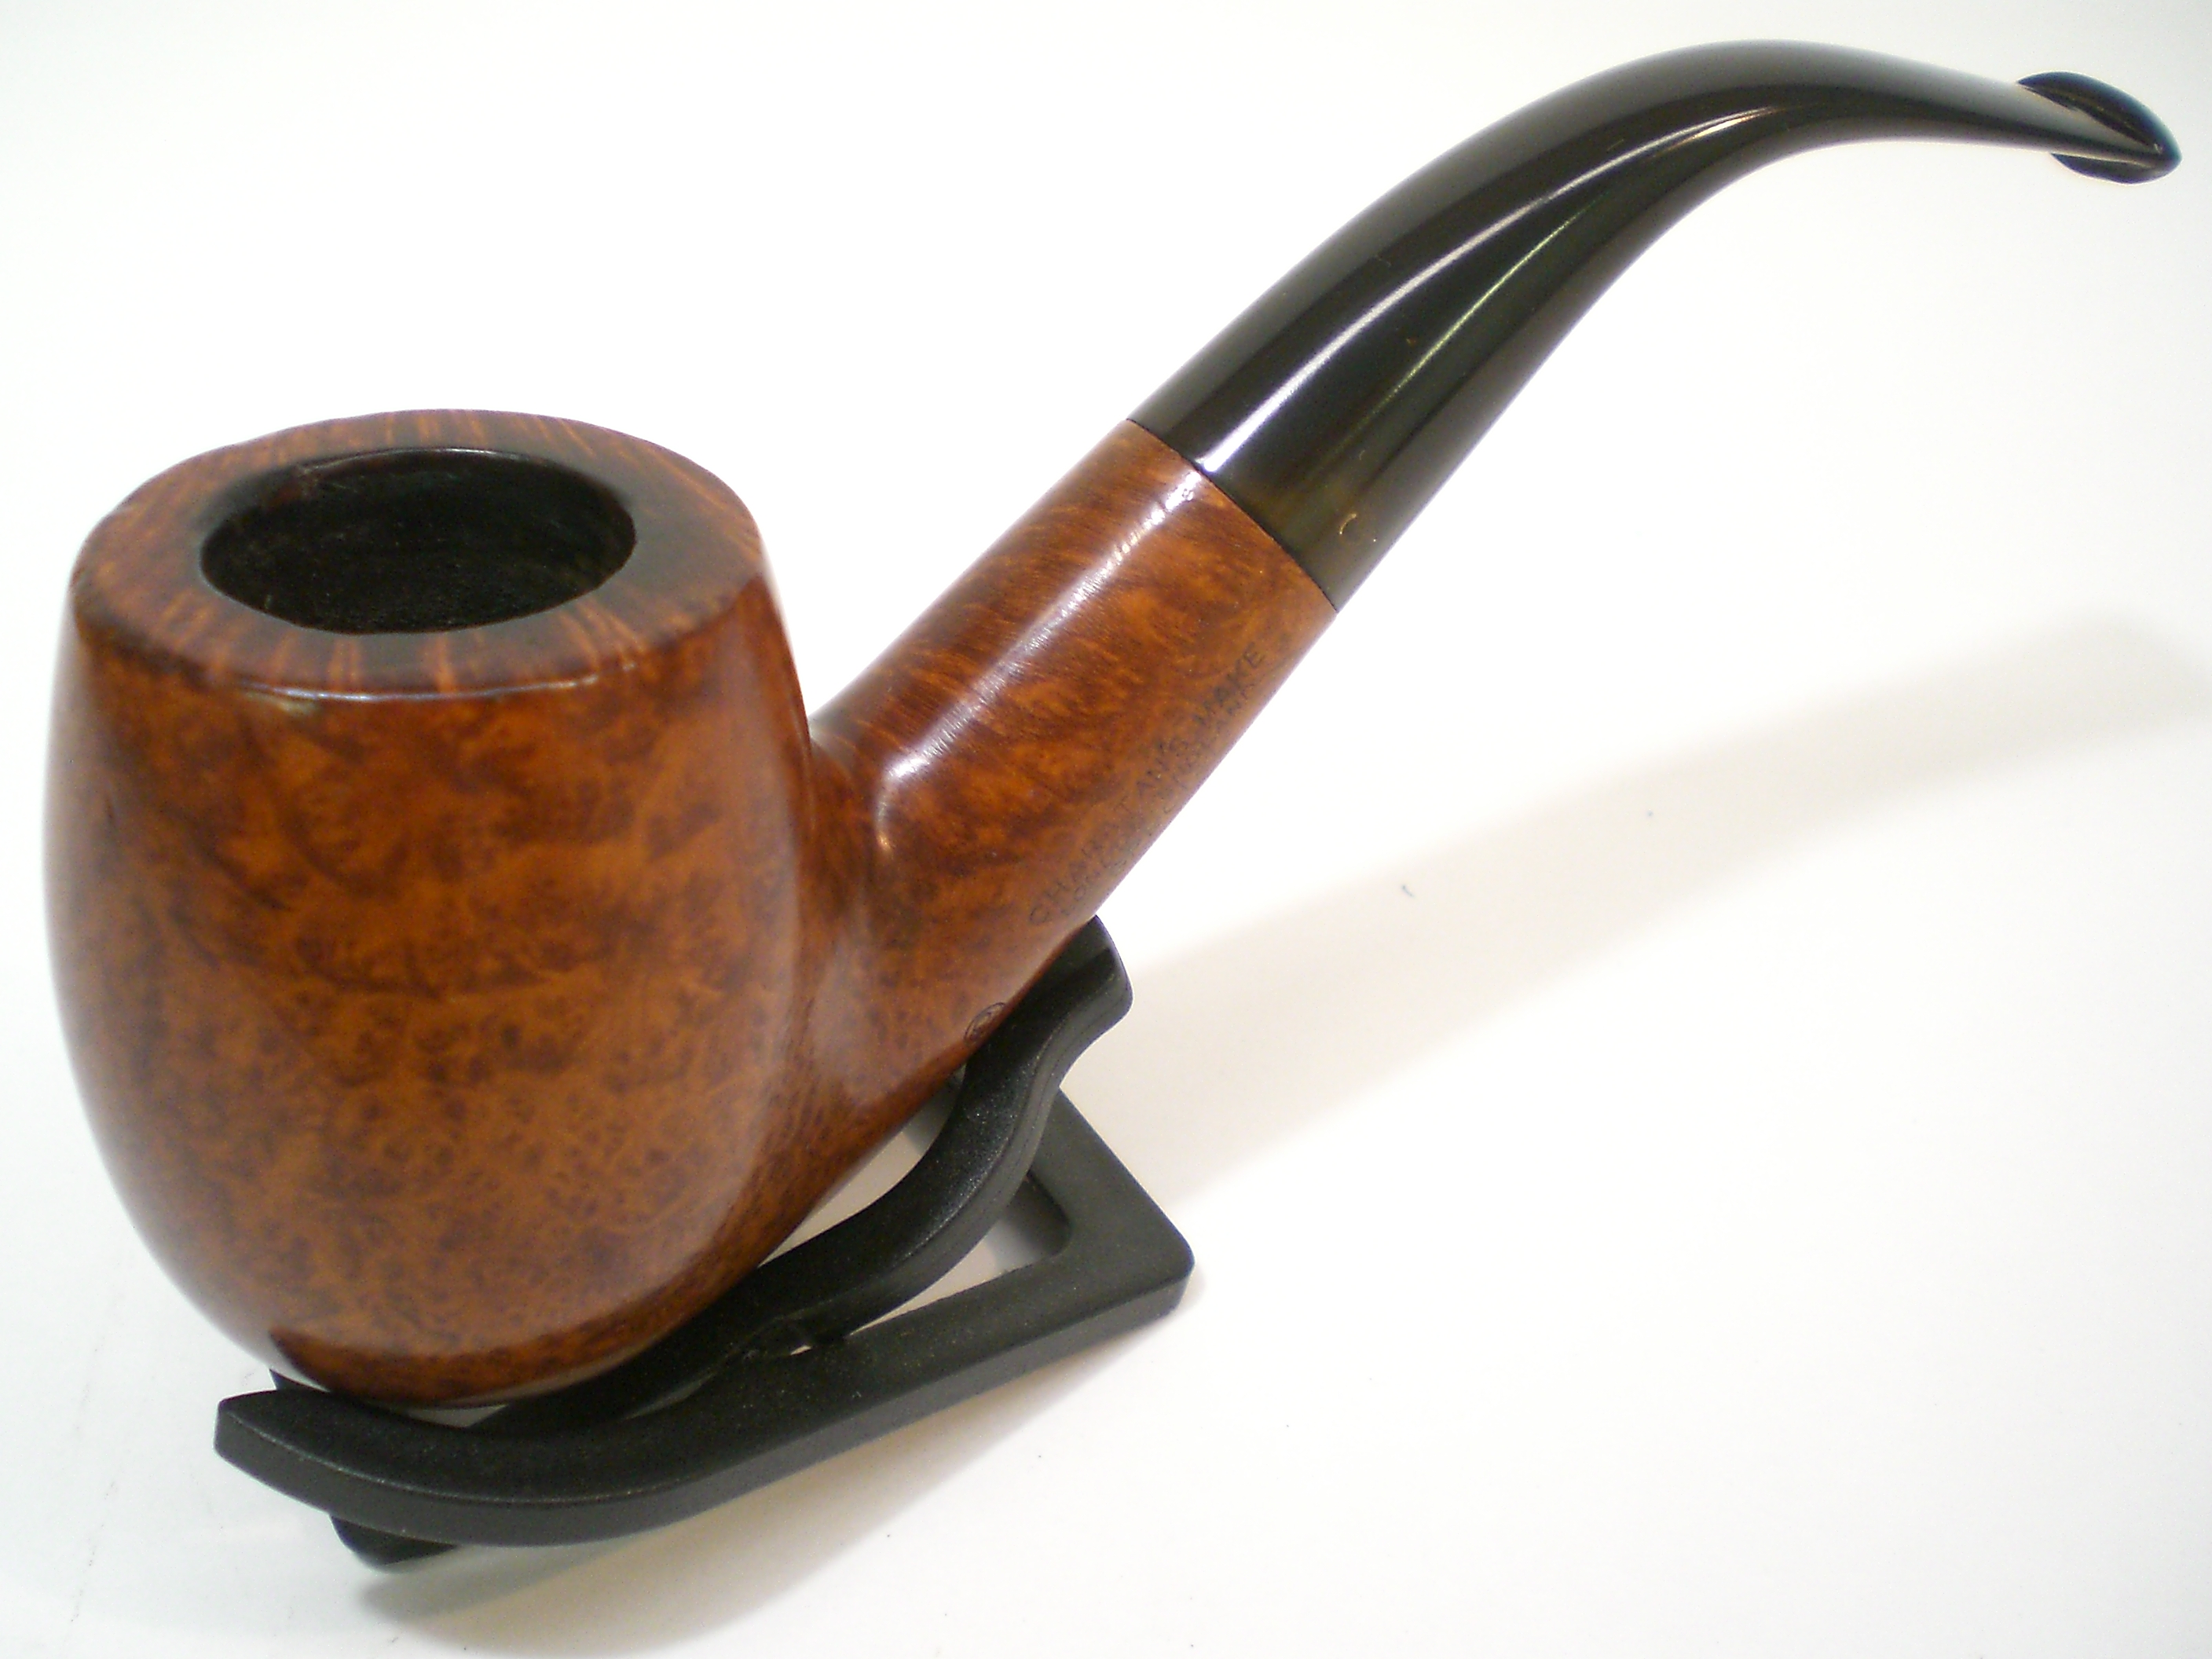
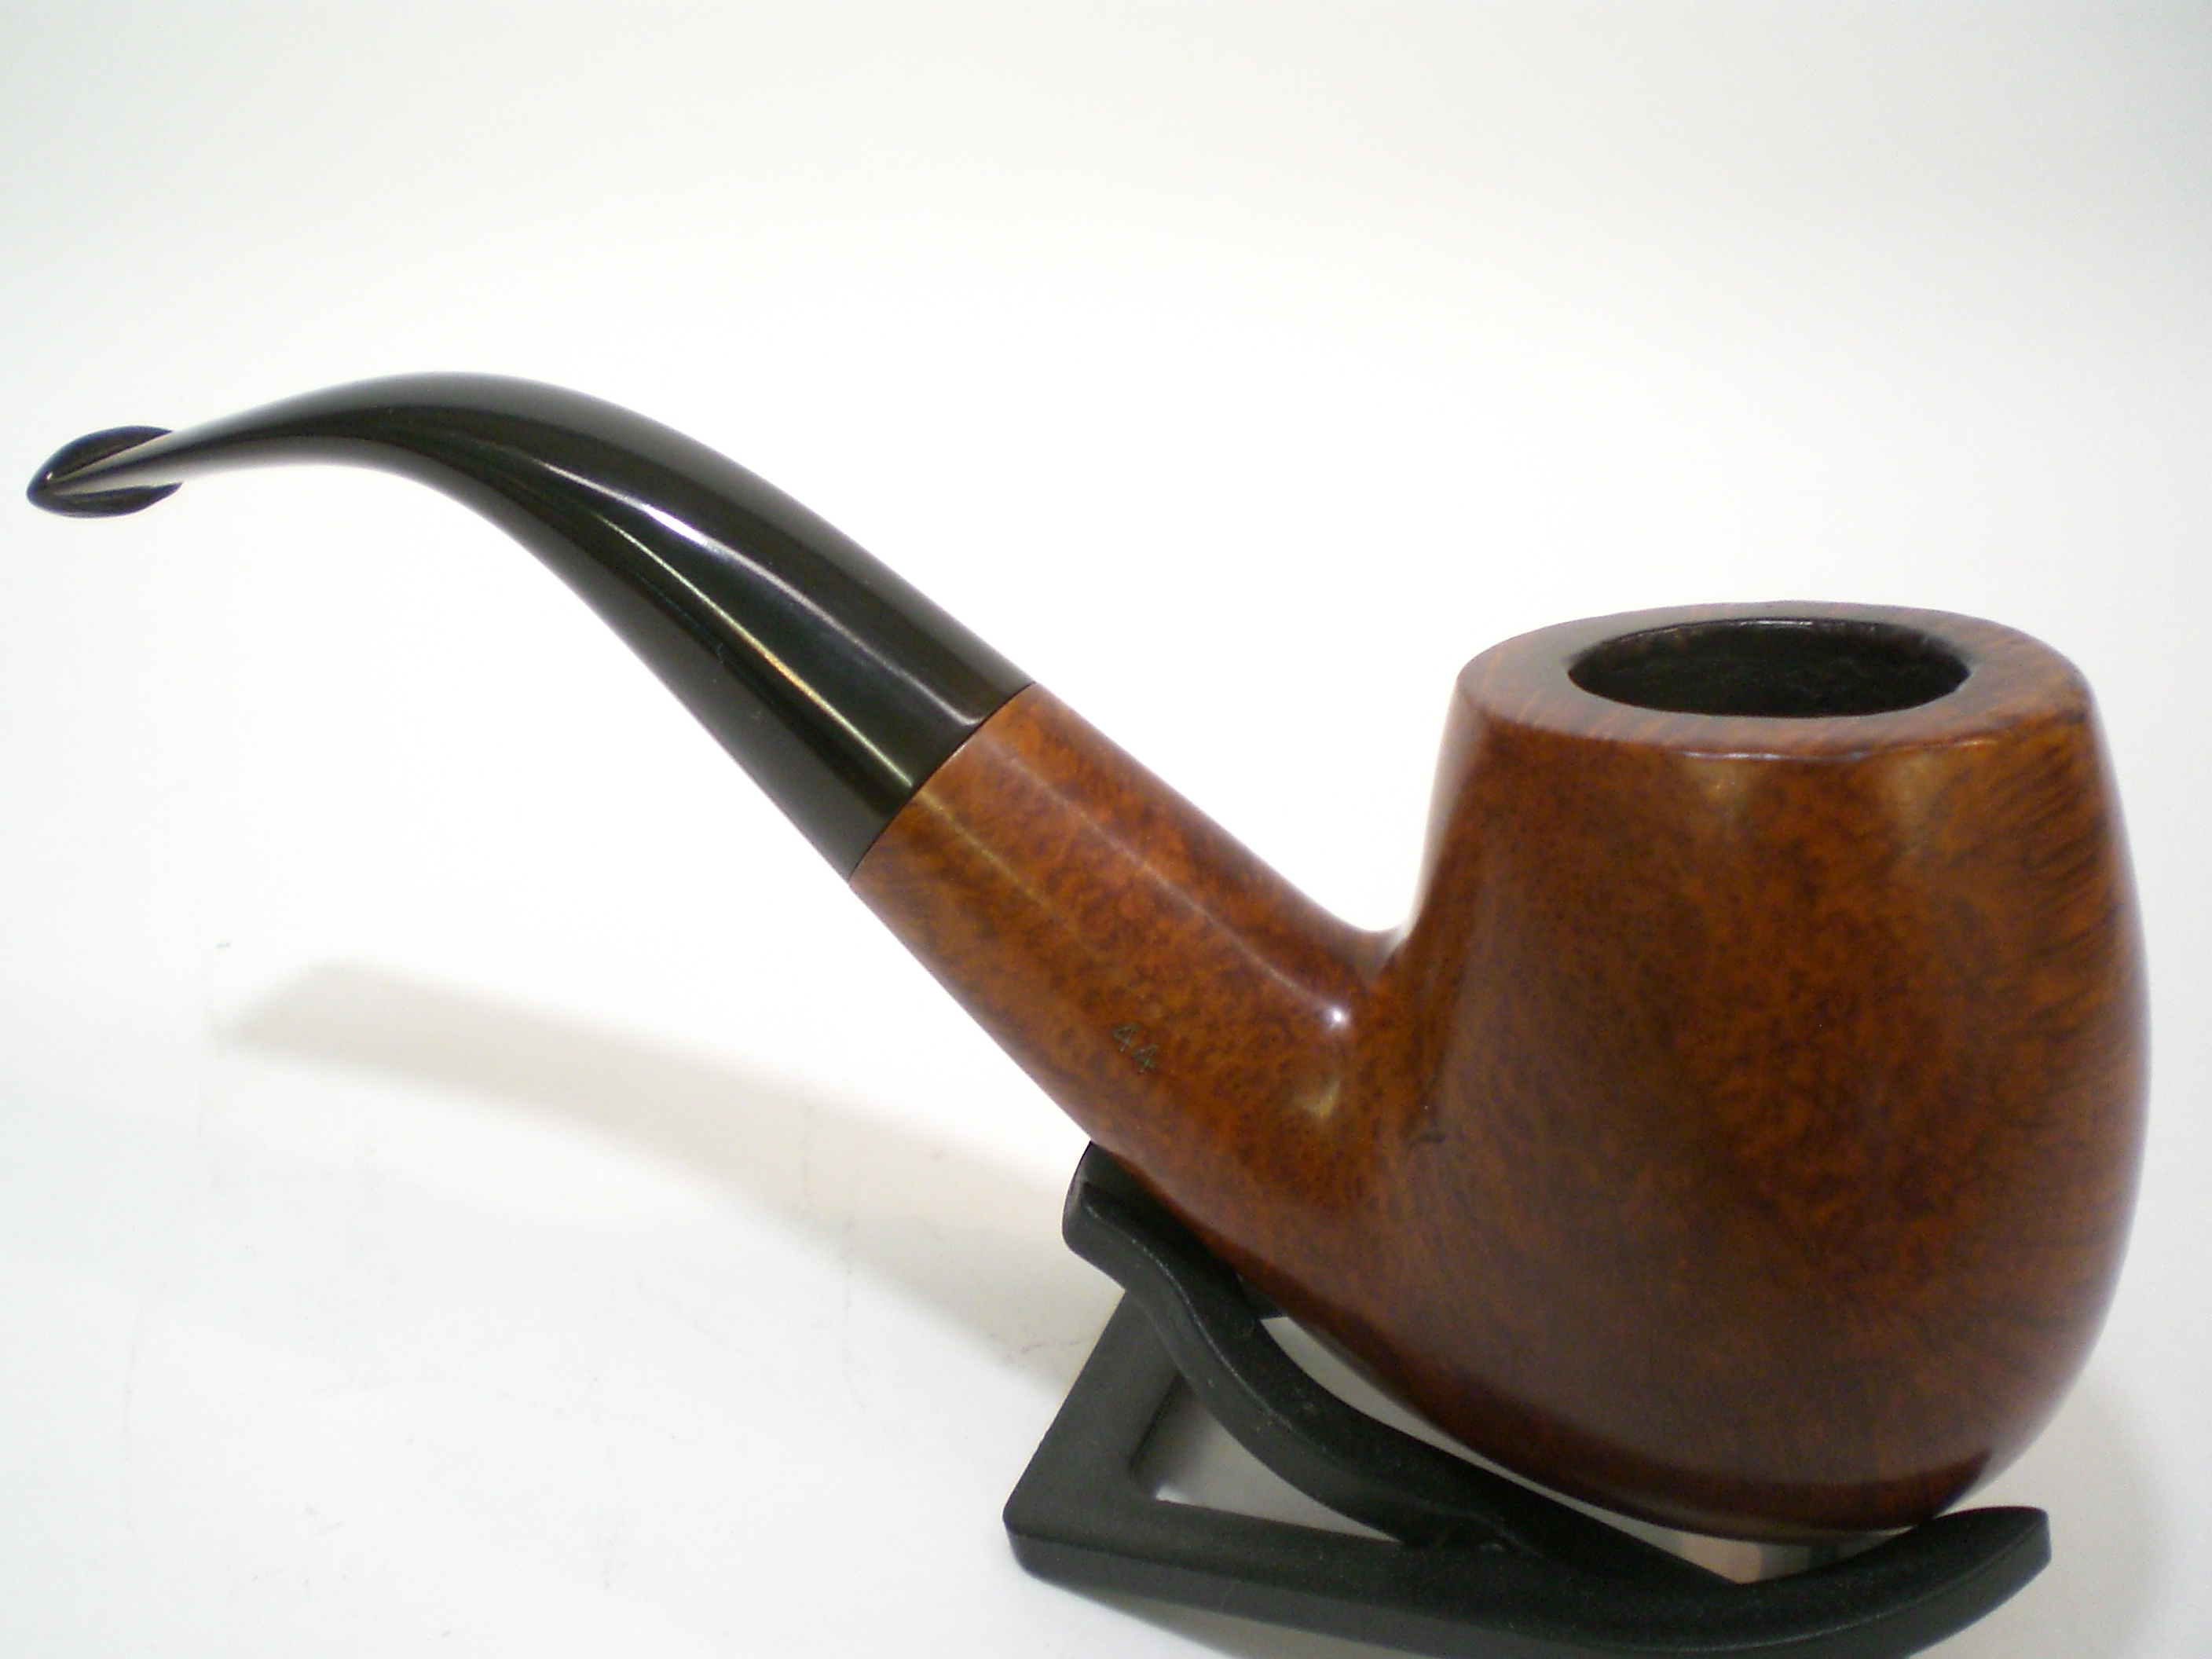
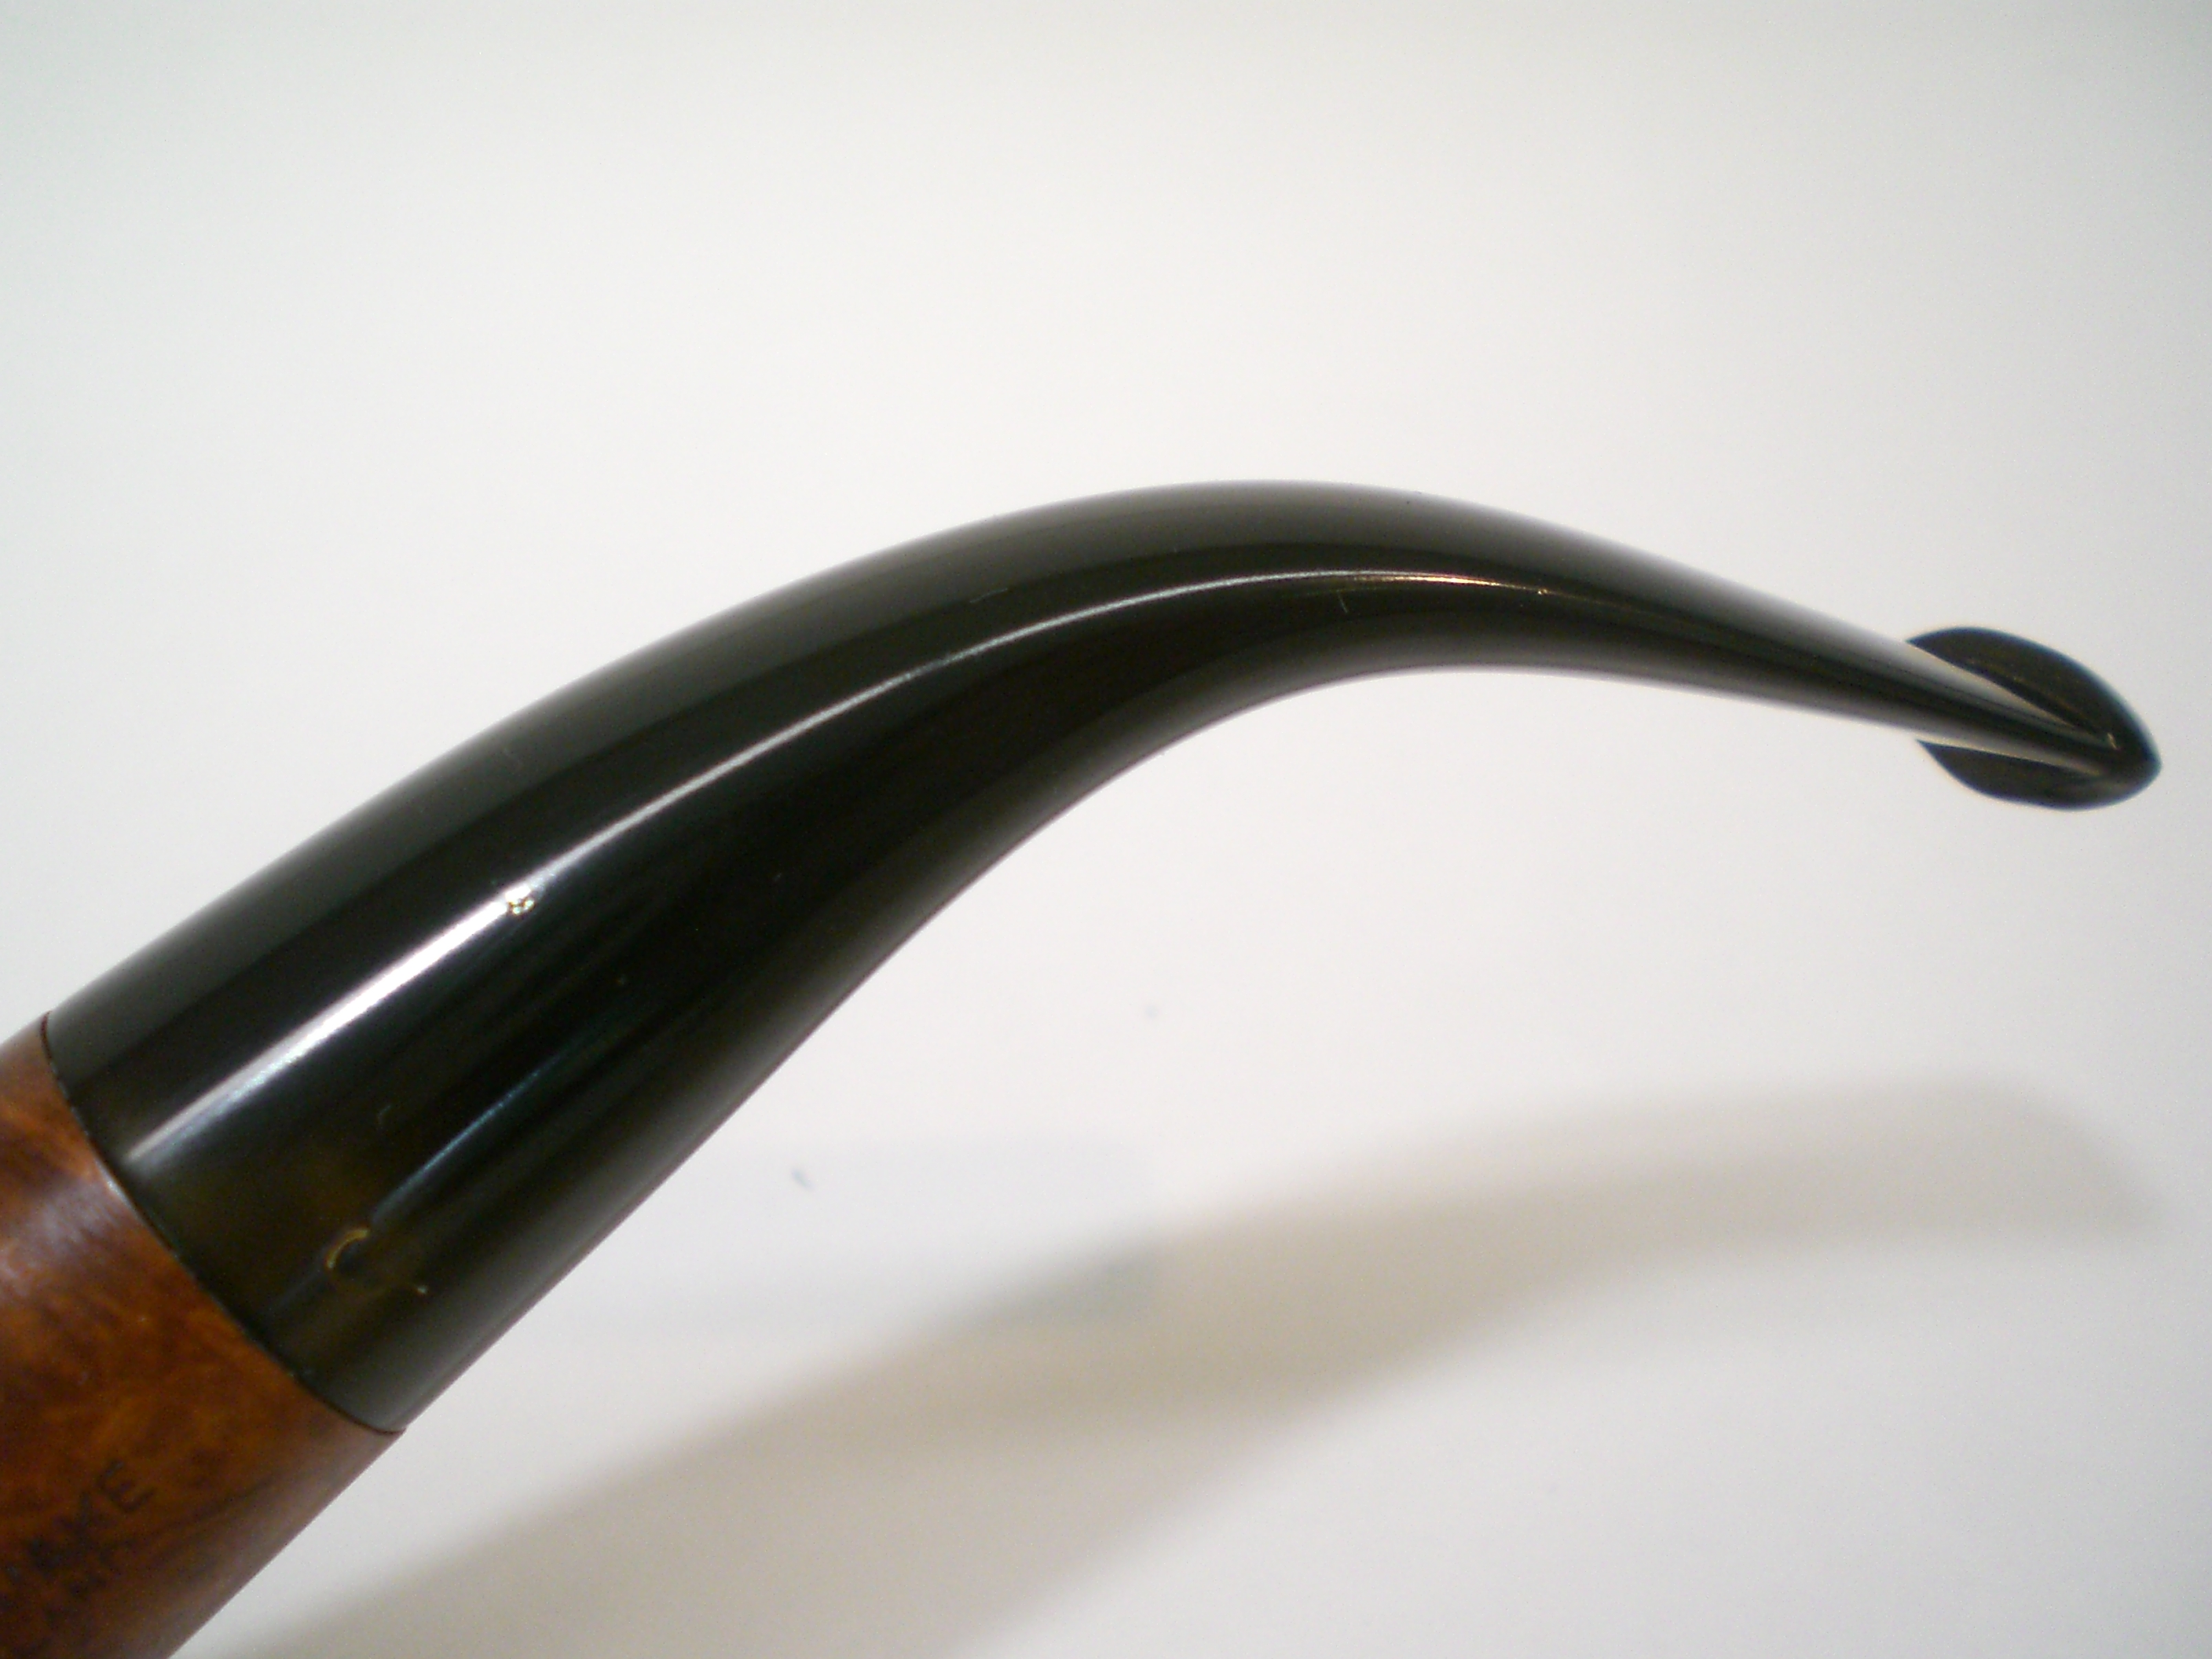
First up on the bench was this massive Charatan Special billiard. I’ve seen these Specials before, but they almost always have a saddle stem. This one has a lovely tapered stem. The pipe is 7″ long and at exactly 100 grams, a hefty hunk of briar. This one is a shape 44 and has the Lane stamp.
Paired with a 4K Castello to give you a perspective on the size of the pipe:

Each of these four pieces had a heavy layer of grime on them (as did the two GBD’s in my collection) and a very thick layer of tar on the bowl top. The had some small tooth impressions that lifted out with some heat.
The tars on top came off with some light scrubbing. I soaked the stem in a mild Oxyclean solution to remove some stubborn oxidation. I stayed away from the “CP” stamp. It is light, but visible. I did not soak the bowl on this one, just gave it a light reaming. The owner smoked all of these pipes very hot and did a fair bit of damage to the inside of the bowl. I was afraid to remove the cake filling that was filling in the crevasses. With a little use, the cake should build over these spots and the pipe should still have a long life, the briar is still very thick all over. There were a few dents on the bottom of the bowl. They lifted out nicely with an old kitchen knife held over a propane torch and a wet cloth.
After soaking the stem, the oxidation was removed with 1500 and then 2000 grit wet paper. I then moved to using the last three grades of Micromesh sheets (6000>8000>12000). The stem was then buffed first with Tripoli and then White diamond rouges. A final buff with Blue Magic Plastic polish was the final step.
The tars on the bowl top were removed with a very mild solution of water and alcohol as I didn’t want to lighten the stain. As the heavy layer was removed, I switched to plain water on a cloth. The bowl was buffed with Tripoli, White Diamond and then Carnuba wax. The briar really cleaned up nicely.
The finished pipe is a very regal looking piece.

I’ll detail the other three pipes from this estate in future essays.
Al Jones, aka Upshallfan
Repairing an Over-Reamed Bowl in a GBD Collector Century
Blog by Steve Laug
I picked up this older GBD bent apple with a Perspex stem on EBay for a reasonable price, at least in my opinion it was reasonable. On the left side it is stamped: Collector in script over GBD in an oval over Century. On the right side it is stamped: London England over the shape number 9633. The Collector line is the middle line between the Conquest and the Colossal. These three lines were termed GBD plus sized pipes. The dimensions on this one are length: 5 ½ inches, height: 1 ¾ inches, outer diameter: 1 ¼ inches, chamber diameter: 1 inch. The bowl exterior is chunky and wide and the bowl is larger than normal sized GBD`s.
The two pictures below are the ones that were used on the listing on EBay. The stem is dirty but whole and intact. The bowl rim is badly caked and the bowl itself looks to be caked and maybe a bit over reamed but it is hard to tell. The finish on the pipe was pretty much gone as can be seen in the two photos. There were some dark marks on the bowl front and the sides were faded in colour. Nonetheless it looked like it was worth a bid in my opinion. I asked a few questions of the seller and was answered cordially but with little helpful information regarding the state of the bowl. So I would just have to see it when it arrived. 
When it came, it was both in better shape and worse shape than the photos in the listing showed. The finish was dirty and really not in too bad a shape other than worn spots. The rim was caked and dirty but was not dented and damaged. The bowl had indeed been over-reamed. In fact it looked to have the beginnings of a burnout – or at least a hot spot on the bottom of the bowl. The stem was dirty but had no bite marks and minimal tooth chatter. Looking at the bottom of the bowl I notice what appeared to be a dark spot and maybe even the beginnings of a hole. This was not a good sign. I had repaired that old Dunhill with a briar plug not long before this so I knew it could be repaired but I wanted to be sure of what I was dealing with. I took the bowl and stem apart and carefully reamed the sides of the bowl to clean out the remaining grit. The top was cleaned with Murphy’s Oil Soap undiluted and scrubbed with a tooth brush. I did not worry about the finish as I was going to restain and refinish it when I was done. I set the stem aside for a bit while I worked on the bowl. Once it was clean I put it in an alcohol bath to soak and remove the remaining finish and grime. 


I removed the bowl from the alcohol bath and wiped it down to dry it off. I turned it over and the three pictures below show what I saw. From the outside the bowl looked like it was beginning to burnout. There was a darkening on the surface and what appeared to be a small crack in the briar. From the inside the over-reaming can be seen clearly. The bottom of the bowl was below the airway and the remaining briar was very thin.
I sanded the bottom of the bowl to see how deep the discolouration went into the briar and was pleasantly surprised. The photo below shows what the spot looked like after sanding. I then used a dental pick to pick at the crack in the surface and see how thin it was and how deep the crack went. The briar was still hard and did not break away with the dental pick. That was another good sign. I cleaned the surface with isopropyl alcohol and dried it off. I used some small drops of super glue to fill the crack and then sanded the surface again to smooth the patch of the glue. I did not plan on selling this pipe as it is a shape I enjoy so all of my work was for my own use at this point. 
The picture below shows the bowl after some more sanding and a light coat of medium brown stain. I restained the entire bowl and buffed it to see if the repair would be less obvious. You can see from the photo below that it is a bit darker and would require a few more coats of the brown stain to make it recede into the background.
I fired up a good cigar and made some pipe mud of the ash and water and began to rebuild the bottom of the bowl. I layered on several coats of the mud allowing it to dry to the touch between coats. My goal was to build up the bottom of the bowl to the bottom of the air way. The pipe mud is fairly thick but it actually worked quite well. In the photo below you can see the bottom of the bowl. I also used it to fill in some of the cracks in the cake on the sides of the bowl. I wanted to protect this pipe from further damage to the bowl.
Once that was finished and dry I restained the pipe with two more coats of the medium brown aniline stain. I flamed the stain between coats to set it. Once it was dry I buffed the bowl with Tripoli to make the grain show and lighten the stain. The next series of four photos show the finished look of the bowl. The photo showing the bottom of the bowl shows that I was able to blend in the darkened area with each successive coat of stain. It is still present but it does not pop out at you when you look at it. In the photos you will also notice a pipe cleaner inserted in the stem. I used lemon juice to soak the stain in the Perspex as well as some hand cleaner with grit in it. The stain is stubborn to remove so I left the pipe cleaner soaked in the products in the stem overnight several times in an effort to remove the stain. You can see from the photos that it is lighter than when it arrived but it is still present. (NOTE: do not use alcohol in cleaning Perspex stems as it causes the stems to craze – multitudes of tiny cracks appear throughout the material.) 


The last series of photos shows the pipe as it is today. The refurbishment on it was about 2 or more years ago. I have smoked it in my rotation and it smokes very cool. The pipe mud has held up well and is incredibly hard now. The finish has darkened a bit and taken on a patina that I like. The save on this pipe worked incredibly well. One day if the need arises I can put a briar plug in the bottom of the bowl but so far it has not been necessary. 


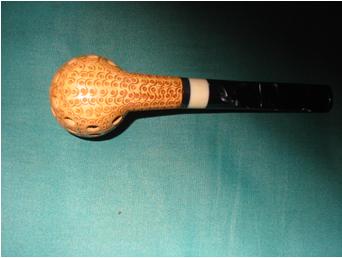
NightOwl PipeWorks Blueprinted Meerschaum
Blog by Steve Laug
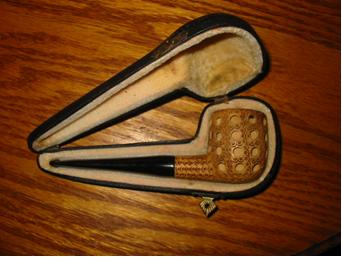
I sent off this old lattice meerschaum to Ronni Bikacson for him to do a Blueprint Conversion. He describes the processes he uses on his web site as follows:
“This process combines two of Ronni’s processes that make this pipe a much better smoking pipe. The first is the “Blueprint” technique – this process involves opening the draft bore of a pipe for smooth smoking. Rather than gouge out huge bores in the shank, I strive to equalize the bore diameter from bowl to bit. This includes redrilling the shank to 3.5 or 4mm, drilling the stem to 3.5mm as far as possible and then hand finishing the bore to an open slot at the bit. Each pipe is treated as an individual system; no “one size fits all”. I also make special mortise sleeves that help a pipe cleaner pass all the way without stem removal. The result is a smooth, dry smoke without having to fight a pipe cleaner afterwards.
The second is the “Bulletproof Shank Repair” – this process eliminates the need for bands on cracked or broken shanks. All repair is performed internally with either Delrin, stainless steel, or carbon fiber sleeves. I pioneered this technique in 2003 and have continually worked to improve the efficiency and durability of this repair.
A combination of the two above techniques has resulted in the “Blueprint Conversion” for meerschaums. The old “plumbing” is removed from the shank and replaced with a new sleeve that is bored to align the different draft angles between stem and shank. The stem is Blueprinted and fitted with the appropriate tenon. The result is a world class smoke that will accept a pipe cleaner without disassembly.” http://www.nightowlpipeworks.com/home/index.html
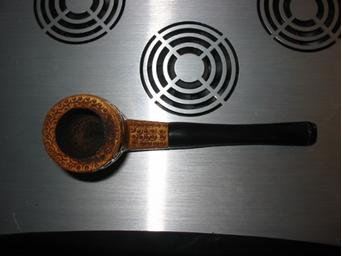
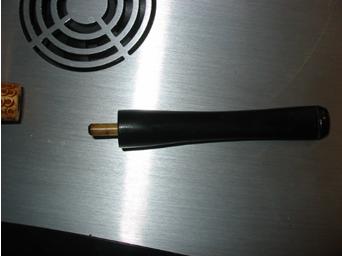
So I sent this pipe off to Ronni. The first series of three photos show the pipe as it was when I received as a gift from a friend. The stem I believe was a replacement and it did not fit well. The diameter of the stem at the shank was larger than the shank and it still had many file marks on it. The tenon was narrow and the draught on the pipe was very tight. The airway was constricted and narrow. A pipe cleaner would not fit through the stem.

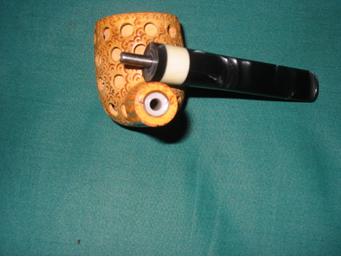
The next two photos show the internals of the pipe. The first is the small tenon with a very small airway and a tight draw. The second is the mortise – which is the same size as the tenon and the airway at the end is narrow like the end of the tenon.

When I sent it to Ronni and I asked that he also make a new stem for the pipe. He crafted one out of acrylic with a white acrylic band between the black of the band next to the shank and the black of the saddle stem that he made. The contrast with the colouring meer was a nice touch. The first four photos show the marbleized black acrylic with grey and silver highlights.

This last photo shows the new internals. Ronni opened the shank and inserted a new Delrin insert and made a stainless steel tenon with a wide open draw. The pipe smokes incredibly well now with little effort. I cannot recommend Ronni highly enough for his blueprinting process for meers. It is well done and for me changed a mediocre smoker into a smoking machine!

Nu Old Lovat reworked
Blog by Steve Laug
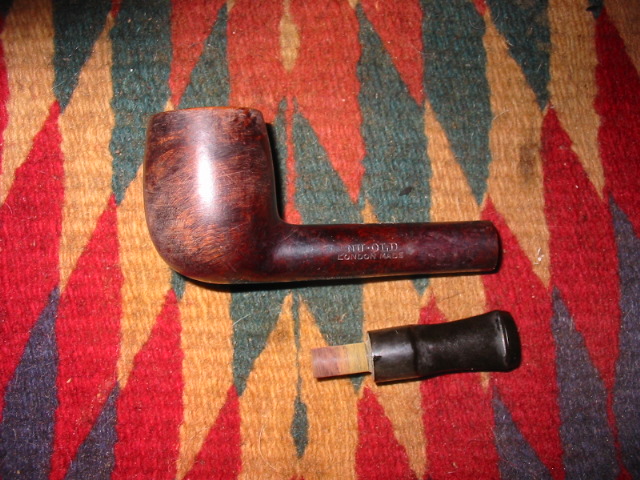
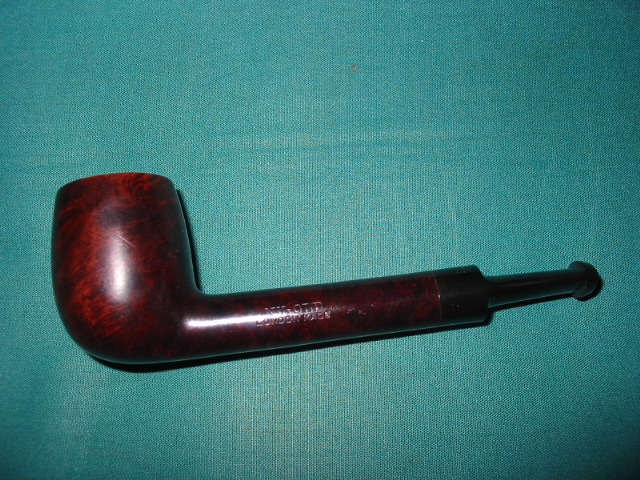
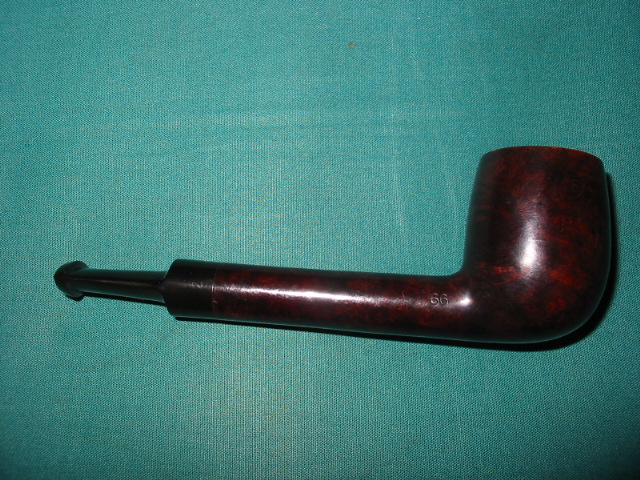
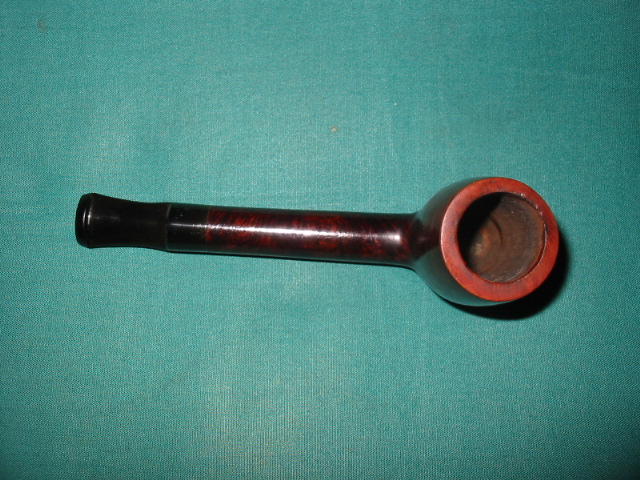
This small lovat needed restemming and also a restain on the bowl. It was pretty clean when I took it out of the box of bowls that I have here for restemming. The finish was shot and most of the stain was worn off. The bowl was clean, just dusty. The rim was nicked and dented and would need to be topped. Here is a picture of it when I took it out of the box. I matched a stem from my can of stems to it. It is a nice little Lovat and is stamped Nu-Old over London Made on the left side of the shank. On the right side it is stamped with its shape number – 66. The Nu Old pipes were made by Civic Pipes in London. 
I fit the tenon to the bowl and then shaped the saddle to match the shank diameter. The stem needed a bit of work to smooth out the casting marks and the roughness of the surface. I sanded it with medium grit emery cloth to remove the marks and general roughness of the stem. Then I followed up with 240 grit sandpaper and 400 and 600 grit wet dry and water to remove all the scratches and marks. I polished it and did a final sanding with micromesh sanding pads 1500-6000 grit. I then turned my attention to the bowl. I used acetone on a cotton swab to remove the remaining finish on the pipe. This took repeated washing with the acetone to get the bowl to be clear of the original remaining finish. When I was finished with that the bowl was uniformly a light reddish hue. I topped the bowl with my sanding board and then polished the bowl with micromesh pads. Once it was finished I wiped it down with isopropyl alcohol before giving it a new stain with oxblood. I gave this one several coats of stain to give a good coverage, flaming the stain between each coat. Once it was finished I buffed it lightly with Tripoli to open up the finish and show the grain. I then polished it with White Diamond and gave the whole pipe several coats of carnauba wax which I buffed with a soft flannel buff.