Author Archives: upshallfan

Unknown's avatar

About upshallfan

Moderator on the PipesMagazine forum since 2011. Guest contributor on the Reborn Pipes Blog by Steve Laug.

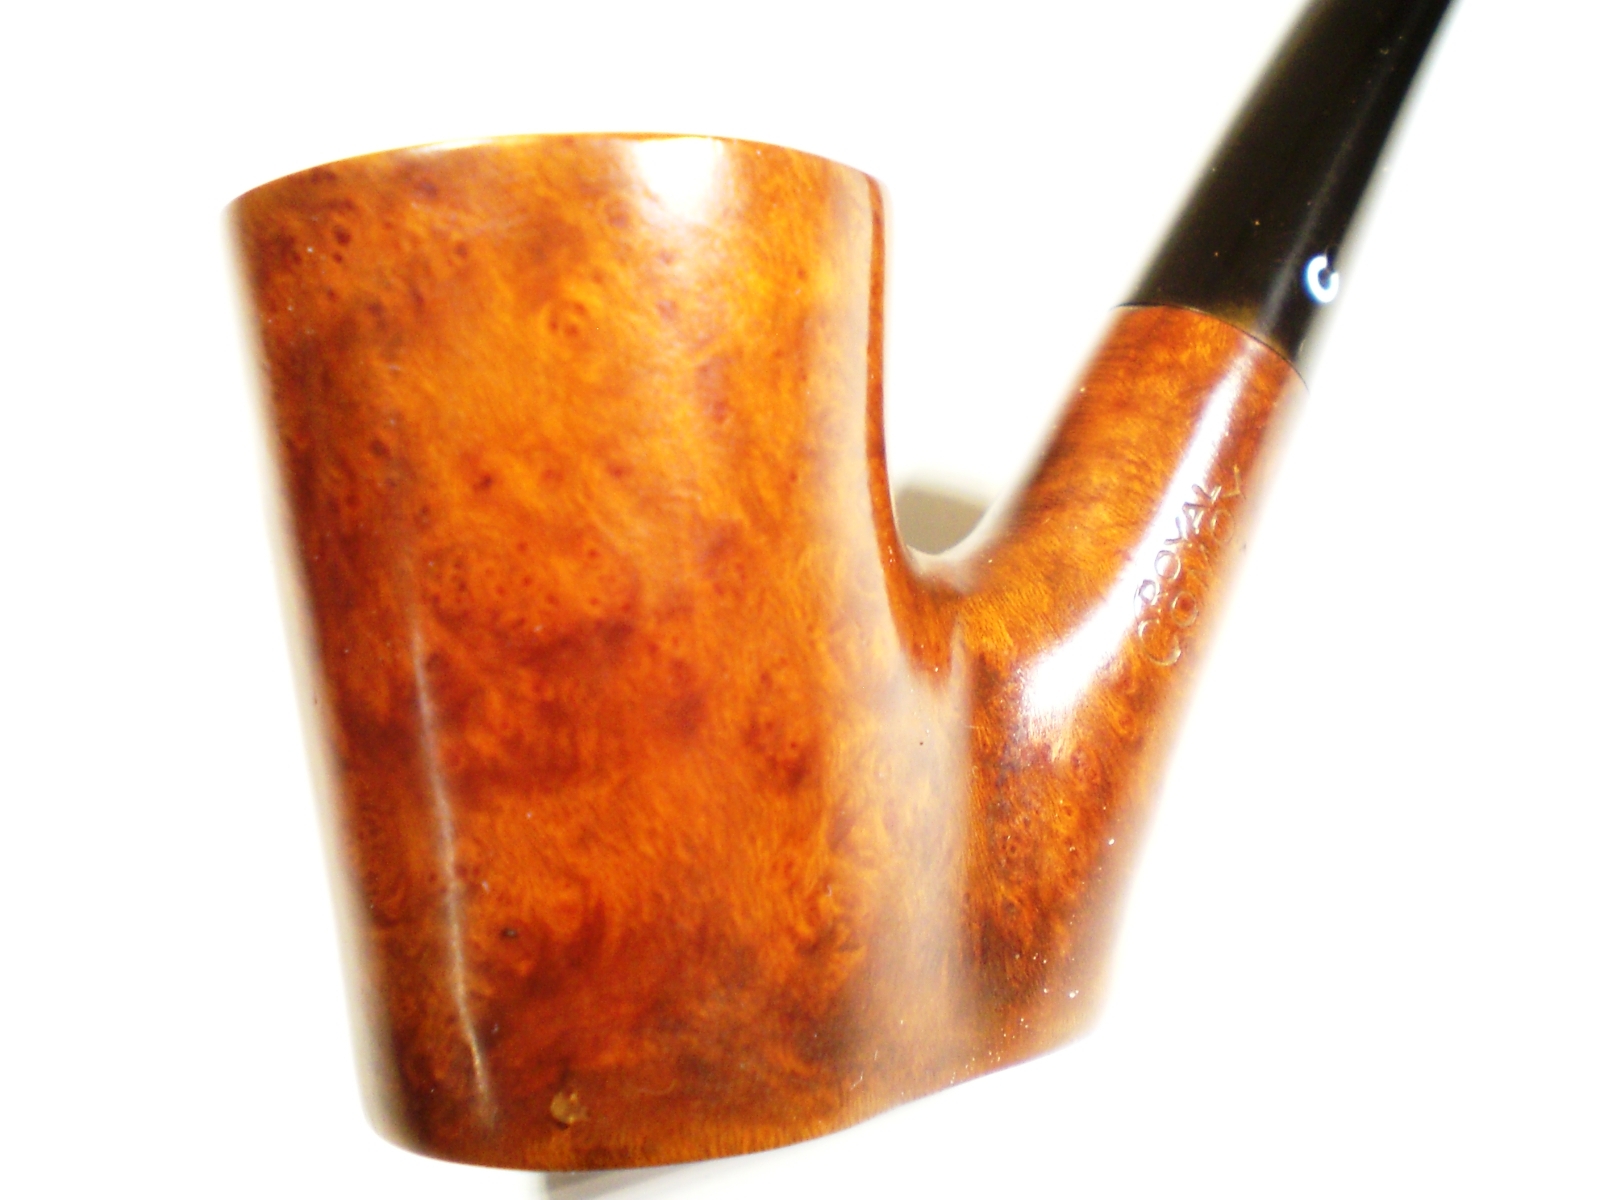
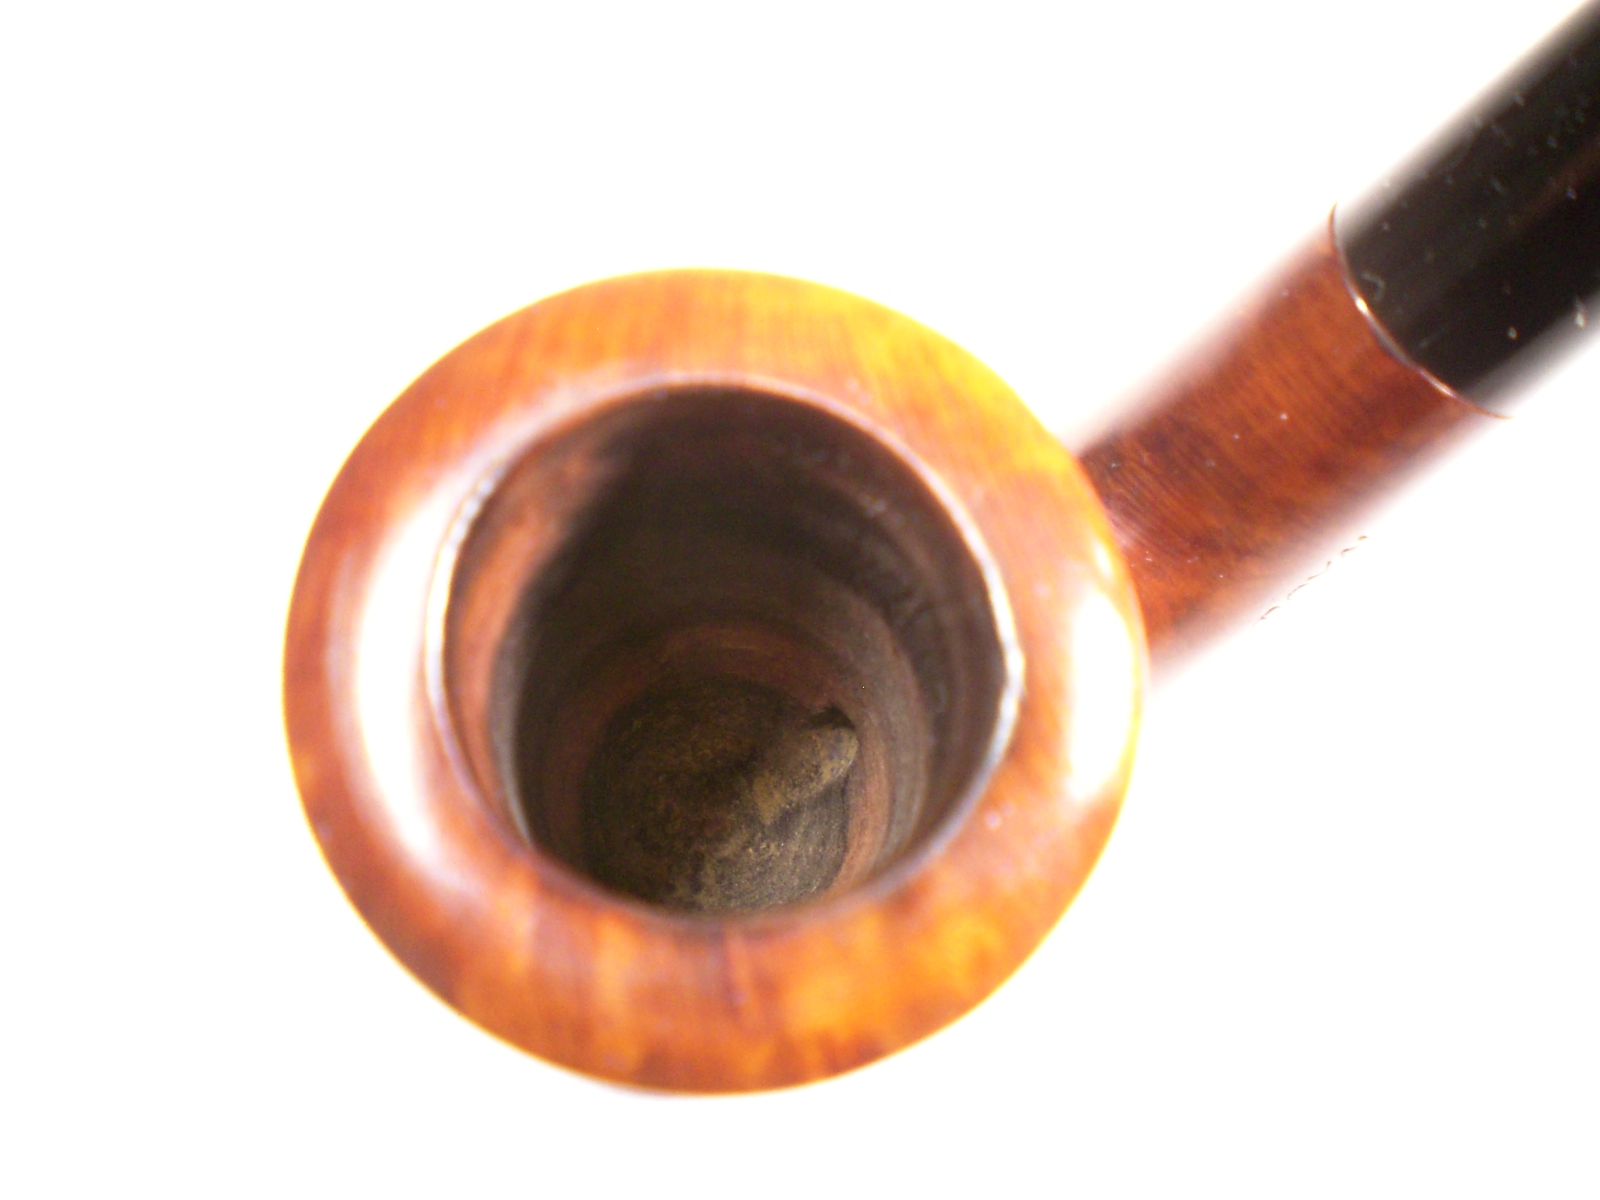
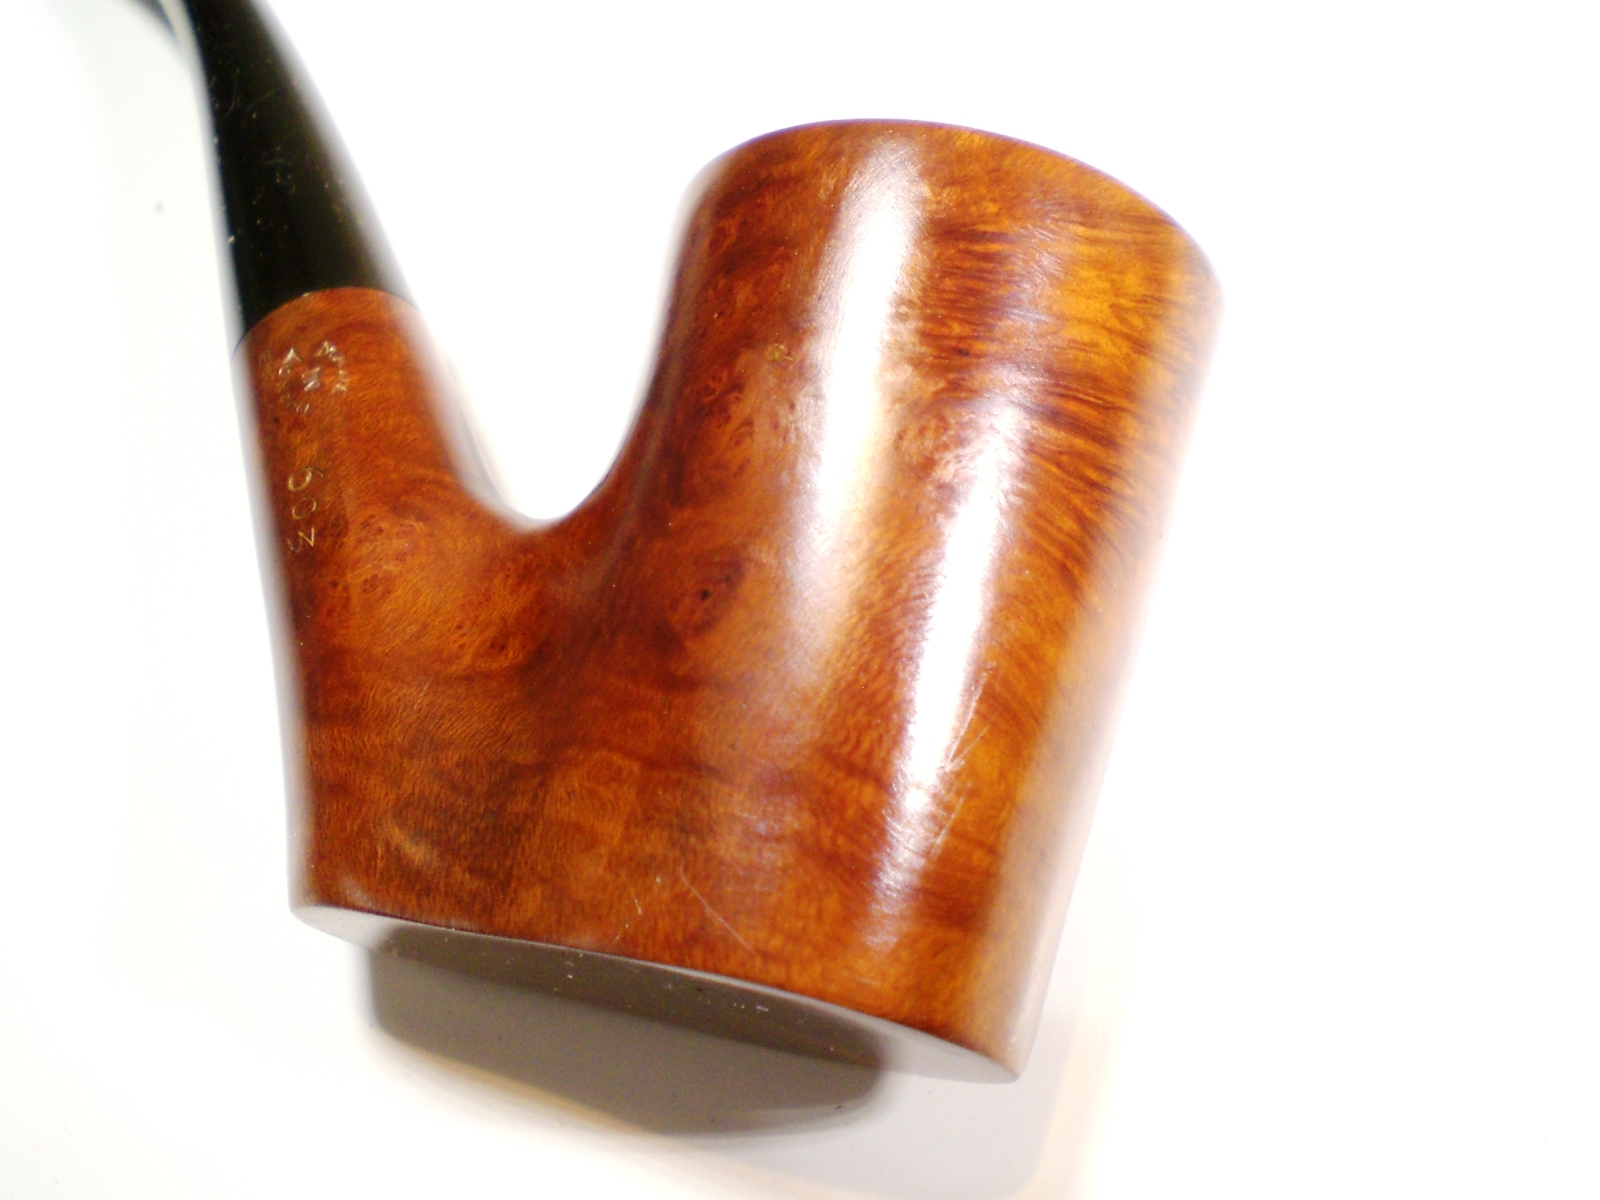
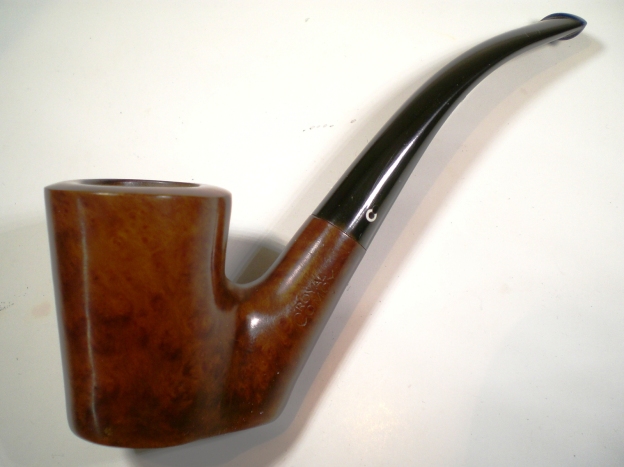
Royal Comoy 603


Blog by Al Jones

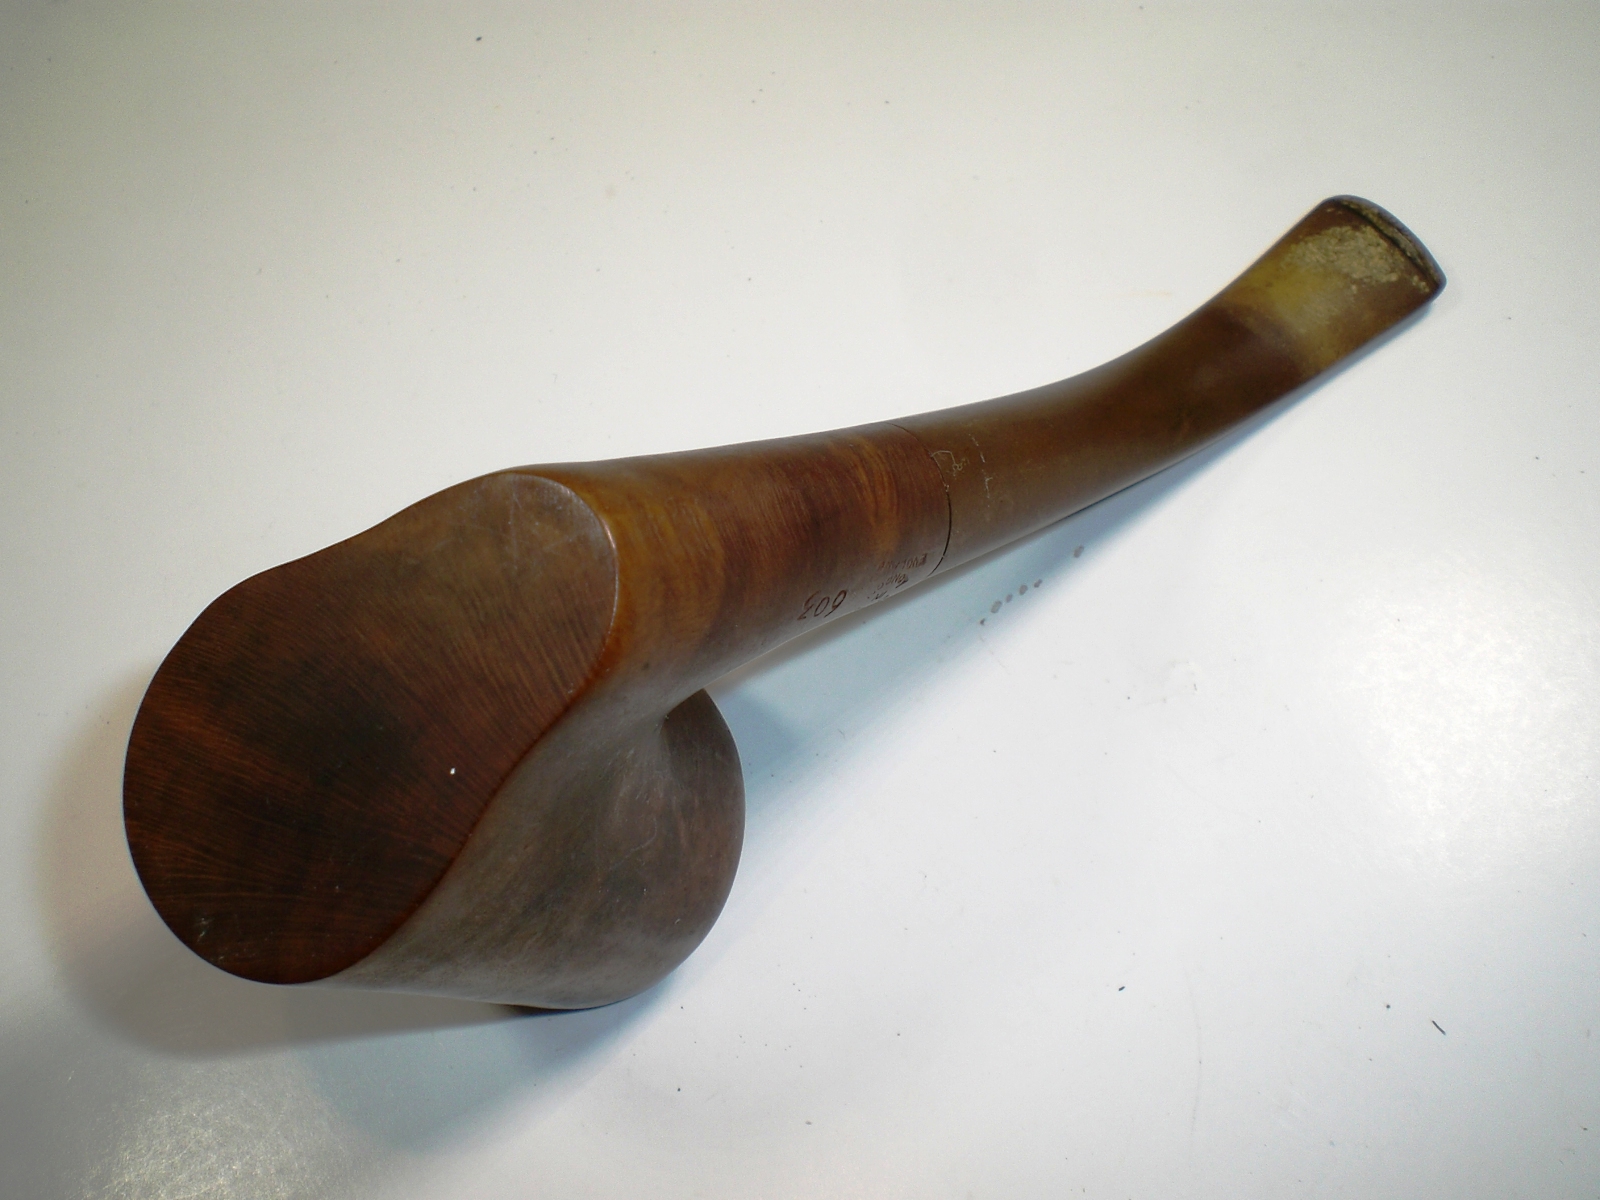
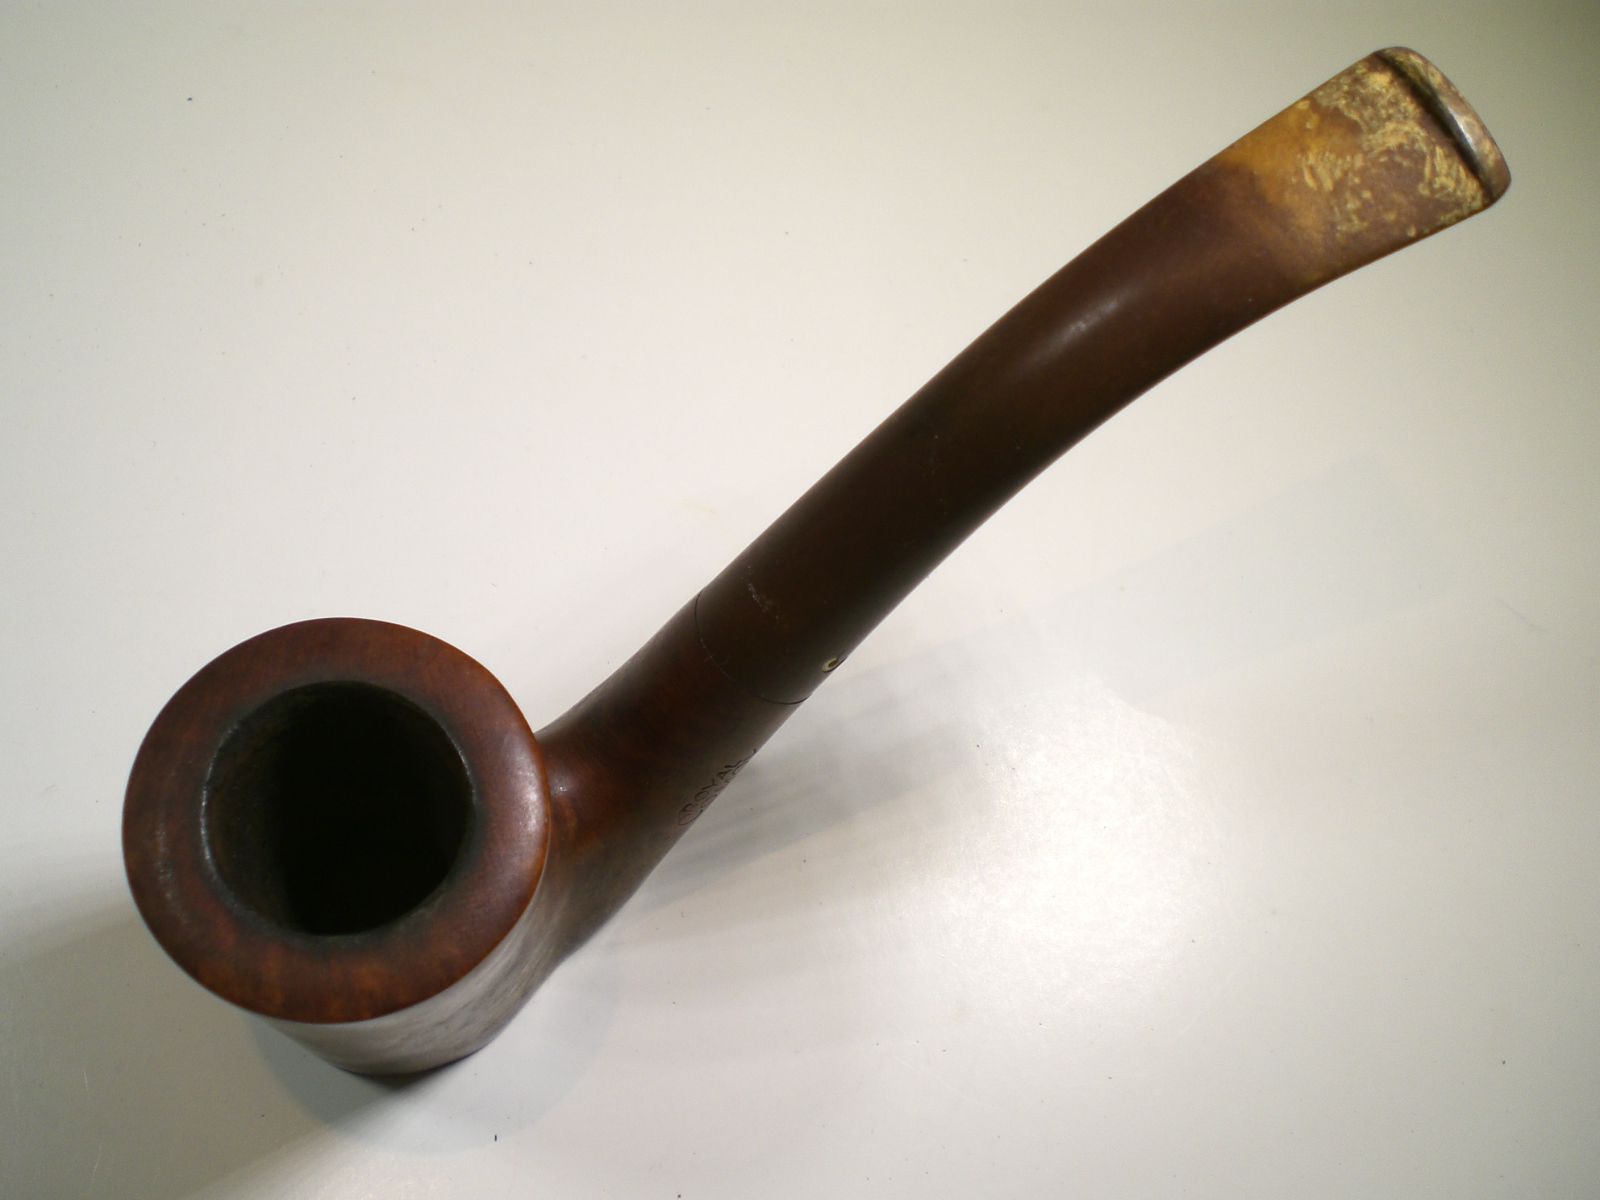
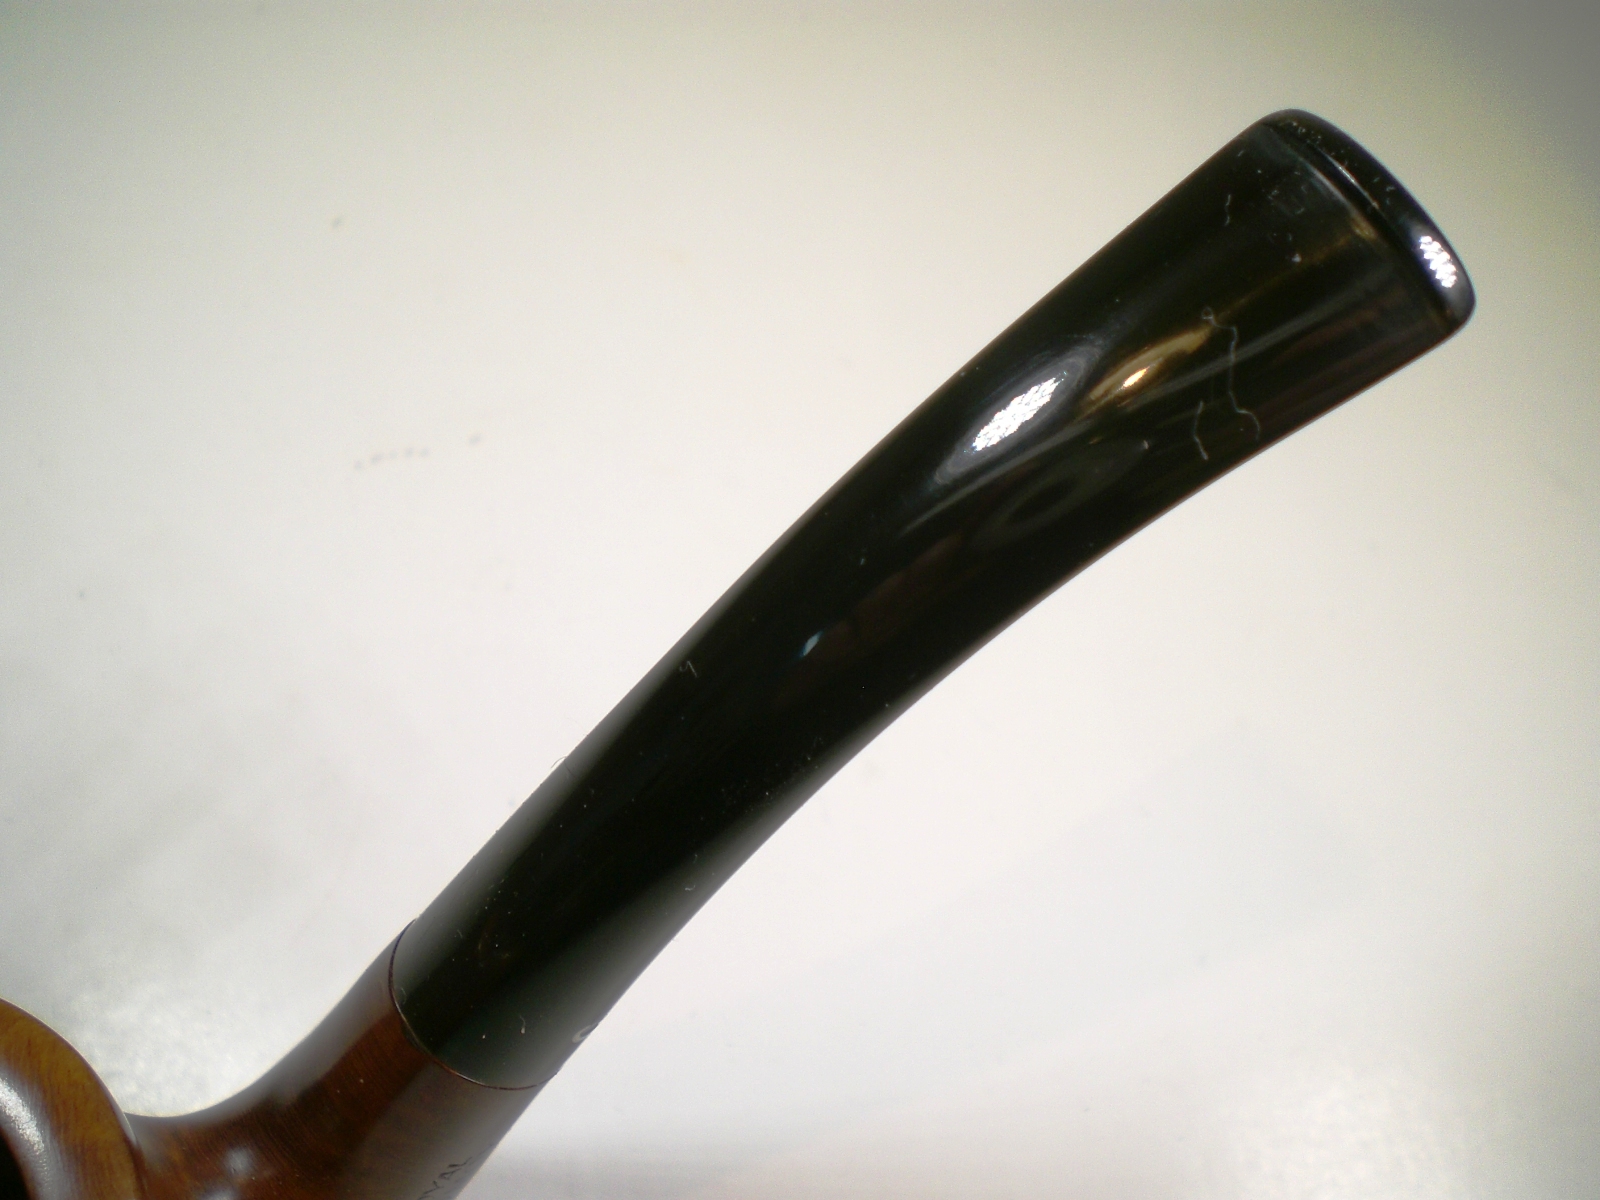
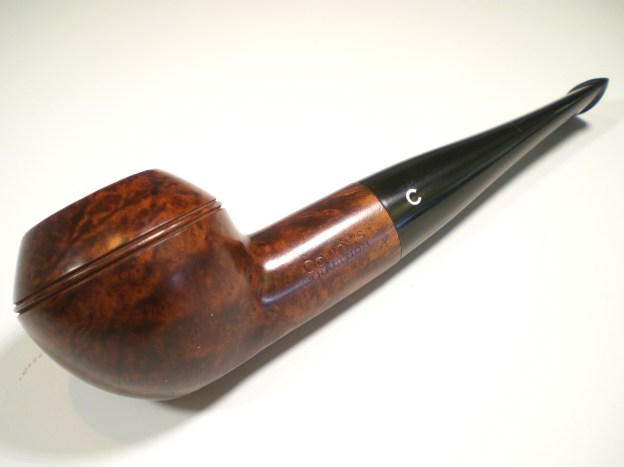
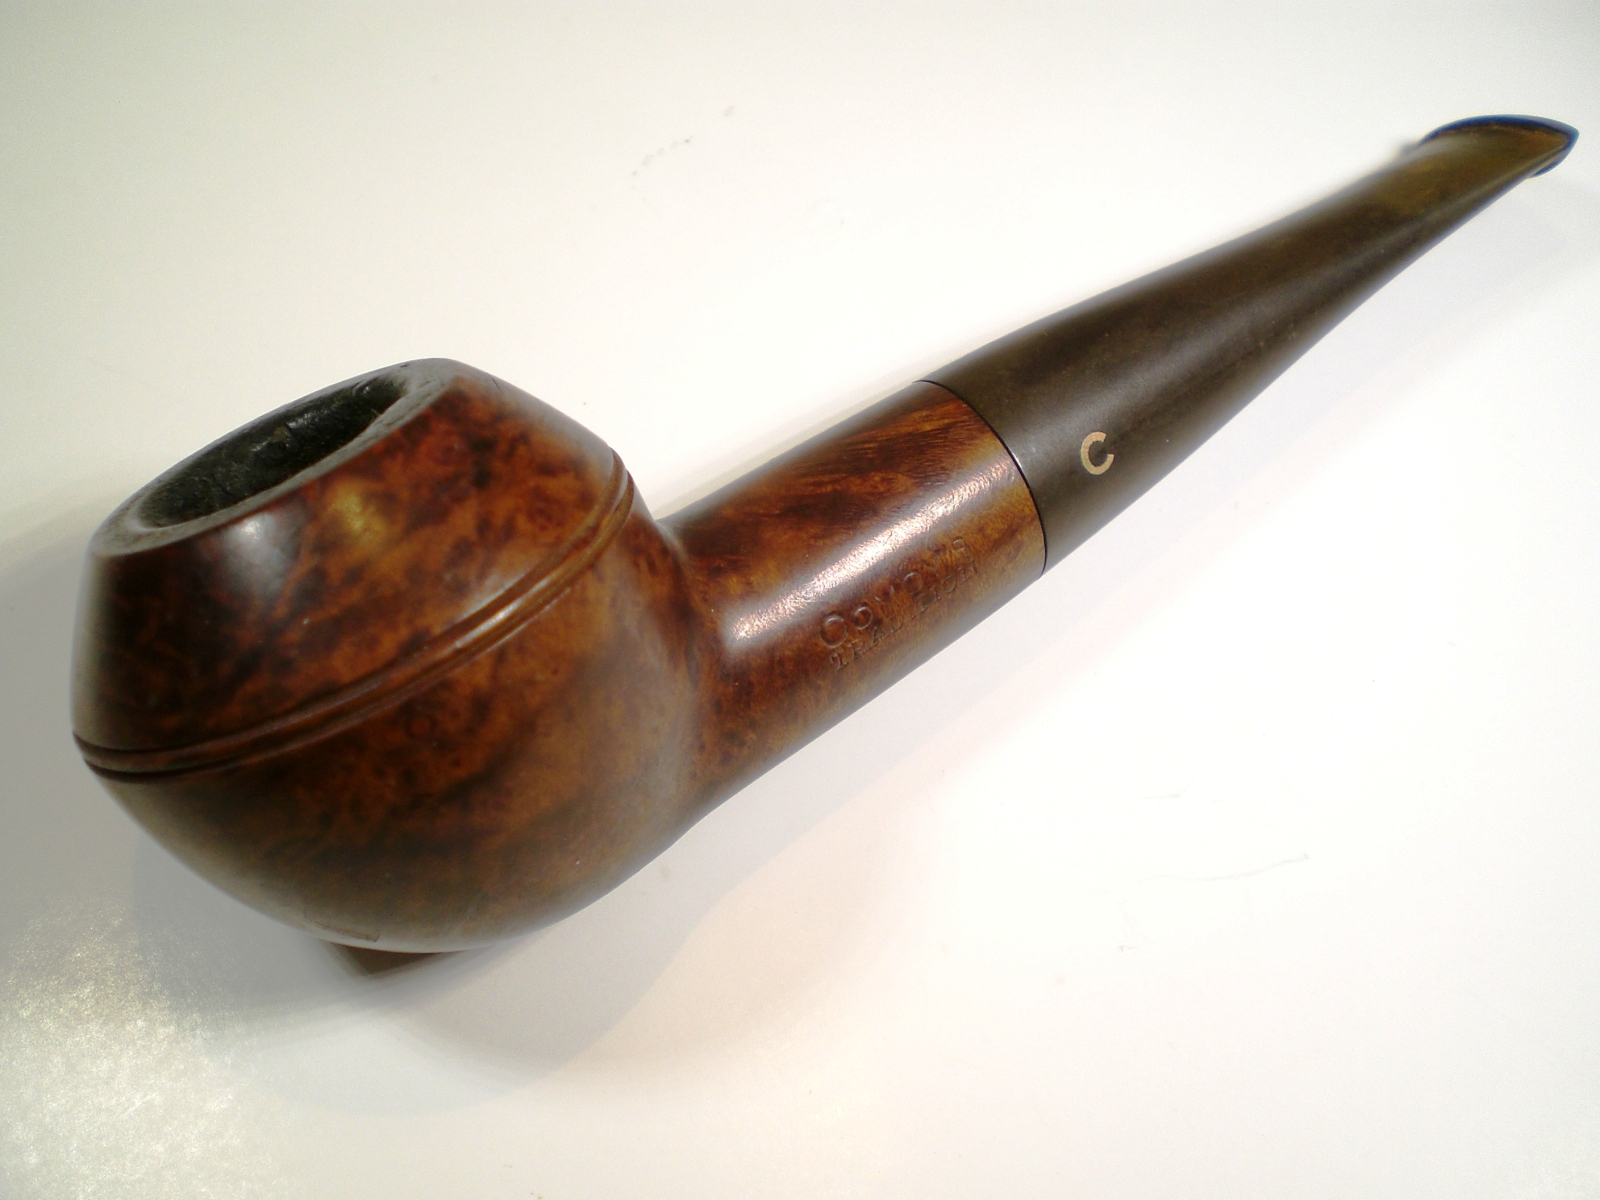
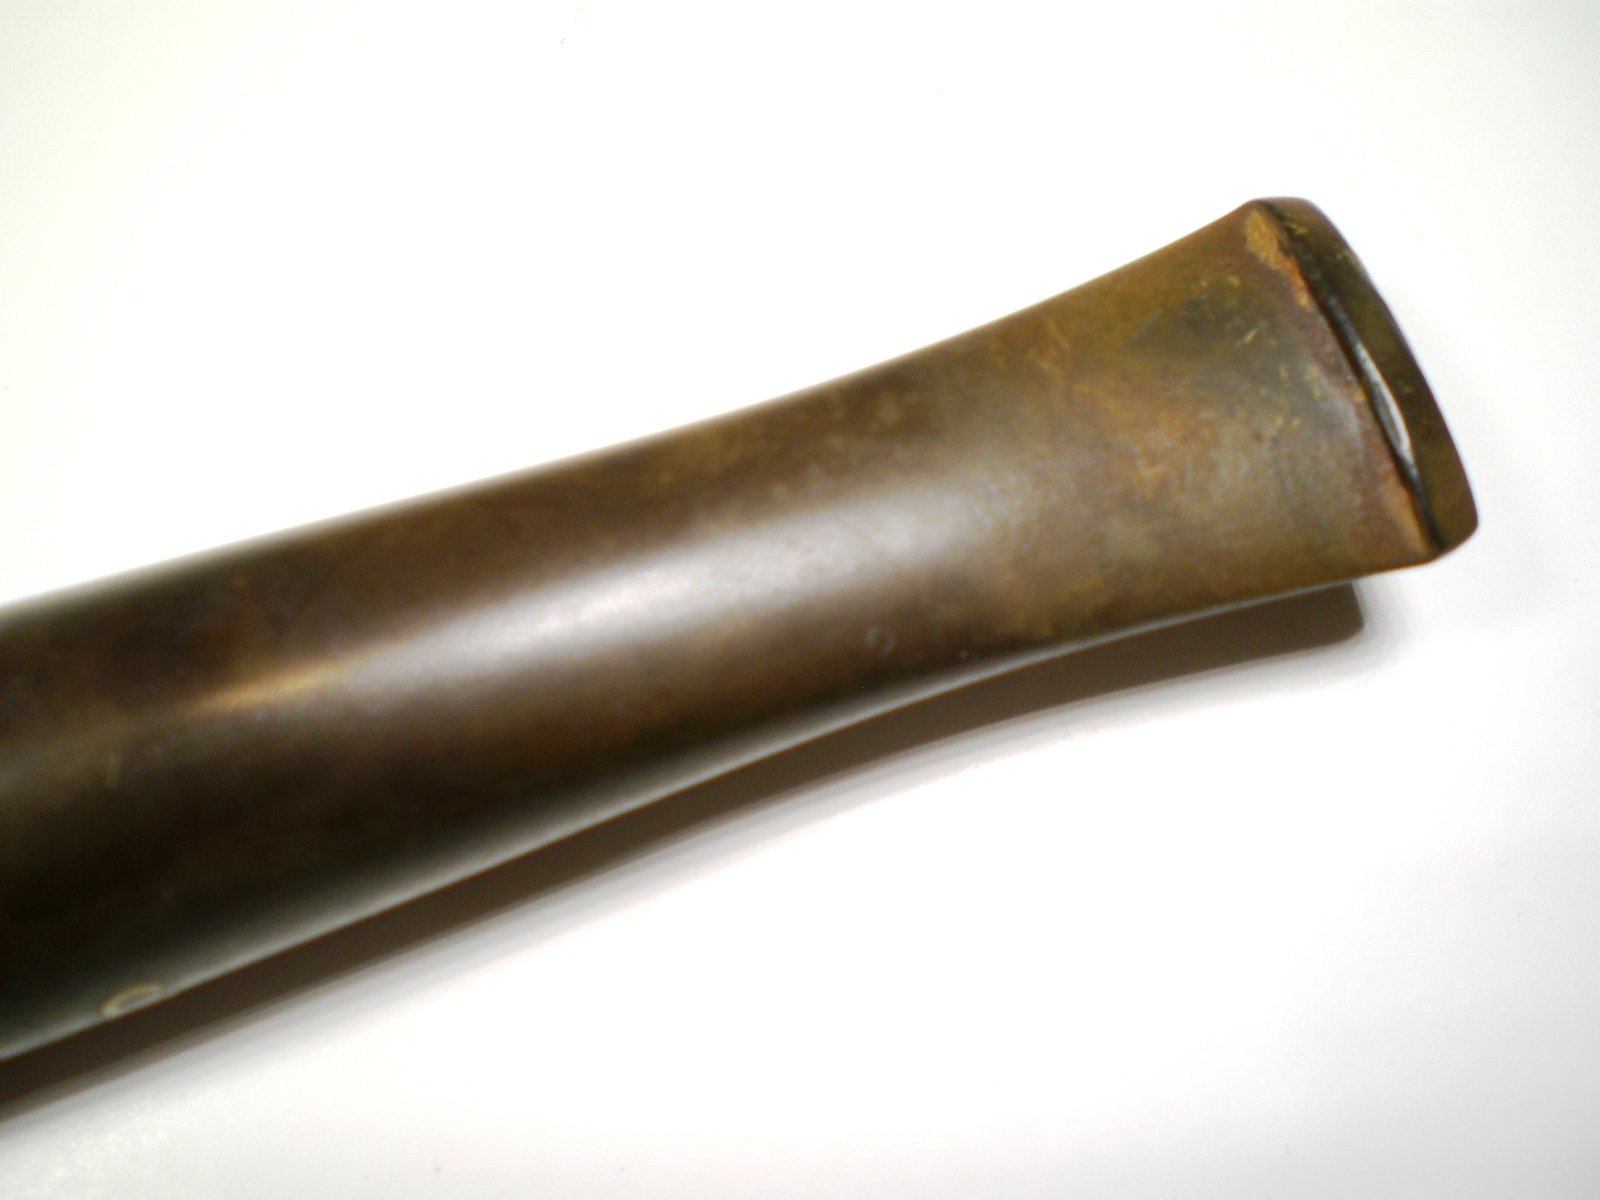
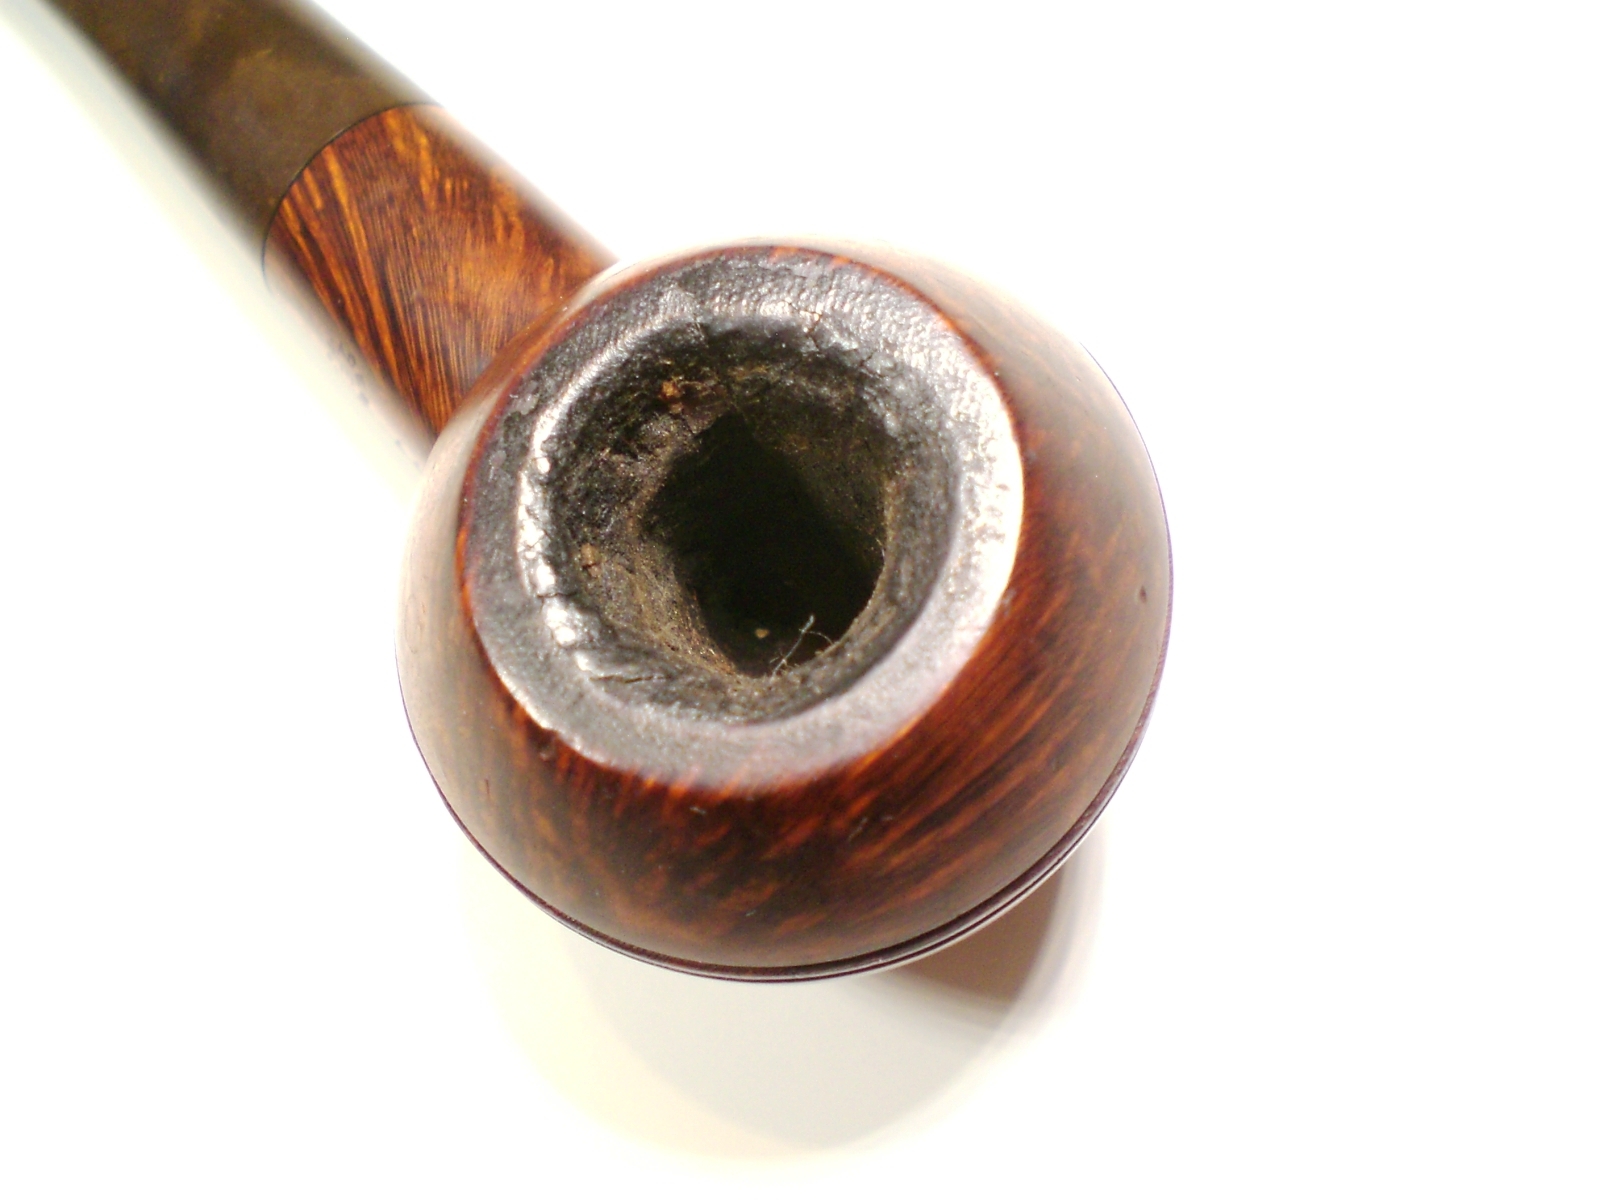
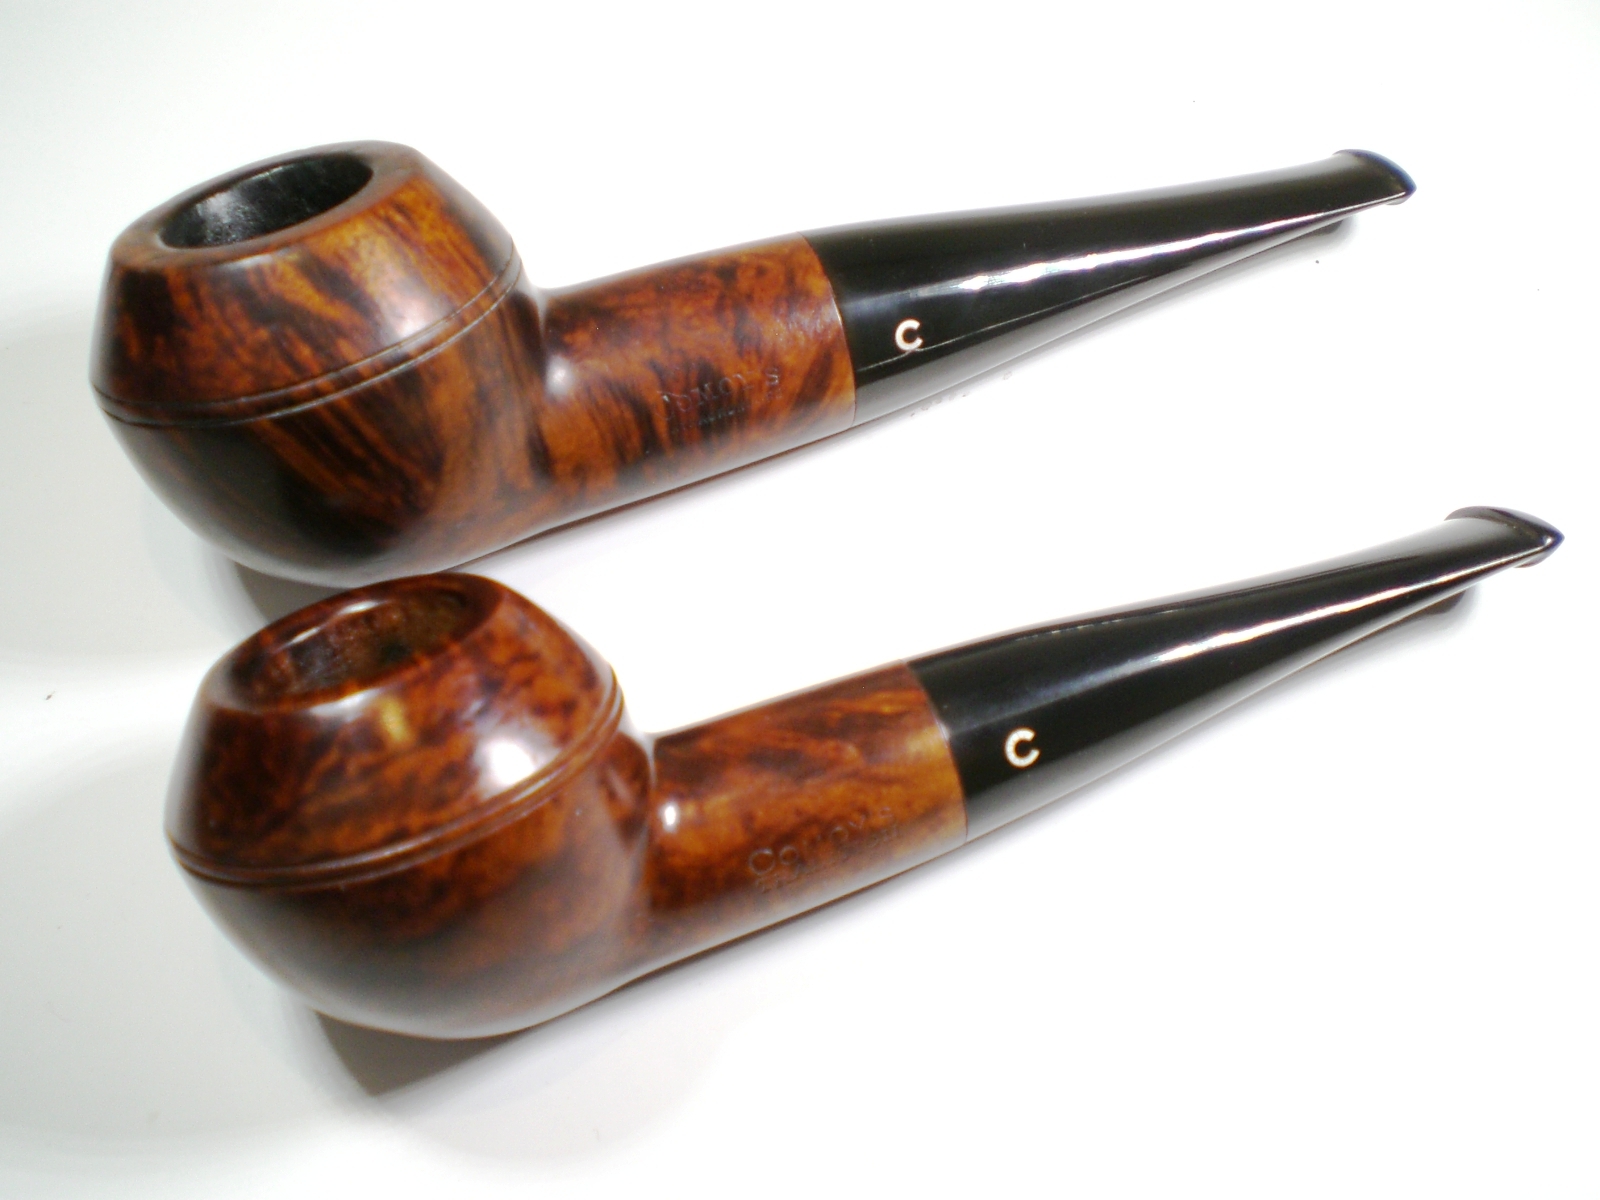
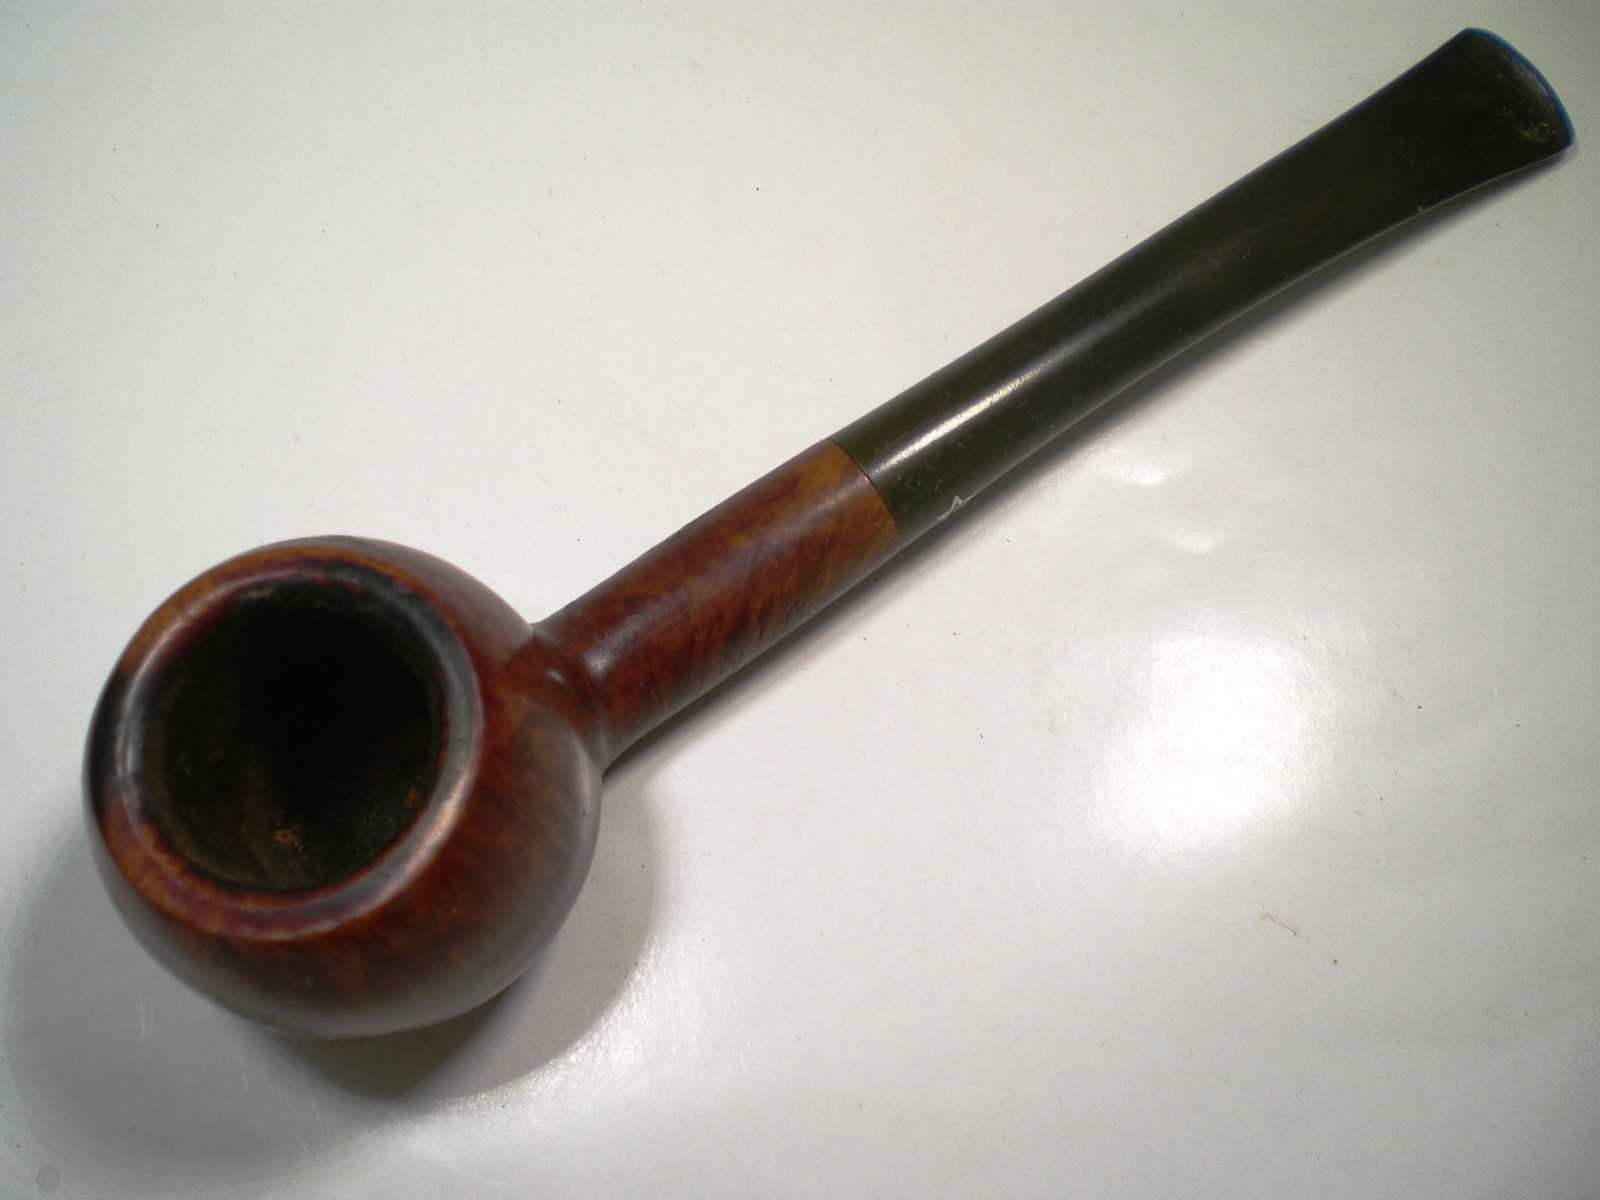
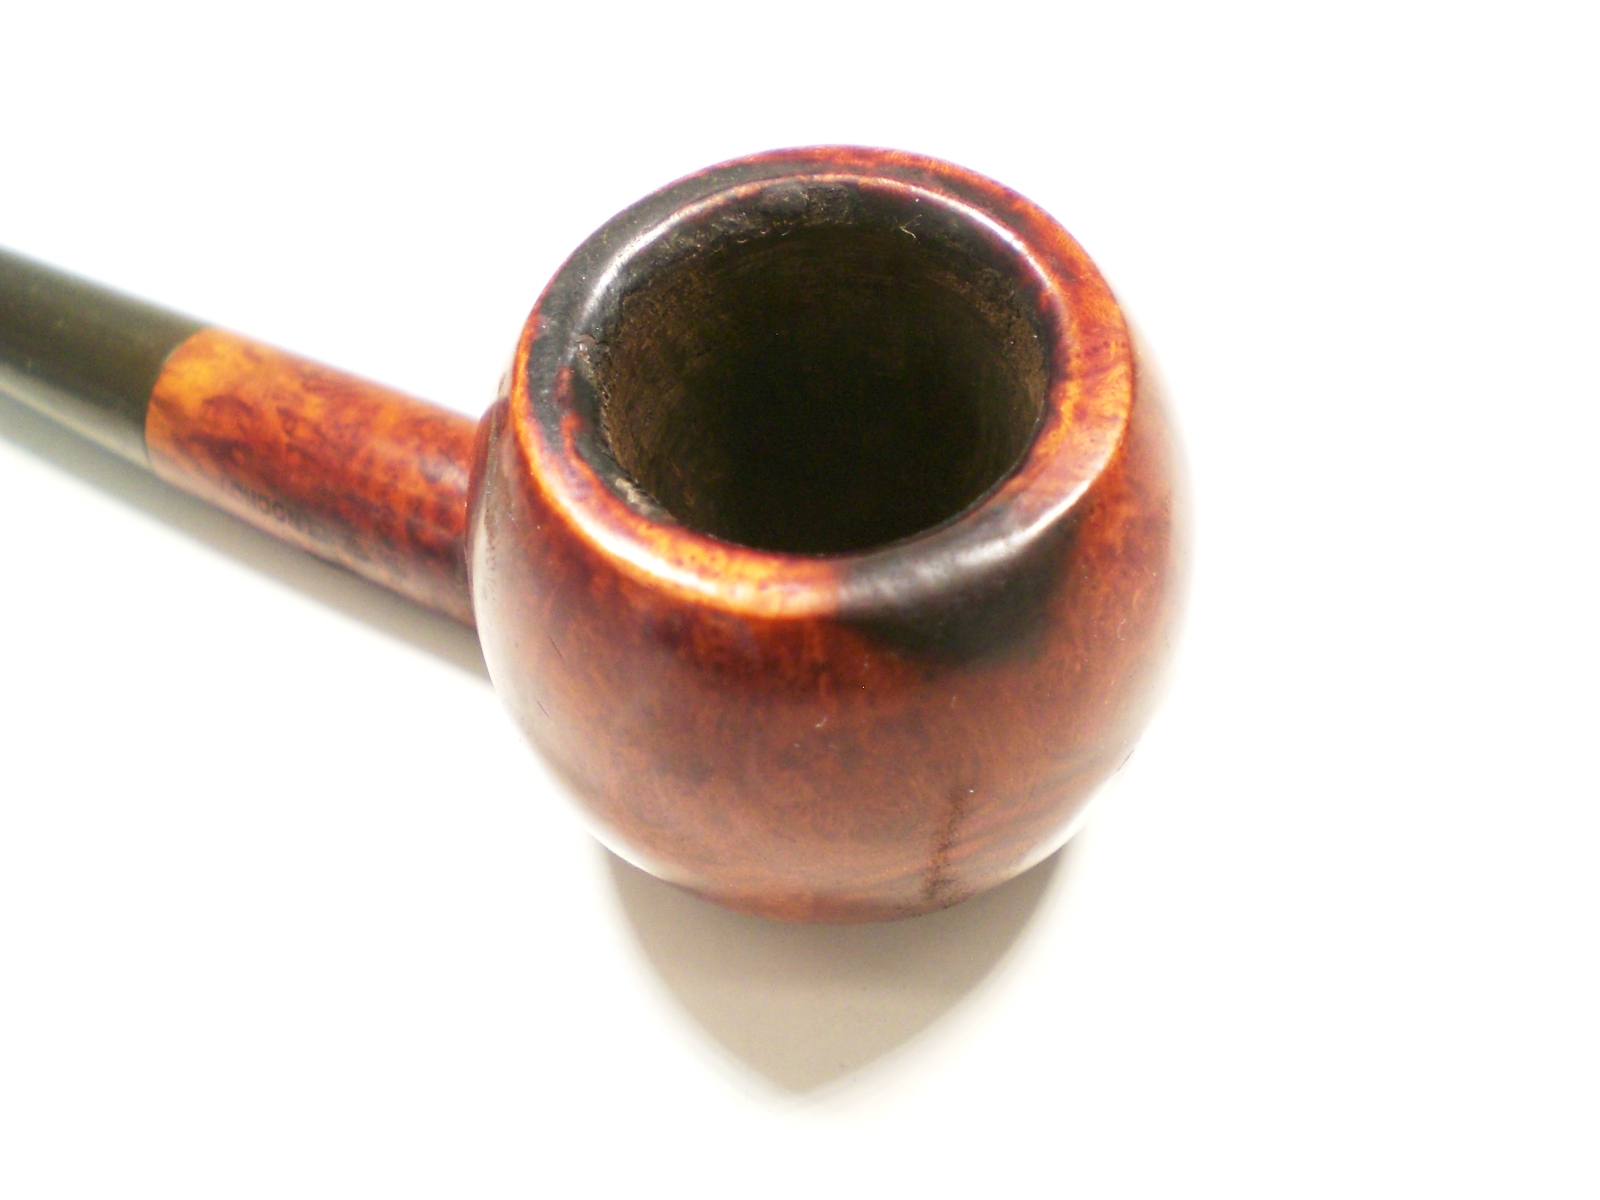
I found this Royal Comoy 603 “sitter” in the estate drawer at my local shop, JB Hayes in Winchester Virginia.  The pipe looked in pretty good shape with oxidation on the stem and some darkening around the rim.
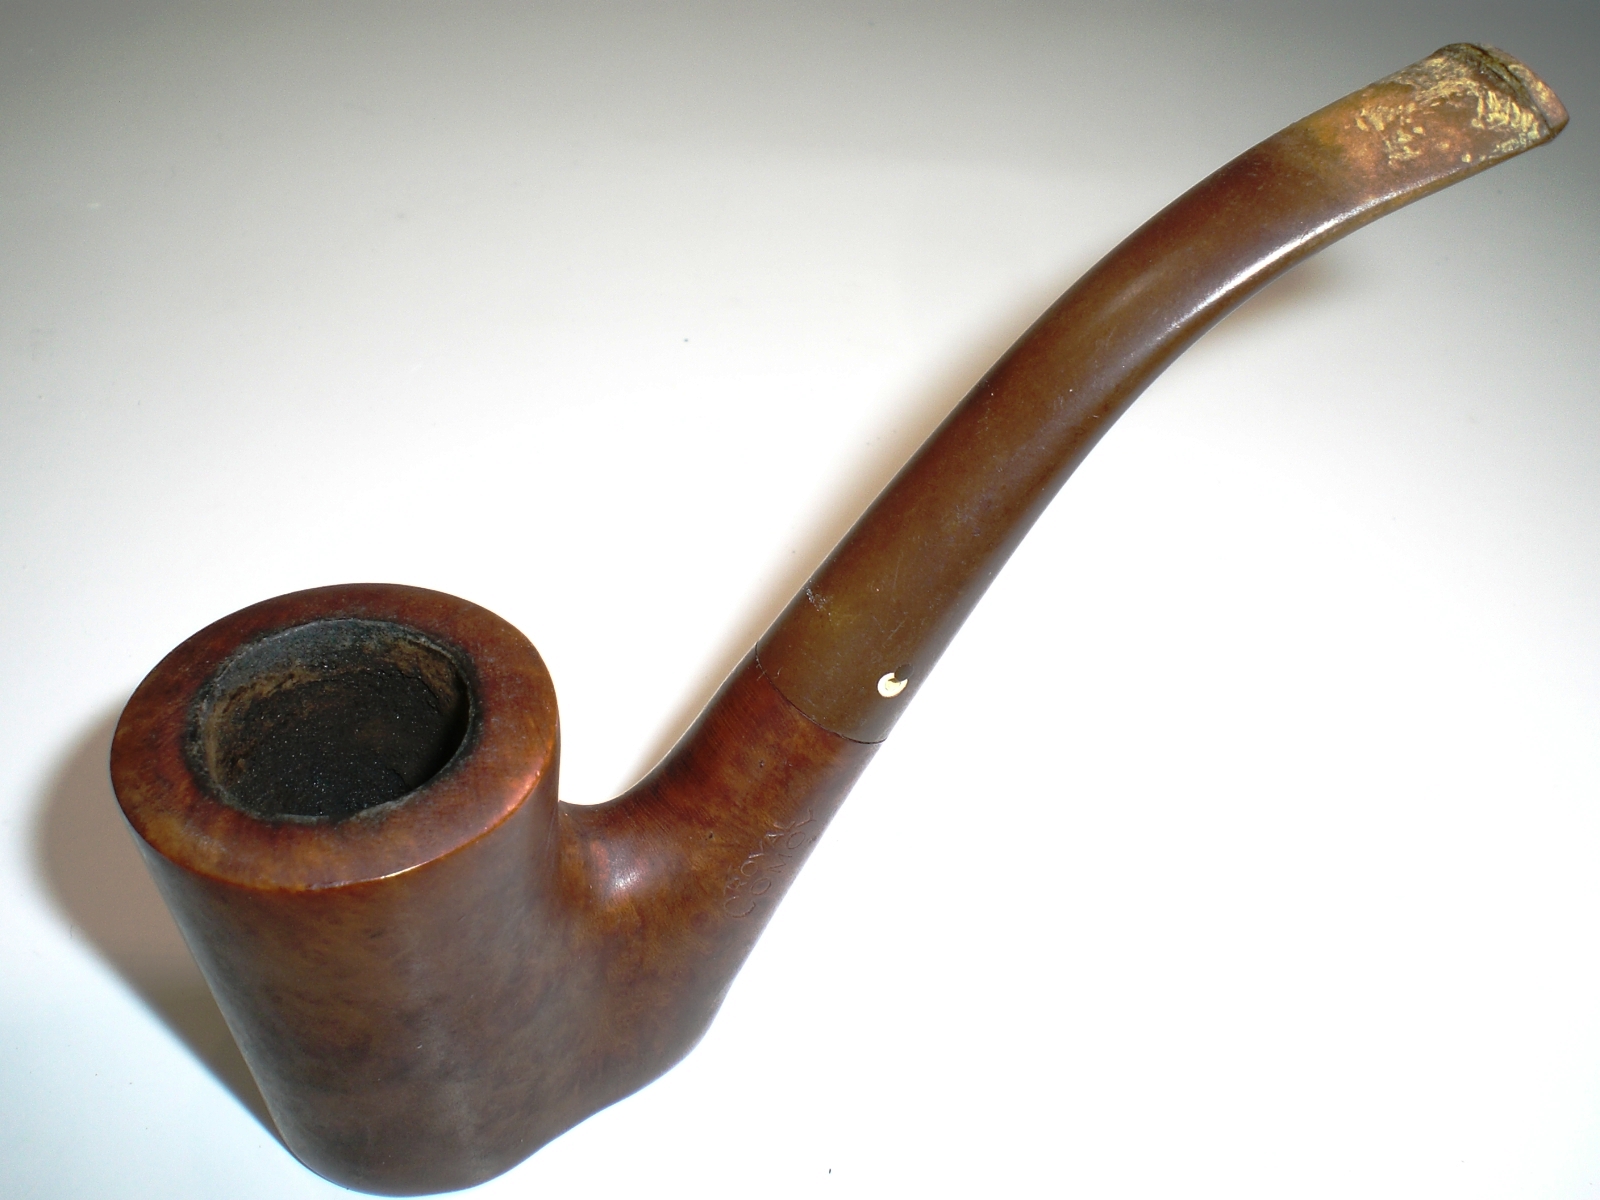
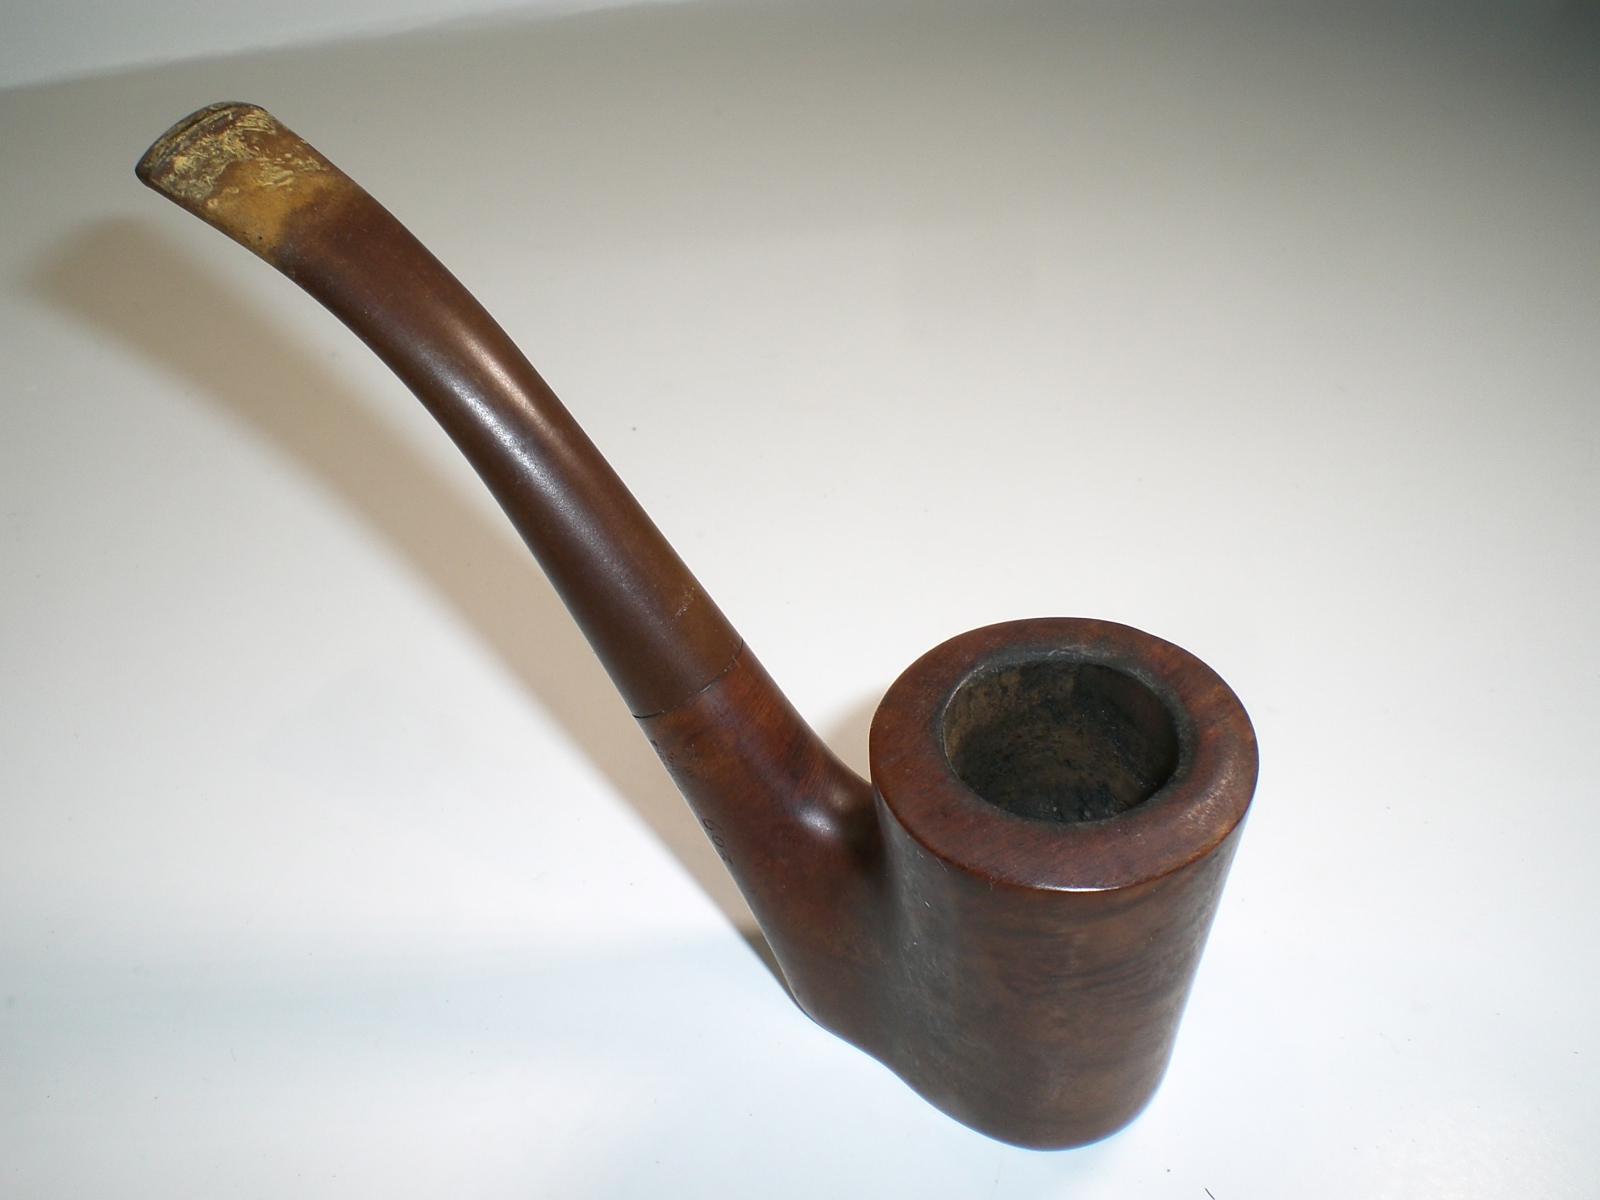
Royal_Comoy_603_Before Royal_Comoy_603_Before (1) Royal_Comoy_603_Before (2) Royal_Comoy_603_Before (7) Royal_Comoy_603_Before (8)

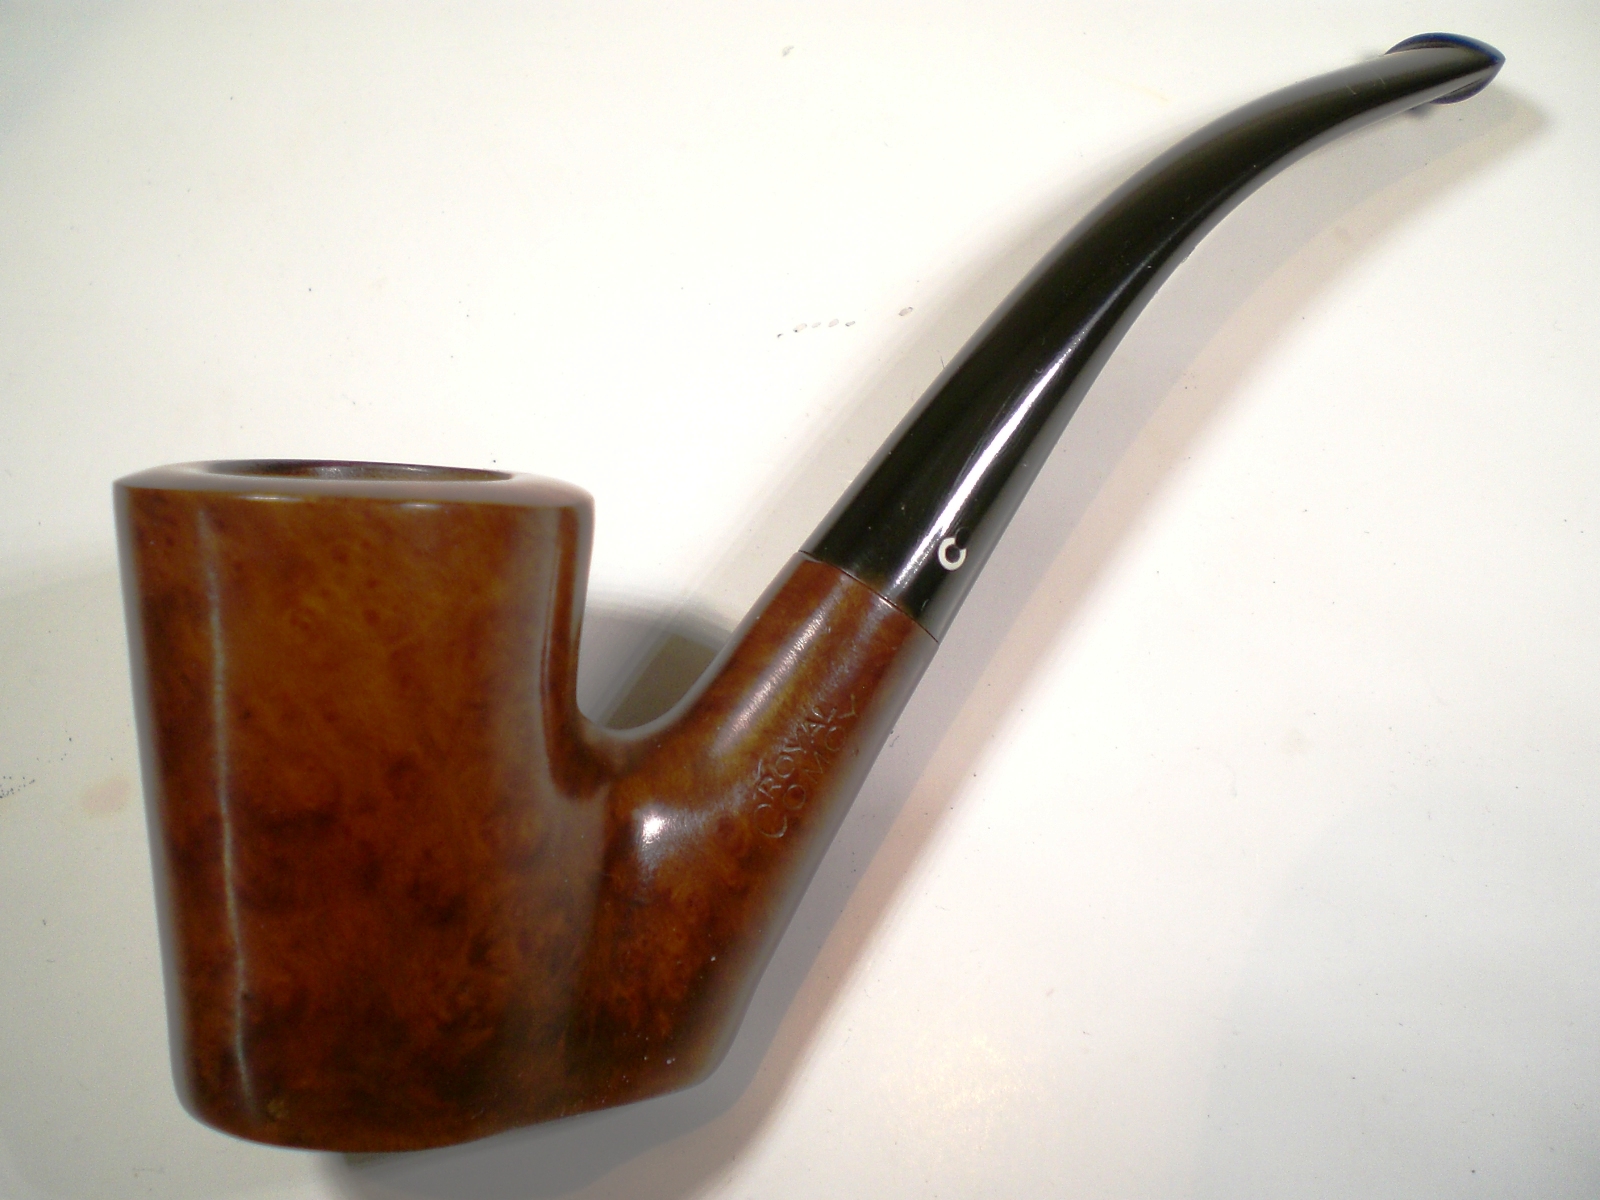
I couldn’t find much about the Royal grade and this one was particularly unusual in that it was only stamped “Comoy” versus “Comoys”.  The only reference point I could find was an old Ebay ad from Tony Soderman see below and the accompanying picture.  He describes the grade as below.  I find very few use of the singular “Comoy” stamping.  This pipe doesn’t feel like a Blue Riband quality grade and my selling price definitely didn’t reflect that either.  Tony uses “Comoy” and “Comoys” in his ad titles which makes the designation a little less clear.  At any rate, it is a Comoy not often seen.

Old timers know that the ROYAL COMOY was the predecessor to the fabled “Blue Riband”!!! The name is from the “old” Comoy’s Nomenclature (like “Prima,” “Grand Slam,” “Old Bruyere,” “Lions Head” and so on). Those pre-date the more familiar modern grading (like “Selected Straight Grain,” “Blue Riband,” “Specimen Straight Grain” and so forth). While the Blue Riband was NEVER Comoy’s highest grade, the ROYAL COMOY originally appeared as the absolute top-of-the-line Comoy in the late 1930’s! (ALL pre-World War II Royal Comoy’s were top-of-the-line pipes!) The Royal was “downgraded” only though the addition of higher grades (much like Charatan did indirectly downgrading their top-of-the-line “Supreme” through the addition of higher grades)! Shortly before World War II, Comoy replaced the ROYAL COMOY with the Blue Riband (at the same time as they introduced the Specimen Straight Grain). The ROYAL COMOY reappeared after World War II and was always a HIGH GRADE Comoy – – – either at or near the TOP-OF-THE-LINE!!!
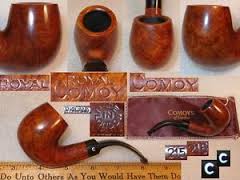
Royal_Comoy_Tony_S_Info

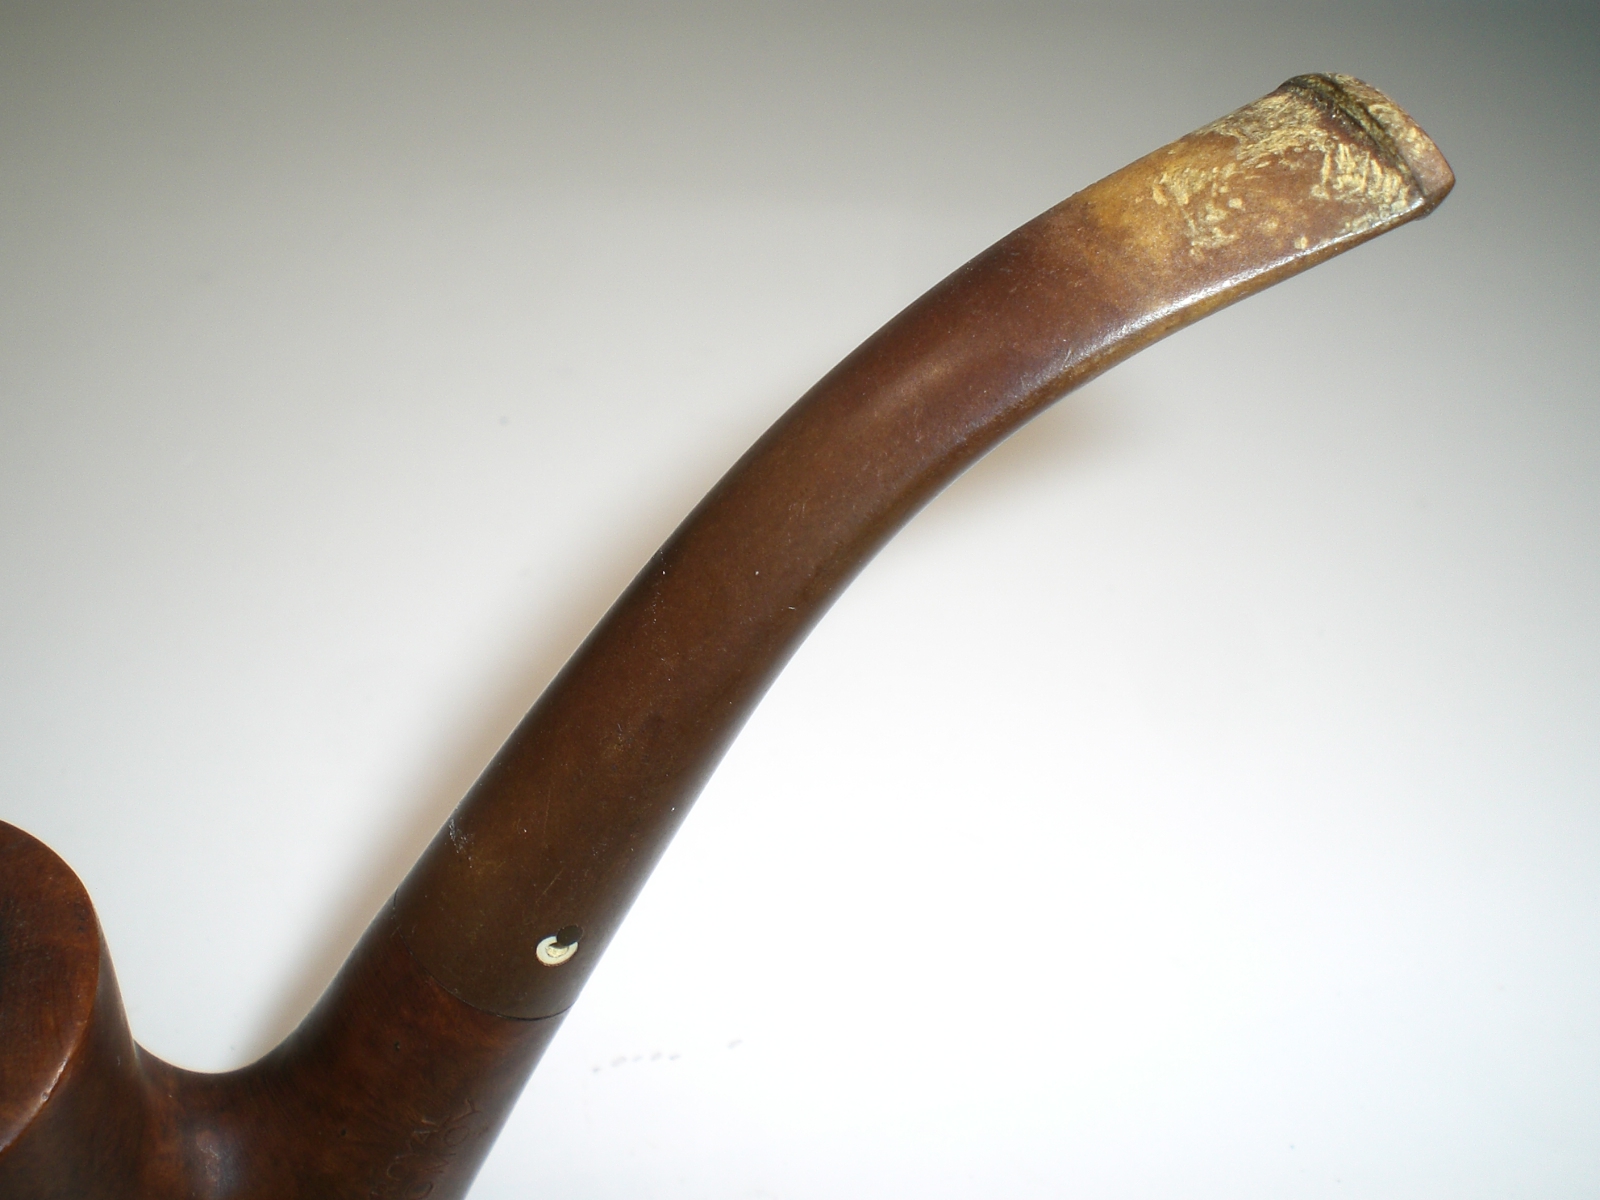
The stem had some mild teeth chatter that I knew would be an easy fix.  The famous three-piece drilled “C” stem logo was missing the black, center rod.
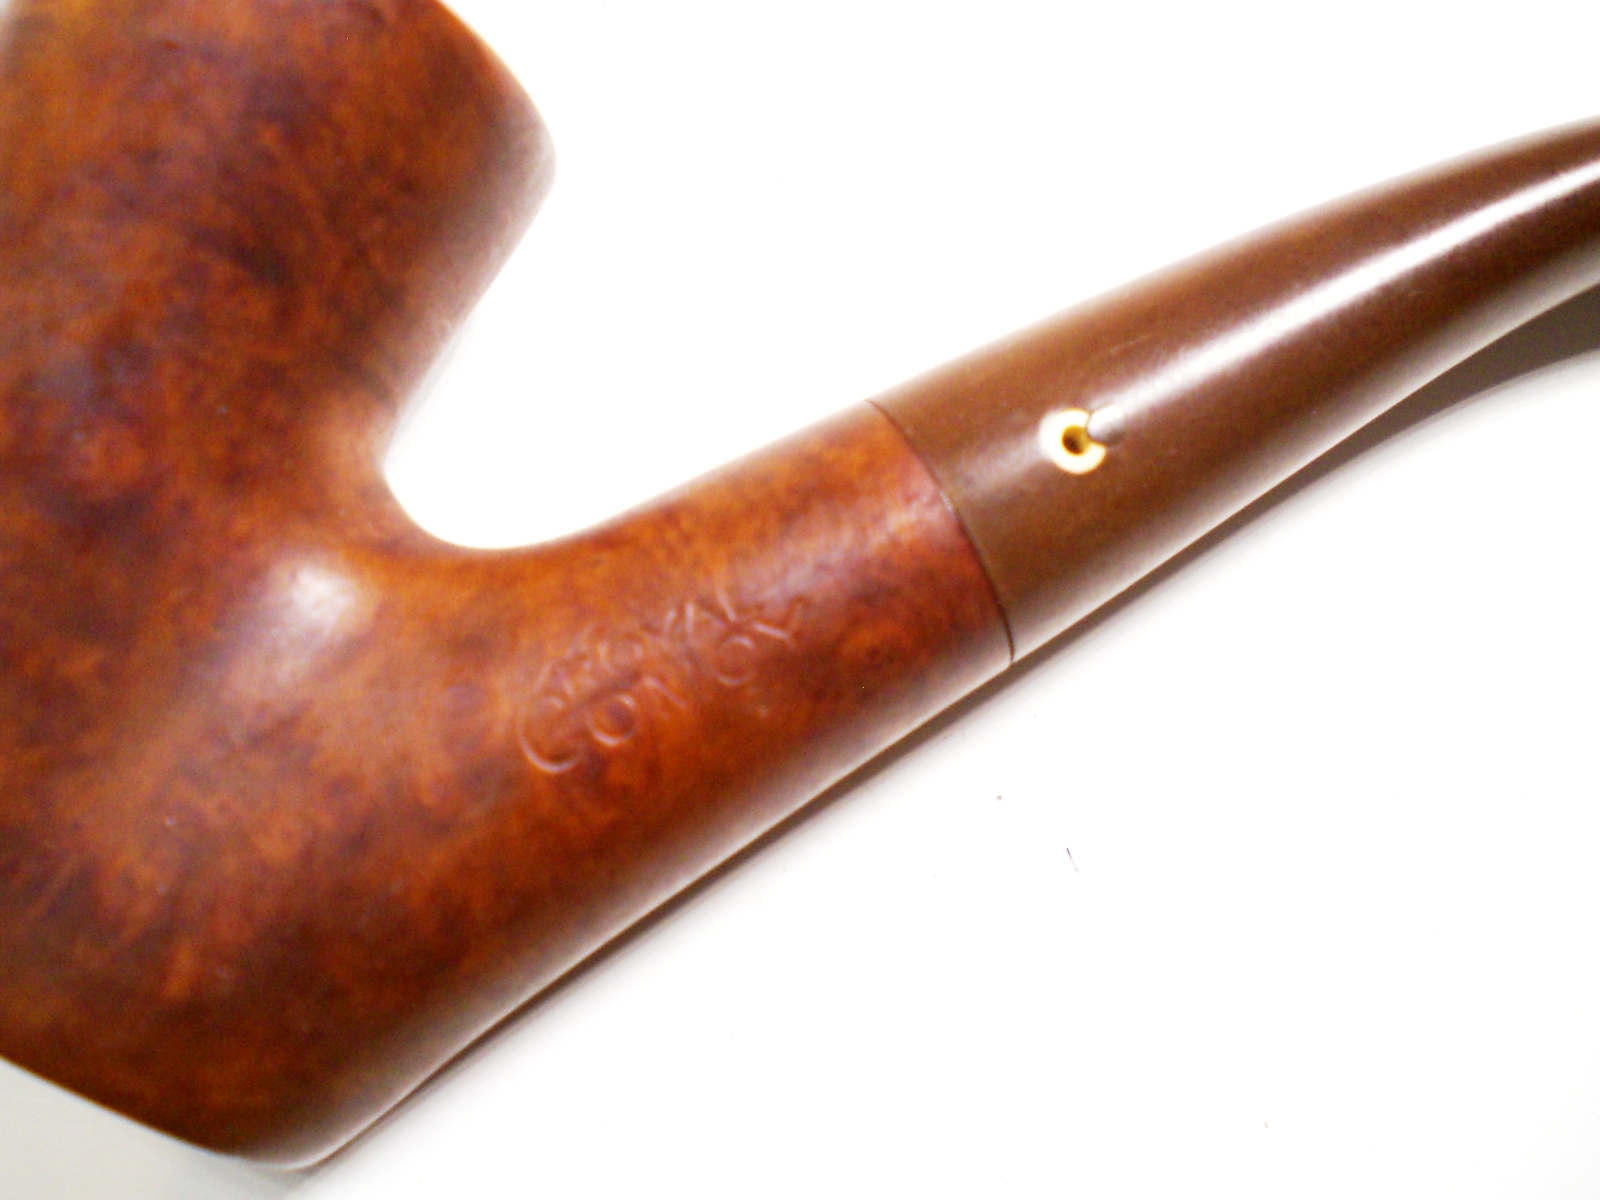
Royal_Comoy_603_Before (4)

I reamed the bowl and gave it a soak with alcohol and sea salt.  While the bowl was soaking, I soaked the stem in a mild mixture of Oxyclean and water.  I put a dab of grease over the stem logo to protect if from any further damage.

After soaking, I used a worn piece of 8000 grid to remove a majority of the darkening around the rim.    Later, with the bowl was polished with White Diamond rouge and a few coats of carnuba wax.

I added several layers of black superglue with a needle to fill the empty center drilling.  After it was slightly overlapping the hole, I sanded it smooth with some 2000 grit wet paper.  I was very pleased with the result.

The stem was mounted and I removed the oxidation with 800, 1500 and 2000 grit wet paper.   Next, I used the 8000 and 12000 grades of micromesh.  The stem was then buffed with White Diamond and Meguiars plastic polish.

The pipe was purchased by a gentleman in Japan, who has told me he reads this blog.  I hope he enjoys this neat little Comoy.
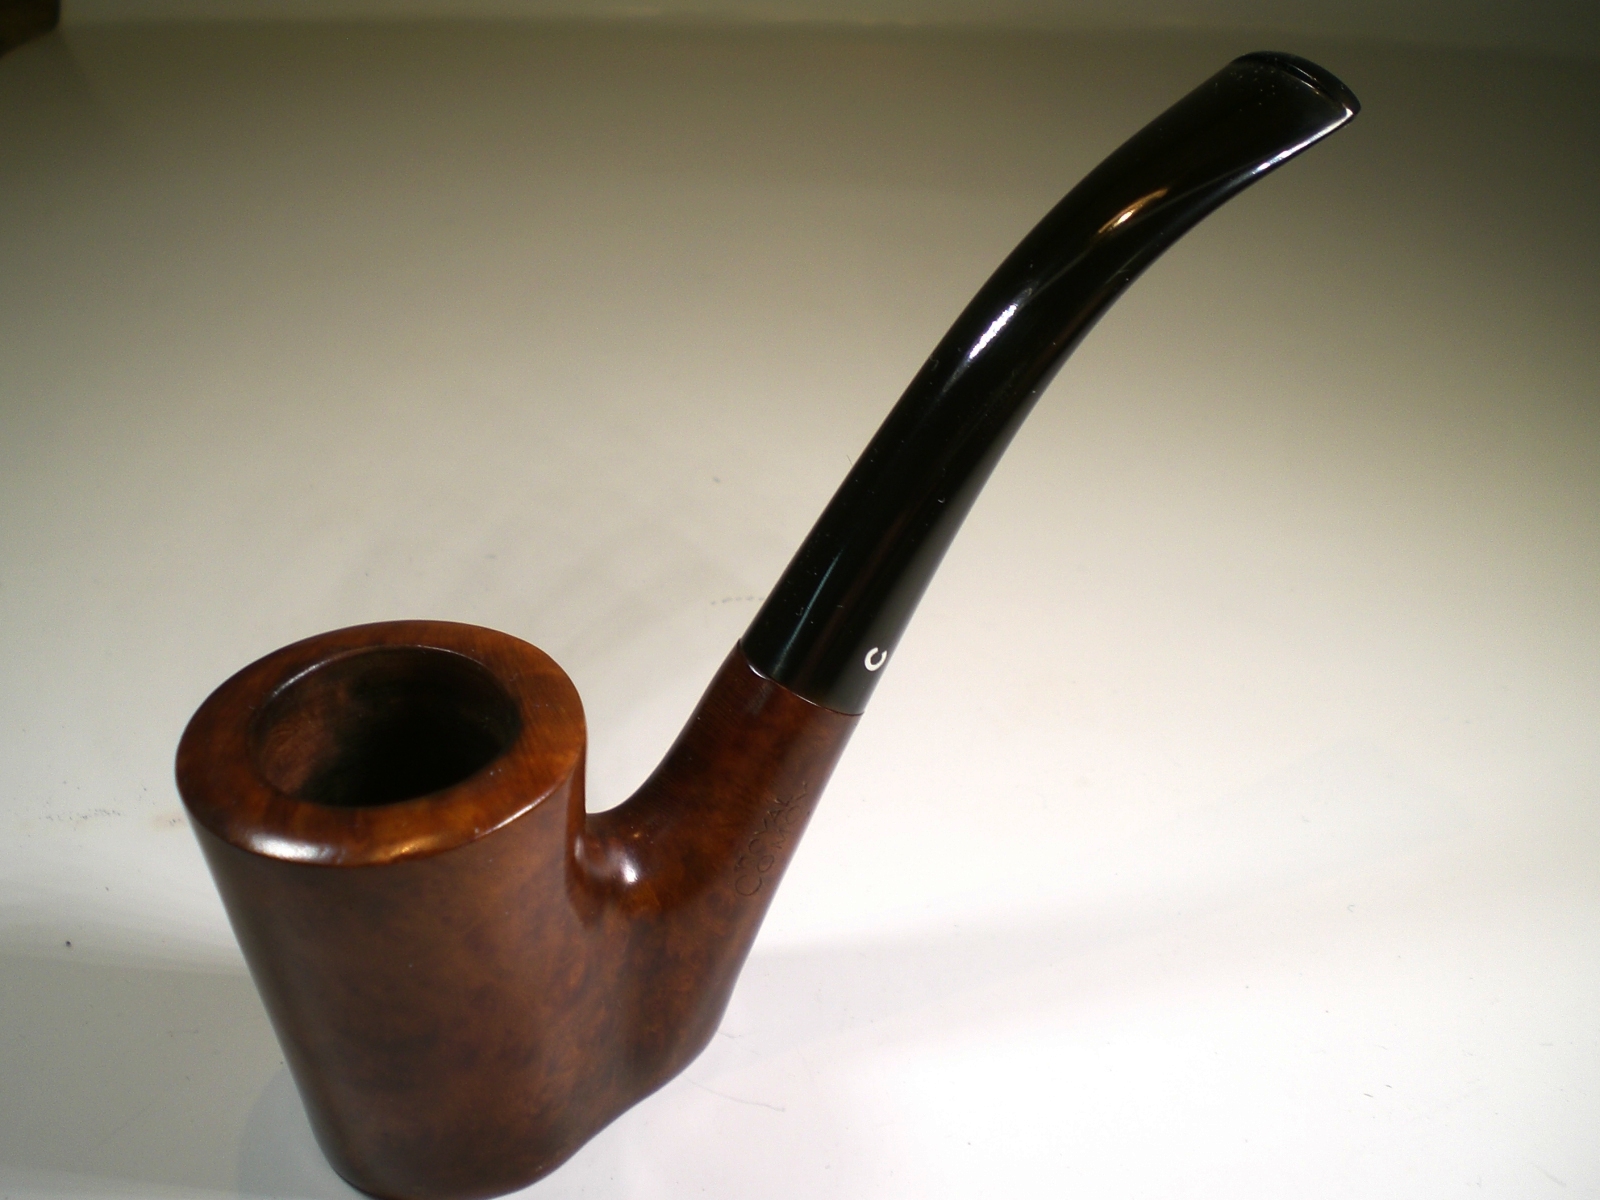
Royal_Comoy_603_Finished (6) Royal_Comoy_603_Finished Royal_Comoy_603_Finished (1) Royal_Comoy_603_Finished (2) Royal_Comoy_603_Finished (5) Royal_Comoy_603_Finished (3) Royal_Comoy_603_Finished (4) Royal_Comoy_603_C_logo_Detail_Finished

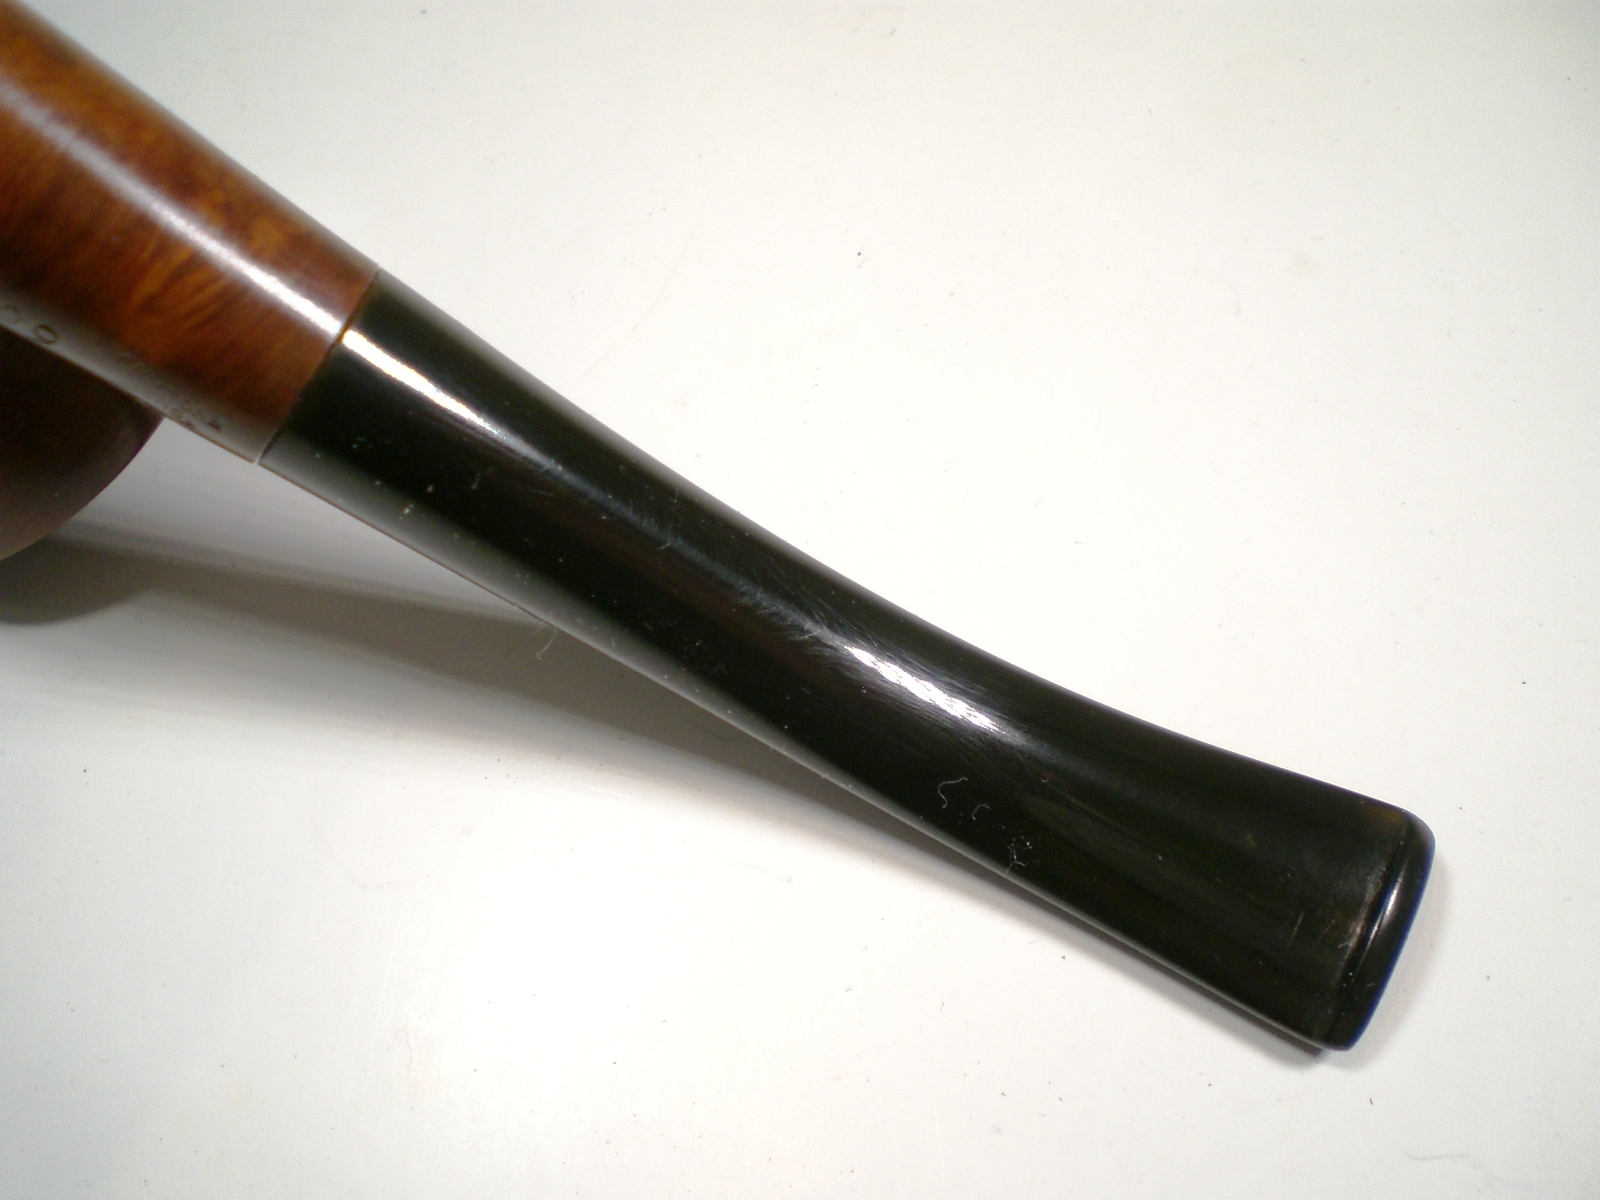
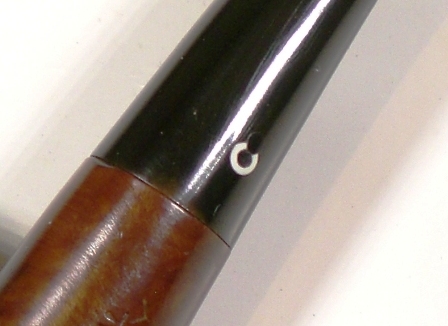
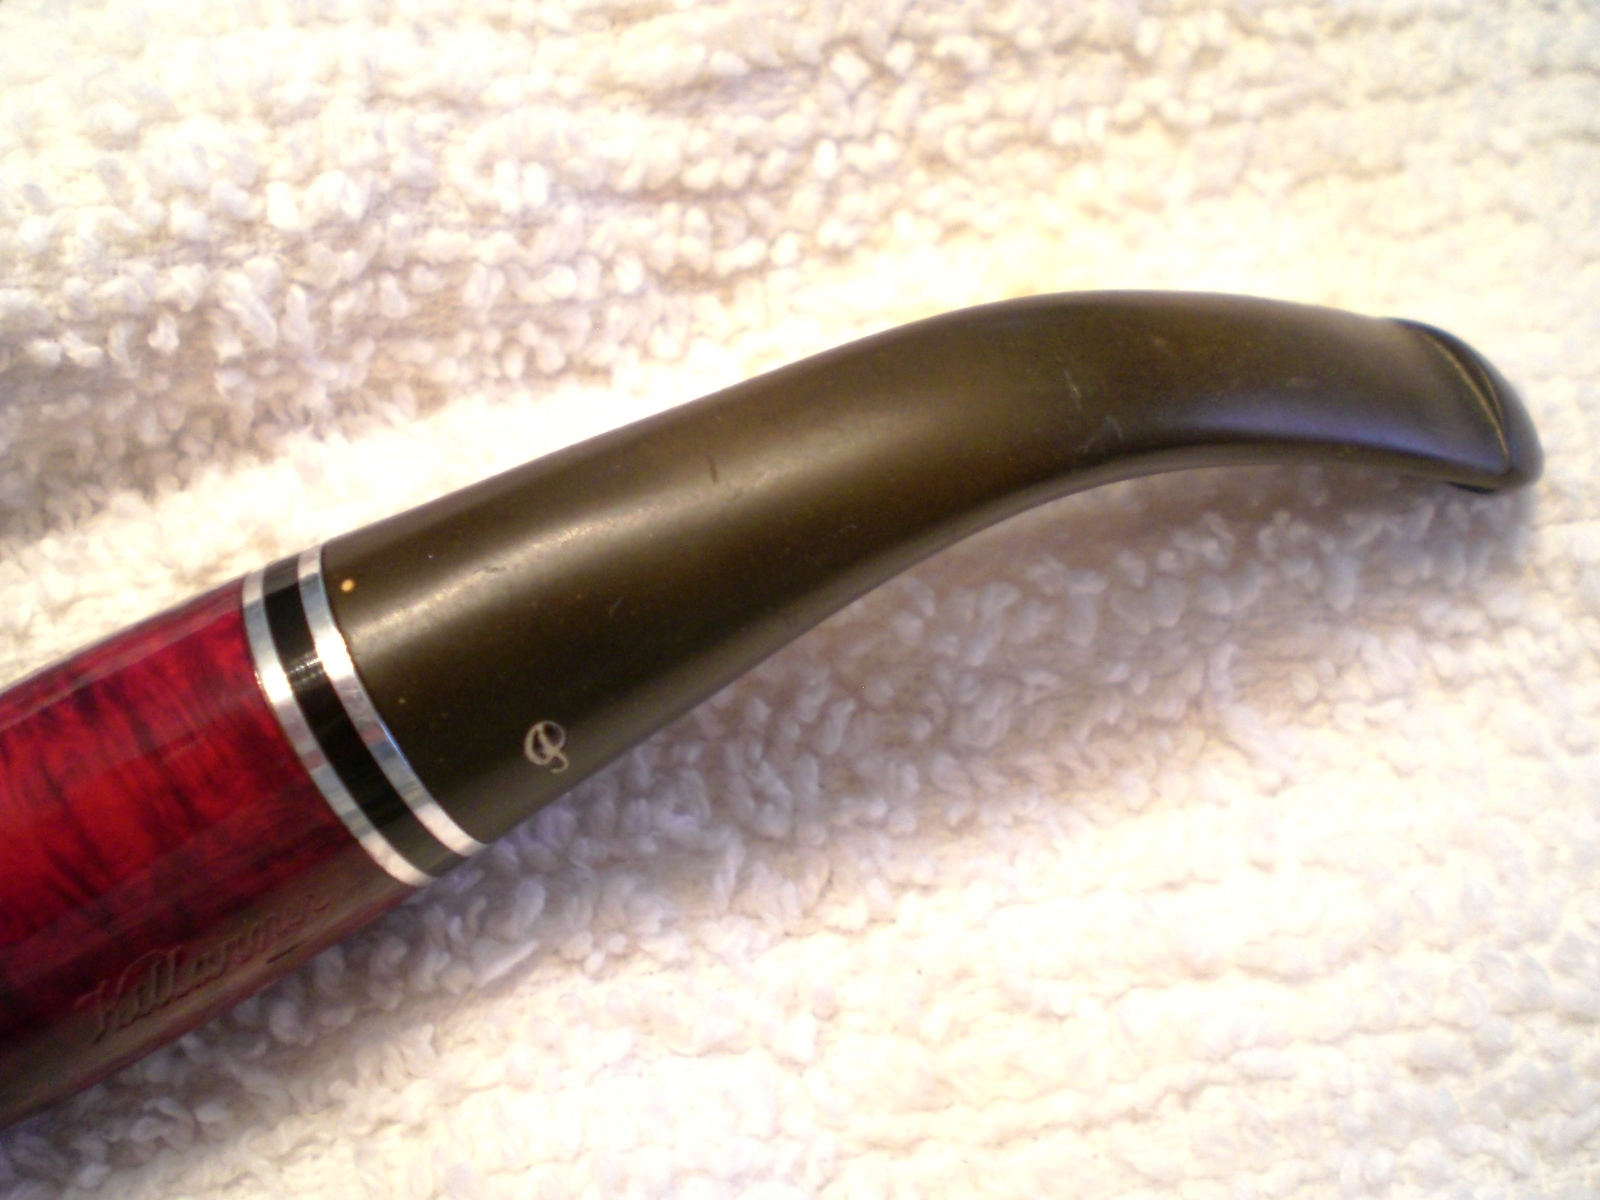
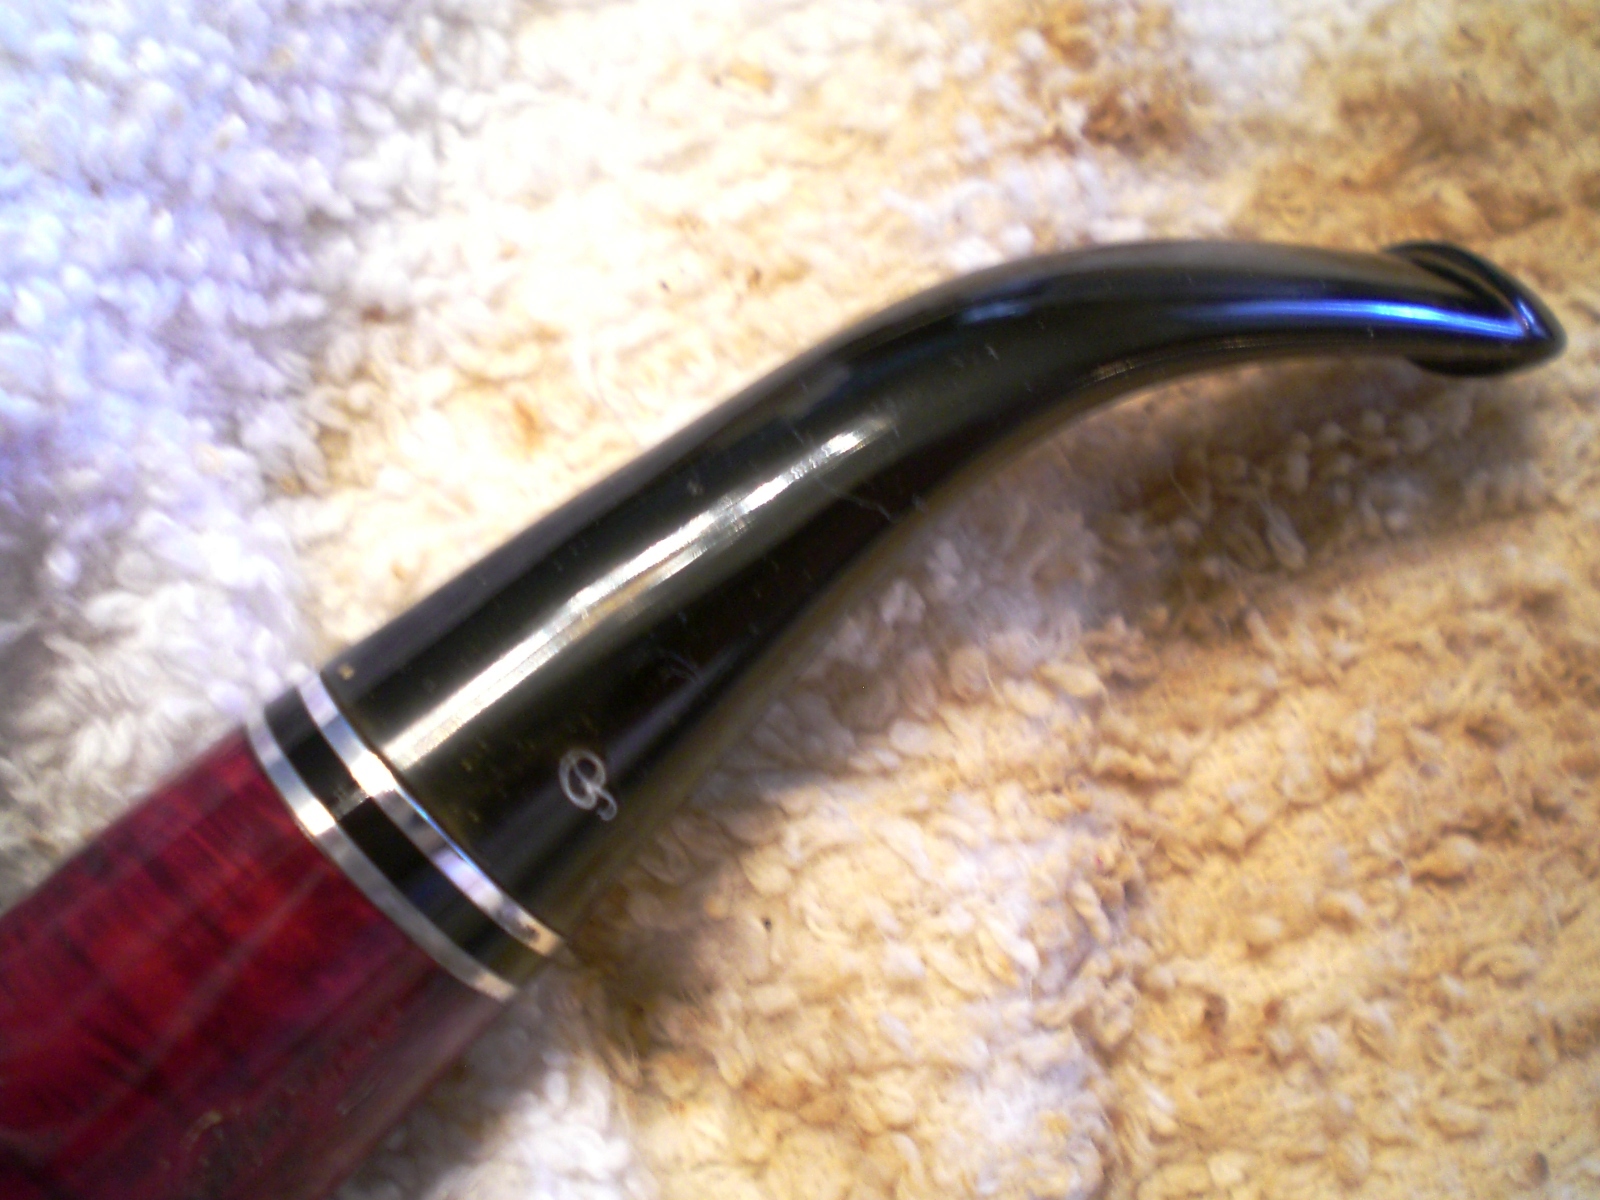
A Trio of Peterson Stems


Blog by Al Jones

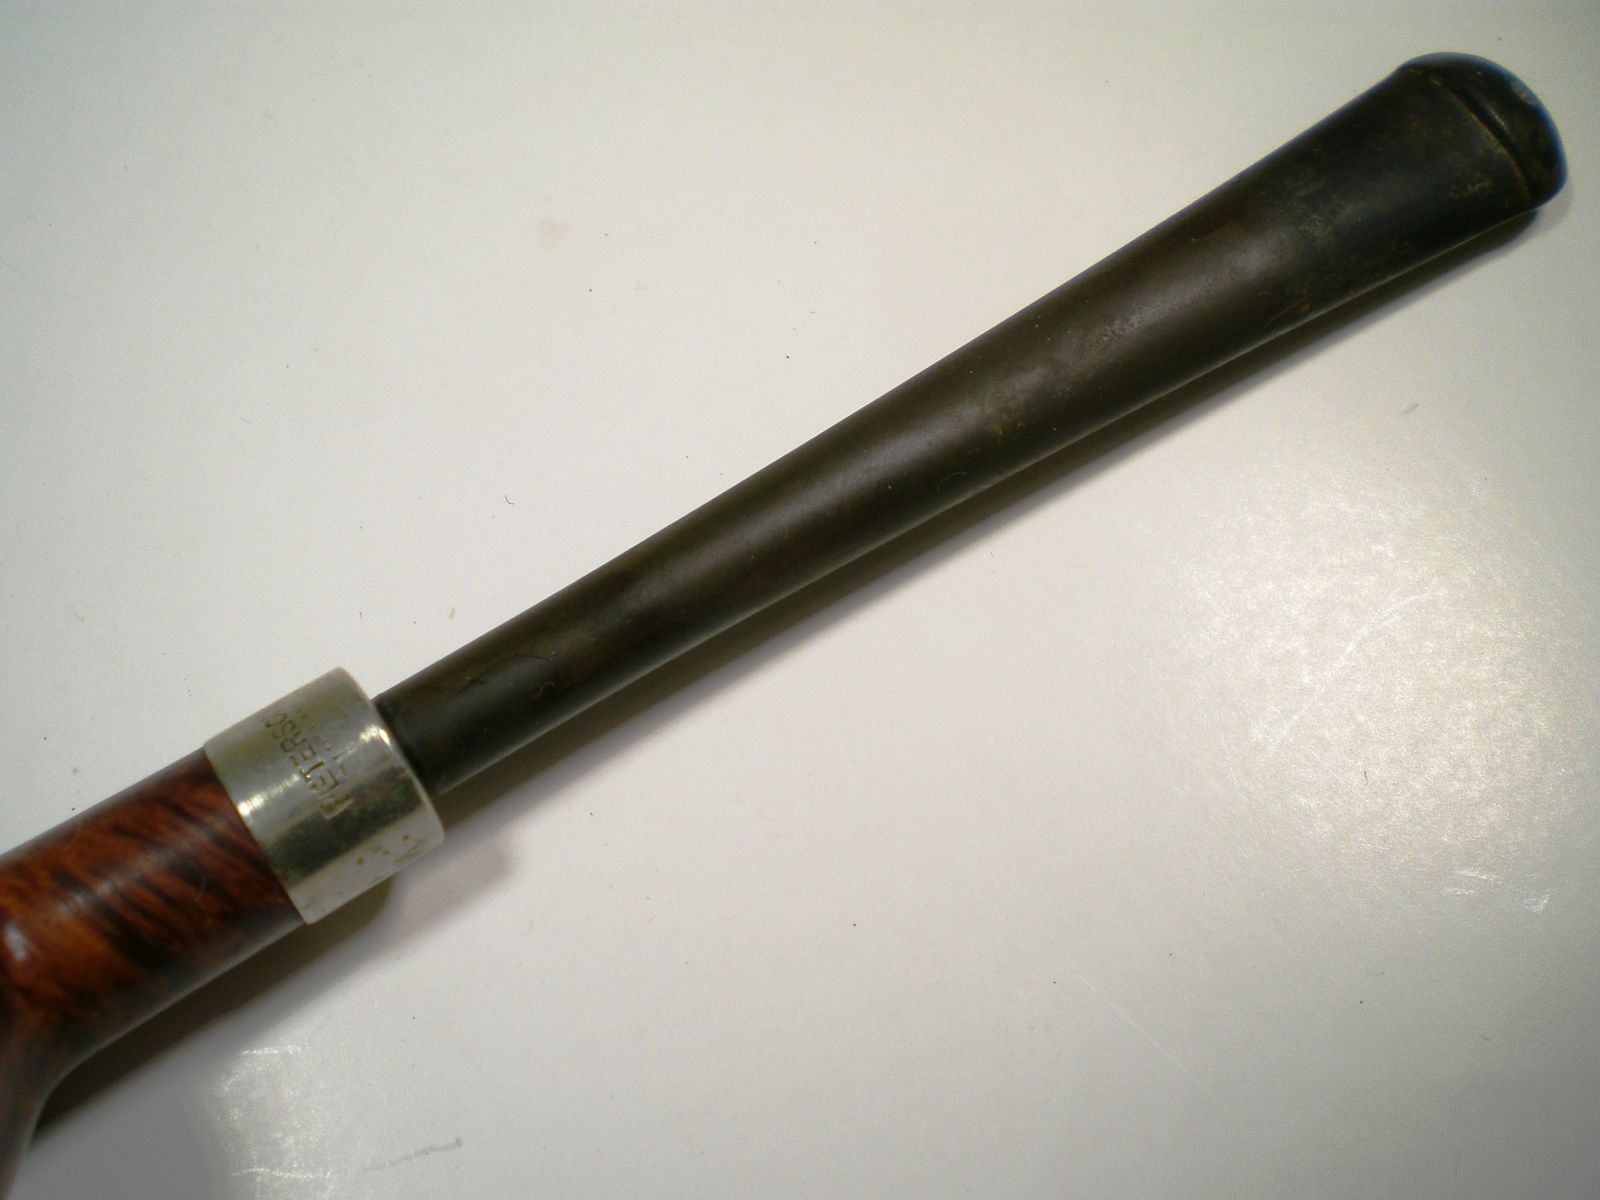
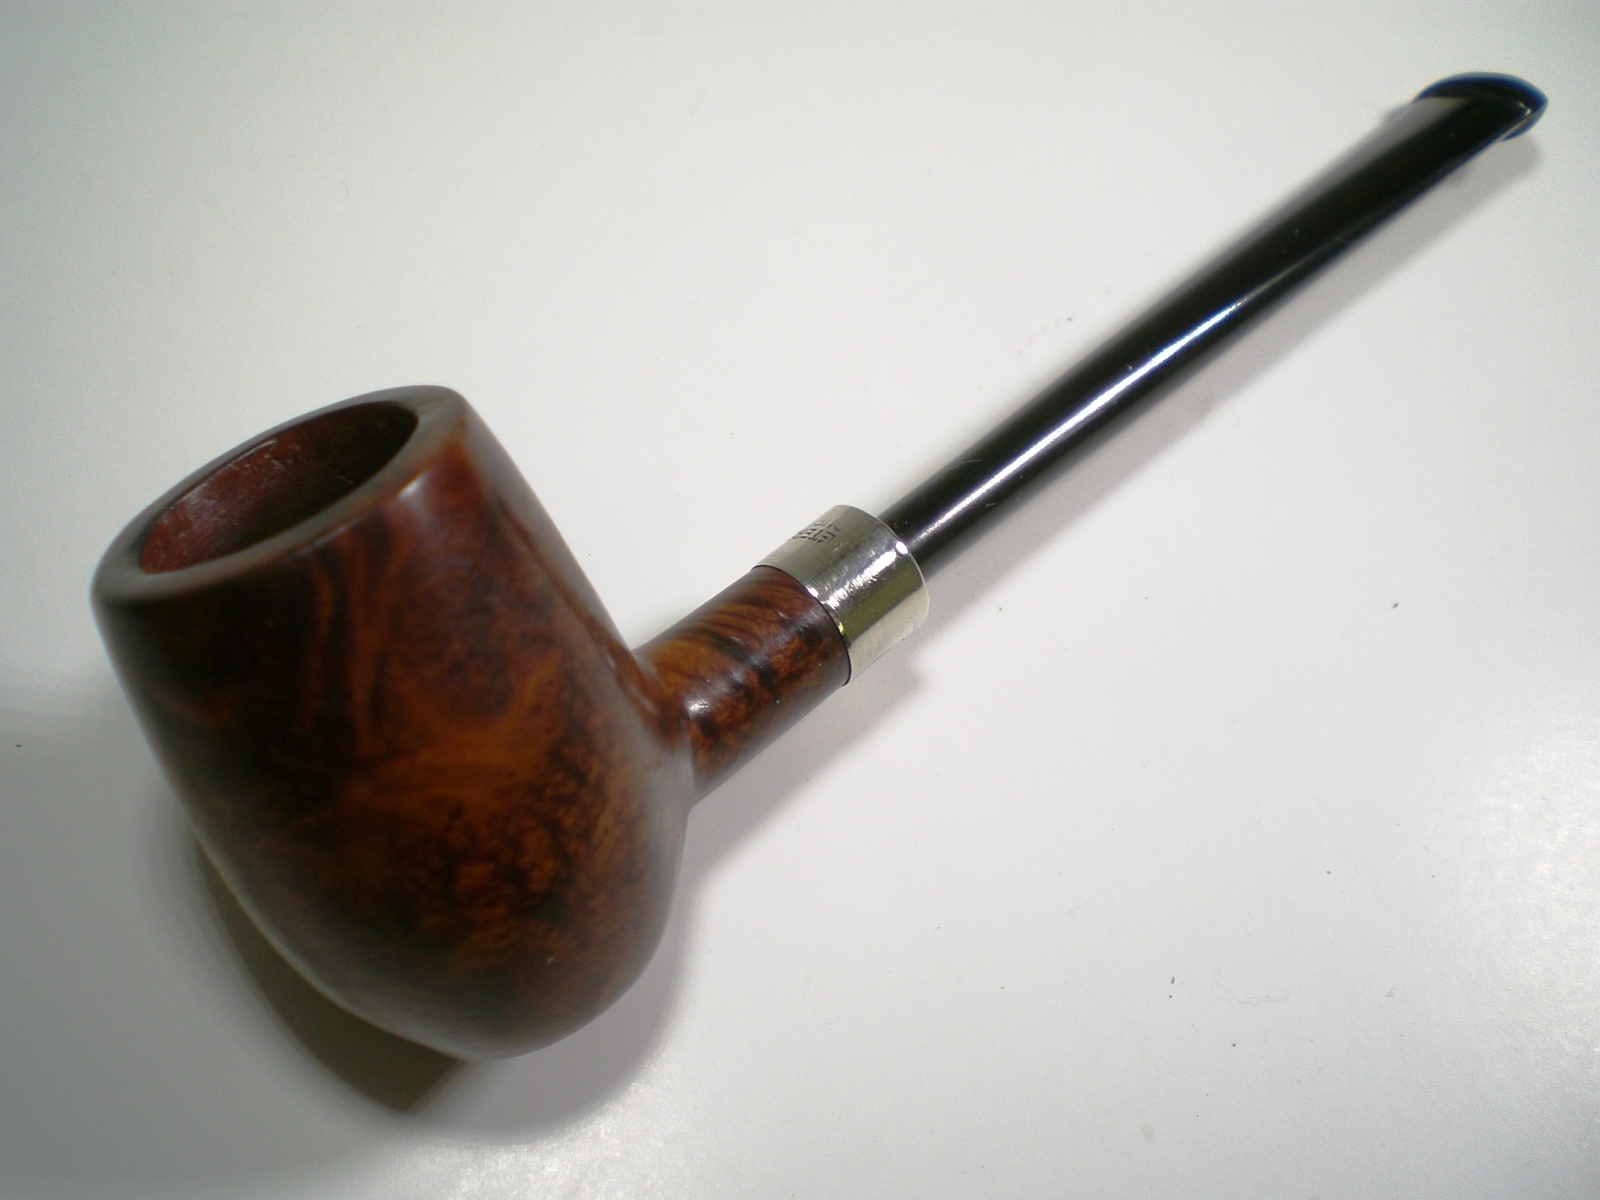
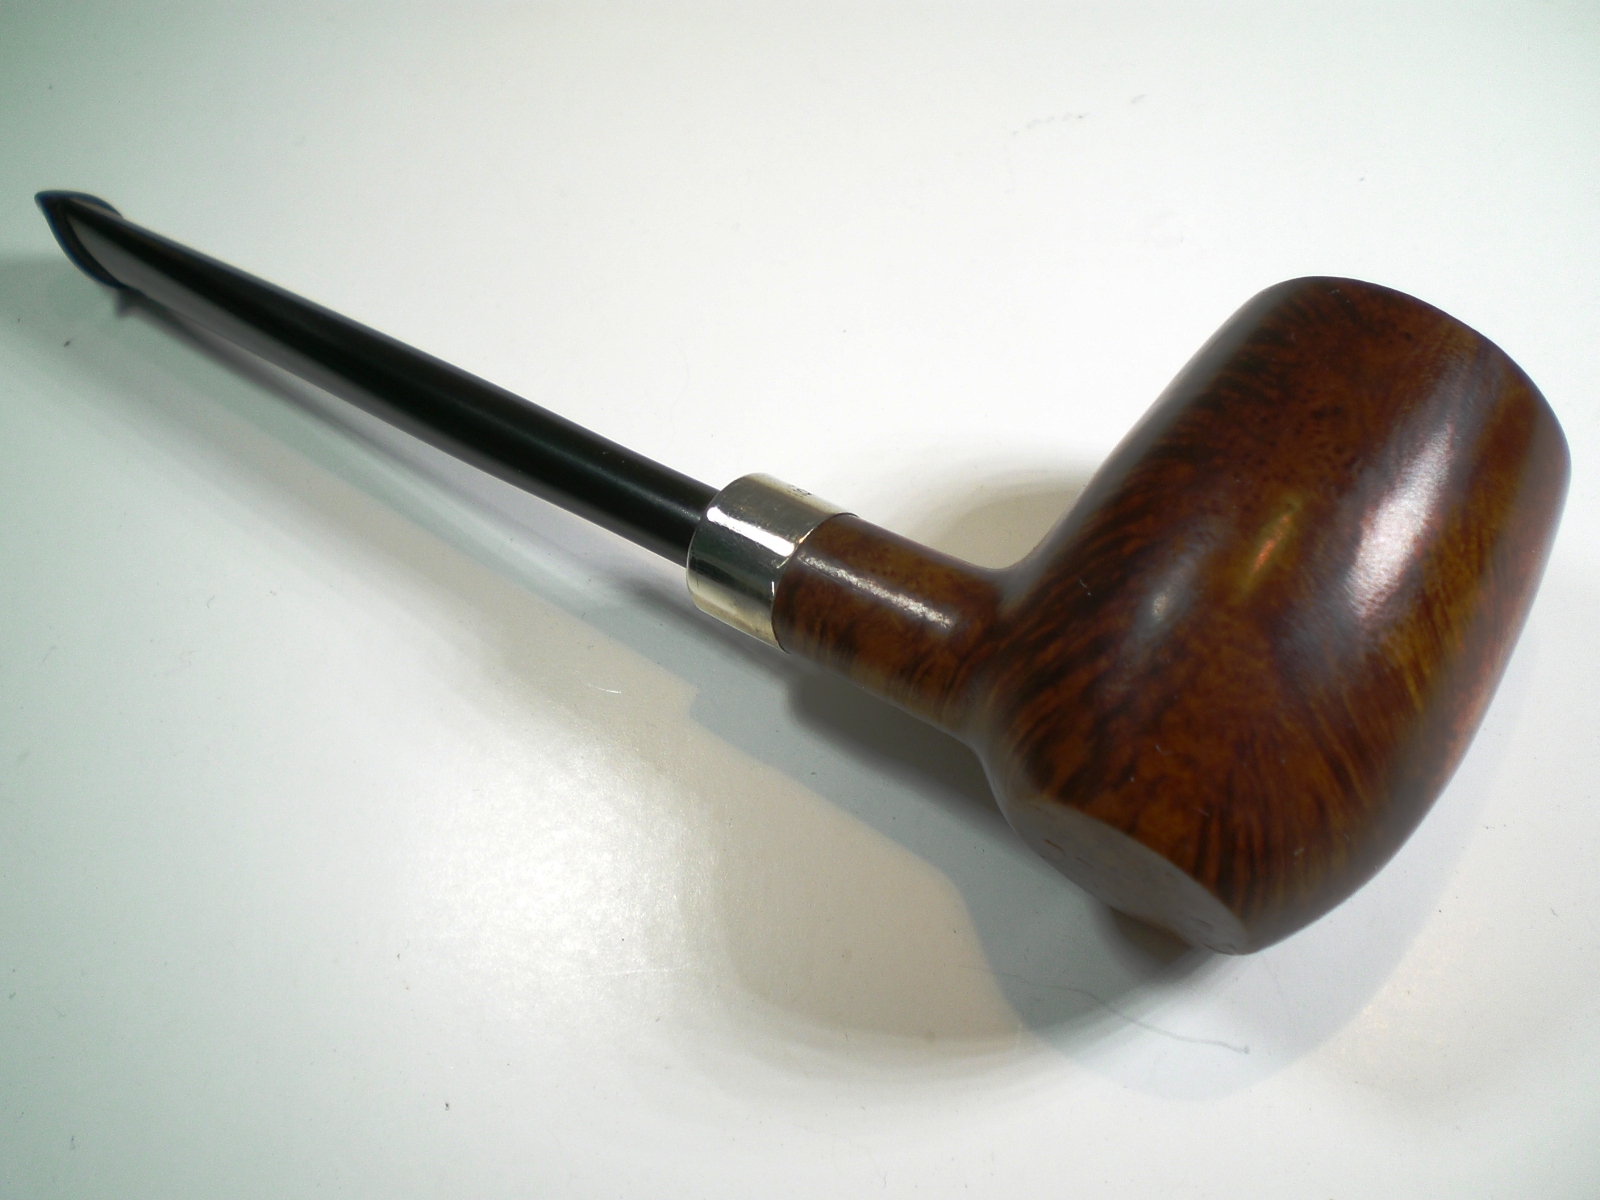
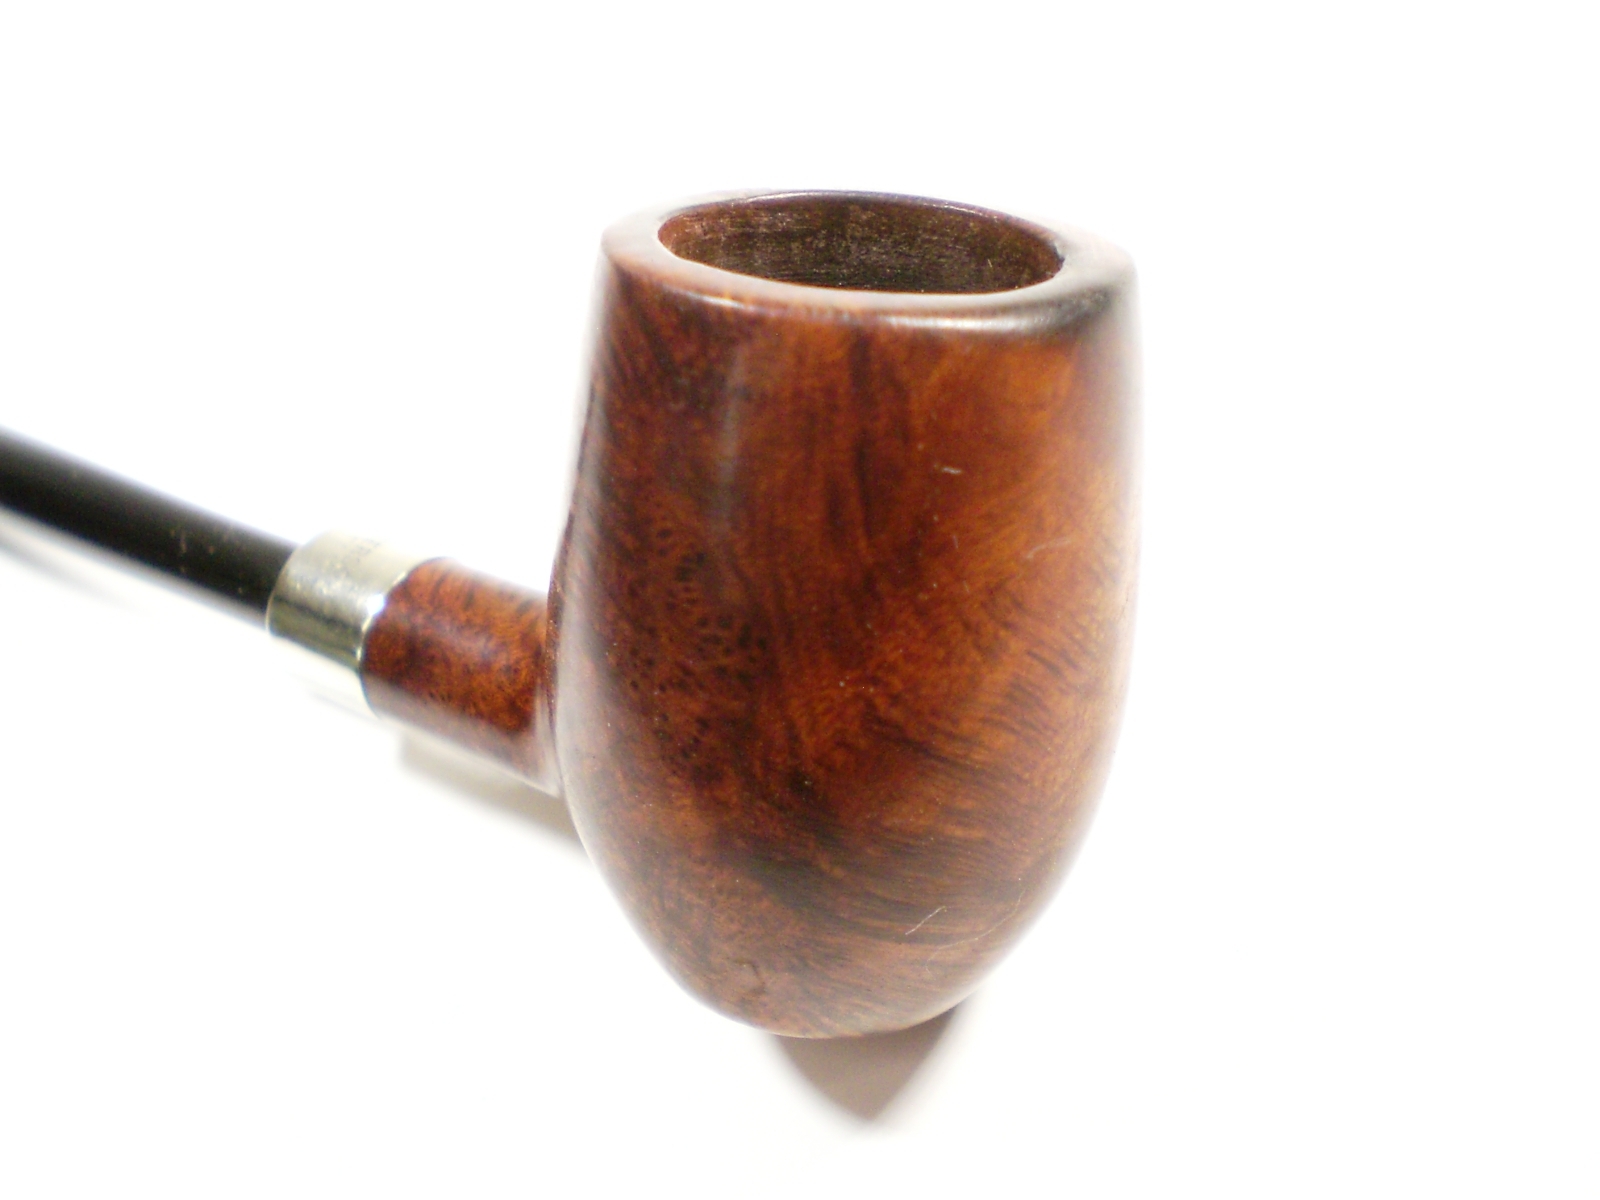
These three Peterson’s belong to a fellow member of the Frederick Pipe Club (Maryland).  He asked me if I could remove the oxidation on the stems.   I tackled all three this afternoon and they are ready to deliver on the next club meeting.

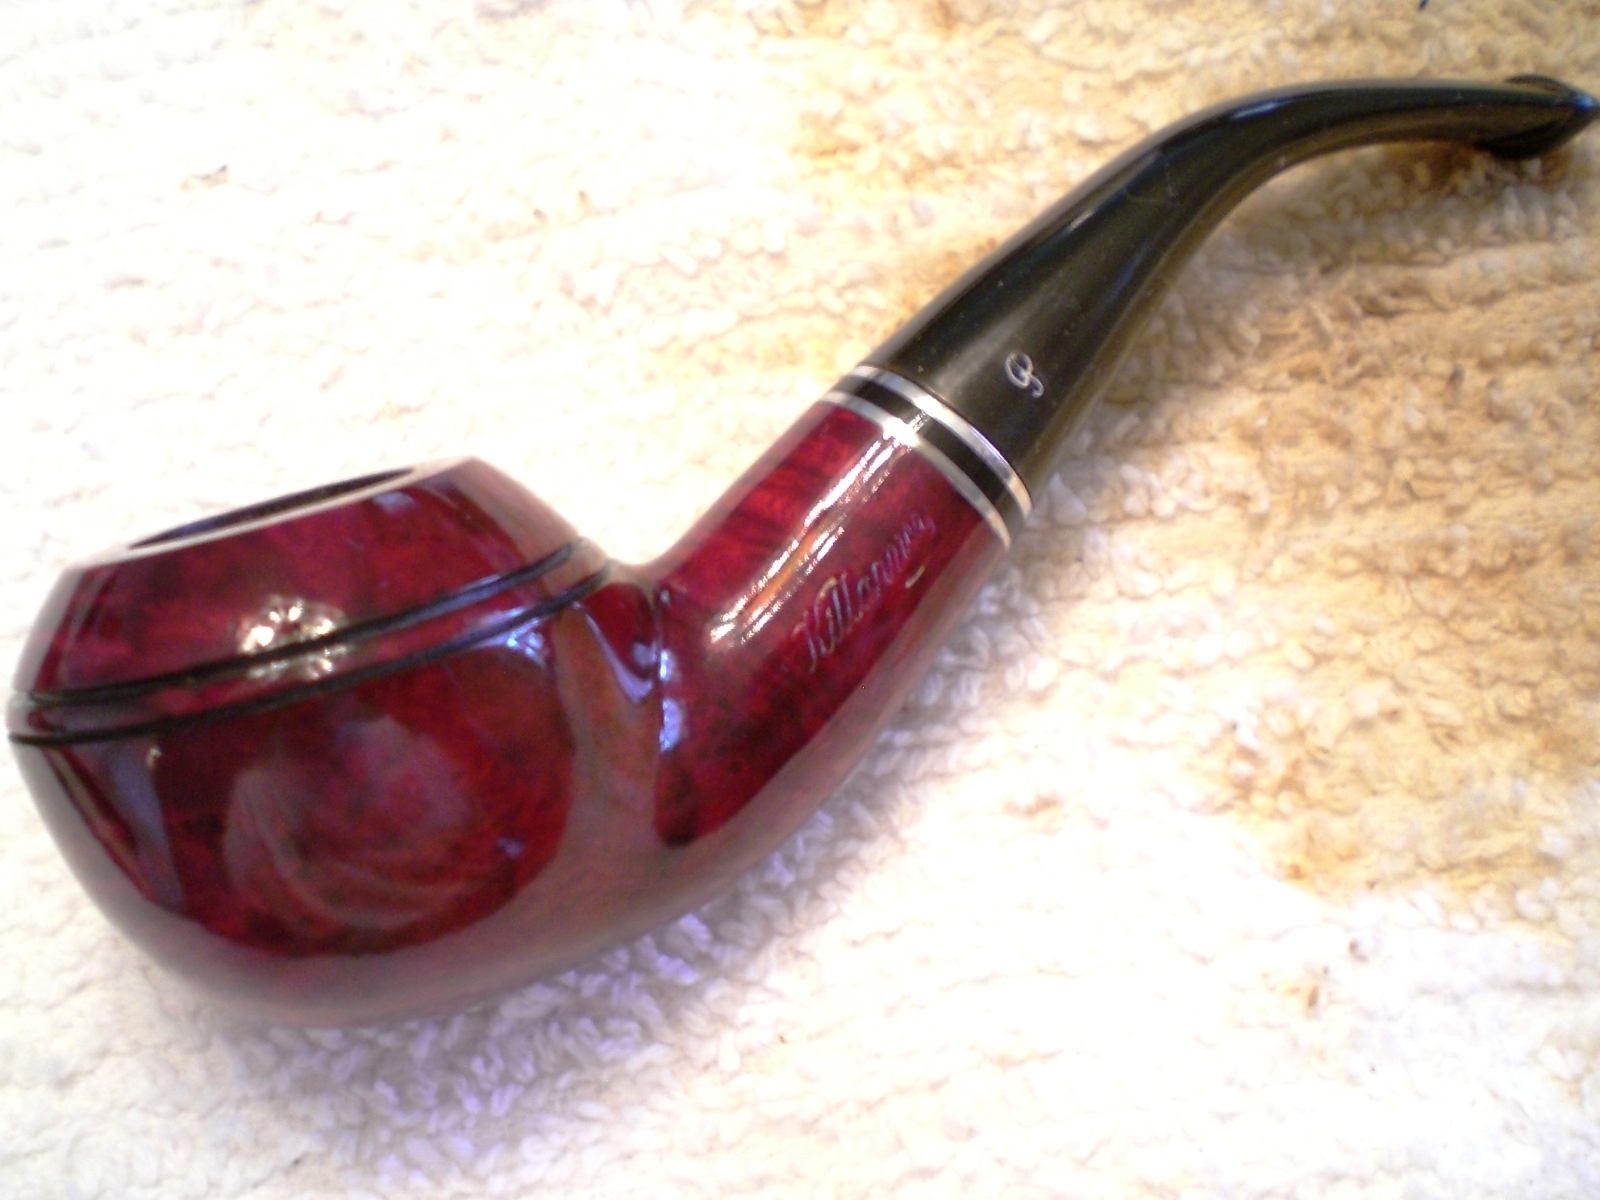
First up was this Shape 999 Killarney

Before

GS_Pete_999 (1)

After

GS_Pete_999 (2) GS_Pete_999

I used  my typical routine of 800 grit wet paper, followed by 1500 and 2000 grades.  Next up was 8000 and 12000 grade micromesh.  I followed this by polishing on my buffer White Diamond and then Meguiars Polish.  The brair was in good shape so I only gave it a buff with Carnuba wax.

I followed the same stem regimen for the other two pipes.

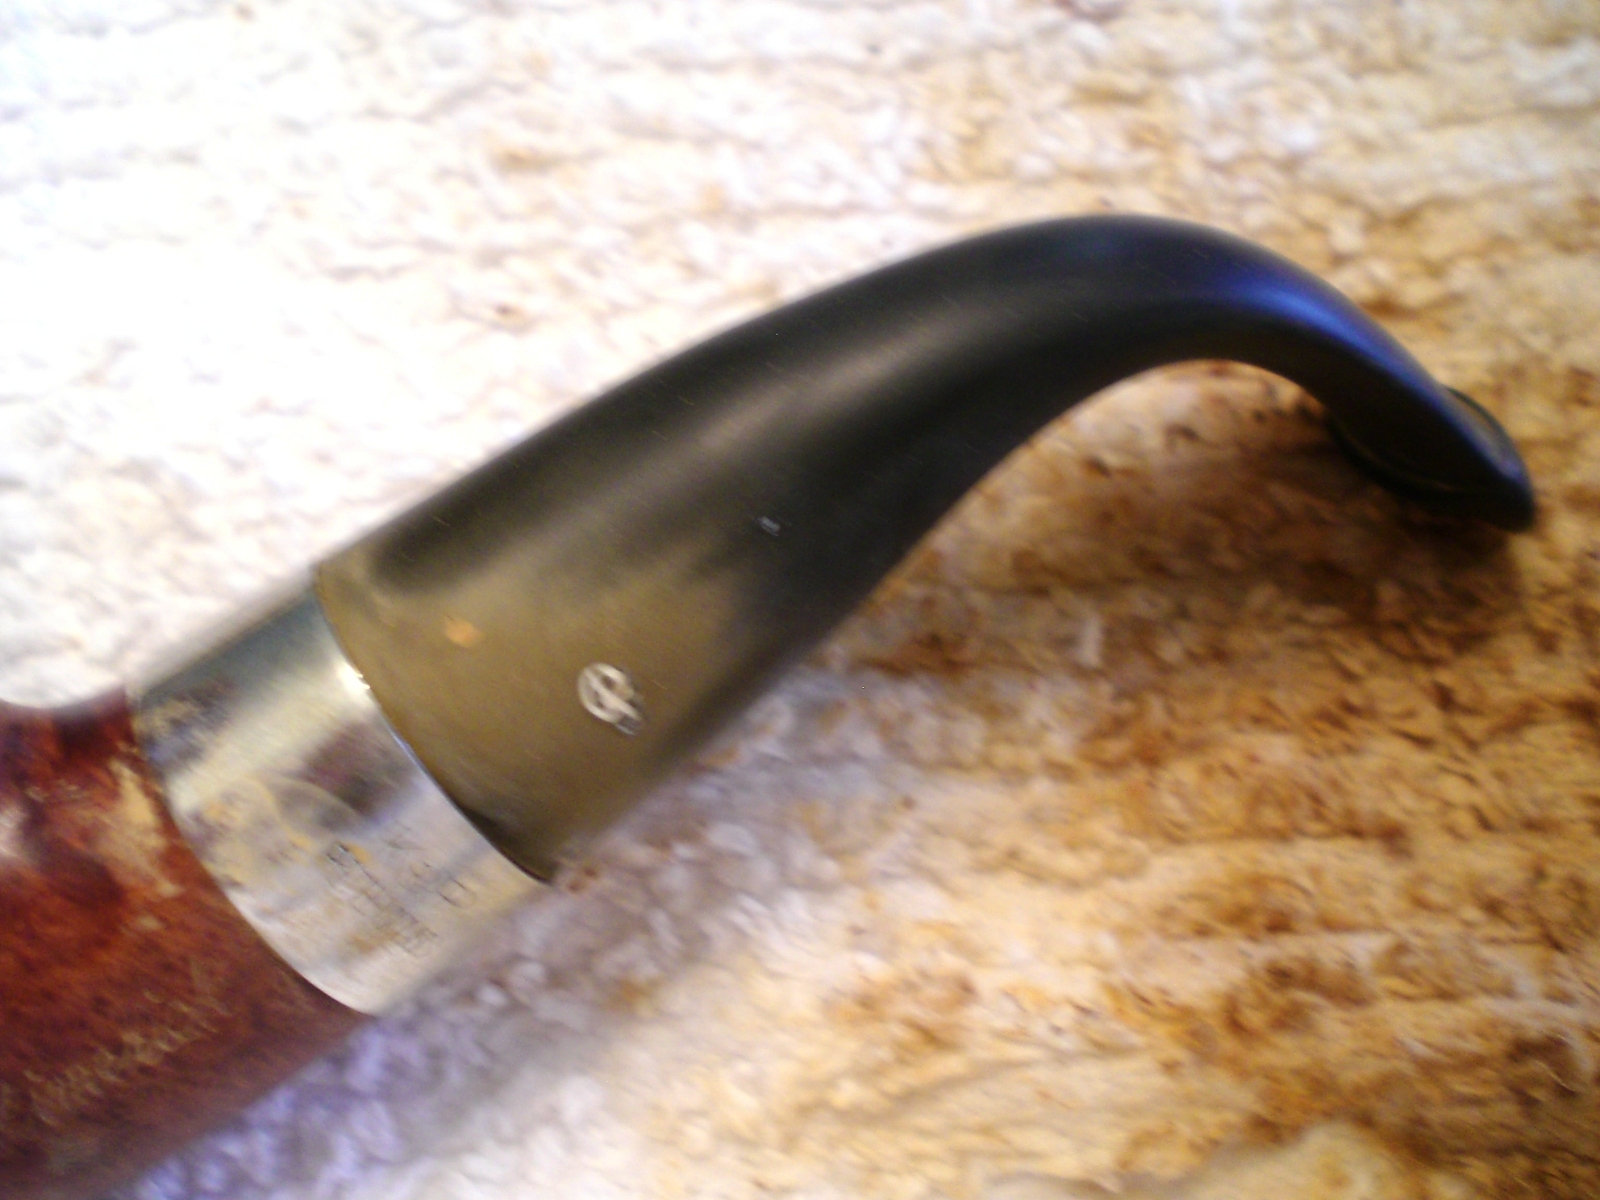
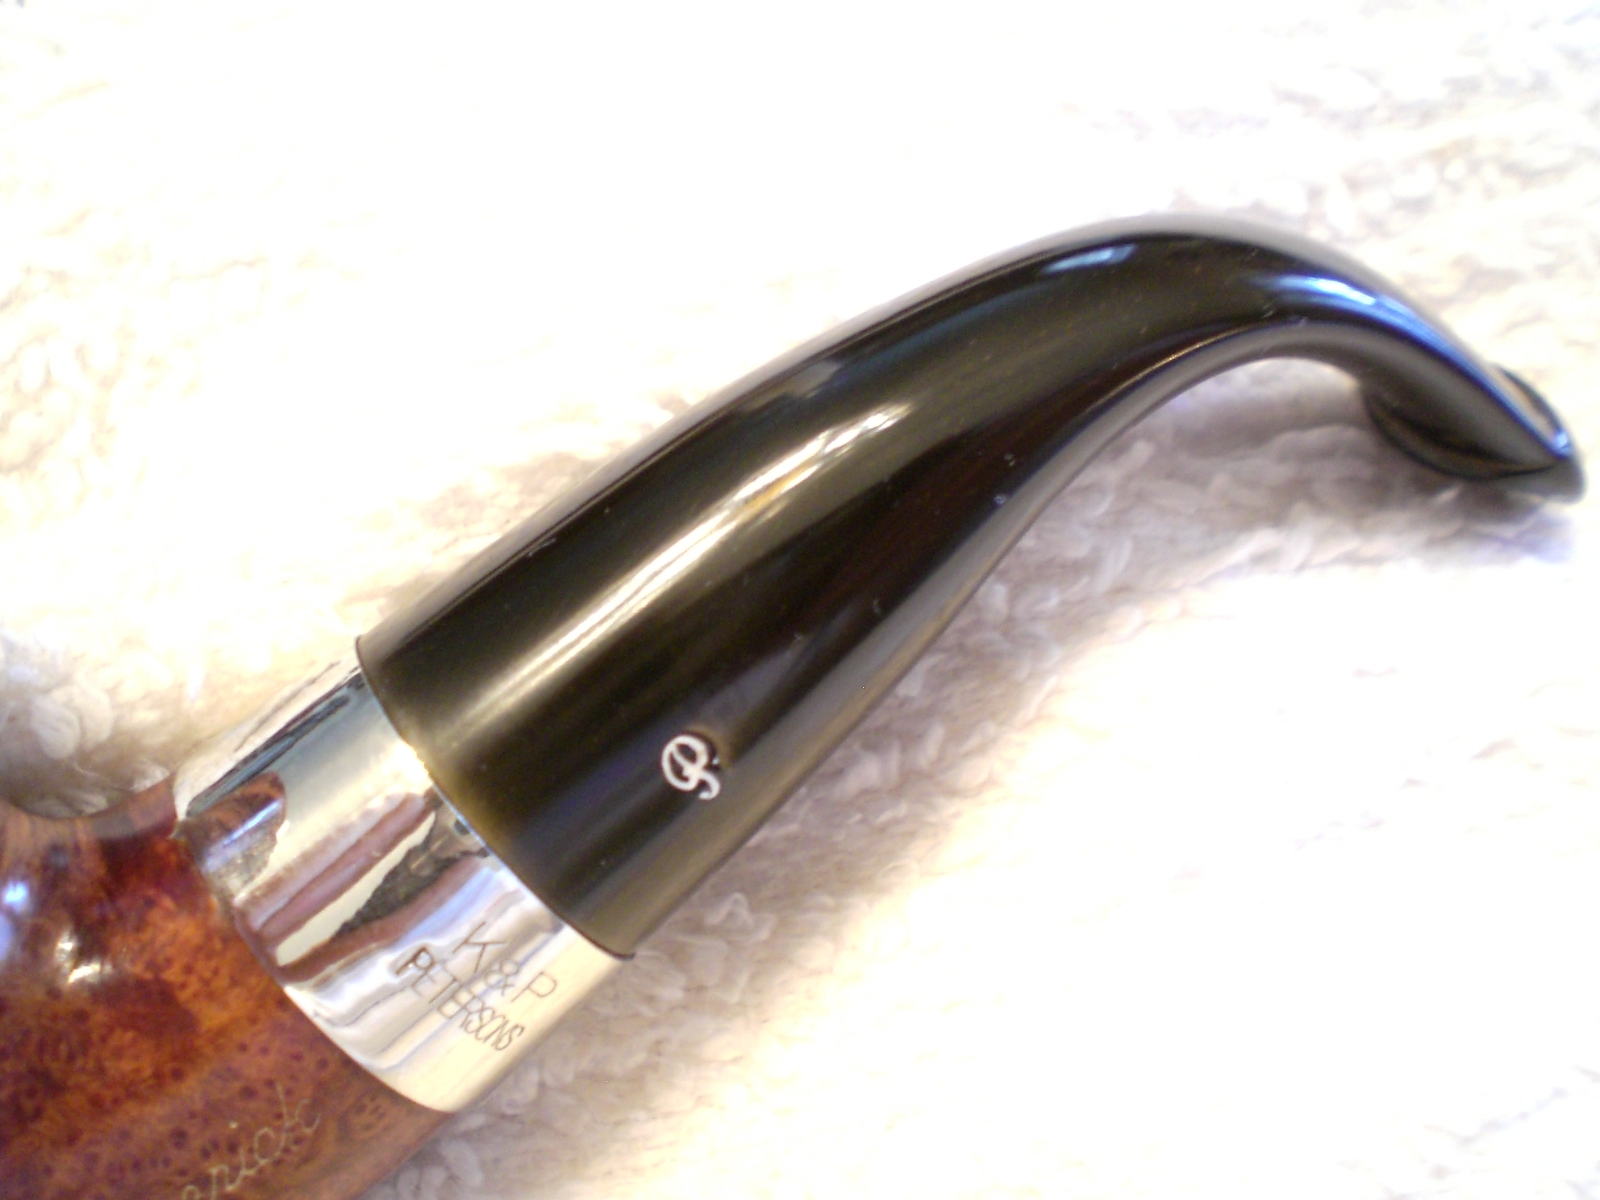
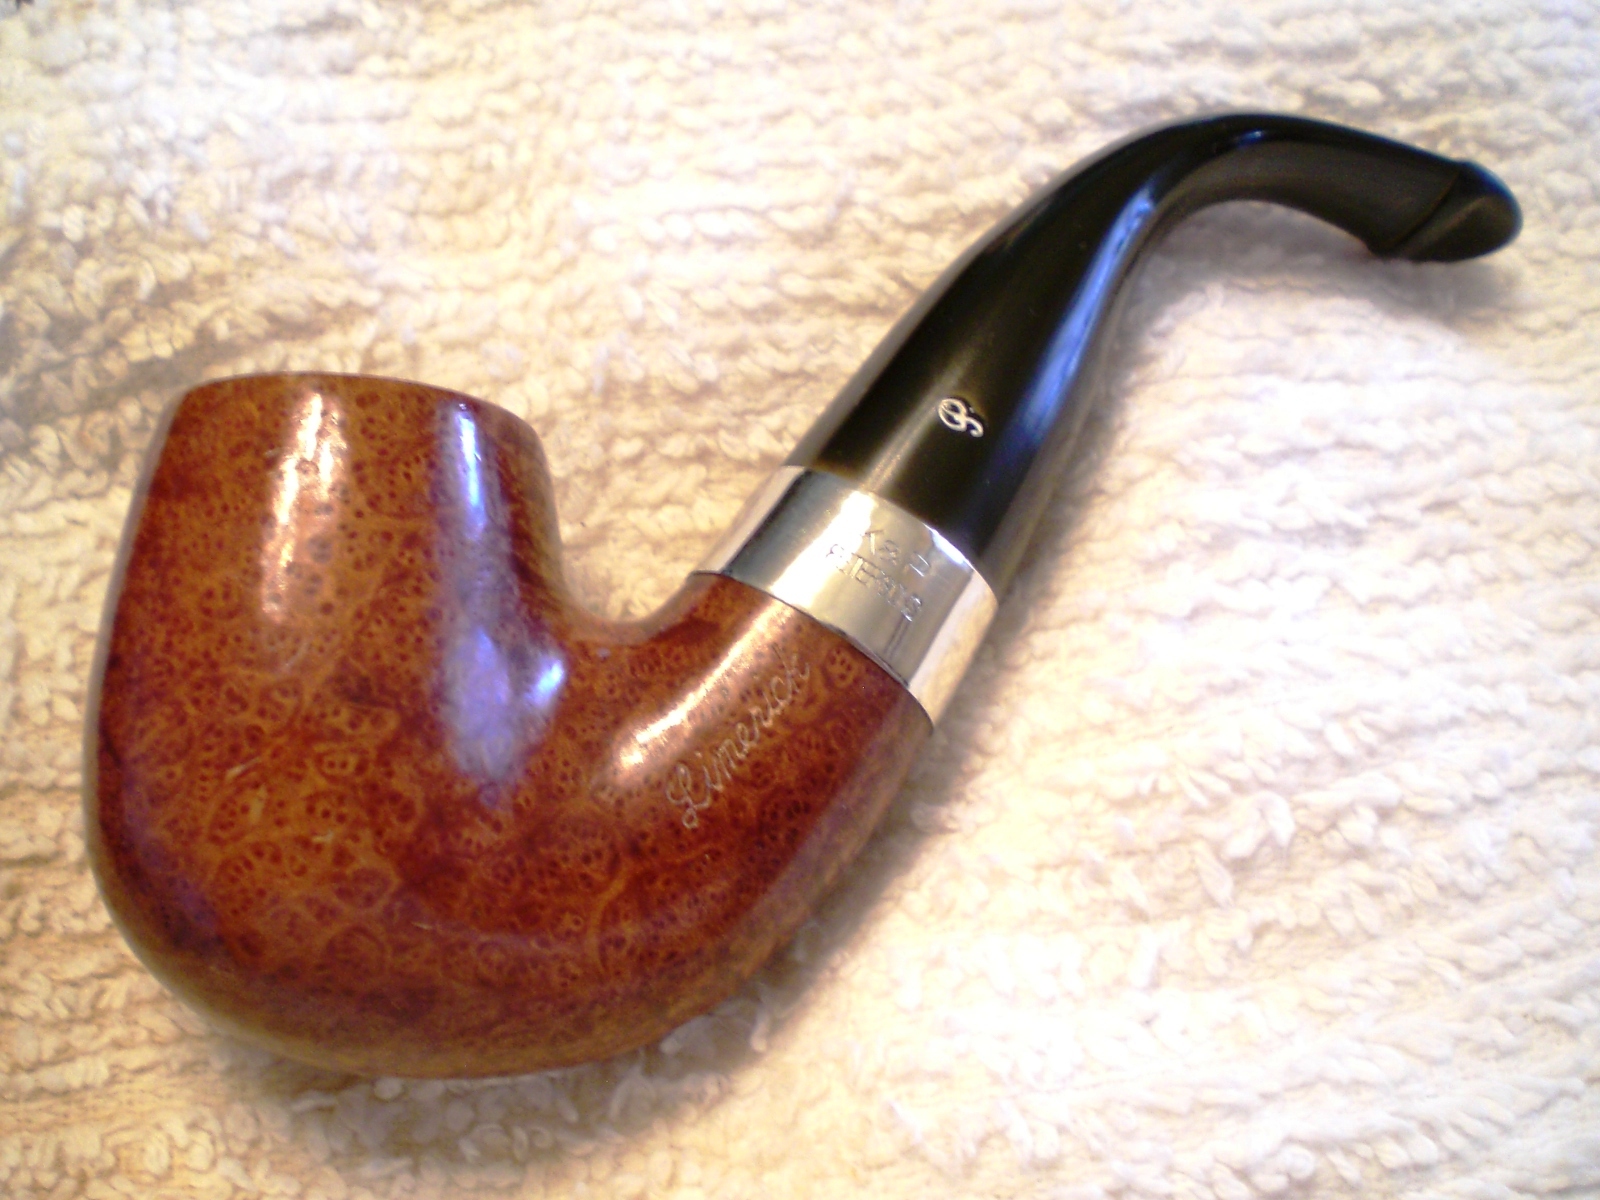
Next up this Peterson Limerick.  I forgot to take a “Before” picture until I was almost done with the 800 grade paper.  This one has the most heavy coat of oxidation.  The nickle band was polished with some Blue Magic metal polish.   I gave the briar a light buff with White Diamond and then several coats of Carnuba wax.   This one has some very nice cross grain and birds-eye.

GS_Pete_Limerick (1) GS_Pete_Limerick (2) GS_Pete_Limerick

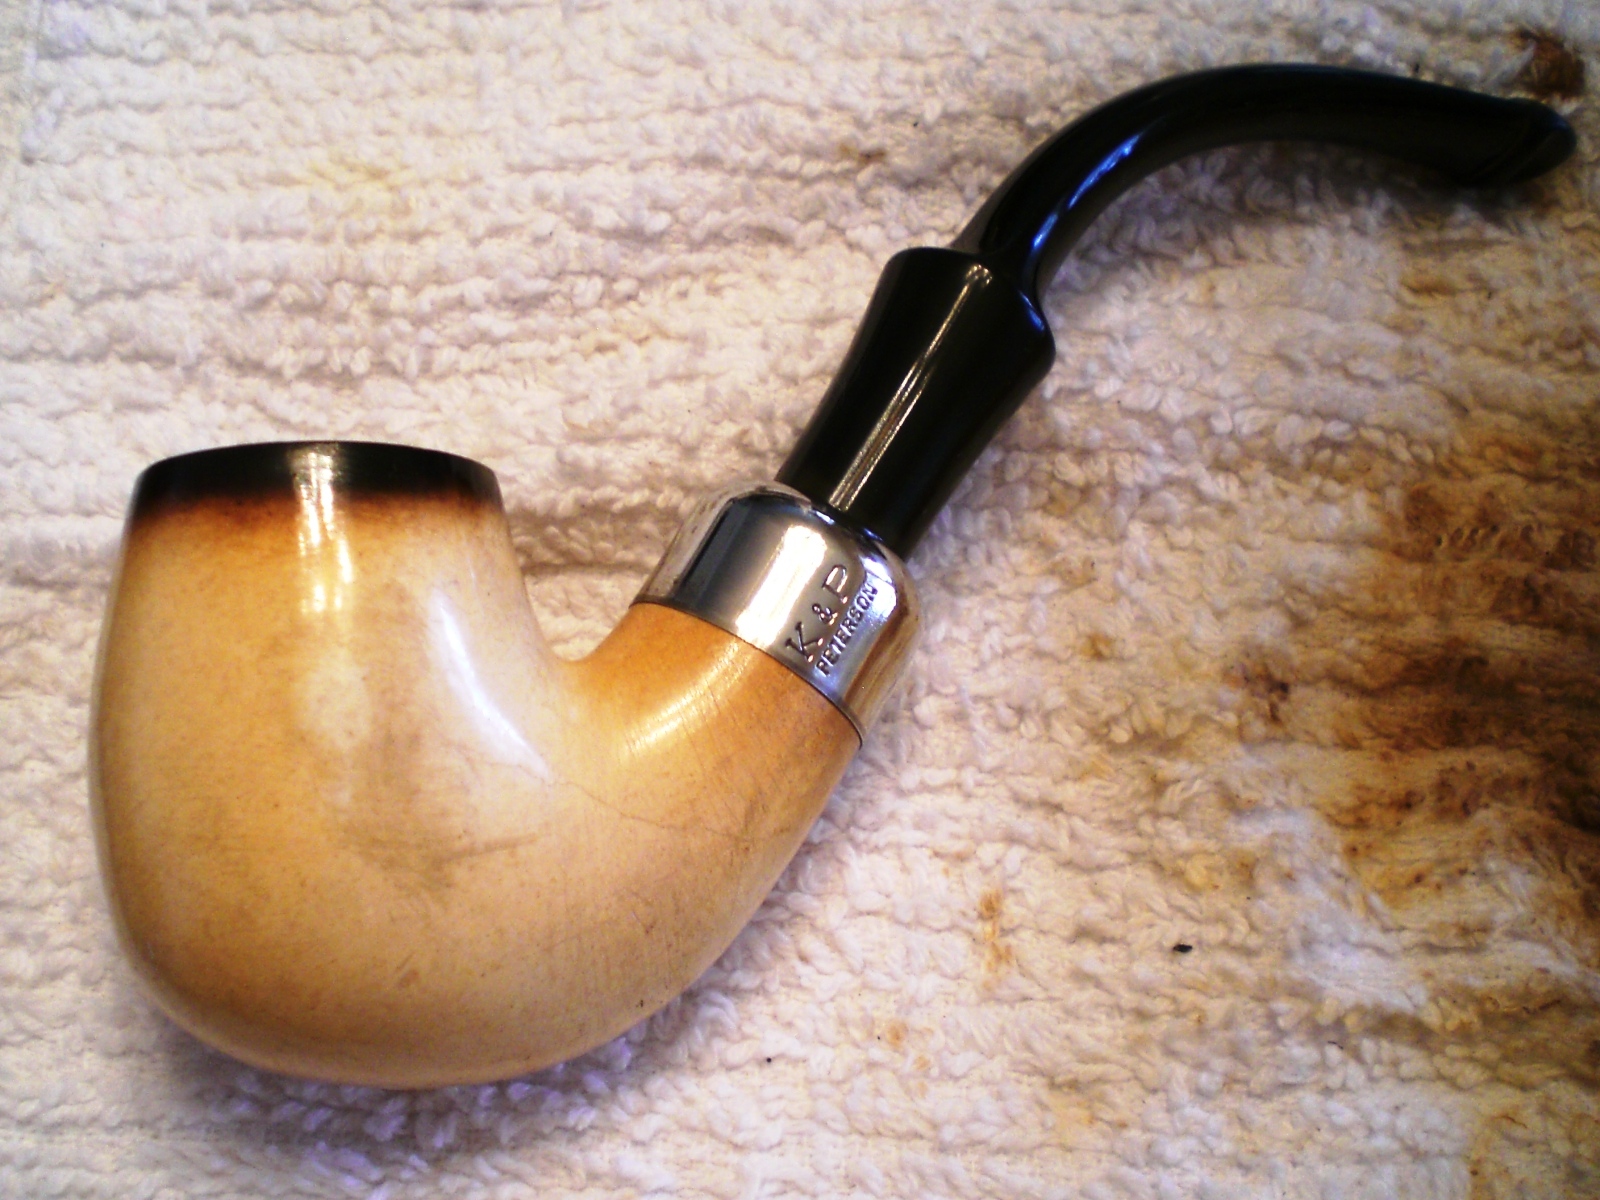
Last up was this Meerschaum pipe with a Sterling Silver military style stem fitment.  The oxidation on this one was stubborn, particularly around the P-lip button creases.  To remove the oxidation in this area, I wrap each grade of paper around a very thin knife.

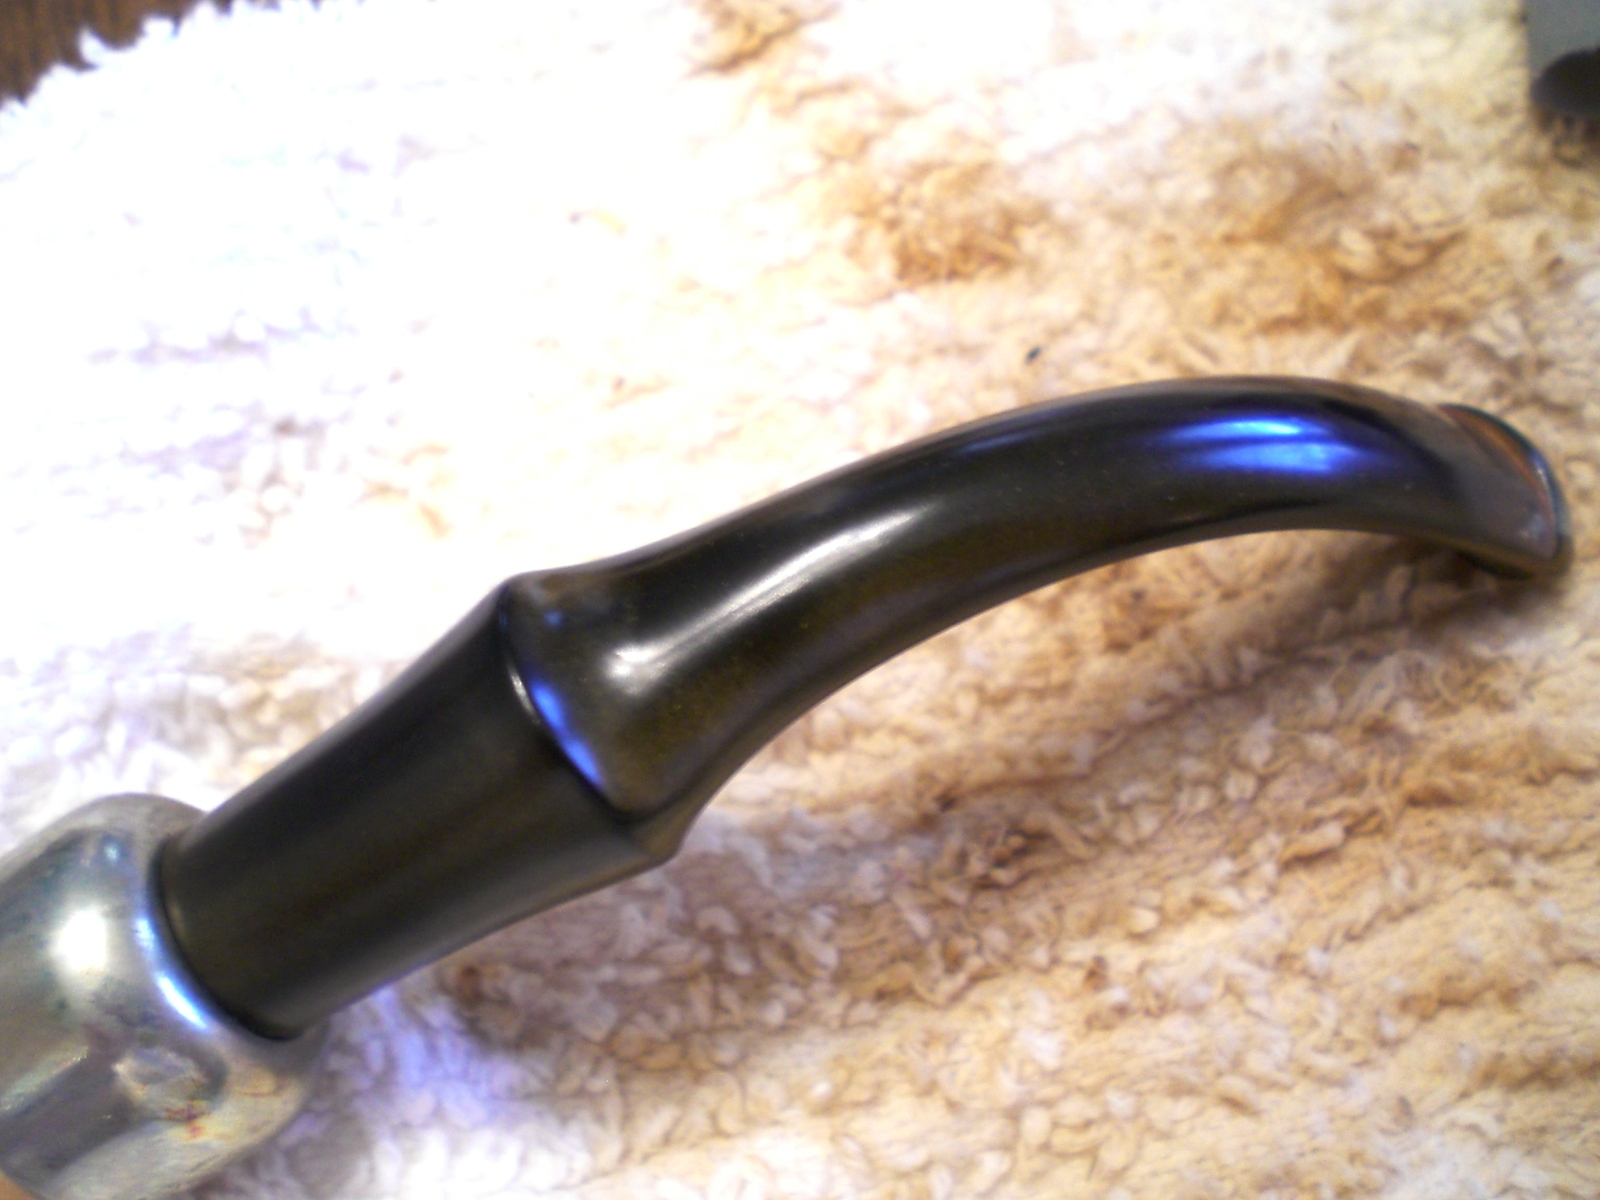
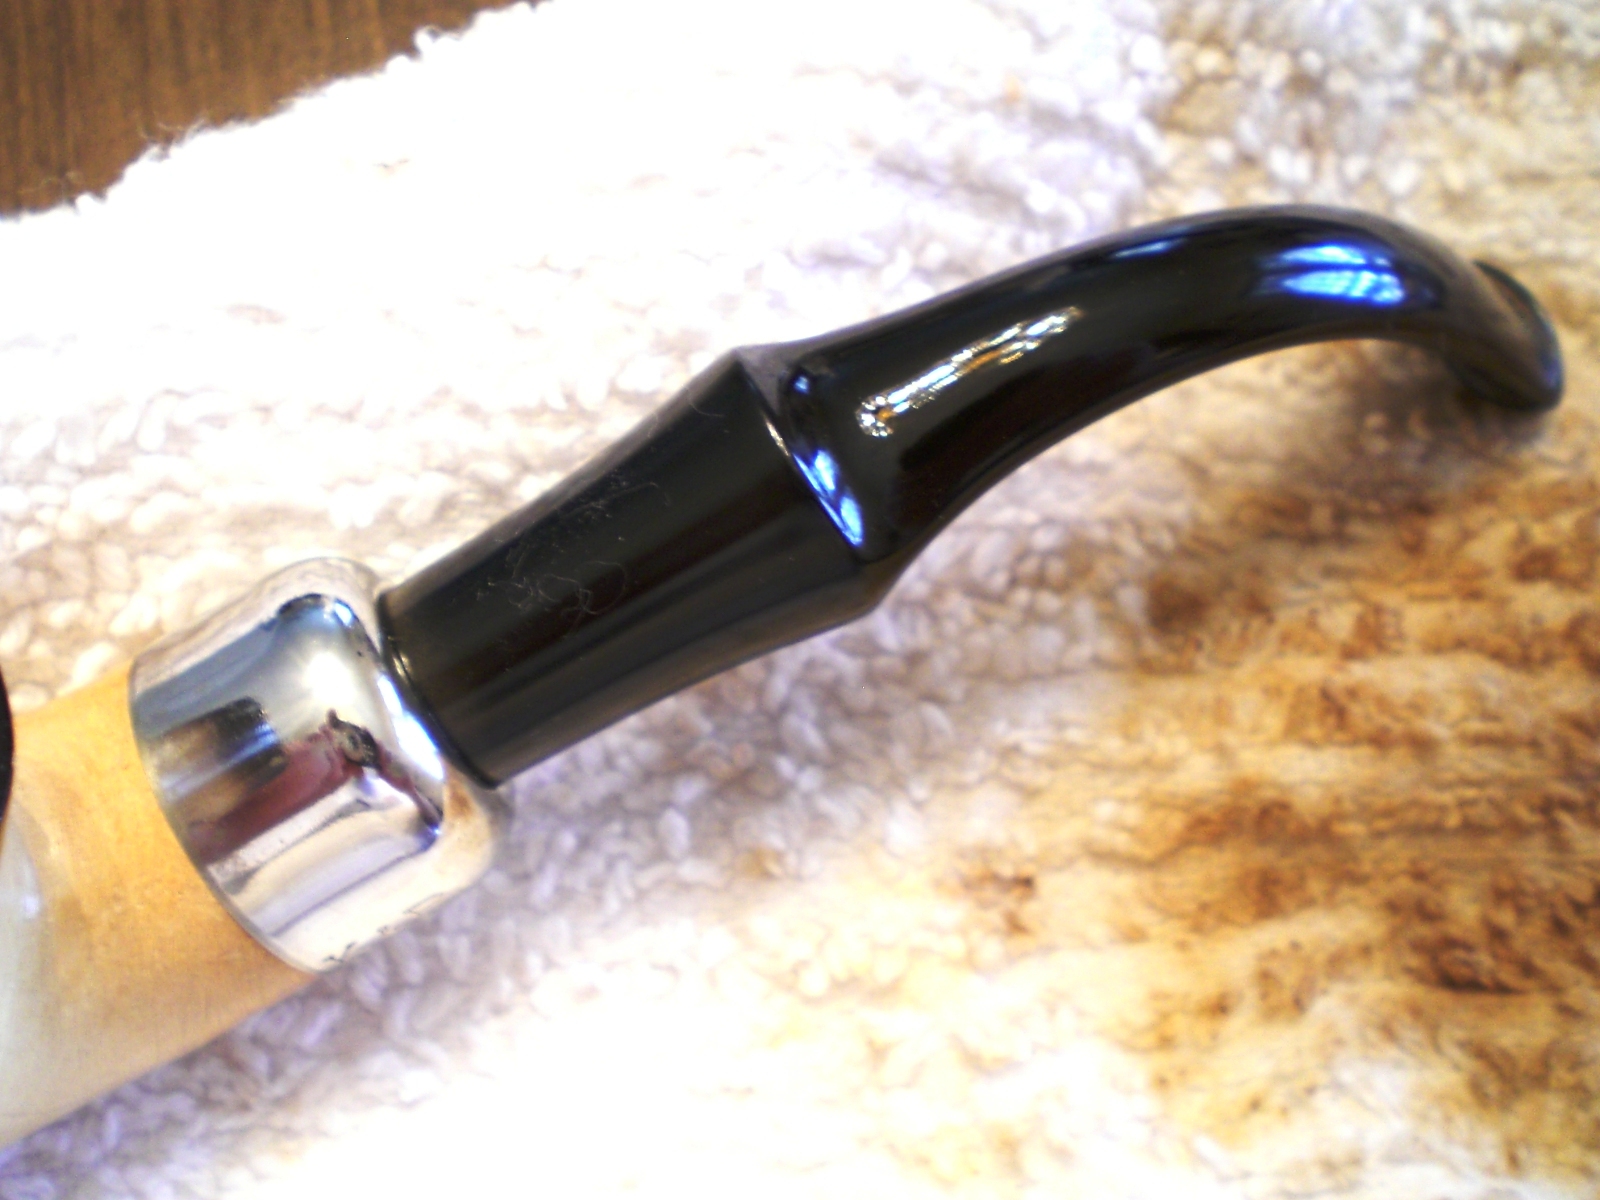
GS_Pete_Meer (1) GS_Pete_Meer (2) GS_Pete_Meer

Kaywoodie 73 Supergrain Restoration


Blog by Al Jones

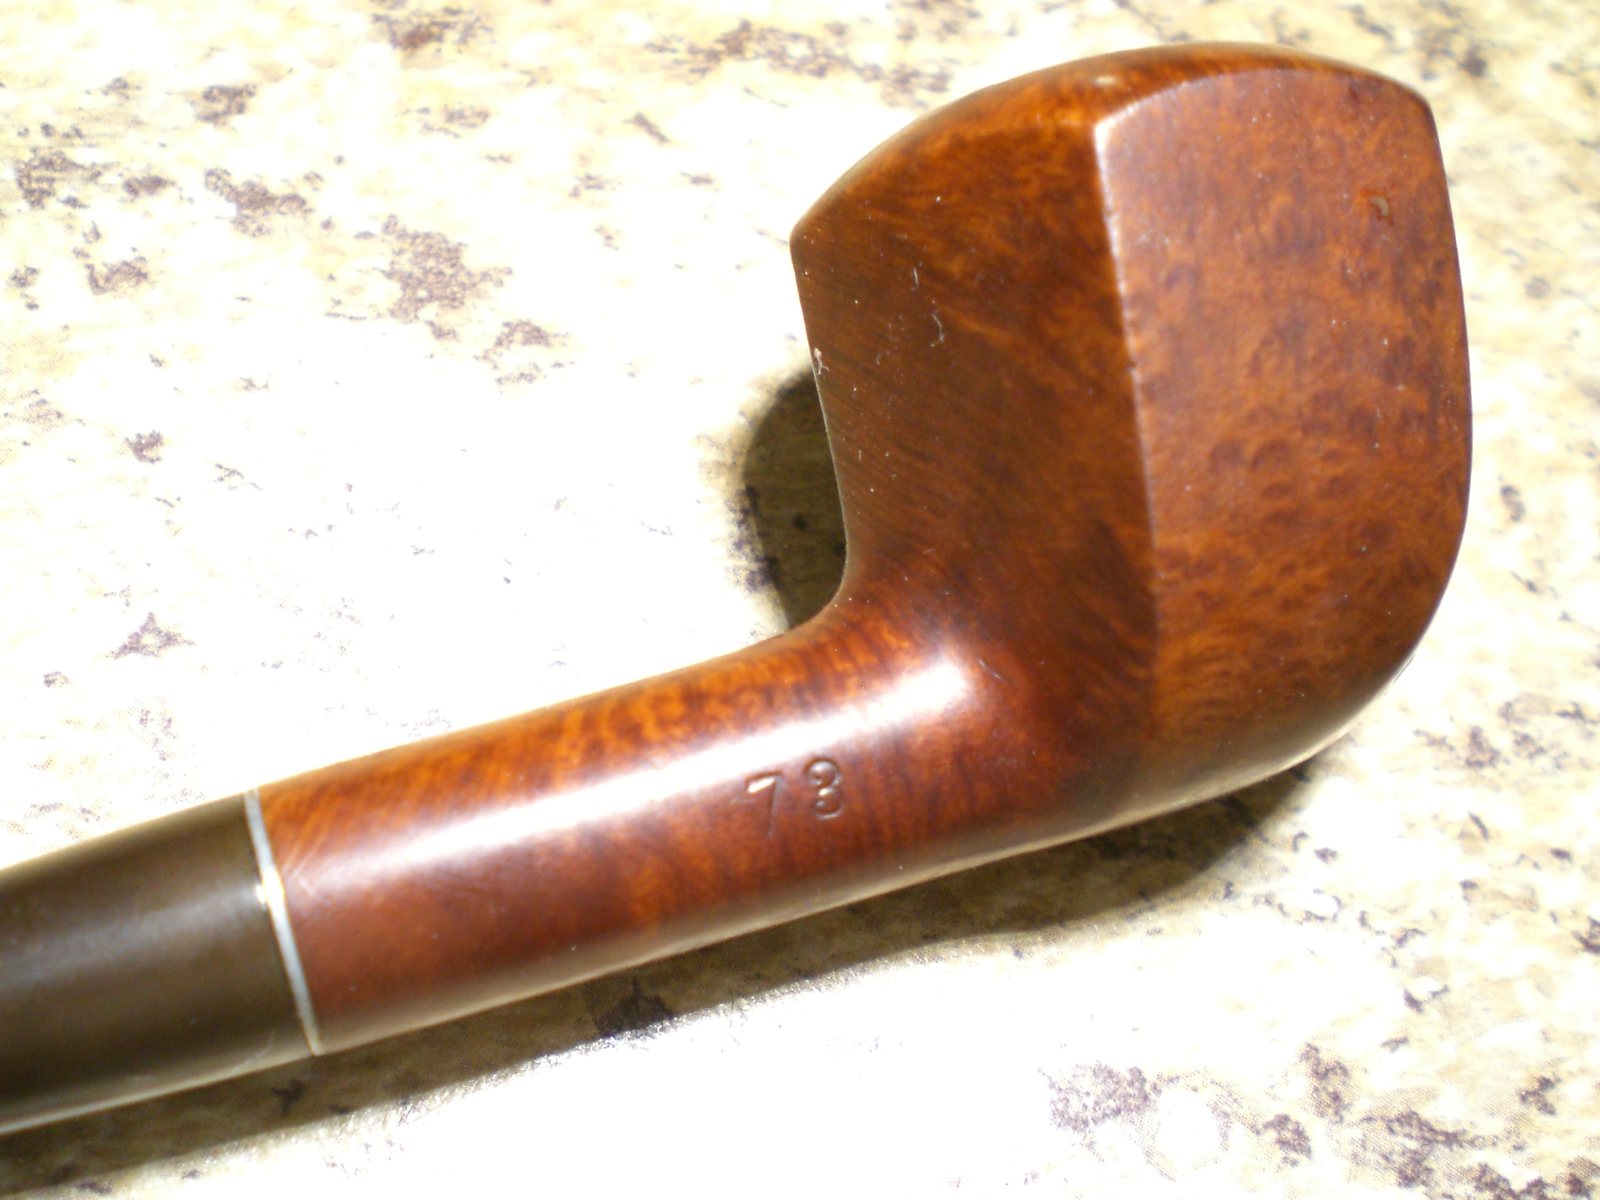
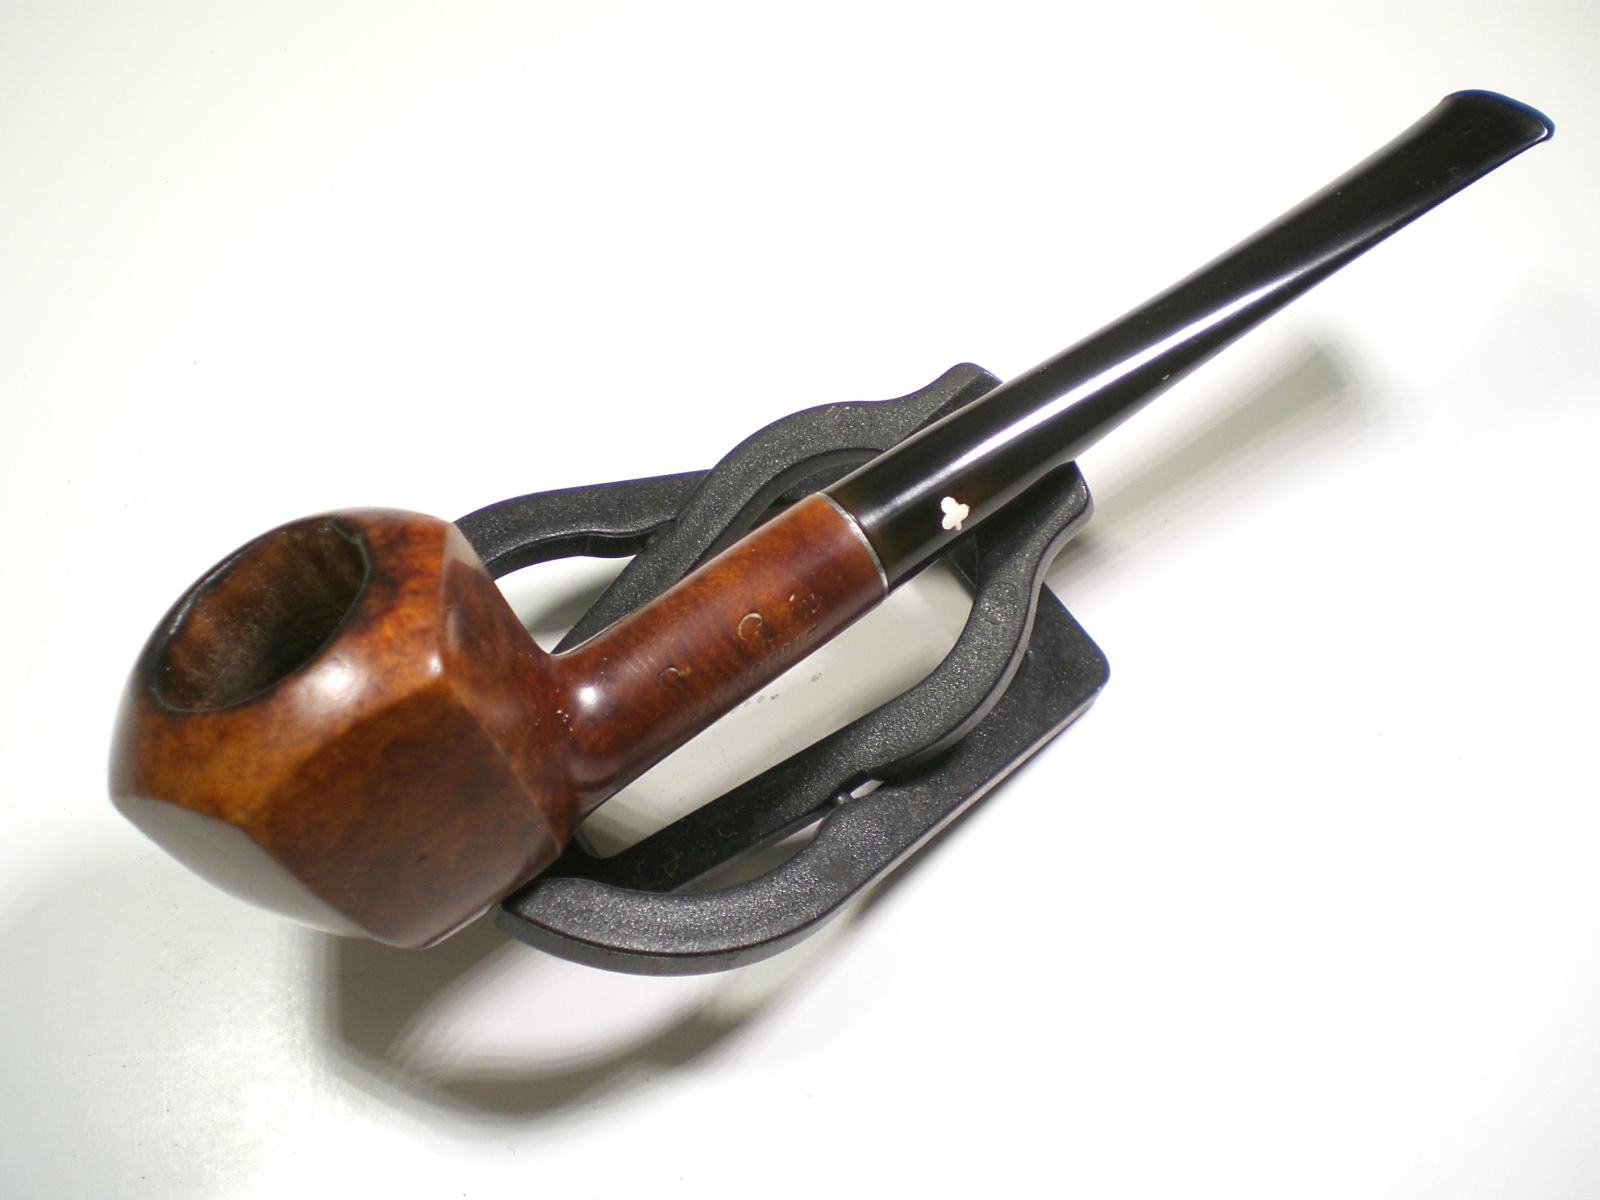
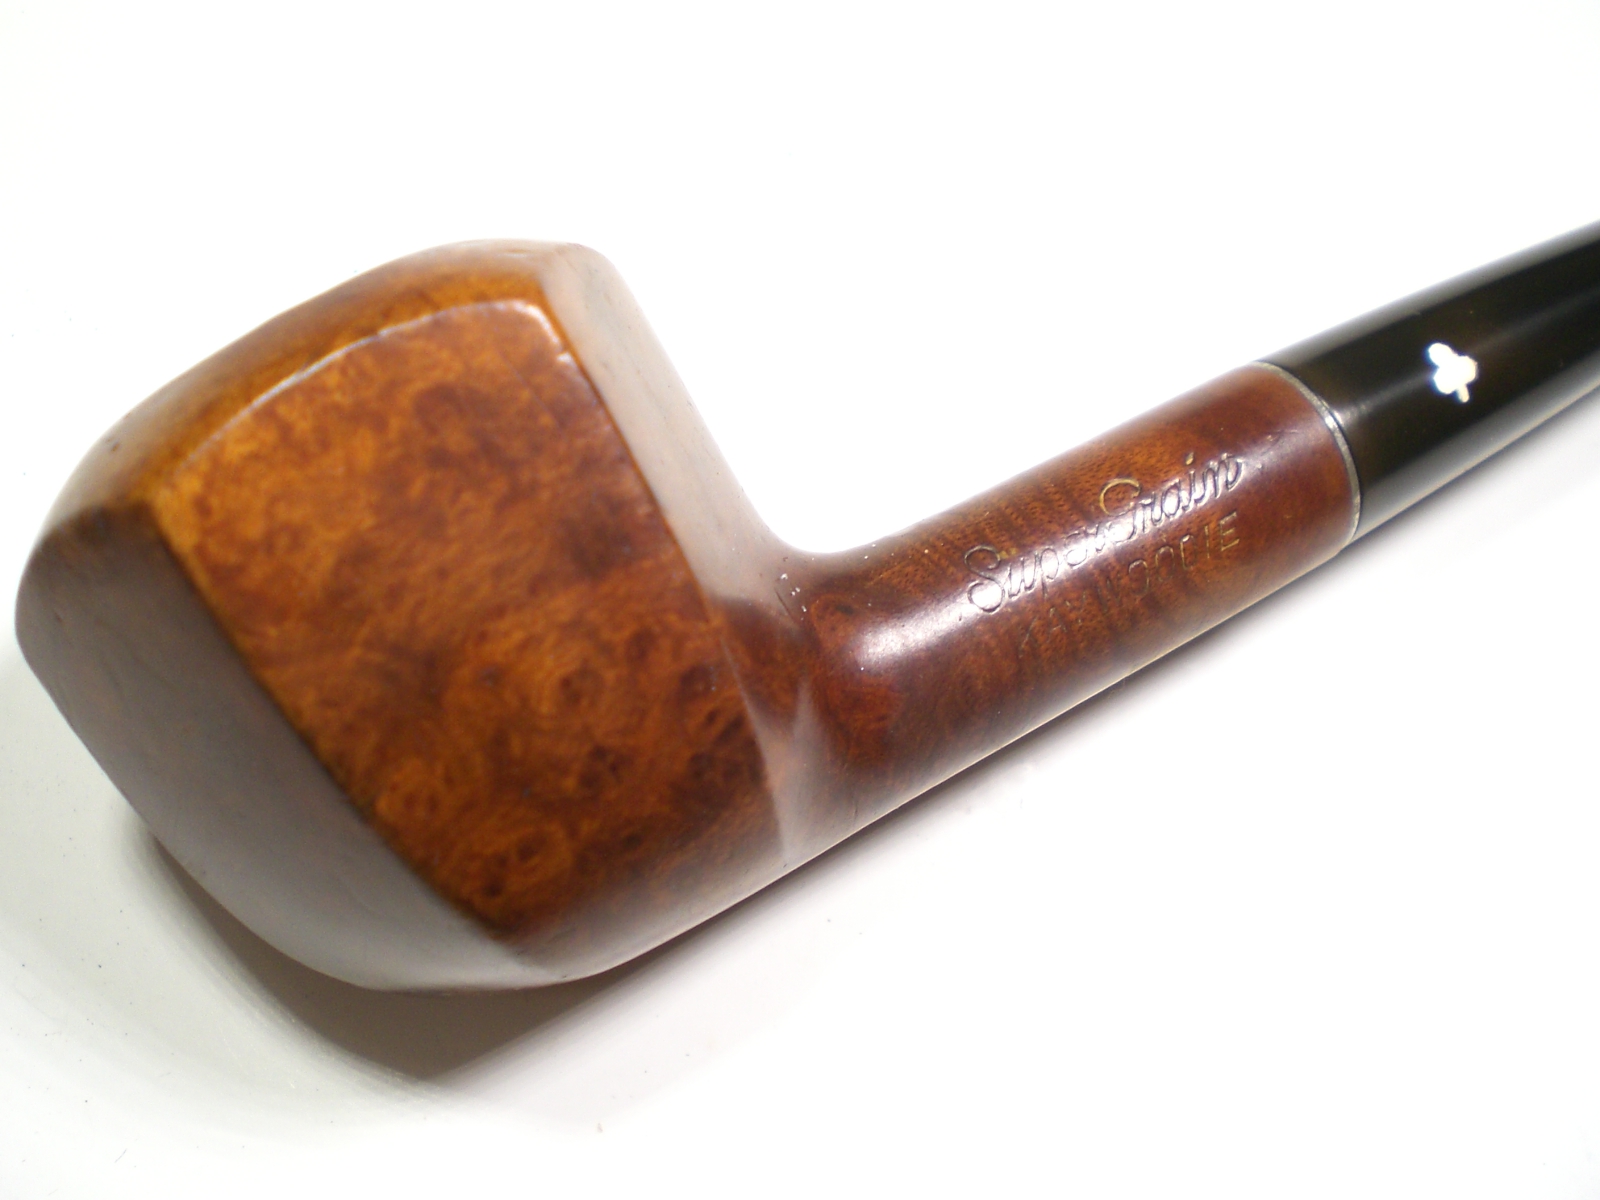
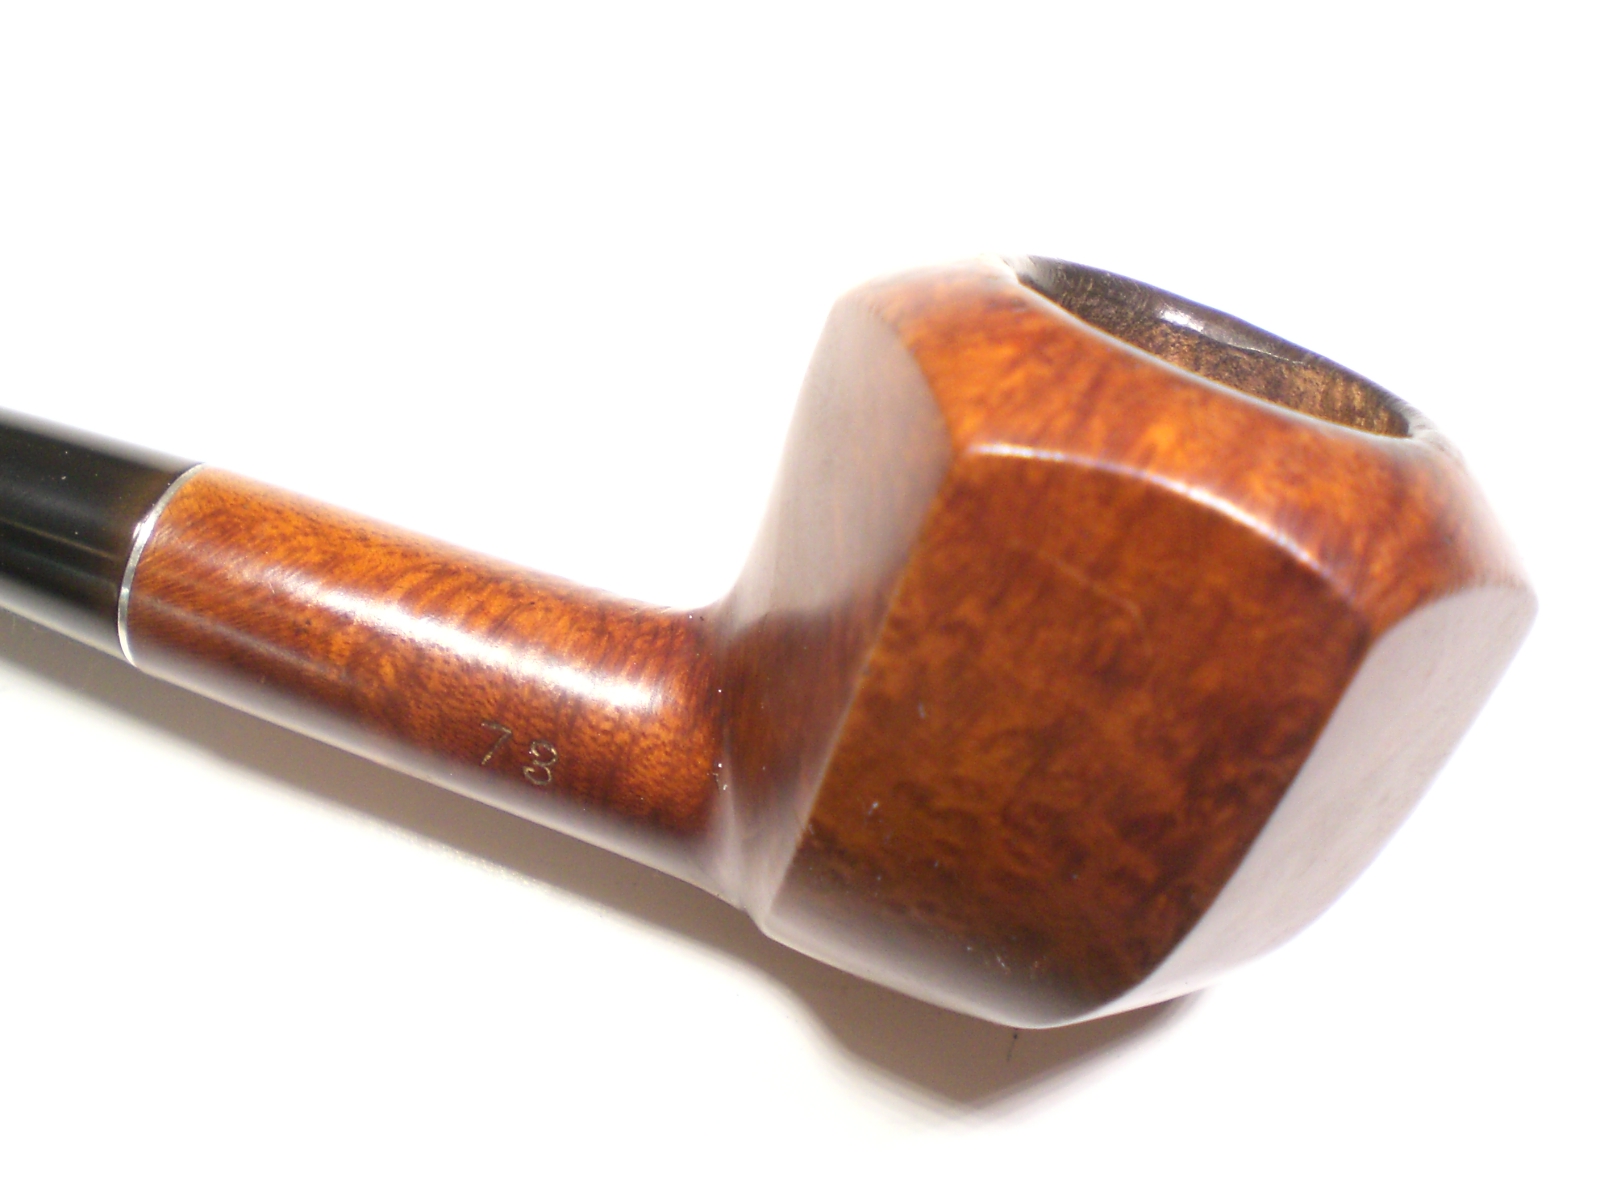
This Kaywoodie Supergrain belongs to a Brian, a friend of mine in my local pipe club, based located in Frederick, MD.  I had some brought some restored Kaywoodies to a previous meeting so he asked if I could could tackle this one.  The pipe wasn’t in bad shape.  It had light oxidation and teeth chatter on the stem and some scorching on the rim.    The pipe is a two-digit shape number, but has a “Drinkless” stamped, 4-hole stinger.  I estimate it was made in the early 1950’s as the 4-hole stinger was no longer used after the mid-50’s.

Kaywoodie_73_Supergrain_Before Kaywoodie_73_Supergrain_Before (2) Kaywoodie_73_Supergrain_Before (5) Kaywoodie_73_Supergrain_Before (1) Kaywoodie_73_Supergrain_Before (4)

I used some worn, 8000 grade micromesh to remove the scorching from the top of the bowl.  The briar was then polished with White Diamond and several coats of Carnuba wax.

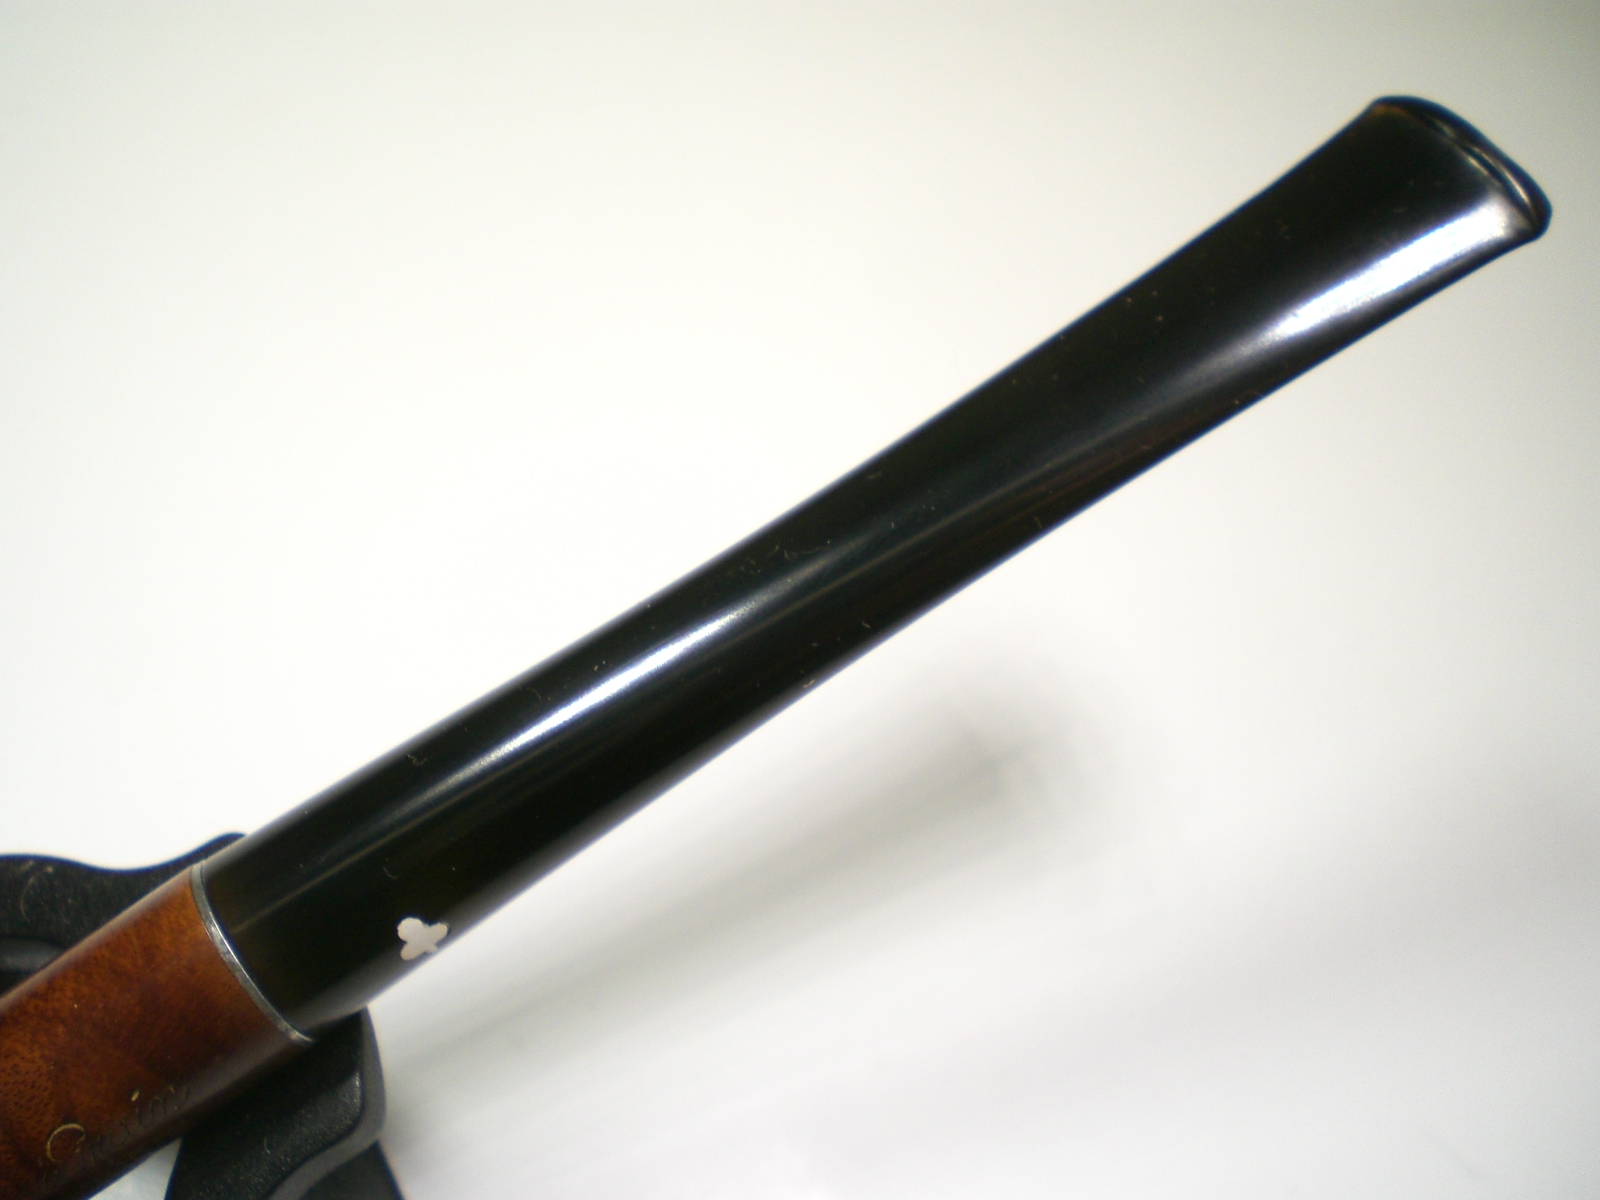
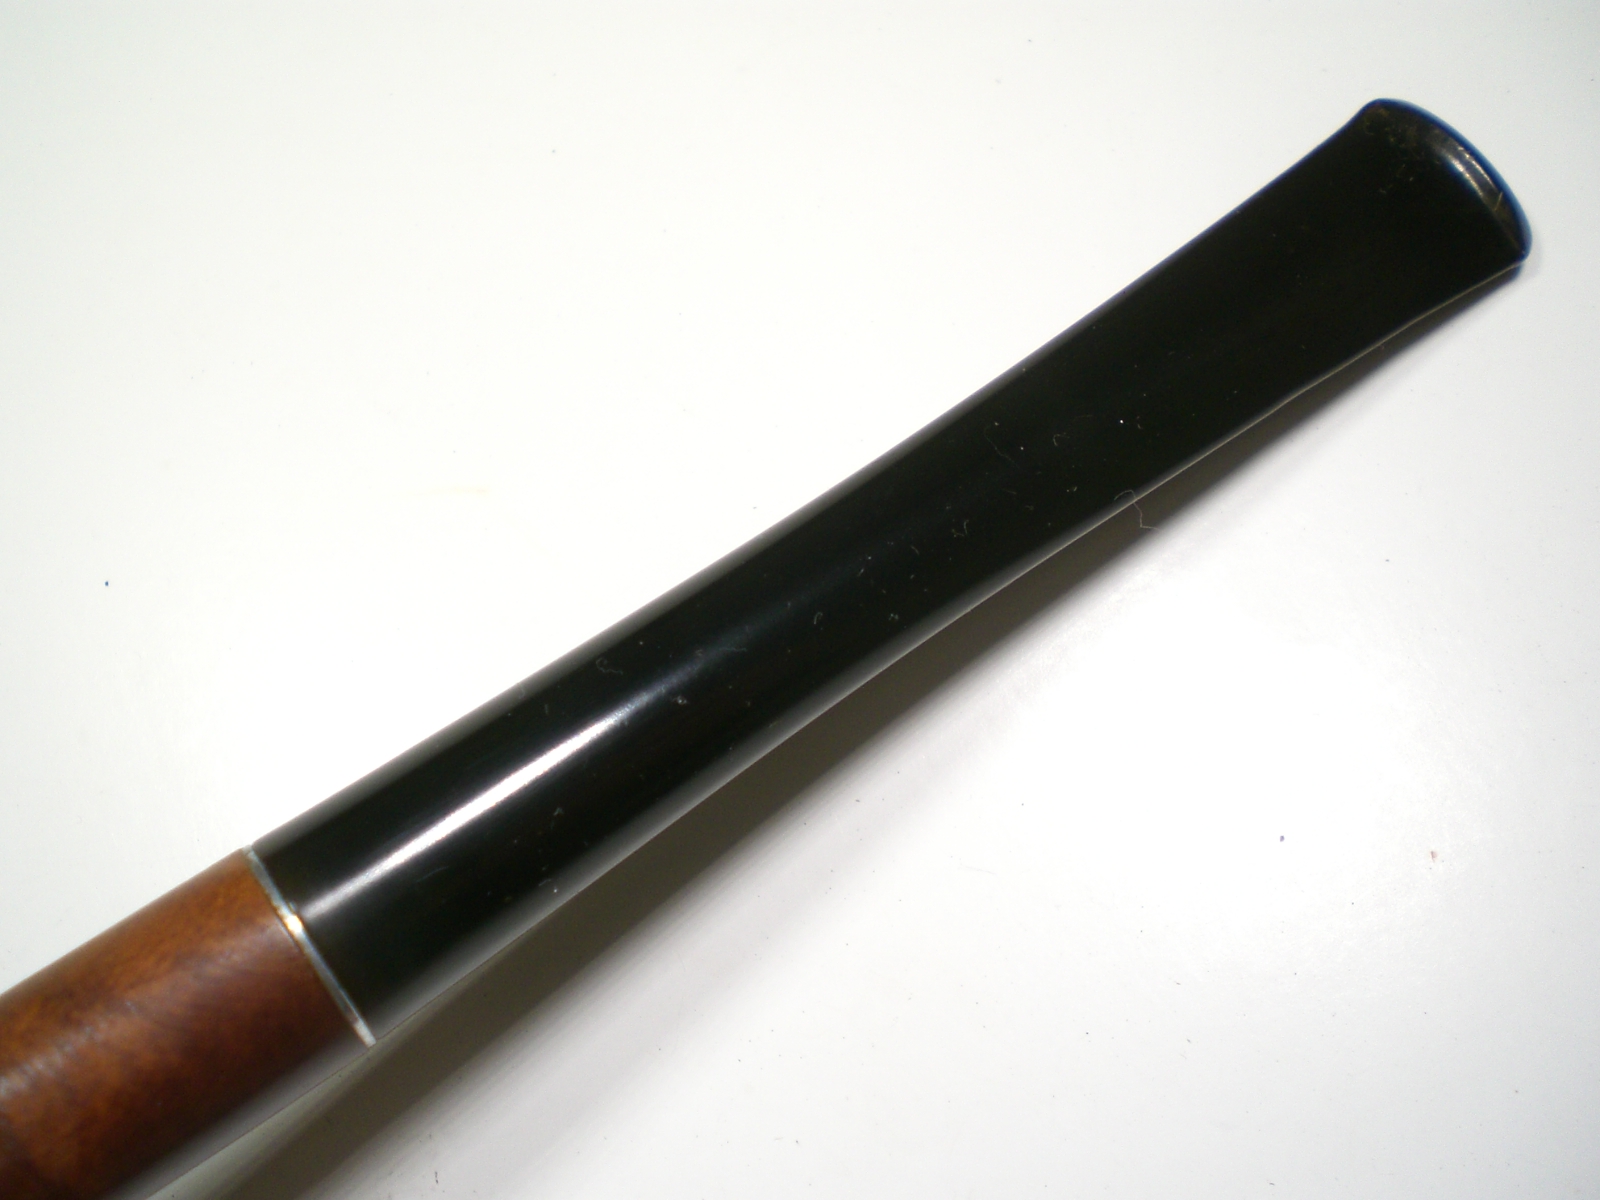
I polished the stem starting with 800 grit wet paper, moving thru the 1500 and 2000 grades.  Next was 8000 and 12000 grade micromesh sheets followed by a polish with White Diamond on the buffer.

Our pipe club meeting is this week, so Brian will get his Supergrain back.  An relatively easy restoration on an elegant little pipe.

Kaywoodie_73_Supergrain_Finished Kaywoodie_73_Supergrain_Finished (1) Kaywoodie_73_Supergrain_Finished (3) Kaywoodie_73_Supergrain_Finished (4) Kaywoodie_73_Supergrain_Finished (5) Kaywoodie_73_Supergrain_Finished (6)


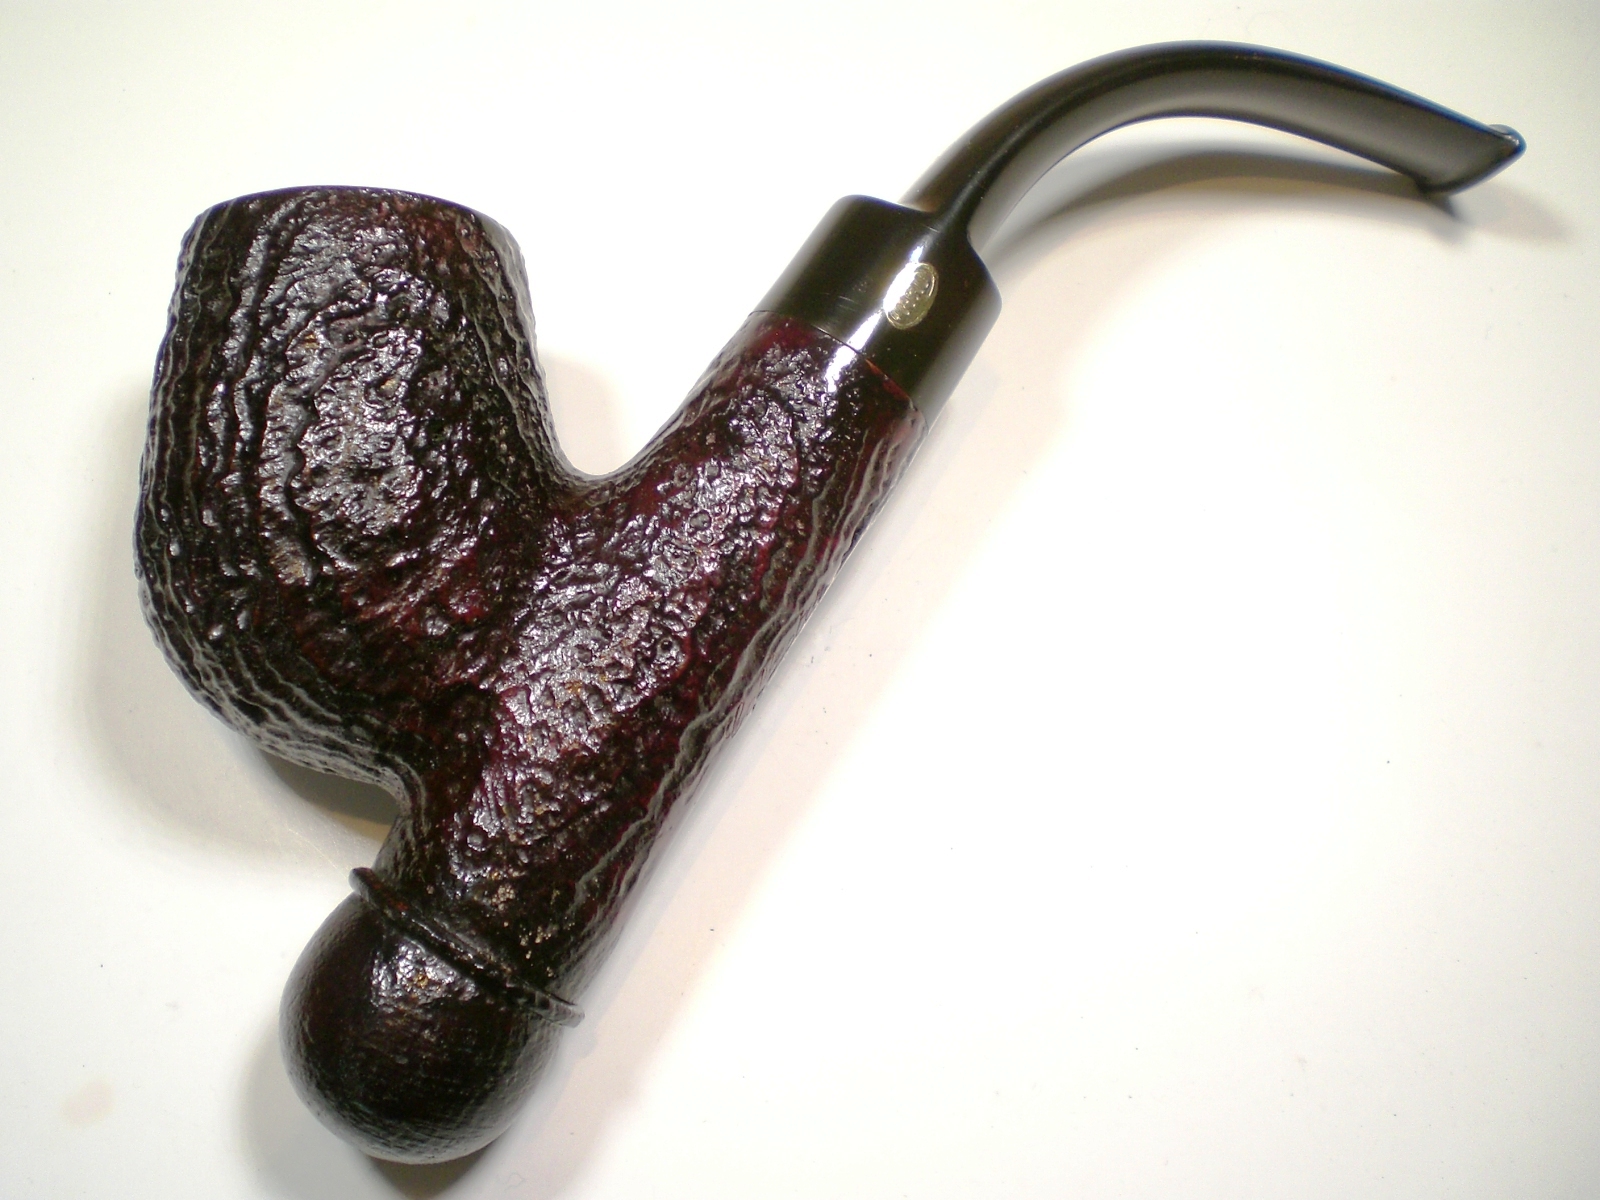
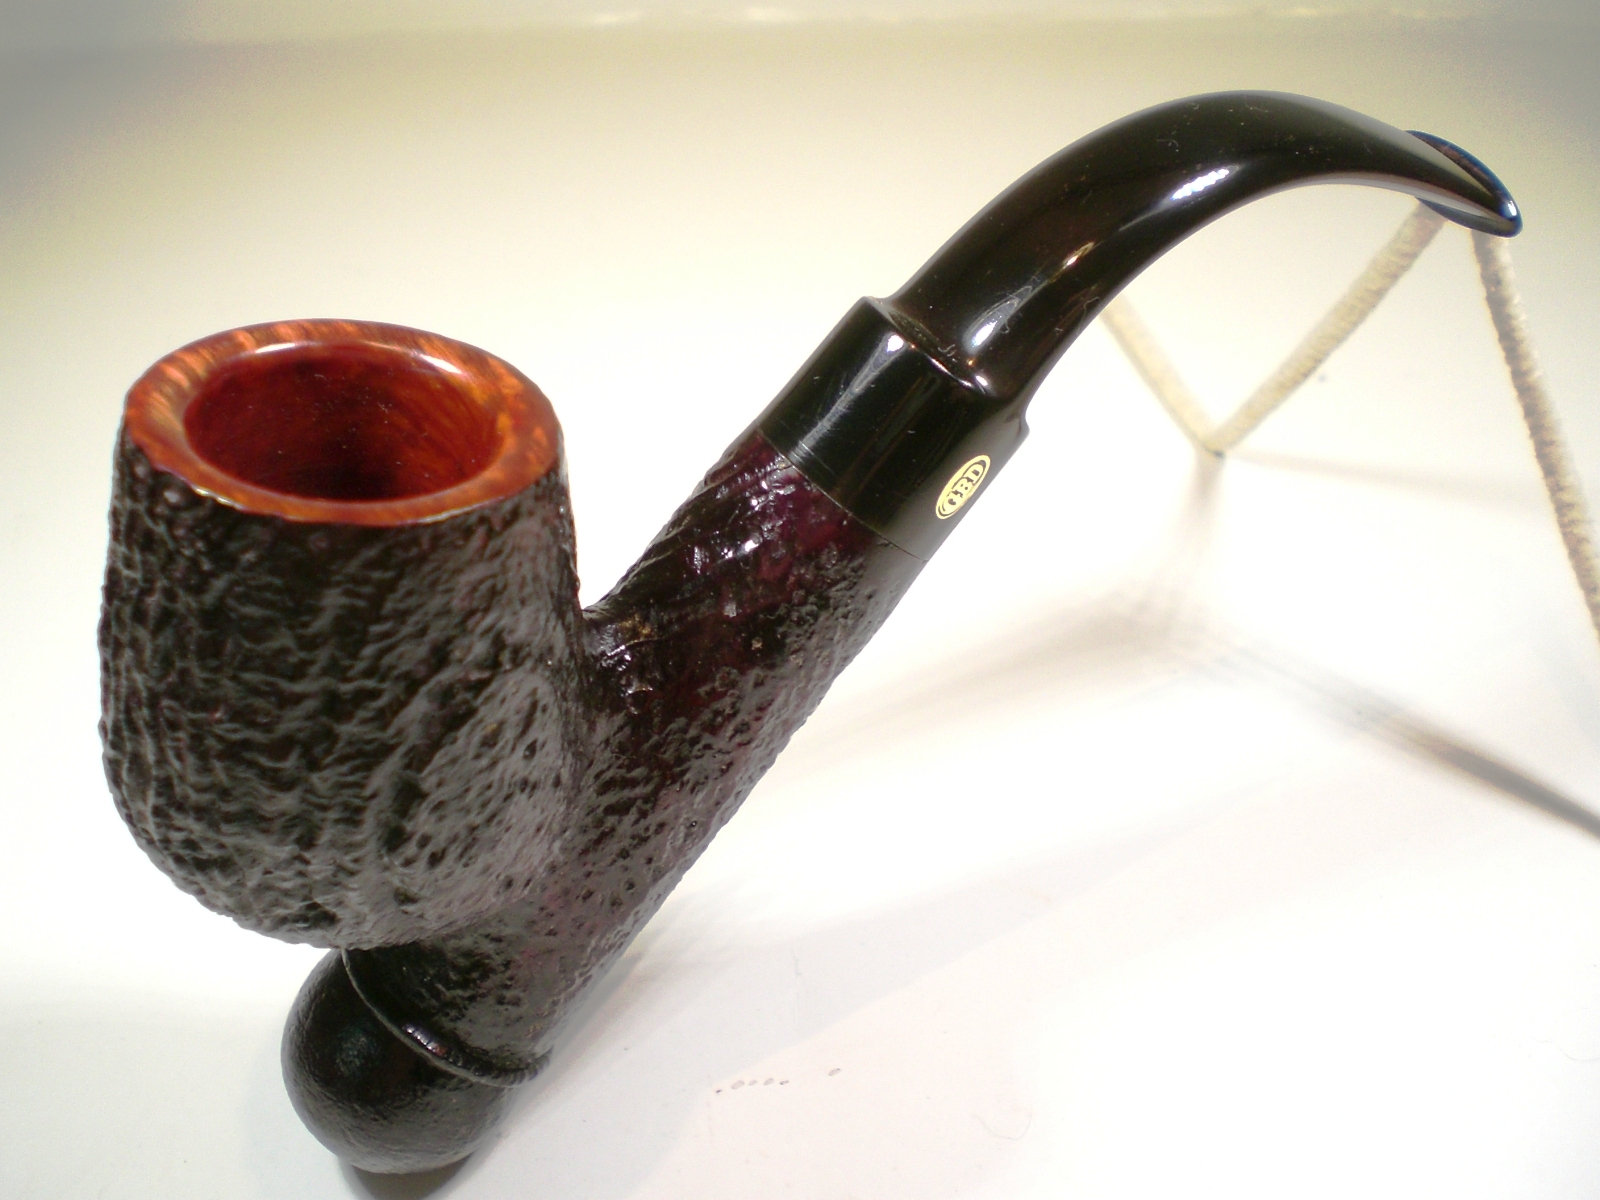
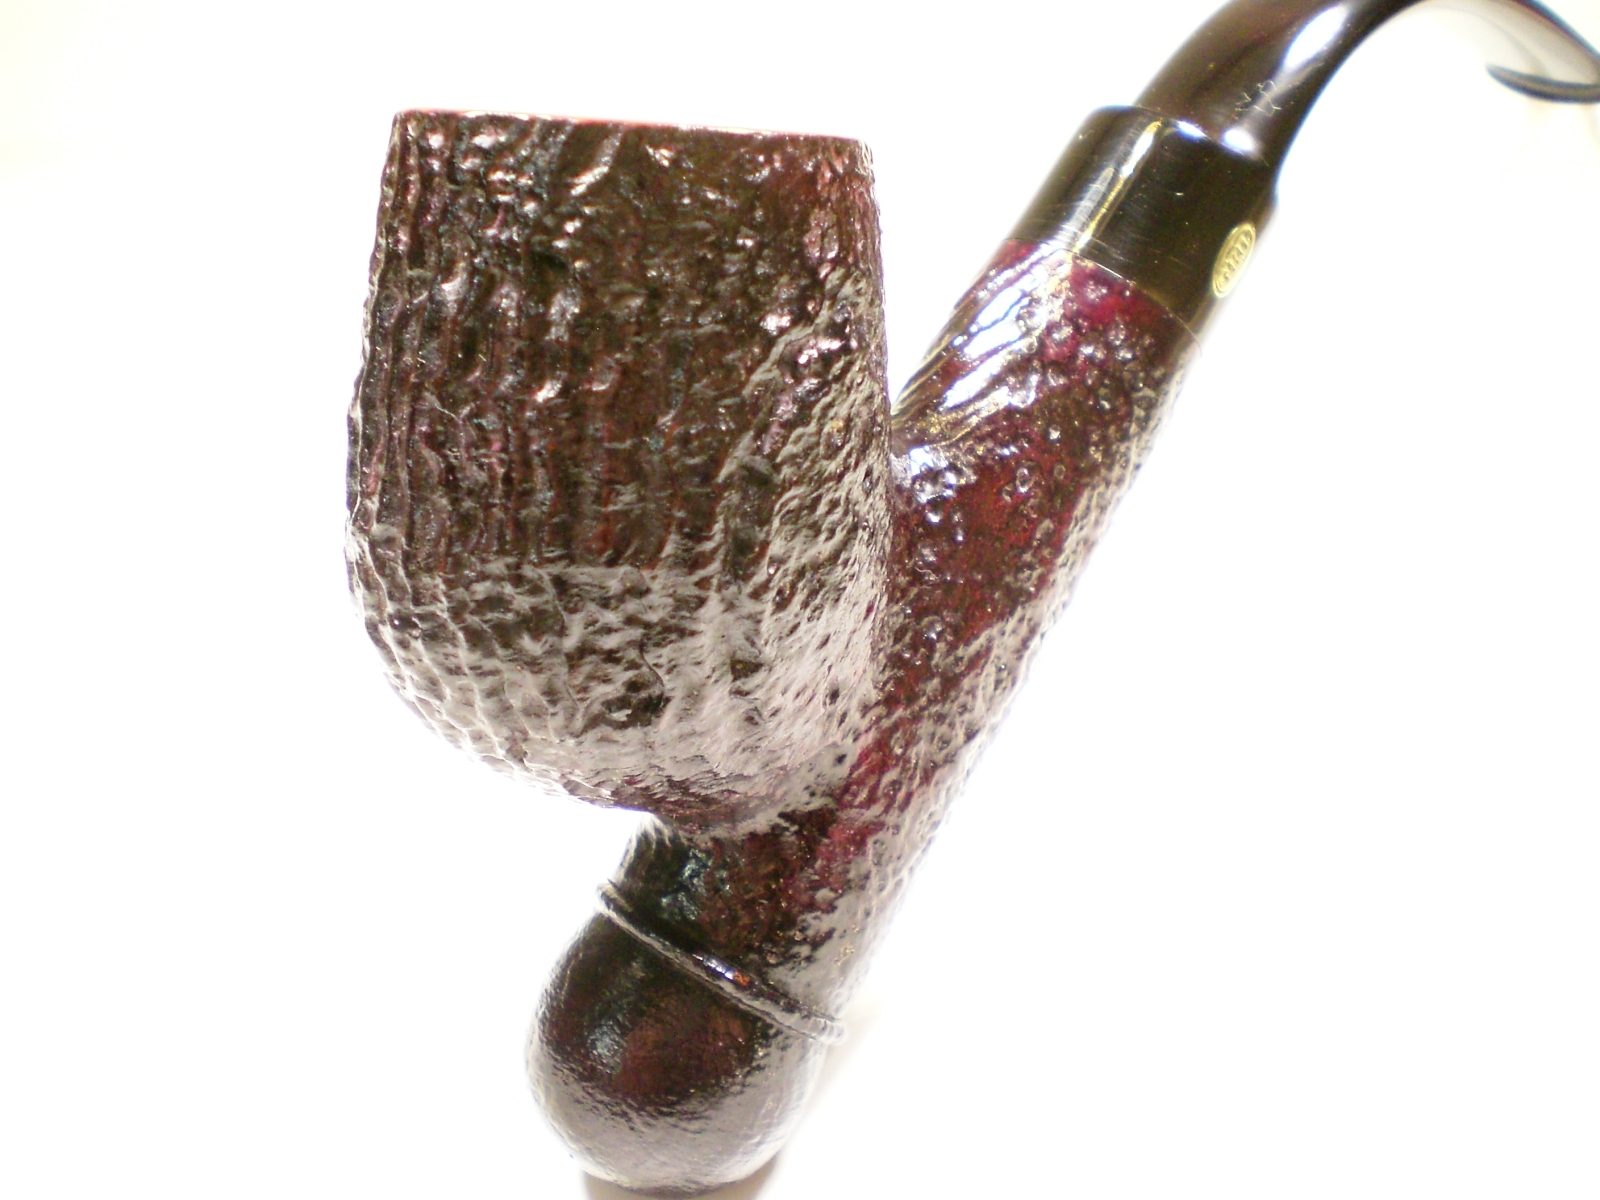
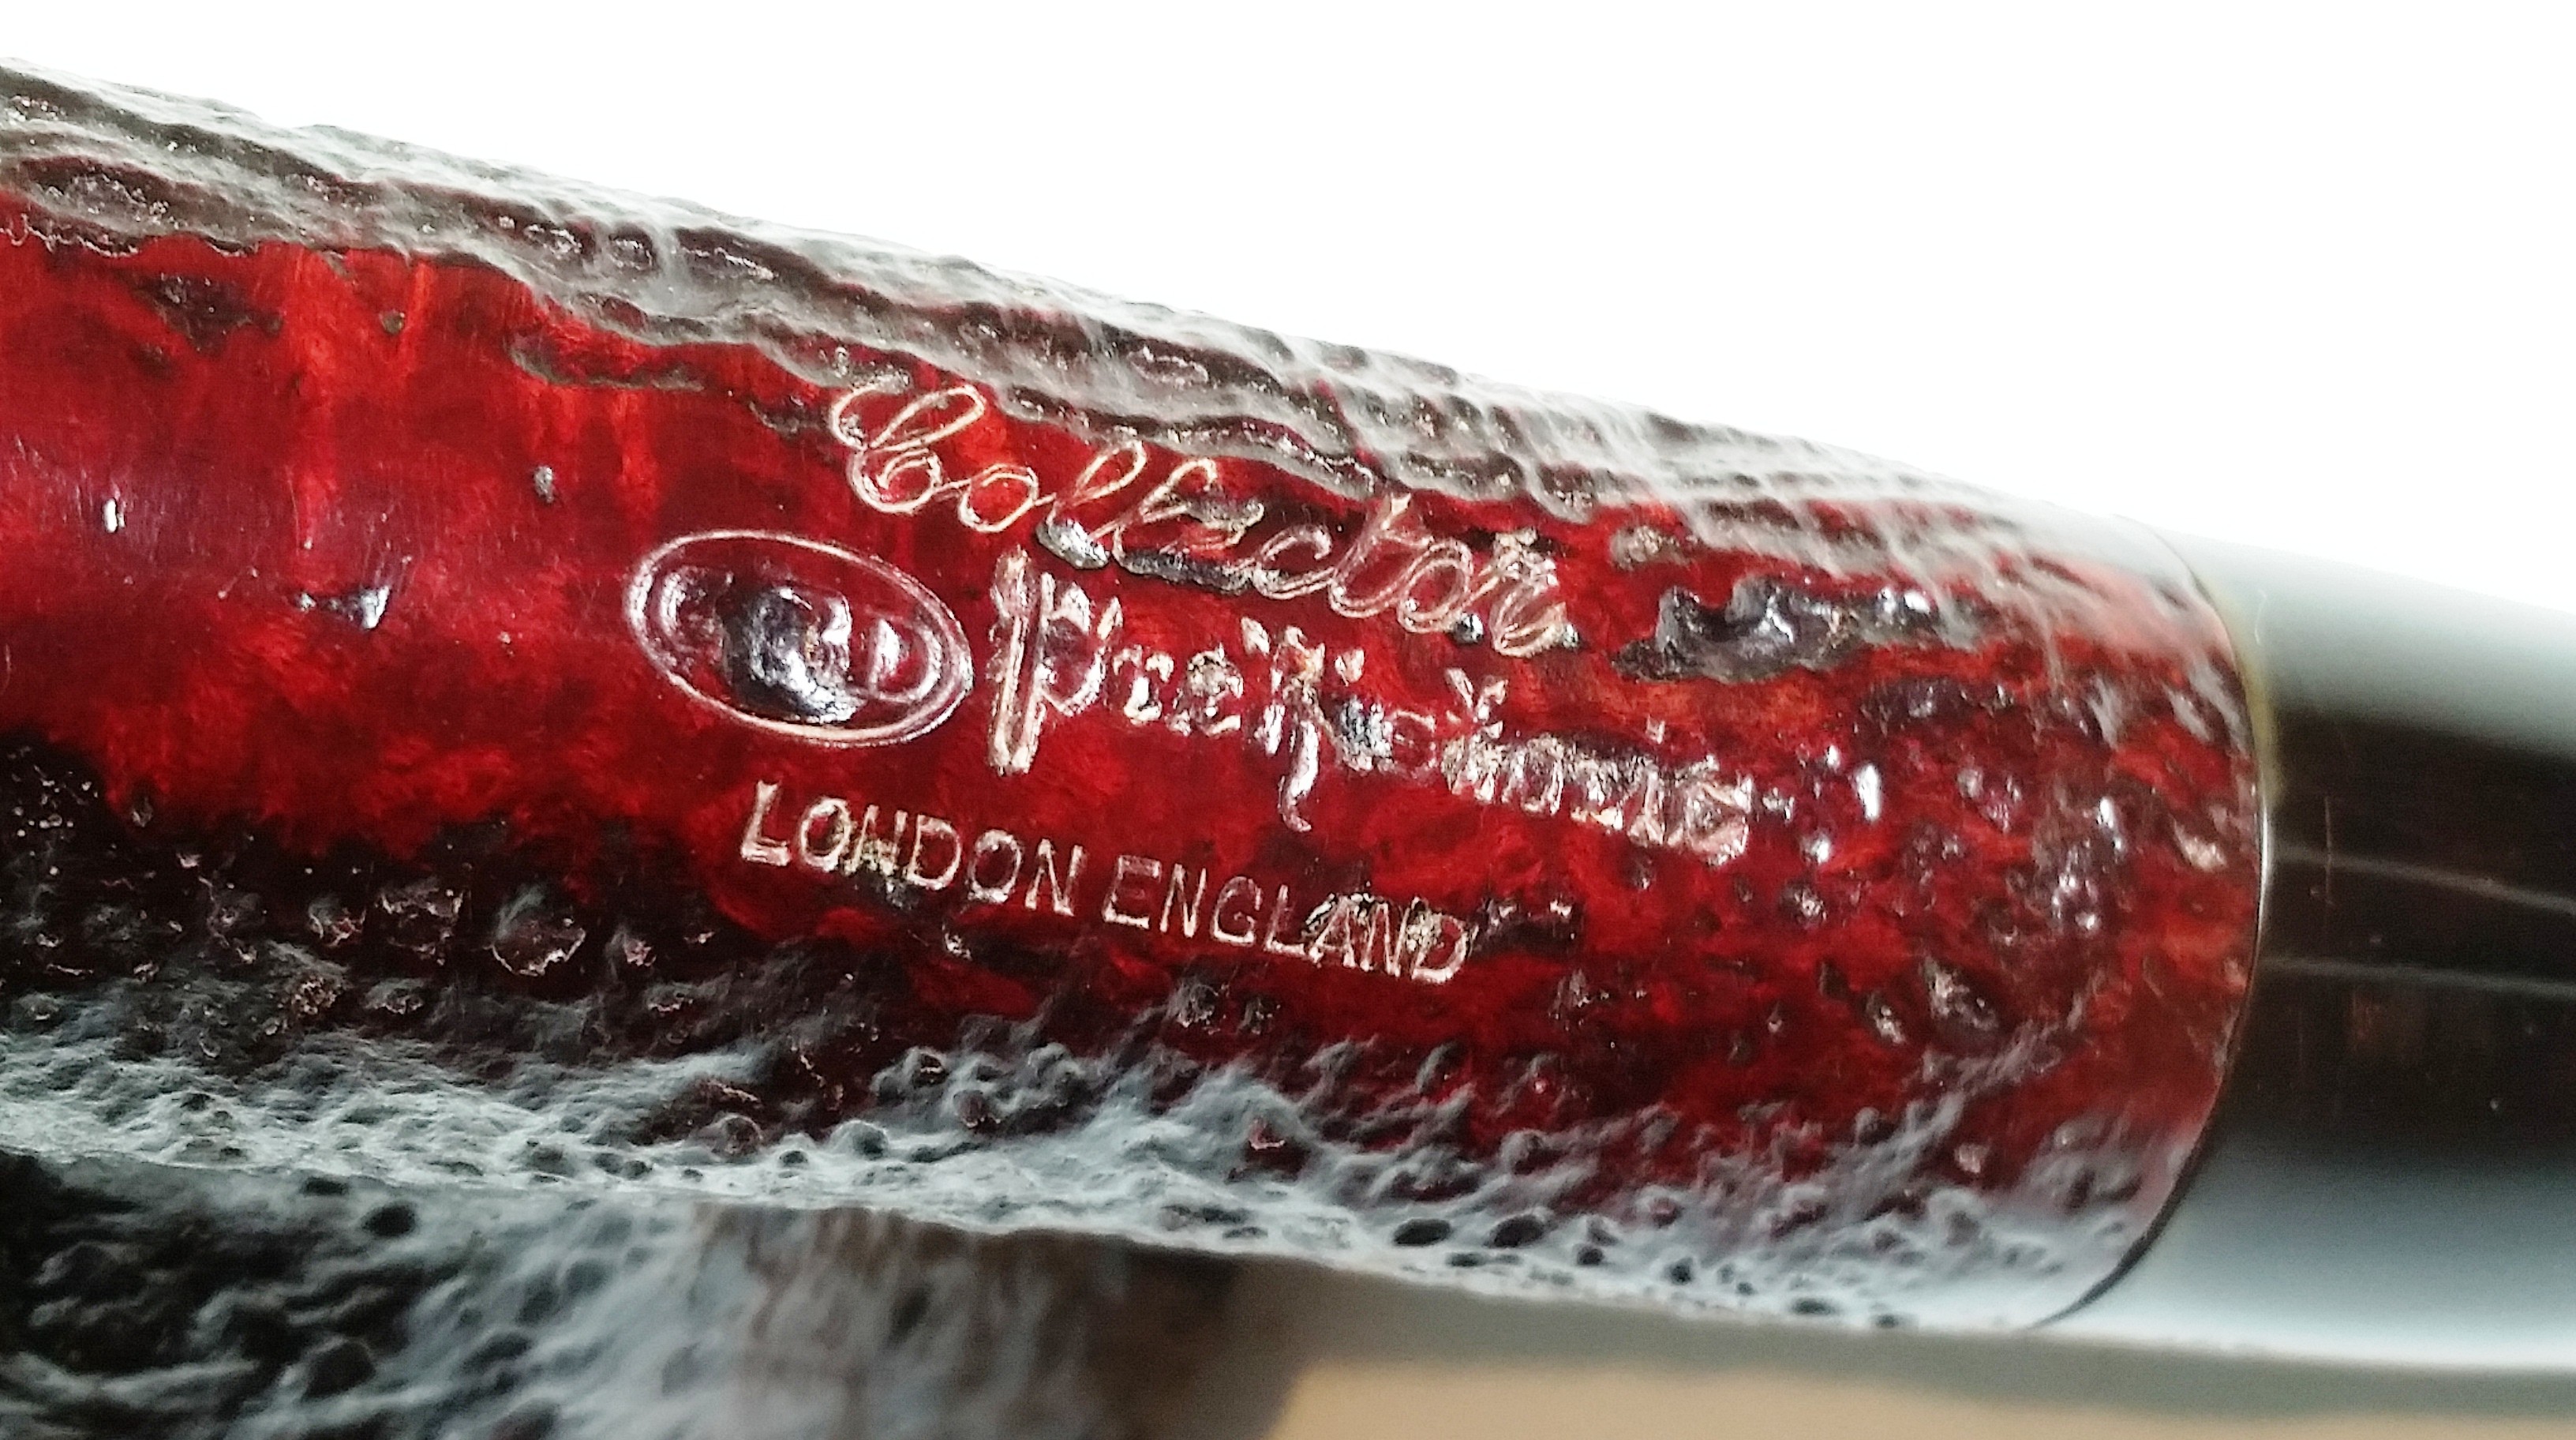
GBD Prehistoric Collector Cavalier


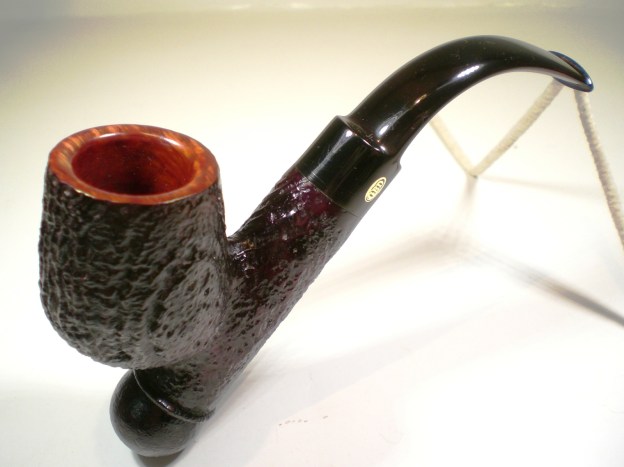
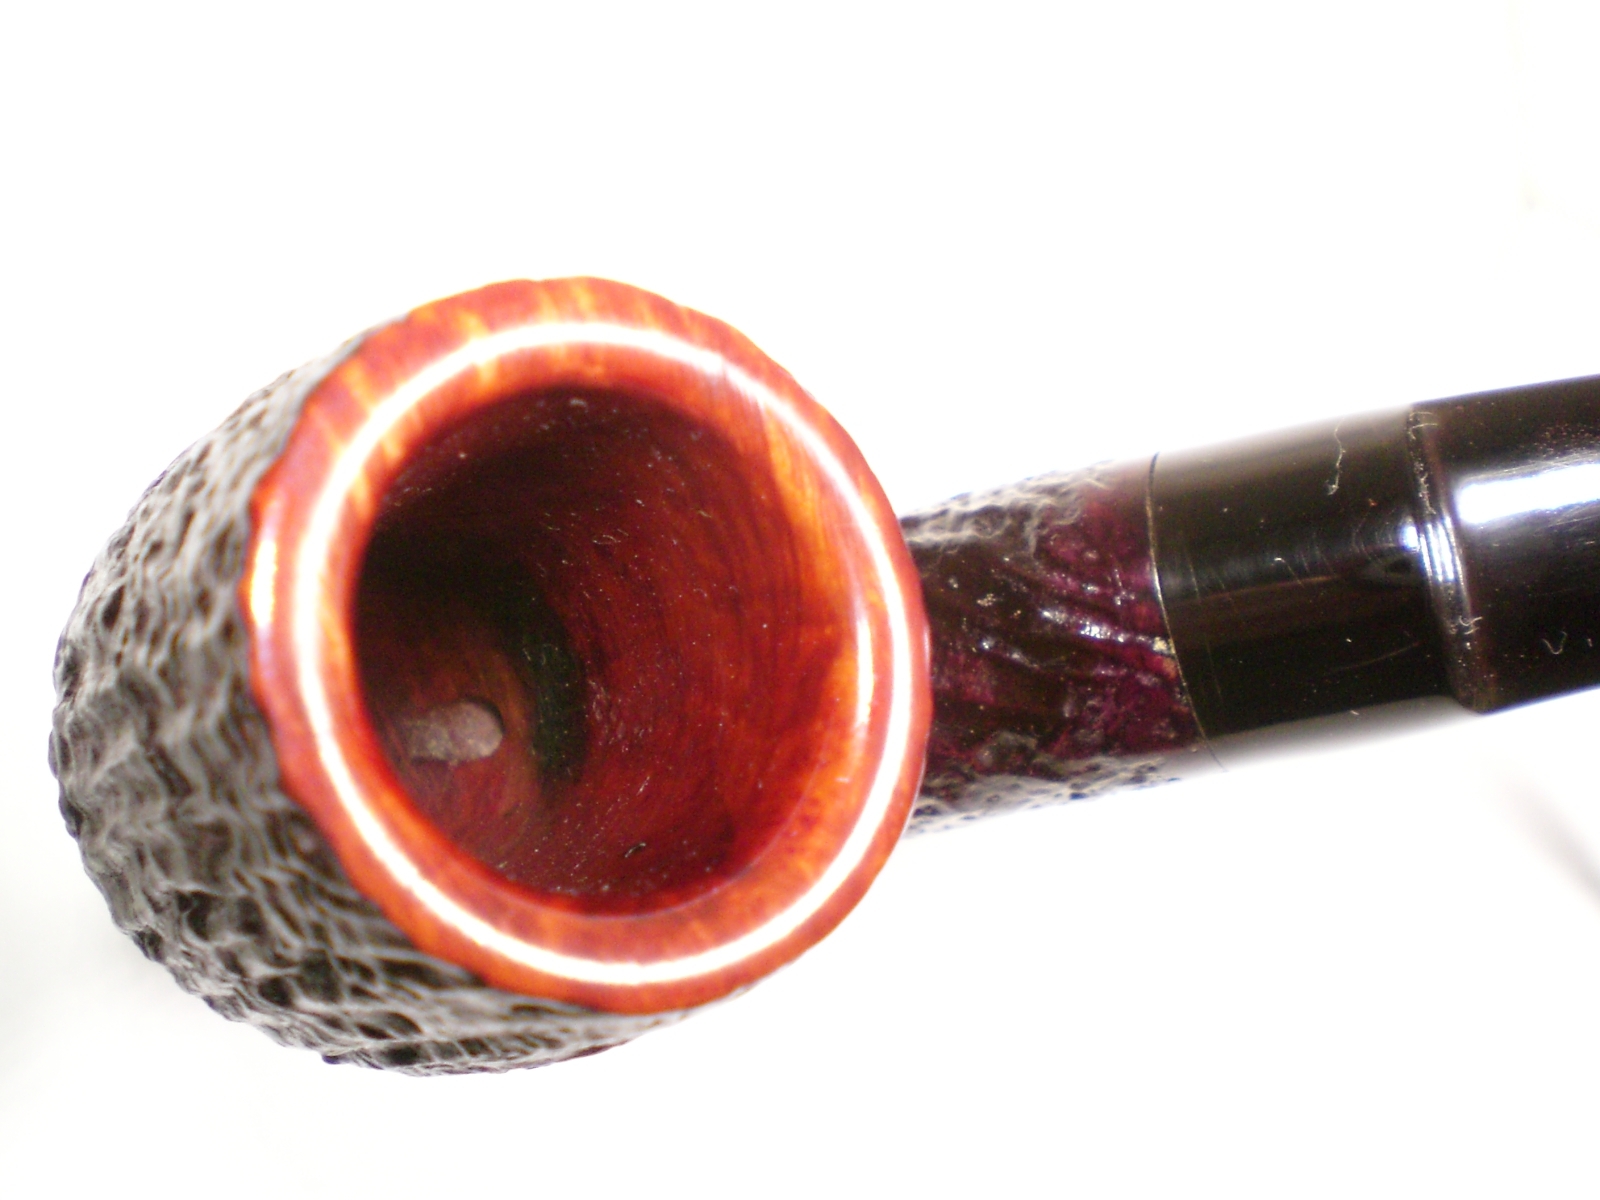
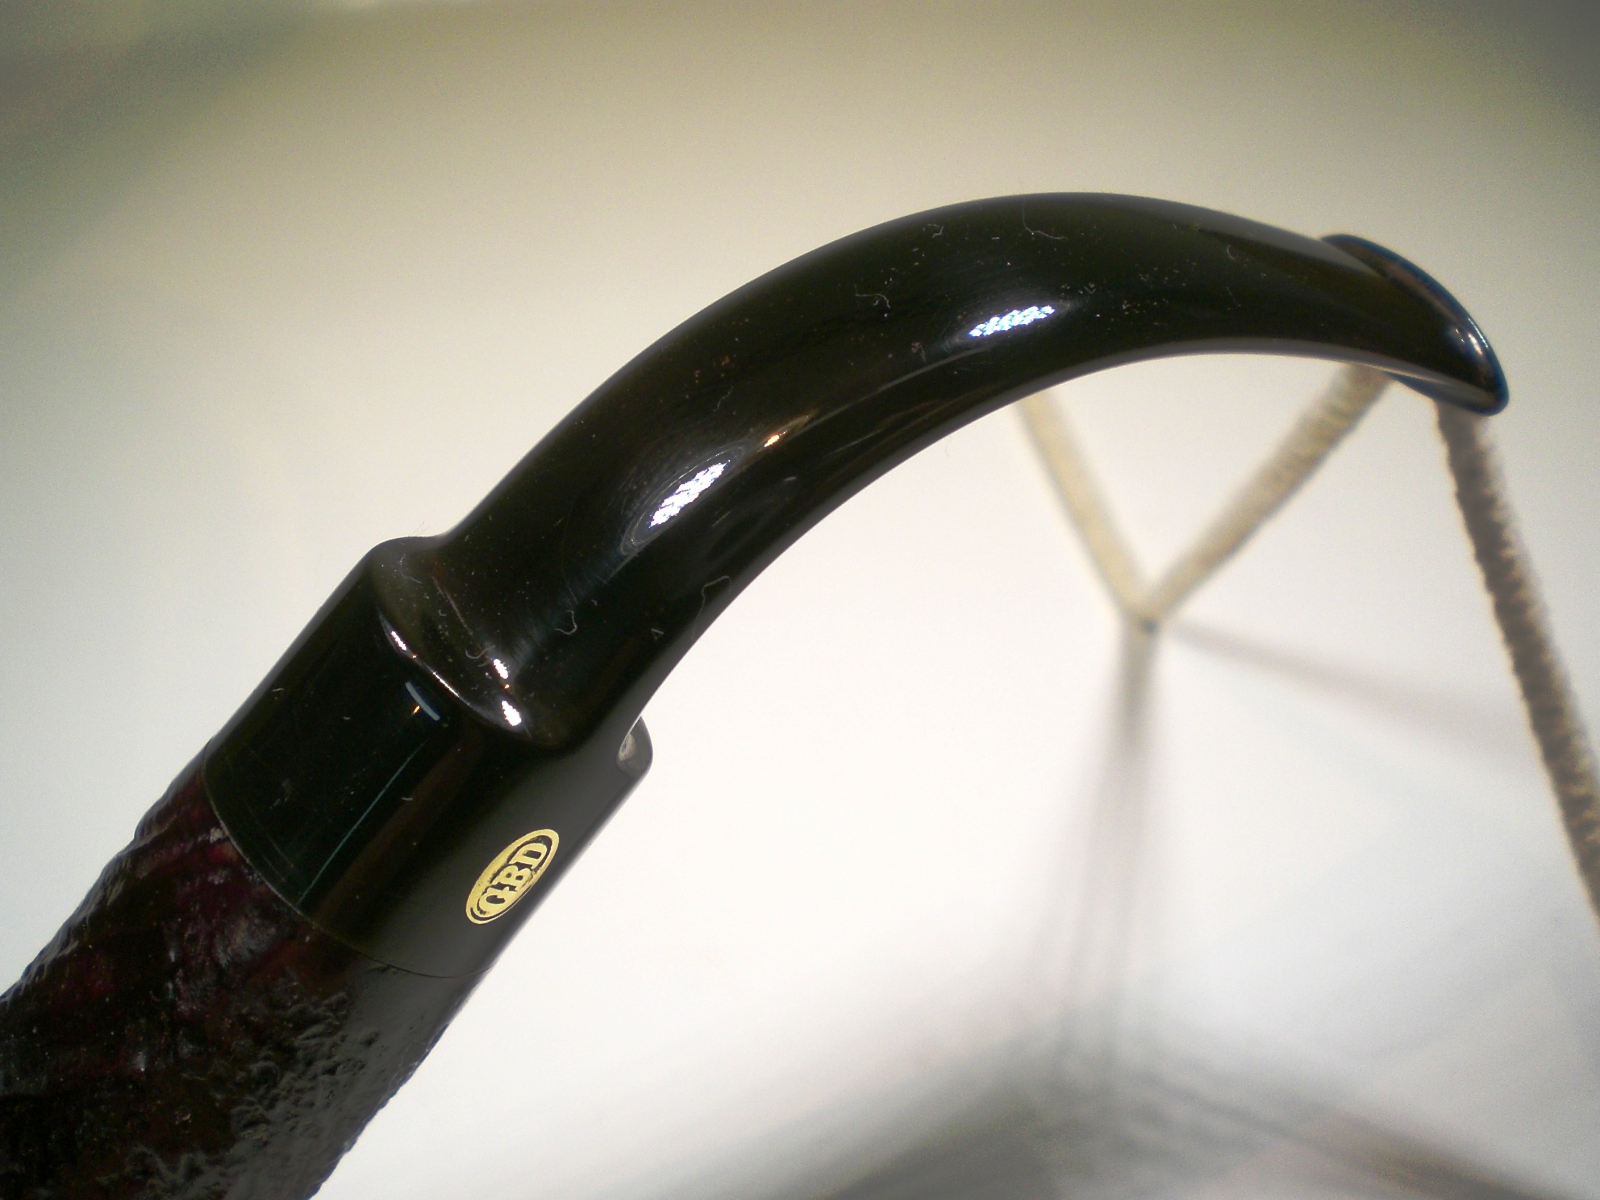
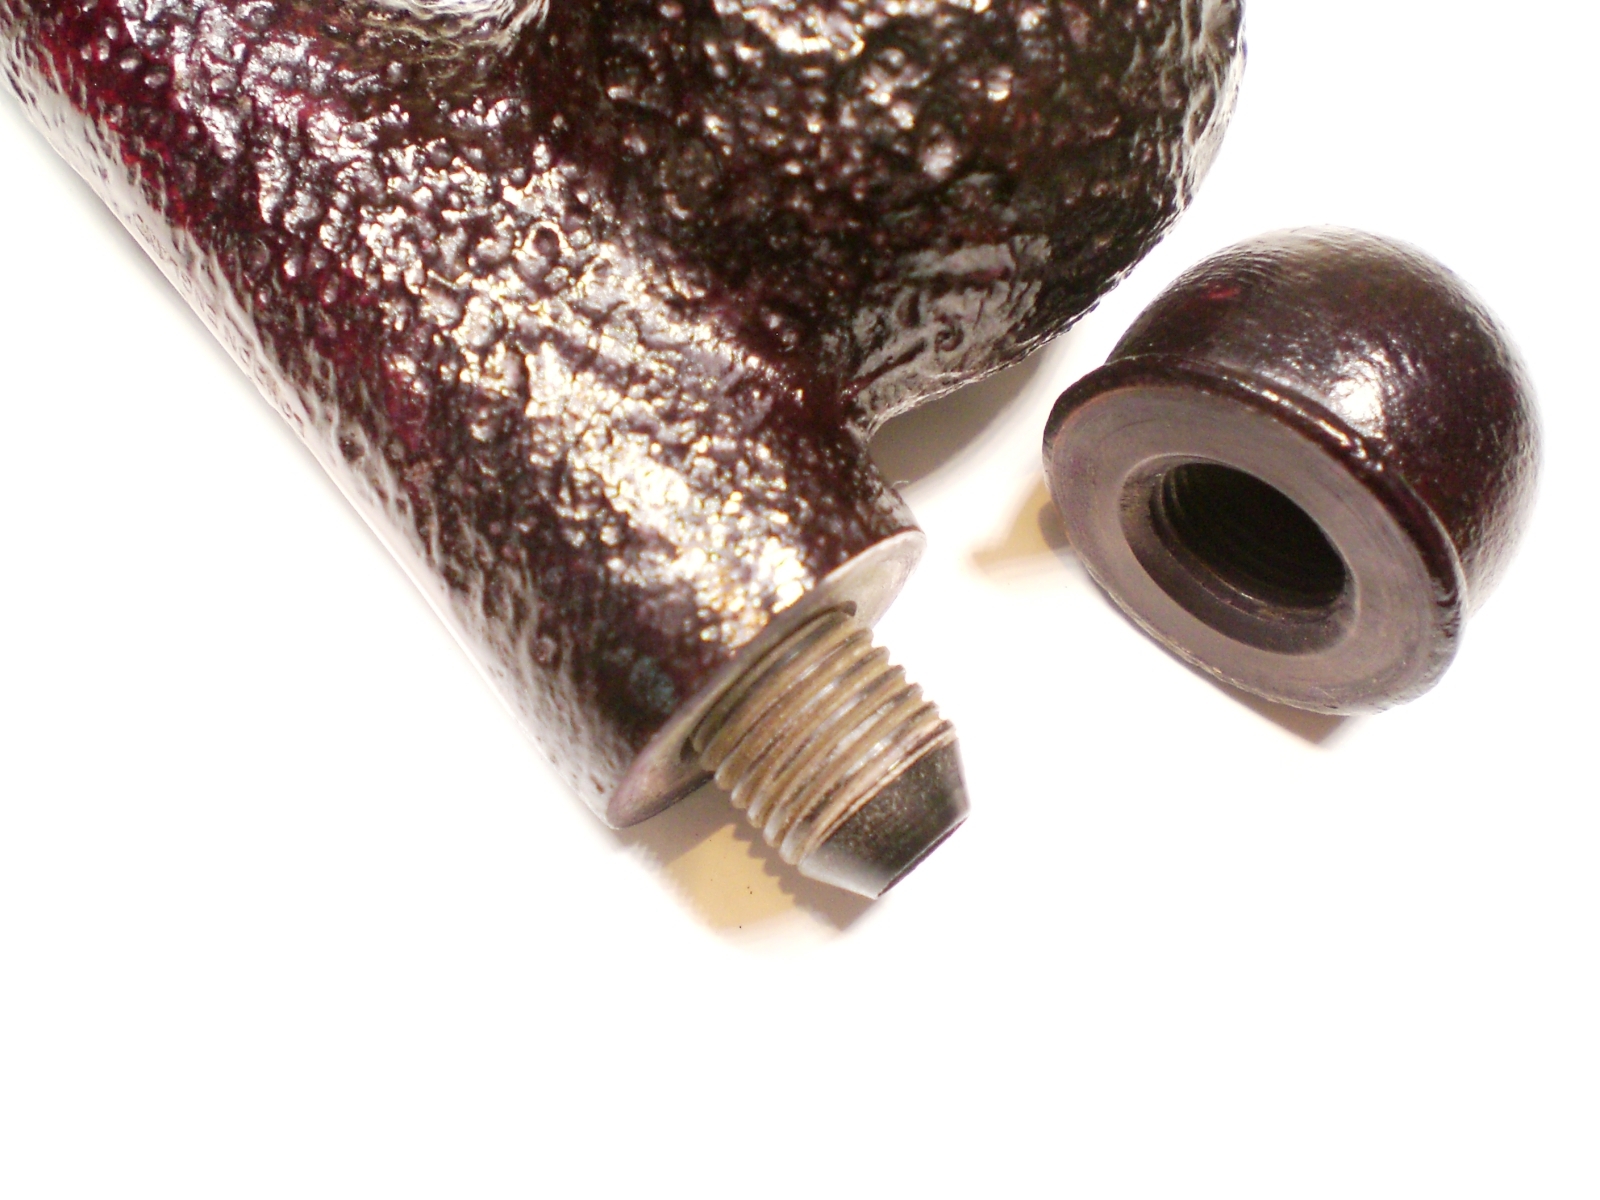
A member of the Brothers of Briar pipe forum contacted me a few weeks ago and asked if I would be interested in restoring a GBD Collector Prehistoric Cavalier shape pipe.  I always ask for pictures before committing, so I know what I’m getting into.  When I viewed the pictures, and my asnswer was an easy “yes” as the pipe looked to be in very good condition and the shape was very interesting.   I had never handled a GBD Cavalier to this point.  Typically the GBD Cavalier shapes have the flat, hexagonal screw-off bowl bottom.

As I opened the packaging I was first struck by the polished state of the bowl.  The pipe may have been smoked, but I would guess for literally only minutes.  The interior of the bowl was a finely polished as any smooth briar pipe.  The machine chuck mark are still visible inside the bowl.  I cleaned some of the tobacco/smoking marks from interior with a piece of worn micromesh cloth.

GBD_Collector_Prehistoric_Finished (2)

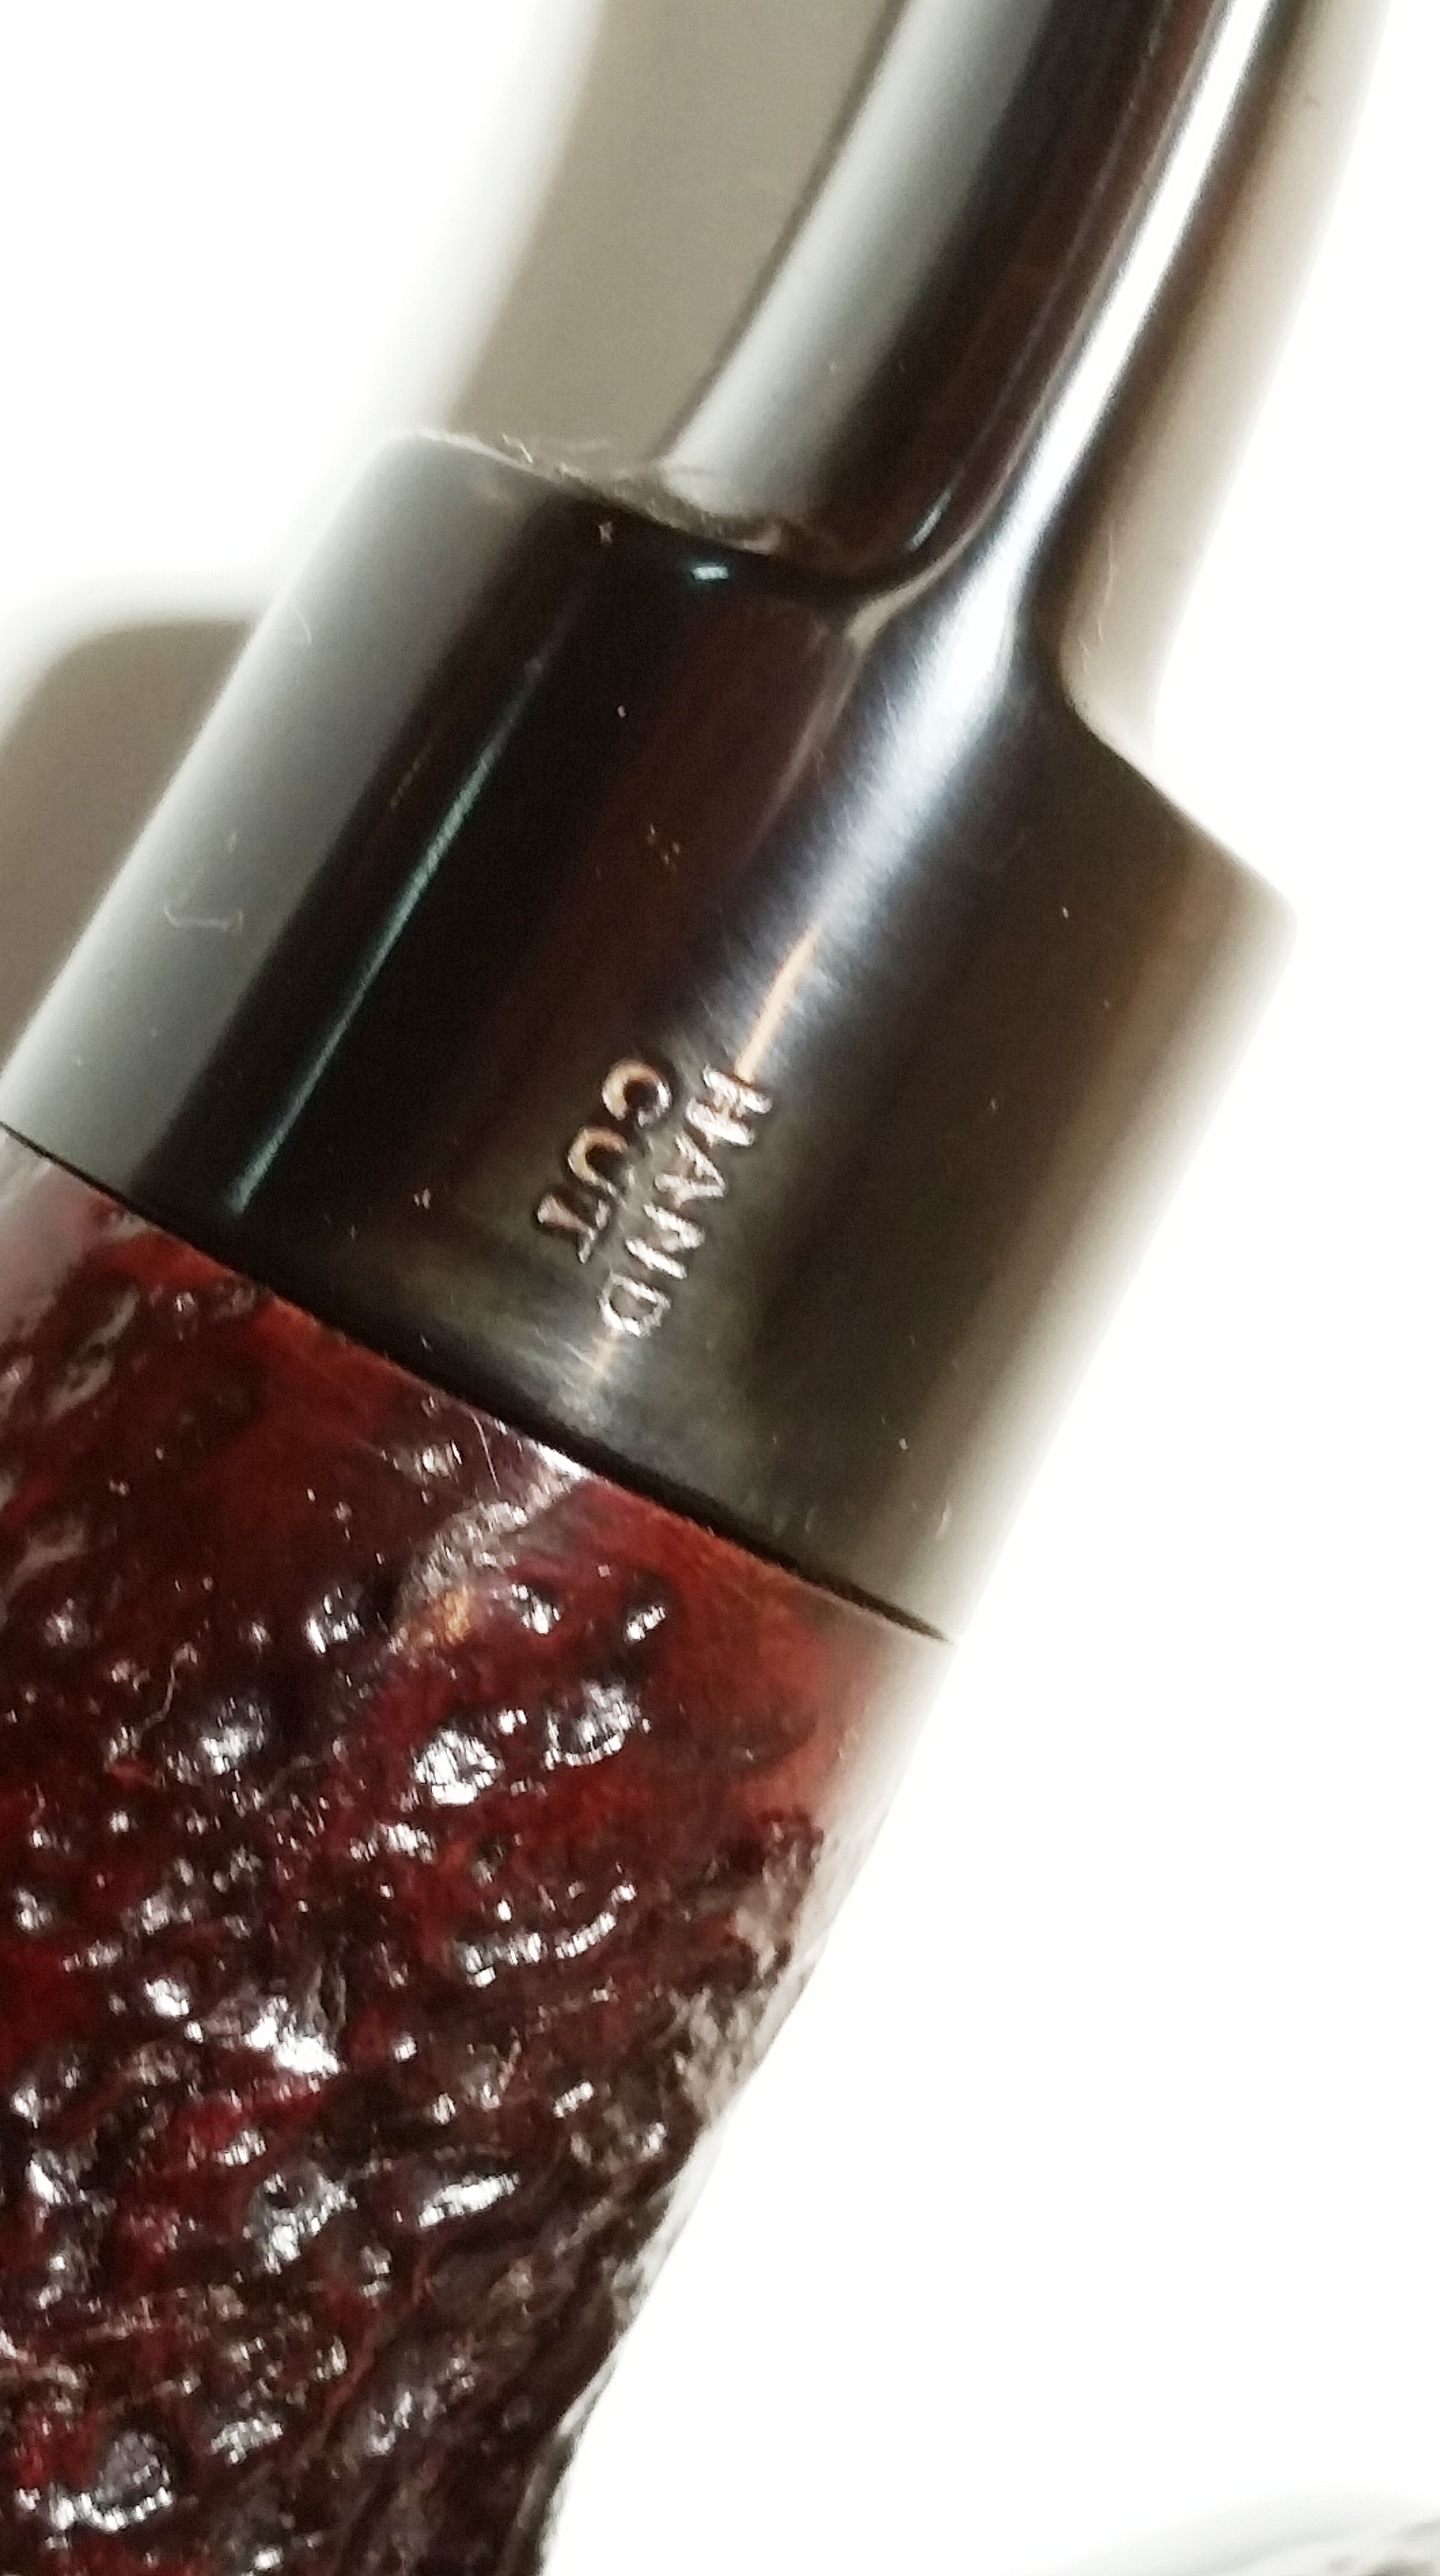
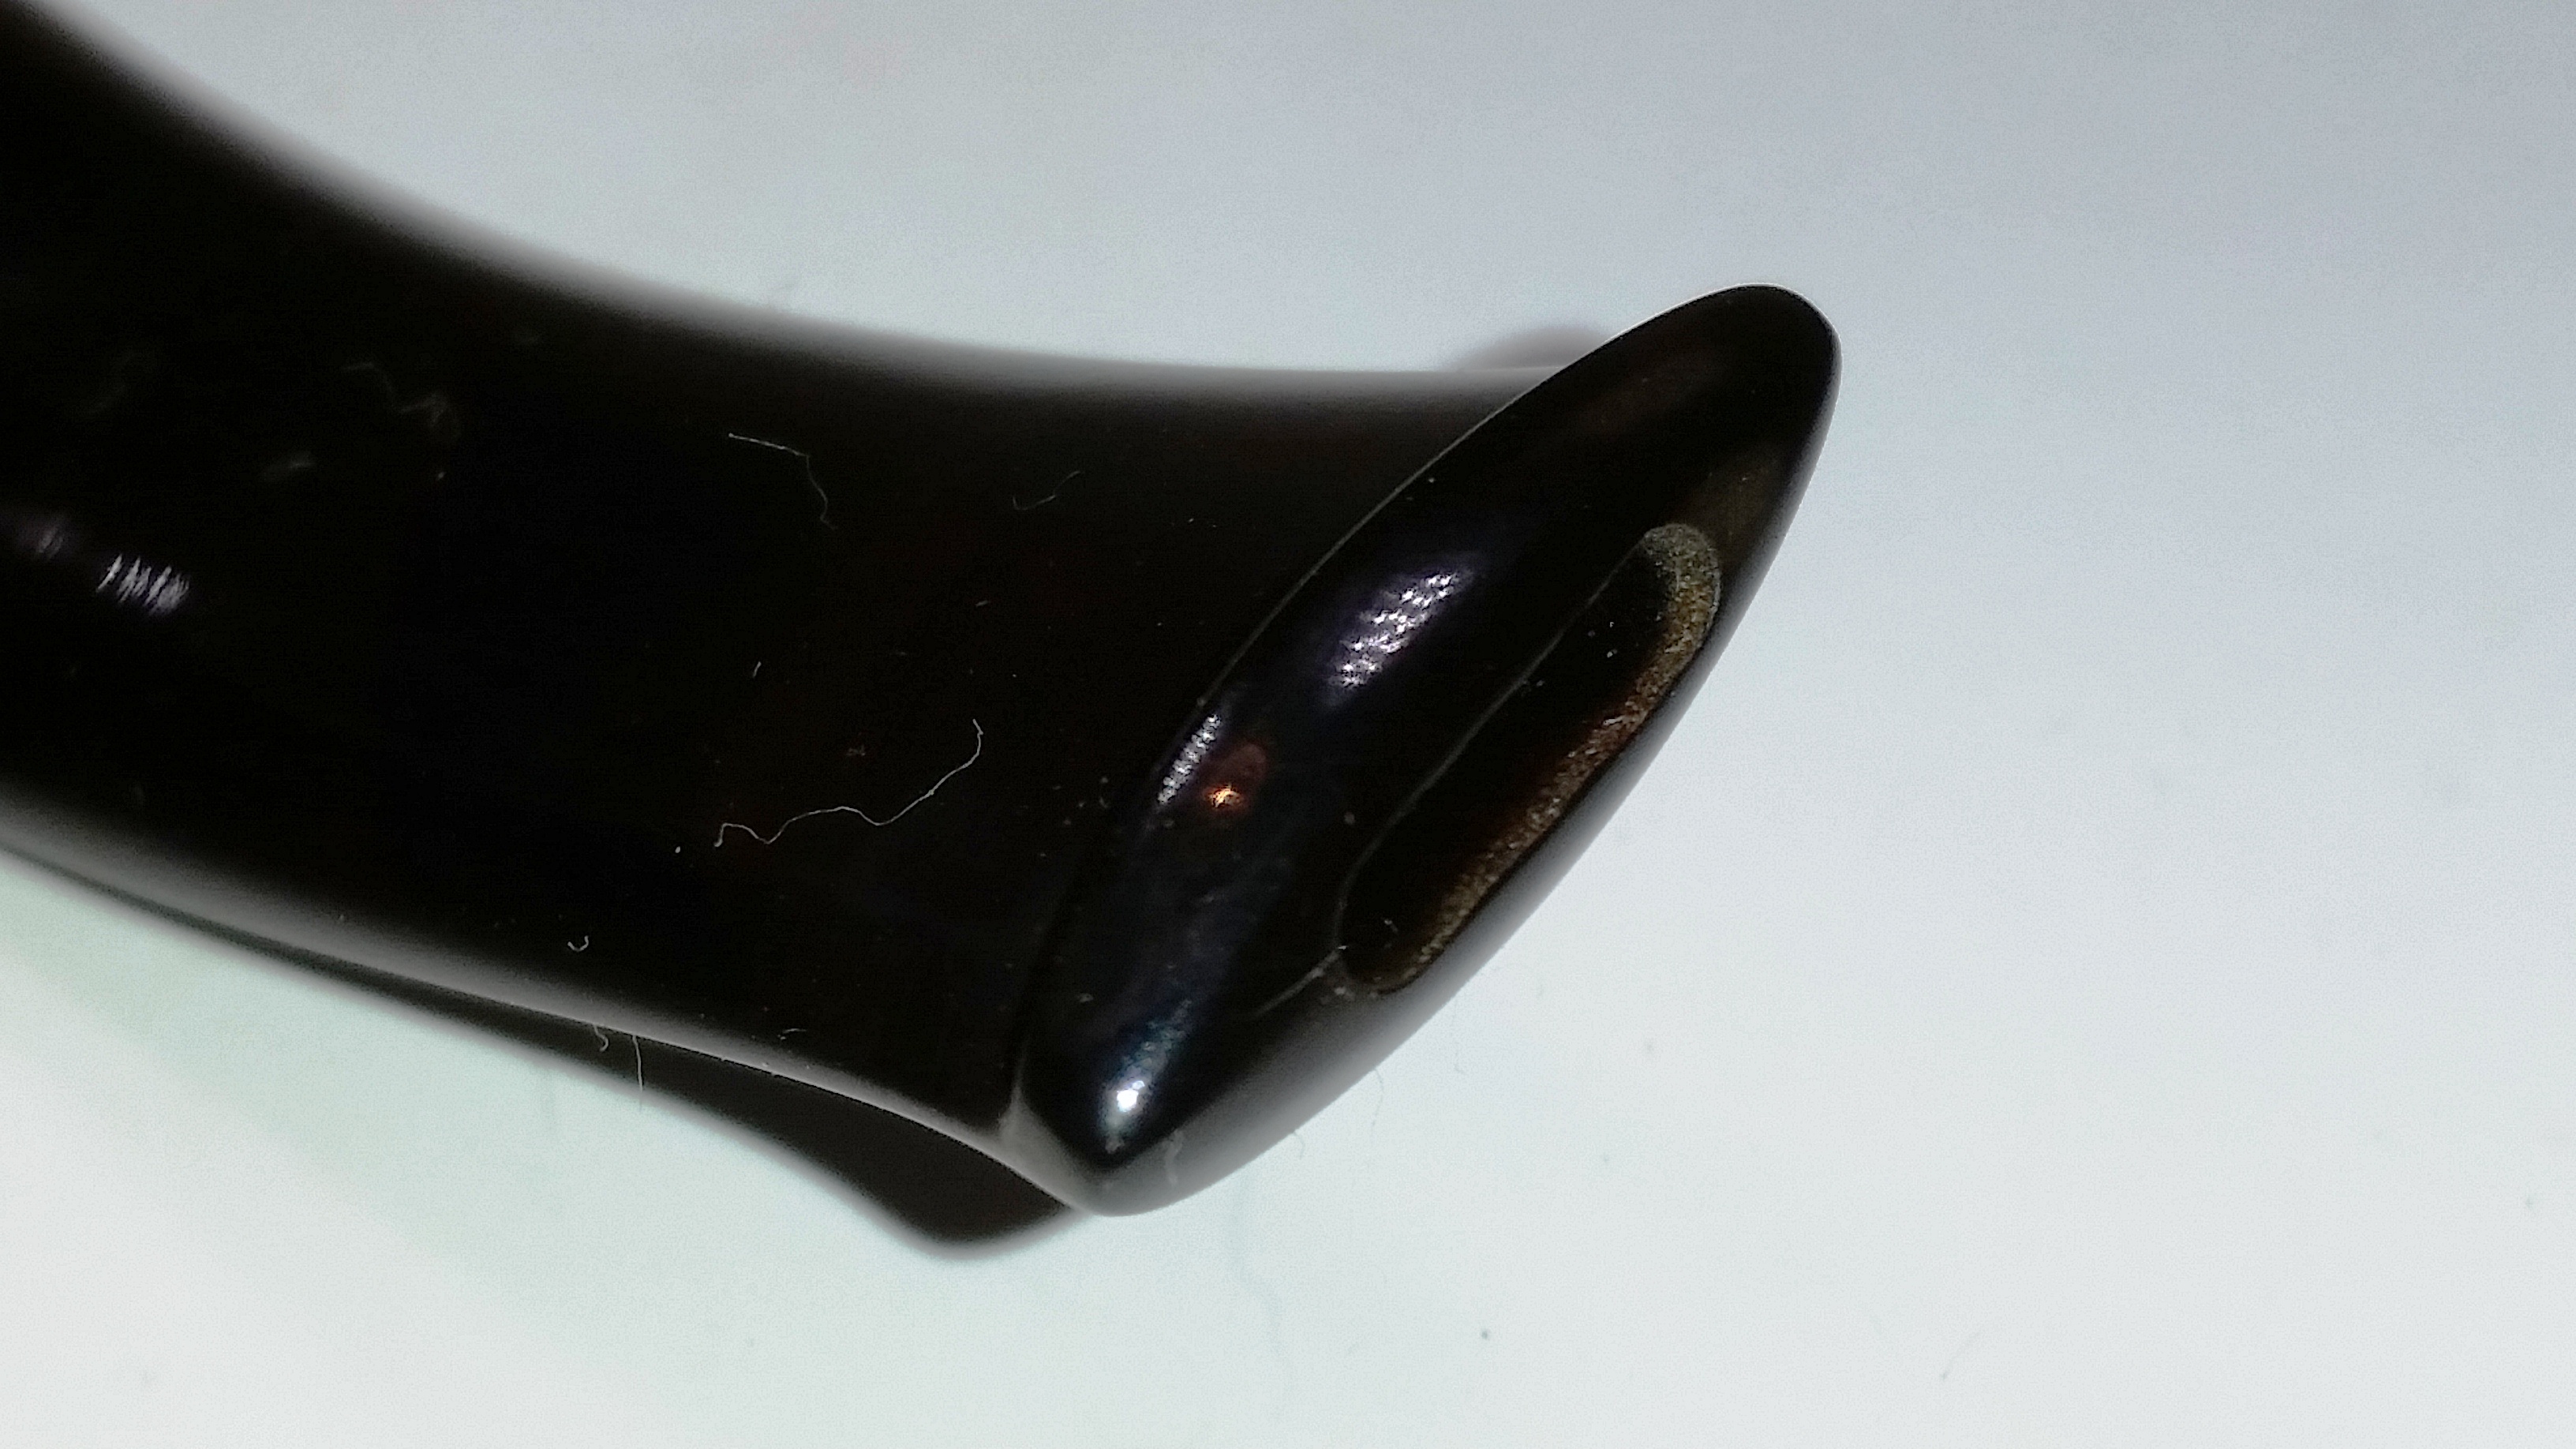
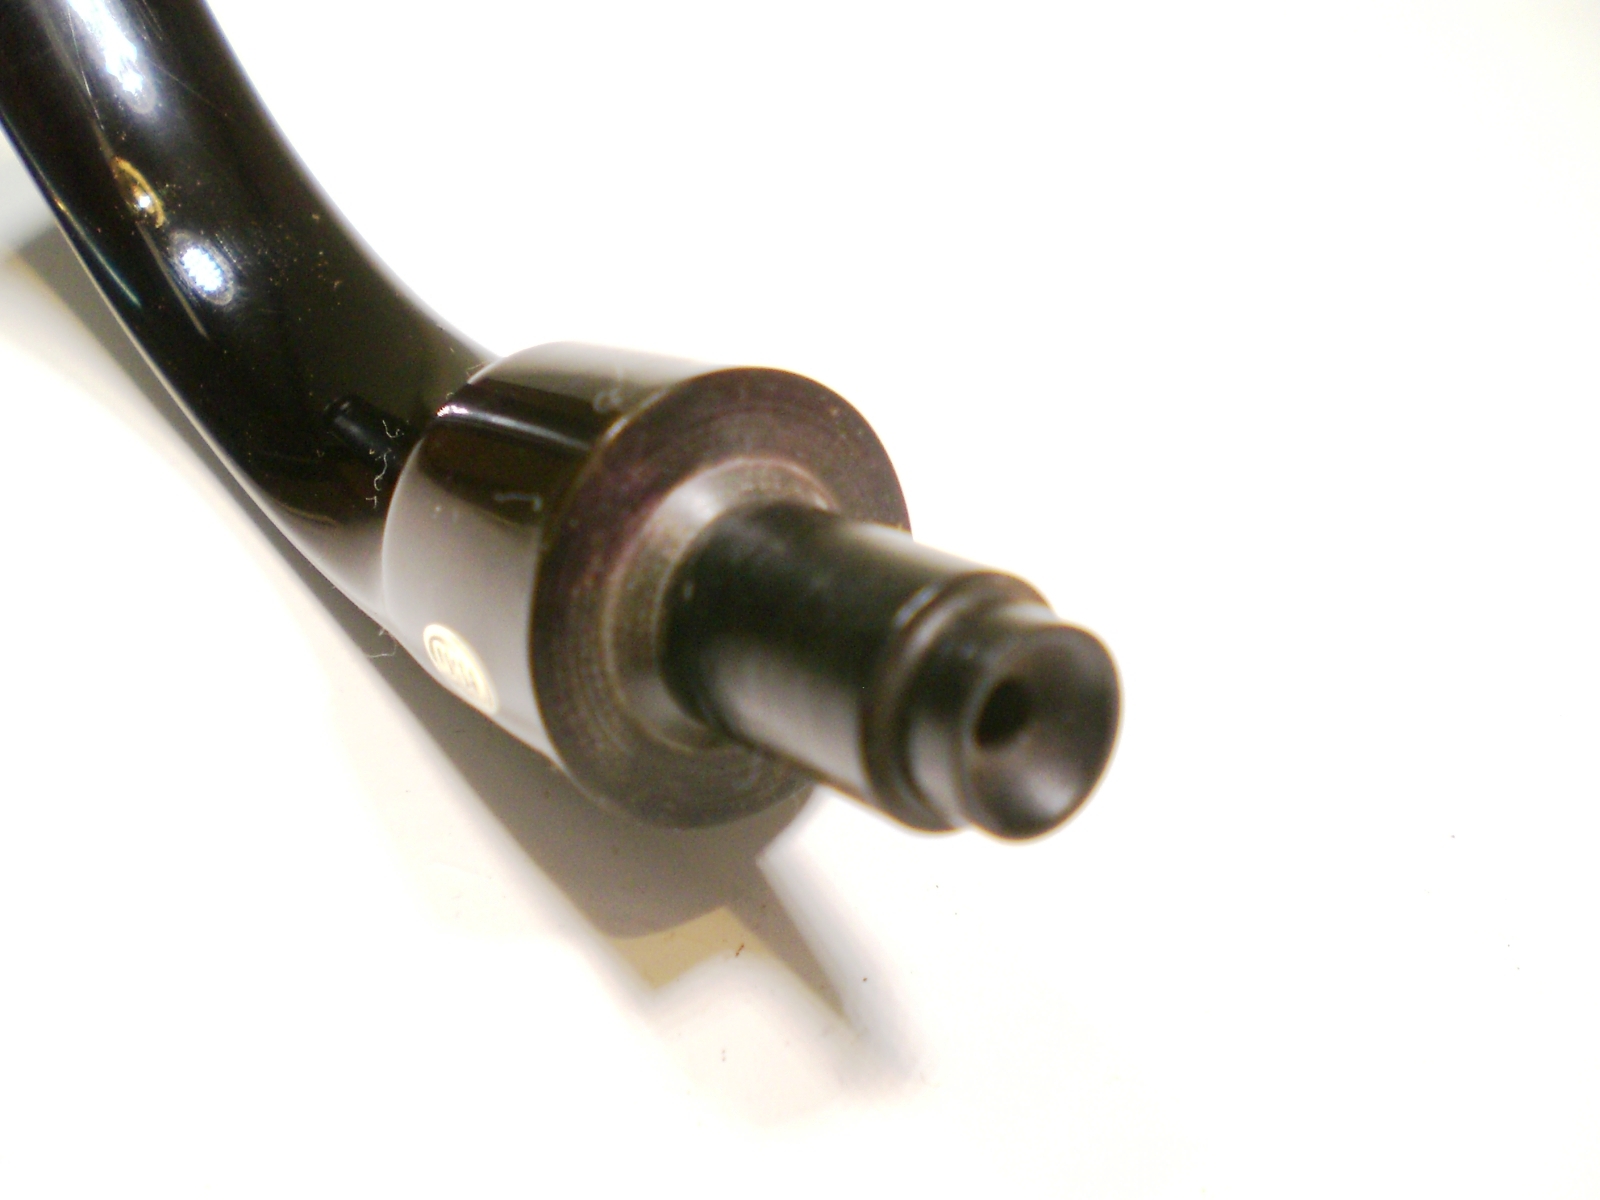
Examining the stem, it appeared to be of a very high quality and definitely far better finished than any GBD stem I had ever seen.  So, as I turned it over, I wasn’t surprised to see the elusive “Hand Cut” stamp.  I have one GBD with this stamp and while it is an excellent stem it is not quite as well finished as this one.  The stepped tenon is very nicely funneled and the button end is as good as any artisan pipe I’ve handled or owned.

GBD_Collector_Prehistoric_Finished (11) GBD_Collector_Prehistoric_Finished (13) GBD_Collector_Prehistoric_Finished (7)

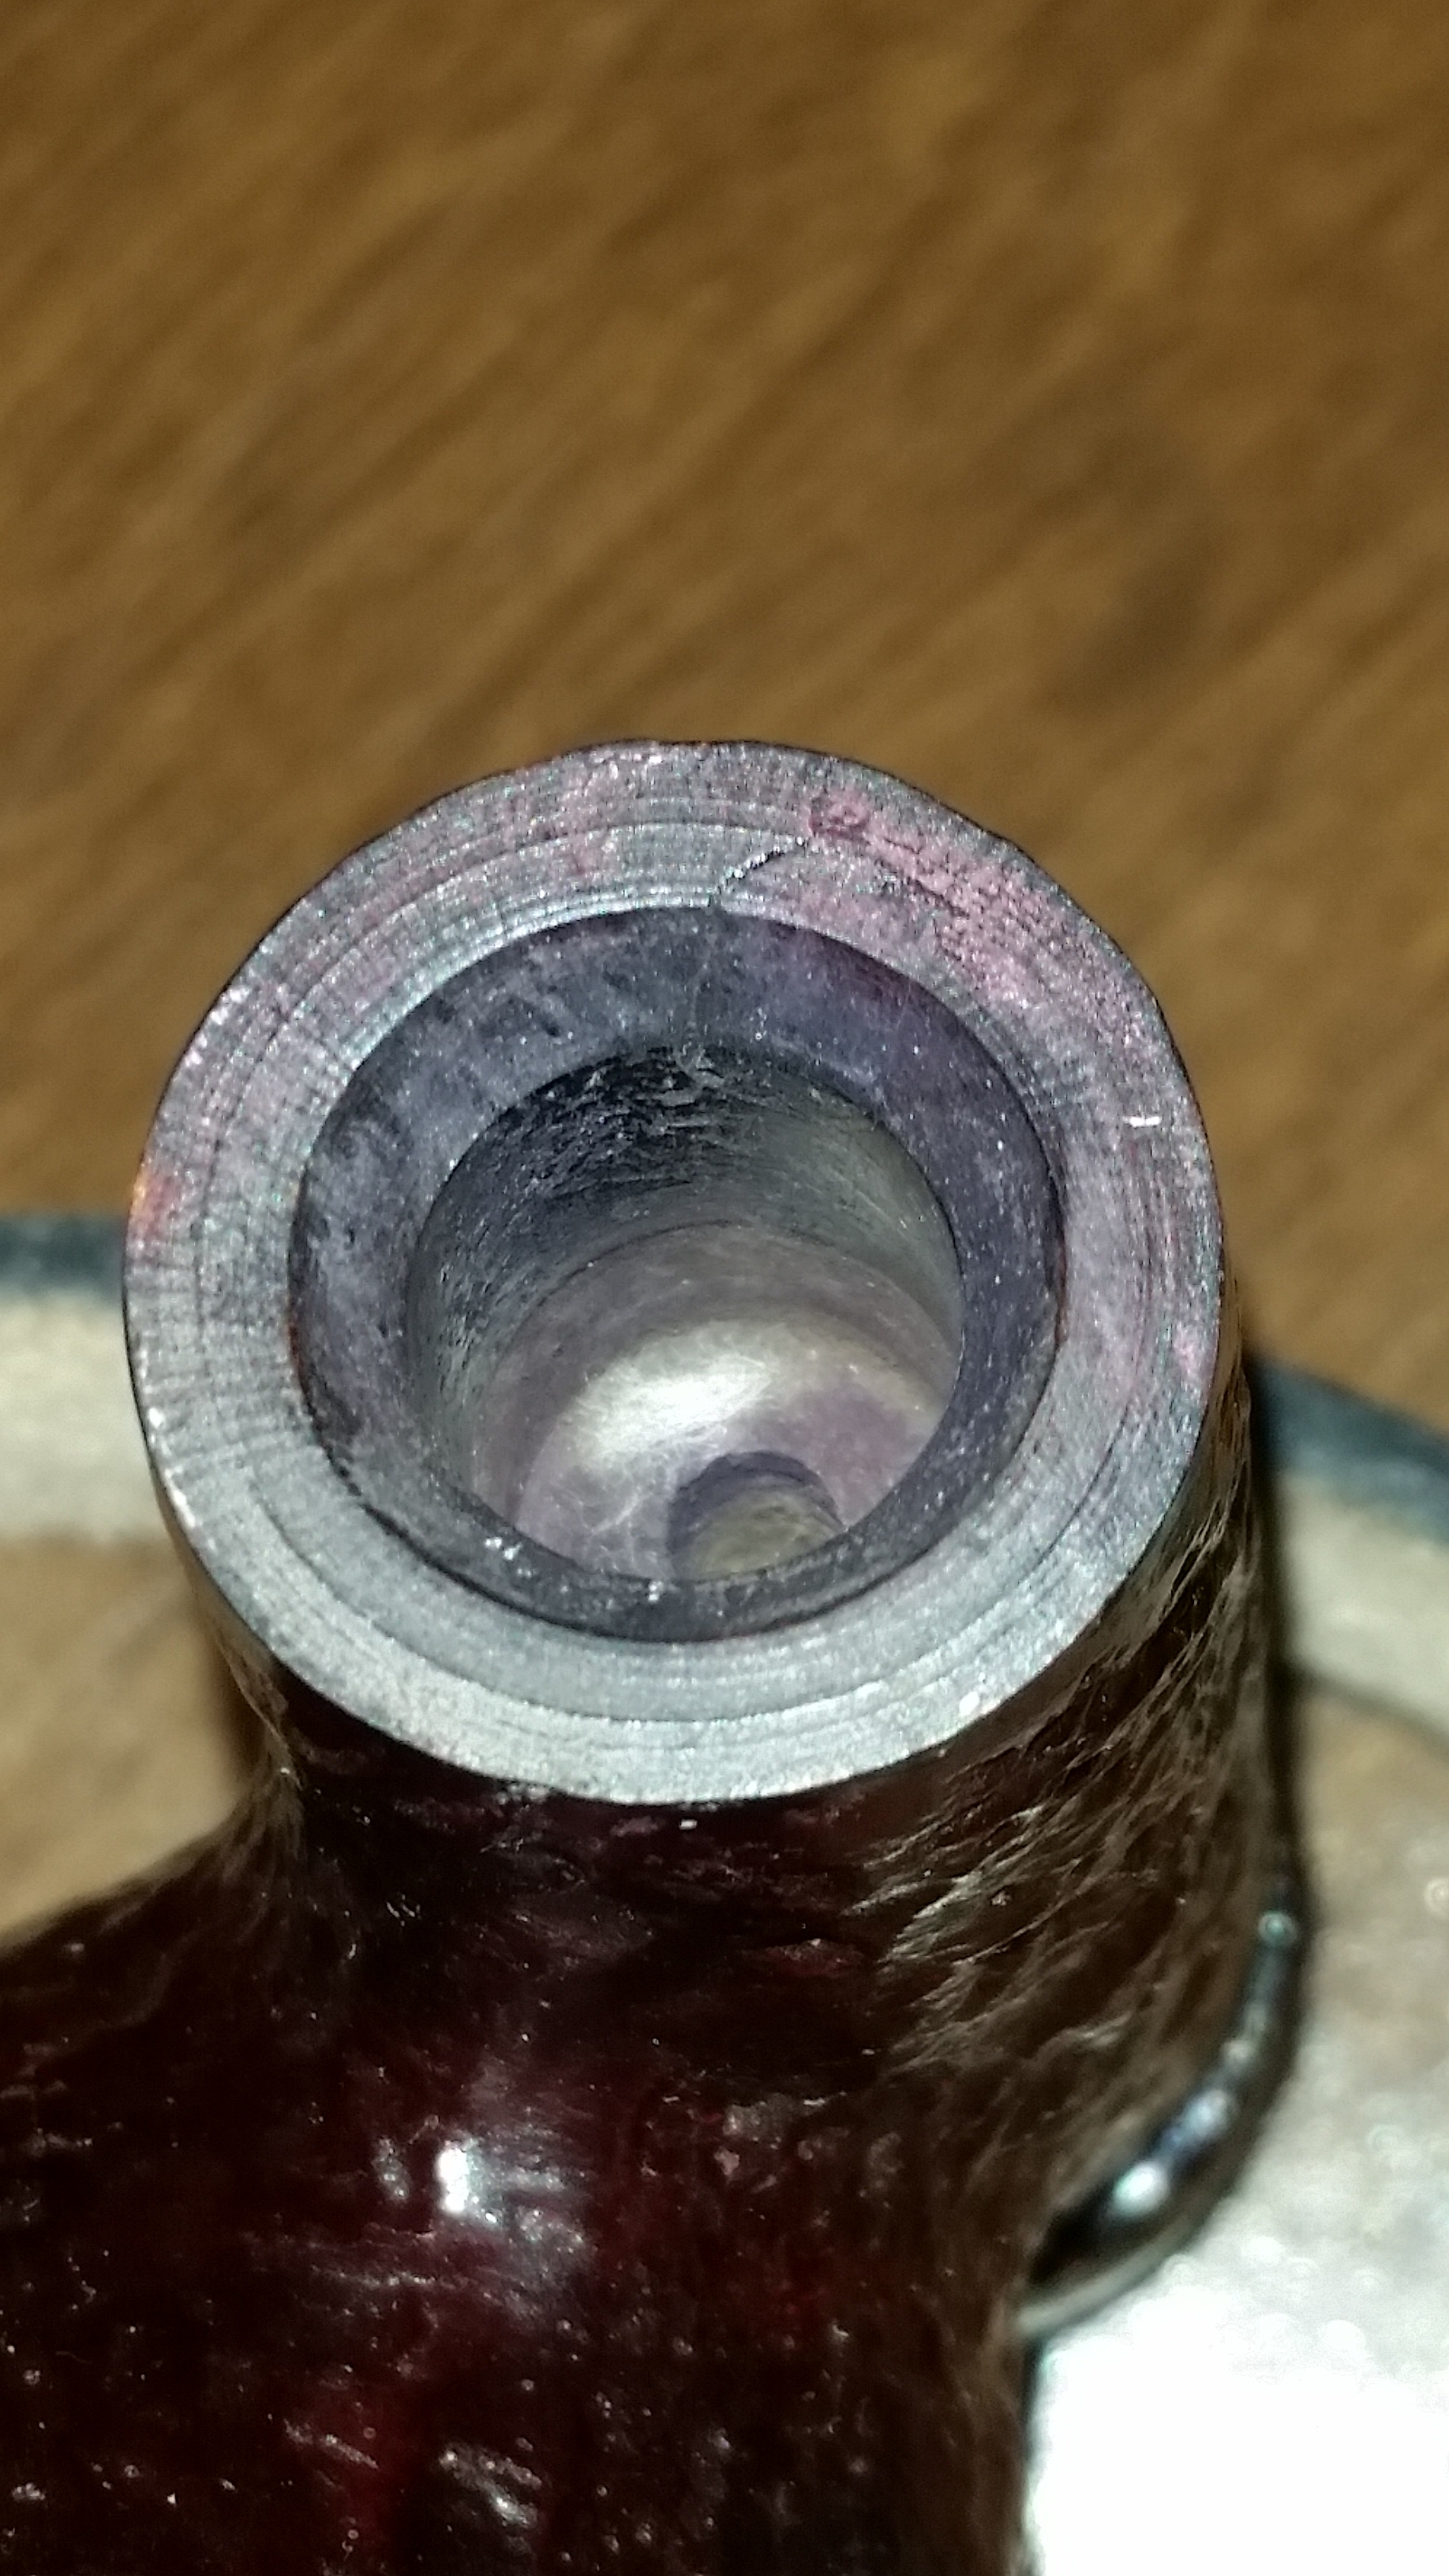
Unfortunately, examining the briar, there appeared to be a crack at the end of the shank.  Using a lighted, magnified jewelers loupe, I was surprised (and relieved) to find that a chunk of the inner area of the shank must have broken off.   The chip of briar was fingernail sized and someone had glued it back in place.  Fortunately, they did a good job and stem fitment was not compromised.   You can see the repair here at the one o-clock position.  The owner of the pipe intends to keep it unsmoked but I think it would hold up fine to moderate use.  Particularly since the cavalier shape really doesn’t require stem to be removed.

GBD_Collector_Detail_Repair

The stem looked so clean, I didn’t bother to take any before pictures.  However there was a fair amount of oxidation that needed to be removed.  I started with 800 grit wet paper, moved thru the 1500 and 2000 grades.  Then it was finished with the 8000 and 12000 grades of micromesh.  The stem was then buffed with white diamond and a final polish with red jewelers rouge.    Care had to be taken around the “Hand Cut” stamp

Below is the finished pipe.

GBD_Collector_Prehistoric_Finished (8) GBD_Collector_Prehistoric_Finished GBD_Collector_Prehistoric_Finished (3) GBD_Collector_Prehistoric_Finished (4) GBD_Collector_Prehistoric_Finished (5) GBD_Collector_Prehistoric_Finished (10) GBD_Collector_Prehistoric_Finished (1) GBD_Collector_Prehistoric_Finished (6)


We Three Ashfords (Sasieni Four Dot)


Blog by Al Jones

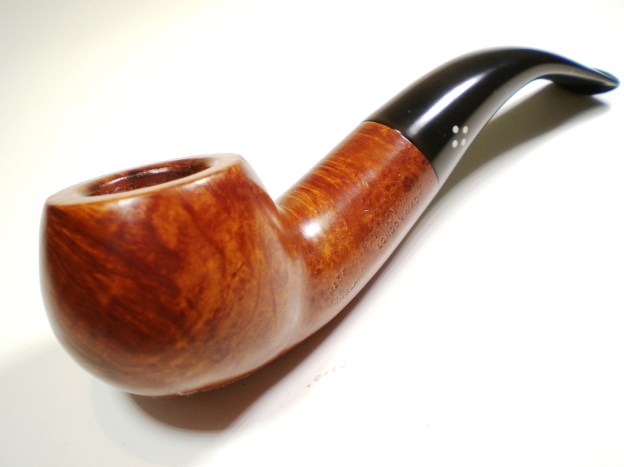
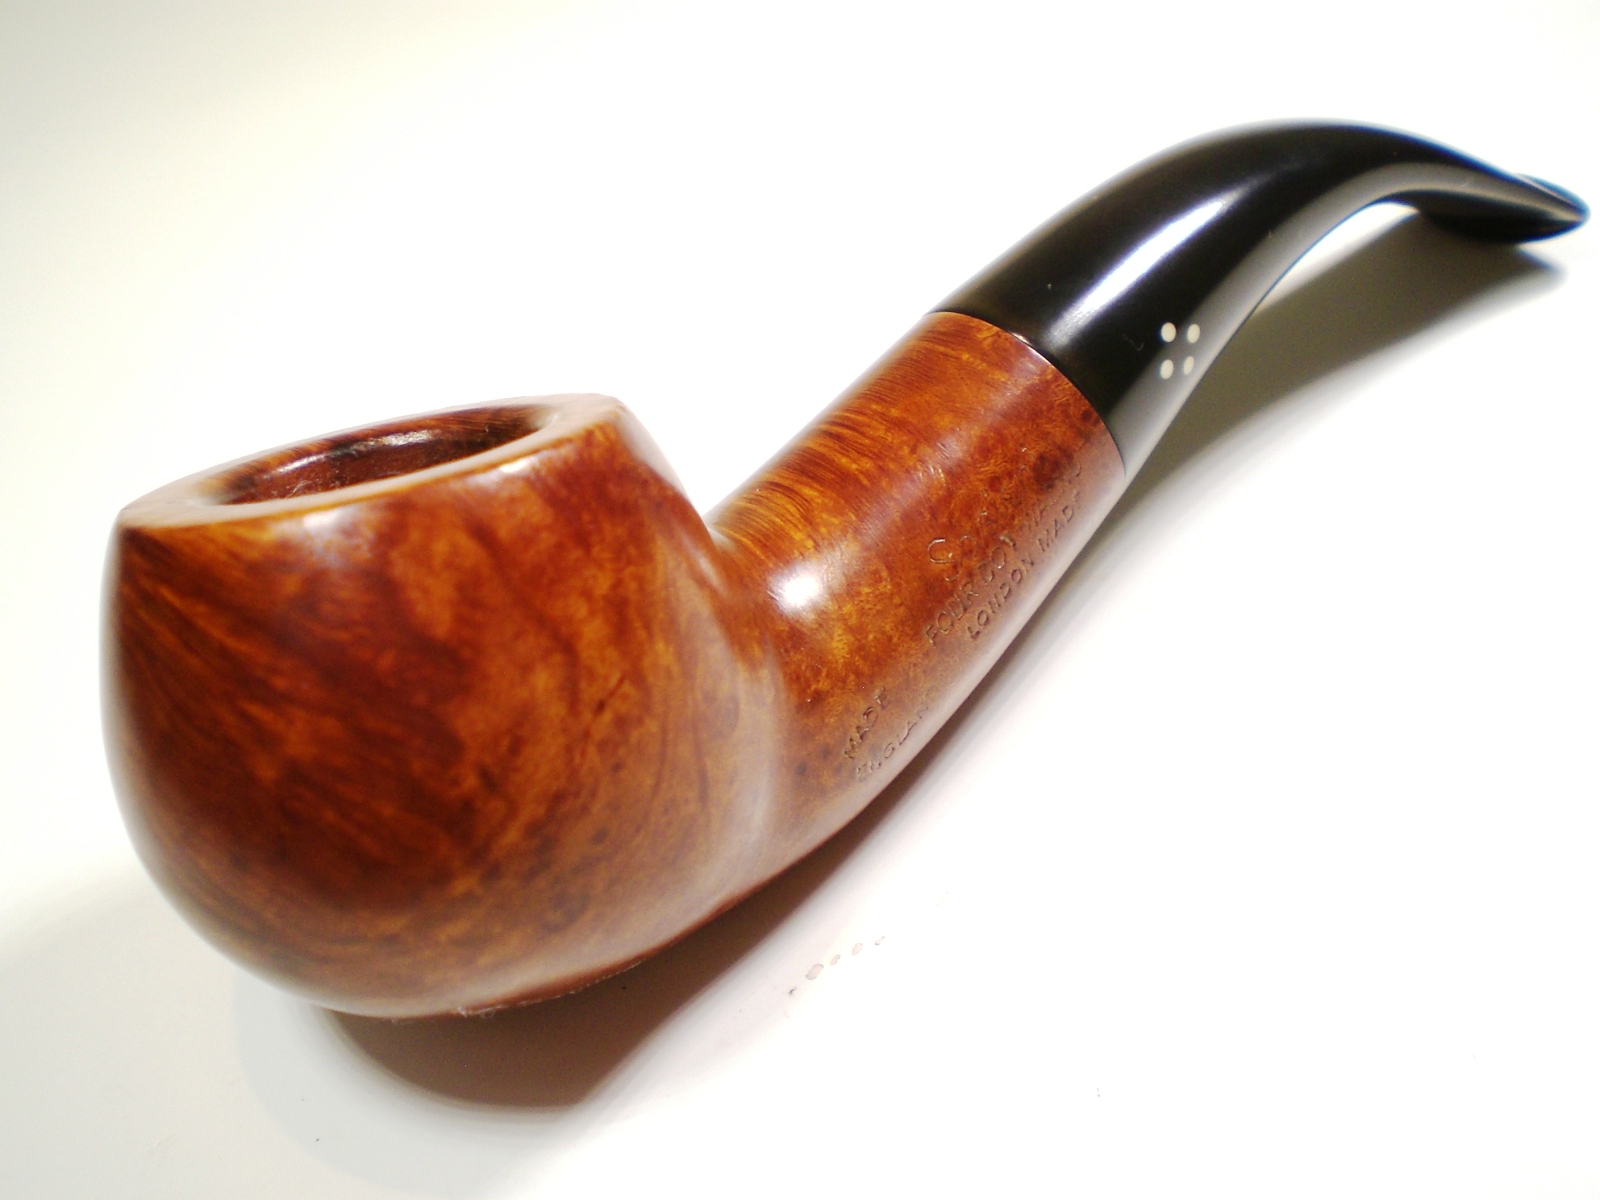
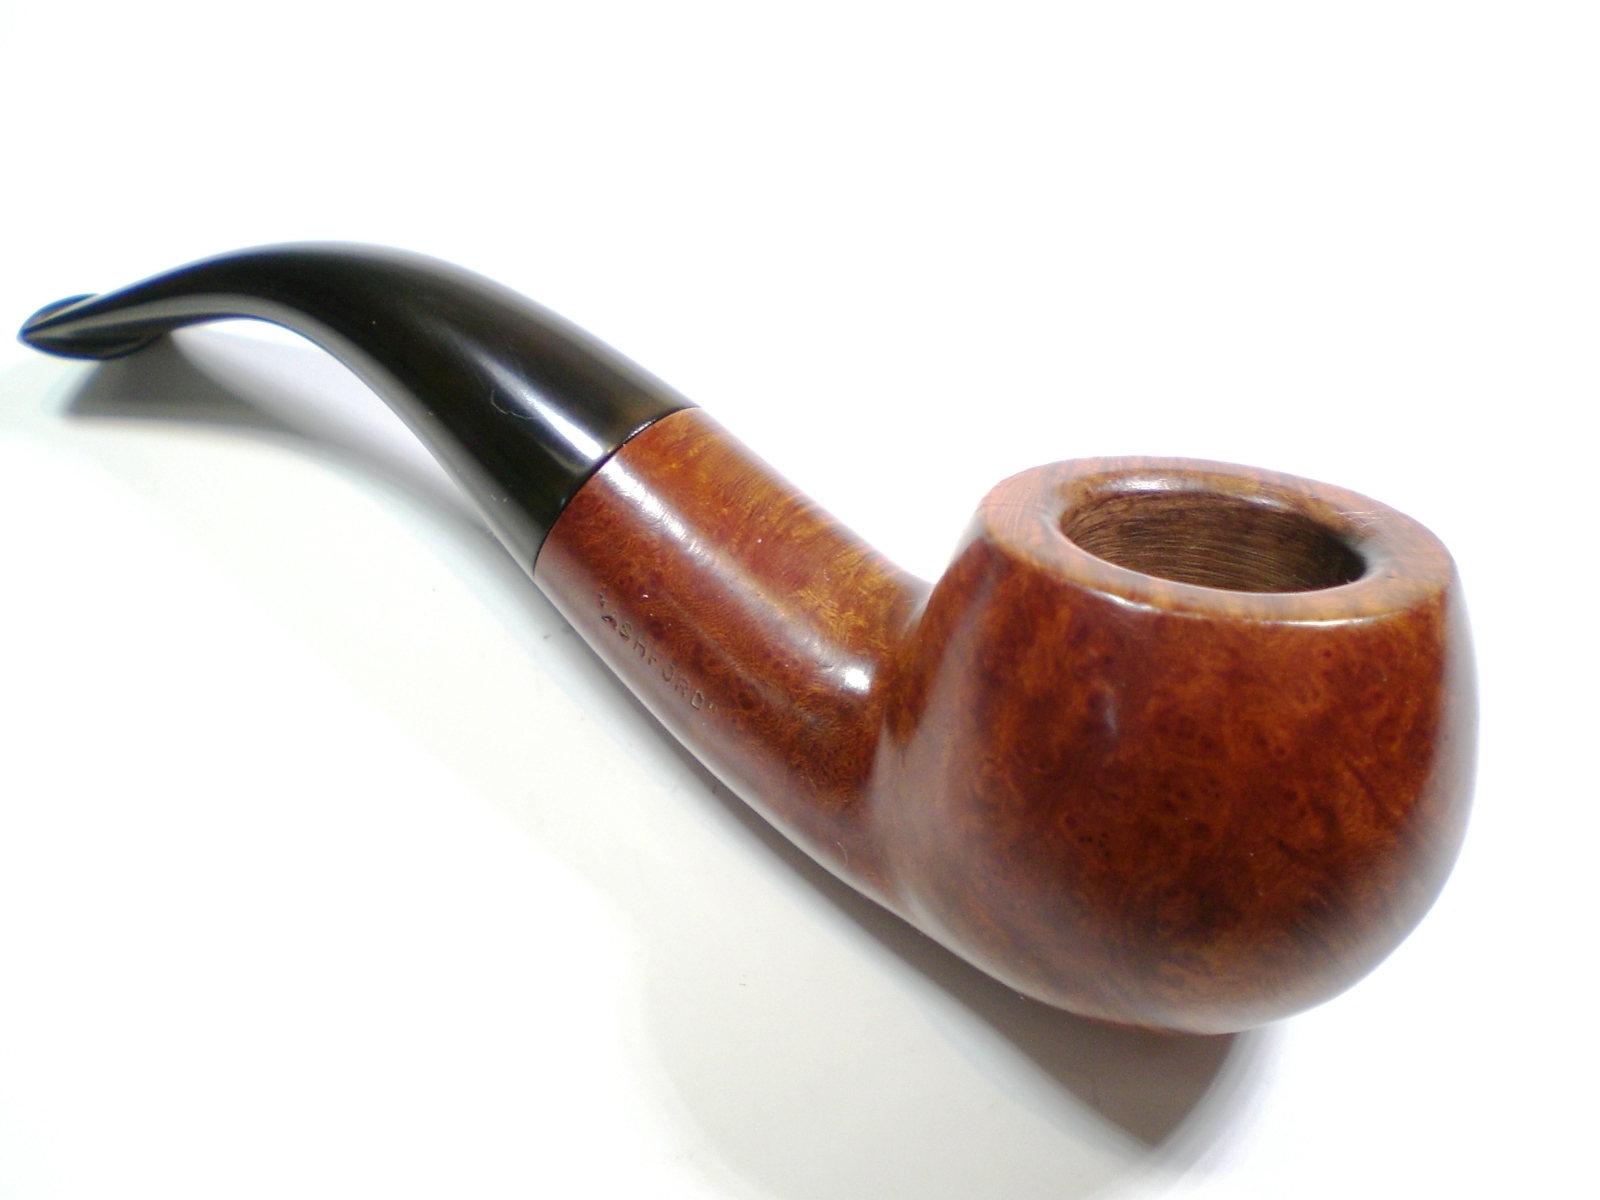
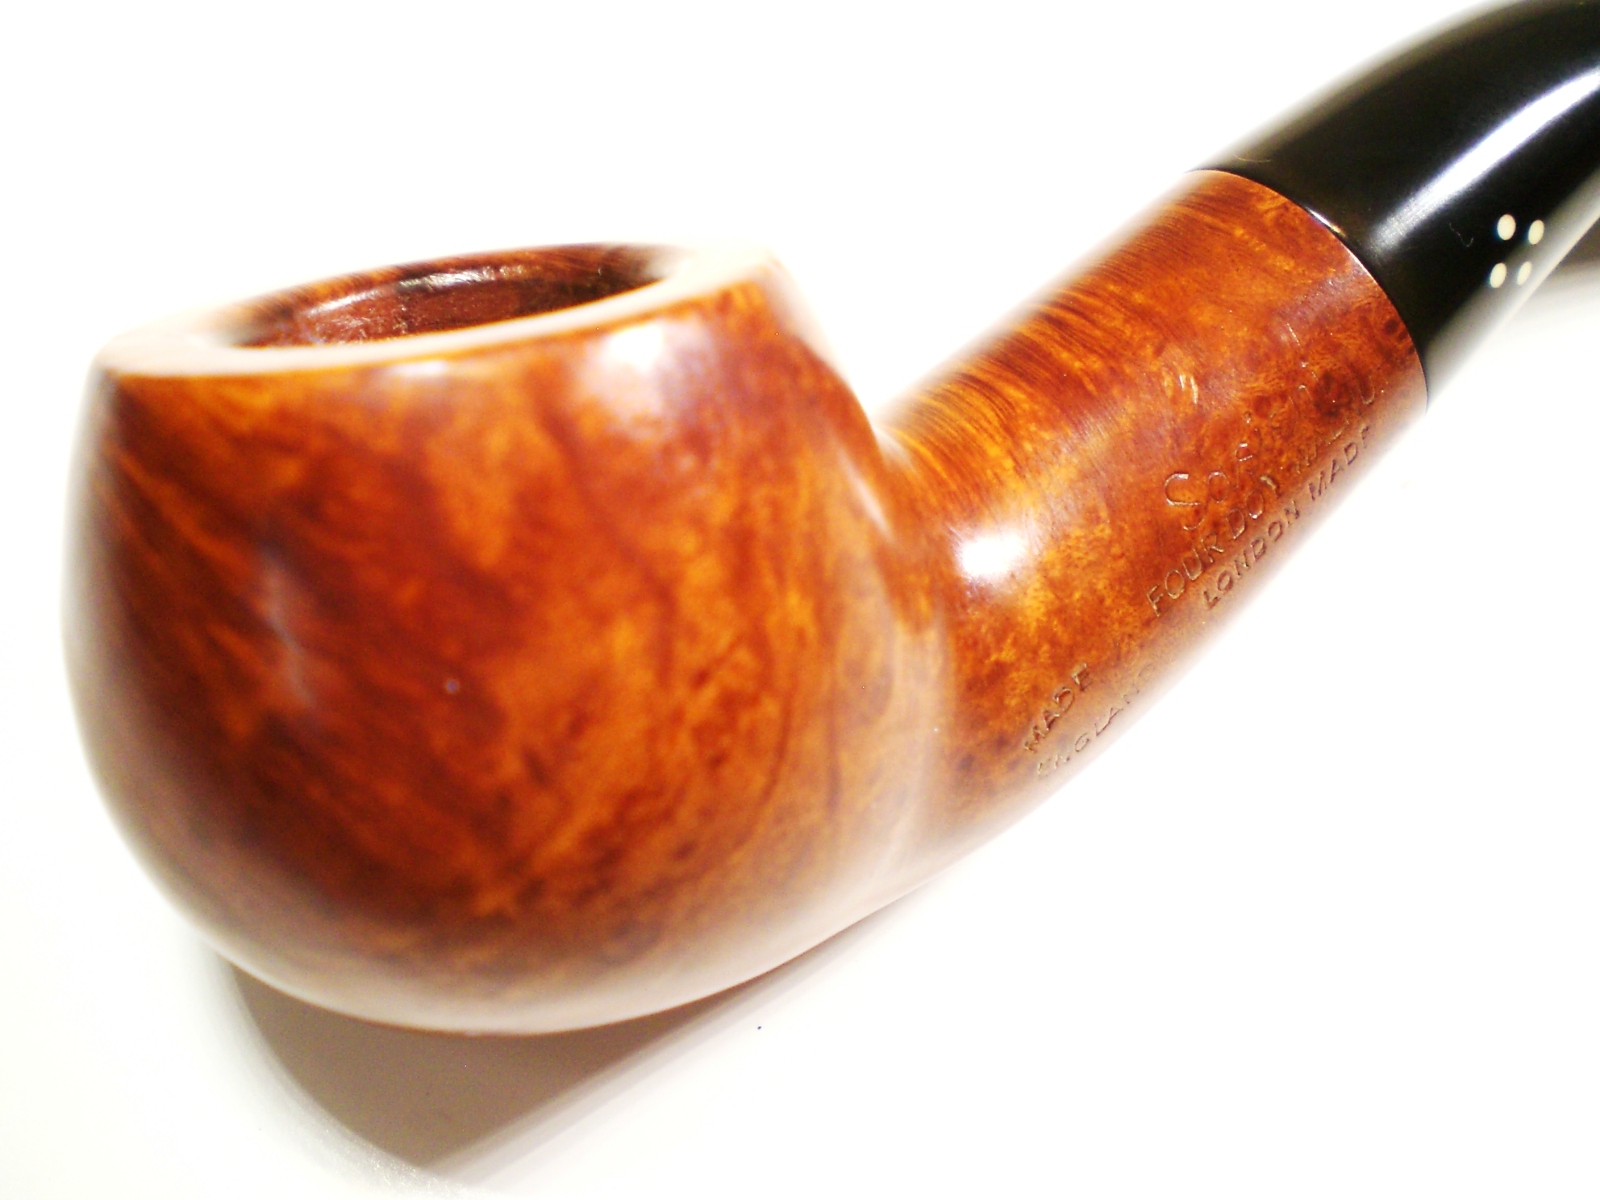
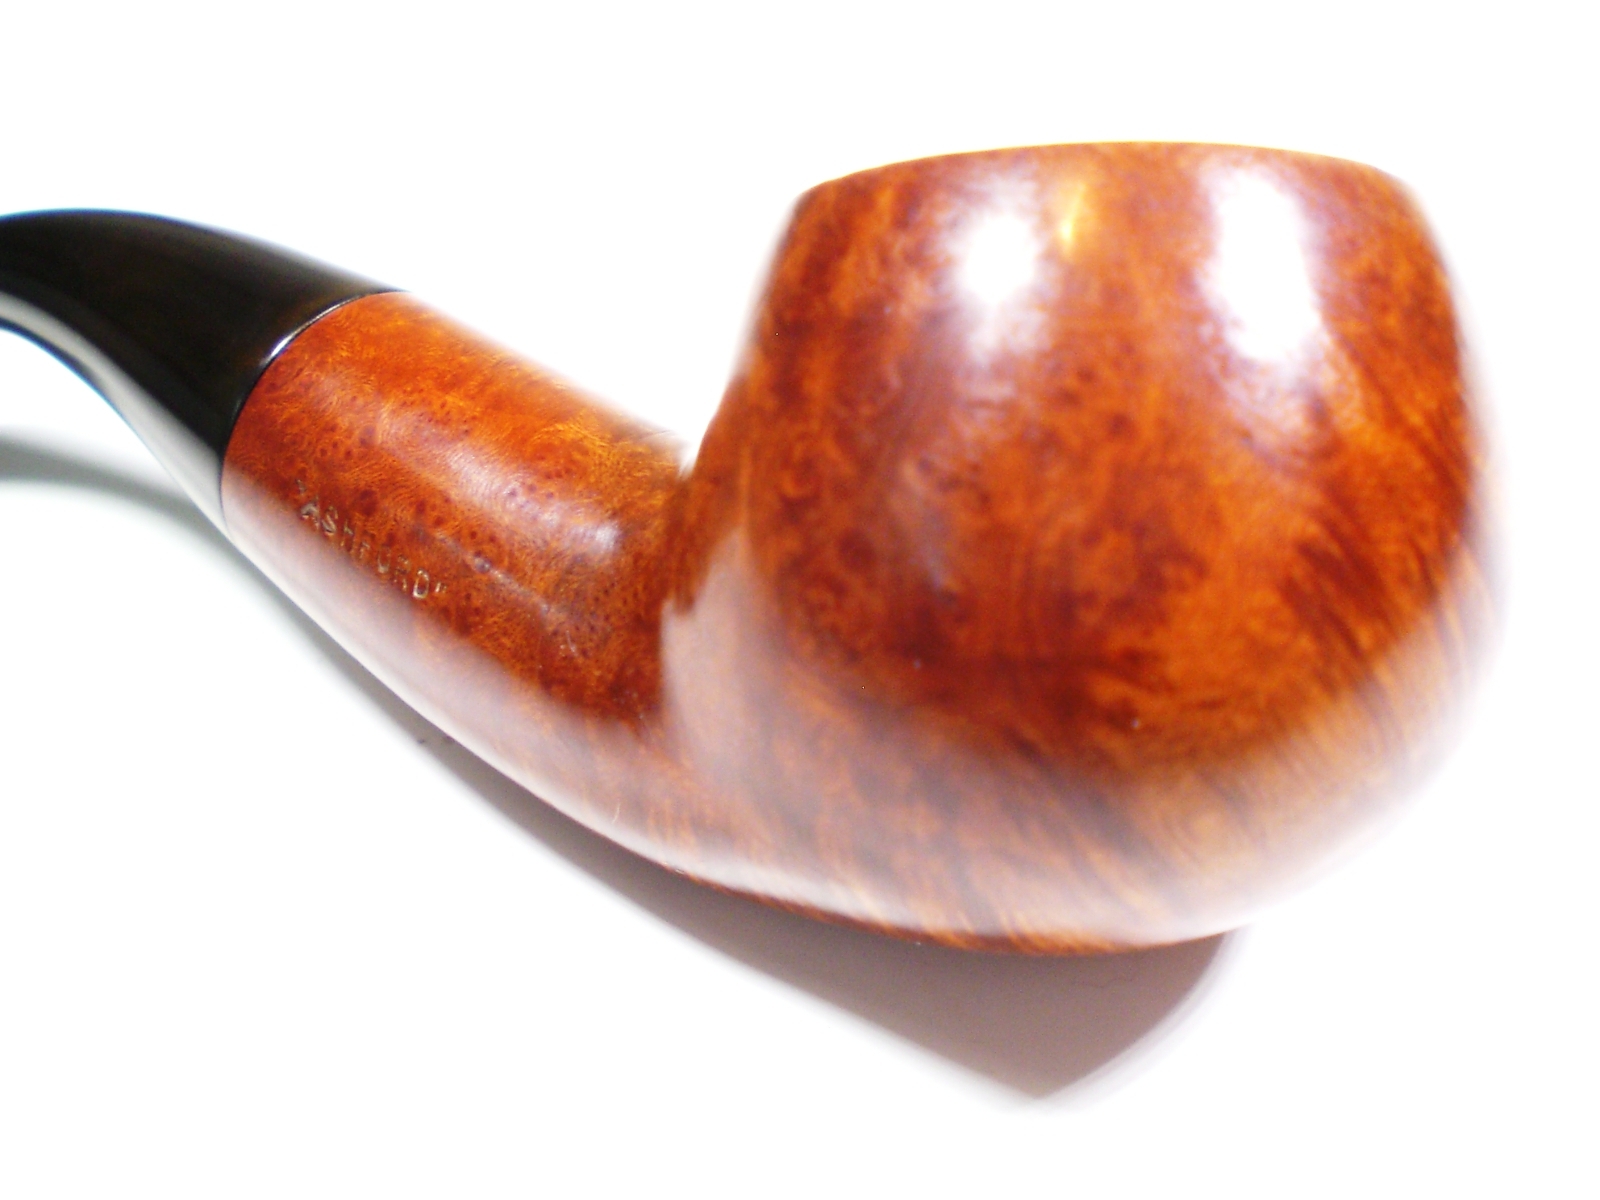
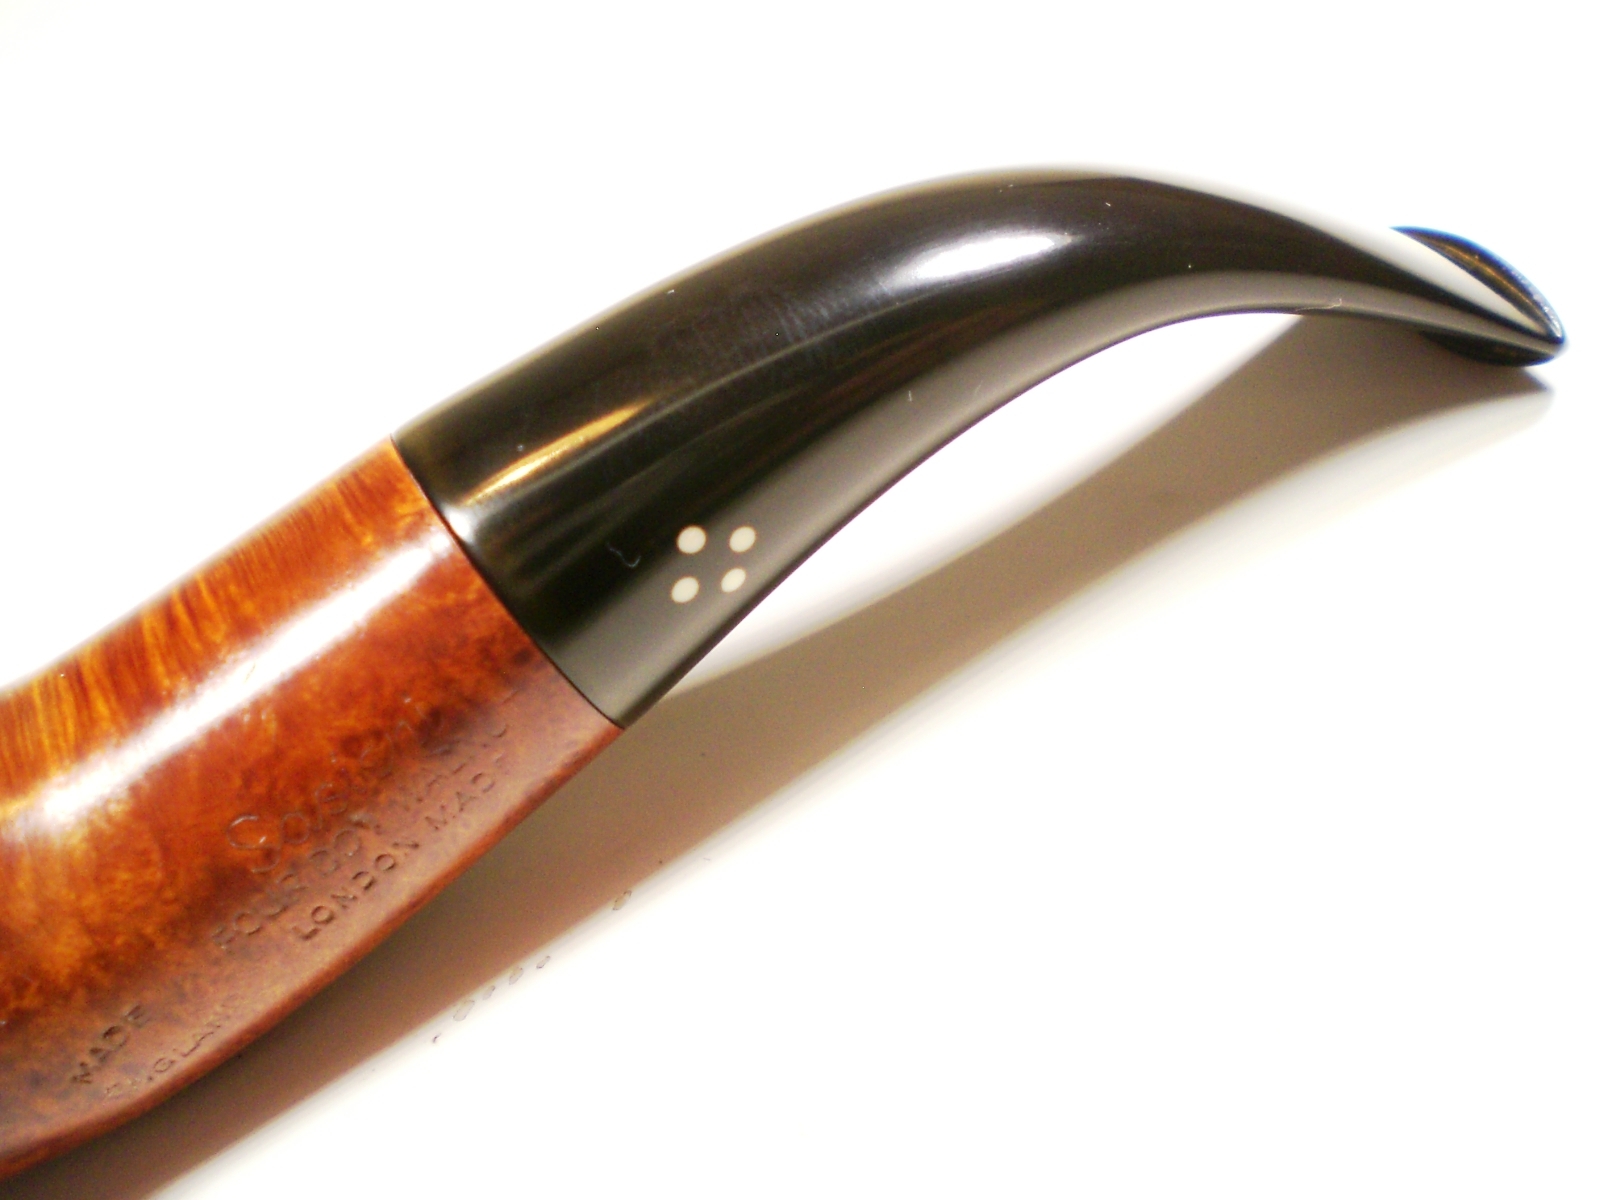
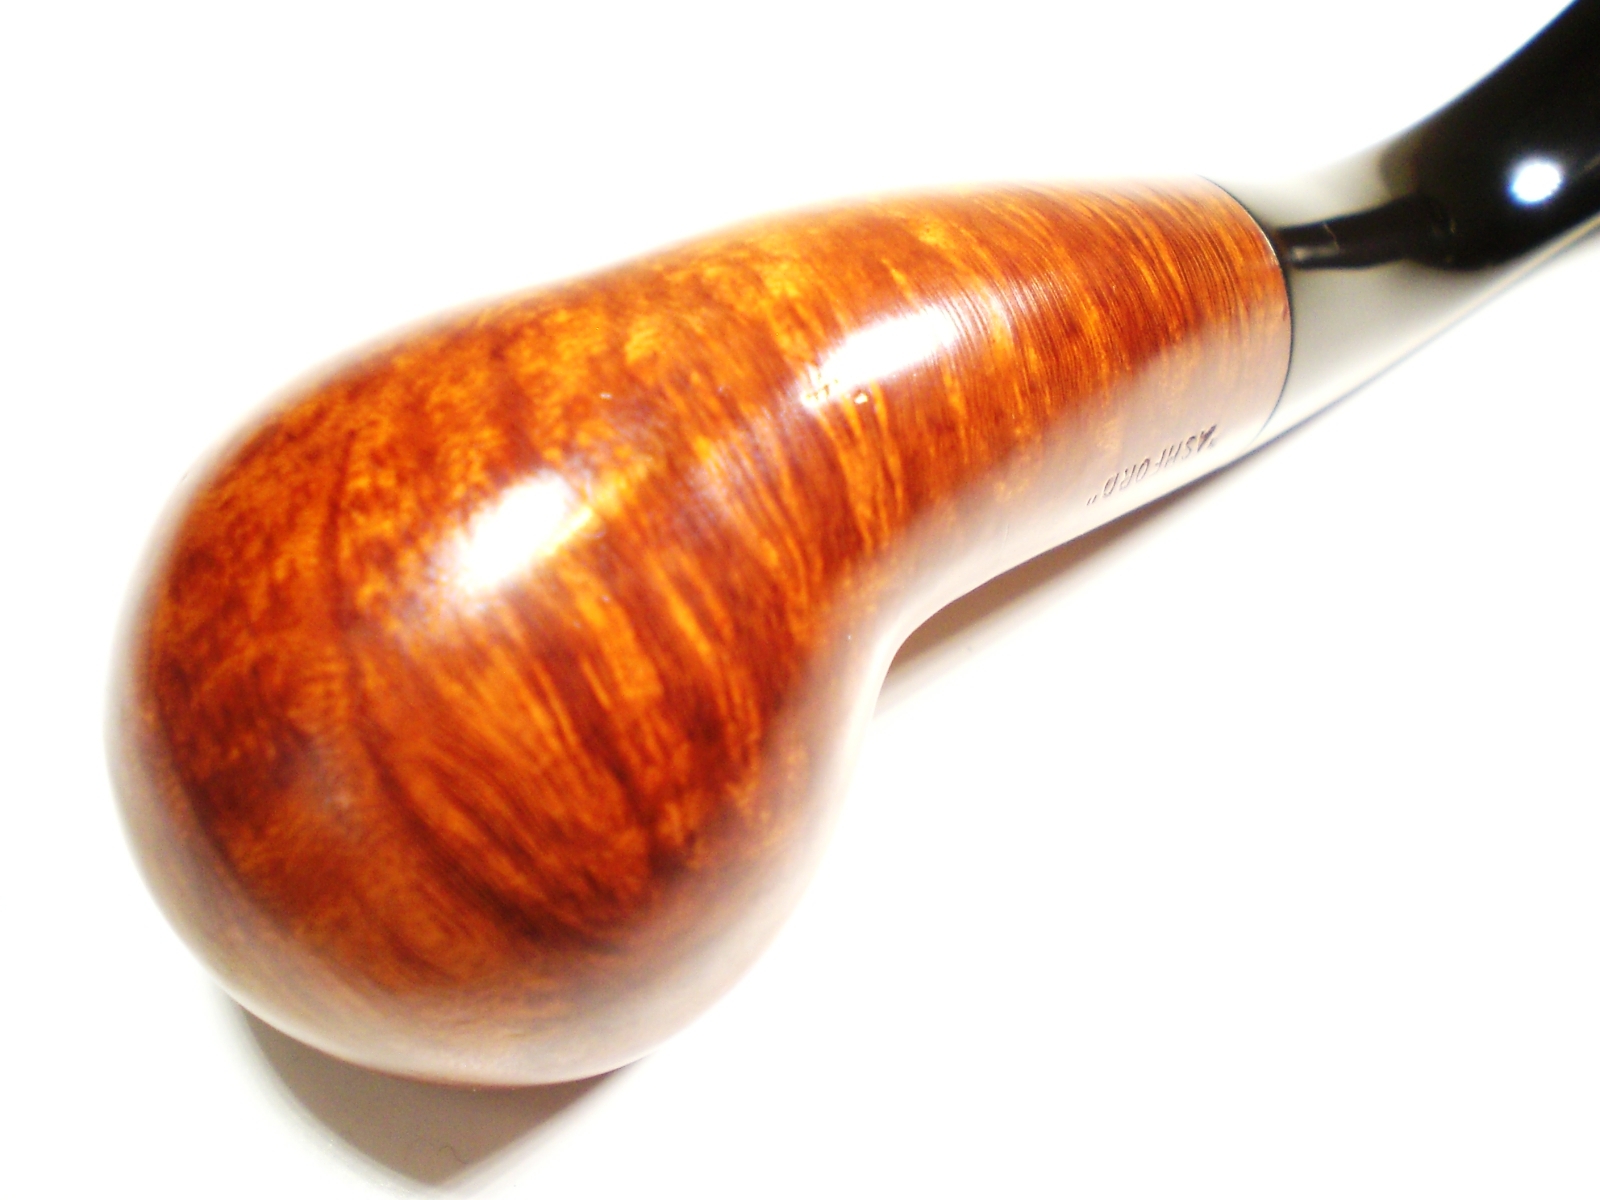
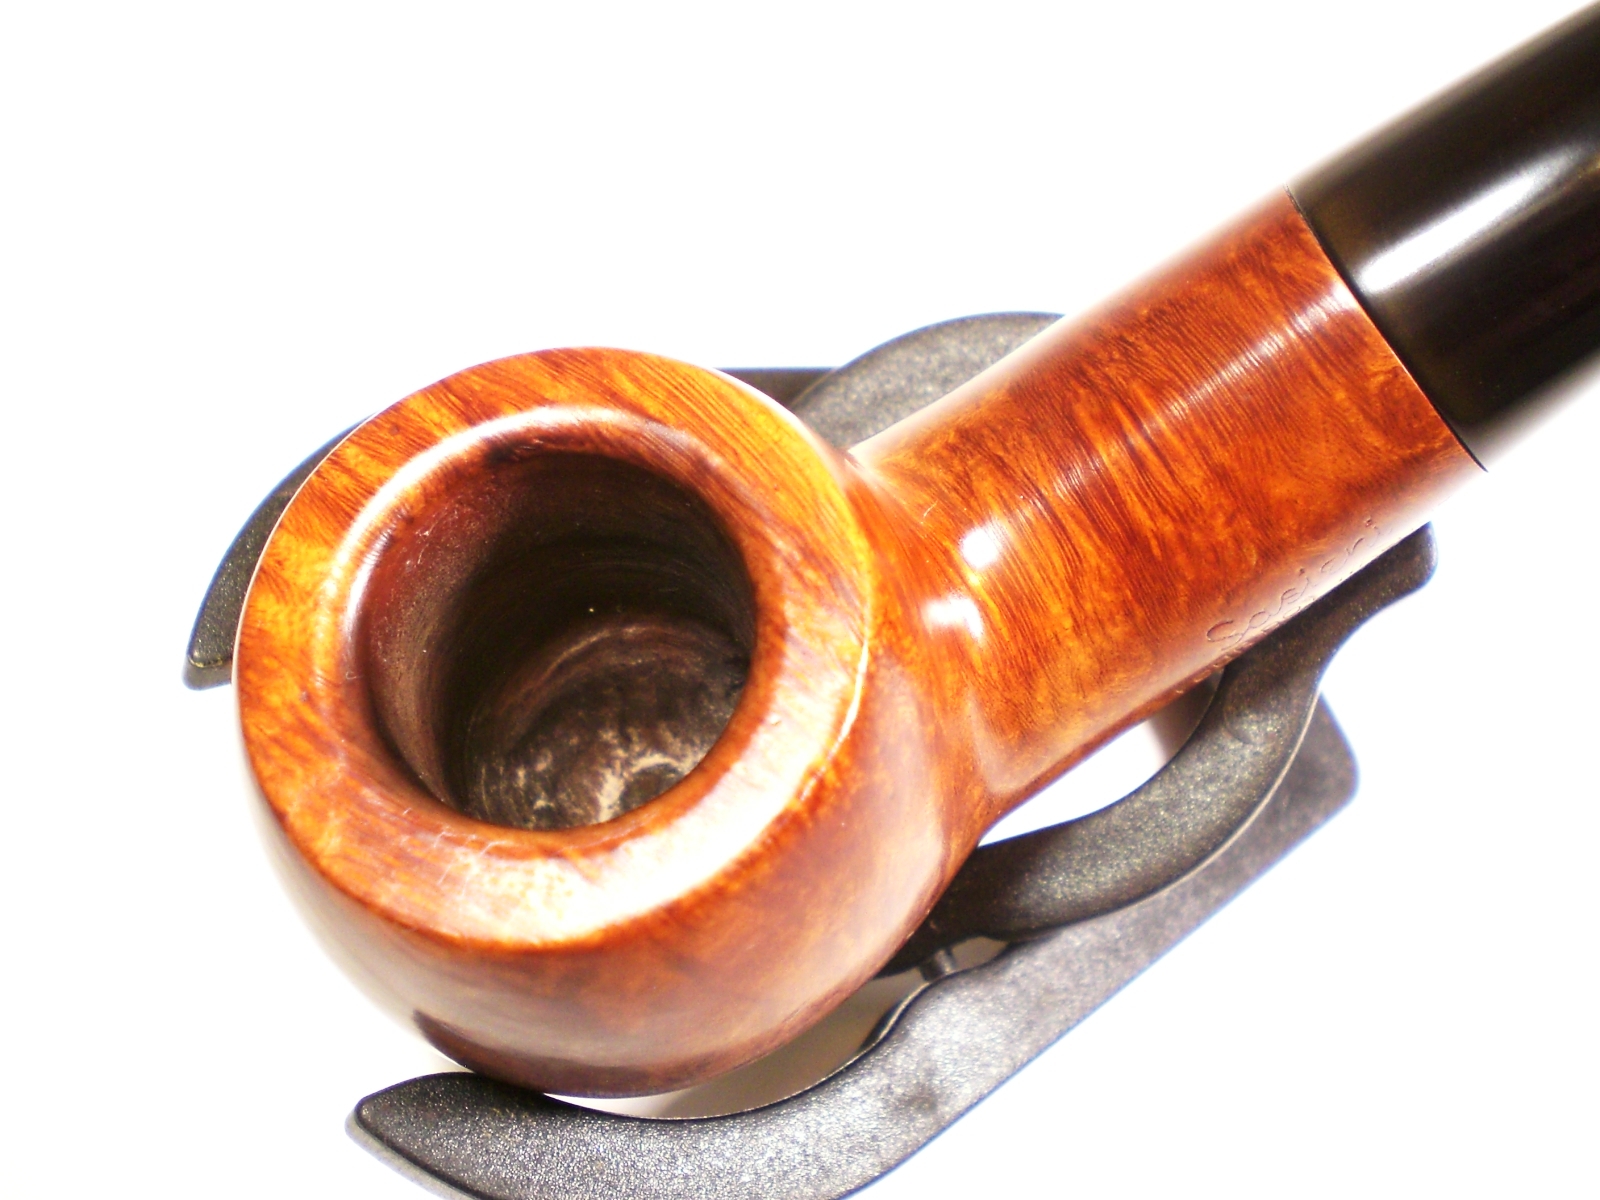
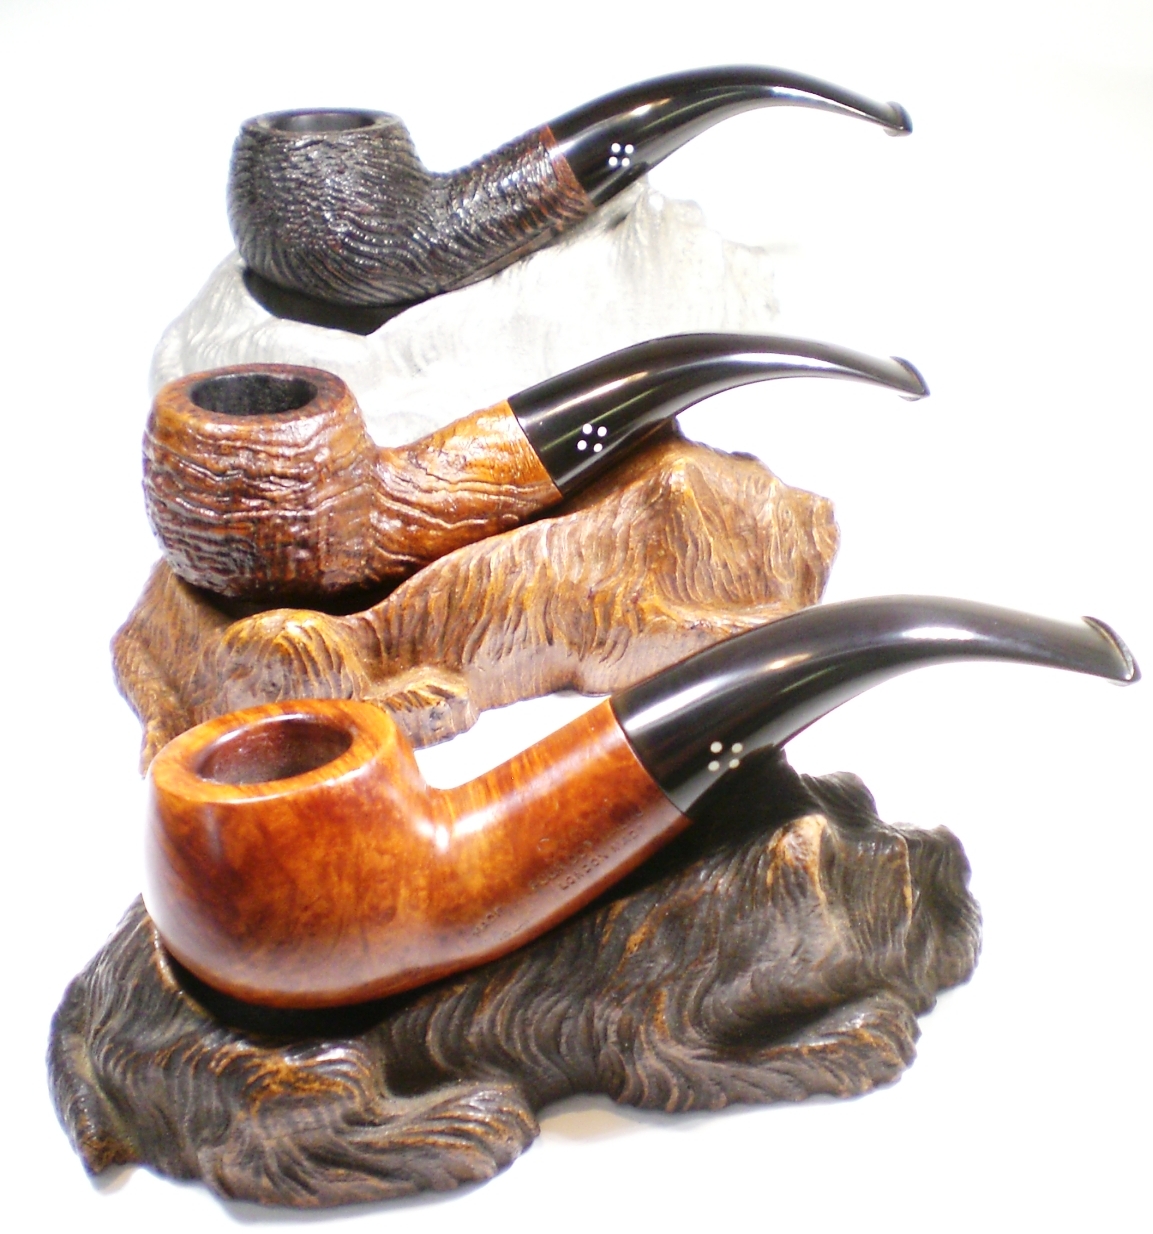
At the beginning of 2014, I had an empty slot on my “Holy Grail” shape list for the Sasieni Ashford.  During the year, I was thrilled to find both a Ruff Root and Rustic finish Ashfords.  As the year closes out, I was able to find yet another, my first smooth Ashford, in the Walnut finish.    Like my others, this one is a pre-Transition pipe which was made between 1946 and 1979.   So, in the spirit of the Christmas season, I present “We Three Ashford”.

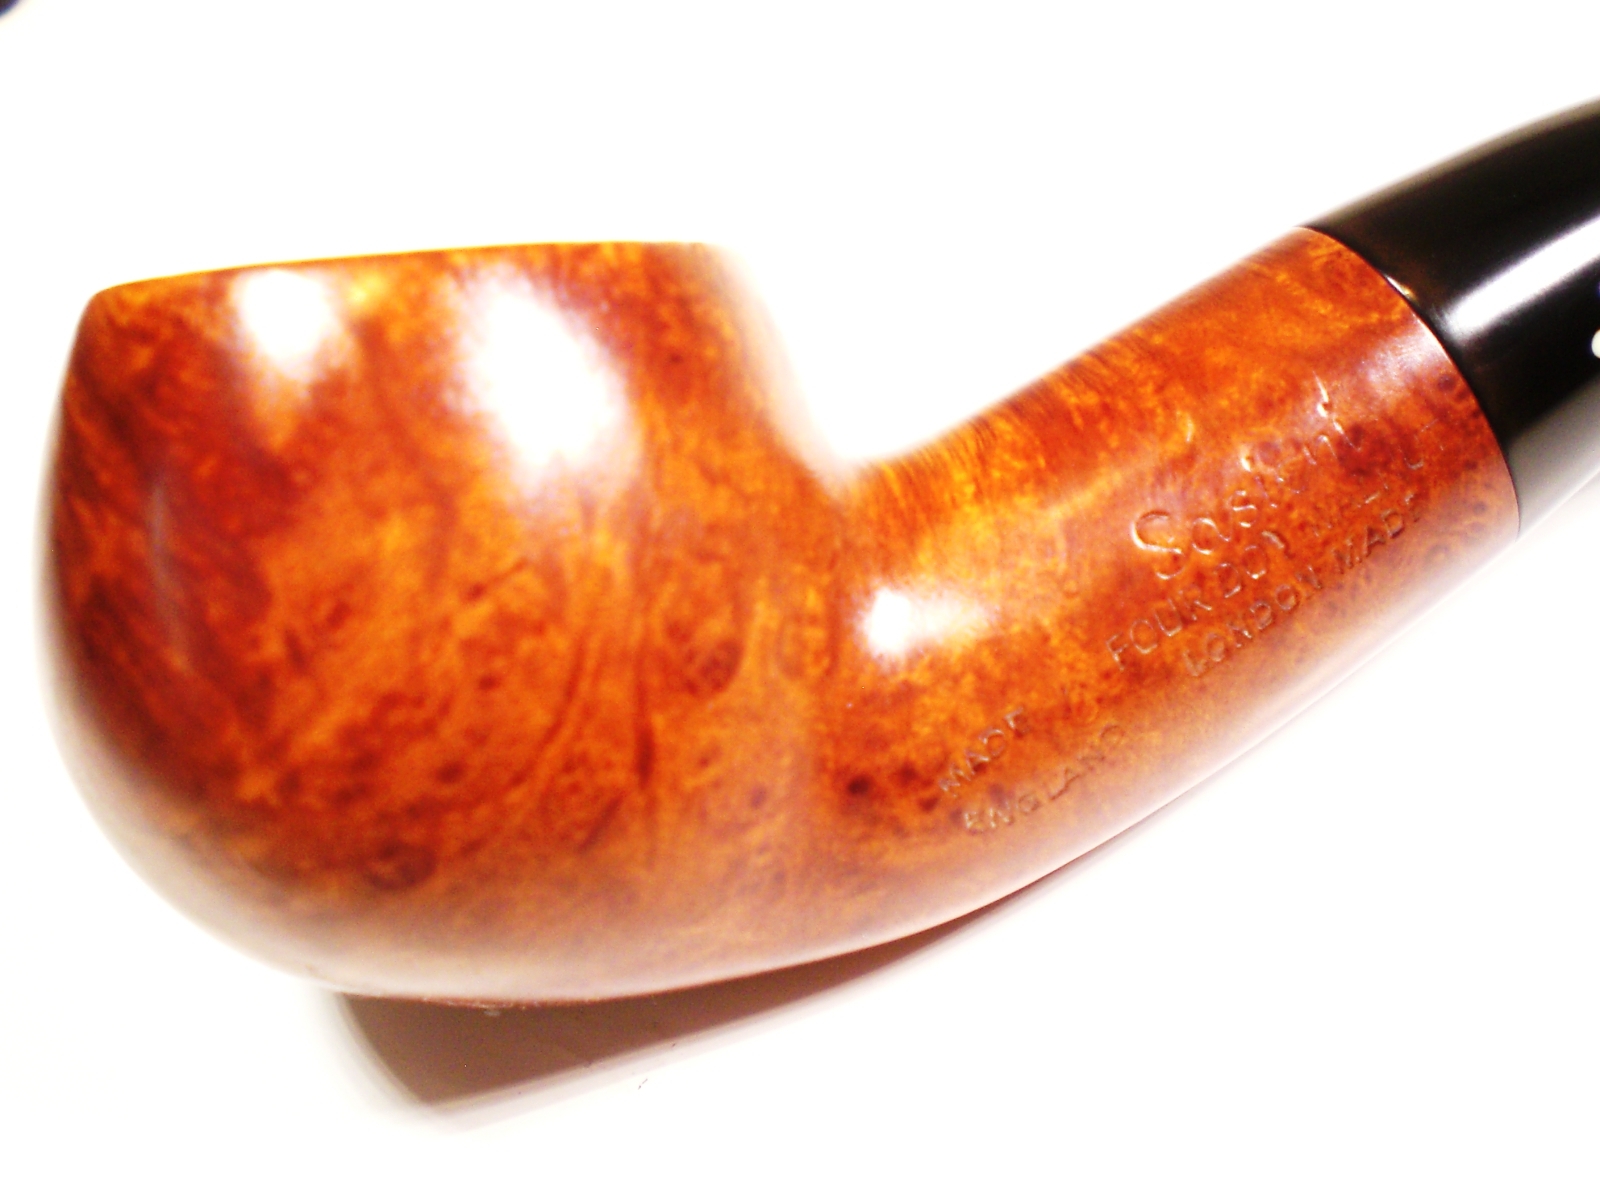
The pipe didn’t need to be restored as the Ebay seller (passionforpipes) had already done an excellent job.  There was a small crease on the side of the bowl on the dot side.  A few minutes with an iron and a wet cloth almost completely removed that mark.  After steaming out the mark, the color was brought back with some White Diamond rouge and then several coats of Carnuba wax.  The nomenclature was in very good condition, so I was careful to stay away from those areas which was waxed by hand with Halycon wax and a cloth.

Sasieni_Ashford_Walnut_eBay_bowl_dent Sasieni_Ashford_Walnut (8)

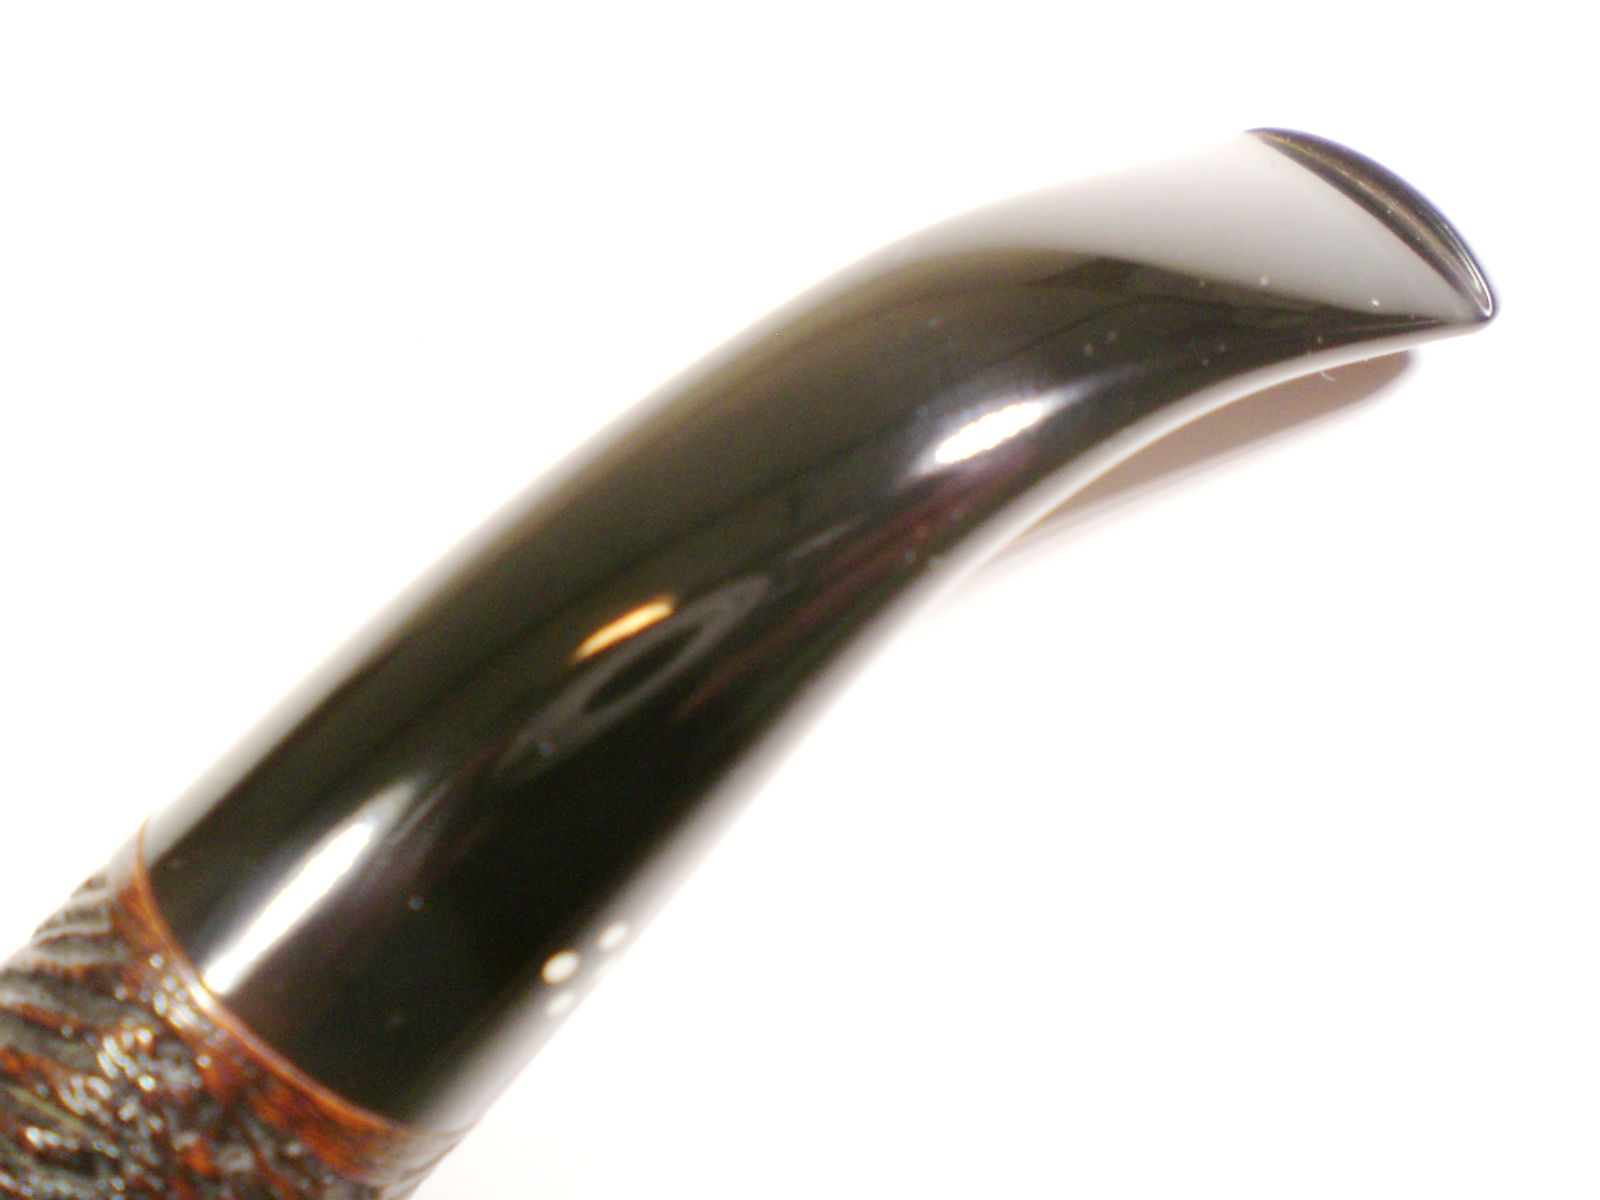
There was just a hint of oxidation around stem junction and near the button.  I removed that with some 1000>1500 and 2000 grit wet paper followed by 8000 and 12000 grade micromesh.  Then a light buff with white diamond.  Sasieni and Comoys stems respond well to the super-fine Red Jewelers rouge, so that is the final buff used.  You do need to stay away from the stem logos as the red color will transfer

I’m very pleased to add the final Ashford to my collection. My wife had now secreted the pipe away to be wrapped, so I won’t see it until Christmas Day and hopefully enjoyed later on.

Sasieni_Ashford_Walnut_Gallery Sasieni_Ashford_Walnut (6) Sasieni_Ashford_Walnut (2) Sasieni_Ashford_Walnut (9) Sasieni_Ashford_Walnut (1) Sasieni_Ashford_Walnut (3) Sasieni_Ashford_Walnut (7)

Below are all three of my Ashford Shapes.  Walnut, Ruff Root and Rustic.

Sasieni_Ashford_Trio (3)


Sasieni Ashford Rustic Cleanup


Blog by Al Jones

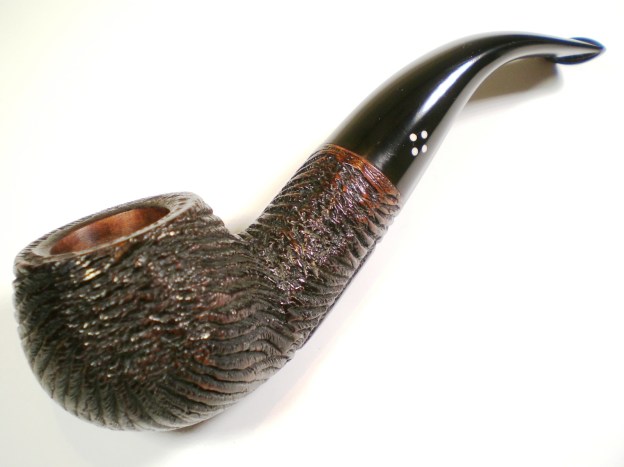
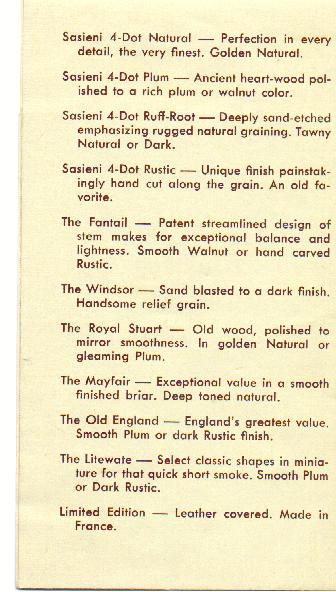
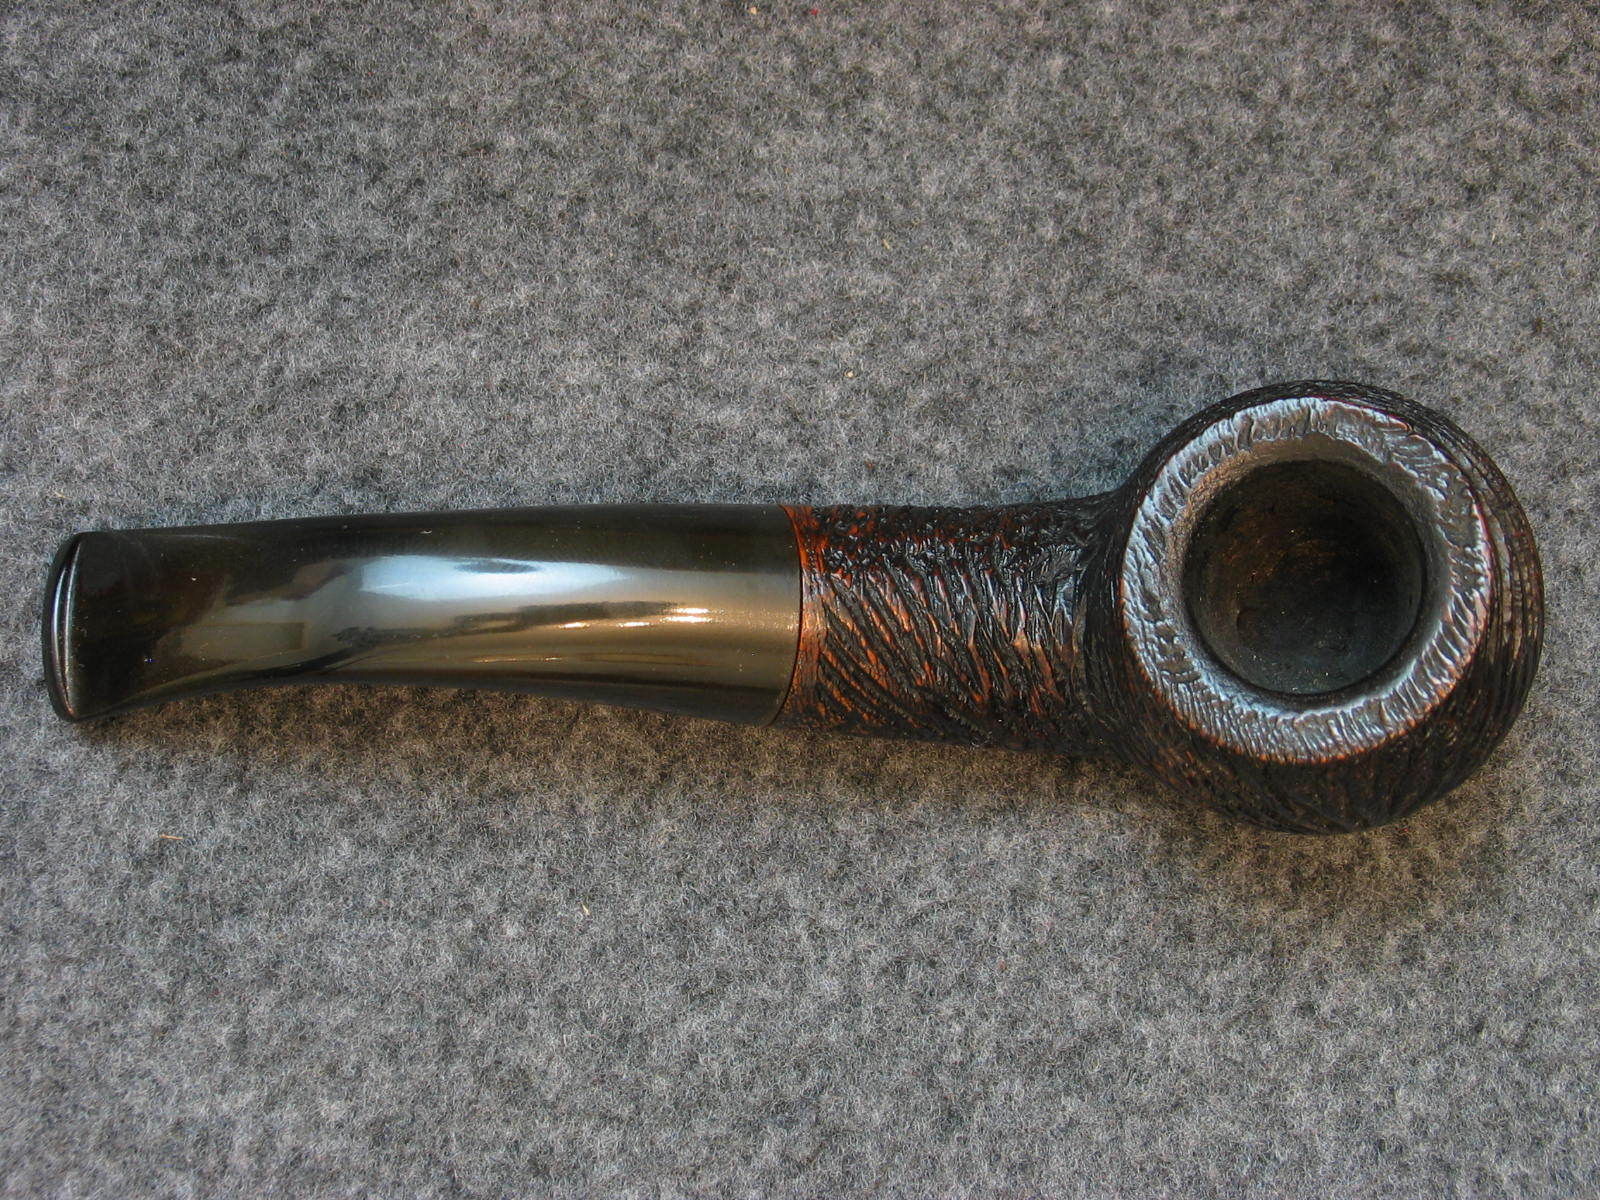
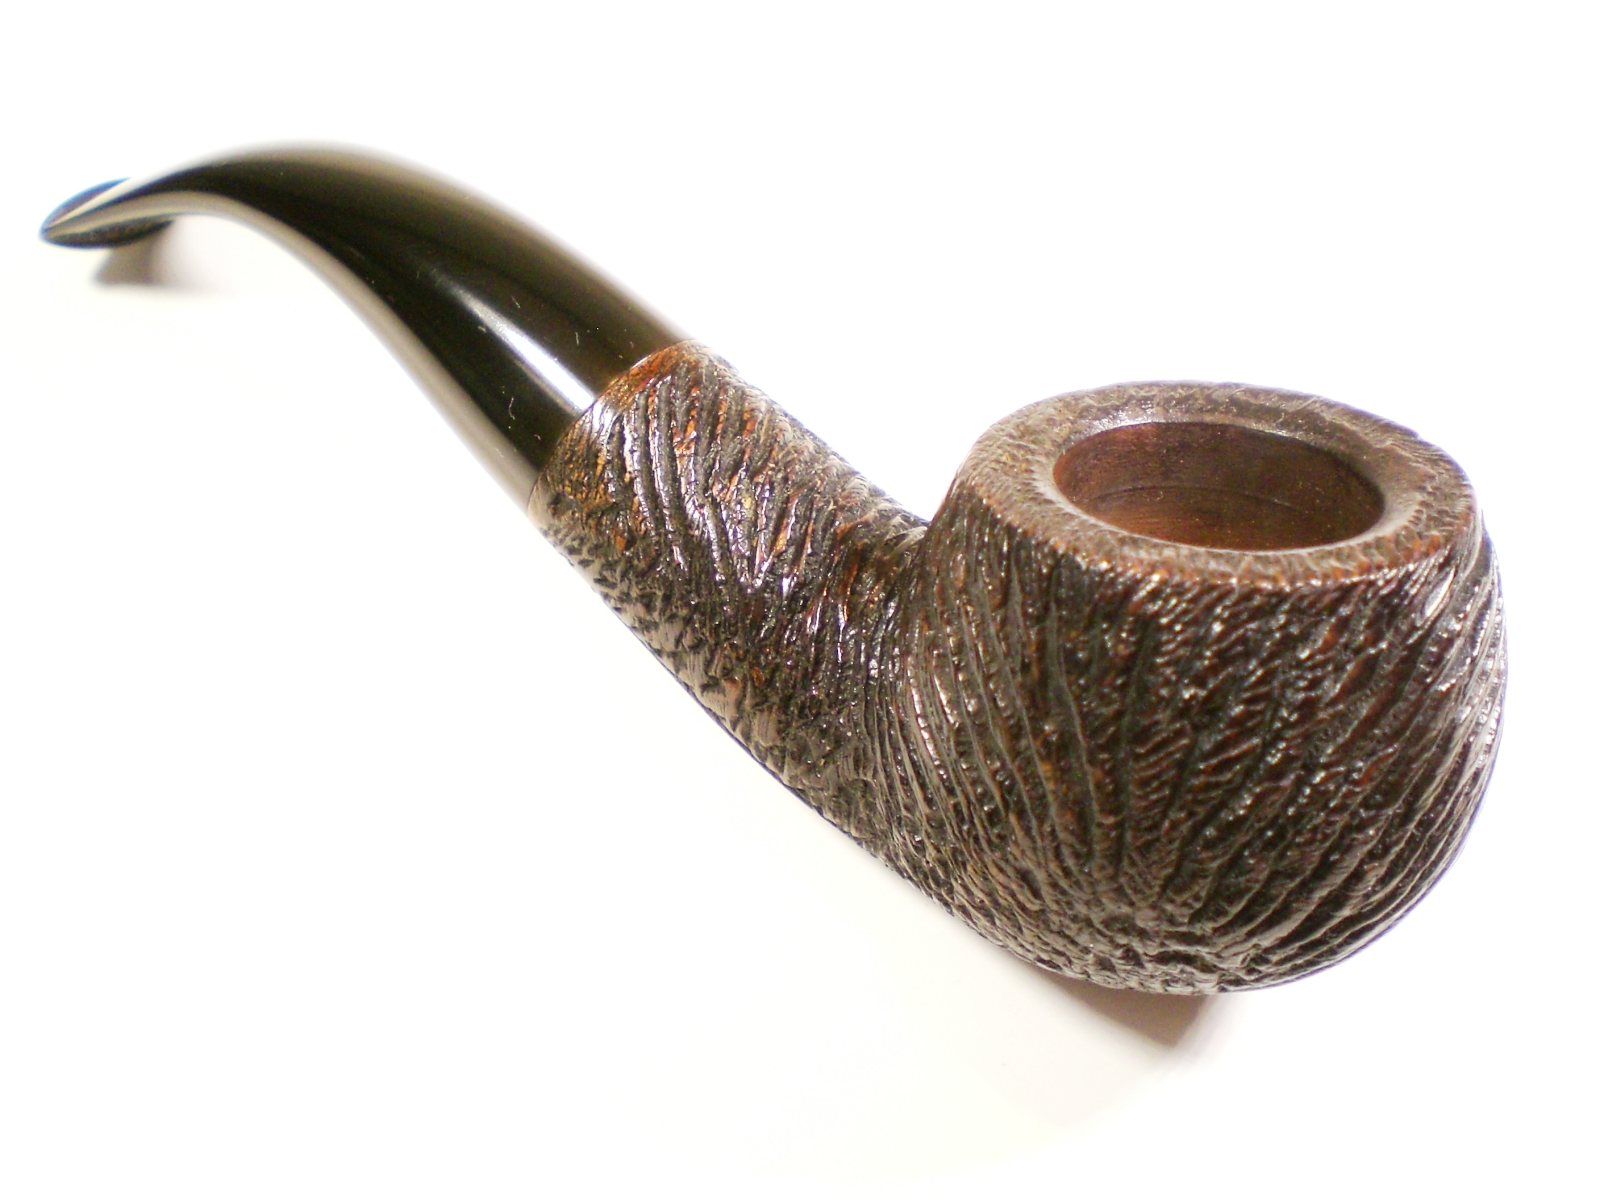
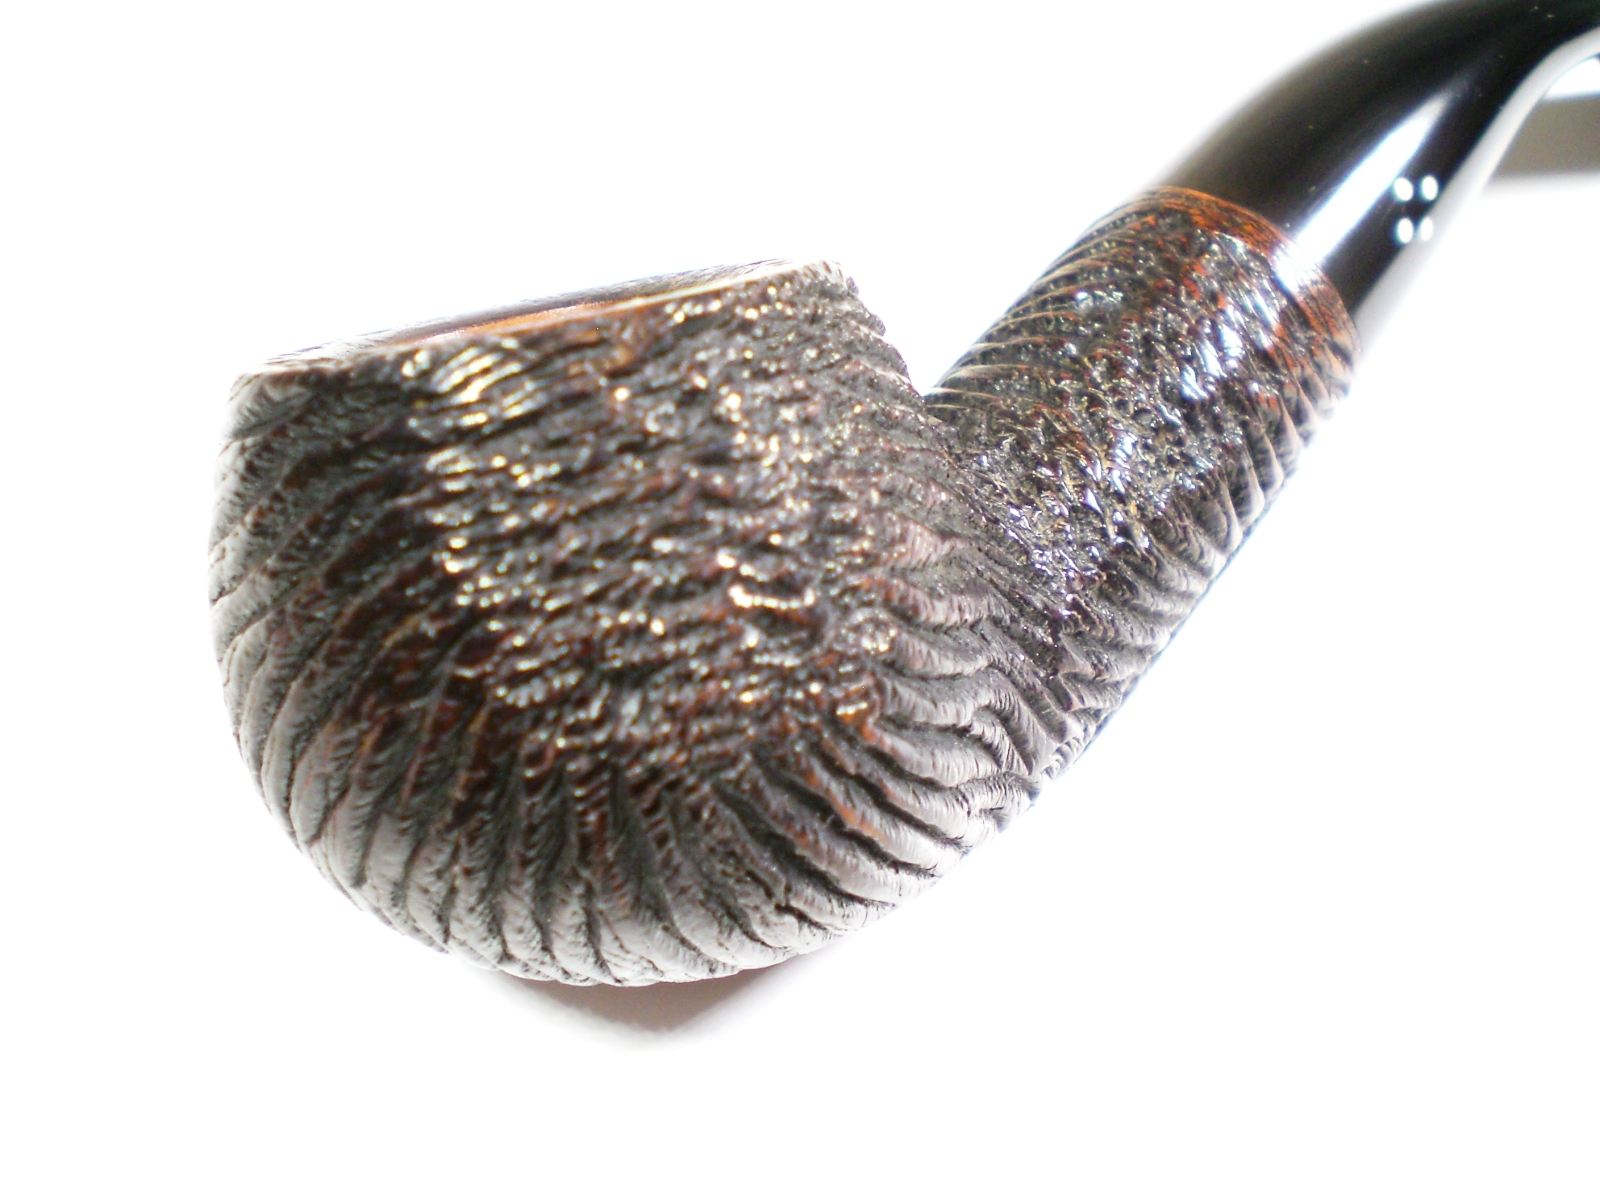
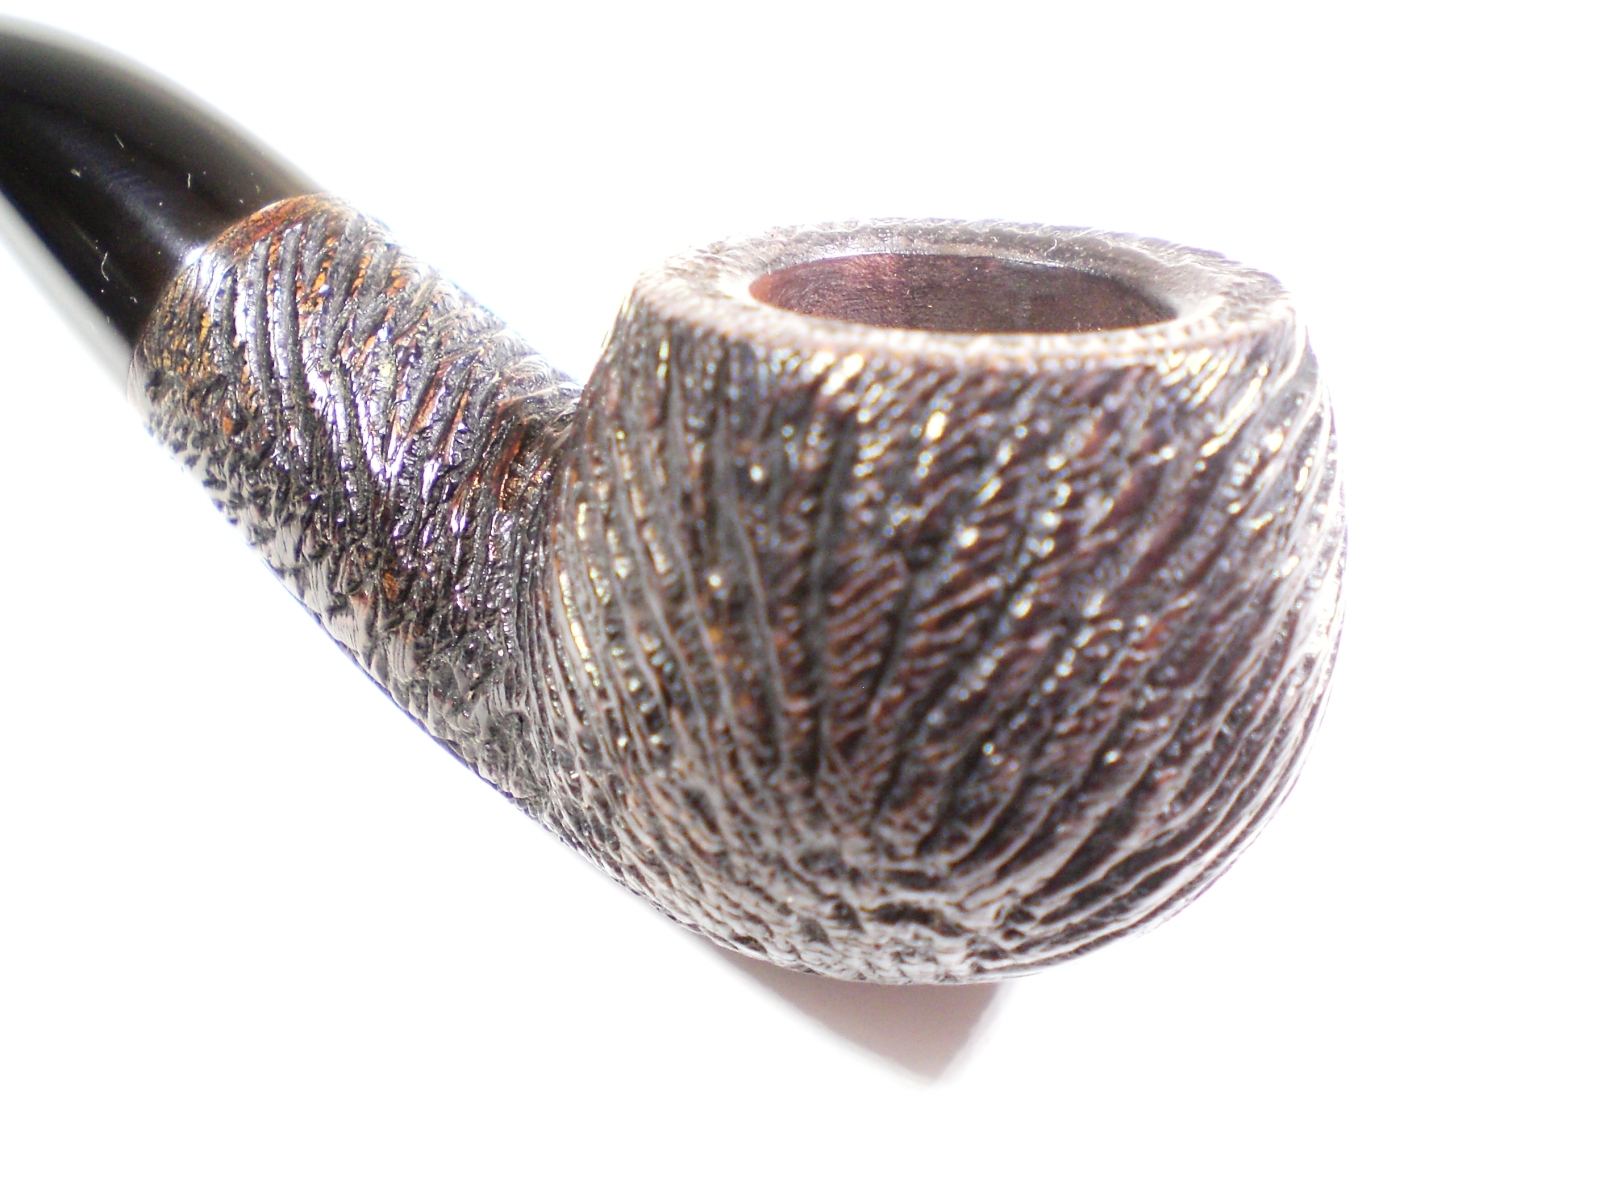
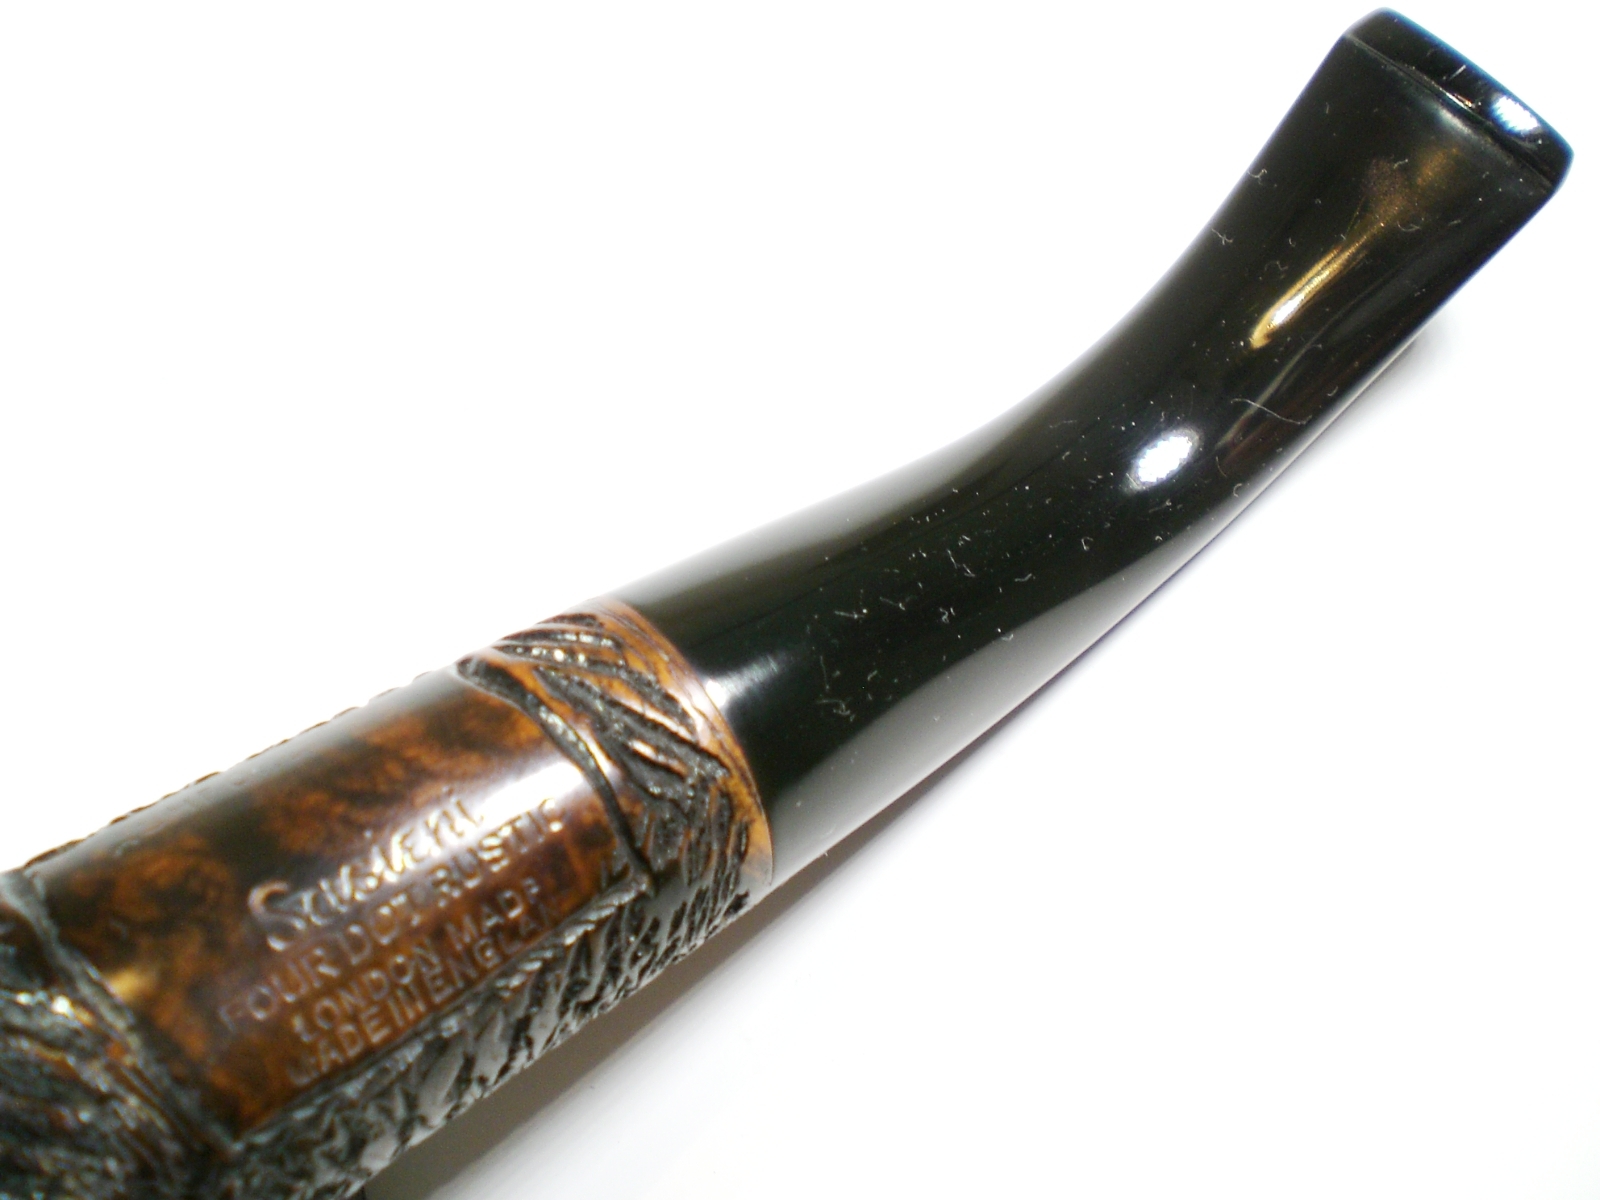
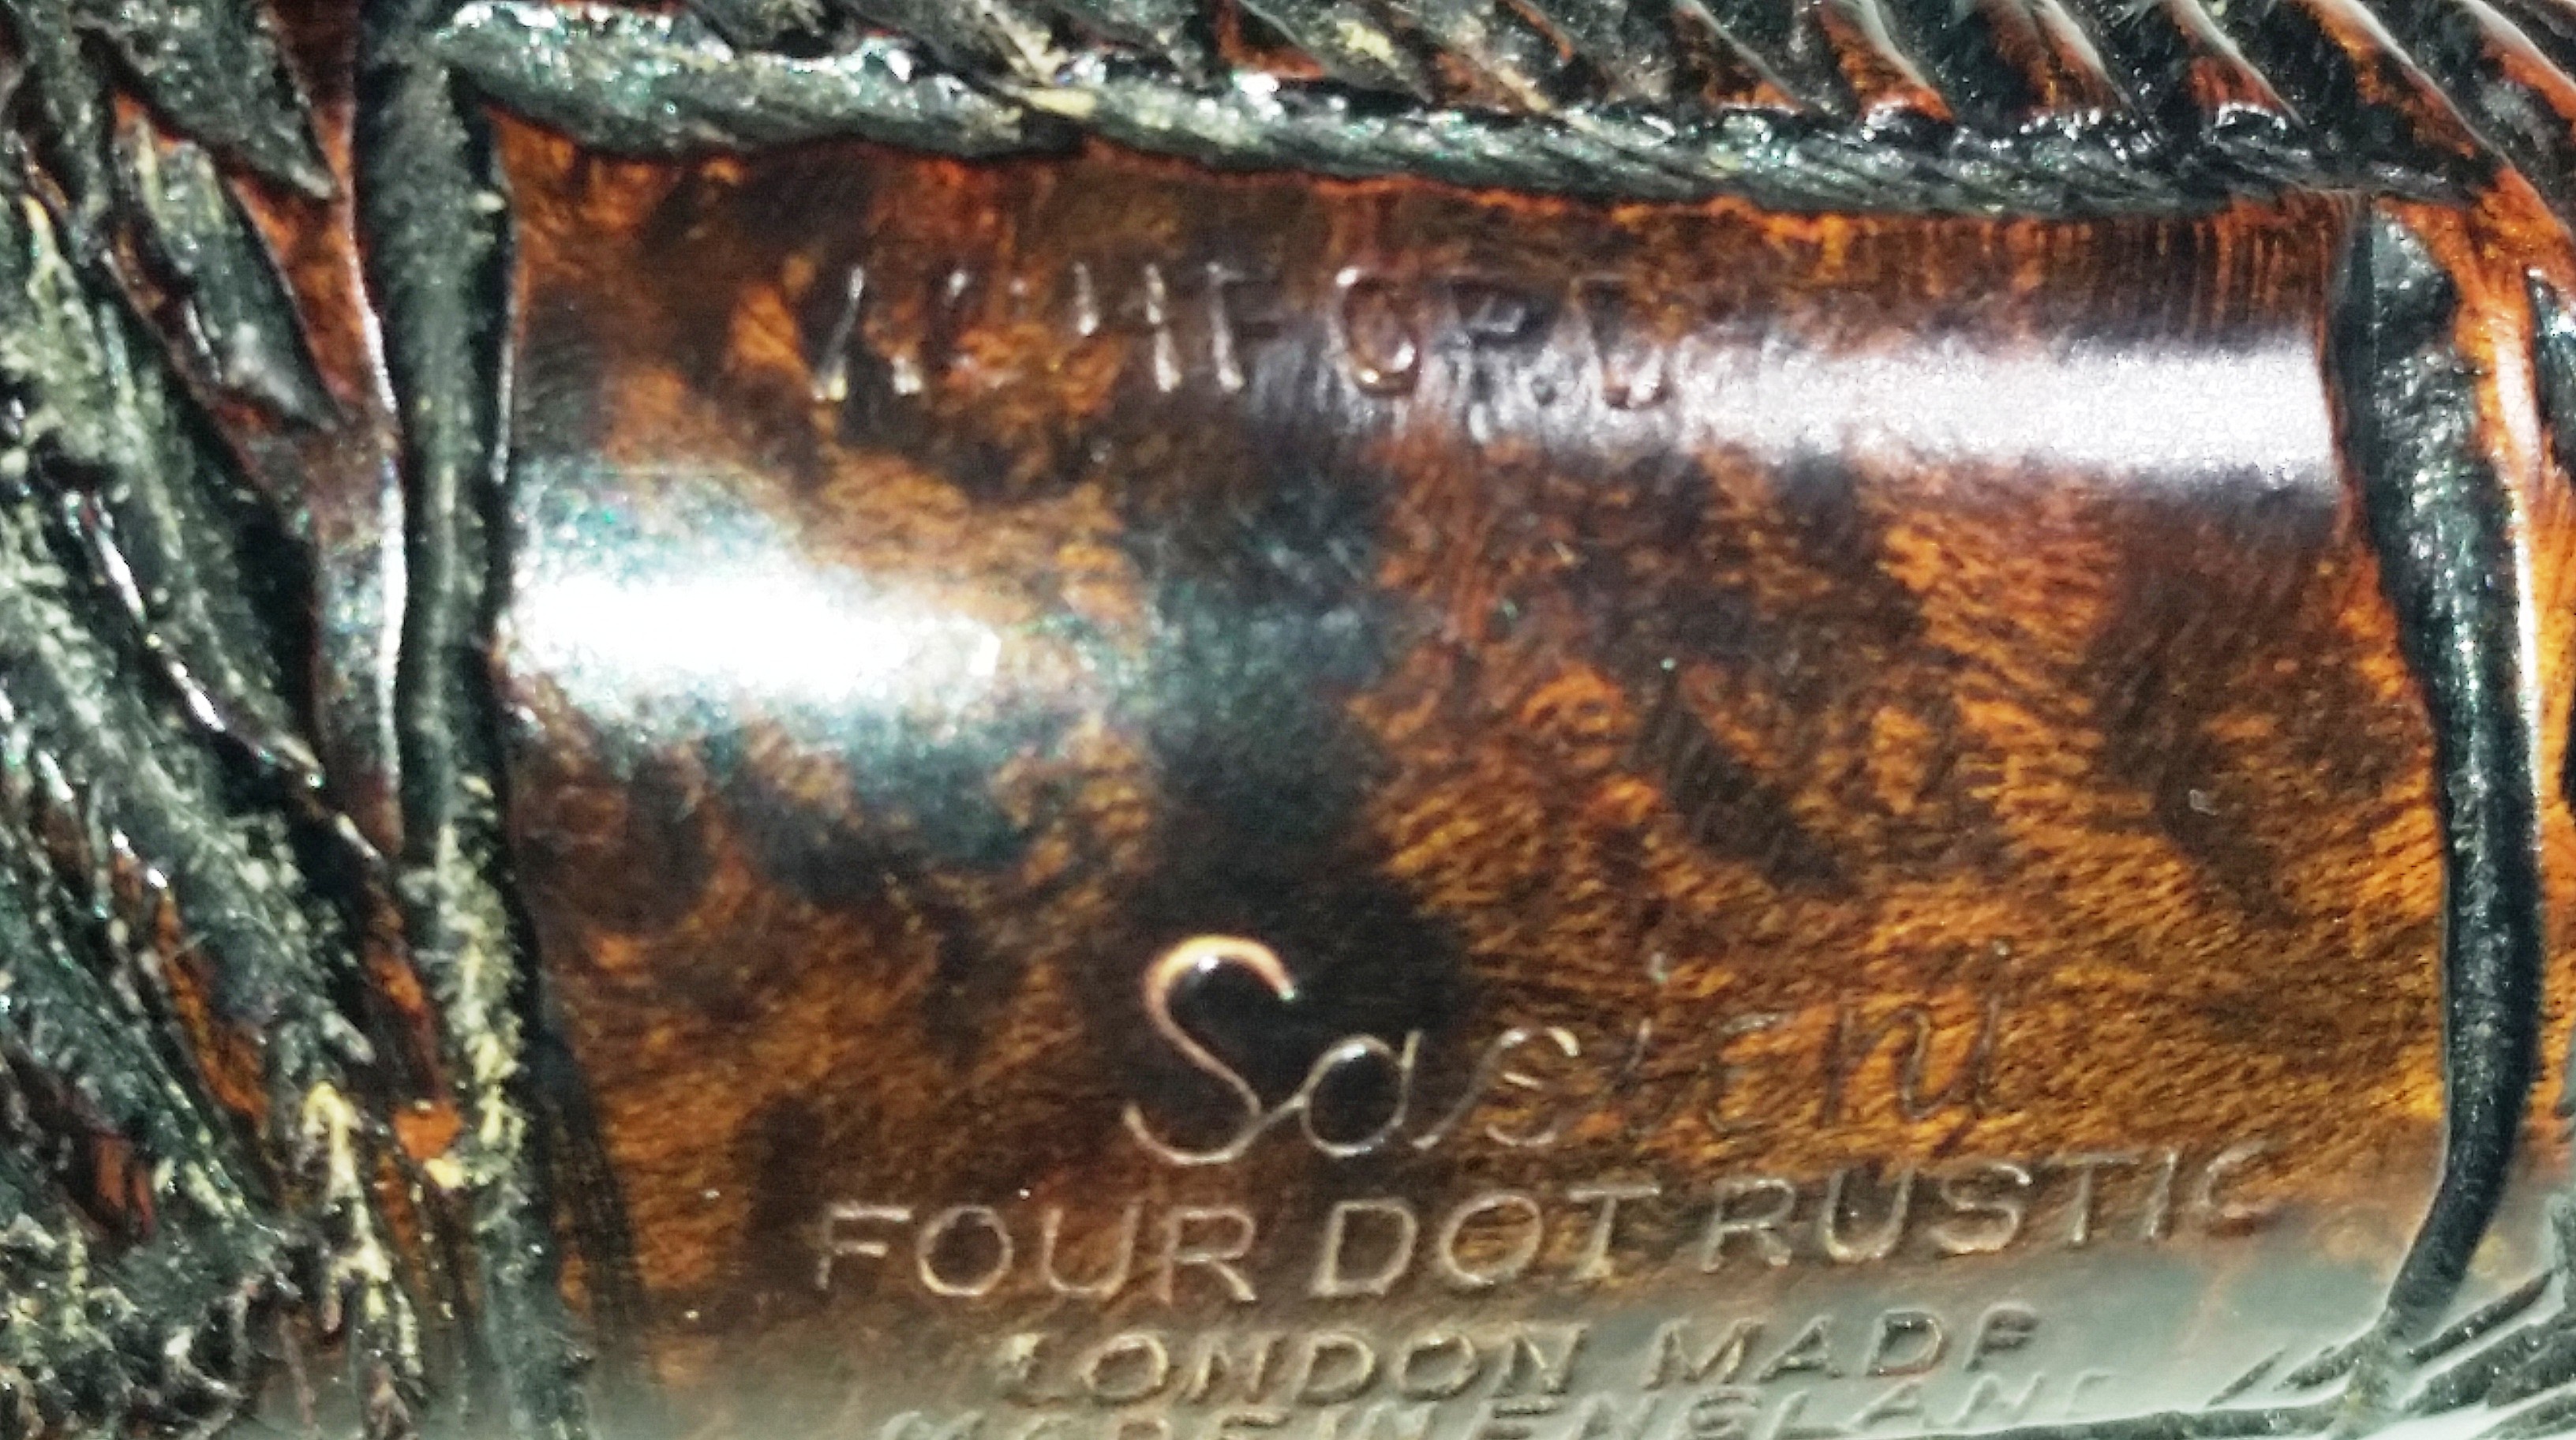
The Sasieni “Ashford” is a favorite Author shape. Earlier this year I found a tan, sandblasted “Ruff Root” version.  This shape is also shown as Shape 88 on the Sasieni chart.  Sasieni’s unique “Rustic” finish is their rusticated and carved finish, which follows the grain line.    Below is how Sasieni describes the finish.  I was unable to determine exactly when the “Rustic” finish was started, but it is listed in a 1936 catalog page.  This pipe is a pre-Transition era piece, made between 1946 and 1979.  The use of “Four Dot”, the Sasieni script and Ashford town name identify the era of its manufacture.

Sasieni_Rustic_Catalog

The pipe looked in excellent condition and I thought it just might require a mild clean-up.  Below are pictures of the pipe from the Ebay ad.

Sasieni_Ashford_Rustic_eBay Sasieni_Ashford_Rustic_eBay2 Sasieni_Ashford_Rustic_eBay3

On delivery, the stem had more oxidation than visible in the Ebay pictures.   There was some mild cake in the bowl, but once removed, it was in very good shape.  I soaked the bowl with alcohol and sea salt.    The stamping on the polished nomenclature area was very clear.

As I mentioned, the stem had some mild oxidation.  I started with 800 grit paper, then worked my way thru 1000, 1500 and 2000 grades.  I then finished the stem with 8000 and 12000 grade micromesh.  The stem was then buffed with white diamond rouge.    I hand polished the bowl with some Halycon wax and a cotton cloth.

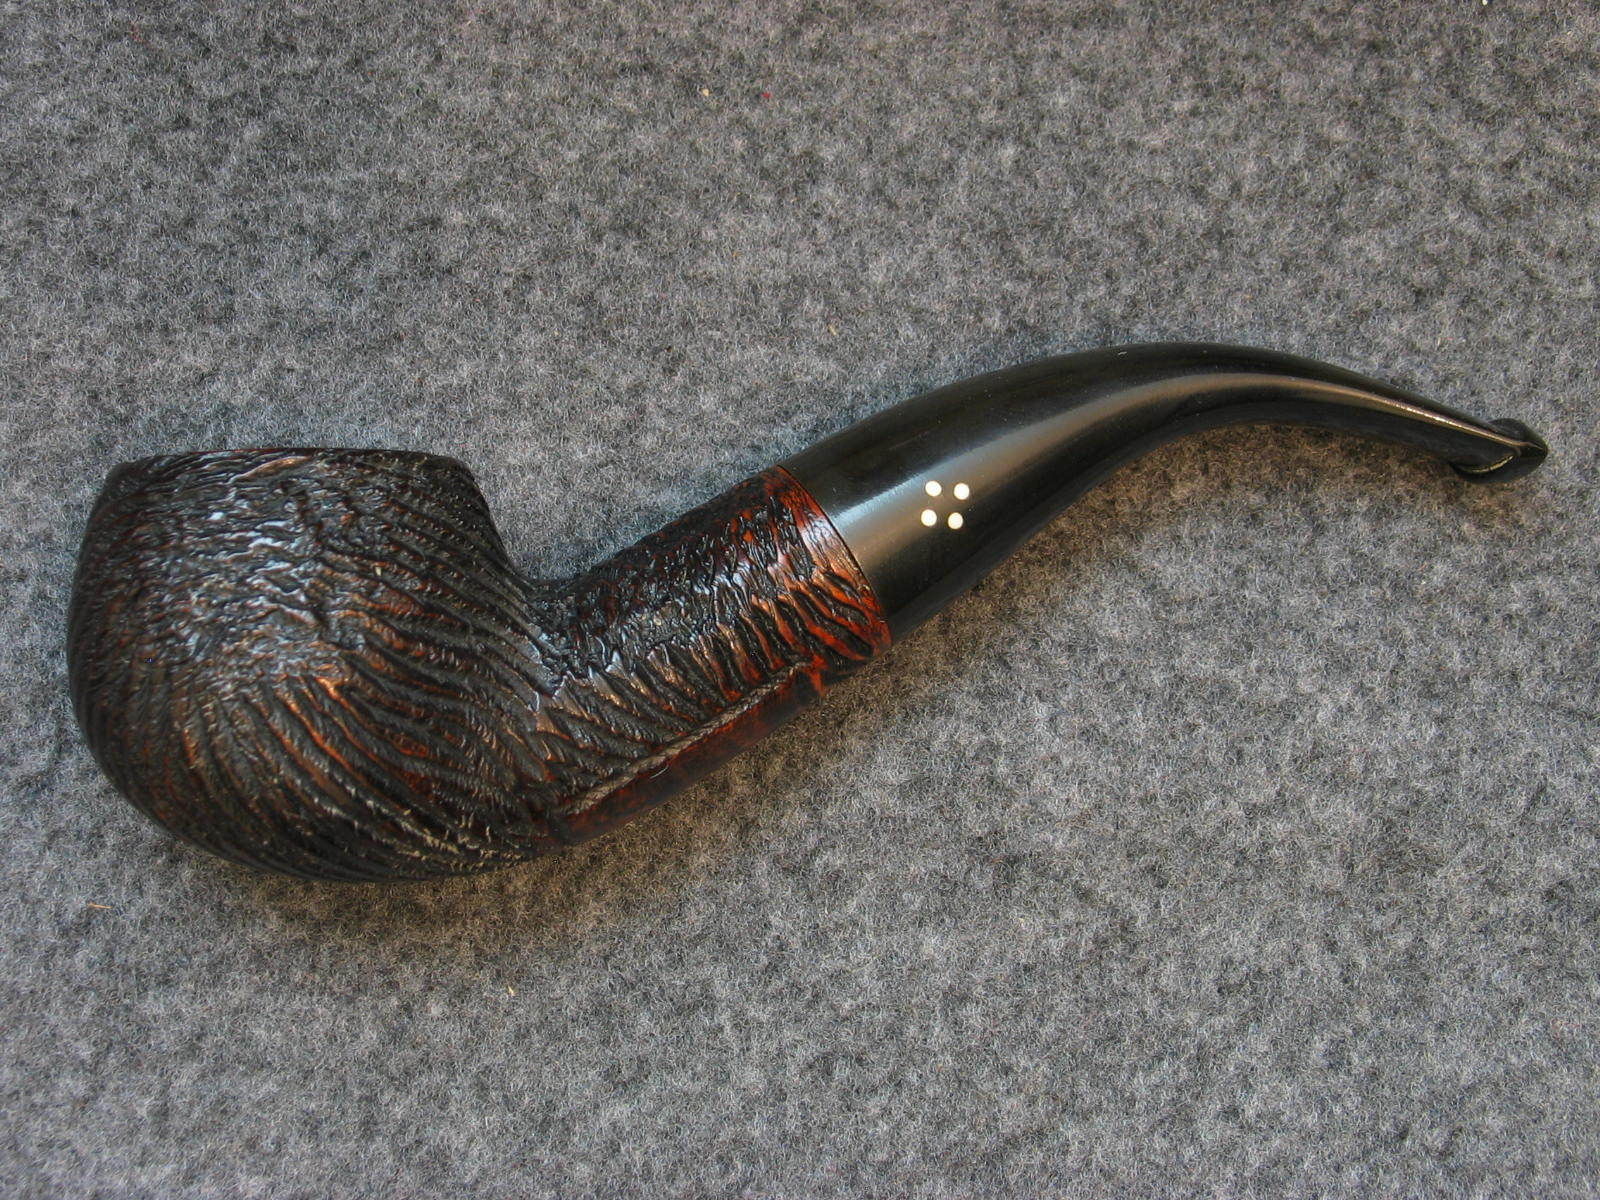
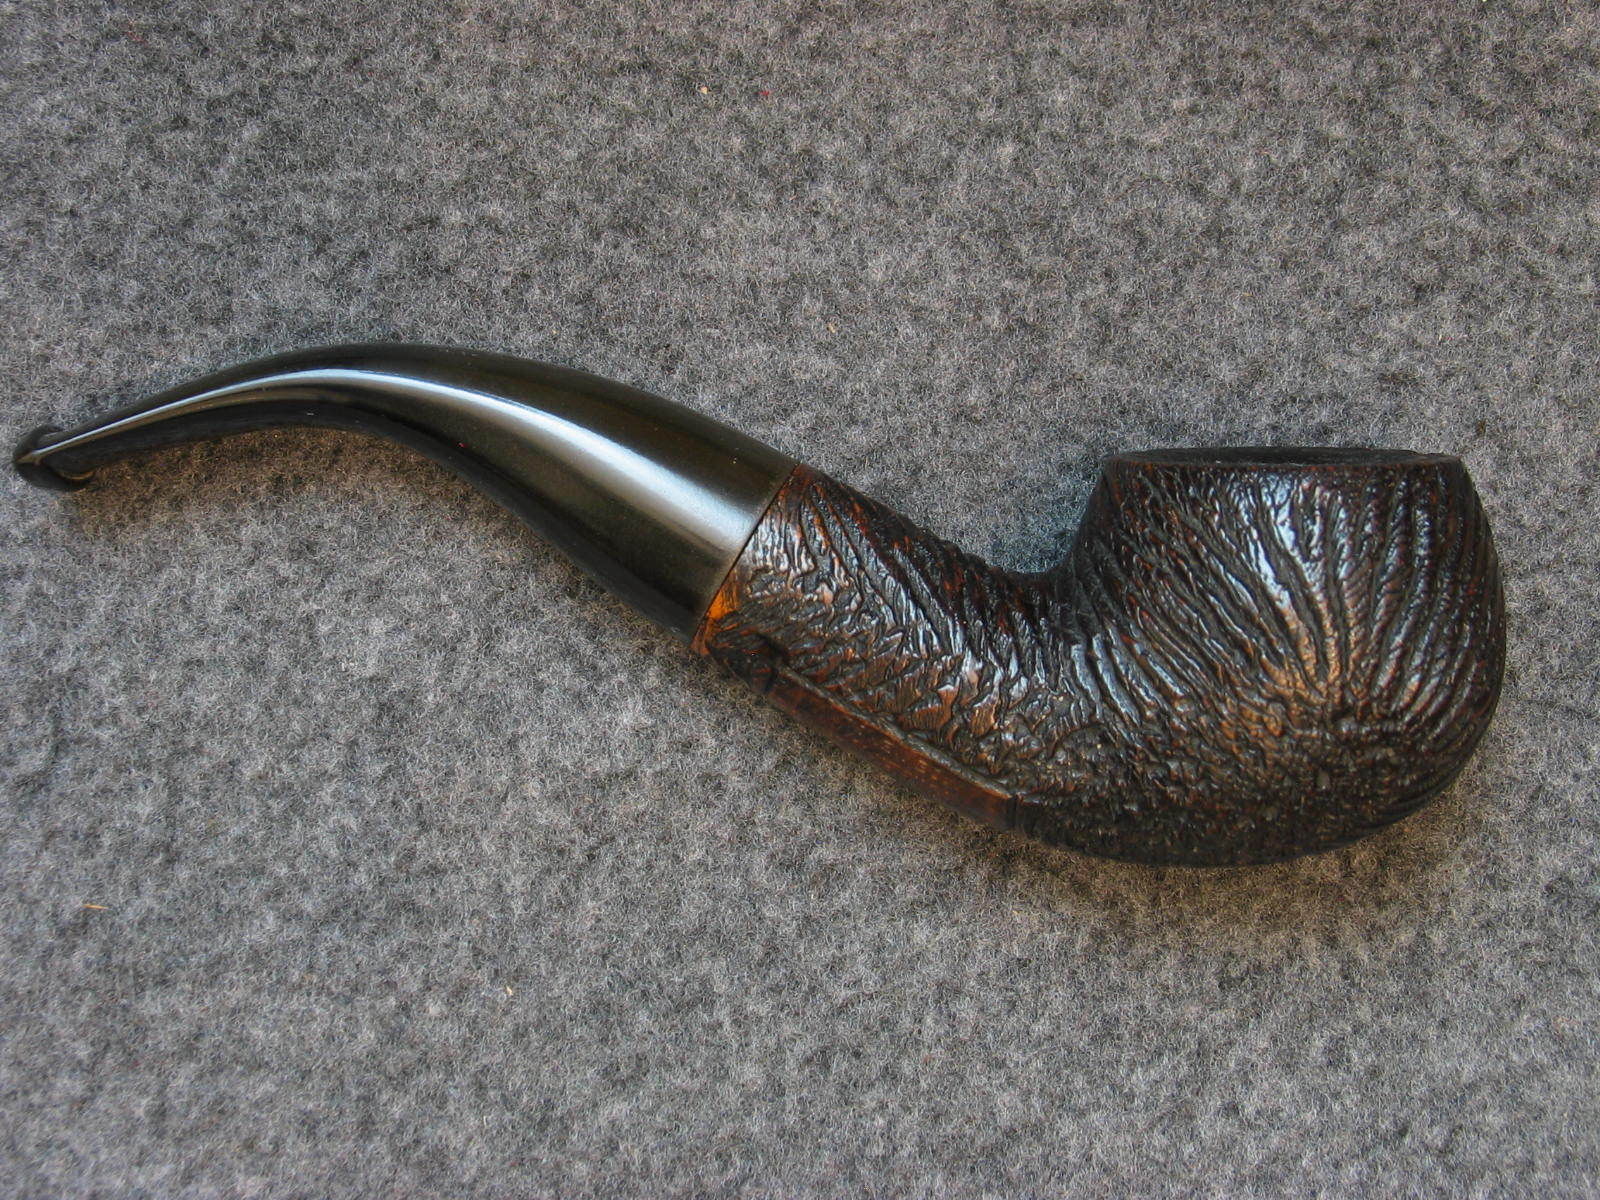
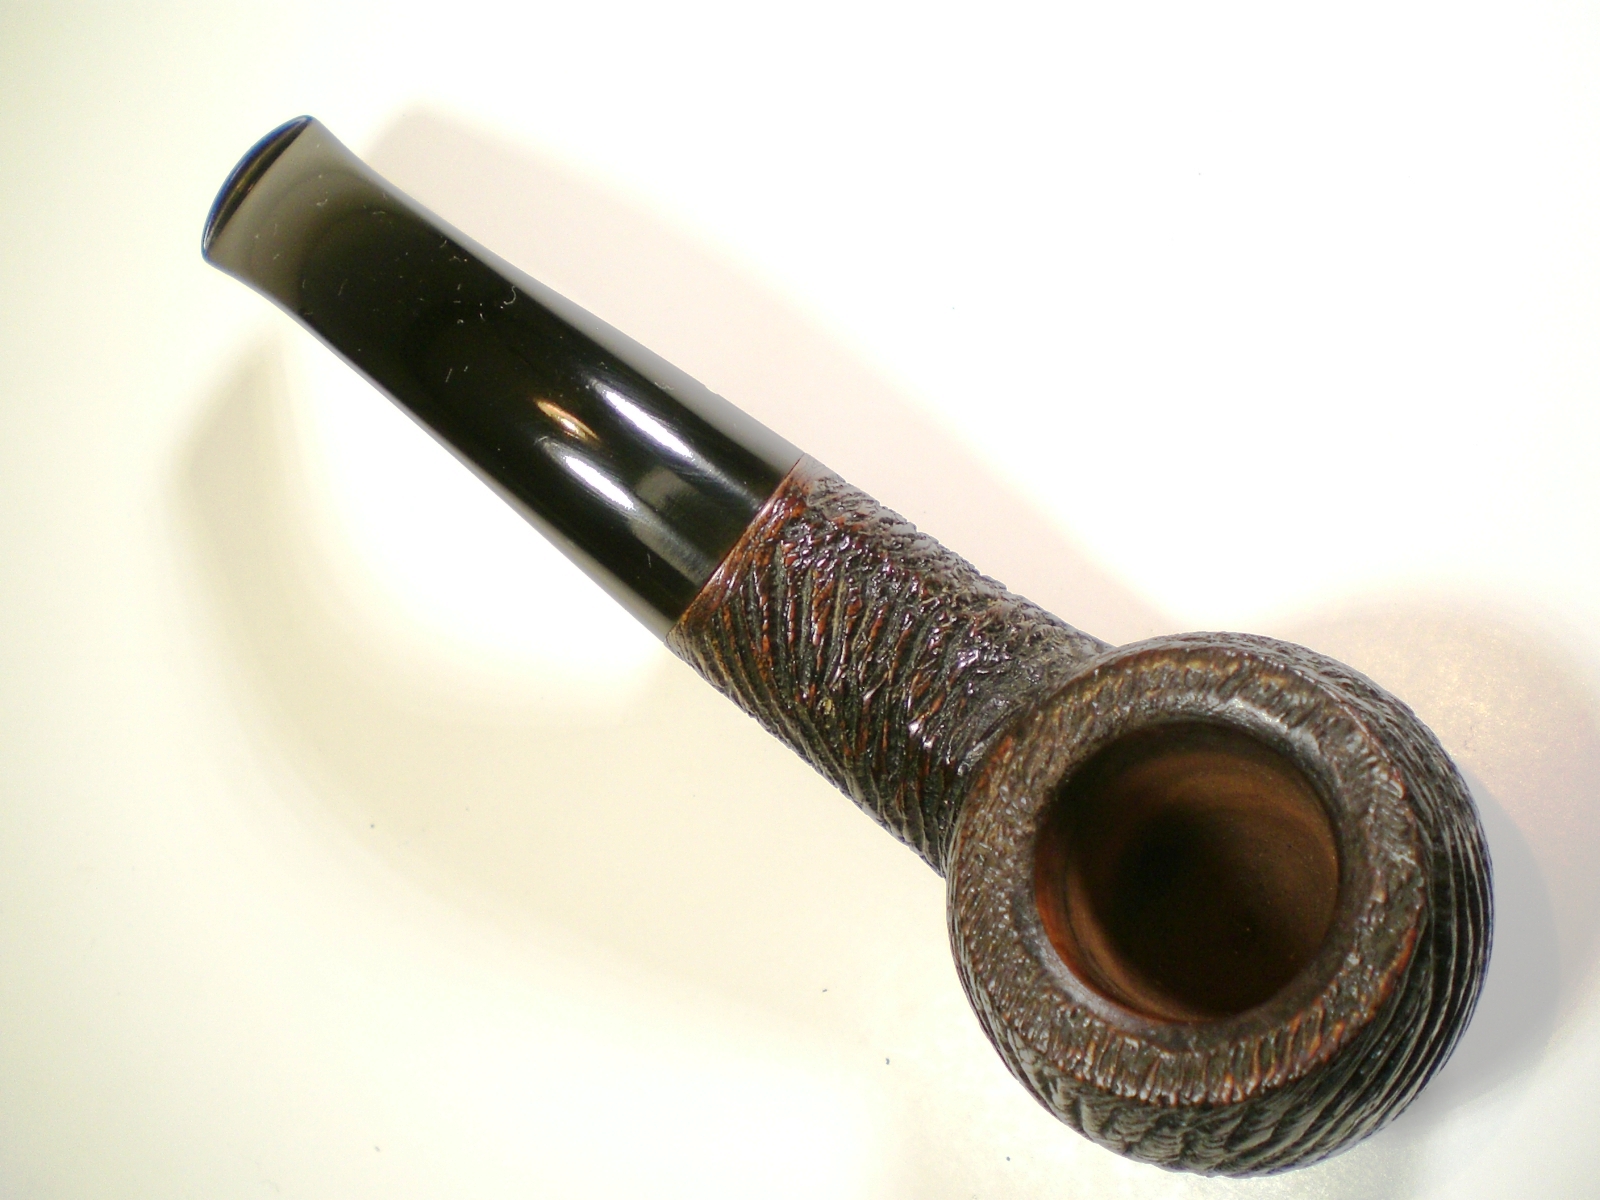
Below is the finished pipe.  Interestingly, this Rustic version of the Ashford weigh 42 grams while the sand-blasted Ruff Root version is only 35 grams.

Sasieni_Ashford_Rustic_Gallery Sasieni_Ashford_Rustic_Finished (2) Sasieni_Ashford_Rustic_Finished Sasieni_Ashford_Rustic_Finished (3) Sasieni_Ashford_Rustic_Finished (1) Sasieni_Ashford_Rustic_Finished (4) Sasieni_Ashford_Rustic_Finished (5) Sasieni_Ashford_Rustic_Nomenclature

And a shot of both pre-Transition era Ashfords, a Rustic and a Ruff Root.  Interestingly, the Rustic is as mentioned 6 grams heavier and slightly larger overall.

Sasieni_Ashford_Set (2)

Peterson Barrel Restoration


Blog by Al Jones

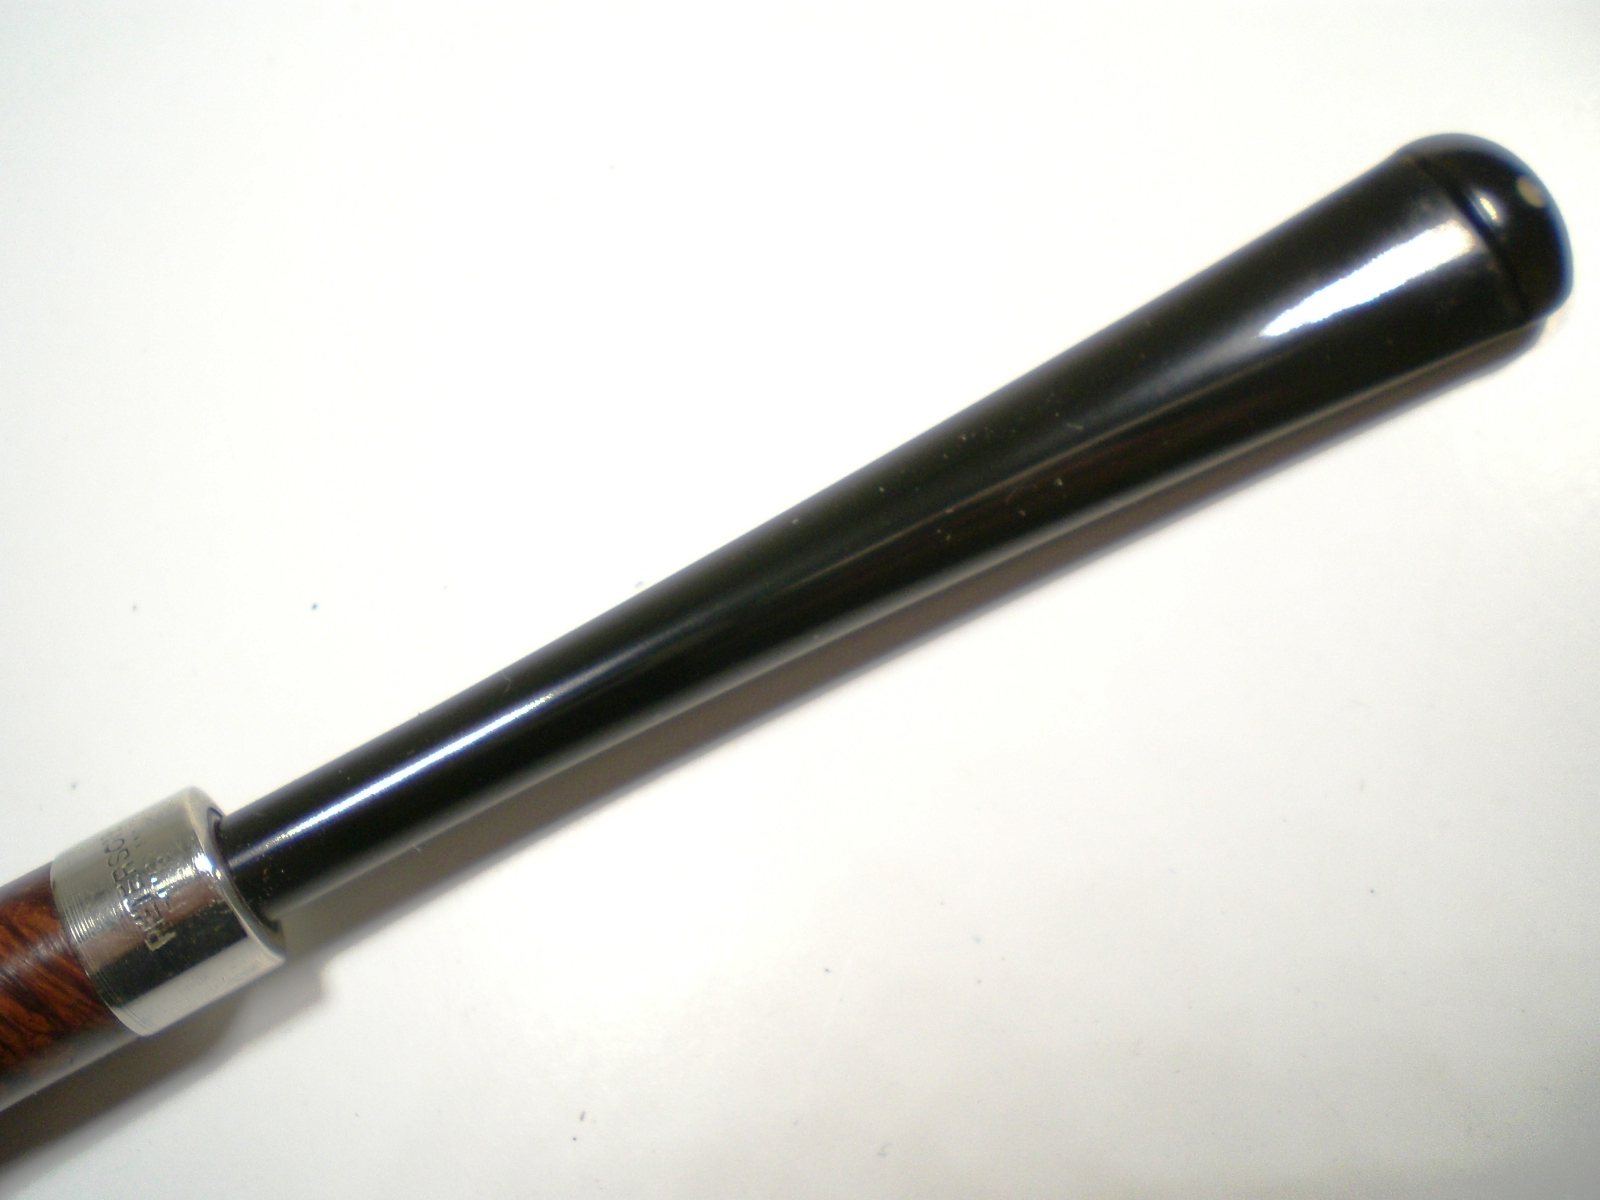
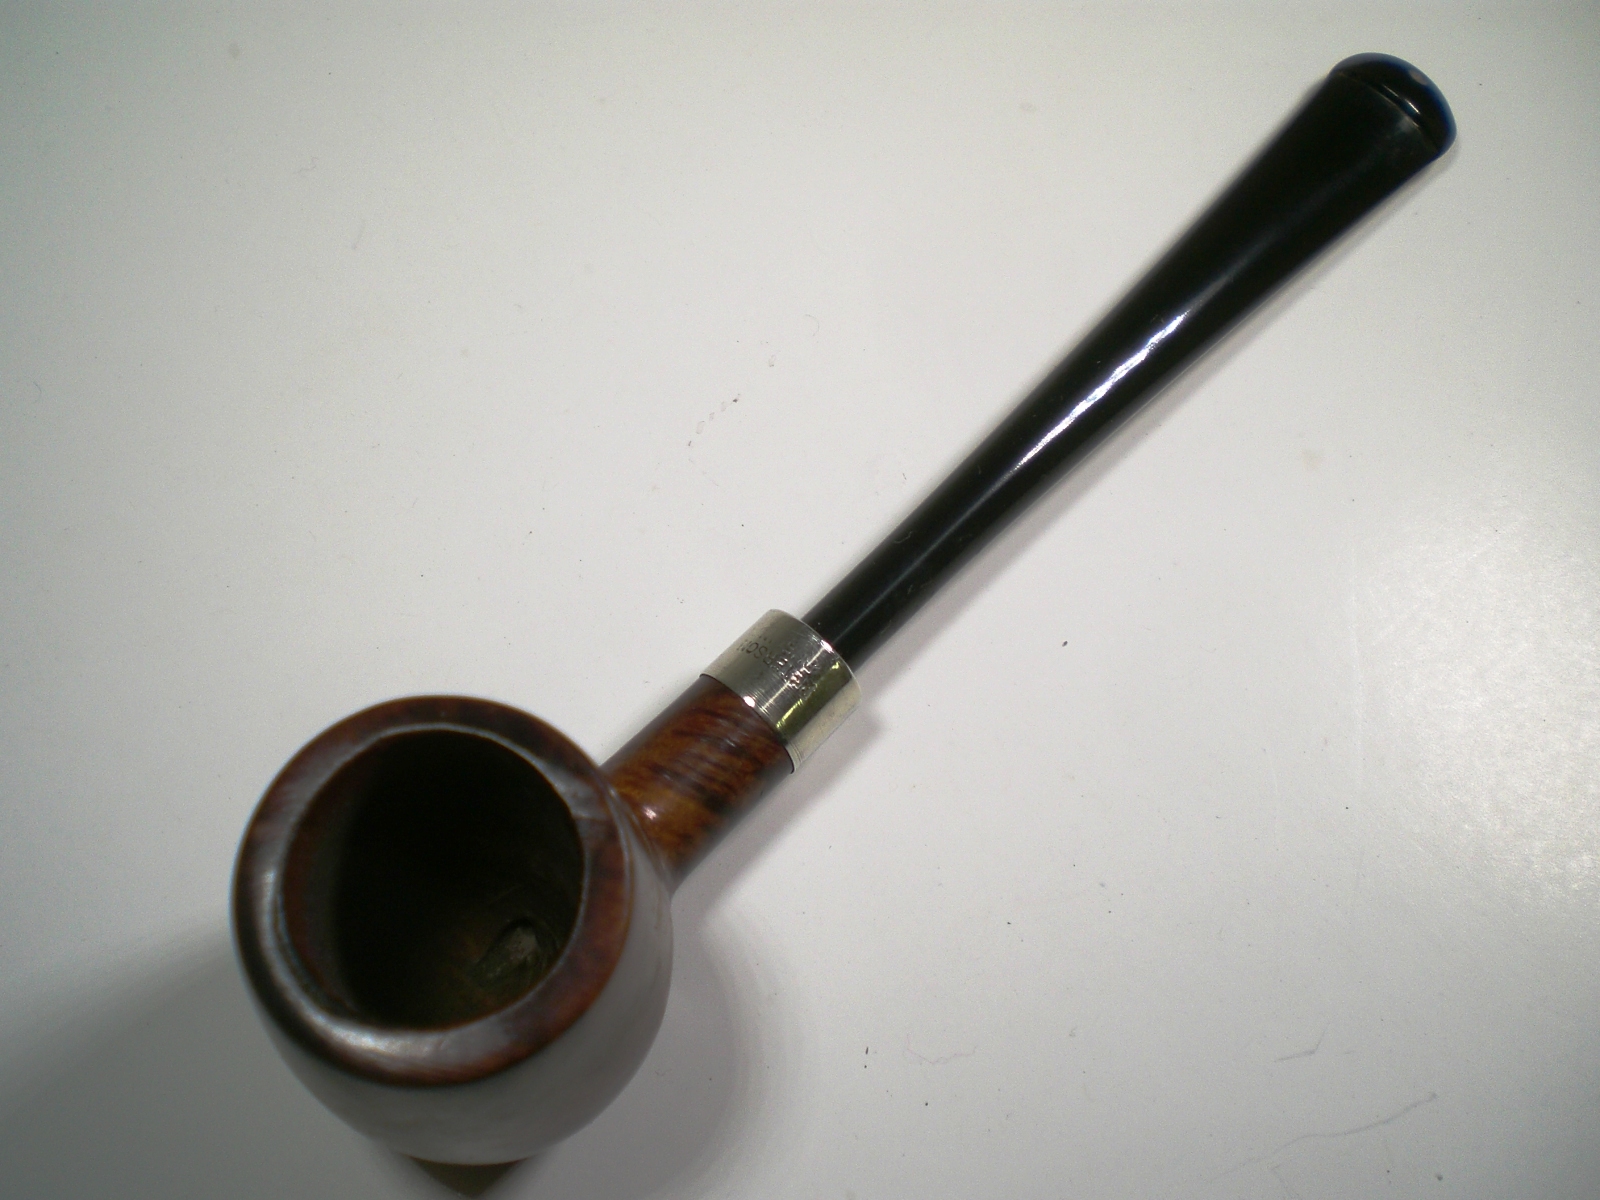
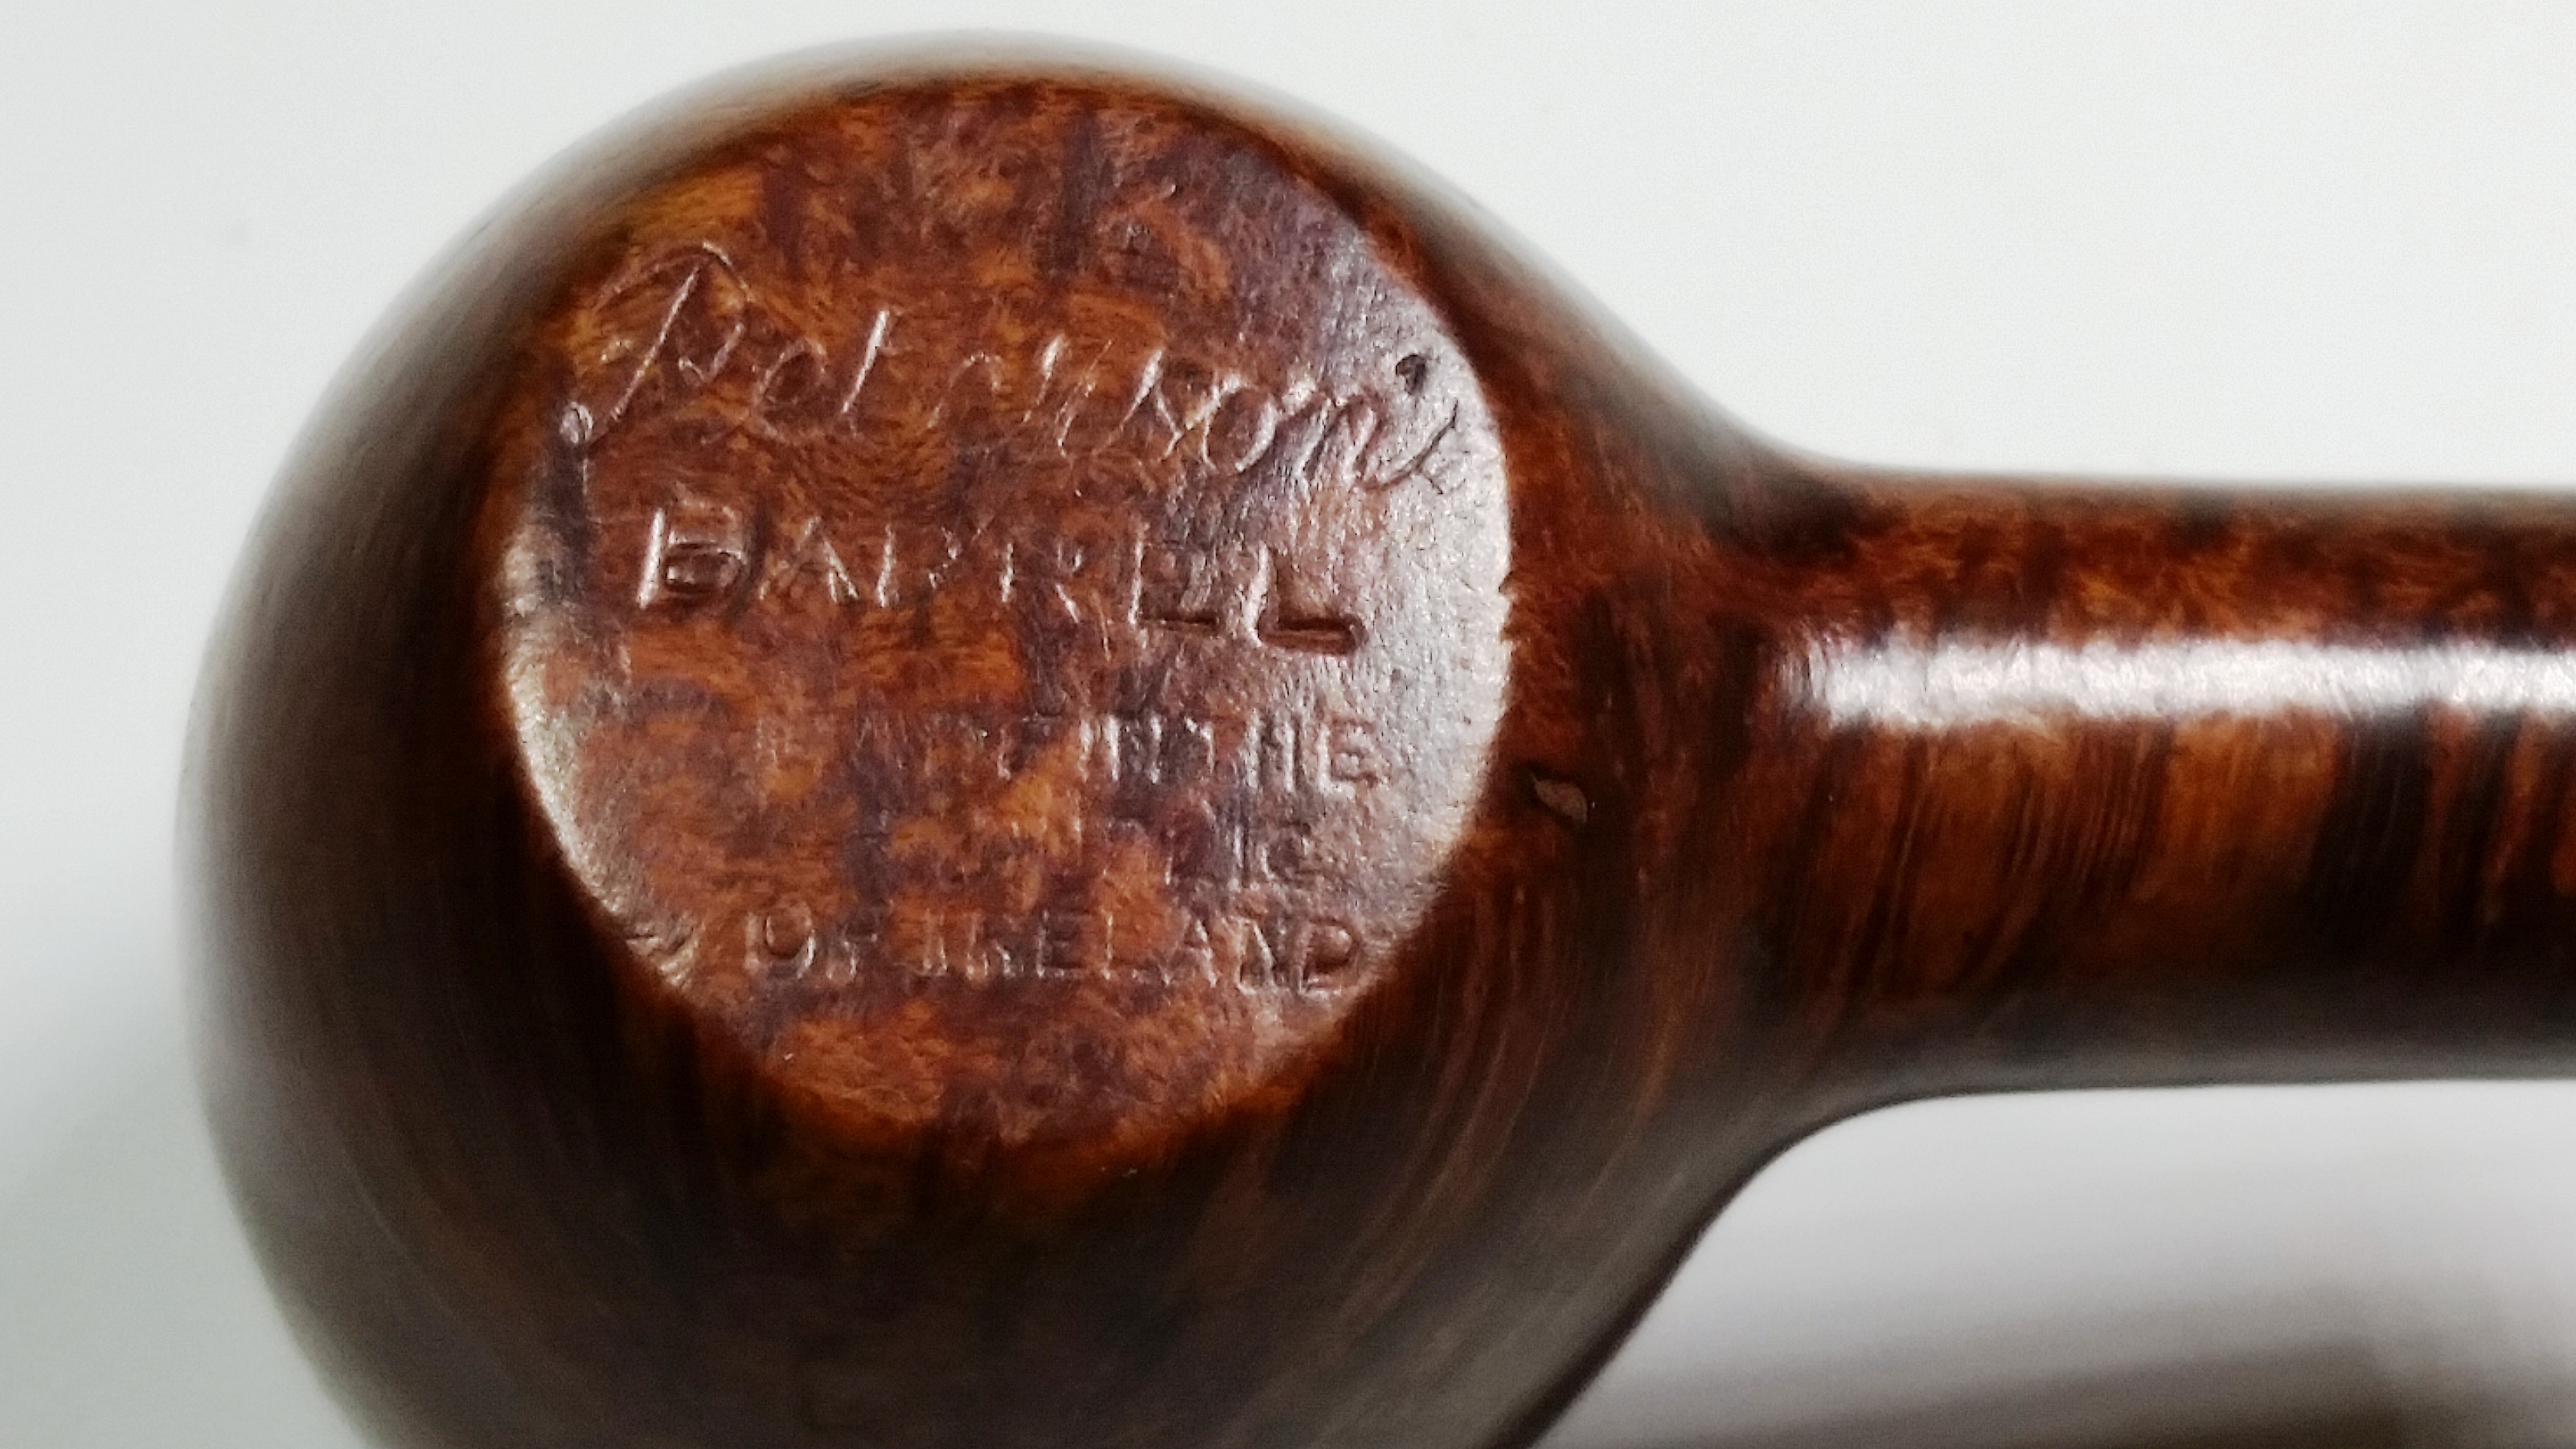
I found this diminutive Peterson “Barrel” at the JB Hayes shop in Winchester VA.  It was part of a large group of estate pipe recently brought into the shop.  I actually picked it out of the “box-o’pipes” twice.  I put it back the first time because I’m not a fan of the P-lip stem.  On the second visit, it was still there, right on top, and I couldn’t resist restoring the pipe.

The pipe had some build-up and scorching on the rim and the military style stem had only light oxidation.   The pipe felt incredibly light and sure enough, it only weighed 22 grams.  The air-hole to the p-lip was blocked but overall, it did not look like a difficult restoration.

Peterson Barrel_Before Peterson Barrel_Before (3) Peterson Barrel_Before (1) Peterson Barrel_Before (2)

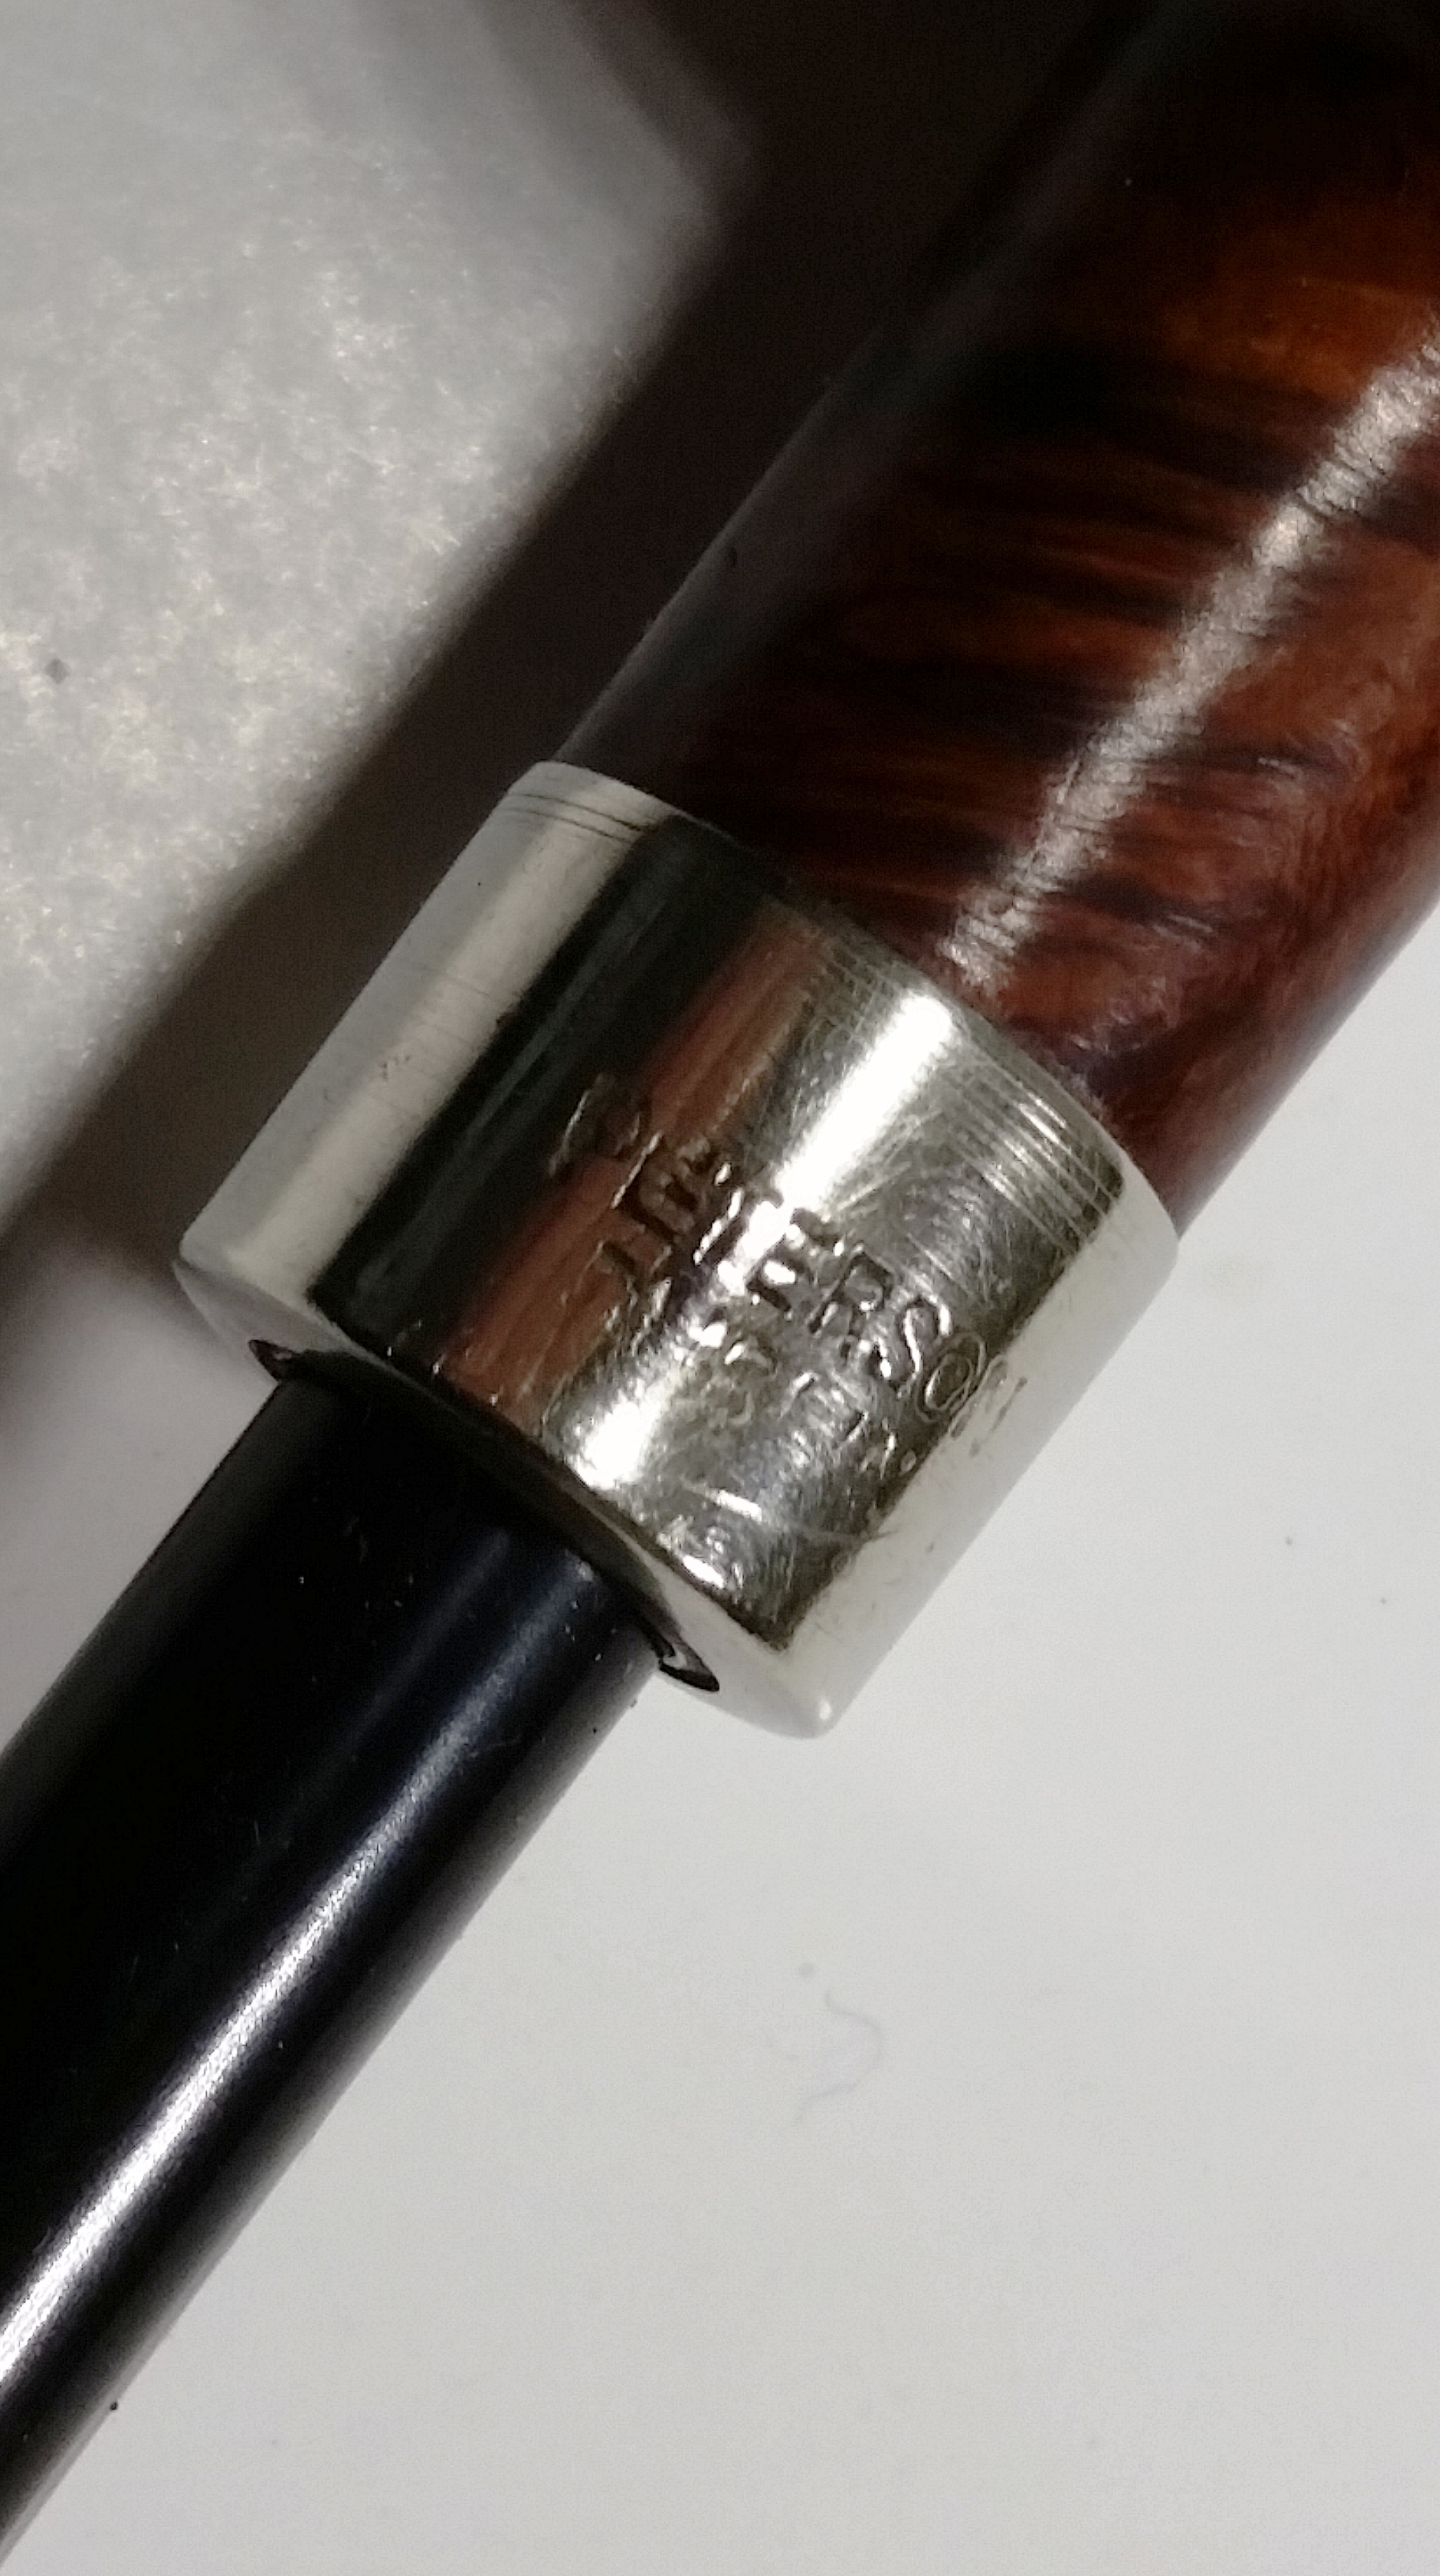
There was only a slight cake in the bowl and after removing it, I found the bowl to be in very good condition.   I used spit and a cloth to remove the bowl top build-up and then a worn piece of 8,000 grit micromesh to lessen the rim darkening.   There was a scorch mark around the 5 o’clock position of the bowl top which the worn micromesh lessened considerably, without removing any of the stain.  I soaked the bowl with alcohol and sea salt.  After soaking overnight, I buffed the bowl with white diamond rouge and several coats of carnuba wax, avoiding the nomenclature.  A little metal polish was used on the shank ring.

I used a very small pick to remove the build-up in the P-lip draft hole.  The oxidation was removed using 800, 1000, 1500 and 2000 grit wet sandpaper.  Then 8,000 and 12,000 grade micromesh sheets were used.  Finally, the stem was buffed lightly with white diamond rouge.

A member of the PIpesMagazine forum is the new owner of this little gem and reports it smoked very well.  The bowl is surprisingly large for such a tiny pipe.    This was one I mulled over keeping for myself and perhaps one day I’ll find one with a fish-tail stem.    Below is the finished pipe.

Peterson_Barrel_Finished Peterson_Barrel_Finished (13) Peterson_Barrel_Finished (1) Peterson_Barrel_Finished (3) Peterson_Barrel_Finished (6) Peterson_Barrel_Finished (7) Peterson_Barrel_Finished (11) Peterson_Barrel_Finished (12)


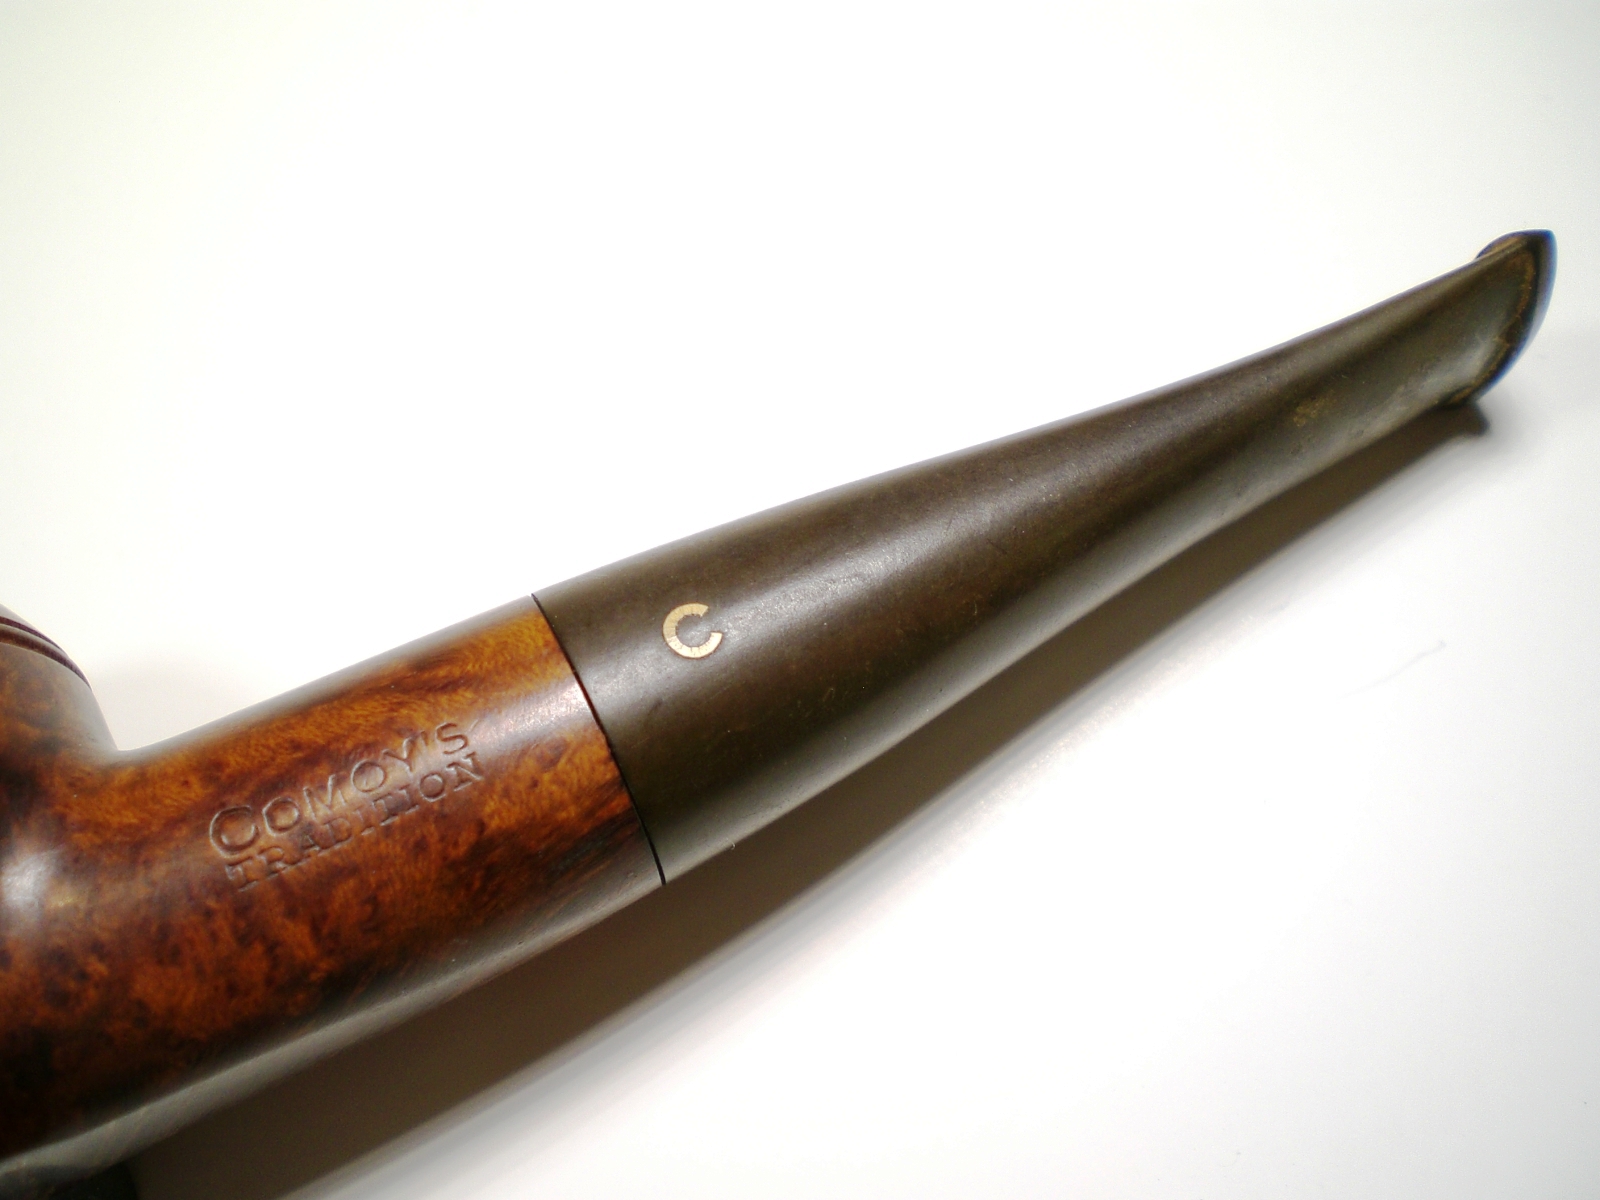
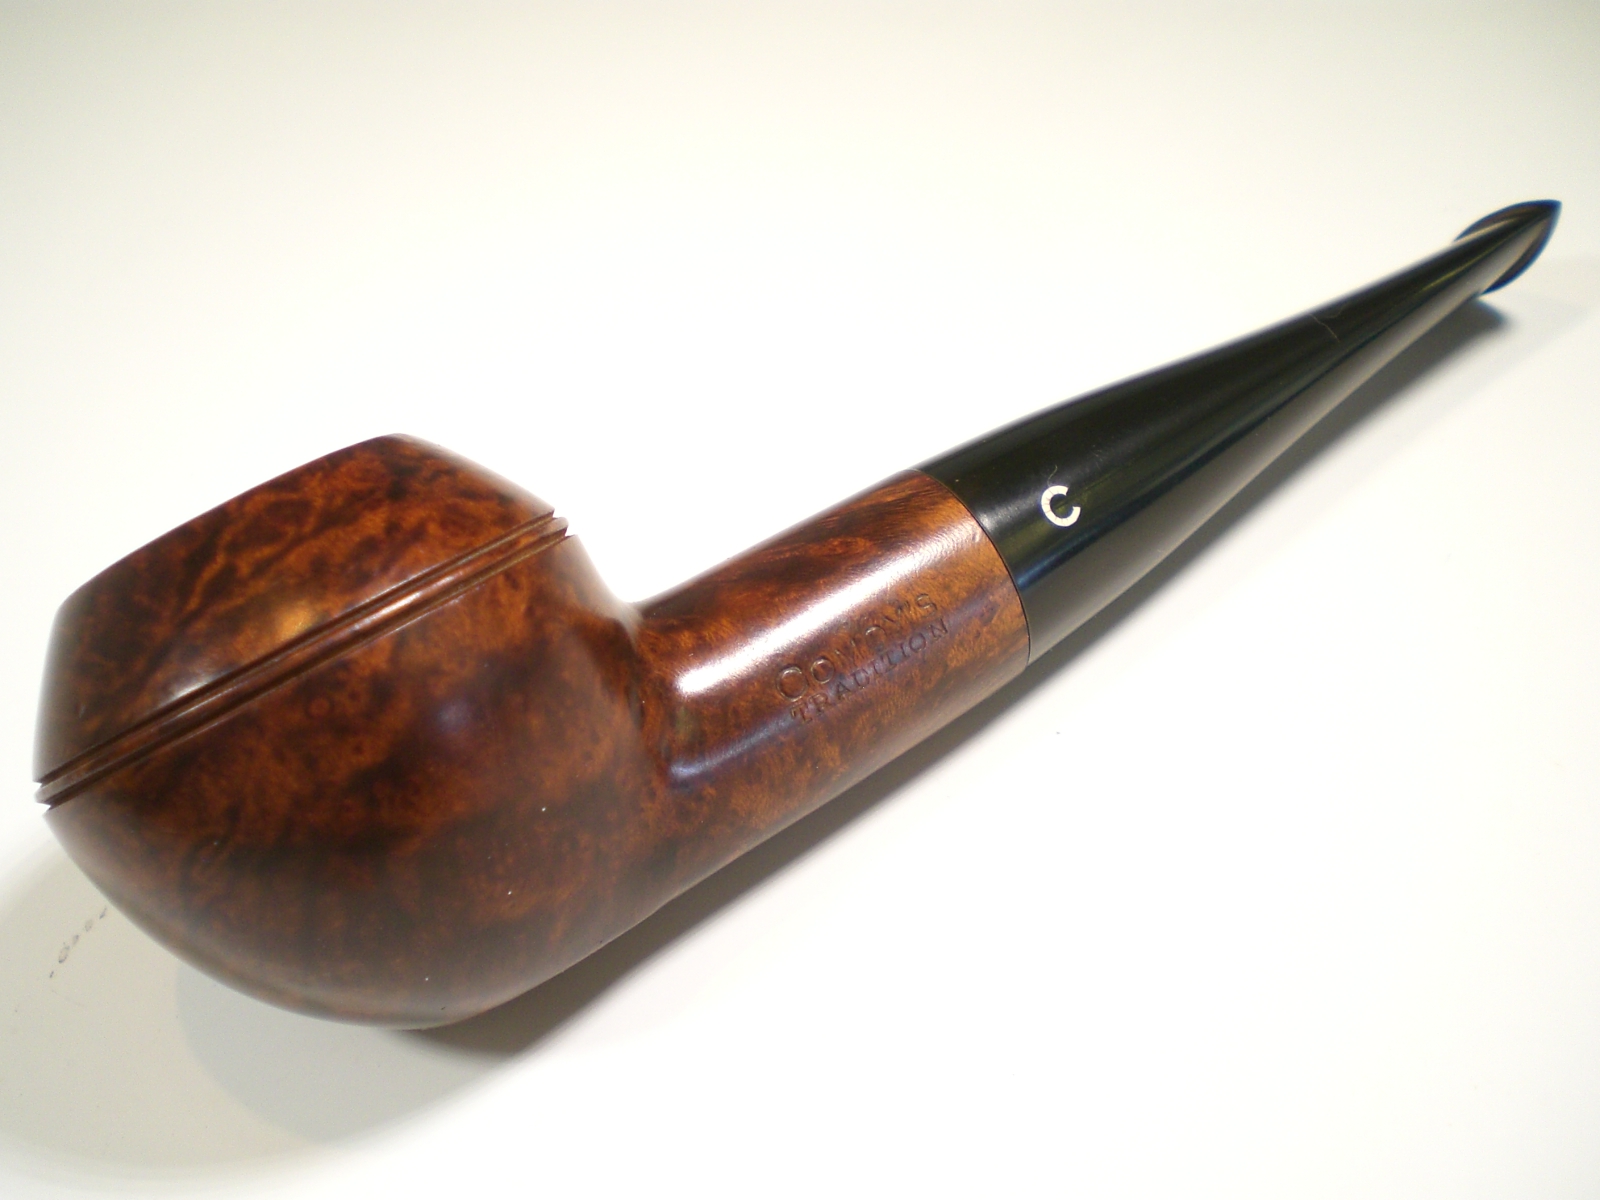
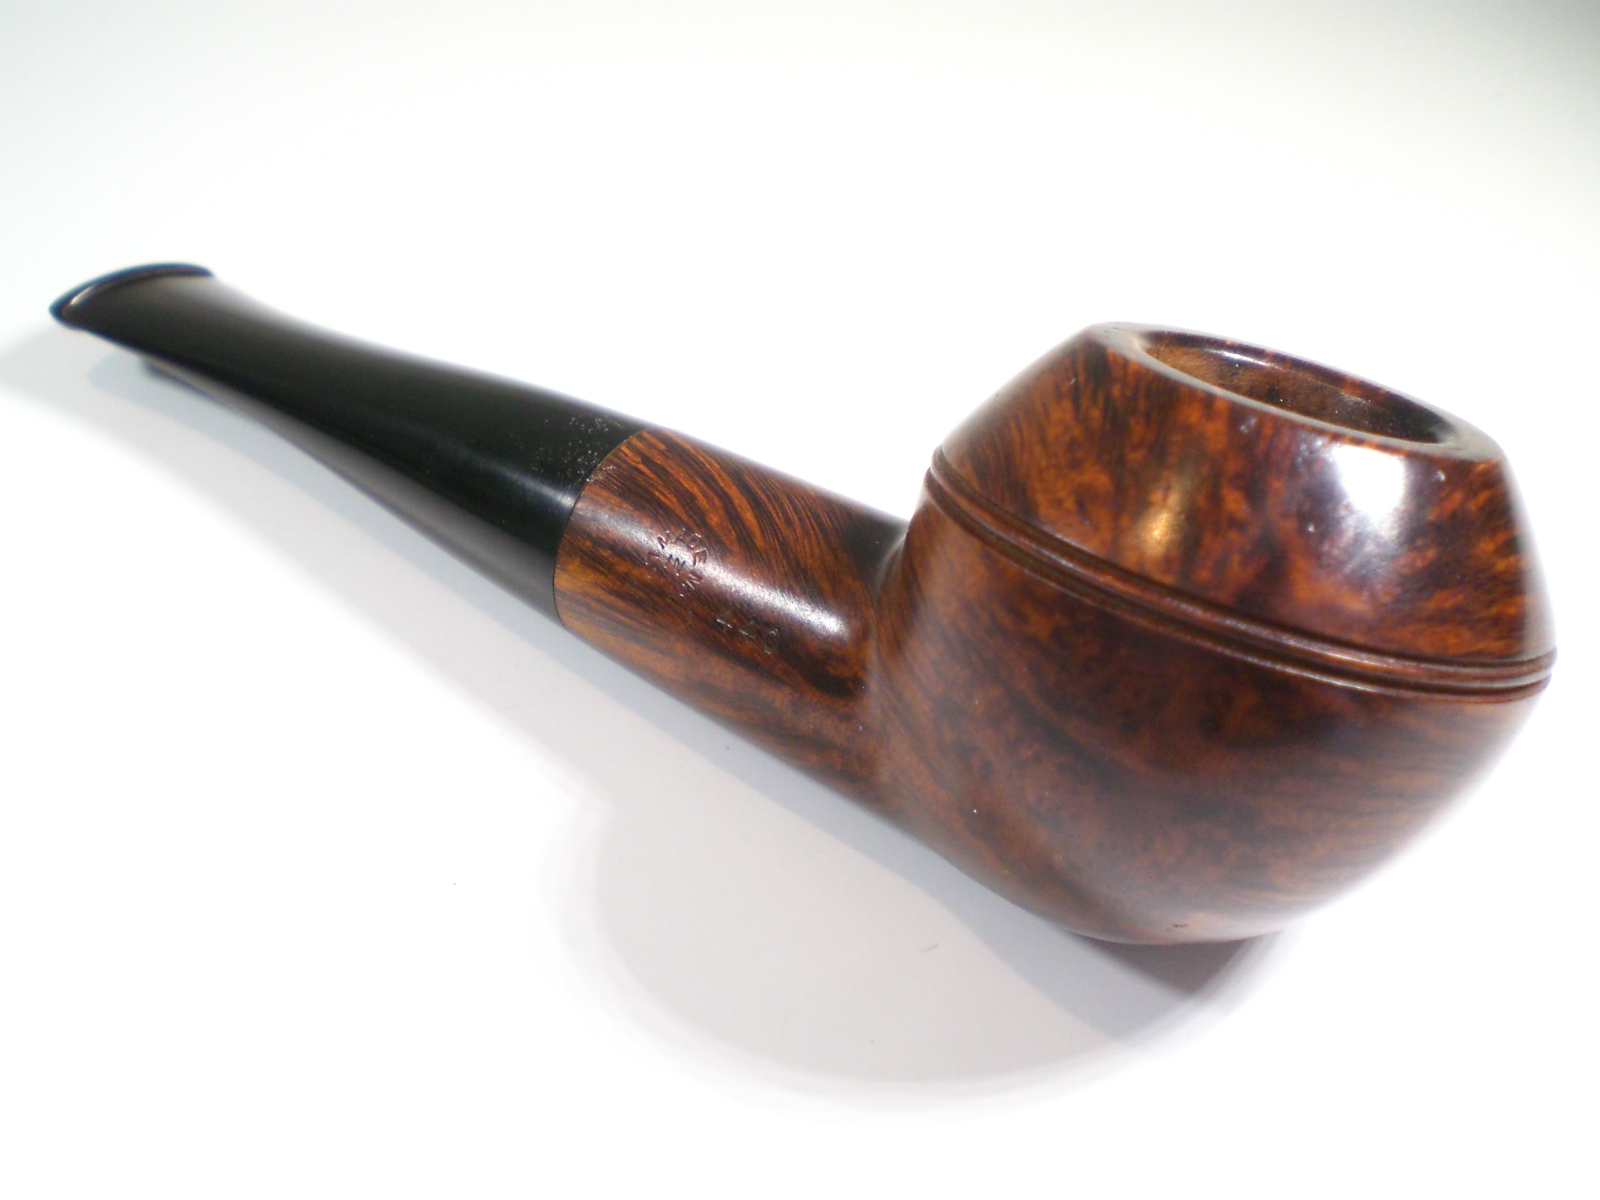
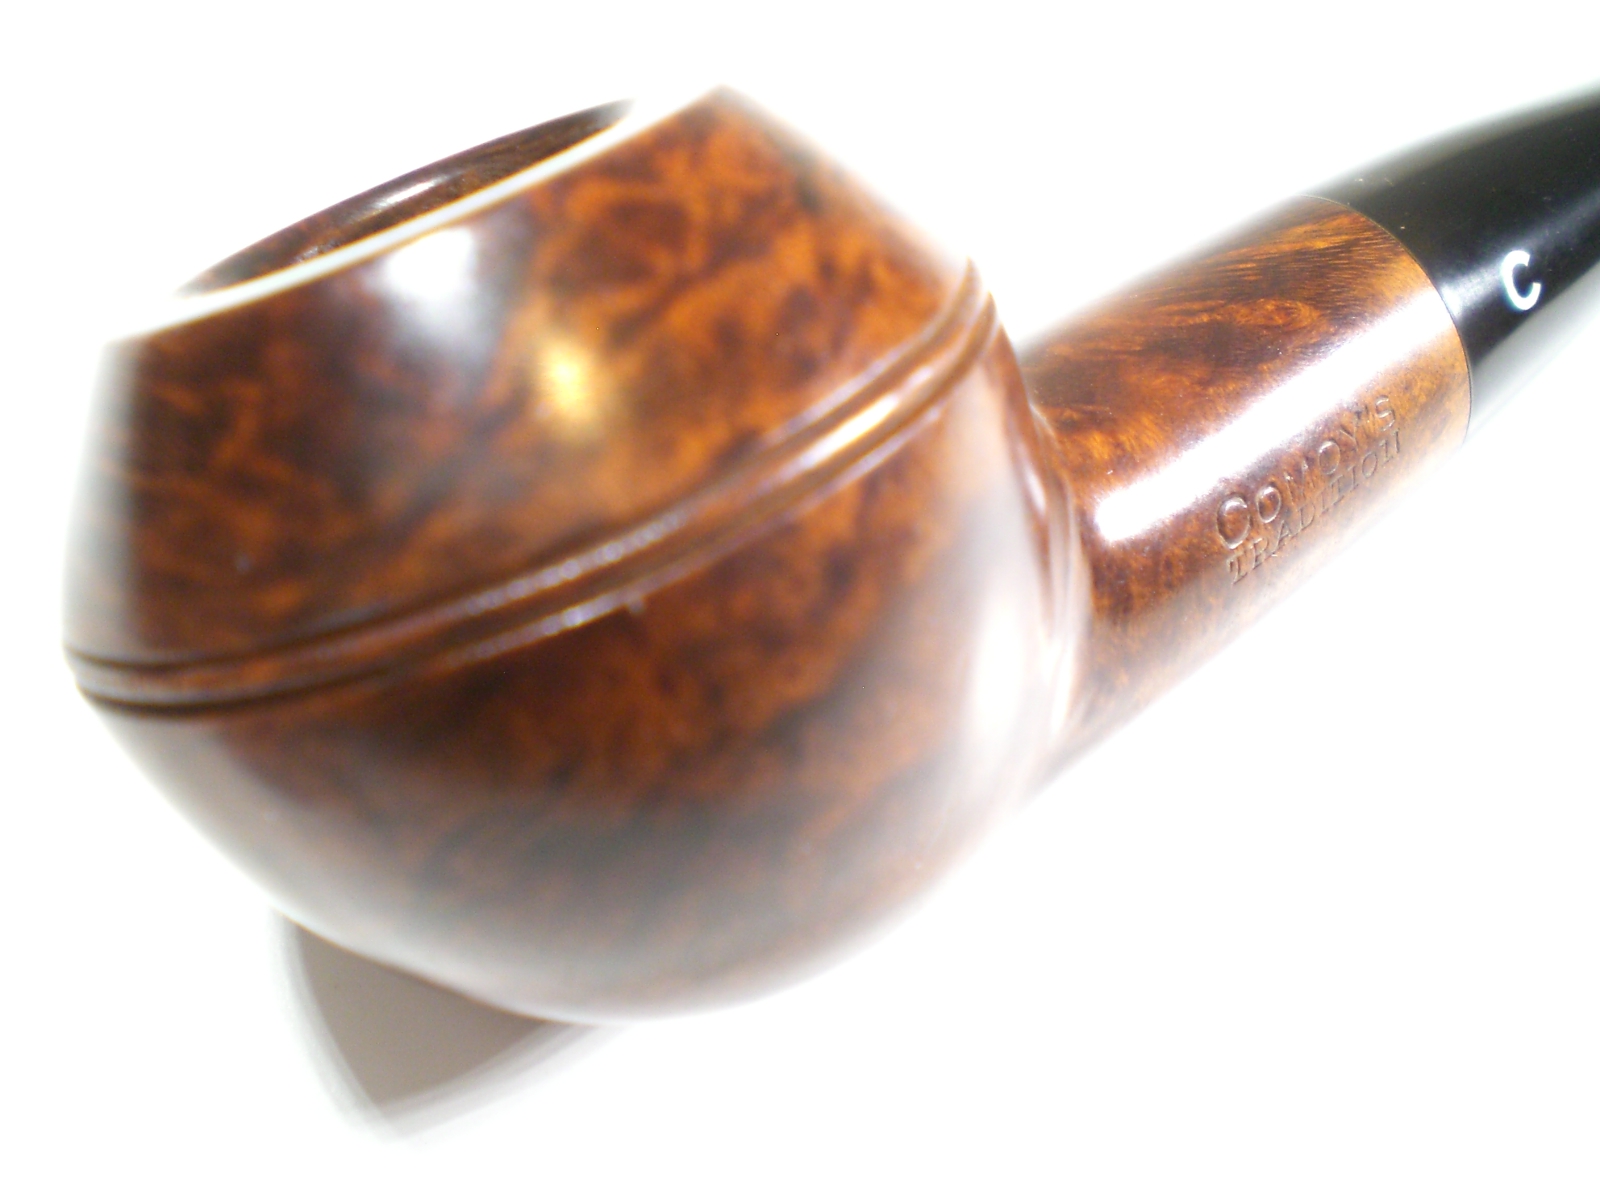
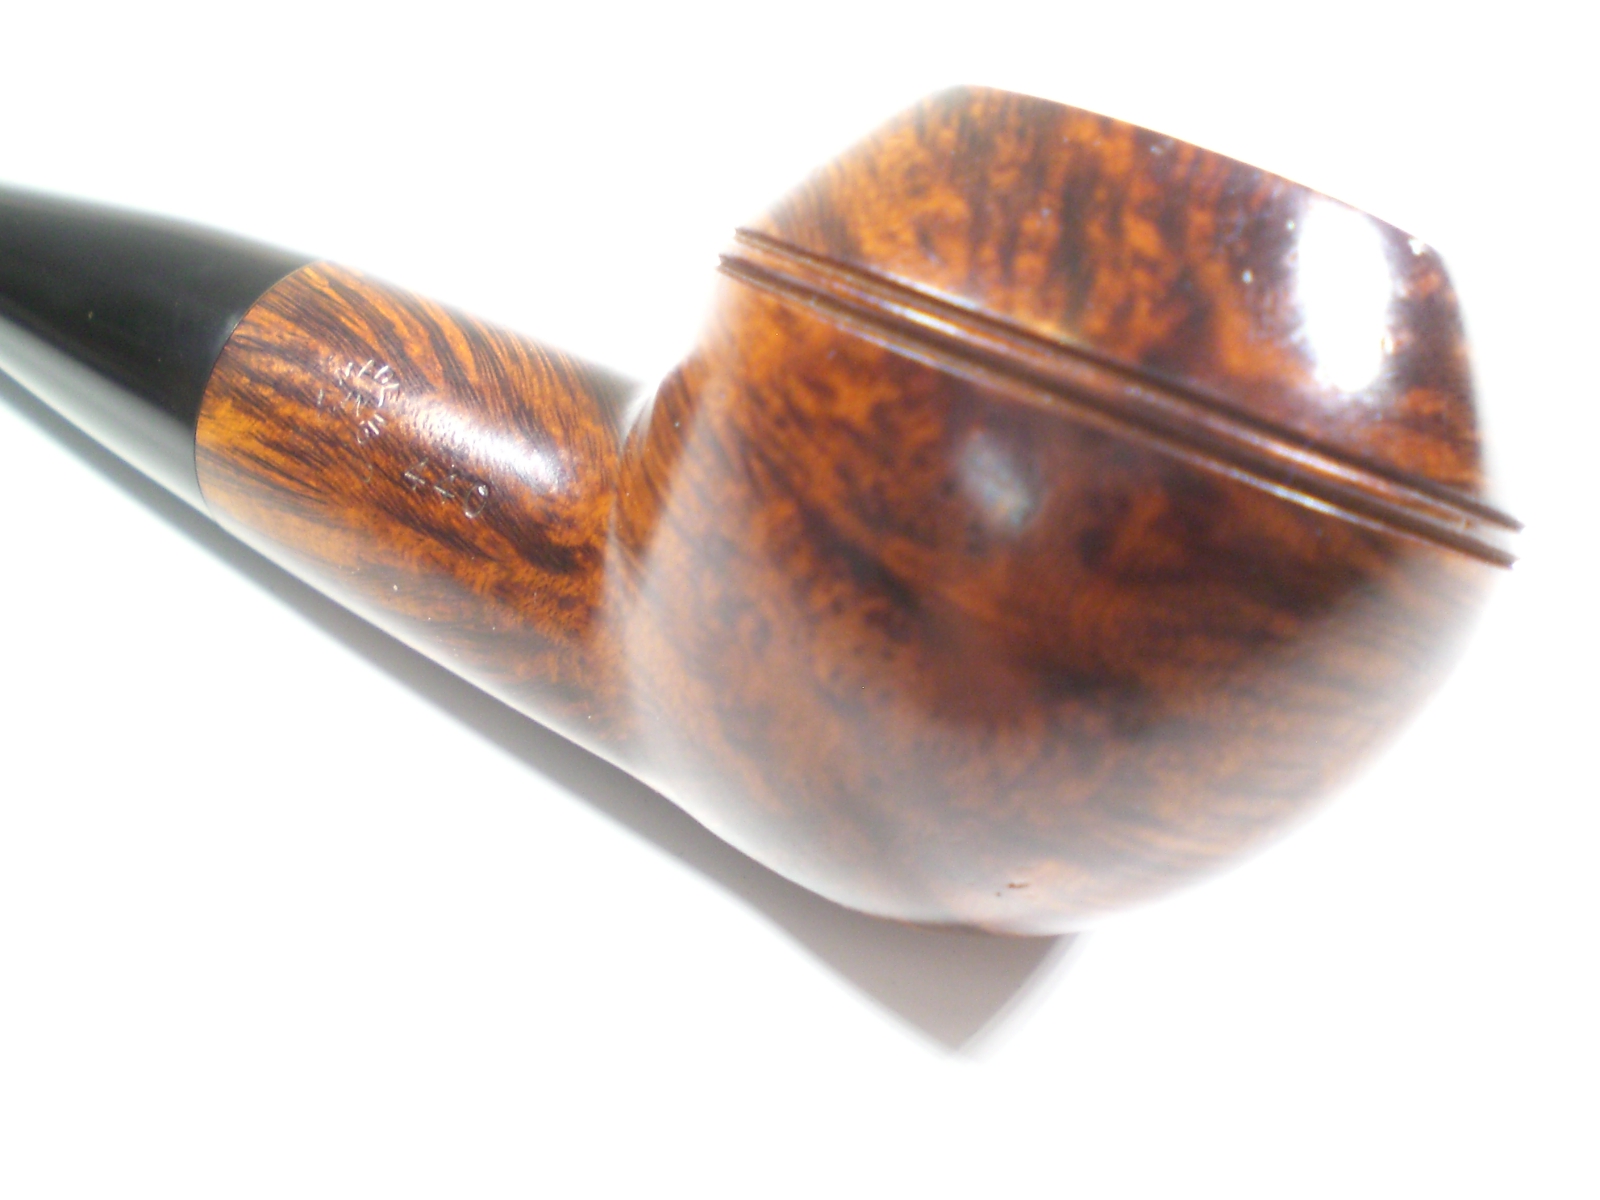
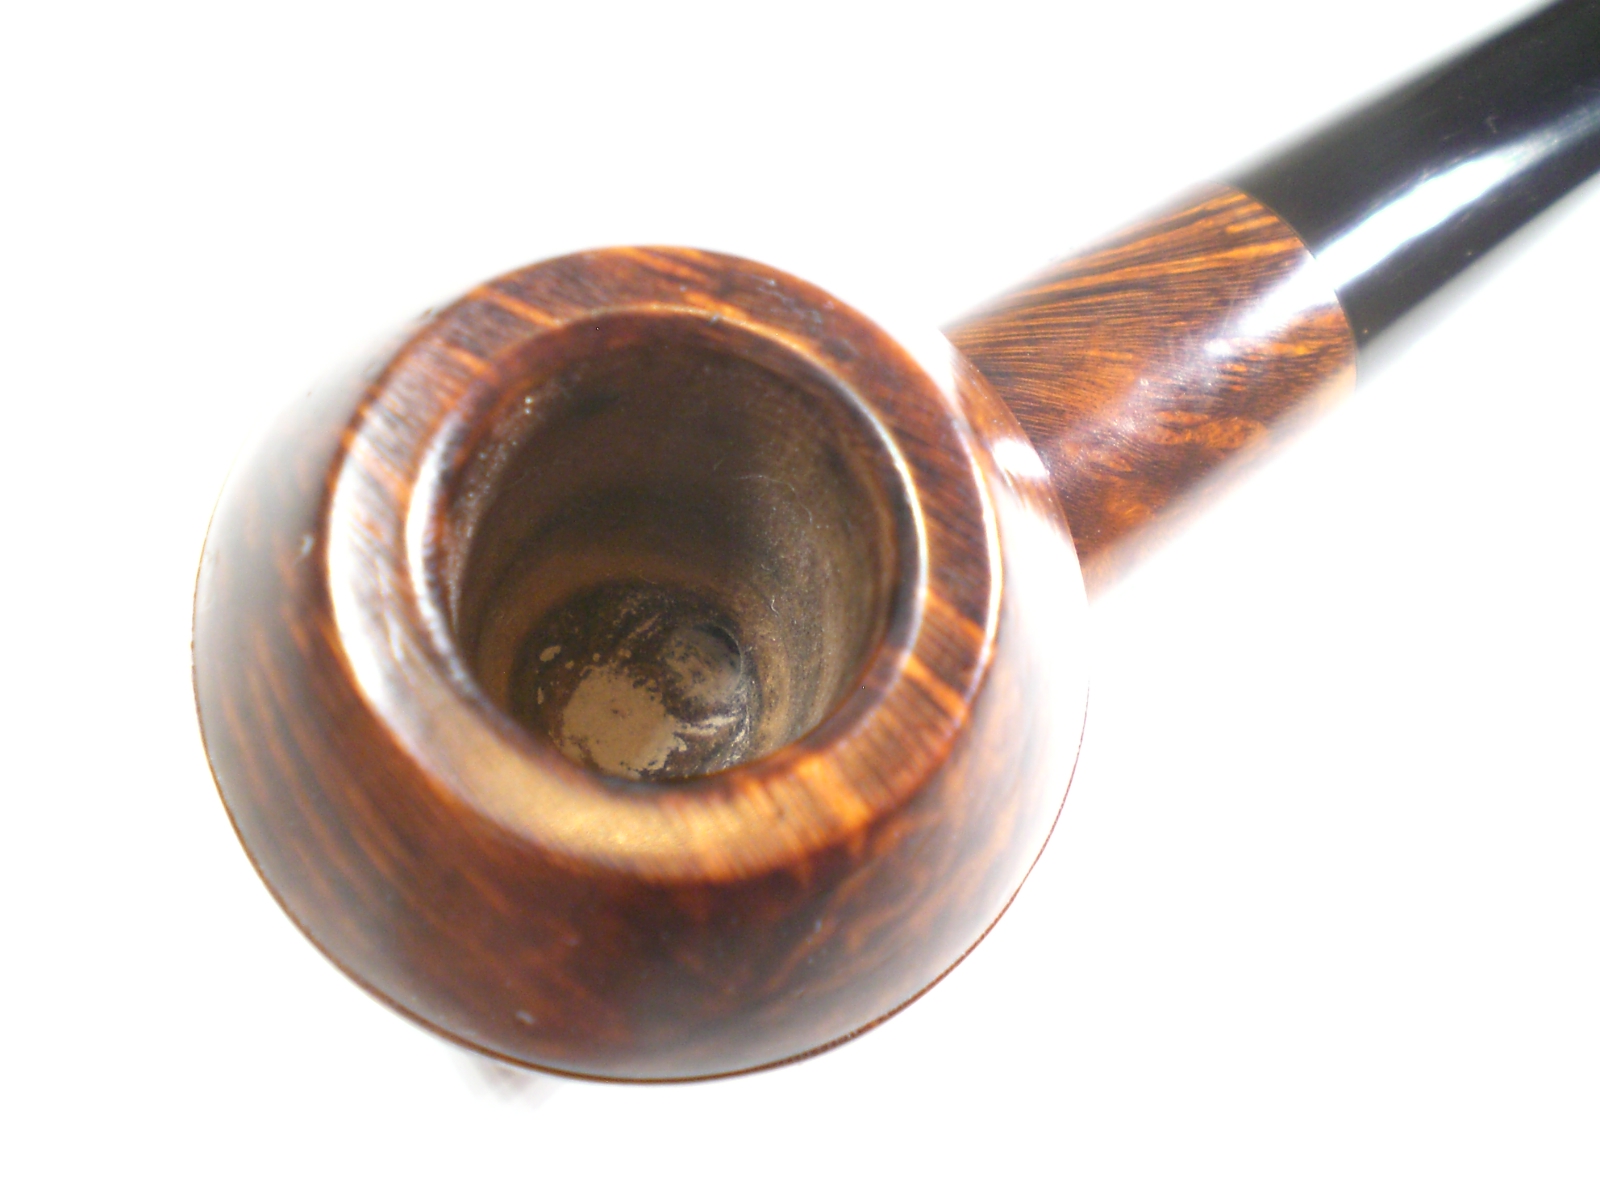
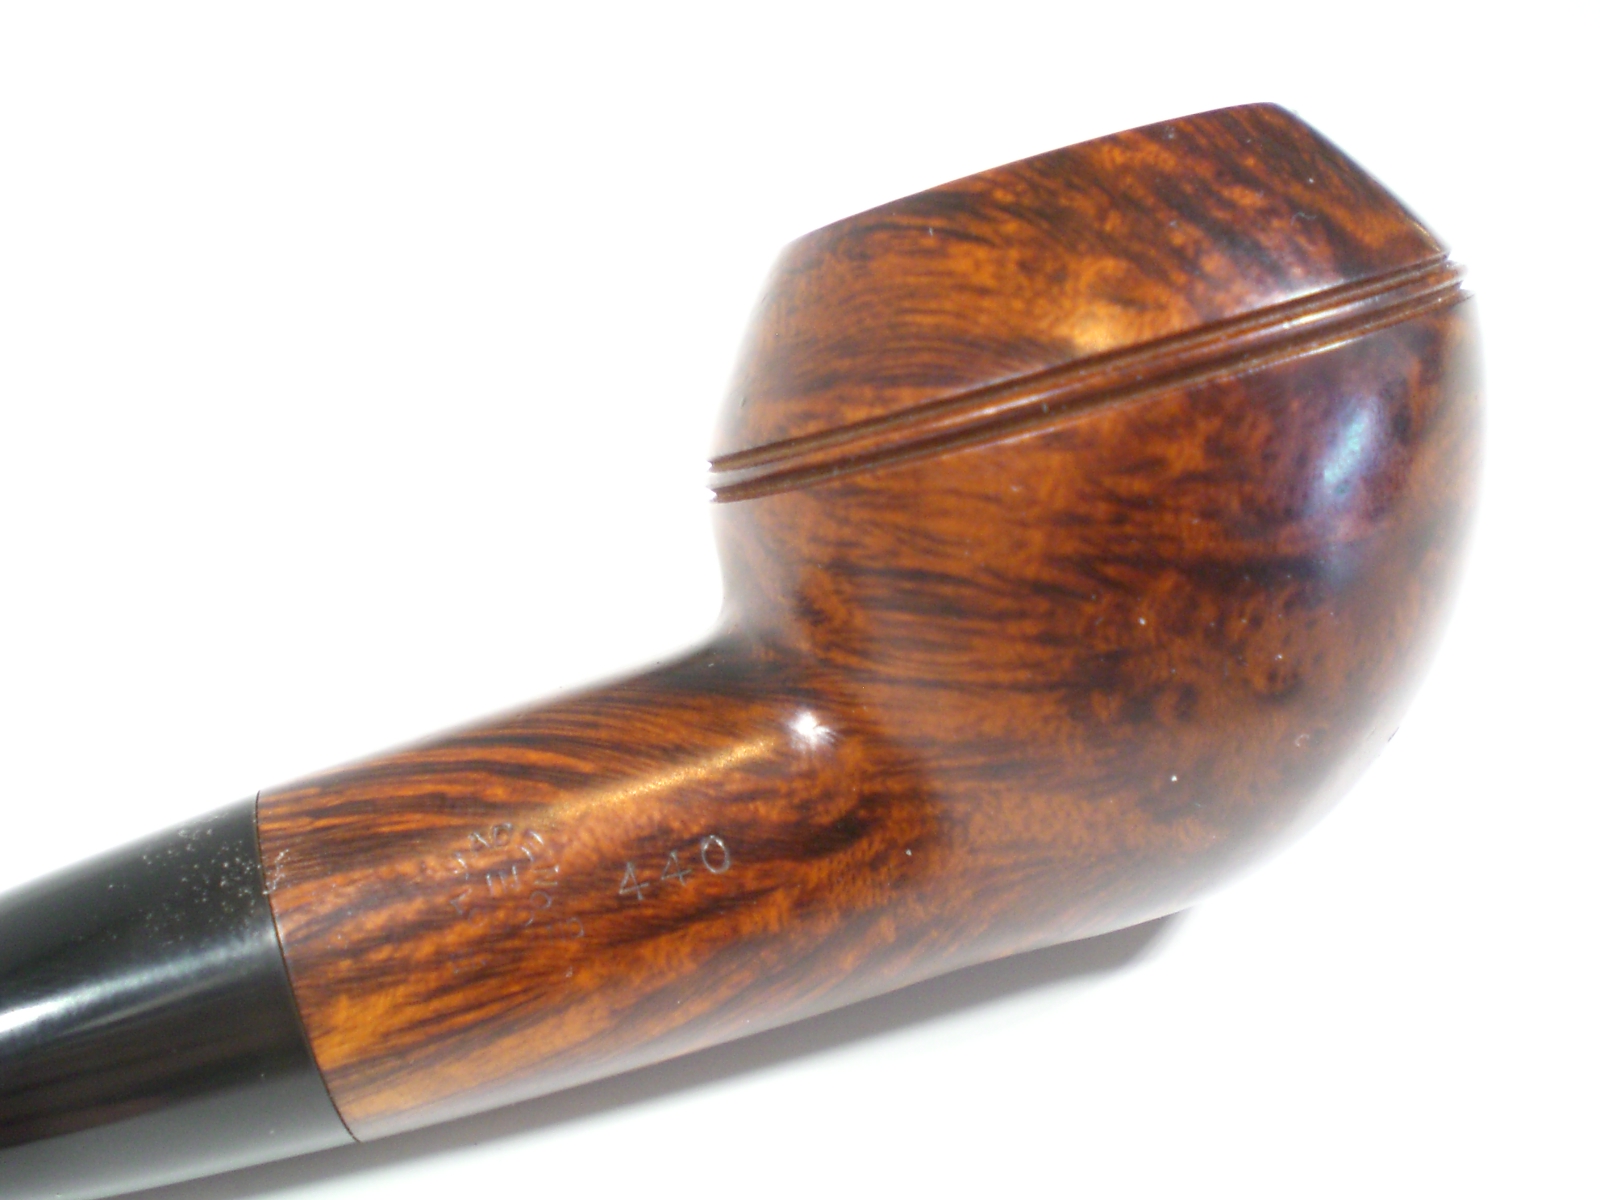
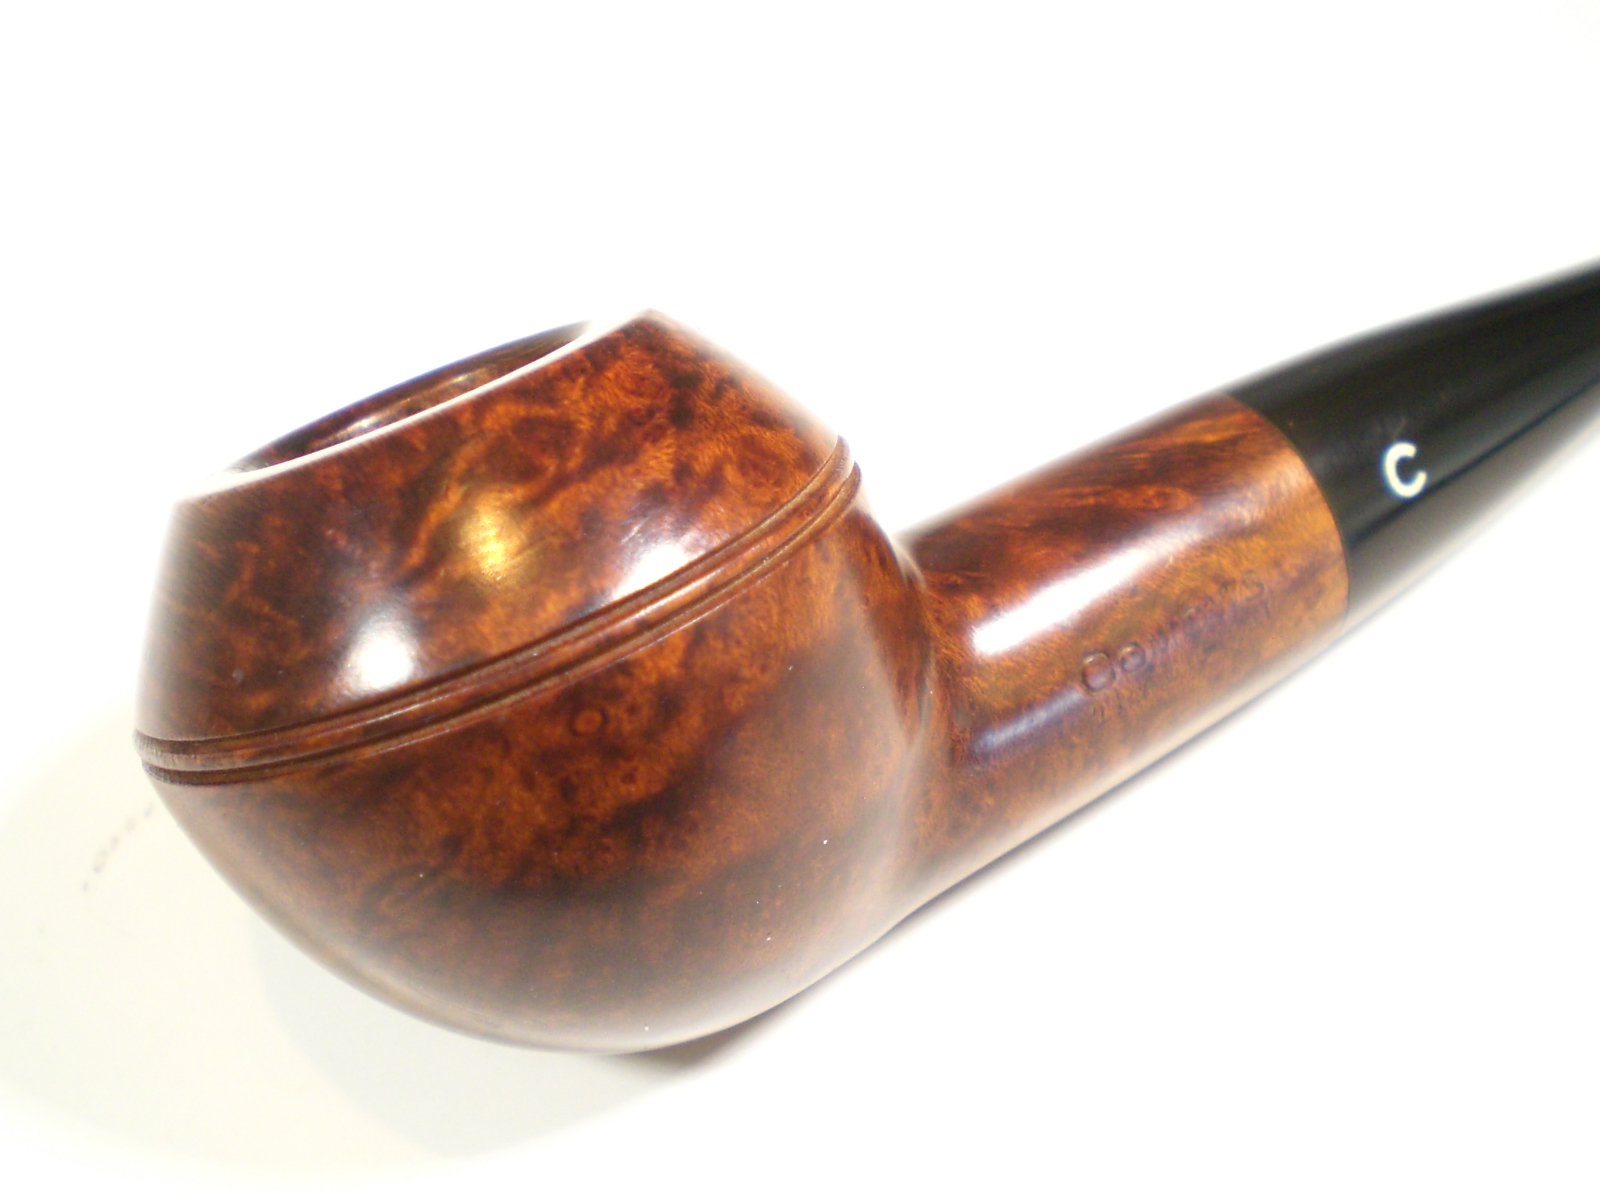
Comoy’s 440 Tradition Restored


Blog by Al Jones

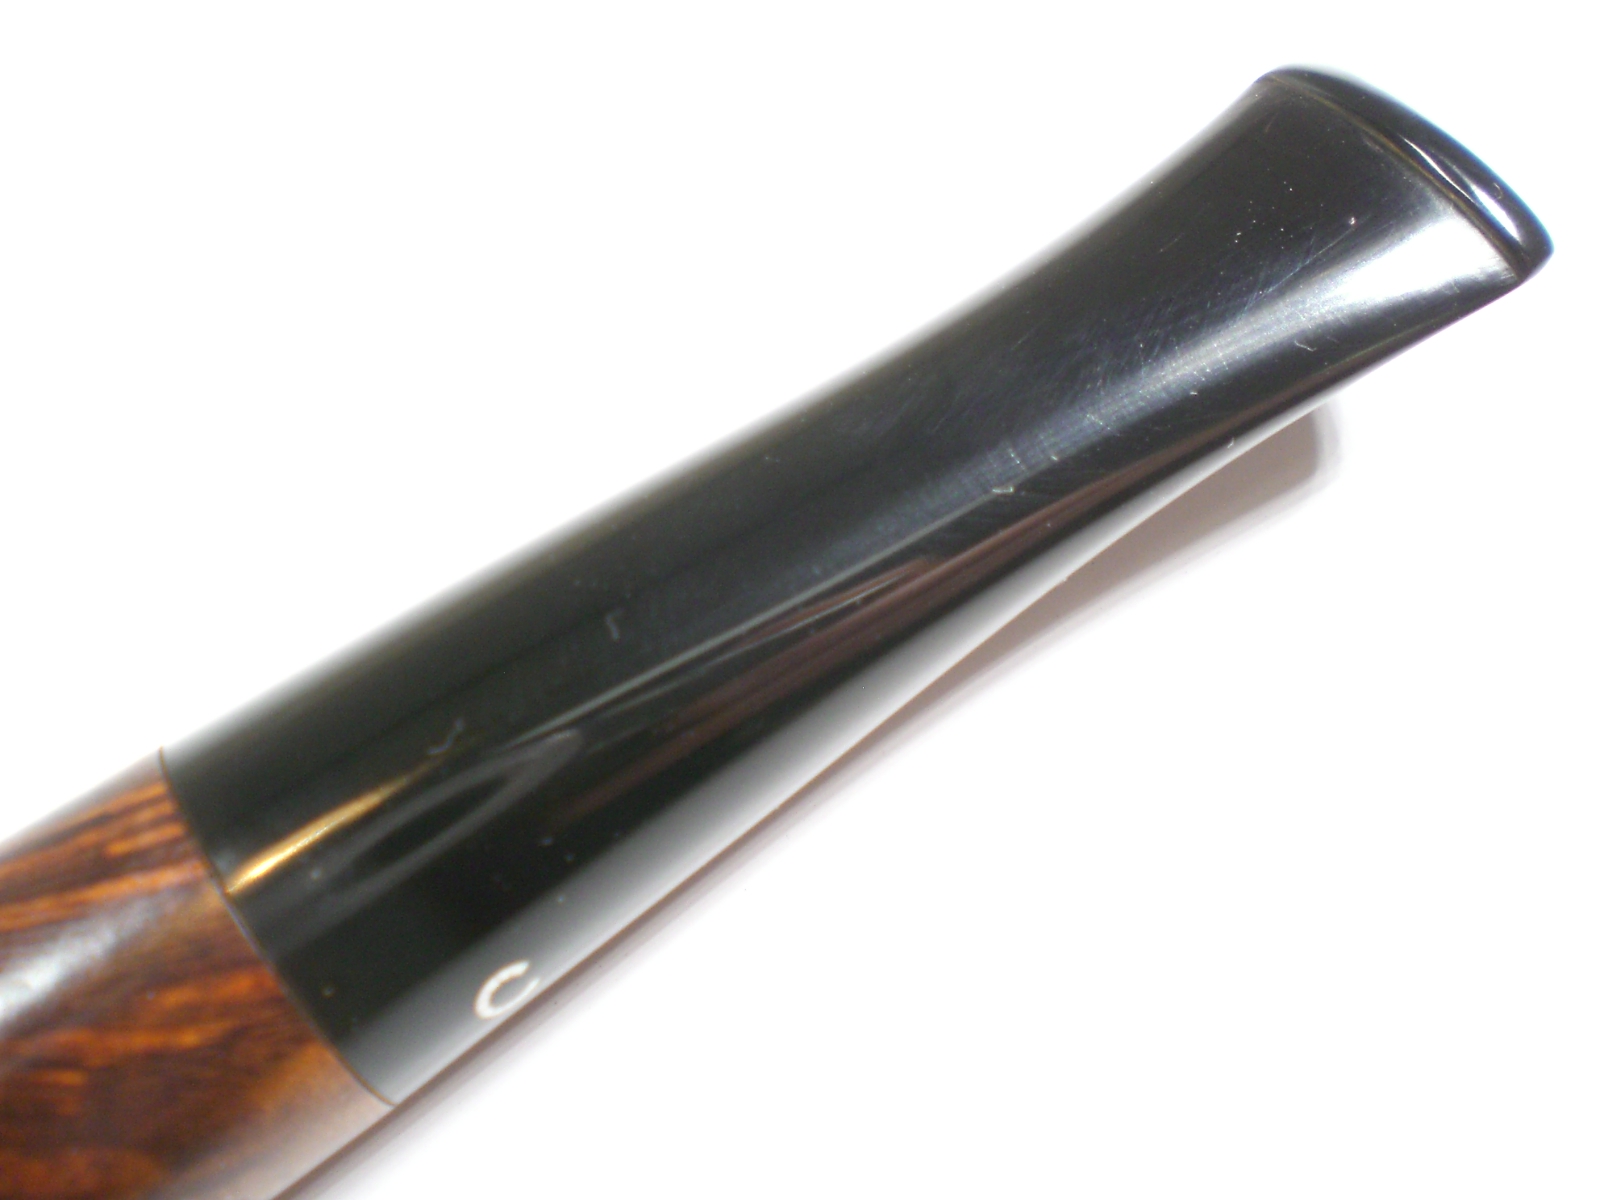
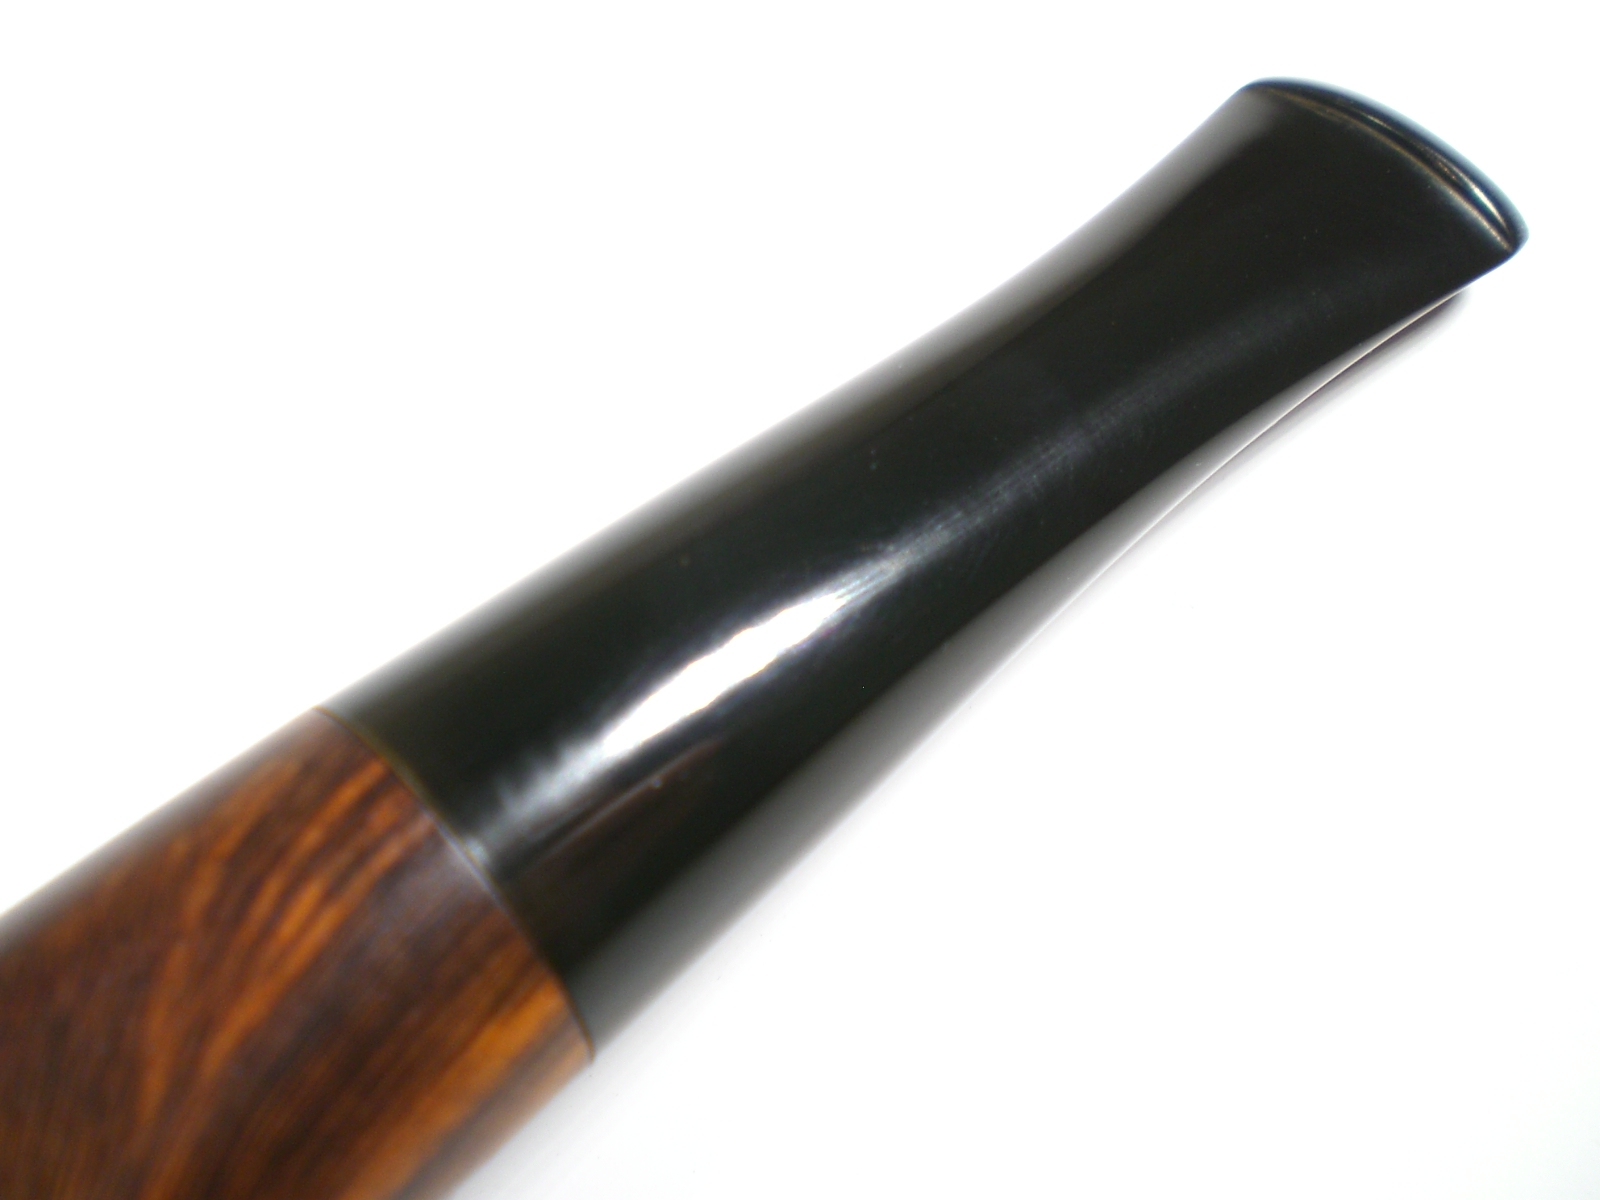
I thought that I was done buying pipes for 2014 but this Comoy’s Tradition 440 popped up on Ebay and I couldn’t resist.  This shape is similar to the 498 Extraordinaire that I own, but slightly smaller.  It also has an attractive fish-tail style button that I prefer.

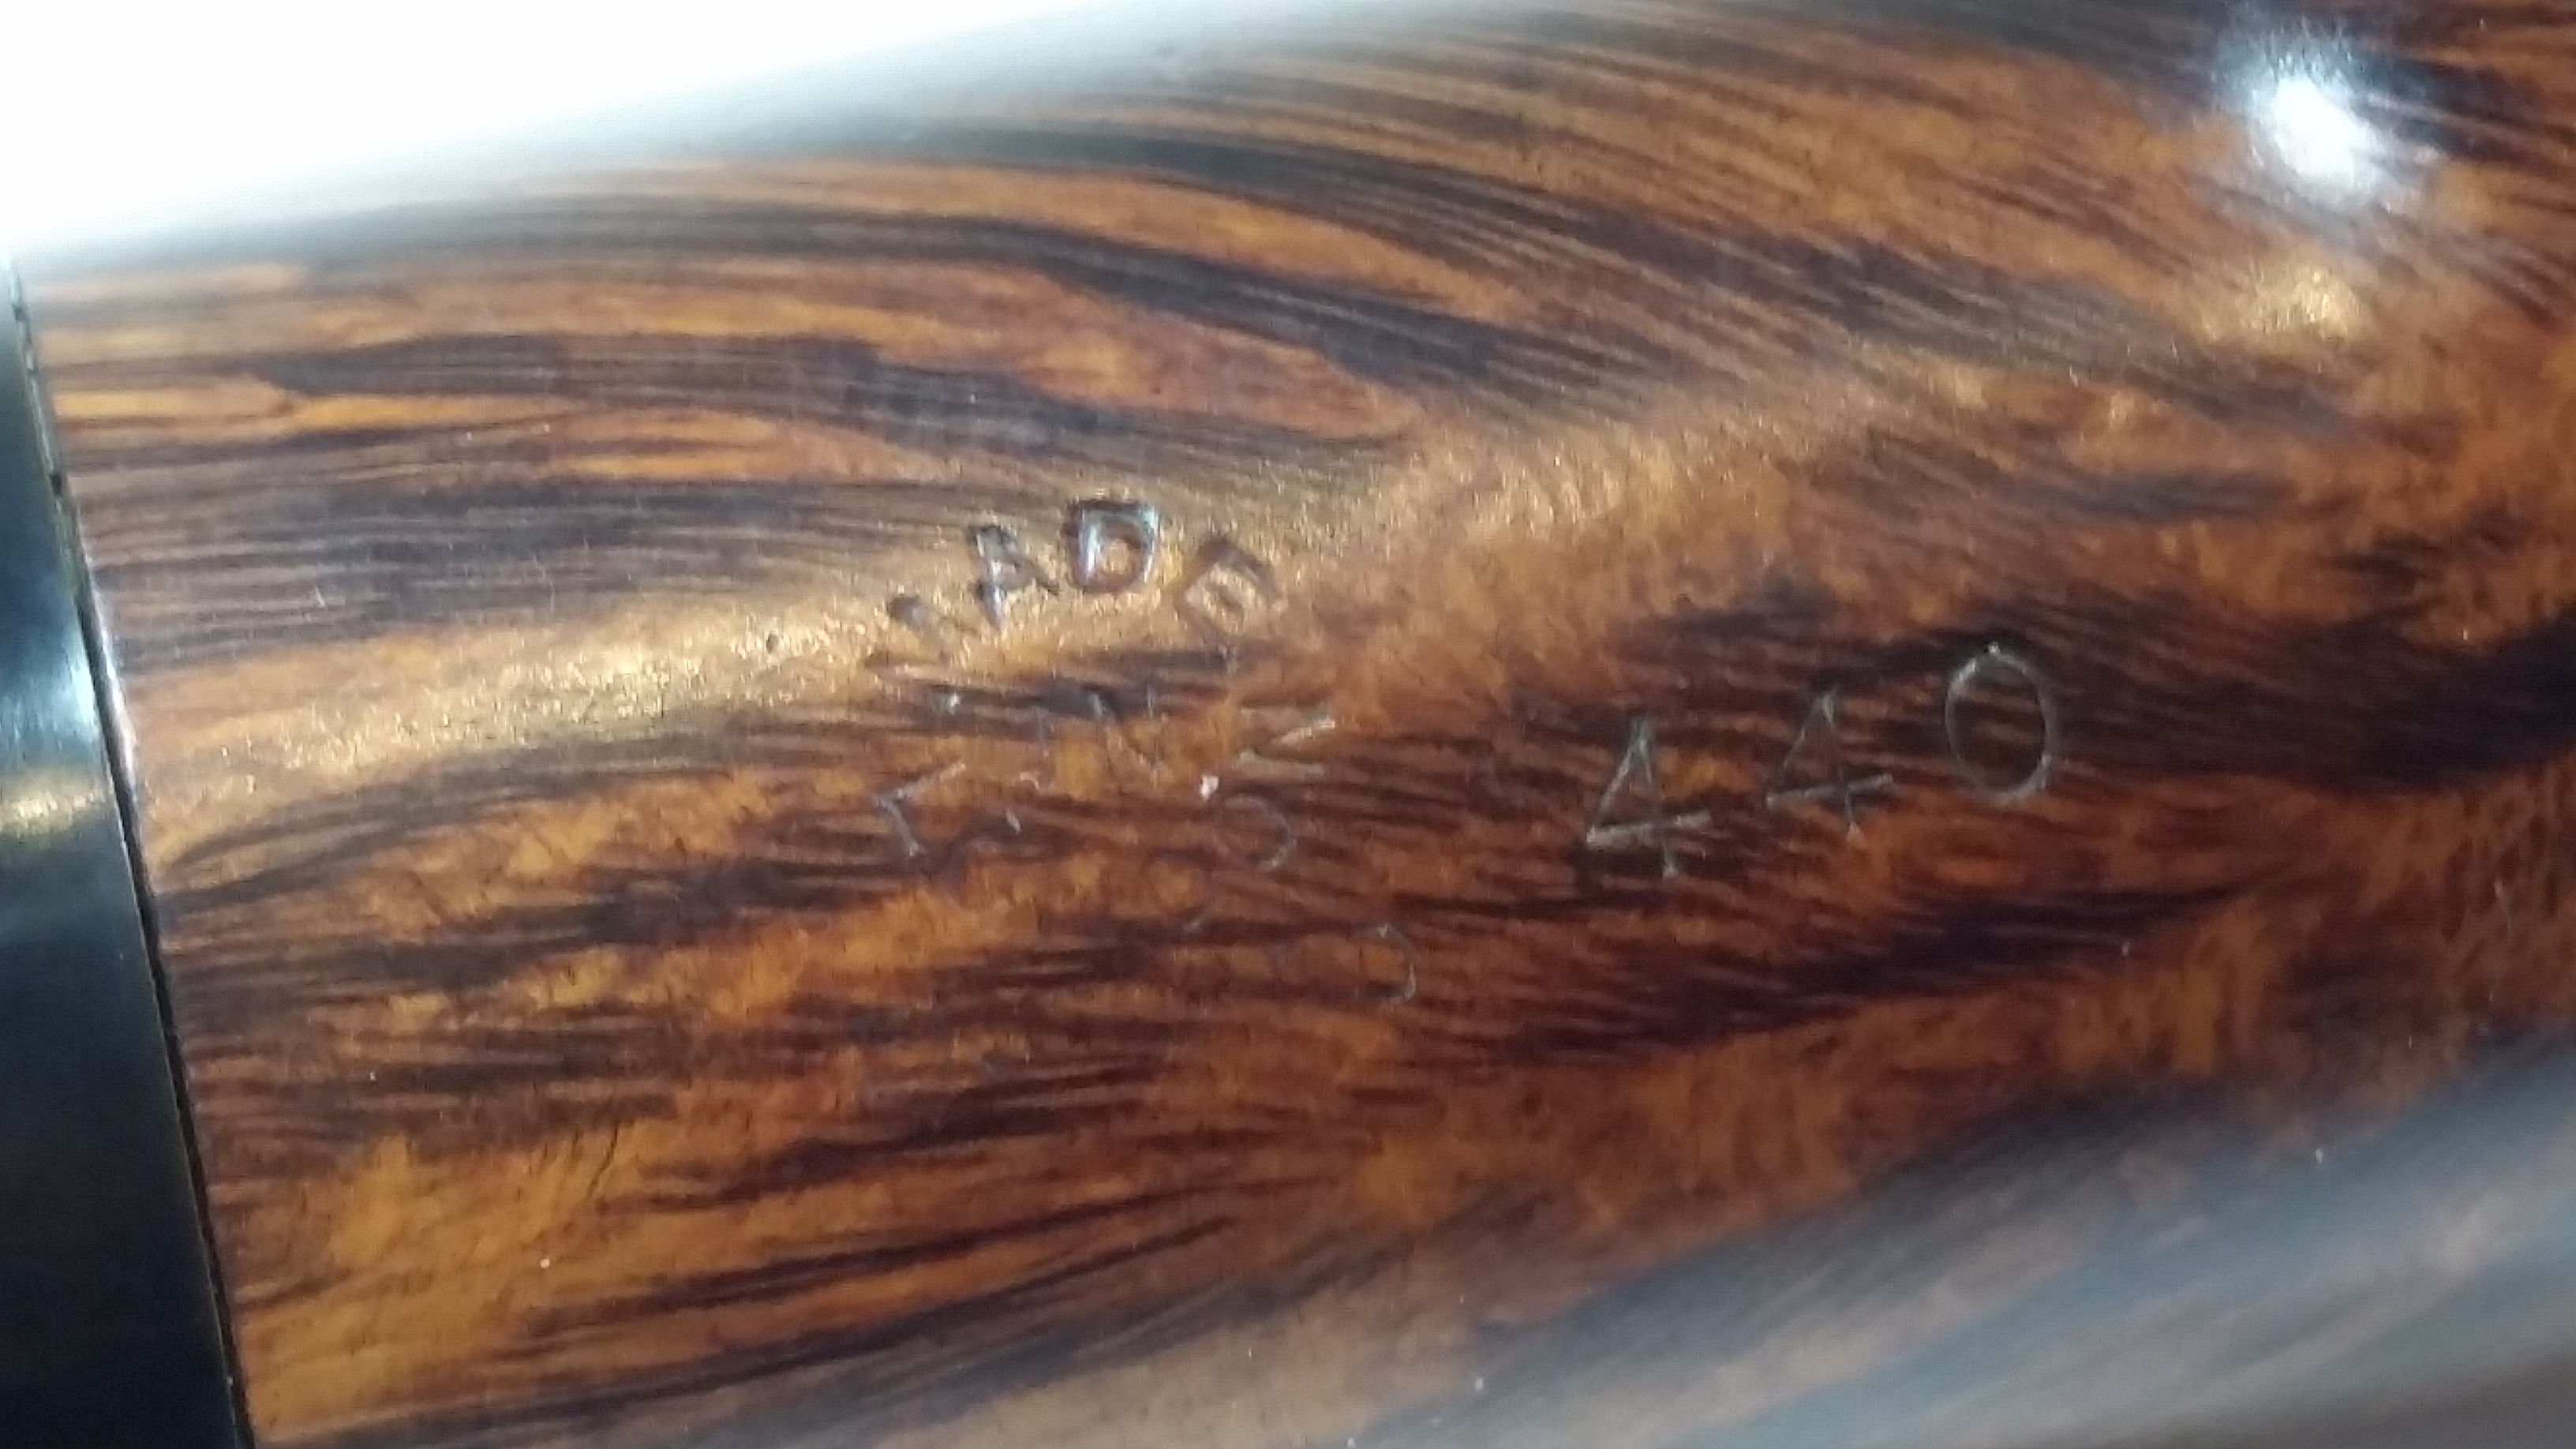
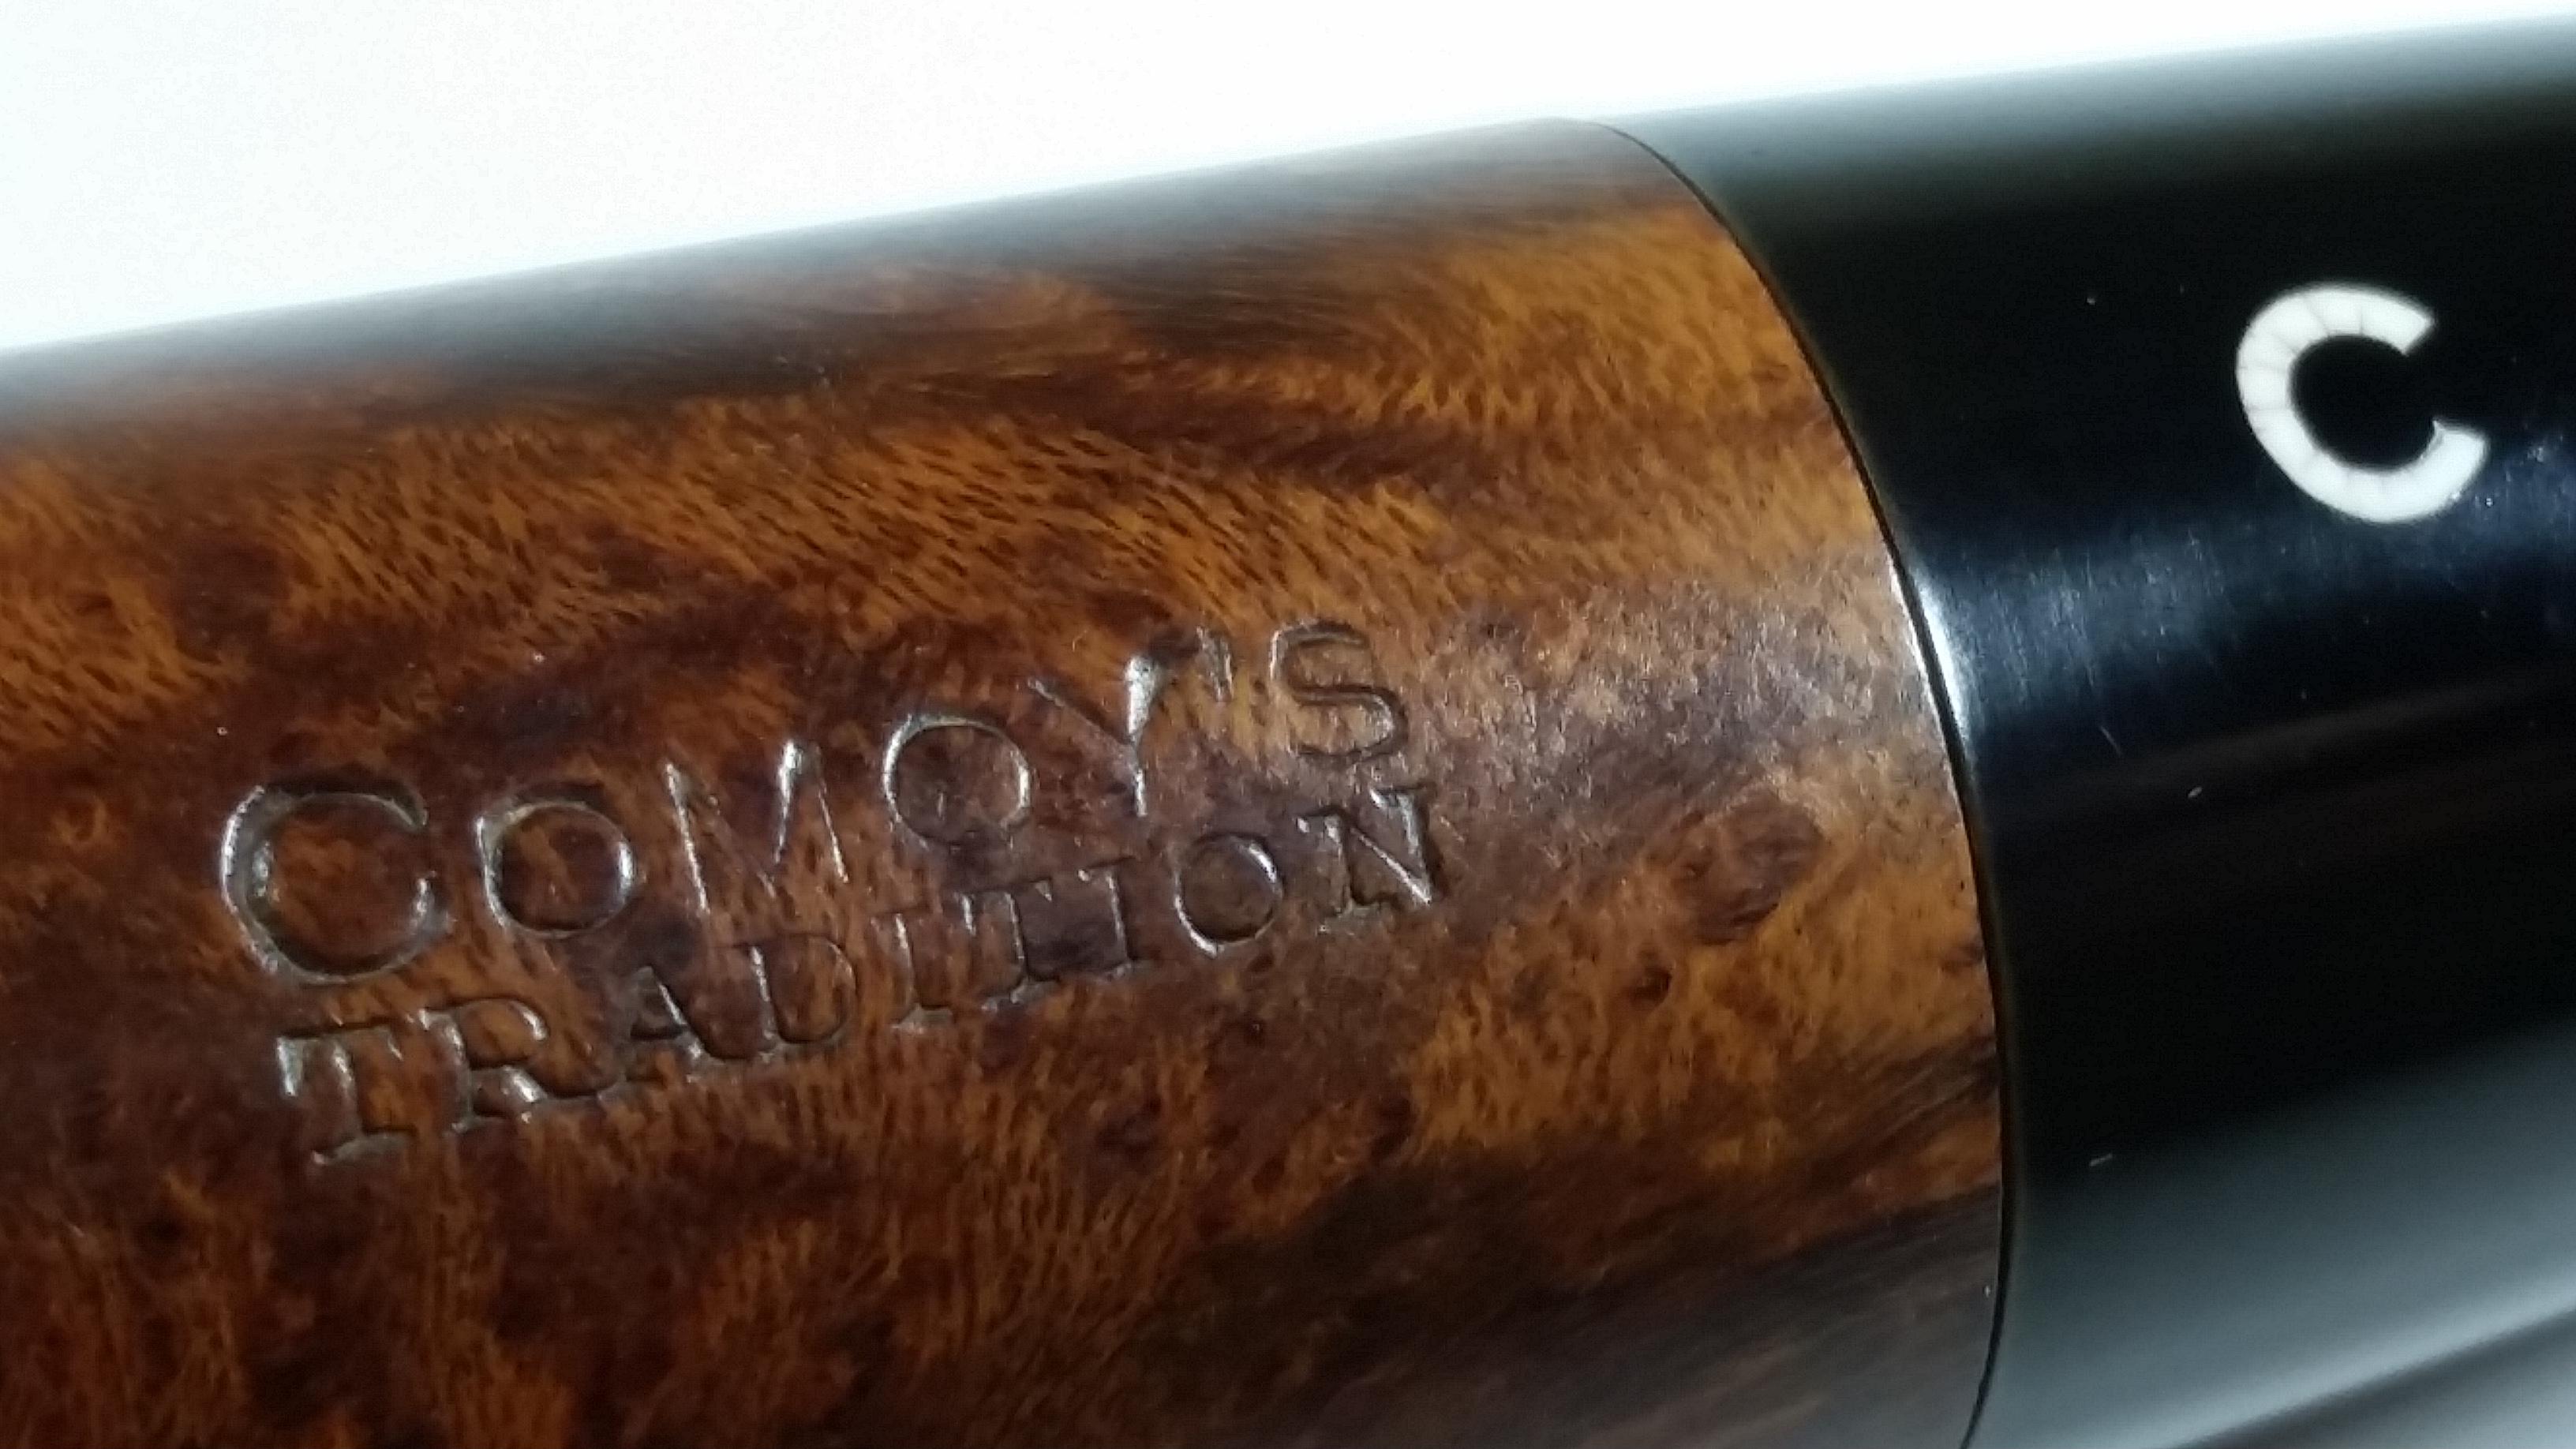
The stamping of “Comoy’s” with the slightly larger “C” and the apostrophe was started in the 1950′s and the round “Made In London” with England below was also used in that era. The pipe could have been made from the 1950′s to the end of the Cadogan era in 1982 (give or take!).

Despite a massive, overflowing cake, the pipe appeared to be in very good condition.  The stem was heavily oxdized but the nomenclature was strong and the stem free of any visible dents (sometimes they hide under the oxidation).  The 3 piece “C” stem logo was intact, but cracked a bit, which is not unusual.    When it arrived, there were no surprises.  The stem fitment was very good as well.  I was hopeful the bowl rim would be undamaged under the cake, which is also often the case.

Comoys_440_Tradition_Before Comoys_440_Tradition_Before (2) Comoys_440_Tradition_Before (4) Comoys_440_Tradition_Before (3) Comoys_440_Tradition_Before (1)

I put a dab of grease on the stem and soaked in a mild Oxy-Clean solution.

Using my smallest Castleford reamer bit, I started removing the cake.  The bowl was in very good condition.  Using spit and a rag, I slowly removed the cake from the bowl top.  Once most of the build-up was removed, I used a worn piece of 8000 grit paper to lessen the rim darkening.  That worked very well on this pipe.   The bowl was then soaked with alcohol and Sea salt.

I started on the stem with 800 grit wet paper, progressing thru 1000, 1500 and 2000 grades.   8000 and 12000 grade micromesh sheets were used next.  I followed this with a light buff with White Diamond and then the super-fine Red Jewelers rouge.  Some stems really respond to the Red rouge, but care is needed not to get it on the white stem logo.  The stem was now in near mint condition.

I buffed the bowl lightly with White Diamond and then with several coats of Carnuba Wax.

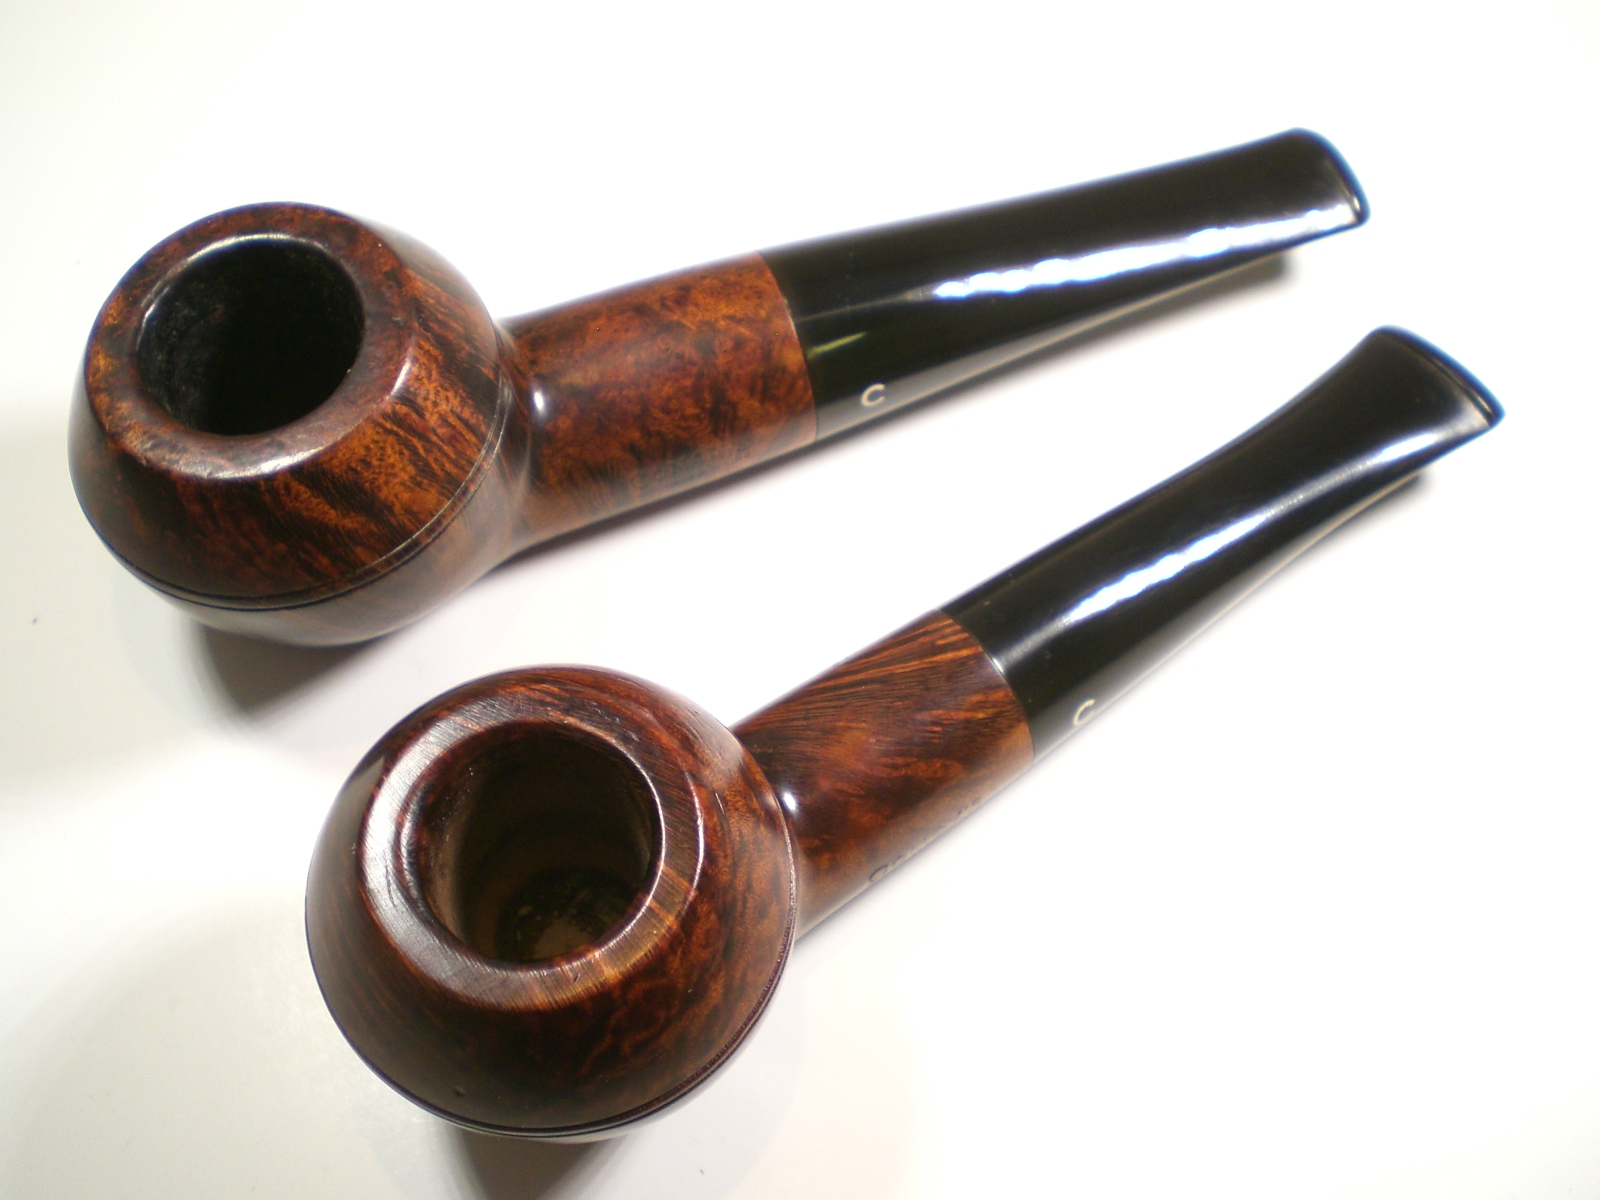
I’m very pleased to add this one to my small collection of Comoy’s pipes.   The last two shots show the comparison to the 440’s big brother, a 498 Extraordinaire.

Comoys_Tradition_Finished Comoys_Tradition_Finished (14) Comoys_Tradition_Finished (4) Comoys_Tradition_Finished (5) Comoys_Tradition_Finished (1) Comoys_Tradition_Finished (15) Comoys_Tradition_Finished (12) Comoys_Tradition_Finished (2) Comoys_Tradition_Finished (6) Comoys_Tradition_Finished (7) Comoys_Tradition_Finished (9) Comoys_Tradition_Finished (10) Comoys_Tradition_Finished (11) Comoys_Tradition_Finished (8) Comoys_Tradition_Finished (13)


City de Luxe (GBD) 357 Prince Restoration


Blog by Al Jones

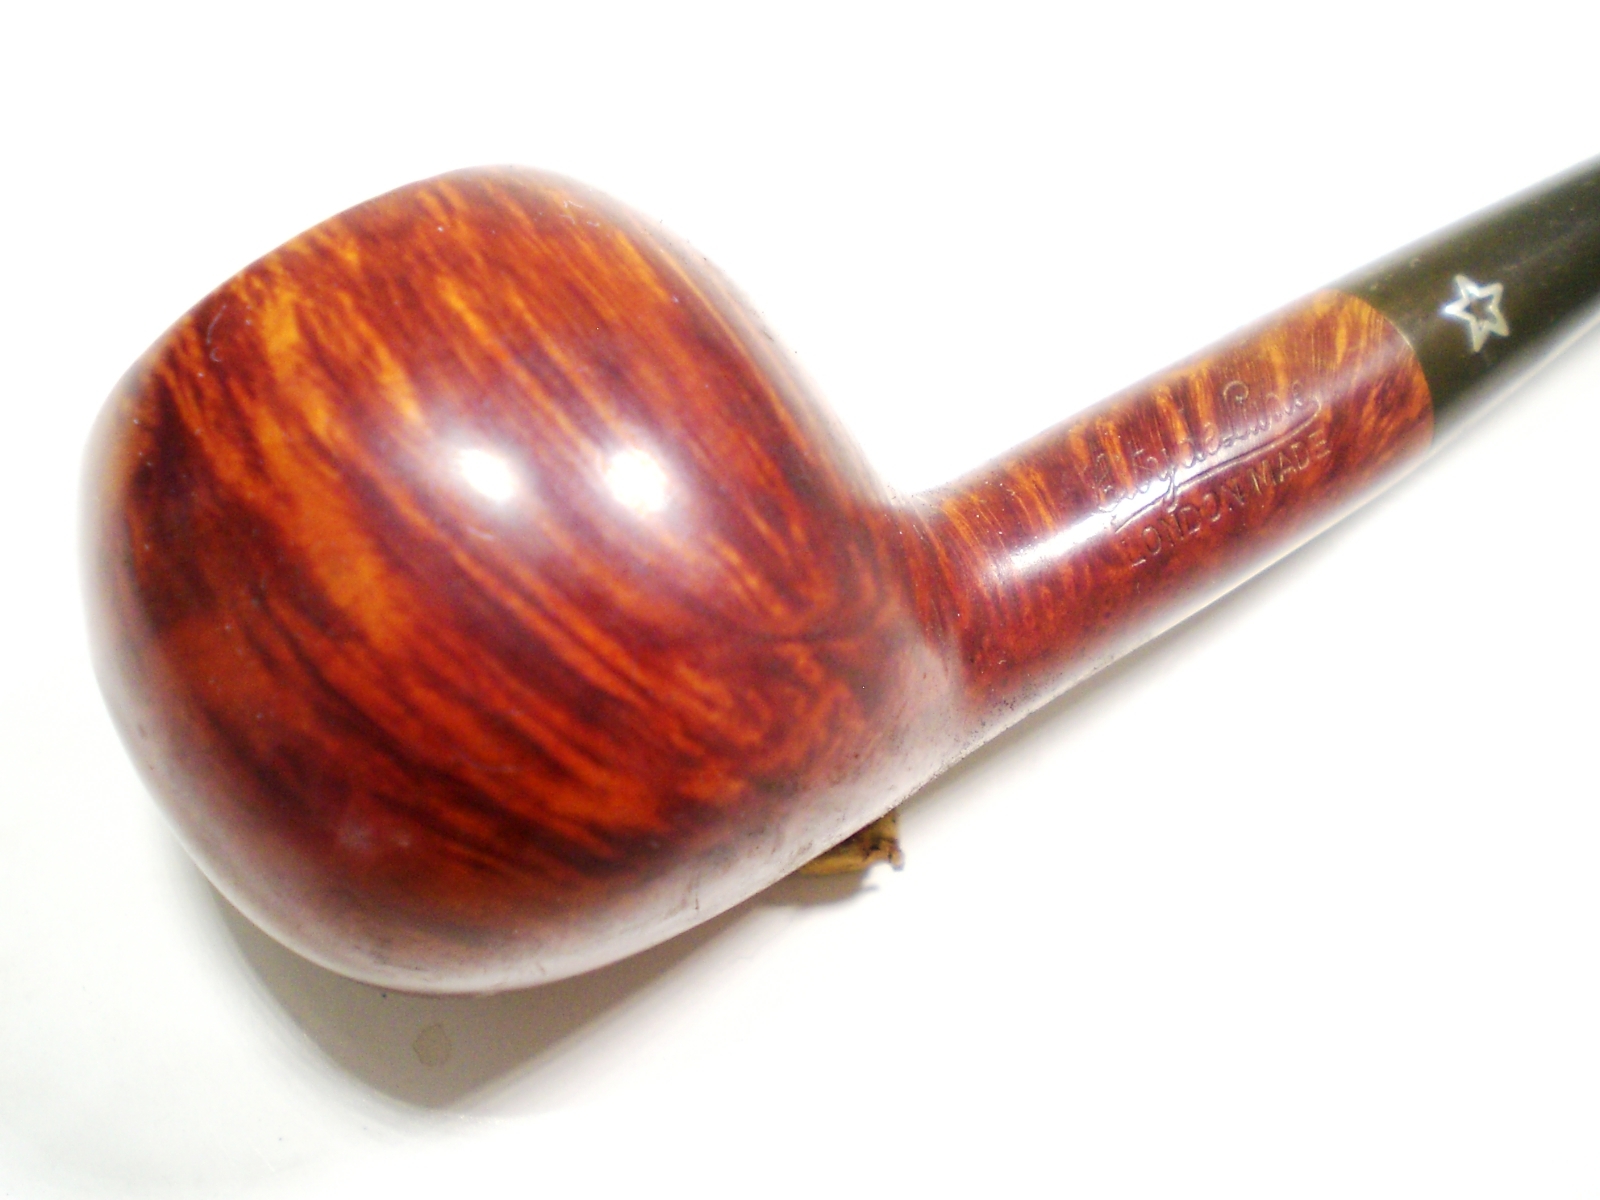
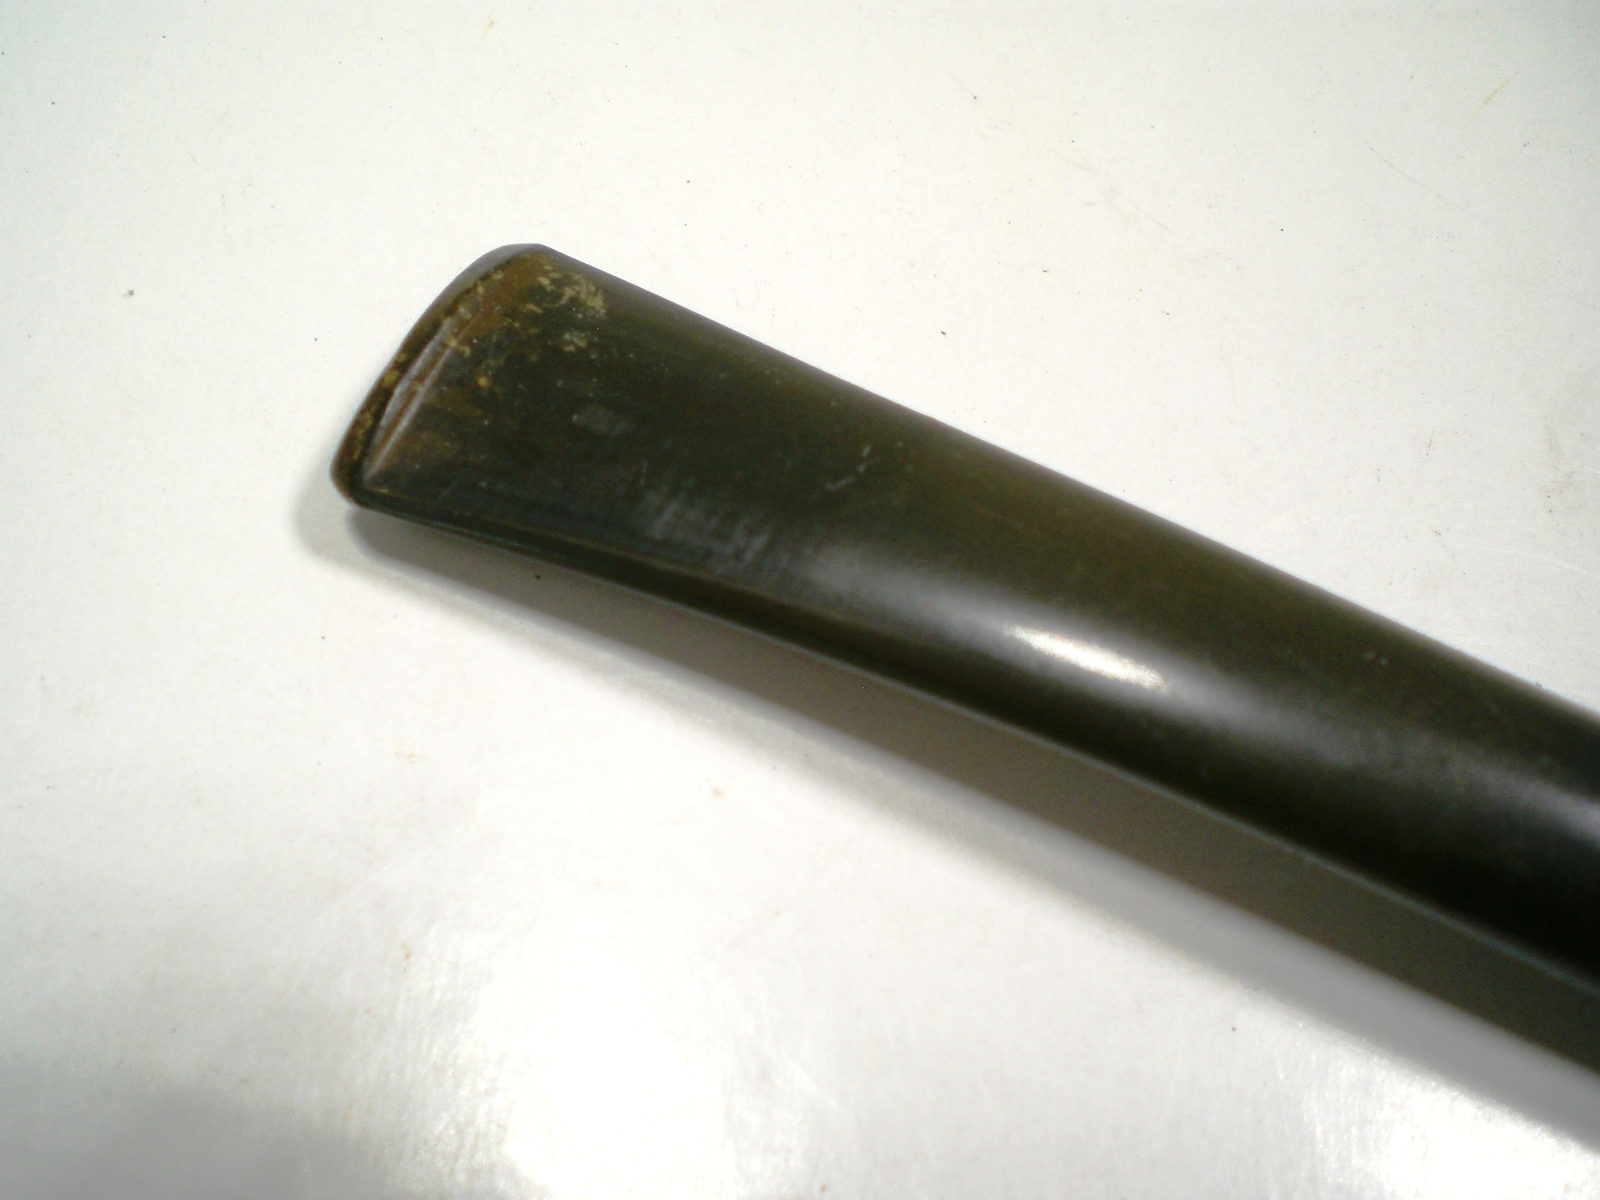
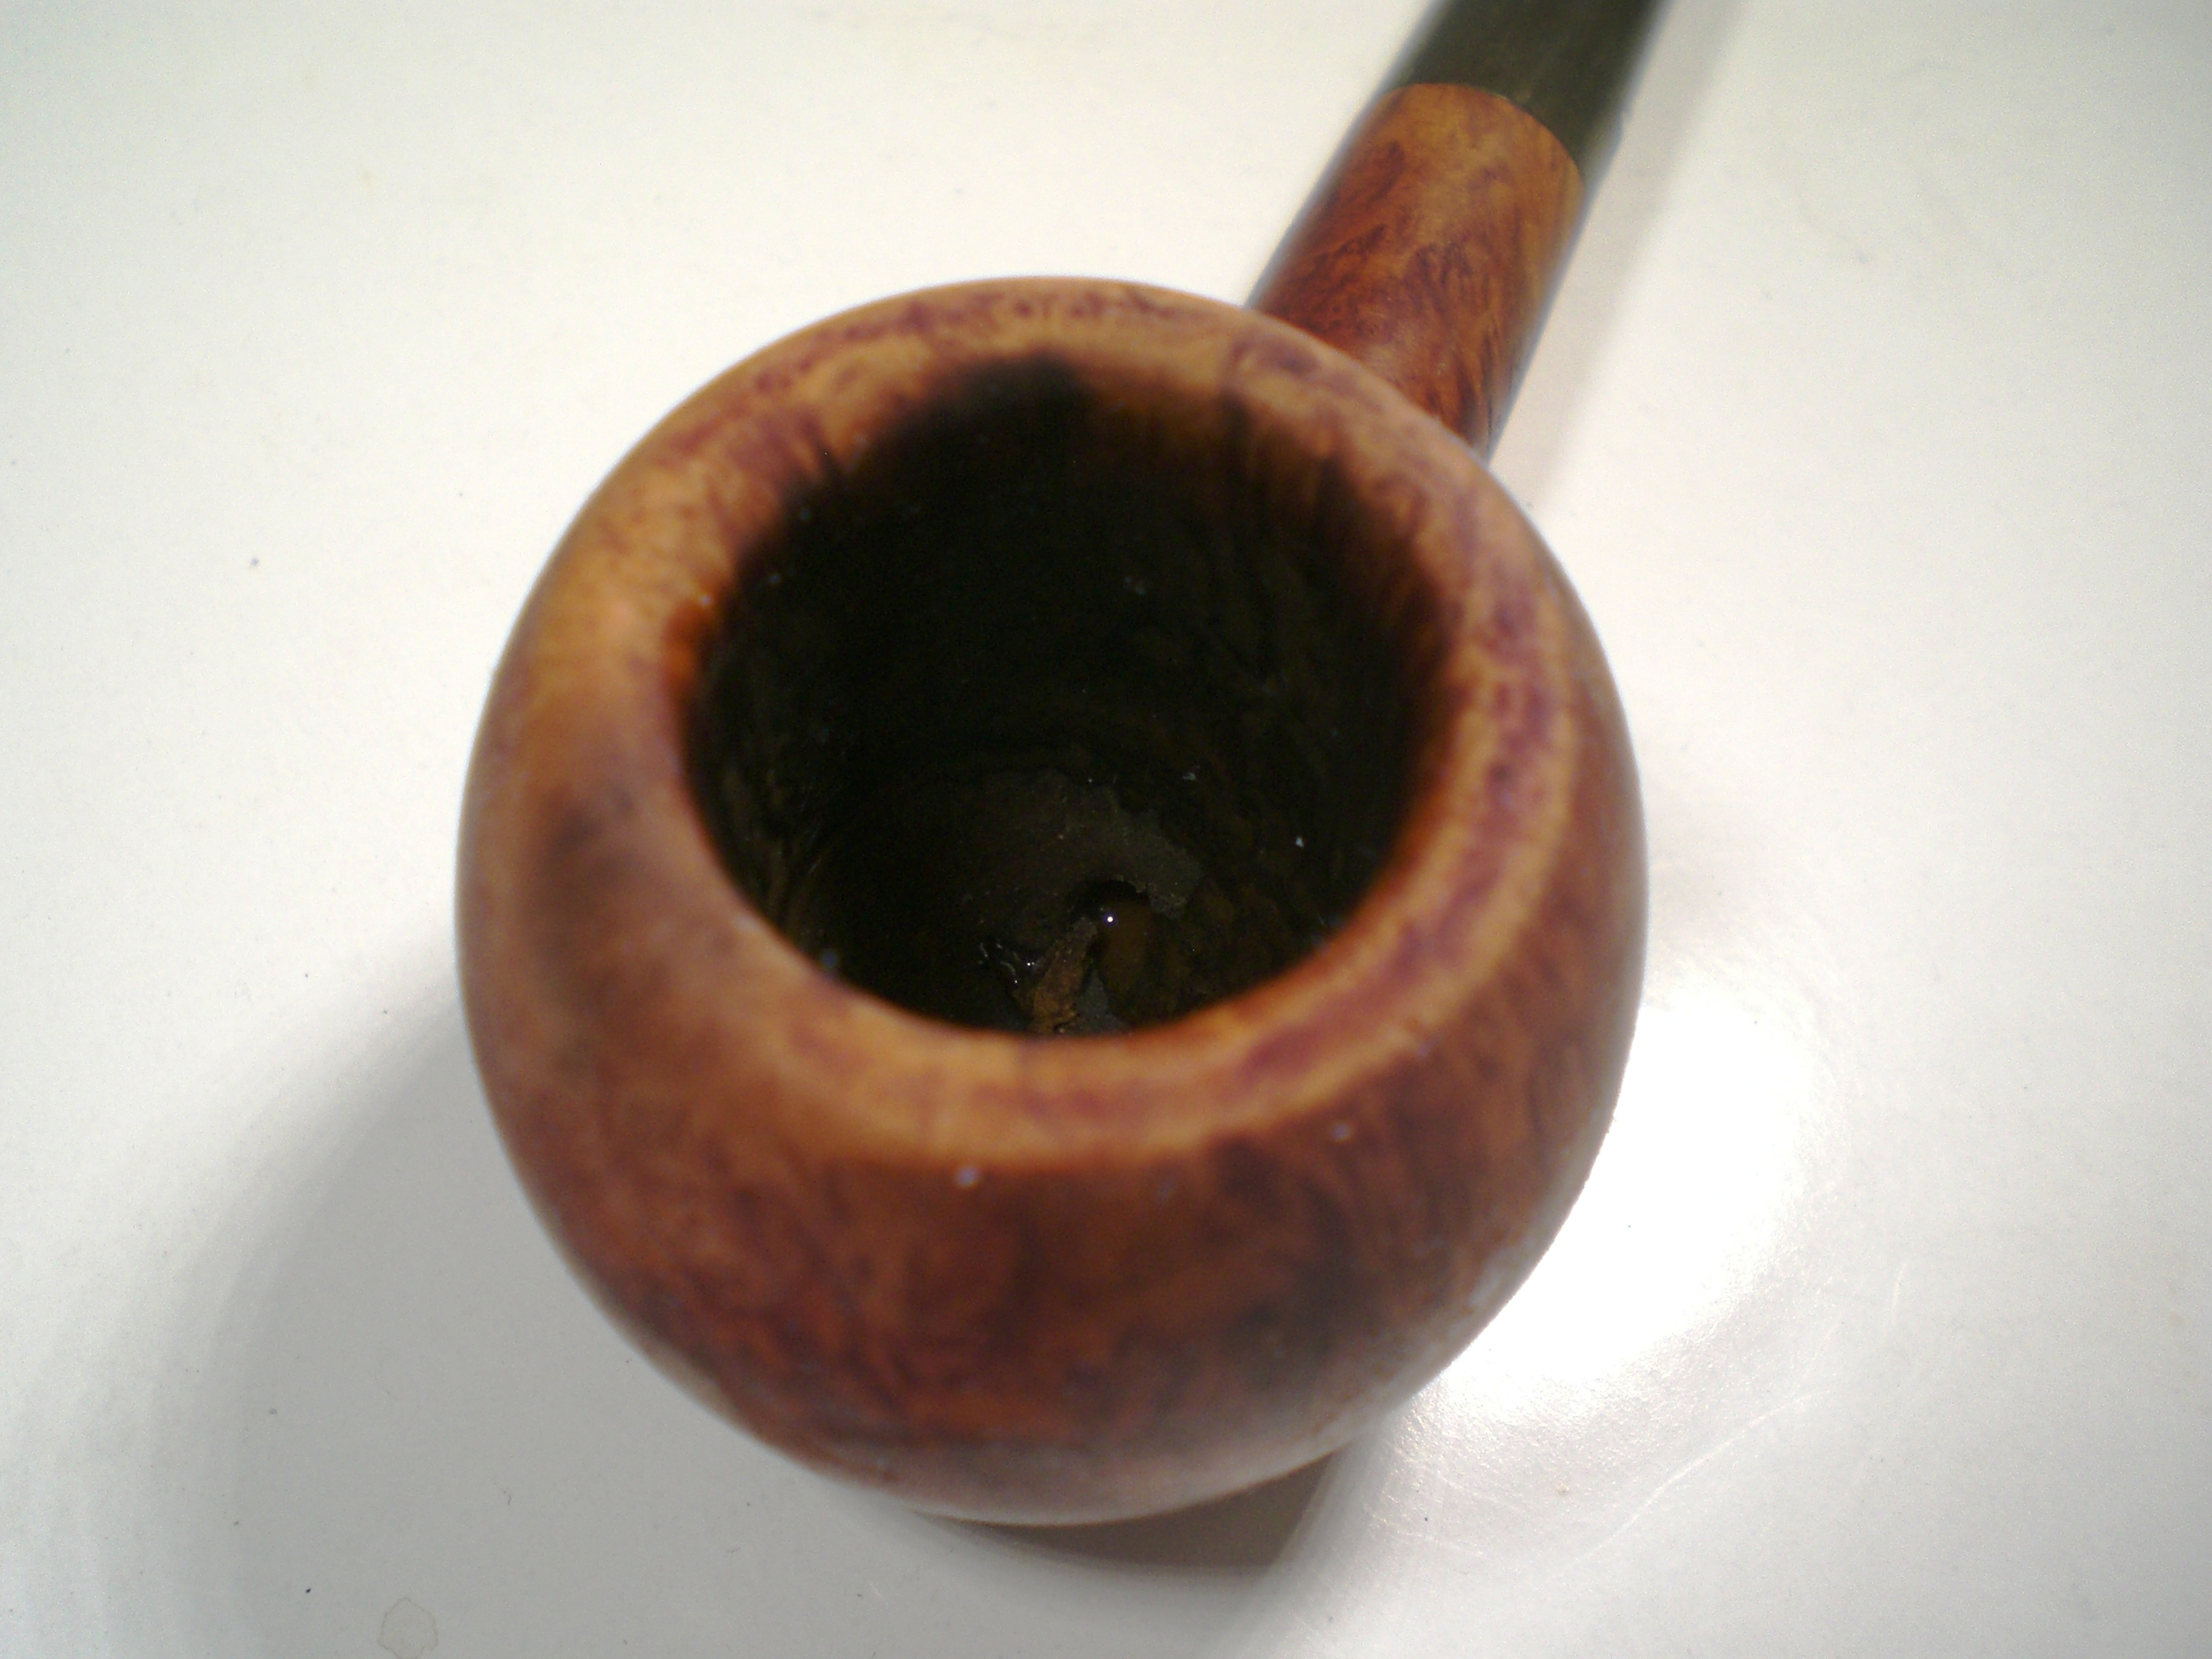
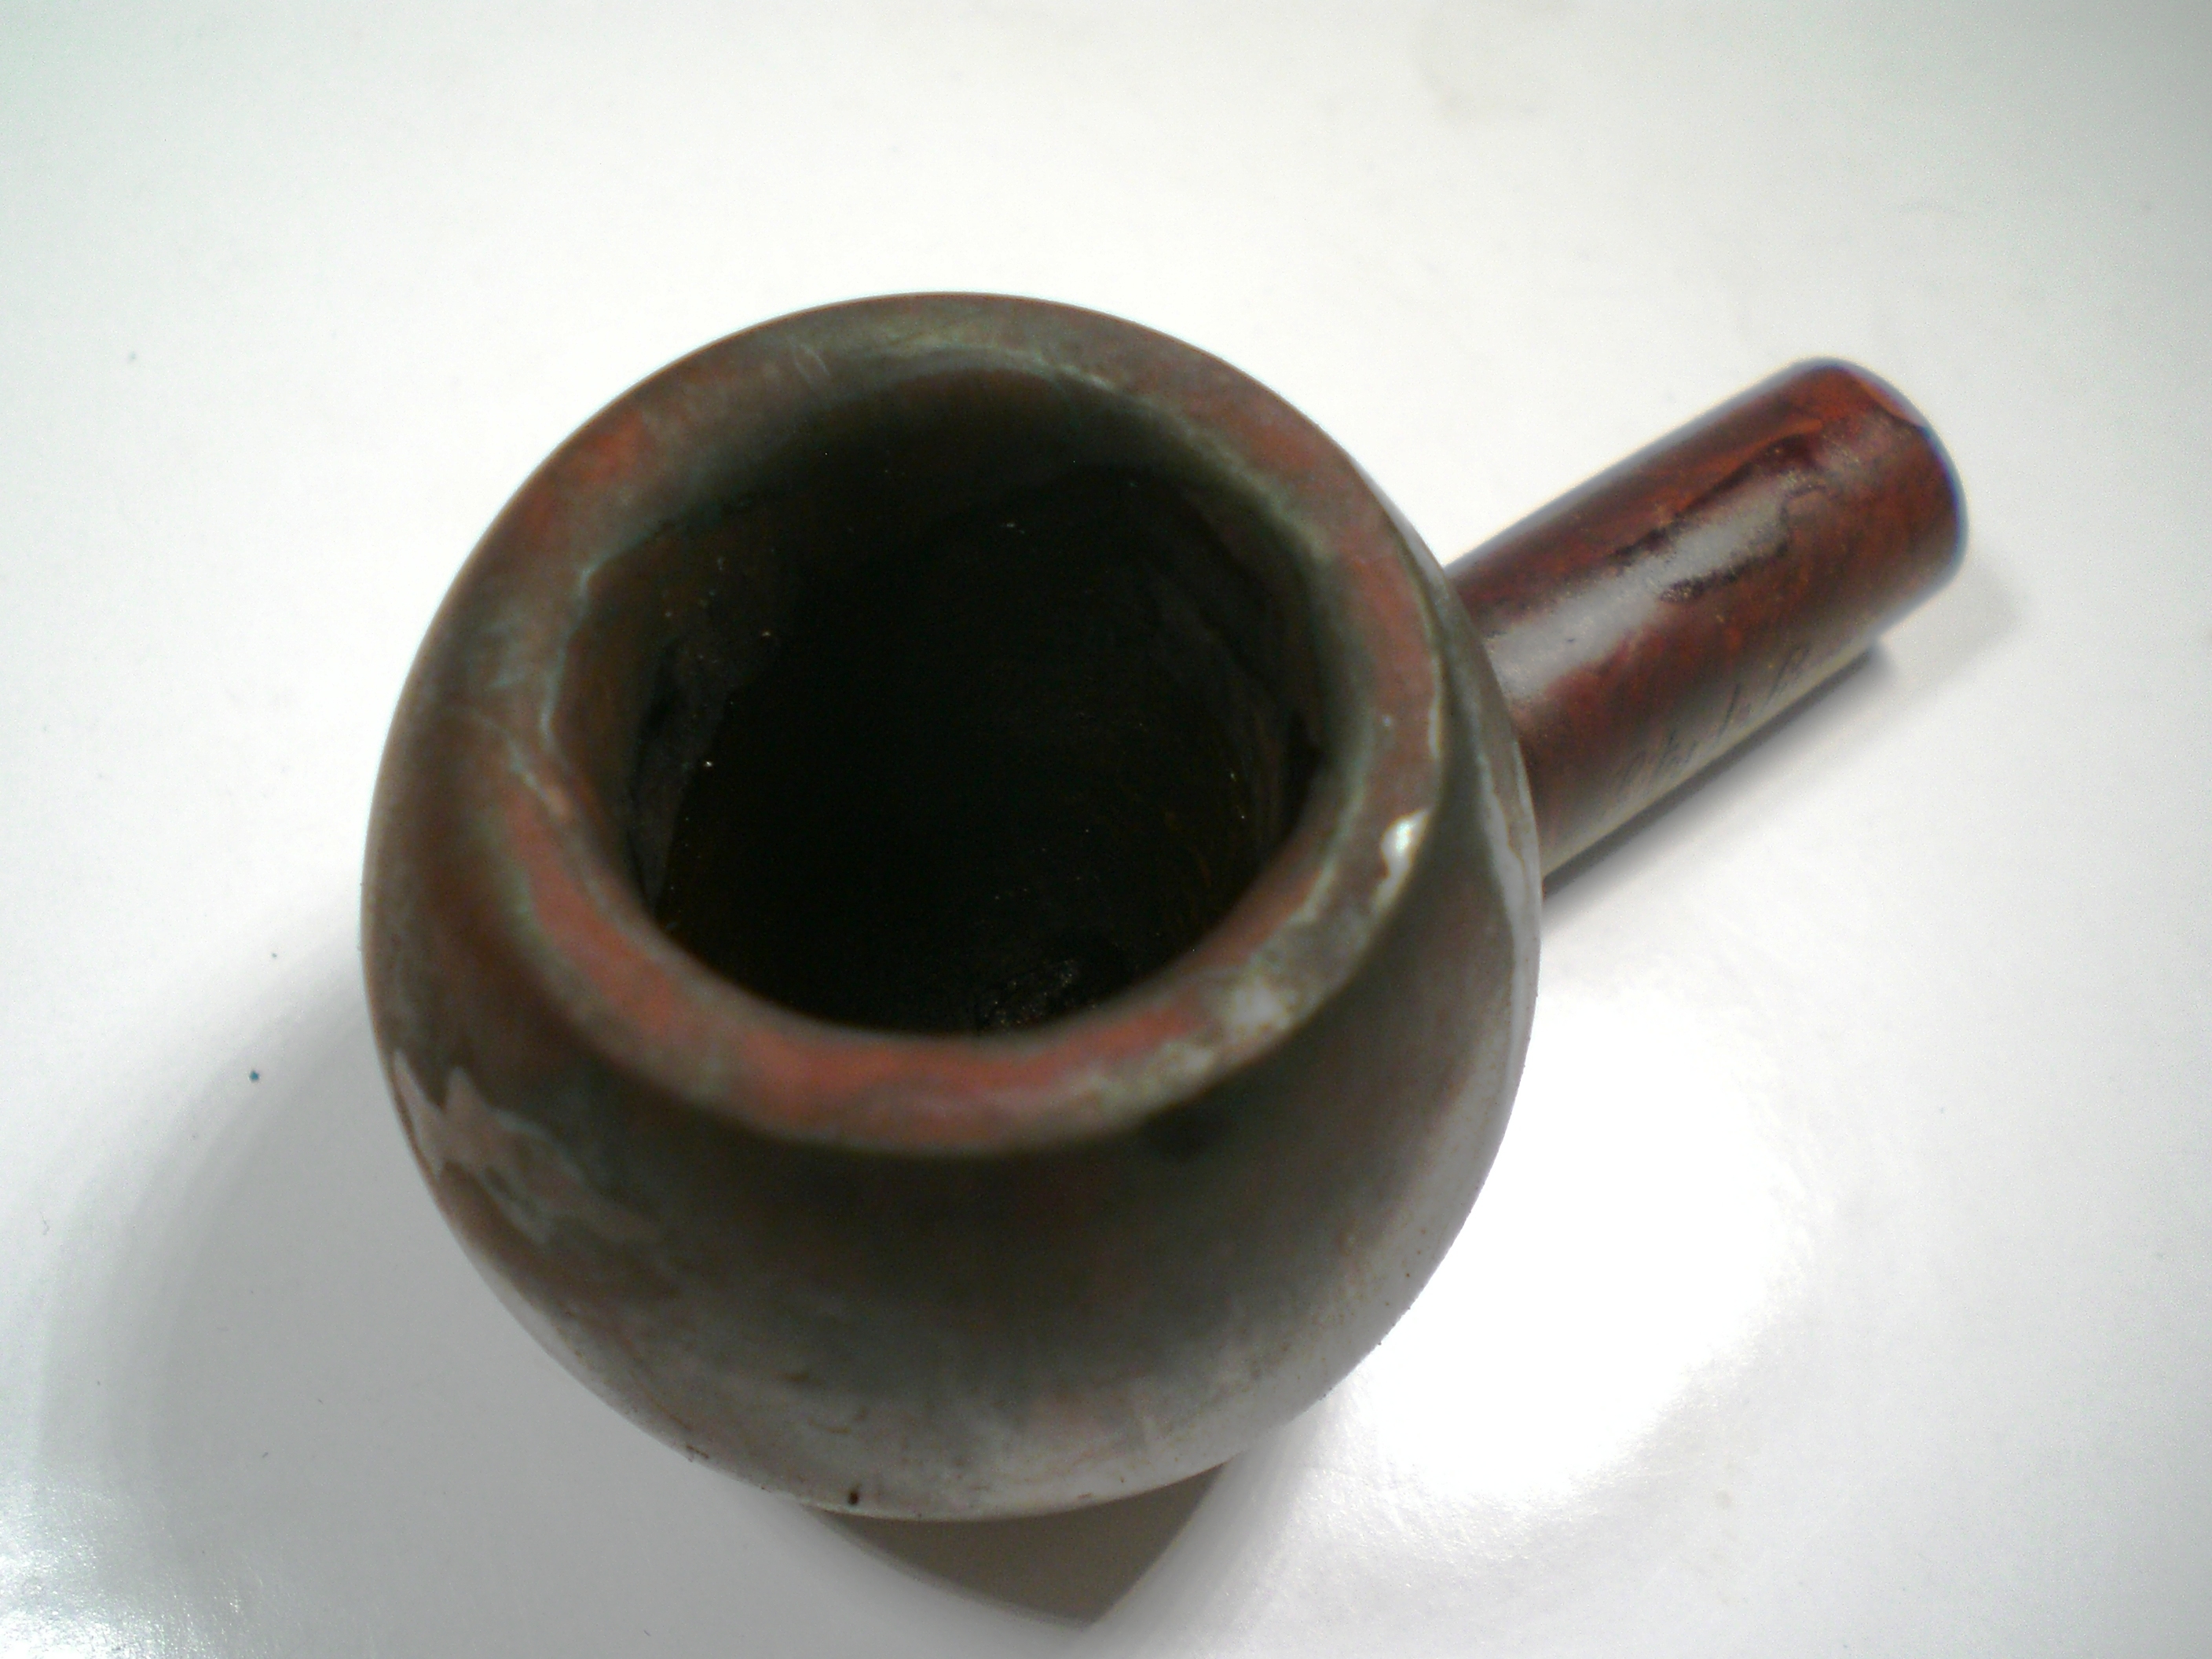
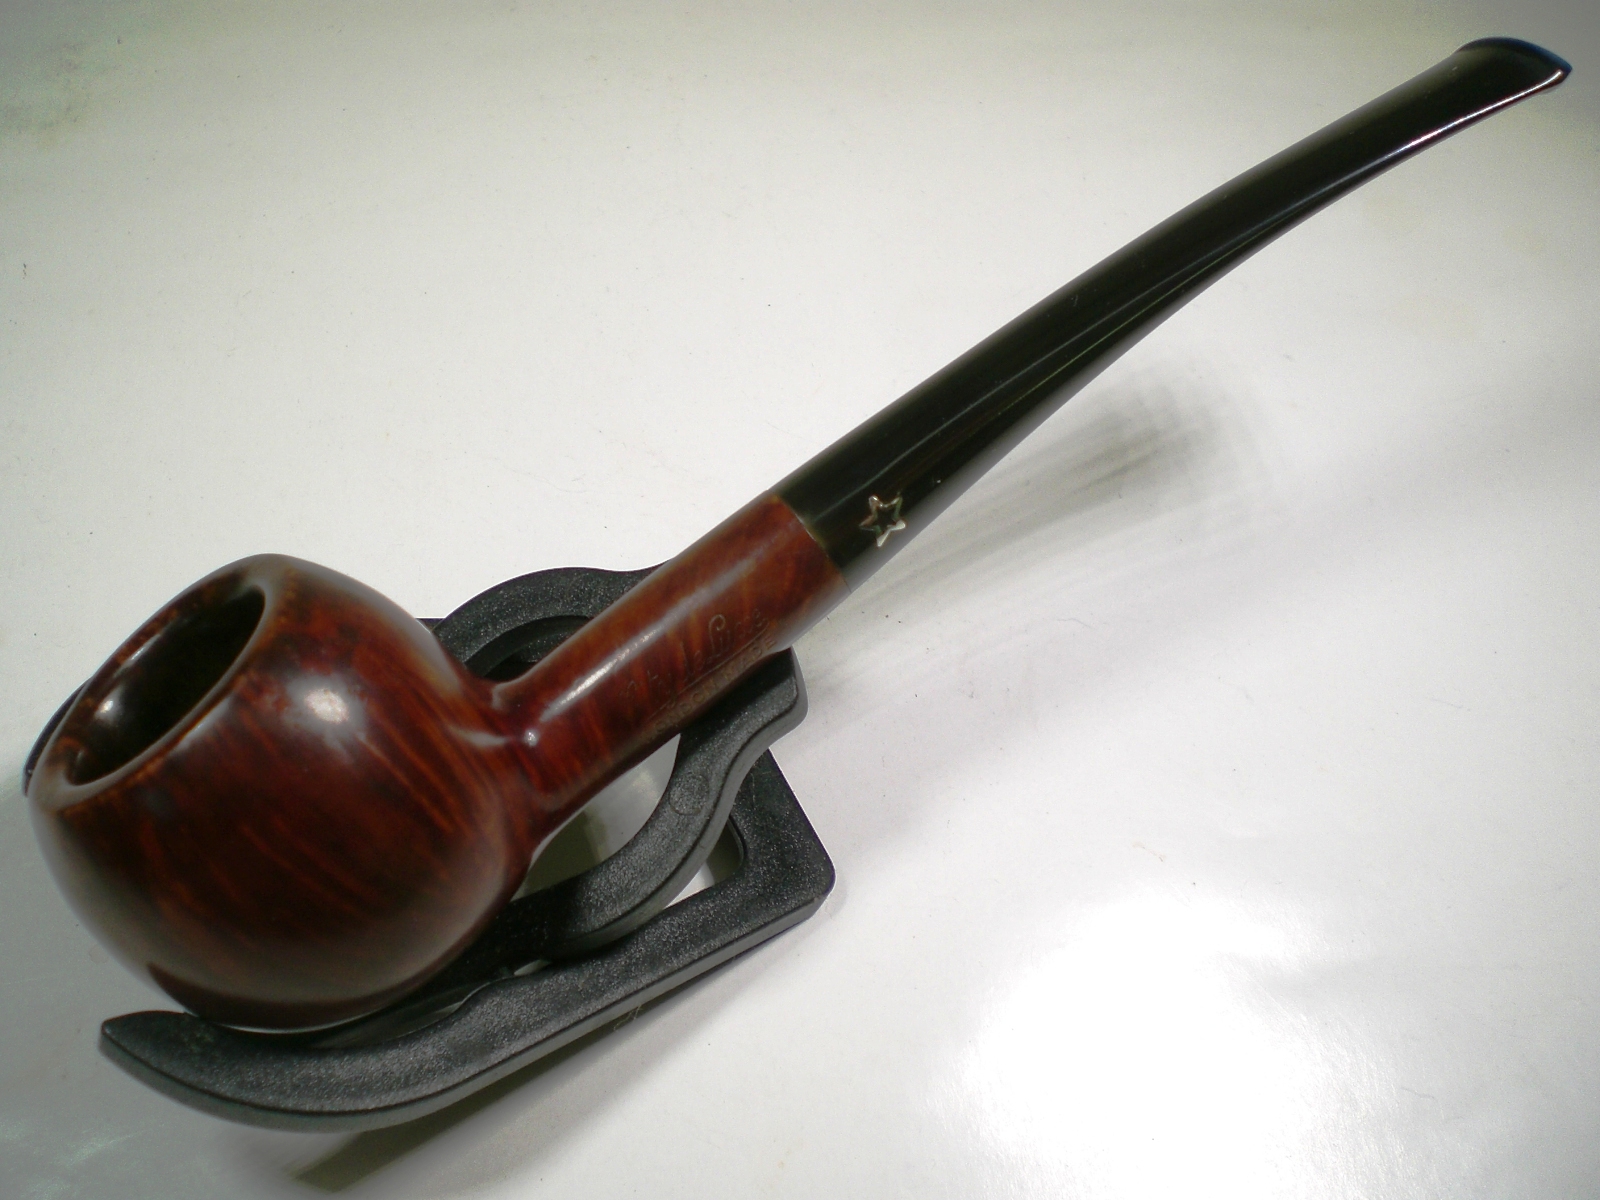
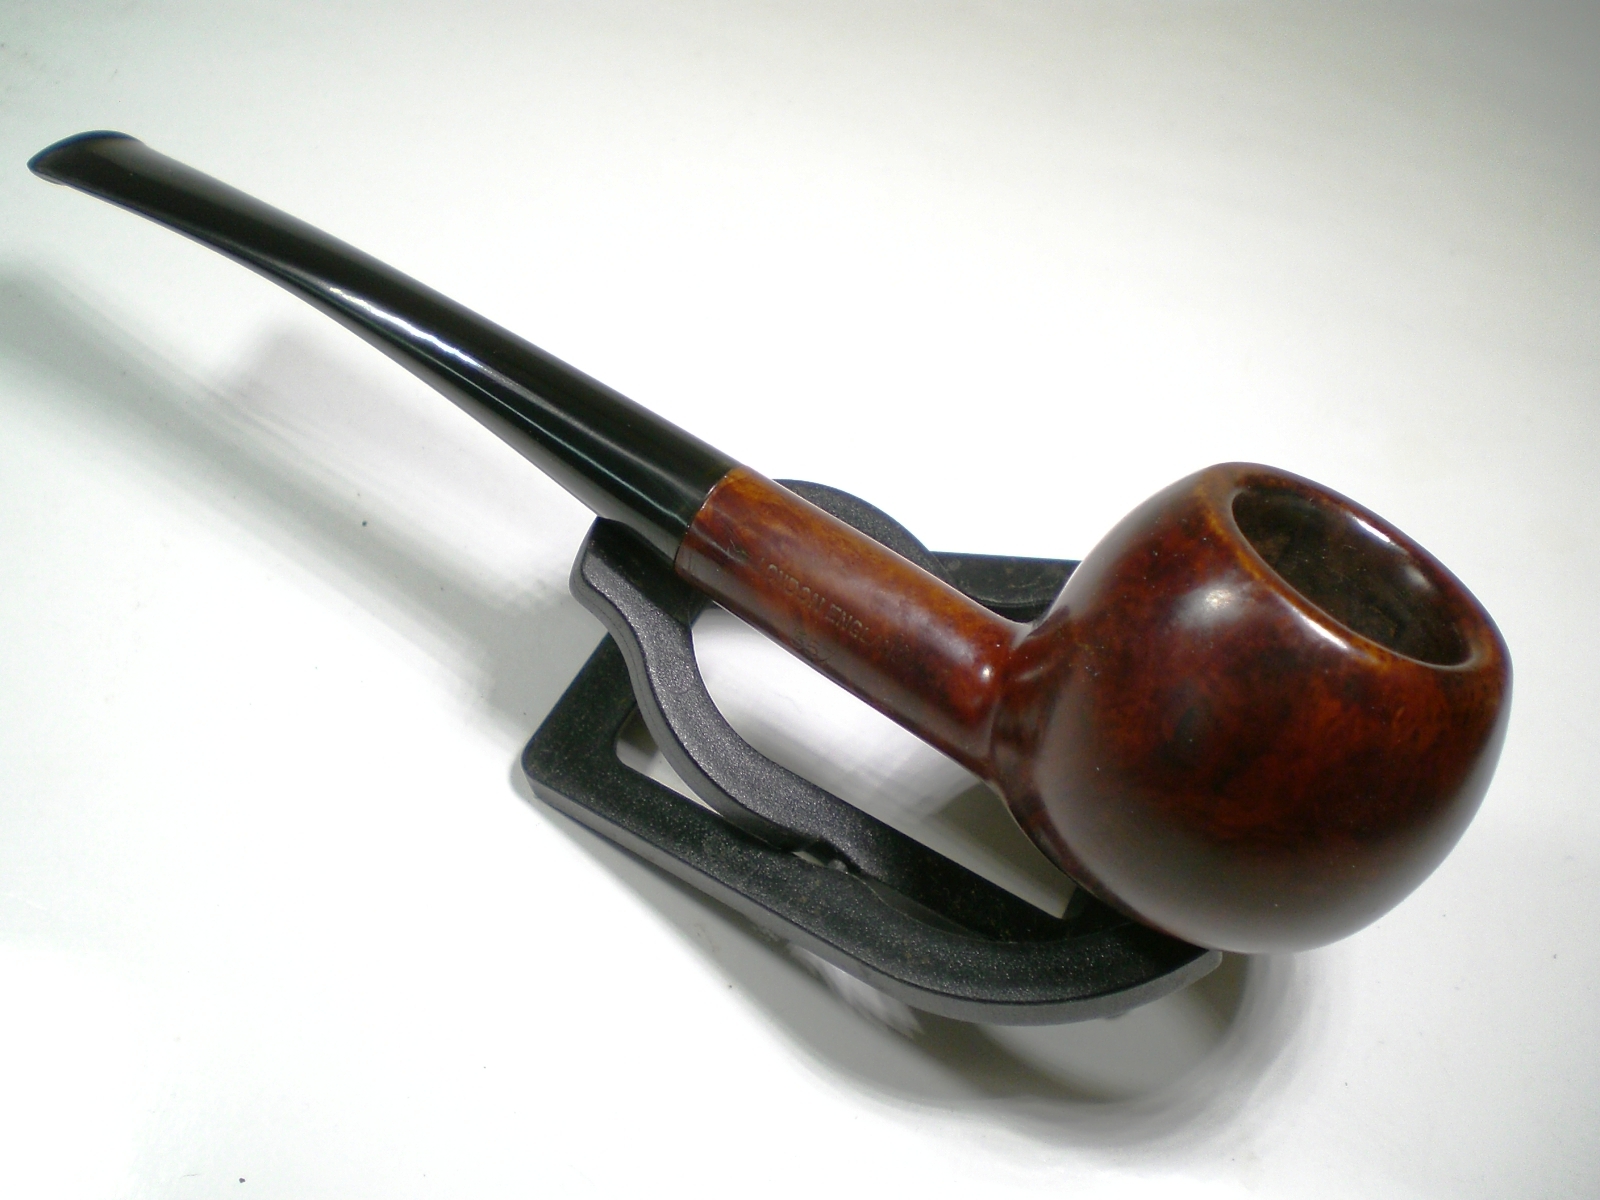
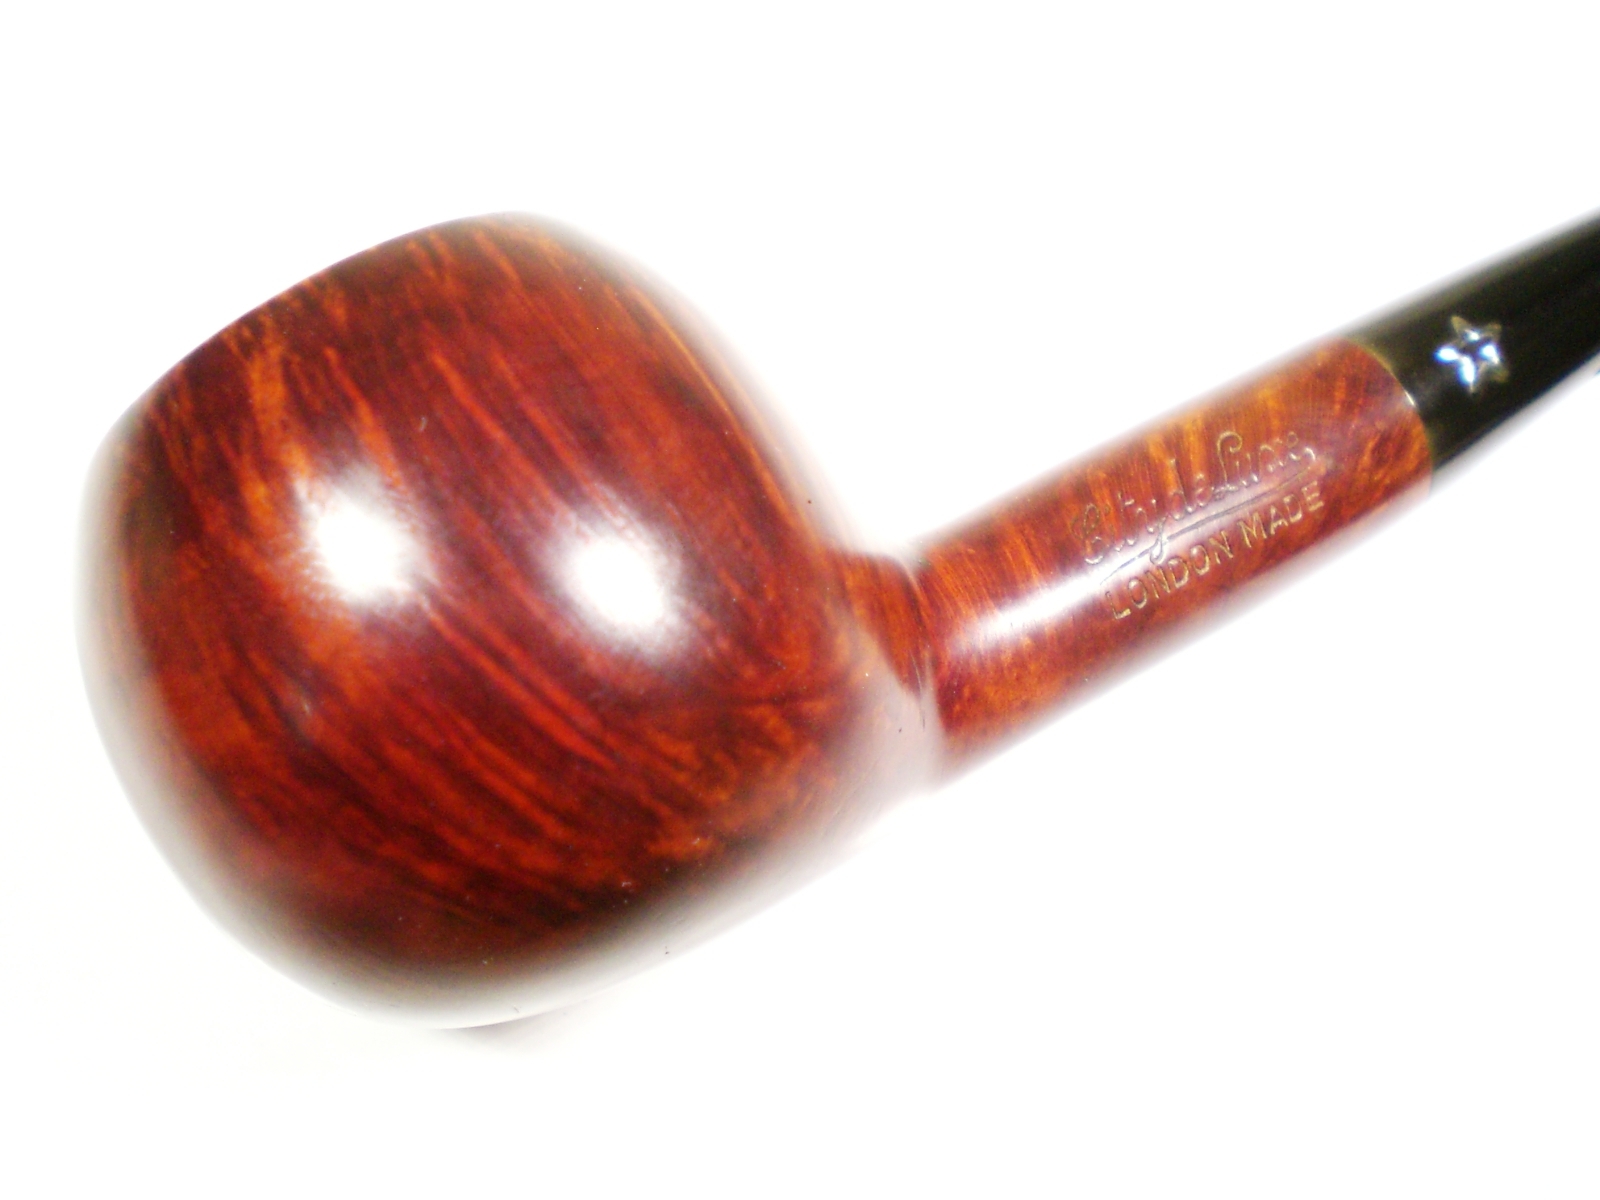
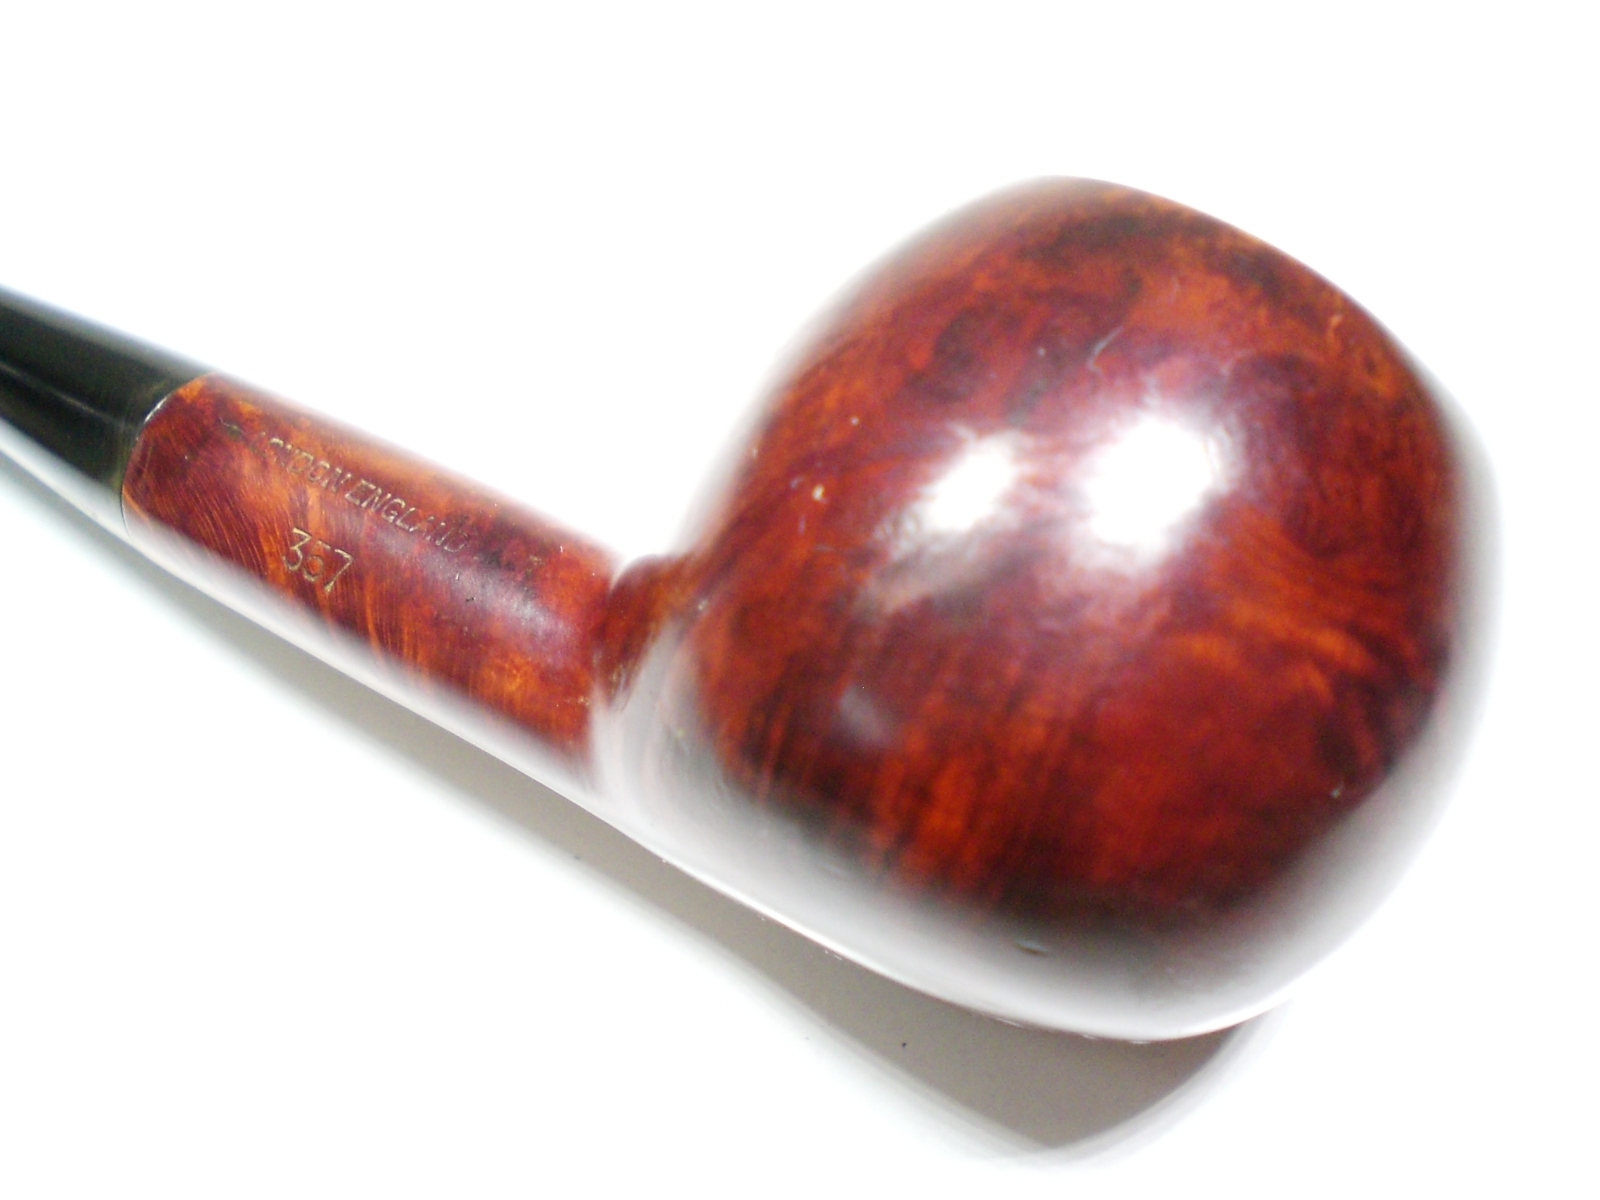
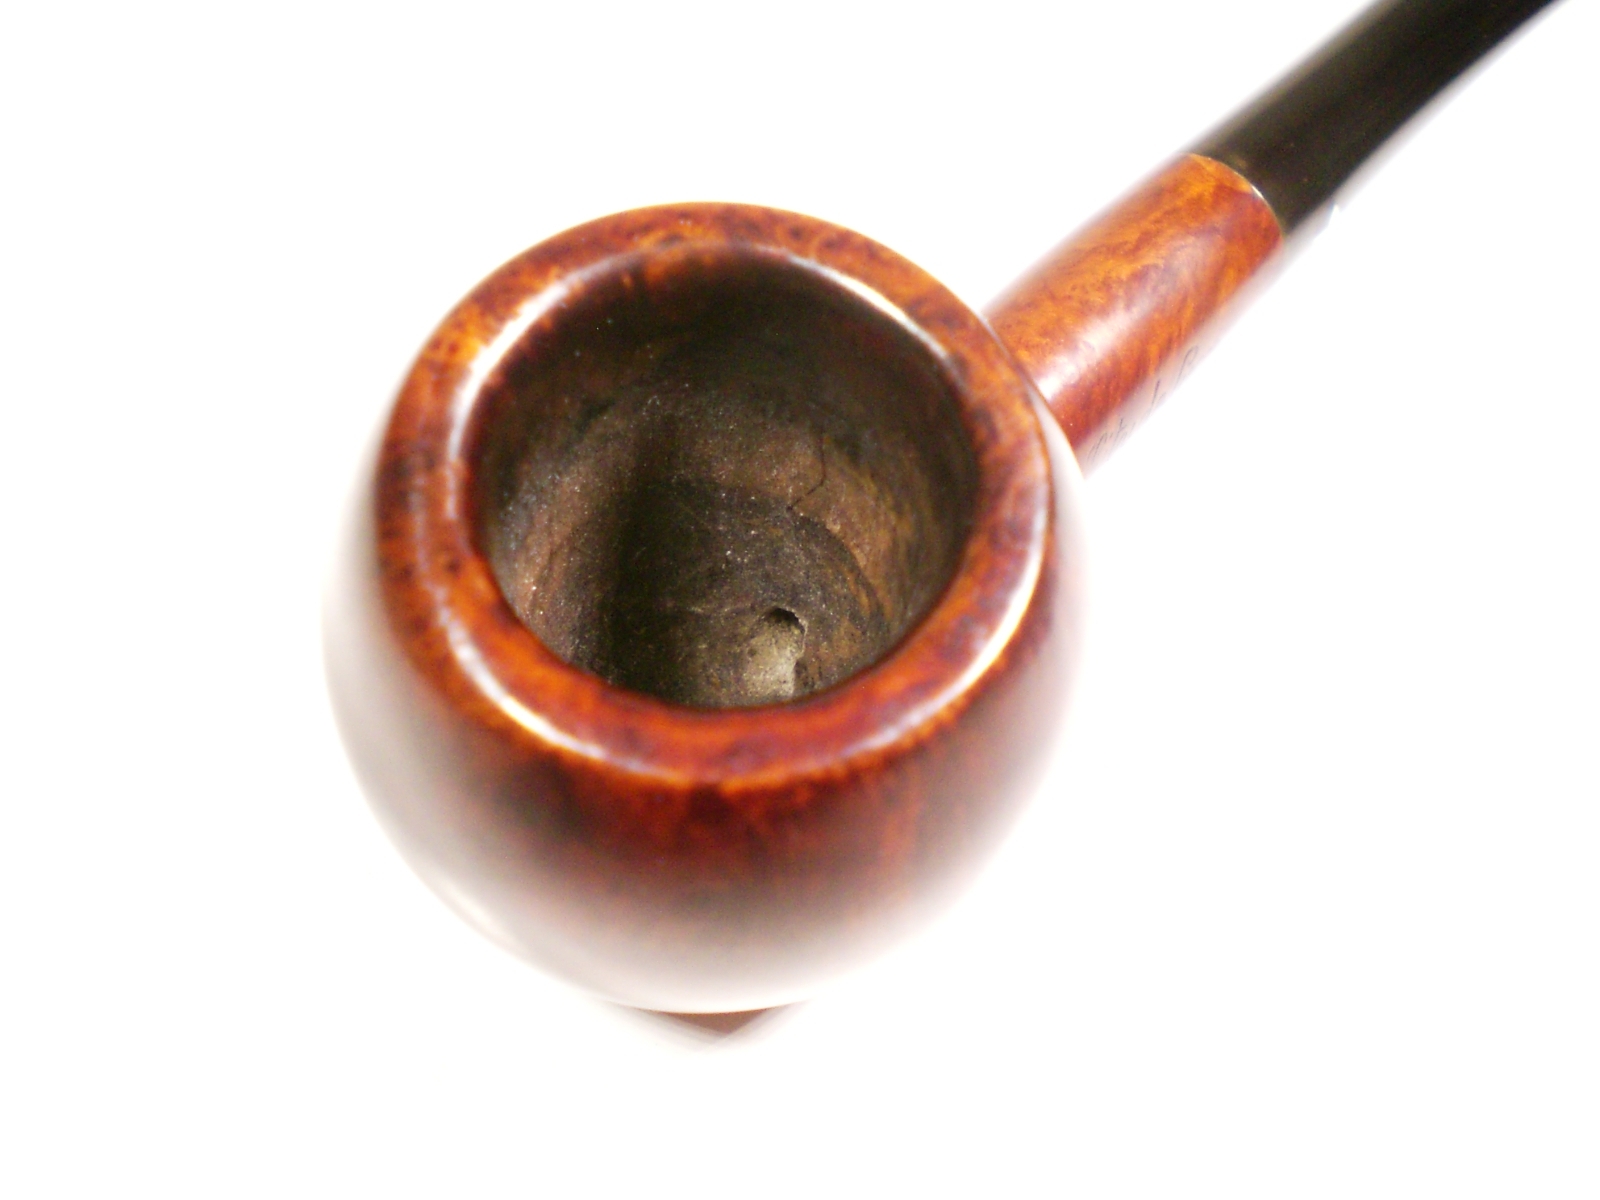
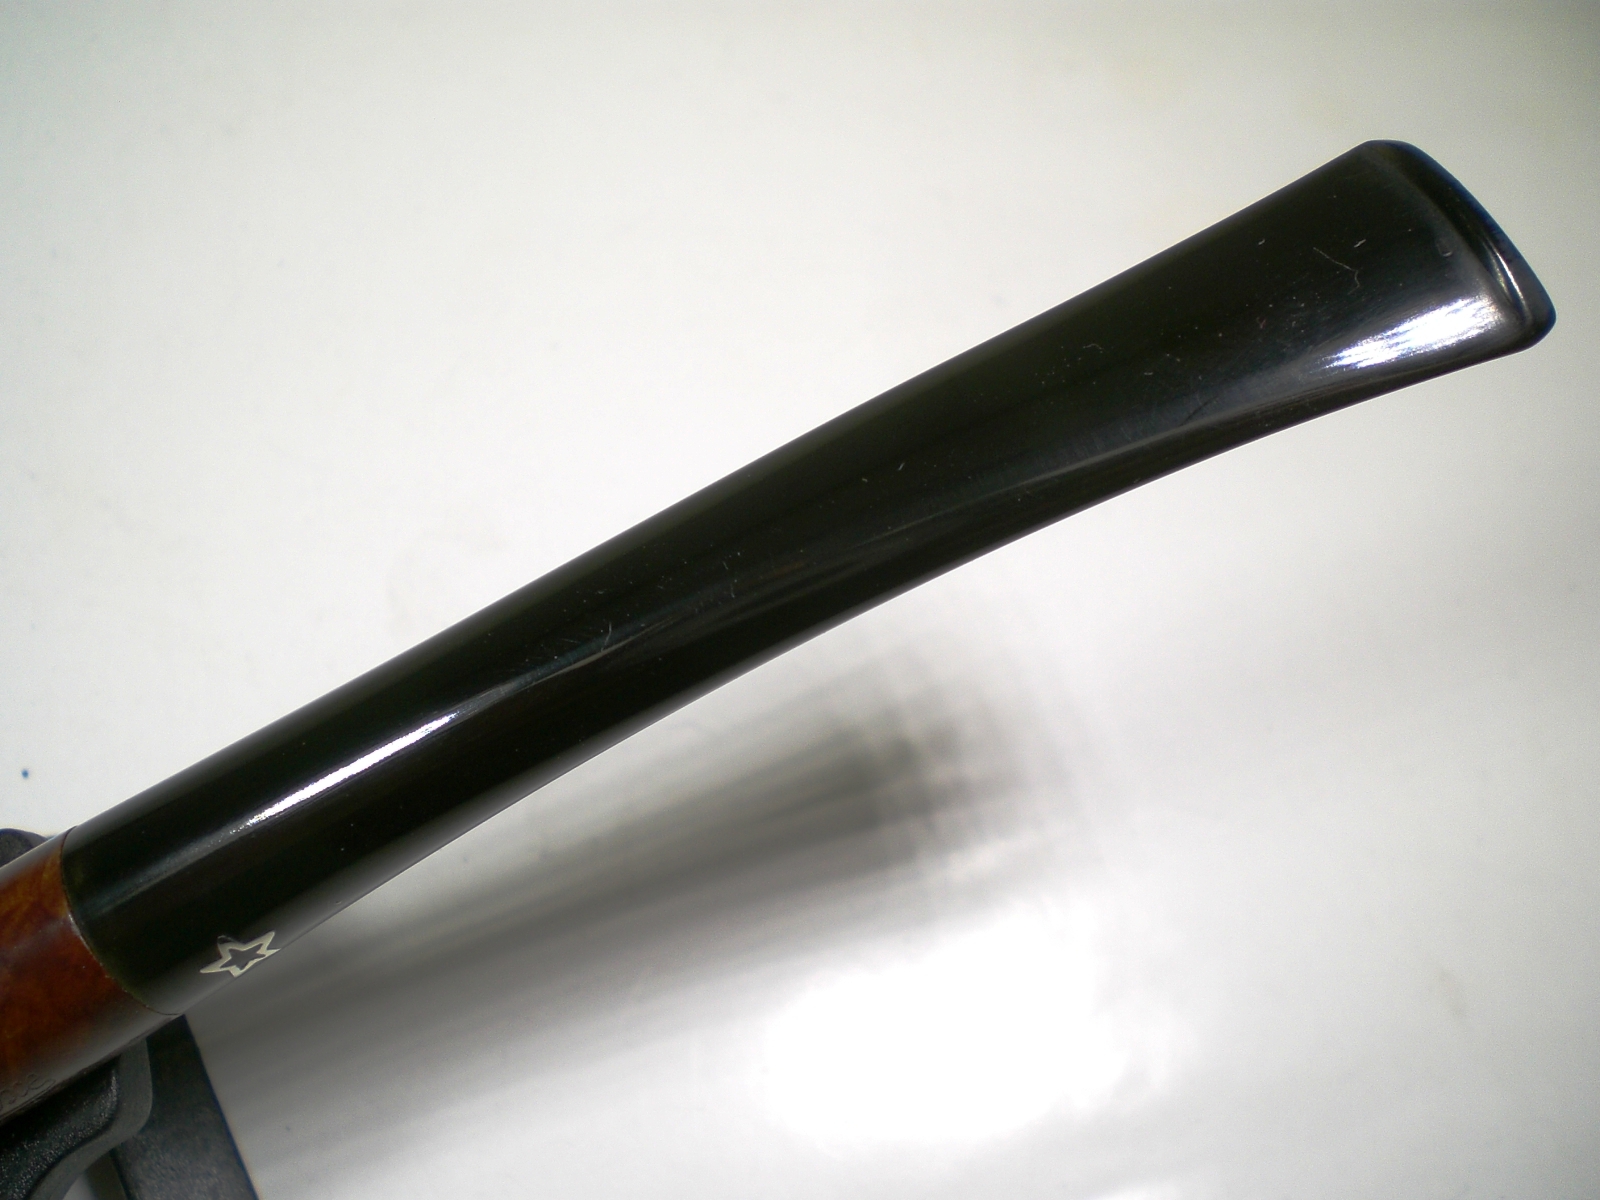
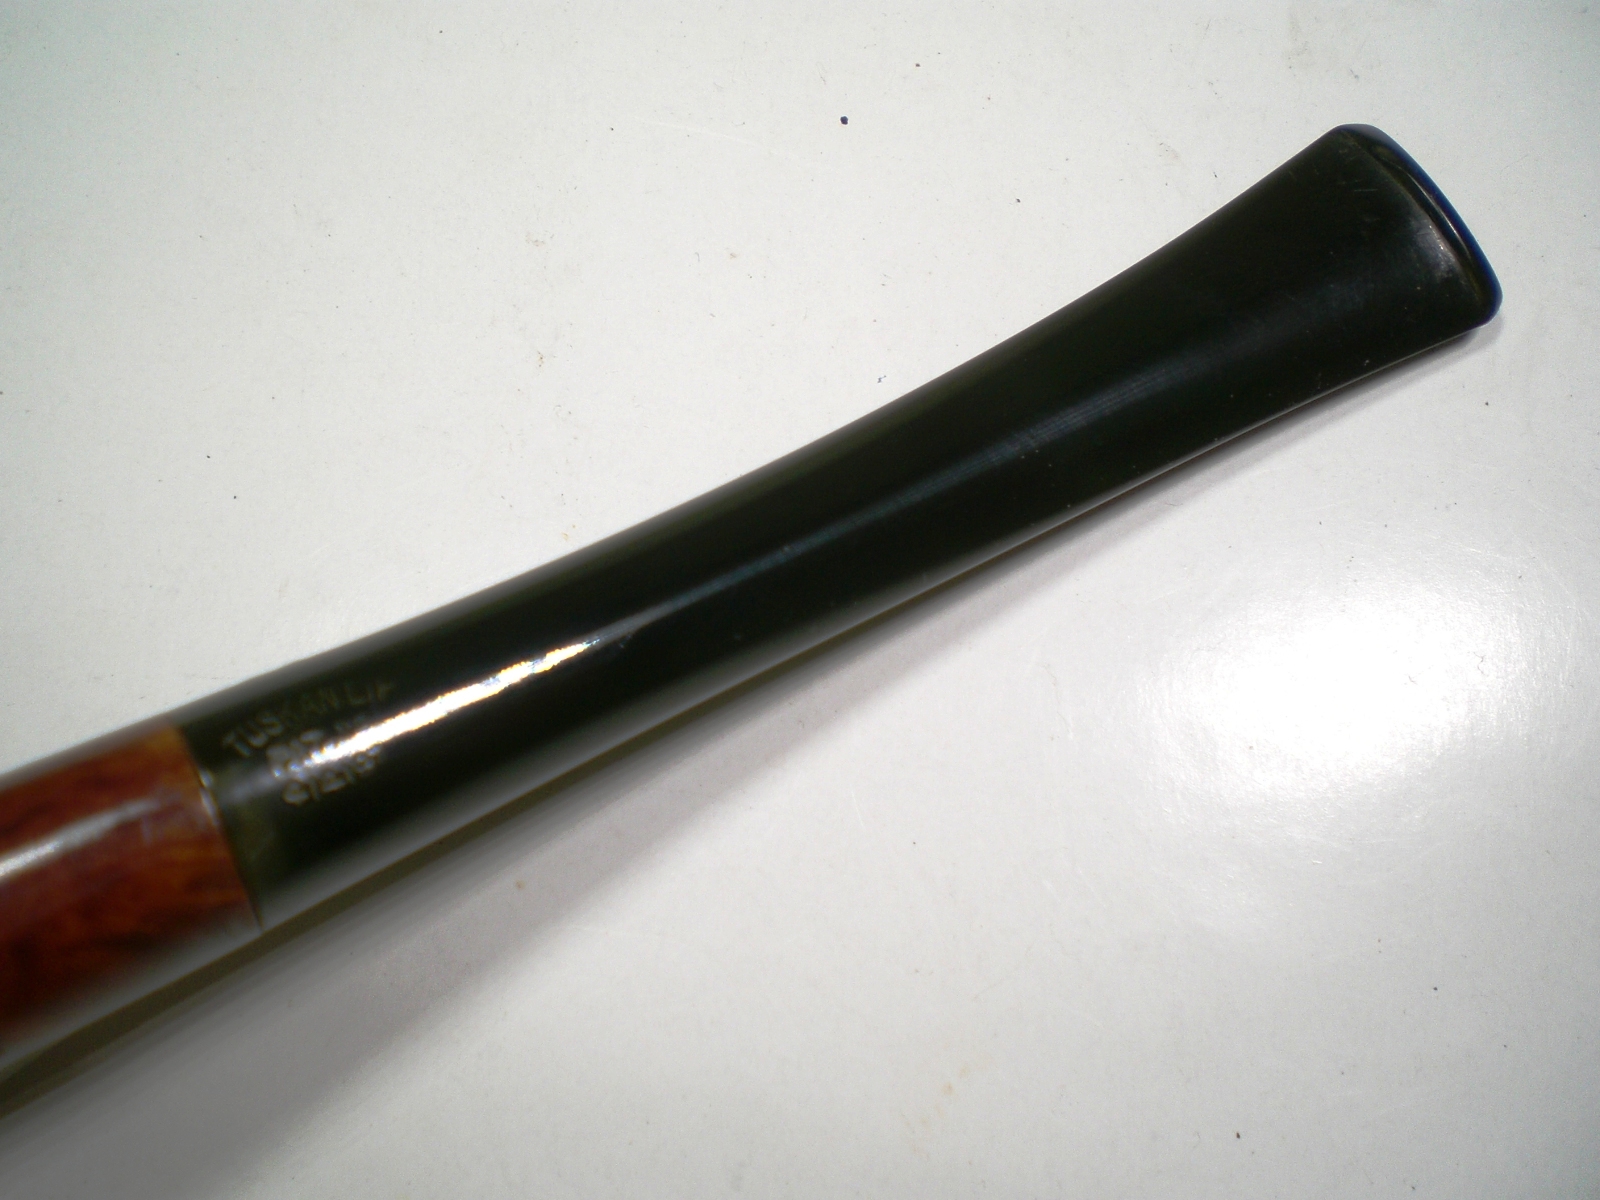
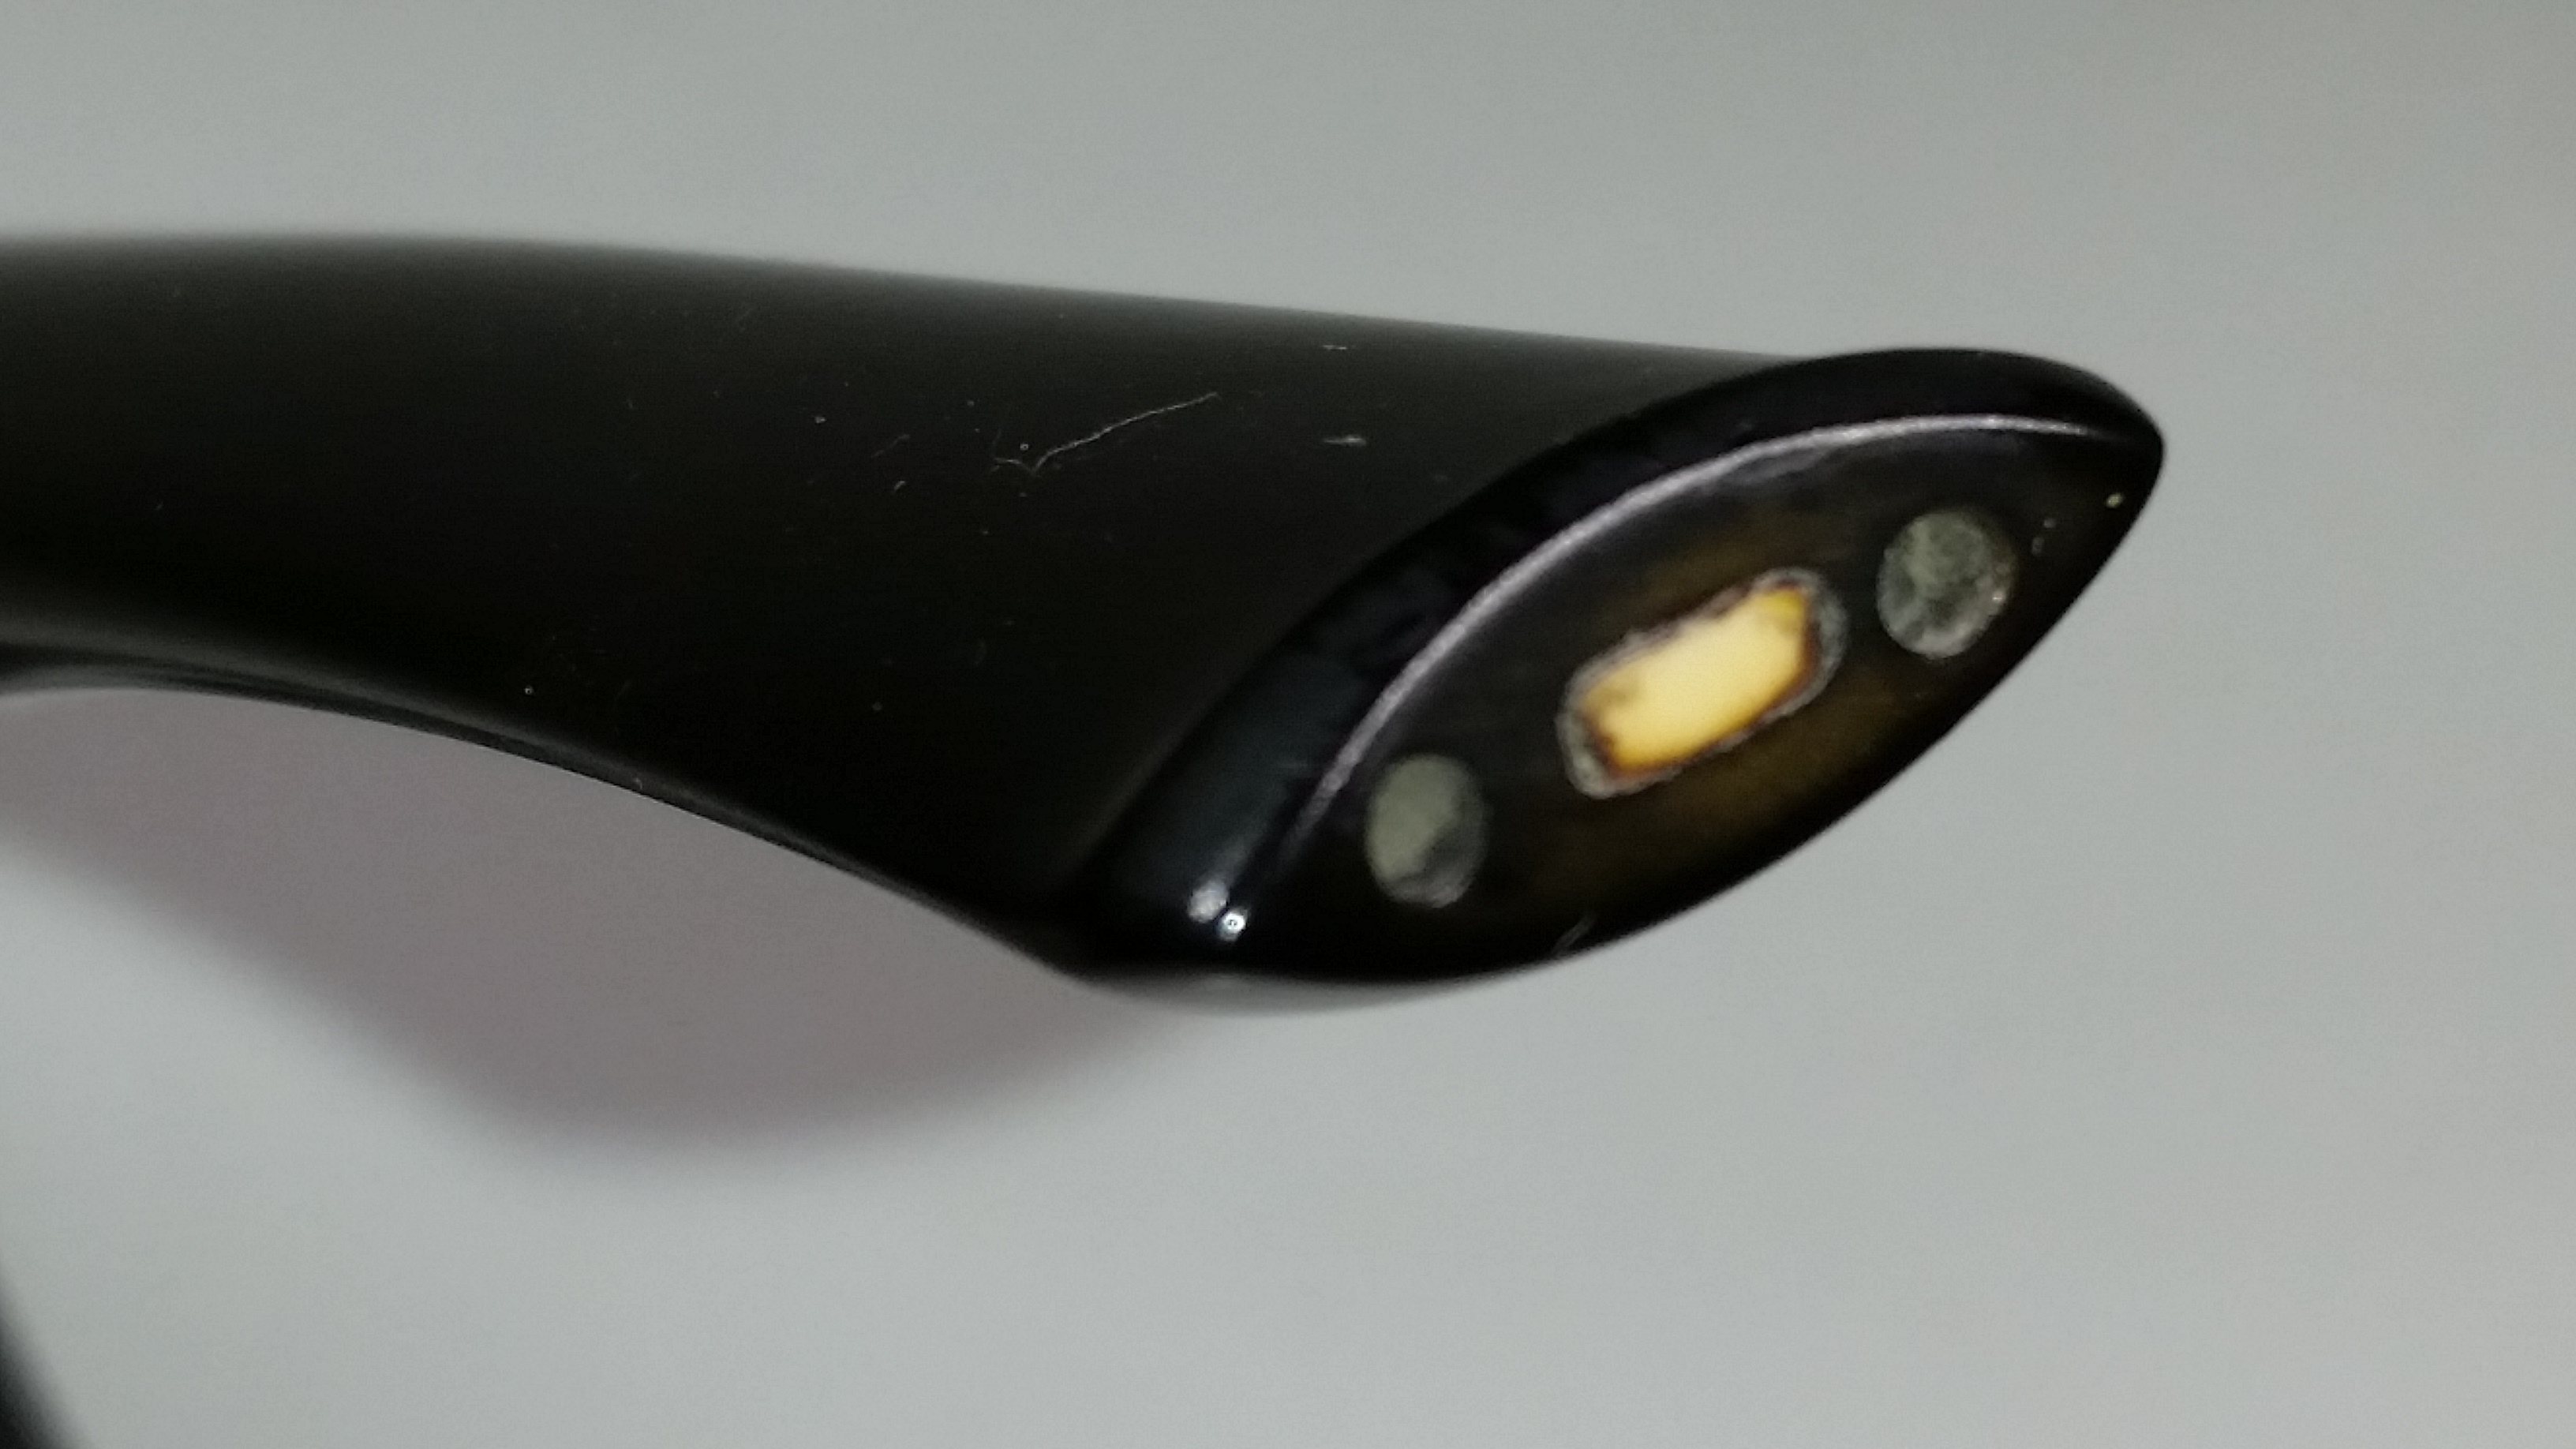
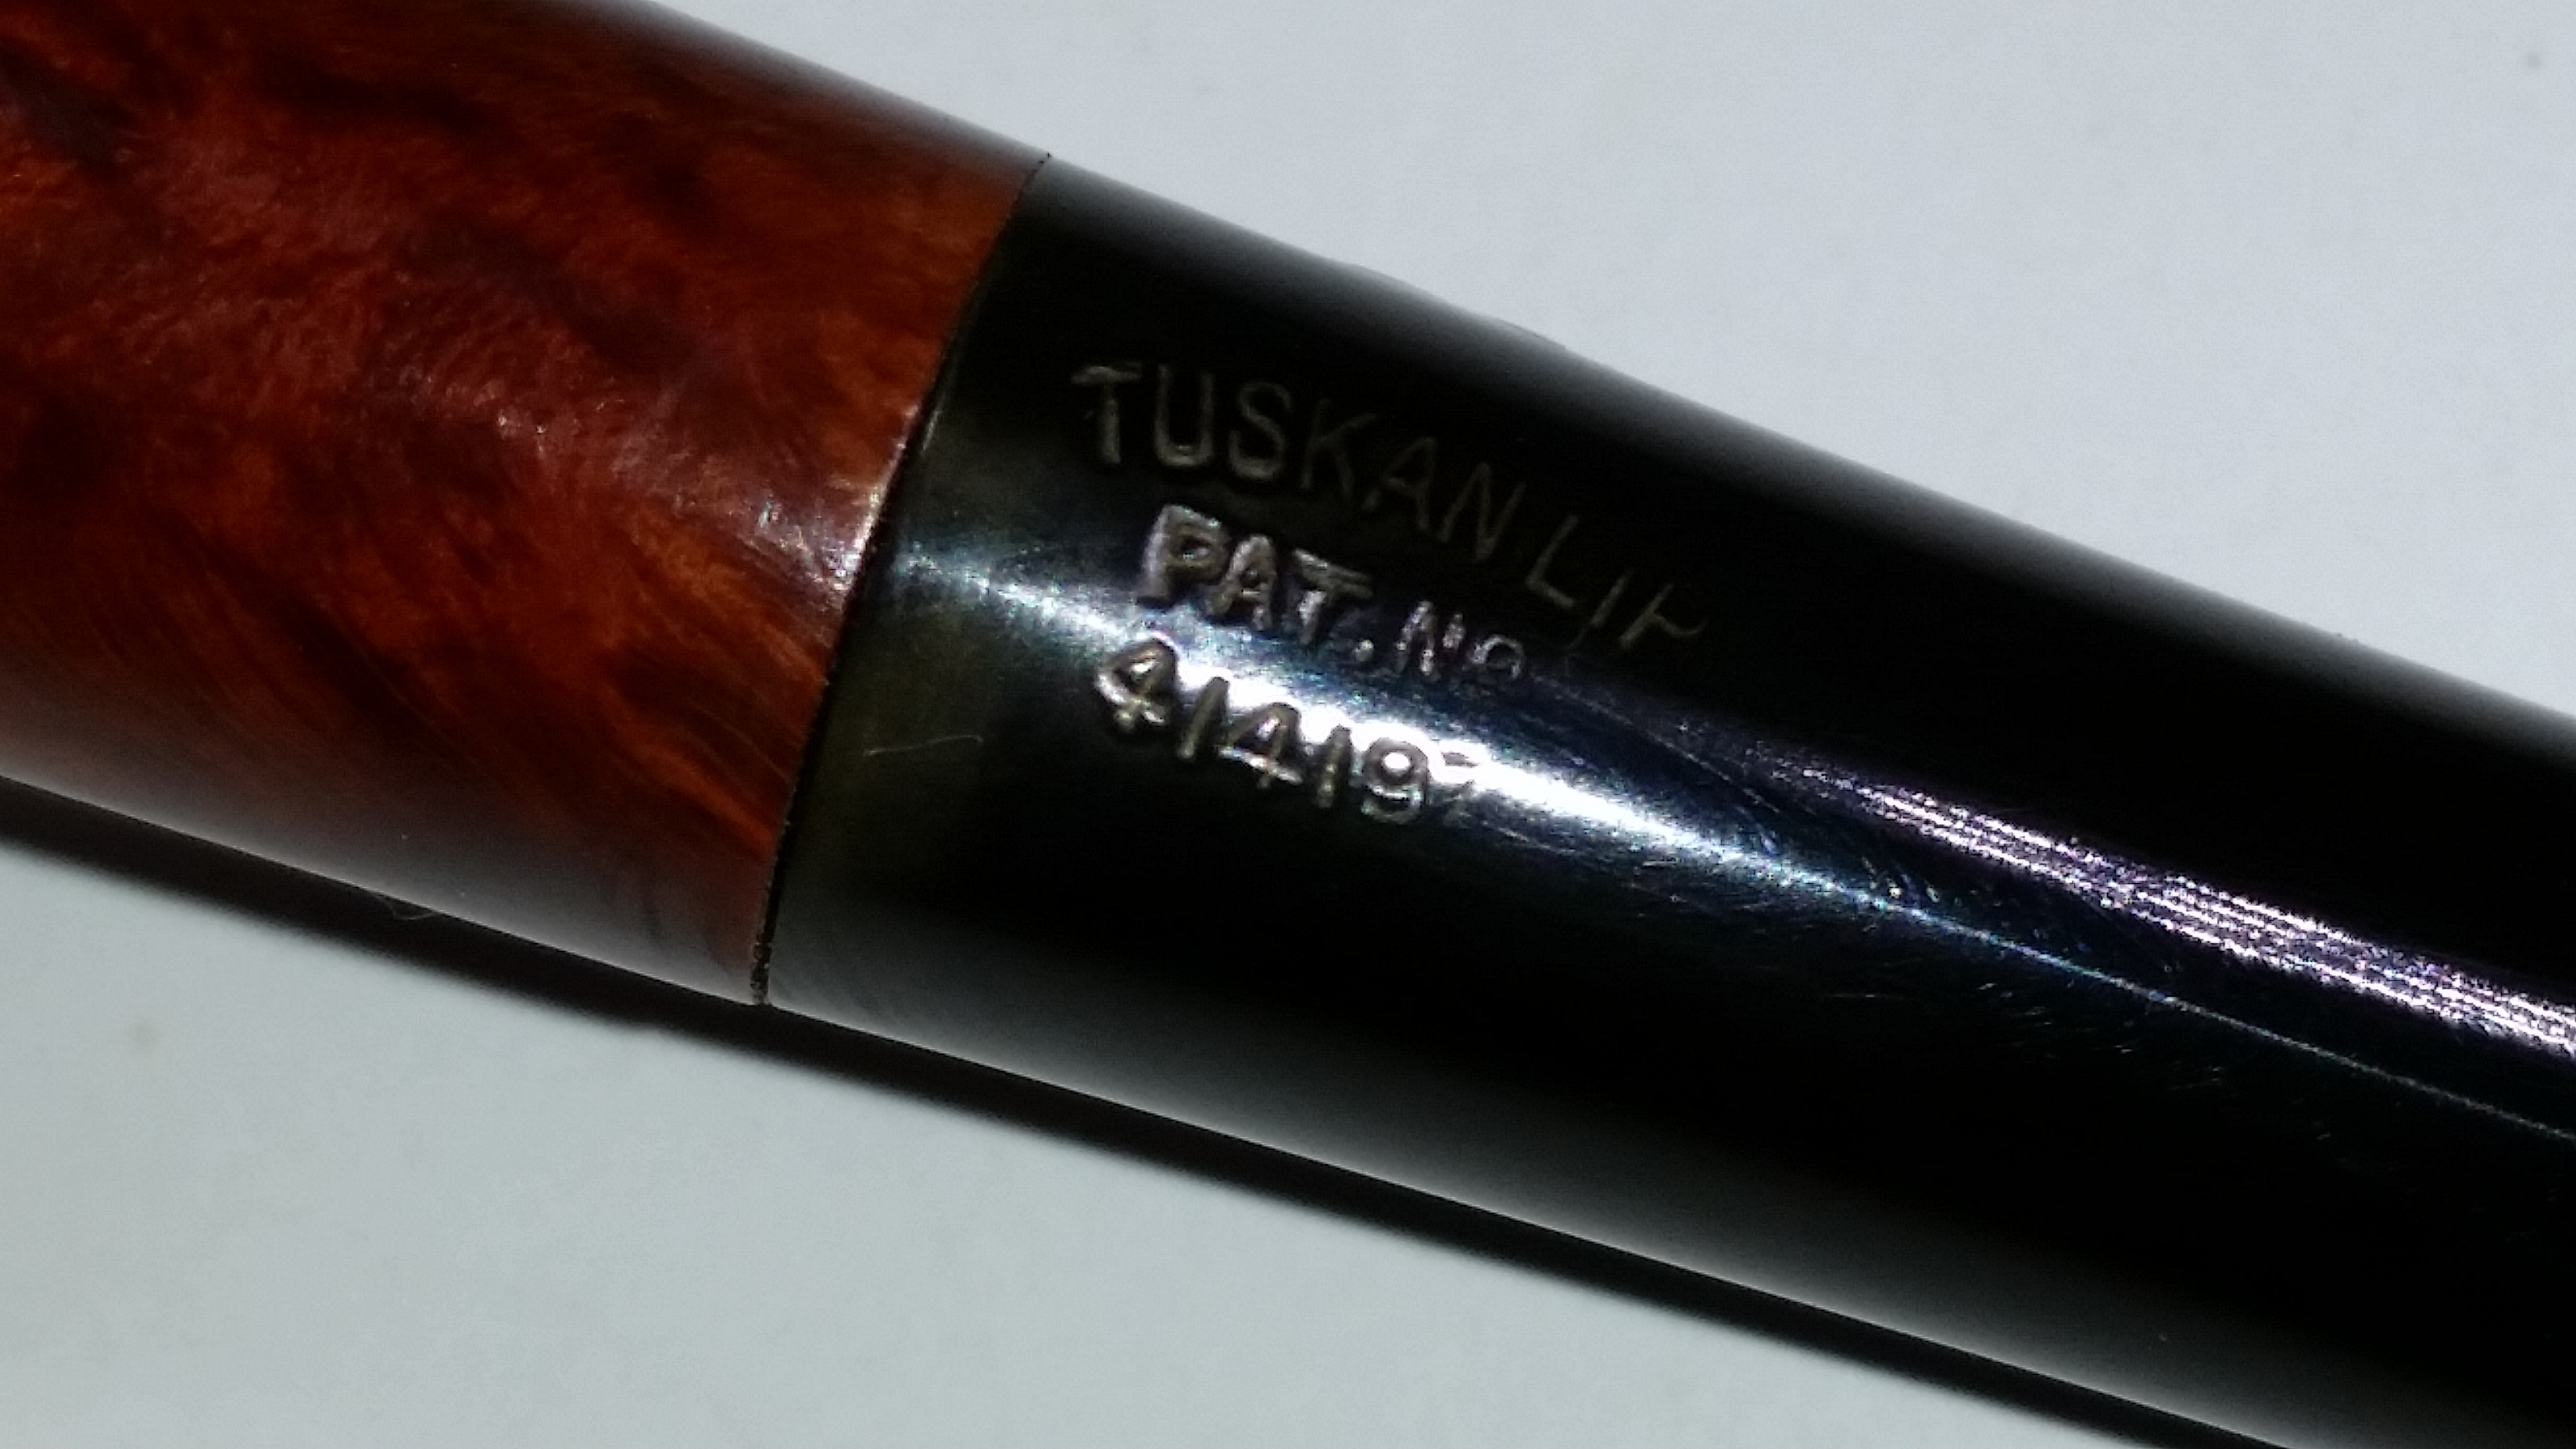
I found this nifty City de Luxe Shape 357 in a box of estate pipes at my local shop, JB Hayes in Winchester VA.  City de Luxe pipes are made by GBD and the 357 “Prince” shape is a classic.  I find the brass star logo to be as attractive as the GBD rondell (and easier to work around!).  At first glance, I thought it would be an easy restoration.  But, after getting it home, there appeared to be a scorch mark on one side of the bowl.  Like many City de Luxe pipes, this one had a twin bore stem and was stamped “Tuskan Lip” with a Patent number.

City_DeLuxe_357_Before City_DeLuxe_357_Before (2) City_DeLuxe_357_Before (1) City_DeLuxe_357_Before (3)

I tackled the scorch mark on the bowl first.  A worn 6″ x 3″ sheet of 8000 grit Micromesh removed the mark without altering the profile of the bowl or bowl top.

City_DeLuxe_357_Before (5)

The stain was lightened in that area so I decided to restain it a darker brown, using Fieblings Medium Brown at full strength.  After the stain was applied and set with a flame, I set it aside to dry completely.  I then buffed the stain down to a lighter color with some White Diamond, while being careful to stay away from the excellent nomenclature.
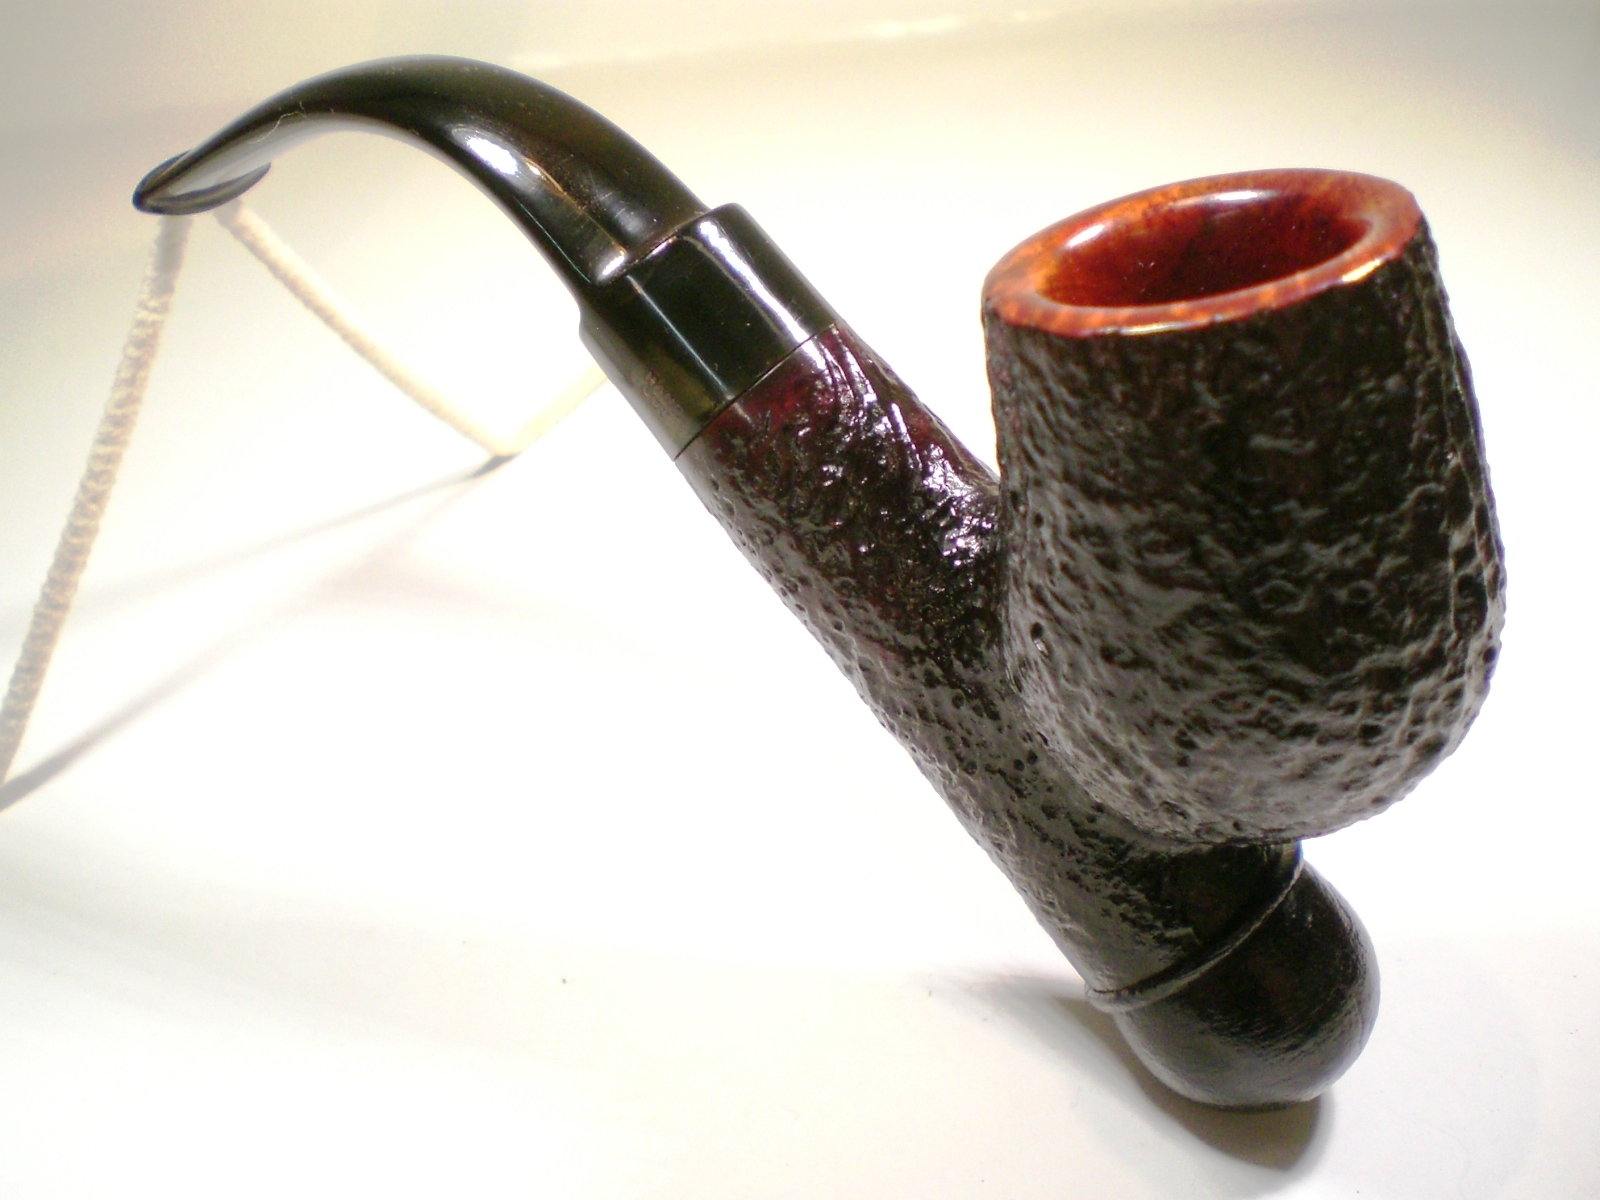
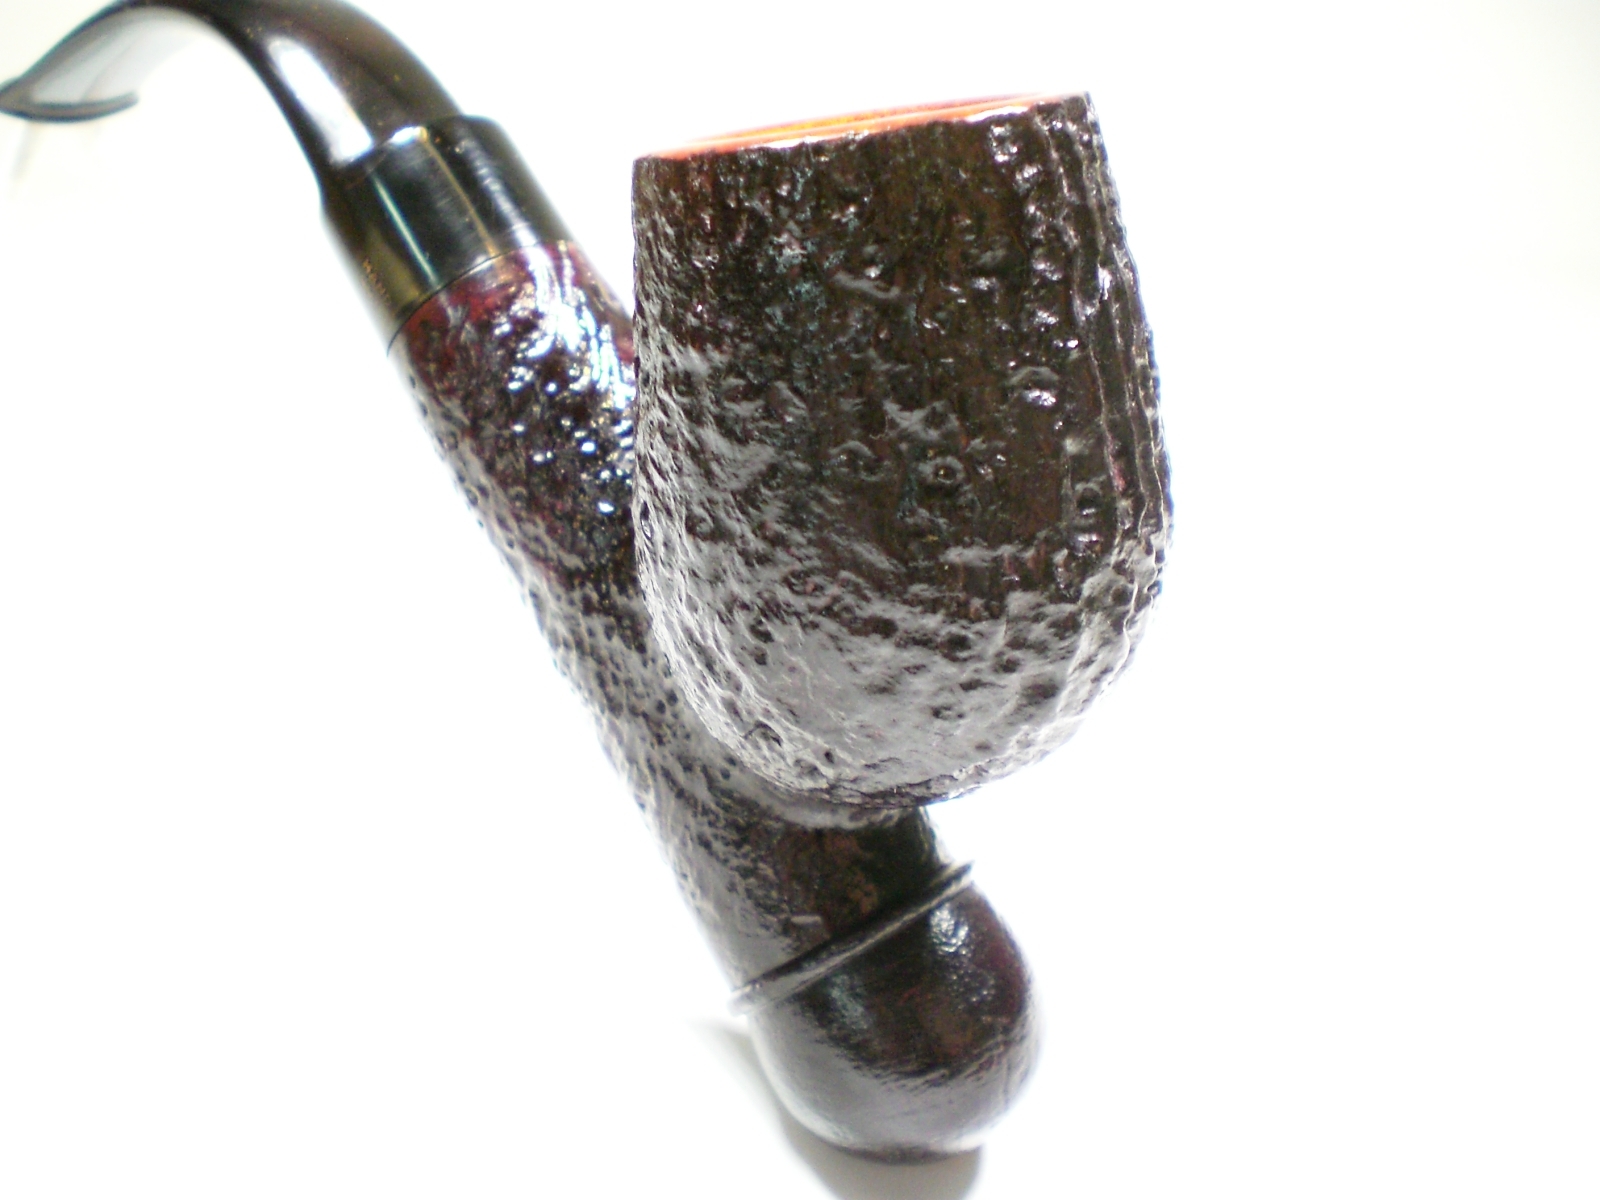
City_DeLuxe_357_Before (6)

The stem only had minor teeth marks and was an easy restore.  I had to avoid the stamping on the underside of the stem. I started with 800 grit wet paper, moving thru 1000, 1500 and 2000 grades.  8000 and 12000 grade micromesh sheets were next, followed by a light buff with White Diamond rouge.
Here’s the finished pipe.  It was sold to a pipe forum member who owned another City de Luxe “twin bore” stemmed pipe.

City_DeLuxe_357_Finished City_DeLuxe_357_Finished (2) City_DeLuxe_357_Finished (4) City_DeLuxe_357_Finished (6) City_DeLuxe_357_Finished (3) City_DeLuxe_357_Finished (1) City_DeLuxe_357_Finished (5) City_DeLuxe_357_Finished (10) City_DeLuxe_357_Finished (11)


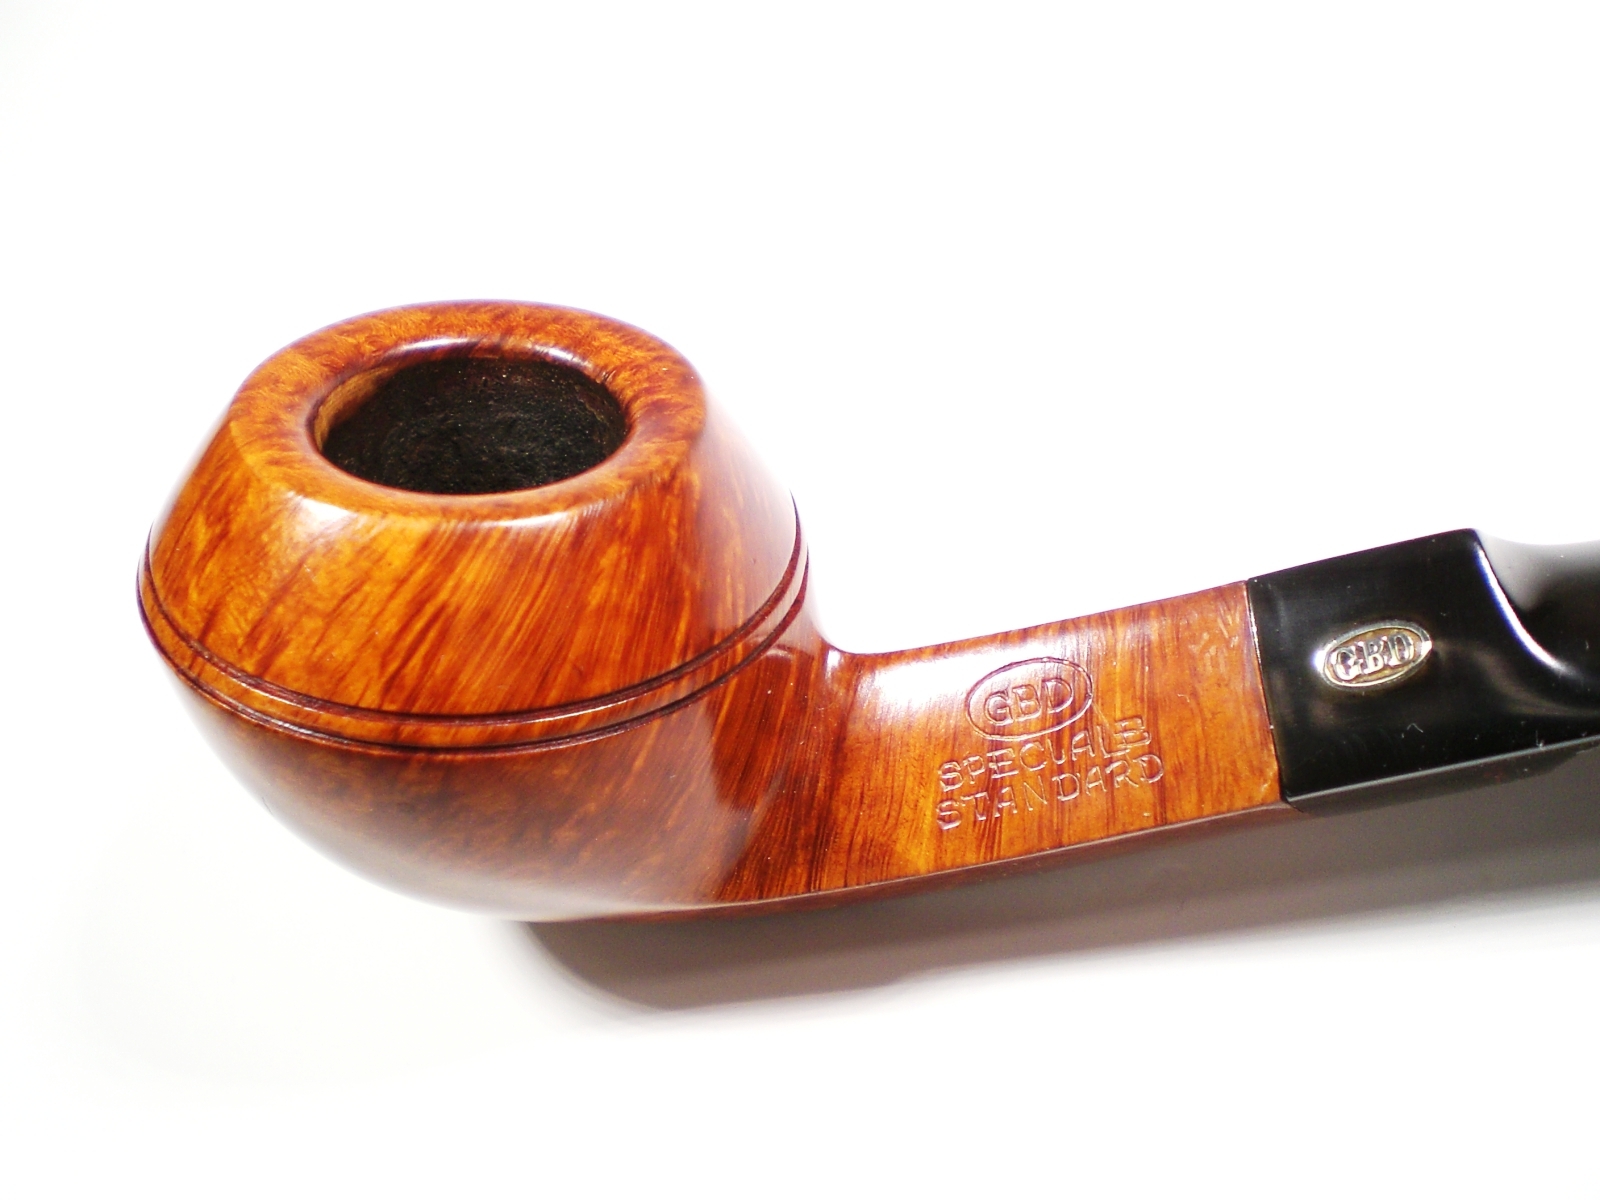
GBD 549 Speciale Standard Restoration


Blog by Al Jones

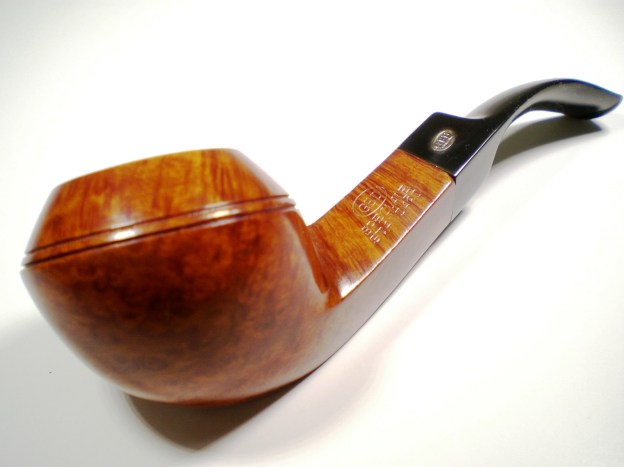
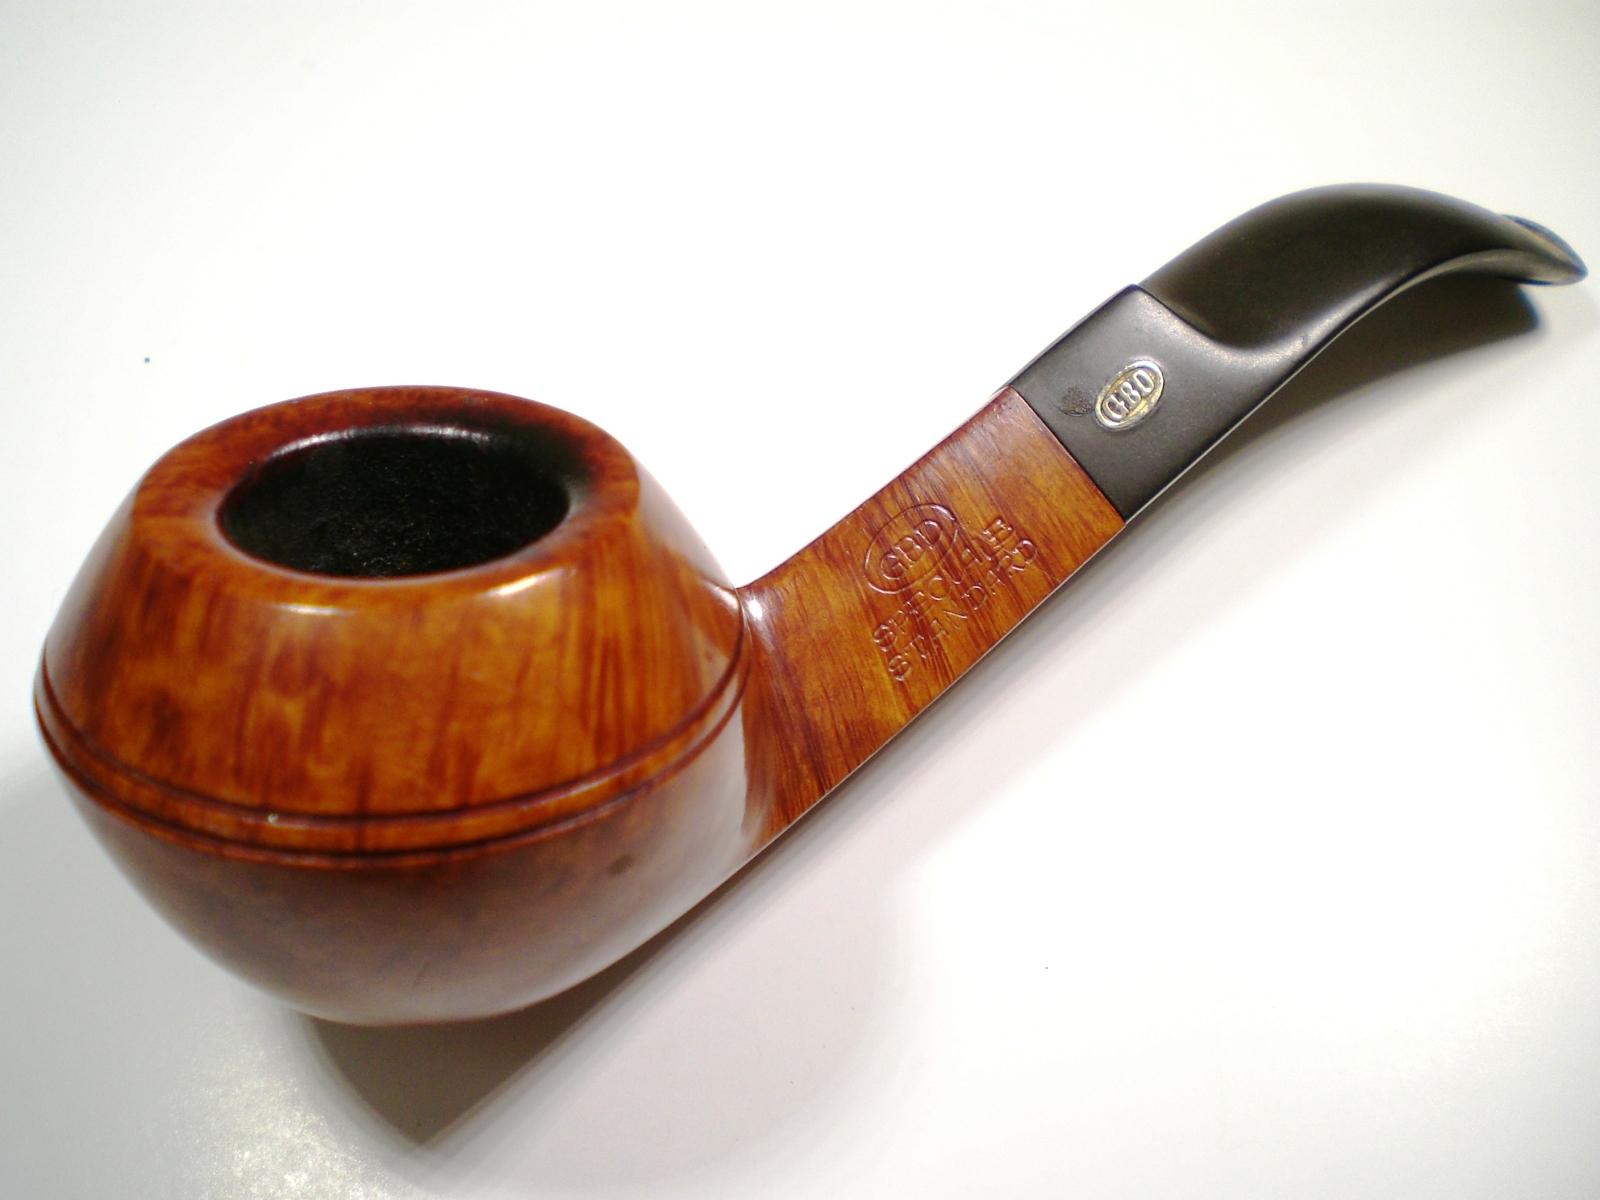
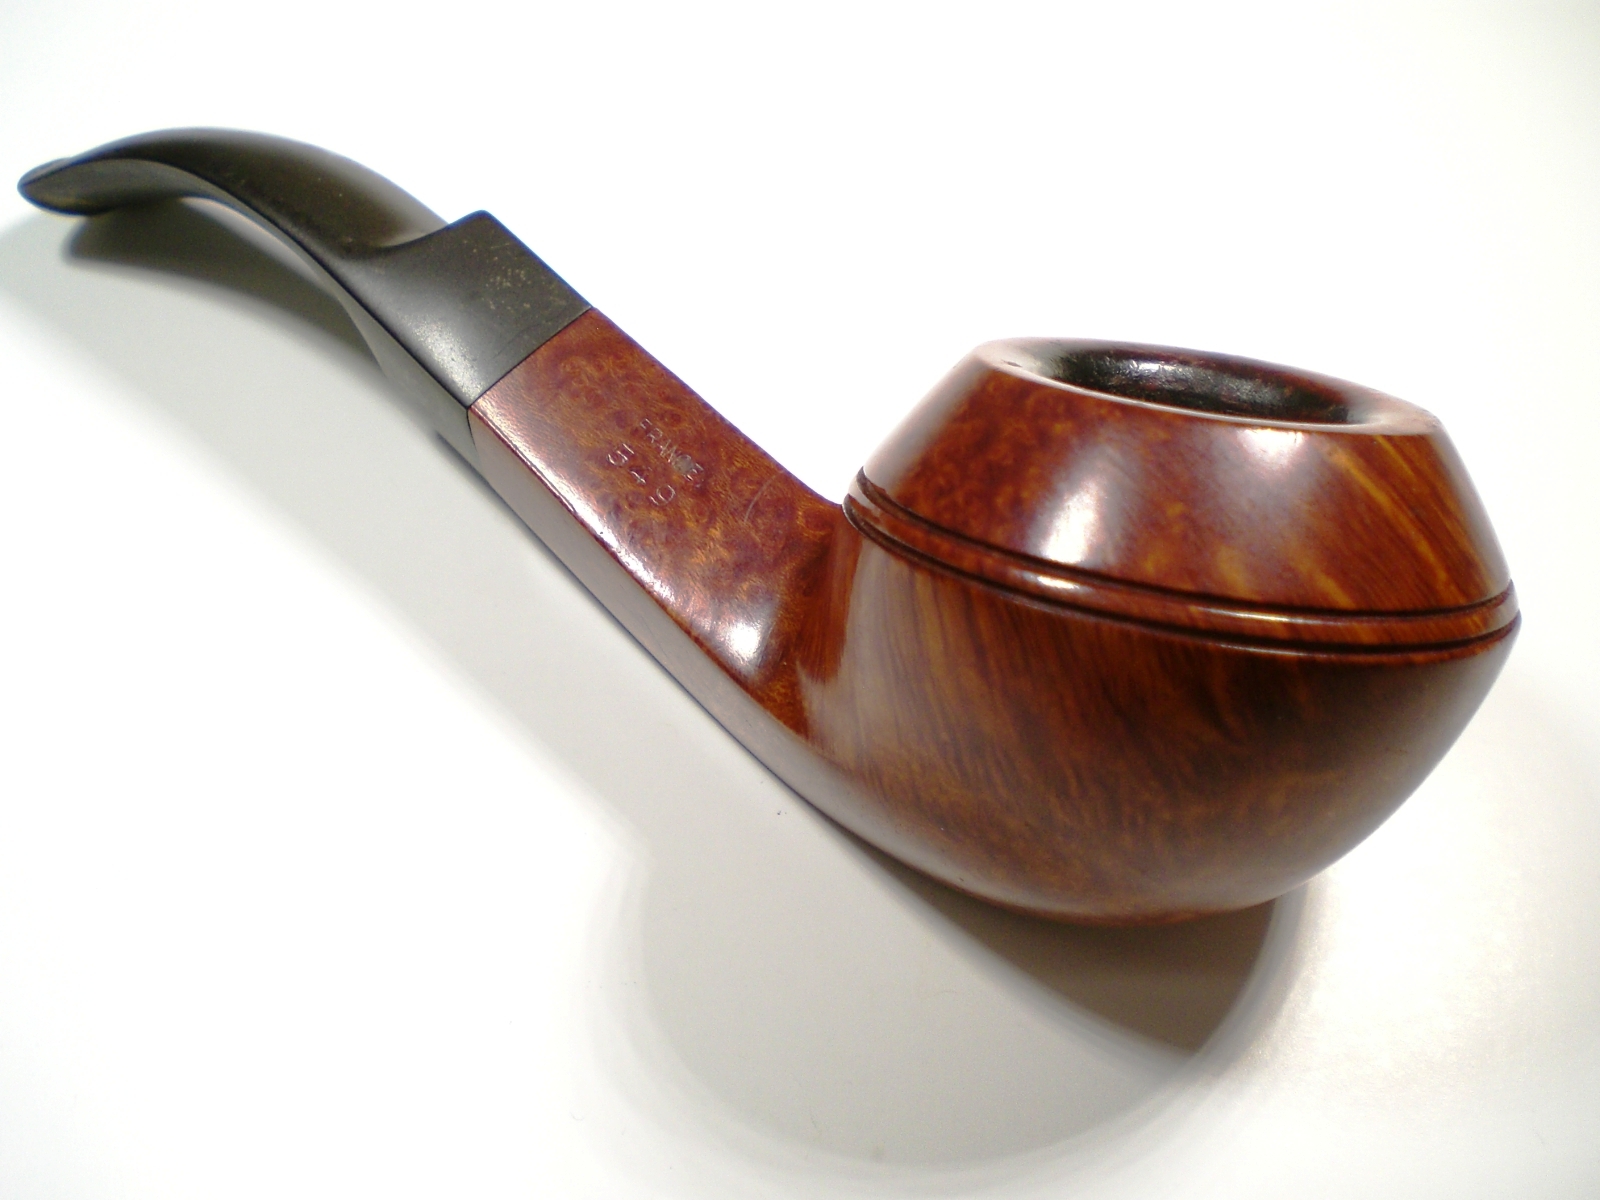
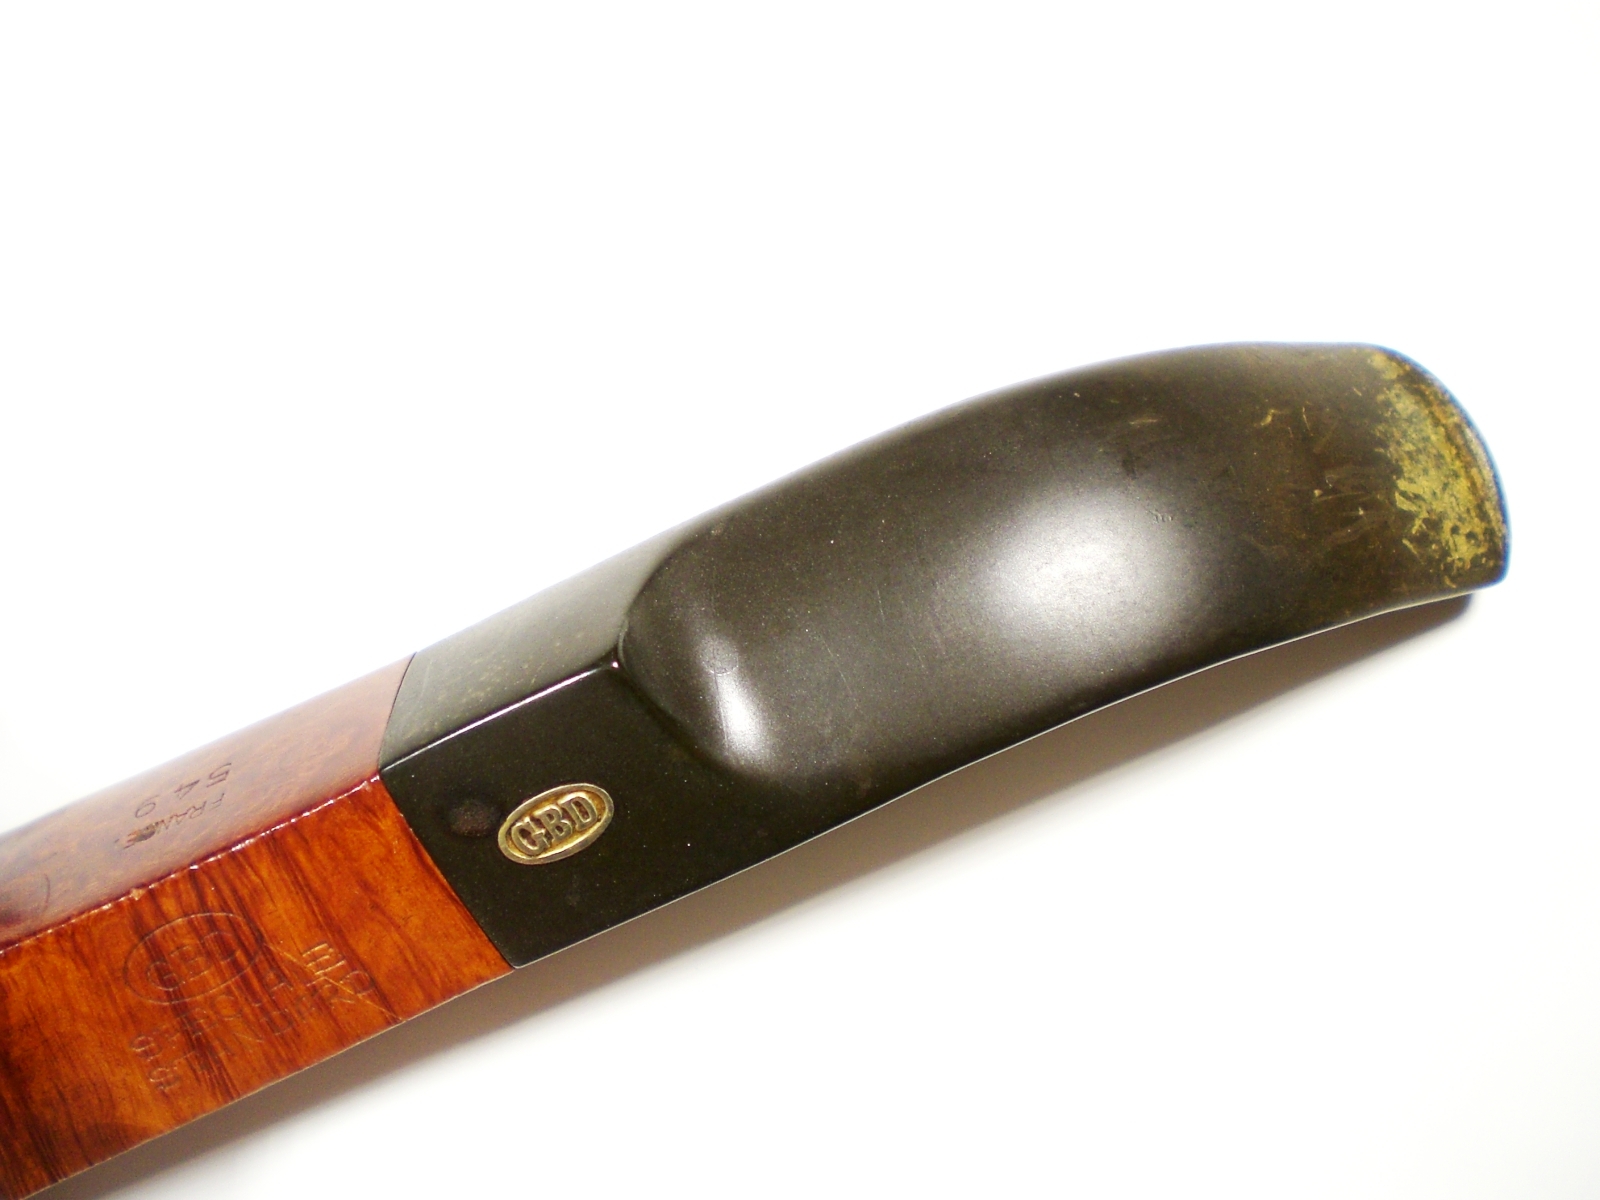
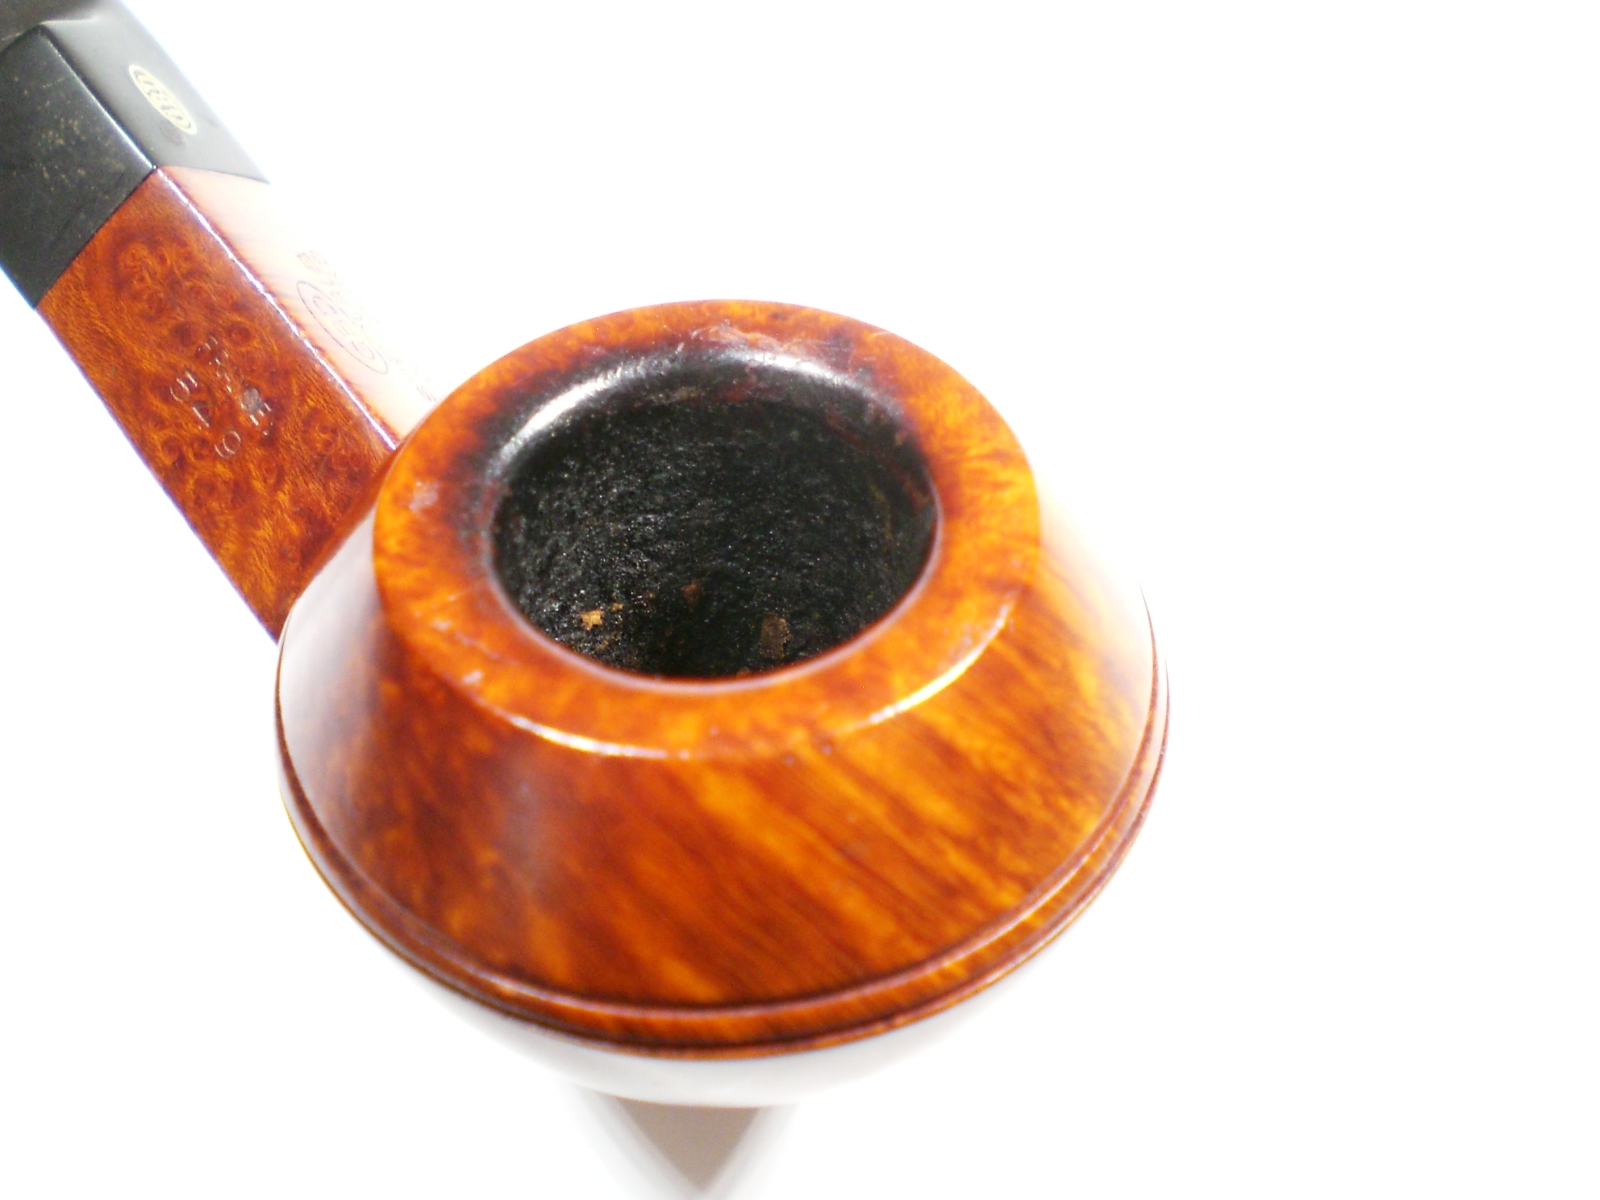
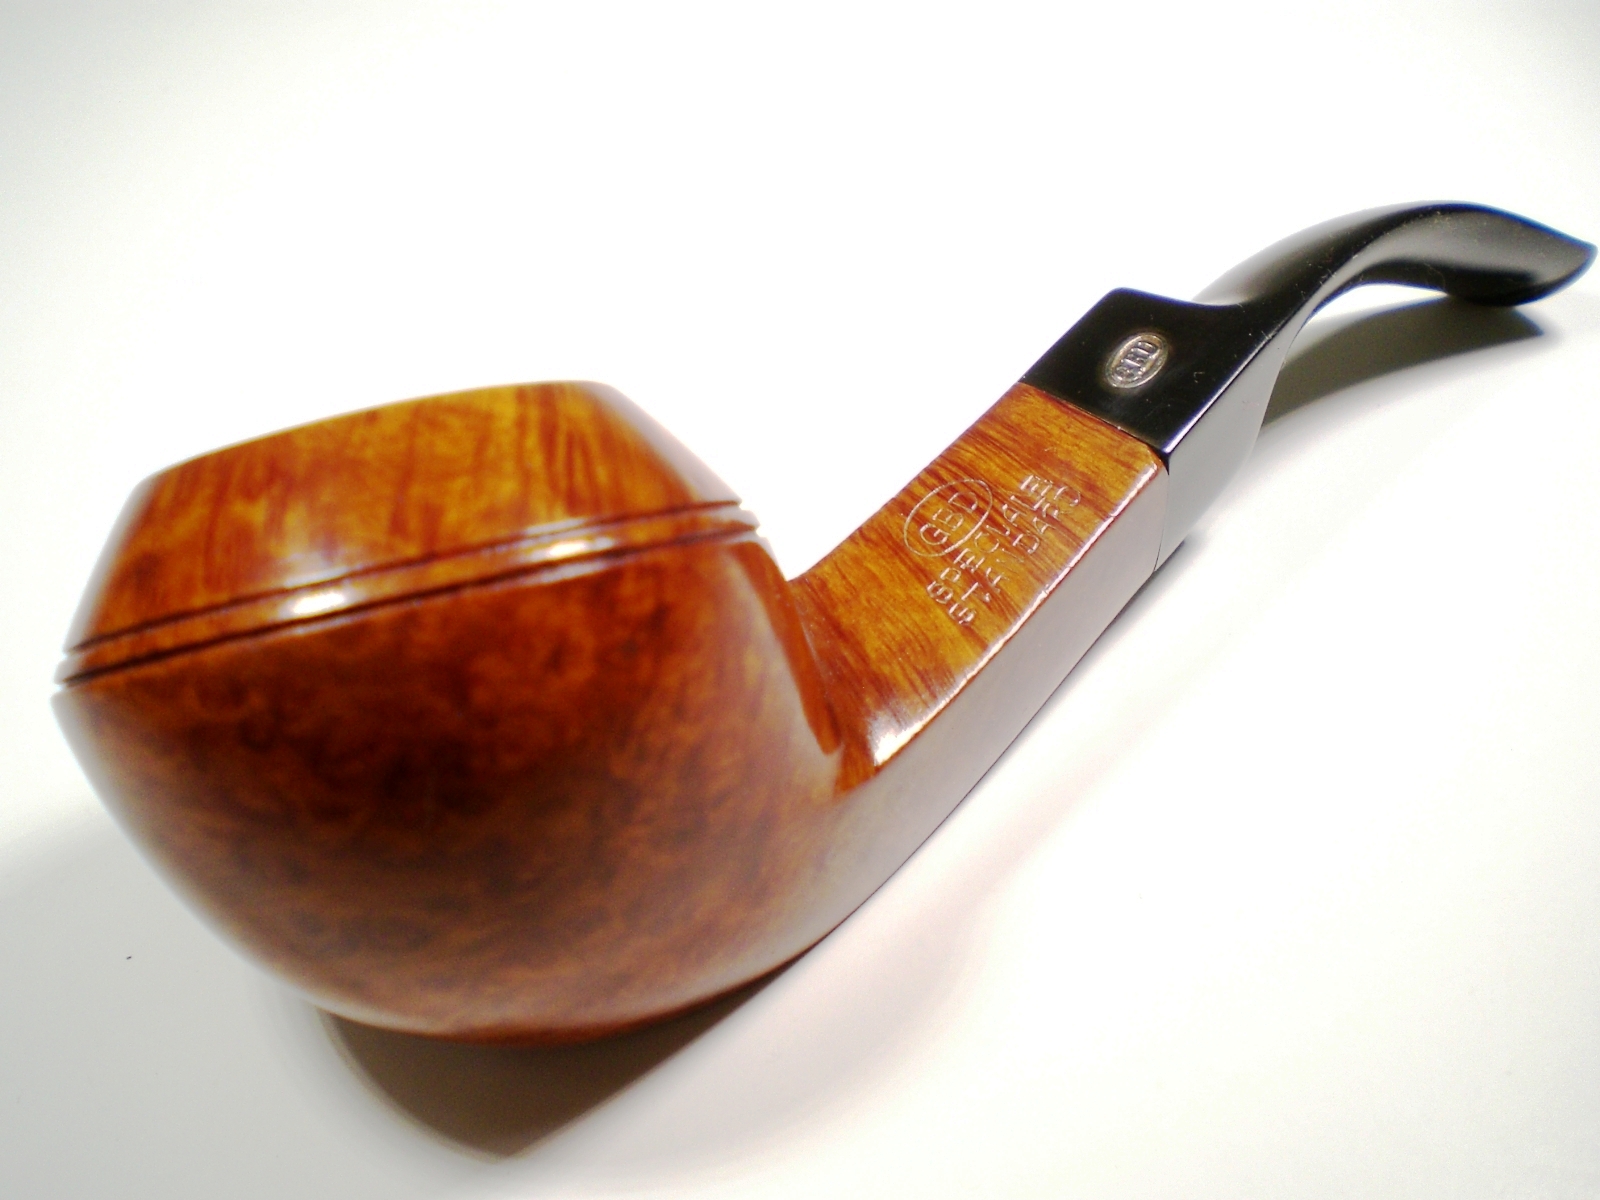
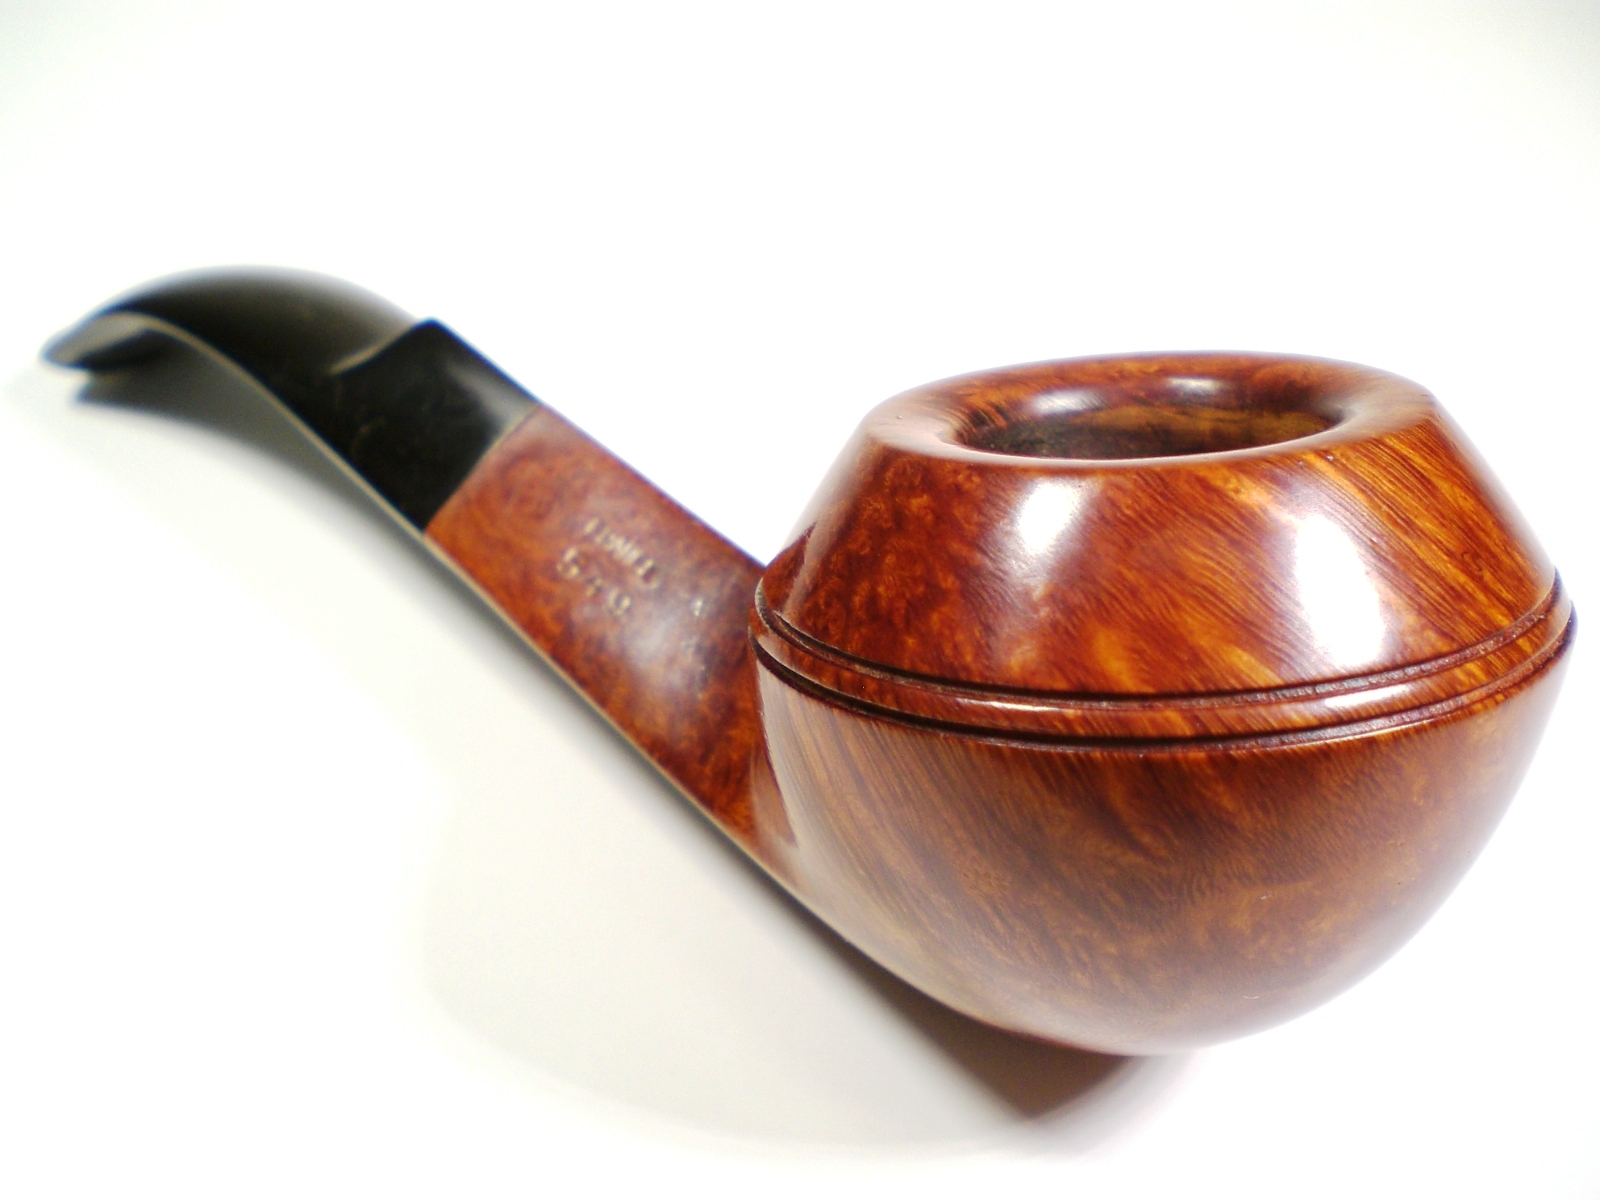
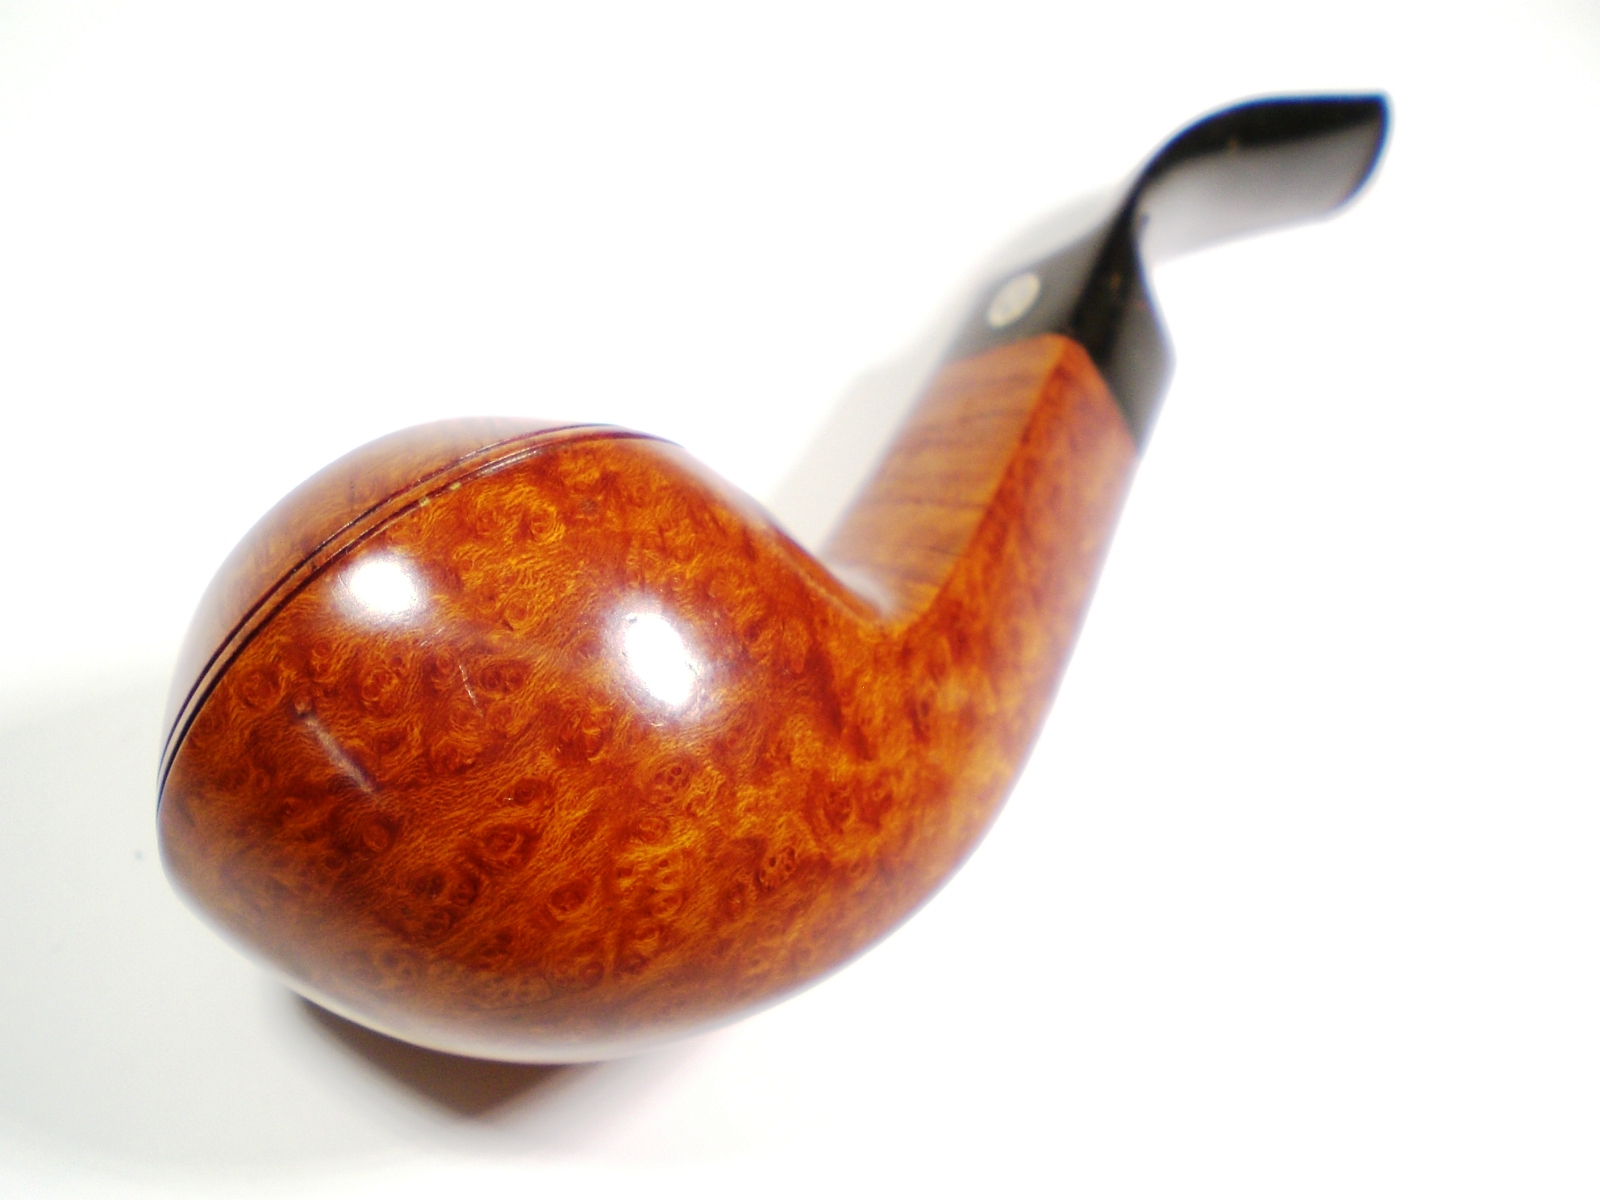
Last week, one of my fellow GBD enthusiasts contacted me about a Cadogan era (post 1982) GBD 549 that was available via a popular online estate seller.  I thought it was priced a little high.  I thought he could find a better 549 from the pre-Cadogan era, with the brass stem rondel that might be less expensive.  I recalled seeing this one on Ebay, but since I have a 549, I didn’t pay much attention to it.  I sent him the Ebay link as an example and didn’t even notice that the auction was ending in an hour or so.  He messaged me later, saying he had won the auction for considerably less than the other 549.  Looking more closely at the auction pictures, I thought that this was a very nice example.  The pipe is a “Speciale Standard” and made in France.    The owner has purchased several GBD’s from me in the past and I volunteered to clean this one up for him.  I’m glad that I had the opportunity to work on this little gem.

The briar looked outstanding with some nice grain and birdseye.  The stem was oxidized, with just a hint of teeth scratches.  There was some rim darkening that I hoped could be removed or lessened.

GBD_549_Speciale_Before GBD_549_Speciale_Before (2) GBD_549_Speciale_Before (3) GBD_549_Speciale_Before (1) GBD_549_Speciale_Before (4)

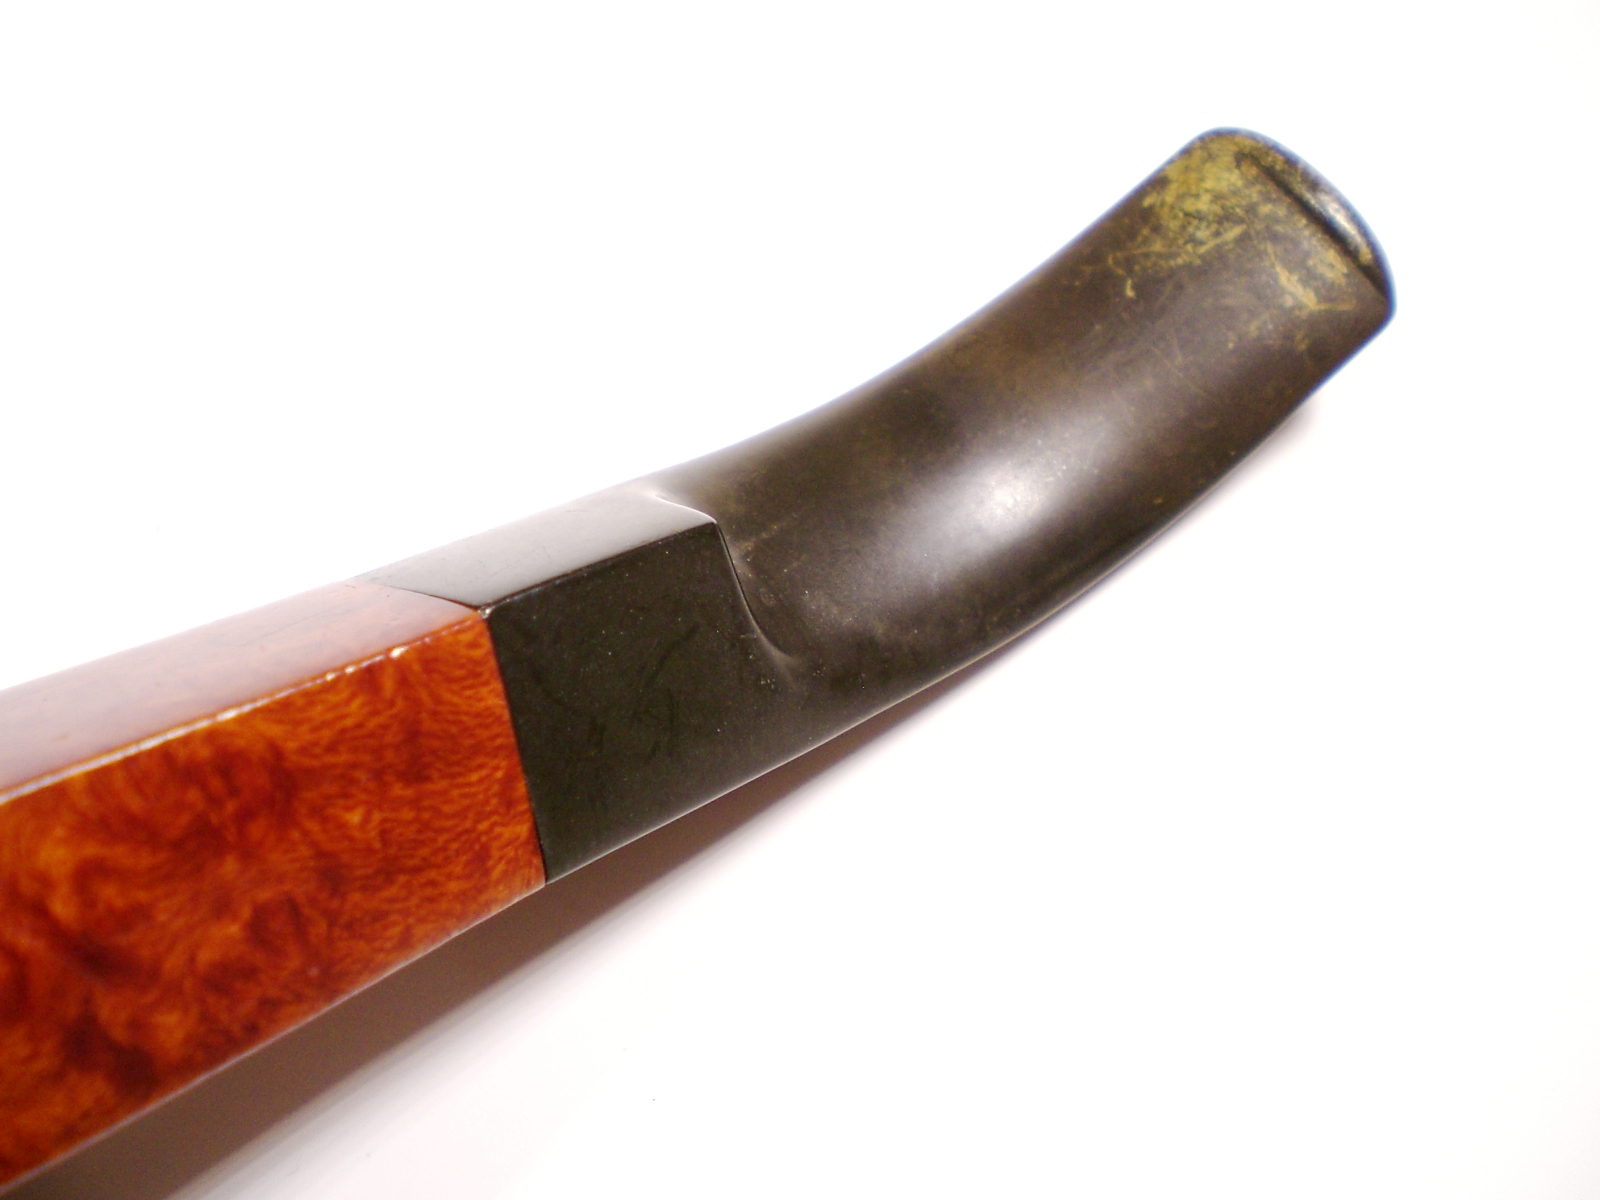
I started on the stem using 600 and then 800 grit wet paper to remove the oxidation.  I then moved to 1000, 1500 and 2000 grit paper. I finished with 8000 and 12000 grade micromesh paper.  Mounted on the pipe, the stem was then buffed with White Diamond and Red Jewelers rouge.

The rim darkening came off nicely, using a worn piece of 8000 grit micromesh paper.  I then lightly buffed the bowl, with White Diamond, while being careful to stay away from the perfect nomenclature.  The bowl was then buffed several times with Carnuba wax.

Here is the finished pipe.

GBD_549_Speciale_Finished GBD_549_Speciale_Finished (2) GBD_549_Speciale_Finished (1) GBD_549_Speciale_Finished (3) GBD_549_Speciale_Finished (6)