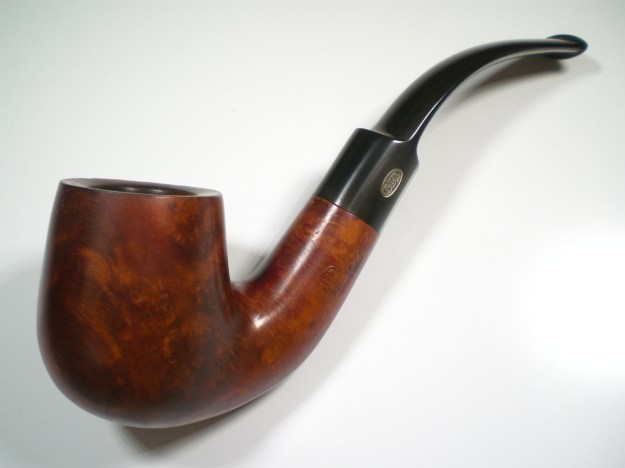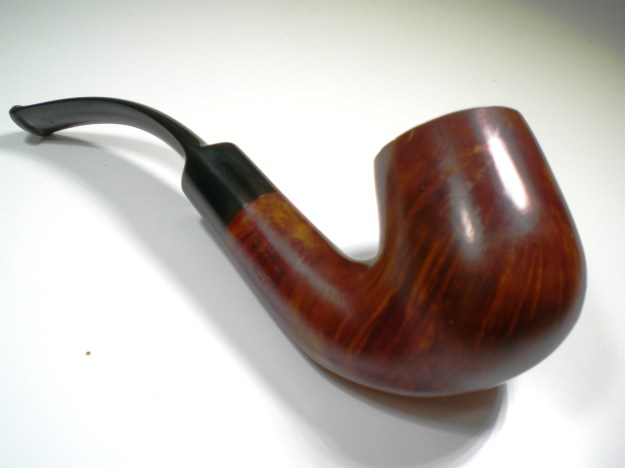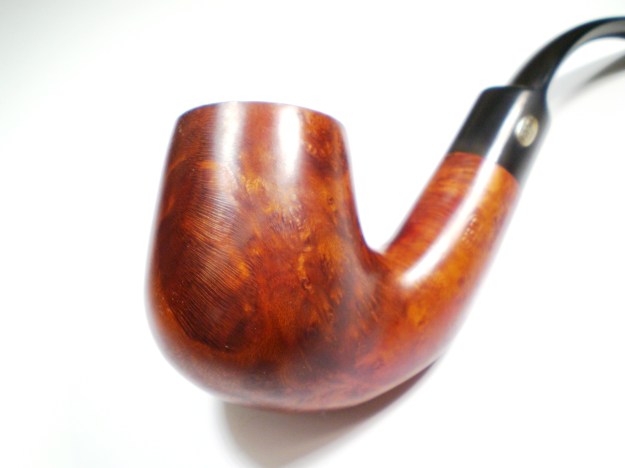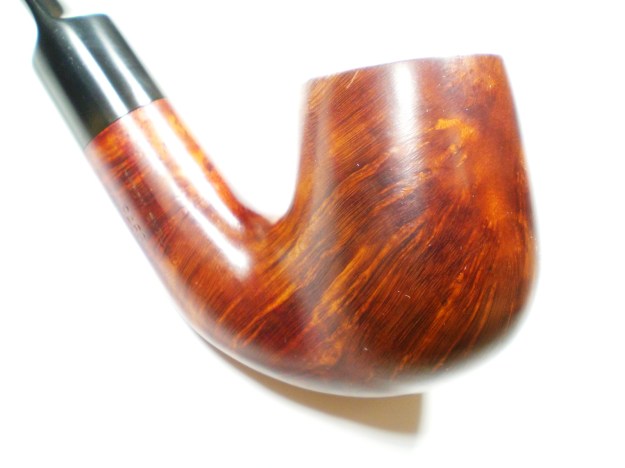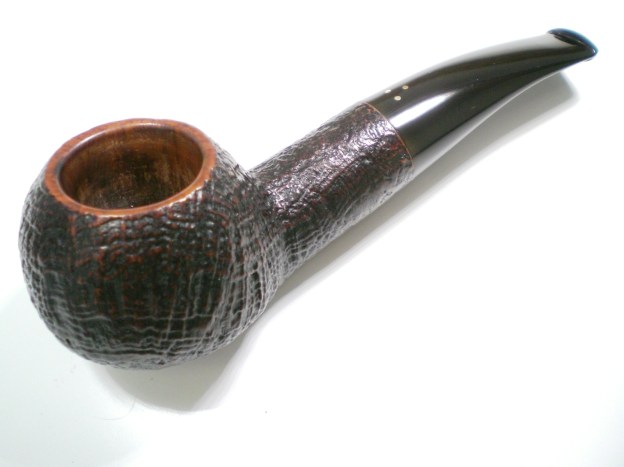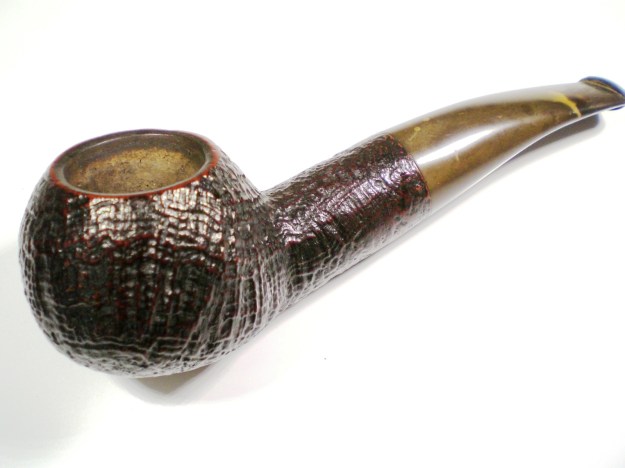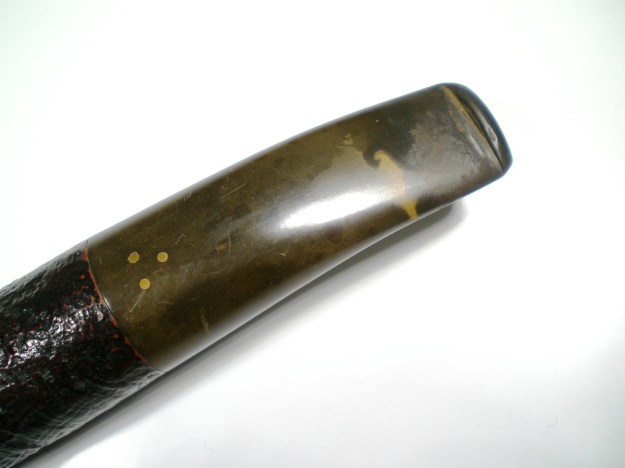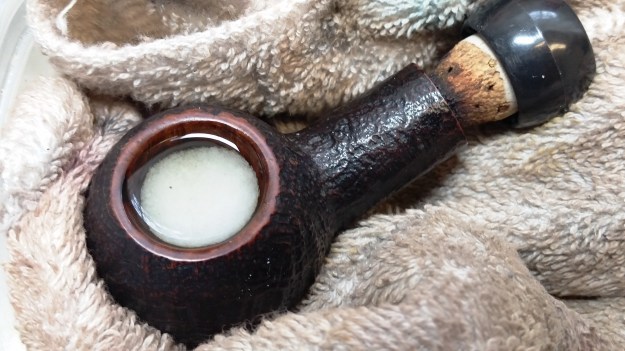
Author Archives: upshallfan

Unknown's avatar

About upshallfan

Moderator on the PipesMagazine forum since 2011. Guest contributor on the Reborn Pipes Blog by Steve Laug.

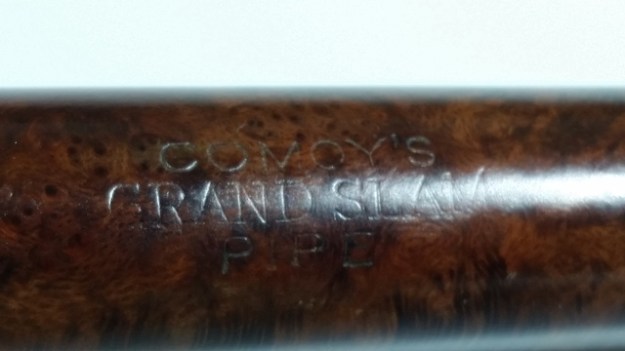
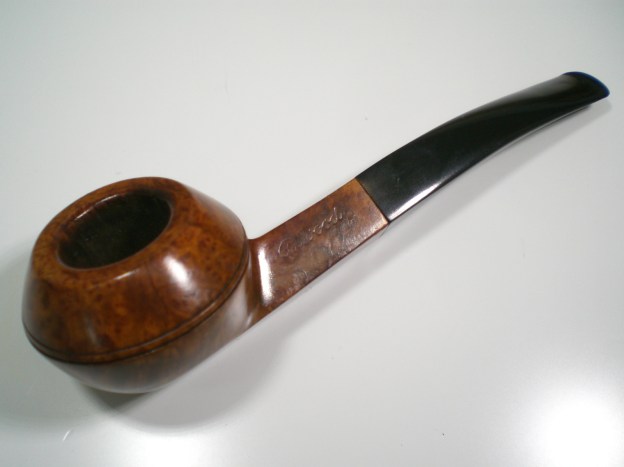
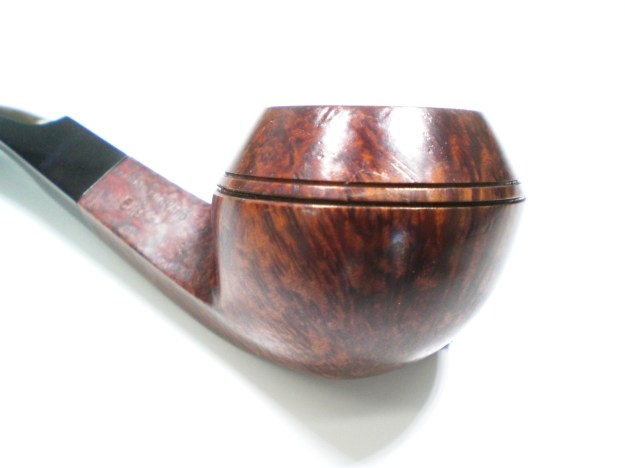
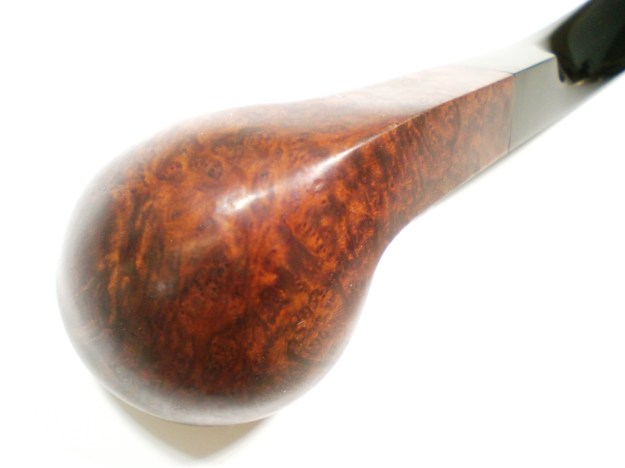
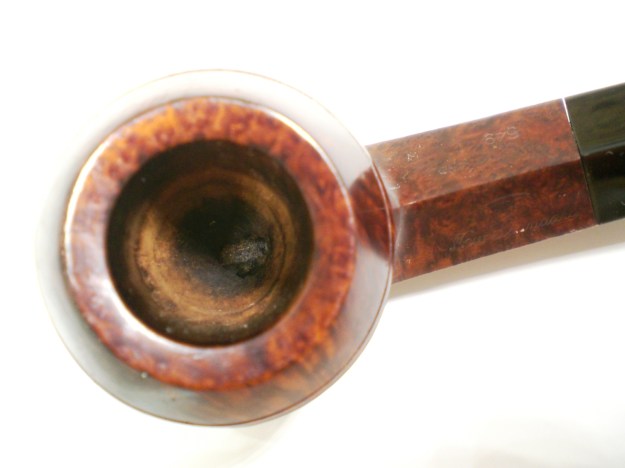
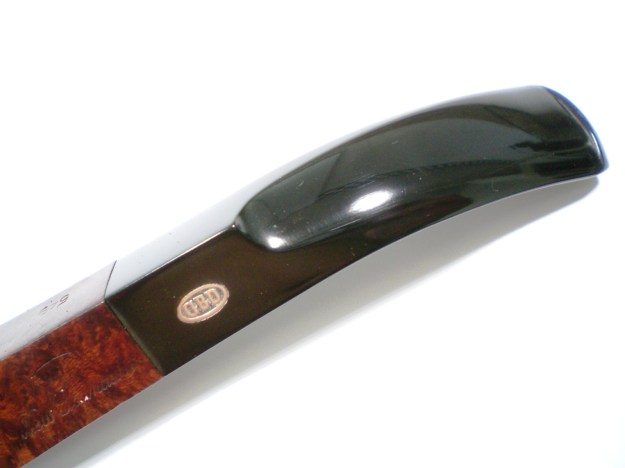
Comoy’s Grand Slam 30D Restoration


By Al Jones

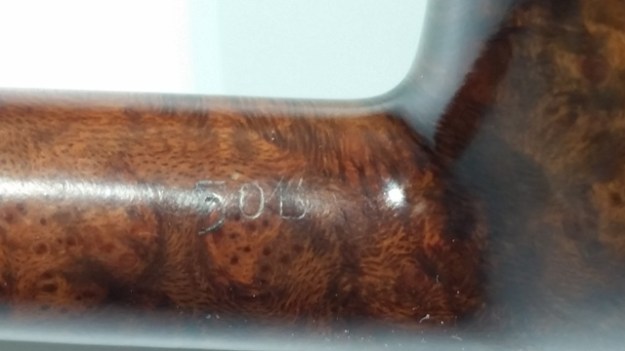
Update: Thanks to Sam’s comments below, we did confirm that the shape number is indeed a 30D. And, I found this shape chart page showing the shape 30. Thanks Sam!
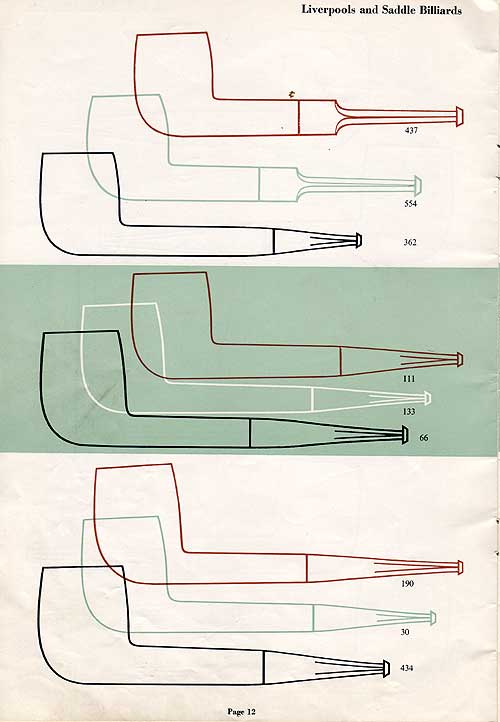
comoys-shape-30

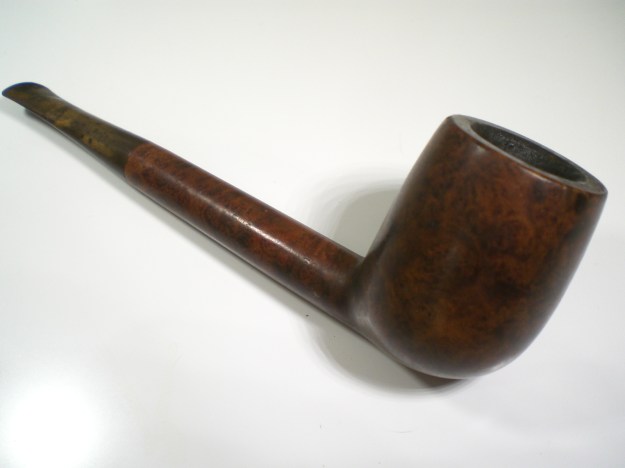
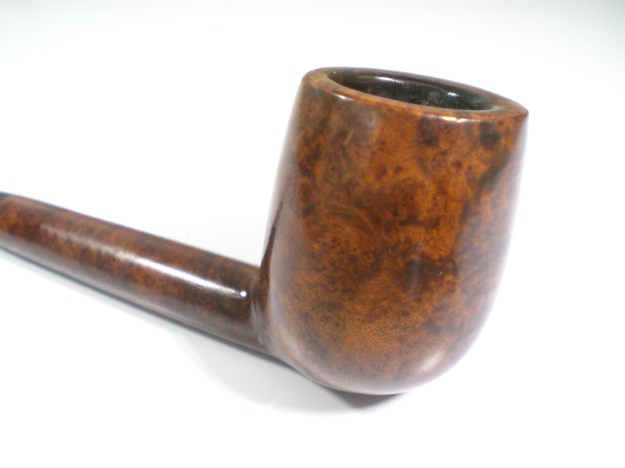
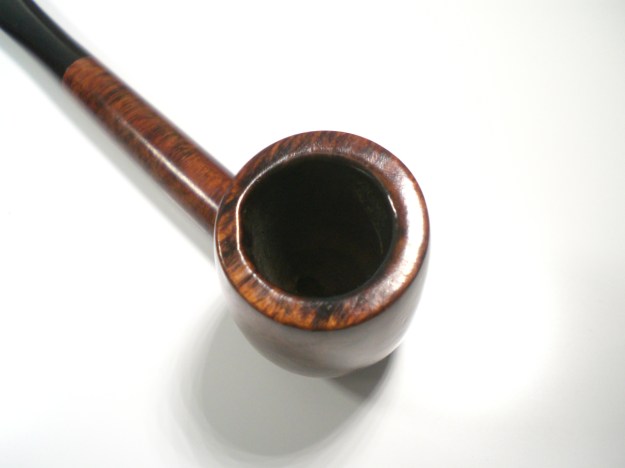
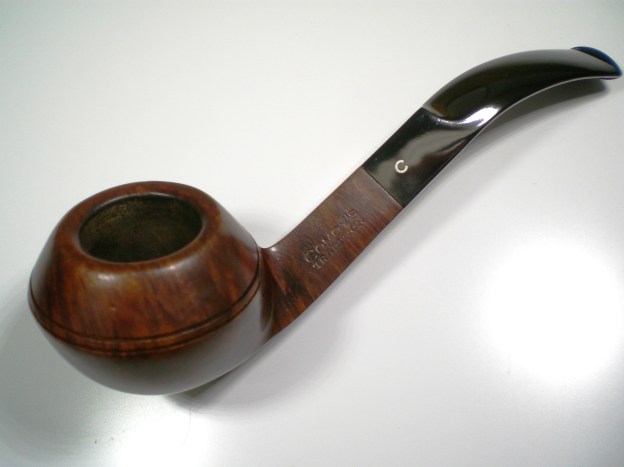
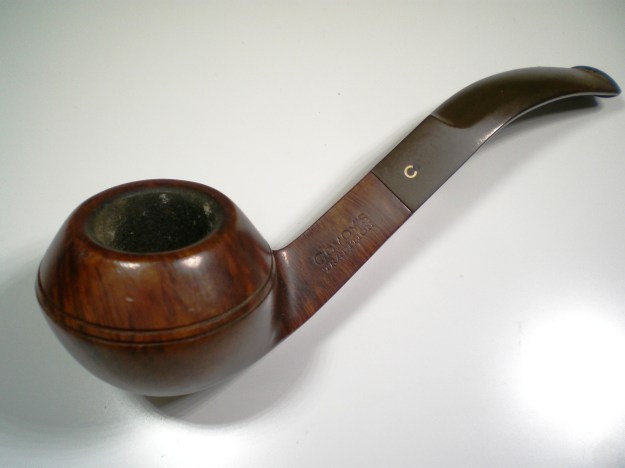
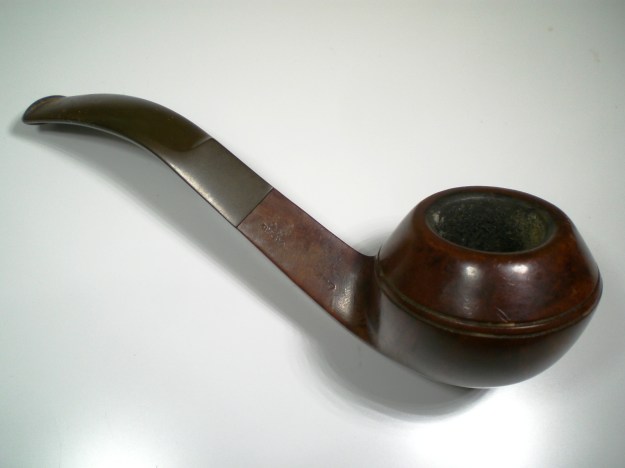
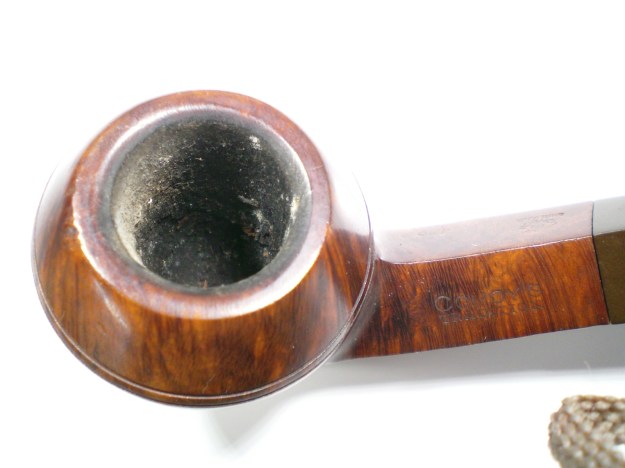
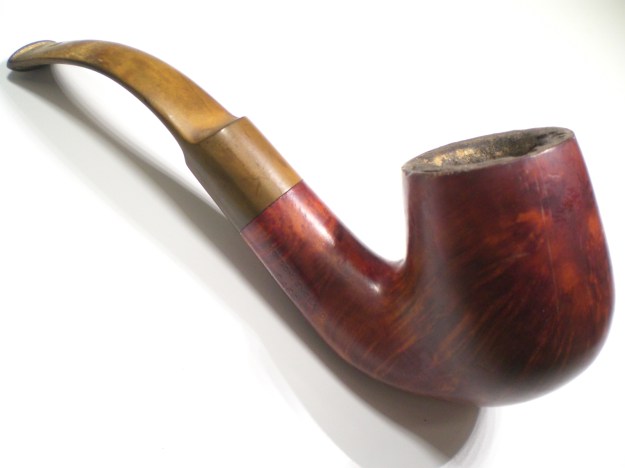
This is the second pipe sent to me by a PipesMagazine.com forum friend. Grand Slam pipes are fairly common and originally came with a complicated stinger with leather washers. Most of the stingers were discarded and was missing on this one as well.

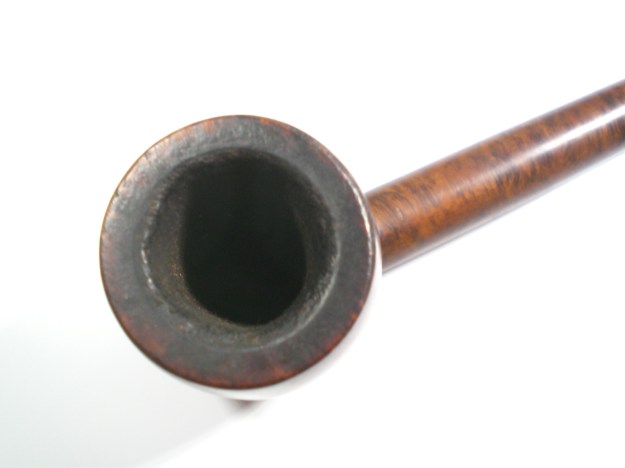
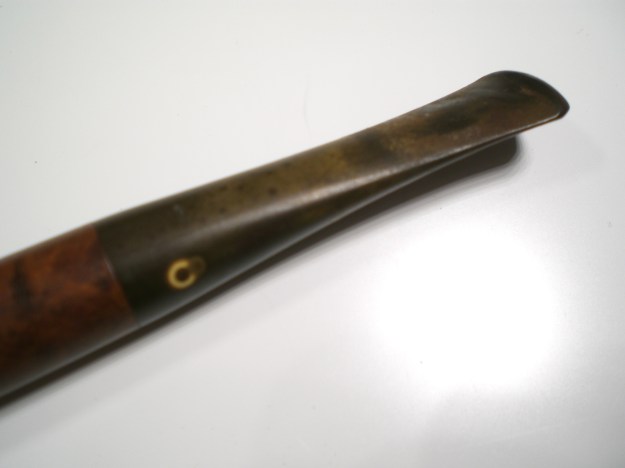
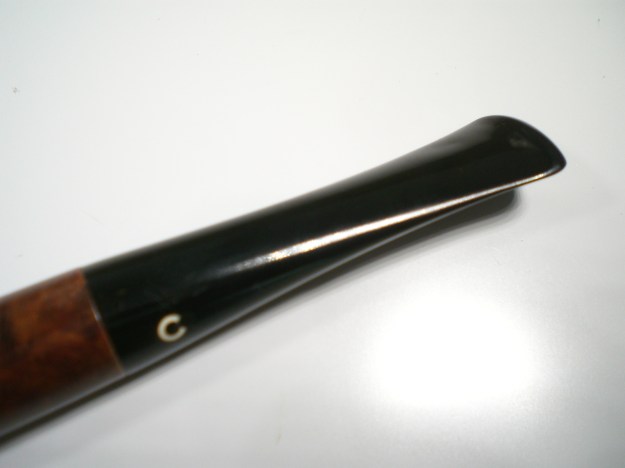
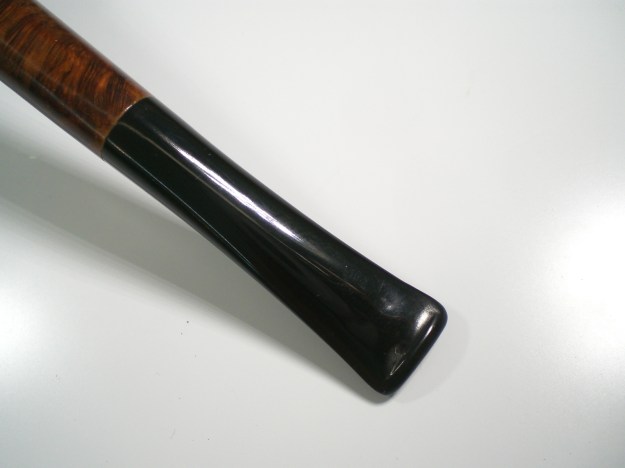
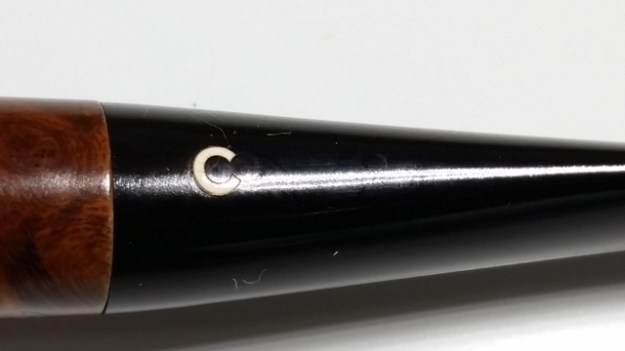
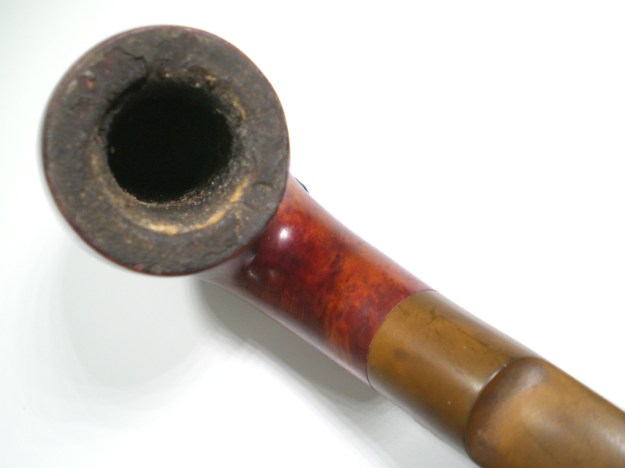
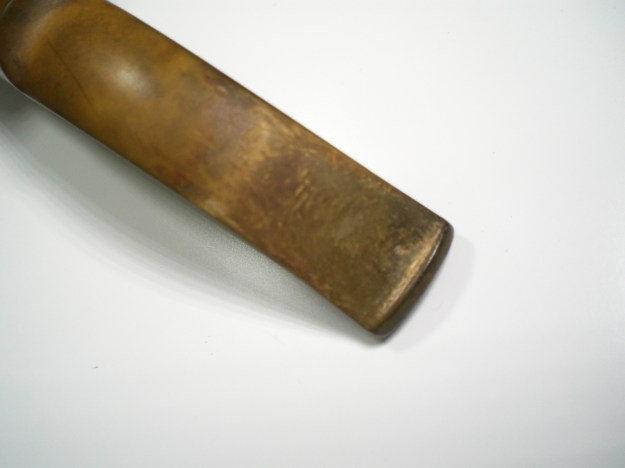
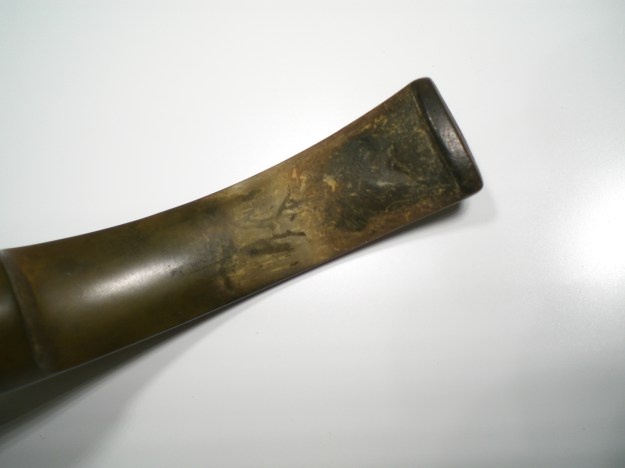
The pipe had a mildly oxidized stem, with some teeth indentions and a heavy tar build-up on the bowl top. I cleaned the bowl top with a cloth and some mild Oxy-Clean solution. As I removed the cake with my Castleford reamer, I unfortunately discovered that at some point, a previous owner had reamed it with a knife or other. The bowl was slightly out of round. I massaged that back as close as possible to round with some 320 grit paper. The bowl was then soaked with sea salt and alcohol. The stem was soaked in a mild Oxy-Clean solution, with a dab of grease on the 3 piece “C” logo.

The pipe as it was received. The stem was also very loose, to be dealt with later.
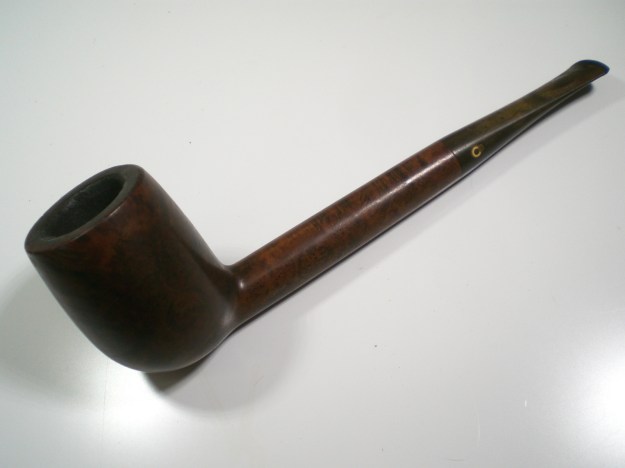
comoys_50b_grand_slam_before-1

comoys_50b_grand_slam_before-4

comoys_50b_grand_slam_before-3

comoys_50b_grand_slam_before-2

The briar was buffed with White Diamond and then several coats of Carnuba wax. I used a lighter flame to raise several of the dents on the stem. I used a tapered pin punch inserted into the tenon and then warmed with a flame to slightly enlarge the outer dimension. You can only slightly increase the tenon diameter in this way, but it was enough in this case. Typically smoking the pipe will tighten it even further. The stem was then mounted and the oxidation removed with 800, 1000 and 1500 grit paper. I then used 8000 grade micromesh before buffing with White Diamond and Meguiars Plastic Polish.

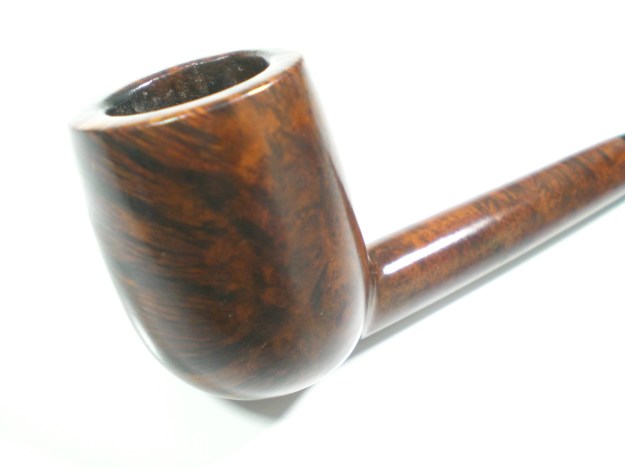
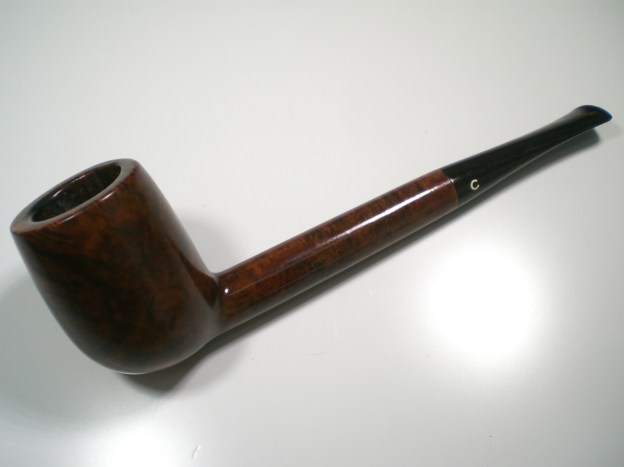
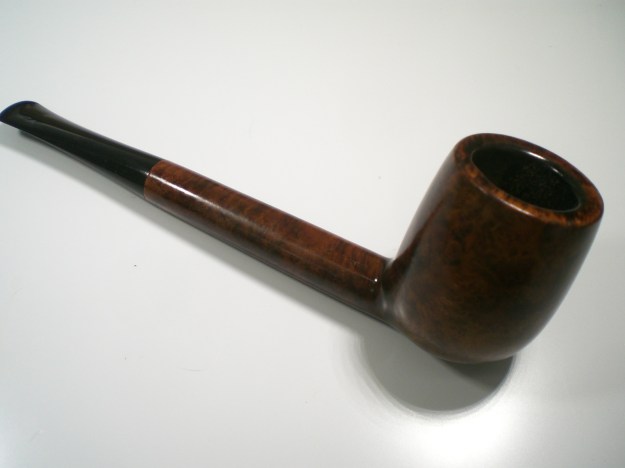
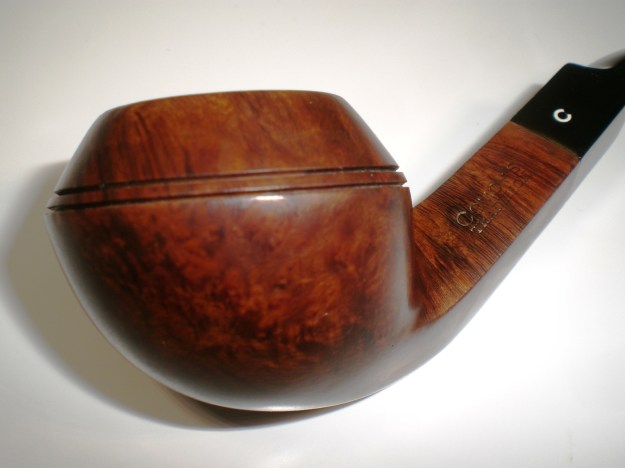
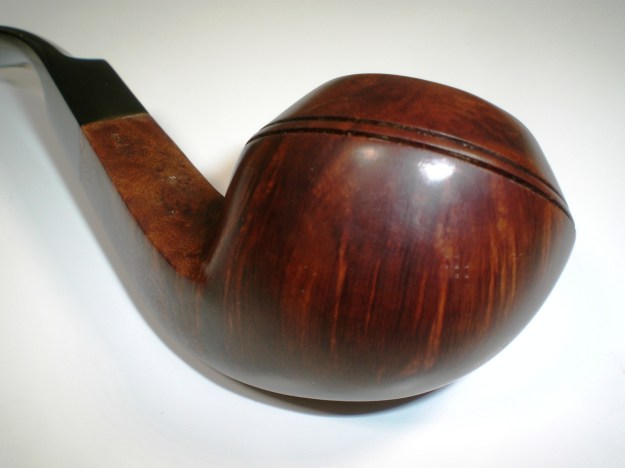
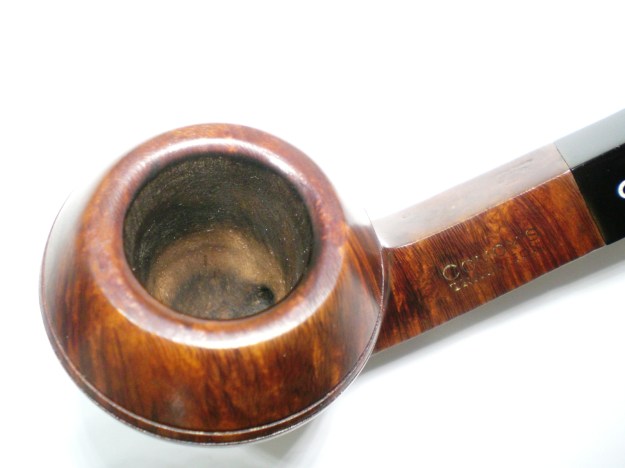
Below is the finished pipe. If anyone knows details about the 50D shape number, please add a comment.
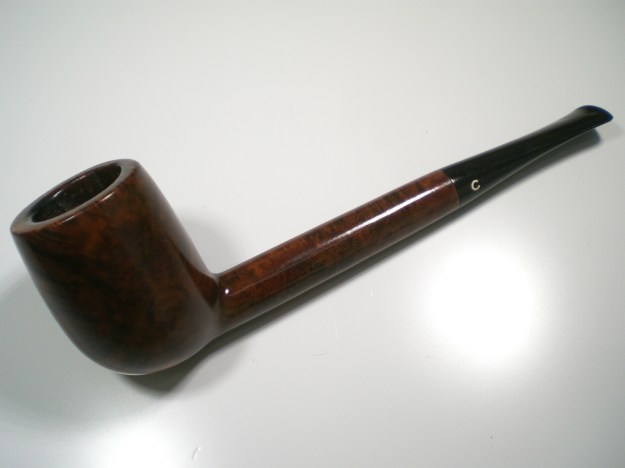
comoys_50b_grand_slam_finish-1

comoys_50b_grand_slam_finish-3

comoys_50b_grand_slam_finish-2

comoys_50b_grand_slam_finish-5

comoys_50b_grand_slam_finish-4

comoys_50b_grand_slam_finish-7

comoys_50b_grand_slam_finish-6

?

?

?
?
?
?
Atwood 331C Restoration – Made by Comoy’s


By Al Jones

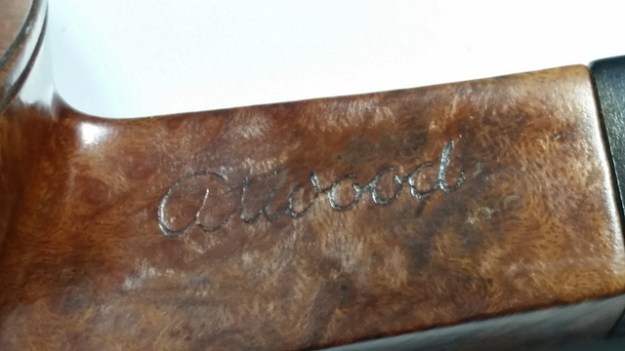
This pipe was sent to me for clean up by a recent convert to the joys of Comoy’s brand pipes. I had not heard of this maker before, and the owner shared some information about Atwood pipes, gleaned from Pipephil.eu

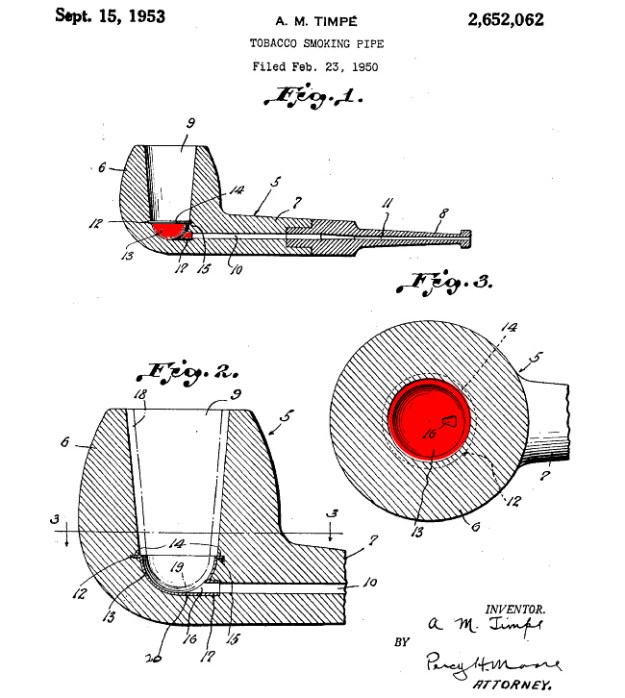
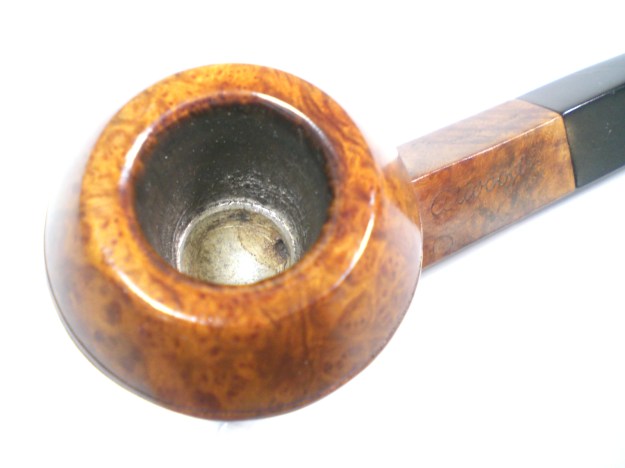
The Atwood pipes were equipped with a permanent aluminum cup at the base of the chamber, with a bore hole. Atwood M. Tempe (Los Angeles) invented the system about 1950. The patent (U.S. PAT. 2652062) was granted in 1953 and the author partnered with Comoy’s to produce the pipes. See drawings and description in document.

While researching this brand, I found that forum contributor, Robert M. Boughton, had restored an Atwood “Hall of Fame” pipe earlier this year. The pipe had a different Country of Manufacture mark, which is interesting (circle). This COM is a in a block format. The briar on tis piece also appears to be of a higher quality. I did not find any other refernces to Atwood pipes.

Below is a picture included with Atwood Timpe’ Patent which shows the design of the metal bowl cup. The nomenclature was a bit faded, but it appears to be a shape 331C, which is indeed a Comoy’s squat, quarter-bent bulldog.

atwood_patent_pix

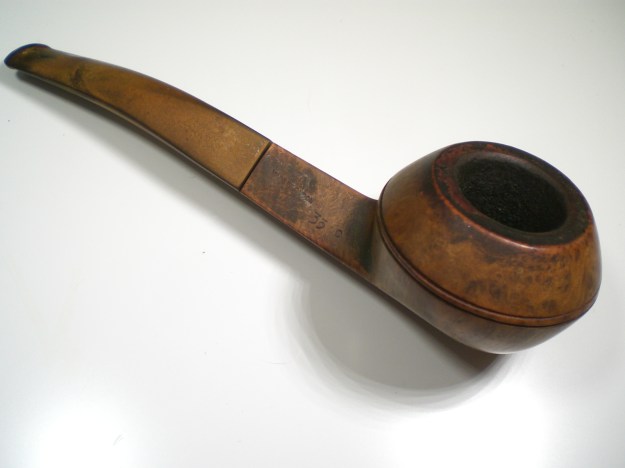
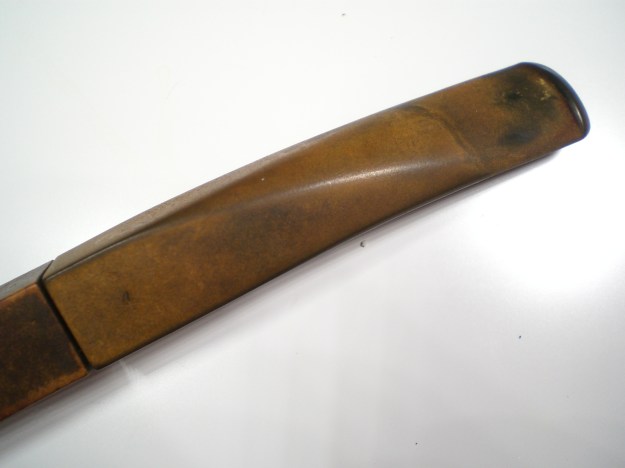
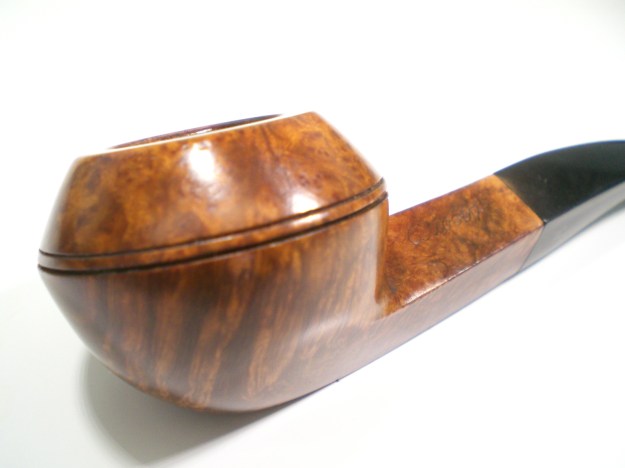
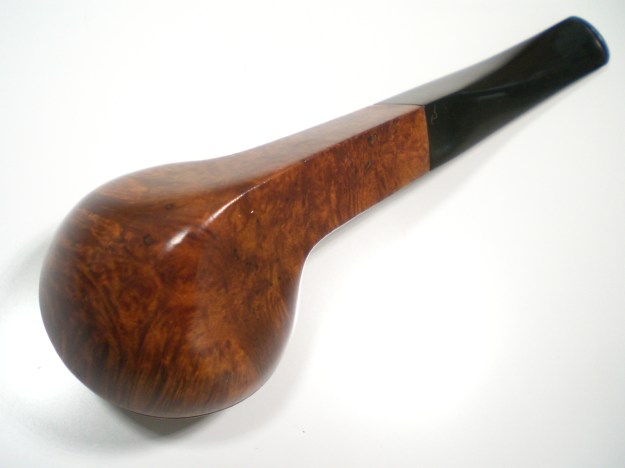
The pipe had some build-up on the bowl top and the stem was heavily oxidized.

attwood_331c_before-1

attwood_331c_before-2

attwood_331c_before-3

attwood_331c_before-4

I used a cloth with some Oxy-Clean solution to remove most of the heavy buildup on the bowl top. Then, 2000 grit wet paper removed the remainder of the build-up and some mild scorching. I reamed the interior of the bowl down to the metal cup. The bowl was quite solid, as was the cup feature. I have no idea what the cup does for the smoking experience, but it is in there for good. I filled the bowl with Sea salt, put a cork stopper in the shank and filled it to the brim with 91% alcohol. While the bowl was soaking, the stem was soaked in a mildy Oxy-Clean solution.

Following the soak, I cleaned the stem shank with some wire brushes and fresh alcohol. I screwed a paper towel soaked in alcohol into the bowl, which did a nice job cleaning the metal cup.

I mounted stem on the bowl to clean the briar. It had a few minor dents, which I was able to lift with a flame from a lighter. The heavy oxidation was removed with 800 grit wet paper, than working my way through 1000 and 2000 grades. Finally, 8000 grade micromesh was used. The stem was the buffed with White Diamond and Meguiars Plastic Polish.

The bowl was somewhat grimy and I used a mild soap solution to clean it. The bowl was then buffed with White Diamond and then several coasts of Carnuba wax.

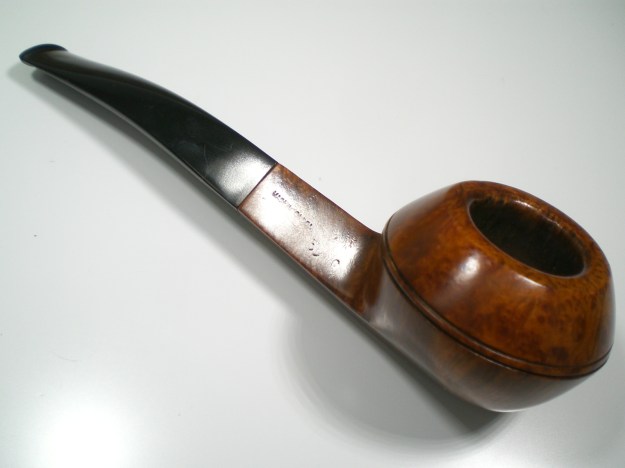
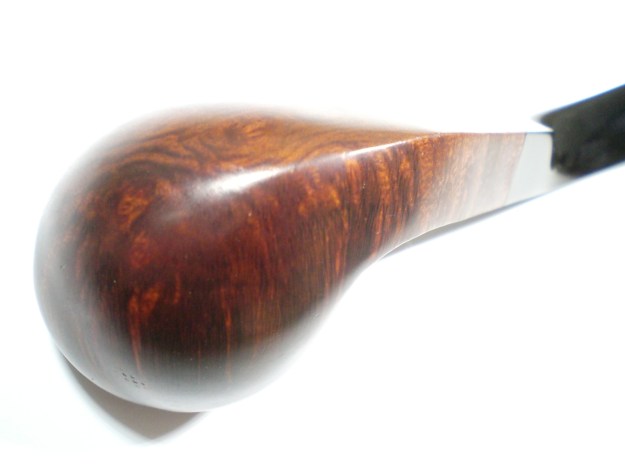
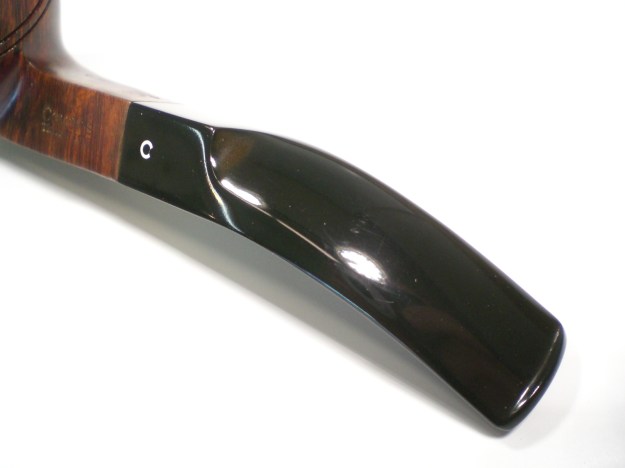
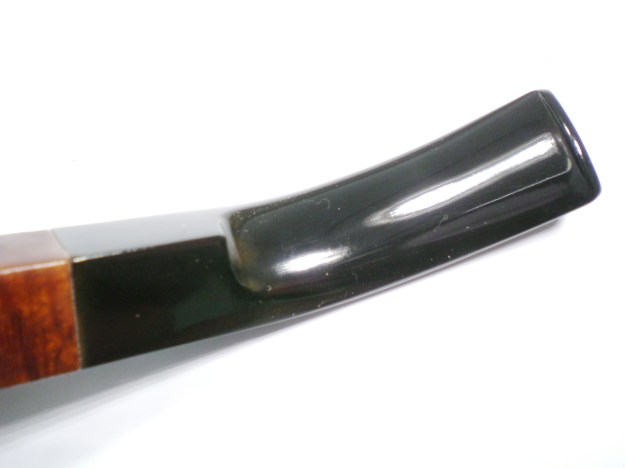
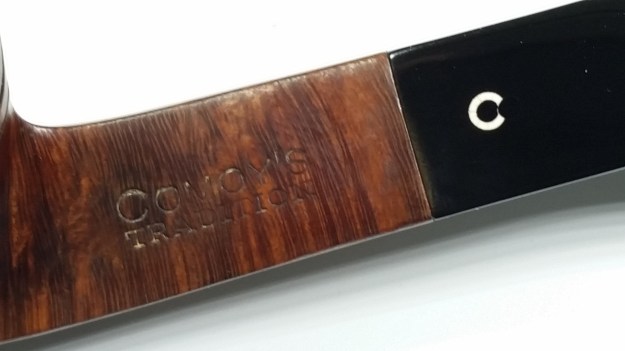
Below is the finished pipe. The light stain is quite handsome. Typically, I’m not a big fan of Comoy’s 2nd’s lines, as I find the pre-molded stems lacking. However this stem has a better feel to it compared to an Everyman, The Guidall, etc. I’m curious as to how the owner finds it smokes compared to his Comoy’s of a similar era.

attwood_331c_finish-1

attwood_331c_finish-5

attwood_331c_finish-2

attwood_331c_finish-3

attwood_331c_finish-6

attwood_331c_finish-7

attwood_331c_finish-4

?

?

?
?
?
?
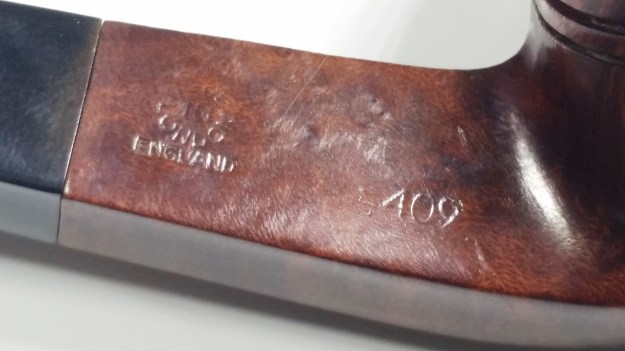
Comoy’s 409 Tradition Restored


By Al Jones

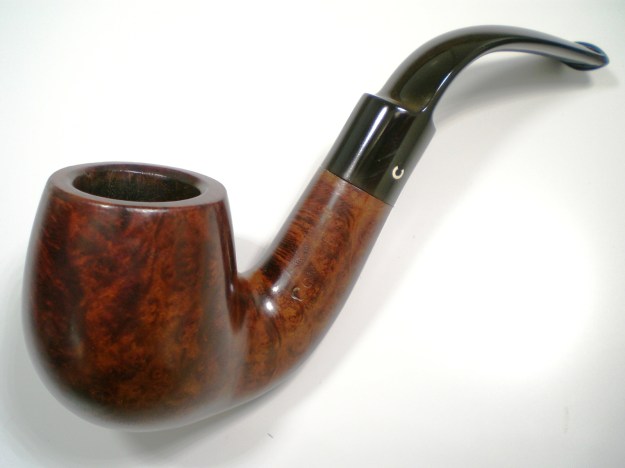
Here’s another pre-Cadogan (or merger if you prefer) Comoy’s. The 409 shape is Comoy’s traditional bent bulldog, so it is surprising that I didn’t have one in my collection. This one arrived in favorable condition and looked like a simple clean up. The stem was oxidized and some light teeth marks, but no dents. The bowl had a few dings that would have to be steamed out.

comoys_409_tradition_before-1

comoys_409_tradition_before-4

comoys_409_tradition_before-3

comoys_409_tradition_before-2

I used a solution of Oxy-Clean on a cloth to remove the build-up on the bowl top. After reaming, the bowl was then soaked with alcohol and sea salt. The stem was also soaked in this solution overnight, with a dab of grease on the C-logo. The interior of the bowl was in great shape.  There were a few dents on the bowl top, but they steamed out nicely with an iron set on “high” and a wet cloth folded double.

I used 800, 1000 and 2000 grit paper to remove the oxidation from the stem. I wrap it around a popsicle stick to keep the edges sharp. I then used 8000 grit micromesh, followed by buffing with White Diamond and Meguiars Plastic polish.

The bowl was polished with White Diamond and then several coats of Carnuba wax.

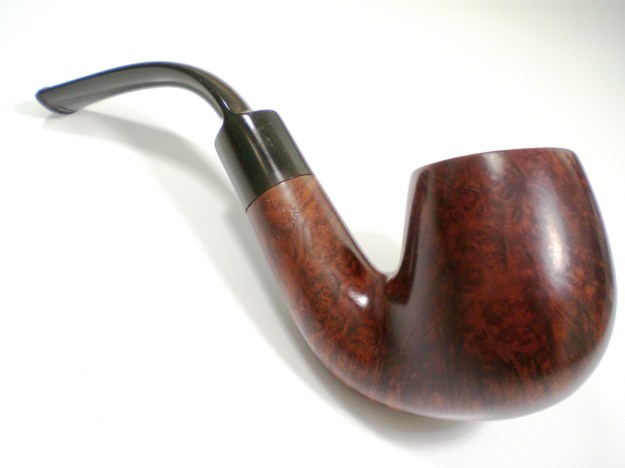
Below is the finished pipe.

comoys_409_tradition_finish

comoys_409_tradition_finish-2

comoys_409_tradition_finish-3

comoys_409_tradition_finish-4

comoys_409_tradition_finish-5

comoys_tradition_409_finish-7

comoys_409_tradition_finish-6

comoys_409_tradition_finish-7

comoys_tradition_finish-8

comoys_tradition_finish-10

comoys_409_tradition_finish

Comoy’s Golden Grain 215 Restoration


By Al Jones

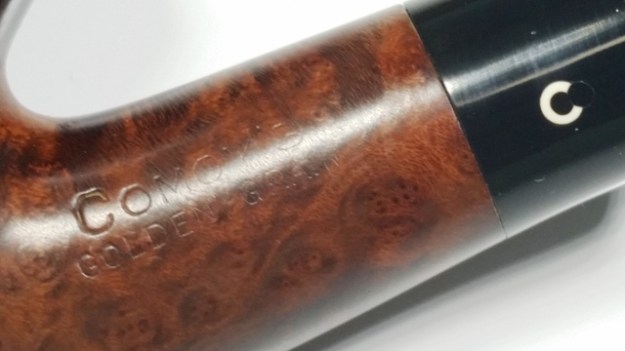
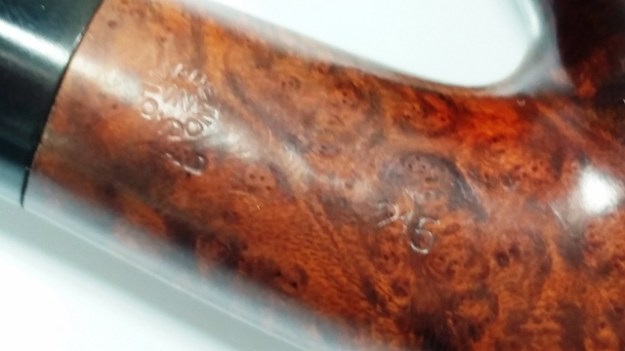
Despite the heavy build-up of tars on the bowl top, this Comoy’s Golden Grain shape 215 looked like a good candidate for restoration. The stem was in good shape, but heavily oxidized. The 3 piece “C” stem logo was also in excellent shape.

In searching for information about the Golden Grain finish, I found this in an old eBay ad posted by Tony Soderman (aka Mr. Can). This was the first Golden Grain to cross my work bench.

Exactly when the “GOLDEN GRAIN” was first introduced is not clear, but it became one of COMOY’s most popular lines. By 1977 it was the Company’s third highest grade beneath the “Designer” and “London Pride” and ranked ahead of other favorites including the “Royal Comoy,” “Guildhall,” “Everyman” and so on! The GOLDEN GRAIN was offered as a “new look” with what COMOY called an “antique patina” and later called a “golden hue.” It was advertised as “finished in golden hues to highlight the gorgeous grains in the ‘Classical’ Comoy’s of London tradition.” As you can see, there is some truth to their claim that the GOLDEN GRAIN’s “warm seductive beauty will win your heart.” The GOLDEN GRAIN was dropped from the COMOY line in 1980

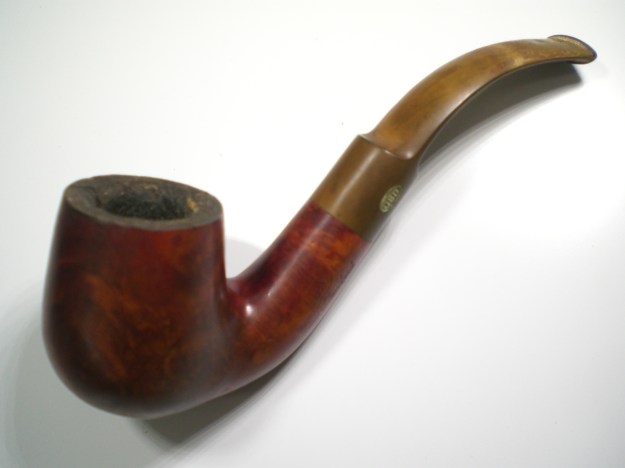
Below are pictures of the pipe as it was received.

comys_215_golden_grain-before-1

comys_215_golden_grain-before-2

comys_215_golden_grain-before-3

comys_215_golden_grain-before-4

I used a mild solution of Oxy-clean and a towel to rub off the build-up on the bowl top. A lovely, beveled edge was hiding underneath the grim. I then reamed the bowl and soaked it with sea-salt and alcohol. While the bowl was soaking, I put a dab of grease on the “C” stem log and soaked it in Oxy-clean to loosen the oxidation.

Following the soak, I cleaned the shank of the bowl with several brushes and alcohol. The bowl interior was in very good condition.

There was one tooth mark on the bottom of the stem. I was able to lift it slightly using flame from a lighter. I mounted the stem and removed the oxidation first with 800 grit paper, followed by 1000, 1500 and 2000 grades. Next up was 8000 grade micromesh. The stem was then buffed with White Diamond and Meguiars Plastic polish.

The bowl was buffed with White Diamond and several coats of Carnuba wax.

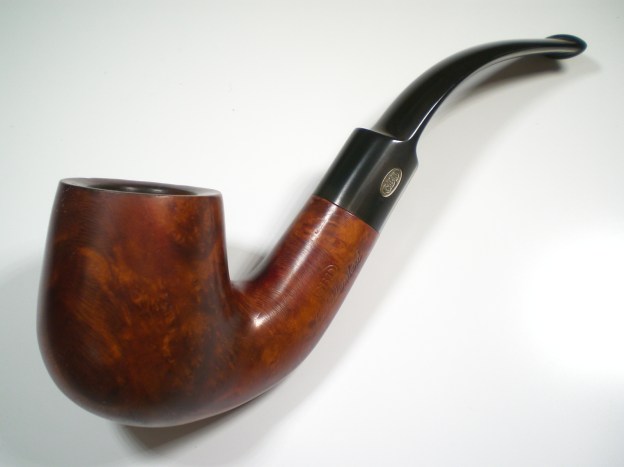
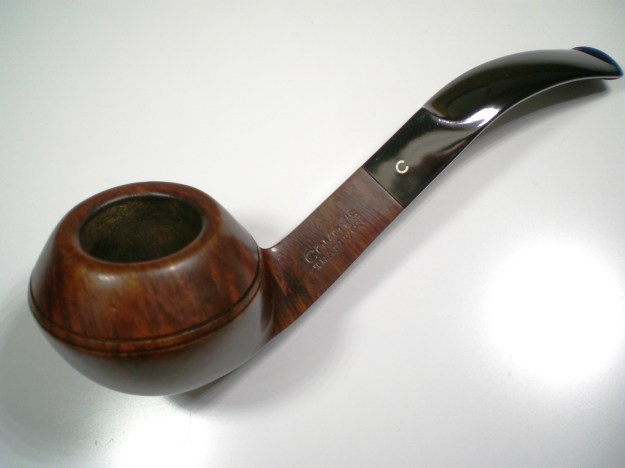
Below is the finished pipe. My photography skills don’t do justice to the bowl finish and stem, they both look beautiful.

comoys_215_golden_grain_finish-1

comoys_215_golden_grain_finish-3

comoys_215_golden_grain_finish-2

comoys_215_golden_grain_finish-4
comoys_215_golden_grain_finish-5

comoys_215_golden_grain_finish-10

comoys_215_golden_grain_finish-6

comoys_215_golden_grain_finish-7

?

?

?
?


comoys_215_golden_grain_finish-1

GBD 9456 New Standard Restoration


By Al Jones

I found this shape 9456 on eBay and it looked to be a good candidate for restoration.  While there was heavy build-up on the bowl top, I’ve found that these pipes are quite durable and clean up nicely.  Besides the coated bowl top, the stem had the typical layer of oxidation and a few teeth indentions.

gbd_ns_9456_before-1gbd_ns_9456_before-5gbd_ns_9456_before-3gbd_ns_9456_before-2gbd_ns_9456_before-4

I removed the bowl top build-up with a cloth and a mild solution of Oxy-Clean (be careful to not get the Oxy-Clean on other parts of the bowl, it will lighten the stain).  I used some 2000 grit wet paper to lessen the darkened area of the rim.

The bowl was then reamed and soaked with sea salt and alcohol.  While the bowl was soaking, the stem was soaked in the mild solution of Oxy-Clean.

After the bowl soak was complete, I used an iron on high and  wet cloth to steam out some of the handling marks around the bowl.  The bowl was then polished with White Diamond and several coats of Carnuba wax.

Following the Oxy-clean soak, I removed the oxidation on the stem with 800 grit wet paper.  I filled some small teeth indentions on both sides of the stem with the black superglue product and accelerator.  Those were sanded flush with 800 grit paper and then 1500 grade.  Next up was 1500 and 2000 grade wet paper  on the rest of the stem, followed by 8,000 and 12,000 grade micromesh sheets.  The stem was then polished with White Diamond and Meguiars Plastic polish.

Below is the finished pipe. It has a better grain pattern than I typically see on a New Standard.  It is now being enjoyed by fellow pipe restorer, Charles Lemon and I was honored that he chose to purchase one of my pipes.

gbd_9456_ns_finish-1gbd_9456_ns_finish-4gbd_9456_ns_finish-2gbd_9456_ns_finish-5

gbd_9456_ns_finsh-7gbd_9456_ns_finsh-8gbd_9456_ns_finsh-9

gbd_9456_ns_finsh-10_web

gbd_9456_ns_finsh-11web

?


Peterson 407 Kapet Pre-Republic


By Al Jones

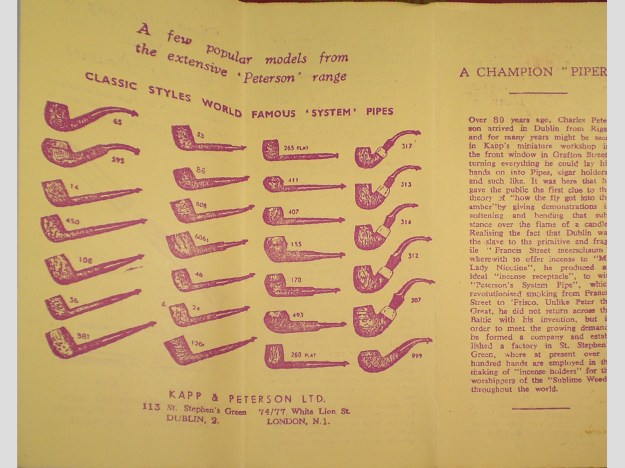
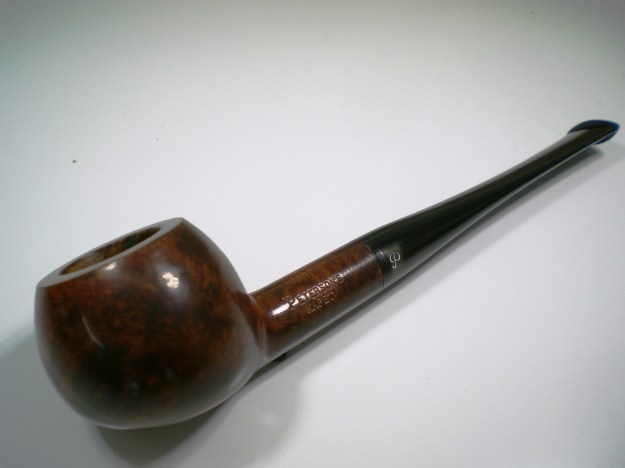
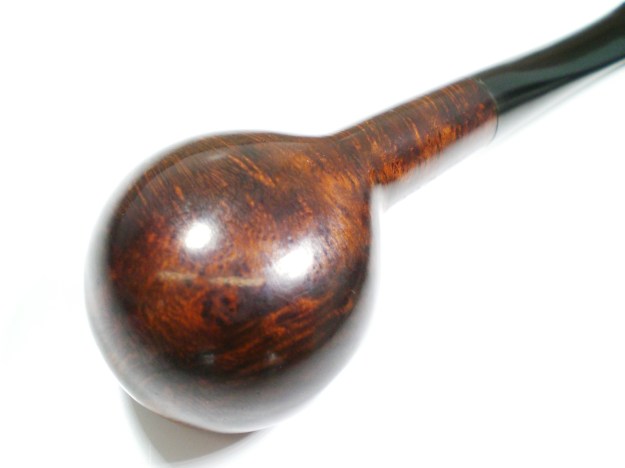
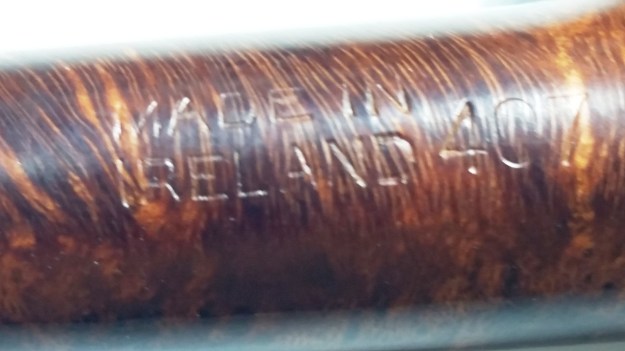
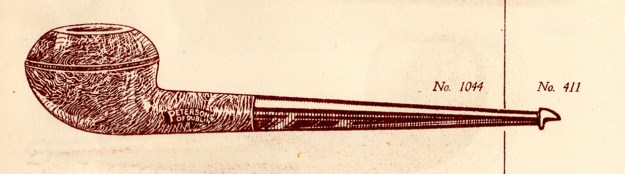
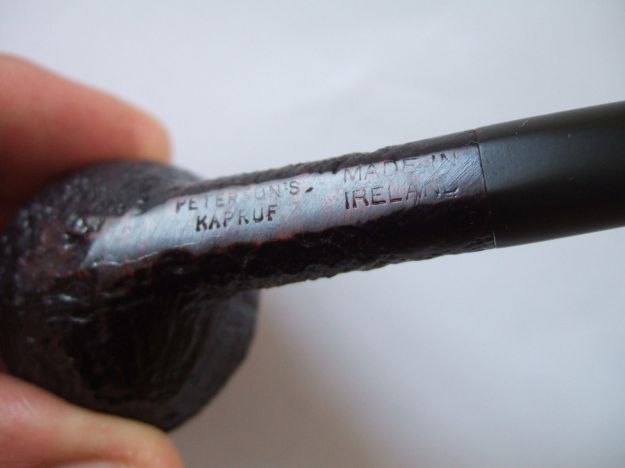
A few weeks ago, I found a Peterson 411 and learned it was known as the “Bullcap” Peterson shape. This week, a sister pipe to the Bullcap popped on Ebay, and I was able to acquire it. Once again, thanks to information provided by Peterson Author and collector, Mark Irwin, I was able to learn a lot more about this pipe. This pipe is a shape 407 and it is a smooth, Kapet finish Peterson. This also has the block style “MADE IN IRELAND” COM mark that was used between 1947 and 1949. Mark also sent me this catalog page showing both shapes, which is from a 1925 Philipp Weiss & Sohne brochure (Vienna, Austria). They were Peterson’s distributor on the continent in the early decades of the 20th century.

411 and 407 c 1925Philipp Weiss & Sohne brochure-Vienna

In the search for Peterson catalog information, I was surprised about the complete lack of material available on the internet. With nearly every other key British brand, someone has scanned old catalogs to a website. This is not the case with Peterson. If it were not for Mark’s assistance, I would not know much if anything about these two shapes. Mark shared with me that one of his goals was to reprint key Peterson catalogs. I suspect the availability of these catalogs would be met with great enthusiasm by Peterson collectors and fans.

The pipe was advertised as “New In Box” and as we often see, this wasn’t the case. The pipe had been smoked, but sparingly. This was actually a good thing as it eliminated the age old question about unsmoked vintage pipes – “should I smoke it?”. Of course now the answer is “yes”. The seller gave me a small refund on my purchase and I proceeded with the simple restoration. There was a small amount of tobacco residue in the bowl and the stem was mildly oxidized.

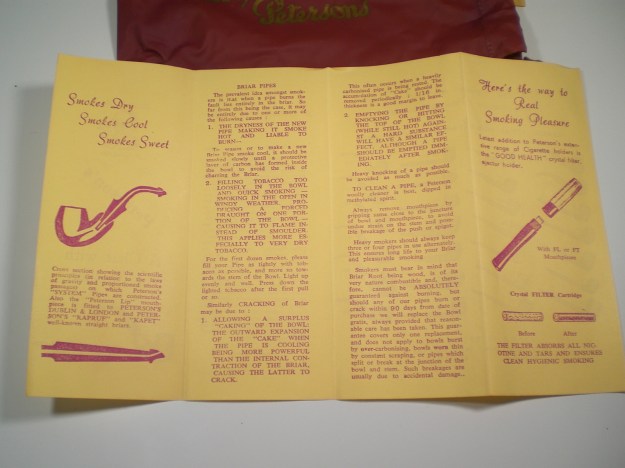
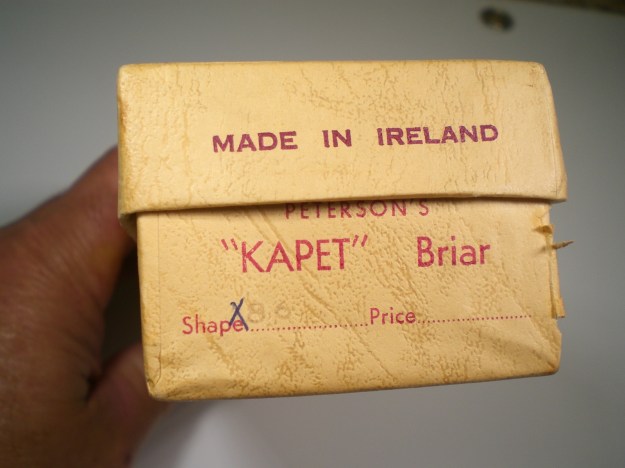
The pipe also came with a Peterson box, silk pipe bag, Guarantee and brand leaflet with a shape chart on the back. While the shape stamped on the box is not 407, Mark tells me this was a common mistake made by tobacconists. I guess who knew boxes would have value to a collector 65 years down the road? The pipe came with a slightly different “stinger” apparatus than my Bullcap. The pipe is very close in size to the Bullcap and it weighs 29 grams.

Peterson_407_Kapet (10)

Peterson_407_Kapet (11)

Peterson_407_Kapet (12)

Peterson_407_Kapet (13)

I removed the stem oxidation with 800, 1000 and 2000 grit wet sandpaper, followed by 8000 grade micromesh. The stem was polished with White Diamond and Meguiars Plastic Polish. The bowl was soaked with sea salt and alcohol, although I could have easily skipped this step.

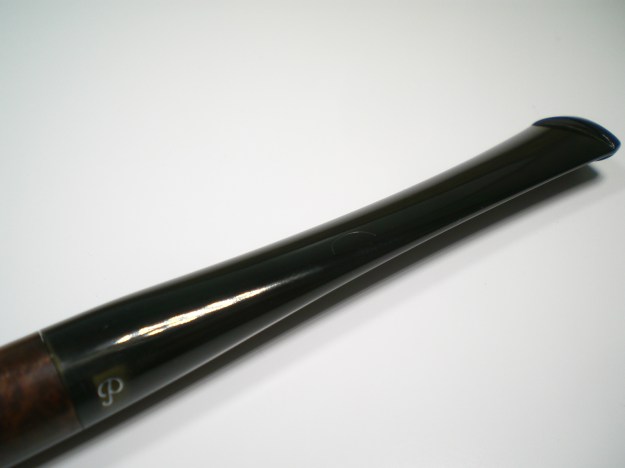
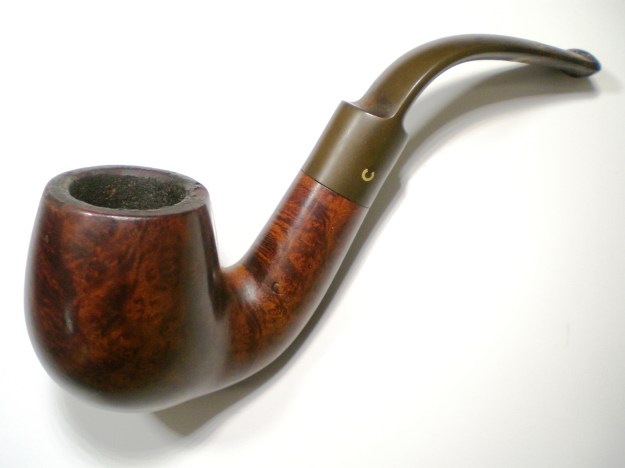
Below is the finished pipe. As you can see, this pipe has a fish-tale stem and I’m curious to how it smokes compared to the P-lip stem on the Bullcap.

Peterson_407_Kapet (1)

Peterson_407_Kapet (3)

Peterson_407_Kapet (2)

Peterson_407_Kapet (6)

Peterson_407_Kapet (5)

Peterson_407_Kapet (7)

Peterson_407_Kapet (4)

Peterson_407_Kapet (8)

?

?
?

?

Peterson_407_Kapet (1)

Pre-Republic Peterson 411 Bullcap Clean-Up


By Al Jones

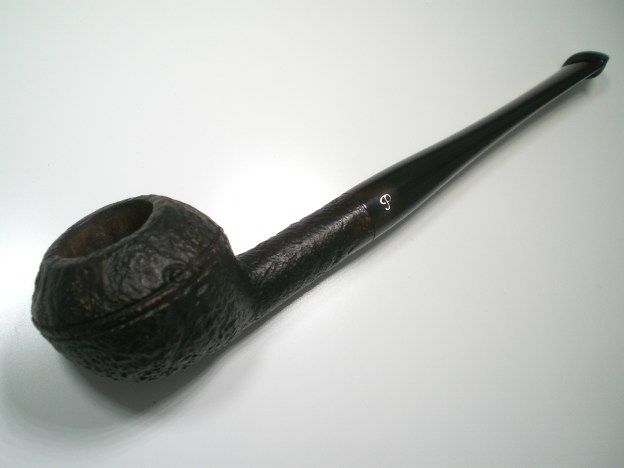
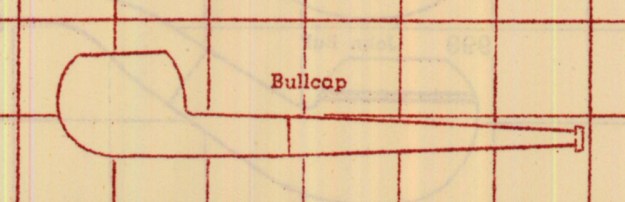
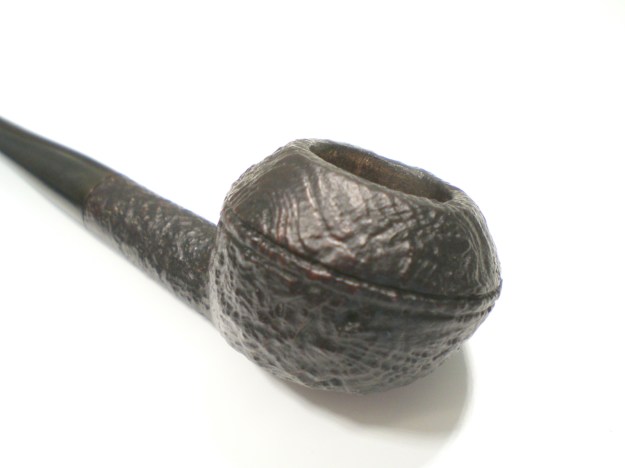
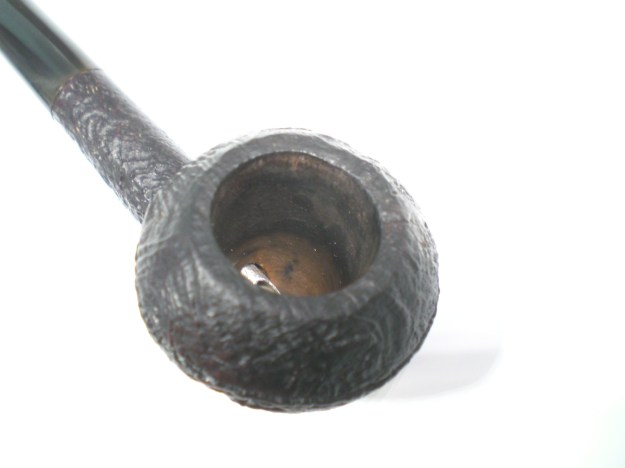
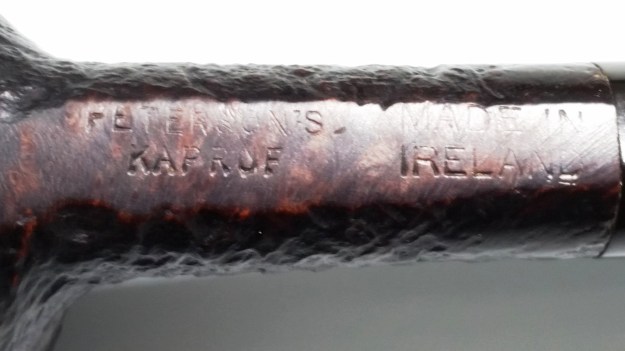
Lately, my pipe purchases have been those remaining on my “Holy Grail” list, but occasionally a pipe turns up that is in my wheelhouse. I stumbled across this Peterson when I missed out on an Ebay bid. I could see that it was Pre-Republic from the “Made in Ireland” stamp but it had no shape number and was not one that I recognized. Fortunately, Peterson authority and author, Mark Irwin, is easy to reach via email and always seems eager to help in a quest for information. Mark did indeed know about this shape, known as the “Bullcap” and shape 411. He even included these catalog shots.

Al's 411Al's Bullcap 1947 Kapruf

Mark shared this about the shape:

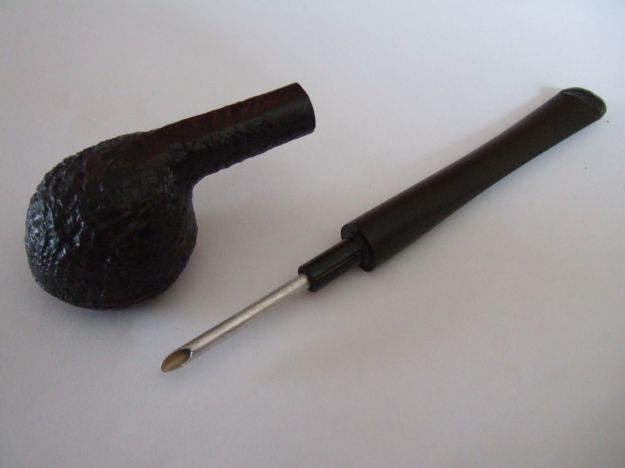
The shape is first documented in the 1937 catalog as a 411 Kapet, the catalog mentioning the aluminum inner tube “for easy cleaning.”

The Kapruf line (RUF meaning sandblast) was the counterpart of the Kapet, and is first seen in the 1940 catalog. The 411 shape as a Kapruf is seen in the “Junior Briars” column of the 1947 shape chart – “Junior” meaning slender, as all the pipes are at least 5 inches in length. The squares = 1 inch.

I’m very appreciative of this information from Mark, as I can find no other example or information about this shape or the “Juniors Briars” catalog.  This pipe is indeed quite diminutive, weighing only 24 grams. It is the lightest pipe in my collection.

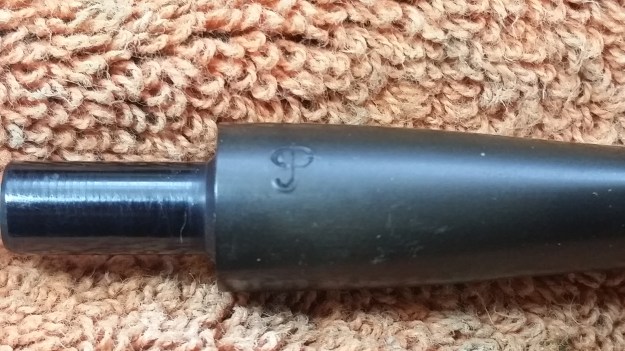
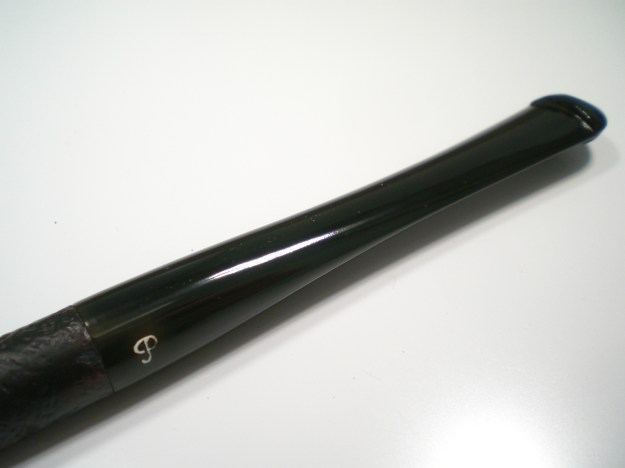
The pipe appeared to be in terrific shape with no bite marks on the stem. Upon delivery, it was as good as depicted. The bowl had some very slight cake, which was removed. The stem fitment was excellent and it included the factory inner tube. The “P” stem logo was missing the white paint, but in great shape.

Peterson_411_Before (1)Peterson_411_Before (2)Peterson_411_Before (3)Peterson_411_Before (4)Peterson_Kapruff5Peterson_Kapruff6

The block style “Made In Ireland” stamping was used until 1949. Mike Leverette’s Peterson Dating Guide is even more specific, suggesting it may have only been used between 1947 and 1949.

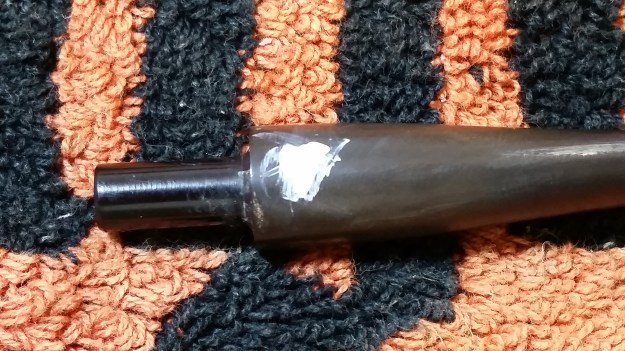
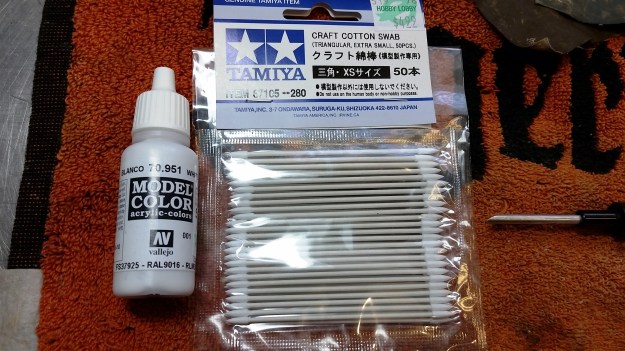
While the bowl was soaking with sea salt and alcohol, I turned my attention to stem. It had been a long time since I’ve had to restore a stem logo, so I consulted Steve Laug and Dave Gossett. Each suggested that I use white acrylic paint and a fine brush. Dave recommended applying a heavy coating of paint and letting it dry at least 24-48 hours. He recommended using some worn micro-mesh (3,000 or higher) to buff off the excess and then let it set another 24 hours before buffing.  I picked up white acrylic paint and a pack of fine brushes from Hobby Lobby, which were found in the modeling section. This process was more difficult than I anticipated. I’m not sure that I’m satisfied with the final outcome

20160818_14242620160818_20050420160818_142632

The briar bowl didn’t need much attention.  There were several light spots where the stain had either faded or was pulled off. I darkened some Fieblings Medium Brown stain and gave the bowl a “wipe” with a paper towel.  After that had dried, I buffed it by hand with some Halycon wax.

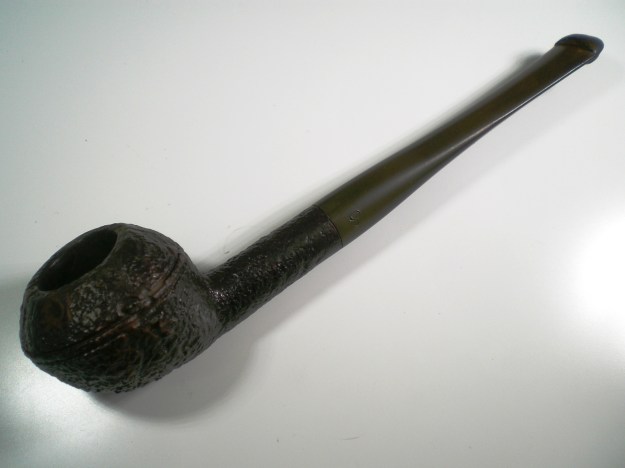
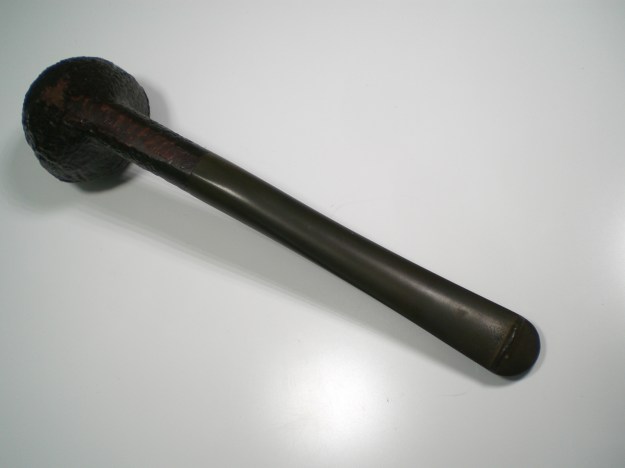
Below is the finished pipe. With the tiny bowl (fits my index finger), I’ll dedicate this one to Orlik Golden Sliced or a similar flake. The draft without the inner tube is quite large, I’ll start by smoking with it in place.

Peterson_411_KR_FinishPeterson_411_KR_Finish2Peterson_411_KR_Finish3Peterson_411-KR_Finish4Peterson_411_KR_Finish5Peterson_411_KR_Finish6

Peterson_411_KR_Finish9 (1)Peterson_411_KR_Finish9 (7)Peterson_411_KR_Finish

Savinelli Guibileo d’Oro 320KS Fiamatta Restoration


By Al Jones

The Savinelli 320 shape has been on my “Holy Grail” list for a few years, but I wanted the pipe to be in the Guibileo d’Oro grade and have a vulcanite stem. After a while, it seemed hopeless to actually find one. In fact, I had dropped it from my eBay search list last year. Only because of the eagle eye of my friend, Dave J, was I able to acquire one. Dave gave me the heads up on this pipe when it was listed. I put in a last second bid and lost by one dollar. I figured it was not to be. A few weeks later, the seller messaged me that the winning bidder had never made payment and it was mine for my final bid, how fortunate!

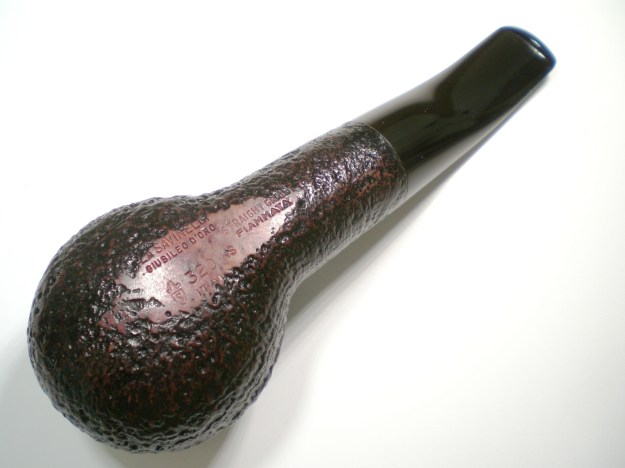
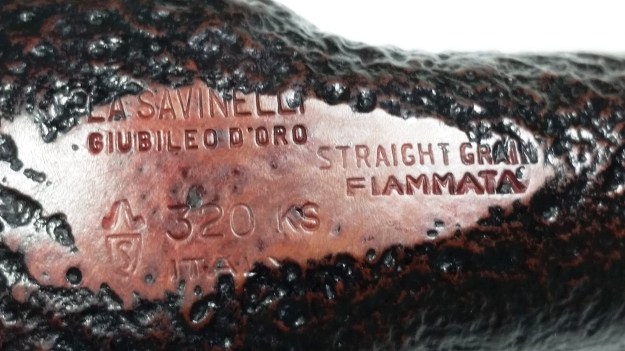
After making the purchase, it only occurred to me that this one has the additional “Fiamatta Straight Grain” stamp. I knew that only one in a thousand Savinelli’s make the Guibileo d’Oro grade but I had no idea on how many of those had the “Fiamatta” stamp. This pipe has a Vulcanite stem, with no filter, which means it was made before 1982 when the factory switched to acrylic/filter stems.

The pipe was in very good shape, with a mild cake, some oxidation on the stem and a few minor bite marks. The stem fitment was excellent.

Savinelli_GBD320KS_Before (1)
Savinelli_GBD320KS_Before (2)
Savinelli_GBD320KS_Before (3)

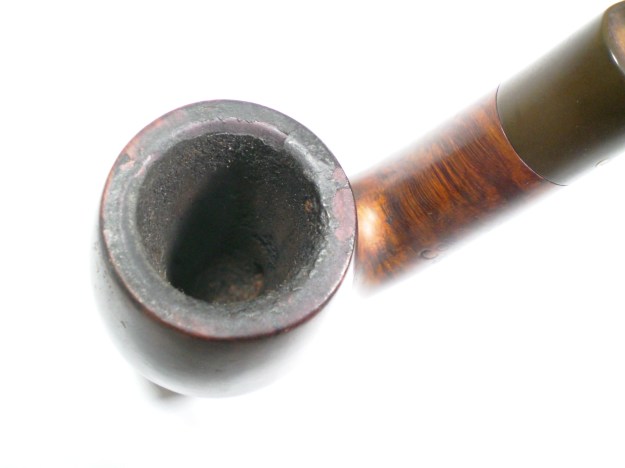
I used a wet cloth to remove the thin layer of buildup on the polished rim. It was undamaged underneath. I removed the cake with my Castleford reamer set. The bowl is quite wide, conical and in excellent condition. The briar was then soaked with alcohol and sea salt. Here’s a shot as it was soaking, after the rim was cleaned, polished with White Diamond and some Carnuba wax.

?
?
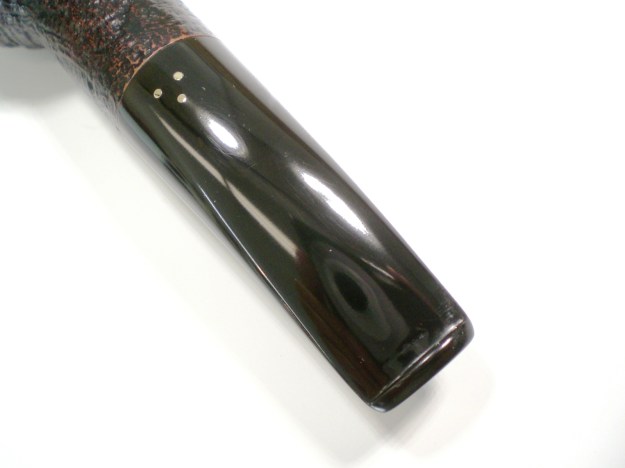
I put some grease on the gold stem dots and soaked it in a mild Oxy-Clean solution. While it was soaking, I removed the salt from the bowl and cleaned it with a bristle brush and alcohol. I was able to raise the teeth marks with some heat from a lighter flame. The stem was then mounted to the bowl and I used 800, 1000 and 2000 grades of sandpaper to remove the oxidation and polish the stem. 8,000 grade micromesh was then used. The stem was buffed with White Diamond and Meguiars plastic polish.

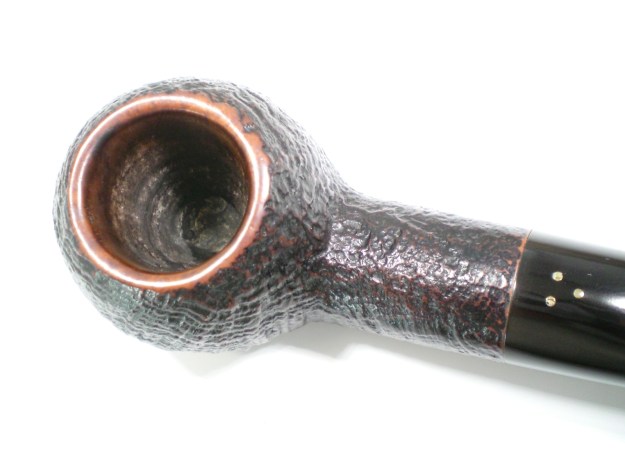
The KS designation is for an oversized pipe and this one is a hefty 70 grams, which is slightly larger than a GBD 9438. Here is the finished pipe.

If anyone has information on the “Fiamatta” stamp, please comment.

Savinelli_GBD320KS_Finish (1)

Savinelli_GBD320KS_Finish (2)

Savinelli_GBD320KS_Finish (3)

Savinelli_GBD320KS_Finish (4)

Savinelli_GBD320KS_Finish (5)

Savinelli_GBD320KS_Finish (6)

Savinelli_GBD320KS_Finish (7)

?
?

Savinelli_GBD320KS_Finish (1)

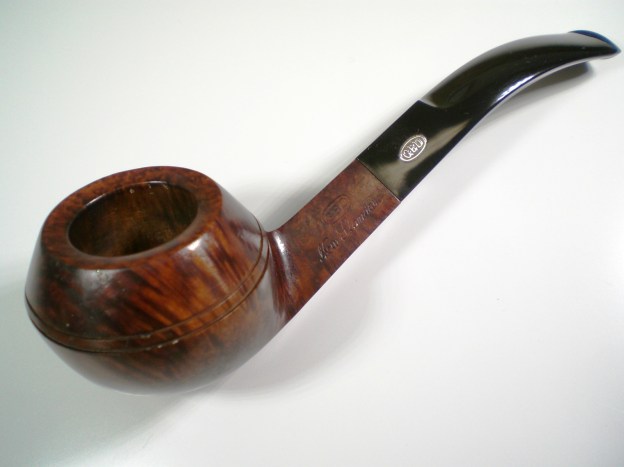
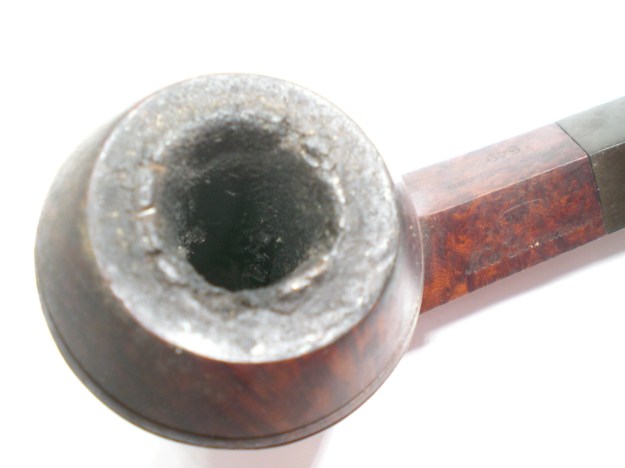
Wee Bit of Cake (GBD 549 New Standard)


By Al Jones

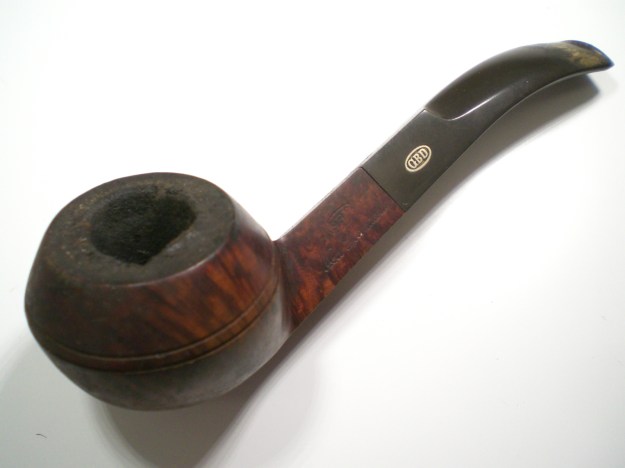
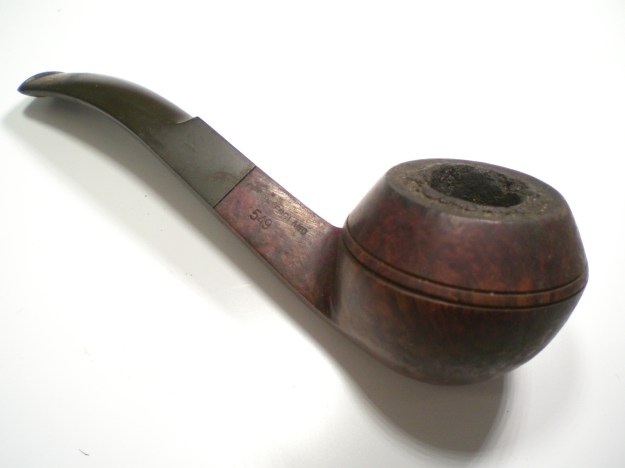
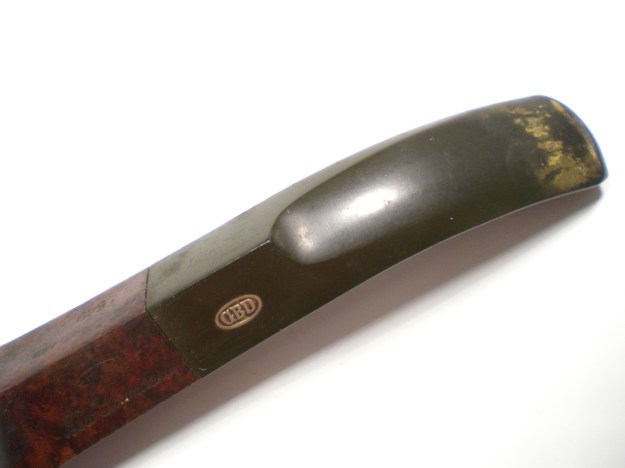
This GBD 549 New Standard popped up on Ebay as a “Buy It Now” with only two pictures. The pictures showed the pipe had potential and it was priced right. Upon receipt, I found that this one had the thickest cake that I’d ever worked on. Looking at the bowl top, I was a bit worried about what was underneath.

GBD_549_NS_Before (1)

GBD_549_NS_Before (4)

GBD_549_NS_Before (2)

GBD_549_NS_Before (3)

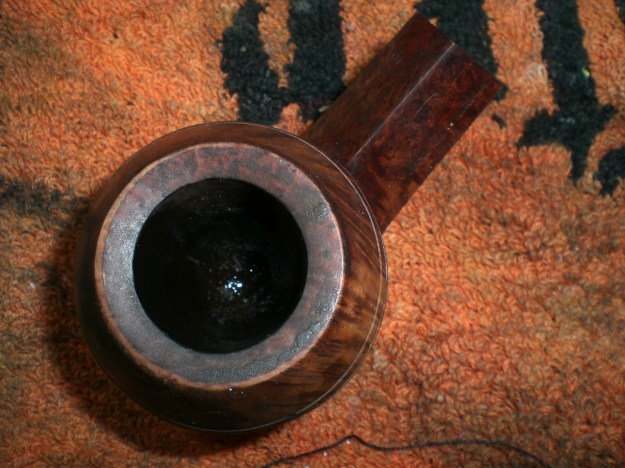
I reamed the cake and found that the interior of the bowl was in very good condition. Much of the cake that had spilled over the bowl top flaked off. I removed the rest with a cloth and some very mild Oxy-Clean solution and then some 1500 wet paper. A beautiful beveled bowl top was quickly revealed and I gave a sigh of relief. There were a few ding marks around the bowl top that would need to be steamed out. I used an electric iron set on “high” with a very wet, folded cloth and I was successful at removing most of the larger dings.

GBD_549_NS_Before (6)

While working on the bowl, the stem was soaked in a mild Oxy-Clean solution. Once the bowl work was completed, it was soaked with alcohol and sea salt. Following the soak, there were a lot of tar build-up in the shank that was removed with a soft brass bristle brush and alcohol.

I mounted the stem on the pipe and removed the oxidation with 800, 1500 and 2000 grade wet sandpaper. This was followed by 8000 and 12000 micromesh sheets. The stem was then buffed with White Diamond and several coats of Carnuba wax. The stem was finished by buffing with White Diamond and then Meguiars Plastic Polish.

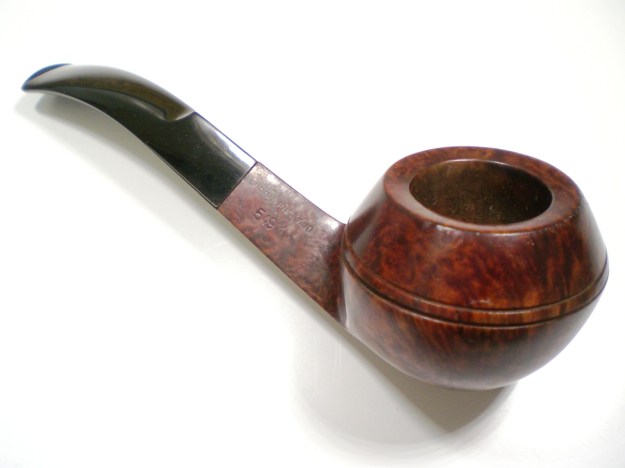
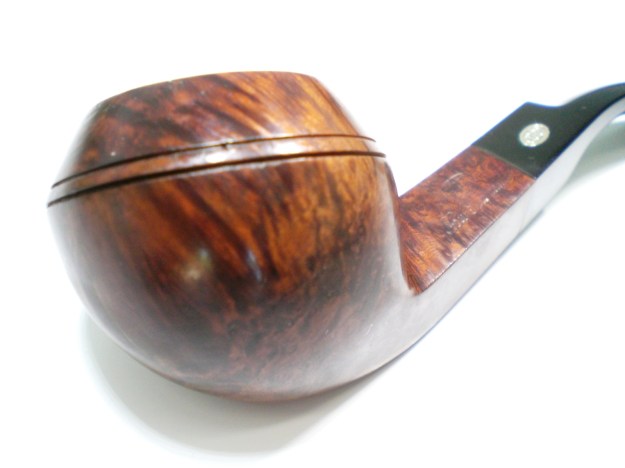
Below is the finished pipe.

GBD_549_NS_Finish (10)

GBD_549_NS_Finish (6)

GBD_549_NS_Finish (5)

GBD_549_NS_Finish (7)

GBD_549_NS_Finish (8)

GBD_549_NS_Finish (4)

GBD_549_NS_Finish (3)

GBD_549_NS_Finish (9)

20160703_17555520160703_180701

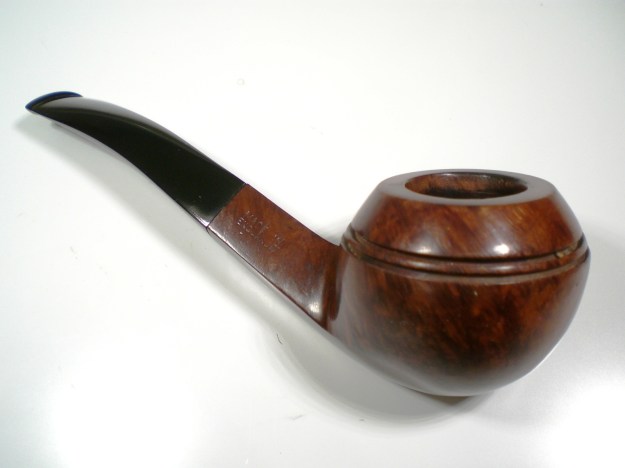
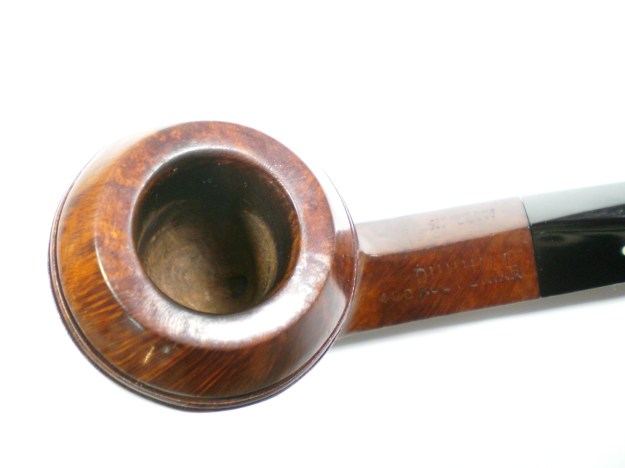
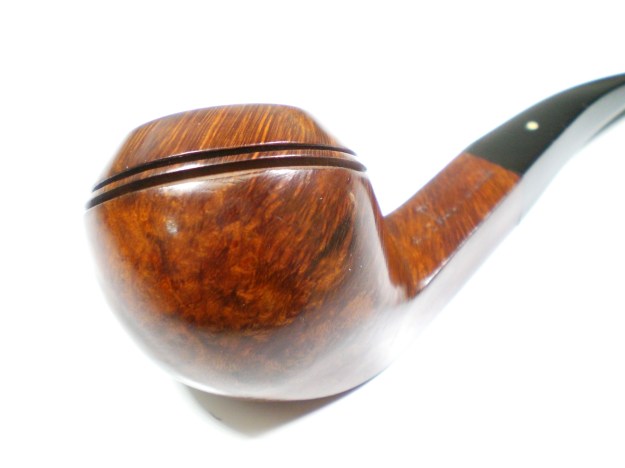
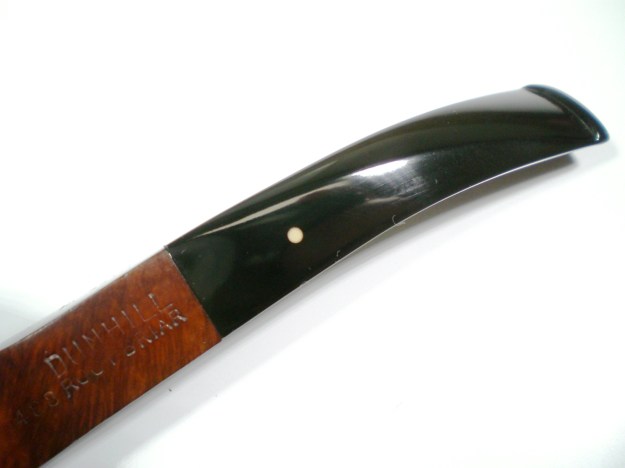
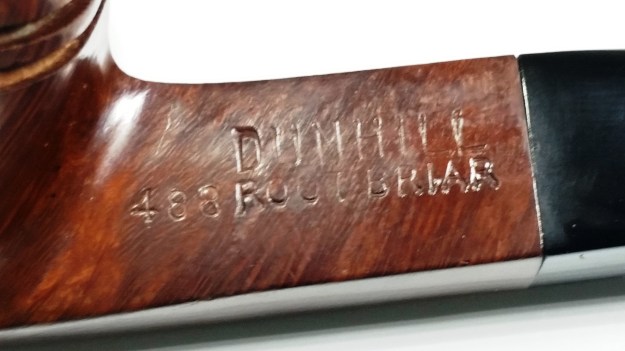
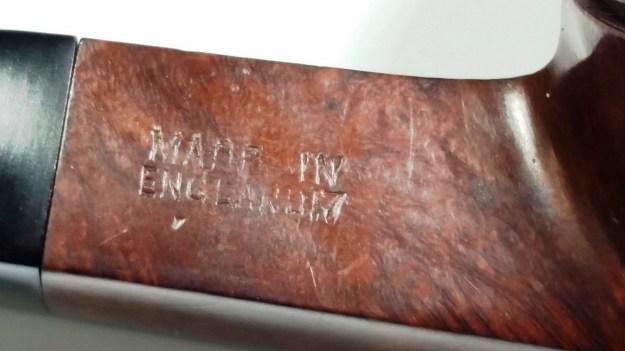
Dunhill 488 Root Briar Restoration (1977)


By Al Jones

I’ve had several Dunhill pipes in my collection and on my work bench, but this is my first Root Briar. This one was offered by an eBay seller in Indonesia and it didn’t get much attention, and it was won for a modest final bid.

Pipedia says this about the Root Briar finish:

Root Briar
1940, Shape #48 saddle bulldog in Root finish, G.L. Pease collection[12]
1932 T113 Billiard in Root Finish, showing “Bowling Ball” stem and Vernon tenon
. Introduced in 1931 and highly prized because the grain is more pronounced in this finish. The Root Briar finish required a perfectly clean bowl with excellent graining. Therefore, it is the most expensive of the Dunhill pipes. Corsican briar was most often used for the Root finish, since it was generally more finely grained. This is a rare finish, due to the scarcity of briar suitable to achieve it. These pipes are normally only available at Company stores, or Principle Pipe Dealers.

The seller had posted many good pictures of the pipe and it appeared to only require a mild clean up.

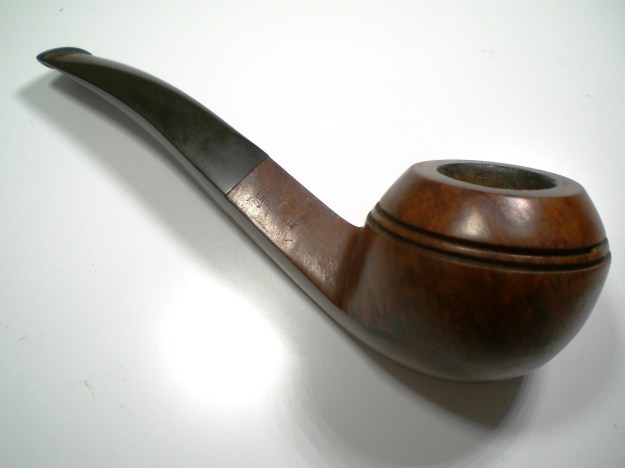
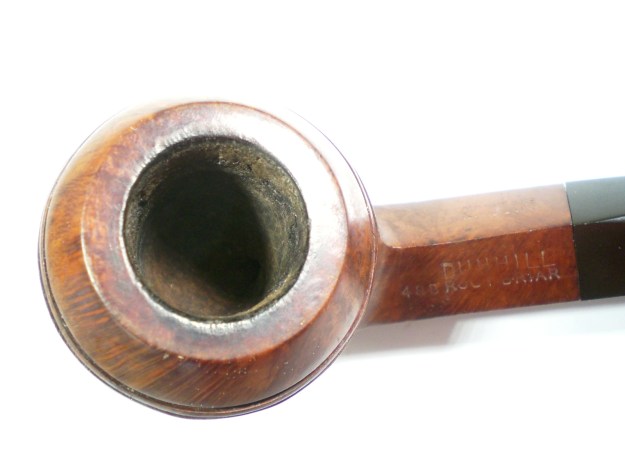
Three weeks later, the pipe was delivered and I finished it this evening. Below is the pipe as it was received. The pipe weighs 46 grams. It does not have a size stamp, but I would say it is a size 4.

Dunhill_488_RB_Before (1)

Dunhill_488_RB_Before (4)

Dunhill_488_RB_Before (3)

Dunhill_488_RB_Before (2)

The pipe was used with the metal filter tube and it was interesting to find that there was little or no tar build-up in the shank. I assume the tube tranferred the smoked tobacco directly up the stem. The tube was a bit bent, so it was discarded. Today, most Dunhill pipe enthusiasts do not use the filter tube. There was some mild cake in the bowl and the stem had some light oxidation. There was a little rim darkening.

I removed the mild cake and soaked the bowl with alcohol and sea salt. The stem was soaked in a mild Oxy-clean solution.

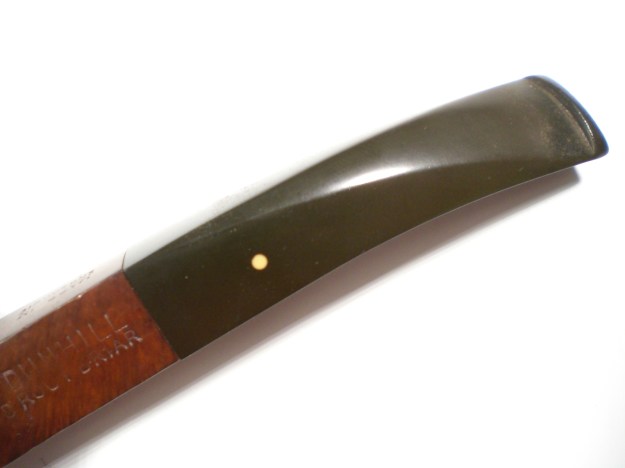
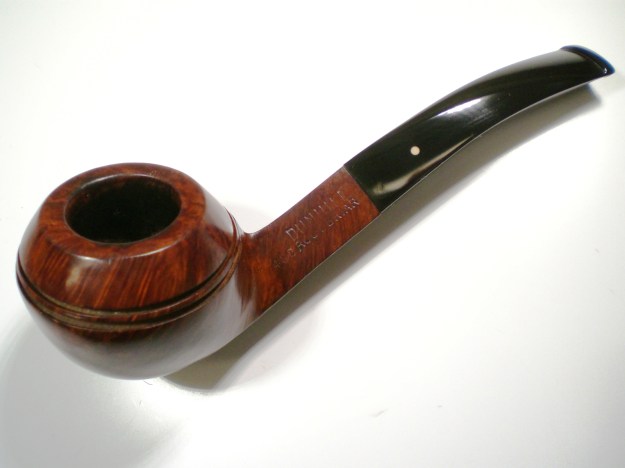
The briar was shined with White Diamond followed by several coats of carnuba wax. The stem was shined with 800 grit wet paper followed by 1500 and 2000 grades, then 8000 grade micromesh. This was done with the stem mounted on the bowl. The stem was then buffed with White Diamond and Meguiars Plastic Polish.

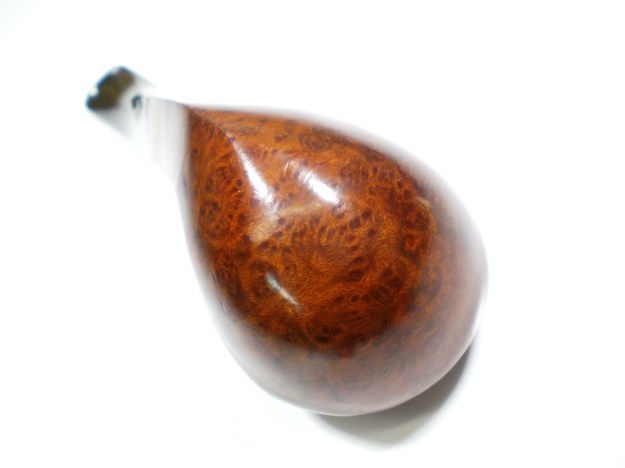
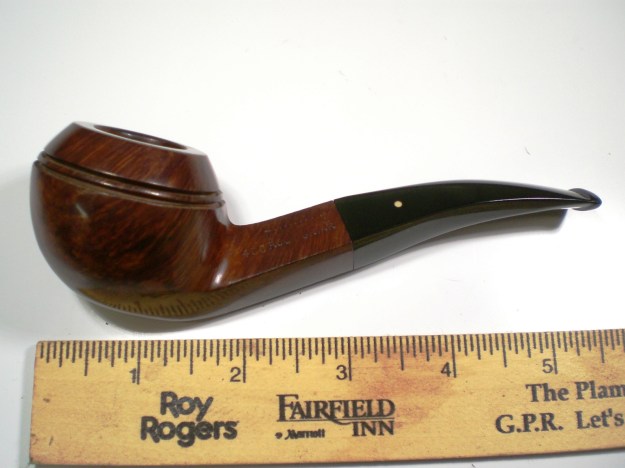
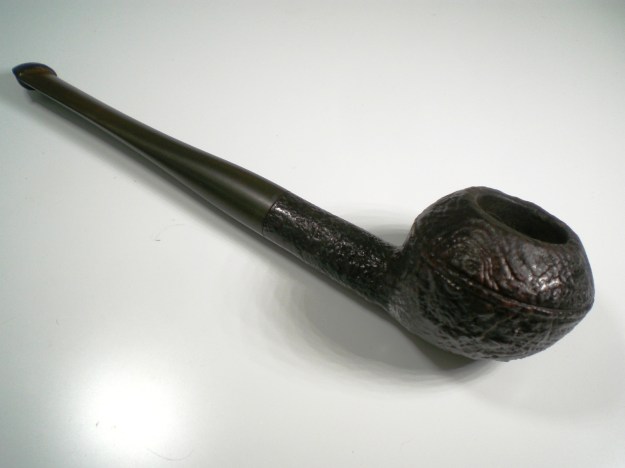
Below is the finished pipe.

Dunhill_488_RB_Finish (1)

Dunhill_488_RB_Finish (5)

Dunhill_488_RB_Finish (4)

Dunhill_488_RB_Finish (2)

Dunhill_488_RB_Finish (6)

Dunhill_488_RB_Finish (3)

Dunhill_488_RB_Finish (7)

?

?

?

?
Dunhill_488_RB_Finish (9)

Dunhill_488_RB_Finish (1)