Author Archives: upshallfan

Unknown's avatar

About upshallfan

Moderator on the PipesMagazine forum since 2011. Guest contributor on the Reborn Pipes Blog by Steve Laug.

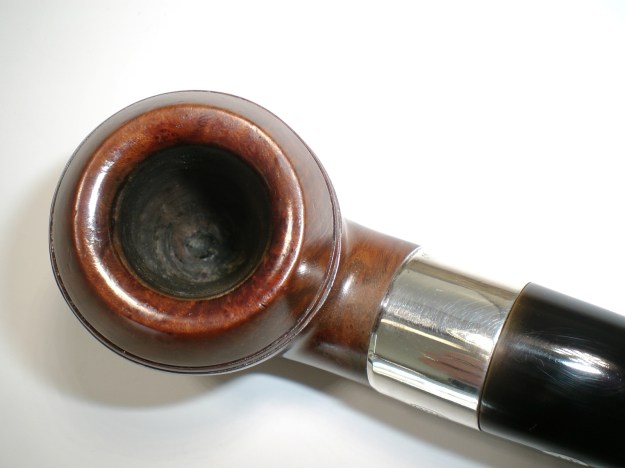
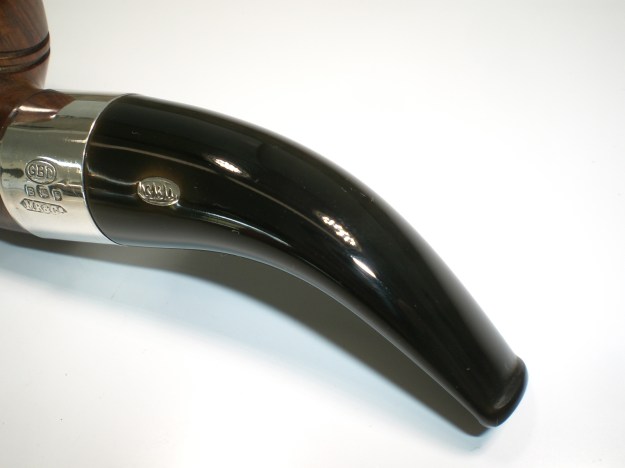
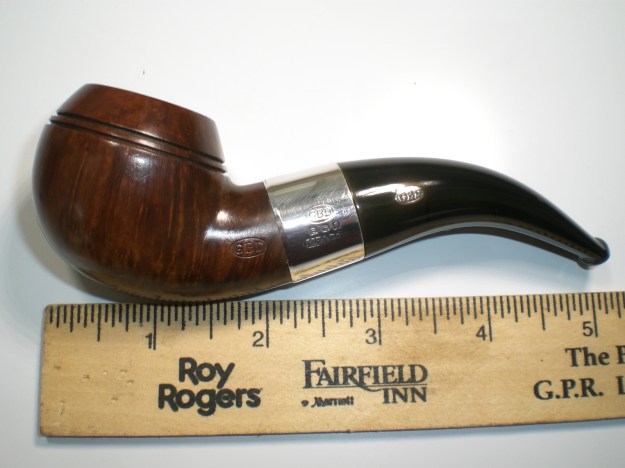
1937 GBD Chubby Rhodesian (R9239) Restored


By Al Jones

I’ve had a great year for acquiring GBD pipes. I started the year in January by finding a 9242 Sandblast at the NYC Pipe Show.  And later, another 9242 New Standard. I can’t think of a better way to cap off 2017 than with this hallmarked R9239.

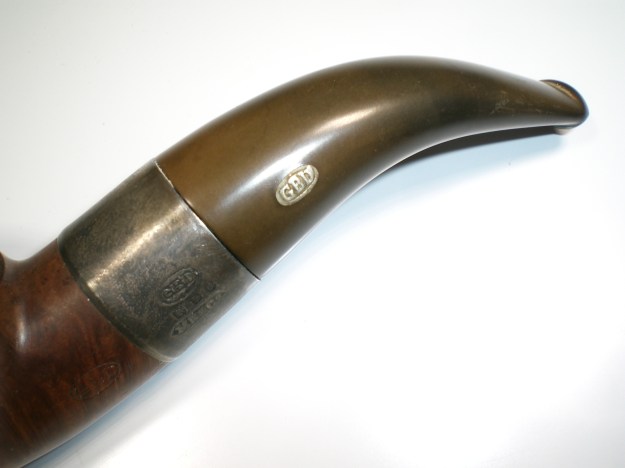
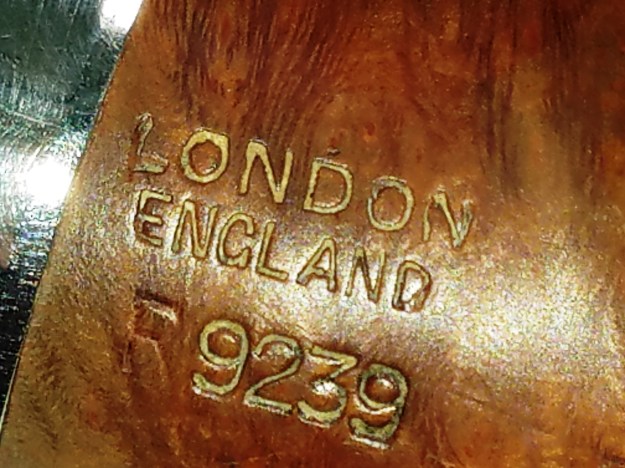
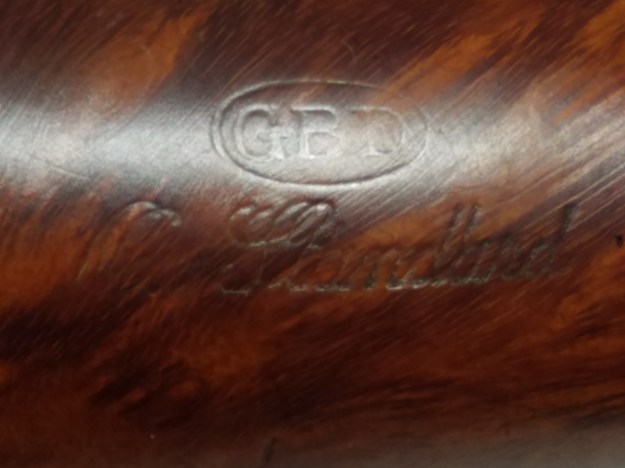
This shape is a bit of a GBD mystery. In the past six years, I’ve seen three of these come up on Ebay (one was unsmoked!). All of them have the R9239 designation, with a London hallmarked band that dates to 1937 (B date code). I have two other hallmarked 1930’s era GBD’s and each has the R code in front of the four digit shape number. The 9239 is referenced no where else in any GBD catalogs or literature that I’ve encountered. I speculate that the R must have signified a silver hallmarked band, but unfortunately that detail is lost to time.

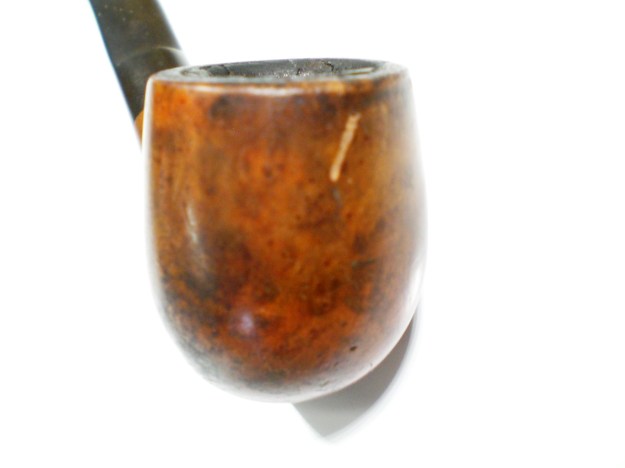
Winning this auction was a battle with 12 other bidders and I eked out a victory by a few dollars. I studied the sellers photos carefully before bidding and I had plenty of apprehension until it was delivered. As you can see below, the photos were either altered digitally or the flash made some odd patterns on the briar. The rest of the pipe looked solid enough to allow me to bid. On delivery, all of my fears disappeared. The briar and vulcanite were in terrific condition. The stem fitment was snug with zero bite marks on the oxidized stem. The odd shadow was just that, a flash mark or other.

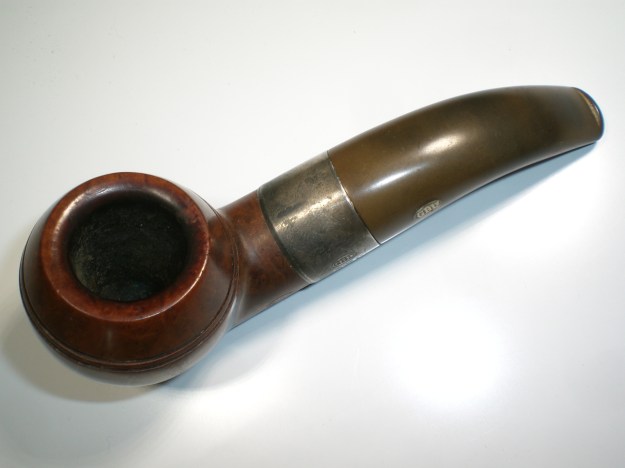
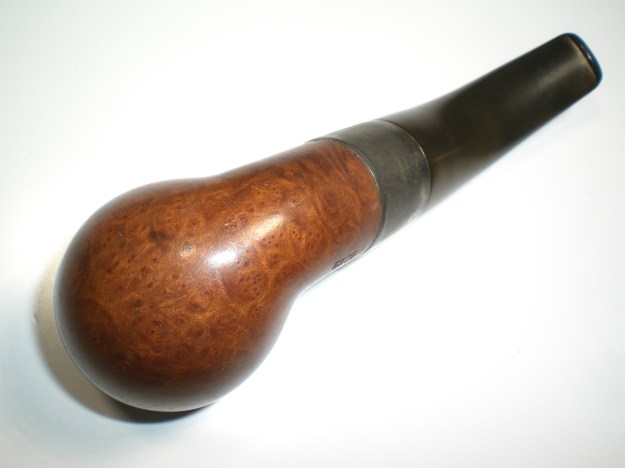
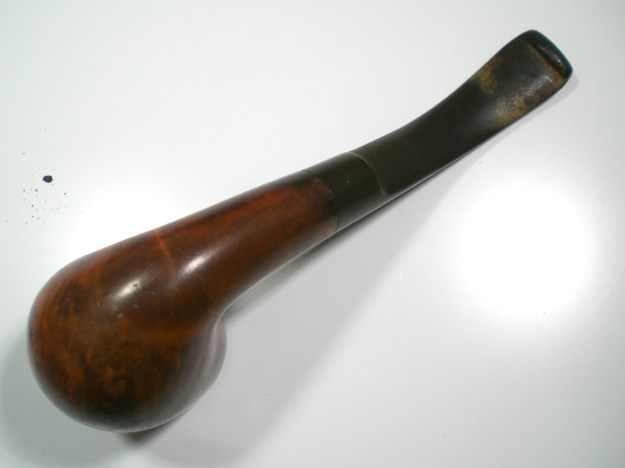
Below are my photos of the pipe as it was received. The stem was mildly oxidized and there were several handling marks on the bowl. The bead lines were mint and the bowl and shank interior showed little use.

I reamed the very slight cake from the bowl and soaked it with alcohol and sea salt. After the soak, I used a silver polish to remove the tarnish on the silver band, which was a bit stubborn. I mounted the stem with a plastic collar and removed the first layer with 400 grit, then 800 grit wet paper. This was followed by 1,500 and 2,000 grade paper, then 8,000 and 12,000 micromesh sheets. The stem was then buffed with White Diamond and Meguiars Plastic Polish.

I was able to remove several of the handling marks on the bowl with an electric iron and a wet cloth. The bowl was then buffed with White Diamond and several coats of Carnuba wax.

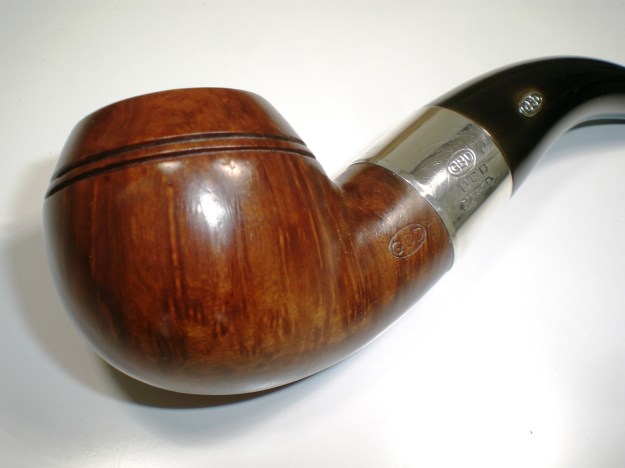
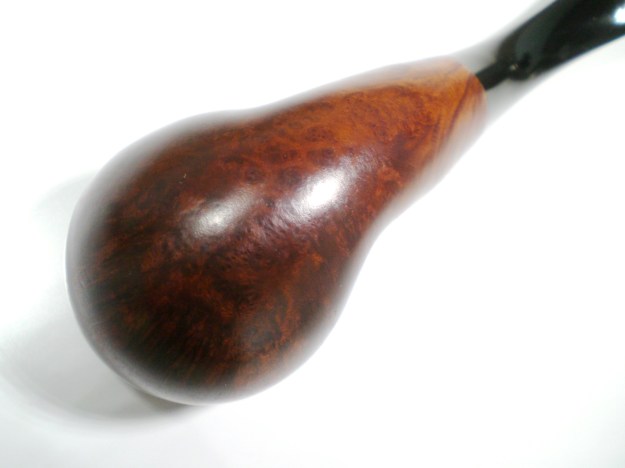
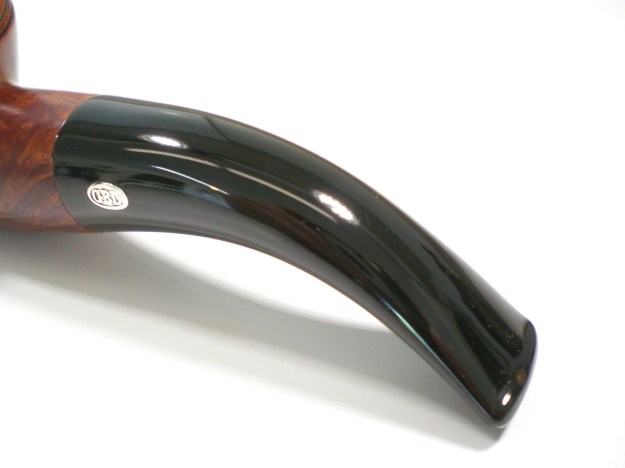
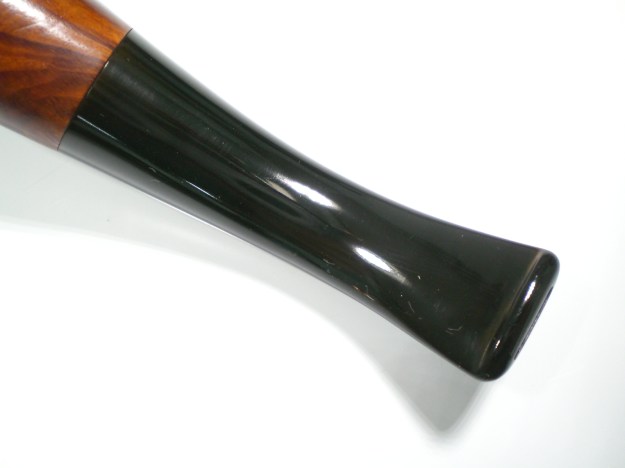
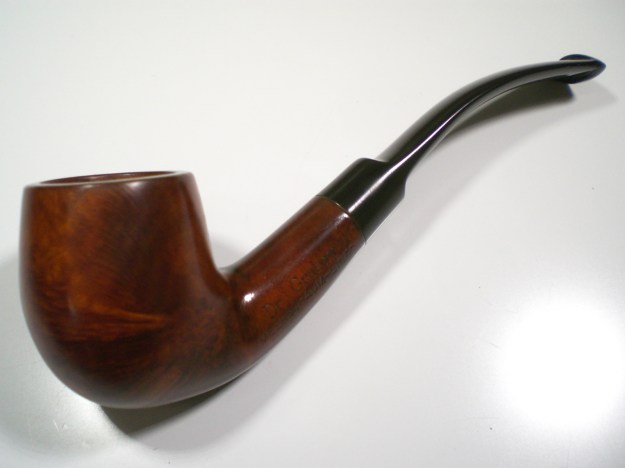
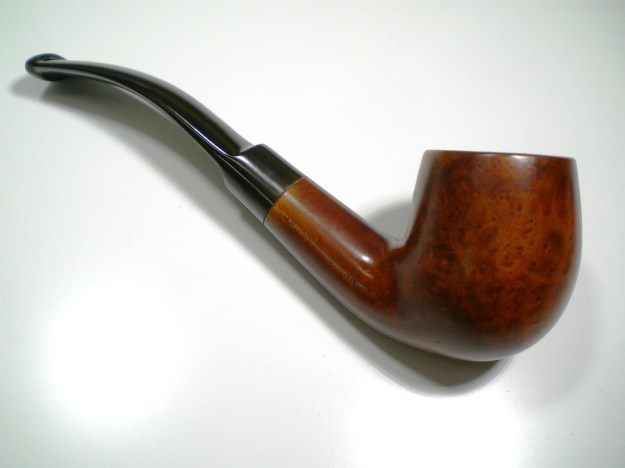
Below is the finished pipe.

?

?

Sasieni Hendon Patent Era Addition


By Al Jones

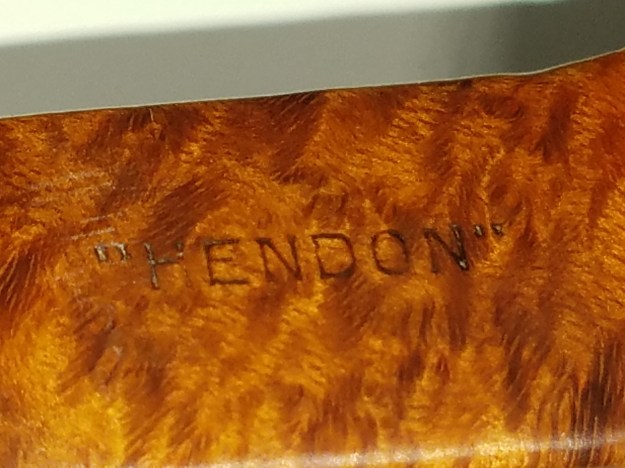
The Sasieni “Hendon” shape has been on my Holy Grail list for a while. It is one of the more elusive of the Sasieni shapes, also known as the shape 87 in the Sasieni catalog. The Hendon shape drops in and out of the Sasieni catalogs. It is certainly the least common of the Sasieni bulldog shapes. (Grosvernor, etc.)

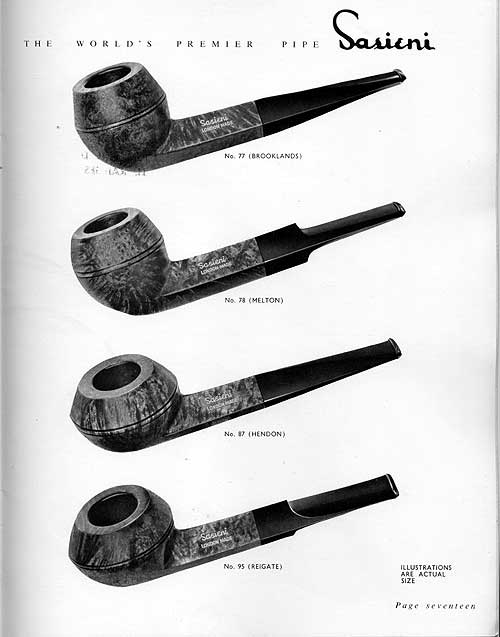
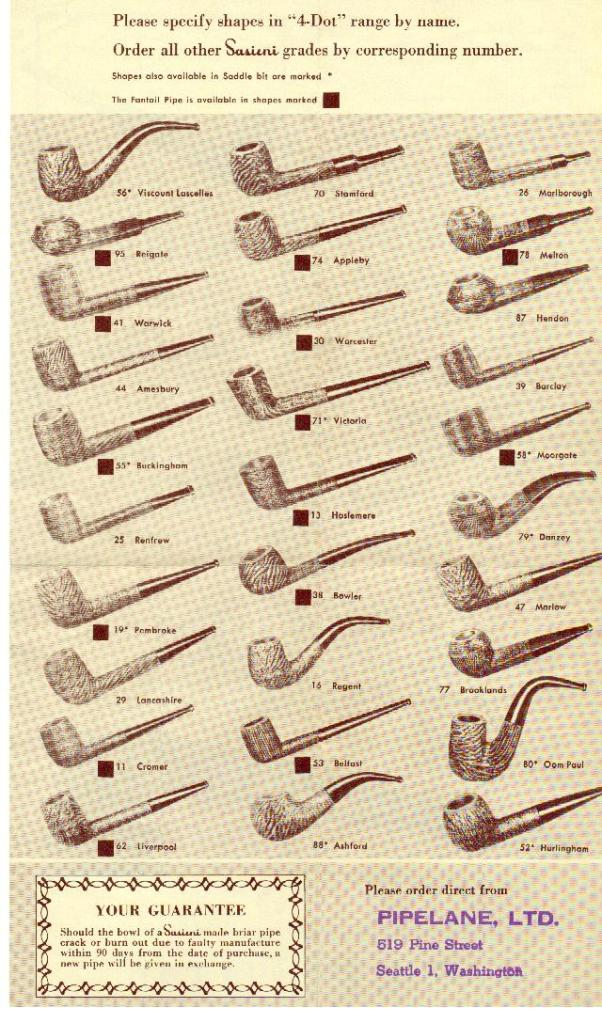
Below are two catalog pages depicting the Hendon shape. The standard multi-page Sasieni catalog, which shows black and white drawings of the shapes and names does not show this shape.

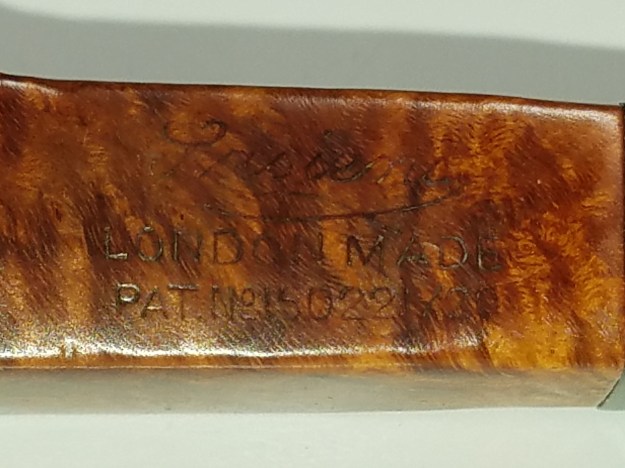
This is the first Patent Era Sasieni in my collection. The Sasieni florid script, Patent number and town name reveal that the pipe was made sometime between 1935, when town names started, and the onset of Word War II (’42). The patent number 150221/20 was used on pipes exported to the United States. The iconic Blue Dots are smaller, and spaced closer together than Sasieni’s from a later era.

I showed the pipe to a trusted British pipe fan who is a member of the PipesMagazine and PipeSmokersUnlimited forums. He was worried that it might have been topped. That was good advice and I asked the seller for pictures showing the bowl height. I found a few previously sold Hendon shapes on the web, but only two with specs. The bowl height and depth on this one is right in between the two that I found. It certainly could have had a millimeter taken of the bowl height, but I decided it was close enough. Jesse Silver recently mentioned the phrase “cut down process” in describing small variations in standard shapes by Barlings, etc. Perhaps this one was similarly affected?

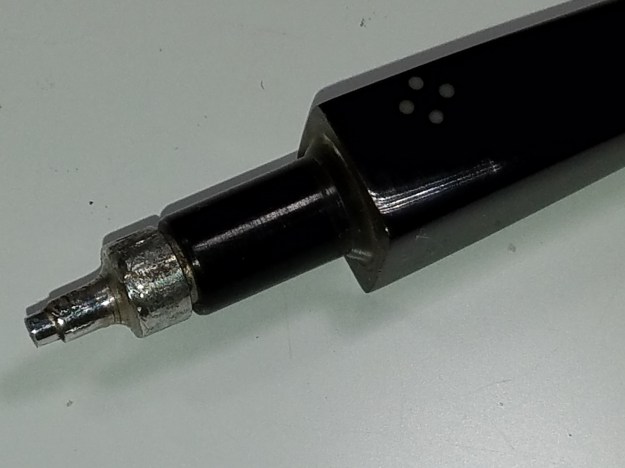
The pipe still retains the screw in stinger, but I think that the ball may have been cut off. There is a scorch mark on the top of the bowl, which I was able to lessen, but not completely remove. The stem is in excellent shape as is the bowl interior. The button is quite different than those on my later era Sasieni’s and it has more of an ovoid but not quite orific shape.

The pipe didn’t need much in the way of clean-up or restoration. I gave the stem my usual finish process. I soaked the stinger/tenon in some alchol so it could be screwed out. I think for smoking use, I’ll keep the stinger in place. The walls of the tenon are thin and I believe the stinger gives it some additional support. Without the stinger, the draft hole would be quite large.

I used some 2000 grit wet paper on the bowl top to lessen the scorch mark, then the briar was buffed with White Diamond and several coats of Carnuba wax.

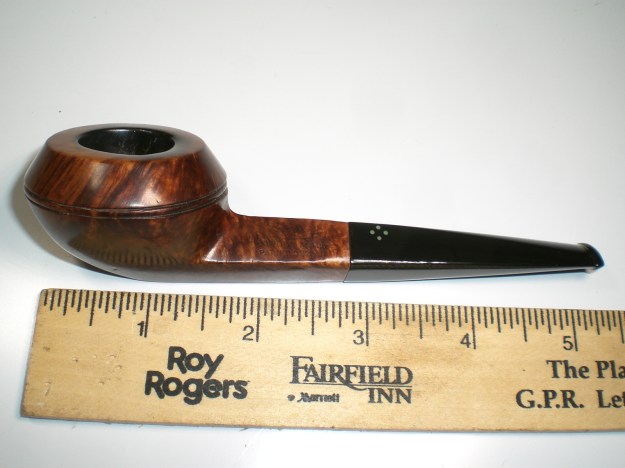
Below is the completed pipe.

Comoy’s Golden Grain Apple (483) Restoration


By Al Jones

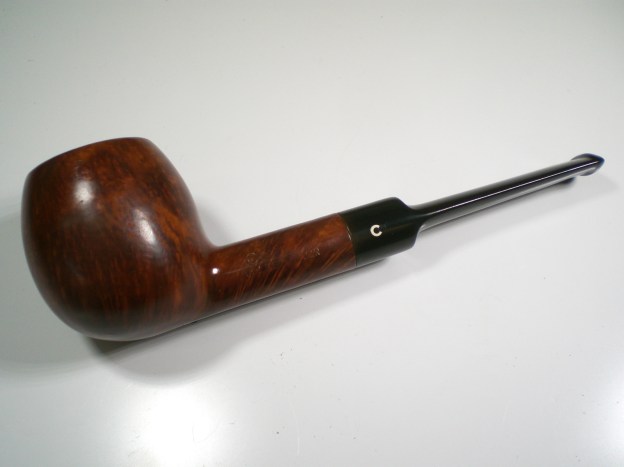
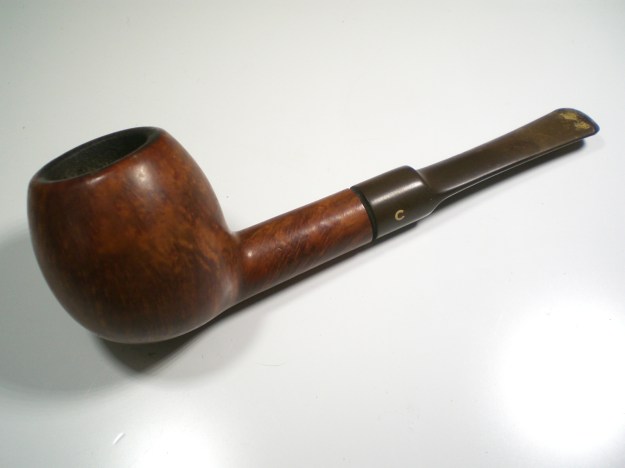
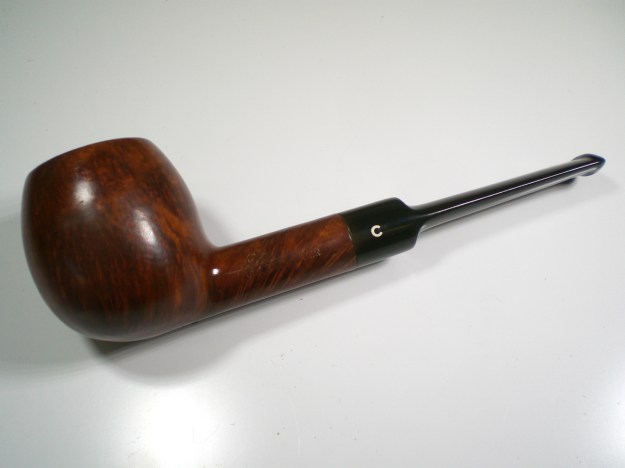
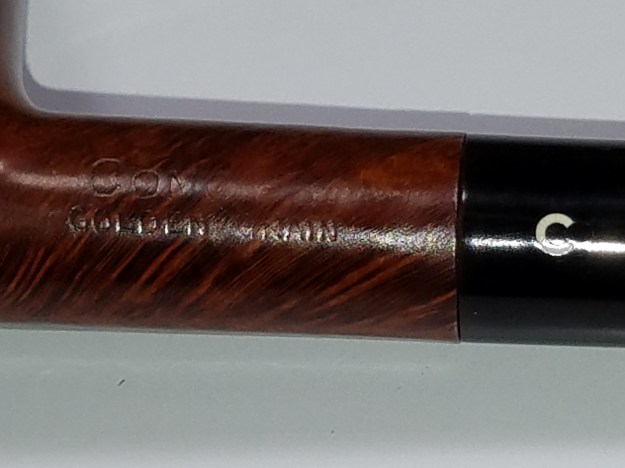
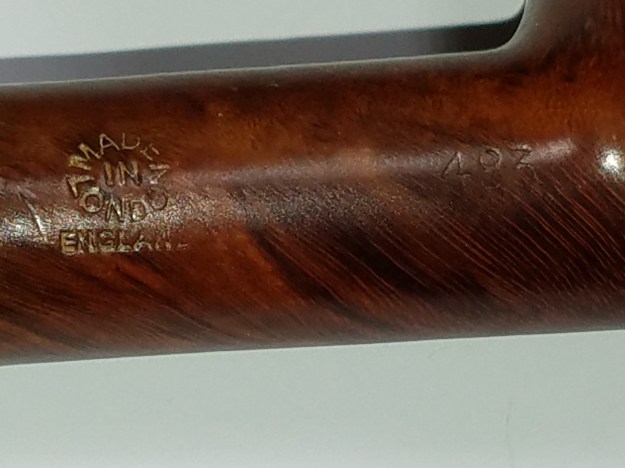
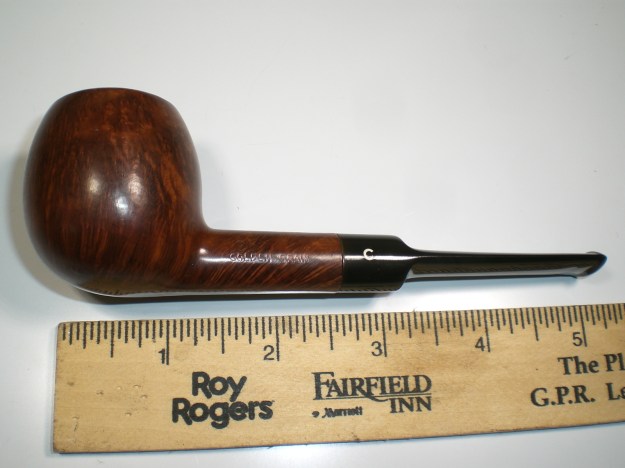
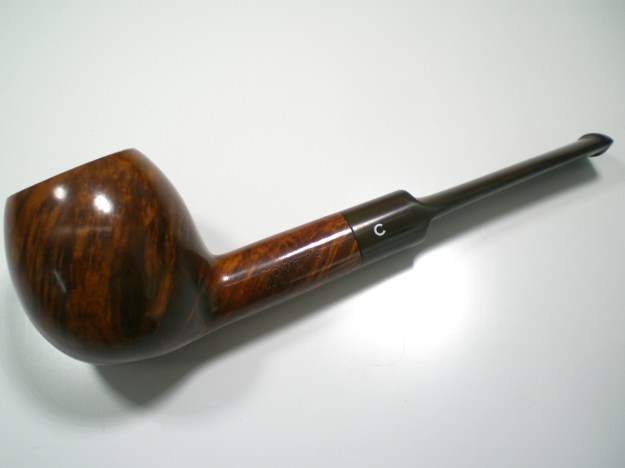
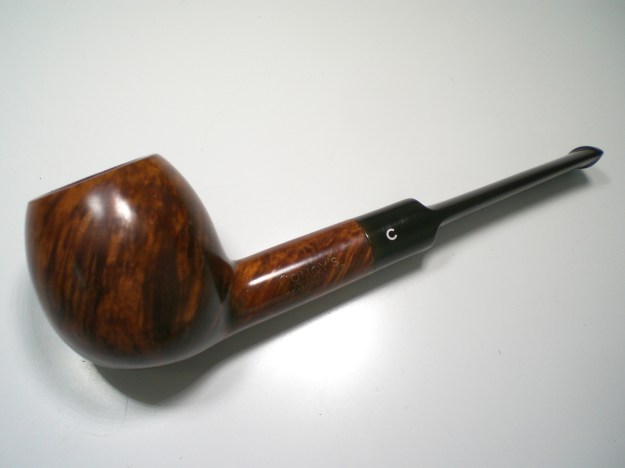
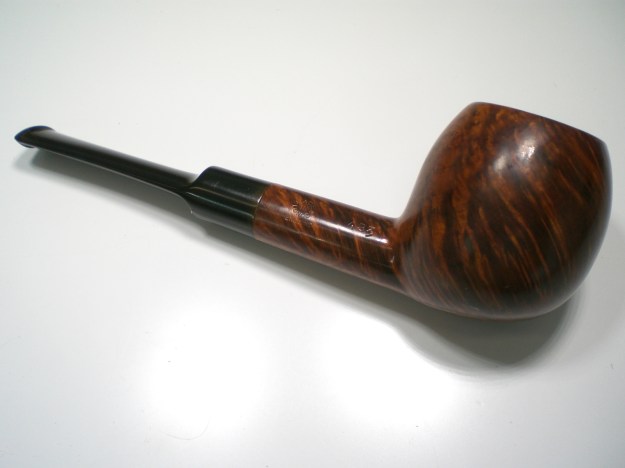
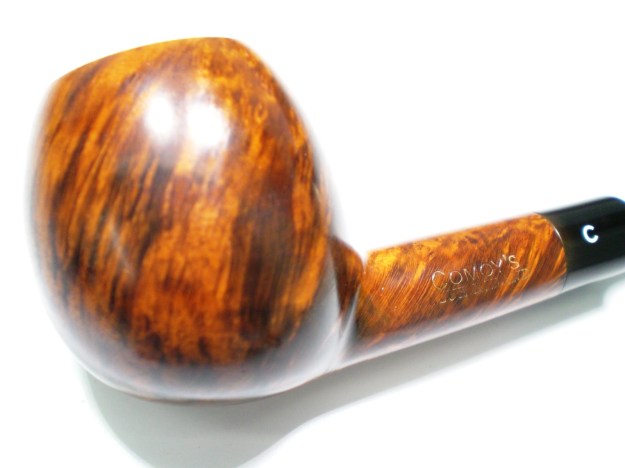
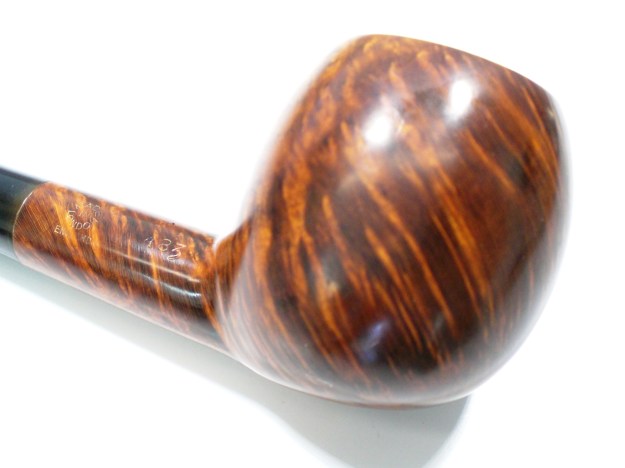
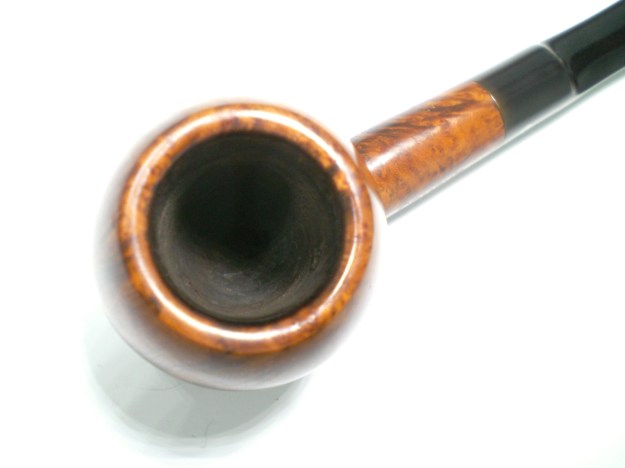
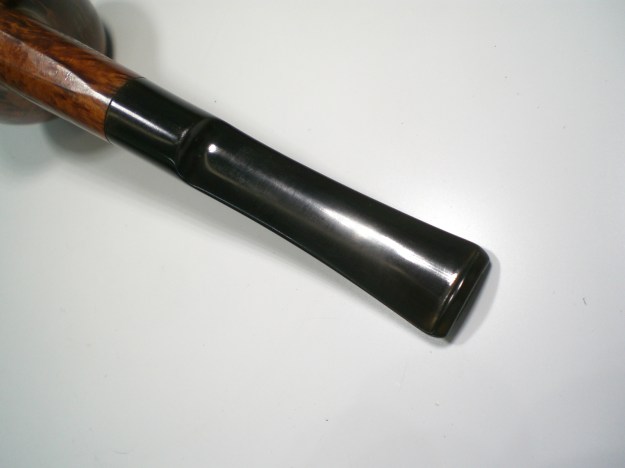
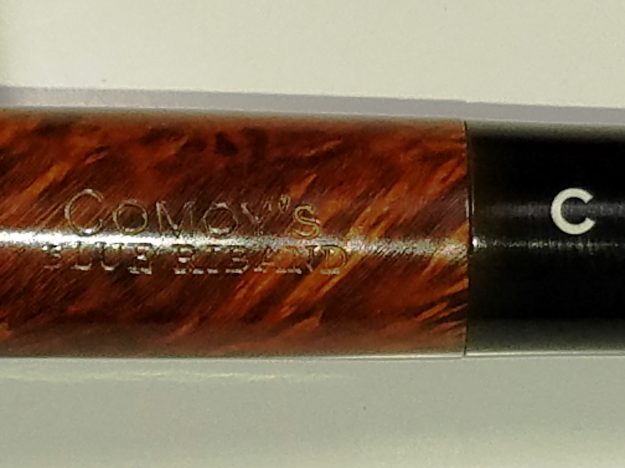
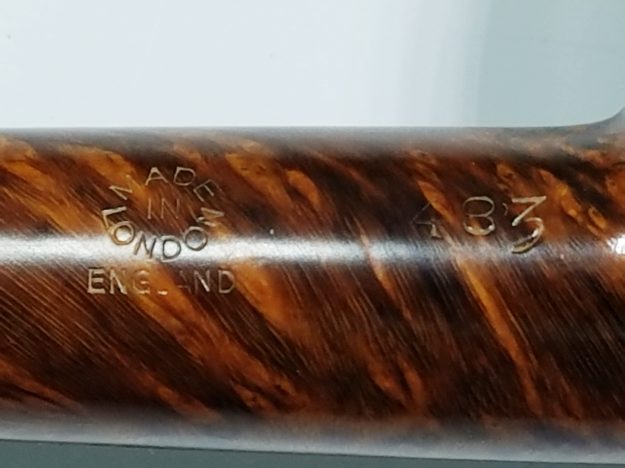
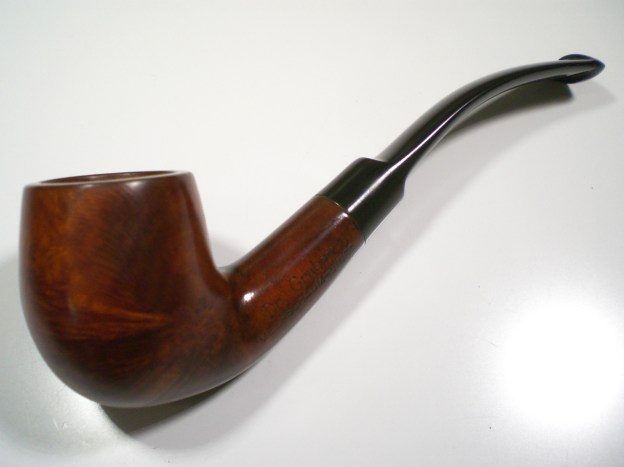
This is the second “Golden Grain” finish Comoy’s to land on my workbench. This one, a shape 483 “Apple” was in very good condition. There was a little build-up on the bowl top and the stem only had mild teeth abrasions.

In searching for information about the Golden Grain finish, I had previously posted the following, from an old eBay ad posted by Tony Soderman (aka Mr. Can).

Exactly when the “GOLDEN GRAIN” was first introduced is not clear, but it became one of COMOY’s most popular lines. By 1977 it was the Company’s third highest grade beneath the “Designer” and “London Pride” and ranked ahead of other favorites including the “Royal Comoy,” “Guildhall,” “Everyman” and so on! The GOLDEN GRAIN was offered as a “new look” with what COMOY called an “antique patina” and later called a “golden hue.” It was advertised as “finished in golden hues to highlight the gorgeous grains in the ‘Classical’ Comoy’s of London tradition.” As you can see, there is some truth to their claim that the GOLDEN GRAIN’s “warm seductive beauty will win your heart.” The GOLDEN GRAIN was dropped from the COMOY line in 1980

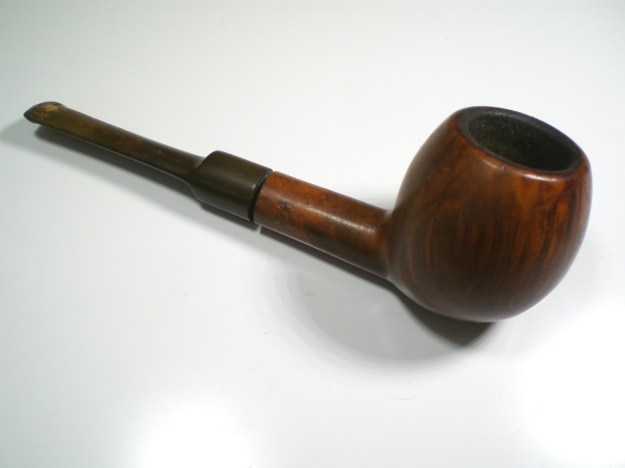
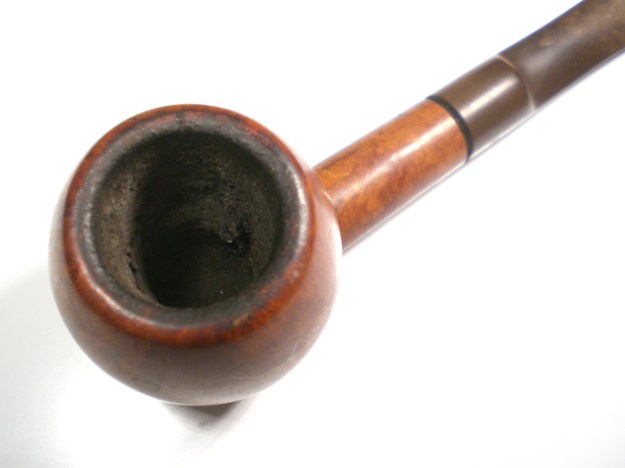
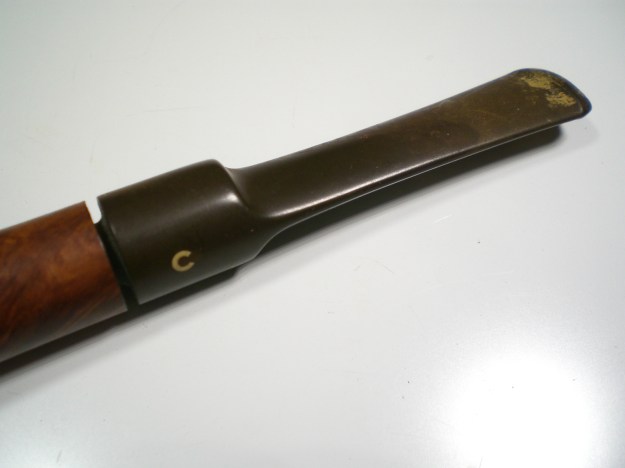
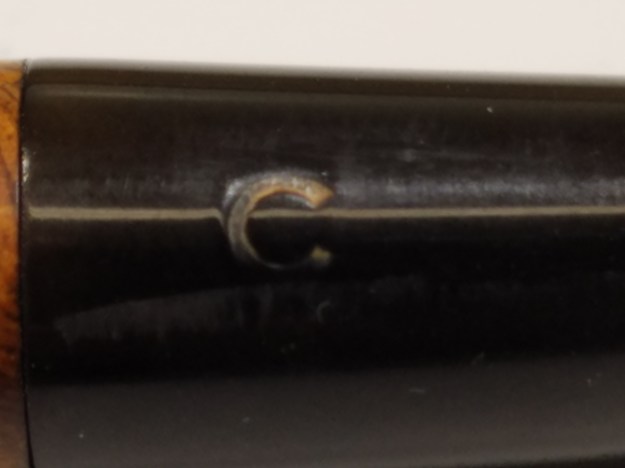
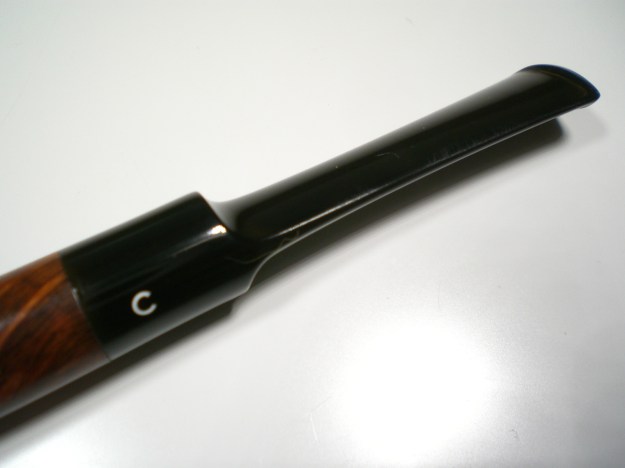
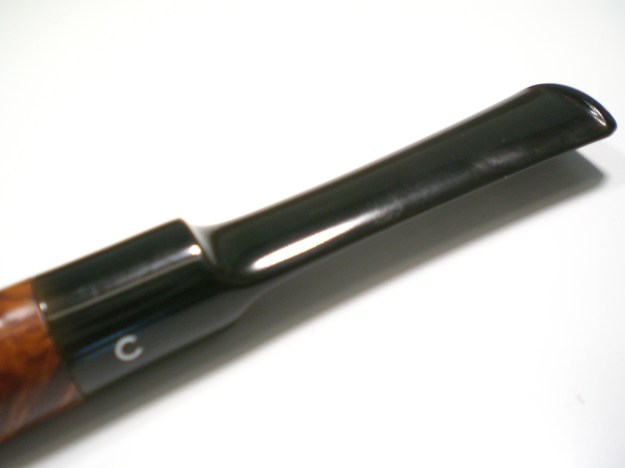
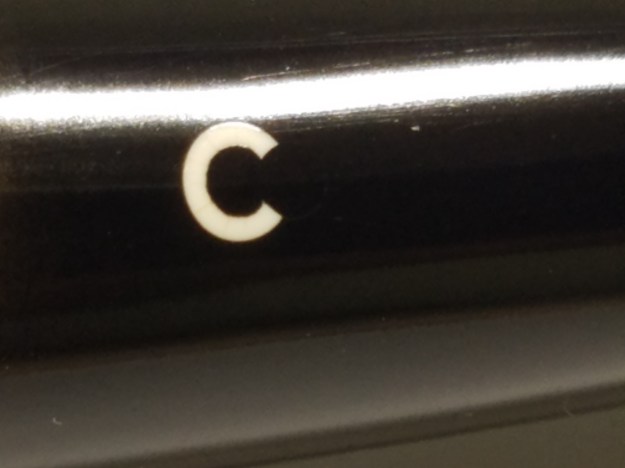
The pipe as received. The stem fitment wasn’t flush, which is typically from build-up in the shank. There was some mild cake in the bowl. The three-piece, drilled “C” stem logo denotes the pipe as being made in the pre-Cadogan era (1946 to 1981).

I used a piece of moistended, worn scotchbrite to remove the build-up on the bowl top. The bowl was reamed and filled with sea salt and alcohol, then left to soak for several hours. While it was soaking, I put a dab of grease on the C stem logo and soaked it in a mild Oxy-Clean solution. Following the soak, thank was cleaned with some soft bristle brushes and paper-towels screwed into the shank. Once the shank was clean, the stem fit properly against the shank.

There were two teeth indentions underneath the button. I removed one with heat, but one remained. The stem was mounted and oxidaition removed first with 800 grit wet paper, followed by 1,500 and 2,000 grades. I sharped up the button crease with the 800 paper wrapped around a flat needle file. Micromesh sheets in 8,000 and 12,000 were used to finish the stem. It was then buffed with White Diamond and Meguiars Plastic polish.

The bowl was polished with White Diamond and several coats of carnuba wax.

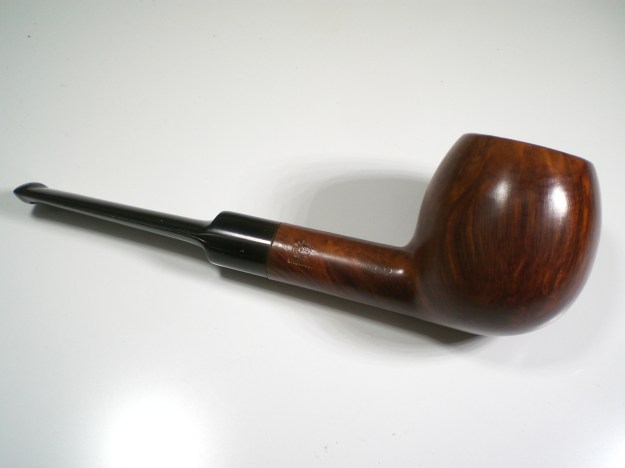
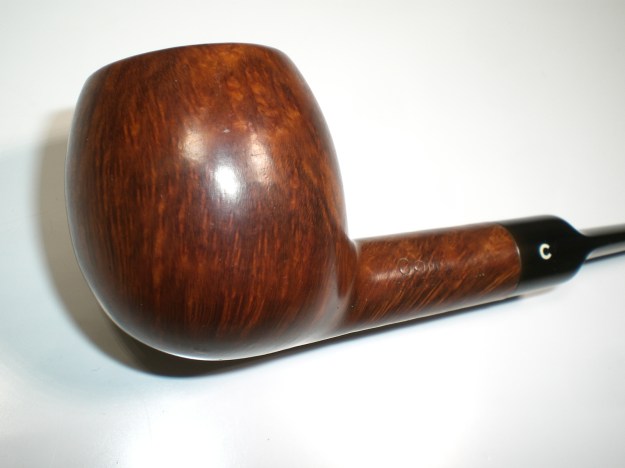
Below is the finished pipe.
Sasieni Windsor Bulldog Restoration (Danzey)


By Al Jones

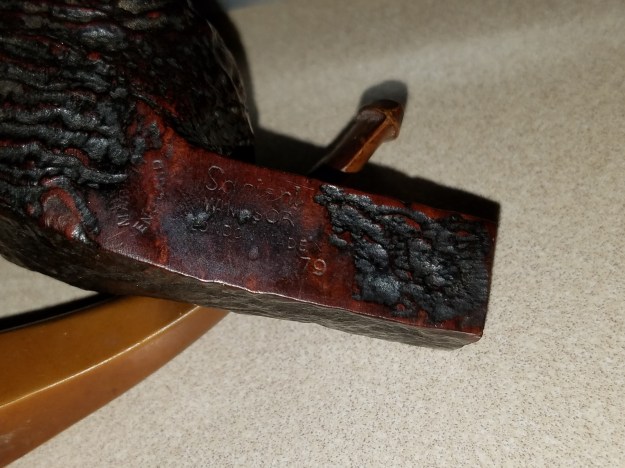
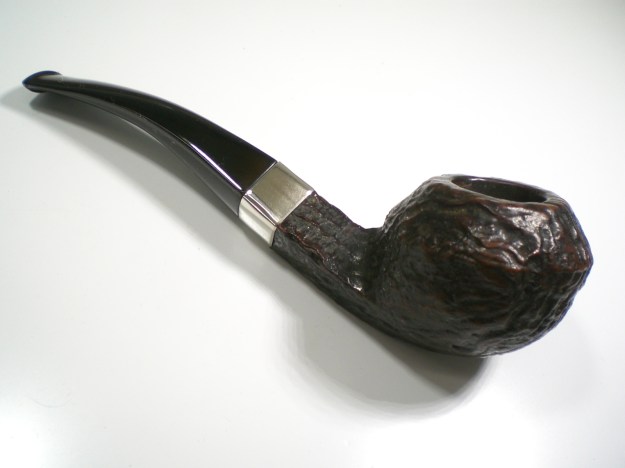
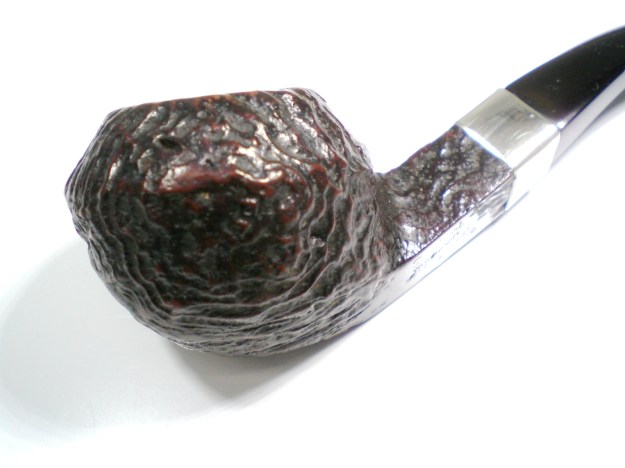
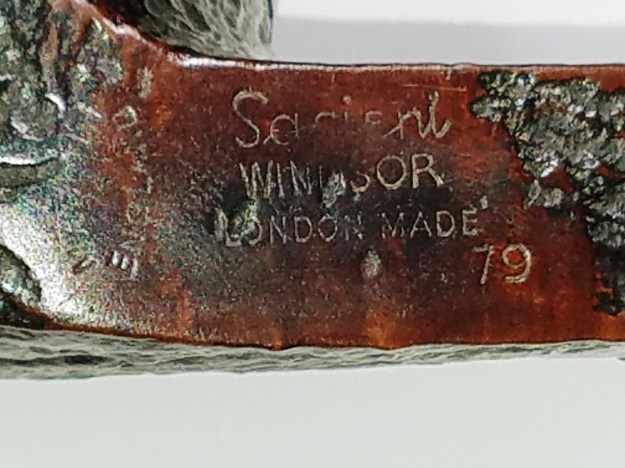
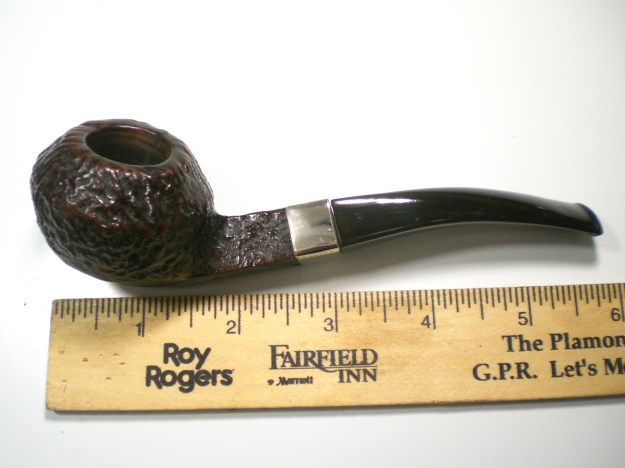
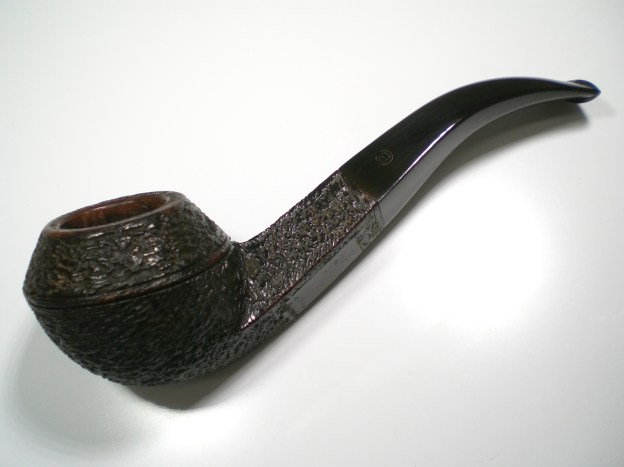
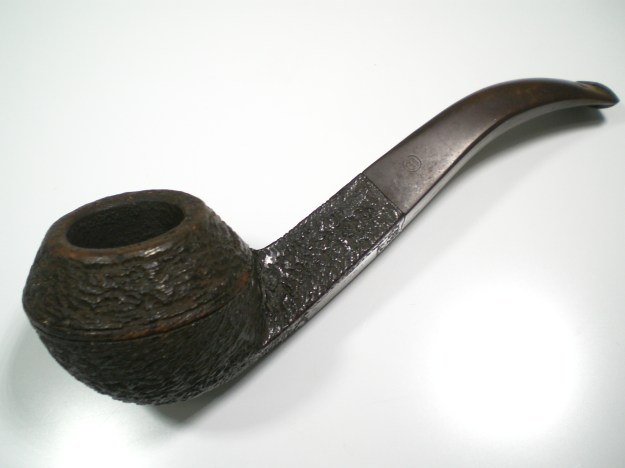
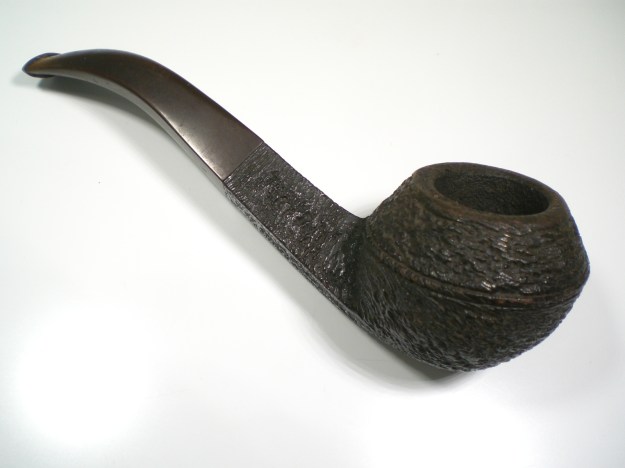
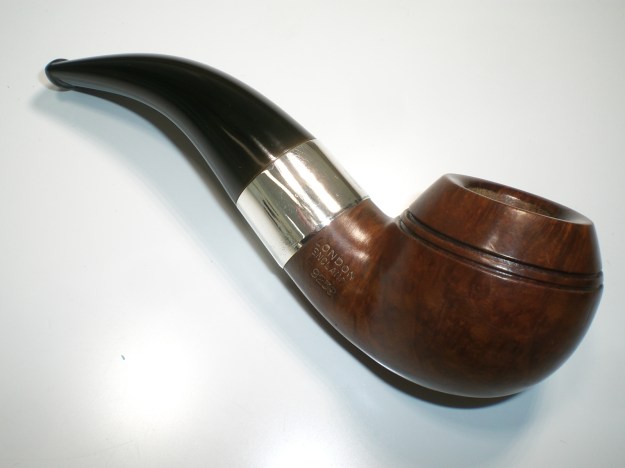
The Windsor is one of Sasieni’s second or sub-brands. I’ve not found any documentaiton of the difference between a second line and a sub-brand but I suspect that pipes stamped “By Sasieni” are second lines. So, I’ll assume the Windsor, which first bears the Sasieni stamp is a sub-brand. These pipes aren’t often as finished as nicely as a first line pipe. This bulldog lacks the bead lines that would be found on a Four Dot in that shape. The pipe is stamped with the shape number 79, which later became the “Danzey” shape when Sasieni began using town names. I’ve found that stems on Sasieni second or sub-brand lines is nearly equal to those used on Four Dot pipes.

The briar had a very rugged finish. I wasn’t sure if it was a sandblast or rustication, perhaps even a mix of the two.  A 1976 Sasieni price list shows the Windsor as a sandblast.

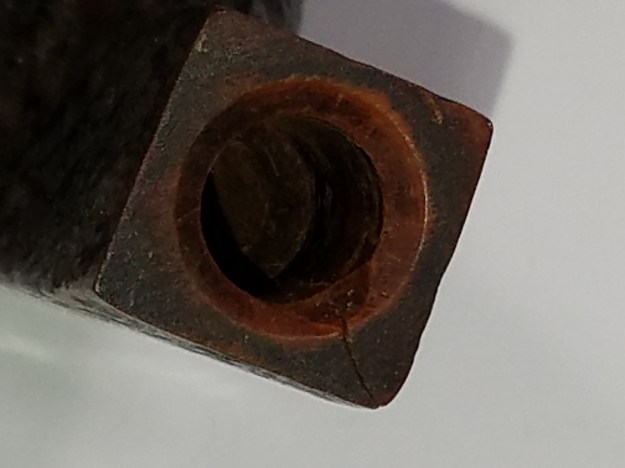
Unfortunately, on delivery, I found that the pipe had a crack in the shank.

The seller offered me a refund and told me to keep the pipe. At first, I was tempted to throw it in a drawer but the rest of it was in such great shape, I decided it was worthy of a nickel band. I never picked up a band kit, so I sent the pipe to Norwood Pipe Repair. Ken said he could use a band that would not obscure any of the nomenclature. Norwood is always does a fast turn around and the pipe was repaired and sent out a day later. Once banded, the stem/tenon fitment was nice and snug.

Once I had the bowl back, I reamed the cake and soaked the bowl with alcohol and sea salt. Norwood had removed the oxidation on the stem and polished it to a nice shine. I always like to put my own finish on an estate stem, so it was finished with 800, 1,500 and 2,000 grade wet paper. Followed by 8,000 and 12,000 micromesh sheets. The stem was then buffed with White Diamond and Meguiars Plastic Polish.

I hand polished the bowl with Halycon wax.

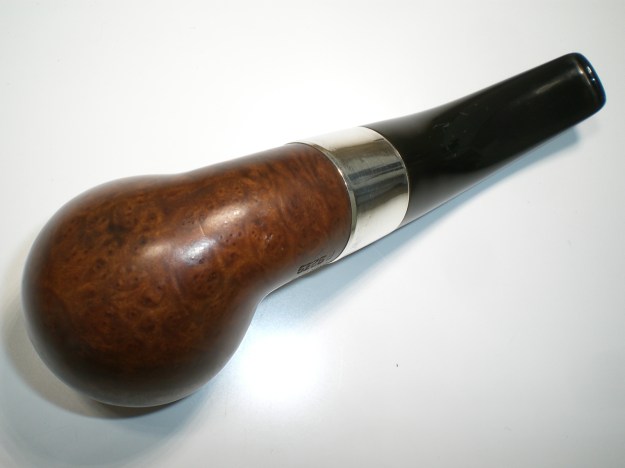
Below is the finished pipe.
?

GBD 9242 Restoration


By Al Jones

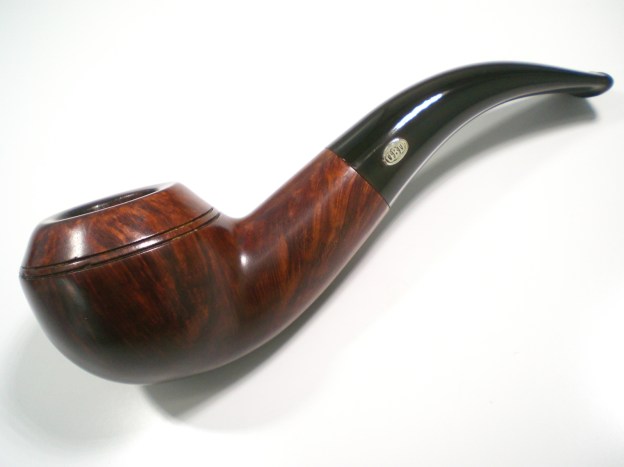
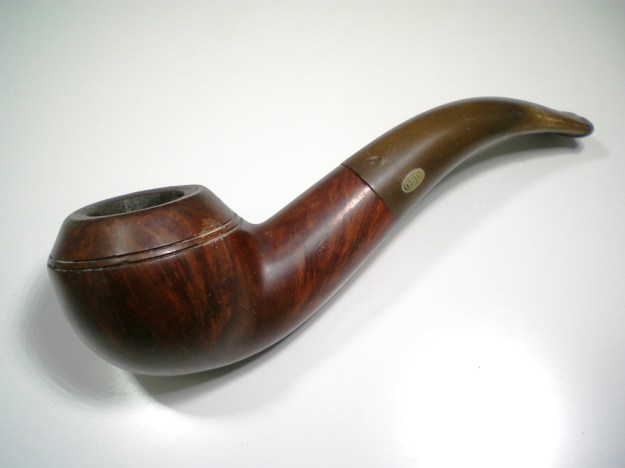
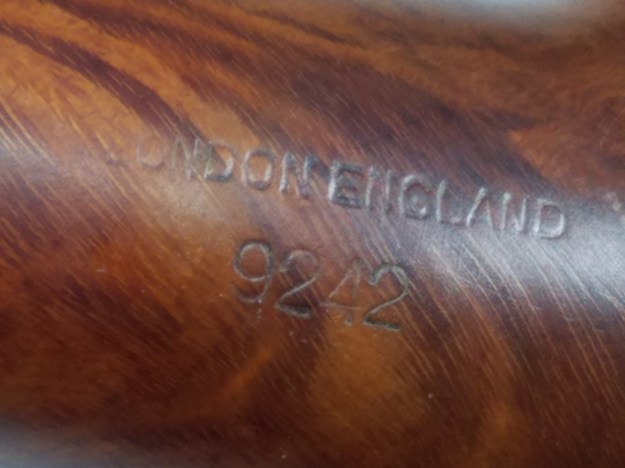
For many fans of the GBD marque, the shape 9242, a chubby Rhodesian is at the top of their wish list. As such, I can never resist them on the rare occasion where they pop up on Ebay. I estimate that 150 or so of the shape 9438 (saddle stem Rhodesian) is sold for every one shape 9242. This one was going to take some attention, but seemed solid from the sellers pictures. The pipe had the brass rondell and straight line, “London, England” stamp making if from the pre-Cadogan era (prior to 1982).

There were some darkening marks on the rim top but the bowl was solid. The stem was oxidized, with one tooth nick on the button but also otherwise, in good shape.

I reamed the cake from the bowl and soaked it with sea-salt and alcohol. The stem was soaked in a mild Oxy-clean solution with a dab of grease on the brass rondell.

I used worn pieces of 6,000 and 8,000 grit sheets of micromesh to remove the bowl top build-up and reduce the darkening. There were several small handling dings around the bowl, which were lifted with an electric iron and a wet cloth. The bowl was buffed with White diamond and several coats of Carnuba wax.

The stem had some light tooth dents, which lifted nicely with some heat from a lighter flame. One nick on the button remains. The tenon was slightly tweaked, as you can see from the initial photos, leaving a gap. I warmed the tenon carefully with a heat gun and quickly inserted it into the shank. This allowed it to go back to the flush position. Once cooled, the stem can be removed and the set takes.

The stem was re-mounted and I used 800 grit paper to remove the layer of oxidation. The stem was then polished with 1,500 and 2,000 grit wet paper, followed by 8,000 and 12,000 micromesh sheets. The stem was buffed with White Diamond and Meguiars Plastic polish. Last night, when I showed the pipe to my local Pipe Club members (Frederick MD Pipe Club), one asked me how I shine the brass rondell. My answer: “I don’t”. I stay away from the rondell when using any abrasive products and work as close to it as I can by hand. I don’t think the Megiuars Plastic Polish is abrasive enough to do any damage, so I let that get worked in close. The stem looks brilliant and I’m very pleased with this result.

Below is the finished pipe. I have another 9242 New Standard, so this one will most likely be re-sold at a later date.

Berkley Club Bulldog Restoration (Sasieni 2nd)


By Al Jones

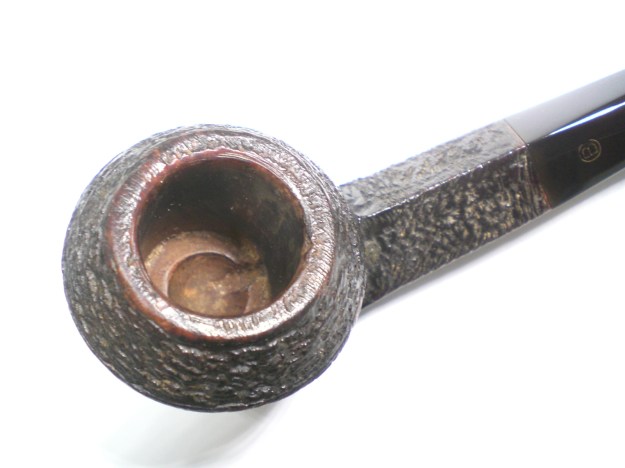
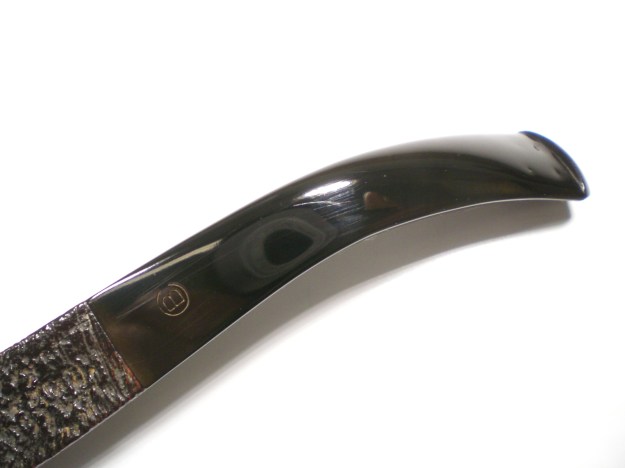
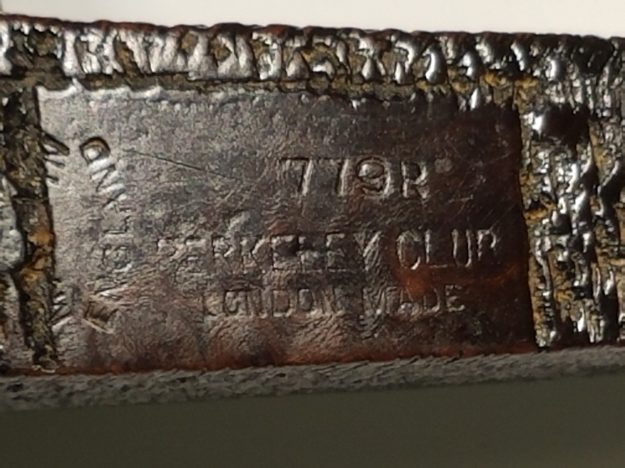
A member of the PipesMagazine.com forum contacted me after spotting this bulldog on Ebay. He wondered if it was a Sasieni 2nd. There is a long list of Sasieni second line pipes, but I could tell from the football shaped COM (Country of Manufacture) stamp that it was made by Sasieni. The pipe is stamped with the shape number 779R, as are most Sasieni second line pipes (Sashar, etc.). I wonder what the R signified? A thread on the PipesMagazine.com forum indeed showed that the Berkley Club was indeed a Sasieni second.  This shape would have been the “Danzey” shape, 79, if it were a Sasieni.    There is a small flaw near the shank/bowl junction that was filled.  I suspect this rendered the pipe to be a second line offering.

Sasieni Seconds Thread – PipesMagazine.com

From the Ebay listing, the pipe appeared to be in good condition. I love restoring these kind of British oddities, so I volunteered to restore the pipe. When it arrived at my home, I could see that he made a good decision in buying the pipe, it was great shape. The briar stain was faded and the stem oxidized with some teeth indentions.

Curiously, the bowl has a very uniform well drilled into the bottom and the stem included an aluminum straw/stinger. I’ve not yet encountered a pipe bowl with this feature.

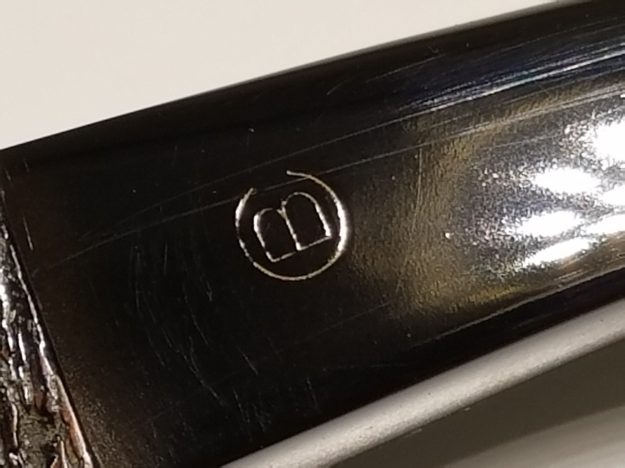
The stem bore a faint “B” stamp and I wasn’t sure that could be salvaged.

There was very little cake in the bowl, so I used a piece of 320 grit sandpaper to remove the minimal residue. The shank was completely clogged with debris, which I removed with the drill bit from my Senor reamer. The bowl was soaked with alcohol and sea salt. I soaked the stem in a mild solution of Oxy-Clean.

I wiped on a coat of Fieblings Medium Brown stain to freshen the briar, then hand waxed it with Halycon Wax.

Following the bowl soak, the shank was cleaned with a soft bristle brush. I used a lighter to bring up some of the tooth indentions. The initial layer of oxidation was removed with 800 grit paper, followed by 1,500 and 2,000 grades. Next up was 8,000 and 12,000 grade micromesh sheets. The stem was buffed with White Diamond and then Meguiars Plastic polish. Most of the teeth indentions were removed. I was able to save the fragile appearing “B” stem logo

Below is the finished pipe.

1933 Parker Super Bruyere Lovat


By Al Jones

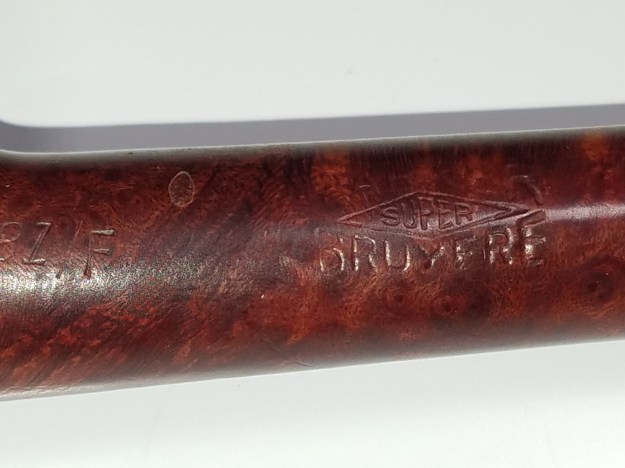
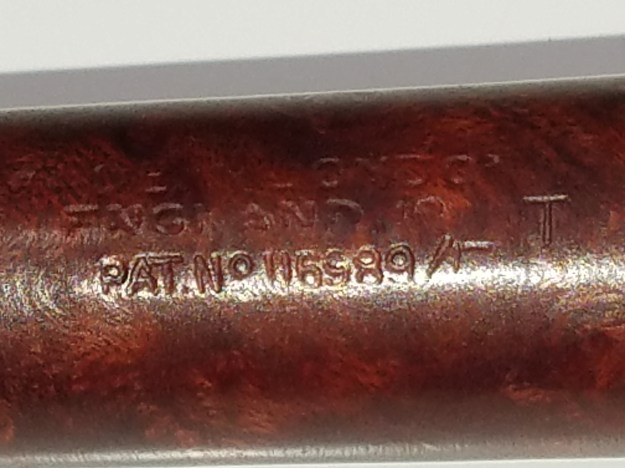
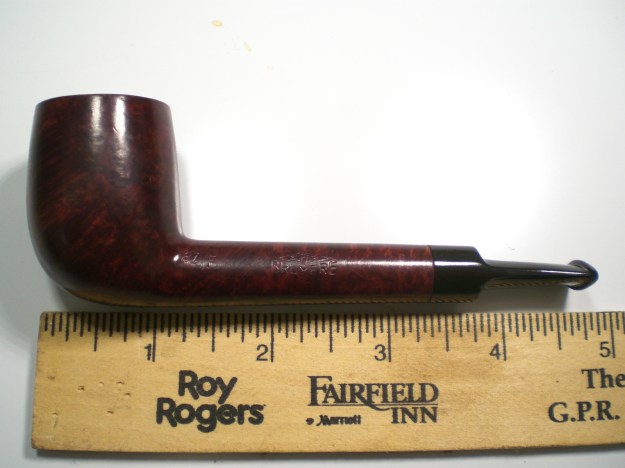
This beautiful little lovat was a gift from my friend, Dave Jacobson which he found at the recent Kansas City Pipe show. I’ve restored a few Parkers over the years, but I wasn’t immediately familiar with the nomenclature and dating process. This one has a Patent number, which I knew could be used to date the pipe and that it was most likely pretty old. Reviewing the Pipedia article on the brand, I determined that because of the “10” near COM stamp that the pipe was made in 1933. The pipe was in such solid shape on all accounts, I still have a hard time believing it is 84 years old! A member of the PipesMagazine forum and frequent contributor to the British Pipes section there confirmed the date.

Below is the pipe as I received it from Dave. It had some plier type marks on the stem, some small teeth indentions under the button and a heavy cake buildup. The shank was completely blocked, requiring the drill piece from a Senor reamer to clear the draft passage. But it certainly looked to be a simple restoration.

I used my Pipenet reamer to remove the thick layer of cake, finishing with a piece of 320 grade paper wrapped around a smaller sized bit. The bowl is in fantastic condition and despite the pipes diminutive size, it had very thick walls. I soaked the bowl with sea salt and alchol.

Following the soak, the stem was mounted. I was able to remove most of the tool-type marks with some 800 grit wet paper, without altering the profile of the stem. The tooth indentions lifted slightly, but they were so shallow, I left well enough alone. Oxidation was removed with 800, 1,500 and 2,000 grit wet paper, followed by 8,000 and 12,000 micromesh sheets. A worn piece of 2,000 grit wet paper removed most of the rim top darkening without breaking the stain. The stem was then buffed with White Diamond and Meguiars Plastic Polish.

This is the first Lovat shape in my collection. I’ve worked on a number of British lovats over the past few years, but to this point, all of them have been too large for my tastes, so they were resold or traded. This little gem is only 21 grams, so it is a keeper. Thanks for thinking of me Dave Jacobson!

A Trio of Blue Ribands


By Al Jones

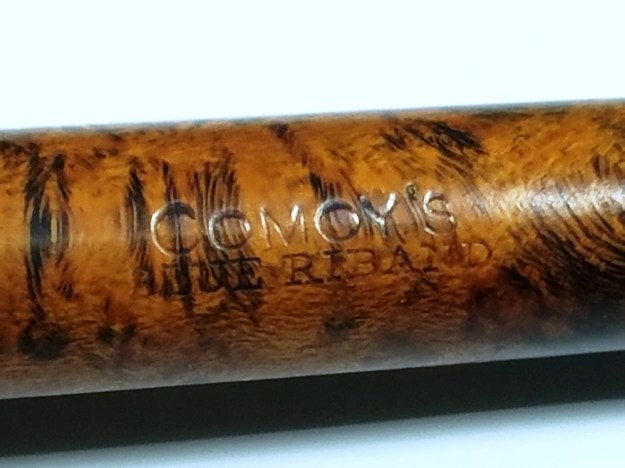
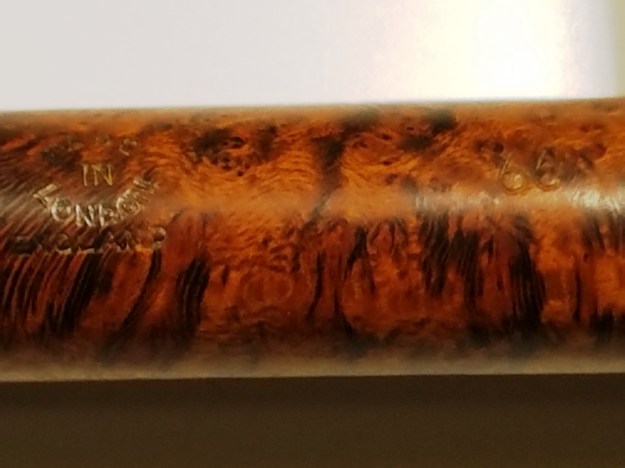
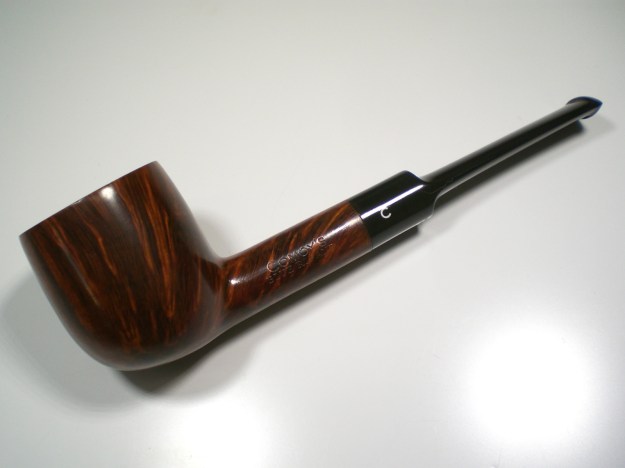
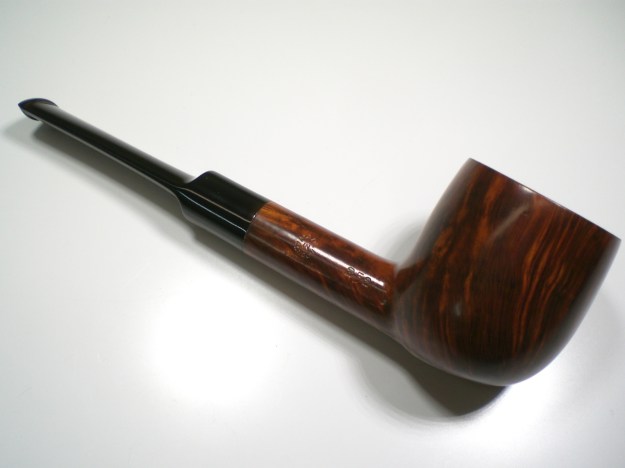
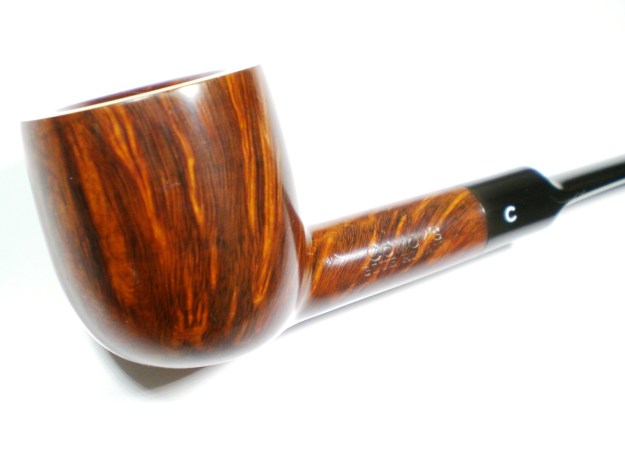
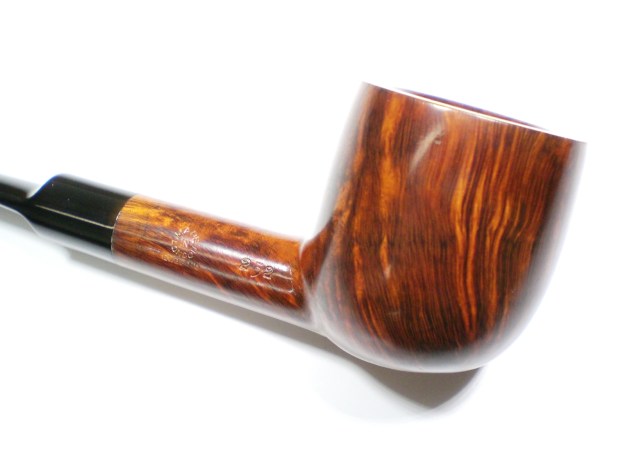
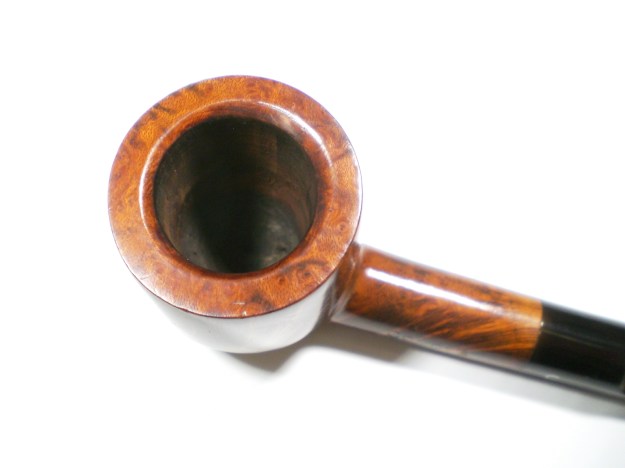
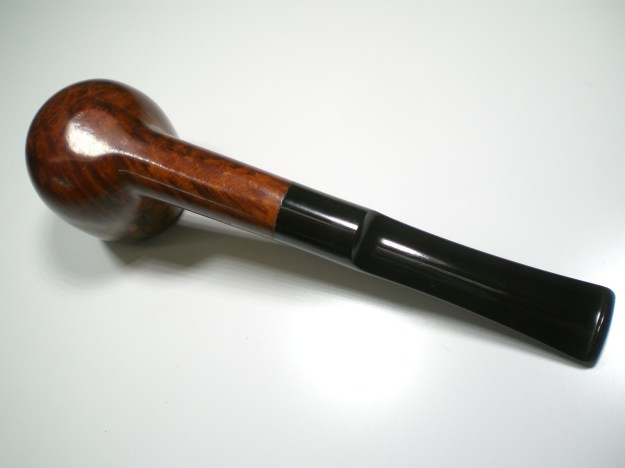
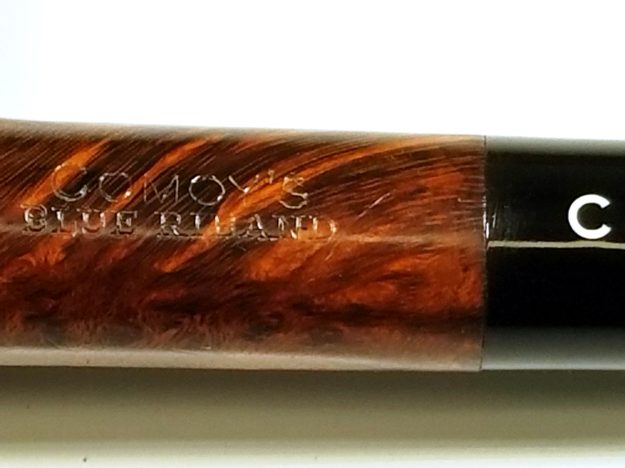
Any collector and enthusiast of Comoy’s pipes knows that that the Blue Riband grade is one of the finest made by that storied maker. I own a number of Comoy’s pipes and have restored several dozen in the past few years. But to this point, I’d only seen the fabled Blue Riband on internet forums and never held one for myself. The trio here belong to my friend Dave Jacobson and were found at the recent Kansas City pipe show. I was thrilled for the opportunity to restore them. “Restore” might be a bit strong as all three were in very good condition. The seller (or someone else) had cleaned them and polished the stems but there was some rim build-up on one pipe and all three had a stubborn layer of oxidation on the stem. The trio included a Shape 252, a “Medium Pot”; Shape 66, a “Large Liverpool”; and the Shape 483, “Large Apple”. All three bear the same, round “Made in London, England” stamp used from the late 1940’s to the merger in 1981.

Shape 252

Shape 483

Shape 66

I polished all three stems starting with 800 grit wet paper, followed by 1,500 and 2,000 grades. 8,000 and 12,000 micromesh sheets were used next, followed by a machine polish using White Diamond and Meguiars Plastic Polish.

The briar was polished with White Diamond and several coats of Carnuba wax, while being careful to stay away from the very good nomenclature.

The Shape 66 had an odd stem logo and I determined that the stem was a replacement. The “C” was stamped and not of the drilled, 3 piece logo found on the other two. The tenon was also slightly different and it did not include the stainless tenon insert. Fortunately, the replacement stem is of a very high quality. This pipe was the most worn of the trio. Assuming they belonged to the same pipeman, this one might have been his favorite. He chose well on the repairman for the the replacement stem and it should be equally as comfortable as the stems on the other two. This one has a bit of bowl-top build-up which I removed with a worn piece of scotch brite and 2,000 grade wet paper.

Here is the metal supported tenon found on the other pipes.

I used some white acrylic paint to brighten the stamped “C” logo. The stamp was a bit shallow, but it did improve the appearance. That finished pipe is below

Here is the finished Shape 252.

And finally, the Shape 483.

Dr. Grabow Meerschaum Lined Project


By Al Jones

Recently a member of PipesMagazine.com forum started a contest for the best restoration of a Dr. Grabow pipe. The rules were simple:

Rules:
cost of the pipe $10 or less,
Must have Original stems with spade
Show before and after pics.
The more hideous you start with the better.

You can view the member entries at this thread:
“What’s Under That Grabow” Contest

Before and after photos can be viewed at the link below. Members can vote for the best restoration, on October 15th.
Before and After Contest Photos

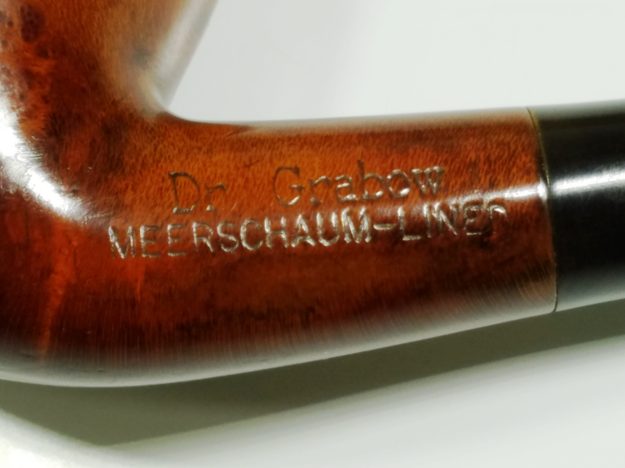
I’ve been very busy lately and we are leaving for New Orleans in a few days, so I decided that there was no time for me to acquire and finish and entry. But, I stopped by a small antique shop near my Maryland work travel on Friday and low and behold, I found this Dr. Grabow for $8. It was a Meerschaum Lined model, and unfortunately, didn’t have the Spade logo as required in the contest rules. Member Dave G messaged me that Meerschaum Lined pipes were made in Italy, and did not have the Spade logo, so that was the original stem. I checked with the contest organizer and he let me in on a technicality!

Since this was my first meerschaum lined pipe restoration, of course I checked on pipes completed by Steve. He had completed a Dr. Grabow Meerscaum Lined pipe, where I confirmed that the model was indeed made in Italy. Steve adds the folowing from his blog entry:

Originally imported from M. Gasparini in Italy for Grabow. Sparta finally figured out how to do them and only imported the “plugs”. Early Grabow Meerschaum lined pipes were stamped Italy with no spade. After 1989 Dr. Grabow got rid of Italy and added the spade.” So, my sense of it being Italian was correct. It also dates this pipe as pre-1989.

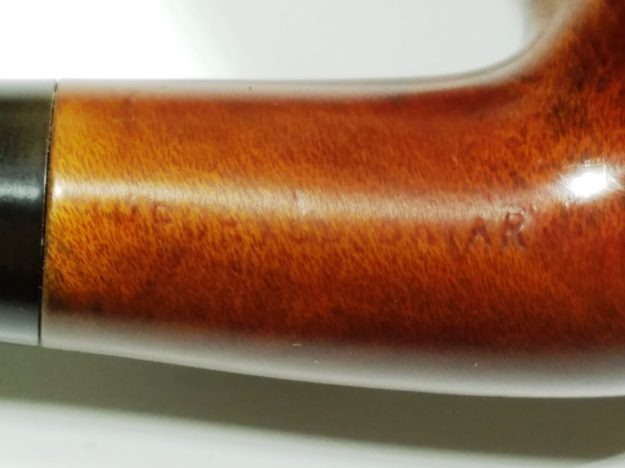
Indeed, the bottom of the stem, near the shank does have a faint “Italy stamp.

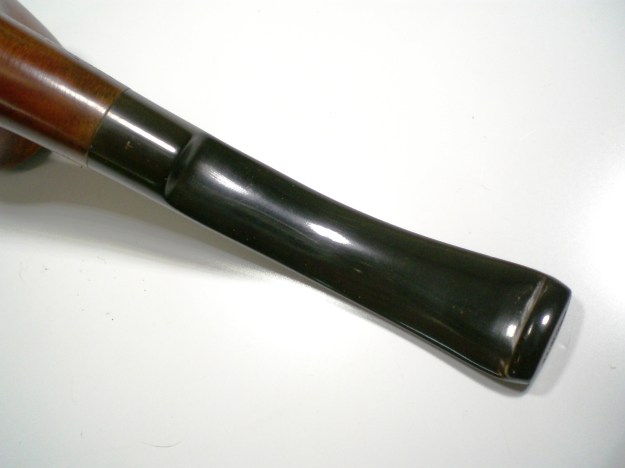
Below is the pipe as it was found. Rebuilding the chewed button was going to be the biggest challenge. There was one small fill on the front of the bowl.

Unfortunately, when I tried to begin removing the cake, I found that the meerschaum lining was broken in numerous places and crumbling. I decided to just remove the lining. For now, this is just a styling exercise. Later, when I have more time, I’ll look into rebuilding the meerschaum lining. This made the restoration of the briar a bit simpler. I used aclohol and super-fine steel wool to strip the finish. I topped the bowl slightly with 320 grit paper, then up to 1500 grit. I put some superglue in the fill and sanded it flush. The bowl was stained with Medium Brown stain, set with a flame. The bowl was then buffed with White Diamond and several coats of Carnuba wax.

I used black superglue to rebuild the button. The build-up was shaped with a small file. I removed the oxidation with 400 and 800 grit paper, which was also used to finish the button shaping. The stem was then finished with 800, 1,500 and 2,000 grit wet paper. It was then buffed with White Diamond and then Meguiars Plastic Polish.

Below is the finished pipe.

Comoy’s Pebble Grain Billiard Restoration


By Al Jones

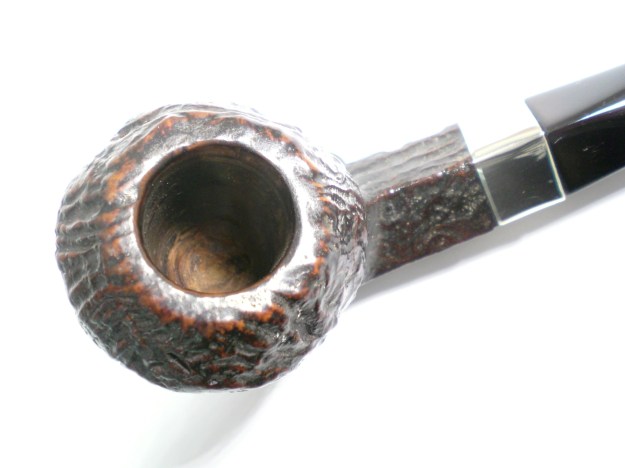
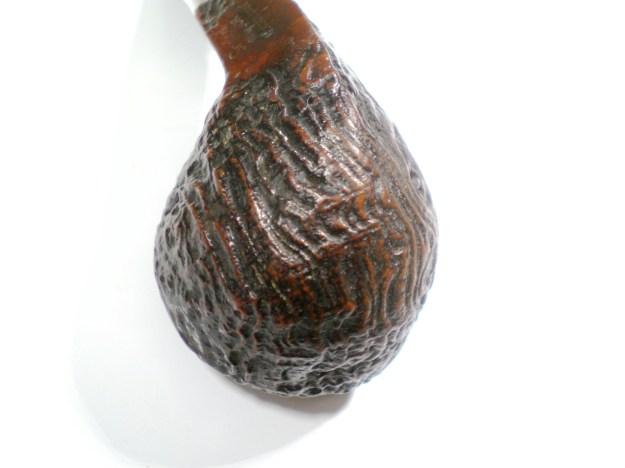
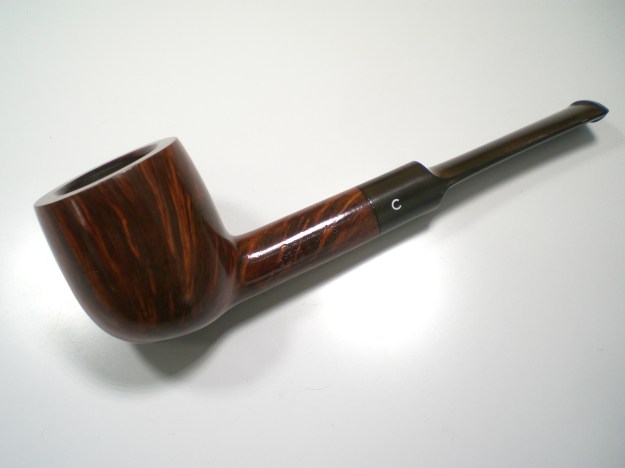
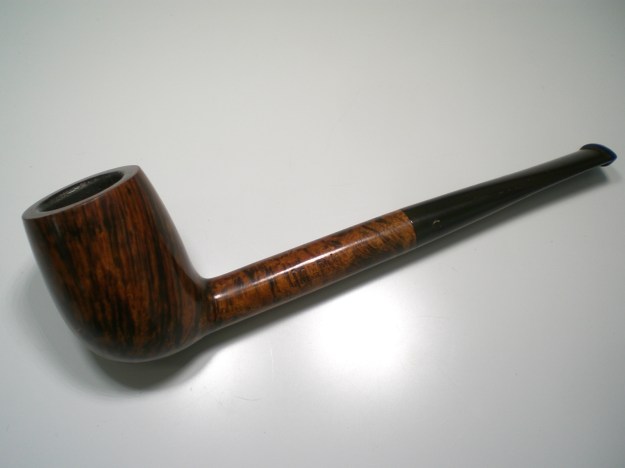
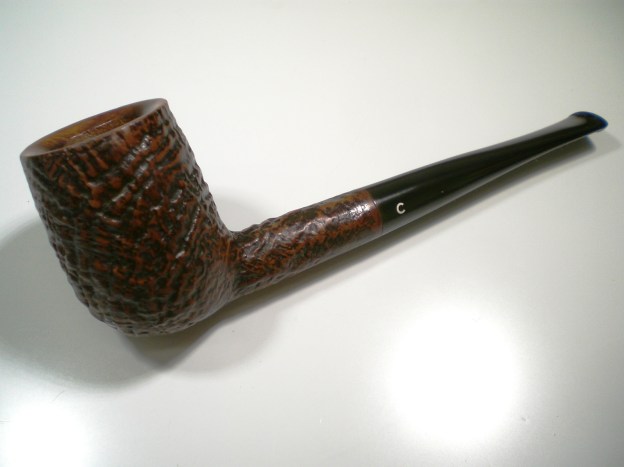
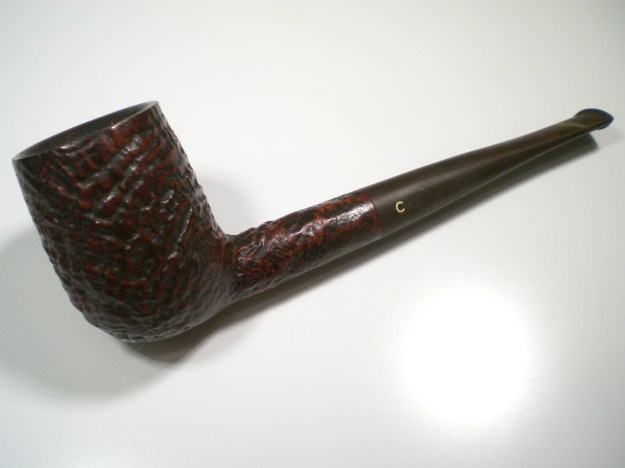
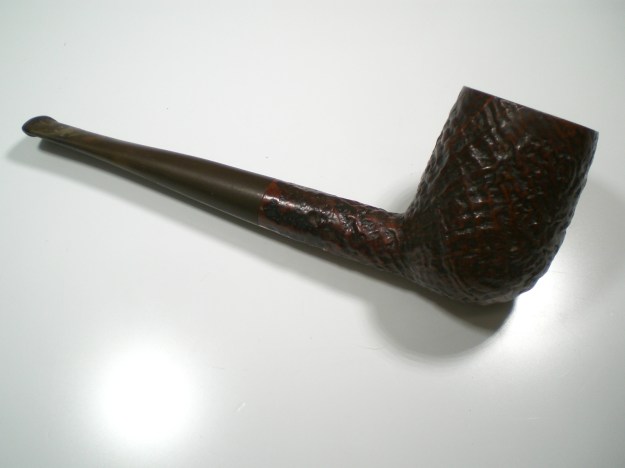
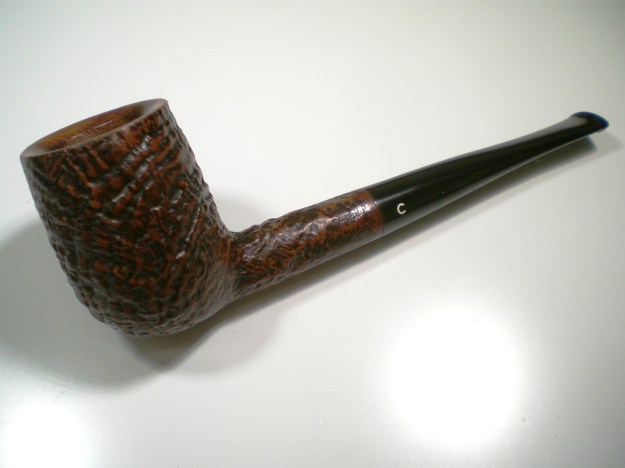
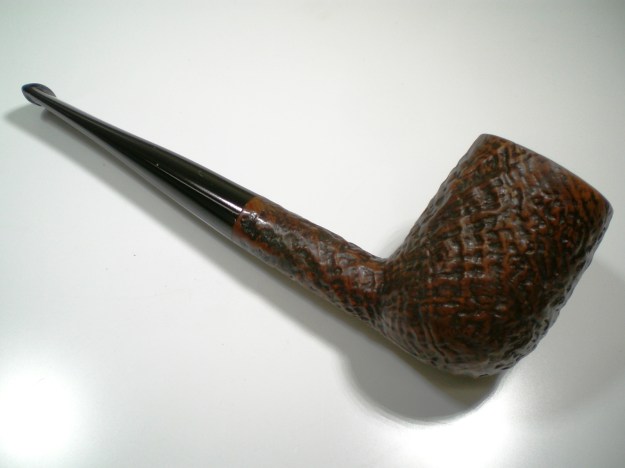
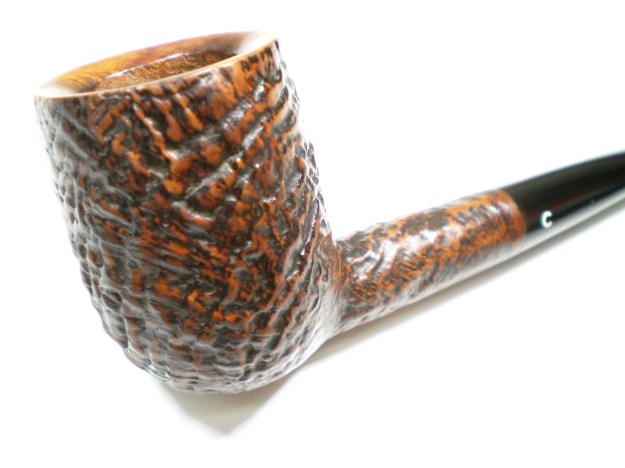
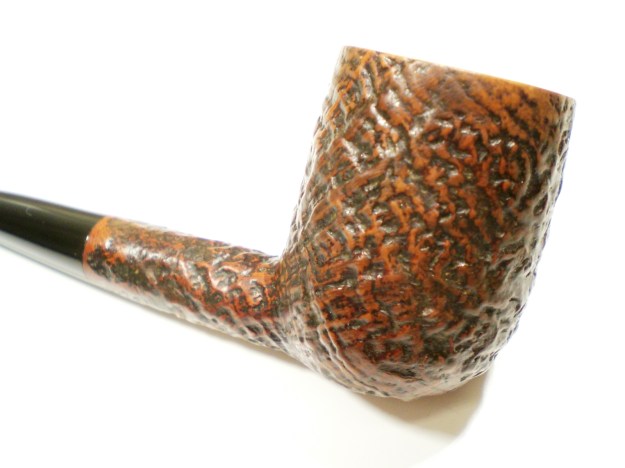
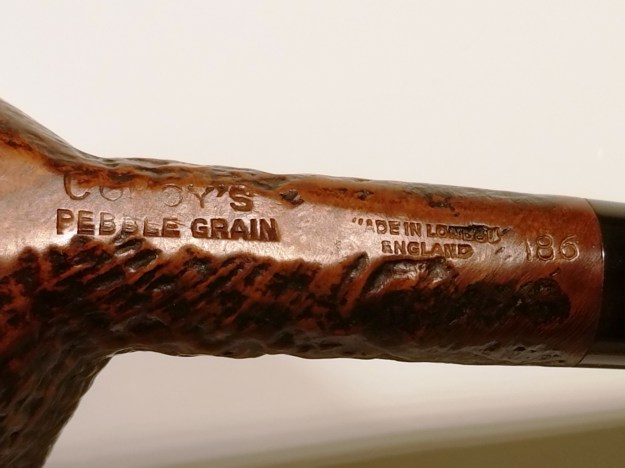
The Comoy’s “Pebble Grain” line was introduced in the 1970’s, and to my eye, is similar to the “Granitan” line from GBD. The finish is sandblasted and buffed down to give it a “worn” appearance, and perhaps a bit like stonewashed denim. This one is the shape 186, a classic straight billiard. It is described on a 1975 shape chart as “Largest Billiard – Tapered Stem”. The pipe sports the drilled, three piece, “C” stem logo of the pre-Cadogan era (prior to 1981). Another feature of the Pebble Grain line is the beveled, polished bowl top, which I find particularly appealing. Despite the size of the pipe, it only weighs 35 grams.

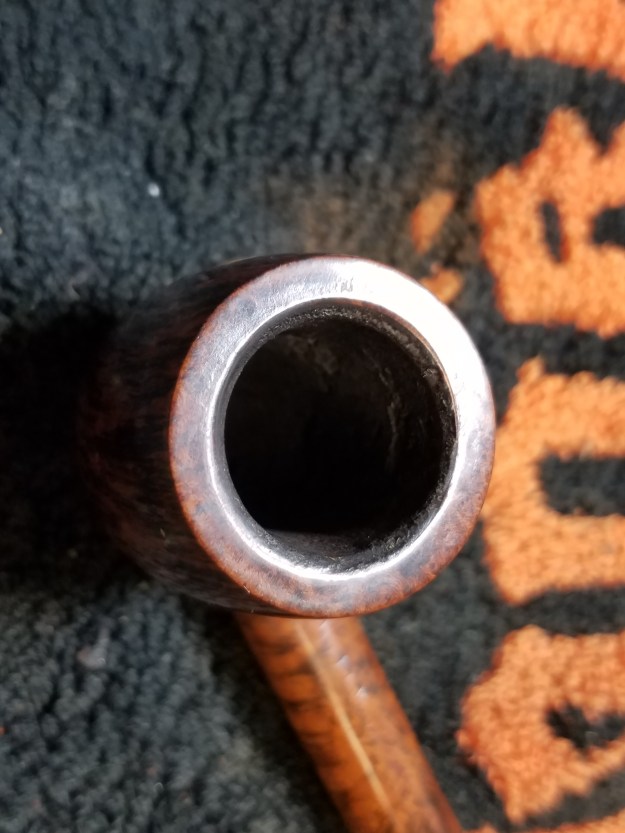
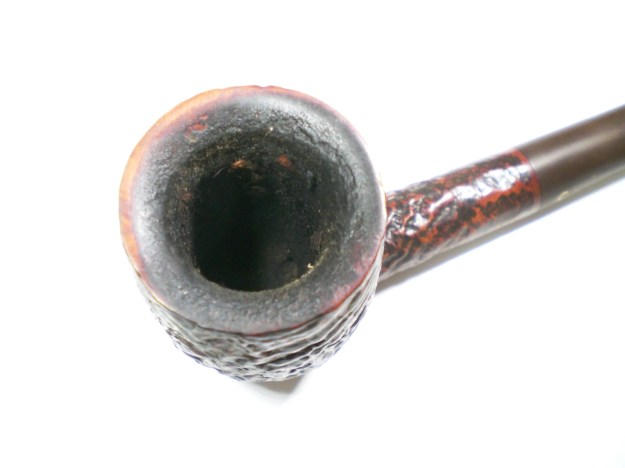
From the sellers photos, the pipe appeared to need only a minor clean-up. There was some build-up on the polished top and the stem was mildly oxidized with one small tooth mark.

Using heat from a lighter flame, I was able to lift the tooth dent, but only slightly. I put a dab of grease on the “C” soaked the stem in a mild Oxy-clean solution for several hours. While the stem was soaking, I turned my attention to the bowl. Using a worn piece of scotch-brite, I was able to remove all of the build-up on the polished bowl top. A piece of 2,000 grit wet paper removed most of the darkening that remained, without damaging the stain. I removed the mild cake with my Pipenet reamer set. The bowl was then filled with sea salt and alcohol to soak overnight.

Following the bowl soak, the polished top was buffed with White Diamond and several coats of Carnuba wax. The shank was cleaned and stem mounted. I attempted to fill the small tooth indention with black superglue, but it was too shallow to adhere well, so I left well-enough alone. I removed the heavy layer of oxidation with 800 grit wet paper, followed by 1,5000 and 2,000 grade paper. This was followed by 8,000 and 12,000 grade micromesh sheets. The stem was buffed with White Diamond rouge and Meguiars Plastic Polish. The bowl was hand polished with Halycon wax.

Below is the finished pipe.
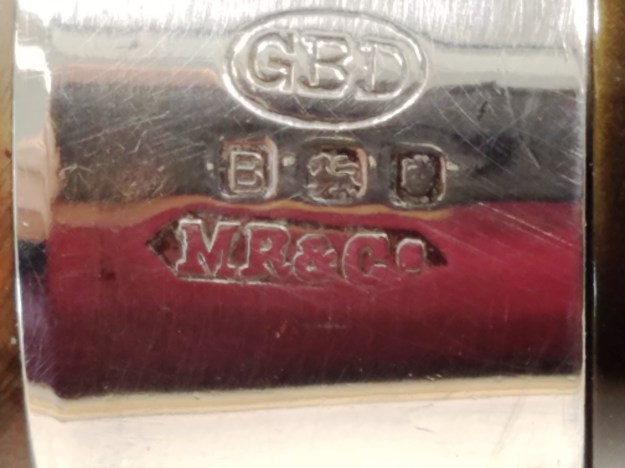
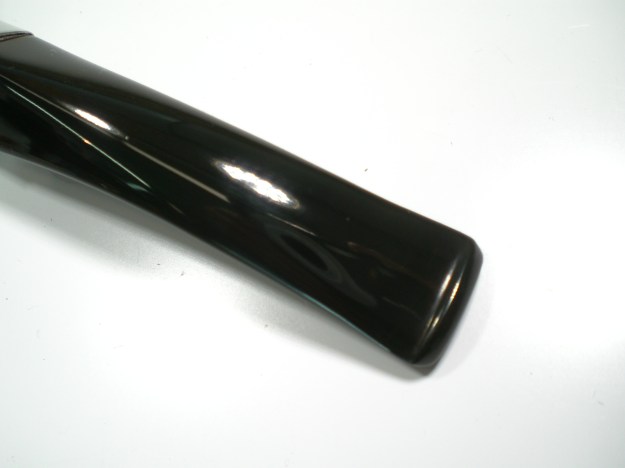
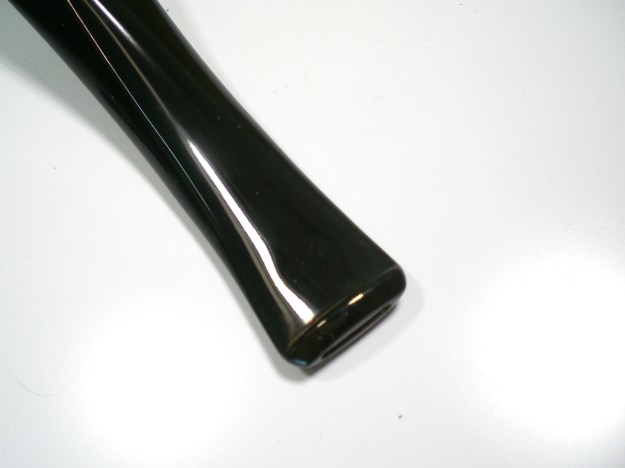
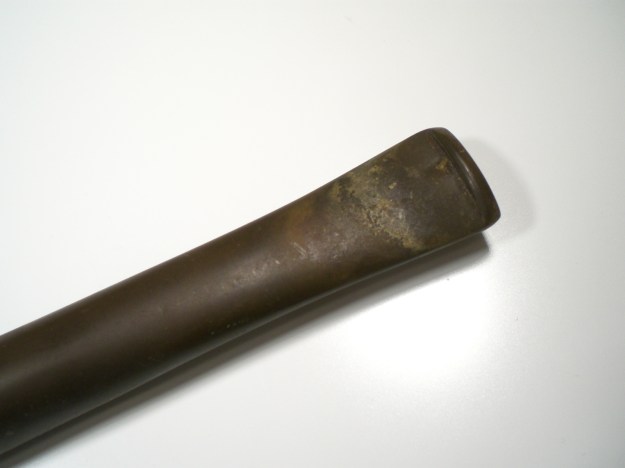
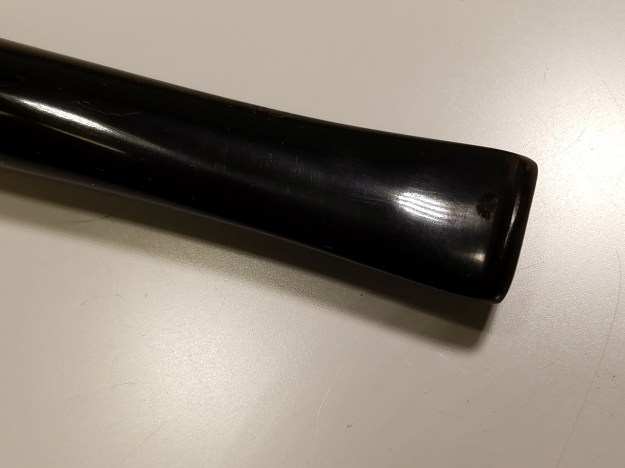
Update:  After a few days, I was unhappy with the way the tooth indention looked.  I had been using a very old bottle of the Stew-Mac superglue and it definitely wasn’t as viscous as when it was new.  I opened up a new bottle and it worked 100% better.  So, if you have really old glue, my bottle was at least six years old, it might be time for an update.

Below is an updated stem picture.  The patch on the indention is now flush and it has only a slightly different sheen than the vulcanite.

Comoy's_186_Pebble_Grain_Finish6