by Steve Laug
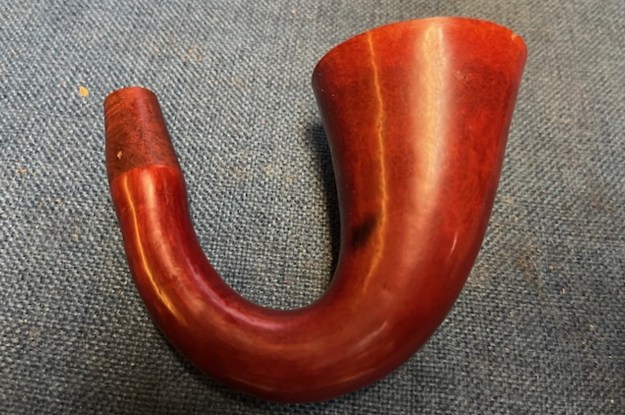
One of the things I enjoy doing is putting together varied and assorted pipe parts and crafting a pipe. Sometime the pieces are sitting here for a long time waiting for either the inspiration or the proper parts. This old calabash gourd sitting here for a few years now. It was cleaned and did not have either a cork gasket to hold a bowl or stem to fit the briar shank extension on the shank end. It just languished in a box of old bowls that I have here. (They say confession is good for the soul so I will tell you that box is full of probably over 100 bowls. Did I tell you I have a problem throwing pipe parts away?). In this case I did not have any meerschaum or porcelain cups that would fit the size of the gourd and I had not bothered to look through my stems to find one that fit the shank. So the old gourd just sat here waiting. In October I visited a fellow pipe repairer in Vancouver, Washington, USA and he gifted me a lot of pipe parts. Included in the mix were two turned wooden cups for a gourd calabash and one porcelain cup. 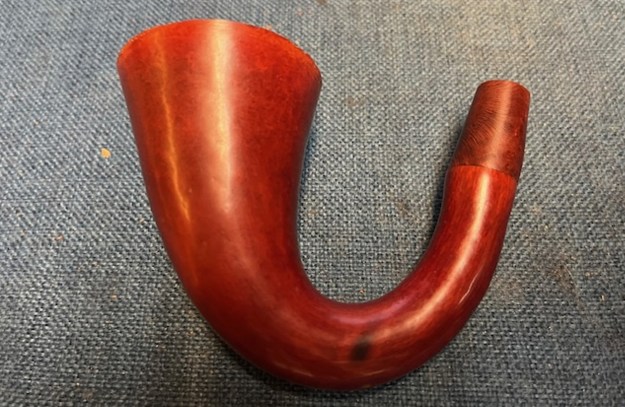
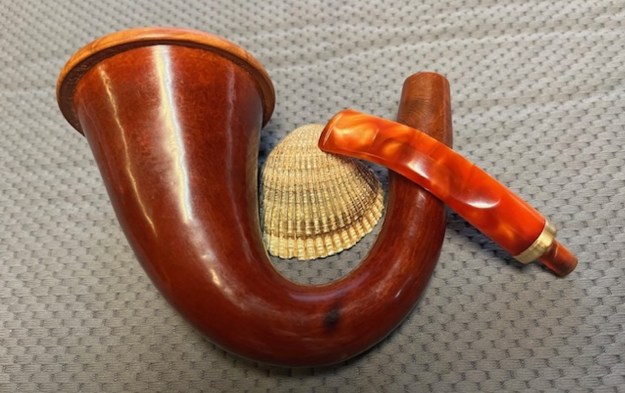
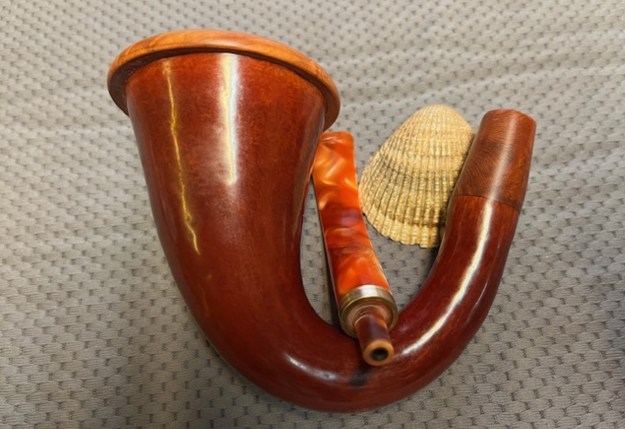
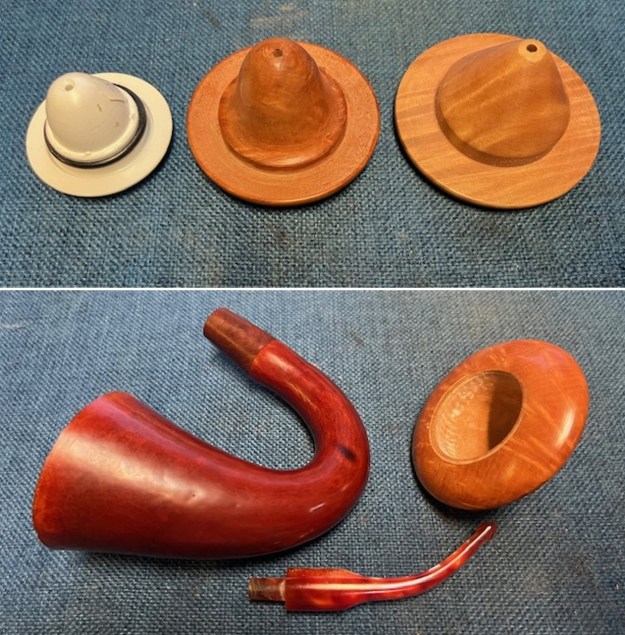
 Yesterday I remembered them and took them out to try. Like Goldilocks in the childhood fairy tale checking out the beds at the tree bears house I tried each one. The “baby bear” porcelain cup was far too small for the gourd and the “papa bear” cup was too large. But like Goldilocks found, the “mama bear” middle wooden cup one fit just right! While I was at it I also pulled an acrylic stem out from my collection of stems that I thought would work with this pipe. Now it was time to put it all together. Here is a picture of the parts.
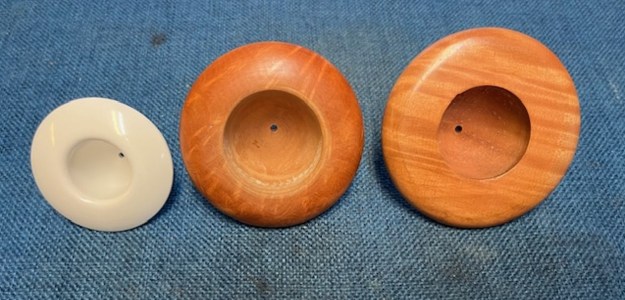
 I decided to work on the gourd portion of the pipe first. I cut some cork to fit a gasket in the inset area around the top of the calabash. I used a white all-purpose glue and coated the gourd edge and pressed the cork against it. It took a bit of holding it in place to get the glue to harden. But it worked well. Once the glue cured is used a knife blade to trim the cork flush with the top of the gourd. I smoothed it out with a Dremel and sanding drum to make for a snug fit for the cup to the cork but not too snug and have it pull away.
 I greased the cork with Vaseline Petroleum Jelly. I worked it into the surface of the cork before I called it a night last evening and then once again this morning. I find that it softens the cork and make it more pliable when the bowl is pressed into place.
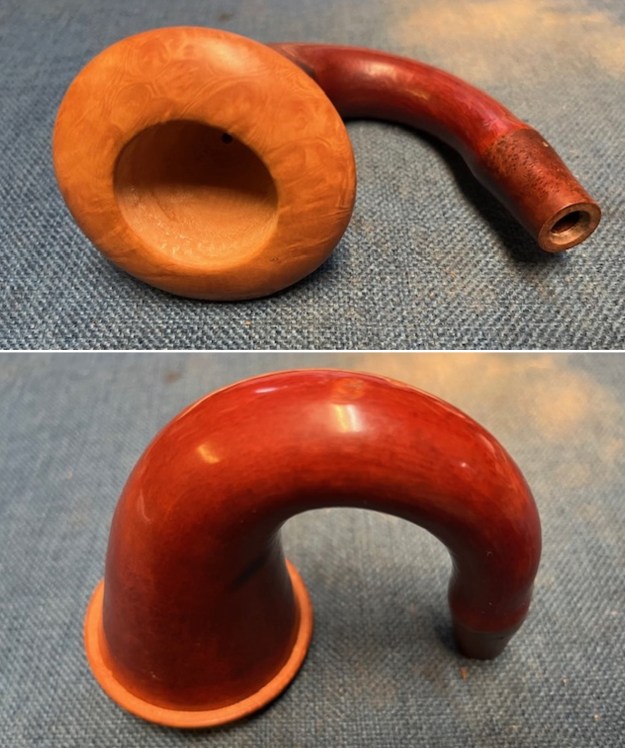
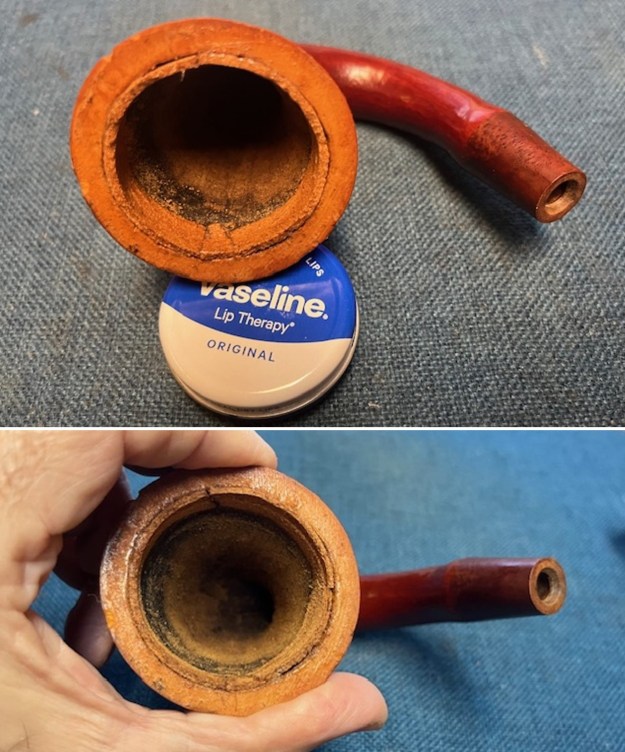 While the cork/glue was curing I drilled the airway in the bottom of the wooden insert. It was undrilled. I marked the centre and then drilled the airway in the bottom of the cup. I drilled it with a cordless drill and a small bit from the inside of the bowl rather than the outside. I pressed it against a piece of wood and drilled it through. My concern in doing it from the outside was the pressure on the cup and the potential of cracking it.
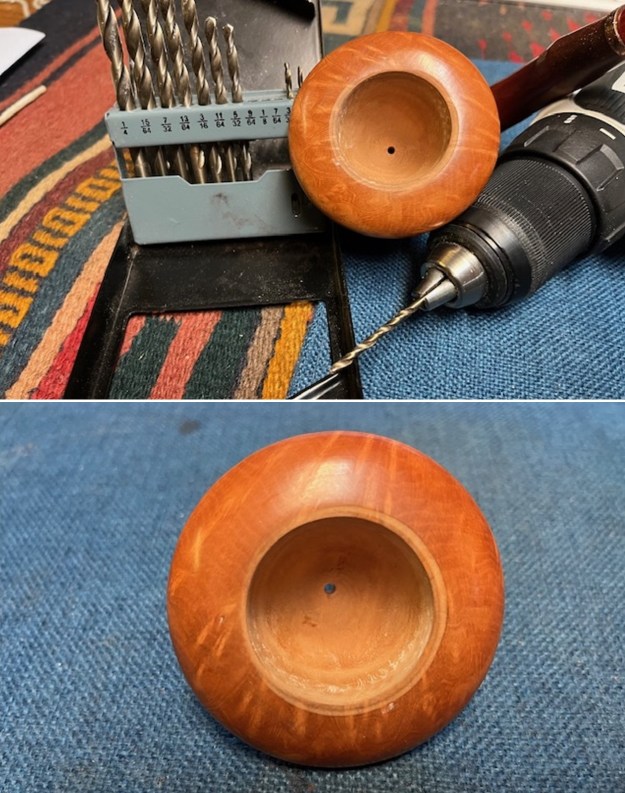 I started sanding the wood cup (which I think is Maple) with 320-3500 grit sanding pads. I wiped the bowl down with a damp cloth after each sanding pad to remove the sanding debris.
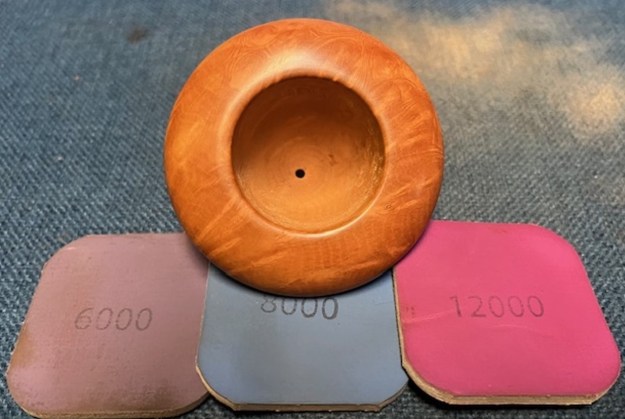
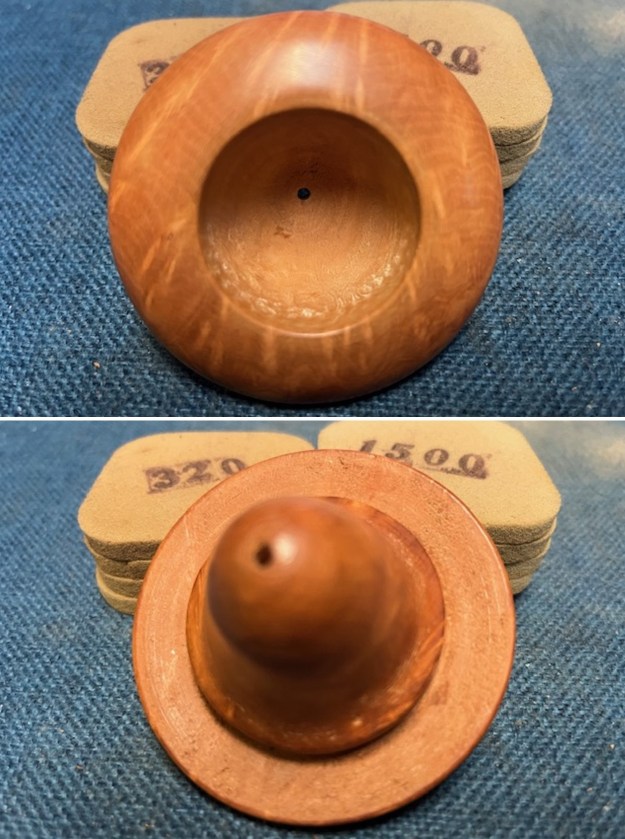 I polished the bowl with micromesh sanding pads – dry sanding with 1500-12000 grit pads. I wiped the bowl down after each sanding pad with a damp cloth to remove the debris. I worked on the inner edge of the bowl to smooth that out and the slight bevel on the inner edge. It really began to take on a rich glow.
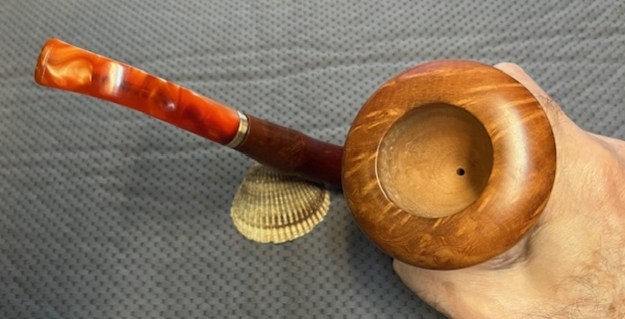
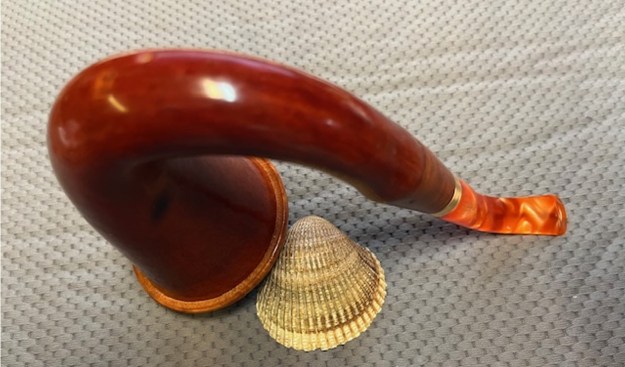
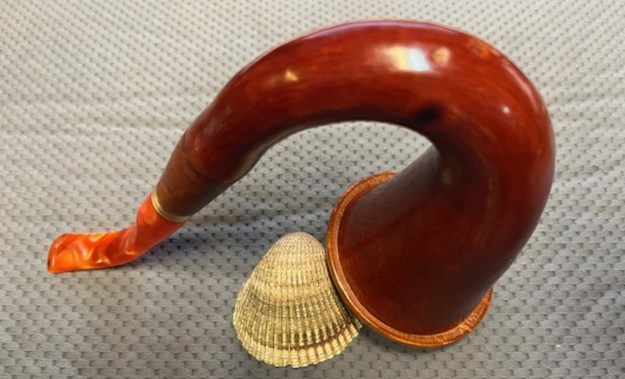
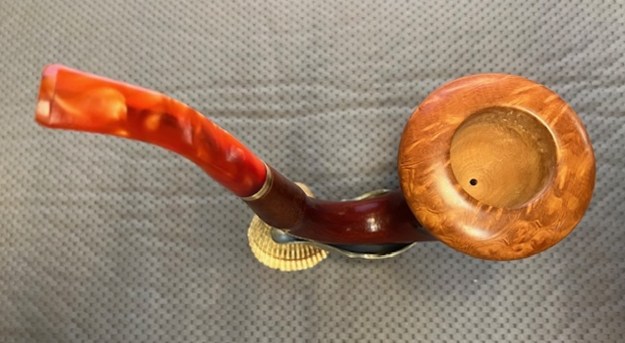
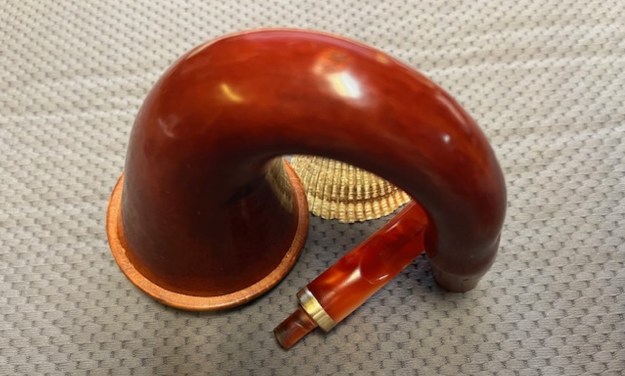
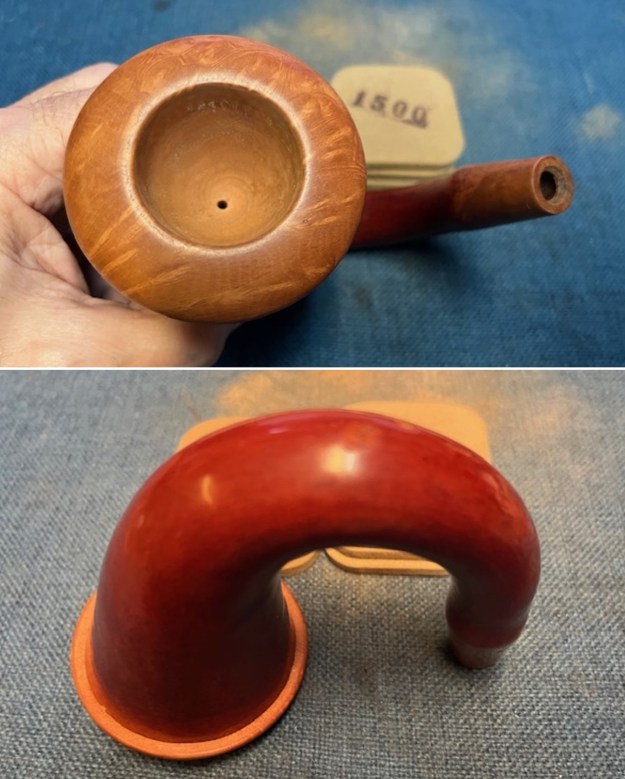
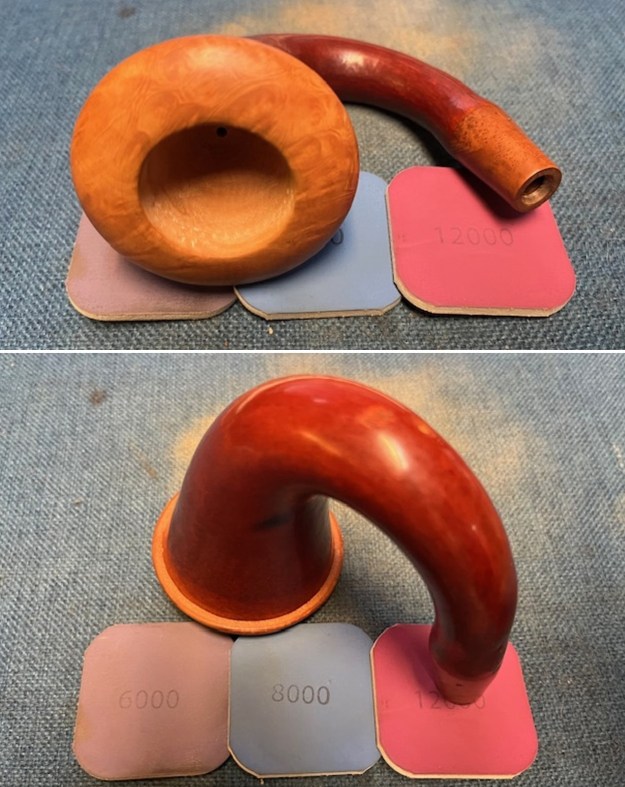
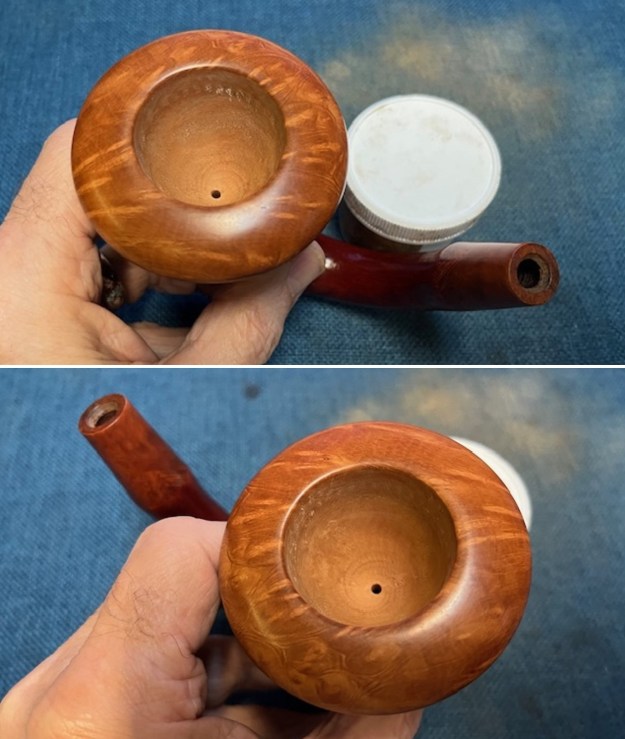
 With cup polished and the cork gasket set in the gourd I pressed the cup into the gourd calabash and it went in snugly and looked great. I took photos of the fit to show you all.
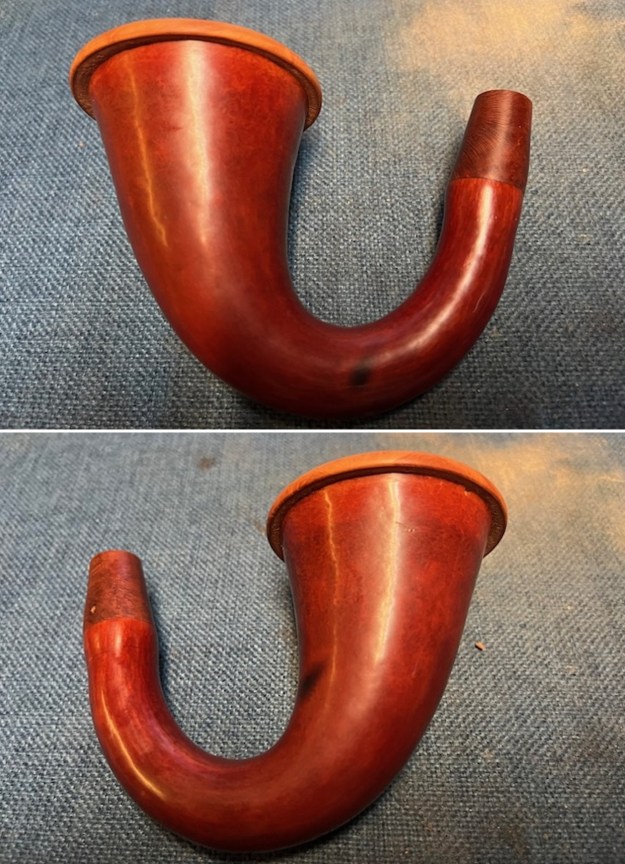
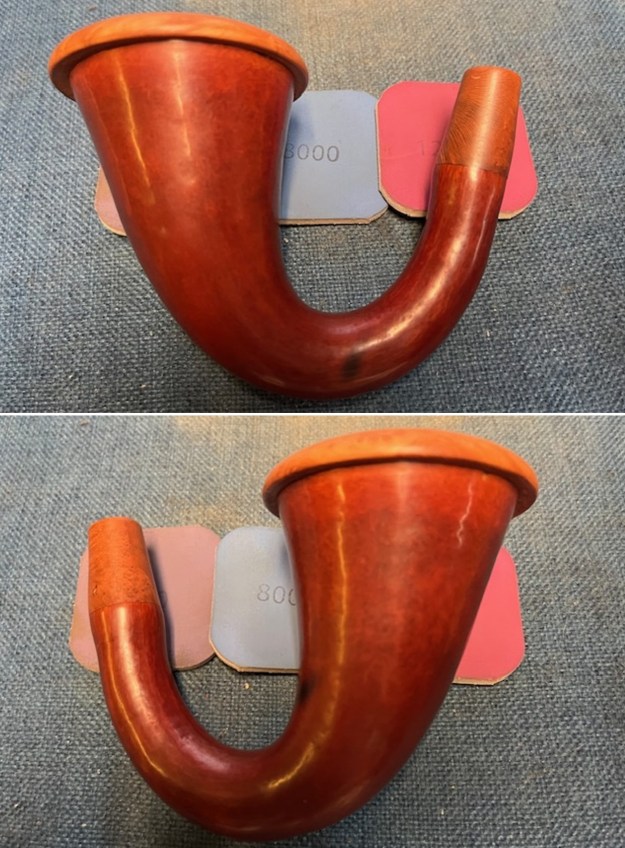
 I sanded the gourd with 320-1500 grit sanding pads to smooth out the nicks in the surface and minimize the two dark spots on the curve of the shank. I also sanded the briar shank extension to reveal the grain. It looked better and the rich grain began to shine through.
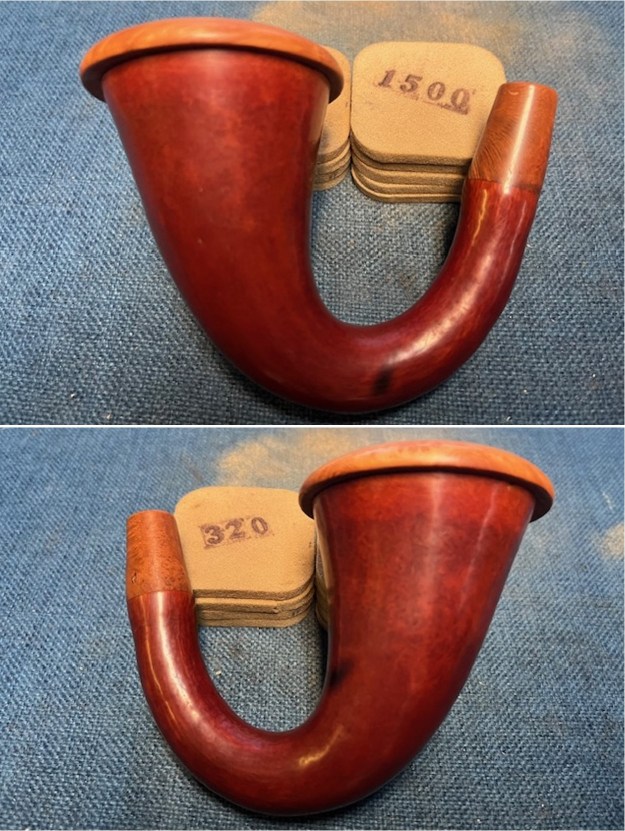
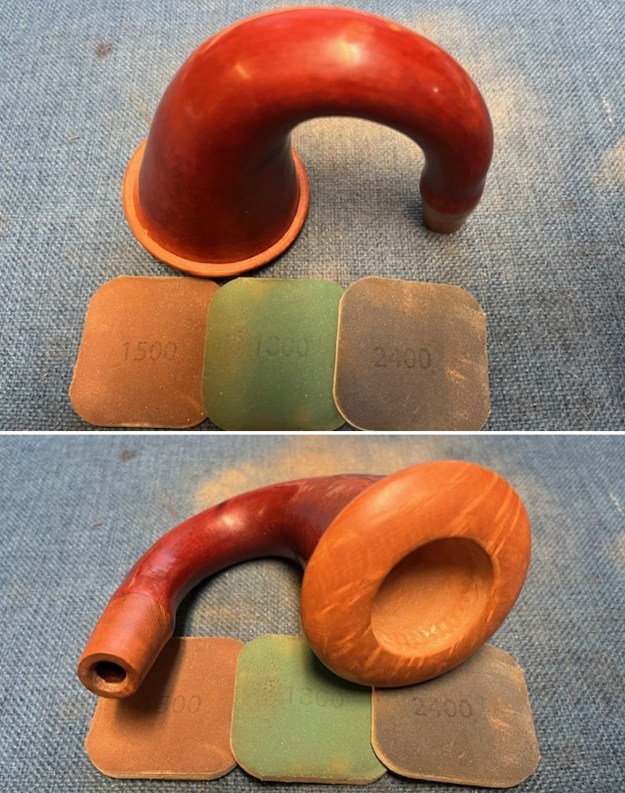
 I polished the gourd with micromesh sanding pads – dry sanding with 1500-12000 sanding pads. I wiped the gourd down with a damp cloth after each sanding pad to remove the sanding debris and dust. It really began to take on a shine.
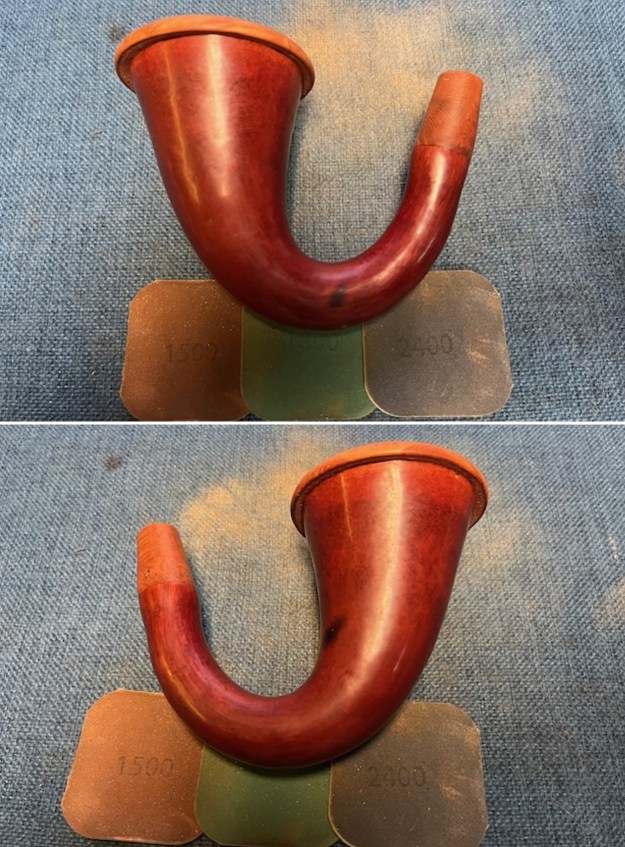
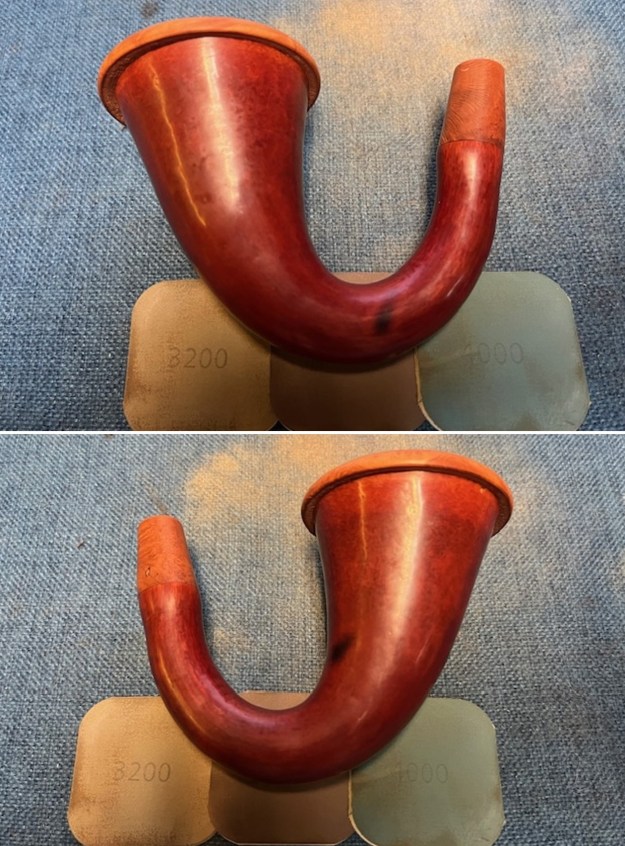
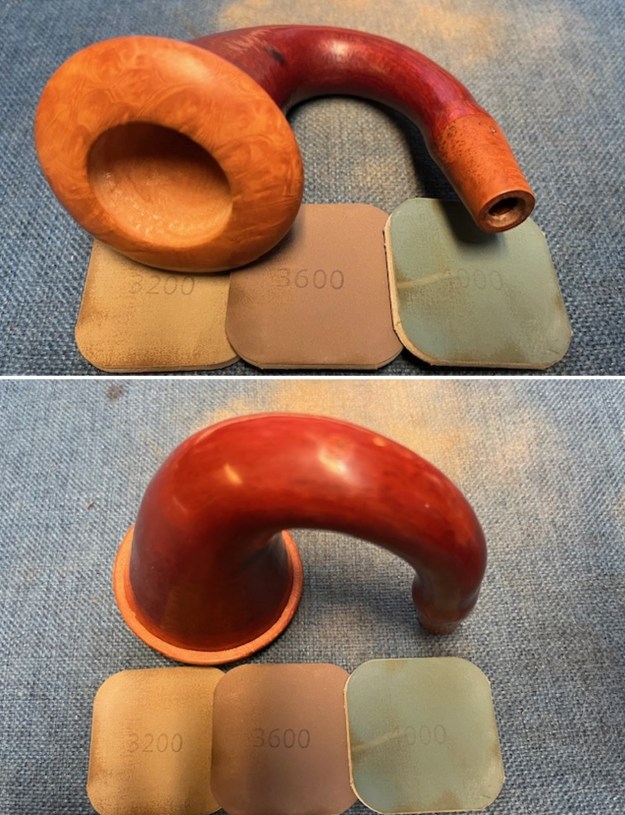
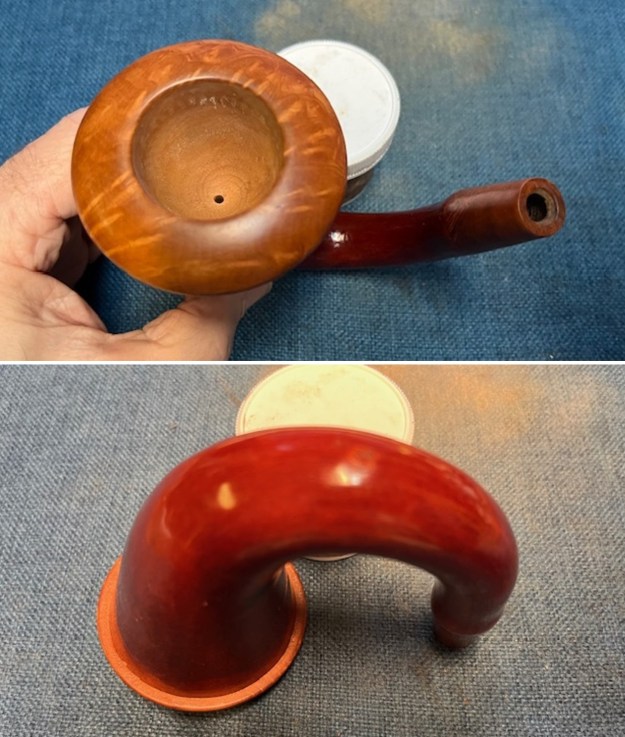
 I rubbed the gourd and the maple cup down with Before & After Restoration Balm. I worked it into the surface with my fingertips. The product works to clean, enliven and preserve the pipe. I let it sit for 10 minutes then I buffed it with a cotton cloth to deepen the shine. The gourd came alive with the balm.
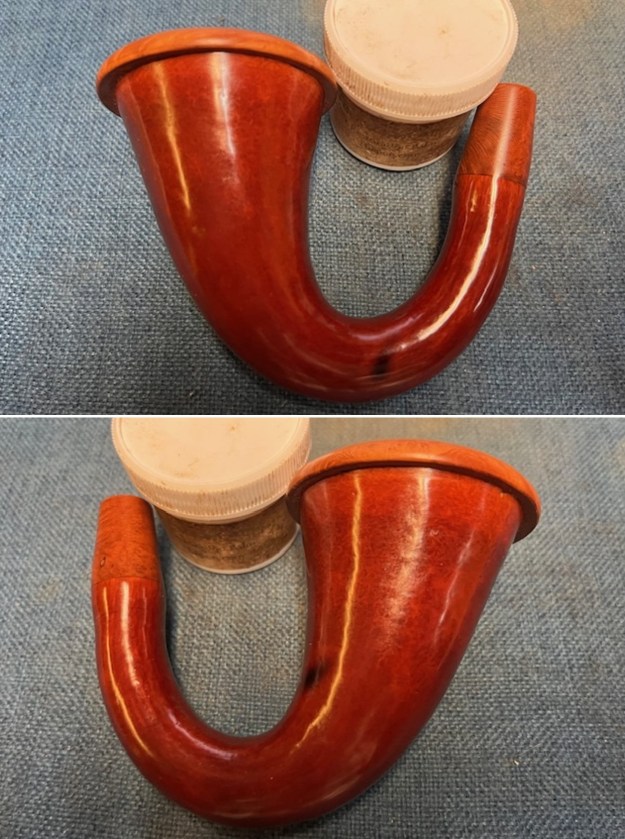
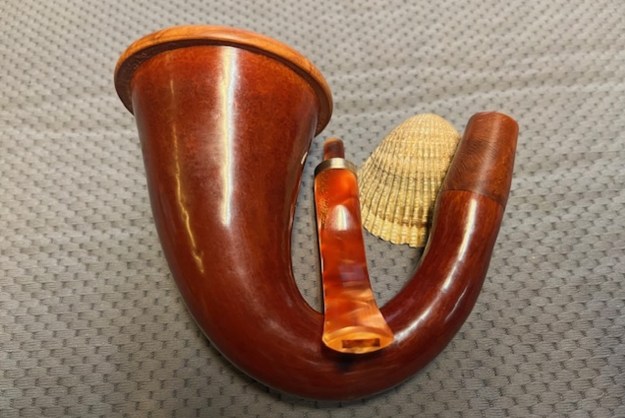
 I set the bowl aside and turned my attention to the stem I had chosen. The acrylic orange/amber stem would look good once I finished.
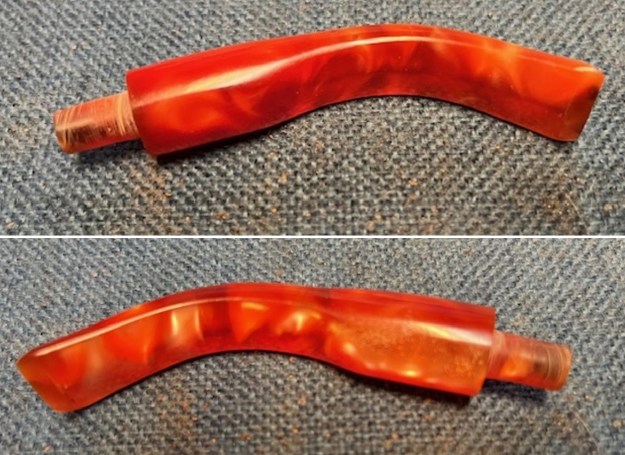 The fit of the stem to the shank was quite good. The briar shank extension on the gourd is canted slightly and the shank extension follows the angles. With that the stem fit tight against the left side of the shank but not on the right side. I had an idea of fitting a brass band/cap on the end of the stem to compensate for the angels on the shank end. It fit very well and the band/cap was snug on the stem.
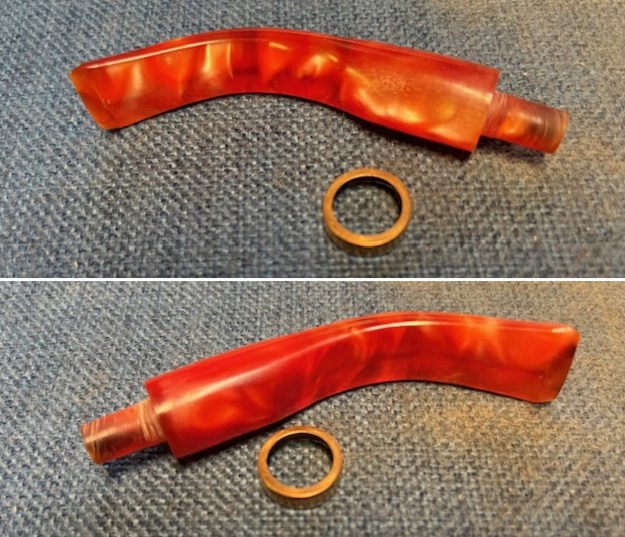
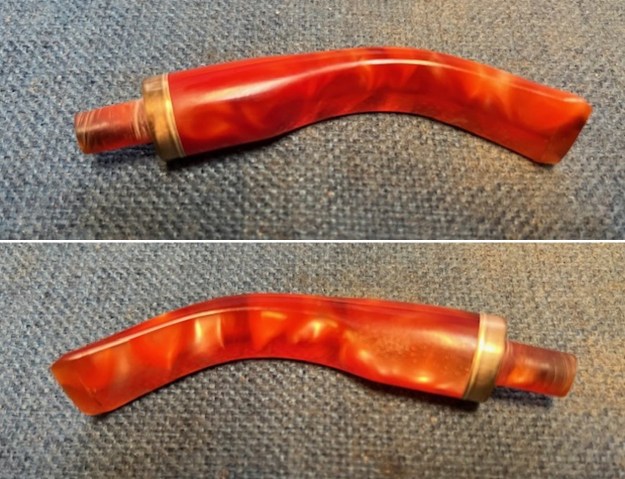 I sanded the tooth chatter on both sides of the stem with 320-3500 grit sanding pads to smooth it out and blend it into the surface of the acrylic. I started the polishing of the brass stem cap on the shank end at the same time. It started looking very good.
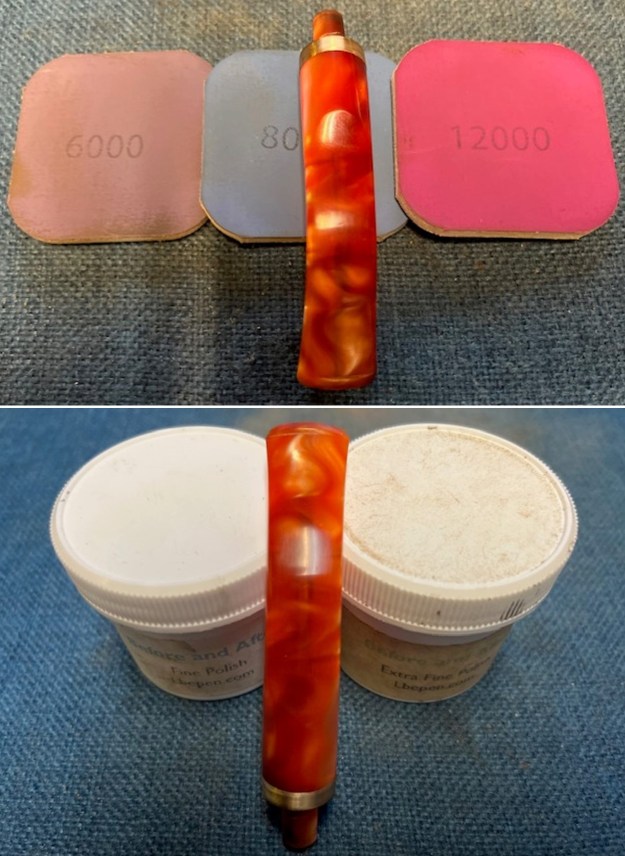
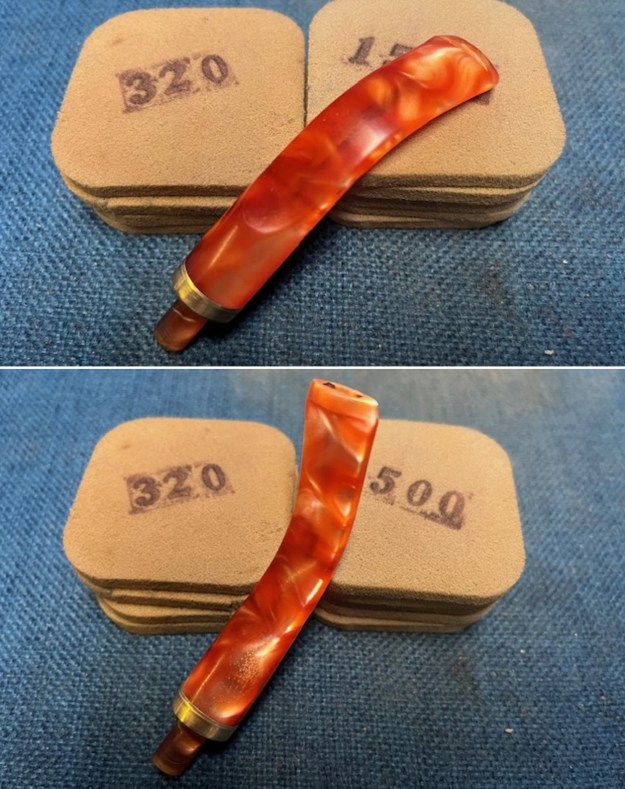 I polished the Lucite with micromesh sanding pads – 1500-12000 grit pads. I wiped it down with a damp cloth after each sanding pad. I used Before & After Pipe Polish – both Fine and Extra Fine to further polish the stem. It really took on a shine and once buffed it would look amazing.
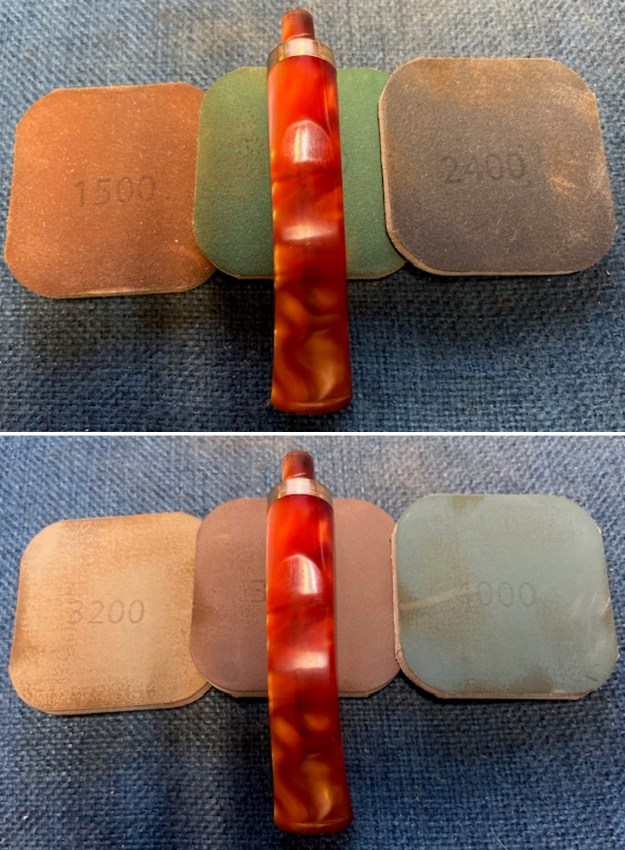
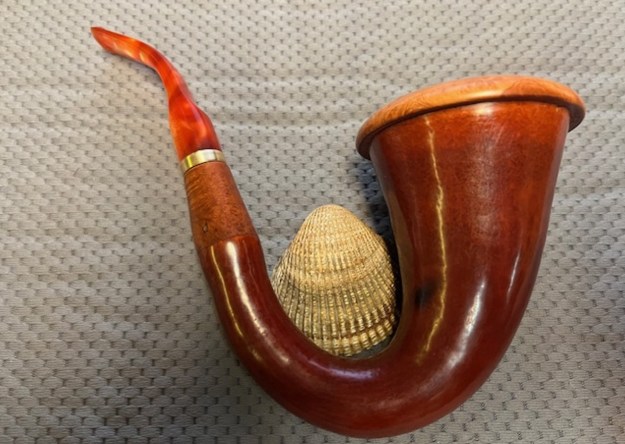
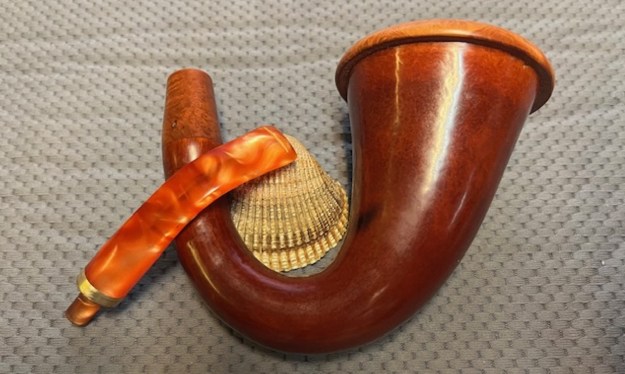
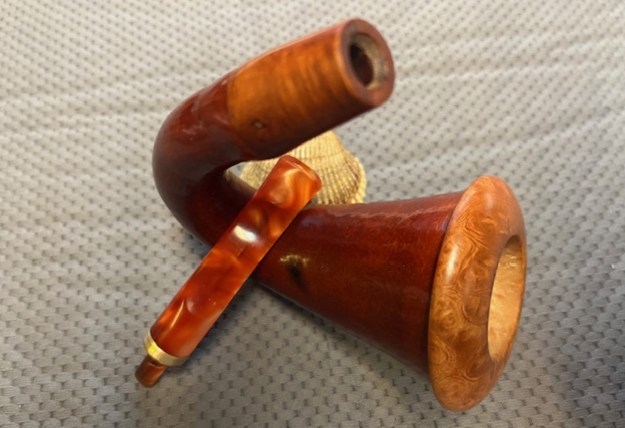
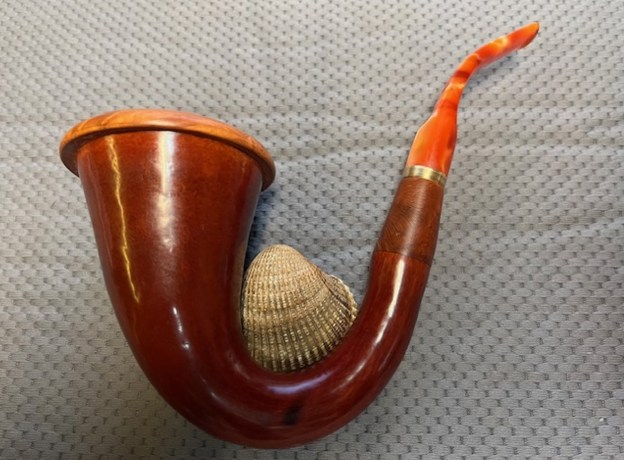
 I carefully polished the parts – the cup, the gourd and the stem with Blue Diamond on the buffing wheel. I gave each piece of the pipe multiple coats of Carnauba Wax and buffed it with a clean buffing pad. I hand buffed the parts with a microfibre cloth. Once it was finished I put the parts back together. The Maple cup looked beautiful with the darkened gourd calabash. The polished briar shank extension was deeply shined. The brass stem adornment went well with the orange acrylic stem. The large Gourd Calabash with its wooden cup is beautiful. The dimensions of the pipe are Length: 7 inches, Height: 4 ½ inches, Diameter of the cup: 2 ¾ inches, Diameter of the chamber: 1 ½ inches. The weight of the pipe 95 grams/3.35 ounces. It should be a great smoker once it is loaded with a favourite tobacco and fire is put to the blend. It will definitely be a cool dry smoke. Thanks for walking through this reconstruction with me. I appreciate your patience in reading through the steps.