by Steve Laug
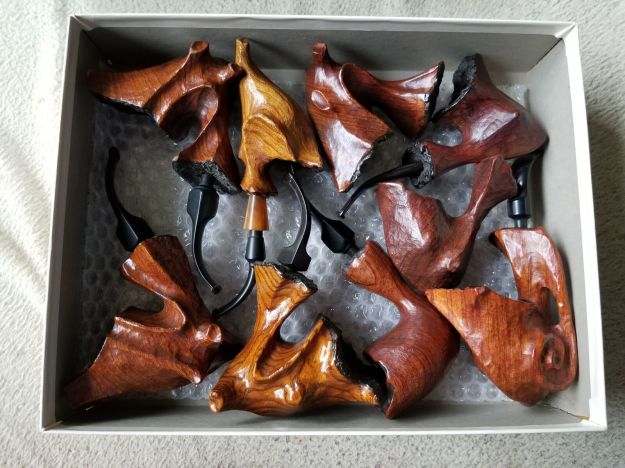
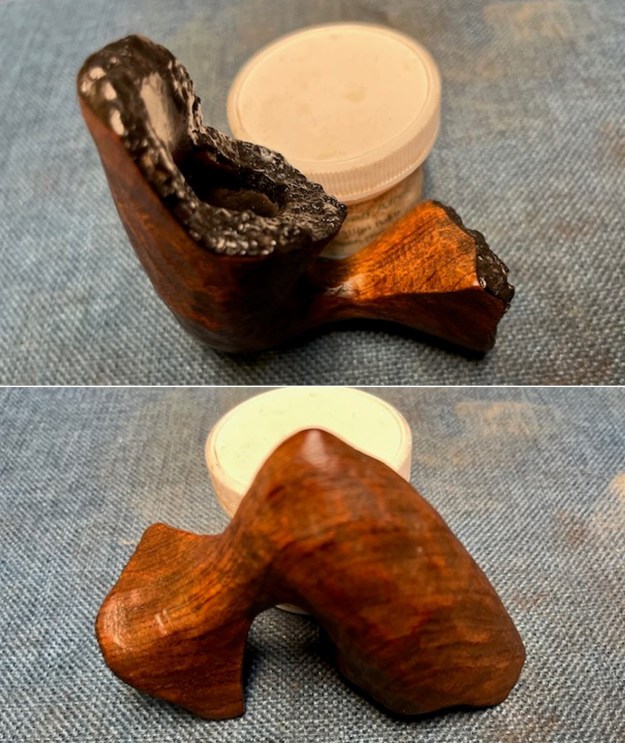
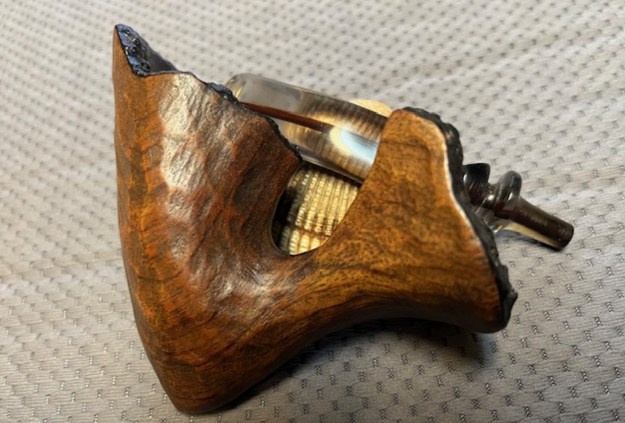
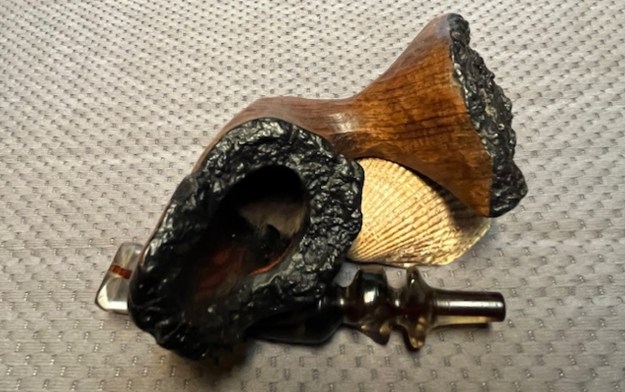
I am taking another break after the last three pipes I worked on the last few days. I decided to restem another one I had here. I cleaned up the bowl and matched a stem with a unique rustic freehand bowl that I have here in my box. It is a cleanup and restore and gives me a break from the routine of my other work on pipes. This bowl has an odd rustic/rough finish with a plateau rim top and shank end. The finish was a bit dull and lifeless. It showed promise under the grit and grime of the years. It has no stamping anywhere on the side or underside of the shank. The bowl had a moderate cake and some lava overflow on the smooth front space and plateau areas of the rim top. I don’t believe the bowl is briar but I am unsure of the wood. The bowl also had some dust and debris in rusticated finish of the bowl as well as in the crevices of the plateau on the shank end. I took some photos of the bowl before I started my work on it.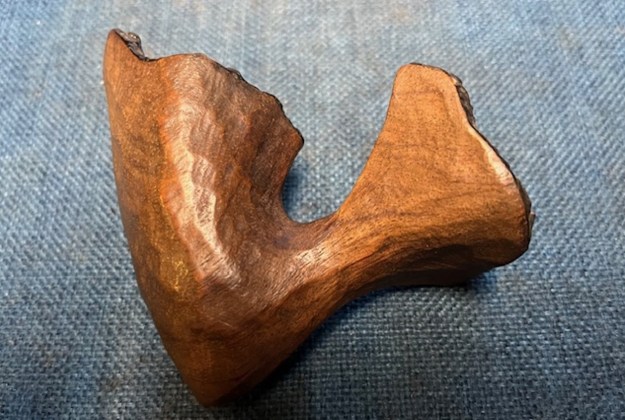
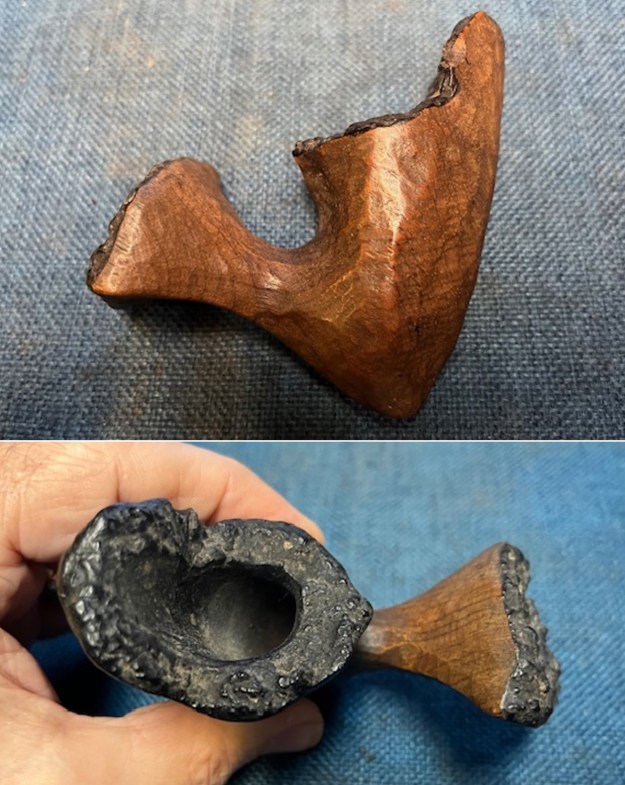
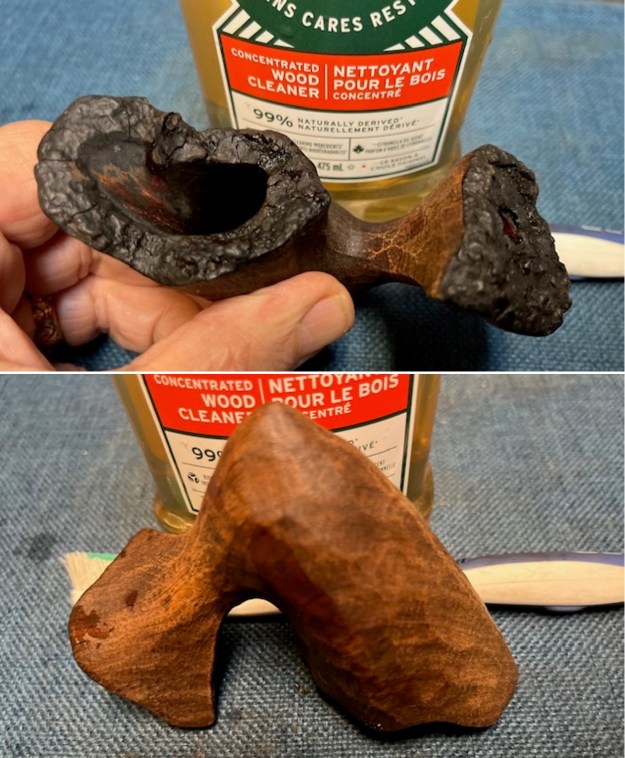
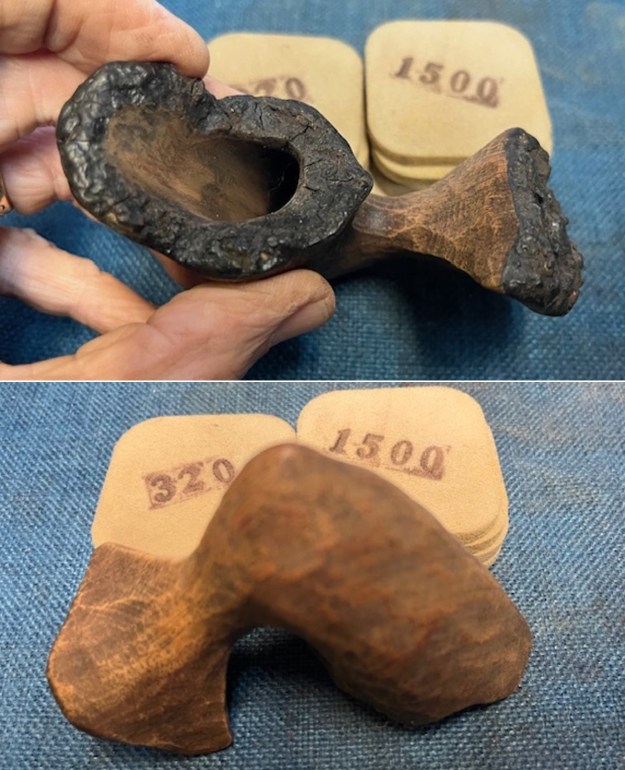
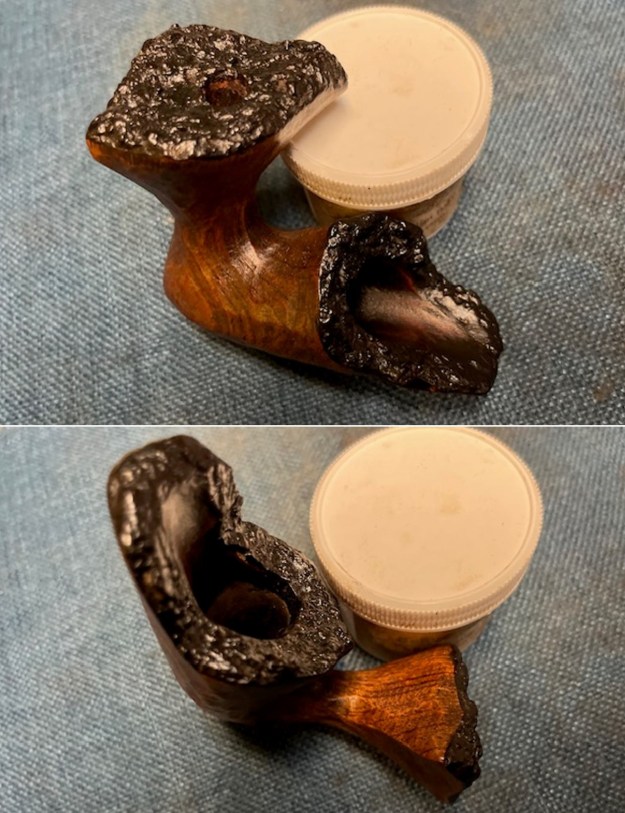
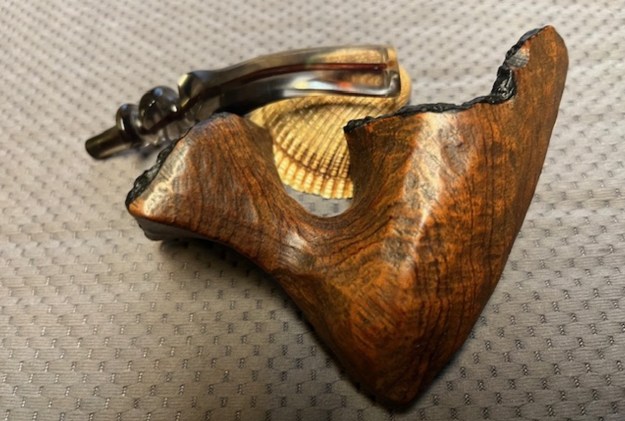
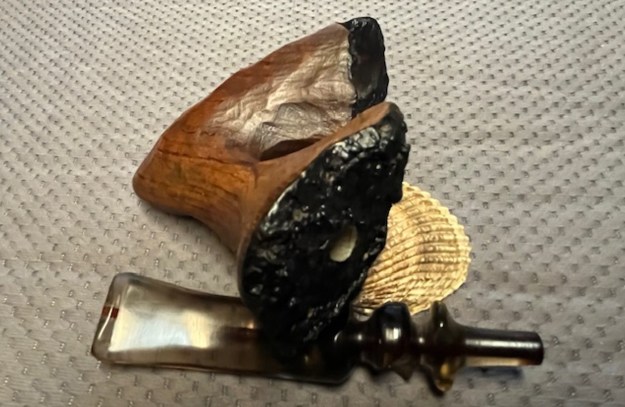
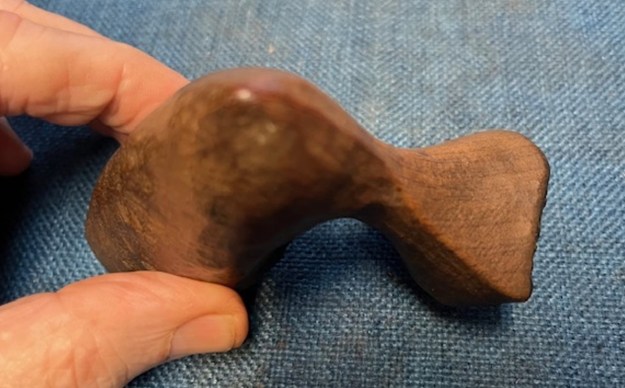 I took a close up photo of the bowl to give an idea of what I had to work with. The bowl was very dirty and had a moderately thick cake. The plateau rim top has a lava coat that almost filled in crevices. I also took a photo of the plateau on the shank end to show its condition – dirty but in good shape.
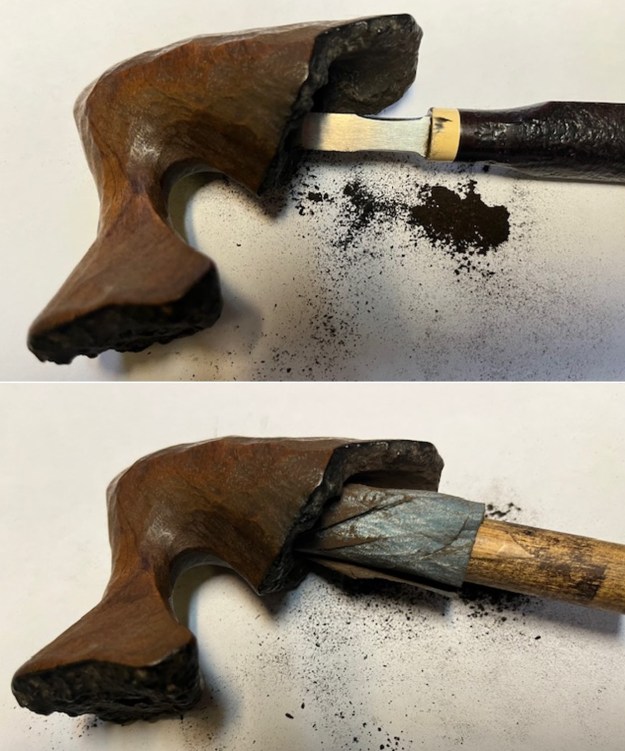
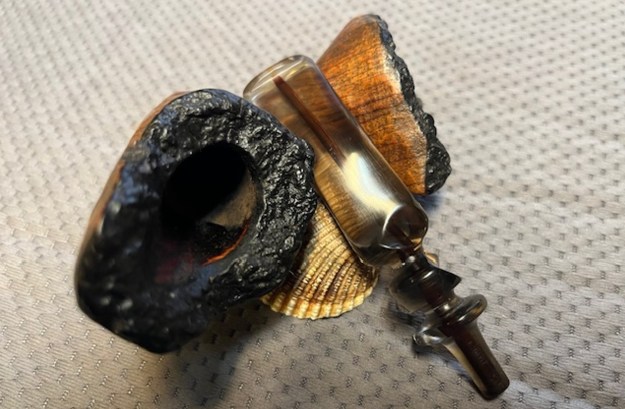
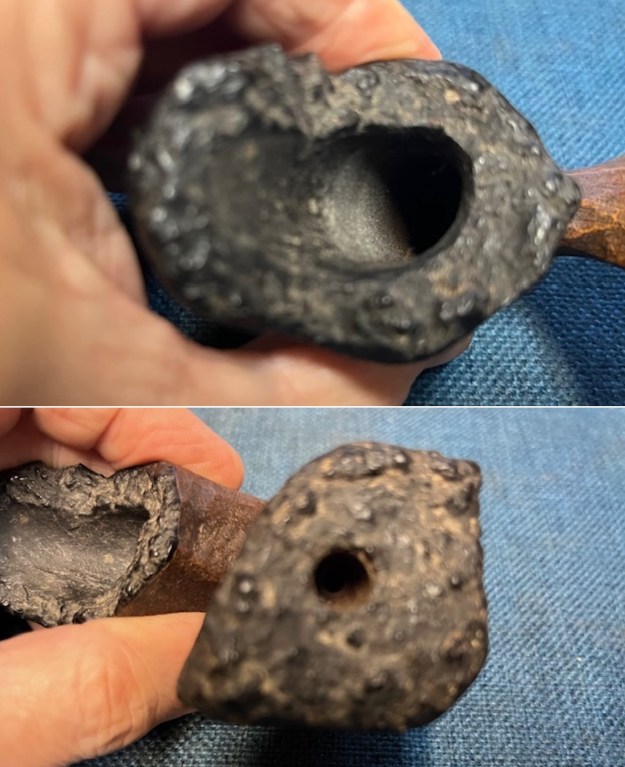 I went through my cans of stems here and found a nice clear smoky acrylic saddle stem that would fit quite well once I used a clear acrylic tube to line the shank. I have a nice piece of the tube from another stemless freehand that is perfect. Once I cleaned the shank and the stem I would press it in place in the shank like a Delrin or rubber sleeve and the it would be perfect and it will look good.
 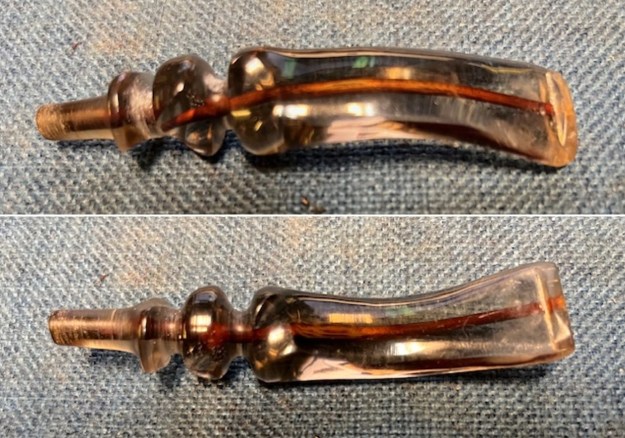 While the glue cured I turned my attention to the bowl. I reamed it with a PipNet Pipe Reamer using the 2nd and 3rd cutting heads to remove the cake. I cleaned up the remnants with a Savinelli Fitsall Pipe Knife. I finished the bowl by sanding the walls with a piece of 220 grit sandpaper wrapped around a piece of dowel. The bowl walls looked very good.
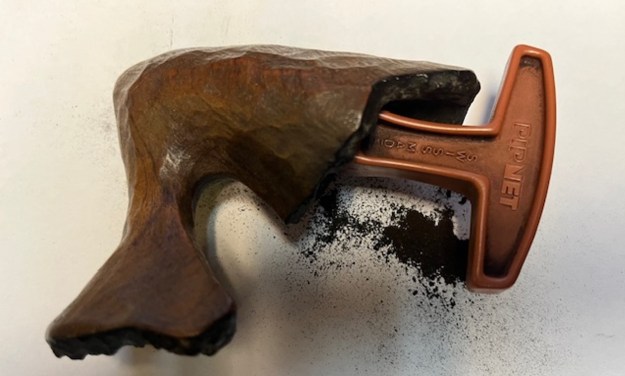
 I cleaned up the plateau areas on the rim top and shank end with a brass bristle wire brush. I worked on it until the groves were clean. I wiped it down with a damp cloth to remove all the debris. It was looking better each step!
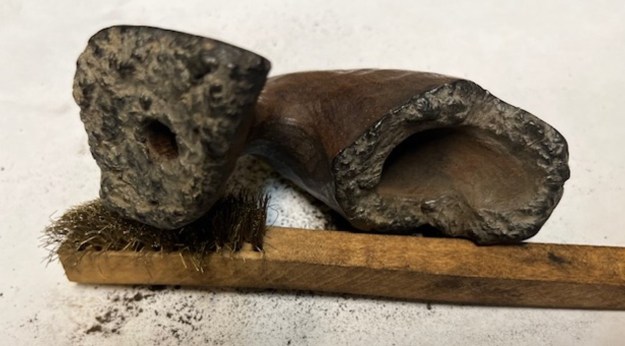 I scrubbed the exterior of the bowl and shank with a tooth brush and undiluted Murphy’s Oil Soap. I worked it into the grain on the sides, the plateau on the rim top and shank end and the rusticated patch on the right side of the bowl with the tooth brush. I rinsed the soap and grime off with warm water and dried it off with a soft towel. I looked much better at this point. The grain really stands out.
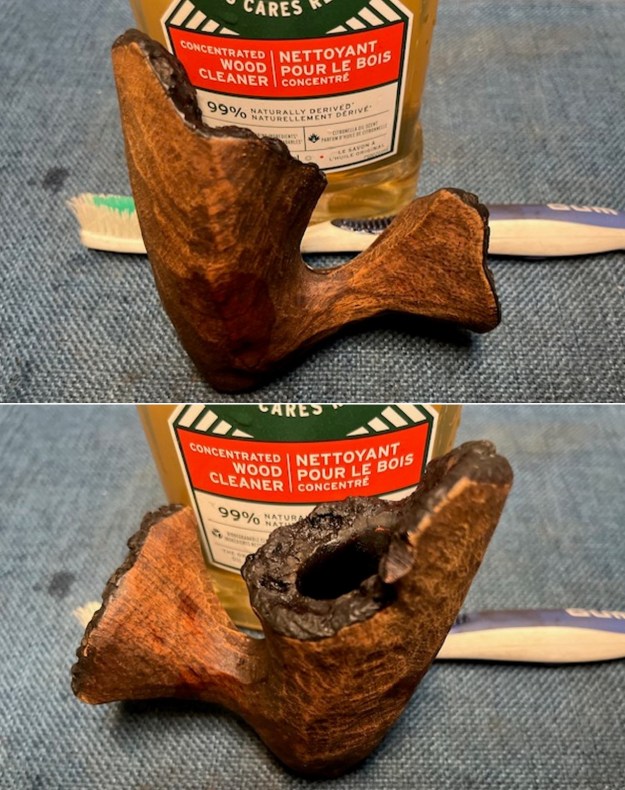
 I scrubbed out the internals with pipe cleaners (normal & bristle), cotton swabs and alcohol to remove the tars and oils in the shank between the mortise and the entrance of the airway into the bowl. It was quite dirty.
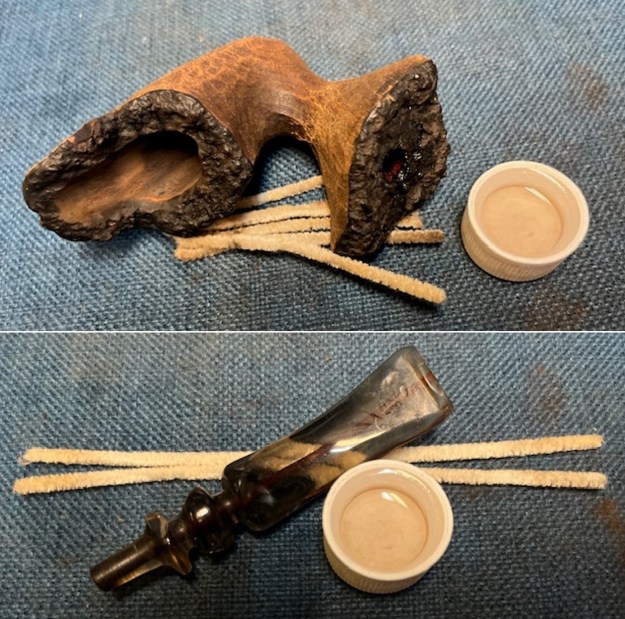 I sanded the sides the bowl and shank with 320-3500 grit sanding pads to start the polishing process. I wiped down the bowl with a damp cloth after each sanding pad.
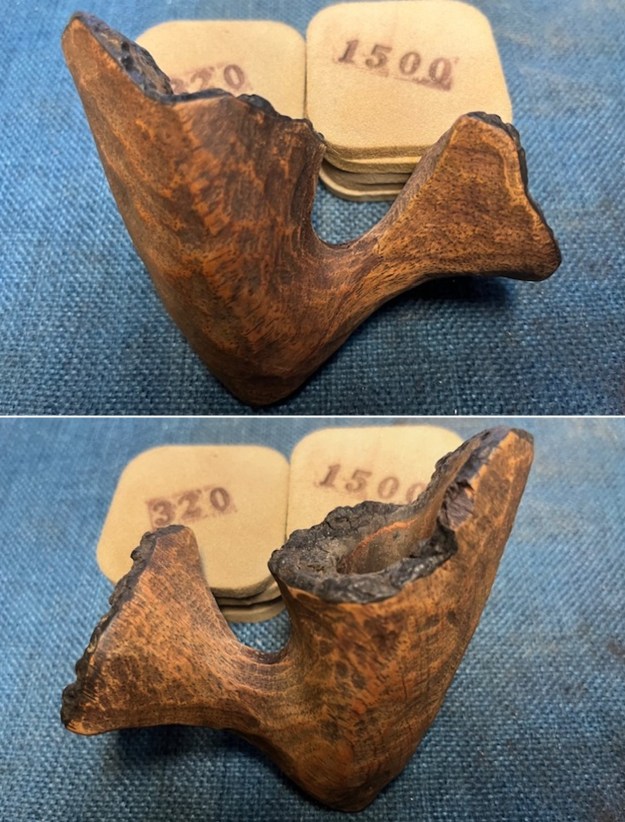
 With the bowl polished I rubbed the bowl and shank down with Before & After Restoration Balm. I worked it into the surface of the bowl sides and shank with my fingertips and into the plateau rim top, shank end and rustication with a horsehair shoe brush. The product works to clean, enliven and protect the wood. I let the Balm sit for 15 minutes and then buffed with a cotton cloth to raise the shine.
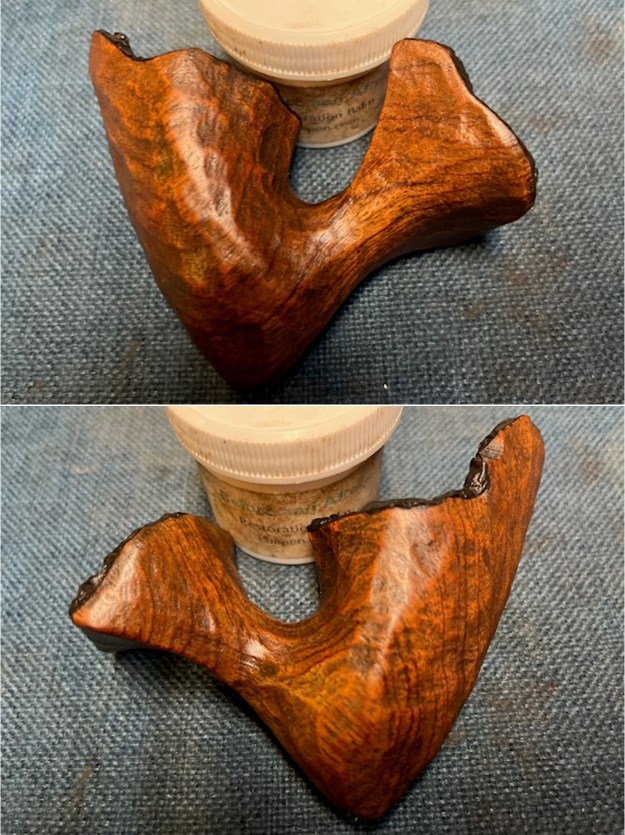
 With the bowl cleaned and ready for use I fit the mortise with the clear rubber tube insert. I started the fit with the tenon. I pressed it in as far as possible with the tenon. There was still a small edge that needed to be pressed in. I used a Savinelli Fitsall Pipe Knife to press it the rest of the way into the shank. It looked very good.
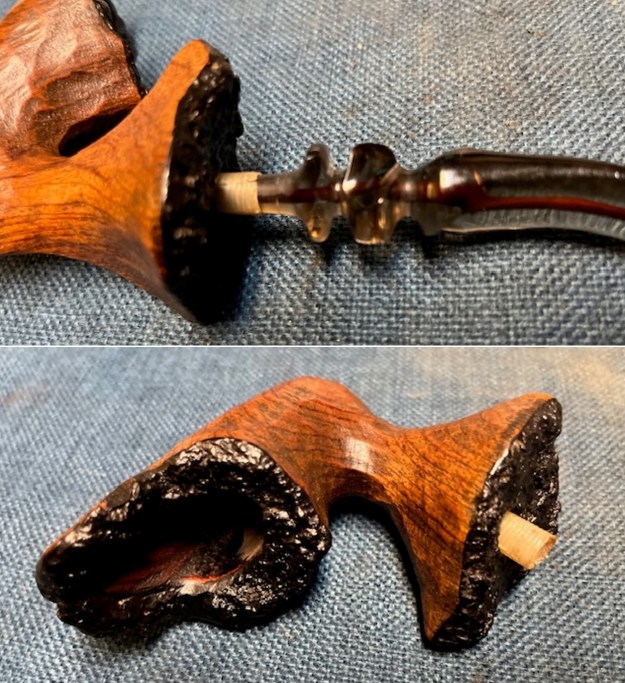
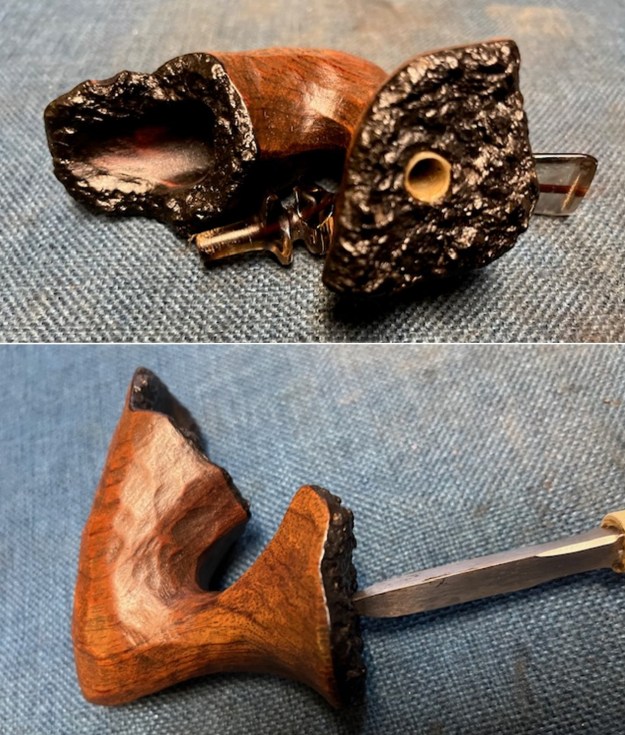
 I set the bowl aside and turned my attention to the stem. I filled in the deep tooth marks with clear CA glue and set it aside to cure.
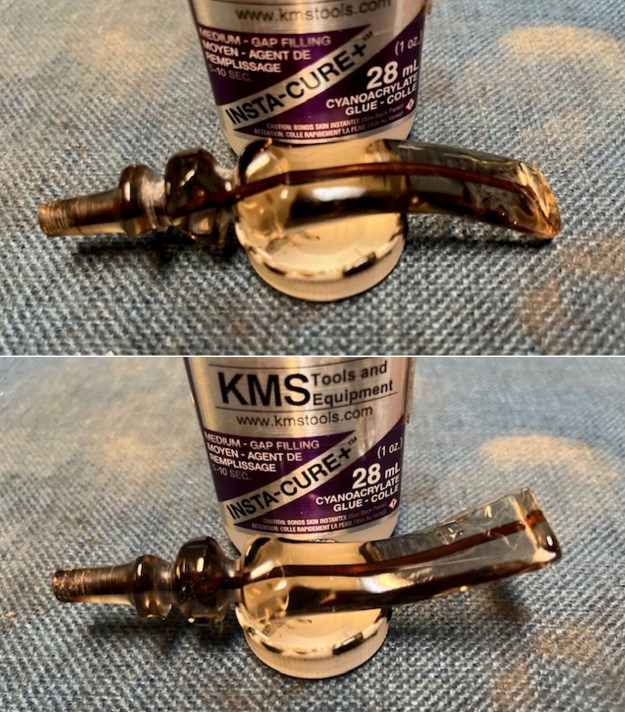 Once the glue cured I used a small file to flatten the repairs and reshape the stem surface. I sanded the repairs on the stem surface with a folded piece of 220 grit sandpaper. It was starting to look better.
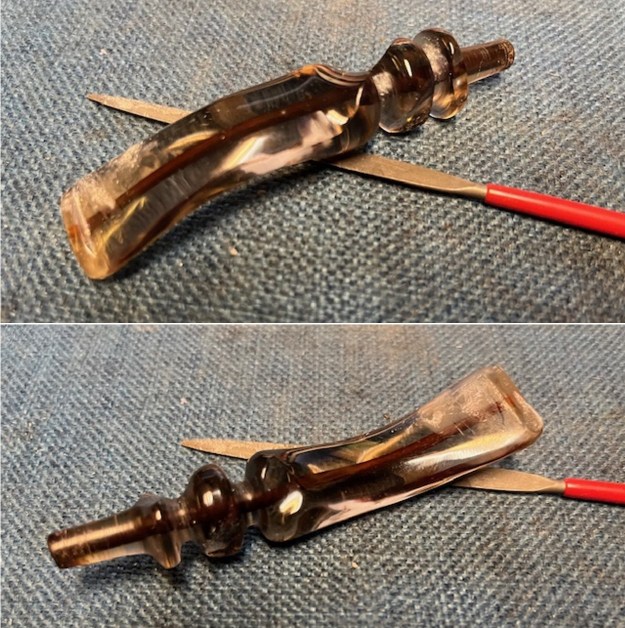
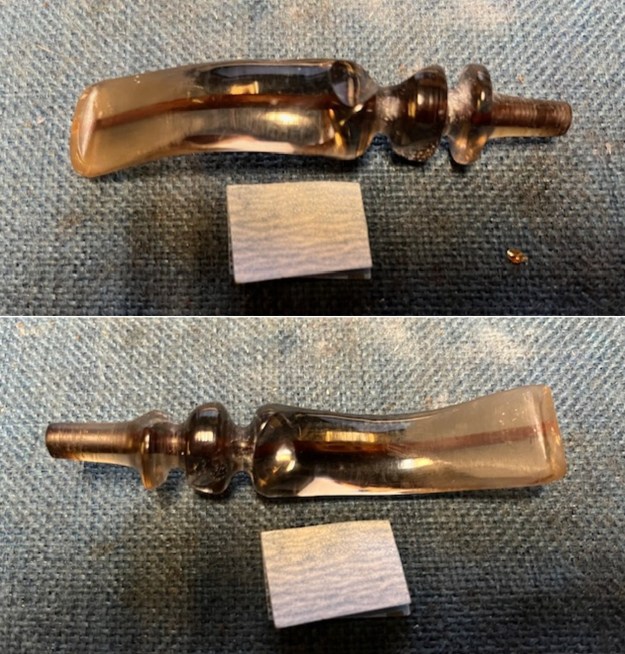 I sanded the stem surface with 320-3500 grit sanding pads to further polish the stem. I wiped it down between sanding pads with a damp cloth.
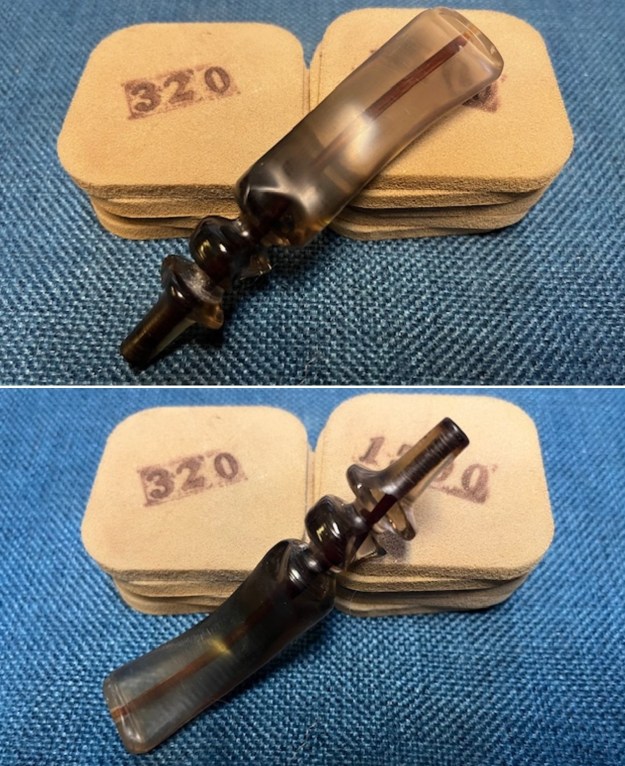 I used several needle files – round and oval as well as a button slot saw to shape the opening in the end of the button. It is much better than just the original drilled hole.
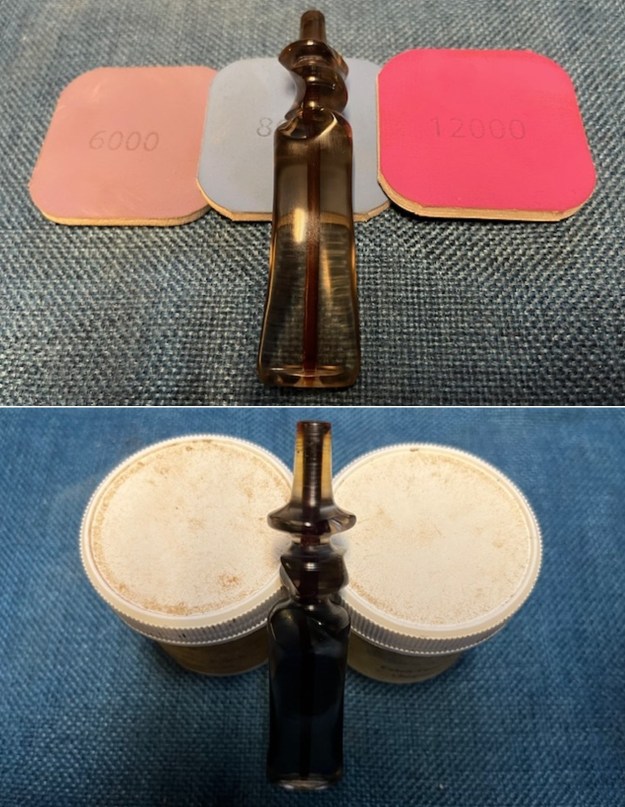
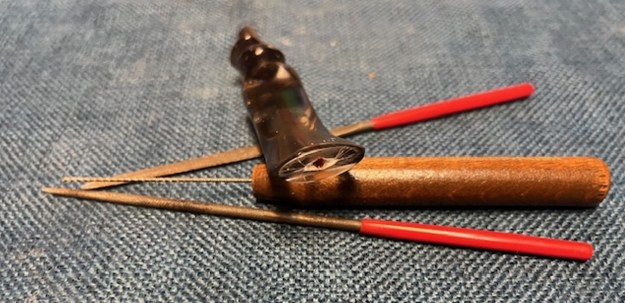 I polished the acrylic stem with micromesh sanding pads – 1500-12000 grit pads. I wiped it down with a damp cloth after each sanding pad. I used Before & After Pipe Polish – both Fine and Extra Fine to further polish the stem.
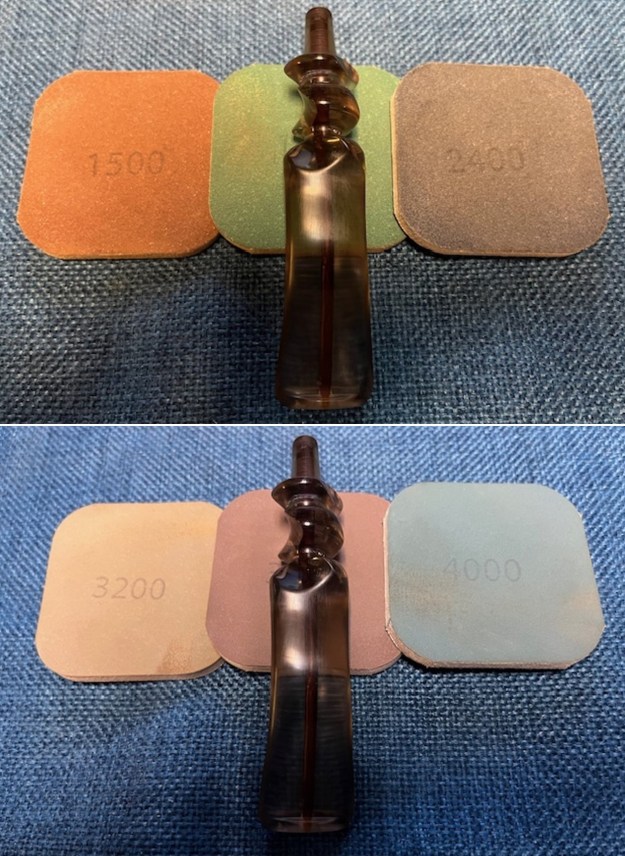
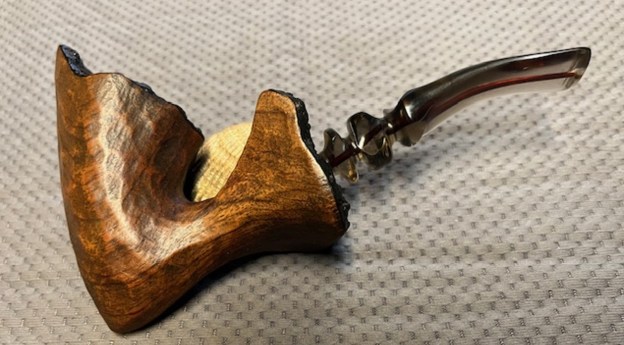
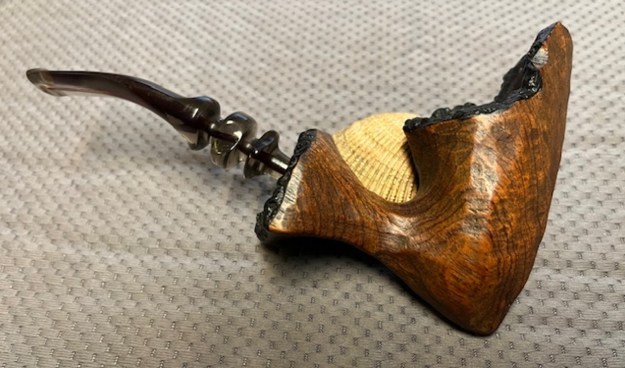
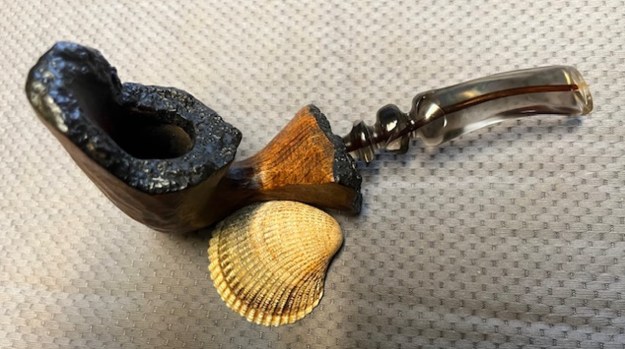
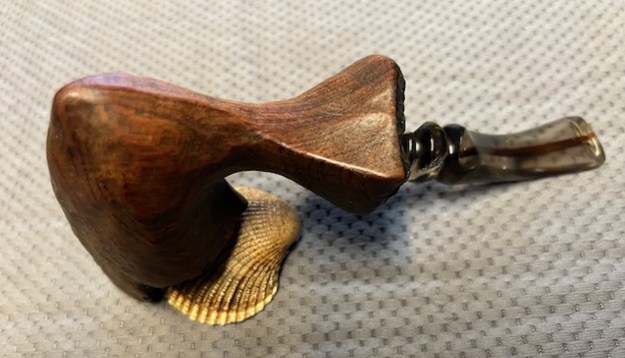
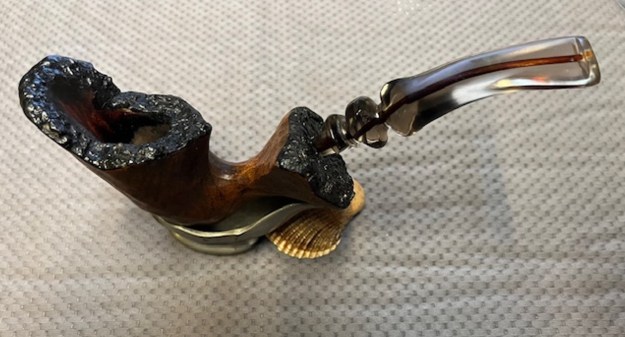
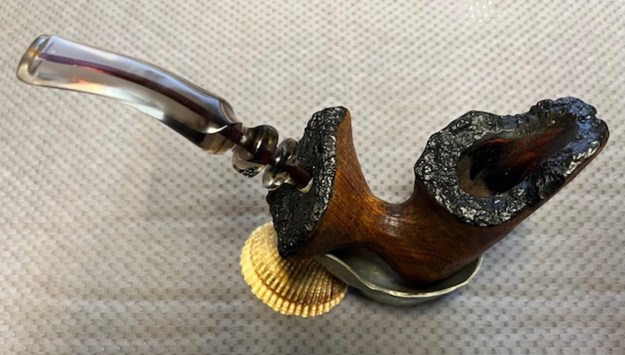
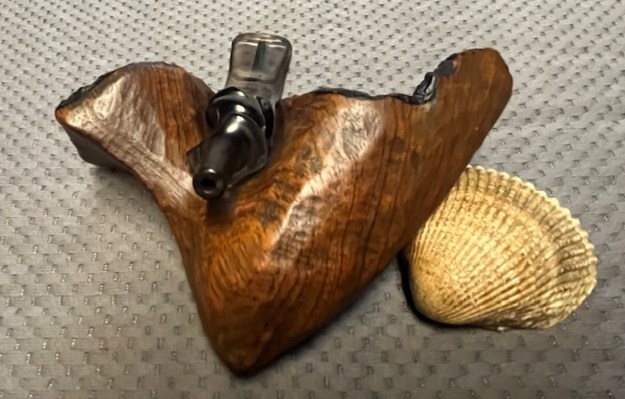
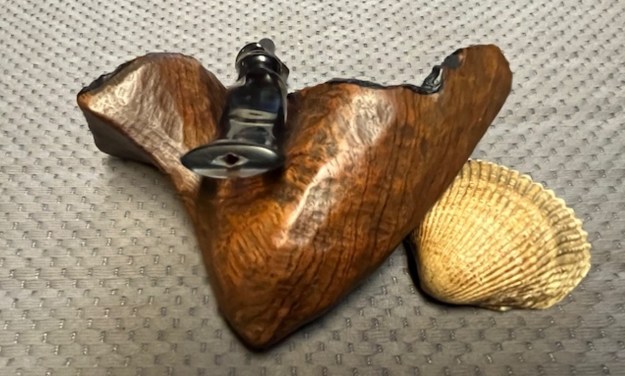
 This oddly beautiful Hand Carved Danish Style Freehand with a fancy, turned smoky acrylic saddle replacement stem is a great looking pipe now that it has been restored. I put the stem back on the bowl and carefully buffed the pipe with Blue Diamond on the buffing wheel using a light touch on the bowl and shank. I gave the bowl and the stem multiple coats of carnauba wax on the buffing wheel and followed that by buffing the entire pipe with a clean buffing pad. I hand buffed the pipe with a microfiber cloth to deepen the shine. The finished Hand Carved Freehand fits nicely in the hand and feels great. Give the finished pipe a look in the photos below. The dimensions of the pipe are Length: 6 ½ inches, Height: 3 ½ inches, Outside diameter of the bowl: 1 ½ wide x 2 inches long, Chamber diameter: ¾ of an inch. The weight of the pipe is 79 grams/2.75 ounces. If you are interested in adding this pipe to your collection send me a message or an email to slaug@uniserve.com. Thanks for walking through the restoration with me as I worked over another very interesting pipe. I will be putting it on the rebornpipes store in the American Pipe Makers Section shortly if you would like to add it to your collection. Thanks for your time.


 UPDATE: I received a message on Facebook Tobacco Pipe Restorers Group about a possible maker for this pipe. Thanks Mason Evans! I am including that and a link to the article on Pipedia below:
Mason: That looks like a Bubinga pipe by Tom “Pipecarver” Arcoleo.
https://pipedia.org/wiki/Tom_Pipecarver_%26_Son