by Kenneth Lieblich
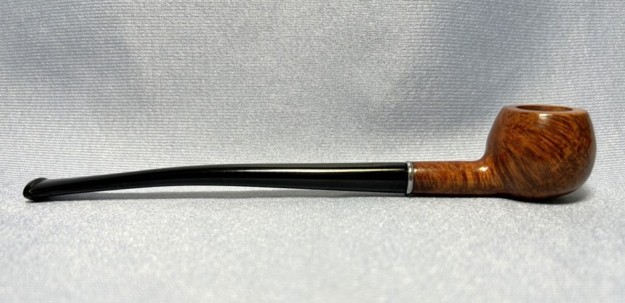
Next up is a charming apple churchwarden that I found in one of my bins and it piqued my interest. It’s got the typical shape and feel of a regular churchwarden, but this one is a bit smaller – and perhaps a bit more manageable. It’s hard to know how old this one is, but it feels old and it has certainly seen better days. I’m looking forward to this one.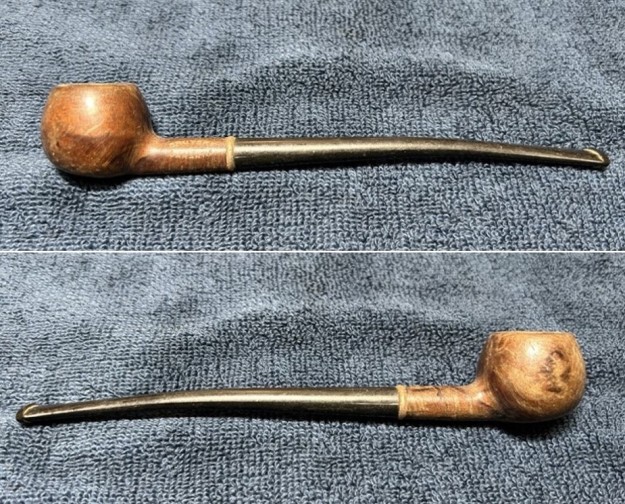

Frankly, this one didn’t look like it had been smoked at all. It was certainly filthy, but that seemed to be from questionable storage rather than smoking. The only markings were on the left side of the shank: Bruyère [over] Garantie which translates to ‘Genuine Briar’. The words Bruyère Garantie on a pipe are the bane of my pipe restoration existence. They are found on a plethora of different pipes, usually without any other identification. Ugh. One comment on the old Pipes Magazine forums confirms exactly what my meagre research has uncovered:
“Lots of French and German pipes, even pre-war ones, were given the label “Bruyere Garantie.” At least the ones I’ve seen for sale were listed as being from the 1920s and 30s. But I suspect that is a genuine date for those because many of them had horn stems, which are much rarer in post-war pipes and some of them definitely had an Art Deco/Art Nouveau look about them as well as old-fashioned rounded buttons.” — pitchfork This pipe doesn’t have the old orific button, but it might date from just after that time period. Anyway, time to get to work! I started by sending the stinger for a soak in some lemon-infused isopropyl alcohol. I let it sit for several hours, cleaned it off and gave it a quick polish. Good as new!
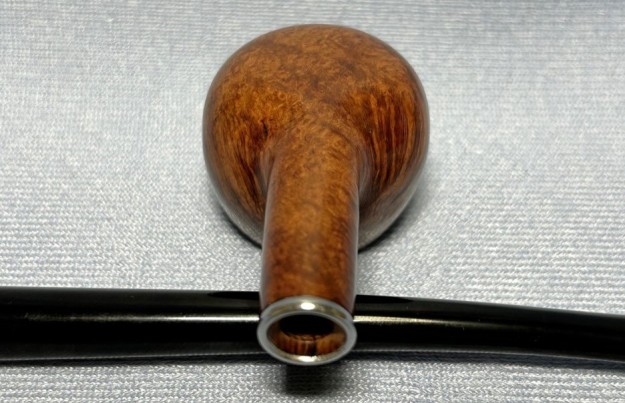
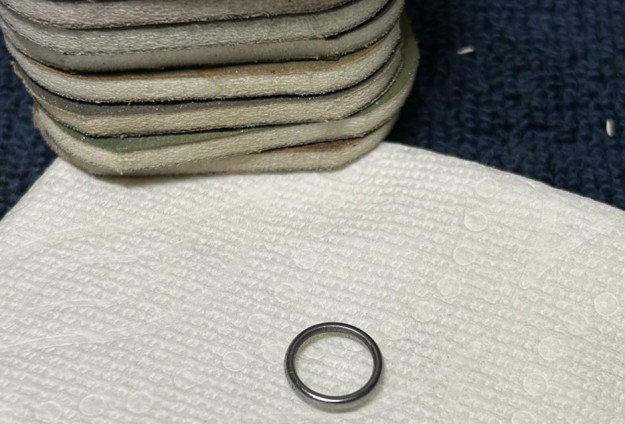
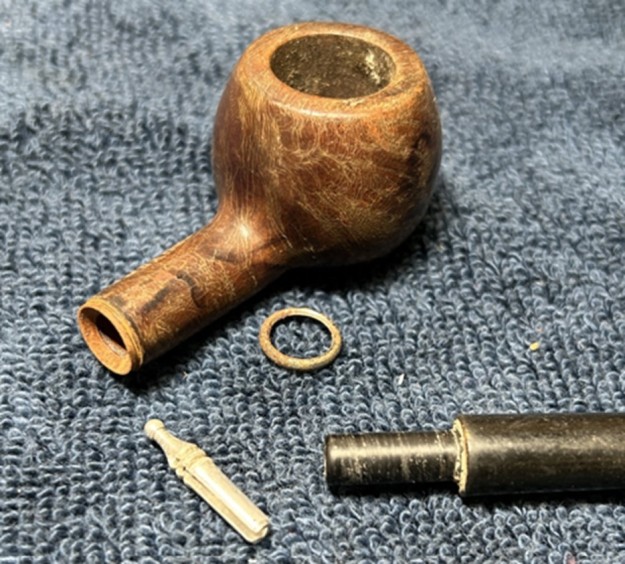 The shank had a lovely, thin band around it – but it was quite encrusted. I removed it, looked closer, and saw that there was rust! Interesting – the band must have some iron in it. I dropped the band in a little plastic bowl of plain white vinegar and let it soak overnight. I scrubbed with some 0000-grit steel wool and that worked a treat. Gave it a quick polish with my Micromesh pads and it looked good as new.

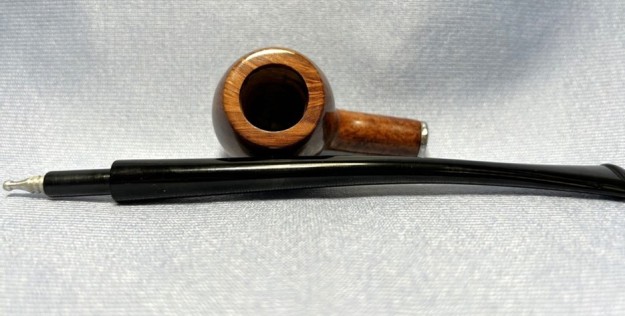
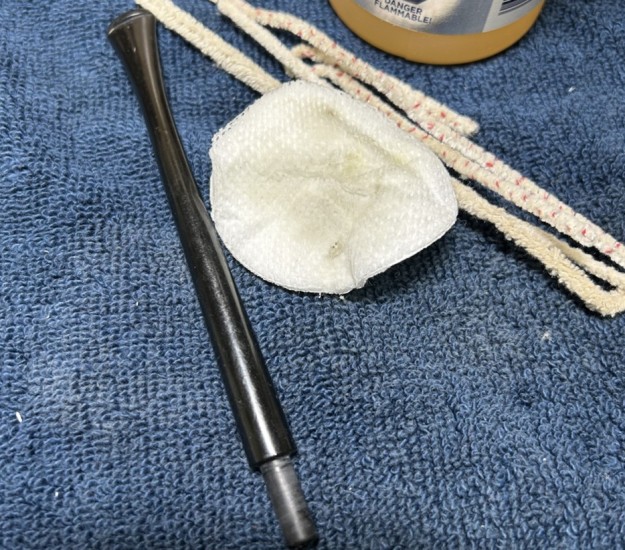
 Next, I went to work on the long stem. It appears to be acrylic – definitely not vulcanite. I gave it a good wipe-down with some soap on cotton rounds and that helped. As mentioned earlier, I don’t think this pipe was smoked and, though I can’t be sure about that, the stem’s insides had dust-type filth rather than tobacco debris. Regardless, I cleaned it out with pipe cleaners and 99% isopropyl alcohol. It wasn’t too dirty.
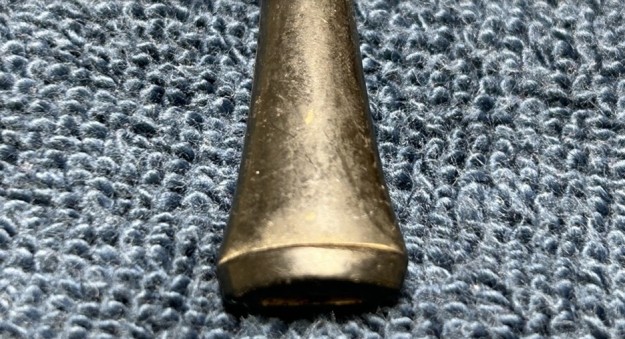

 Fortunately, the stem was in good enough shape that it didn’t show any tooth marks/dents. So, I skipped the cyanoacrylate treatments and jumped straight to the Micromesh pads. I used all nine pads (1,500 through 12,000 grit) to bring out the lovely black lustre on the stem. I also used Obsidian Pipe Stem Oil in between each pad scrubbing (from 3,600 onward).
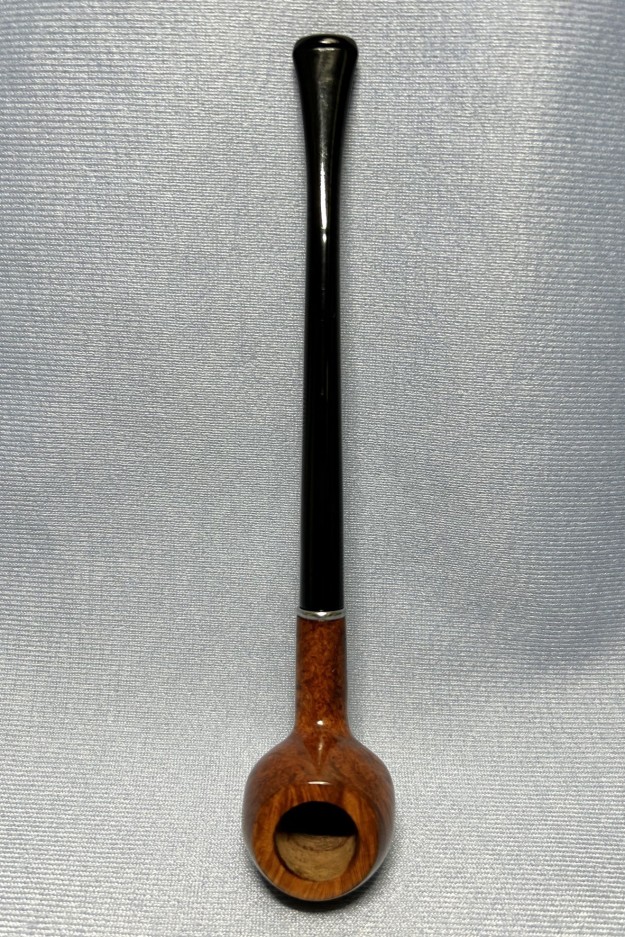
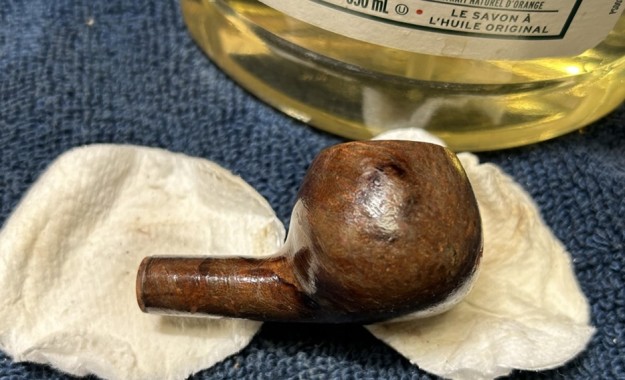
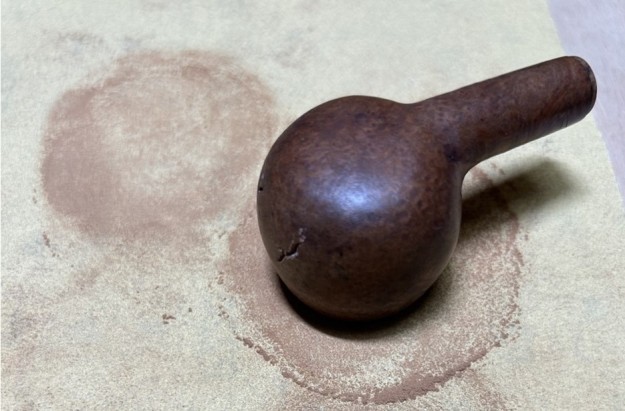
 Now for the stummel. As the photos show, the finish on the wood has crackled and/or degraded somewhat over the years. It looks terrible and I’ll have to address that. First, I decided to ream out the bowl – but there wasn’t anything to ream! This is another clue that suggests an unsmoked pipe. It was certainly dusty inside – very. I cleaned out the insides with pipe cleaners and 99% isopropyl alcohol. I also cleaned the insides with some soap and tube brushes. It was nice and clean after this.
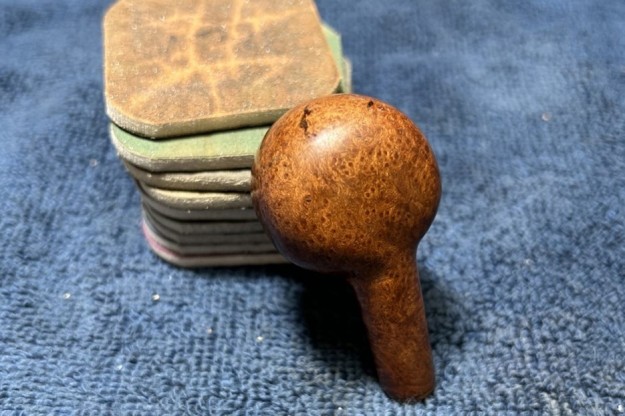
 Now to deal with the finish on the stummel. I grabbed some Murphy’s and rubbed the surface to clean things up. This did precious little. Since there was a fill that also needed to be fixed under this finish, I took some acetone and thoroughly cleaned the surface – that was the best decision I made! The pipe looked so much better with the old finish removed. There was actually some very nice wood under there.
 I examined the nicks in the briar. I took my iron and a damp cloth to try to raise them. The hot and moist steam can often cause the wood to swell slightly and return to shape. This worked well – I was pleased with the results. However, some lumps and bumps remained on the rim and a big fill to boot. In order to safely remove the marks on the rim, I “topped” the pipe – that is to say, I gently and evenly sanded down the rim on a piece of 220-grit sandpaper. This effectively removed the damage, without altering the look of the pipe.
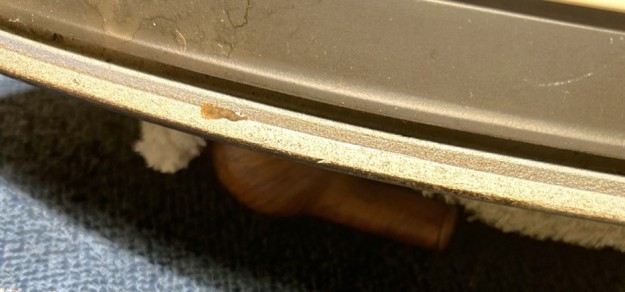
 Then, I made a mix of cyanoacrylate and briar dust and filled the fill. I sanded the repair down with 400-grit sandpaper, then proceeded to use the Micromesh pads over the whole thing. Oh boy, it really looked good.


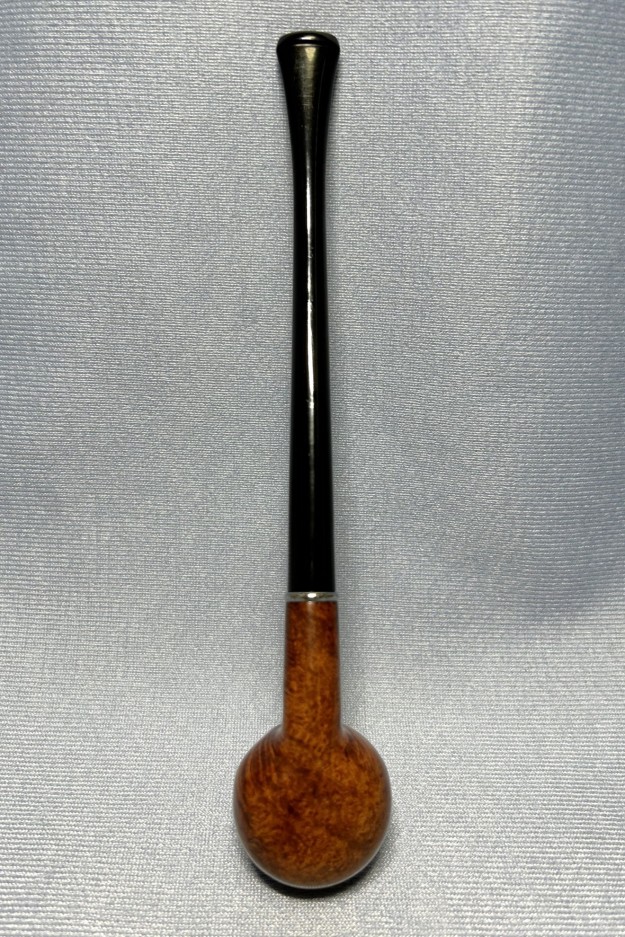
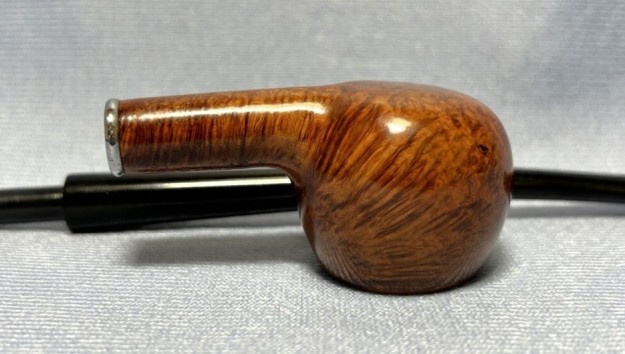
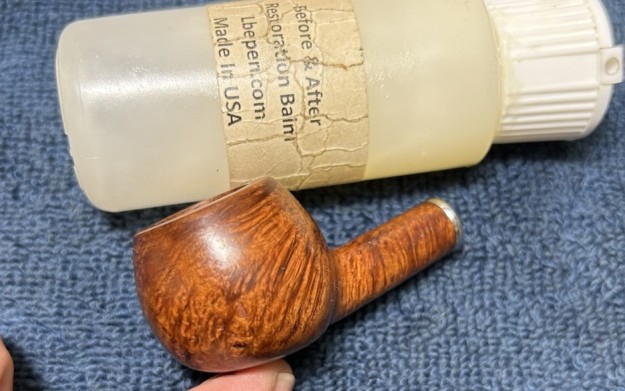
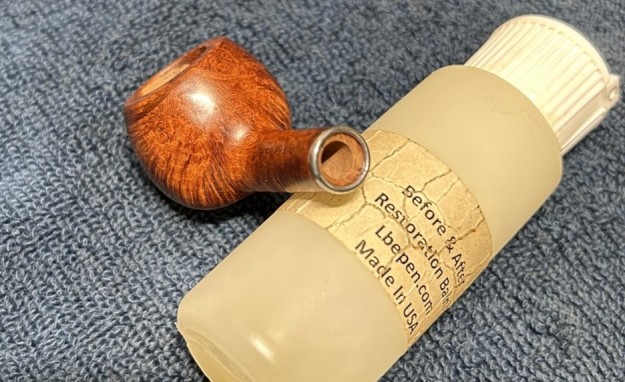
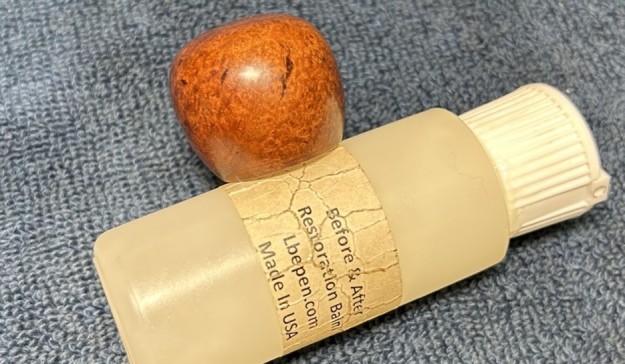
 I glued the band back on the shank and applied some Before & After Restoration Balm. I let it sit for 20 minutes or so. It does lovely things to the wood. I polished it with a microfibre cloth and it shone. Wow – the pipe really looks lovely.

Off to the bench polisher I went. I applied some White Diamond and a few coats of carnauba wax and they added the finishing touch. This old Bruyere Garantie churchwarden was in need of a new lease on life. I am pleased to announce that this pipe is for sale! If you are interested in acquiring it for your collection, please have a look in the “French” pipe section of the store here on Steve’s website. You can also email me directly at kenneth@knightsofthepipe.com. The approximate dimensions of the pipe are as follows: length 7⅜ in. (185 mm); height 1⅛ in. (28 mm); bowl diameter 1¼ in. (32 mm); chamber diameter ⅔ in. (15 mm). The weight of the pipe is ¾ oz. (23 g). I hope you enjoyed reading the story of this restoration as much as I enjoyed restoring it. If you are interested in more of my work, please follow me here on Steve’s website or send me an email. Thank you very much for reading and, as always, I welcome and encourage your comments.