Guest Blog by Robert M. Boughton
Member, North American Society of Pipe Collectors
http://www.naspc.org
http://www.roadrunnerpipes.com
http://about.me/boughtonrobert
Photos © the Author
“Every failure is a lesson well learned, every success is a battle well fought, and every friend is a jewel well-kept in one’s heart.”
― Unknown
INTRODUCTION
As a valued friend and mentor, Chuck Richards can be counted on to tell me the truth, always. No matter how special are the occasions when his comments are clear thumbs-up, being thick-skinned, I can say with all honesty that I value more the constructive tips, outright lessons and even contributions (whether requested or not) that this gem of a friend has shared with me during the fleeting past three years since I made my first pipe restoration of a Czech-made La Grande Bruyère mini bent billiard. This openness in my character is fortunate, considering the greater incidence of the latter compared to the former.

Chuck with Victor Rimkus in a rare peaceful moment.
By way of example, there was the time early last December when Chuck, after being approached by an unspecified number of my local customers with reports of un-thorough cleaning of the inner stems and shanks of some pipes I had sold to that date, at last brought up the subject. I was not only unhappy to learn that any of my friends and associates who paid money for my pipes were too worried they might “hurt my feelings” by giving me the chance to correct the problem myself; I was still more irked that Chuck failed to warn me after the first instance. [See https://rebornpipes.com/2014/12/10/in-retort-to-claims-of-unclean-restored-pipes-robert-m-boughton/ for the full story.] Of course Chuck then emphasized the importance of retorting, and in one mad 18-hour marathon when my retort kit arrived in the mail soon after, I corrected the problem with every remaining pipe on my sales list, as I have done with each pipe I’ve restored since.
And so, last Friday night at our weekly pipe club get-together I showed Chuck my latest finished projects. He examined them before leaning toward me to tell me discretely of another fellow club member who saw my array of pipes for sale next to his at the monthly Moose Club meeting, where we are free to sell. It seems the gentleman in question, who is getting into the restoration practice, wondered why my pipes (and his own, it turned out) looked “so dull” compared to Chuck’s. I am pleased that I was apprised of the comment soon afterward, but had to wonder why Chuck – who no doubt noticed the same effect long ago – didn’t tell me of the importance of using an un-waxed buffer wheel after each application of the various waxes that can be used to finish pipes.
I had more than usual difficulty grasping the process as Chuck explained it to me, until his third description, when some light in my head snapped on. I understood he was not talking about removing the nice shiny layer of wax applied with such care; he was describing a way to take off the excess wax and firm up the rest so that it would shine even more, not smudge and last longer.
“You won’t believe the difference in the look of the pipe when you use a clean buffer after each wax you put on it,” Chuck told me, smiling in relief and the genuine pleasure he derives from explaining anything pipe-related, when he saw that my head had wrapped around the whole idea.
Again, of course, I remembered Chuck’s work-load and other difficulties, not to mention the bombardment of questions he receives every day from friends and customers. I identified with the high probability that every time he planned to say something it simply slipped his mind.
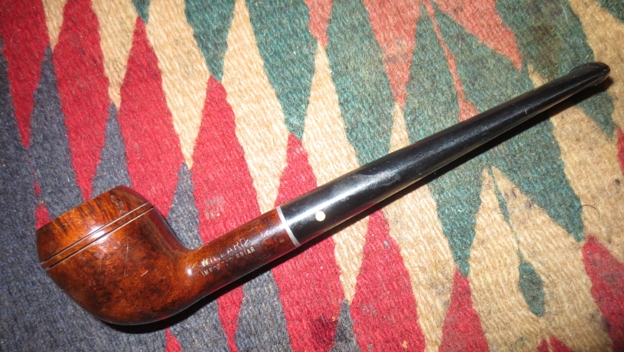
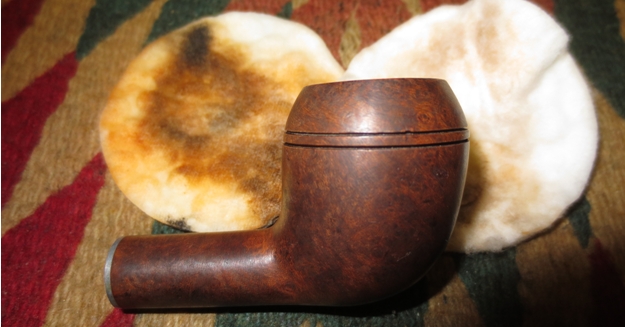
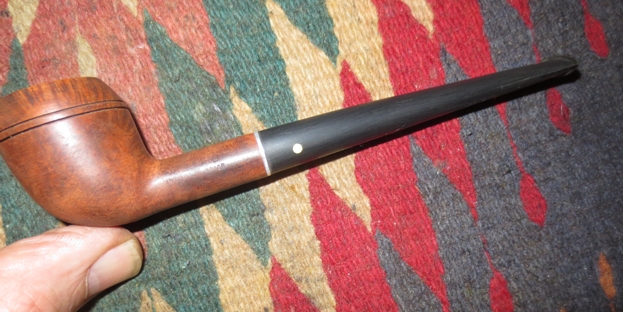
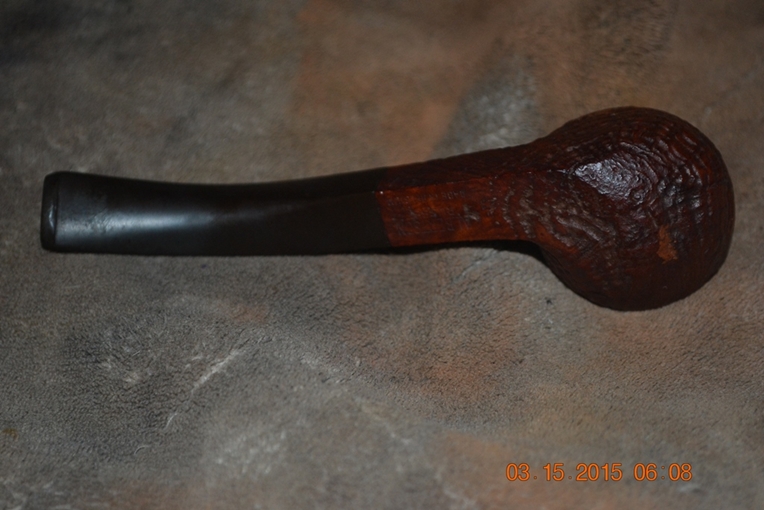
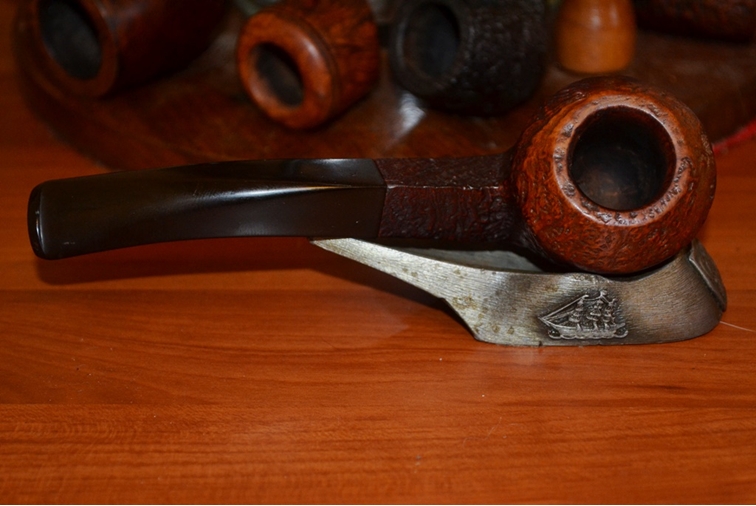
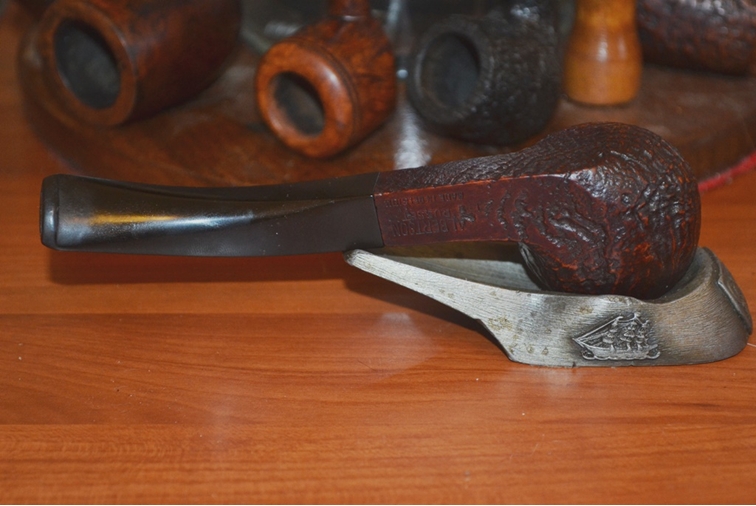
At any rate, this blog concerns a lovely rusticated bent bulldog made by the Belgian company known as Albertson, which, after World War II, was taken over by the Hilson factory. Since that crafter went bankrupt in 1980, the Albertson brand has been continued by the Royal Dutch Pipe Factory.
Considerable work went into this particular restoration, the first opportunity to use my new knowledge of proper pipe waxing. Thank you, Chuck, for being a real friend again. I officially challenge anyone to inspect this bulldog and find anything whatsoever lacking in its inner and outer shimmer.
THE RESTORATION 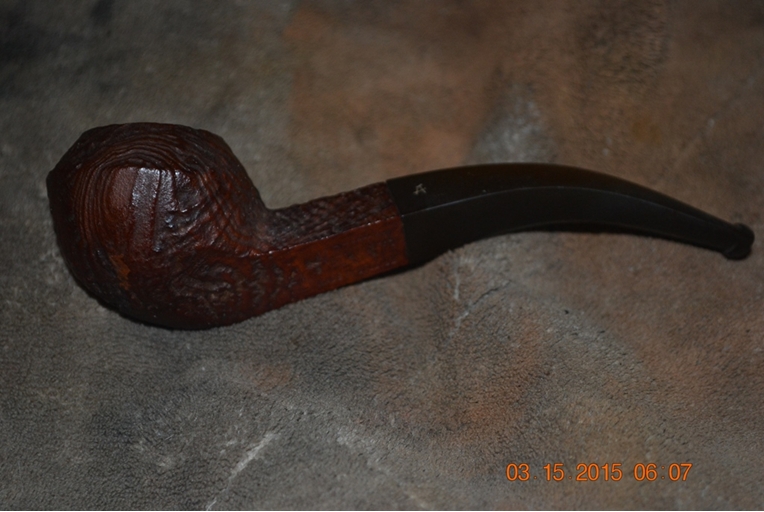

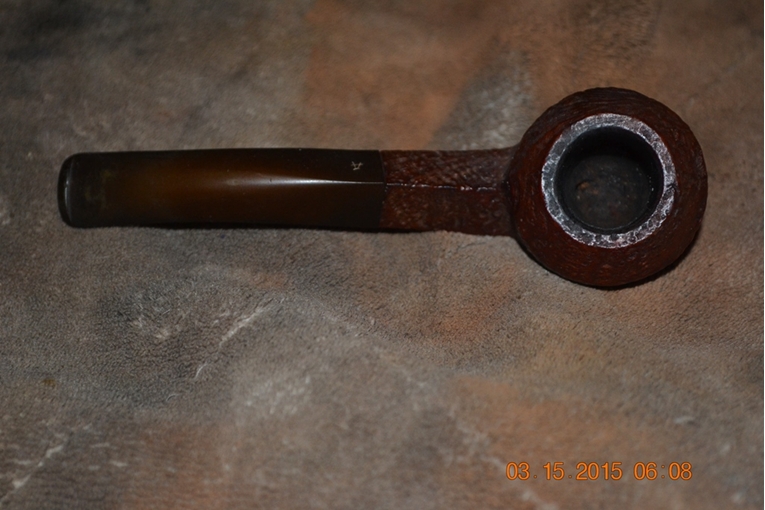
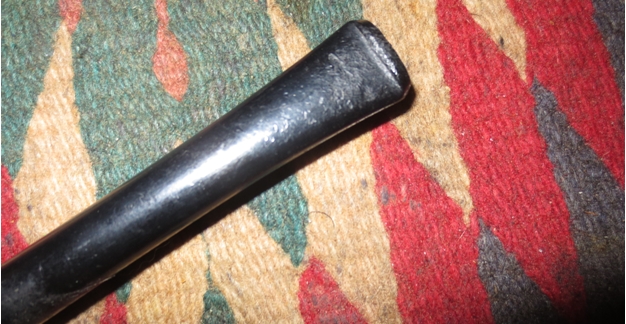
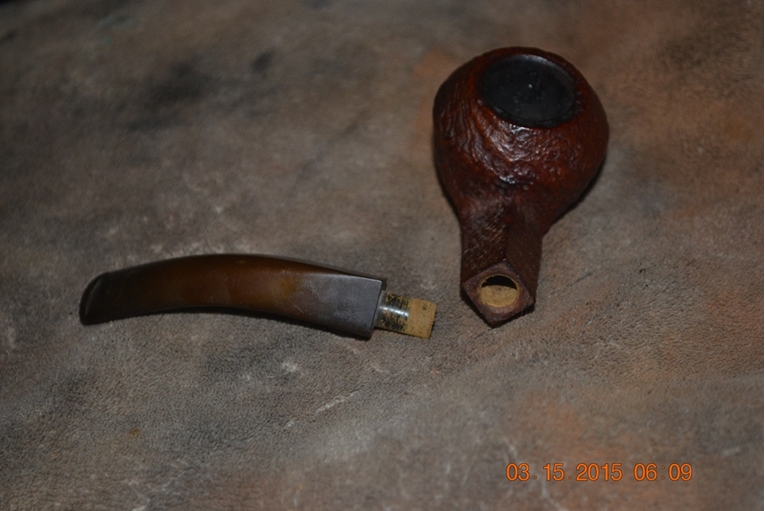 When my now customary first step of OxiCleaning the stem was complete, the well-shaped and gently curved stem was clean but covered with green, white and brownish spots. I solemnly affirm that I documented the result with a photo, but it seems to have been lost due to a malfunction of my camera. Likewise, the effects of 220-grit sandpaper on removing the serious tooth chatter that marred both sides of the top of the stem, almost an inch below the lip, are gone. Even the lip had been gnawed and required intense sanding, but at least I avoided Black Super Glue.
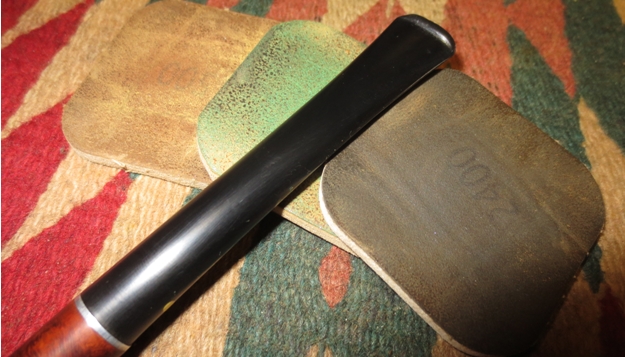
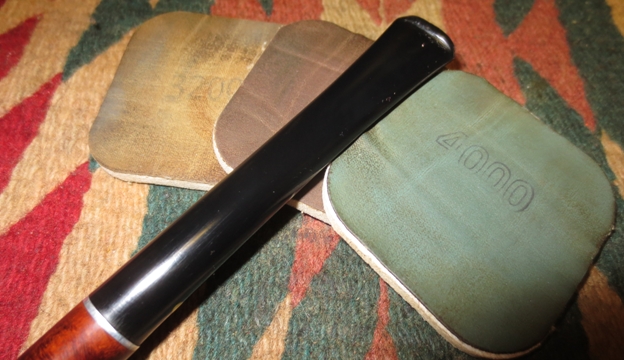
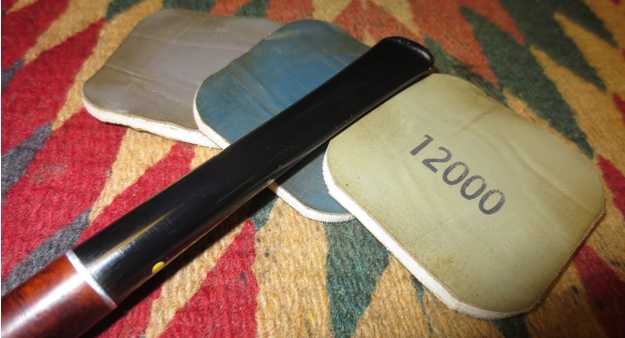
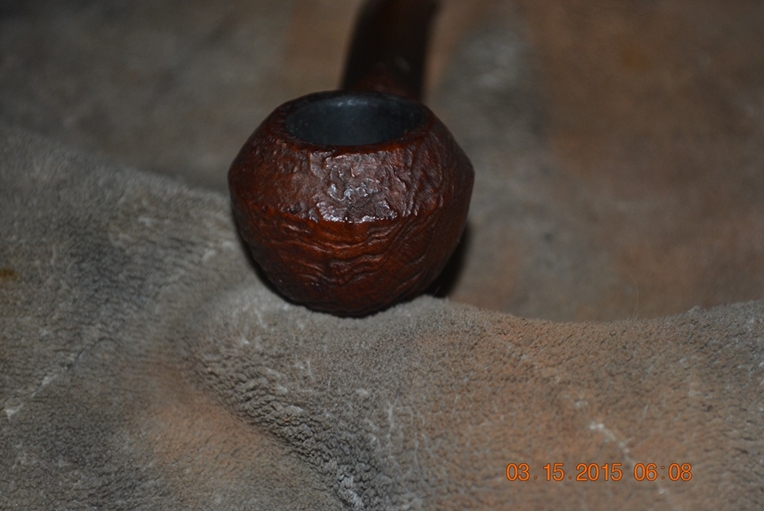
I stripped the rusticated briar in Everclear.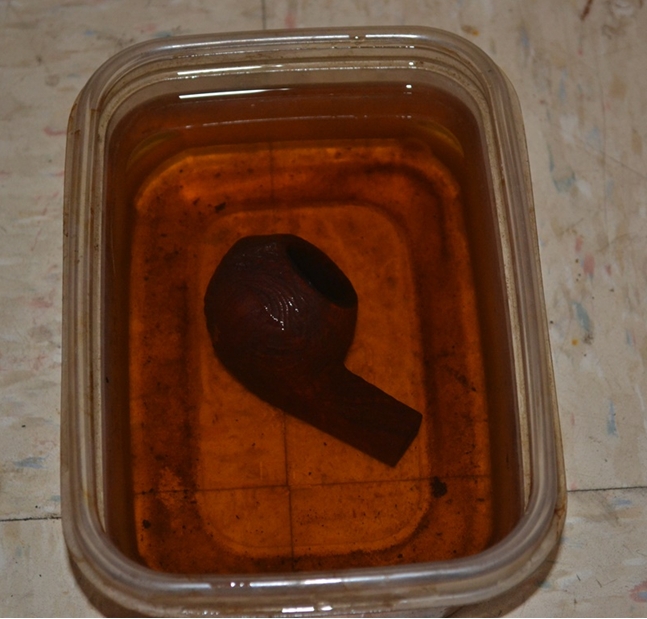 Again, the photos of the bare briar after this process are not to be found, although rubbing with super fine steel wool, then sanding the top of the bowl above the traditional line to make it lighter in color, followed by a thorough micro-meshing of the whole with five grades from 1500-4000 made the wood ready for buffing. The only way I can even begin to explain the absence of these particular photos is to note that all of them were taken in order during a short period of peculiar behavior by the DSLR.
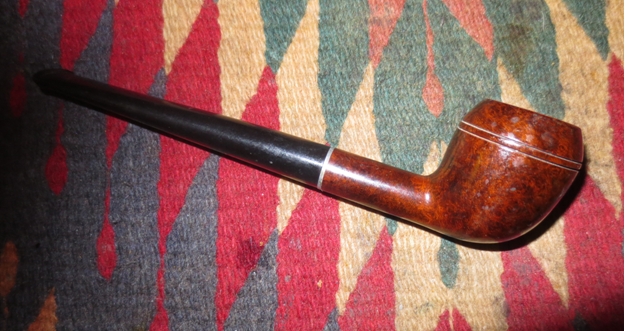
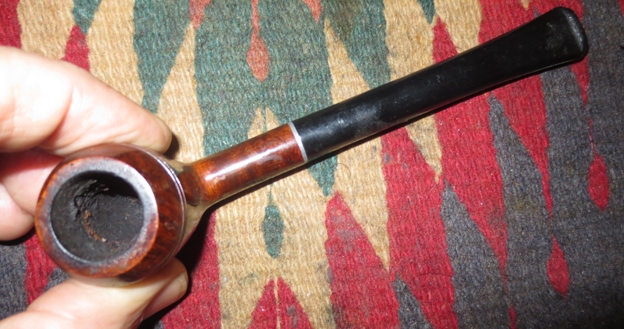
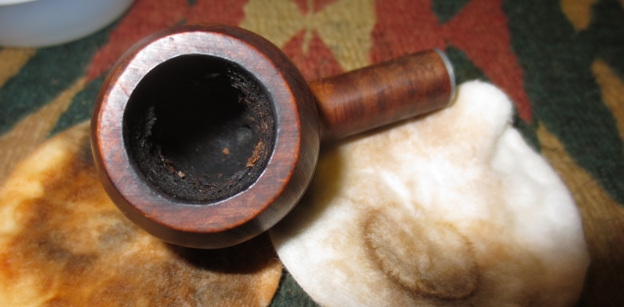
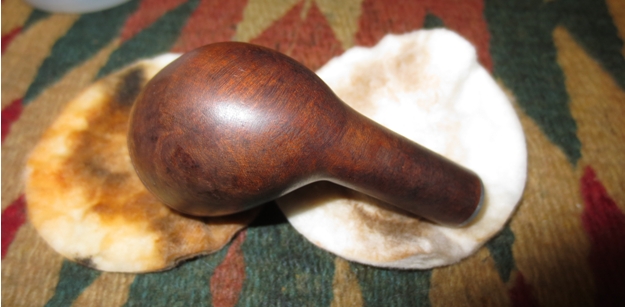
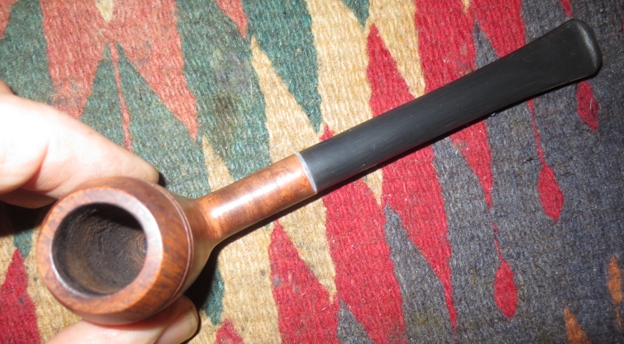
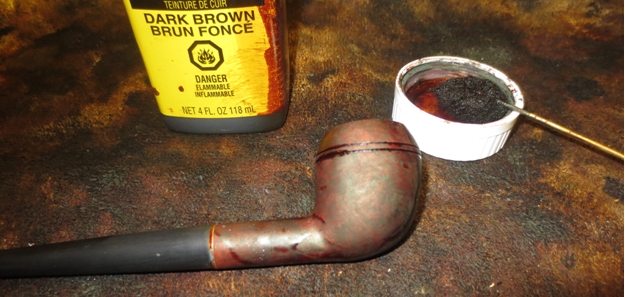
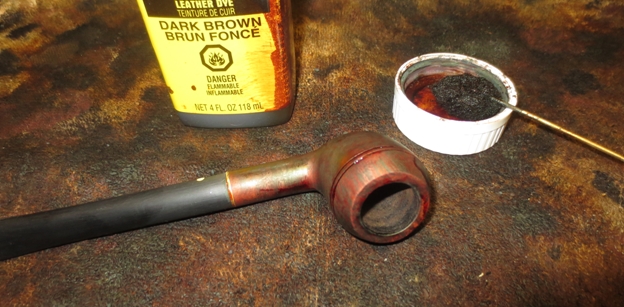
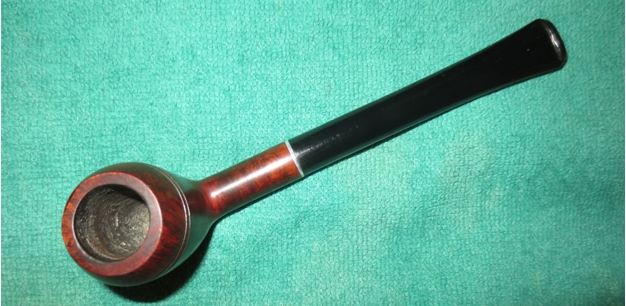
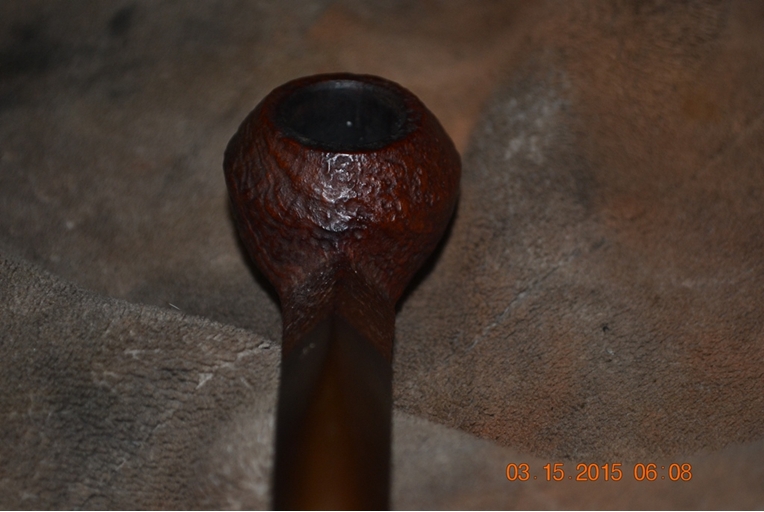
After sanding the chamber with 320-grit paper followed by 200, I retorted the pipe. For the first time, that step required only one test tube of boiled alcohol, thanks to the excellent care by the previous owner and the Everclear soak. I had stained all of it but the top and rim with burgundy boot dye, which I flamed and hand-buffed with 4000 micromesh before resorting to 3600 to heighten the new red tone. Here is the briar when I was almost done prepping it for the final buffs.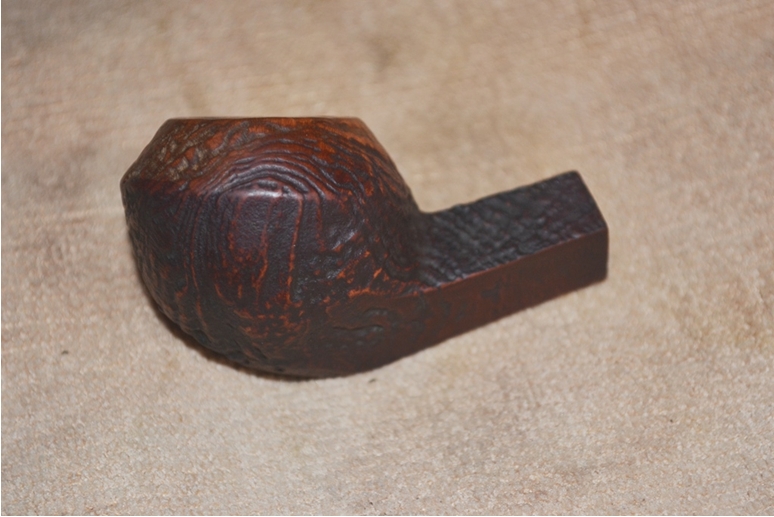 At the last moment, I decided to give the upper part of the bowl and the rim a final sanding with 320-grit paper and re-using the same micromesh progression as before to take it all the way down to its natural light brown color. All was in order to try out my newly-learned wheel buffing technique.
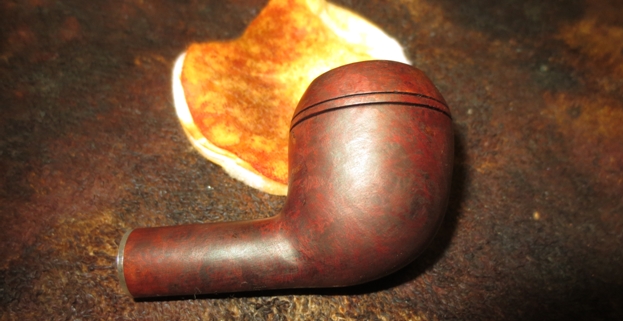
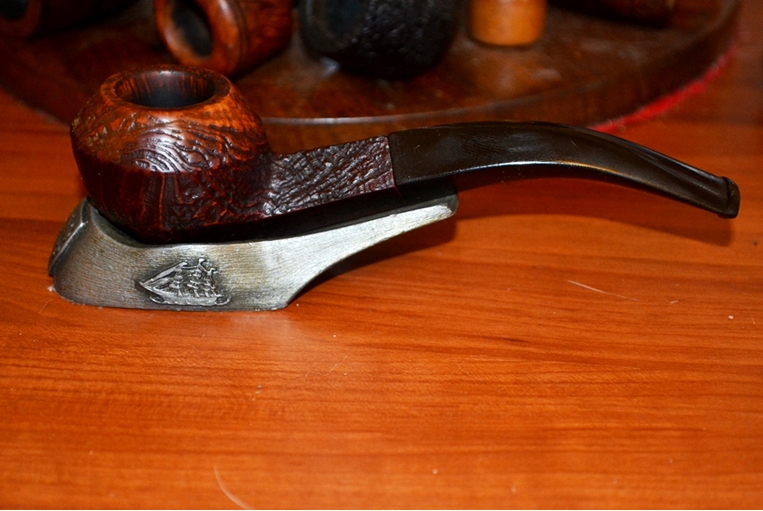
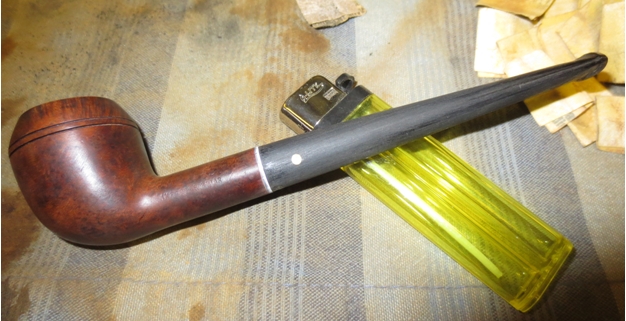
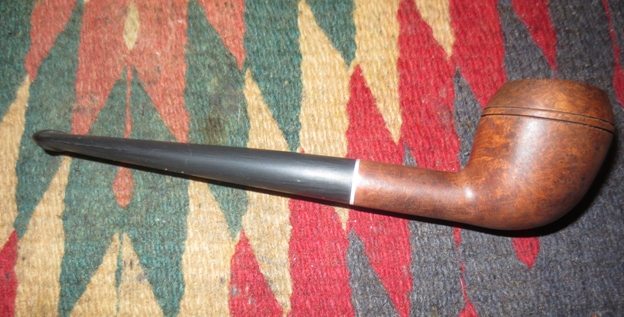
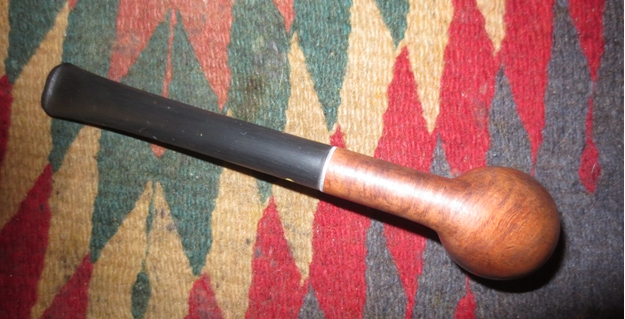
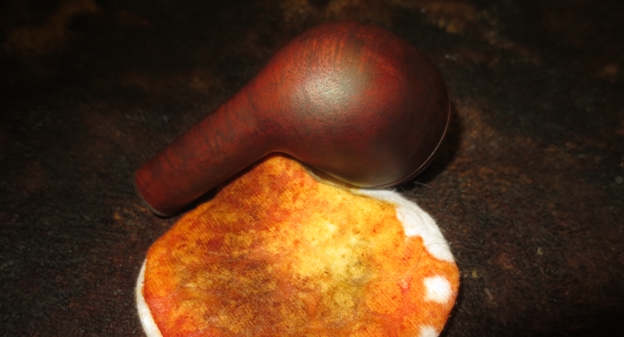
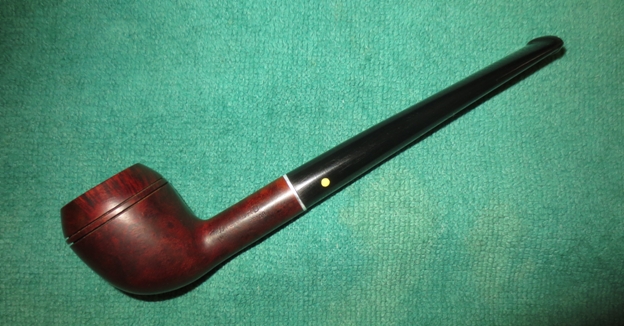
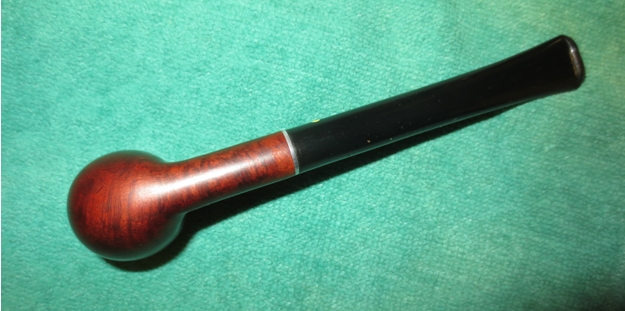
The stem took a little extra work with its extra lines, using the regular red Tripoli followed by White Diamond. I happened to have an extra, new buffer which I then attached to the electric wheel that had held the red Tripoli cloth. Beginning on the briar with a regular white Tripoli buff, I held it up in the light for a better look before I moved to the clean buffer and turned the wood with extra care. Again I held it up to see the change, which, as Chuck had promised, was prominent. Repeating these steps with White Diamond and at last carnauba (since I still need to replace my spent supply of Halcyon II), when the work was done I was truly impressed with the far finer and more solid shine.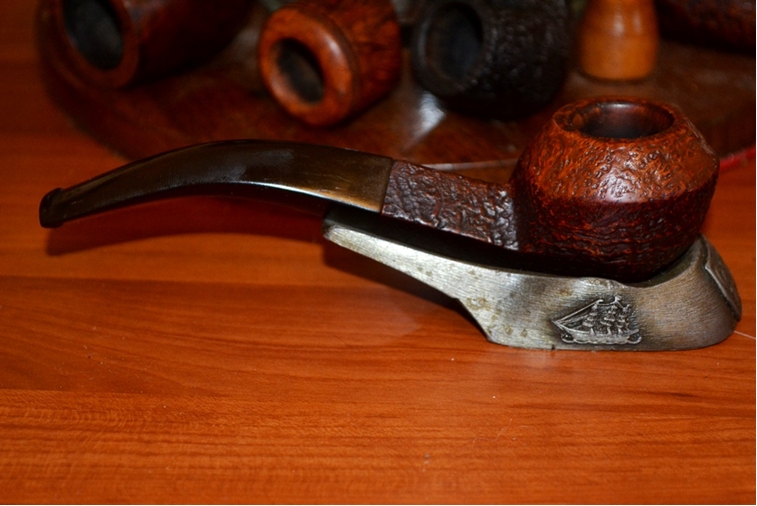

 CONCLUSION
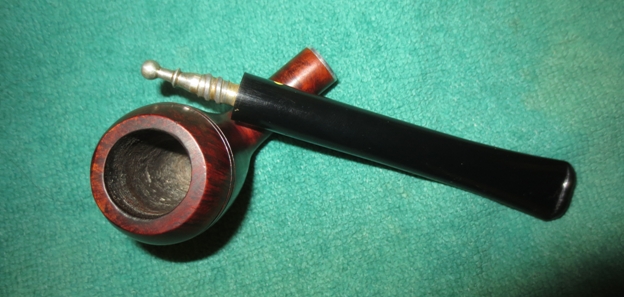
I was fortunate to start with an estate pipe that was well-tended by it prior owner, and I like to think that he would be pleased with its new, sharper two-tone look. My only regret is that now I have to re-polish my entire growing collection of pipes for sale. But I am looking forward to the next monthly Moose Lodge meeting of the pipe club on the third Thursday of April. You can bet I’ll be there, with all of my pipes arranged proudly beside Chuck’s.
Still I wonder…what future comments might make their way to me via my good friend and mentor? Perhaps now my potential local customers might find the good grace and trust to approach me instead.