Blog by Steve Laug
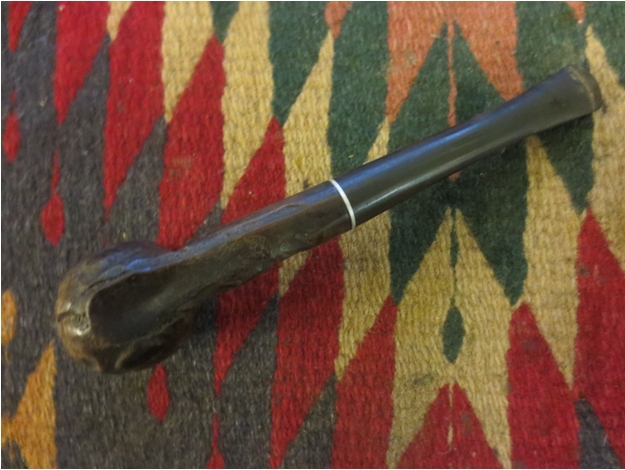
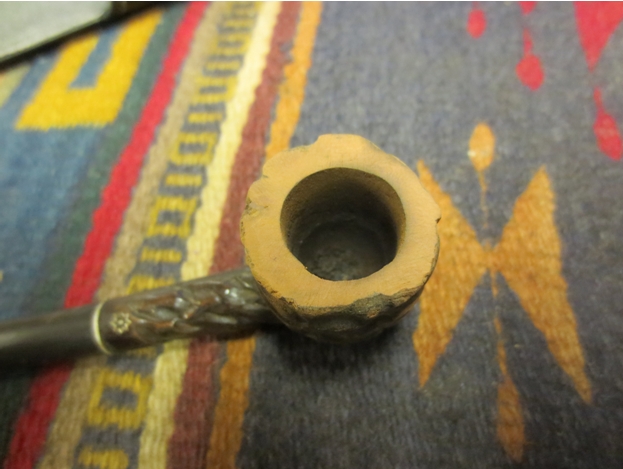
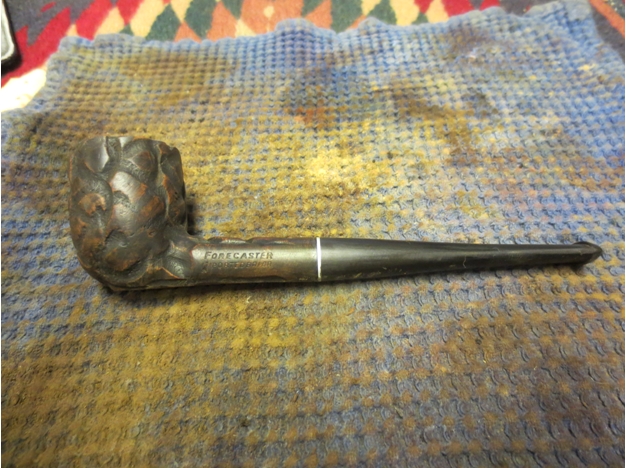
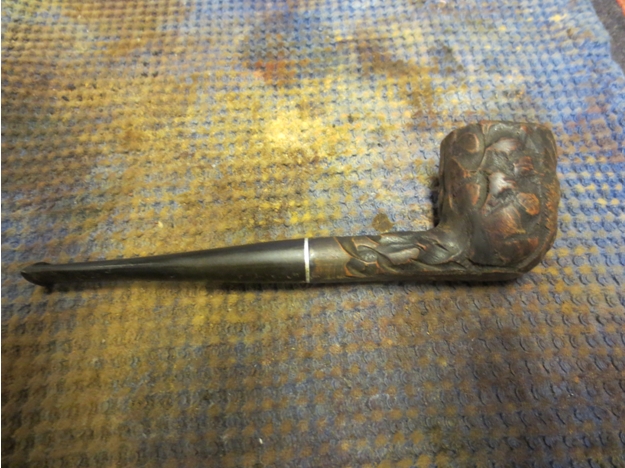
I am getting down to the bottom of my refurbishing box yet again. This is one of three pipes that are left to work on. It is one ugly old pipe to my tastes. Certainly it is one that I have left until there are few to choose from to work on. There truly was nothing redeeming about the look of it. The rough cut billiard with a bark like rustication pattern did nothing for me. The left side of the shank is stamped Forecaster over Imported Briar. The bottom of the bowl had been flattened to make the pipe a sitter. But even that was done poorly as it was to one side and the pipe sat with a list. The finish was worn out but appeared to have been a dark thick stain that was opaque enough to hide all the briar. The outer rim of the bowl had been badly beaten up from hitting against some hard surface and left to be a ragged rough edge around the bowl. One thing that gave this tired old pipe a unique, eye-catching touch was that the top of the shank had been stamped with an eight point star and then inlaid with gold paint. The bowl had a thick soft cake all the way down reducing the diameter of the bowl by almost half. The stem had a metal spacer that gave the appearance of a stem with a metal tenon as well. But when I removed the stem I found that it had a vulcanite tenon. The stem was badly oxidized and had some deep scratches in the surface.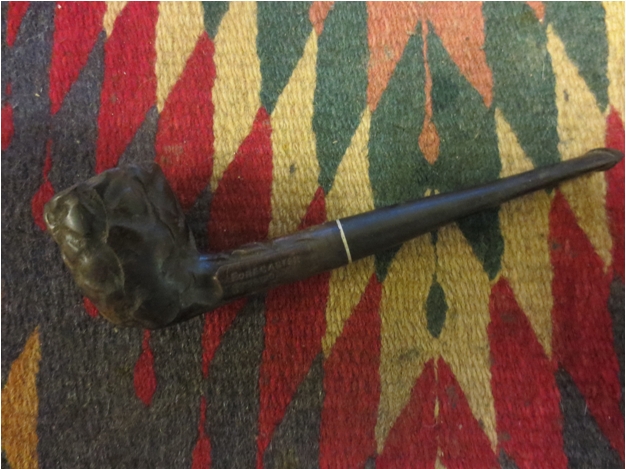


 I reamed the bowl with a PipNet reamer using the smallest cutting head and worked my way up to the head that would take the cake back to the bare wall of the pipe.
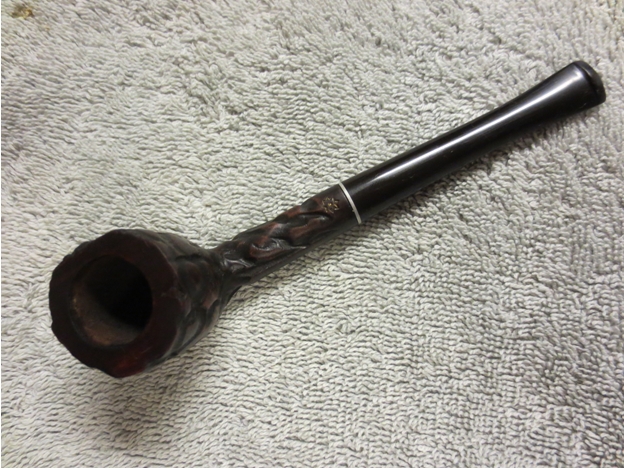
 The top was so damaged that it needed to be topped. In looking it over I was not sure how much of the rim I could remove without dramatically changing the look of this pipe so I would proceed slowly. I set up a topping board with 220 grit sandpaper and slowly topped the bowl. I sanded it until I had removed as much of the damaged portion of the rim as I could without changing the shape. The rustication made the bowl look out of round but is actually still round. The right side is more rusticated at the top edge than the left so it looks unusual from the top down photo below.
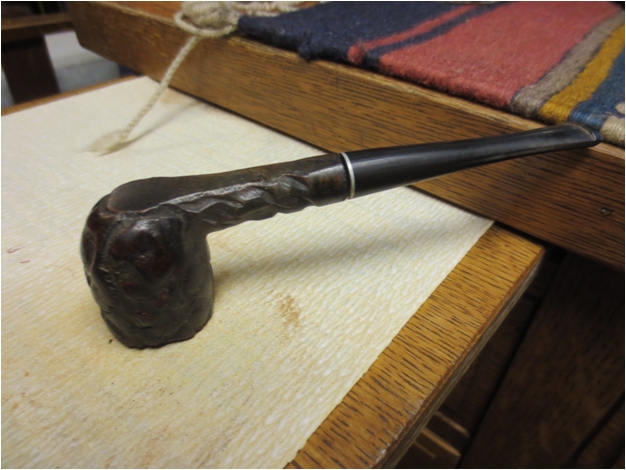
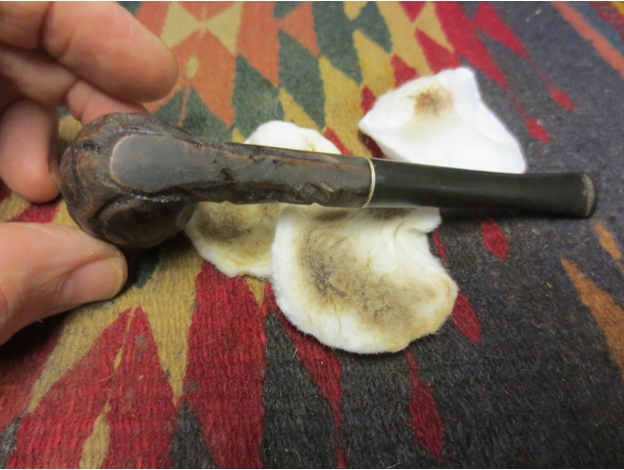
 I wiped down the finish with acetone on cotton pads until I had removed the heavy dark finish. It took a lot of scrubbing to get through the grime and then the varnish coat. Underneath the dark top coat it appeared that there was a walnut stain that highlighted the grain on the high spots of the bowl. The grooves and valleys were dark with a black stain. The contrast had some potential.
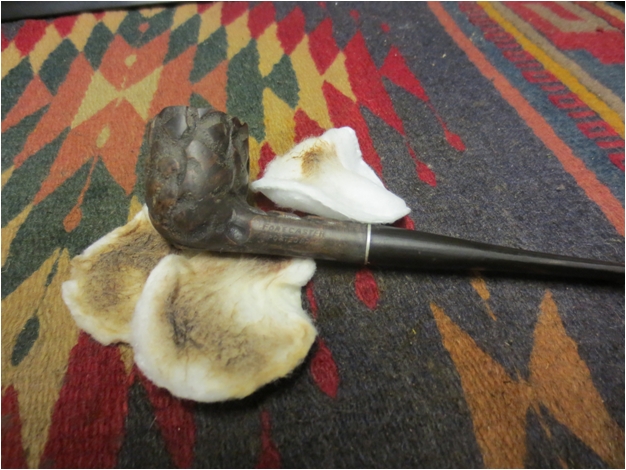
 I sanded the smooth parts of the bowl and rim with medium and a fine grit sanding sponges to smooth out the scratches in the bowl and on the topped rim. I wiped it down with isopropyl alcohol and then stained it with a dark brown aniline stain. I applied it and flamed it and repeated the process until the coverage was even.
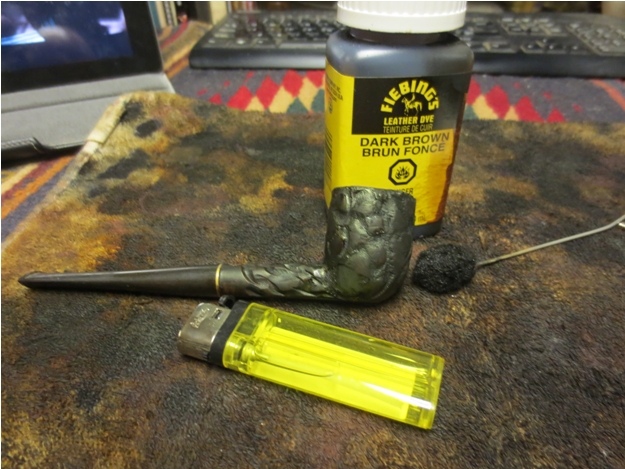
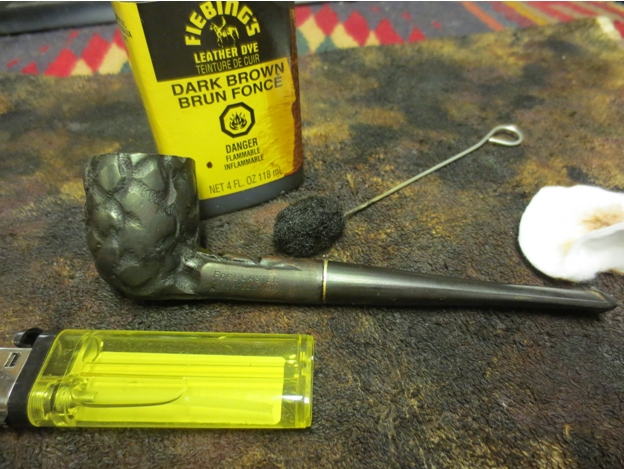
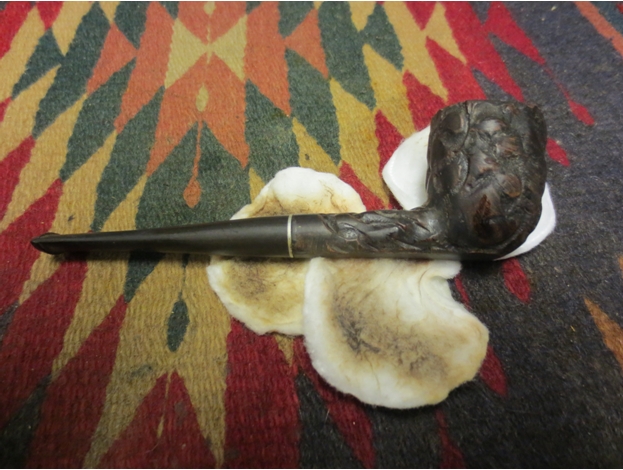
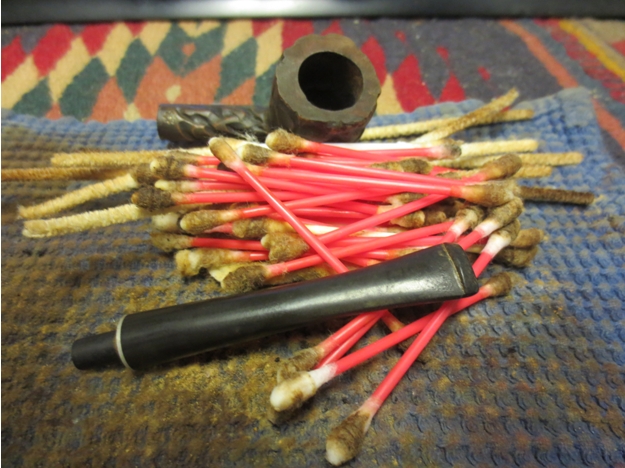
 The bowl was very dark brown but it was at least evenly stained. I would have to do some more work on it to get the contrast that I wanted between the rustication and the smooth parts of the briar. I cleaned out the shank and bowl with isopropyl alcohol, cotton swabs and pipe cleaners until they came out clean. I cleaned the stem at the same time until it also was clean.
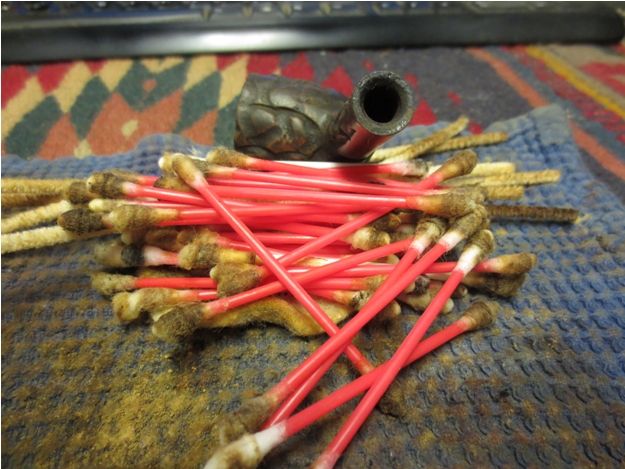
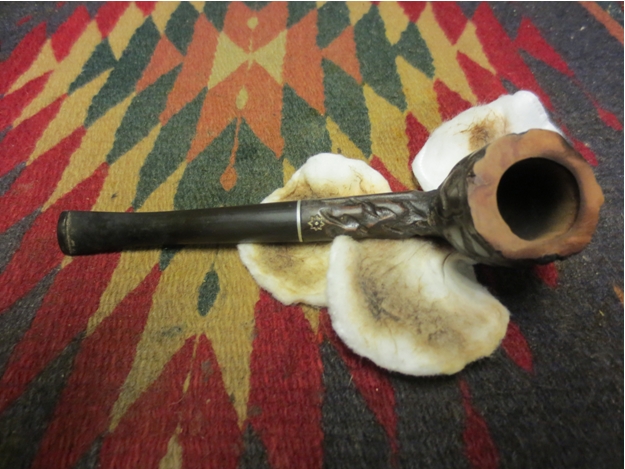
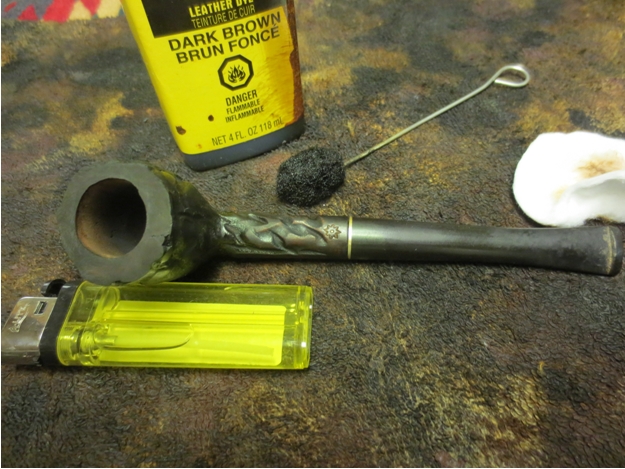
 I wiped the bowl down with isopropyl alcohol to remove some of the heavy dark brown stain and make it more transparent. I then sanded the bowl with a fine grit sanding sponge to remove some more of the stain on the high spots and to match the colour of the stain on the rim. I sanded the stem with the sanding sponges at the same time to minimize the scratches on the vulcanite.
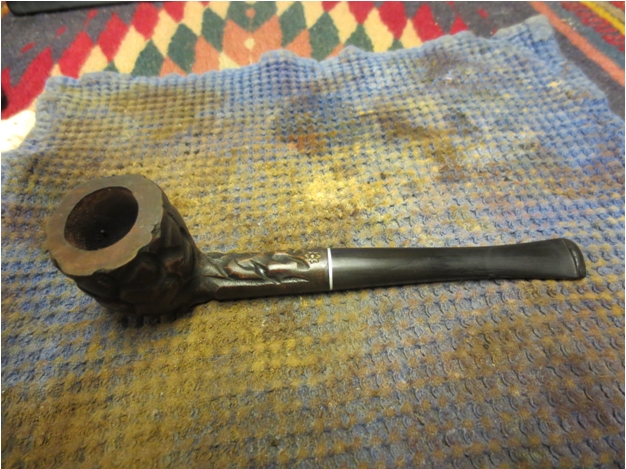
 I buffed it with White Diamond and took it back to the worktable to work on the stem and bowl some more. I wanted the stain to be a bit more transparent and the contrast between the high spots and the crevices to show clearly.
 I still needed to deal with the list to one side when I set the pipe down on a flat surface. I probably should have done this before I stained the bowl but forgot to do so in cleaning up the mess. I decided it was better late than never so I dealt with it next. In examining it I found that it was not centered on the bottom of the bowl and shank but was off to one side. I sanded flat portion to take down the higher side and even out the flat bottom. I used 220 grit sandpaper and then a medium and fine grit sanding sponge to flatten it out and remove the list. When I was satisfied with the way the bowl sat I refinished it with a stain pen to darken it and blend it into the stain of the rest of the bowl.
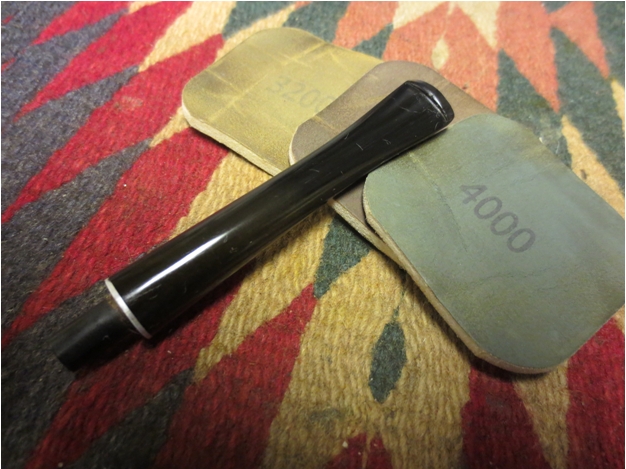
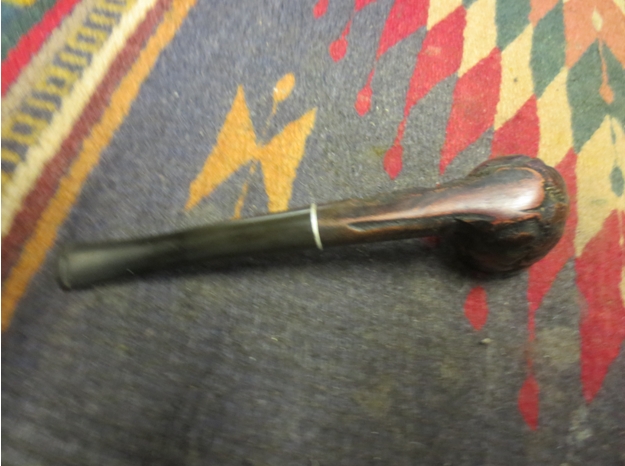 I sanded the stem with micromesh sanding sponges – wet sanding with 1500-2400 grit pads and dry sanding with 3200-12,000 grit pads. Between each set of three pads I rubbed the stem down with Obsidian Oil and let it soak into the vulcanite before proceeding with the next set of pads. When I finished I gave it a final coat of oil and then buffed it with White Diamond to a shine.
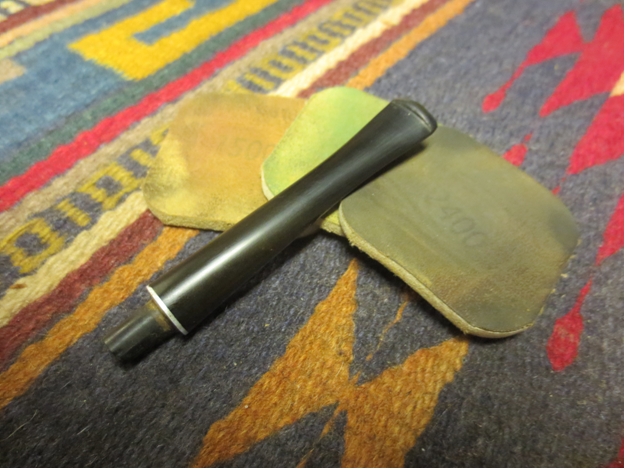
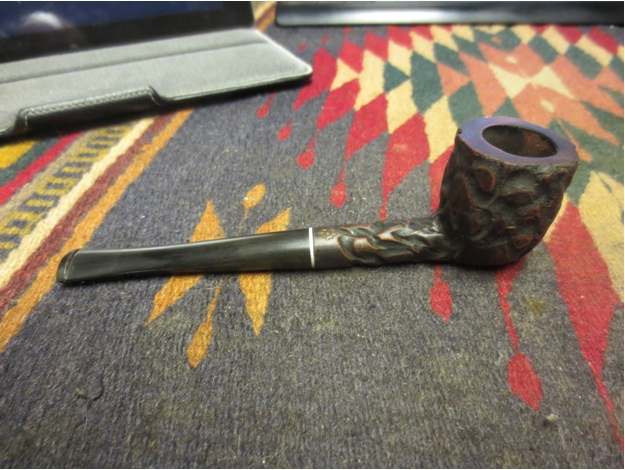
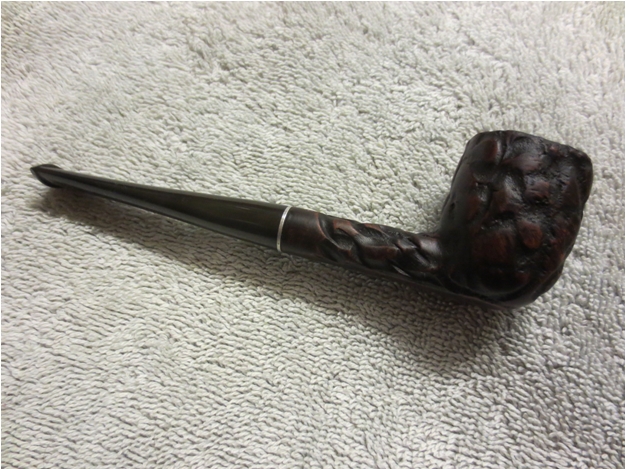
 I buffed the entire pipe with White Diamond and then gave it several coats of carnauba wax and buffed it with a soft flannel buff. The finished pipe is shown below. It is still an ugly pipe in my opinion but there is something redeeming about the ugliness. I suspect it will make a great yard pipe for someone and will deliver a good smoke. It must have been a good smoking pipe in its day – otherwise why would its previous owner have smoked it to the point of near death!
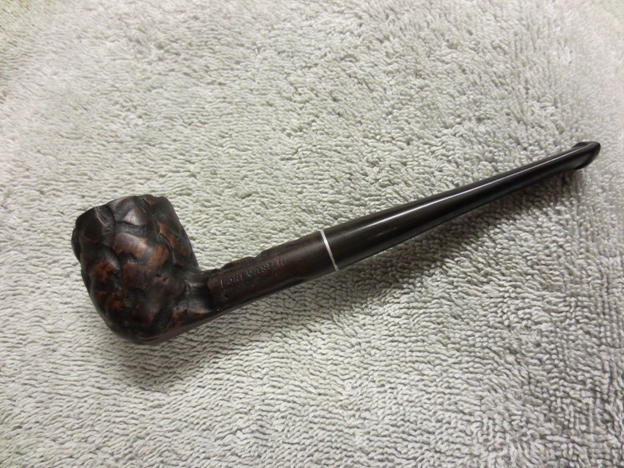


You might have just made a silk purse out of a sow’s ear. It shoud make a good, honest work pipe.
LikeLike