Blog by Steve Laug
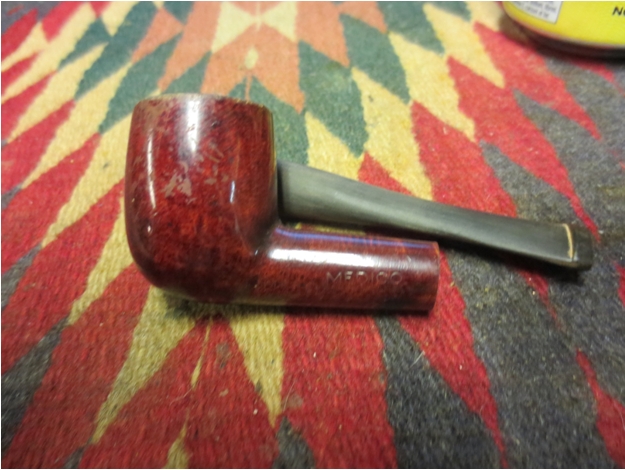
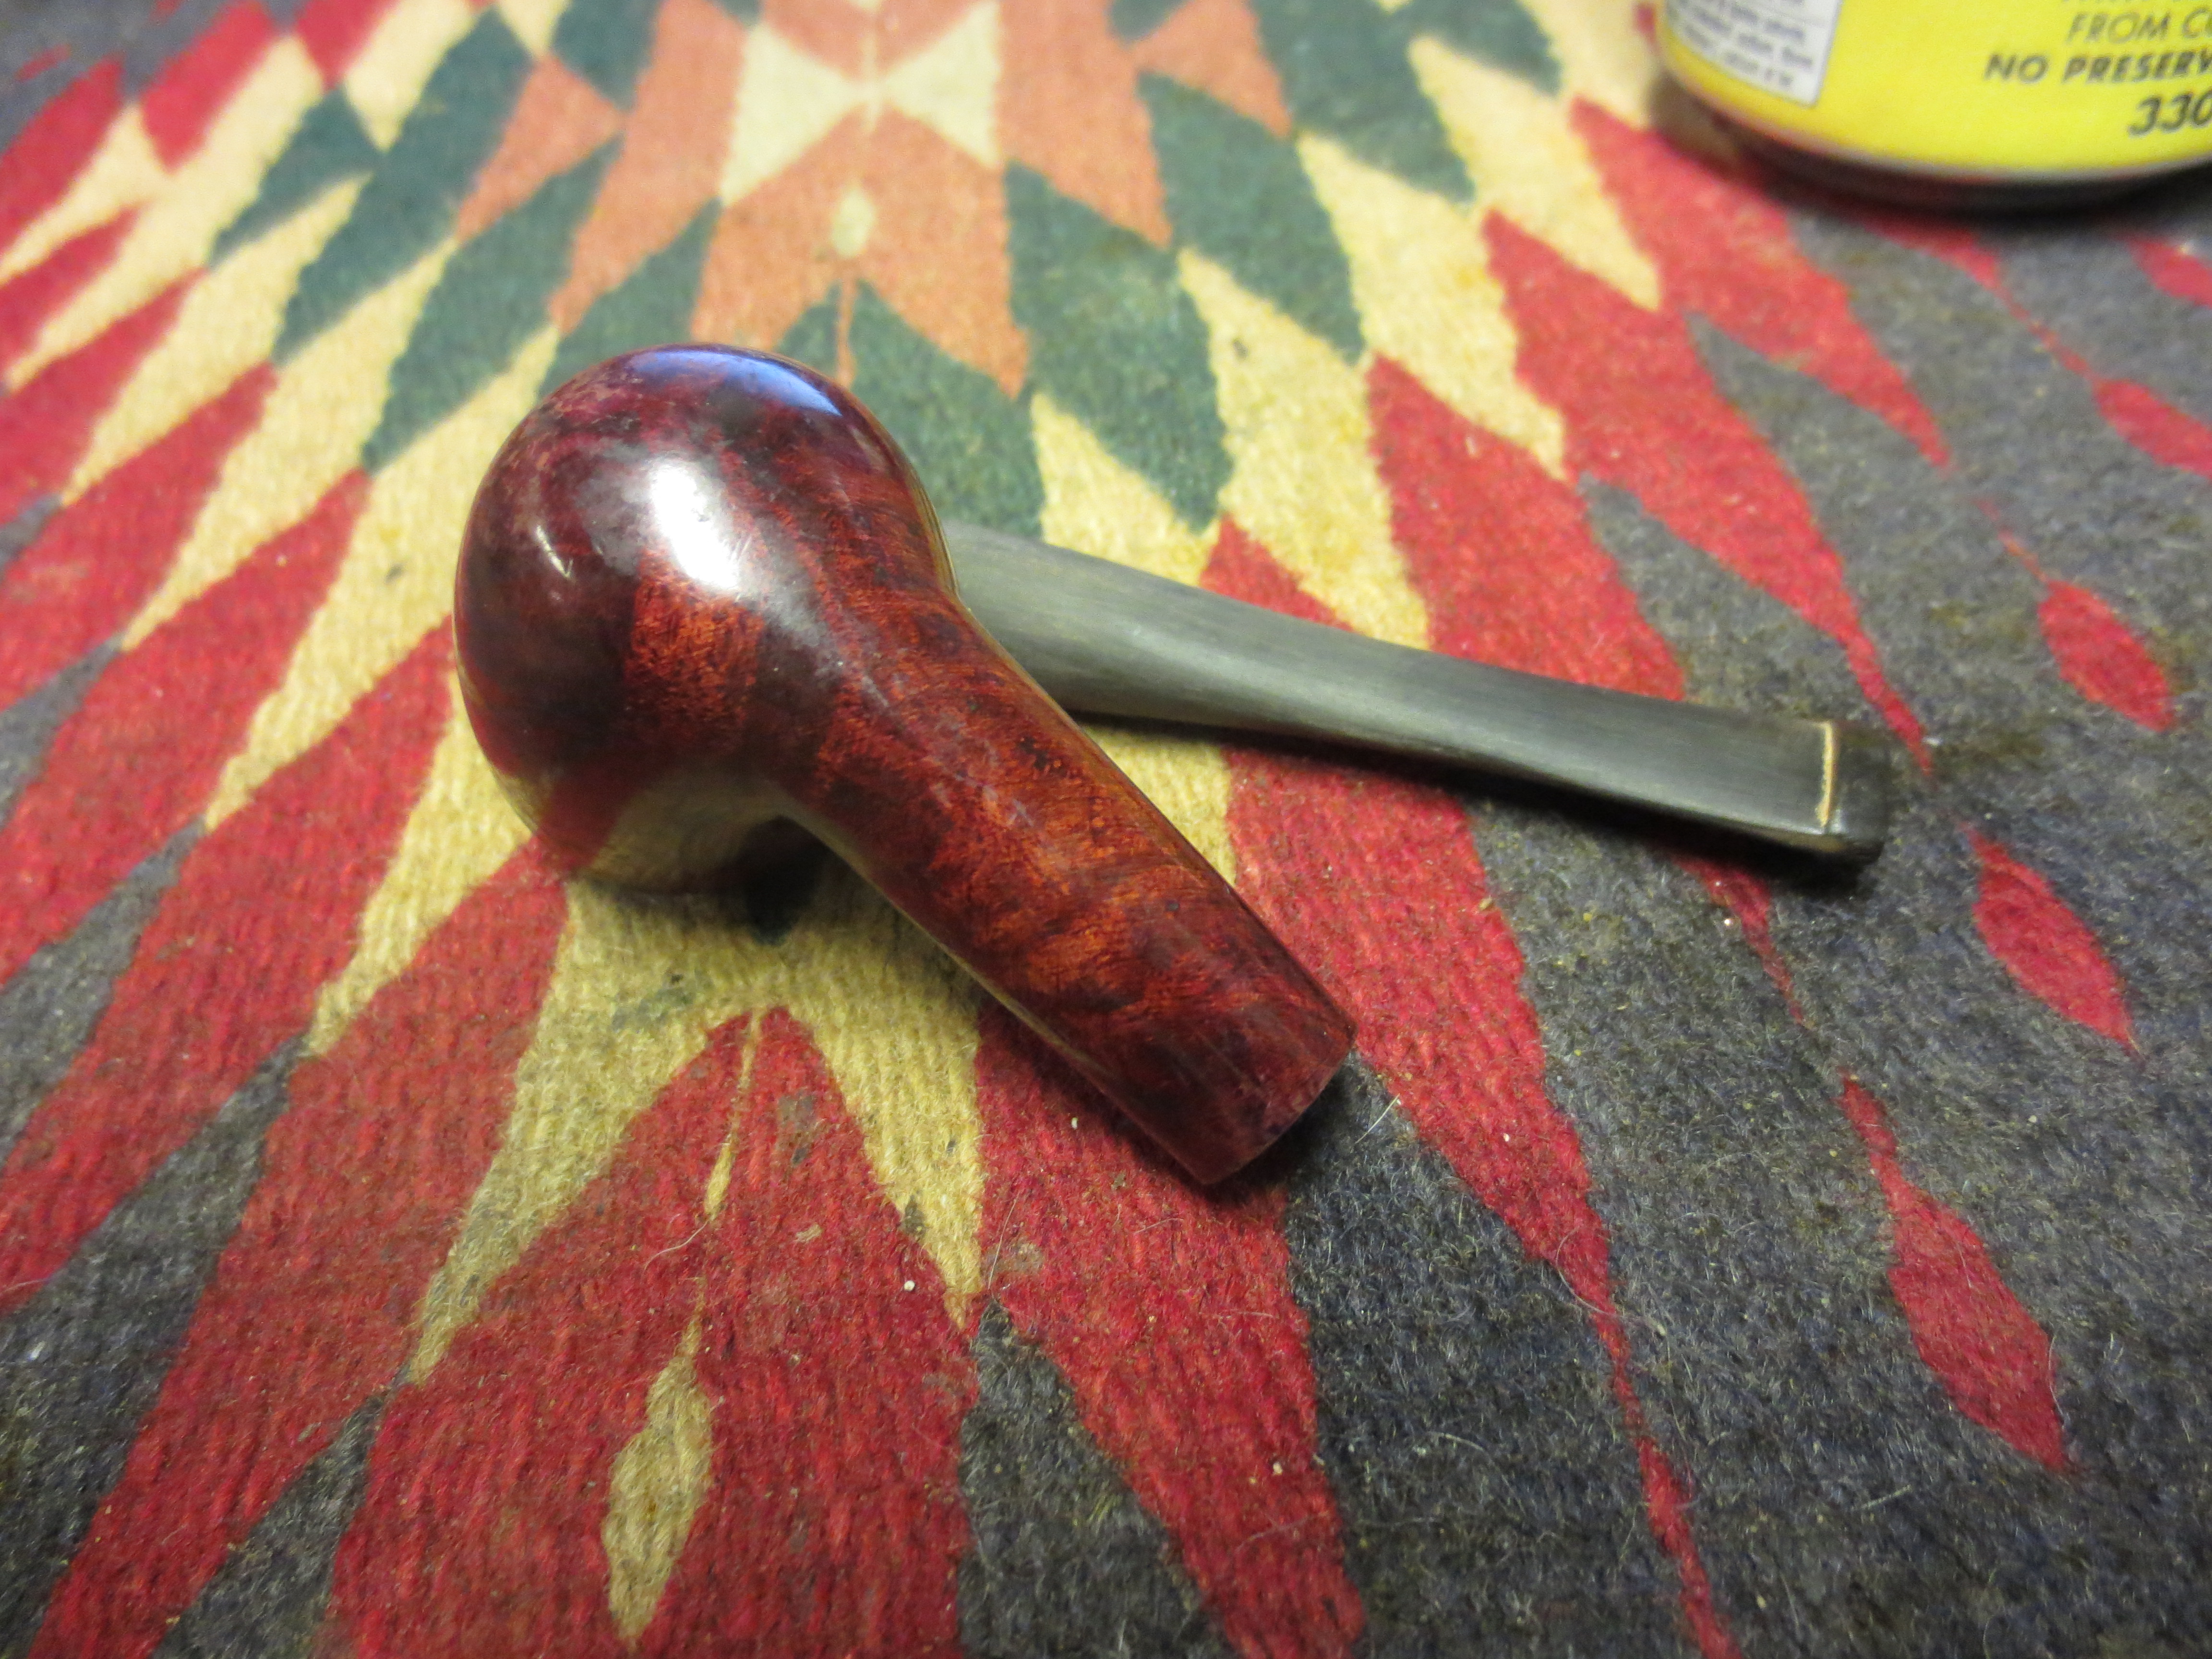
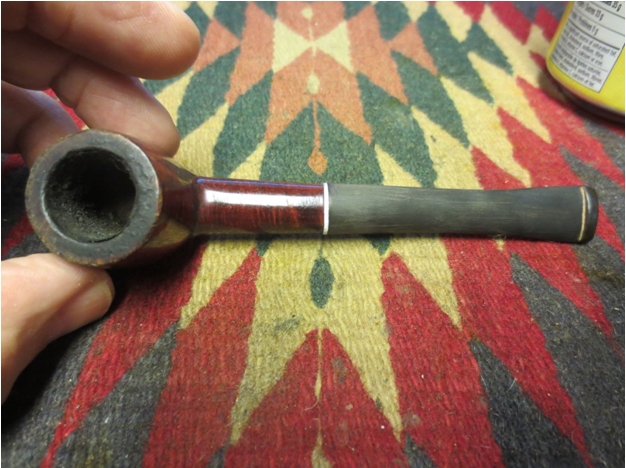
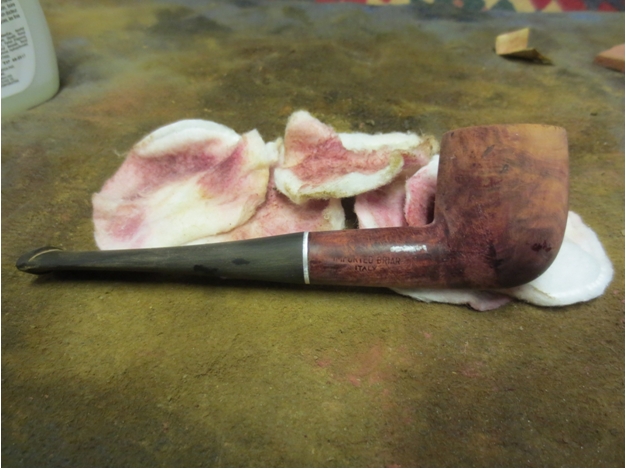
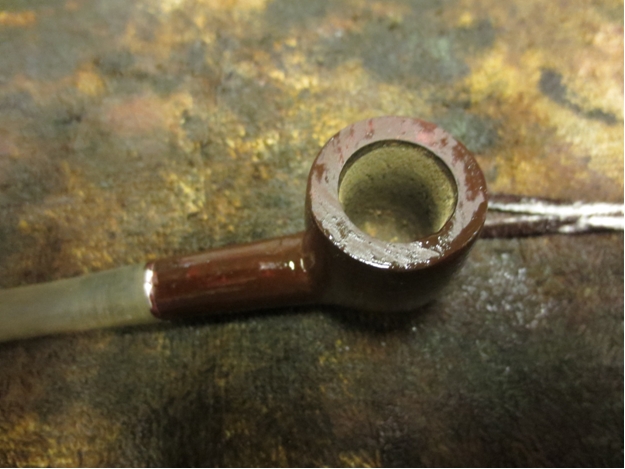
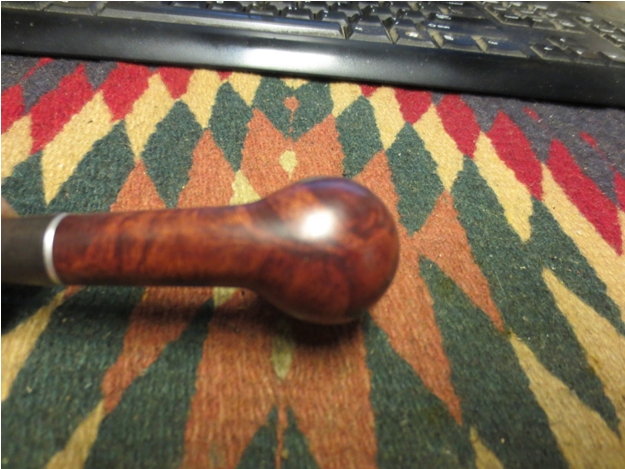
In a previous post called a Sentimental Journey I wrote of why Medico’s always get attention when they cross my desk. Last evening I reached into my box of pipes to be refurbished and pulled out the next pipe to clean up and it too was Medico – this time it was a smooth billiard. The finish was worn and the varnish was peeling off the bowl. The rim was badly knocked around so there was damage on the outer edge at the front of the bowl and the back. There was a heavy build up on top of the damage and the bowl had a thick cake at mid bowl – not much at the top or bottom. The stamping was the same as the previous pipe – MEDICO on the left side of the shank and Imported Briar Italy on the right side. A bonus for me was that the stem I had work on for the little Rhodesian fit this one and only needed adjustment in the diameter of the stem. It had the metal tenon that was generally on Medico pipes and would hold the Medico paper filter as per design. The rest of the stem was vulcanite not nylon which was a bonus.

 I cleaned out the shank and fit the stem in place to see how much sanding I would need to do to match the diameter of the shank. It did not look like it would take very much to bring it in line. I would need to sand the aluminum band on the stem at the same time so I would need to be careful to not create dips or valleys next to it on the softer vulcanite when sanding.
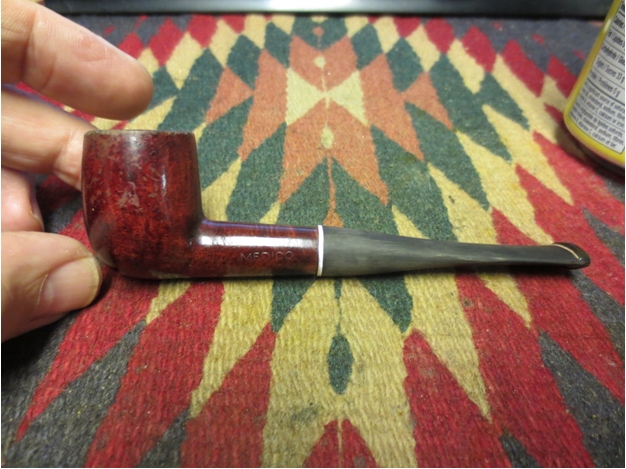
 I sanded the stem with 150 grit sandpaper to reduce the diameter of the stem.
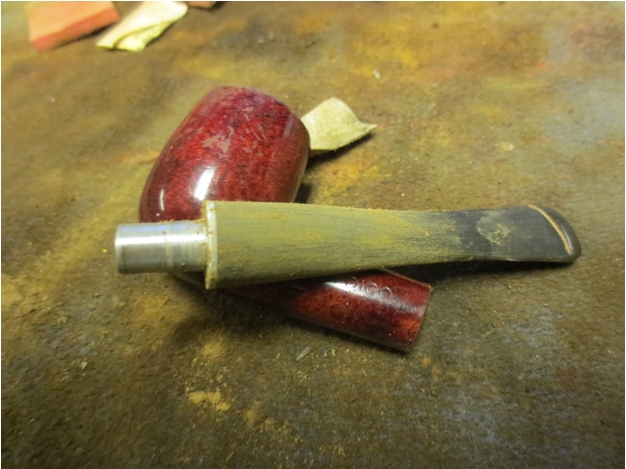 I reamed the bowl with a PipNet reamer using the smallest cutting head to clean it out.
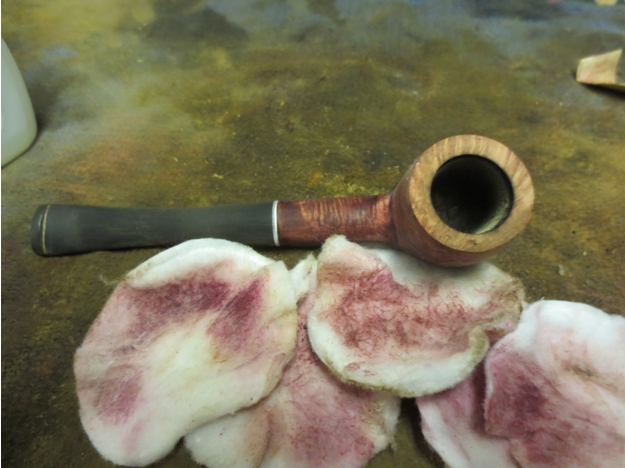
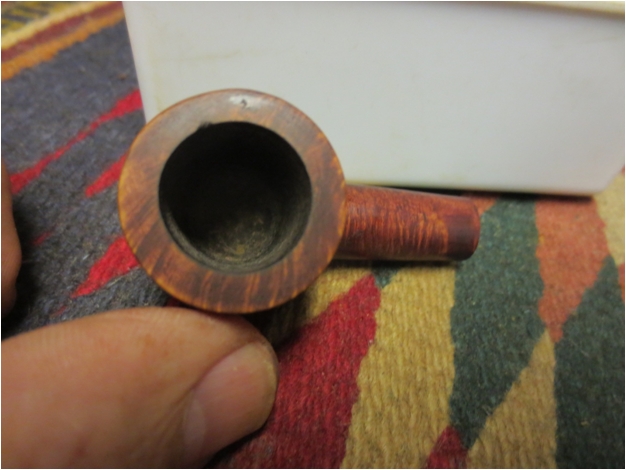
 To clean up the rim damage I topped the bowl with 220 grit sandpaper to take down the rim and reduce the rough pitting on the outer edge. I also sanded around the edge of the rim to smooth out the remaining roughness.
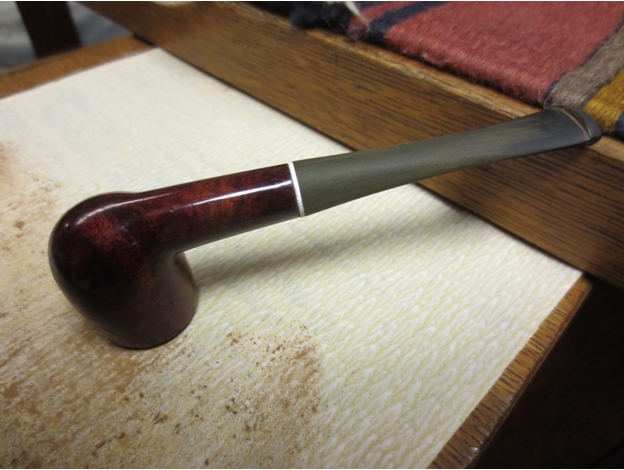
 I wanted to get rid of the peeling varnish on the bowl so I wiped it down with acetone on cotton pads to remove it. It took a lot of scrubbing as the varnish was very stubborn.
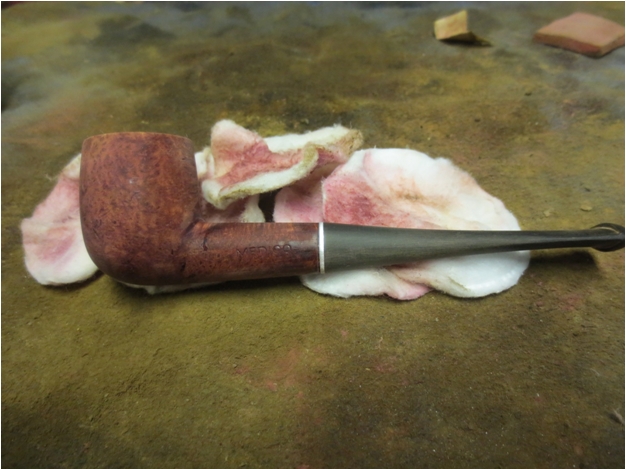
 I sanded the bowl and the rim with 220 grit sandpaper and then with medium and fine grit sanding sponges to remove more of the finish and reduce the scratching on the bowl. I sanded it with a medium and fine grit sanding sponge before wiping it down one last time with alcohol. I decided to stain it with an aniline based oxblood stain. I applied it and then flamed it to set it in the grain.
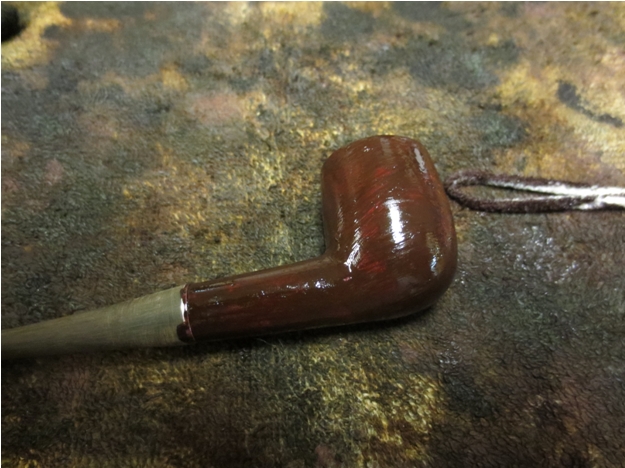
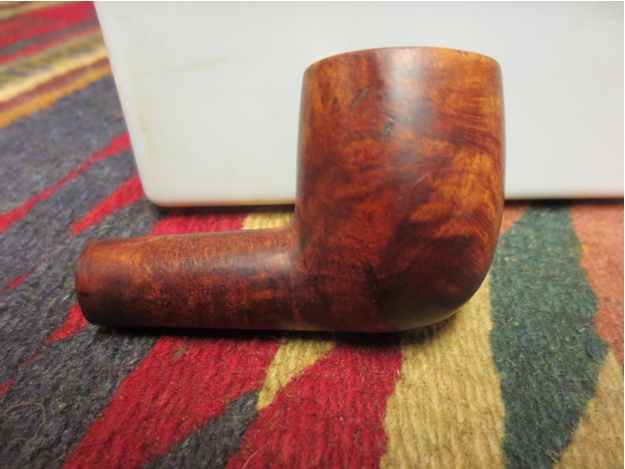
 I rubbed the excess stain off with an alcohol dampened cloth and then hand buffed it with a shoe brush. This old Medico had some really nice grain and was a far better piece of briar than I had expected.
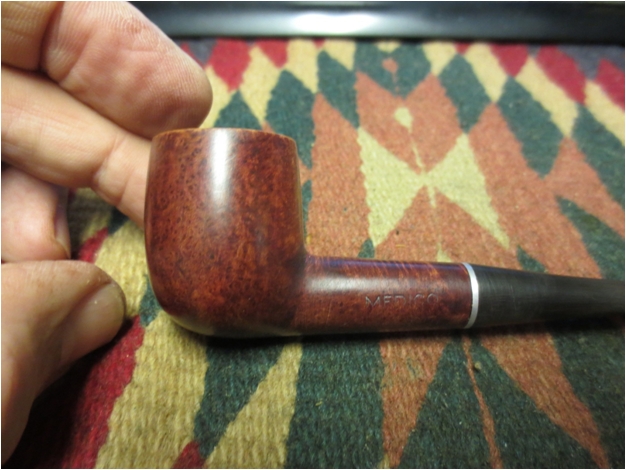

 I sanded the bowl with 1500-2400 grit micromesh sanding pads and then buffed it with White Diamond to smooth out the bowl further. I gave it a coat of carnauba wax and buffed it lightly.
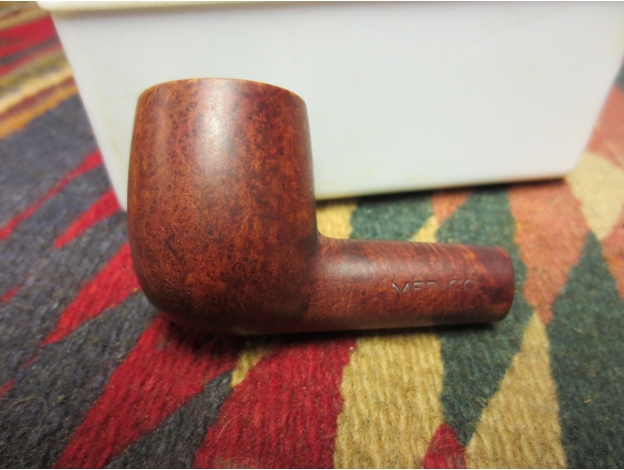
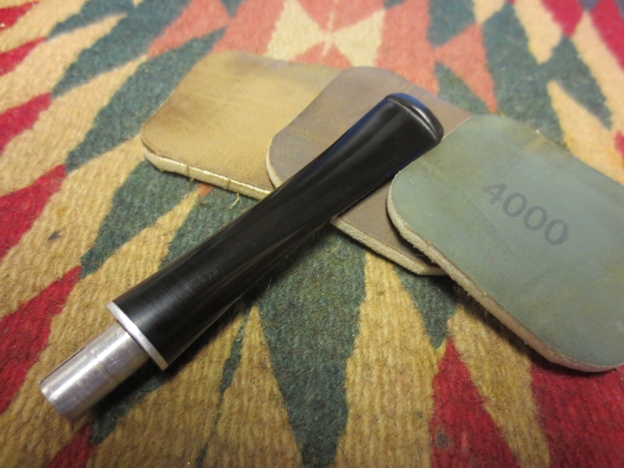
 I finished the work on the stem fit and then sanded it with micromesh sanding pads – wet sanding with 1500-2400 grit pads and dry sanding with 3200-12,000 grit pads. I rubbed it down with Obsidian Oil and moved through each successive set of three pads. Once I had finished sanding it I rubbed it down a final time with the oil and gave it a buff with White Diamond.
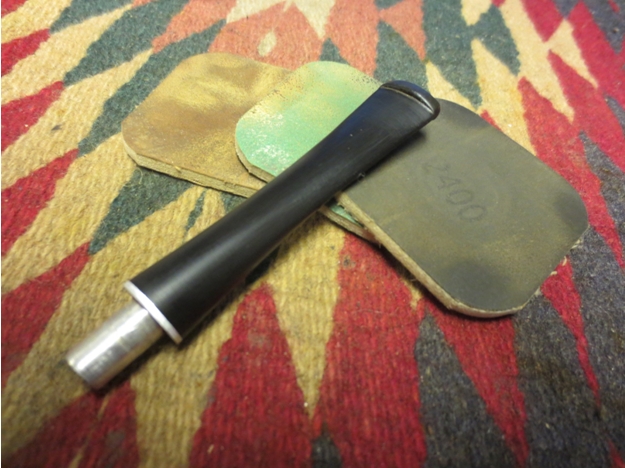
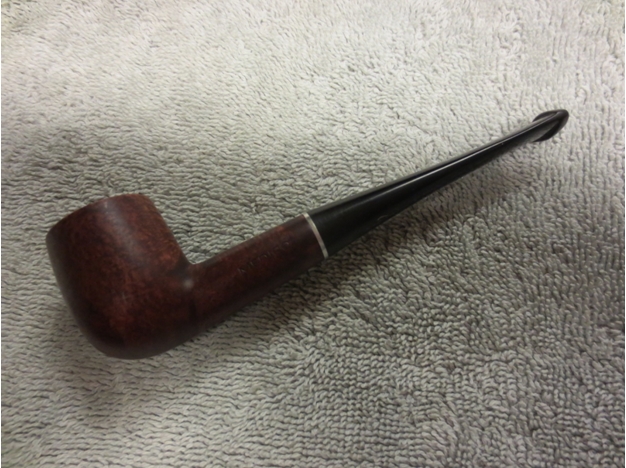
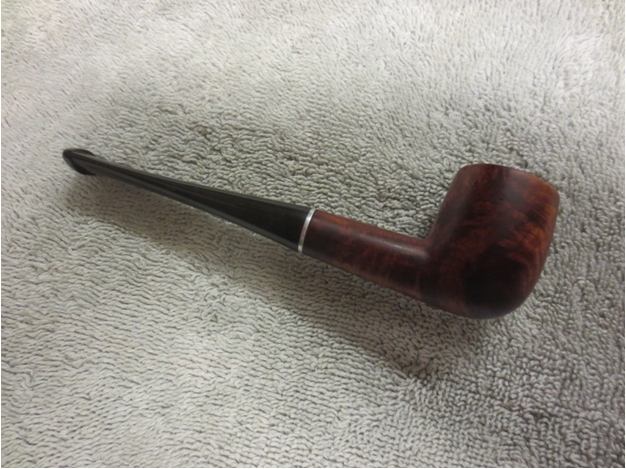
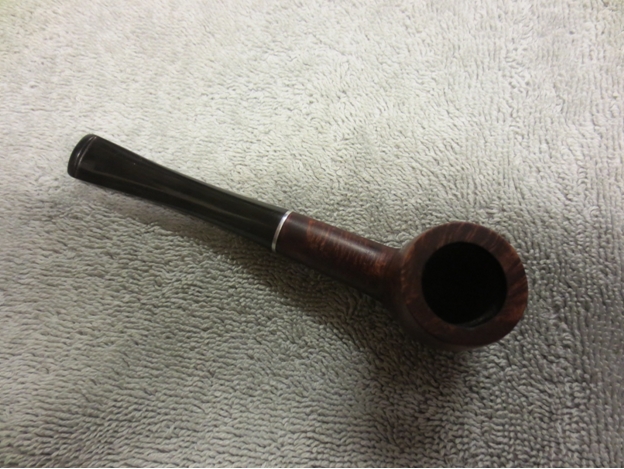
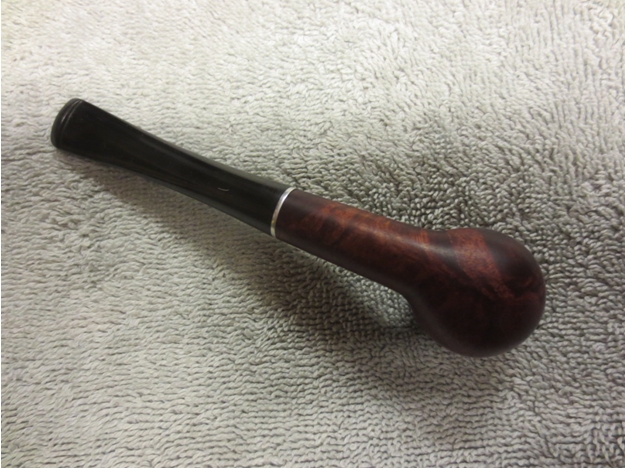
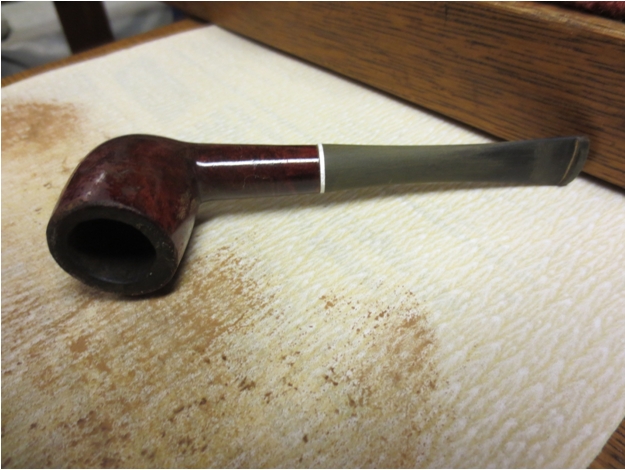
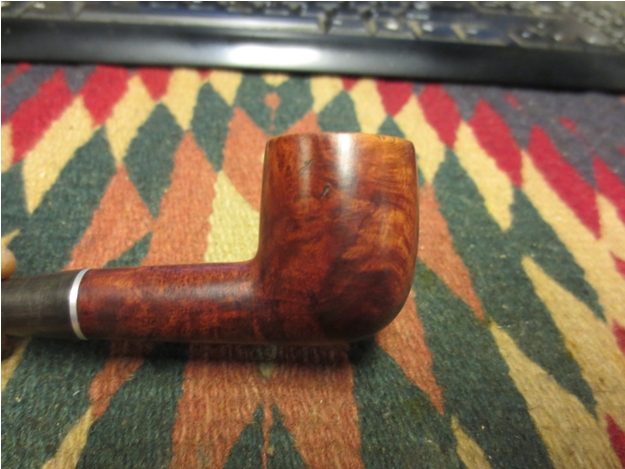
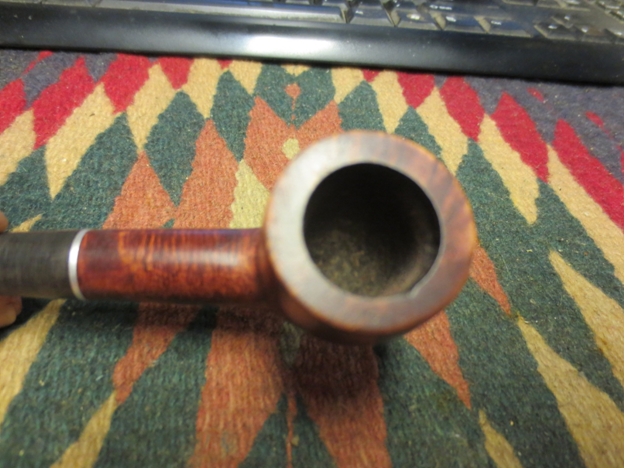
 I put the pipe back together and gave it a final buff with White Diamond and then multiple coats of carnauba wax. I buffed it with a soft flannel buff to finish and polish the wax. The finished pipe is shown in the next series of photos. It is a small light weight billiard with fairly decent grain and a few character marks. The new stem fits well and it looks better than it did when it left the factory. It should provide a great smoke to another pipeman. This is one that I will inevitably gift to someone along the way.