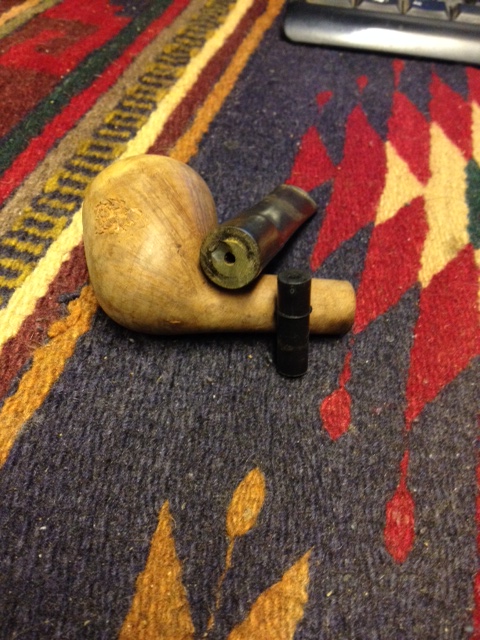
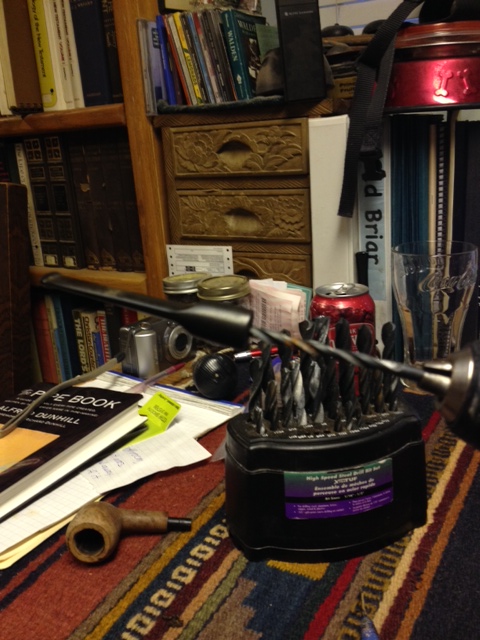
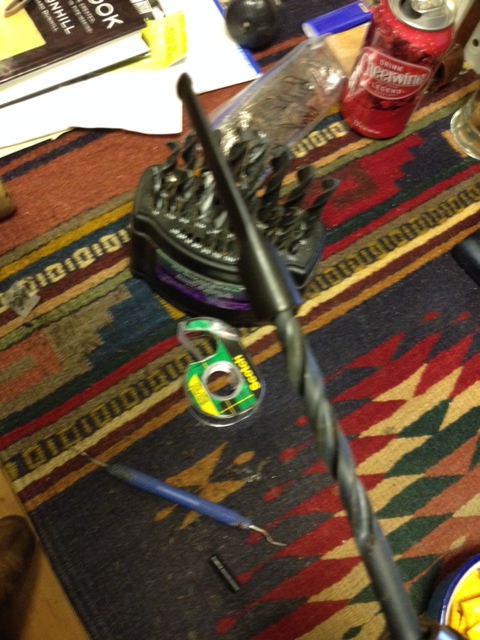
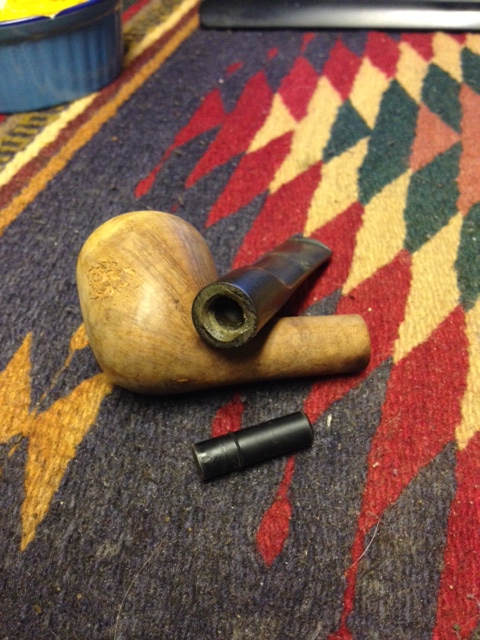
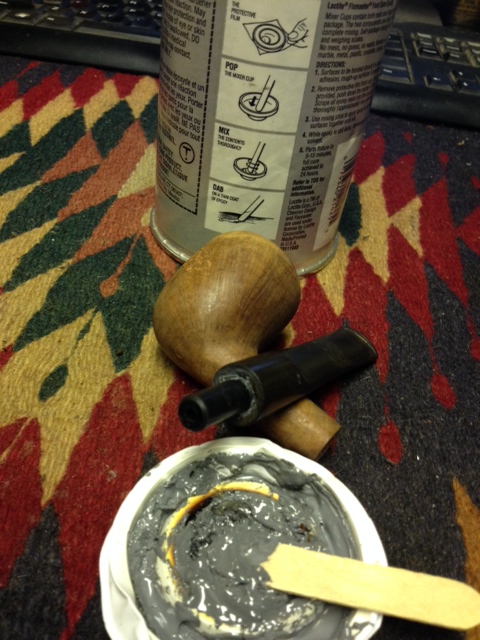
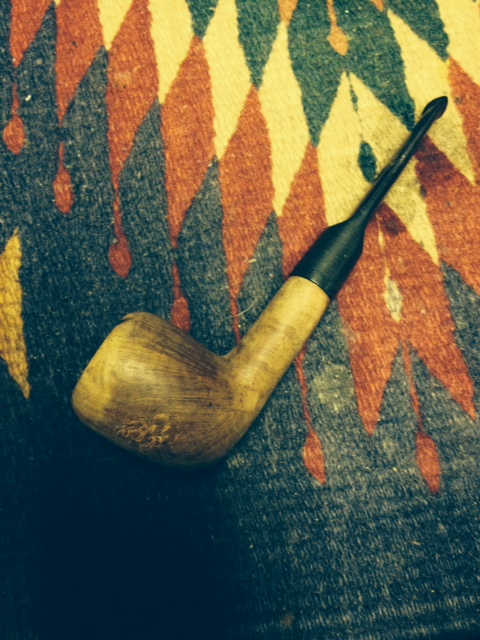
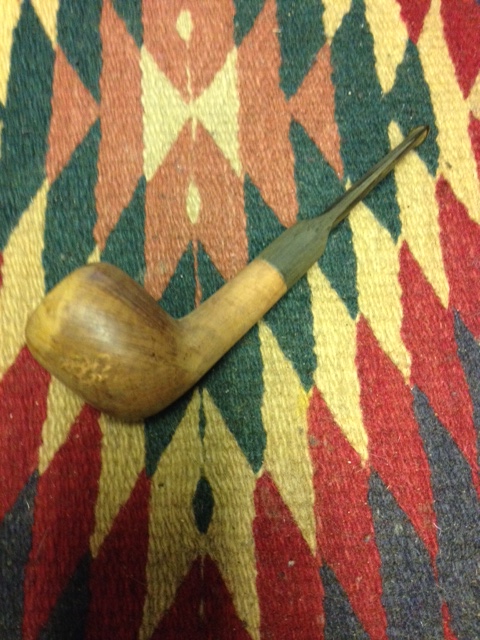
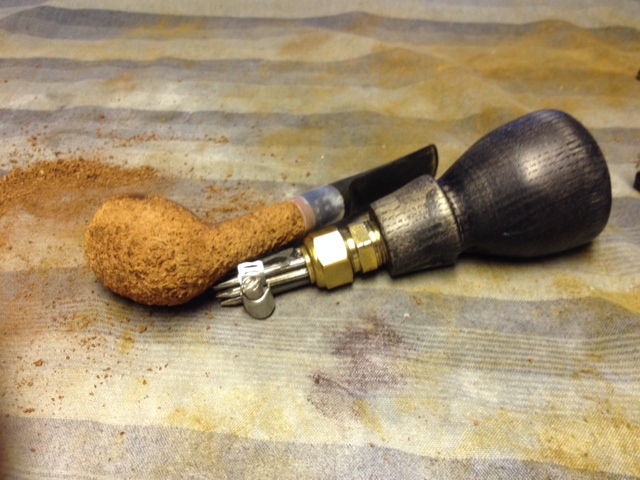
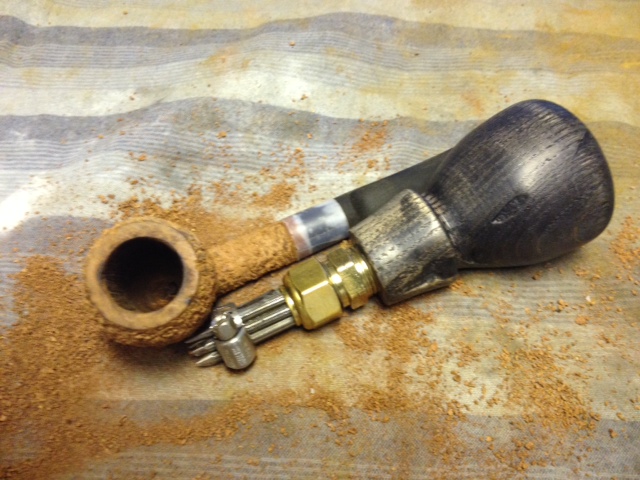
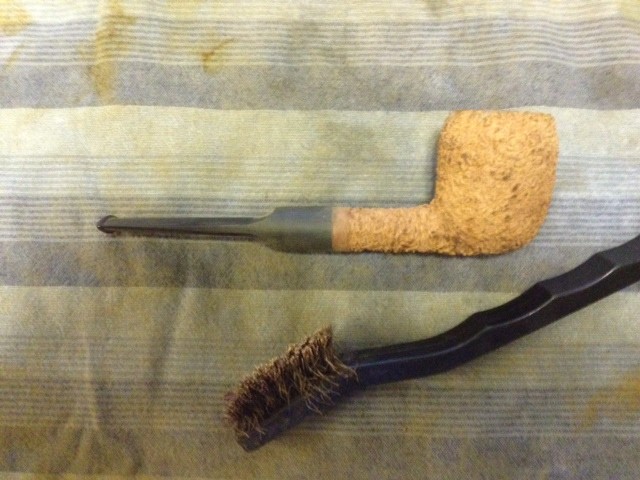
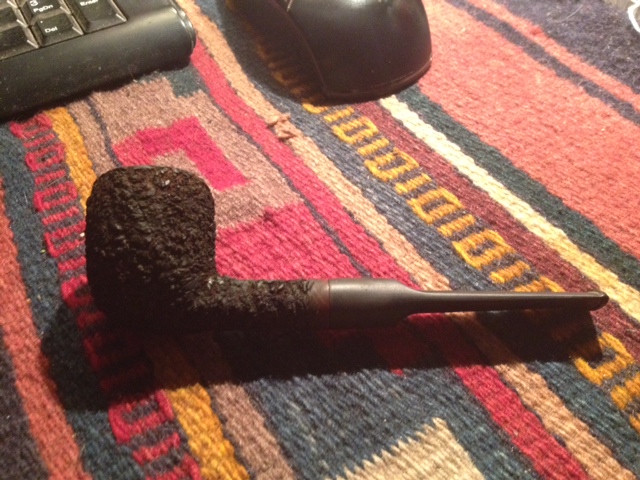
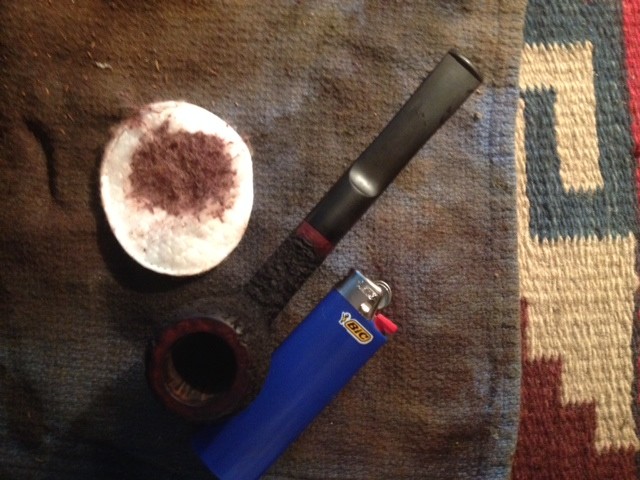
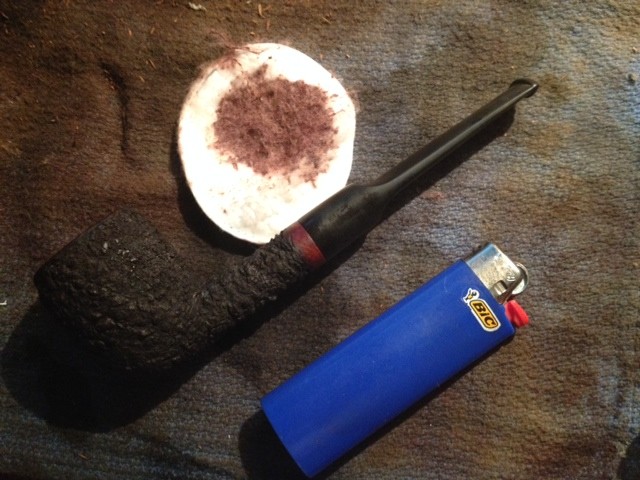
I wrote about restemming this pipe in the post on Replacing a tenon in a stem with a minimum of tools (https://rebornpipes.com/2014/06/15/replacing-a-tenon-in-a-stem-with-a-minimum-of-tools/). The thing I forgot to mention is that the bowl originally had a threaded metal stem and a metal insert in the shank. I was able to remove the insert from the shank with no trouble and craft a push stem for the shank as a replacement. The stem came out great and with some work came out looking like new. In figuring out how to finish the bowl I was faced with a few choices. The briar was not terrible, I have seen worse but there were fills in the bowl. I could have picked them out and refilled them as I have done on many occasions but somehow that just did not attract me with this bowl. I had been given a rustication tool by Chris and had not used it yet so that was very attractive to me for this bowl (https://rebornpipes.com/2014/06/07/a-handmade-rustication-tool-gifted-by-a-friend-and-reader-of-rebornpipes/). The stamping on the shank was virtually buffed away so it was not something that needed to be preserved. So the decision was made. I would get to try out the new tool and see what kind of rustication pattern it would make on the briar and how comfortable it was in the hand as I pressed and twisted it into the wood. I also wanted to see if I could use it in tight spots up against the bowl and shank and close to the stem/shank junction.

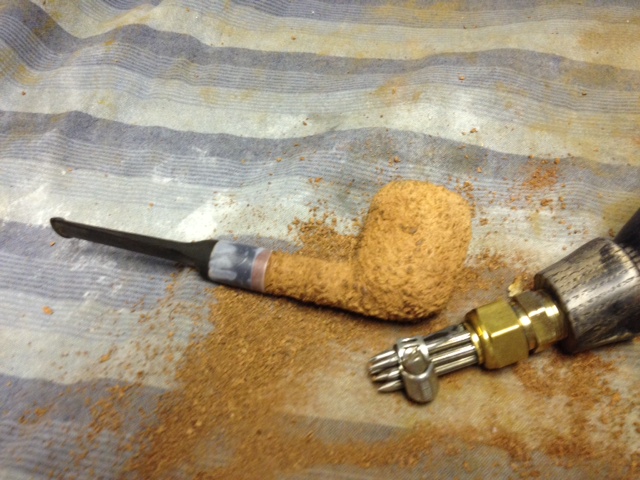
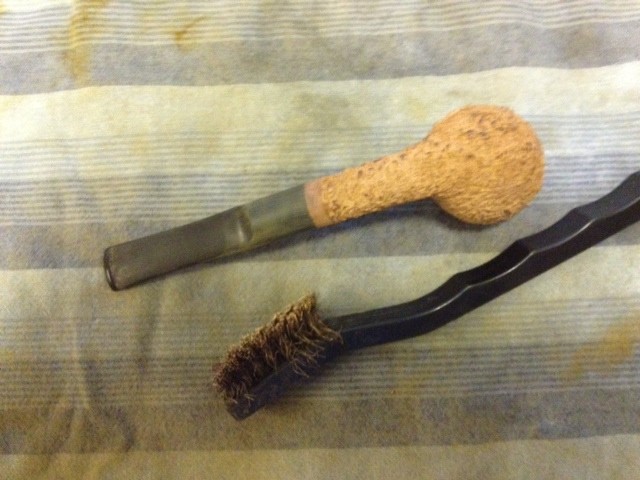
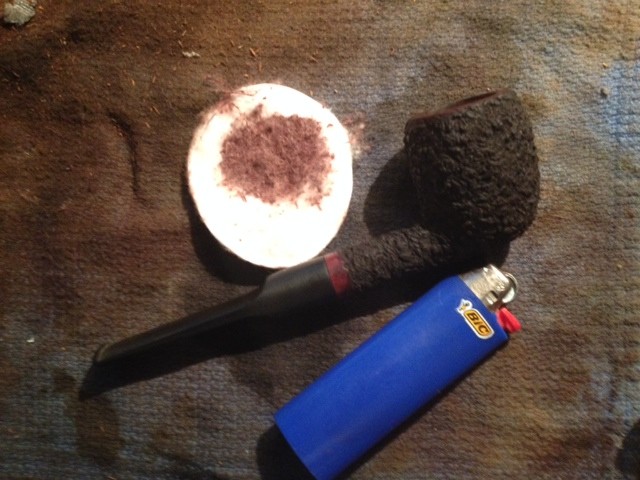
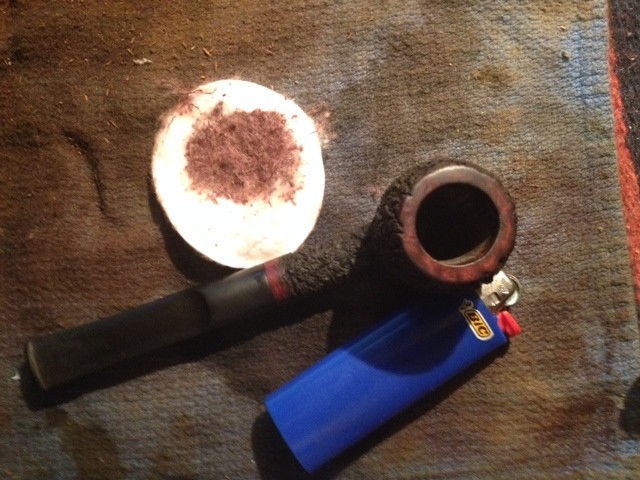
I started on the front of the bowl and pressed and turned the tool into the briar. It worked like a charm. The nails were sharp, the grouping tight and workable on the pattern, the handle was extremely comfortable and spread out the pressure across my palm. This was going to be a piece of cake. It would be no problem to finish rusticating this pipe with a lot less pain in my hands. I wrapped a strip of scotch tape around the shank to make a protective line to work toward on the shank. I wanted to leave a smooth band on the shank so this would remind me where to quit twisting the tool into the wood. The next series of eight photos show the process from start to completion. It probably took me the better part of an hour and a half to rusticate the bowl and shank. I worked it over several times during that time to get a rough finish. I wanted it to be very tactile and rough kind of like a sea rock finish so I pressed hard when I worked over the wood. I left the rim smooth as I wanted to stain it to match the band I was leaving around the shank. The two would provide some contrast to the rustic finish on the rest of the pipe.

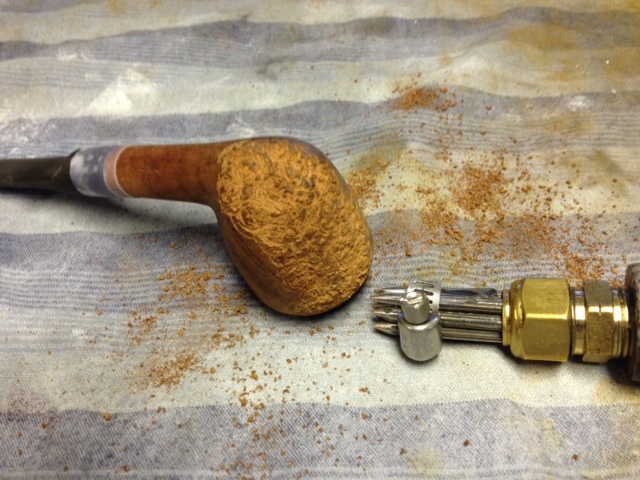
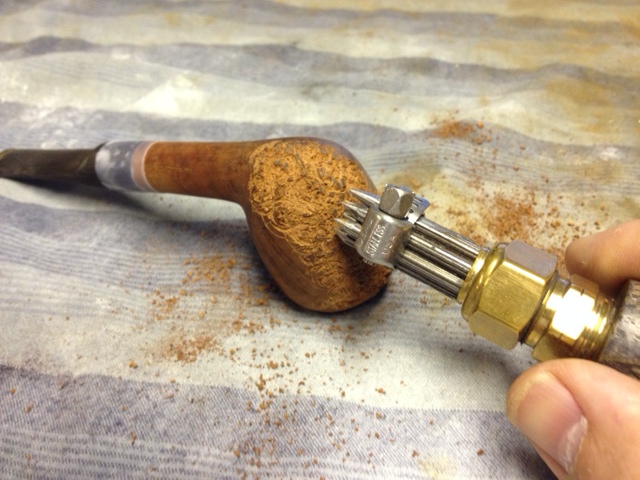

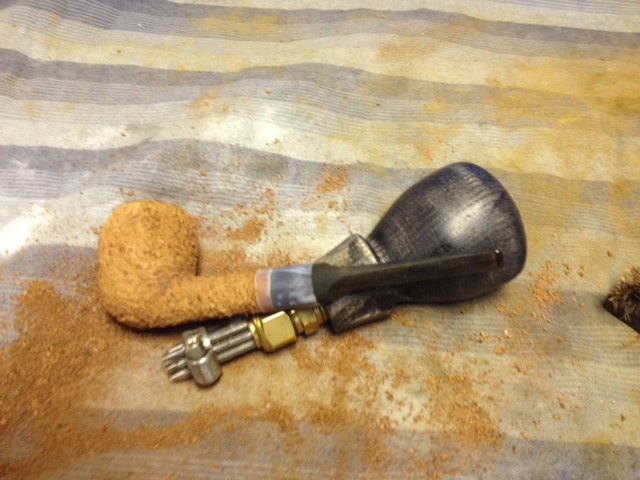
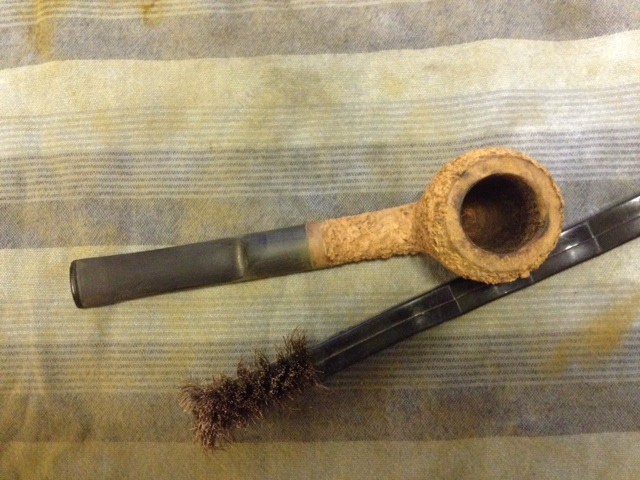
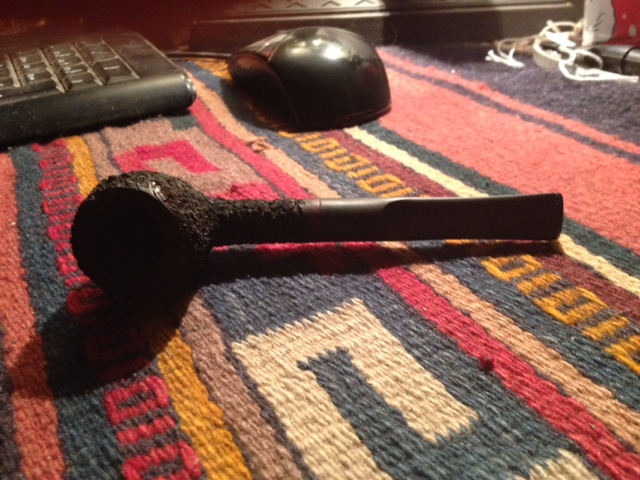
When I finished rusticating the briar unwrapped the scotch tape from the shank. The line was fairly straight and provided a nice contrast of finishes between the stem and the rustication. Then I used a brass tire brush to knock off any loose pieces of briar on the bowl. I find that using the tire brush evens out the finish and cleans up the briar once I have finished with the hard work.

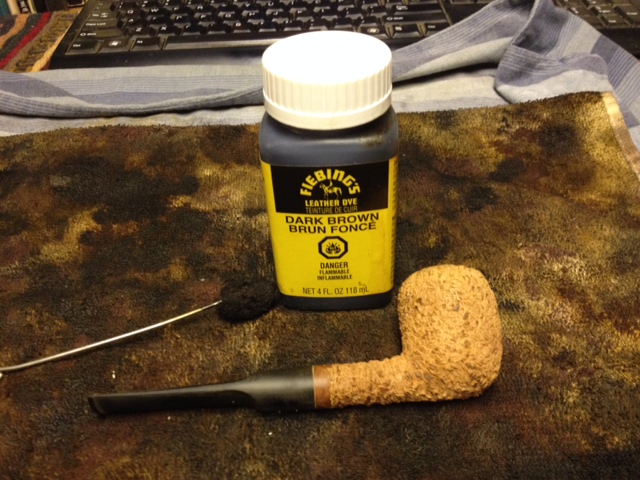
I sanded the band on the shank and the rim with a medium and a fine grit sanding sponge and a fine grit sanding sponge to prepare them for staining. I decided to use two different stains on the bowl to get some depth to the finish. I began with a dark brown aniline stain. I applied it with a wool dauber and let the stain permeate deep into the briar. I flamed it to set it. Reapplied the stain a second time and then flamed it again.

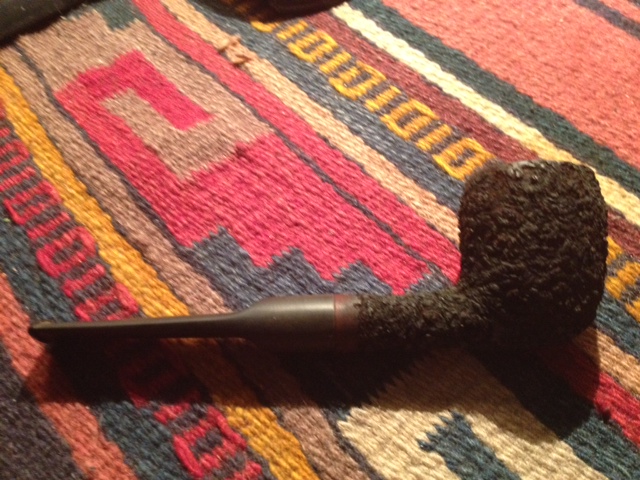
I wiped the bowl down with acetone and isopropyl alcohol on a cotton cloth to remove the stain from the highpoints on the bowl finish and on the band and the rim. I repeated the wash until I had the stain coat the colour I wanted. The dark brown sat deep in the grooves and the high spots were lighter in colour. I then stained the bowl with the second colour, a oxblood or cherry coloured aniline stain. I applied it with a cotton pad and daubed it onto the band, the rim and the high spots on the bowl. I flamed it, reapplied it and flamed it again. Once it was dry to the touch I hand buffed it with a soft cotton cloth.
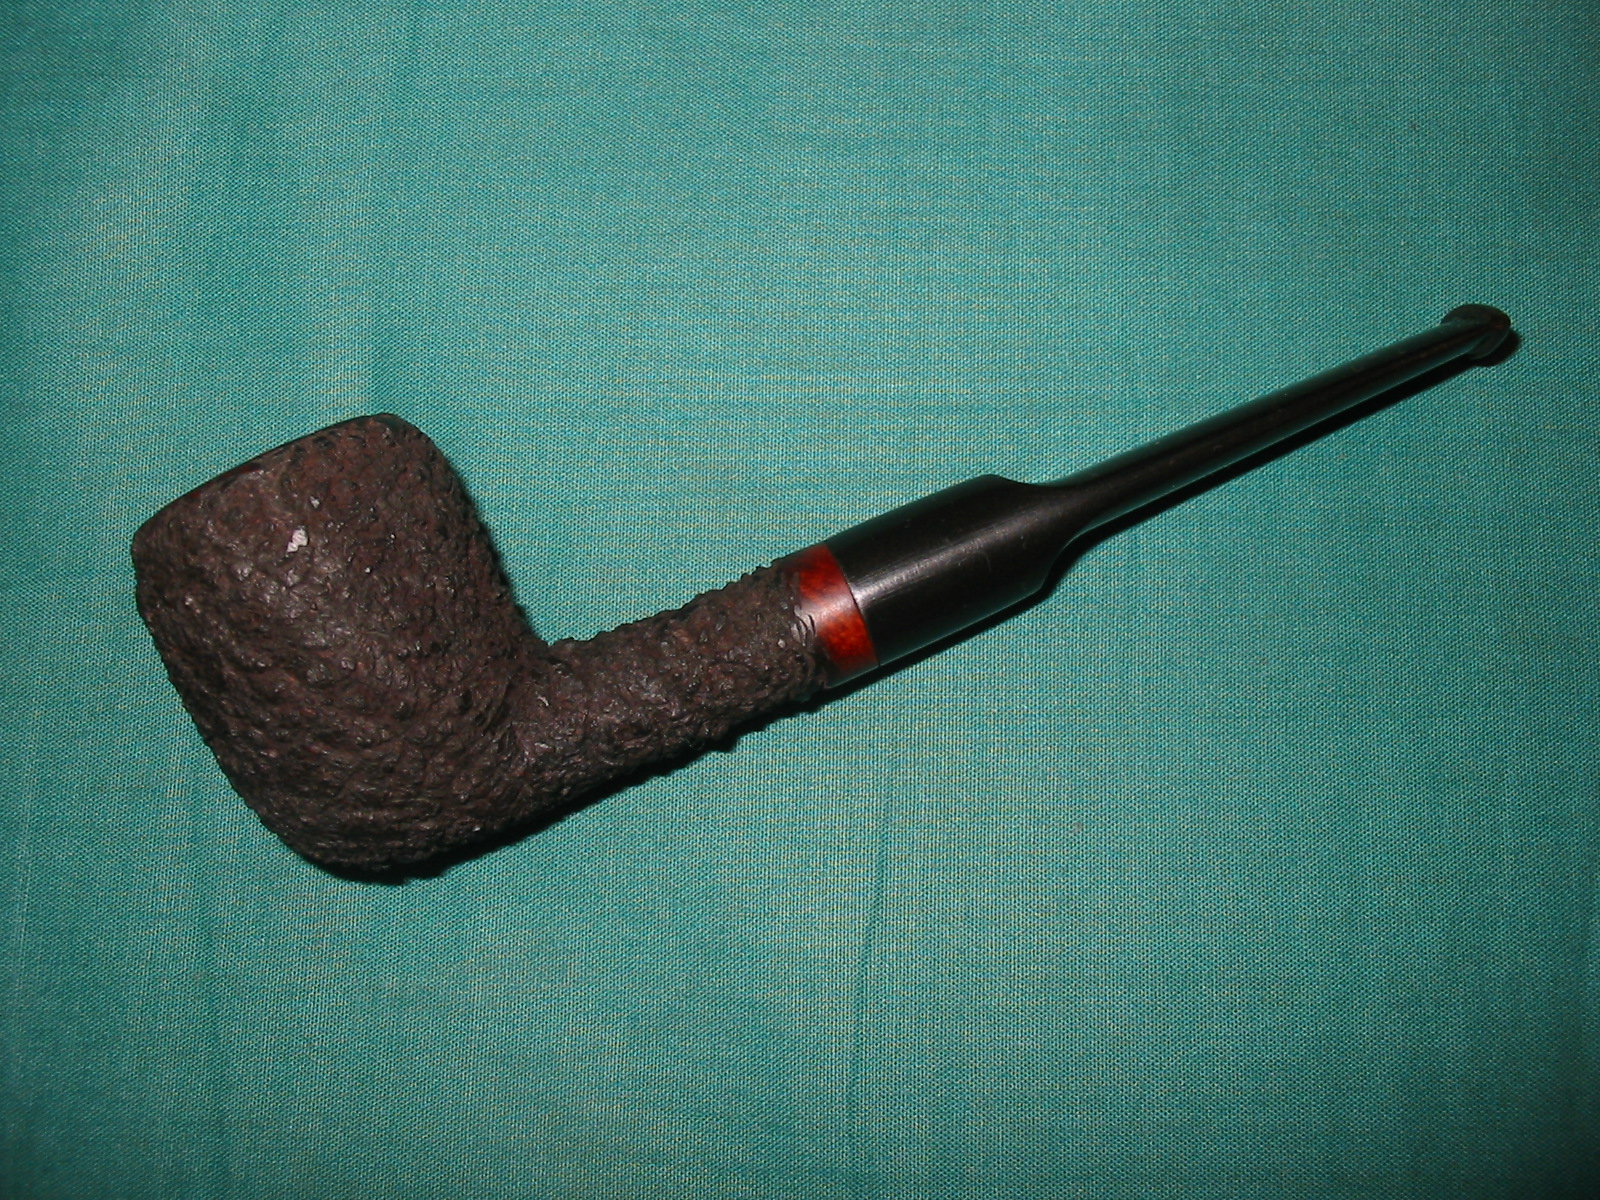
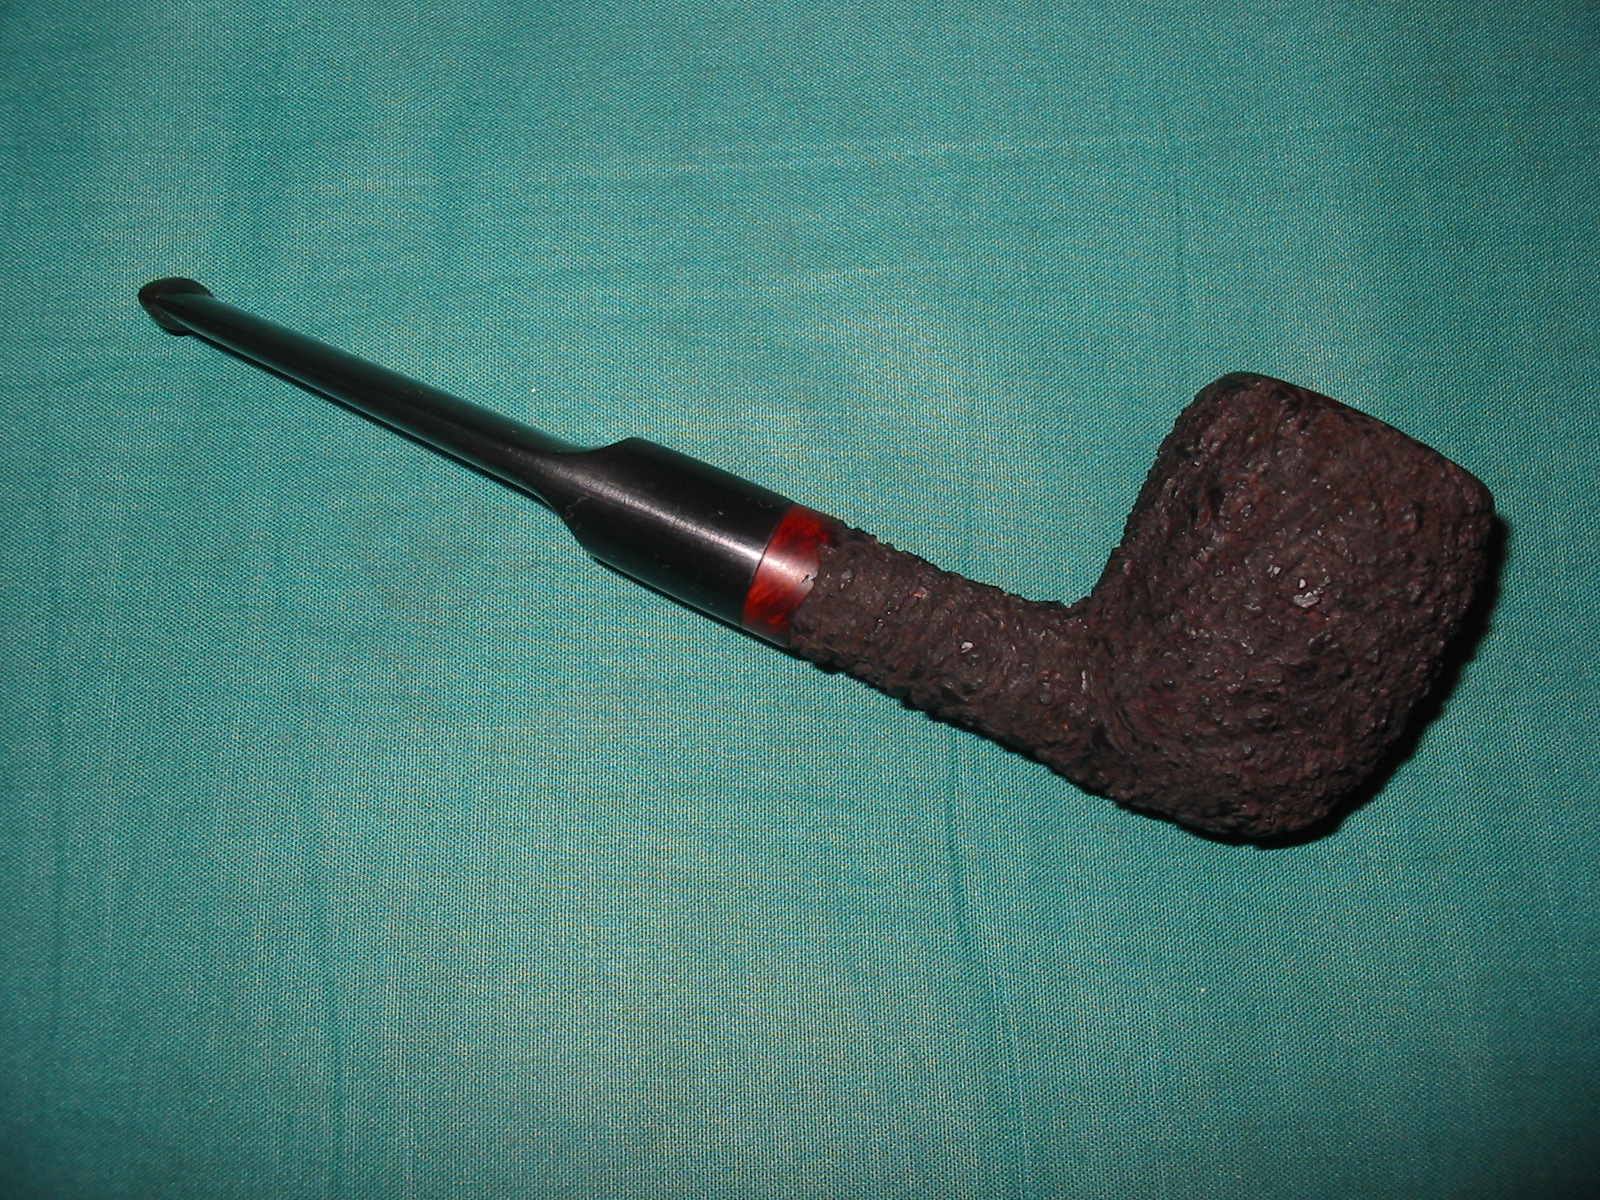
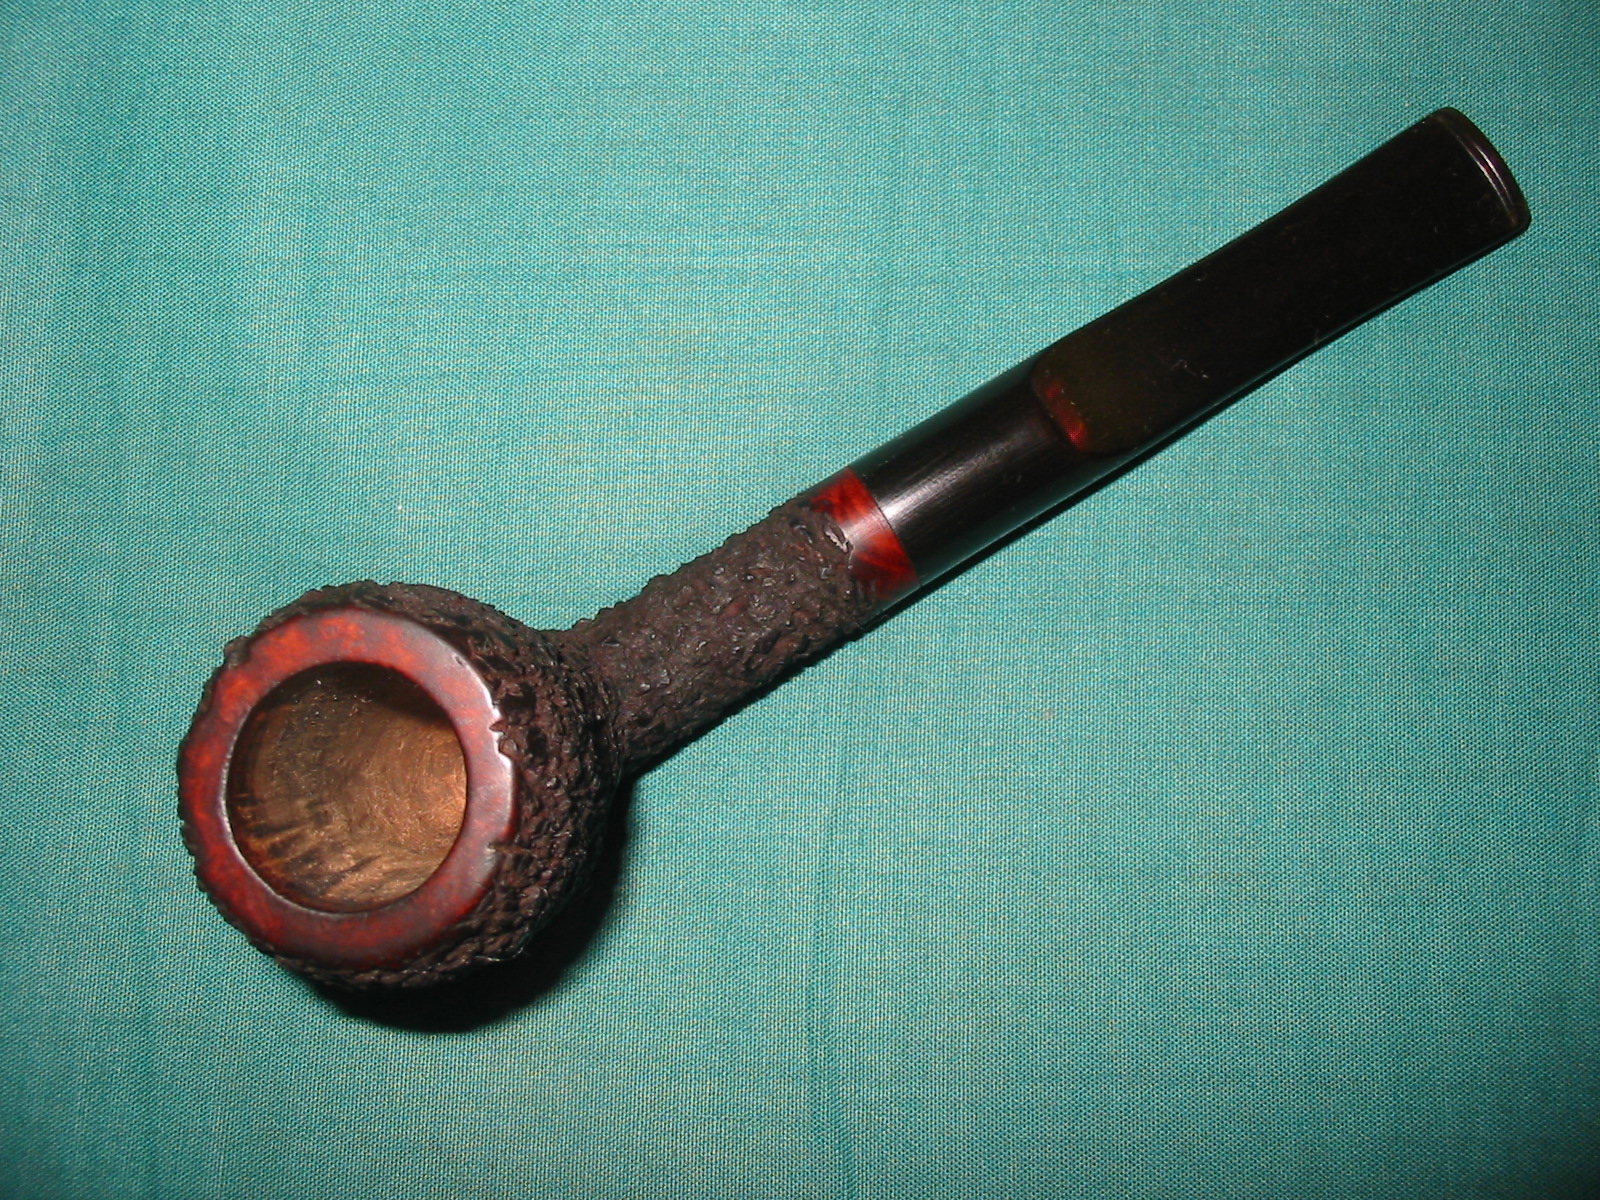
The cherry/oxblood stain worked well on the band and the rim. It made them stand out against the darker brown of the rustication. In the light the texture of the rustication has both a dark brown look in the crevices and a reddish tint on the high spots. The contrasts in the stain on the rustication came out well and the smooth band and the rim work well with the rest of the pipe. Interestingly, and this does not always happen for me, the stain came out exactly the way I was hoping it would when I started the process.
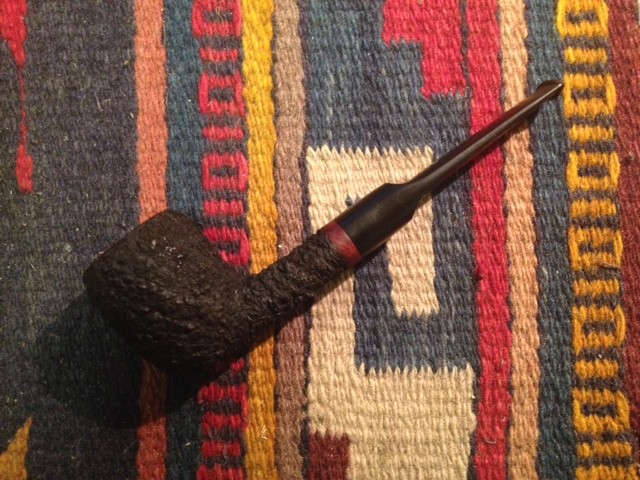
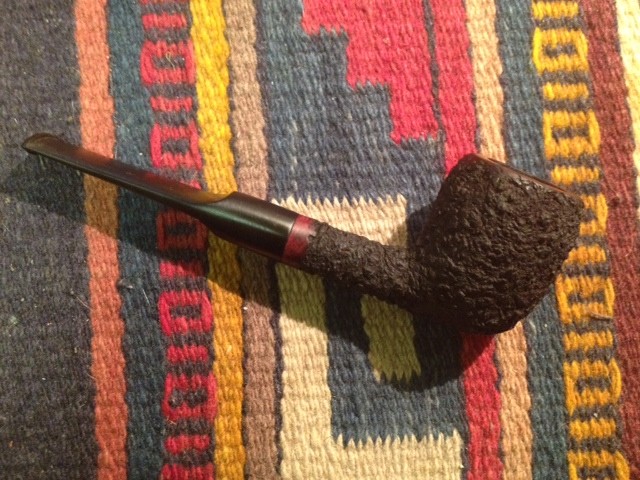
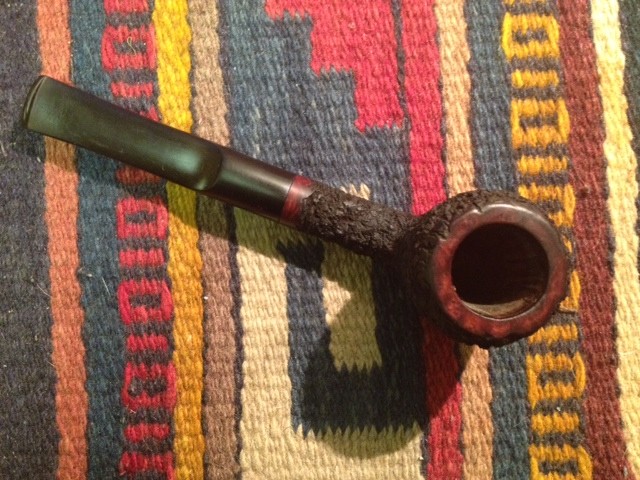
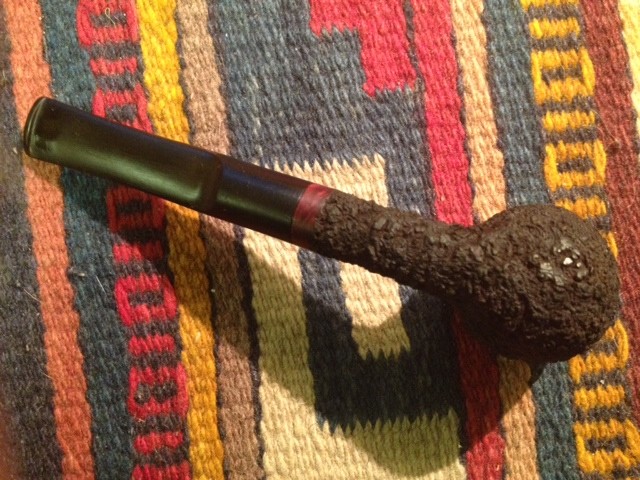
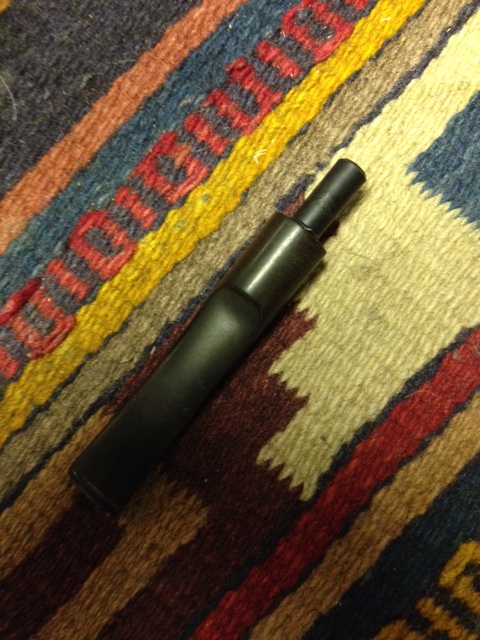
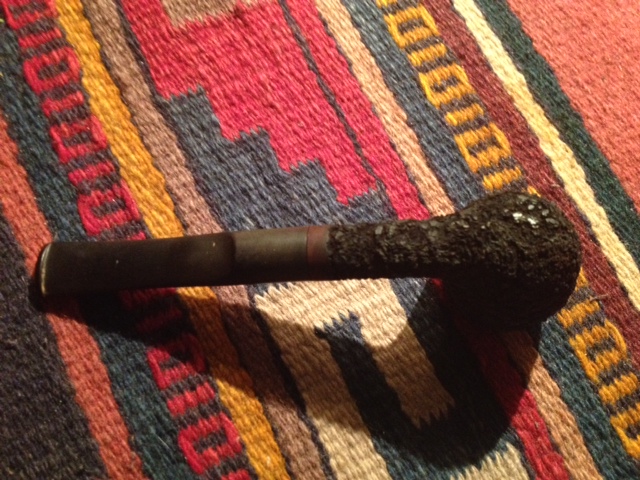
At this point all I had left to do was to work over the stem with the micromesh sanding pads and then give it a buff to polish it. I followed my normal process on the stem. I wet sanded it with 1500-2400 grit micromesh sanding pads and dry sanded with 3200-12,000 grit pads. I rubbed the stem down with Obsidian Oil and then took it to the buffer to give a light buff with White Diamond and a blue plastic polish. I finished by giving the rim, the band and the stem multiple coats of carnauba wax and a final buff with soft flannel buffing pad. The finished pipe is shown below. It has come a long way from the neglected bowl that sat in my refurbishing box for a long time with no stem. Now it is ready to fire up and enjoy.