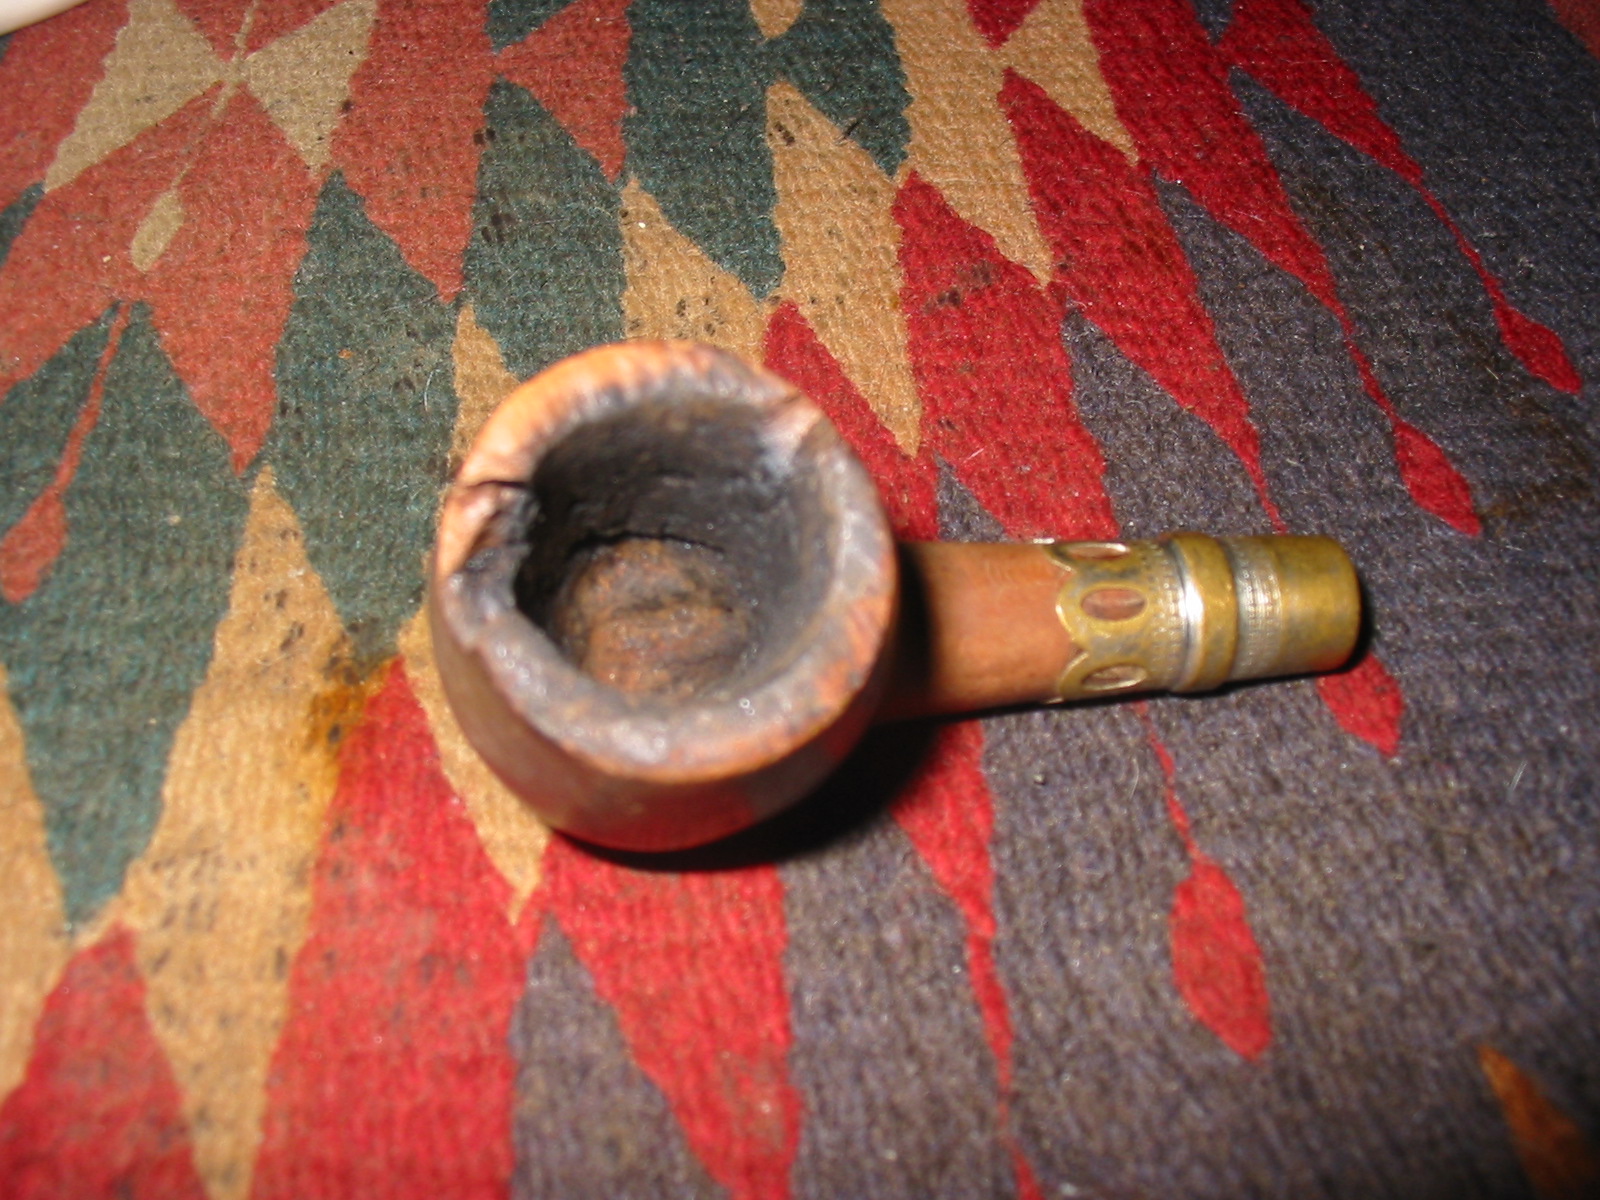
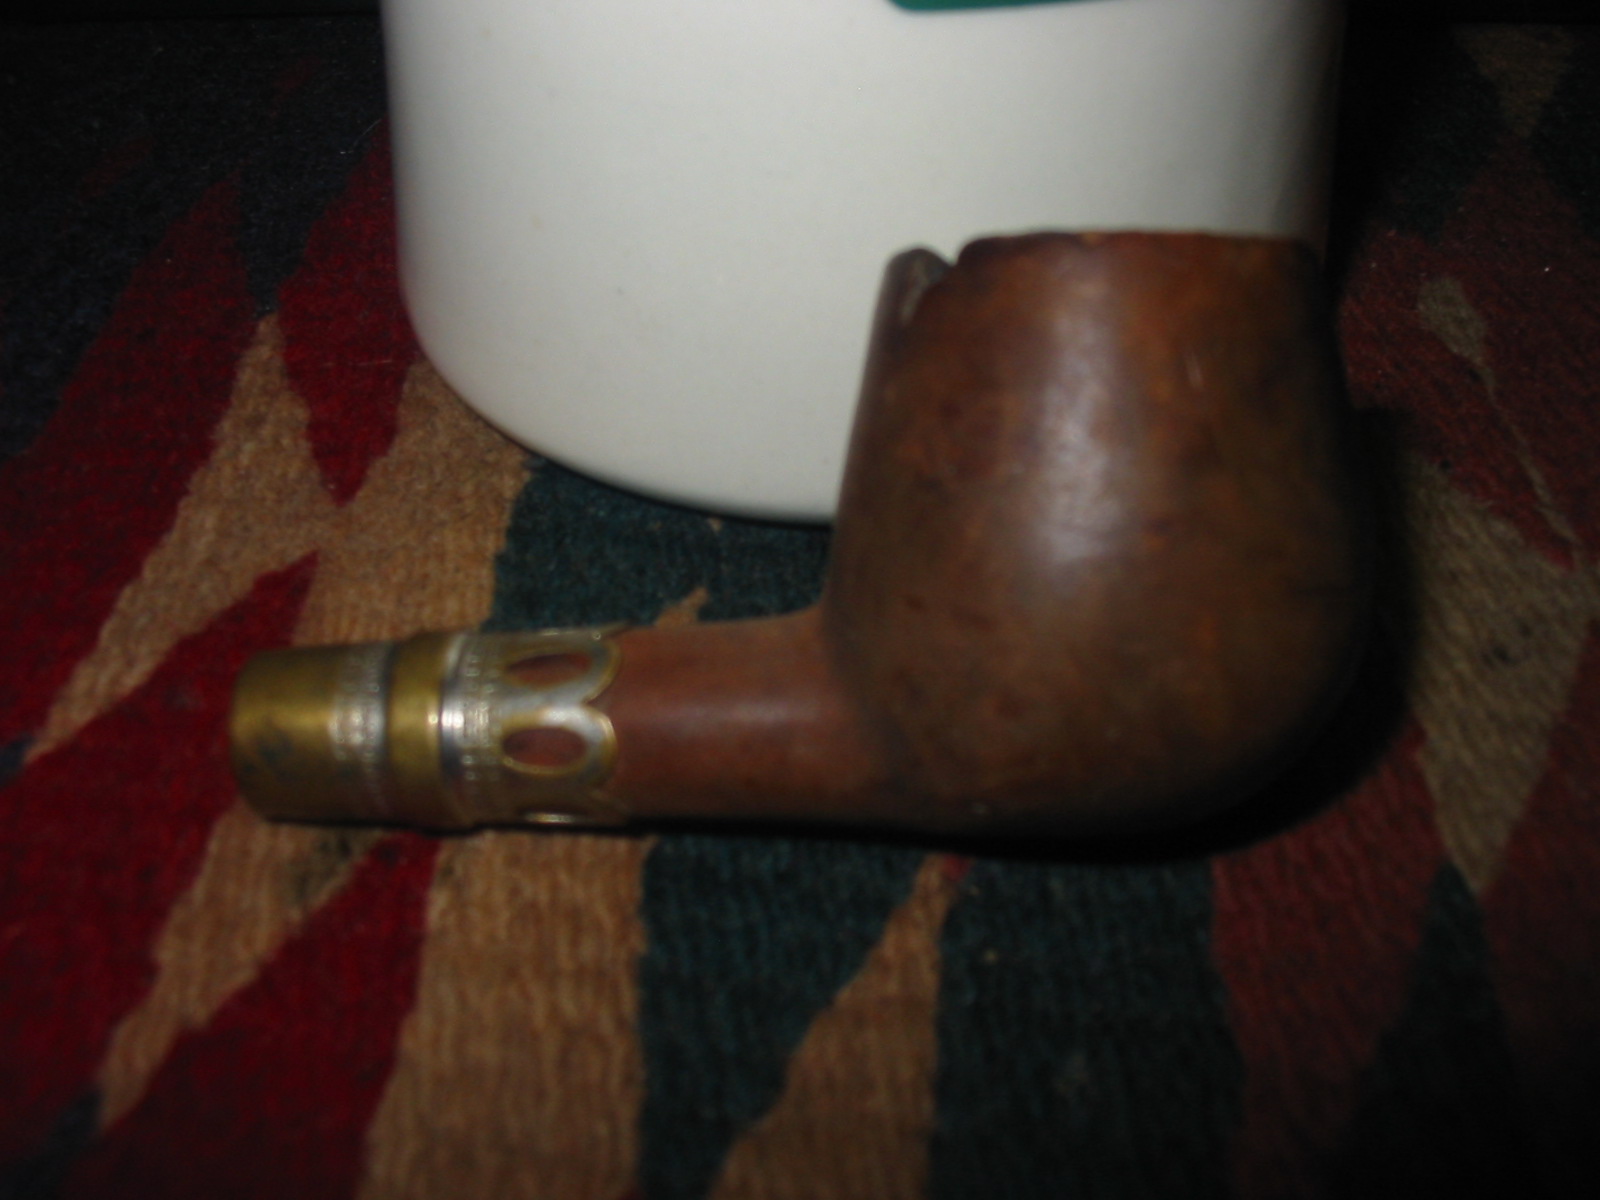
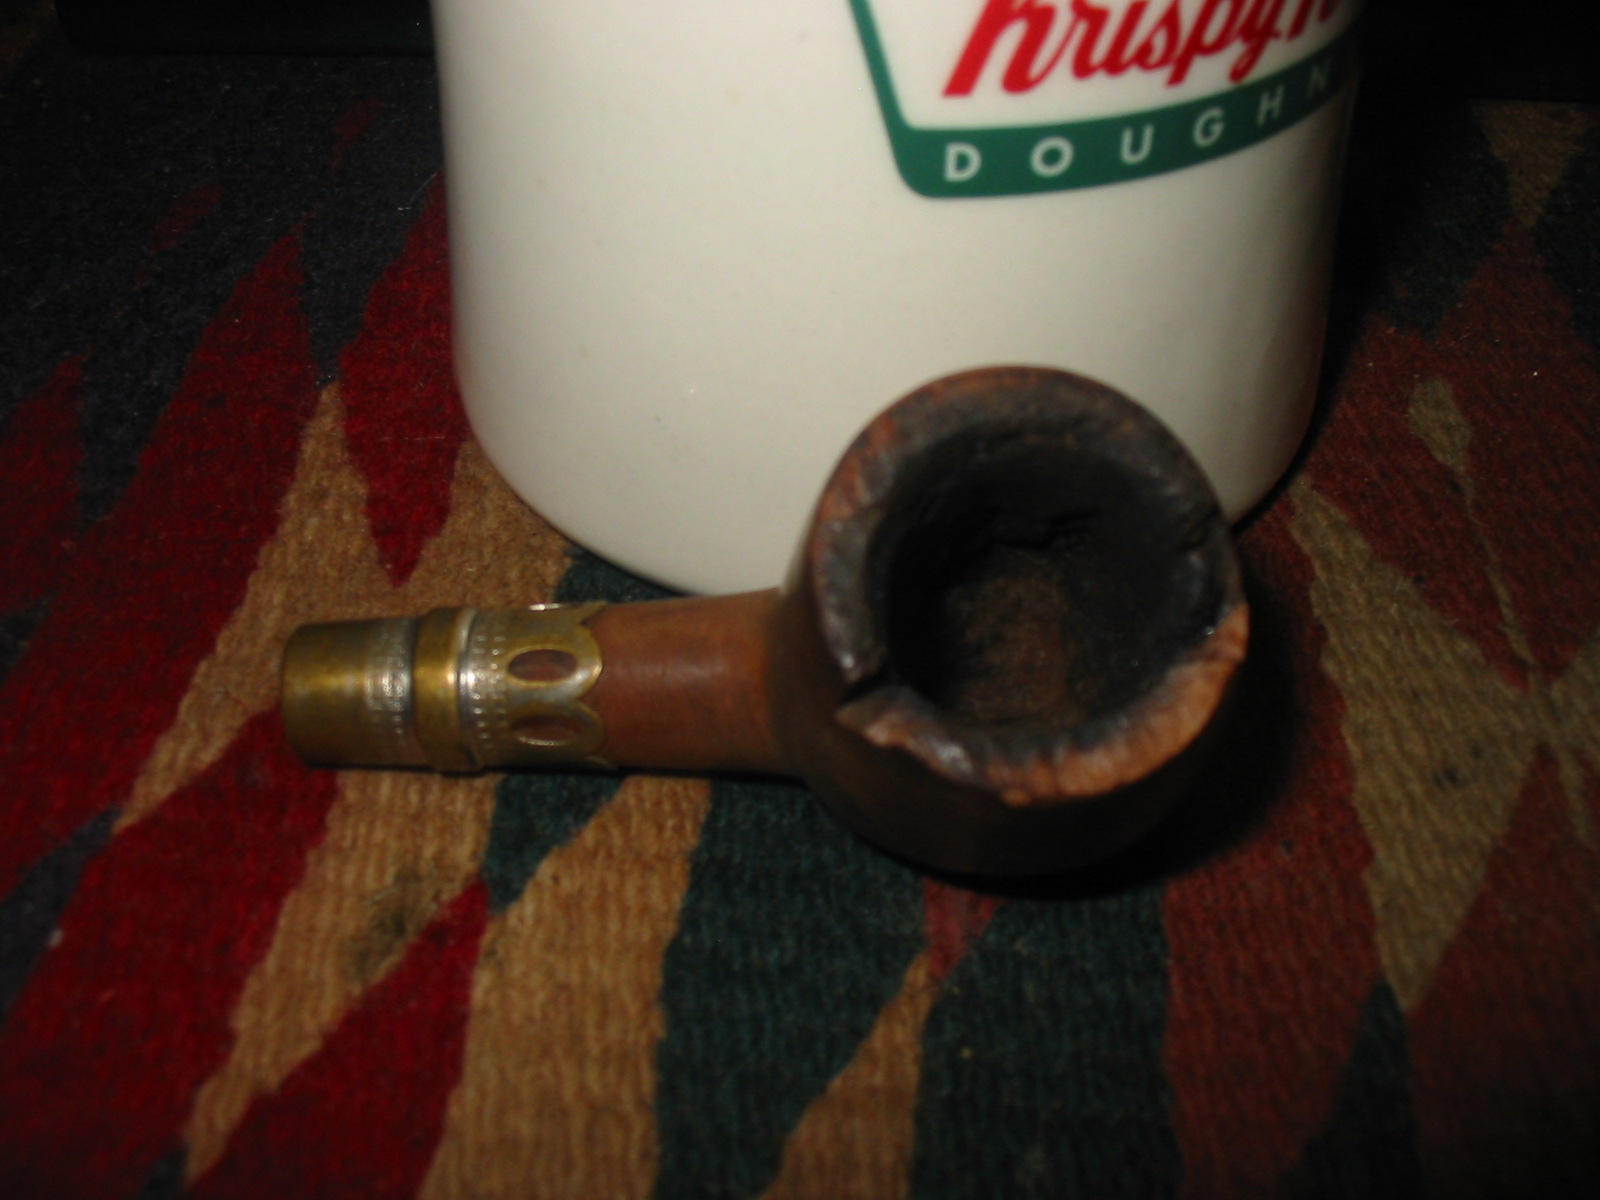
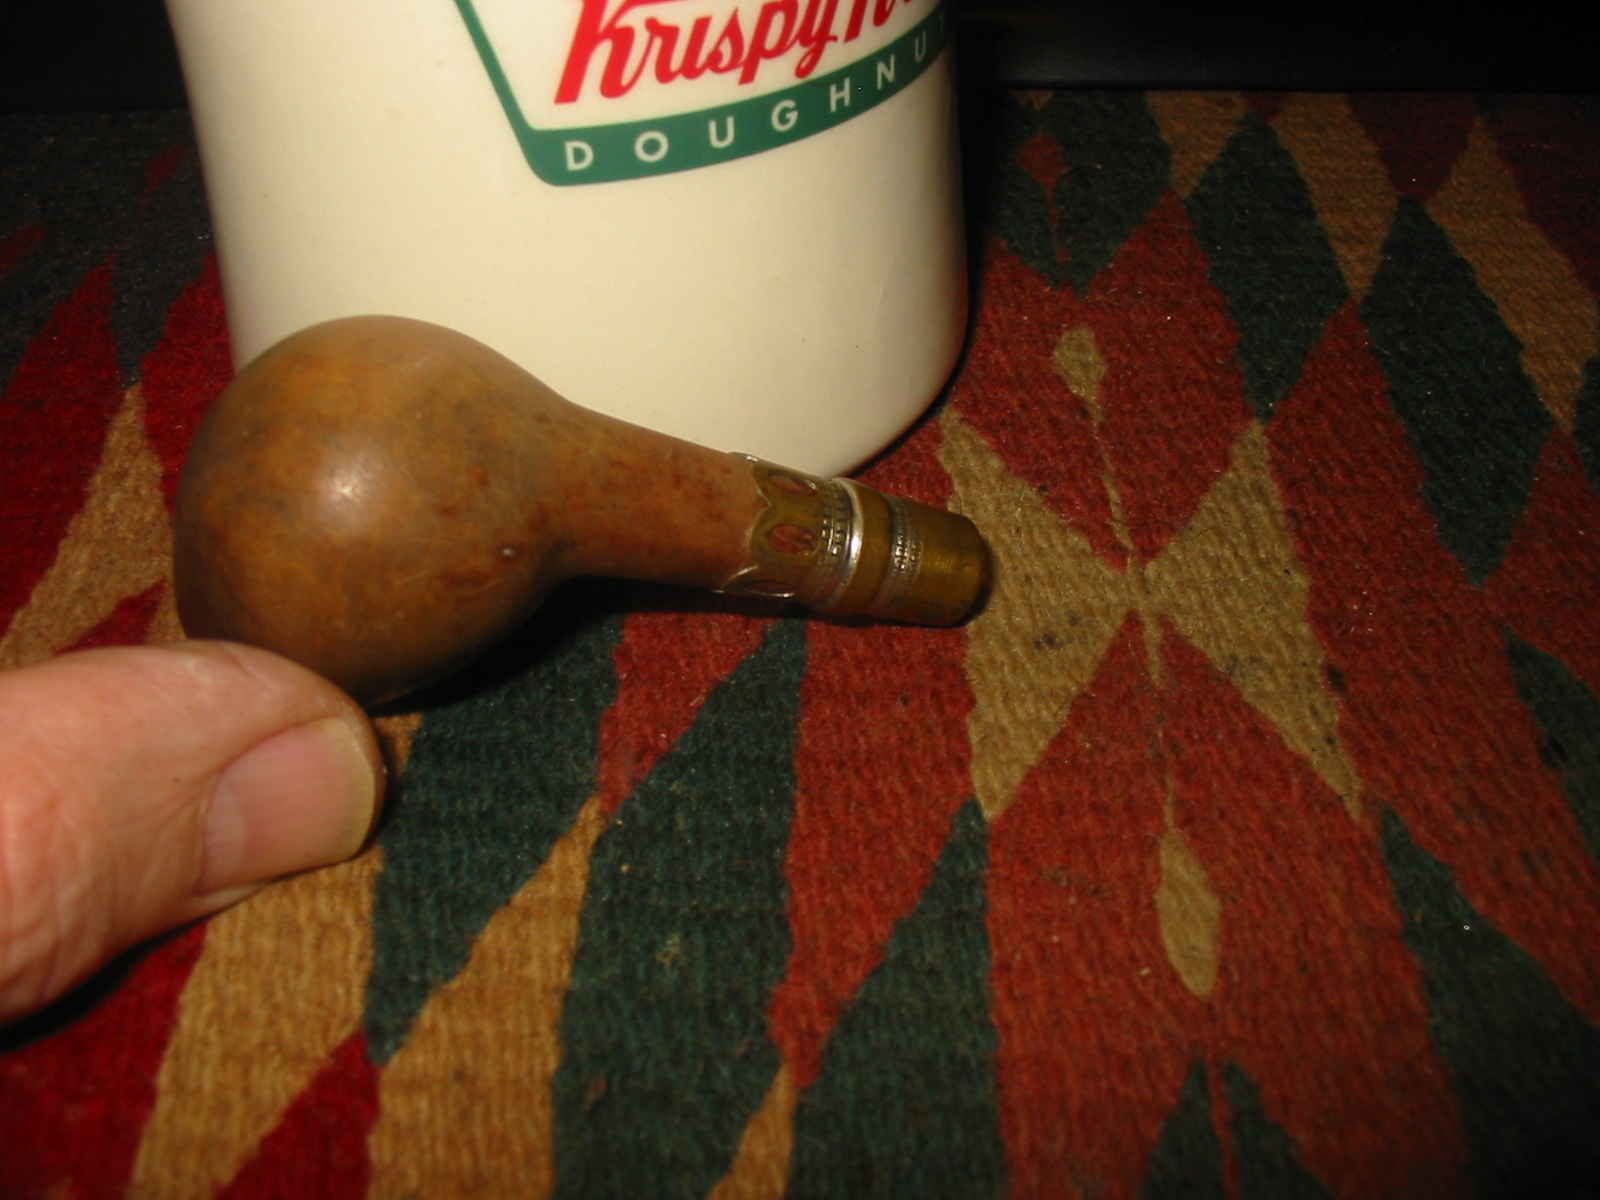
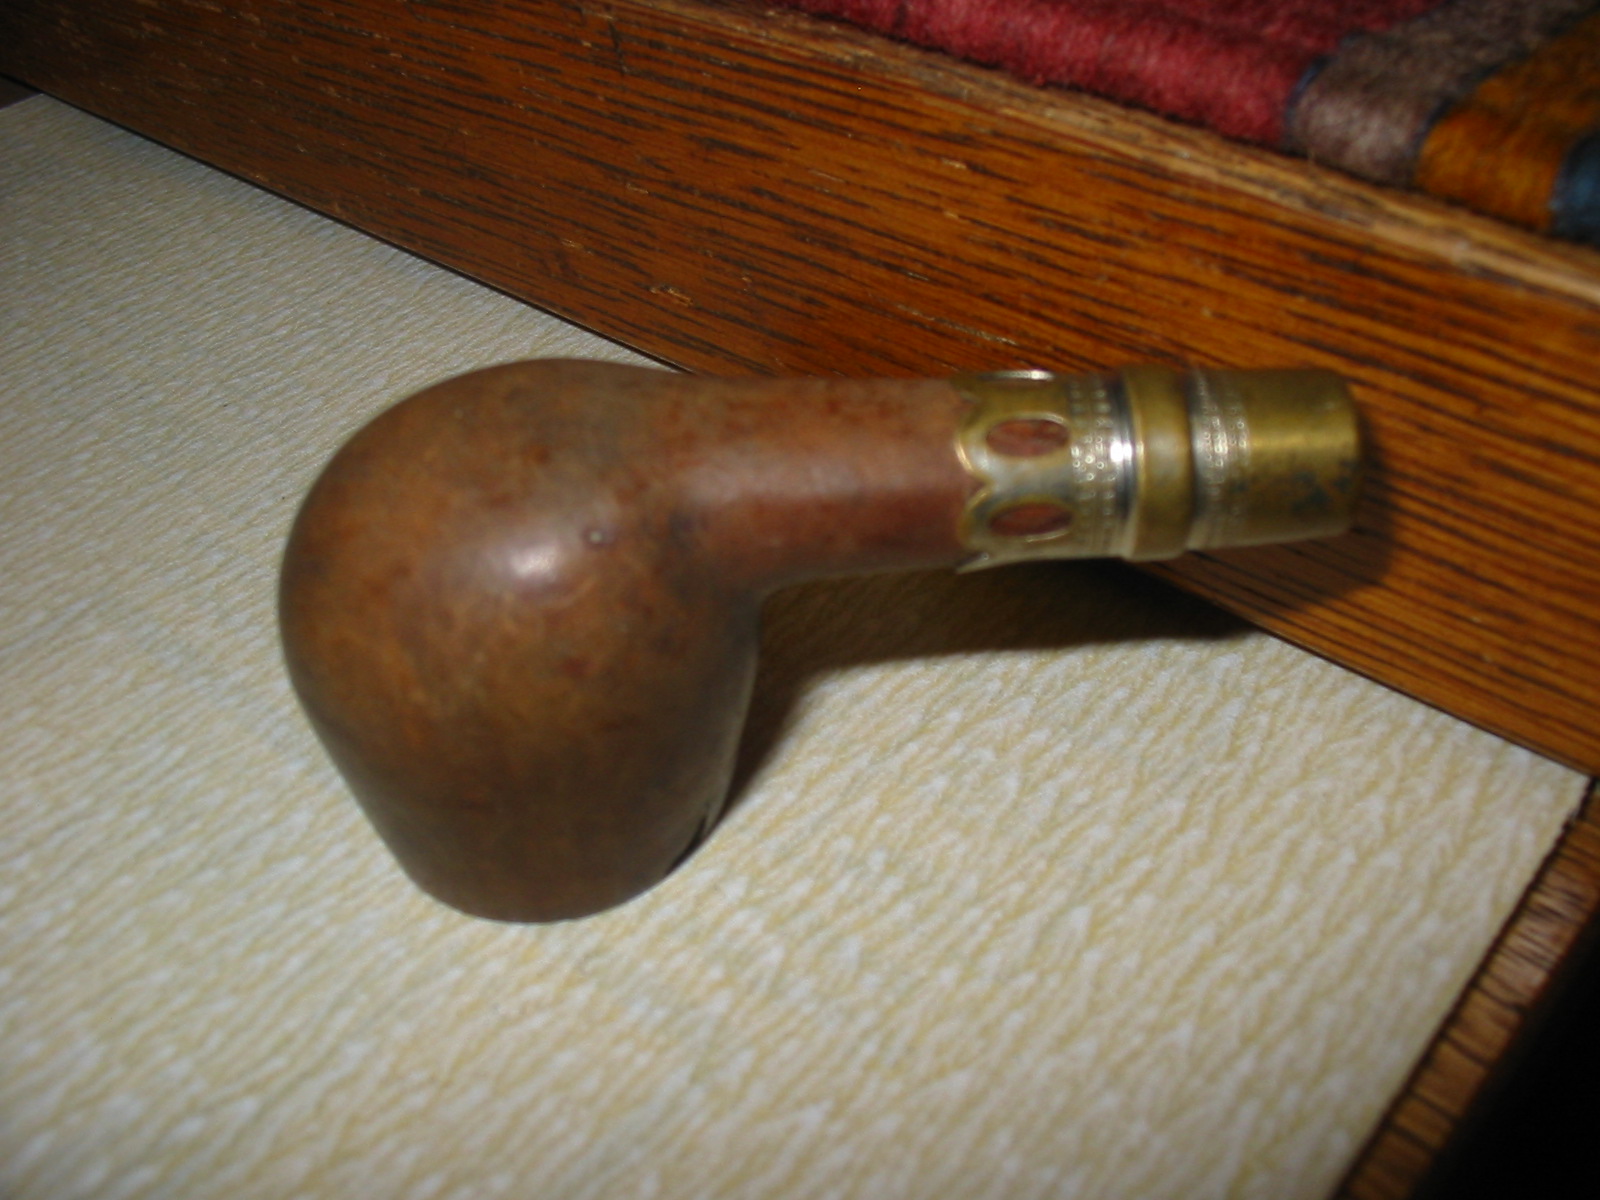
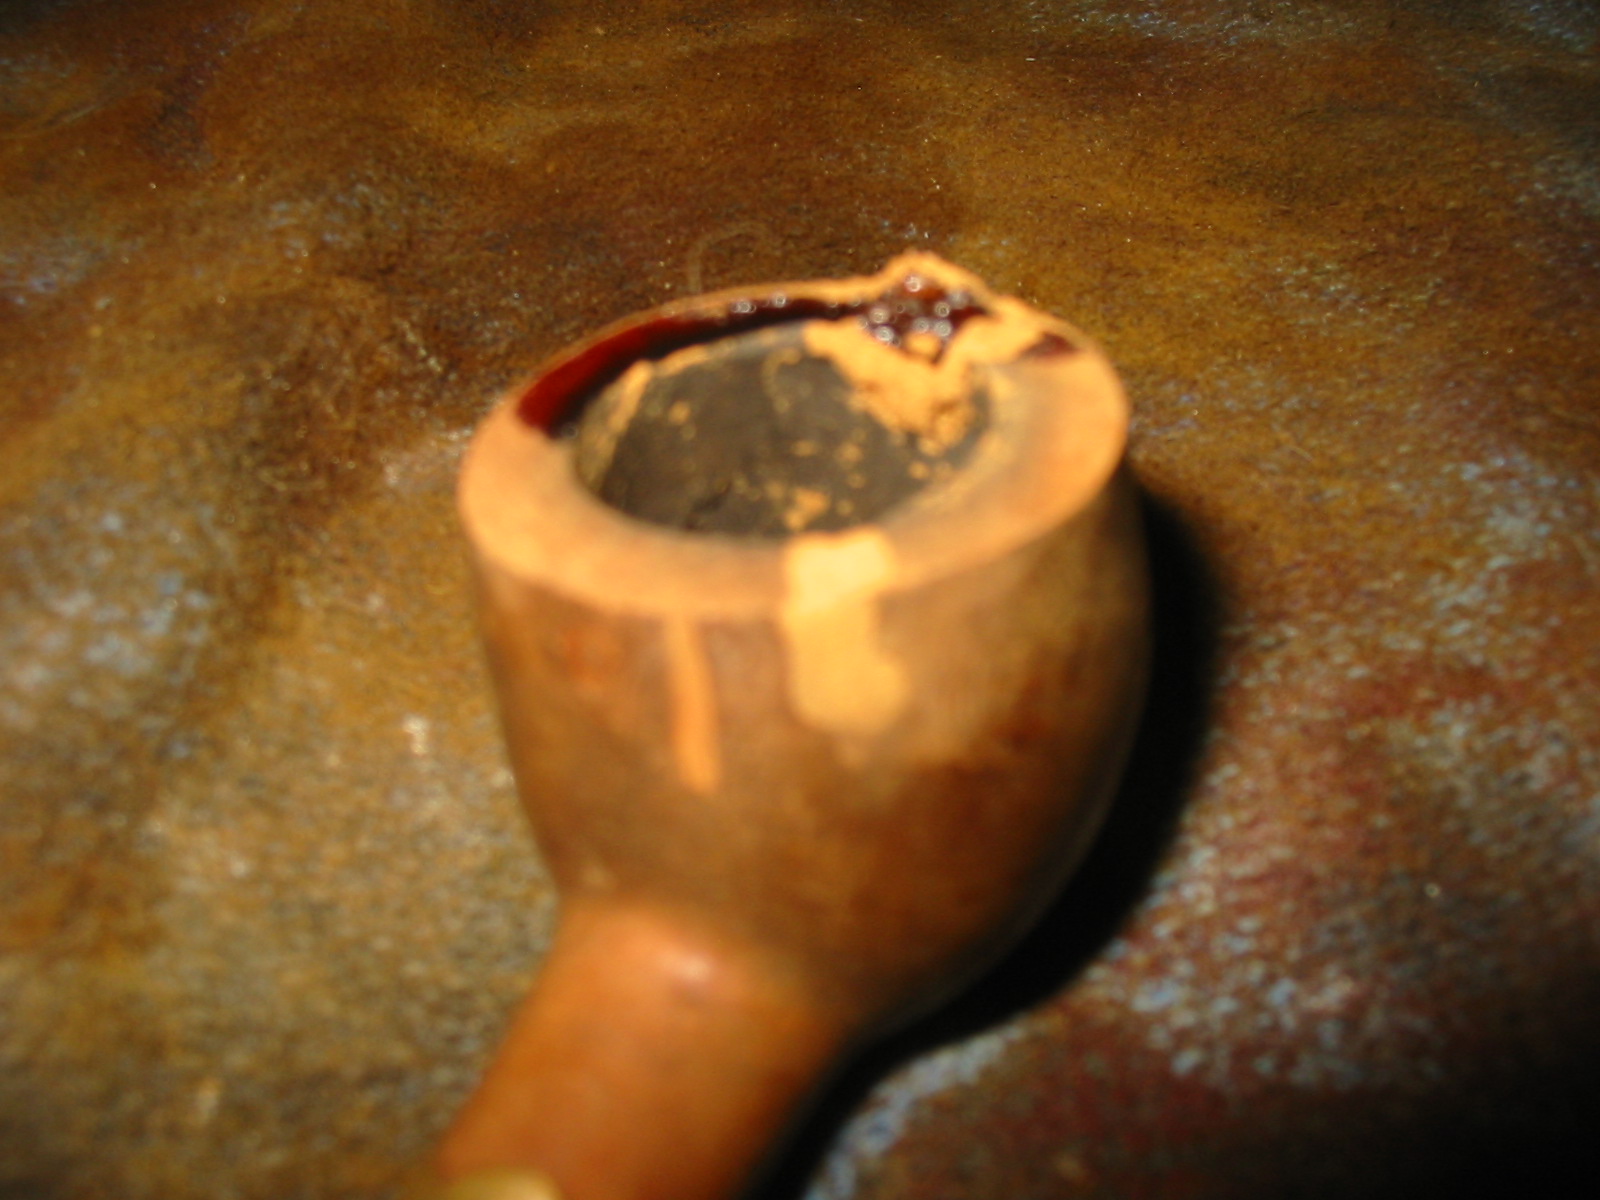
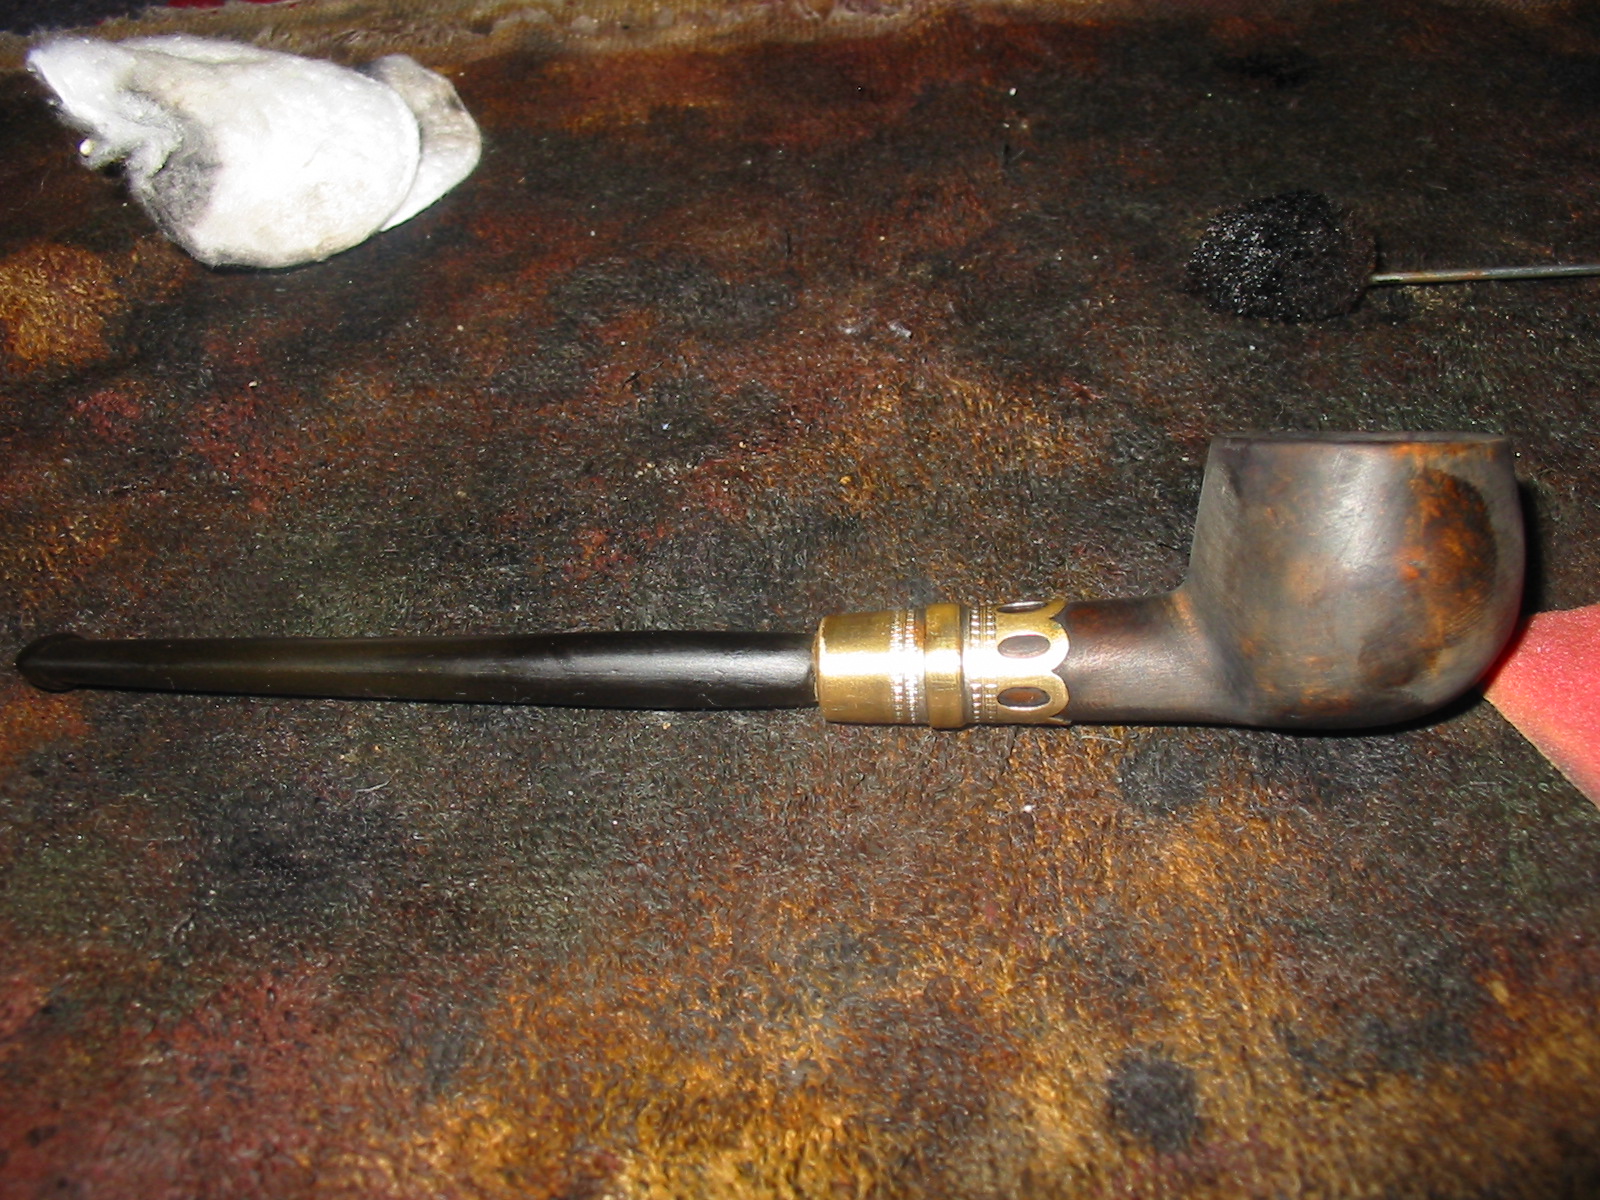
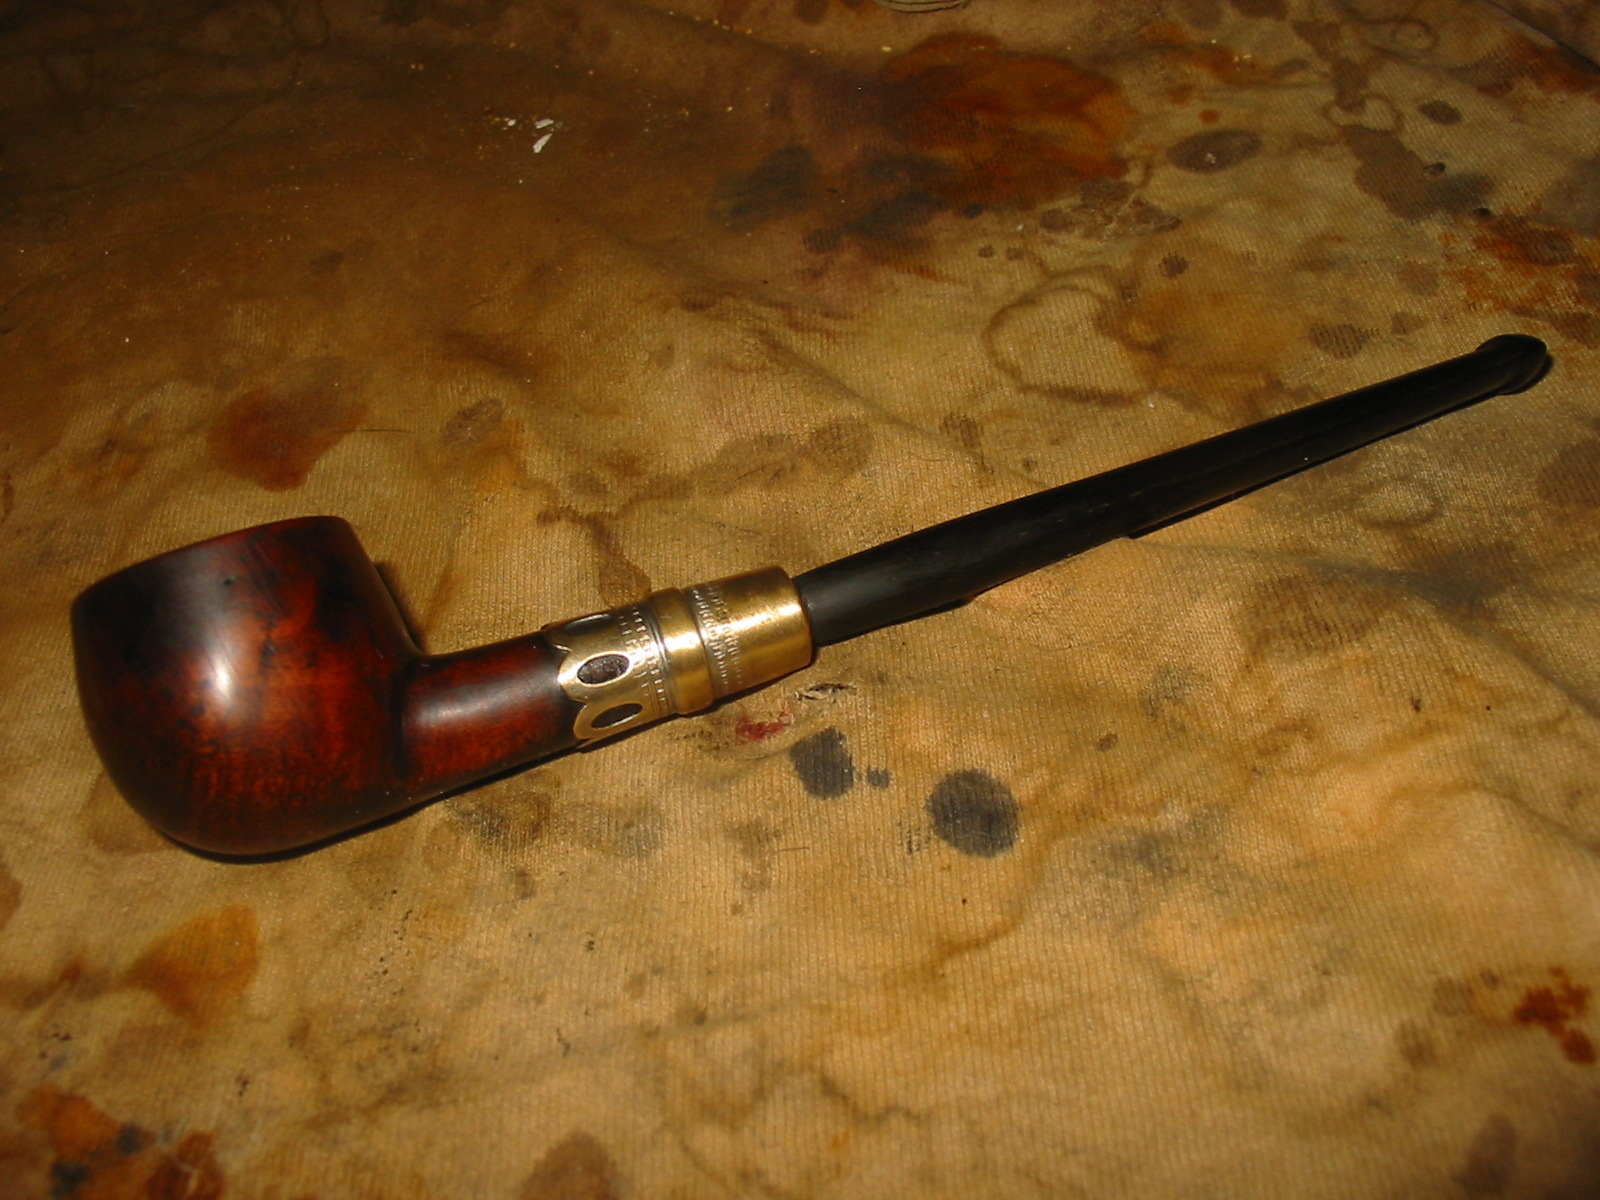
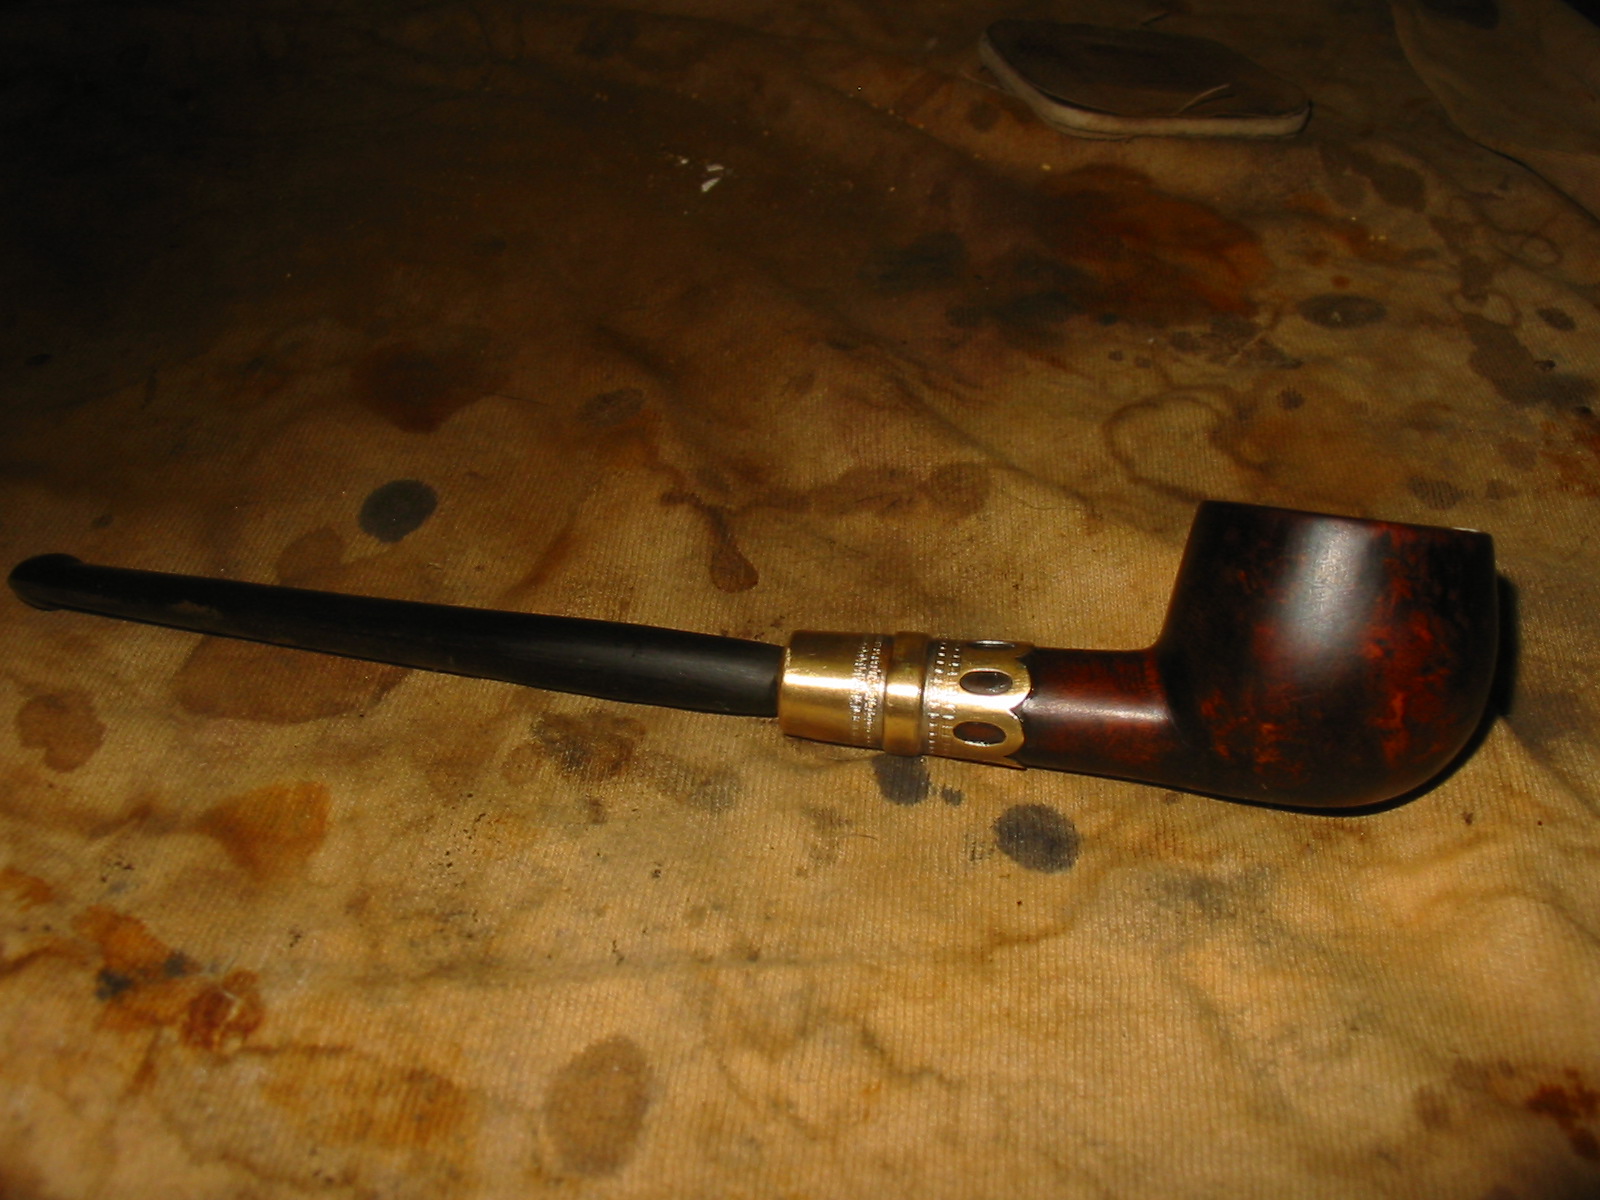
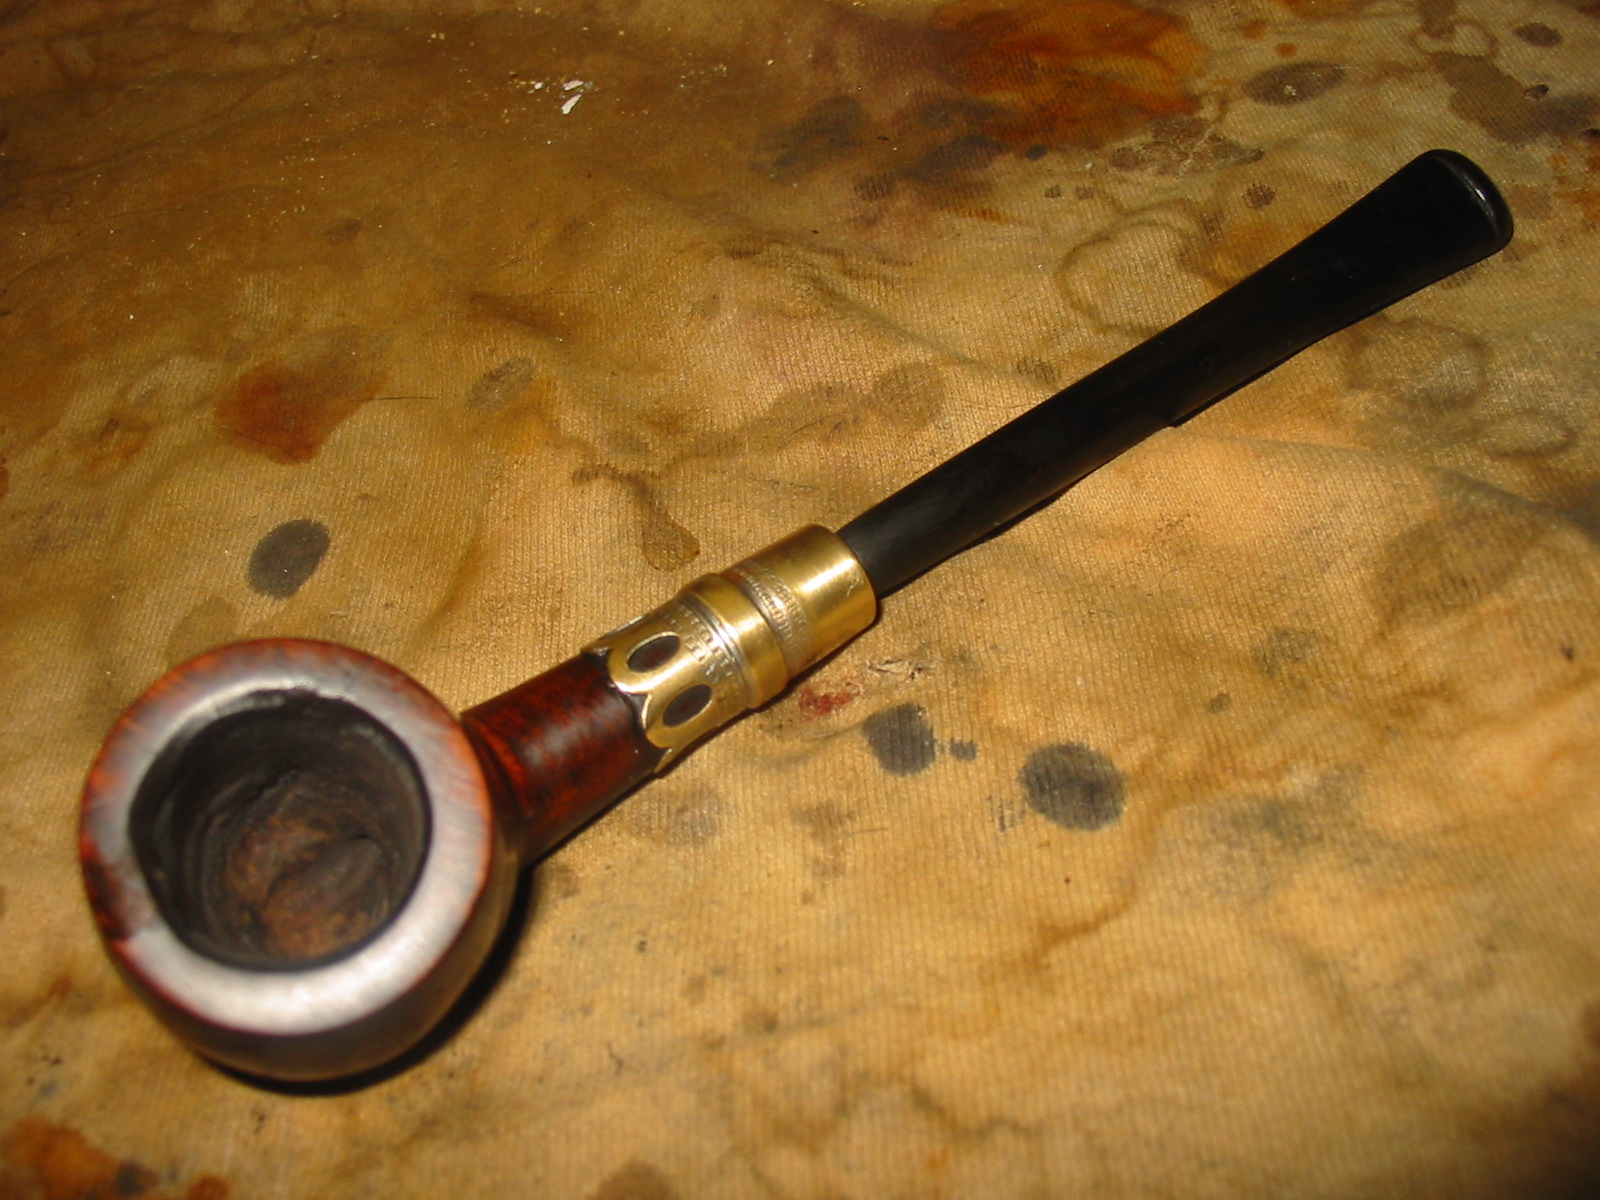
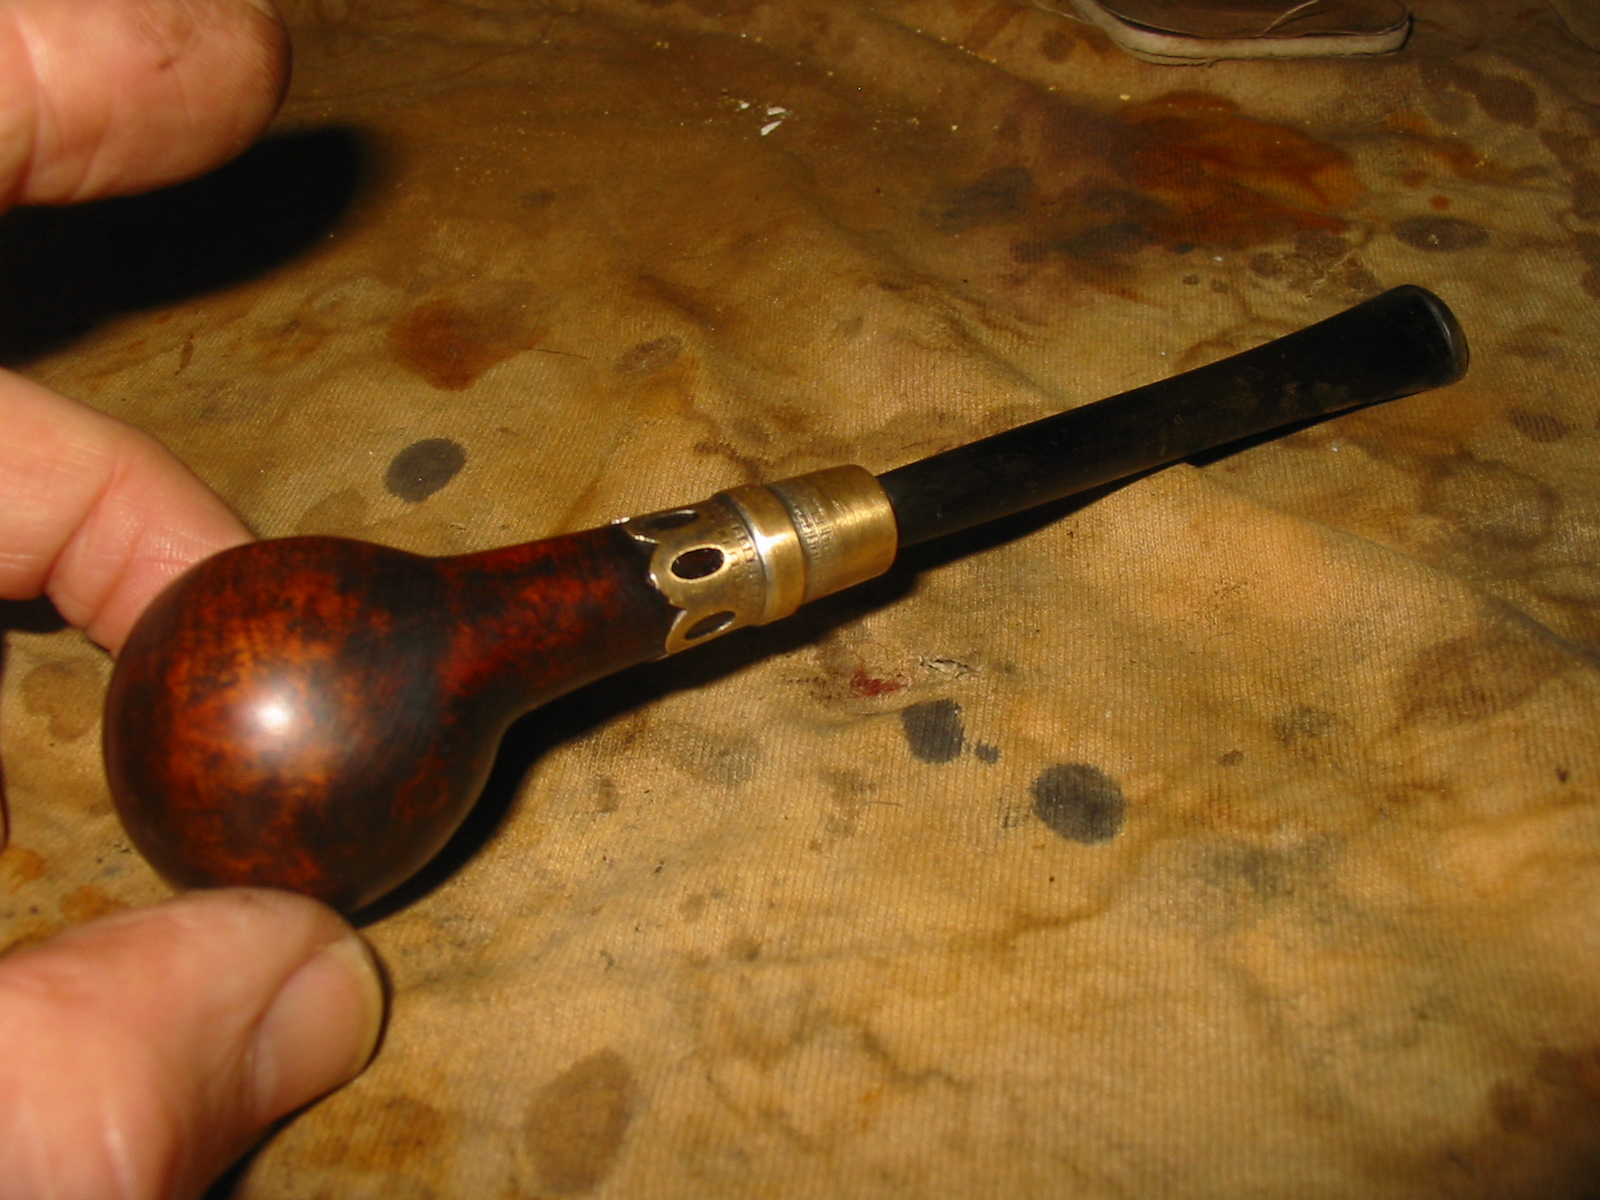
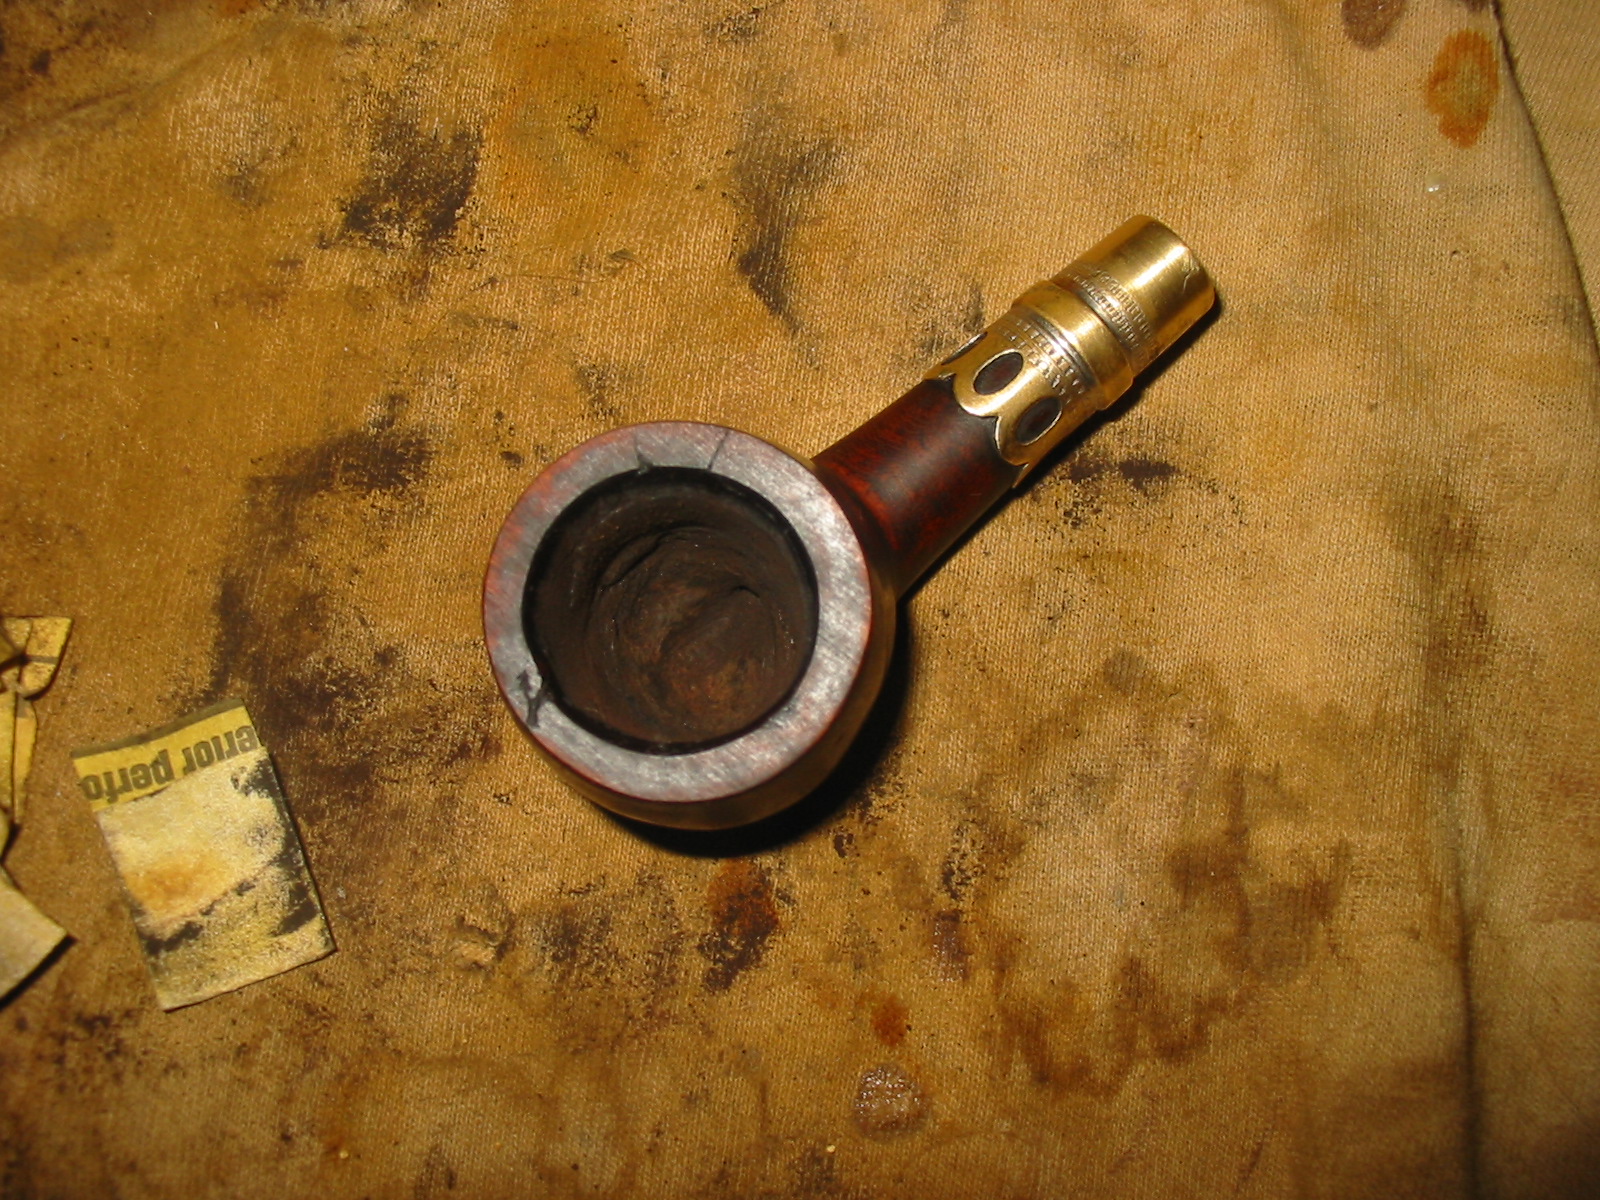
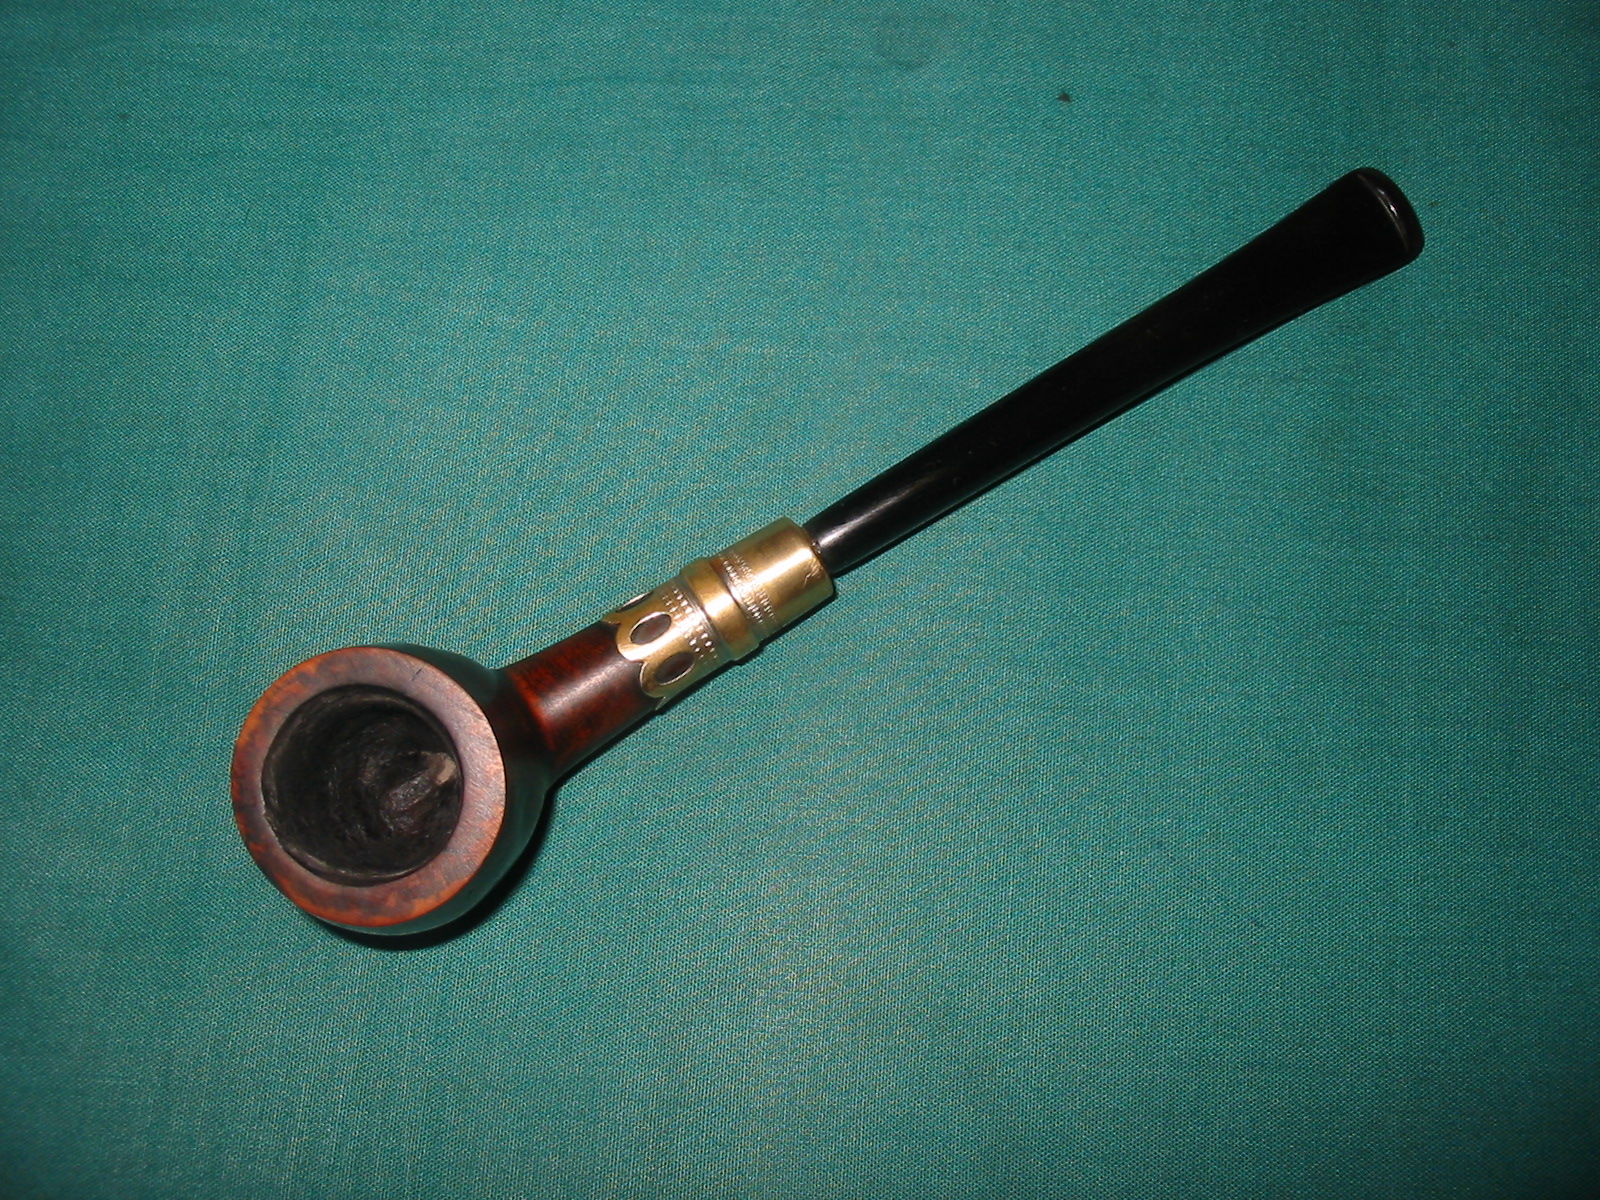
In my antique mall grab bag there was an antique apple shaped pipe with an ornate end cap. It was a mix of brass and silver and had a fascinating look – at least to me. I liked it from the get go. The problem was the damage to the bowl was extensive. It truly was a mess with chunks of briar missing and cracks and crevices on the rim as well as in the upper portion of the bowl. So I looked through some of the bowls I have here to see if I had one that the end cap would fit but none were to be found. Lots of reshaping and changes would have had to be done to make any of the bowls I had work so I revisited the damaged bowl and did a few measurements on it to if I could remove the damage and still have anything left that was worth the work.
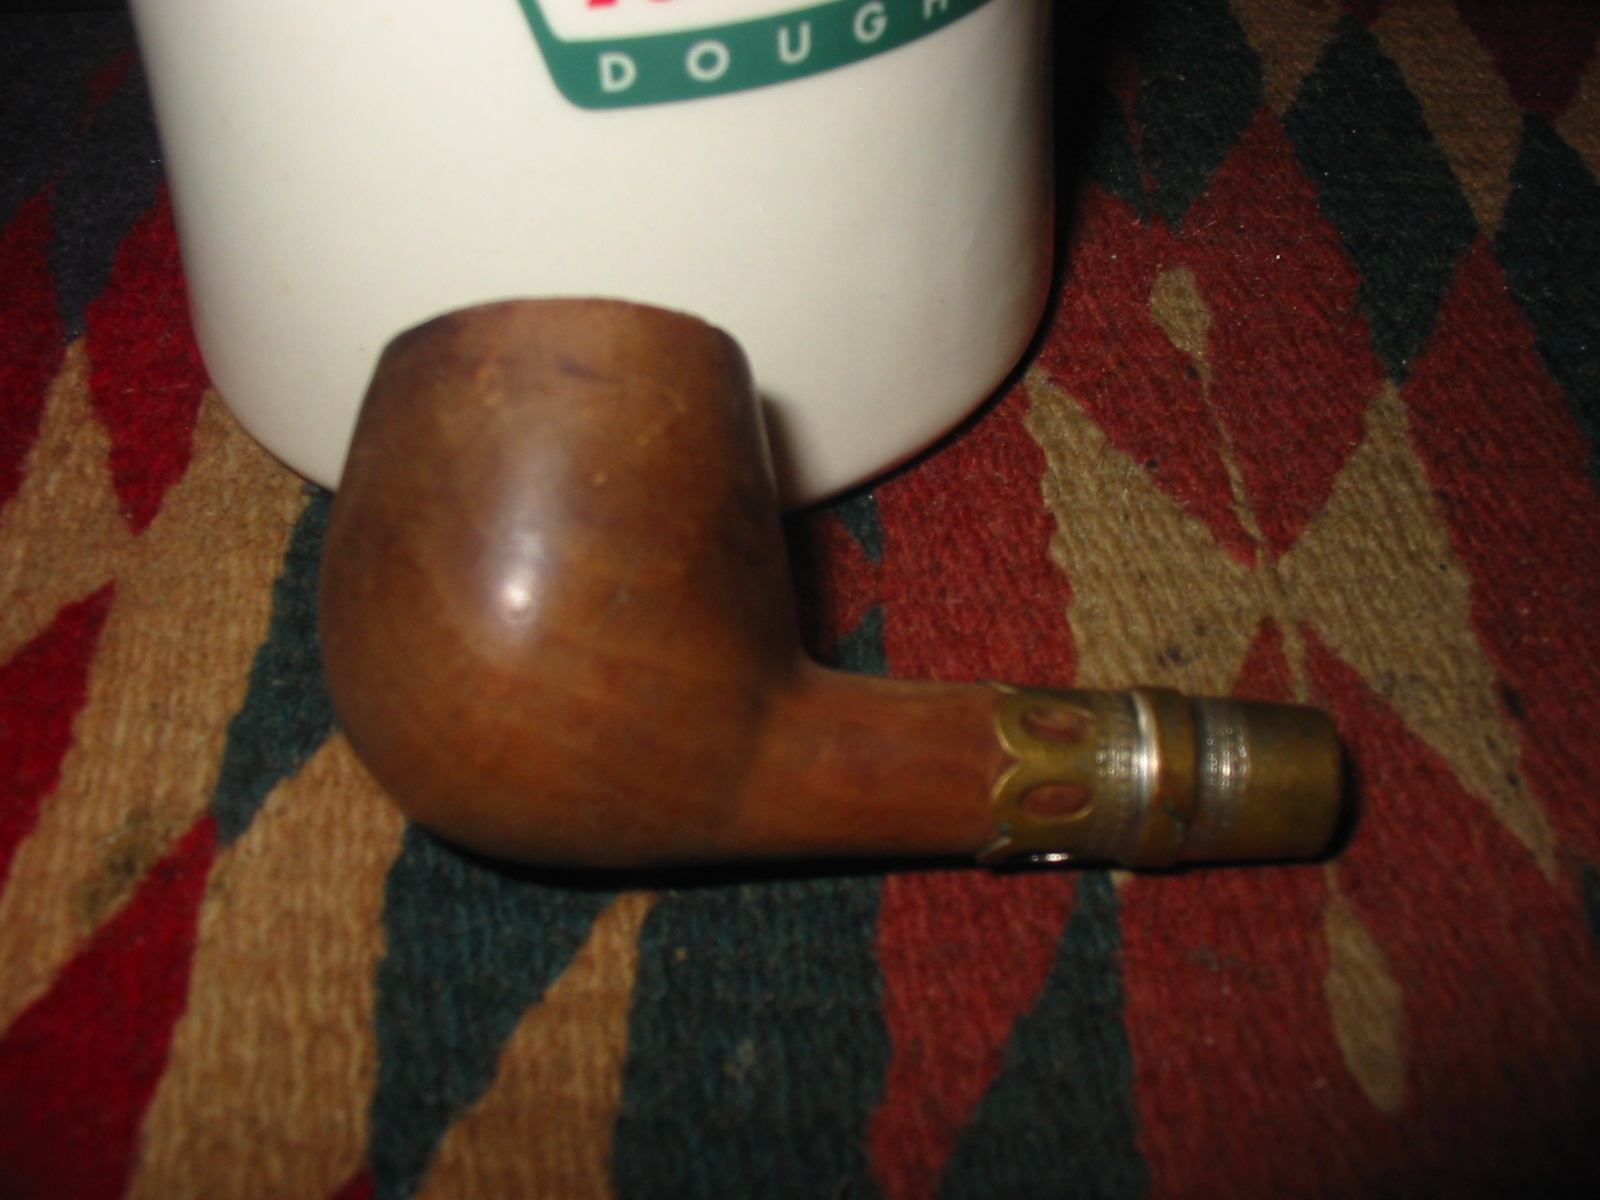
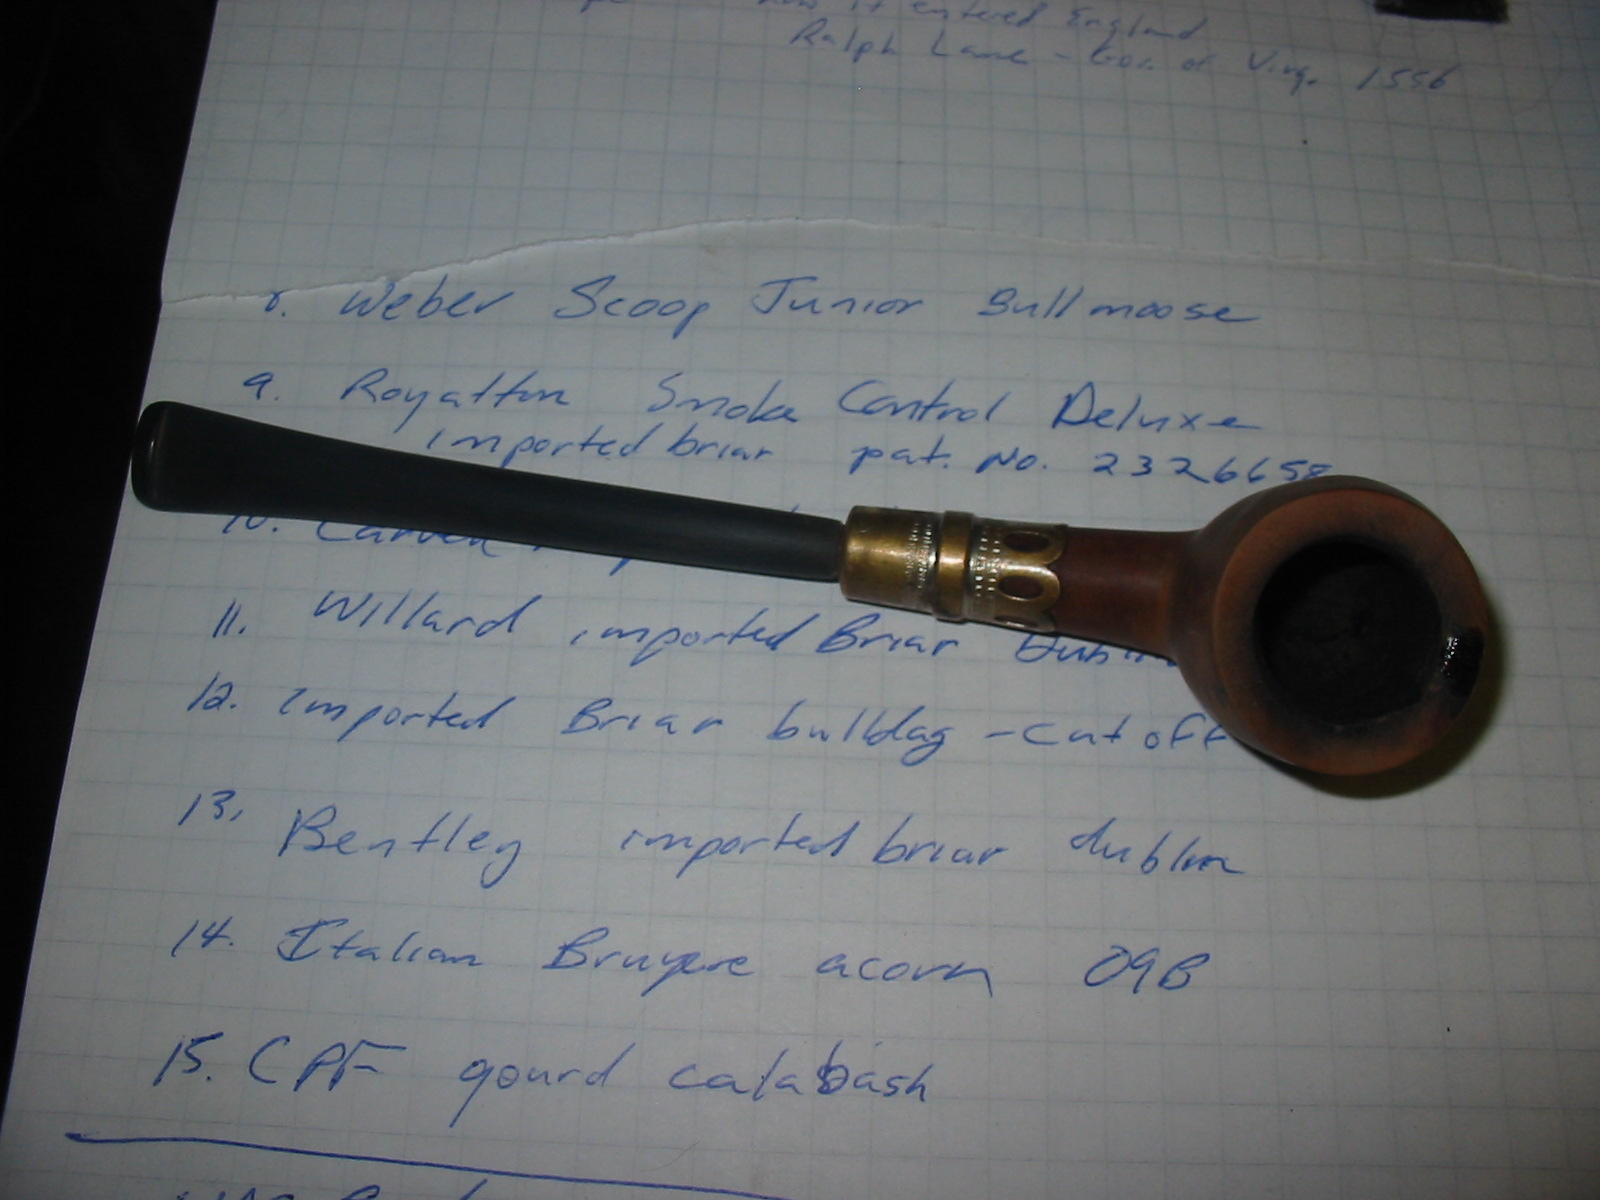
After measuring the bowl I figured that I could convert it from an apple/brandy shape to a prince shape. If you look at most prince shapes you can easily imagine how it would have looked as an apple or a ball shaped pipe. It is not hard to see the prince as a cut down apple. I also looked through my stems and found an older military push stem that would give it a princely look. The end of the stem would need to be turned down slightly to fit in the metal end cap of the shank.
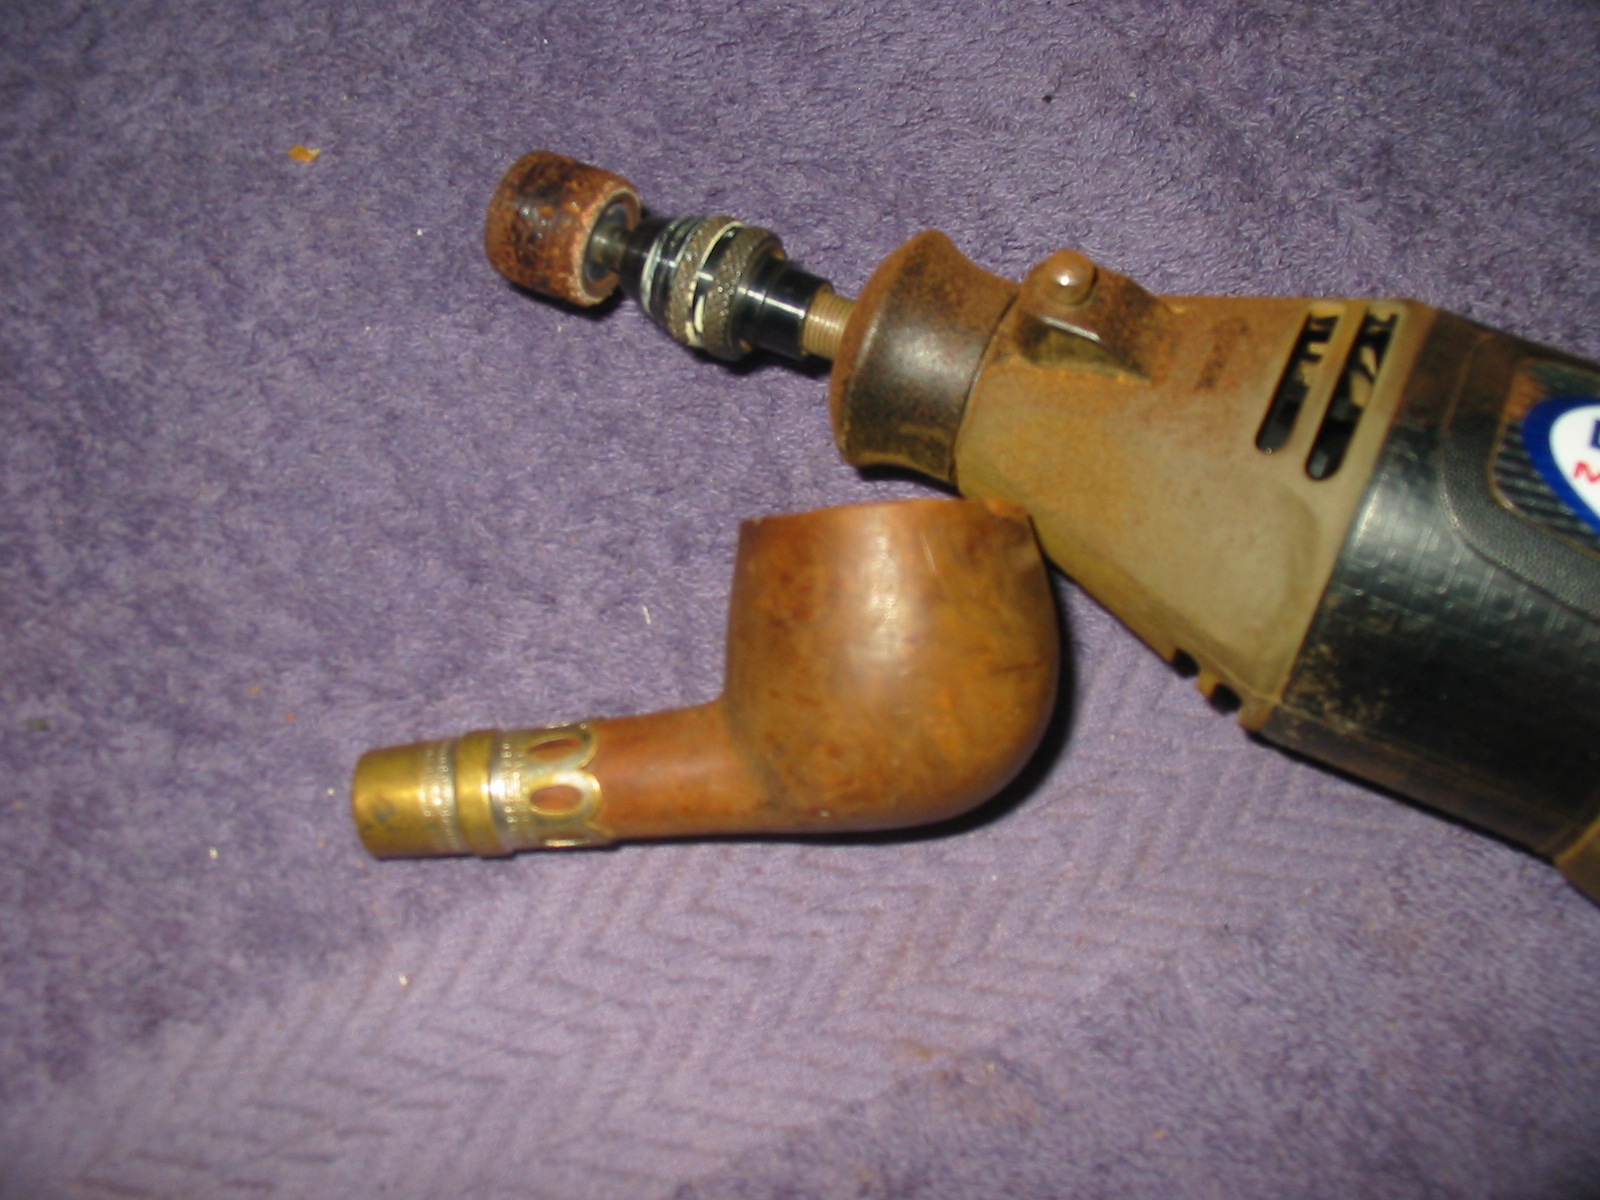
I decided to start with a conservative approach to the reduction of the height of the bowl and the removal of the damaged briar first. I have learned that it is easy to remove briar but next to impossible to put it back once it has been removed. I set up the topping board and began to turn the bowl into the 220 grit sandpaper to work back the rim. After about ten minutes of work I could see that it would take me all night to hand sand it back to the height I wanted to work with. There had to be a better way to get it close and then finish the topping with the sandpaper and board.
I decided to use a Dremel to remove most of the damaged briar, carefully working to keep it as close to flat as possible – a trick with a Dremel and a sanding drum but it worked fairly well. I took back all of the damage on ¾ of the bowl rim and left a slight amount on the front ¼. The rim would be thick and I would be able to rework the inner edge to bring it back to round with folded sandpaper.
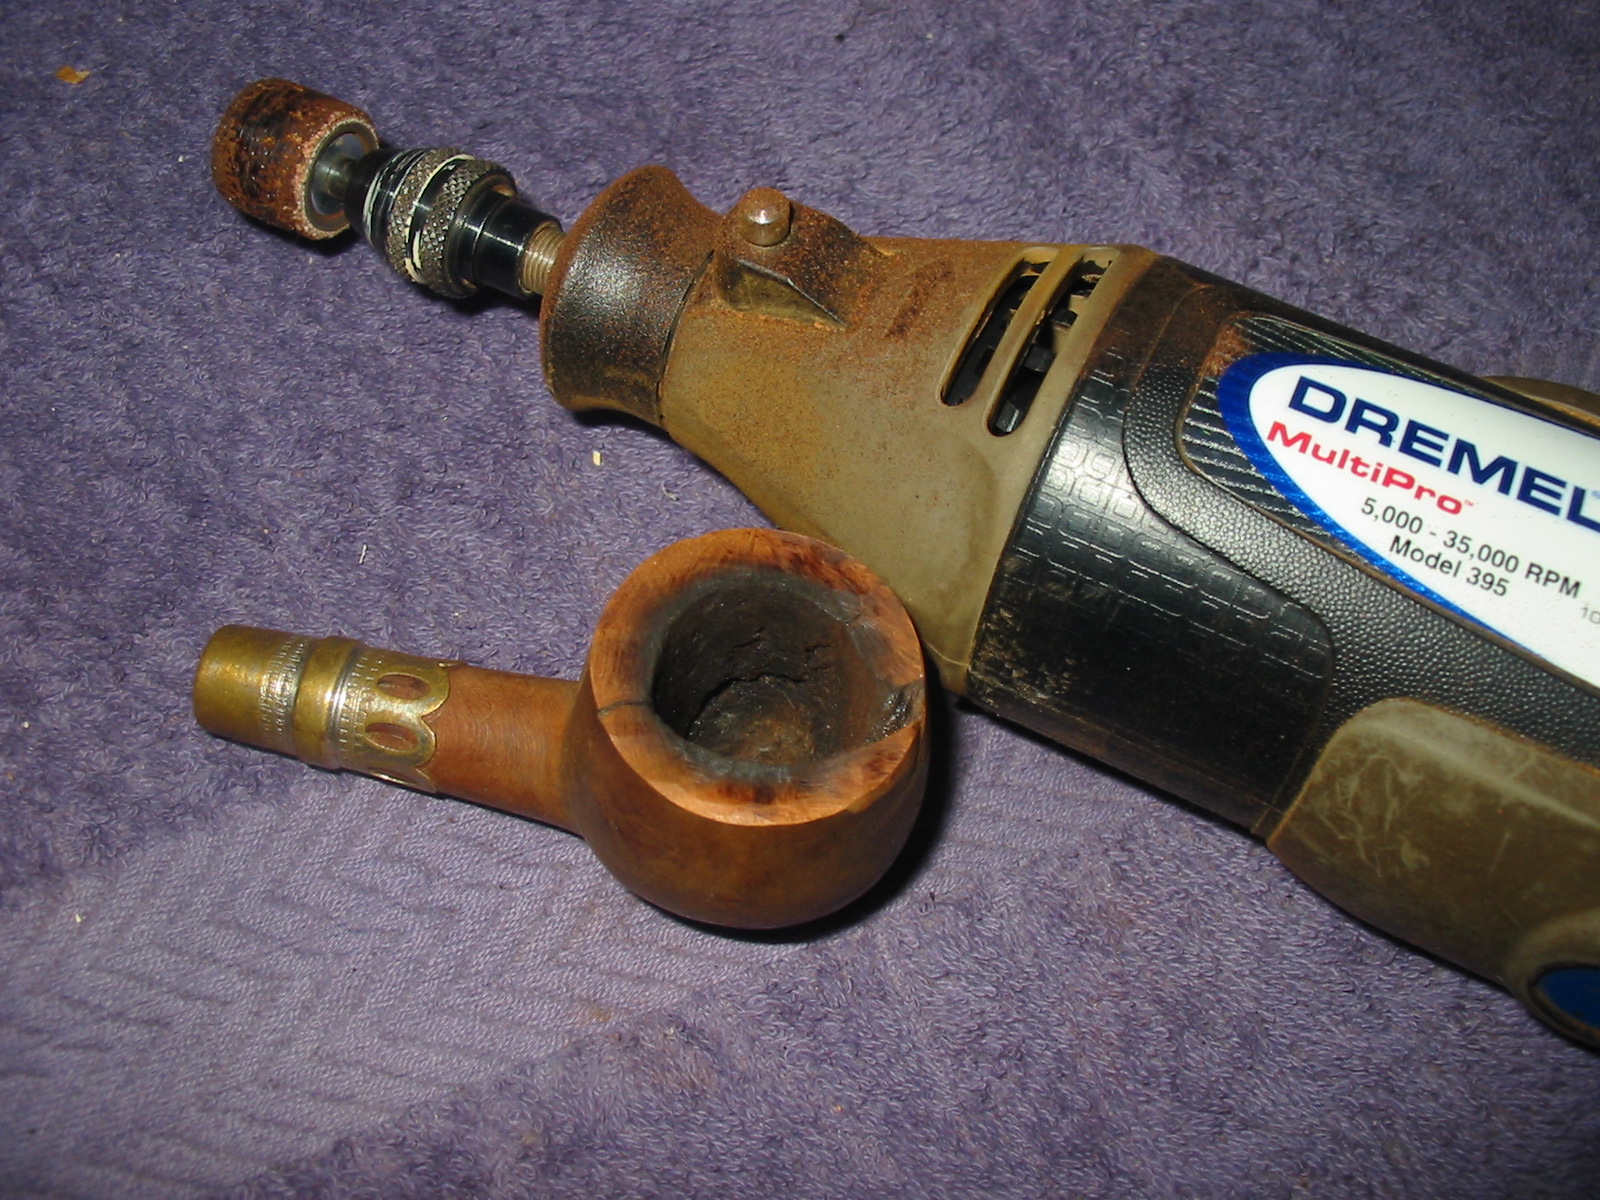

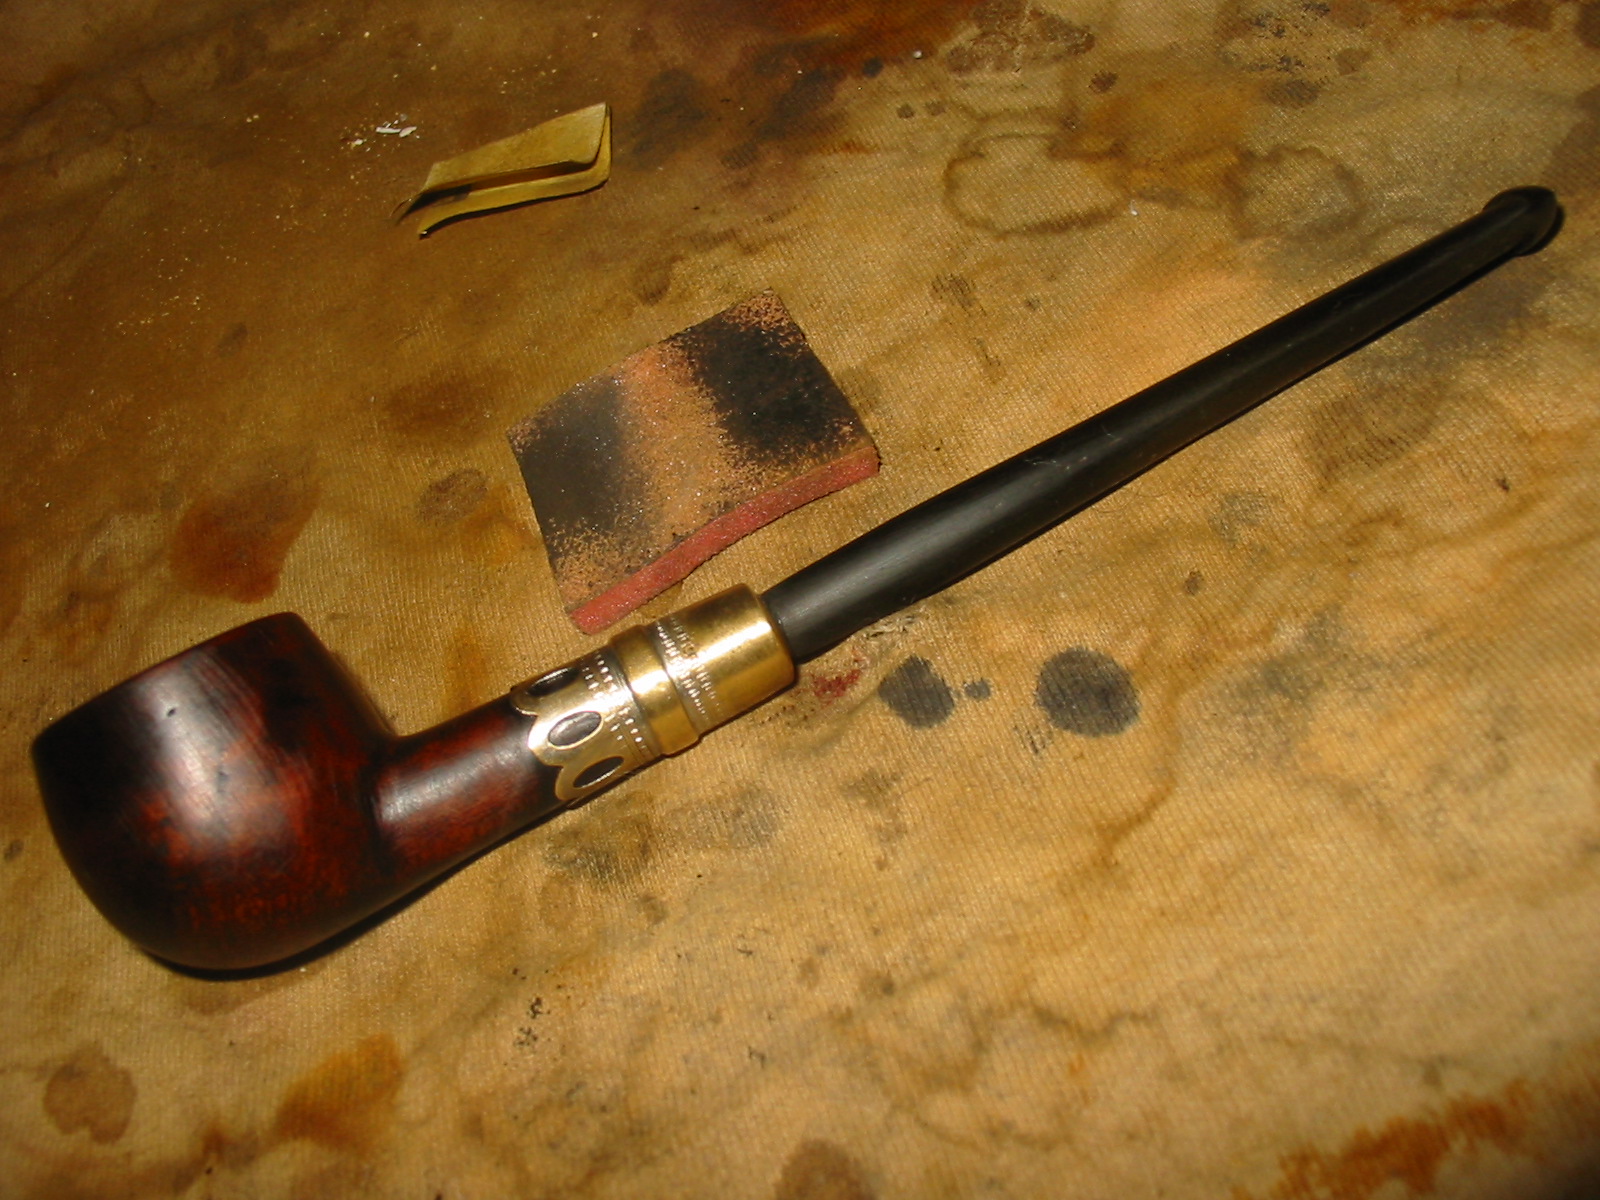
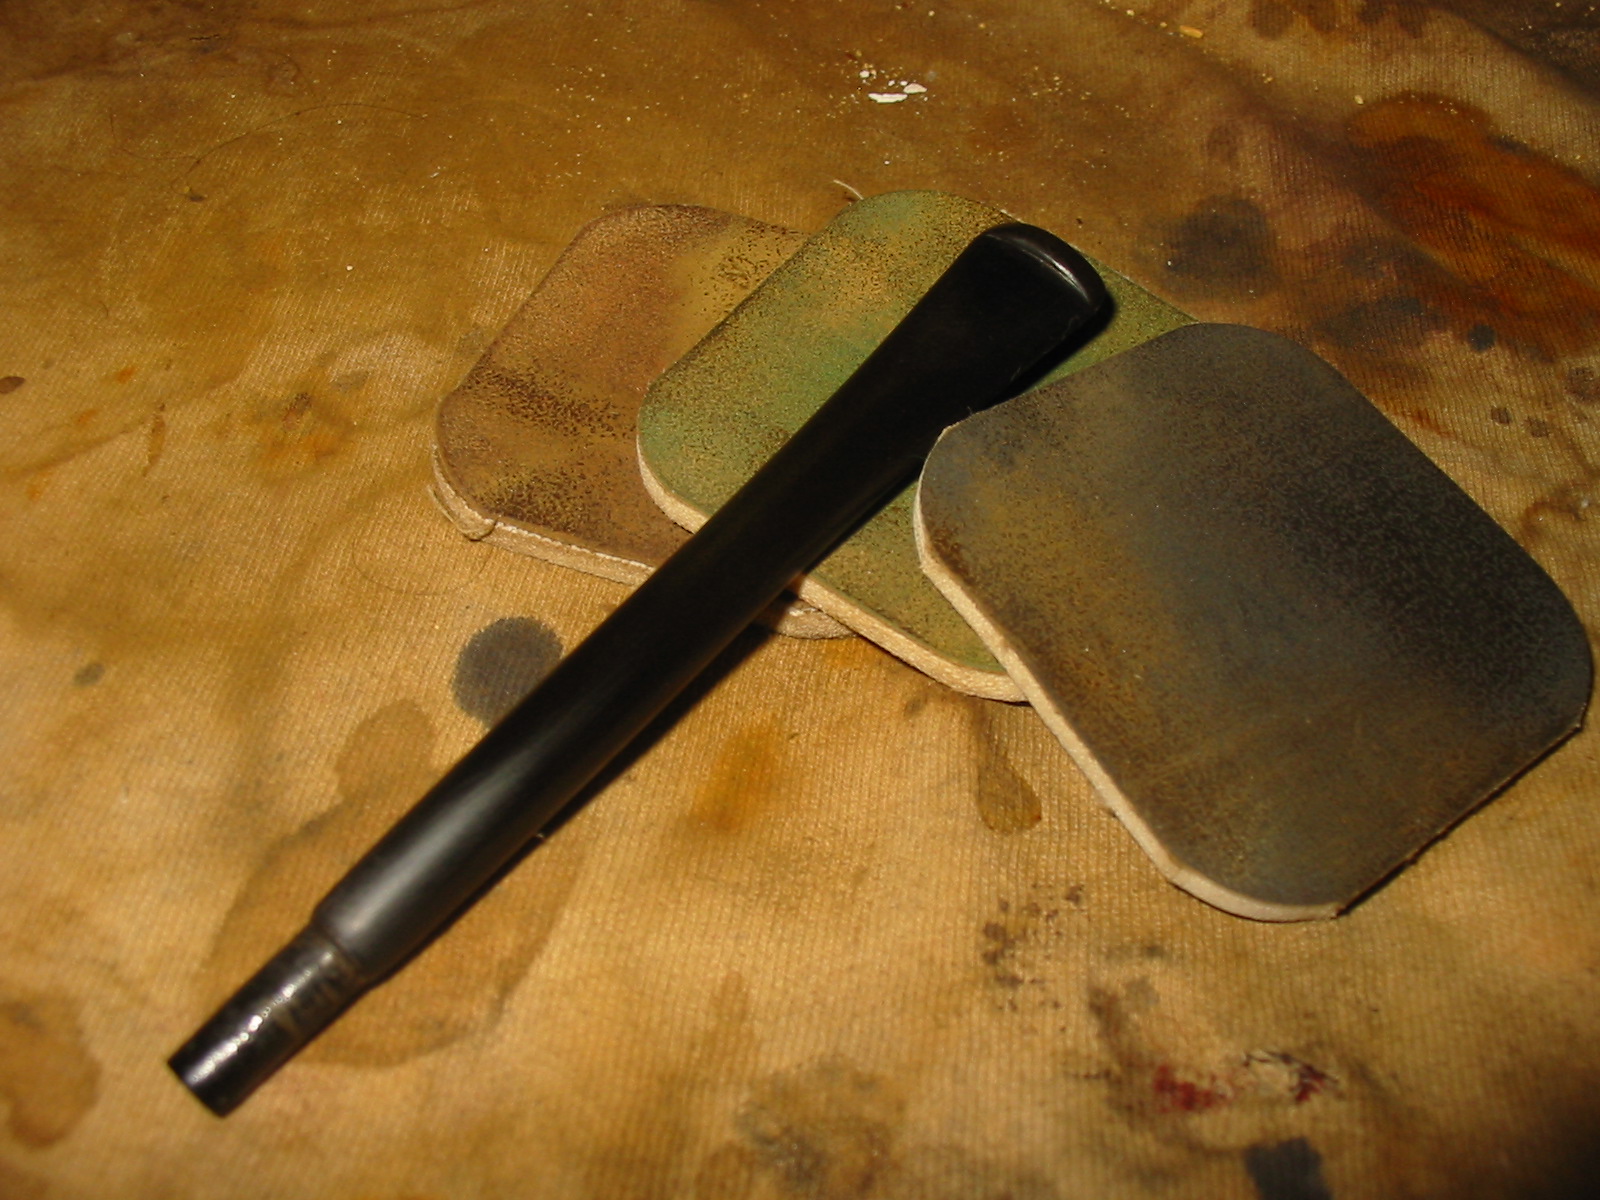
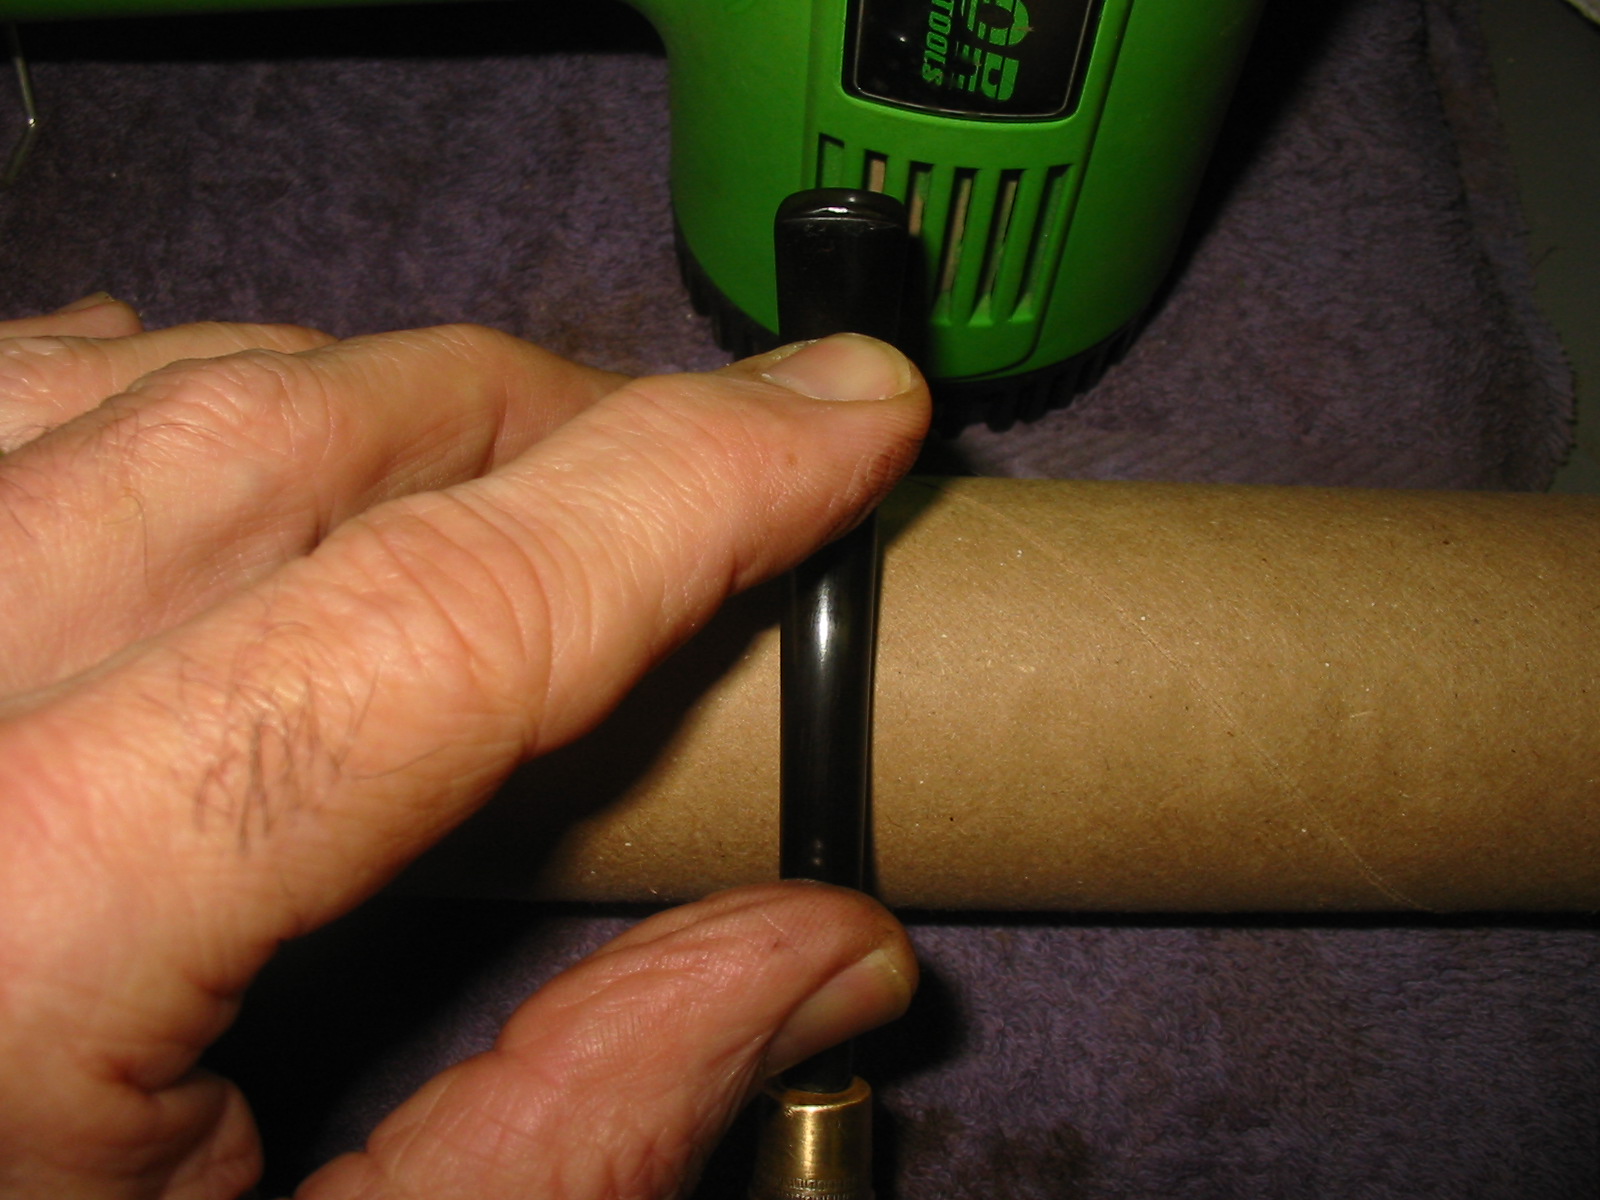
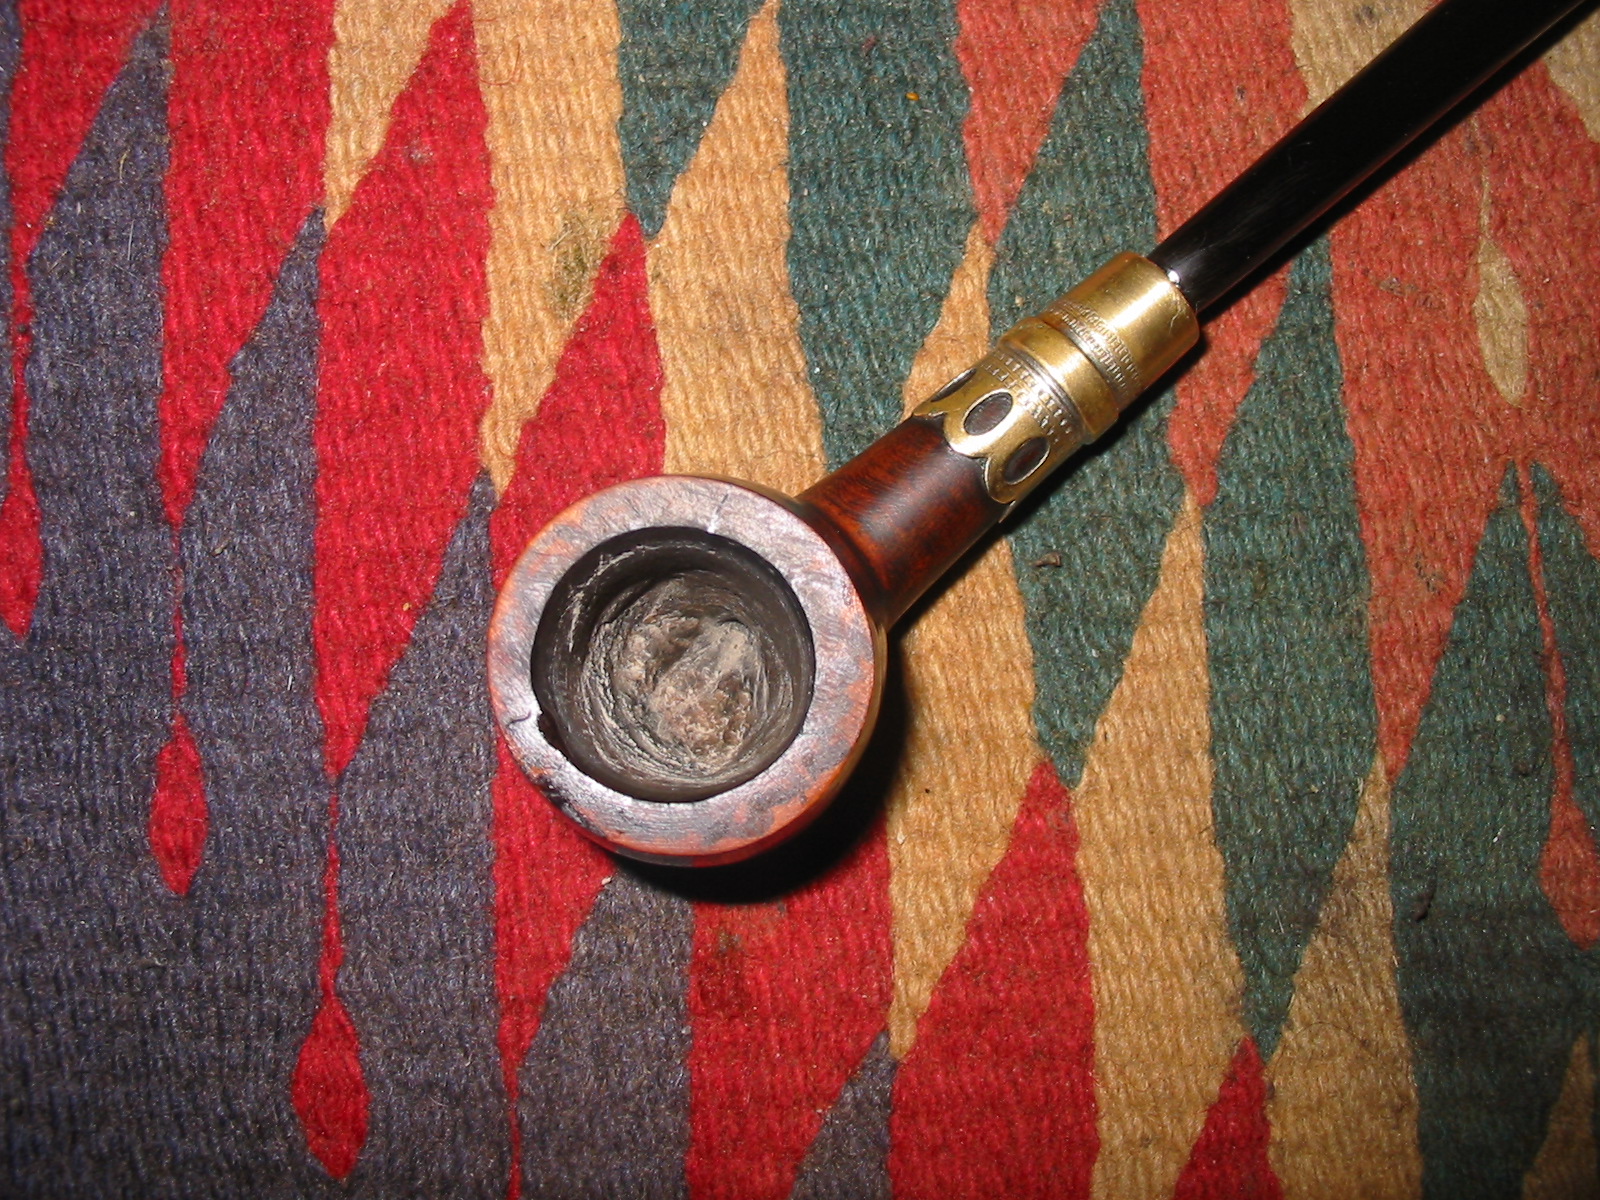
I took the bowl back to my worktable and used the topping board to flatten out the rim. The flattened rim is pictured in the photos below. I also used a rasp to trim down the taper of the bit so that it would fit in the metal end cap. The rest of the fine tuning of the stem would be done by hand with sandpaper and small files.
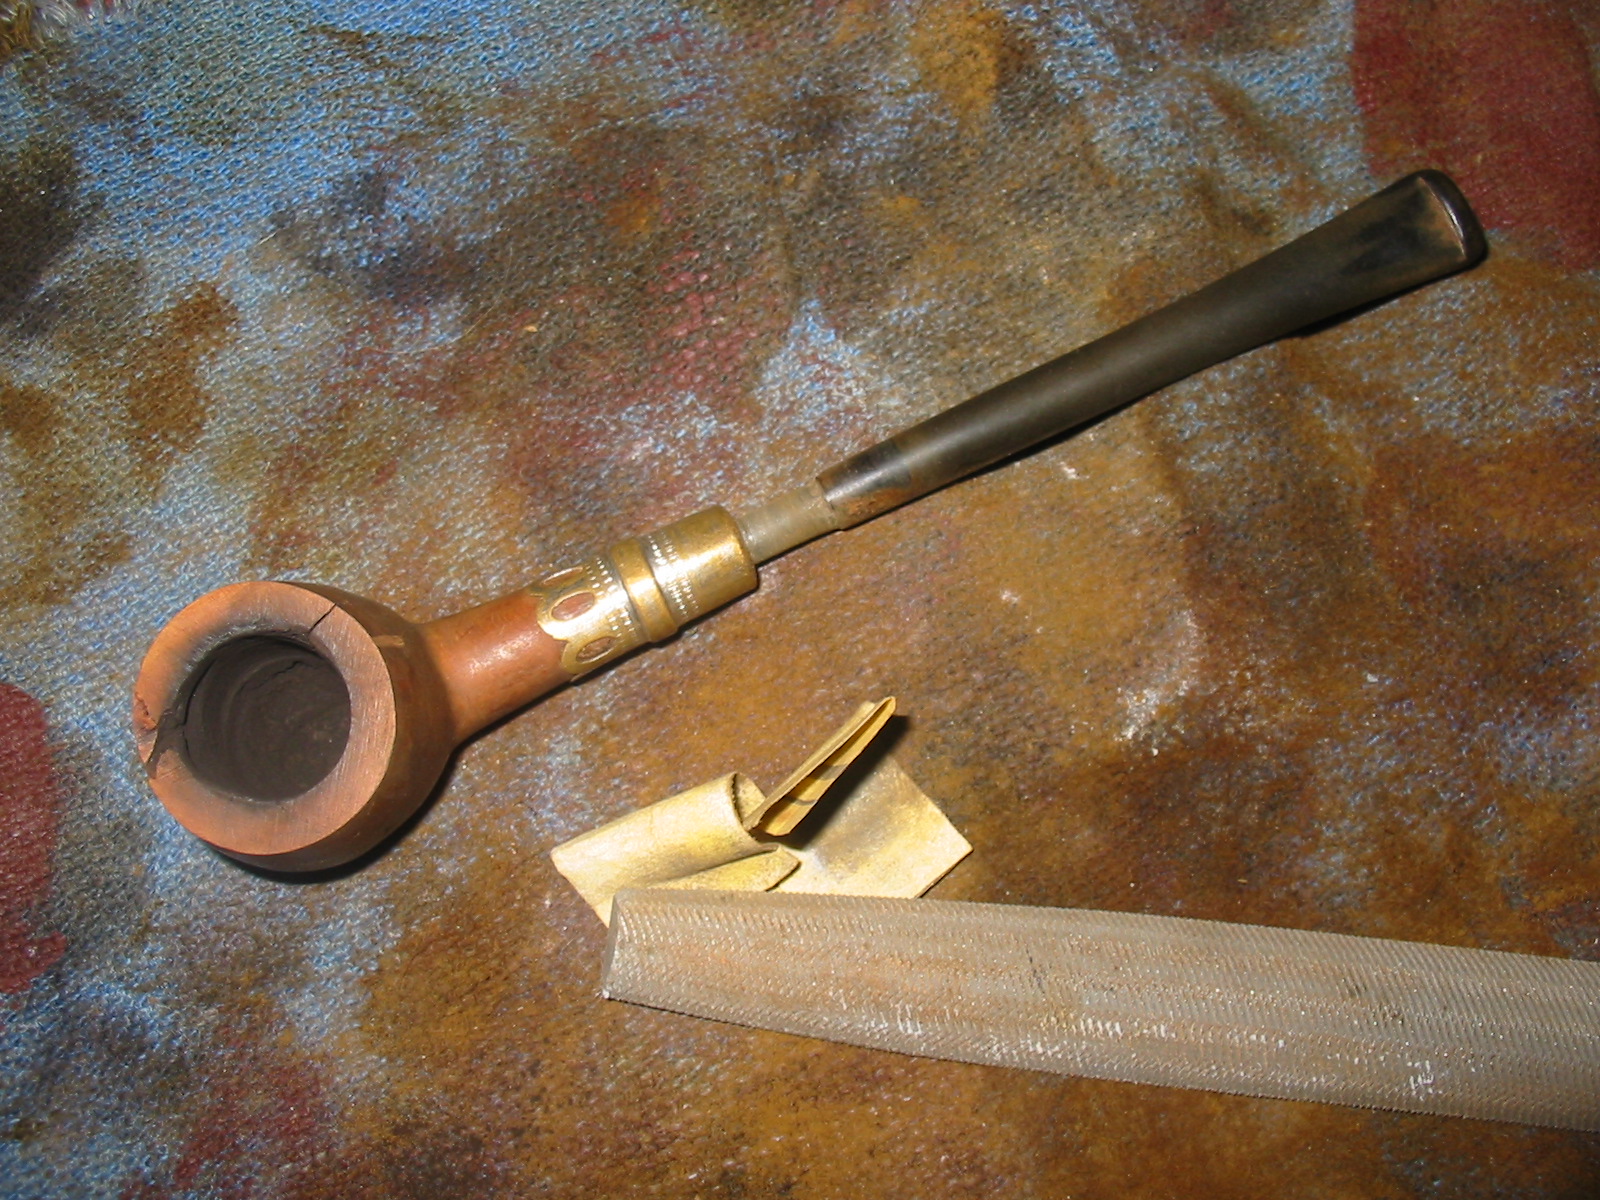

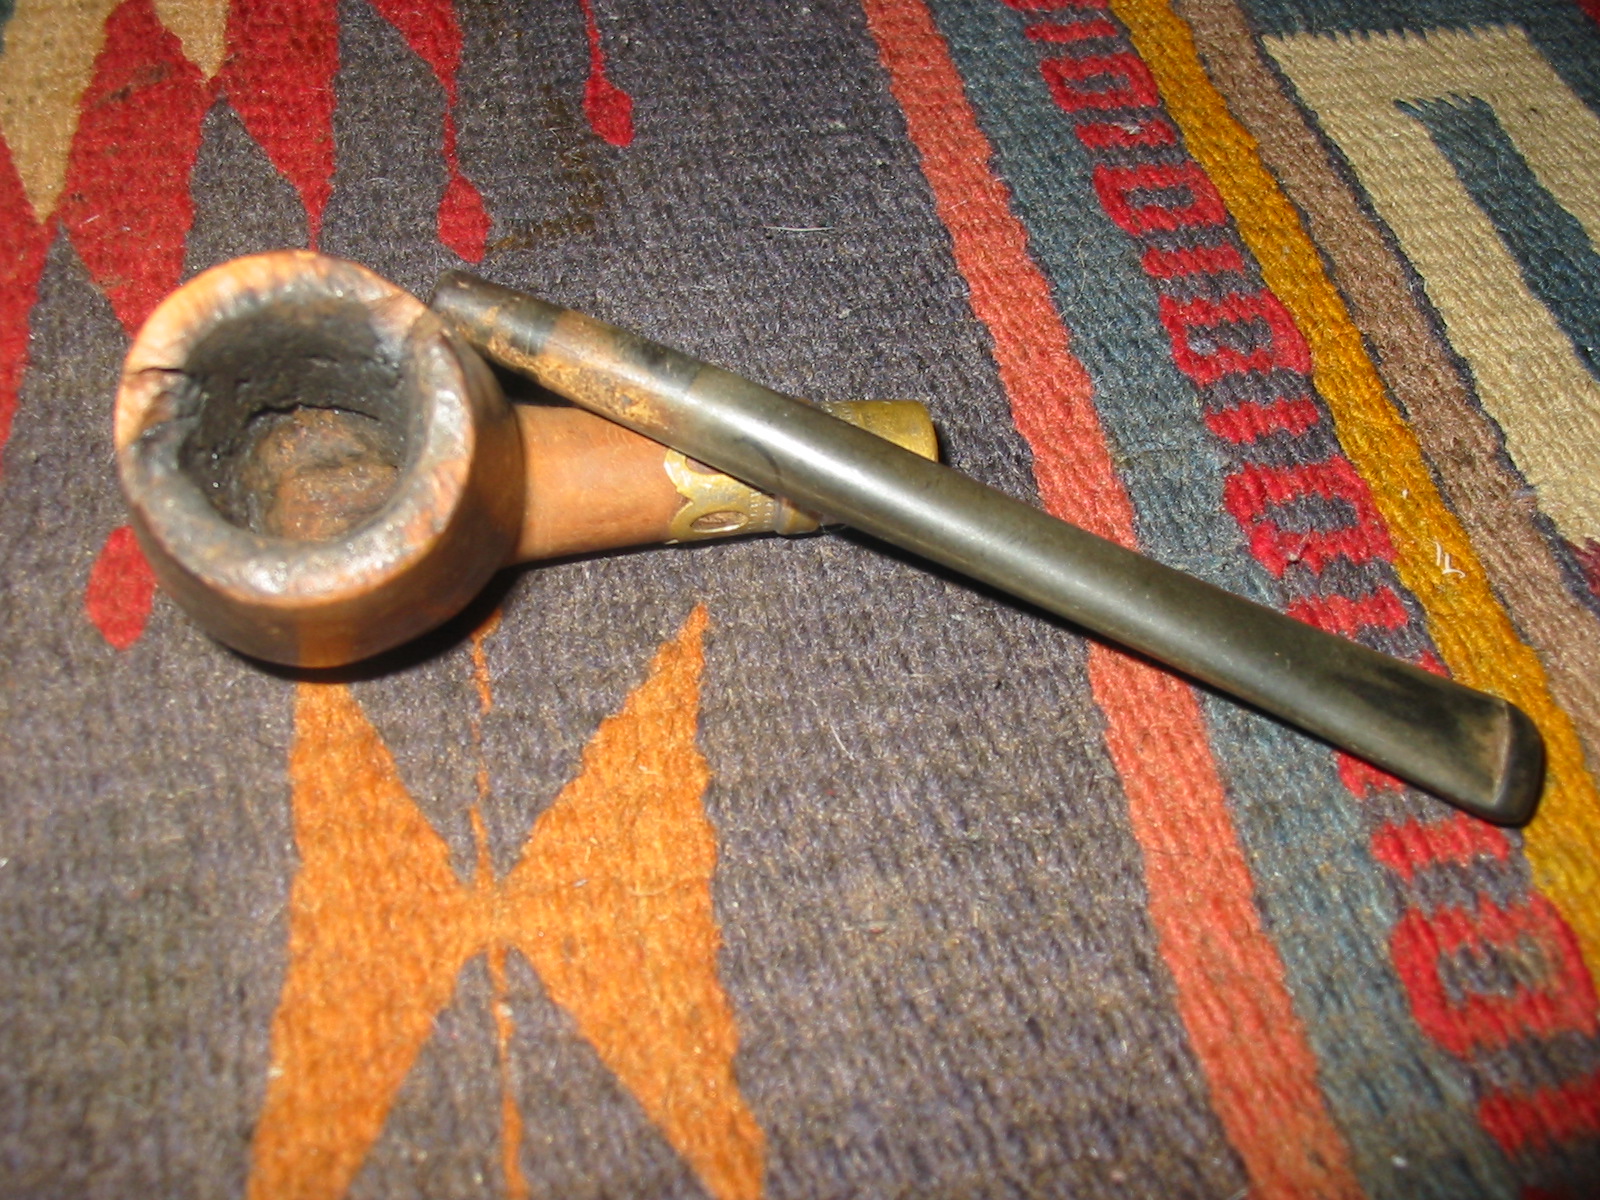
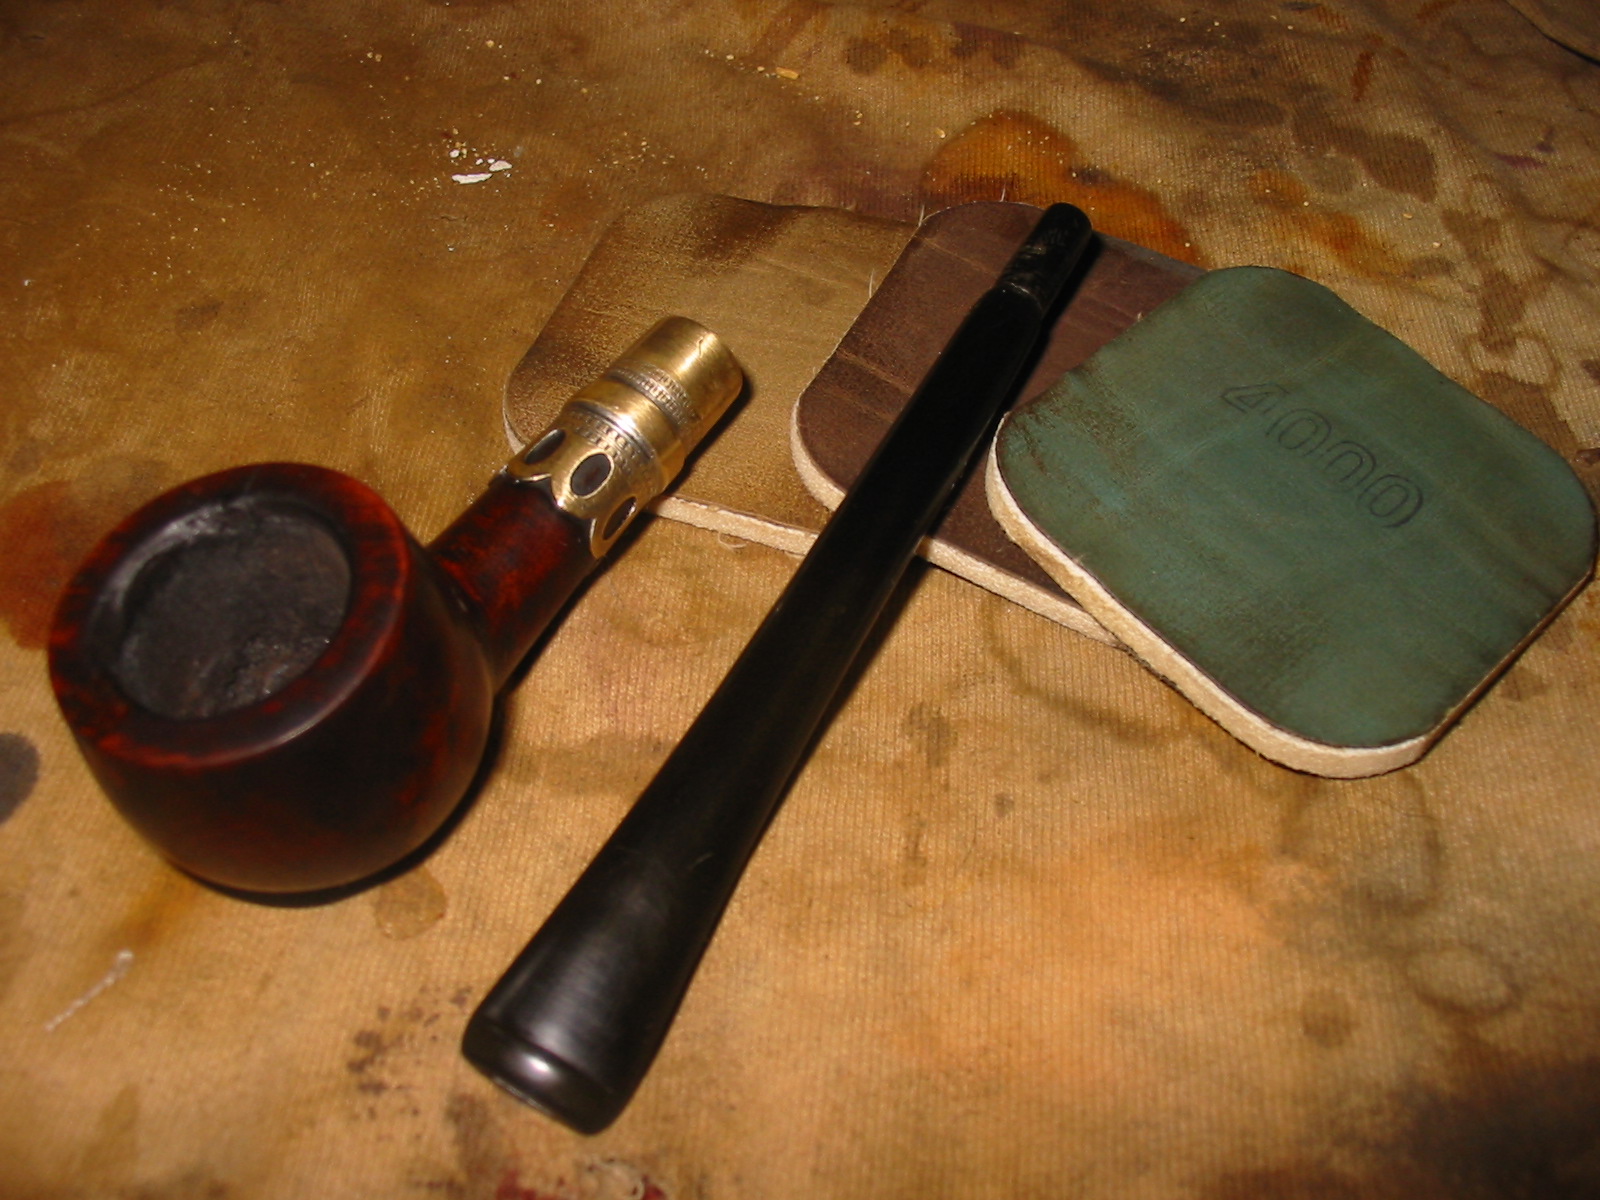
I sanded the stem taper so that the fit was snug in the shank of the metal end cap and shank. The build on this old pipe was interesting. When I first got it I was able to remove the end cap. The shank had been cut quite short and then flattened so that a stem would sit in the end cap and be pressed against the end of the shank. I worked on the stem to achieve that result so that the stem sat flush against the end of the shank. With the stem fit correctly it was time to do some work on the bowl.
I decided to use some briar dust and super glue to repair some of the deep cuts in the briar. I cleaned out the cuts in the surface of the rim as well as the surface cracks that remained with a dental pick. I wiped down the surface with isopropyl alcohol and scored the areas that would be repaired so that the fill would bond well with the briar. I packed in briar dust with the dental pick and then dripped the super glue into place. I always overfill my patches so that when dry they are not sunken.
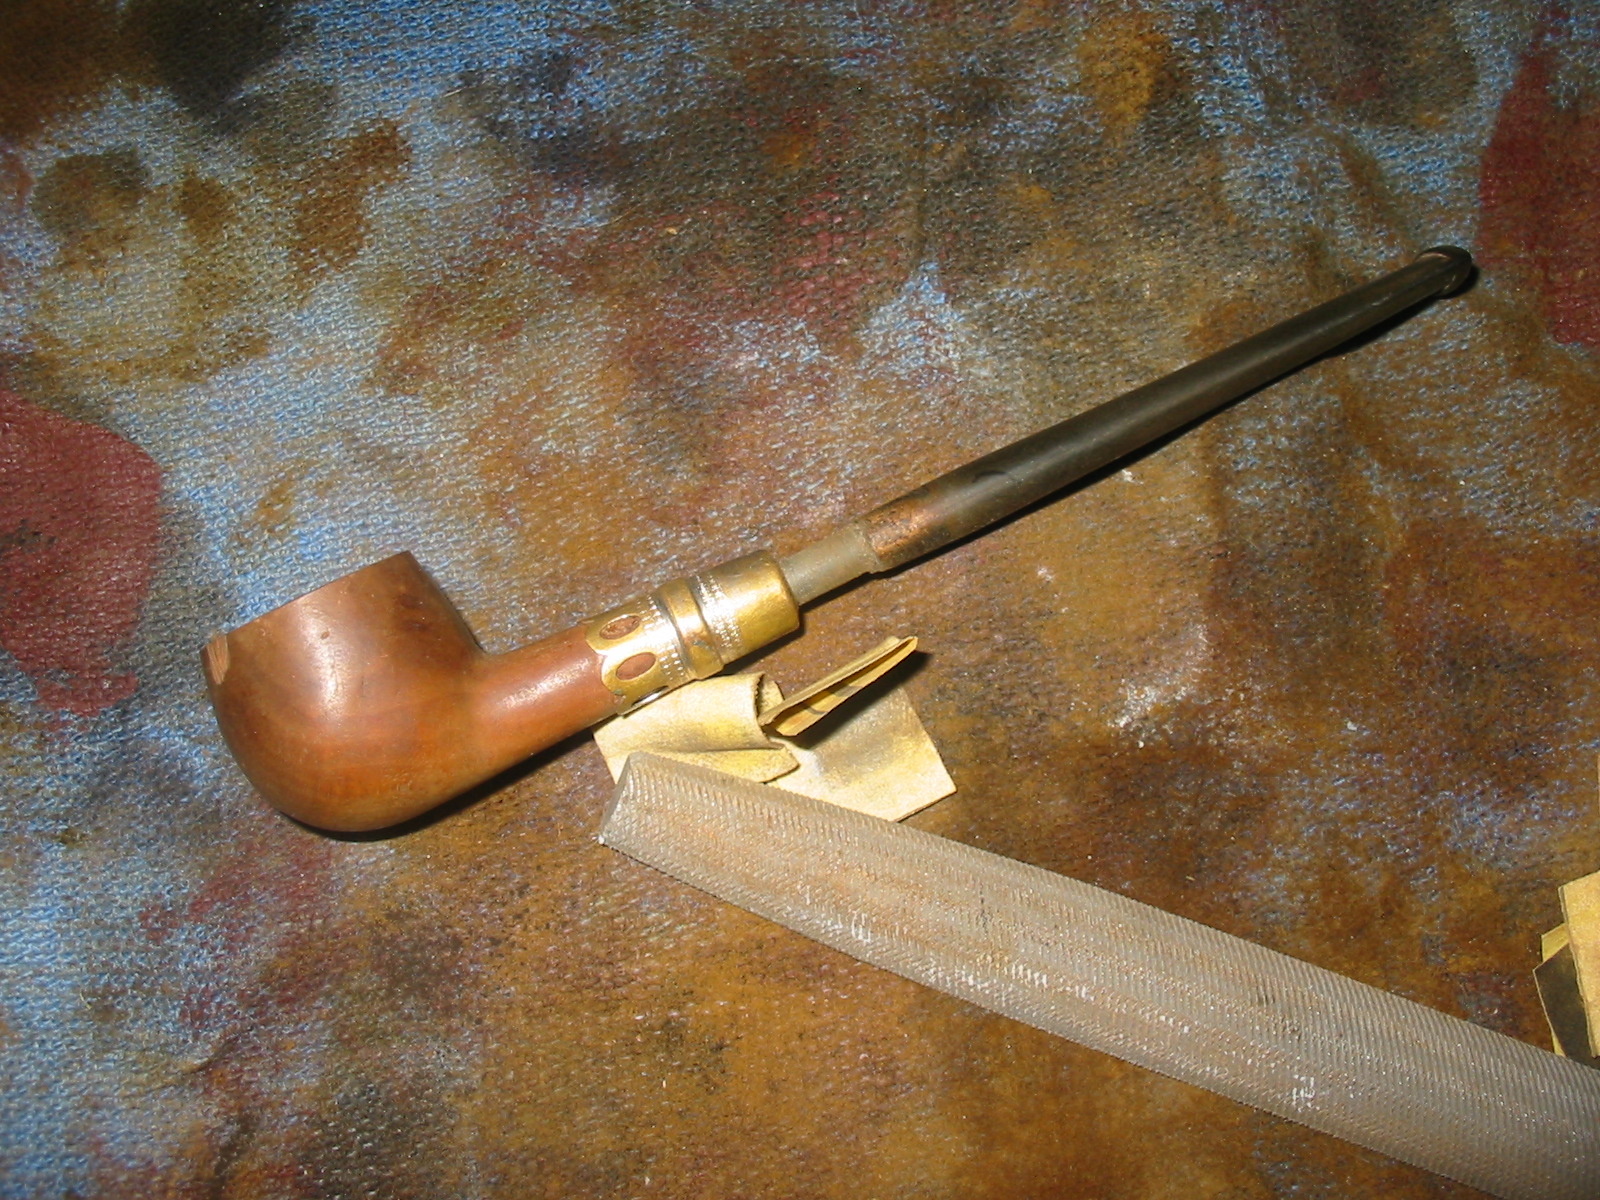
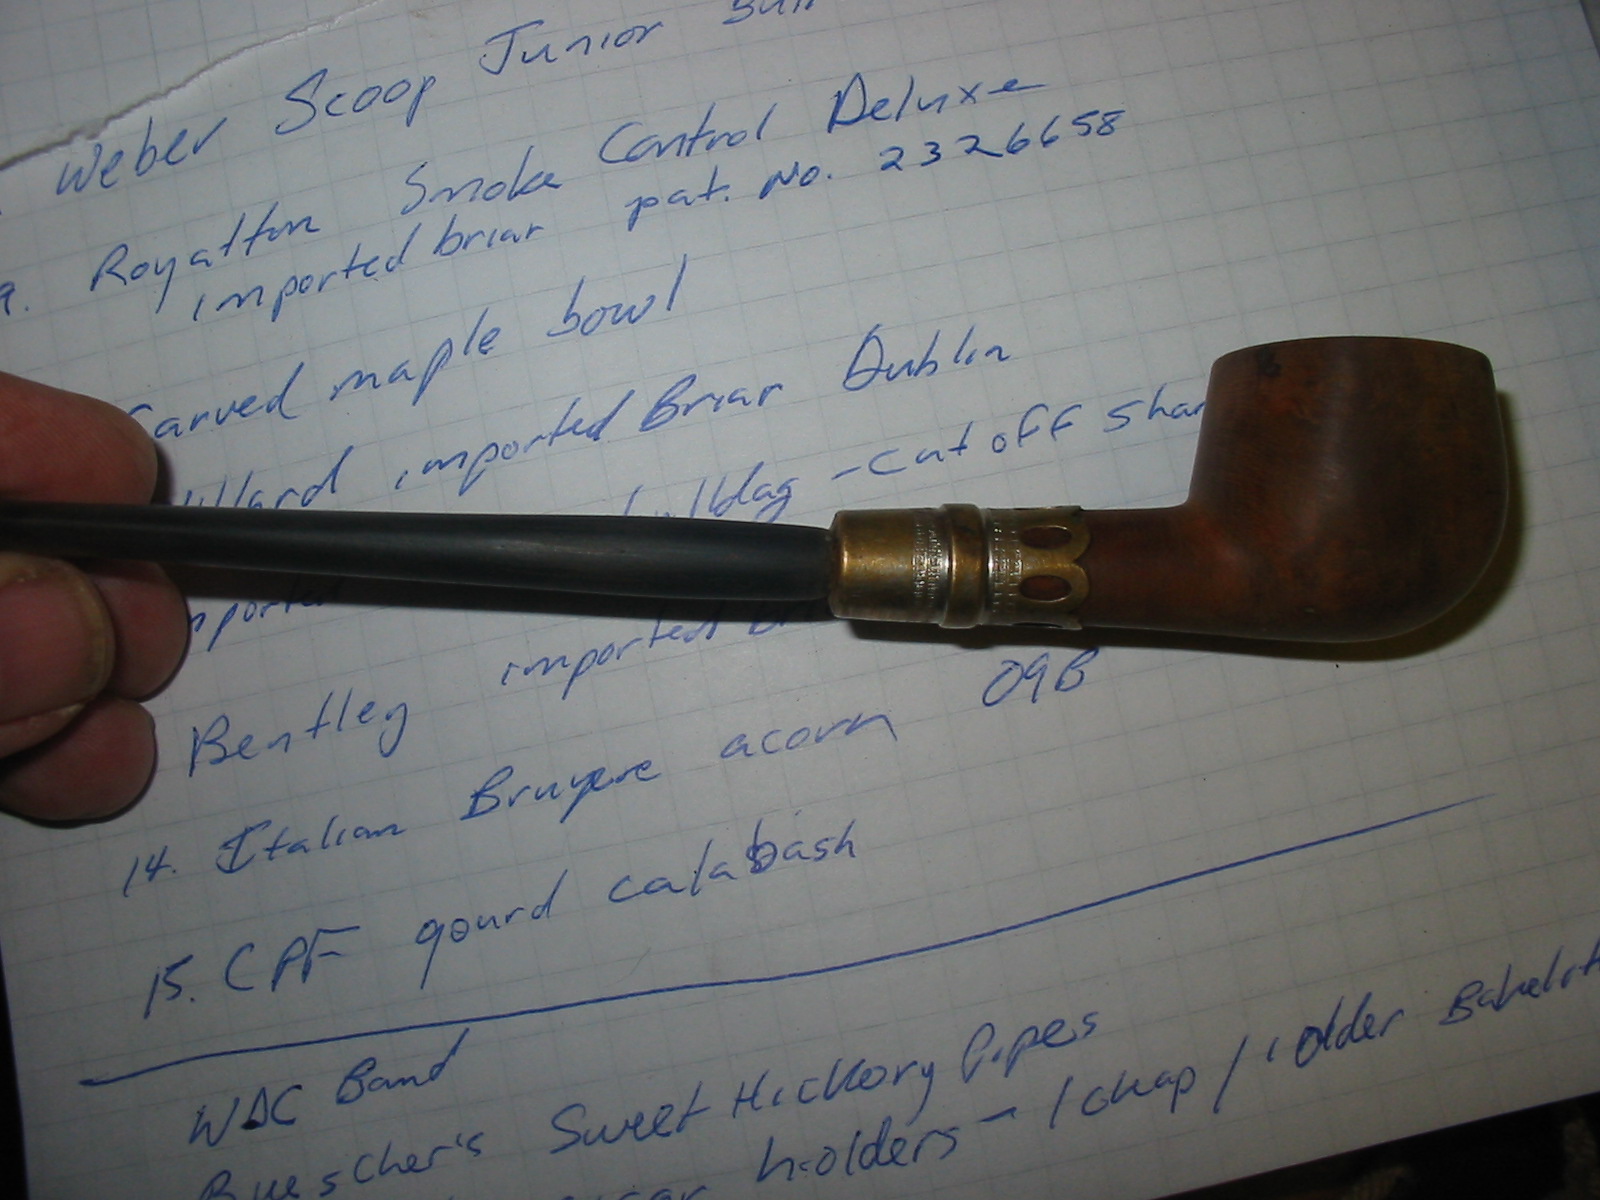
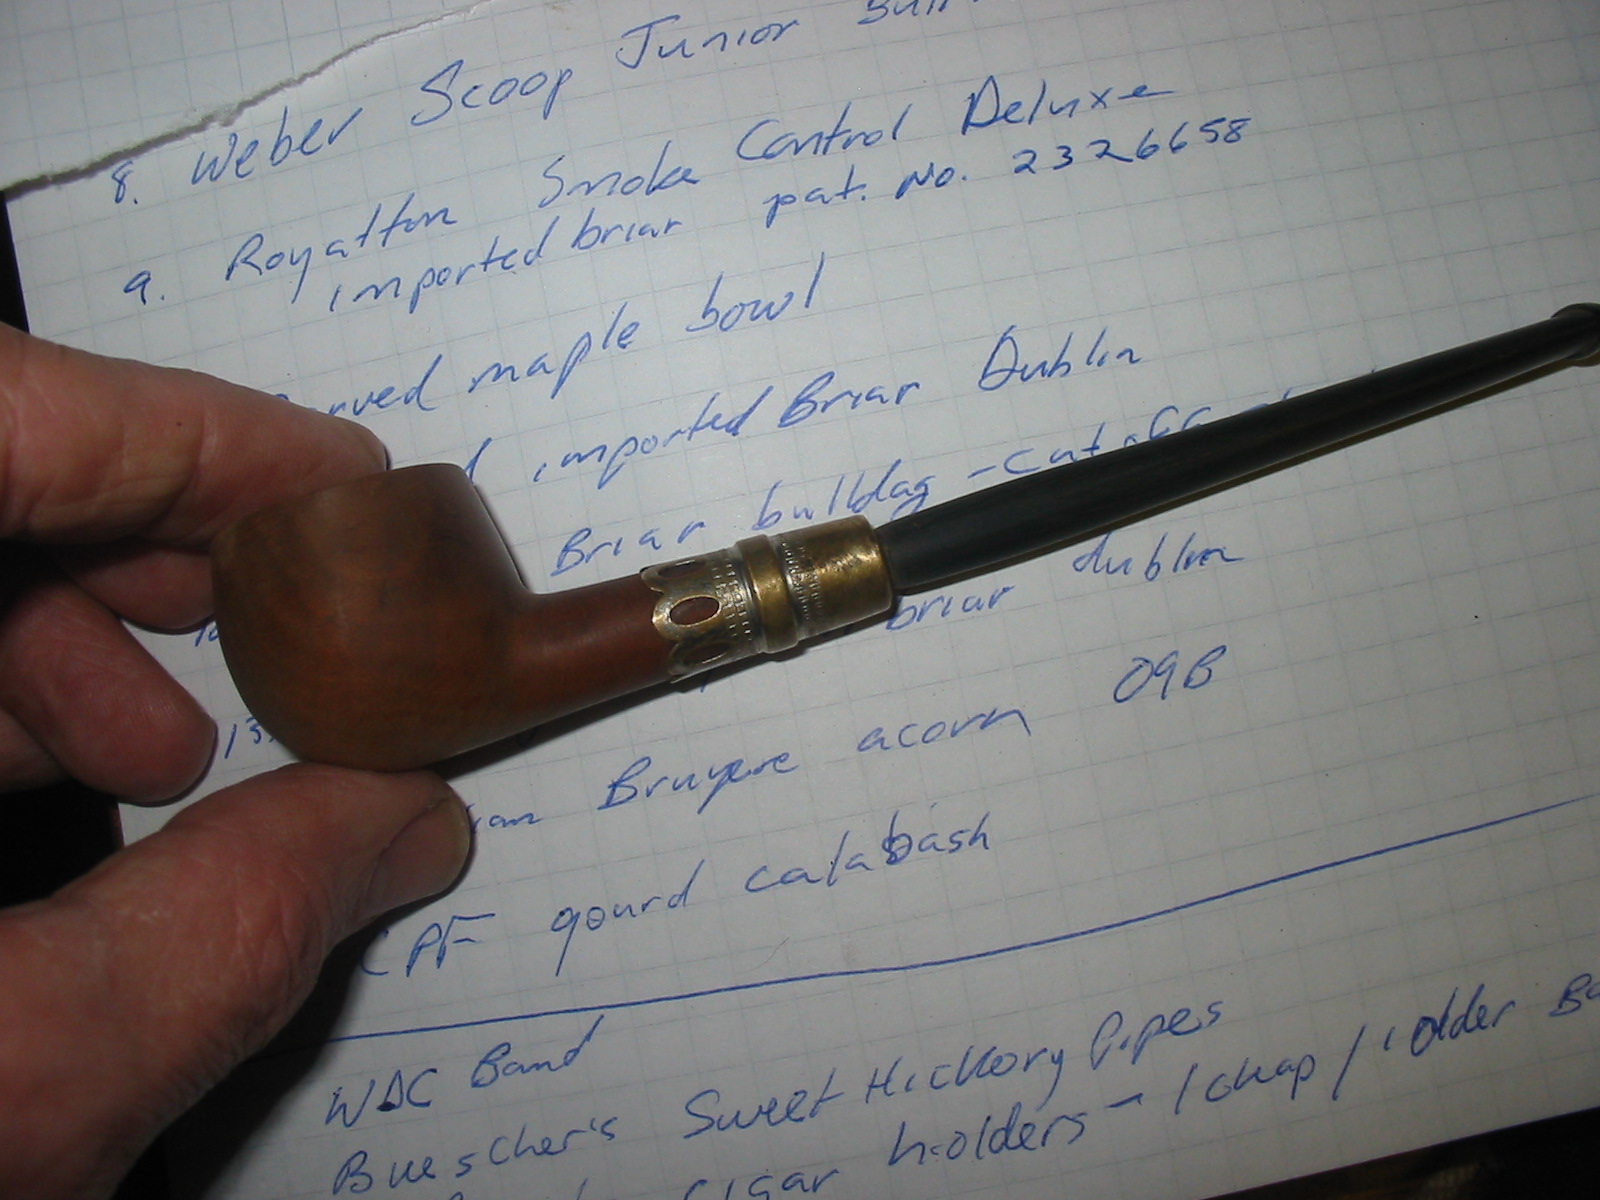
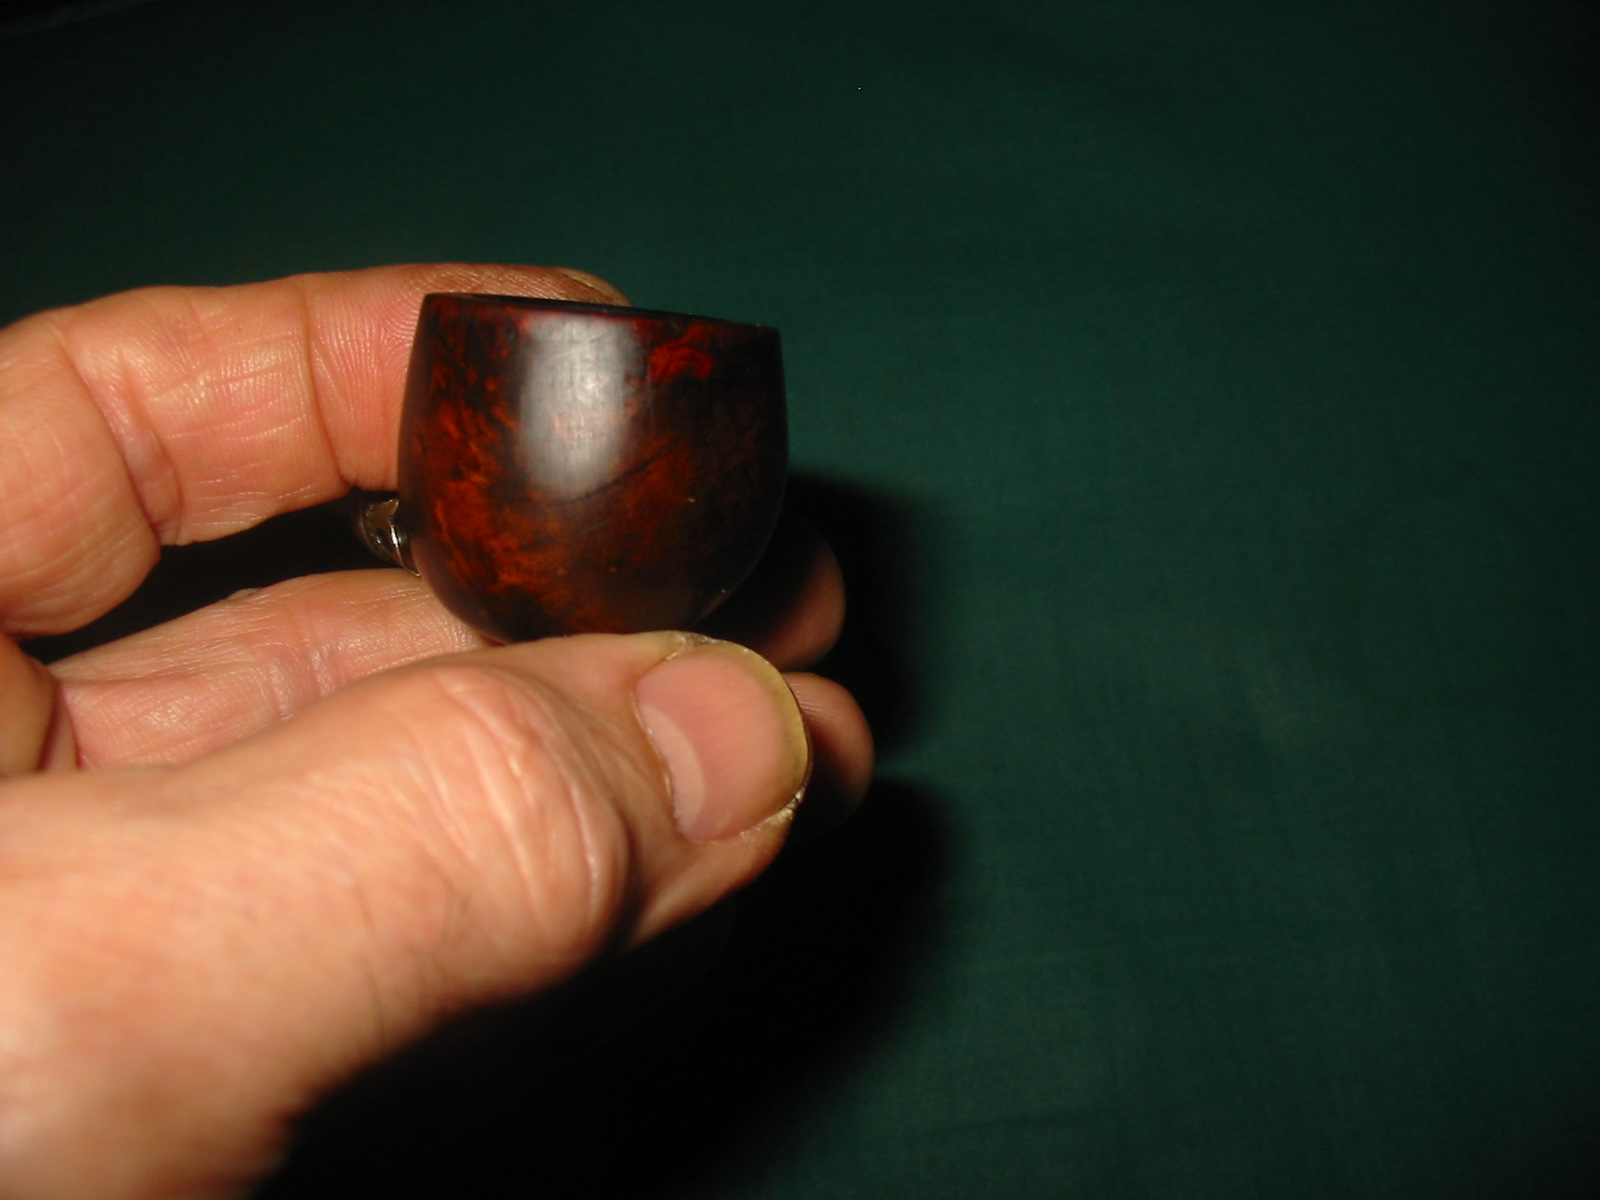
When the patches dried I sanded them with 220 grit sandpaper and a medium and fine grit sanding sponge to bring the surface of the patch to the same height and shape as the surrounding briar. This process is kind of like sculpting and once it was done I reshaped the outer edge of the bowl and did some work on the inner edge as well. The photos below show the look of the pipe at this point in the process. The handsome prince is beginning to emerge from the ashes of the old bowl.
I decided to use a two step staining process to better blend in the fills and repairs to the bowl. They would still be visible but not stand out as the first thing that was noticed when looking at the bowl. I used a black under stain first. I heated the briar with a heat gun to warm it and open out the “pores” in the wood to take the stain well. I applied it heavily, flamed and repeated the process until I had good coverage on the bowl. Once it was dry I sanded the bowl to remove the majority of black stain. It remained in the grain and I left it a bit heavy around the top edge of the bowl and rim. I wanted it to have a shadow like look in those areas.


I wiped down the bowl with acetone on a cotton pad to remove the final bit of black and the sanding dust that was left behind from my work. I gave it several coats of oxblood stain as a topcoat. My thinking was that the deep red of the oxblood stain would set off the black under stain and provide an interesting contrast look to the finish.
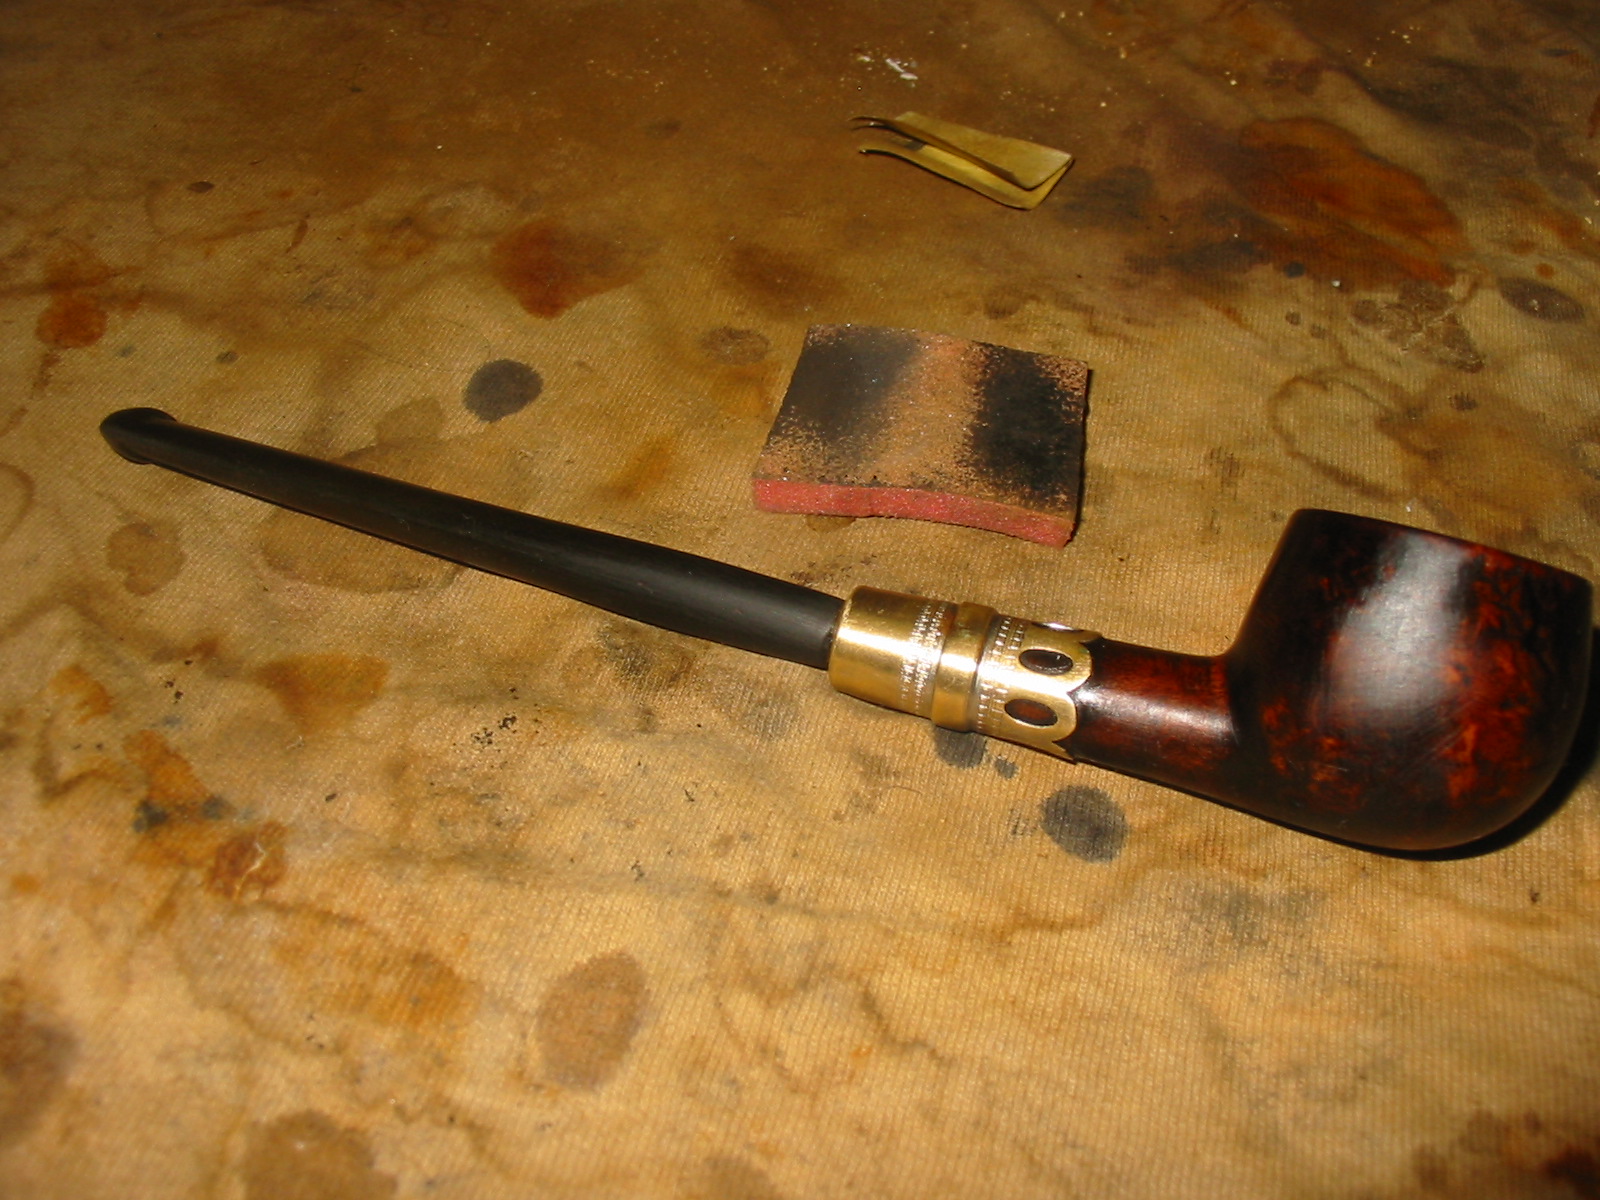

I buffed the bowl and stem with Red Tripoli and White Diamond to see where things stood in terms of the colour and coverage on the bowl. I took it back to the worktable and sanded it with micromesh pads to smooth out the finish on the bowl. I still needed to do some more work on the rim and the stem at this point but the finish on the bowl was getting to the place where it was looking good.
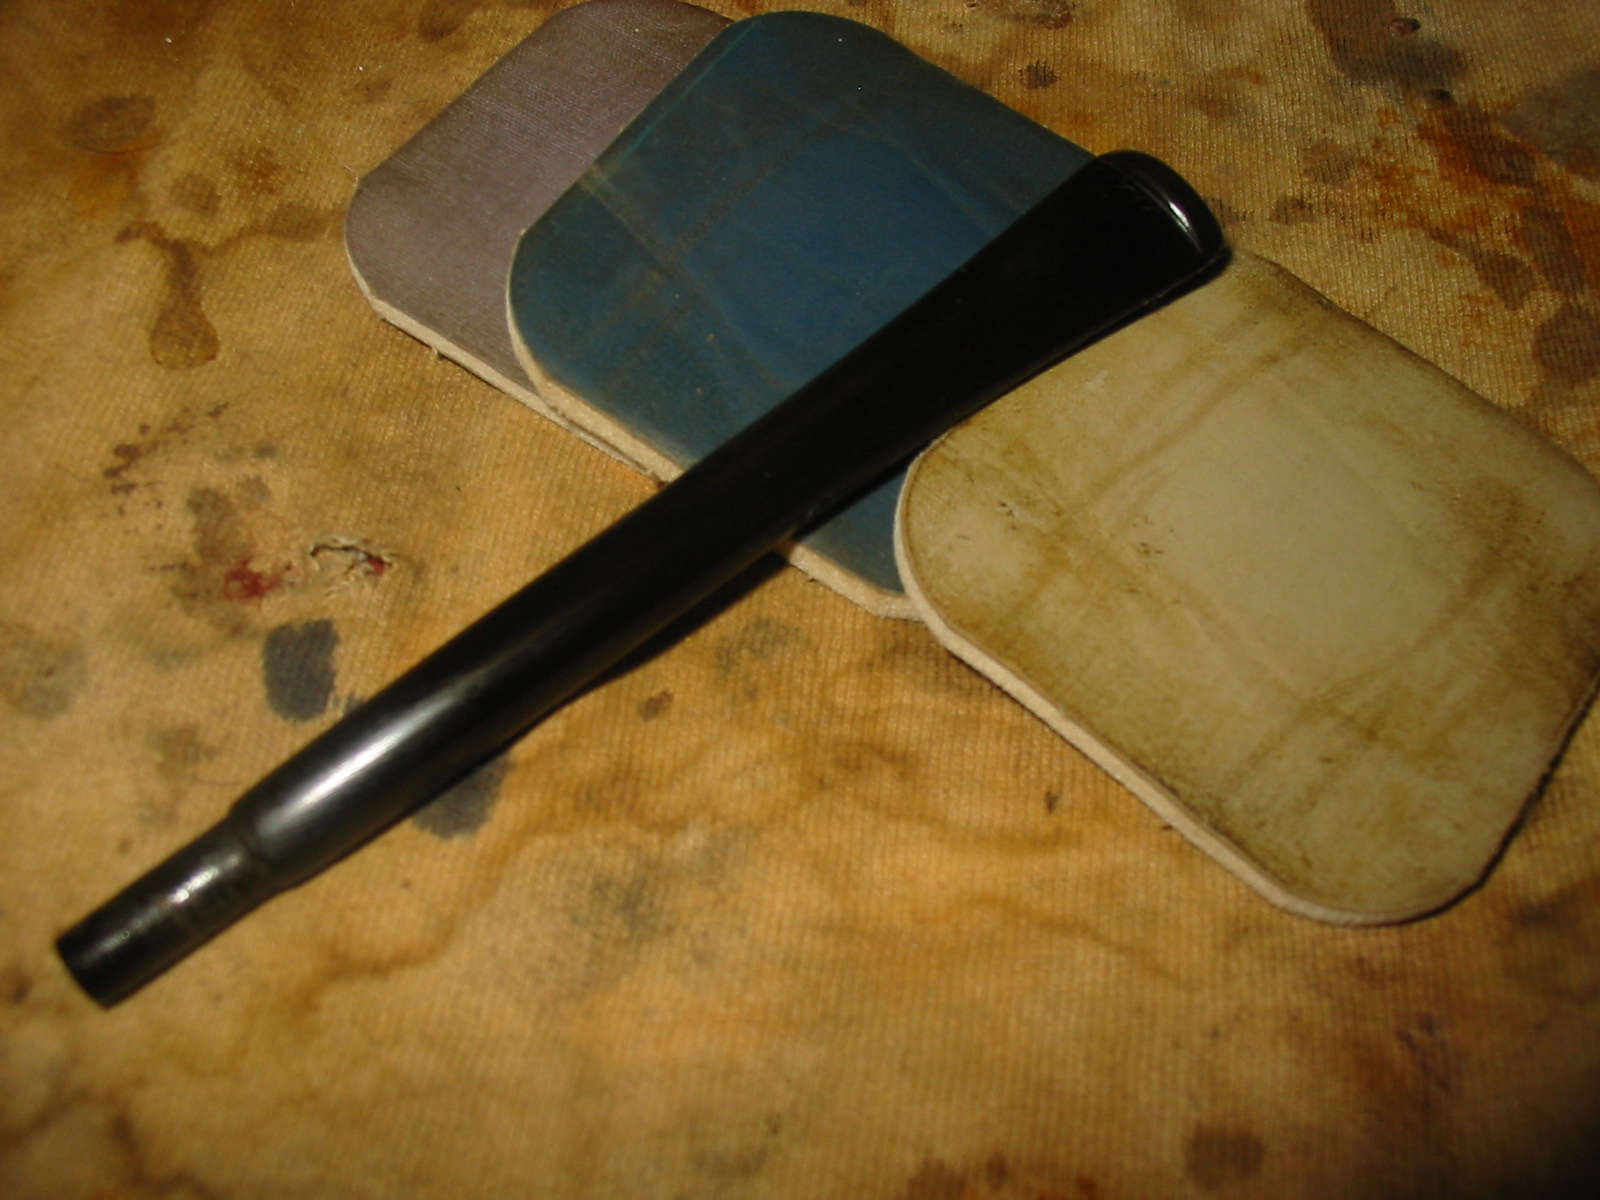
I sanded the stem with medium and fine grit sanding sponges to remove the scratches and smooth out the transition from the part of the stem that sat in the end cap and the remainder of the stem. I followed that by sanding with micromesh sanding pads – wet sanding with 1500-2400 grit pads and dry sanding with 3200-12000 grit pads. I rubbed the stem down with Obsidian Oil once I had finished the sanding.
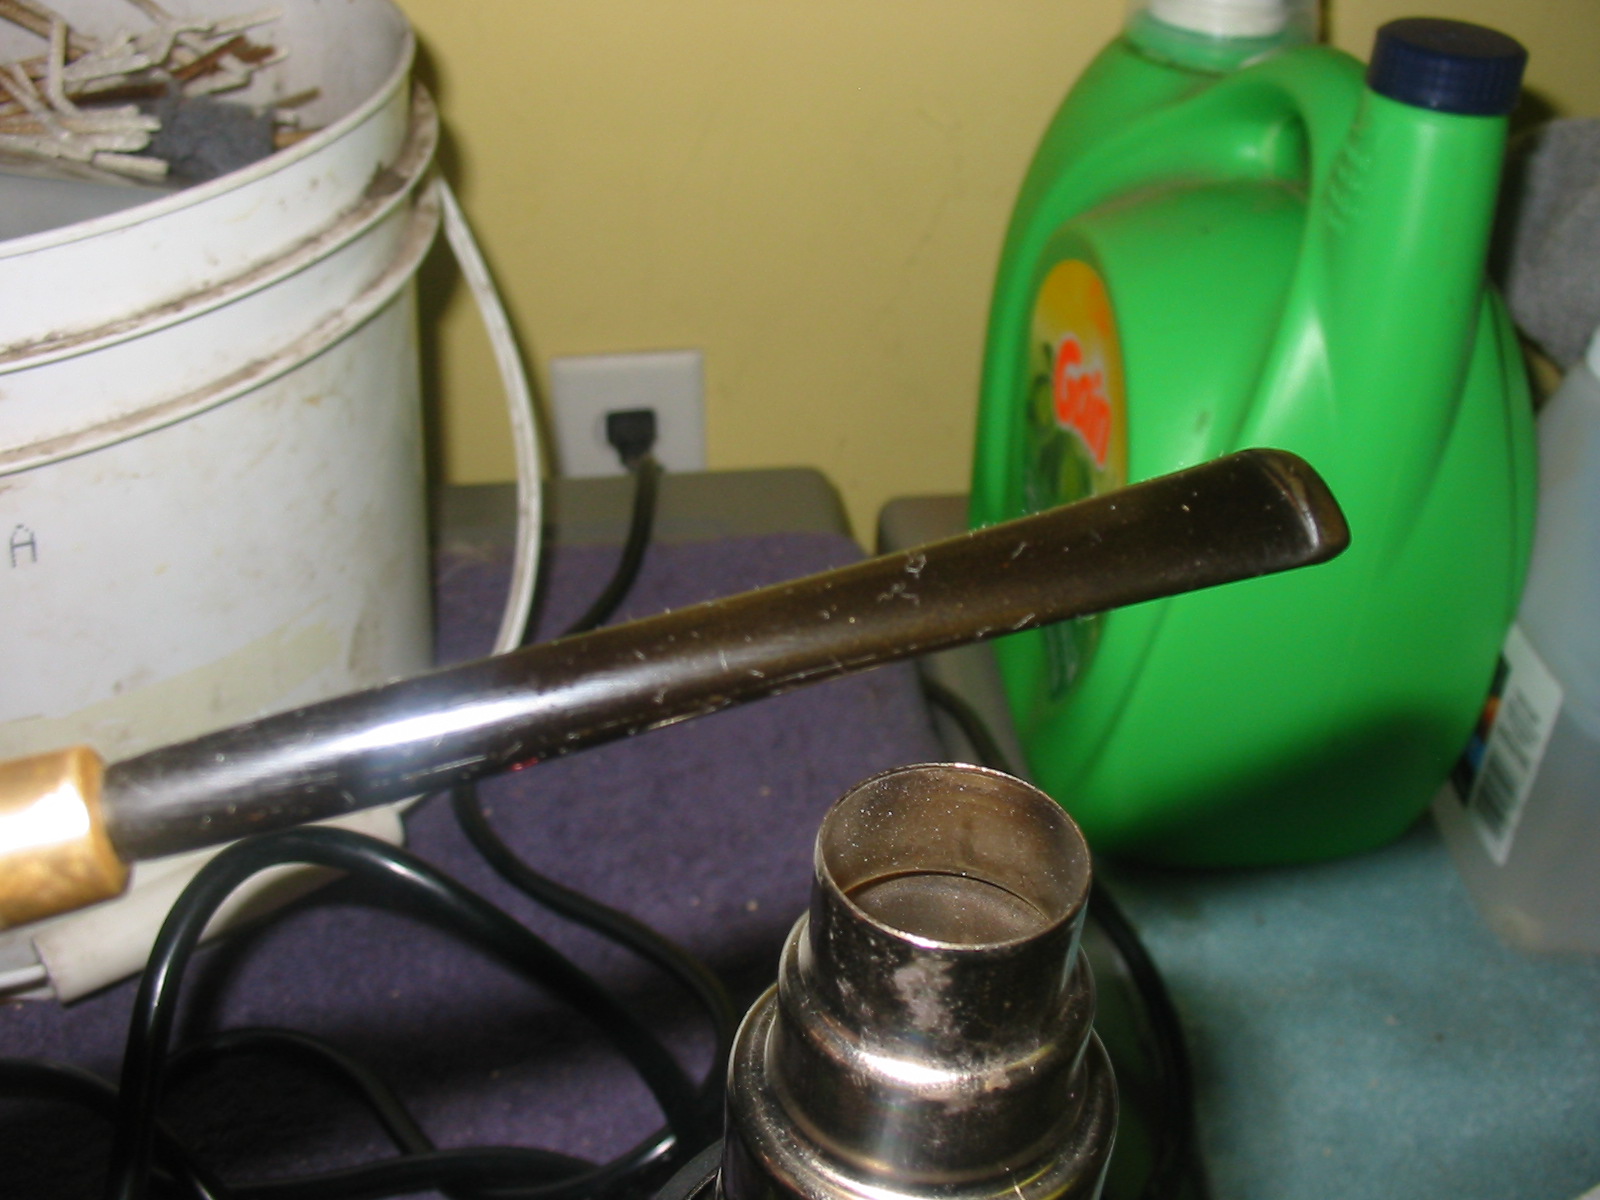
The polish on the stem needed a bit more work to remove some of the scratches that still remained but I left that for the moment and decided to give the stem a slight bend. I set up a heat gun and heated the vulcanite until it was pliable. I bent it over a rolling pin that I use for doing this. I find that I get a more even bend when I use the pin as the base for bending.
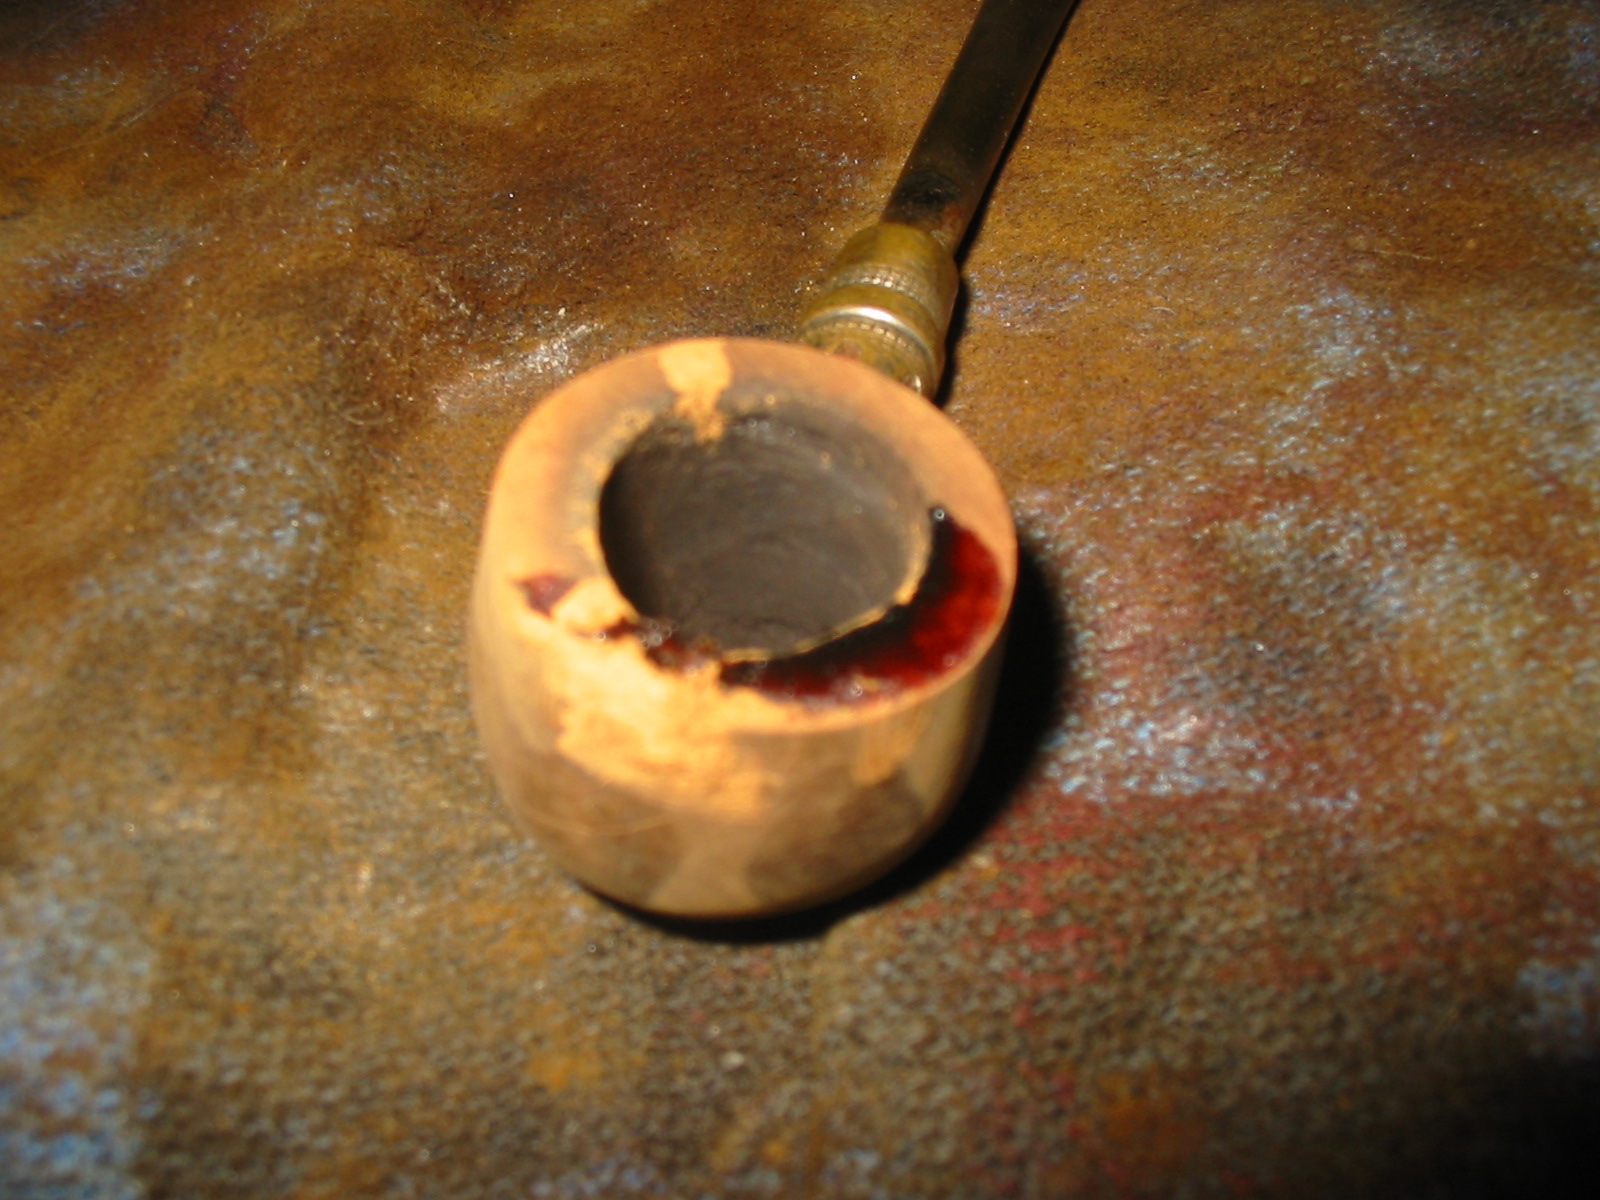
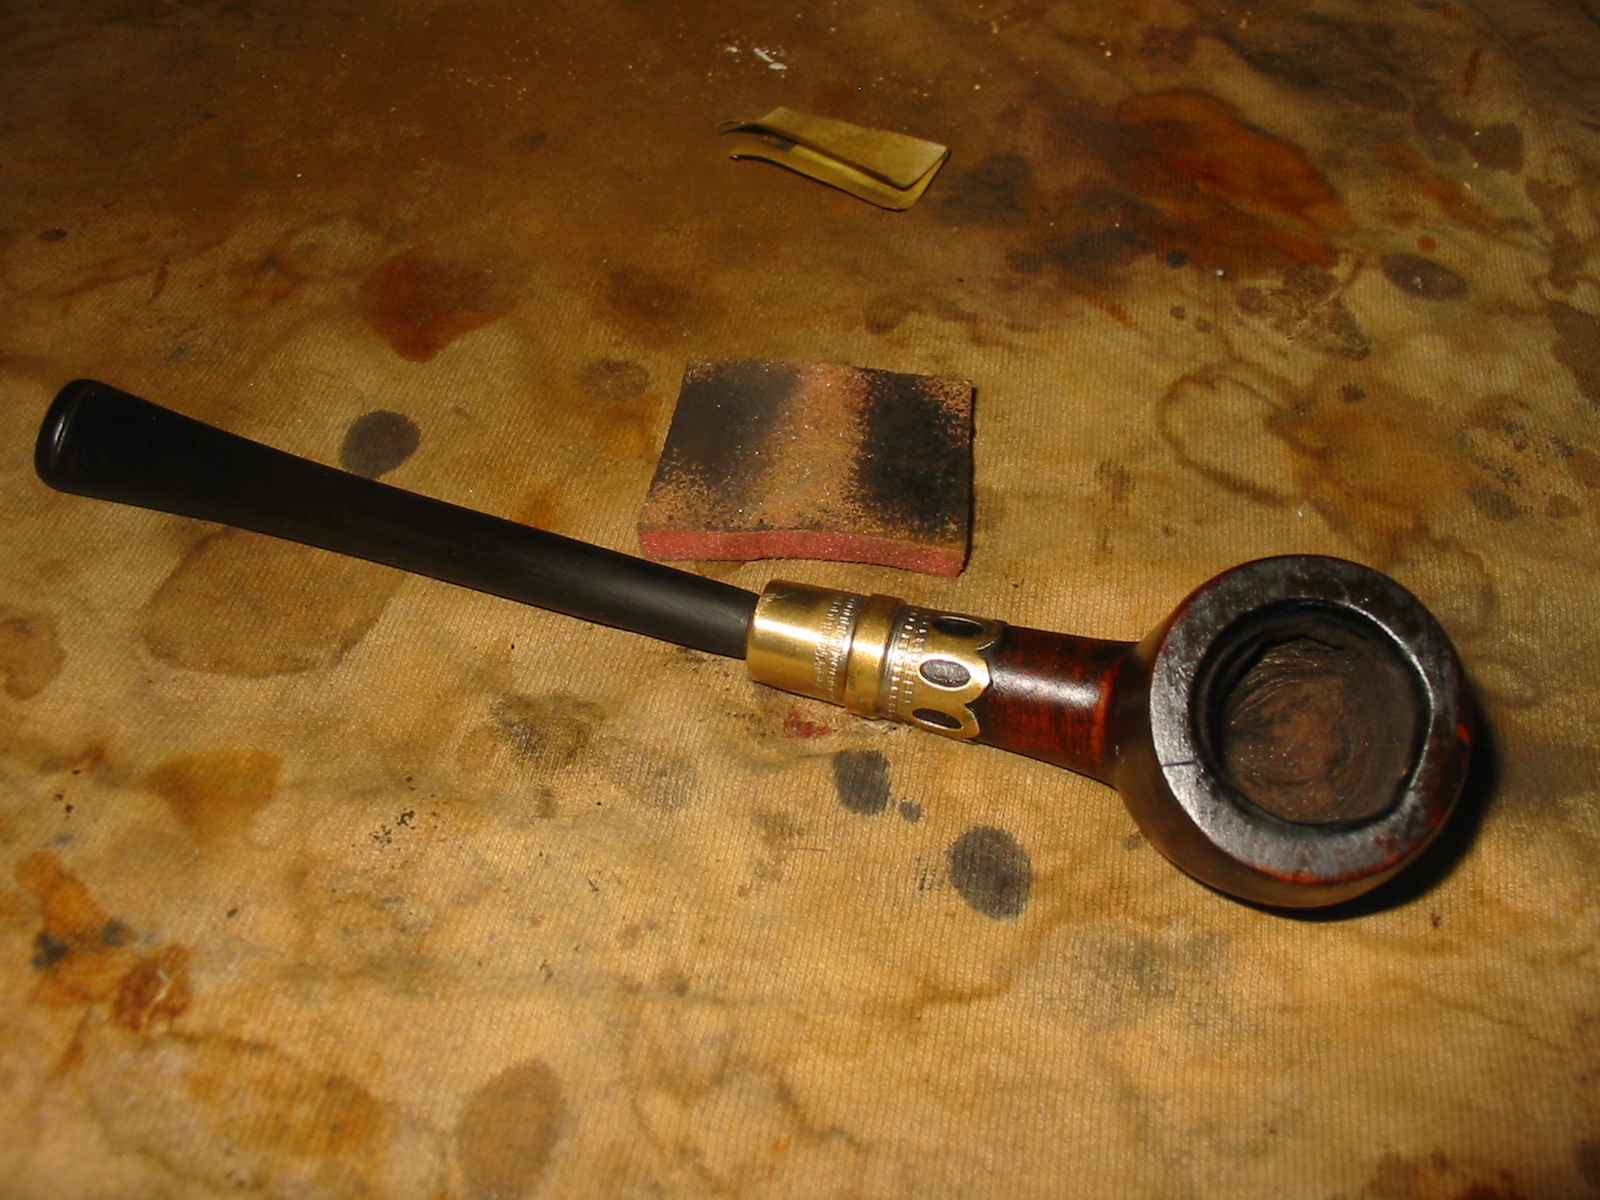
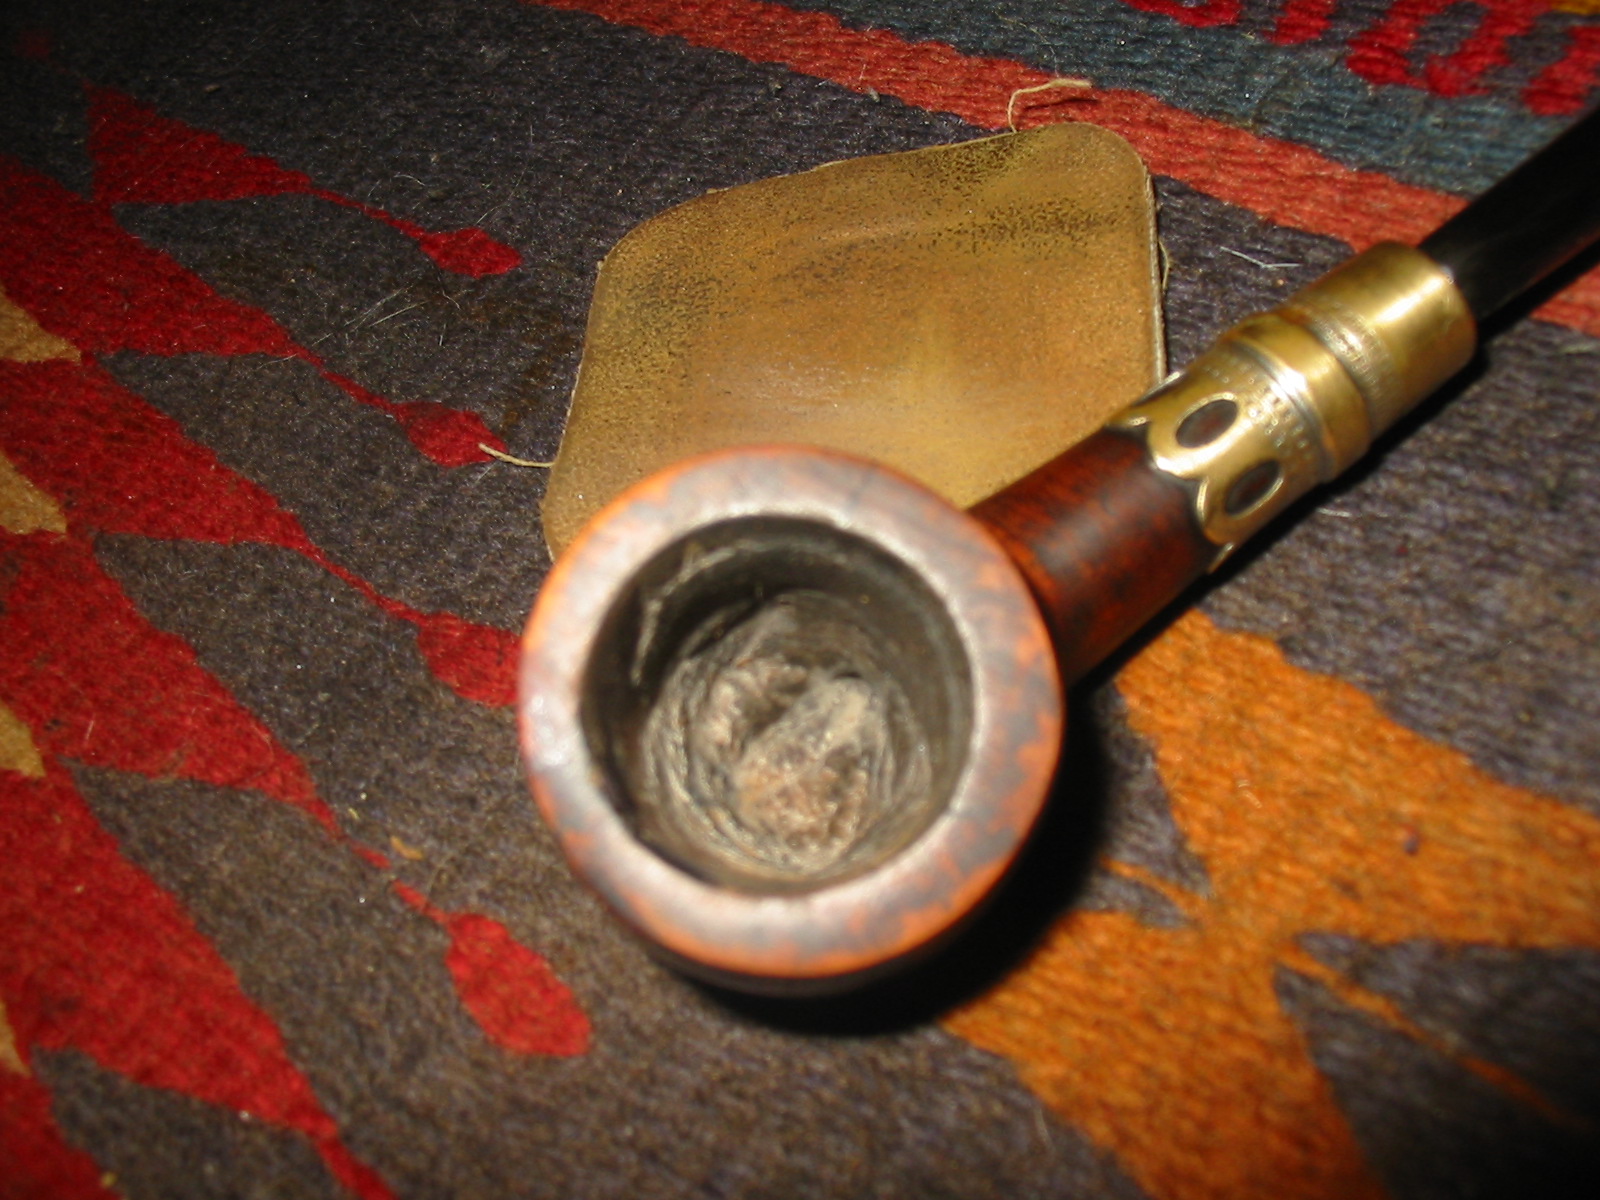
I took it back to the worktable to examine the repair on the front of the bowl more closely and to also do more work on the interior edge of the rim. It was significantly out of round, particularly around the area of the patch I had applied.
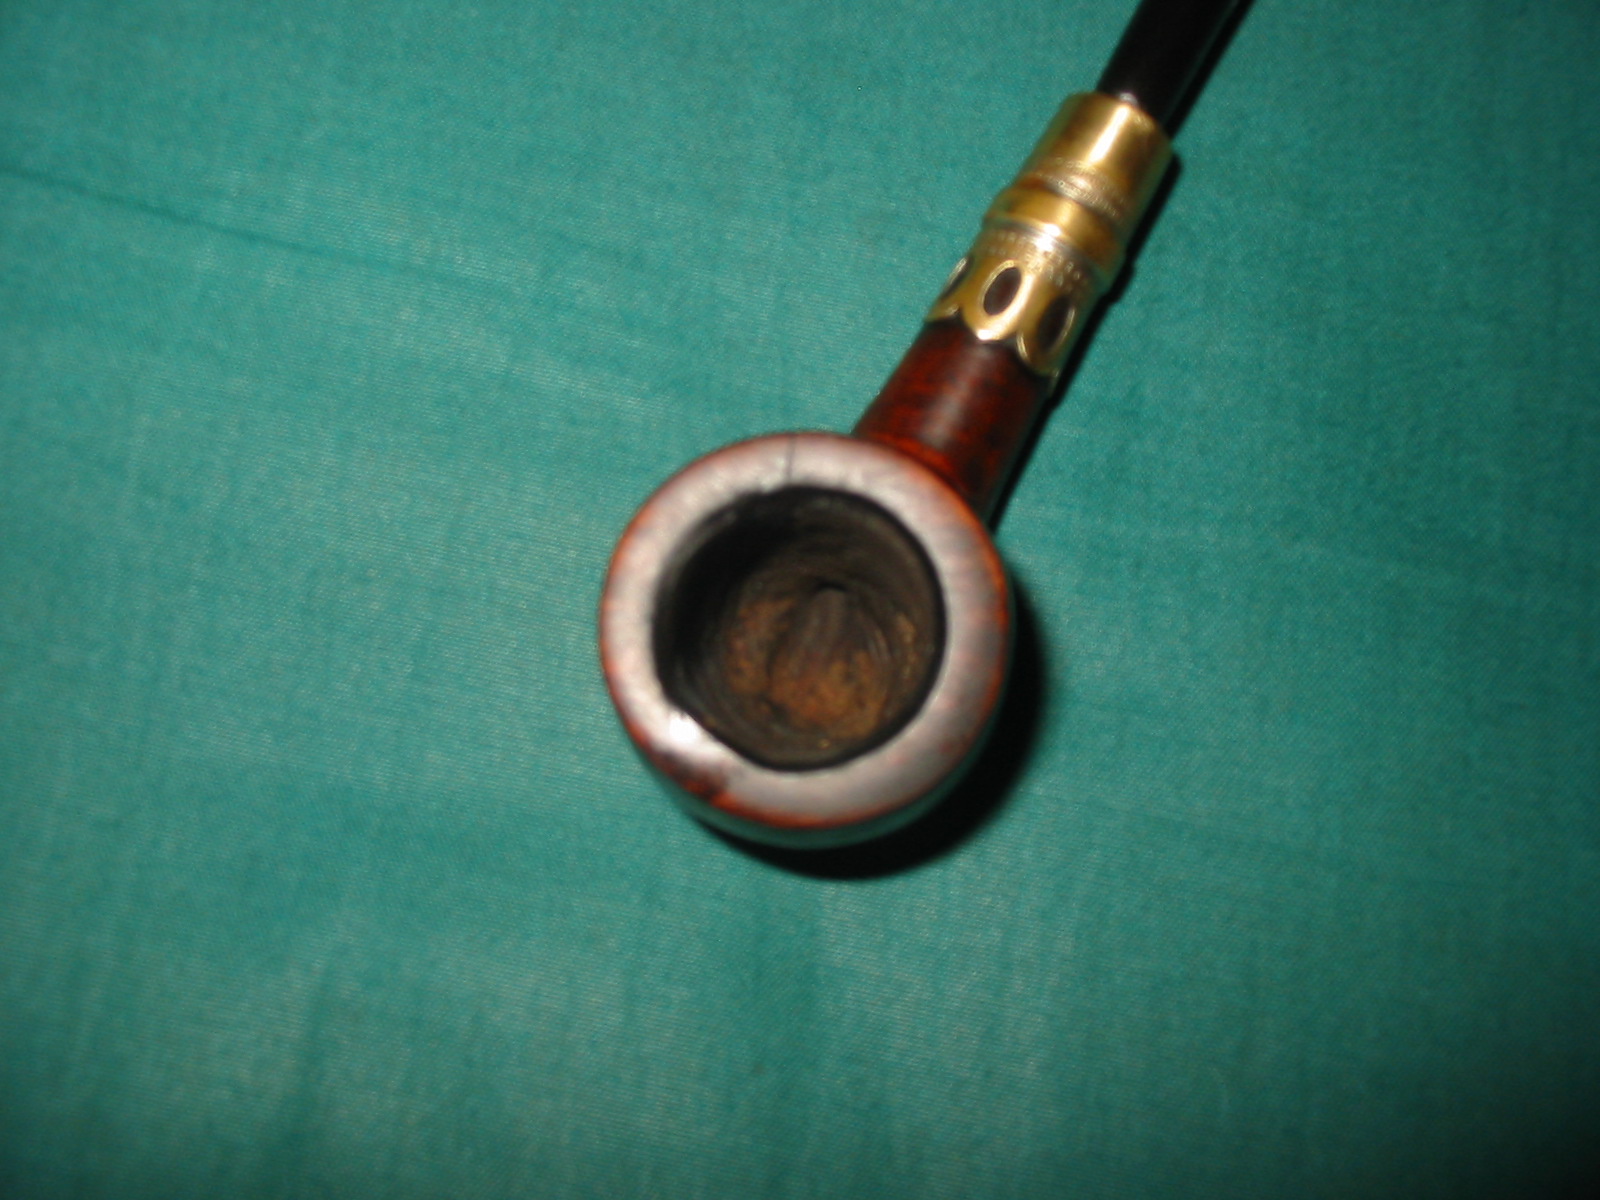
I used a half round wood rasp and folded 220 grit sandpaper to rework the inner edge of the rim. While doing so I also decided to top the bowl some more. I worked on the edge until it was getting more round, restained it to see what it looked like and decided I needed to top the bowl even more to remove more of the damage to the surface of the rim.
After topping it even more, I sanded it with a fine grit sanding block and then restained the rim yet again. At this point the bowl was looking far better. There was still a slight divot out of the edge of the rim on the front of the bowl. I wanted to rework that area some more before I was finished with the pipe.
I sanded and shaped the inner edge of the rim some more with folded sandpaper, repaired the fill with a bit of superglue and briar dust, sanded some more to get it to the place shown below. All that remained was to sand the top of the rim and inner edge with micromesh pads to clean up the overall appearance and the bowl was ready to go.
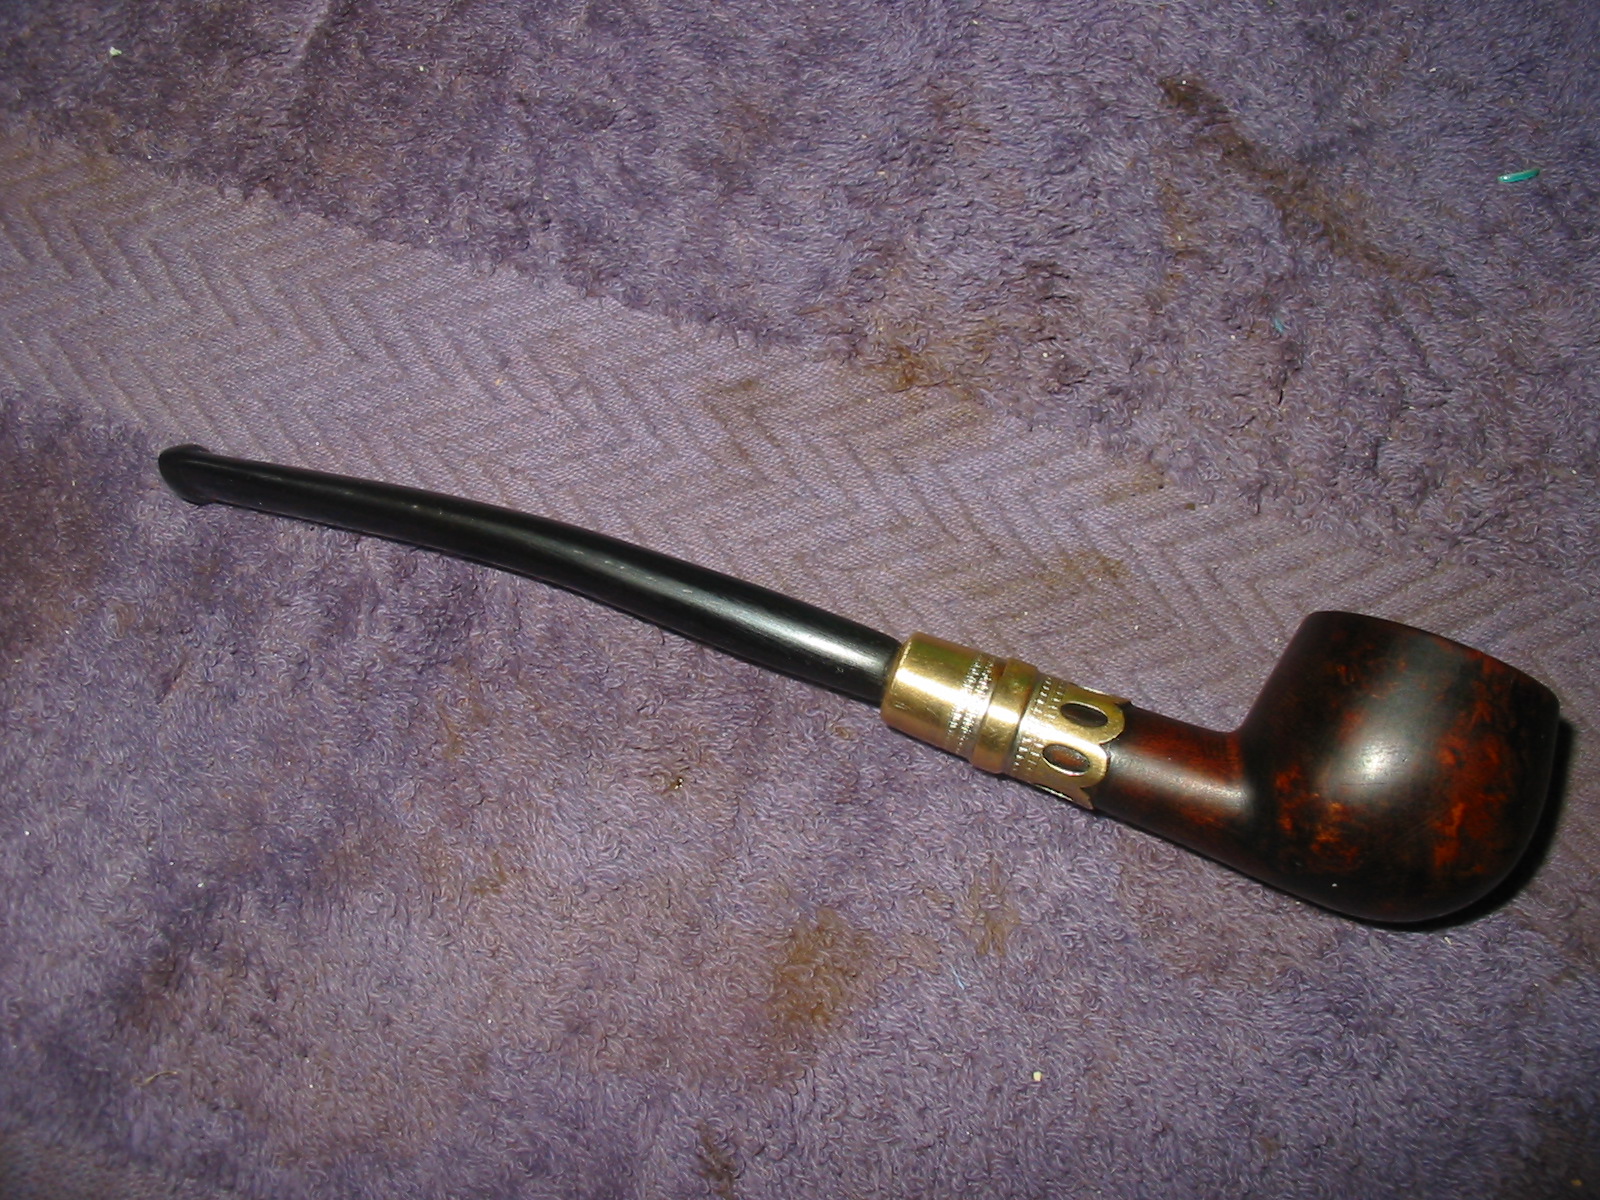
I sanded the inner edge of the rim with some 400 and 600 grit wet dry sandpaper and then carefully dry sanded the top of the rim with micromesh sanding pads 1500-2400 grit. I gave the inside of the bowl a light coat of pipe mud to protect the bowl. I hand buffed the bowl with a shoe brush to give it a shine and then gave it multiple coats of carnauba wax to finish. The completed pipe is shown below in the last series of photos.
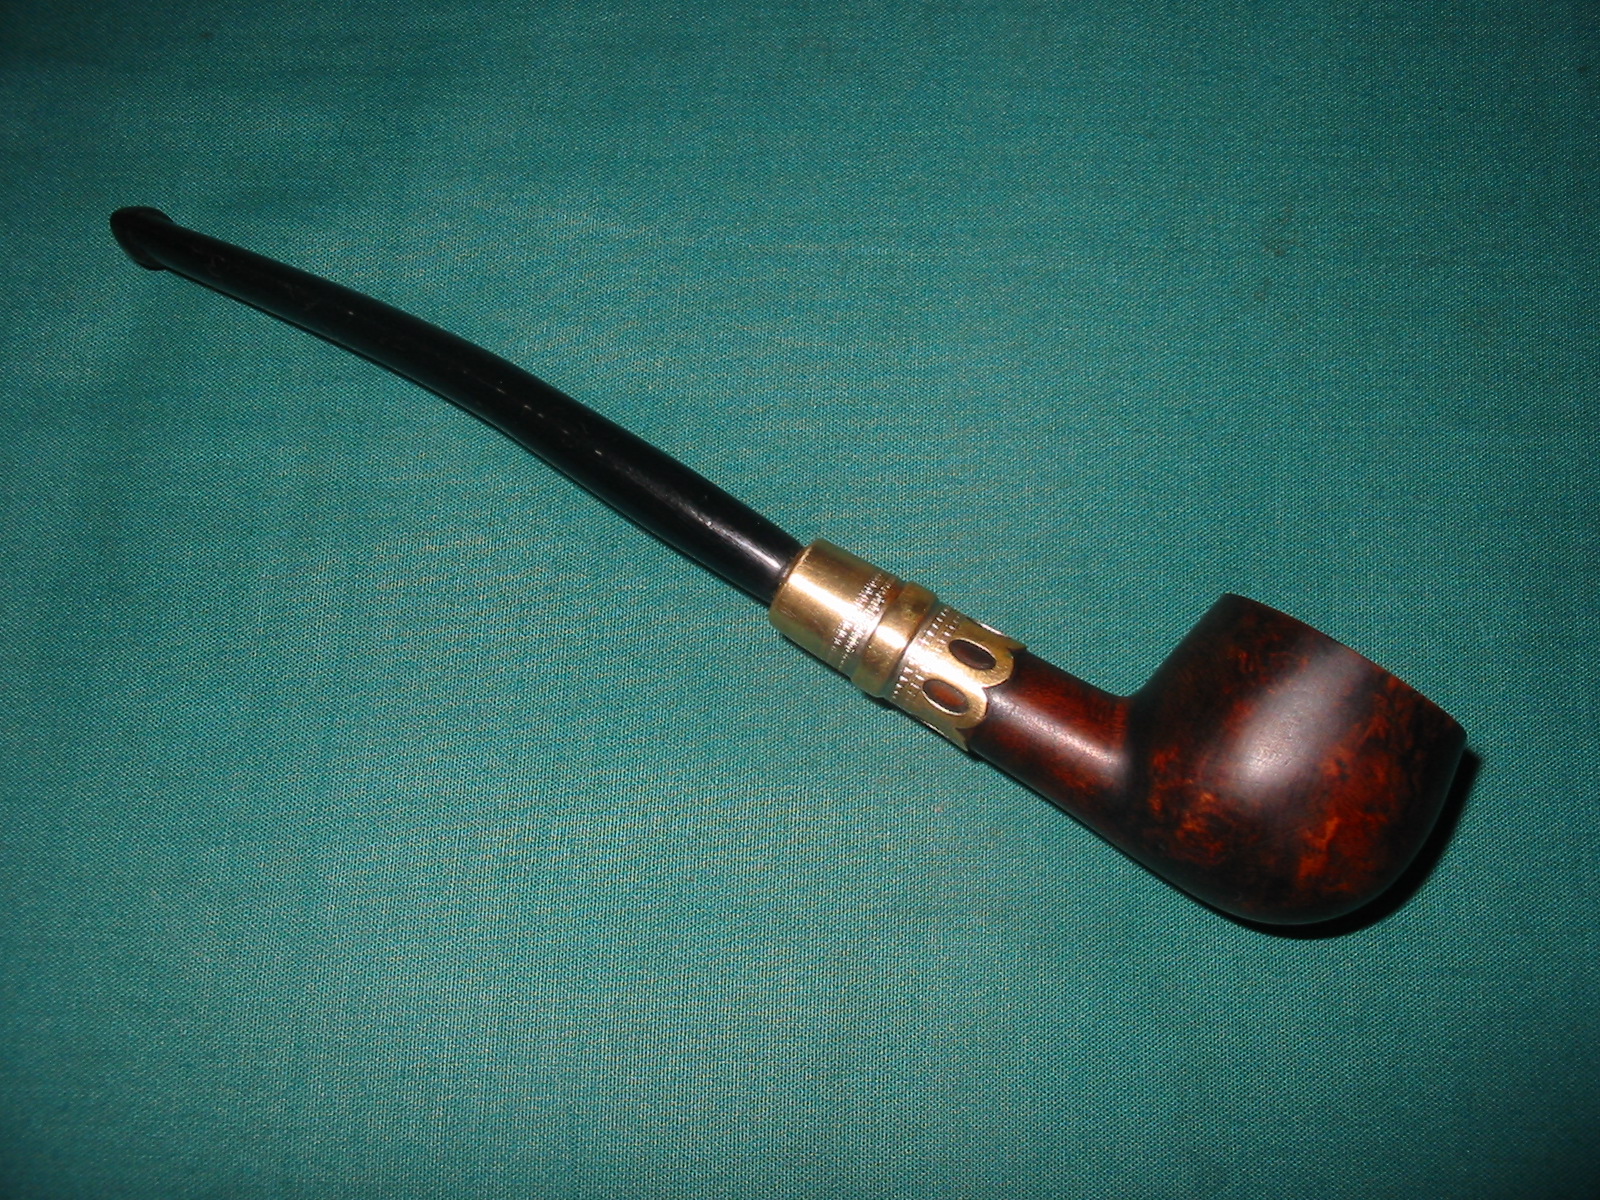
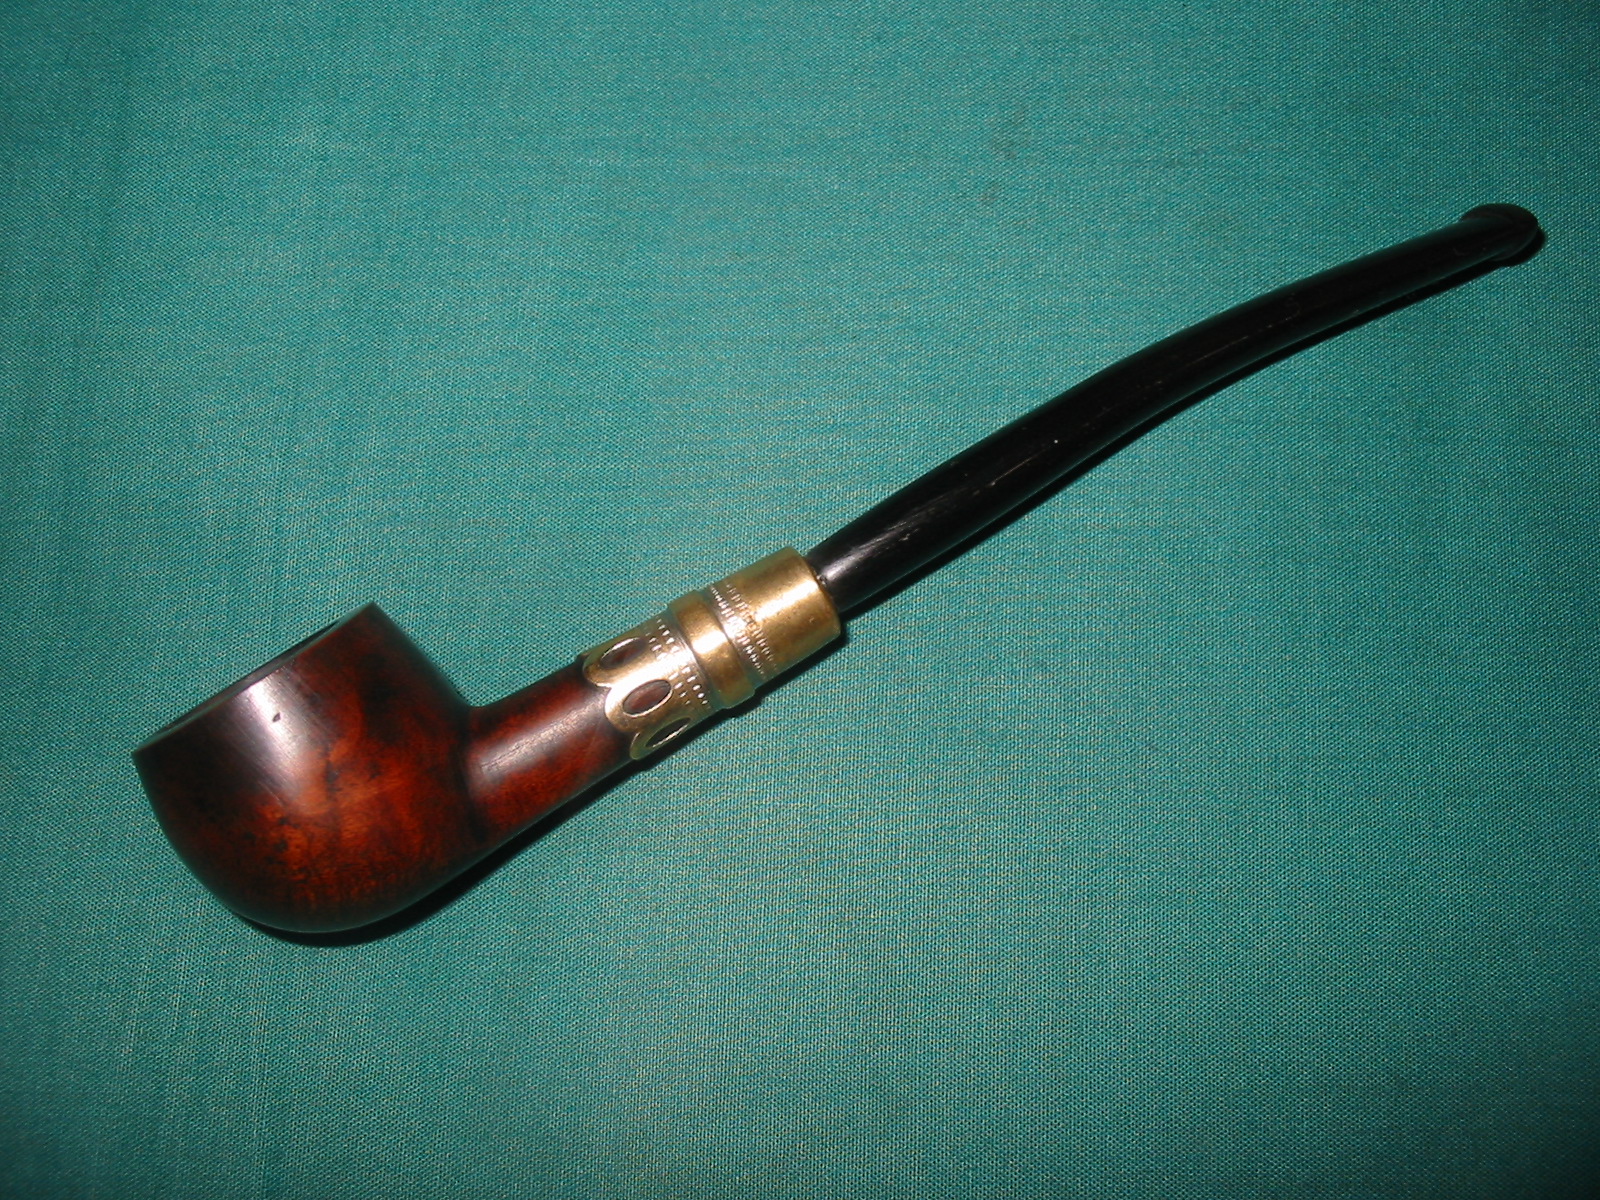
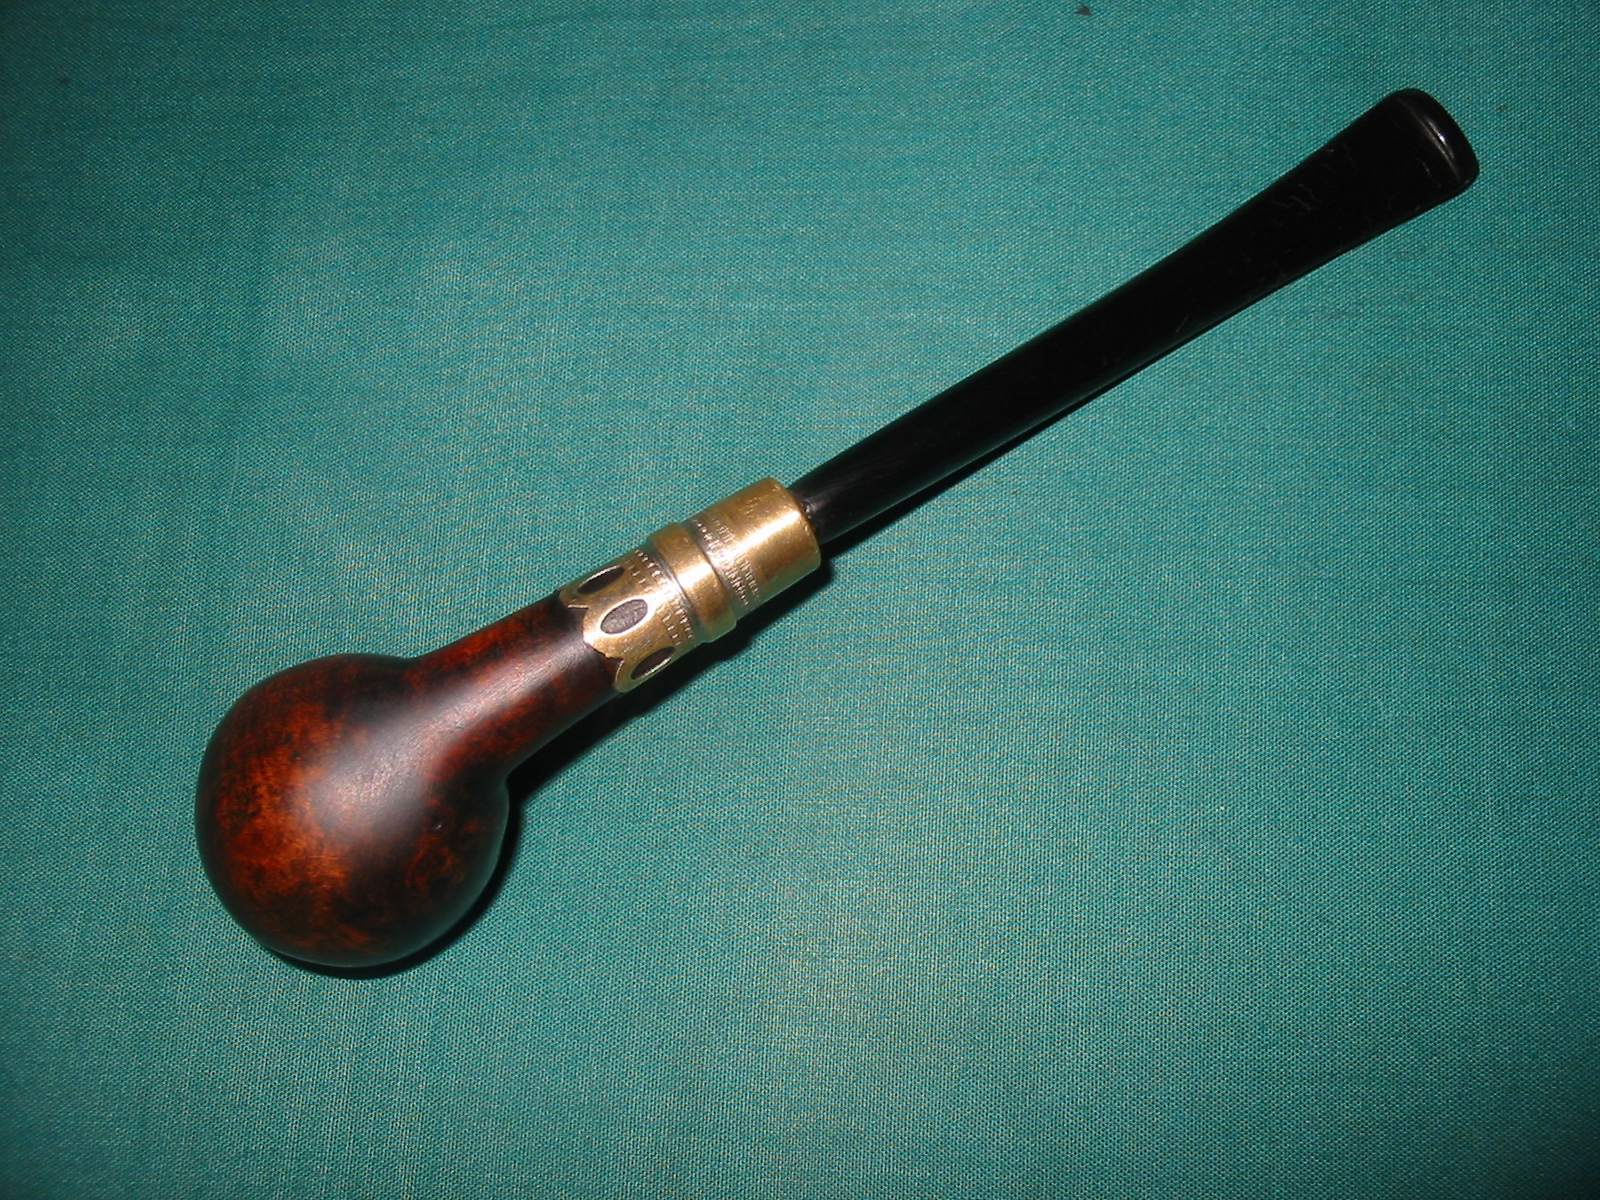
The old sad apple had disappeared and was replaced with a handsome prince that still had some life in it. The little prince will now grace my pipe rack and will one day be given in trust to the next pipeman who will carry on enjoying this piece of history.
