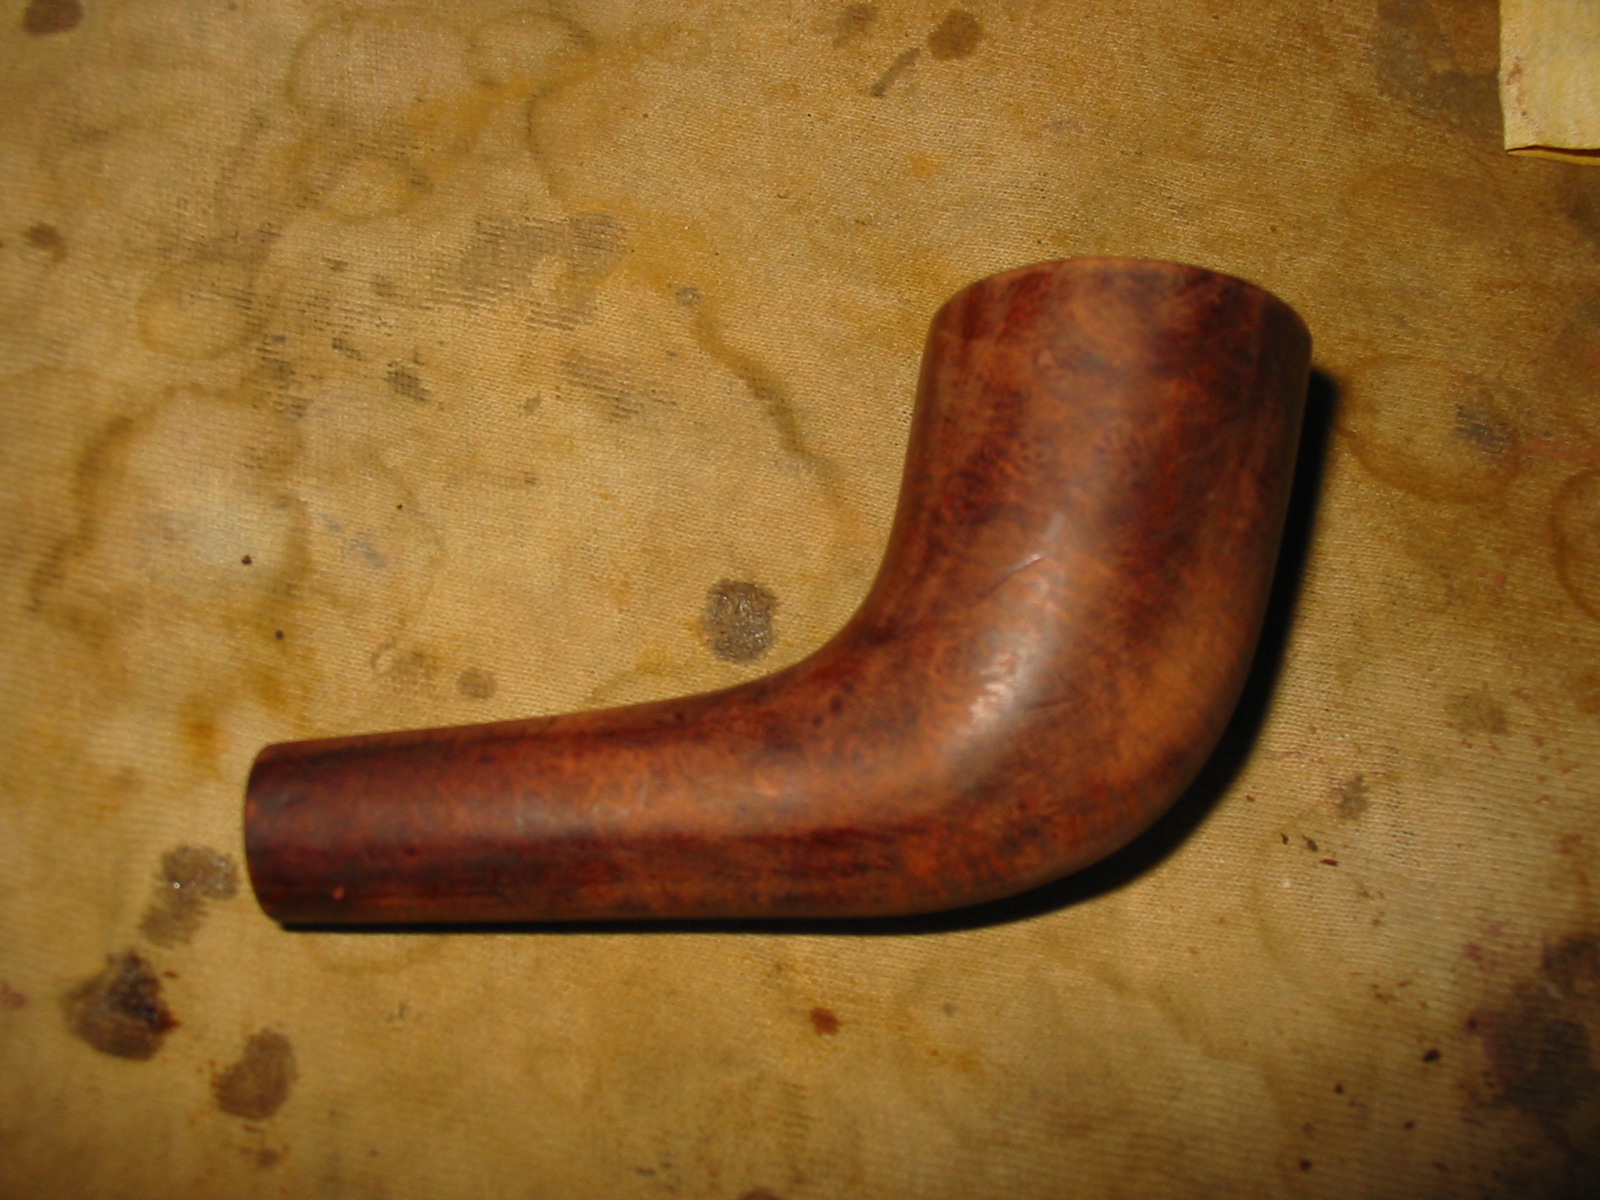
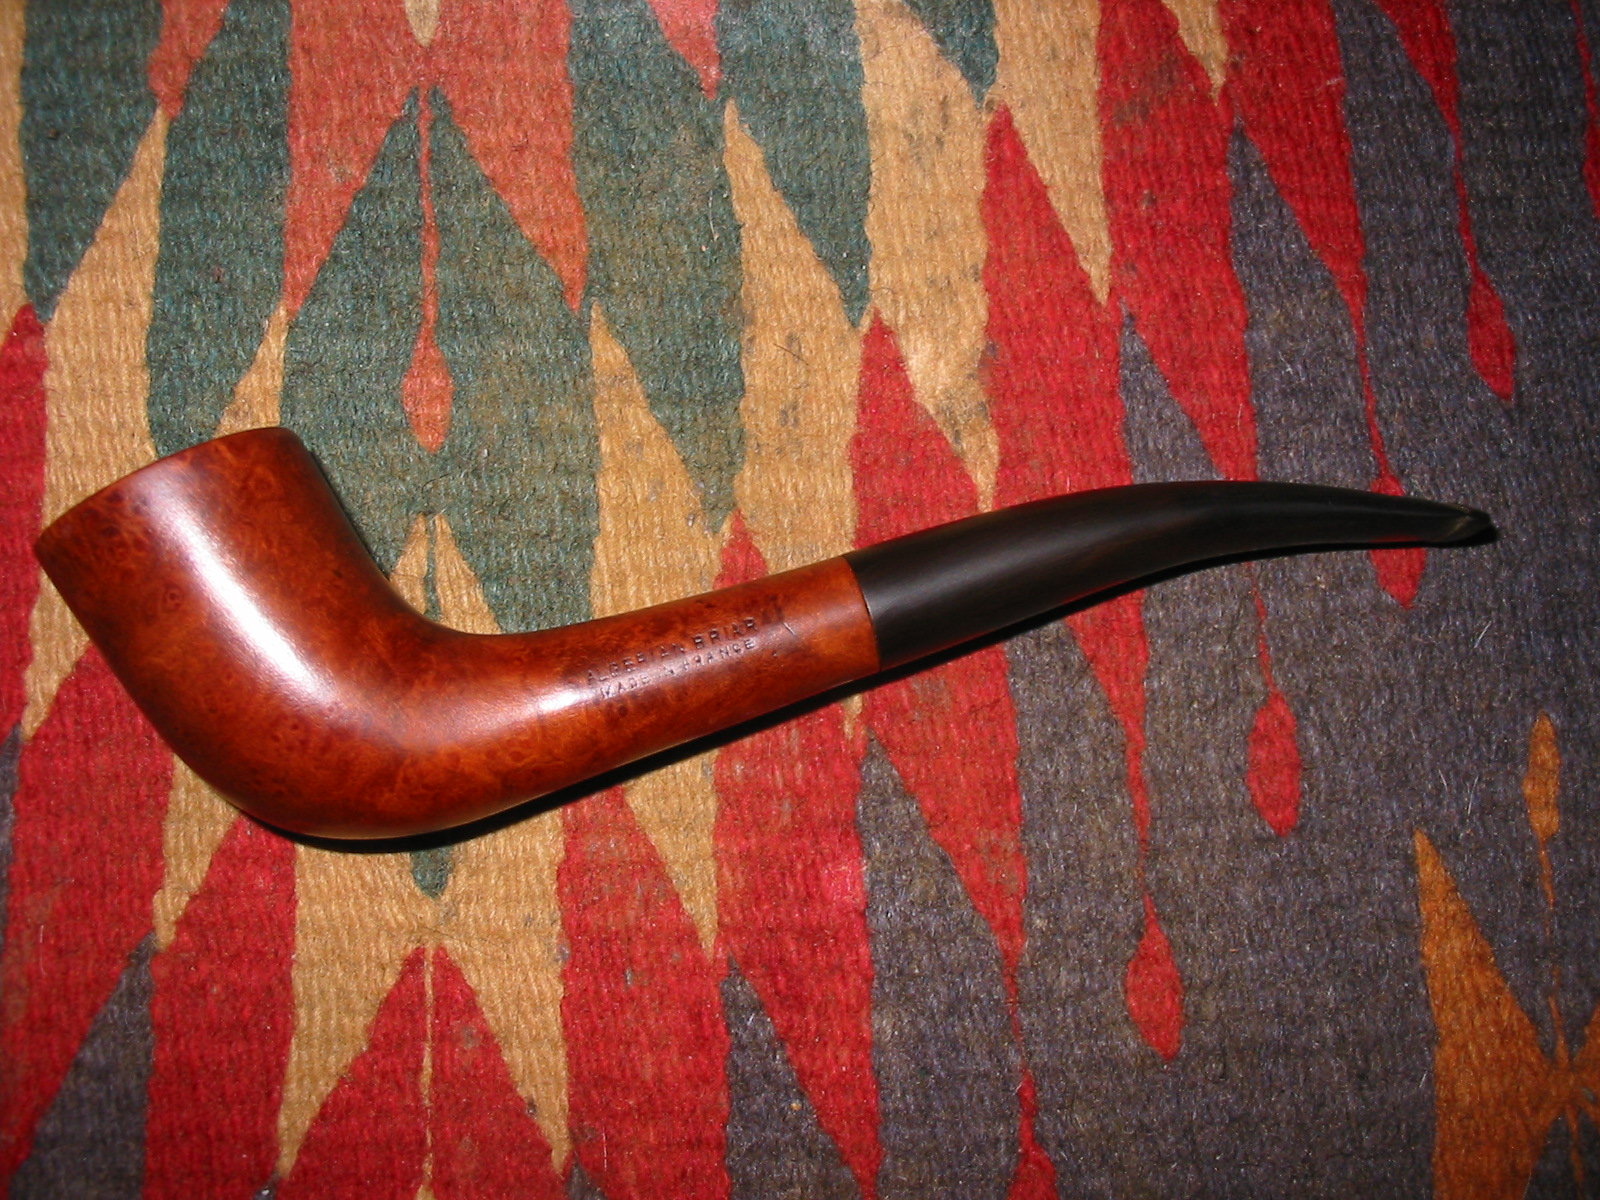
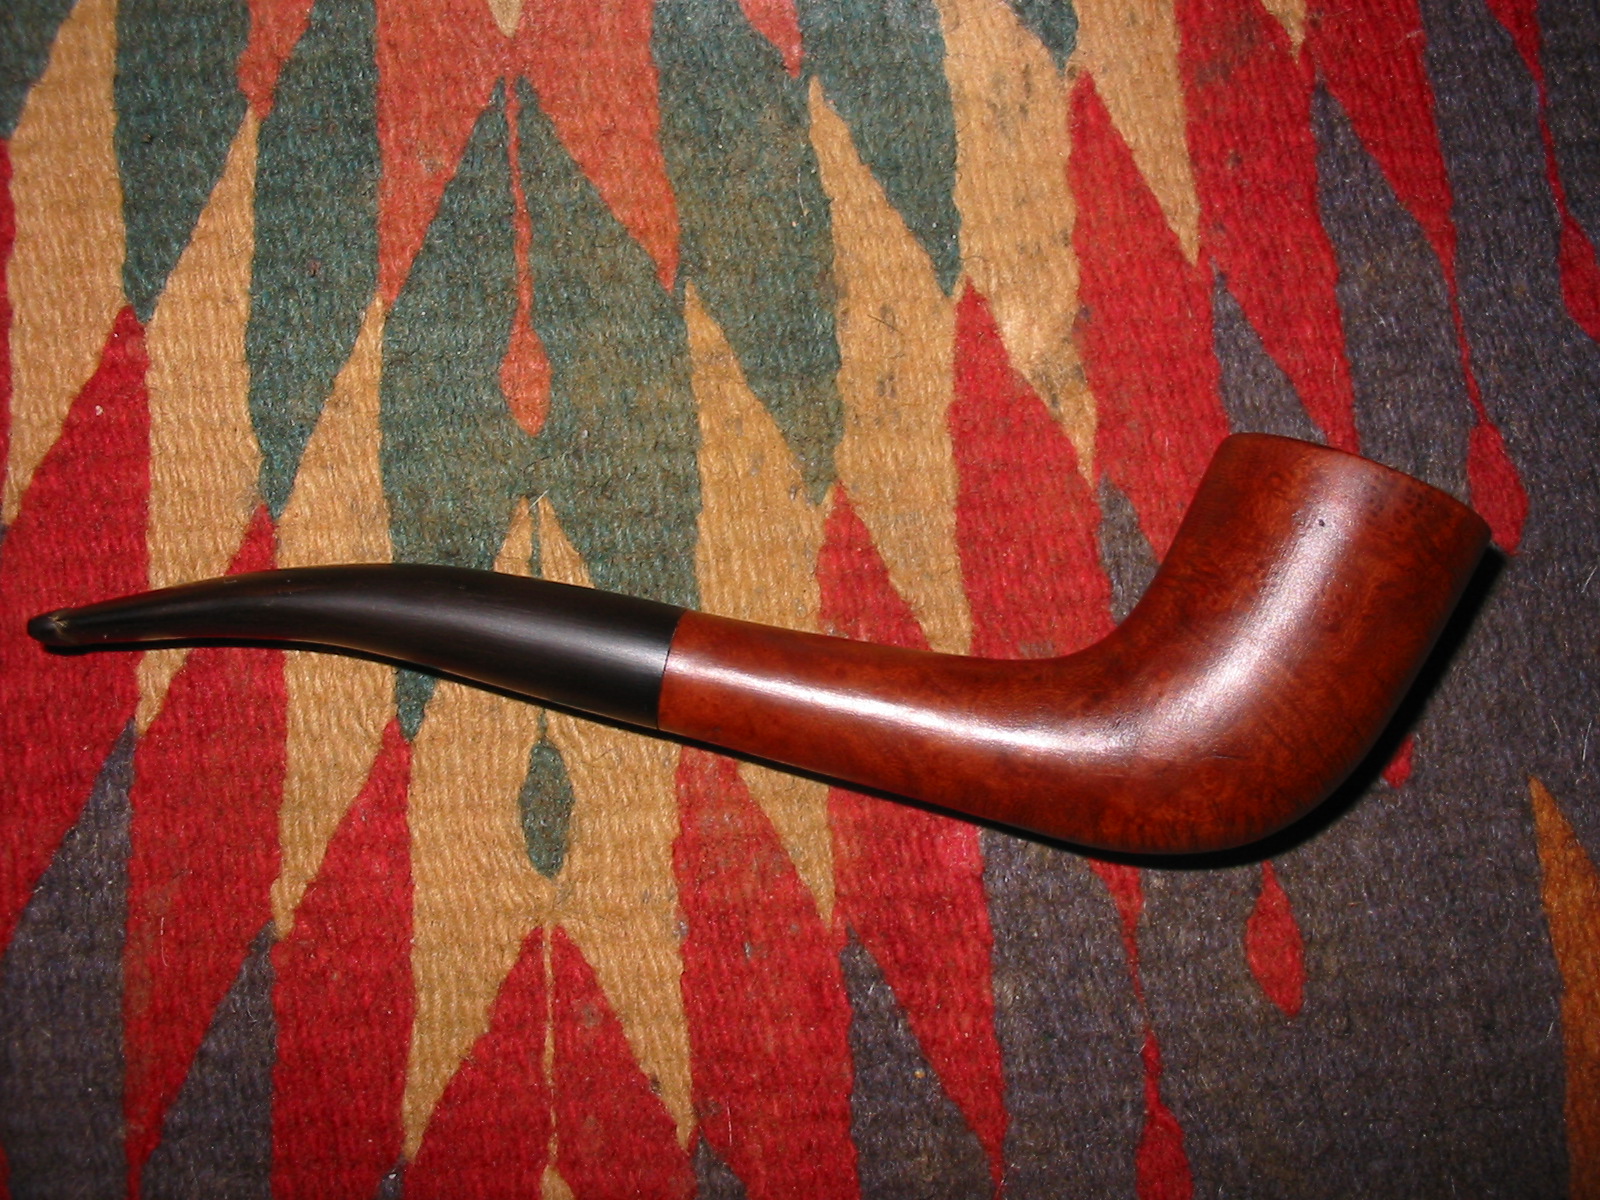
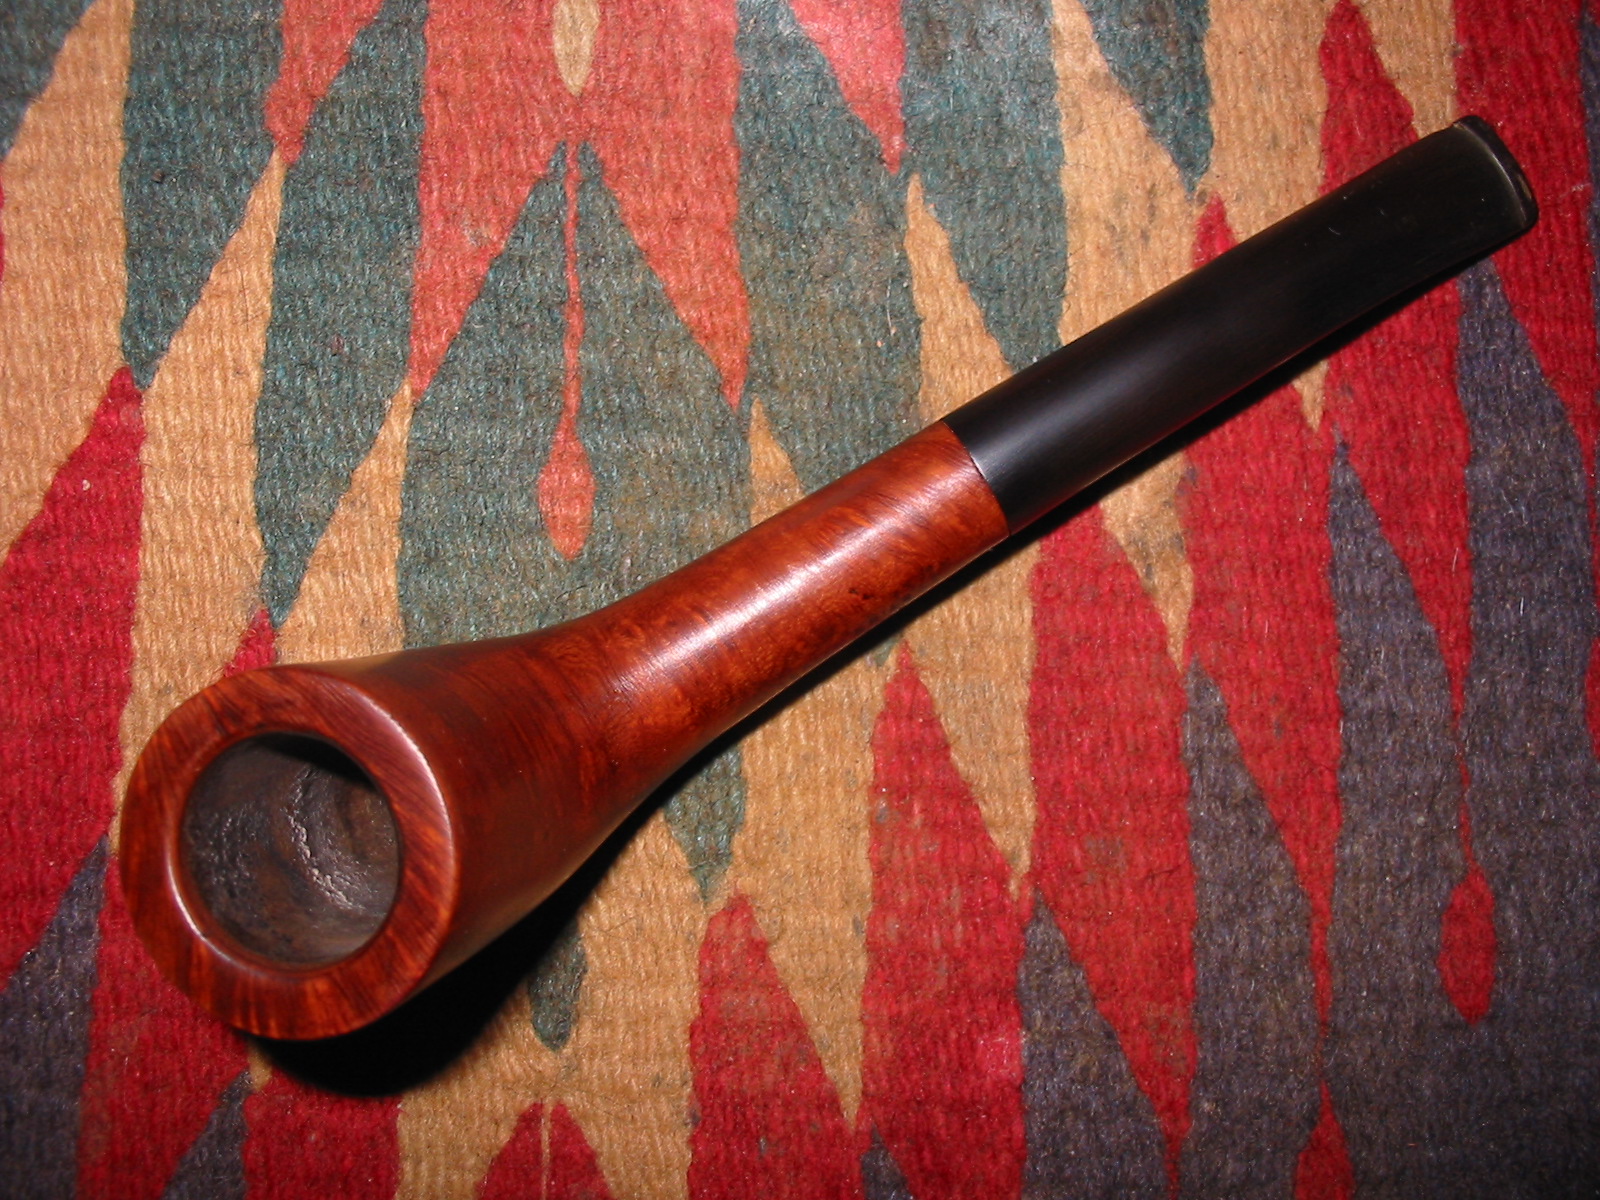
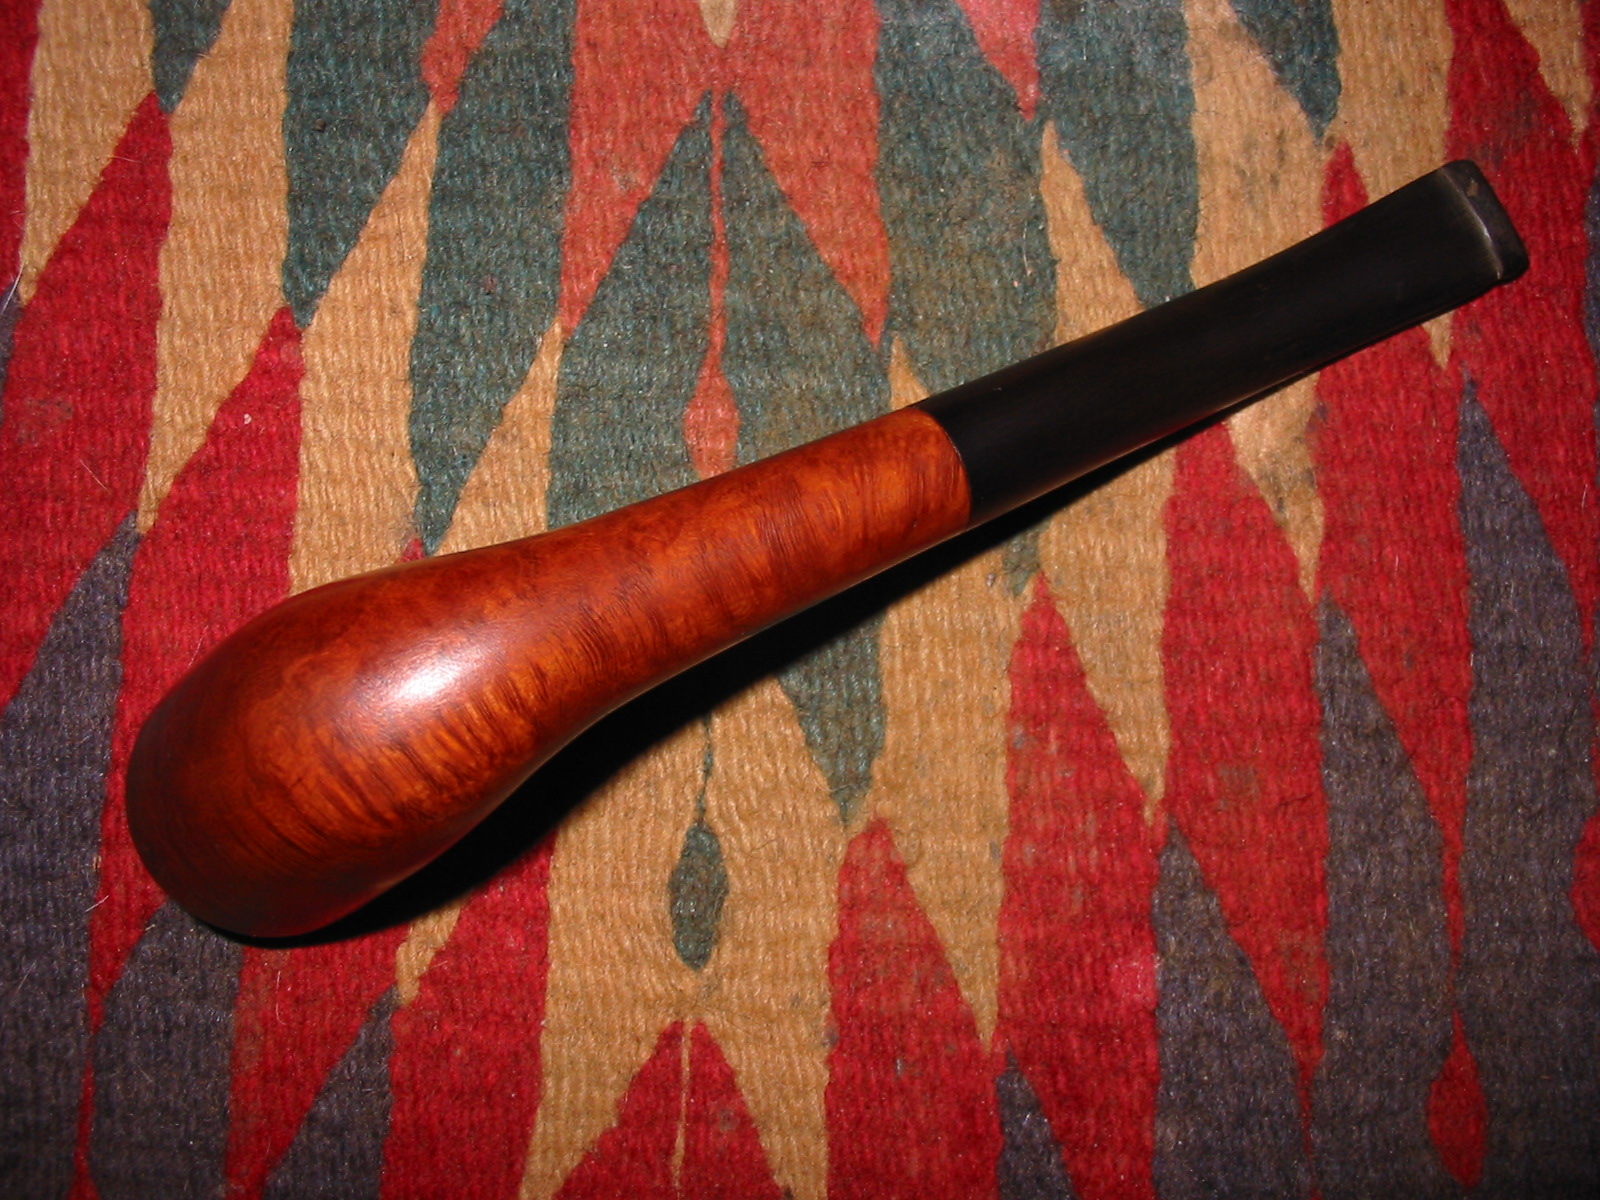
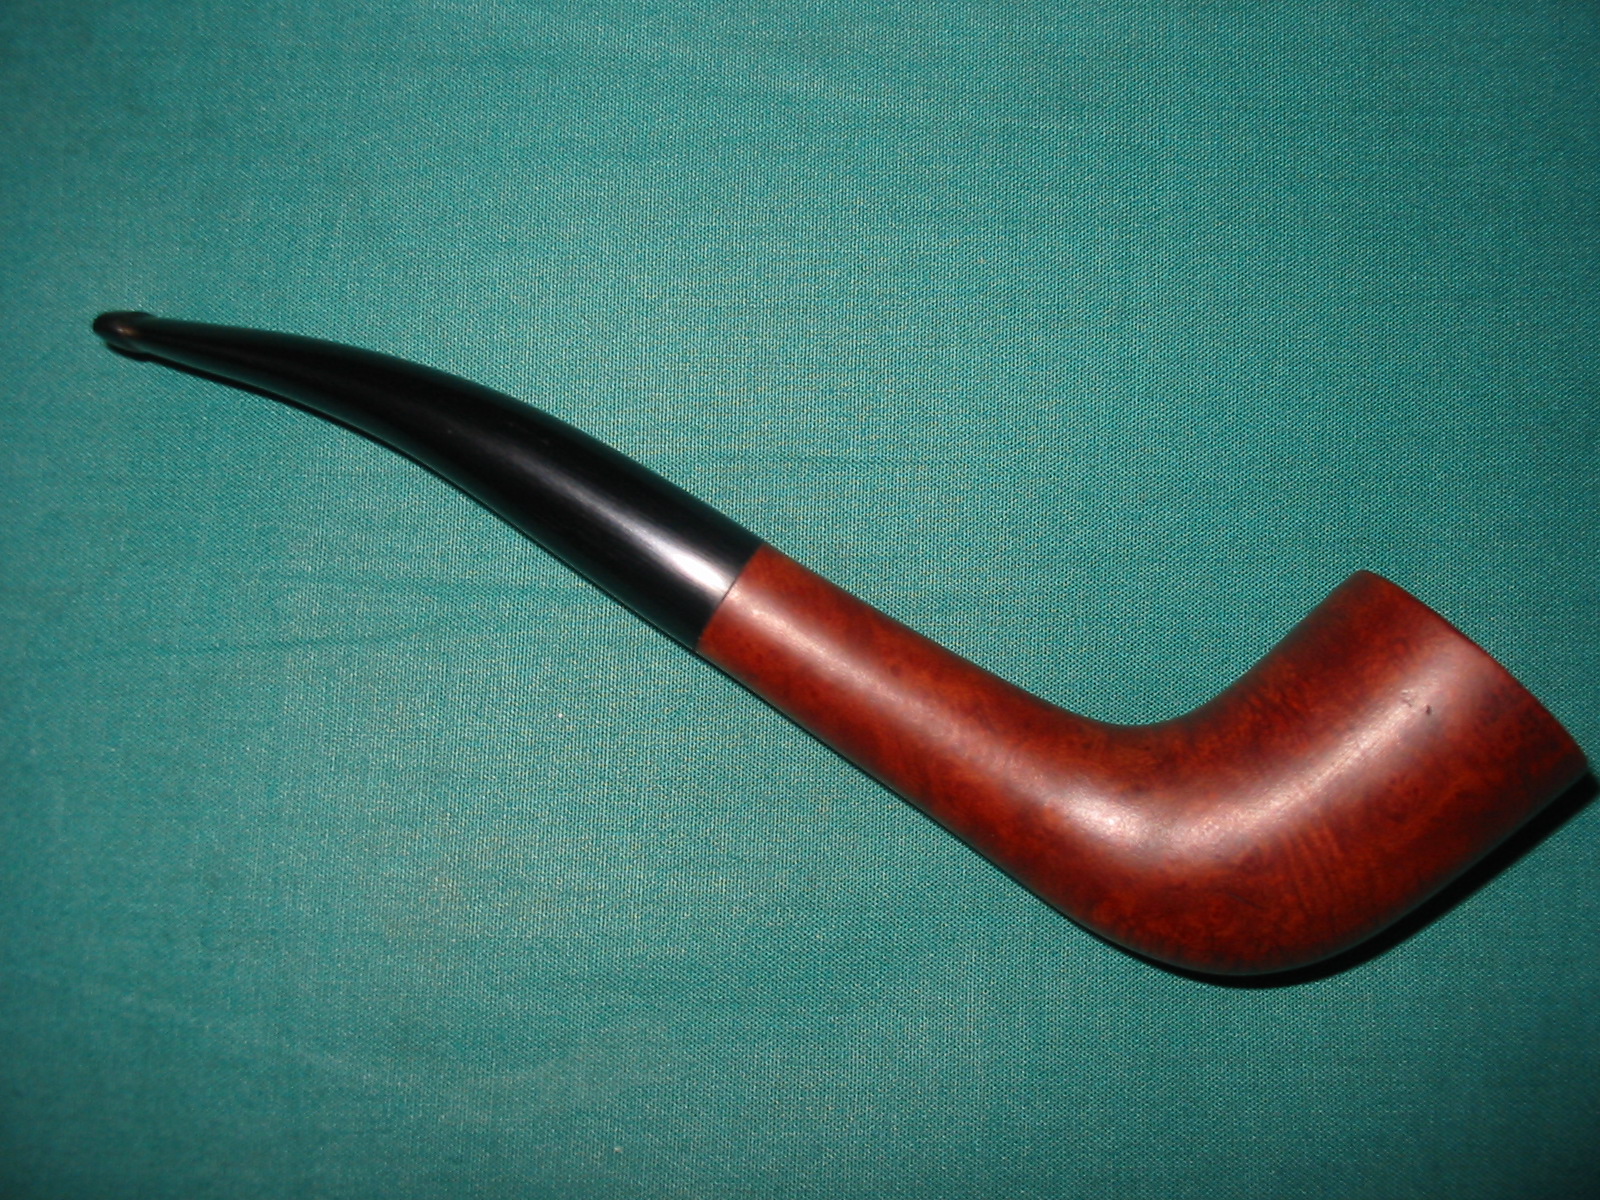
I was gifted a few pipe bowls that needed to be restemmed and refurbished by a friend. The first of these that I decided to clean up and restem was an old Zulu bowl. It is stamped Algerian Briar over Made in France on the left side of the shank and no other identifying marks. Thus the maker remains a bit of a mystery that I am not sure can be solved. The bowl itself was in fair shape. The cake in the bowl was not thick but it was particularly crumbly and soft. The finish on the pipe was also shot. The varnish coat was gone and the stain was streaked and damaged. There were a cut groove next to the left side of the stamping and a smaller one on the right side of the stamping. The shank was filthy and caked with oils and tars. The rim was in great shape with no damage to either the inside or outside rim. The grain under the stain coat looked promising with cross grain on the front and back of the bowl and the top and bottom of the shank and mixed birdseye on the sides of the both.
I had a stem in my can of stems that fit almost perfectly. It was damaged and would need some work but the fit and bend was perfect for the Zulu shape.
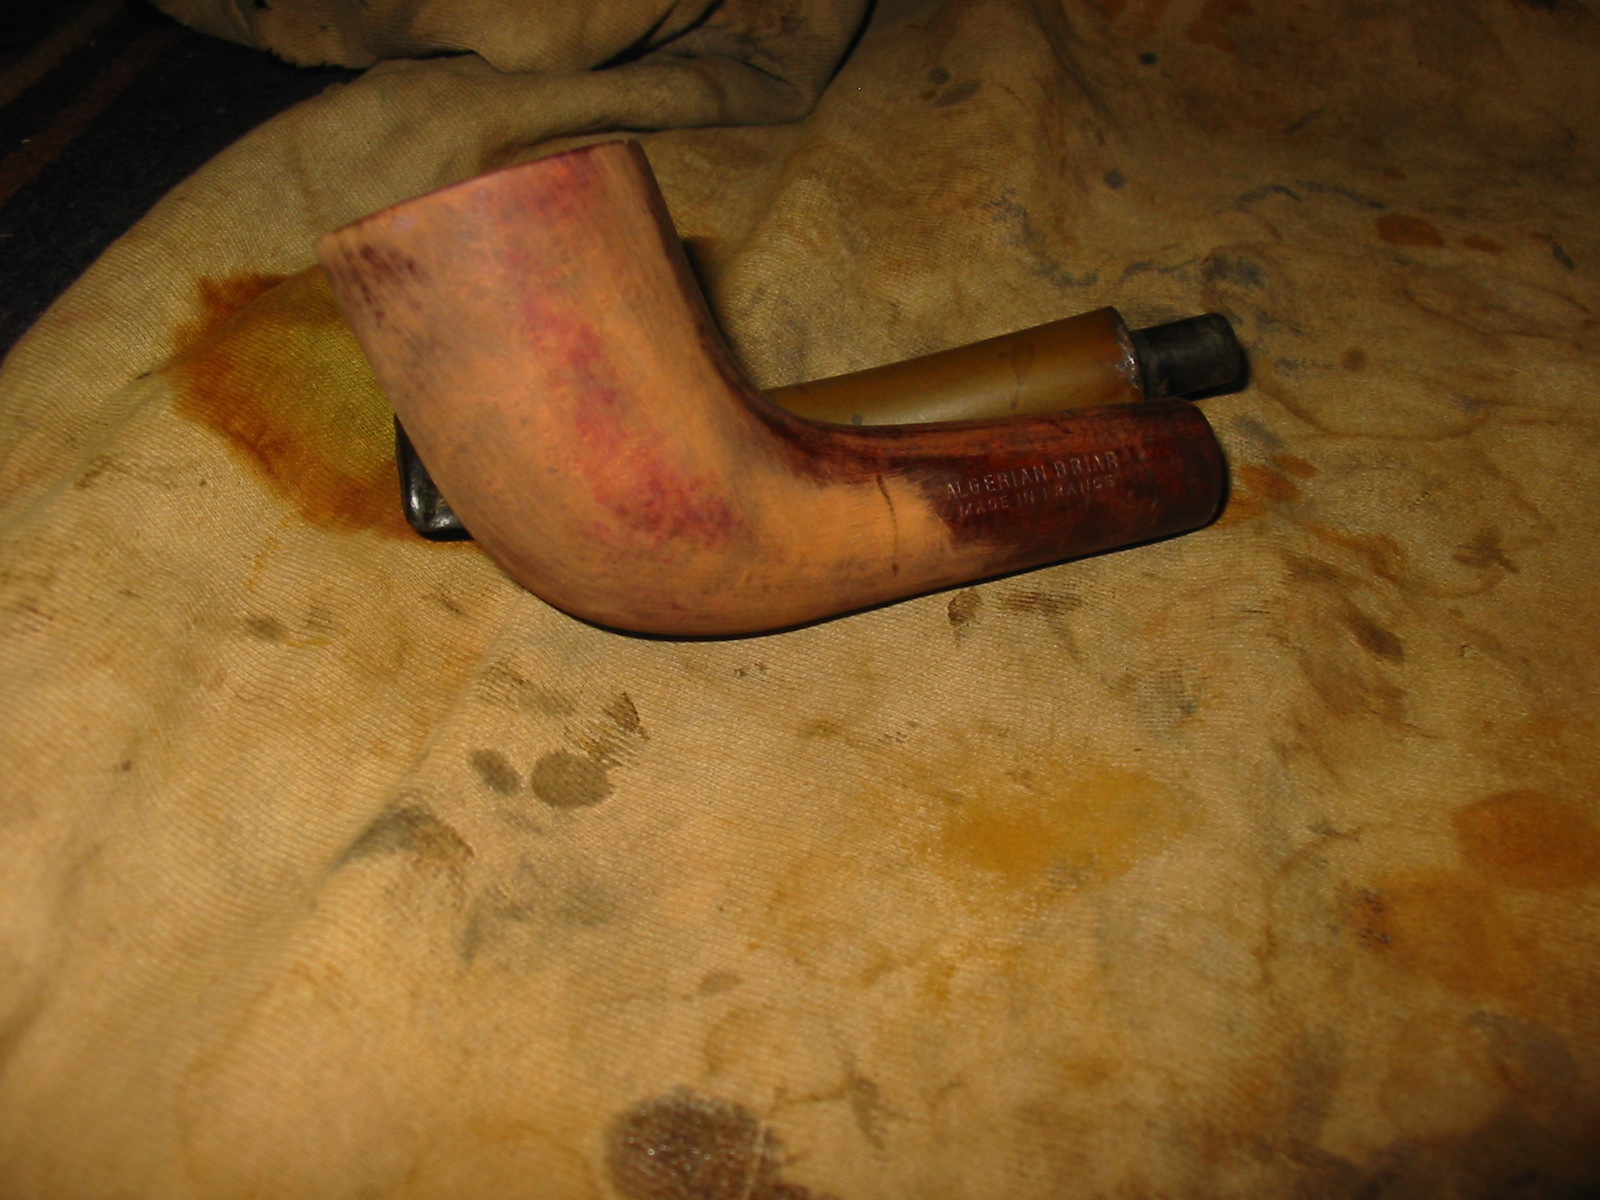

I fit the stem in place and wiped down the bowl with acetone on cotton pads to remove the remaining finish on the pipe. I reamed the bowl with a PipNet reamer and took the cake back to bare wood. I cleaned out the shank and the bowl with cotton swabs and Everclear.


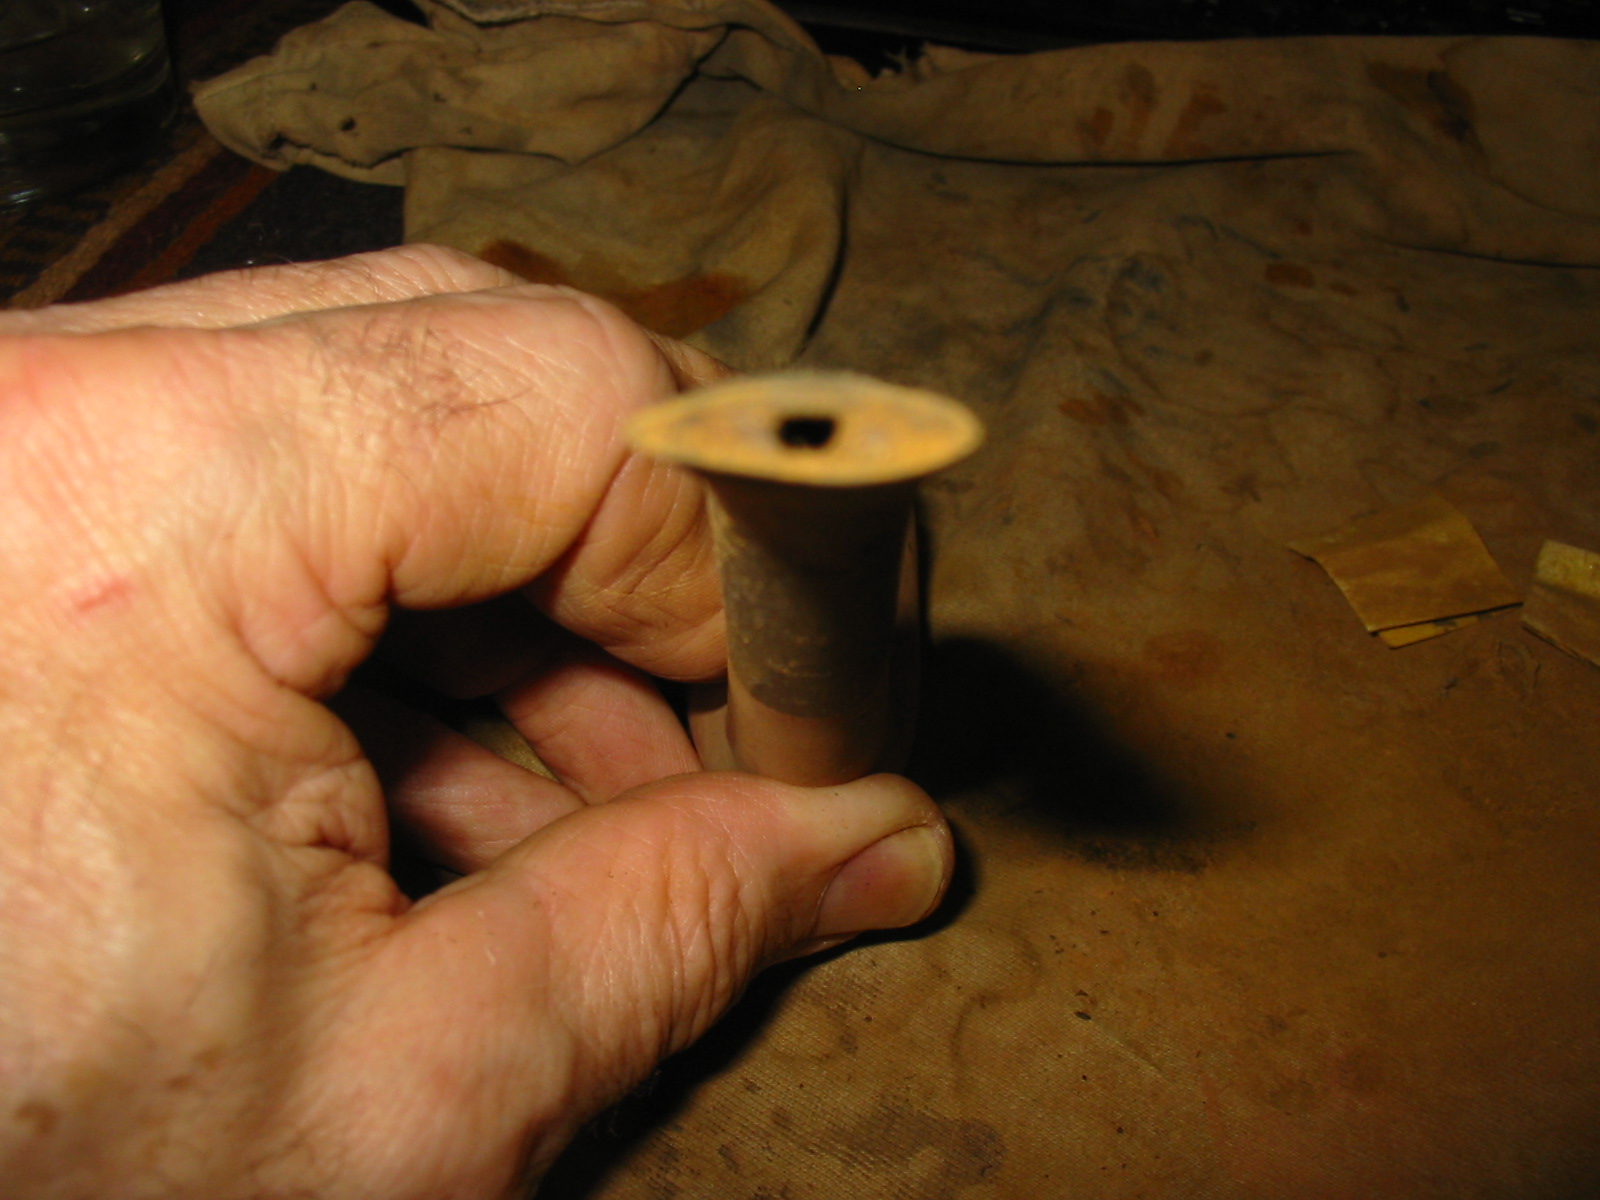
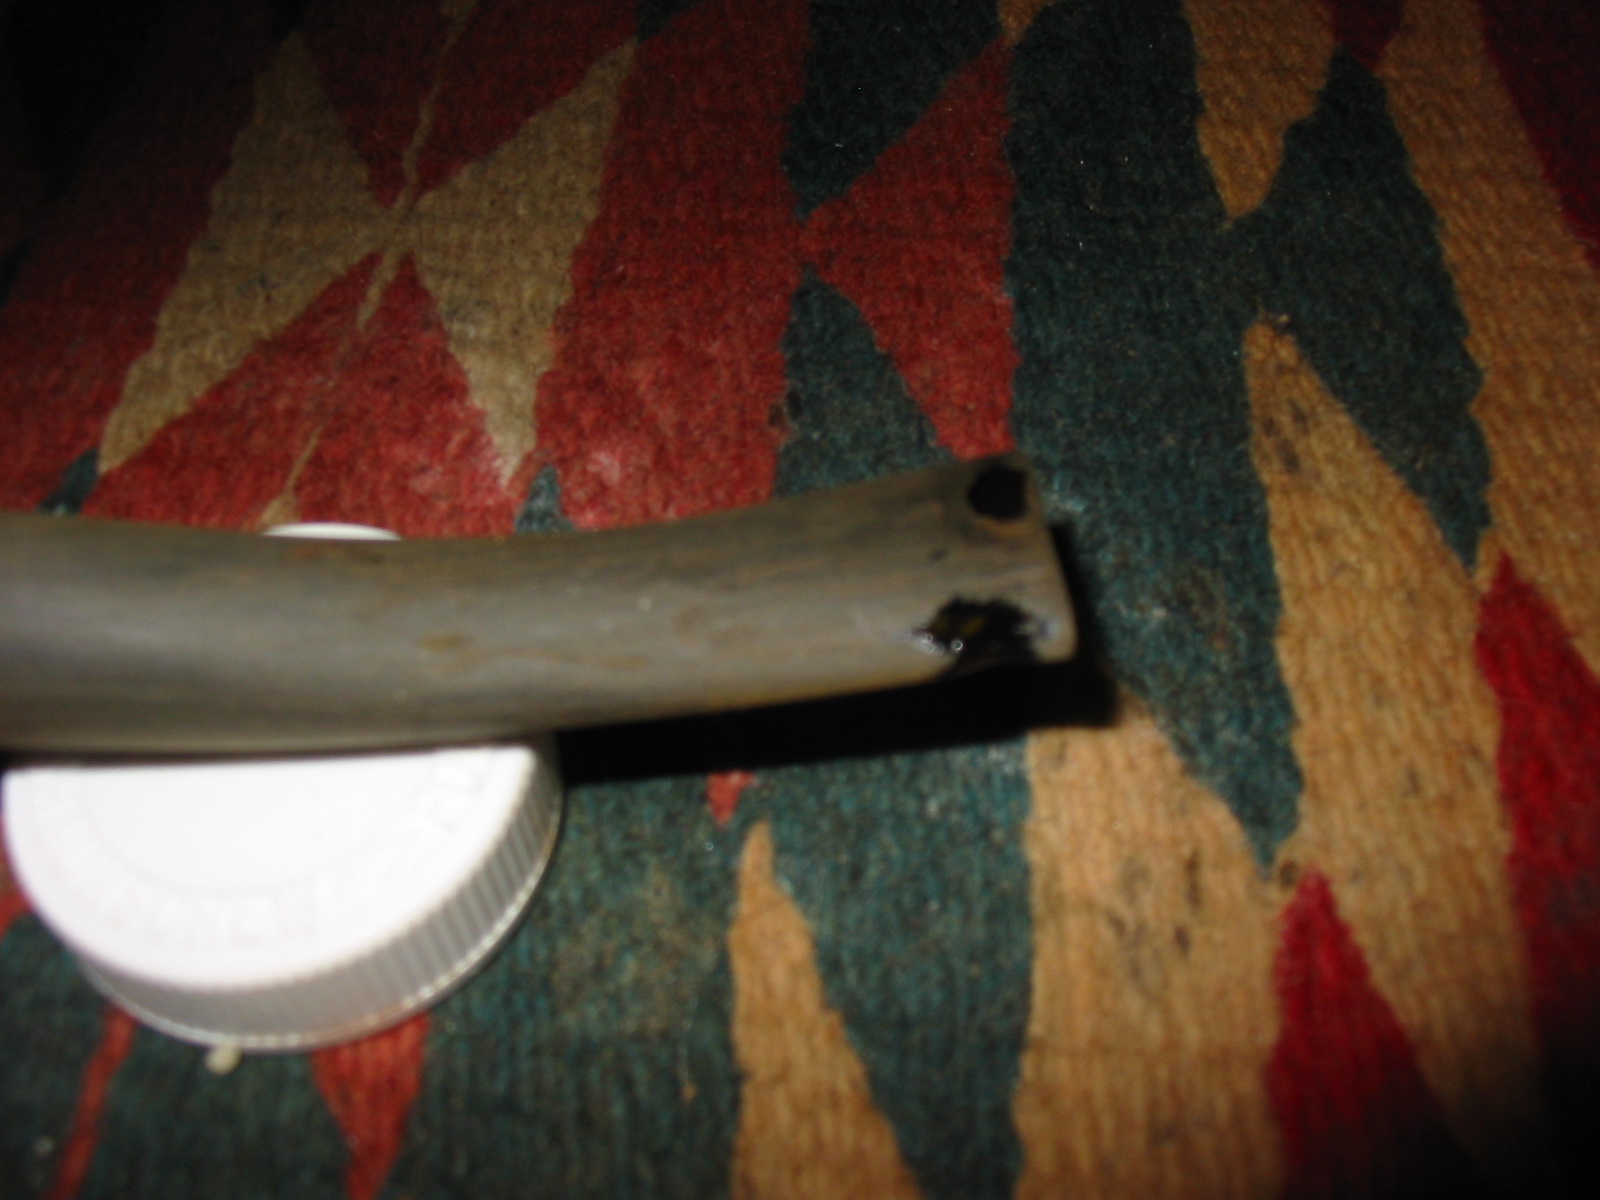
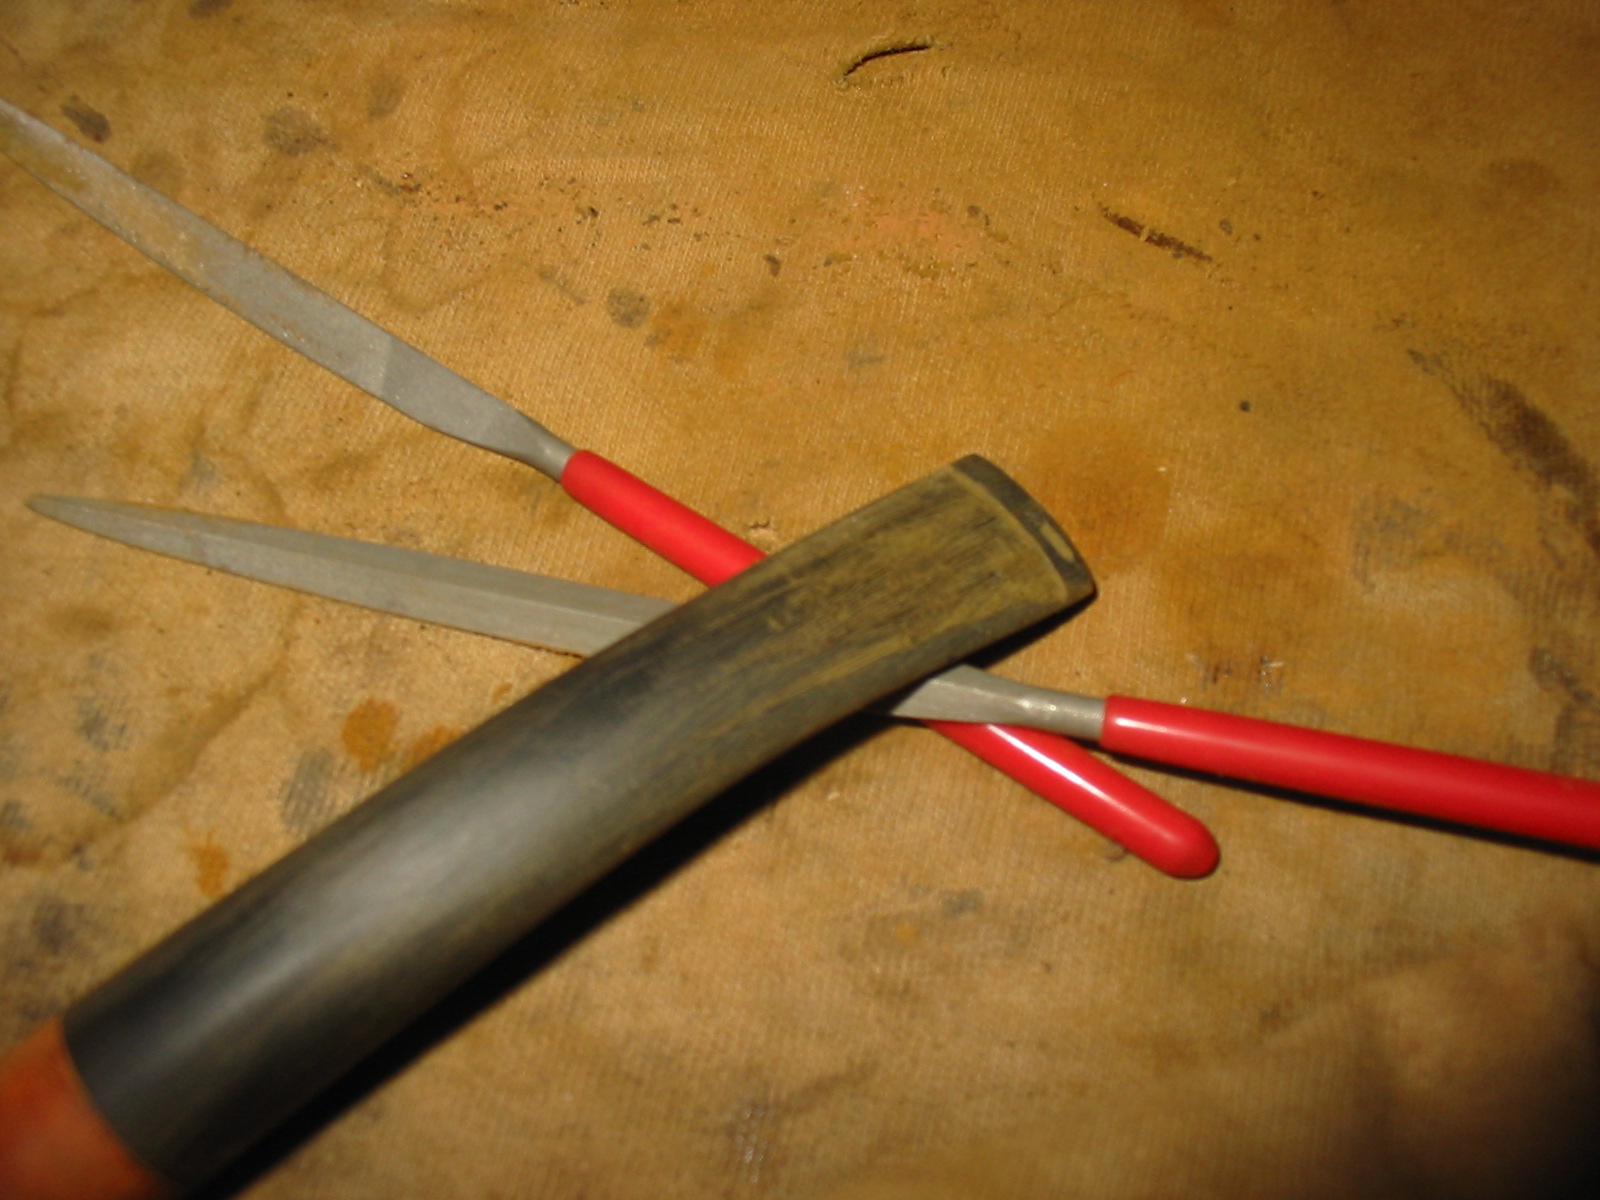
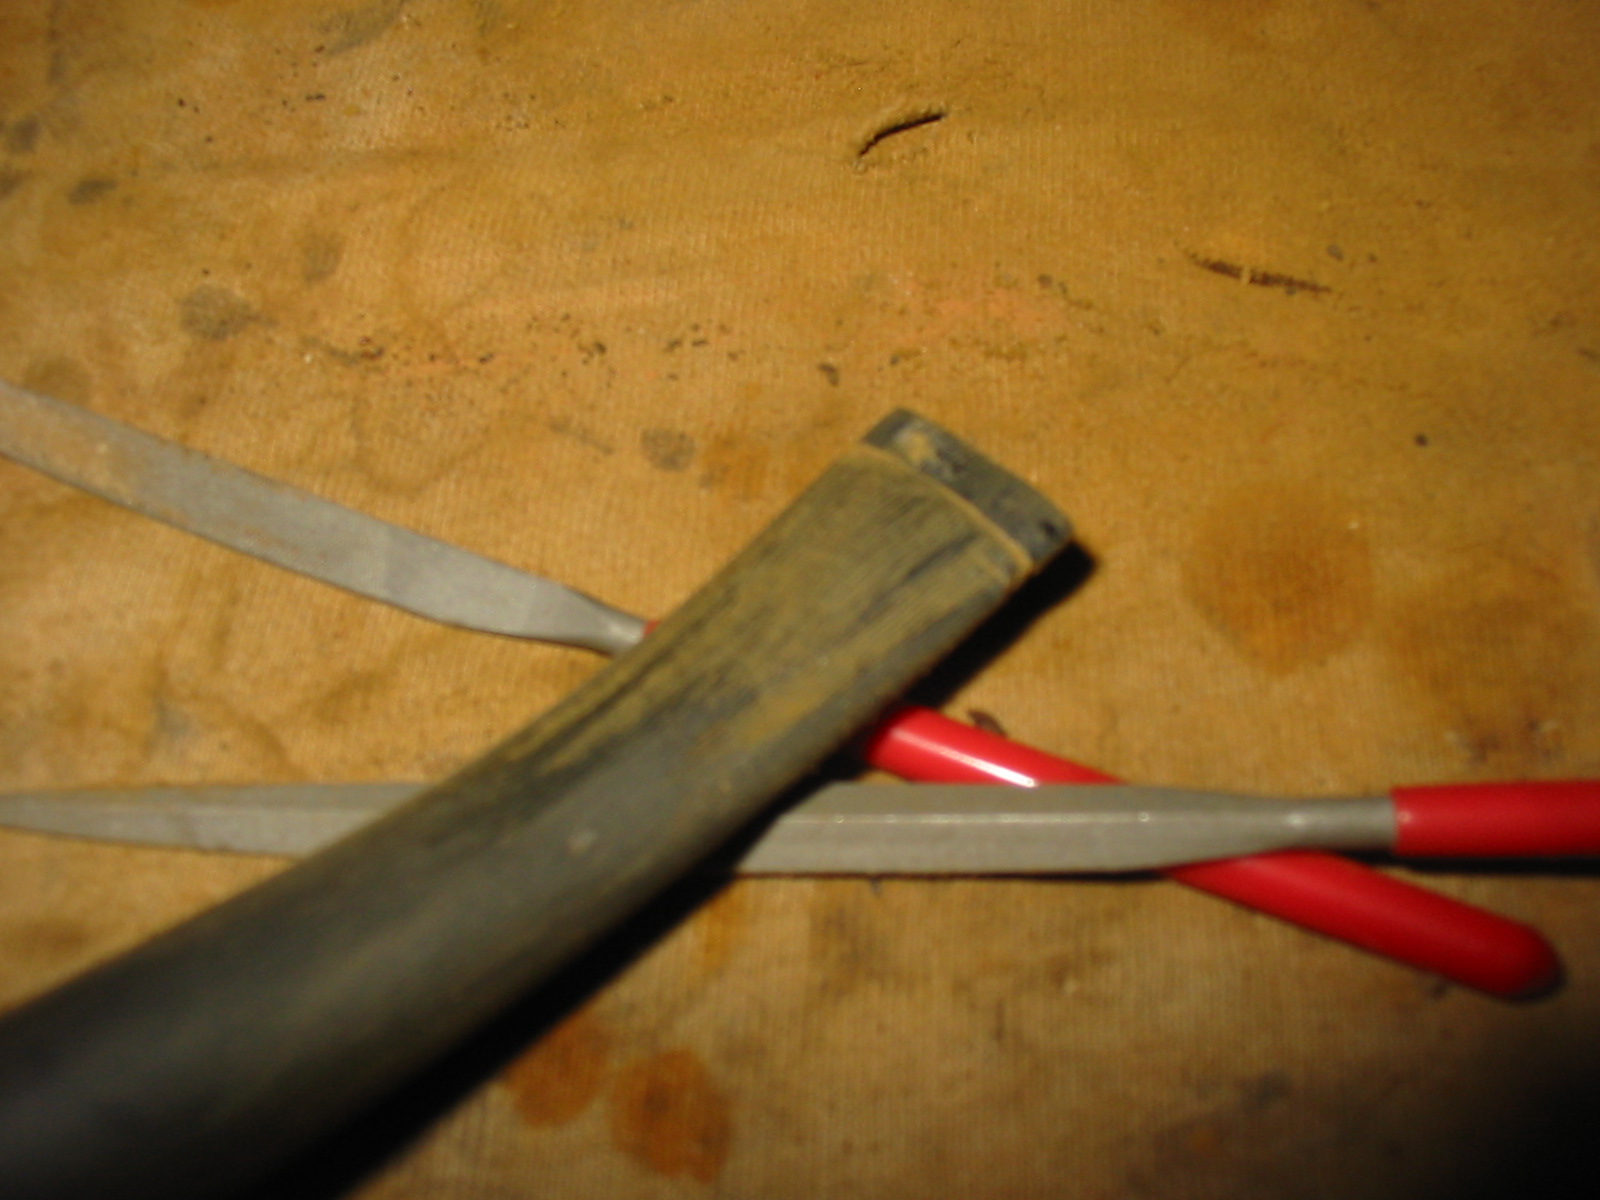
I sanded the stem until the transition between the shank and the stem was smooth. I used both 220 grit sandpaper and medium and fine grit sanding sponges to smooth it out. The end of the stem was badly damaged and the button was ruined. I decided to trim off the damaged end of the stem and rework the button. Once it was cut back I cleaned out the stem with Everclear and pipe cleaners. The stem was badly plugged with tars so I had to use a bent paper clip to push through the airway. I used shank brushes and pipe cleaners to remove the tarry build up and open up the stem once again.

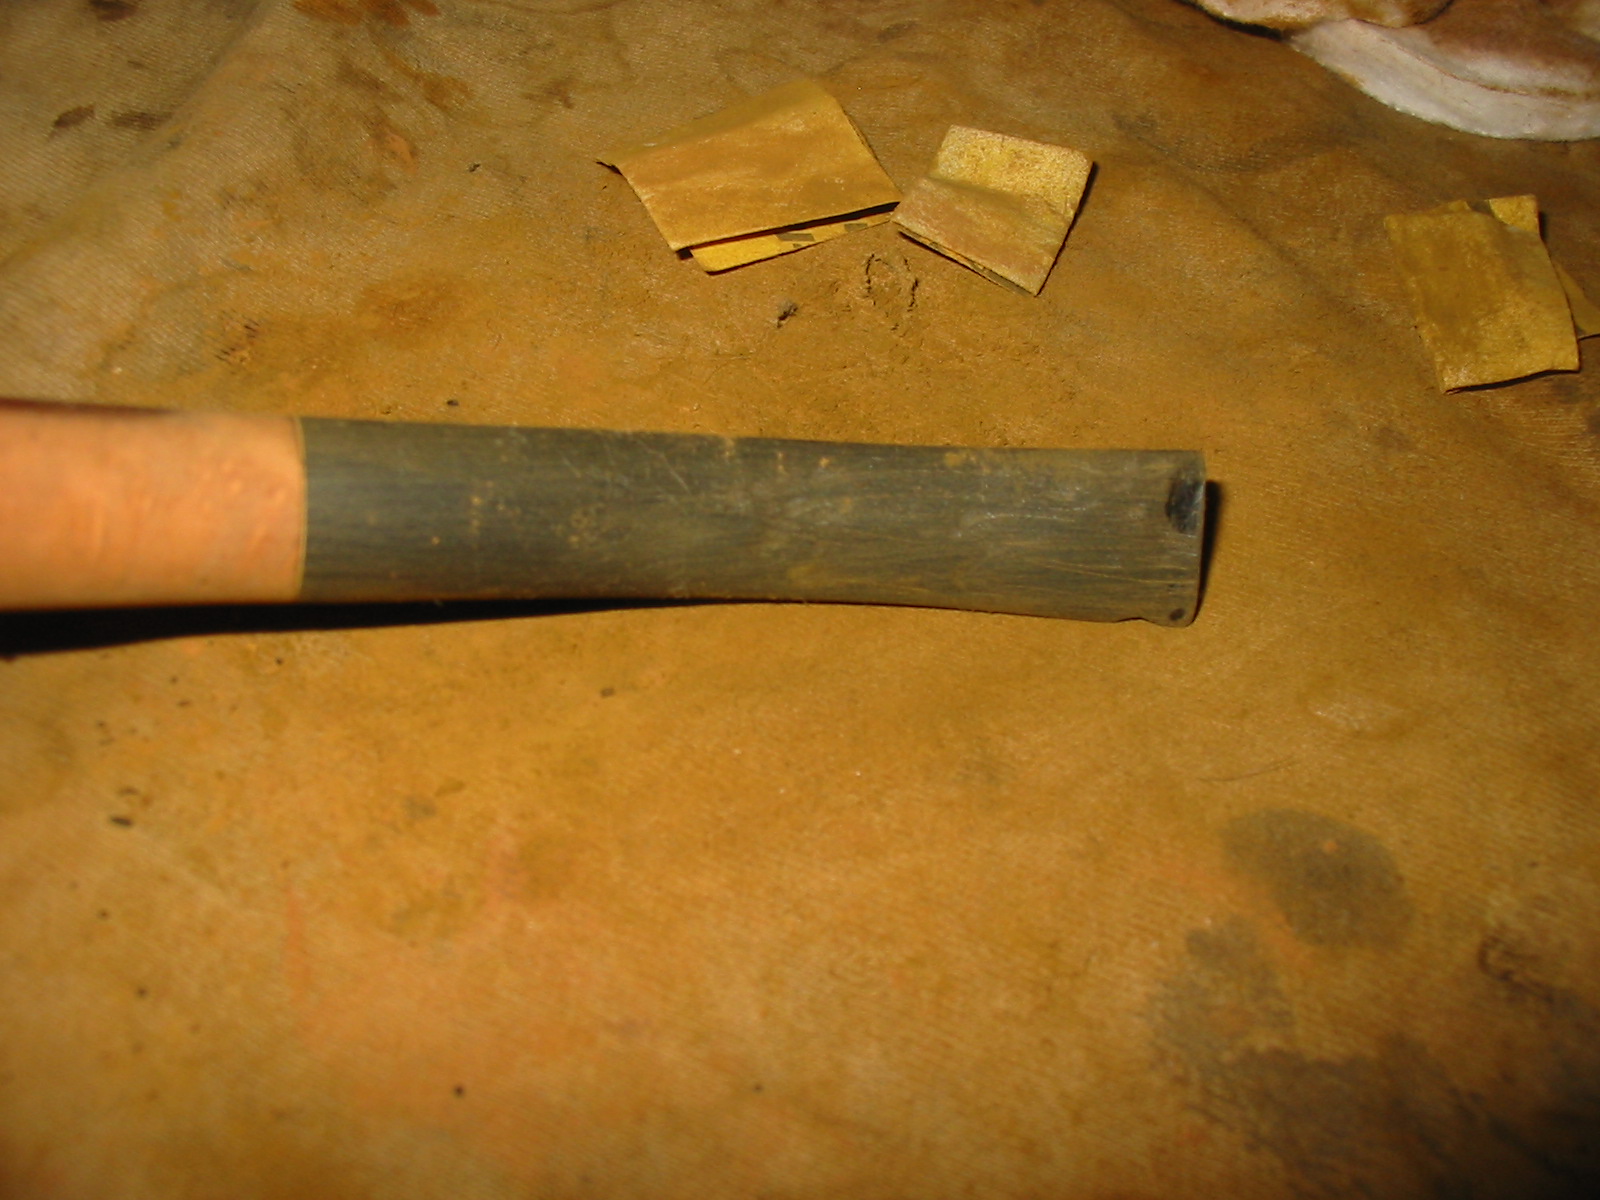
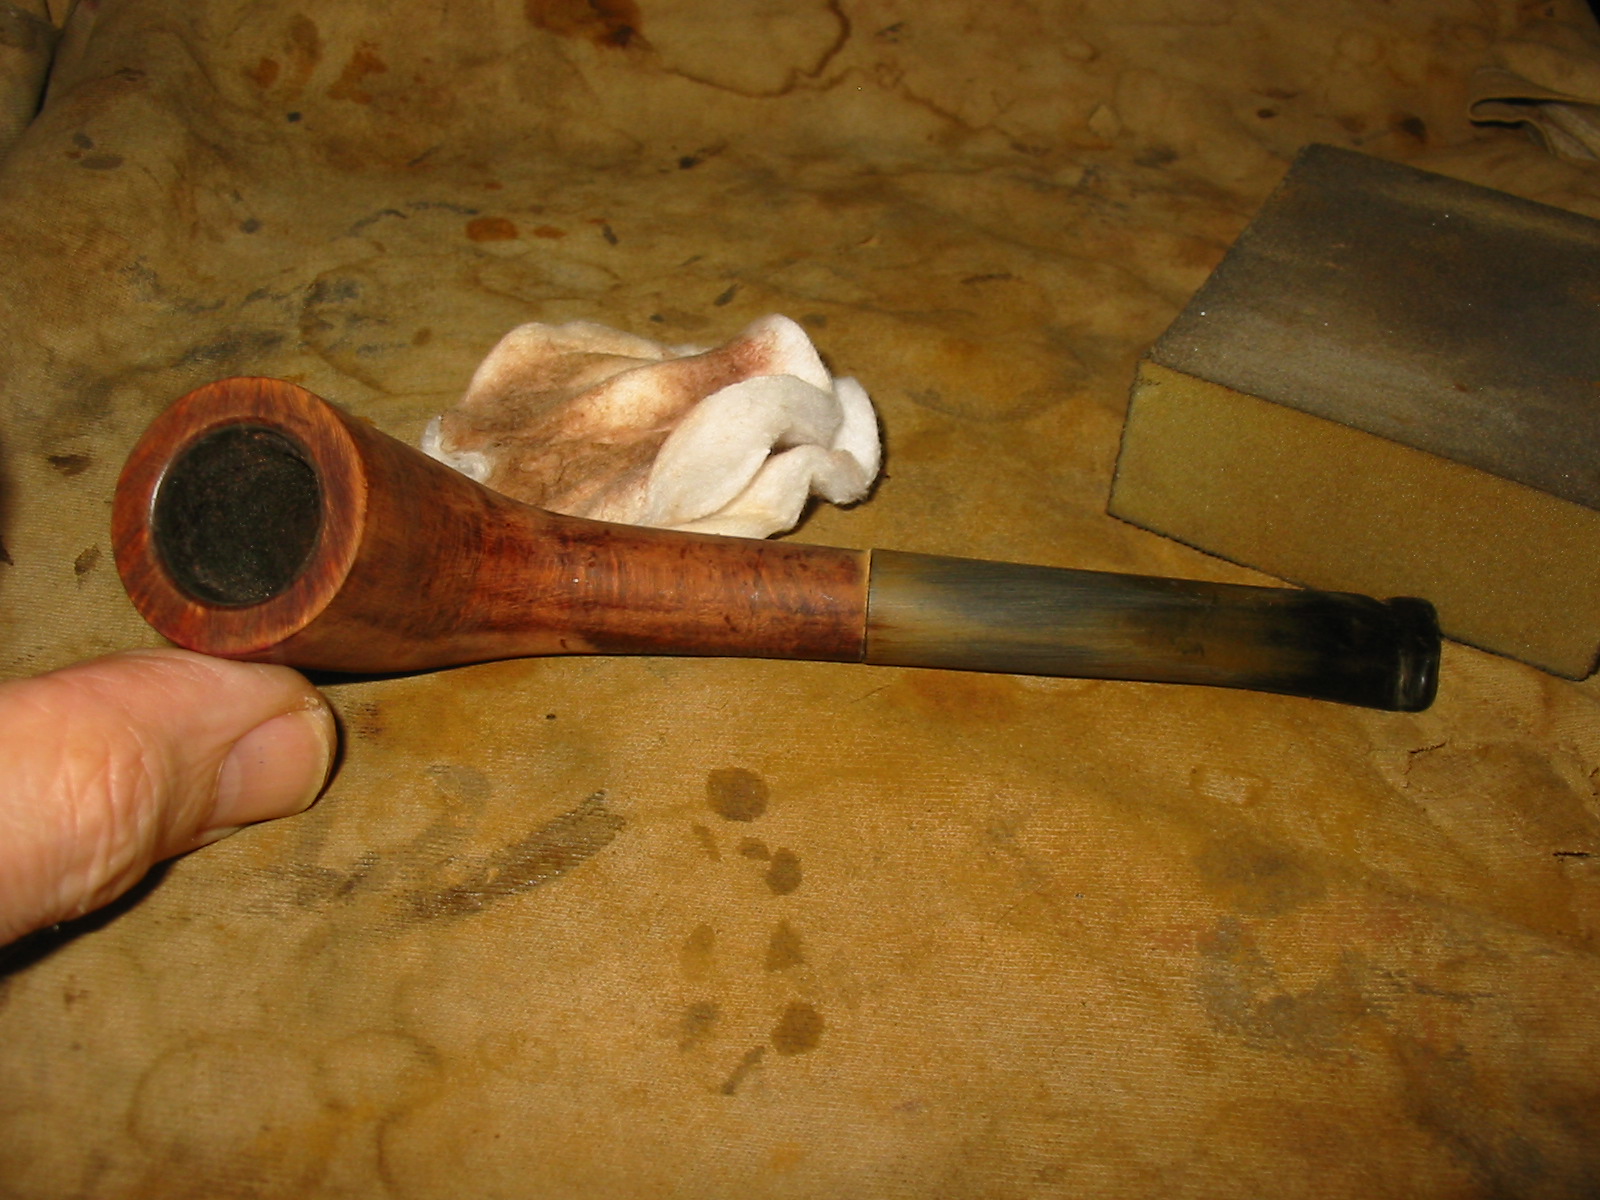
The airway was still wide and open so I did not need to reshape it. The top and bottom of the button were thin so I could not remove any further material. I reshaped the externals as best as possible by rounding the ends of the stem and making the button more oval in external shape.
The slight dents in the stem that remained would not lift with heat so I filled them with superglue until they were level with the surface of the stem.
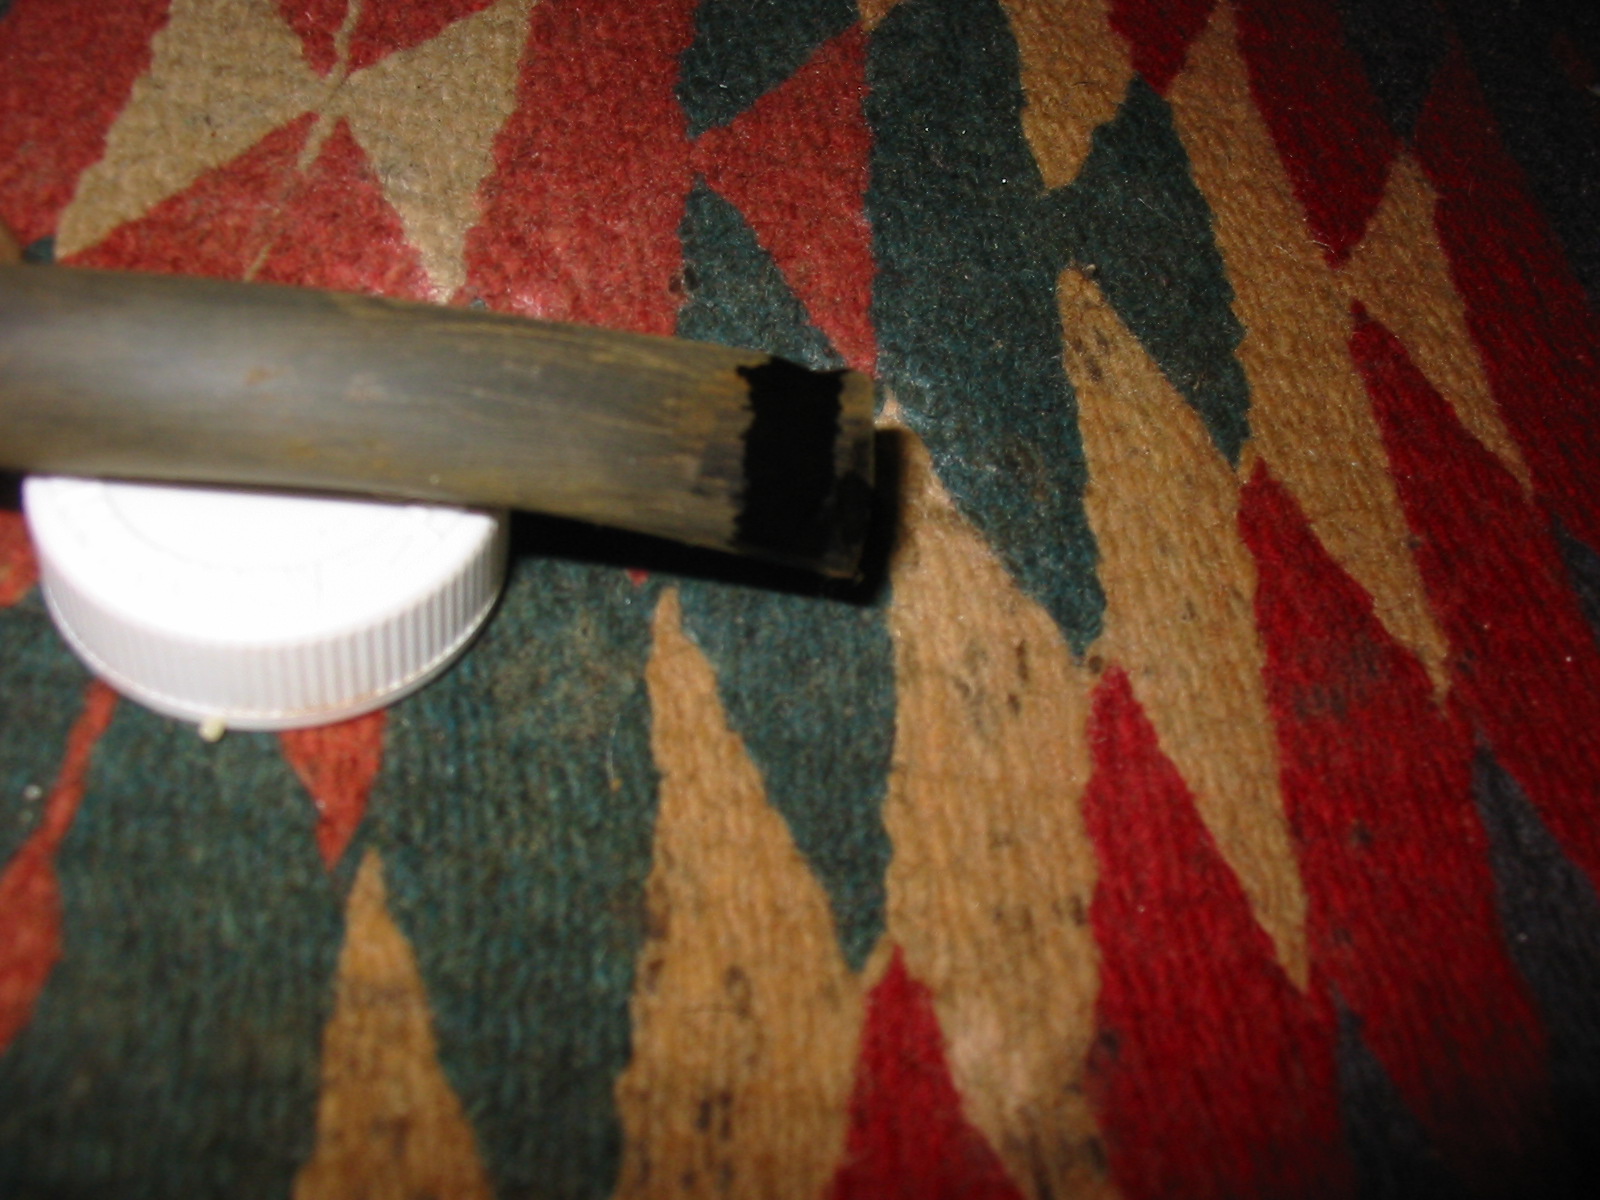
I cut the new button with needle files and shaped the end of the stem to have a better flow and taper to the new button. This involved removing some of the thickness of the stem and making the taper more angled. I used files and sandpaper to reshape the stem.
With the new button cut I sanded the stem and the entire pipe with 220 grit sandpaper to remove the remaining finish and make sure the flow of the stem was correct to the angles of the pipe. I also sanded it with a medium and fine grit sanding sponge to remove scratches in the briar and vulcanite.


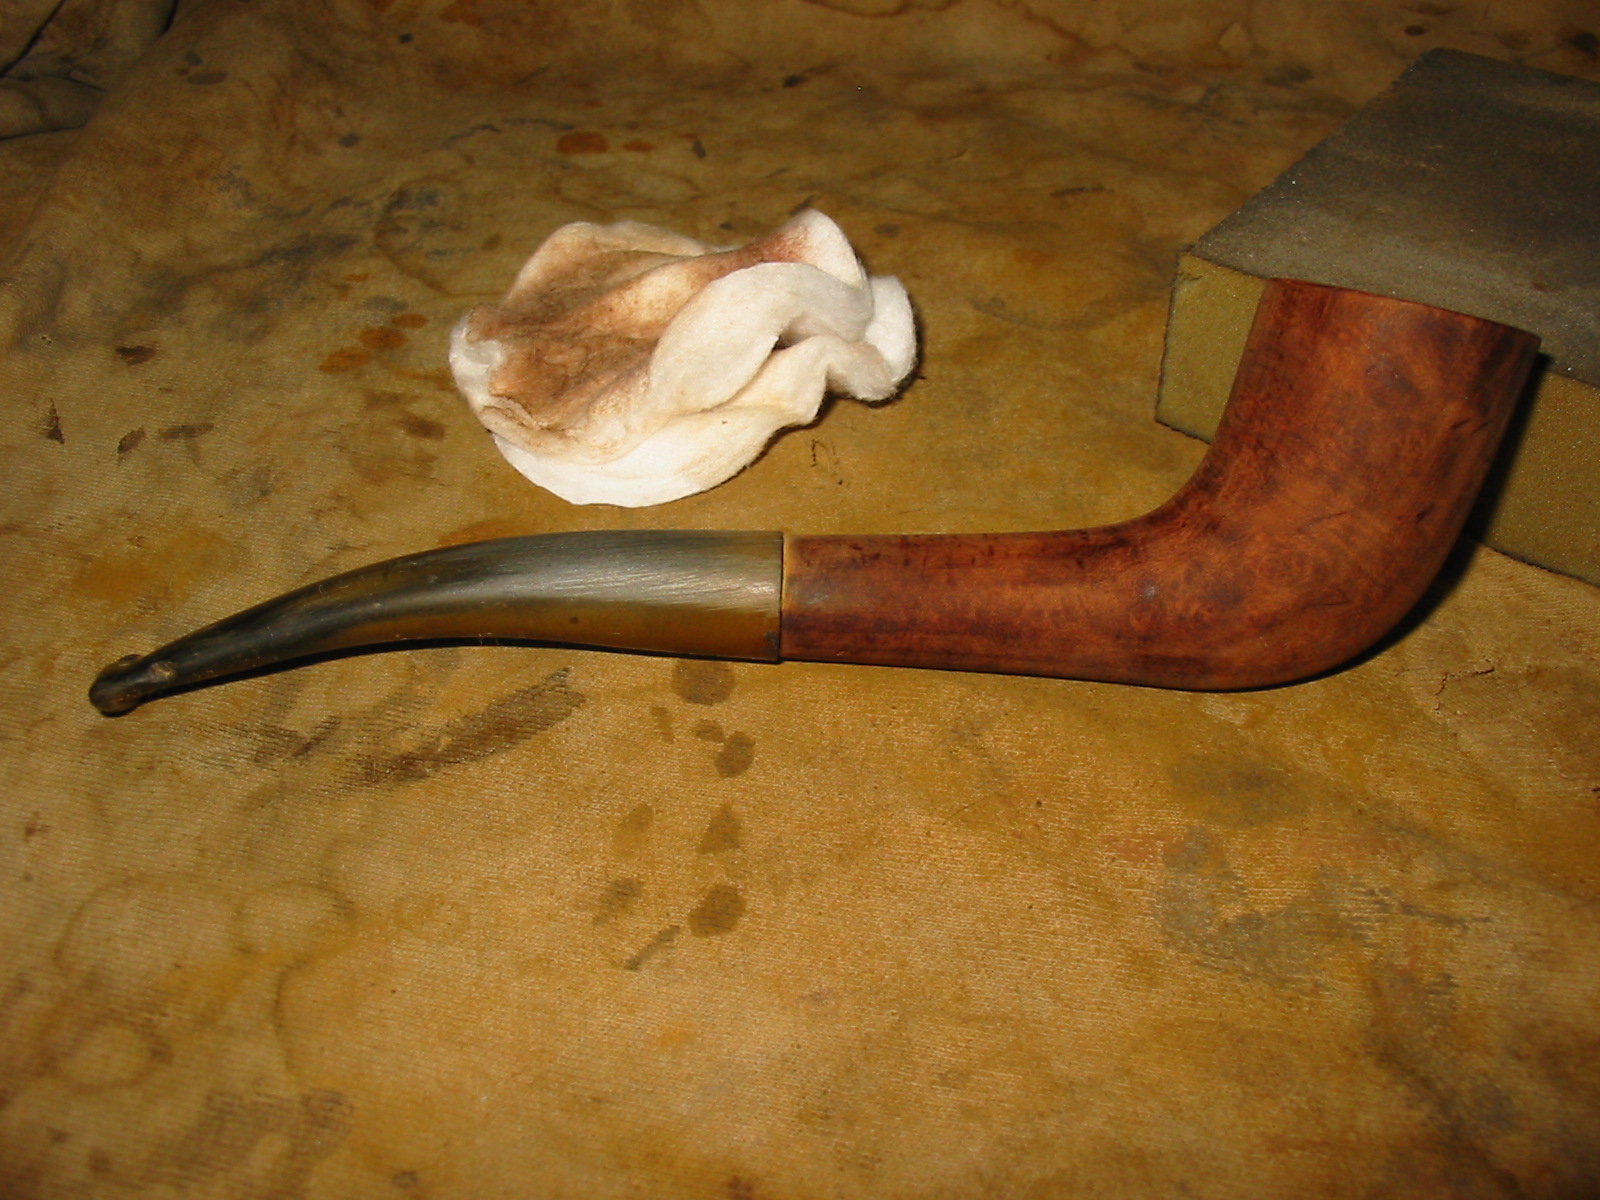
The stain around the stamping on the left side of the shank was very set and stubborn. I lightly sanded it to break through the top coat and then scrubbed it with acetone on cotton pads to match it as much as possible to the unstained briar. I stained the bowl with an oxblood aniline stain, flamed it and restained and reflamed until I had an even coverage on the bowl. I hand buffed it with a soft cloth. I took the pipe to the buffer and buffed the stem and bowl with red Tripoli and White Diamond. The photos below show the pipe after the buffing.
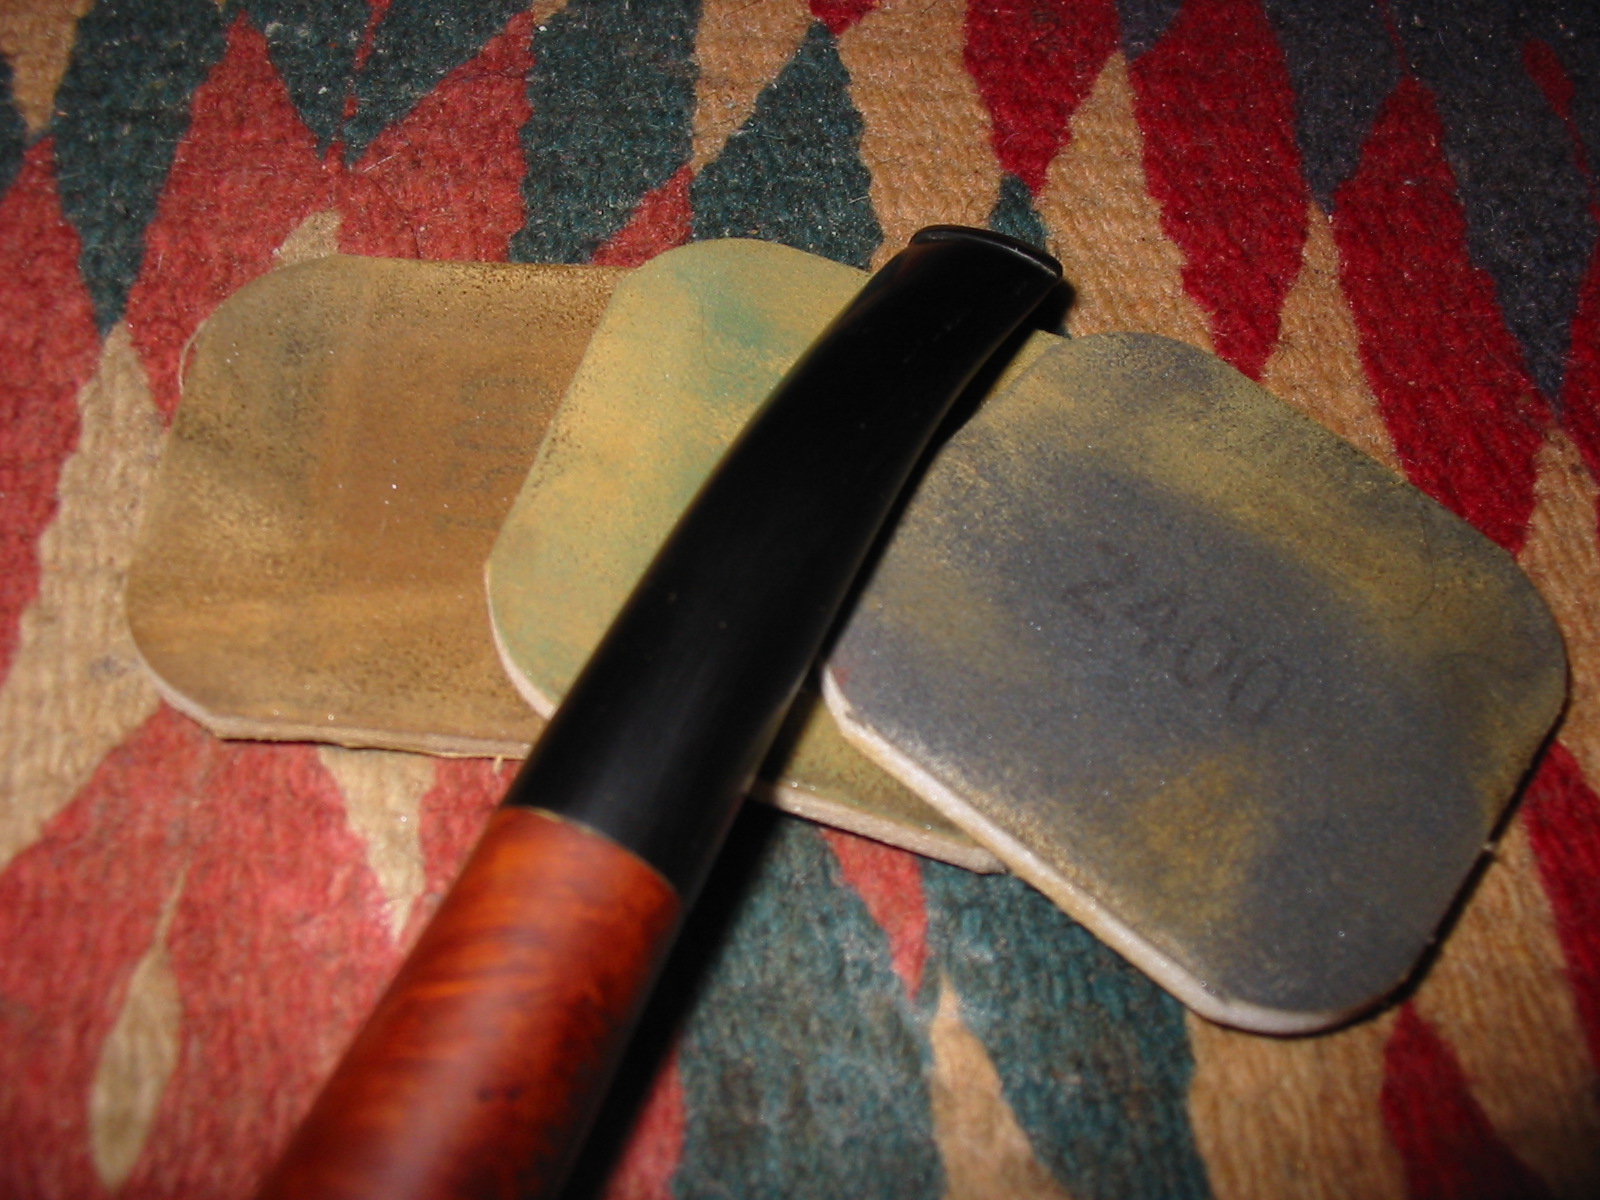
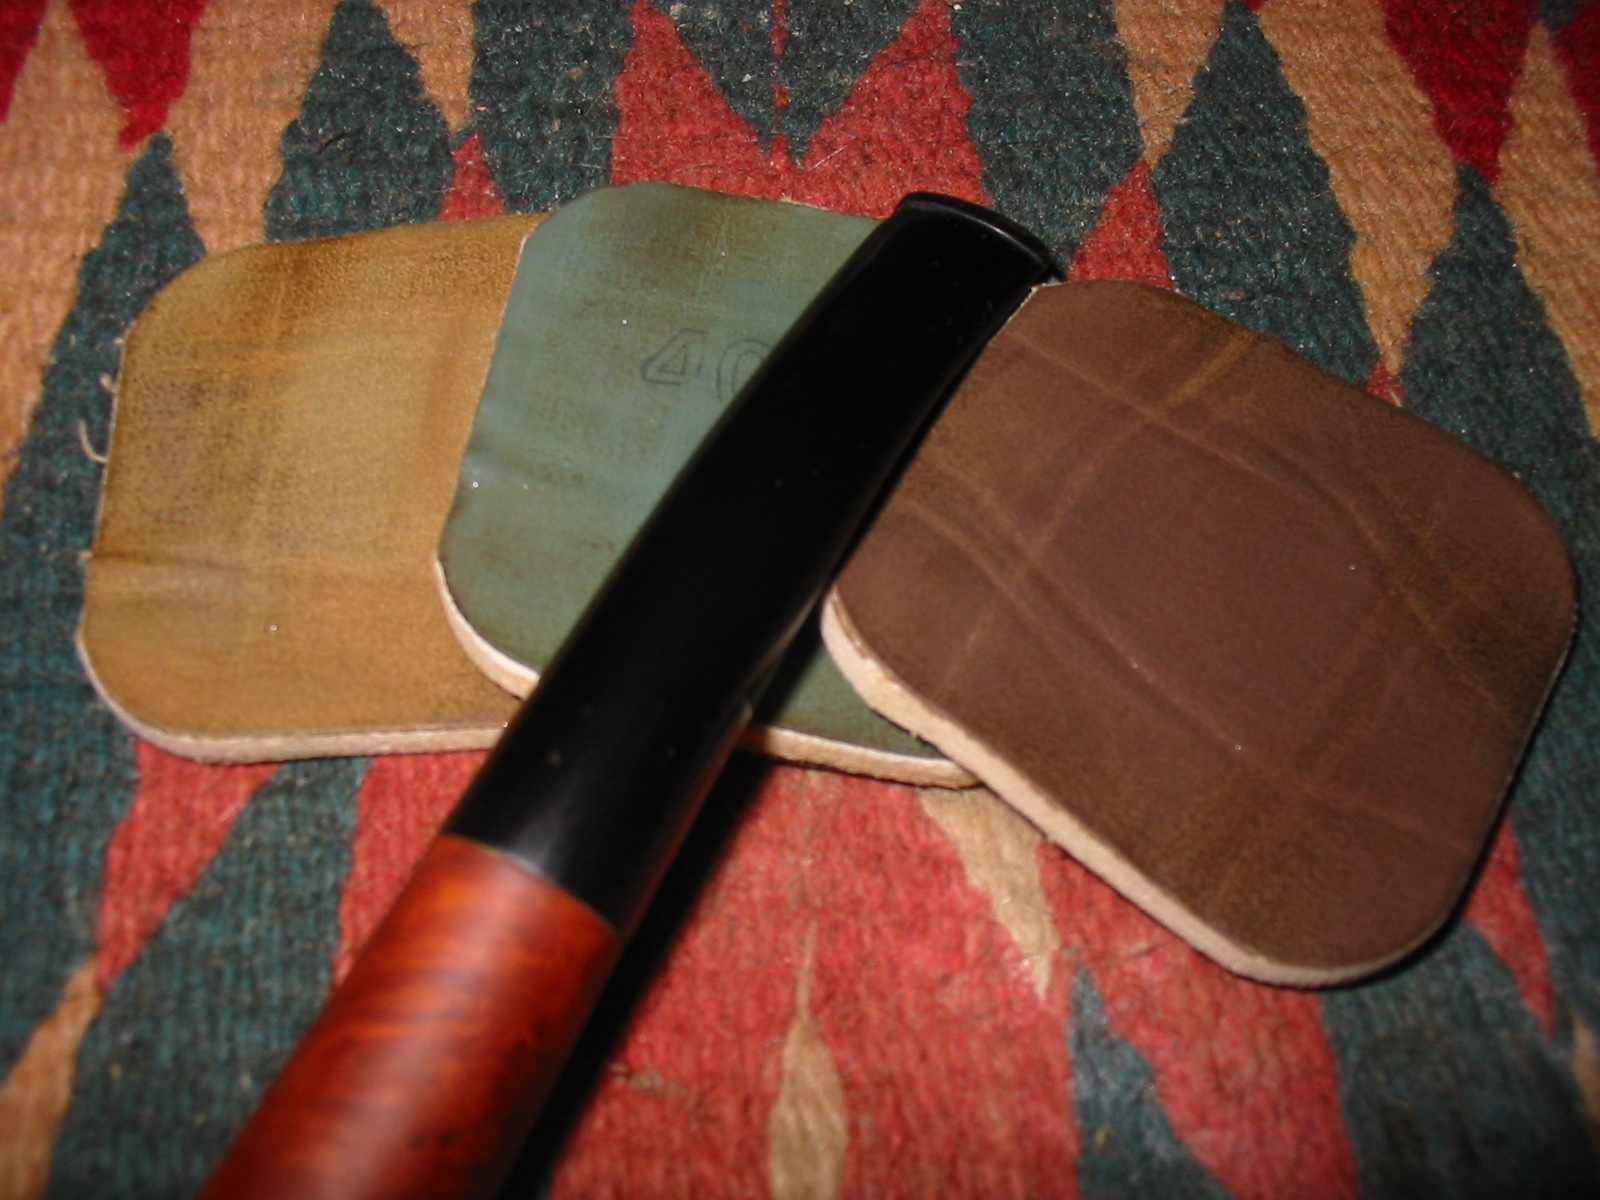
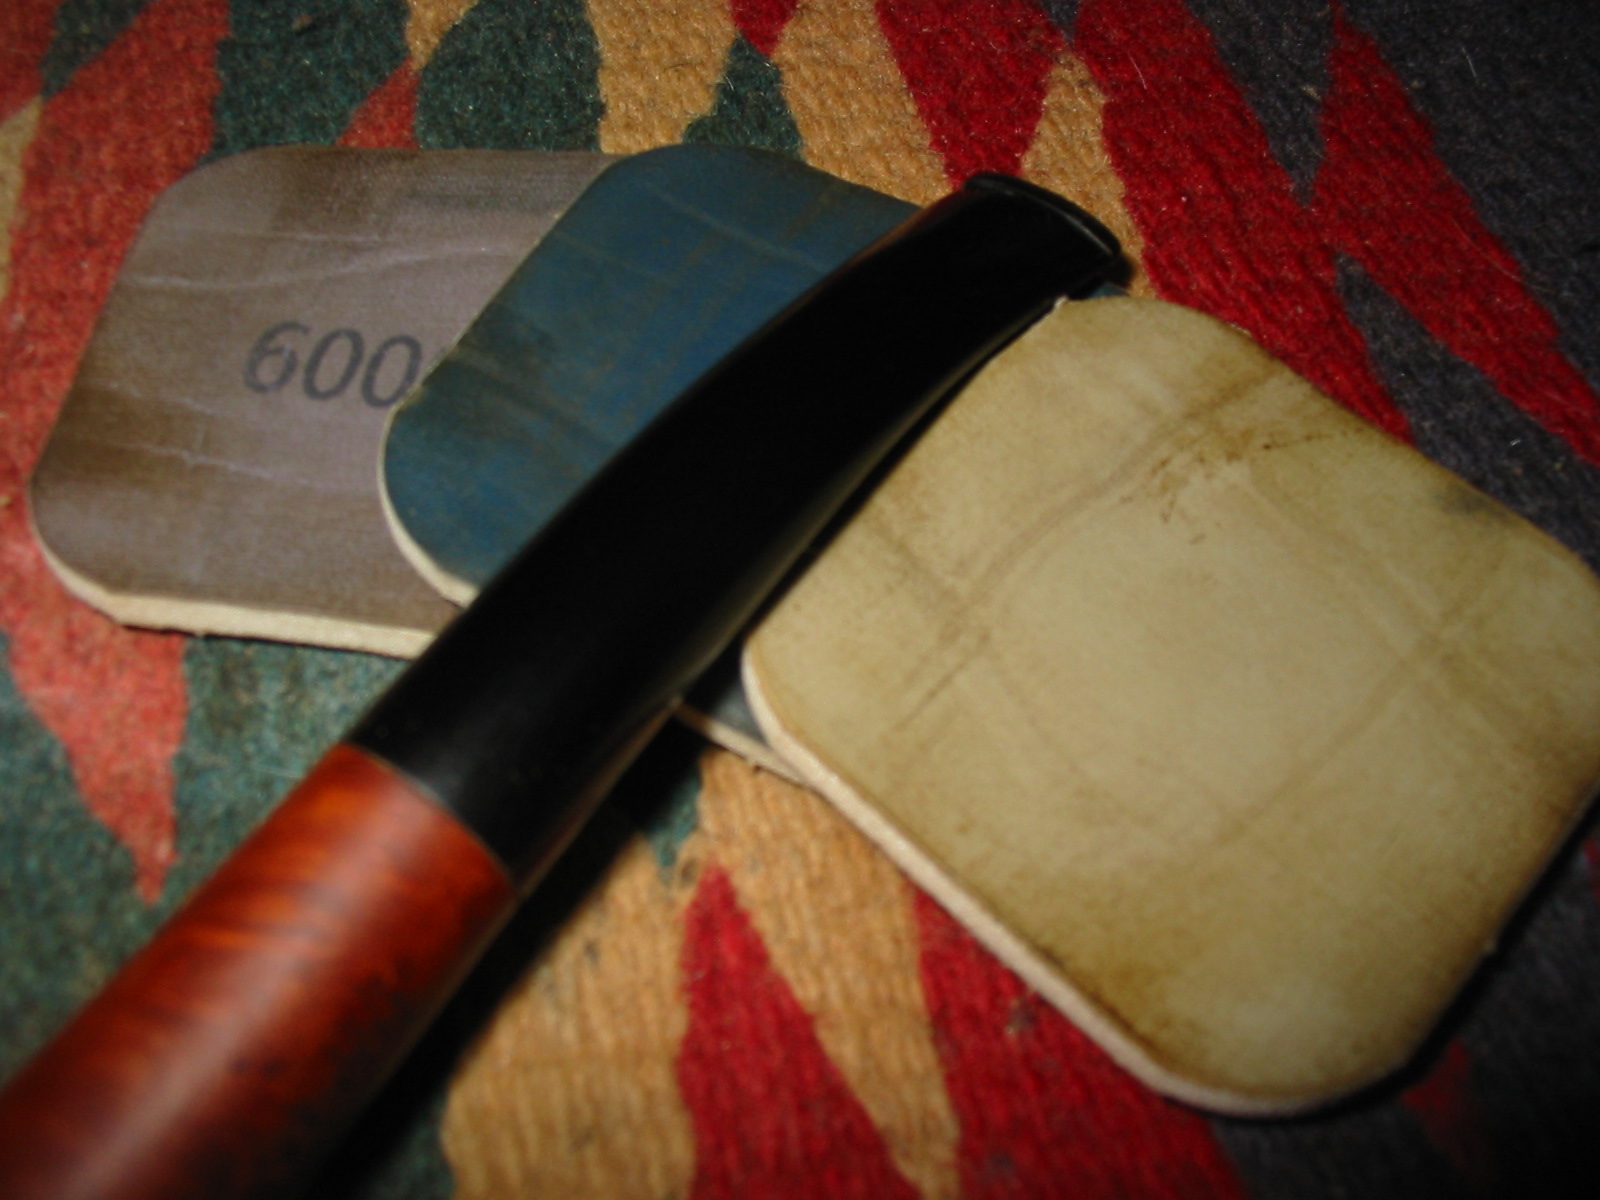
I sanded the stem with my usual array of micromesh sanding pads – wet sanding with 1500-2400 grit pads and dry sanding with 3200-12,000 grit pads. I rubbed the stem down with Obsidian Oil and when it dried hand buffed the stem.
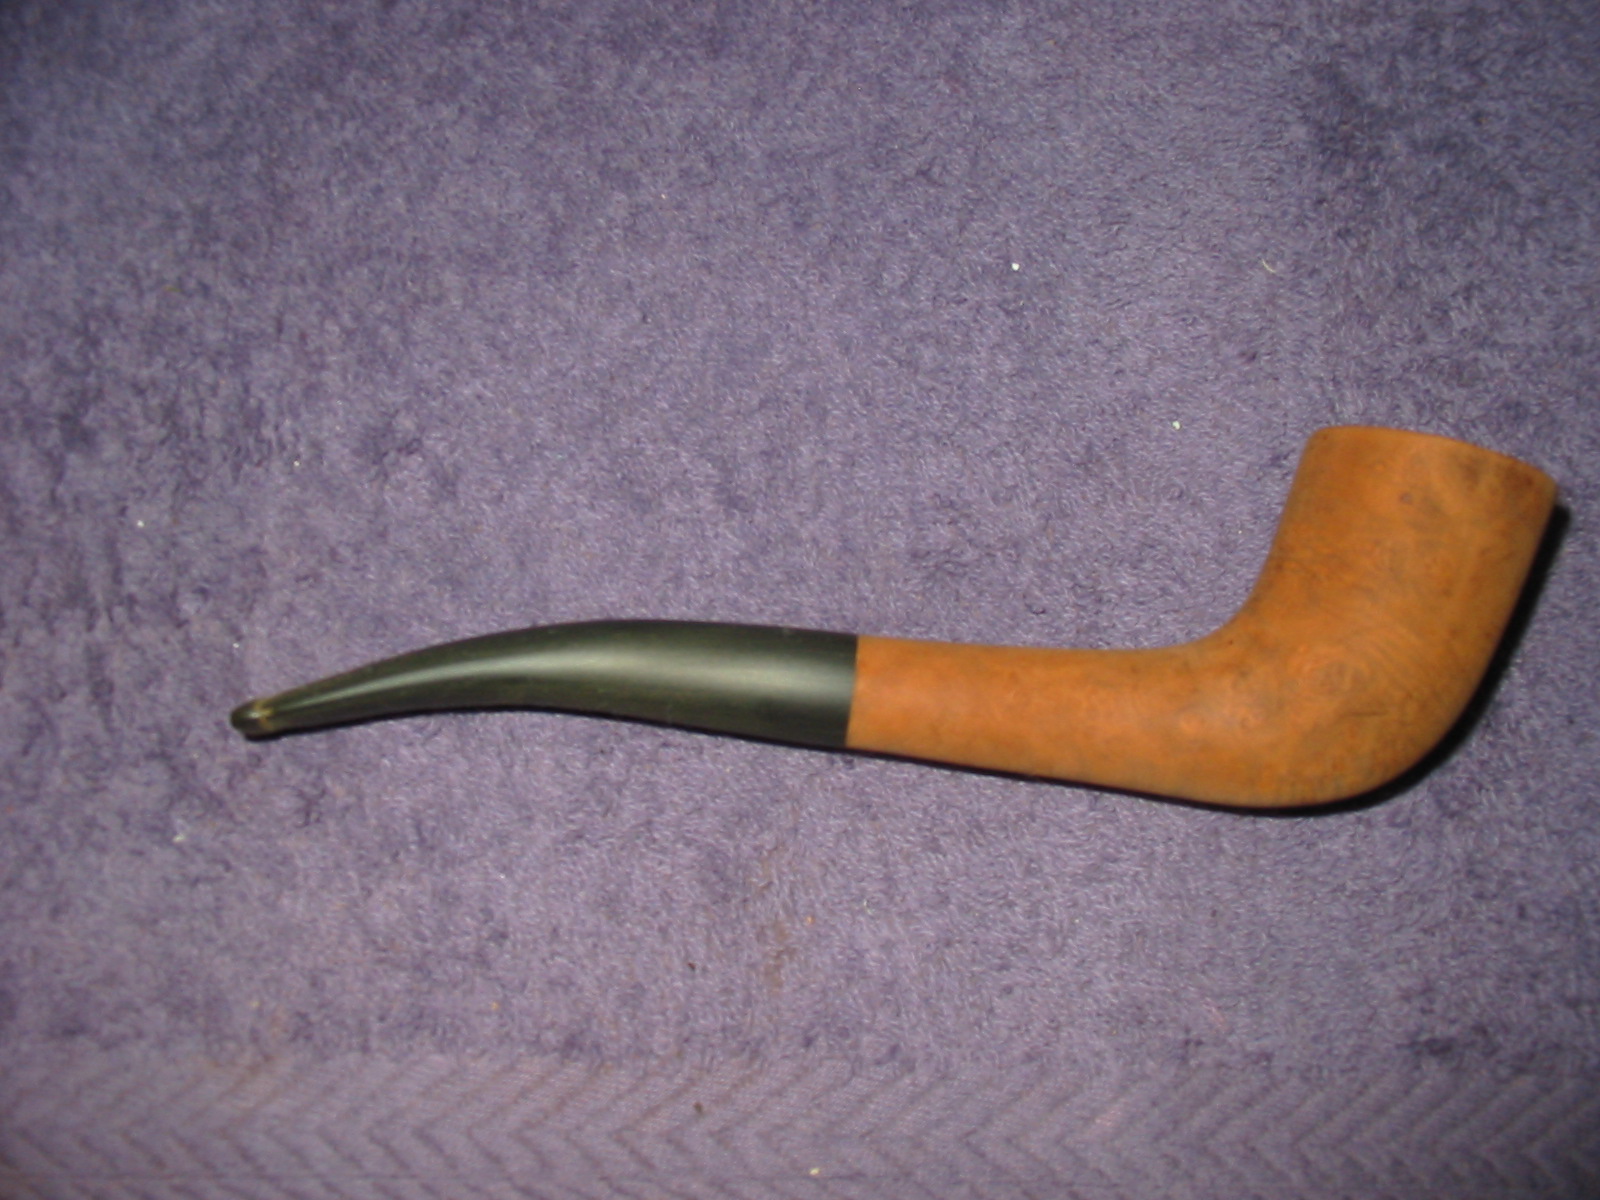
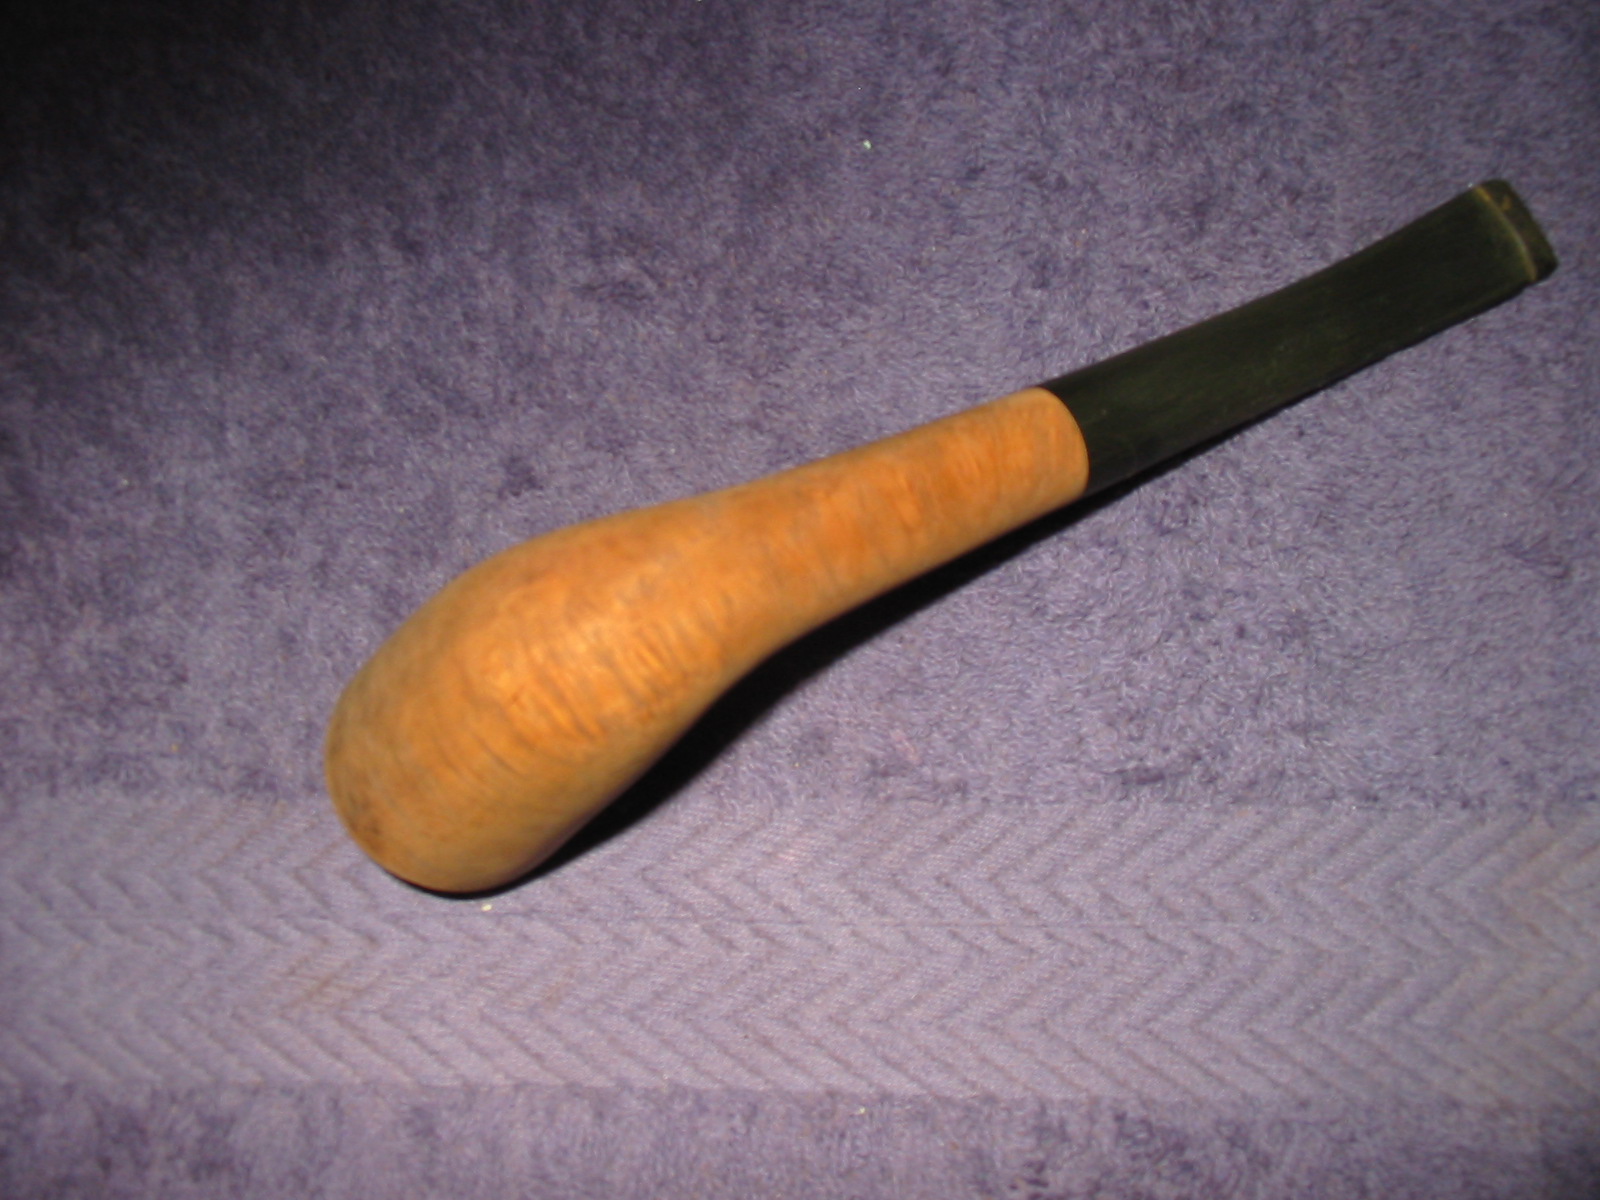
I buffed the pipe with White Diamond and then gave it multiple coats of carnauba wax. I finished by buffing it with a clean soft flannel buffing pad. The finished pipe is pictured below. It is ready to go into service again. I like the flow of the lines on this pipe. The shape and matte like finish work well together.
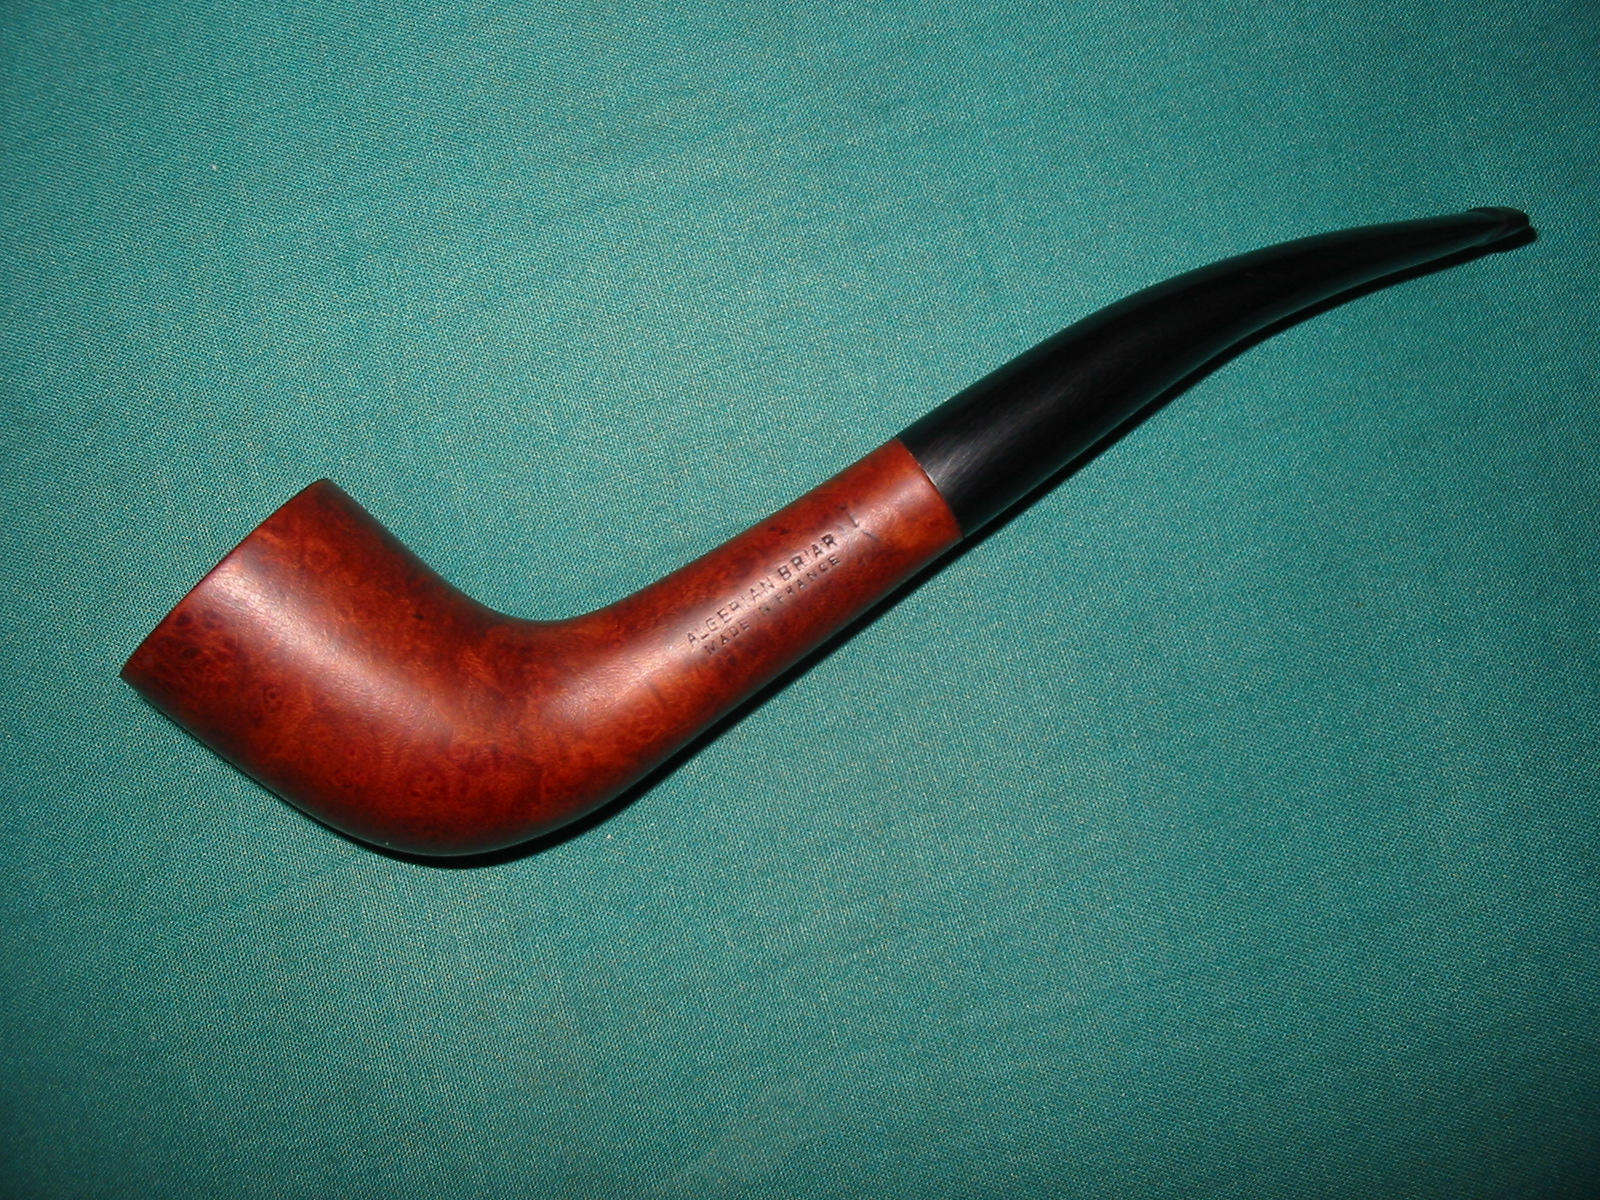


The final outcome on this one is “spot on”. In my opinion the stem length looks better now than before cutting the new button. The stain came out great….matched the area of the shank around the stamping perfectly. Thanks for sharing your techniques with us.
LikeLike
Nice return, love the new button!
LikeLike
Nice work, plenty of meat to work with there. I cut off the button of my recent Comoys Sandblast, but it was drilled poorly and the upper stem is just wafer thin. There is no room to cut a new button.
LikeLike
Al, why not try to build up the thin stem with super glue?
LikeLike
That is a possibility. Someone (Walker?) does a drilled, 3 pc Comoys stem relatively inexpensively. I might pop for that. I’m letting it set for a few days. I tried filling the hole with super-glue and promptly glued my file and plastic insert covering the hole to the the inside of the stem. The button broke in pieces removing it….
LikeLike
Been there, done that! Make sure you coat the plastic insert with vaseline.
LikeLike
I used some grease, but apparently not enough…
LikeLike
“I like the flow of the lines on this pipe. The shape and matte like finish work well together.”
Agreed, it is a lovely pipe, sympathetically restored.
LikeLike