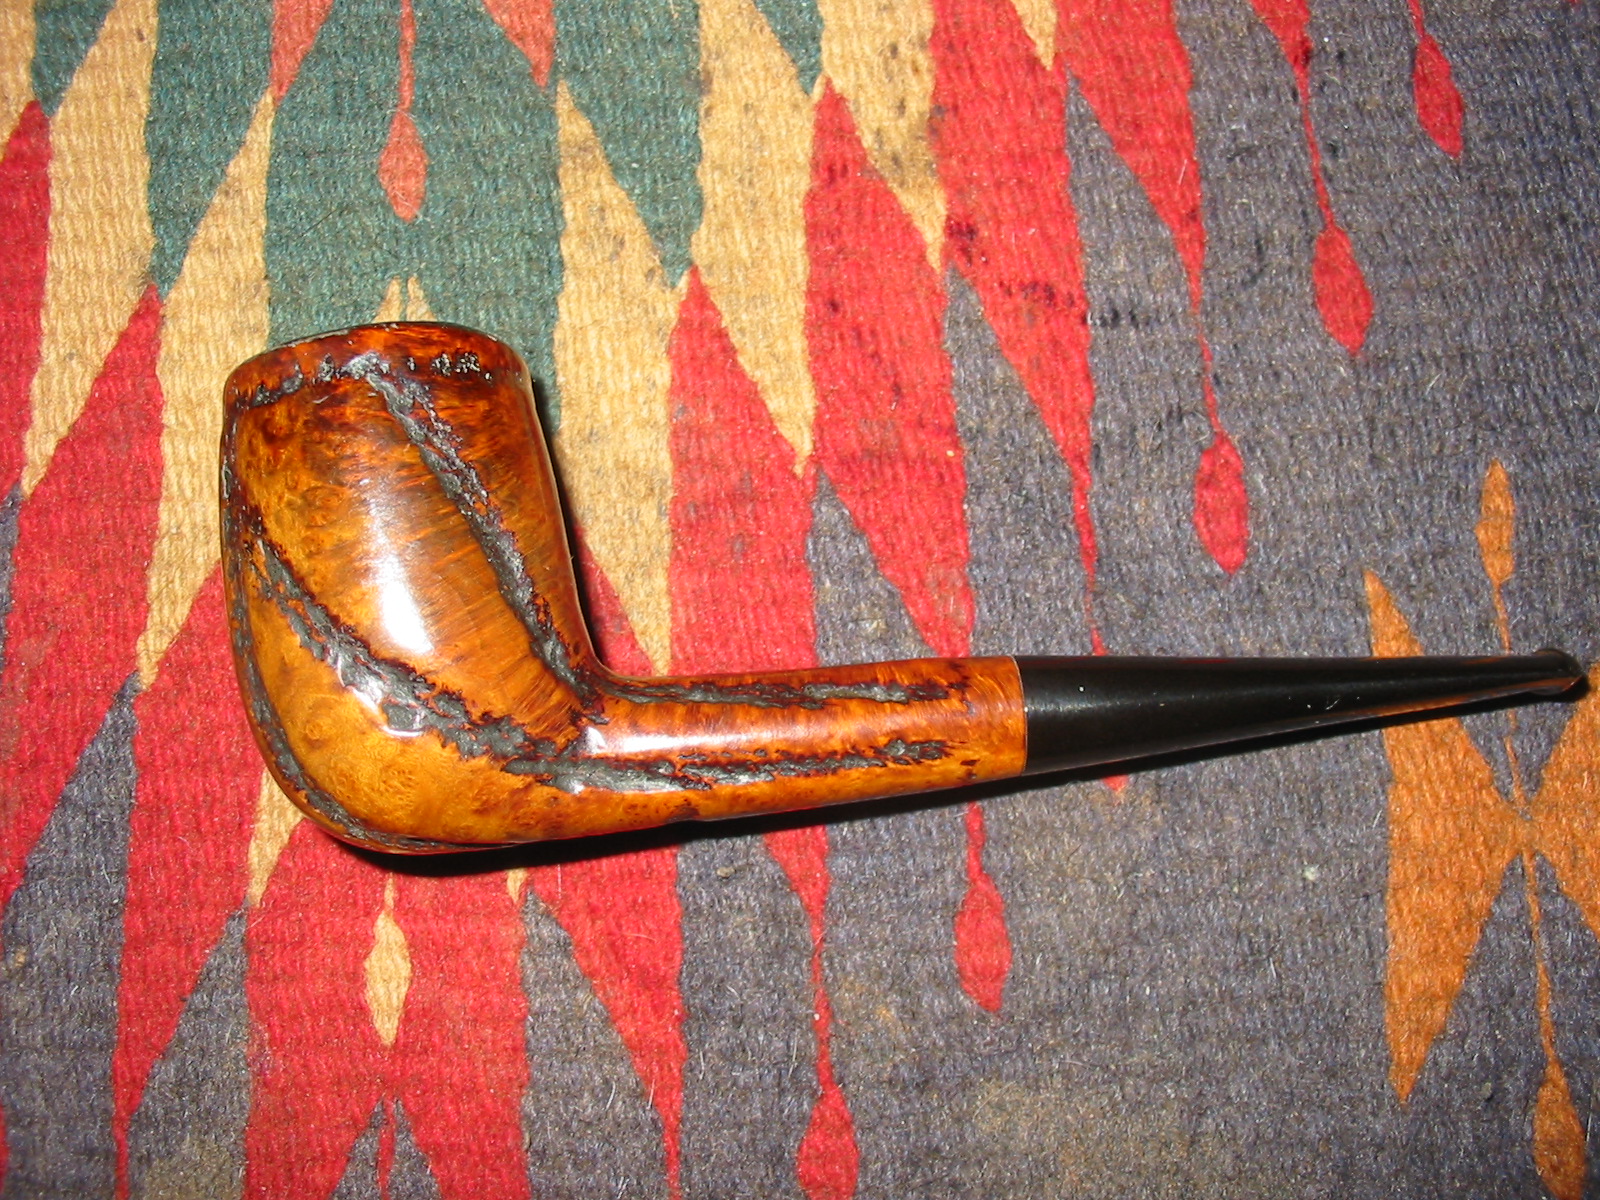
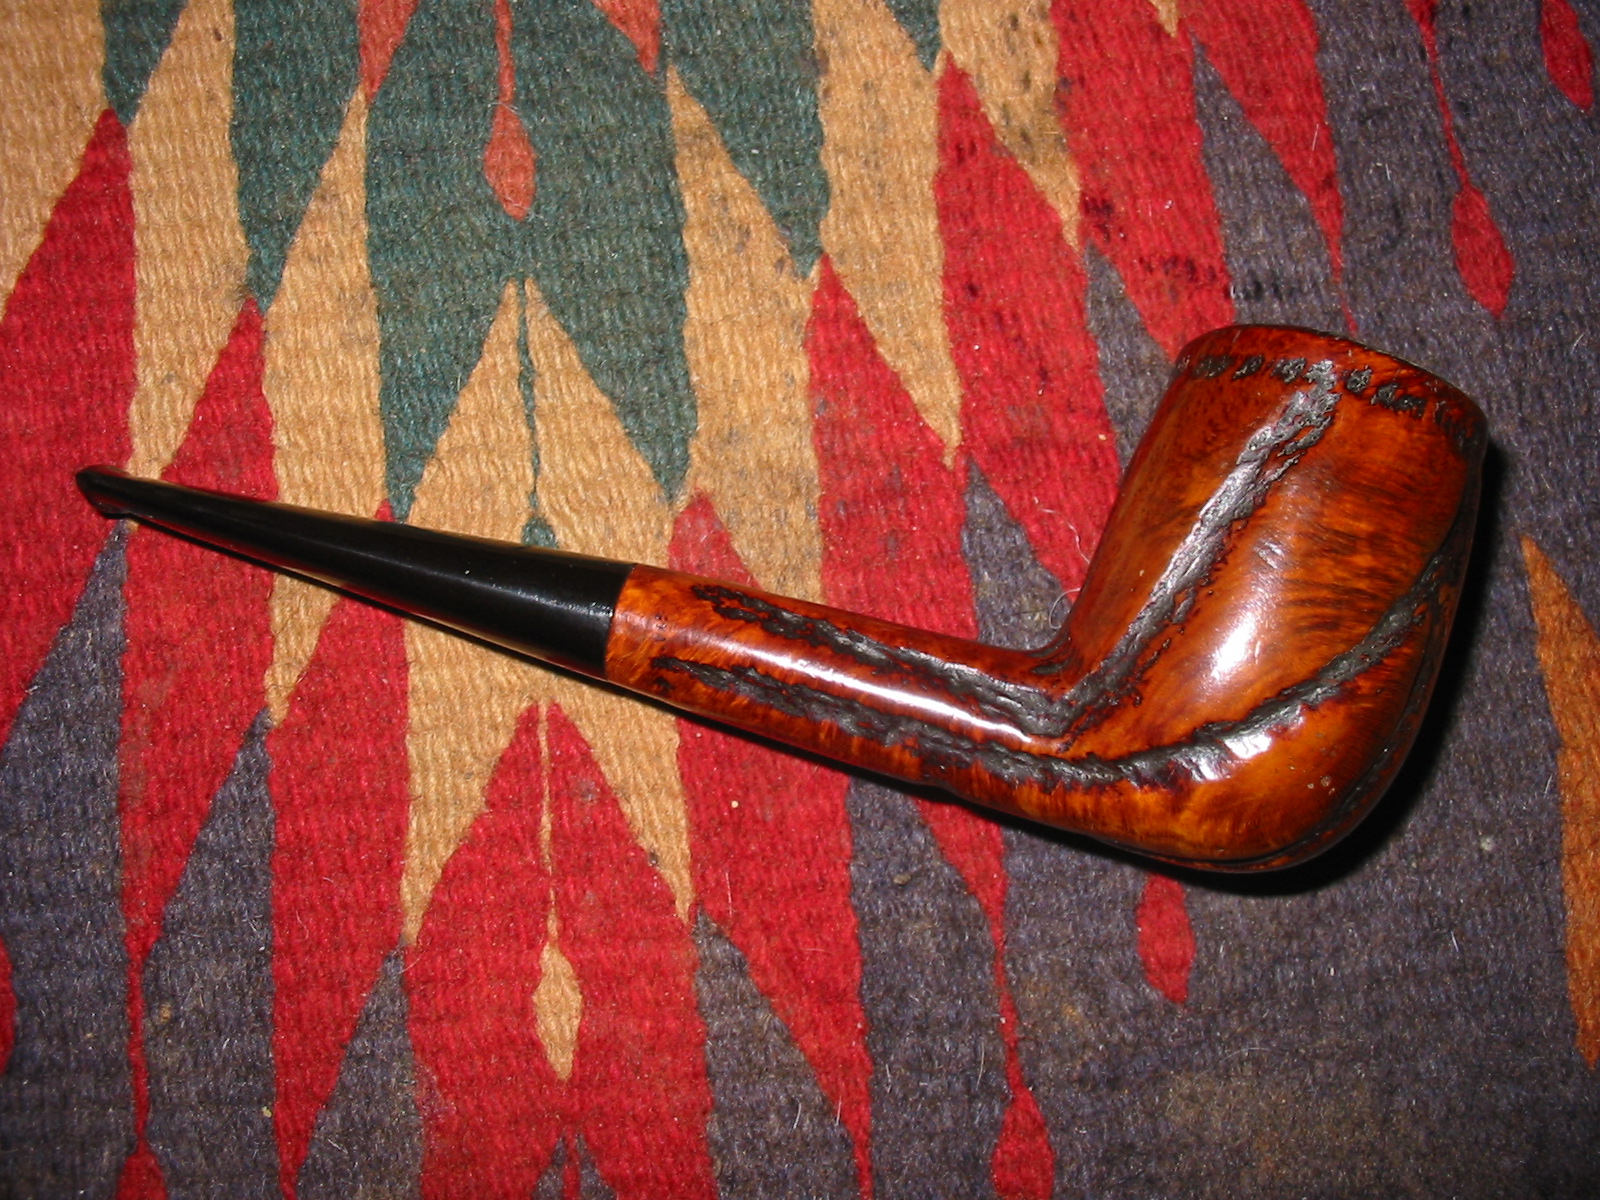
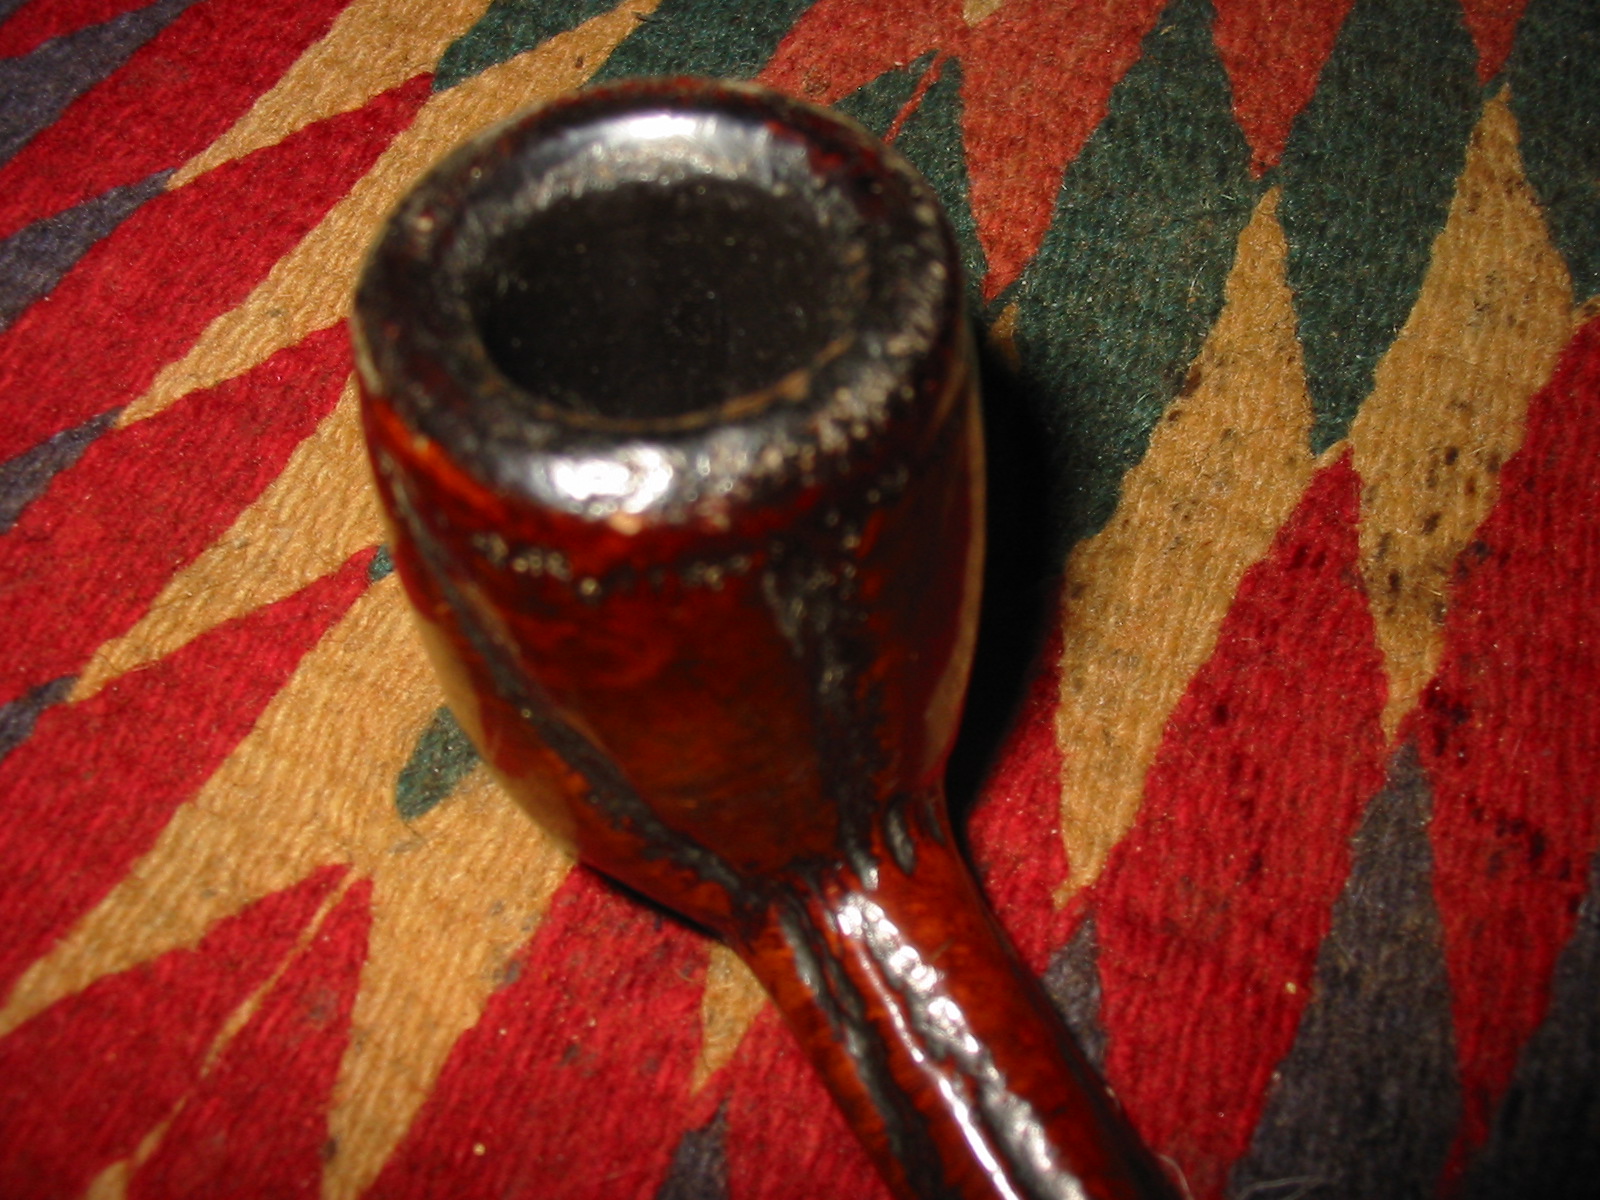
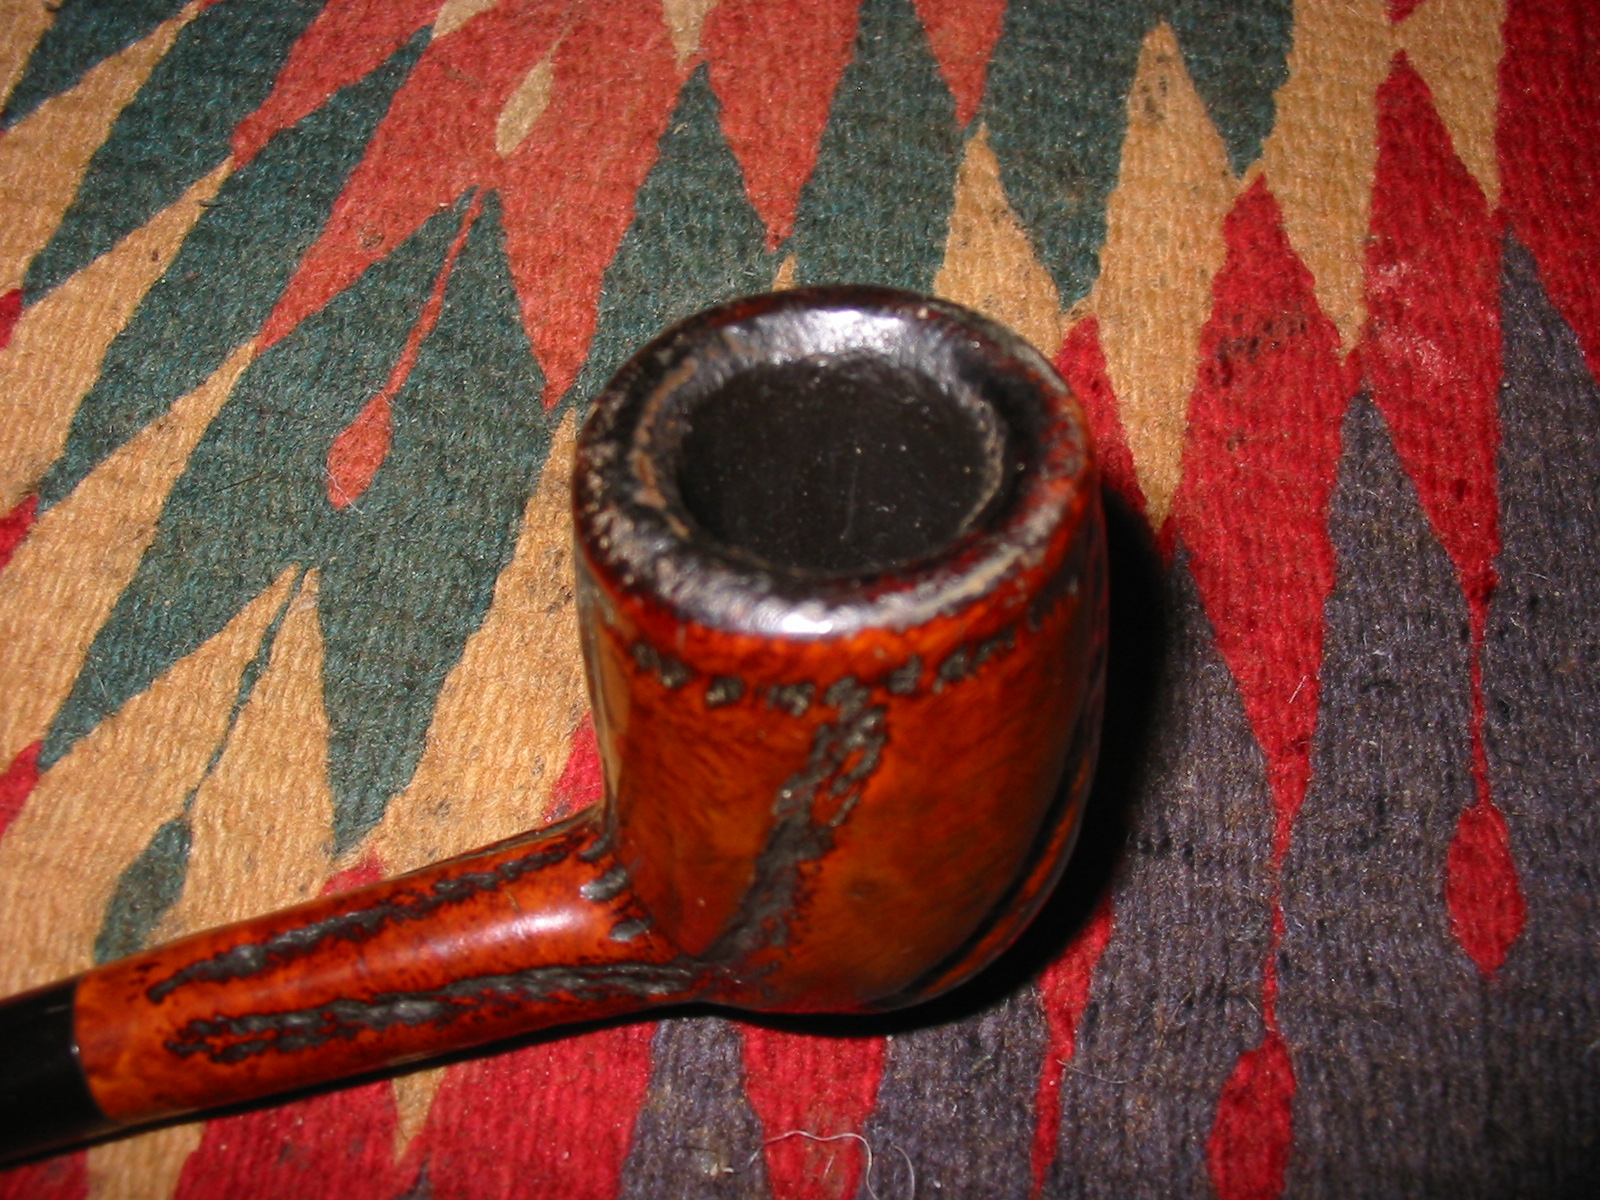
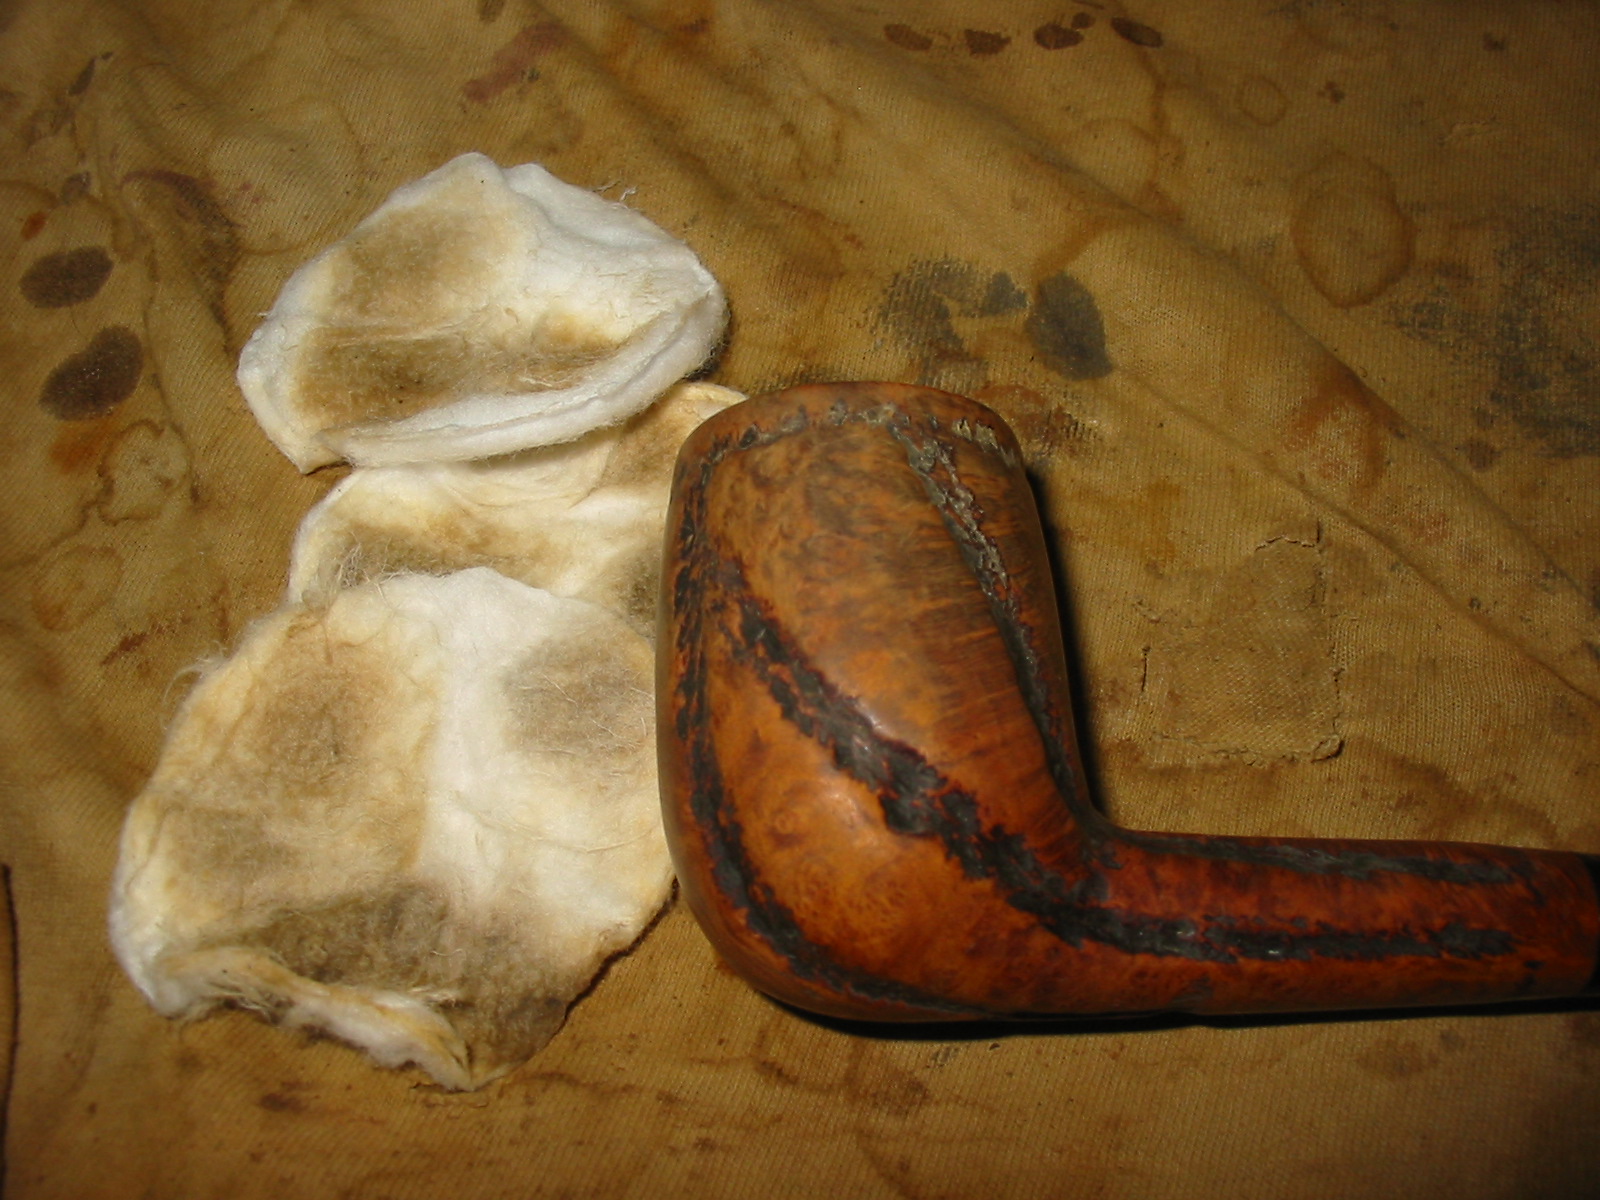
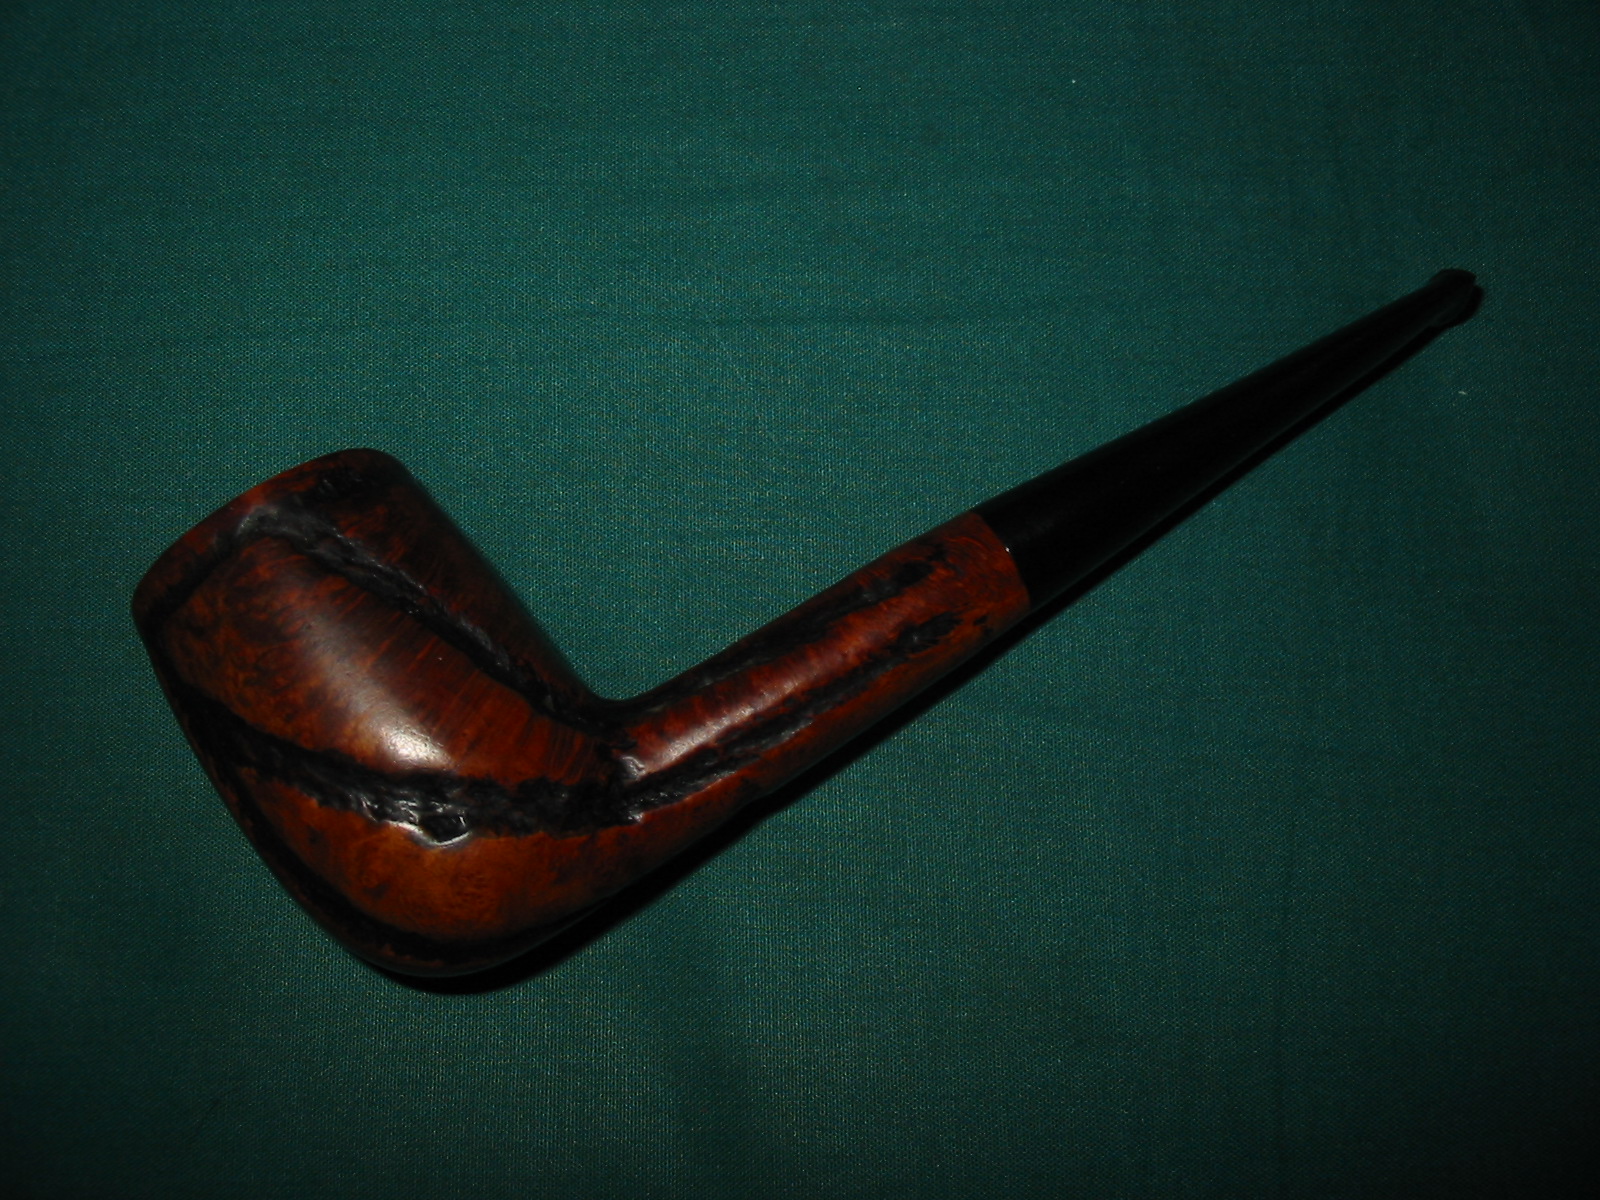
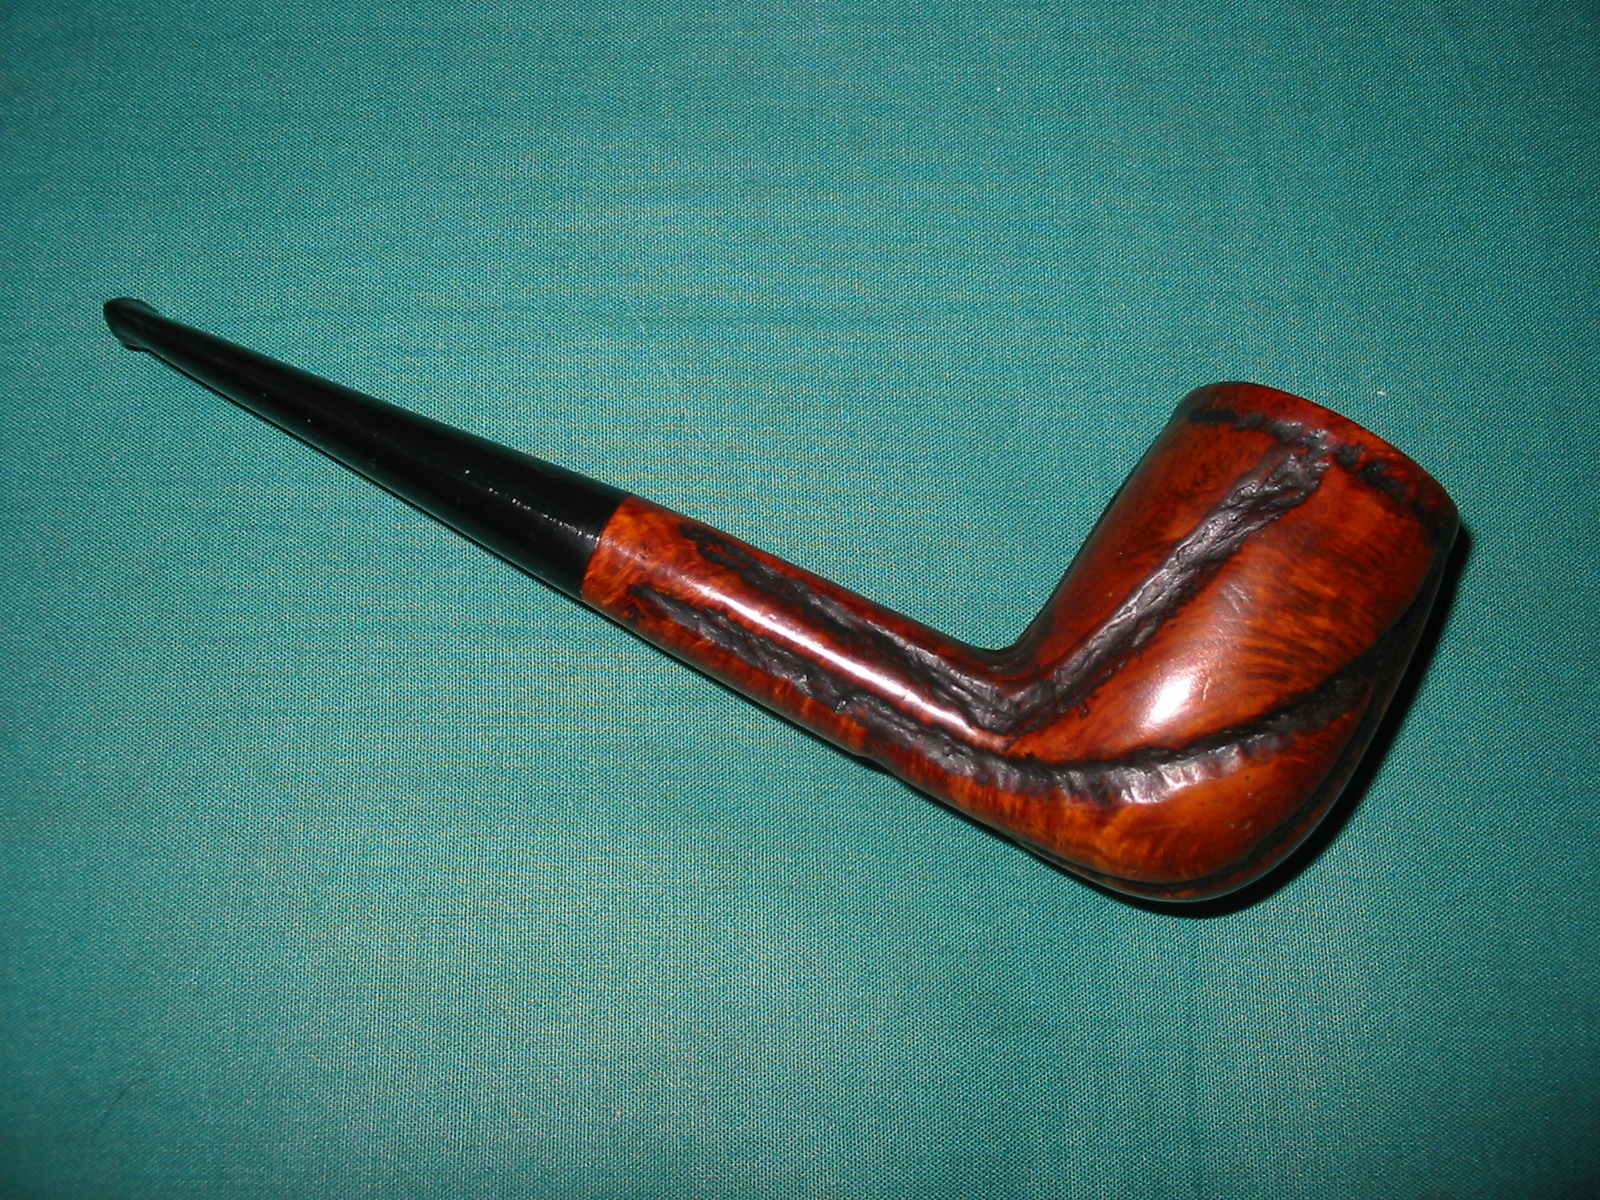
There are a few of the pipes in the Vancouver Pipe Club lot that just don’t do anything for me. One of them was this large billiard – no name. There are several others in the lot that have the same finish and bear the stamping of Partner. It has some nice wedges of smooth grained briar in between the rustication pattern on the bowl. That pattern is what really does not work for me – I call the pattern worm trails because that is what they look like to me. This old pipe has been restemmed somewhere along the way and the person who did the work sanded the shank down to fit the stem – one of my pet peeves! I think there is little that is more irritating in my work of restoration than working on pipes that have been “butchered” to make a stem fit. Why not hack the stem to fit the shank instead of the shank to fit the stem? Hmmm. I will never understand that really. But that is irreparable. The bowl itself had the standard coat of varnish over the bowl and rim – even over the buildup on the rim. The rim was a mess, lots of damage to the outer edge of the bowl and to the top and the bevel in the bowl.

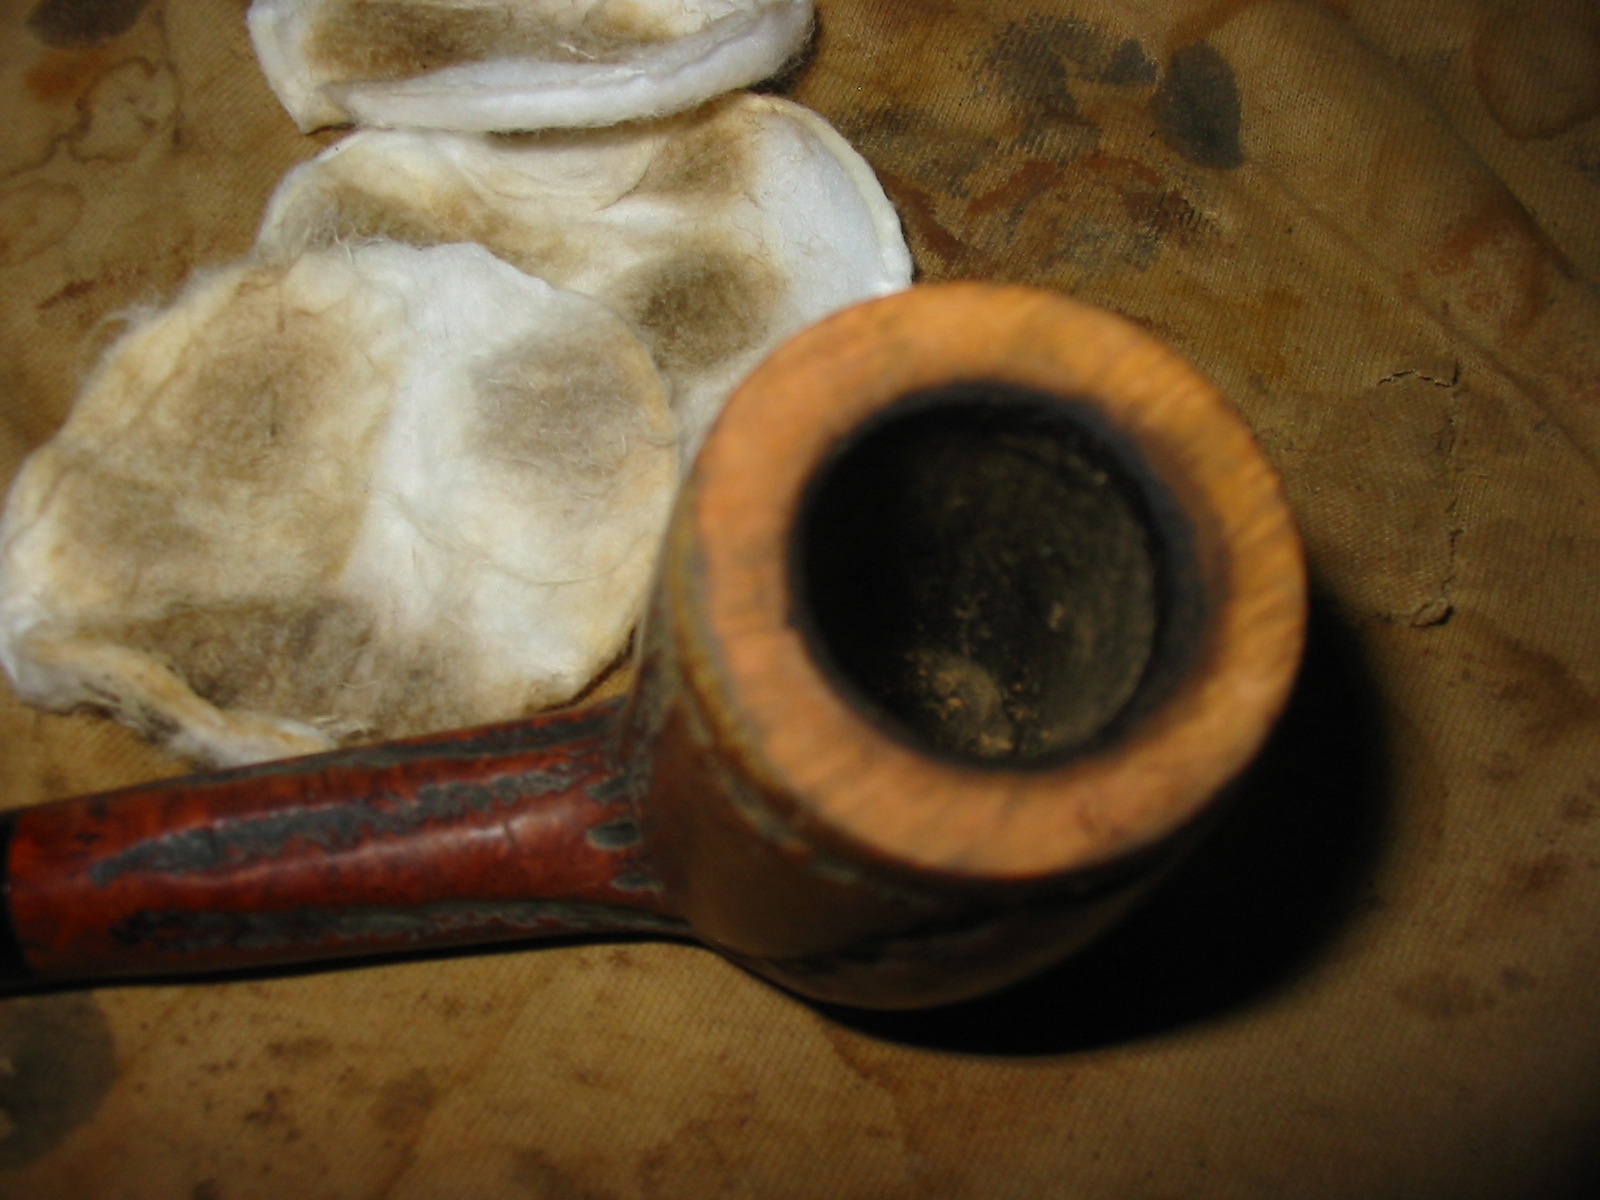
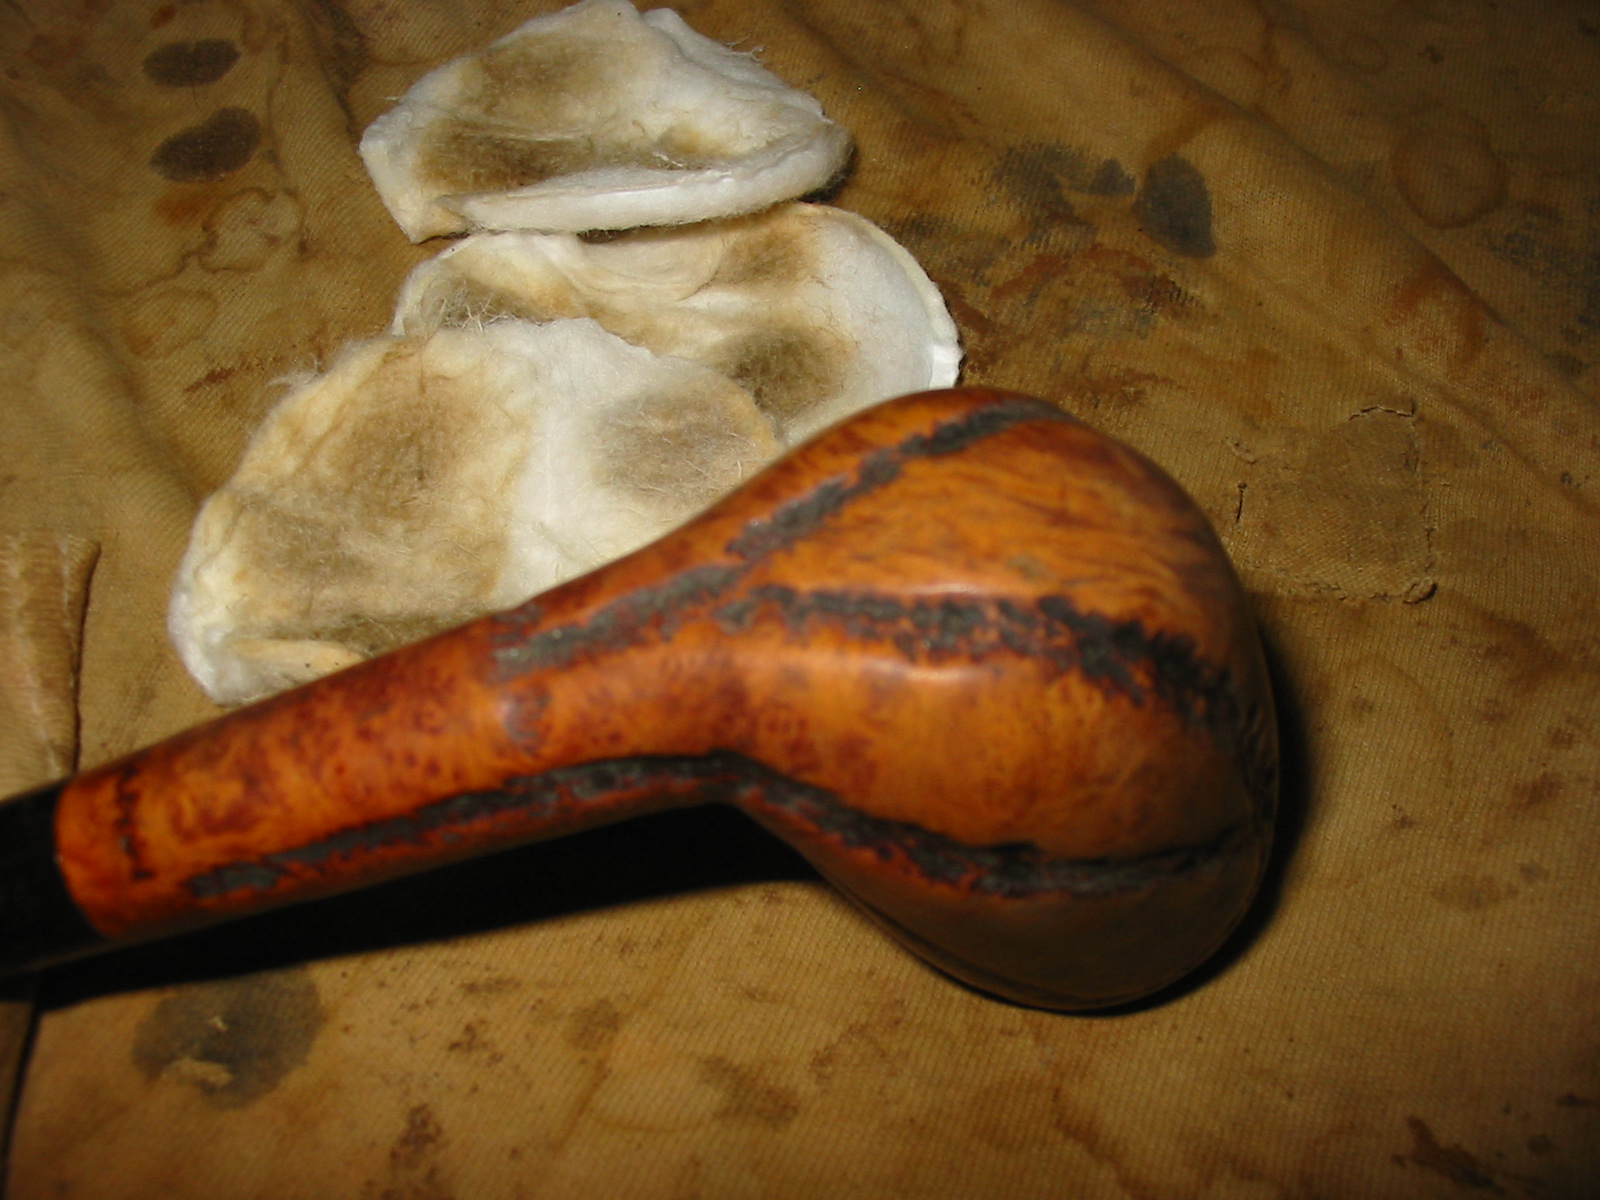
I took several close-up photos of the damage to the rim to give a general idea of what I was starting with on this old pipe.
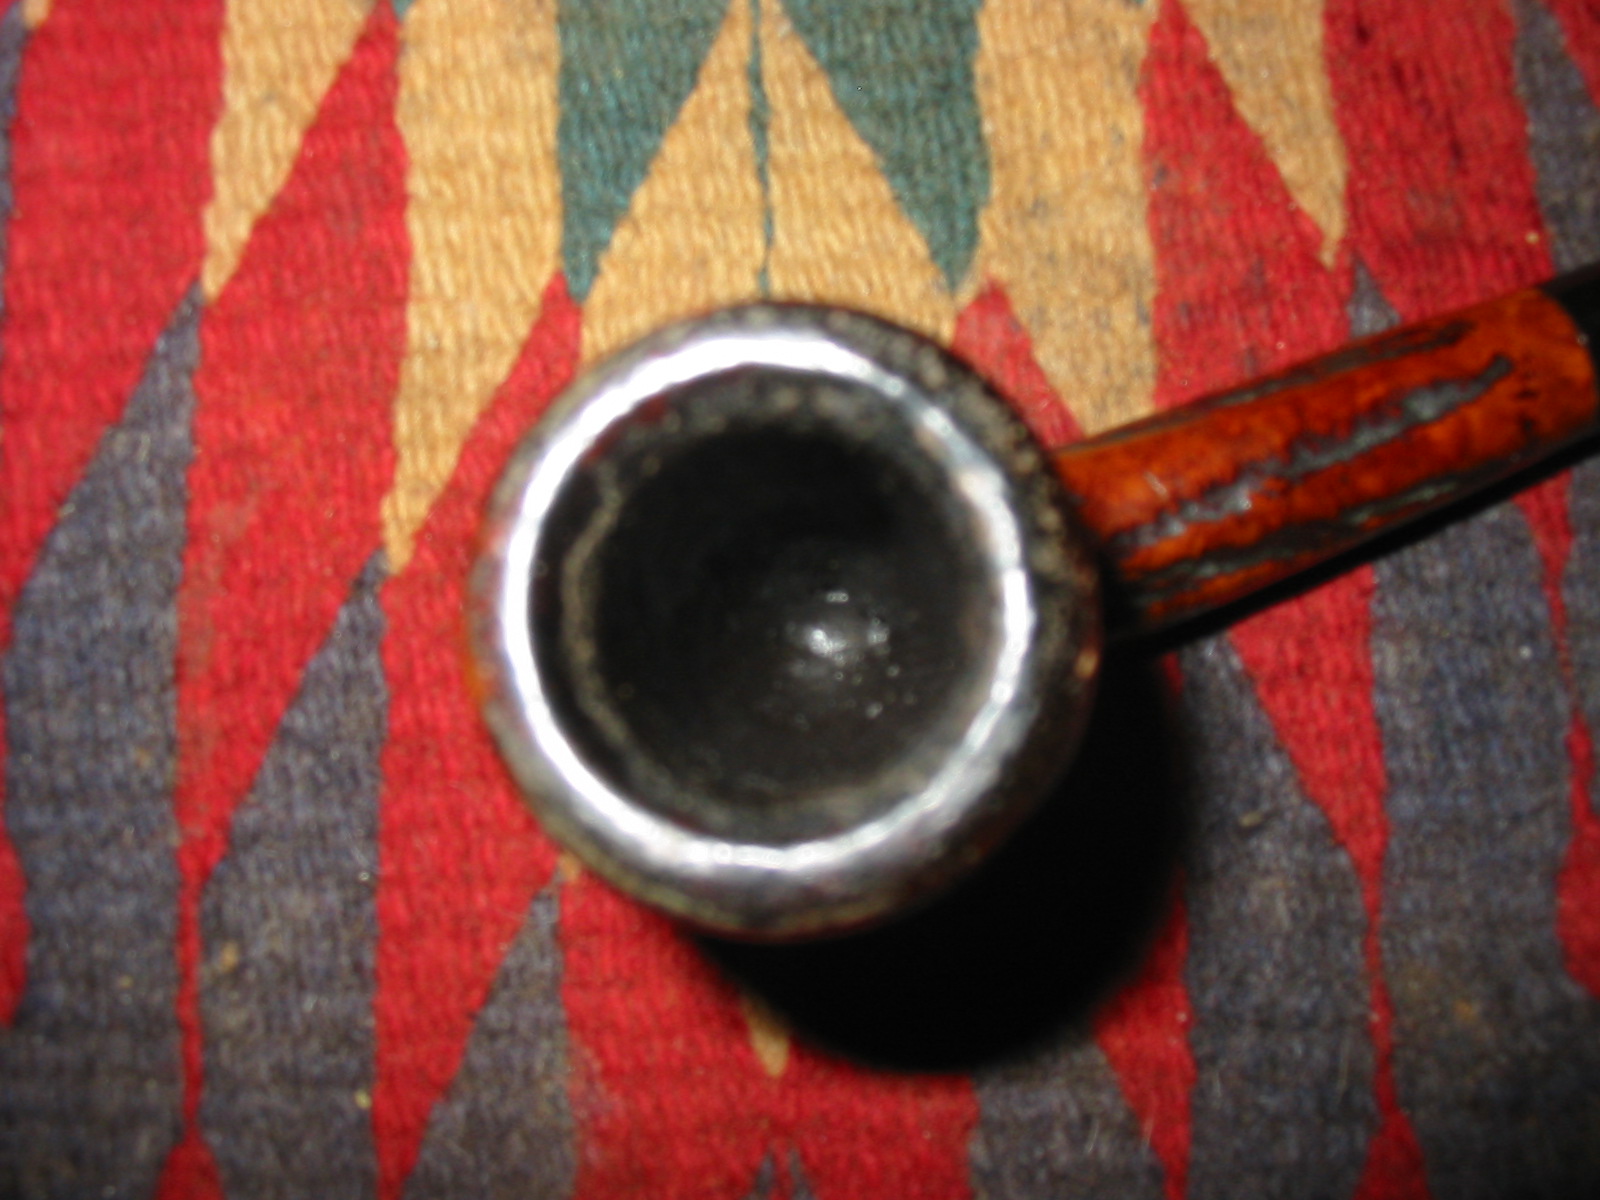
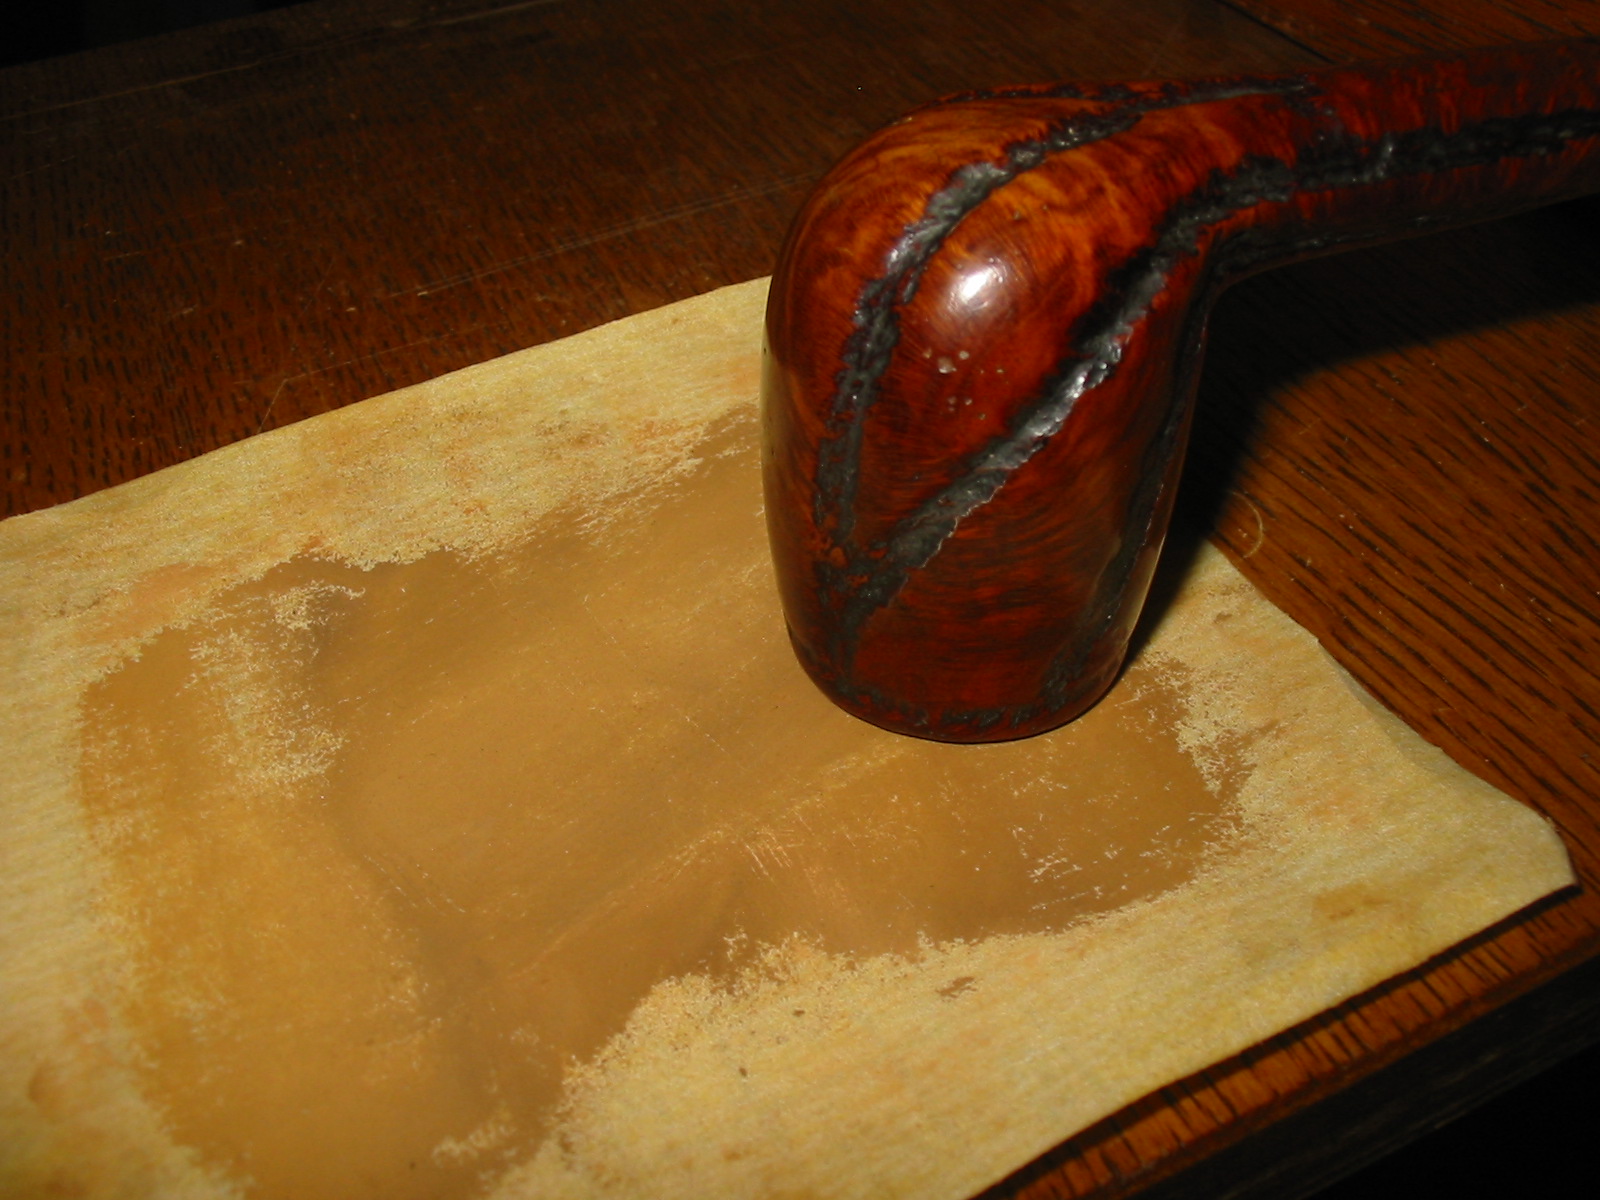
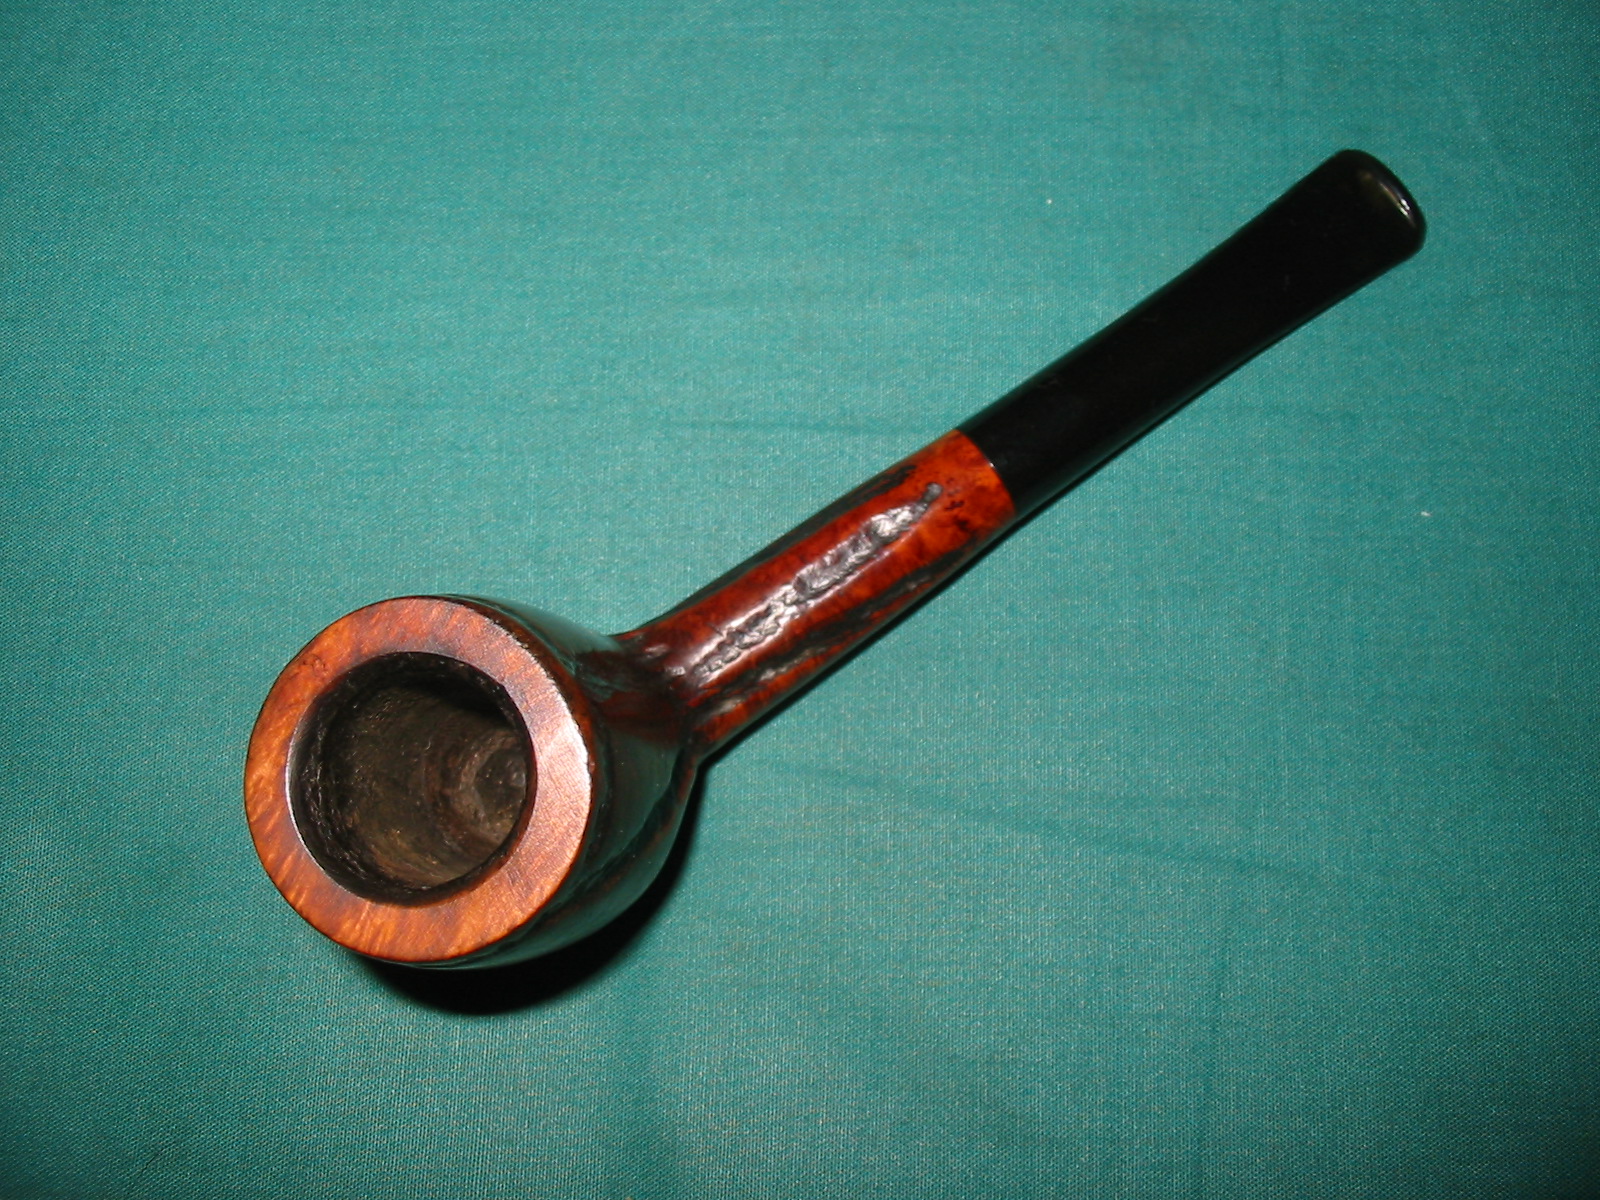
I topped the bowl with my sandpaper and board setup. I sanded until the top was flat and the majority of the damage was minized. I also evened out the bevel on the inner edge of the rim with folded sandpaper to match all the way around the bowl.

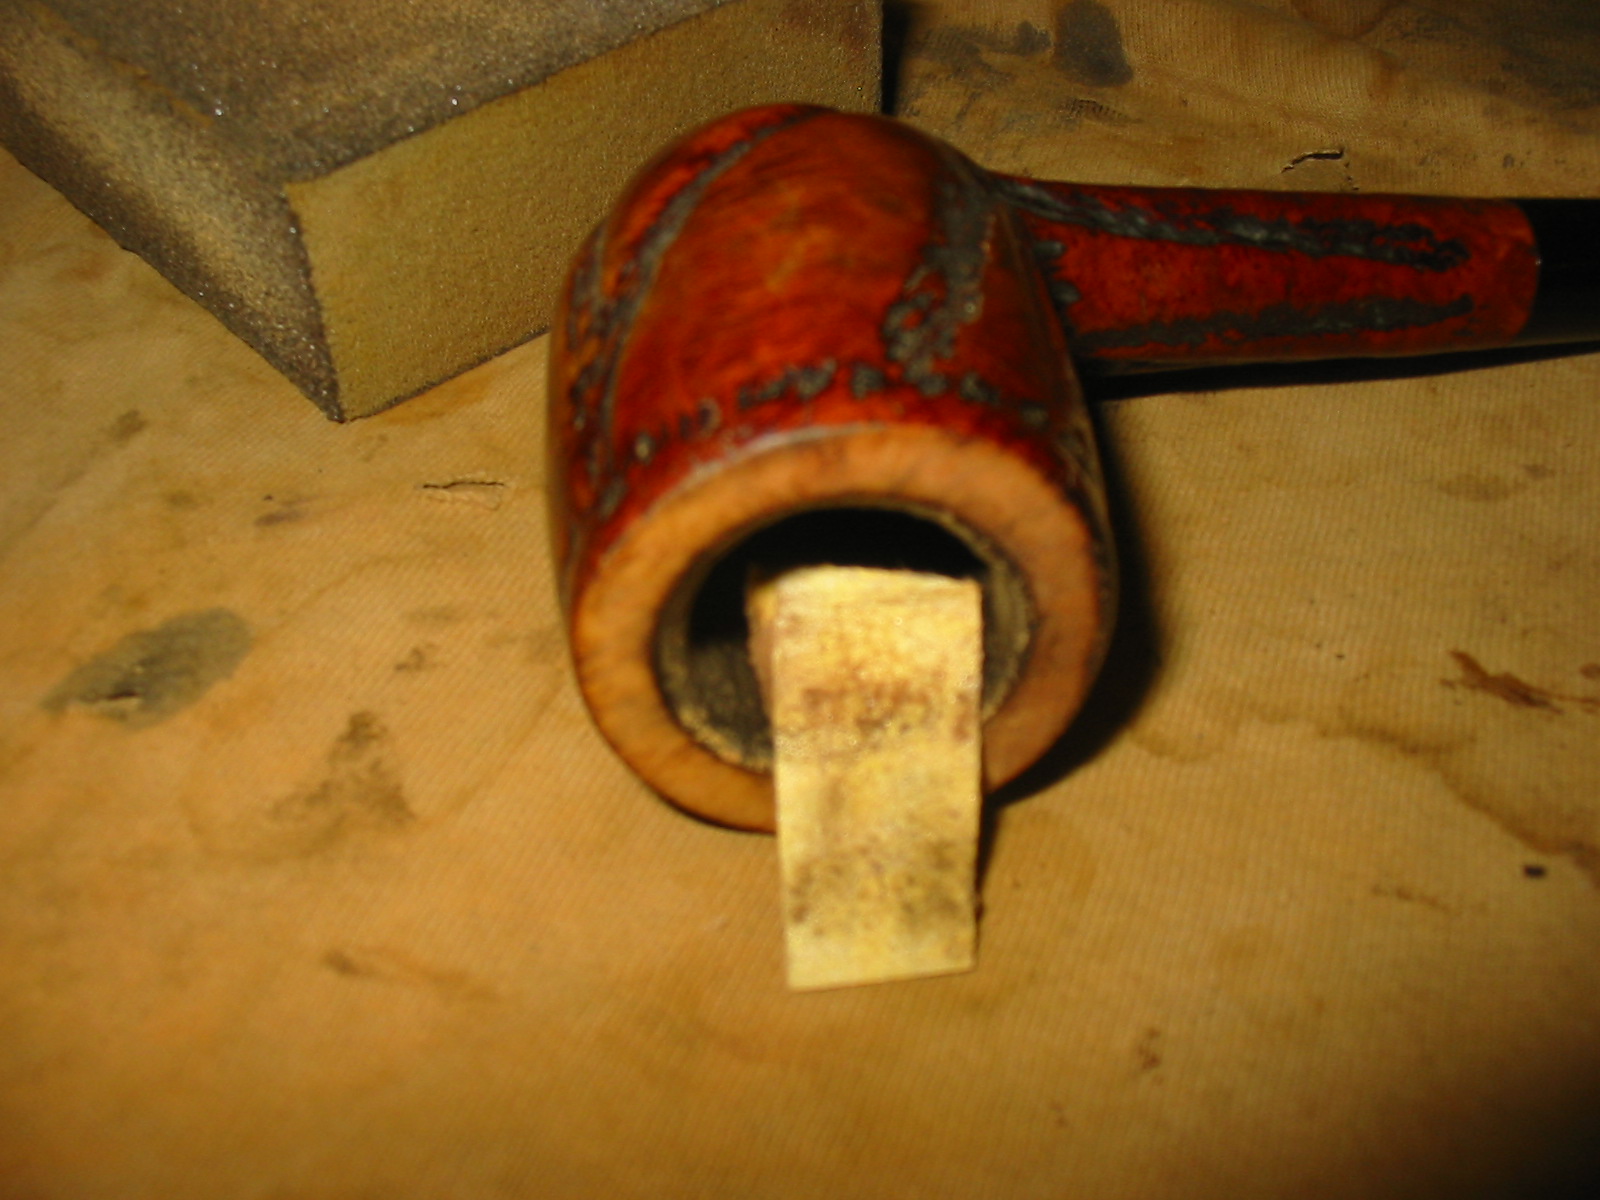
Once I finished with the 220 grit sandpaper I sanded the rim and bevel with a fine grit sanding block to smooth out the scratches. I wiped the bowl down with acetone on cotton pads to remove the varnish and the finish as much as possible. I also reamed the bowl with a PipNet reamer to remove the black rubbery bowl coating.

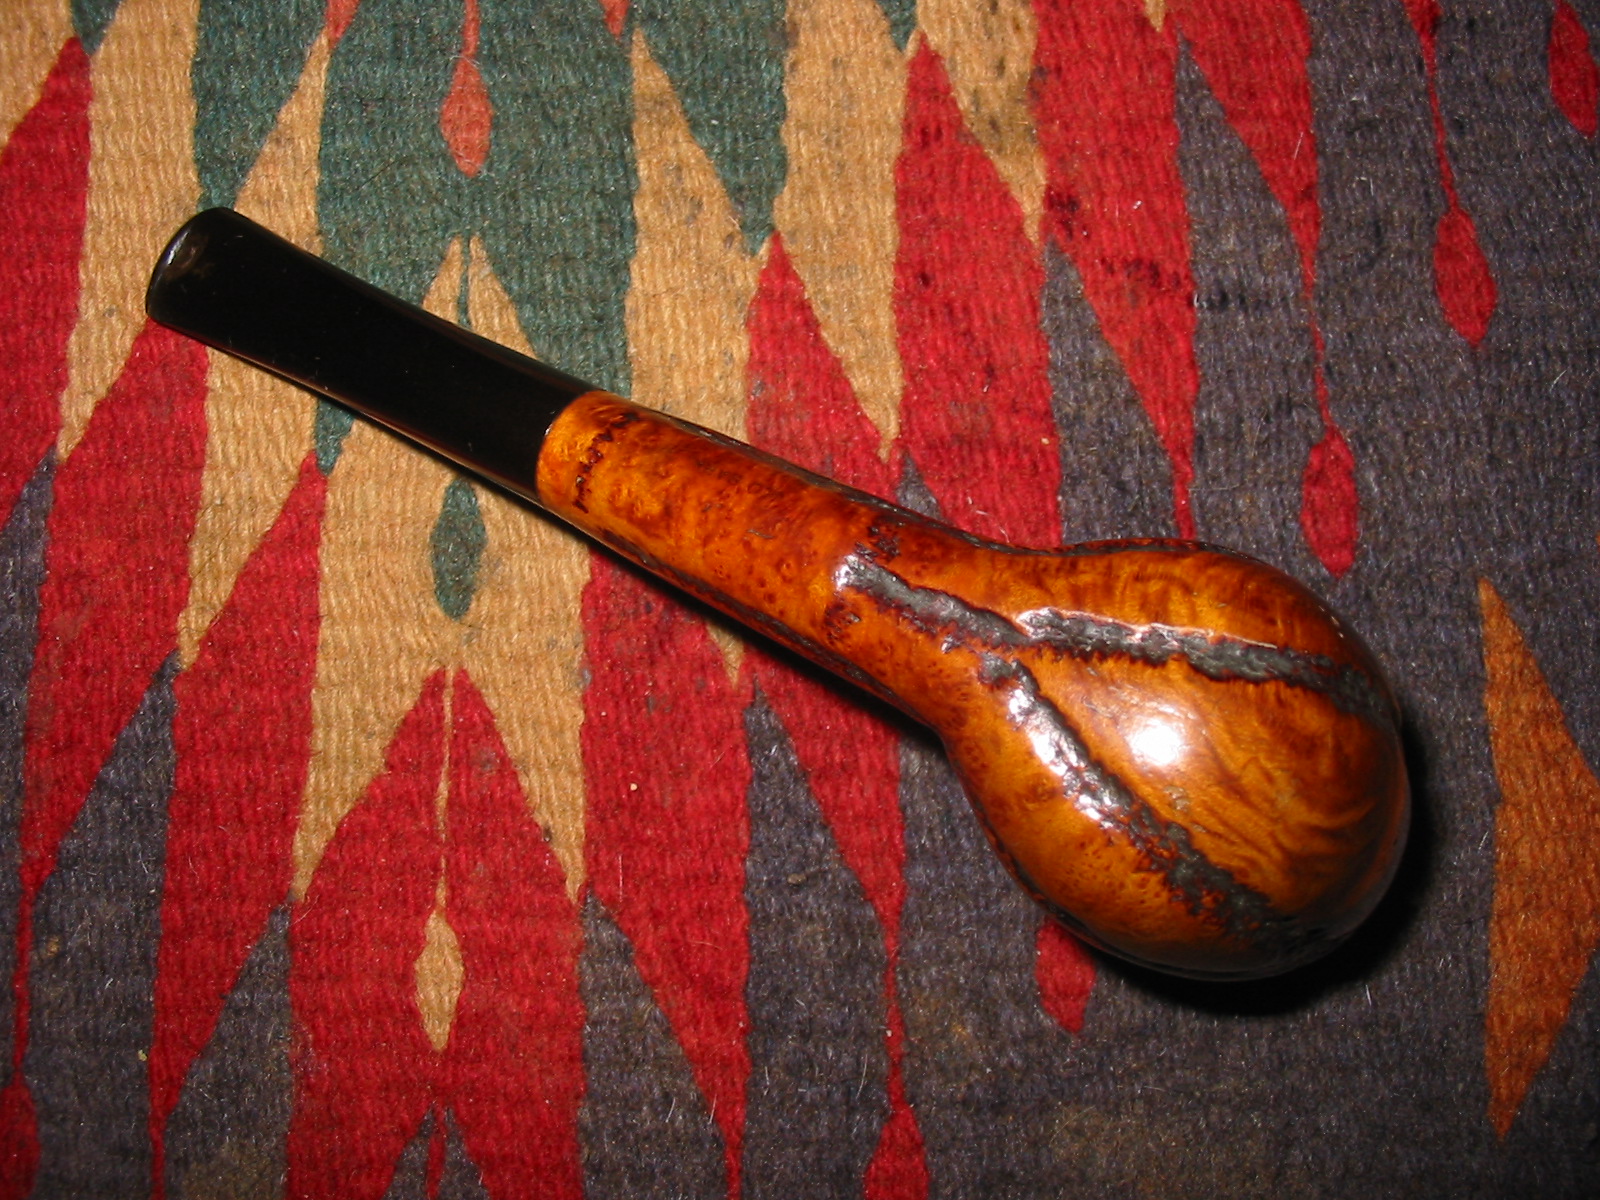
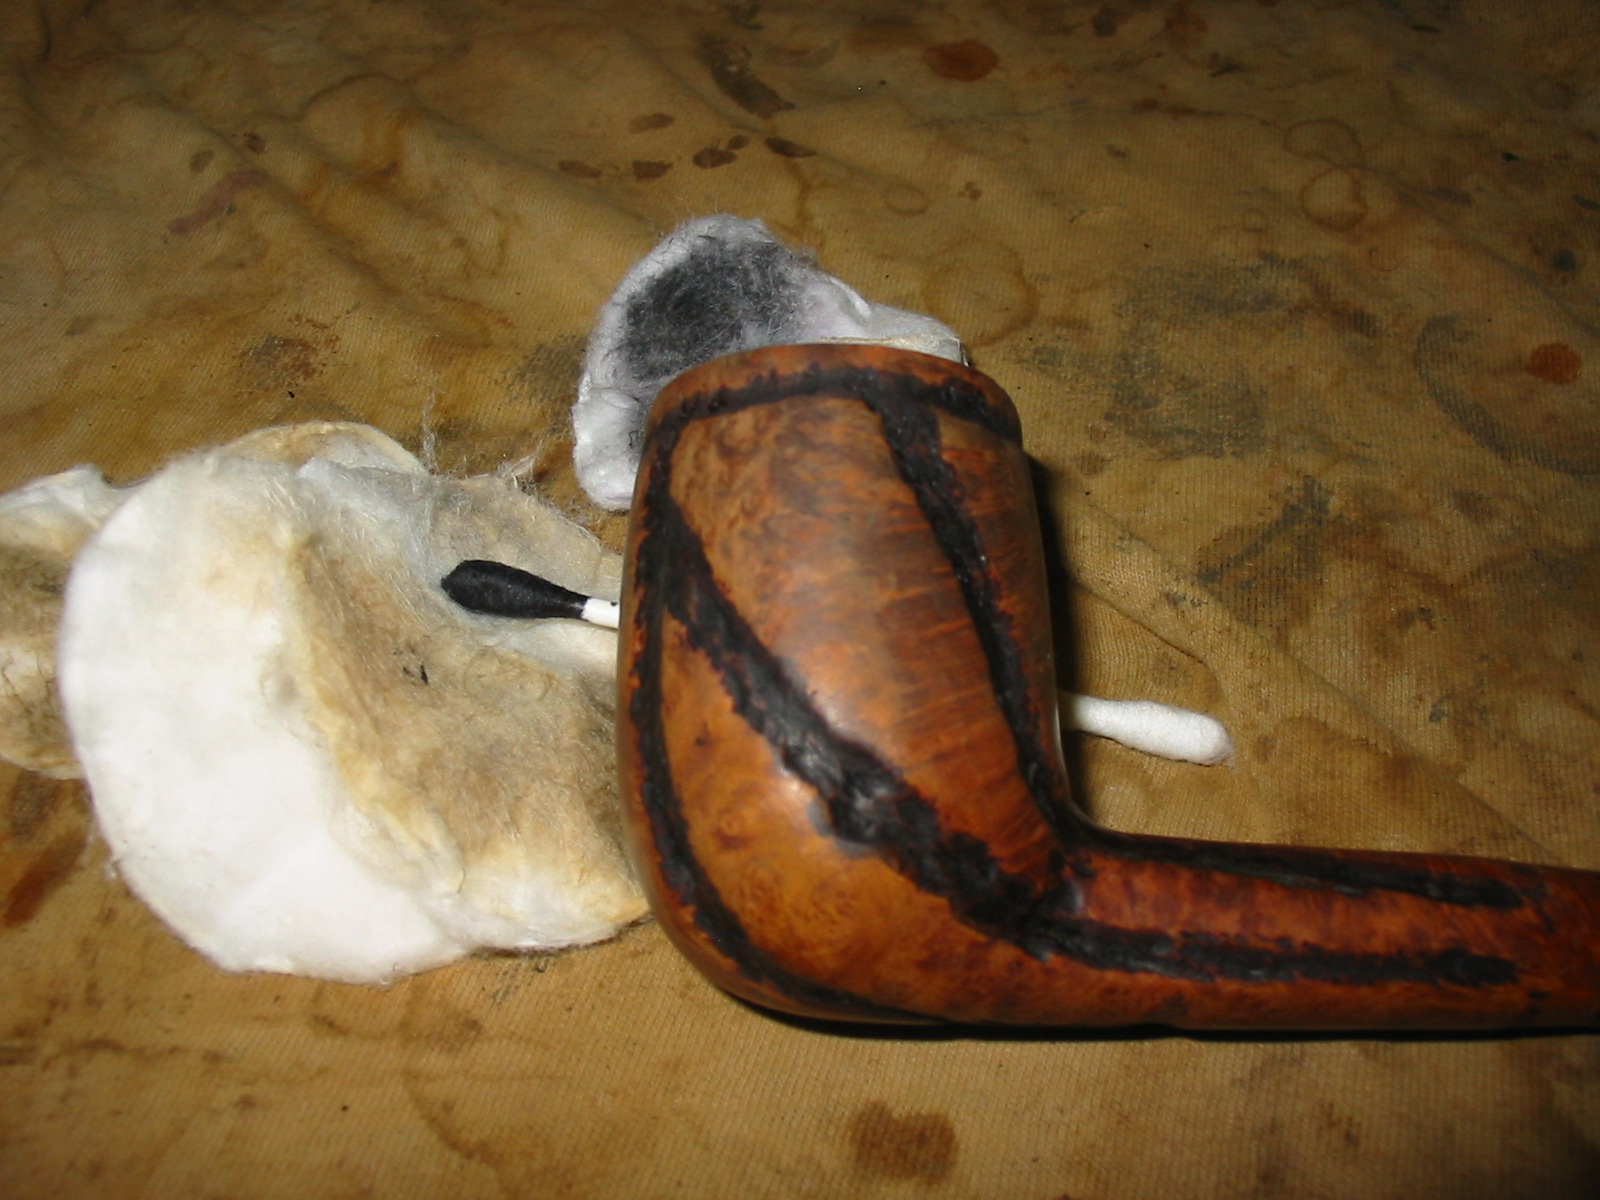
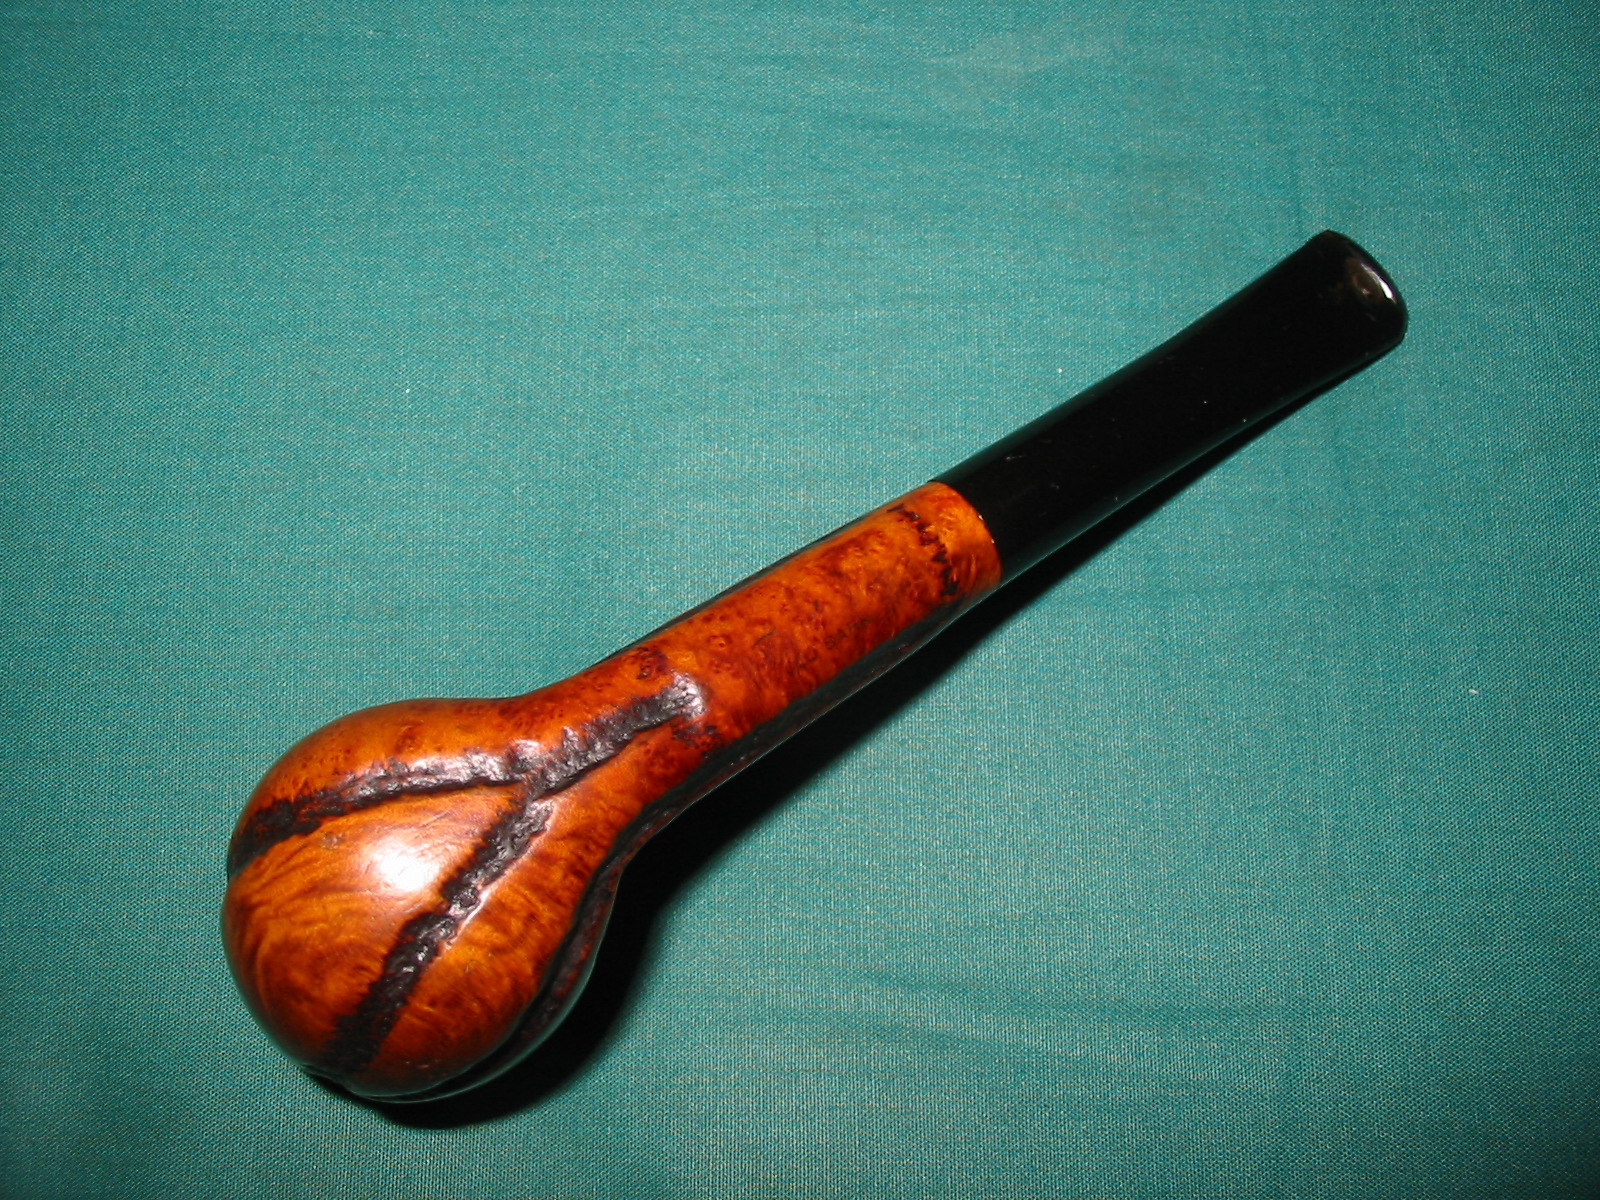
When the finish was gone, I decided to highlight the “worm trails” and give them some character in the finished bowl. I used a cotton swab and some black aniline stain to paint the trails around the bowl. To dull them a bit and lighten them I wiped them down with a cotton pad and Everclear.

I stained the bowl with MinWax Red Mahogany and Medium Walnut. I wanted to highlight the reds in the briar but not have it an oxblood colour so I use the two stains. I applied the red first and then the walnut stain.

When the stain was dry I buffed the pipe with White Diamond on the wheel and then gave it multiple coats of carnauba wax to give it protection and a shine. The finished pipe is shown below. With the addition of this one to the Pipe Club box I am getting closer to finishing this project – I think maybe four or five left that desperately need some work and perhaps a few others that will need a touch up. Hopefully someone will like the “worm trails” more than I do.

I was reading Dave Whitney’s e-book this evening and saw this:
“The early Israeli carvers used the best Mediterranean briar they could get their hands on and came up with ways to carve it that eliminated or hid any flaws. One of their best was to carve the veins of tobacco leaves into the pipe bowls, scrolling the veins over and through any defects on the surface of the briar. This style, developed by the Israeli pipe carvers, has been incorporated in Dr. Grabow freehand pipes today.”
Maybe they are supposed to be veins – but I still don’t like them.
LikeLike
I call them Frankenstein pipes. Someone suggested rusticate the whole pipe to cover the veins.
LikeLike
That last photo looks like a coroner’s Y-cut.
LikeLike
I’m also not a fan of worm trail rustification, but that finish seems to have it’s fans.
LikeLike
Ditto. That being said, after you worked your magic, I like this one much more than any other wormwood pipe I’ve seen because the way you did the stain really made the best of a bad situation.
LikeLike
Personally, I hate the “worm trail” finish, too. Have you ever thought of rusticating it “away”? I have thought of but not yet tried it.
LikeLike
That’s a great idea, Greg! I also hate the worm trails but rusticating them away might make a pipe passable. I also don’t like the Frankenstein stitching trails I see on a lot of pipes from Israel.
LikeLike
Ah, yes, the infamous Israeli stitch marks have ruined plenty of good-looking briar!
LikeLike