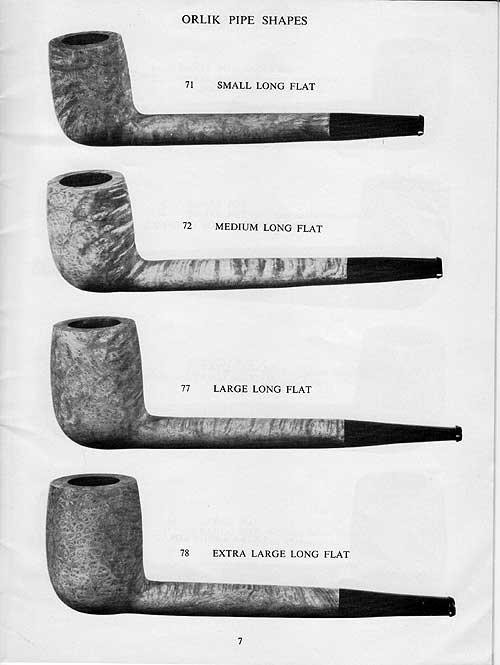
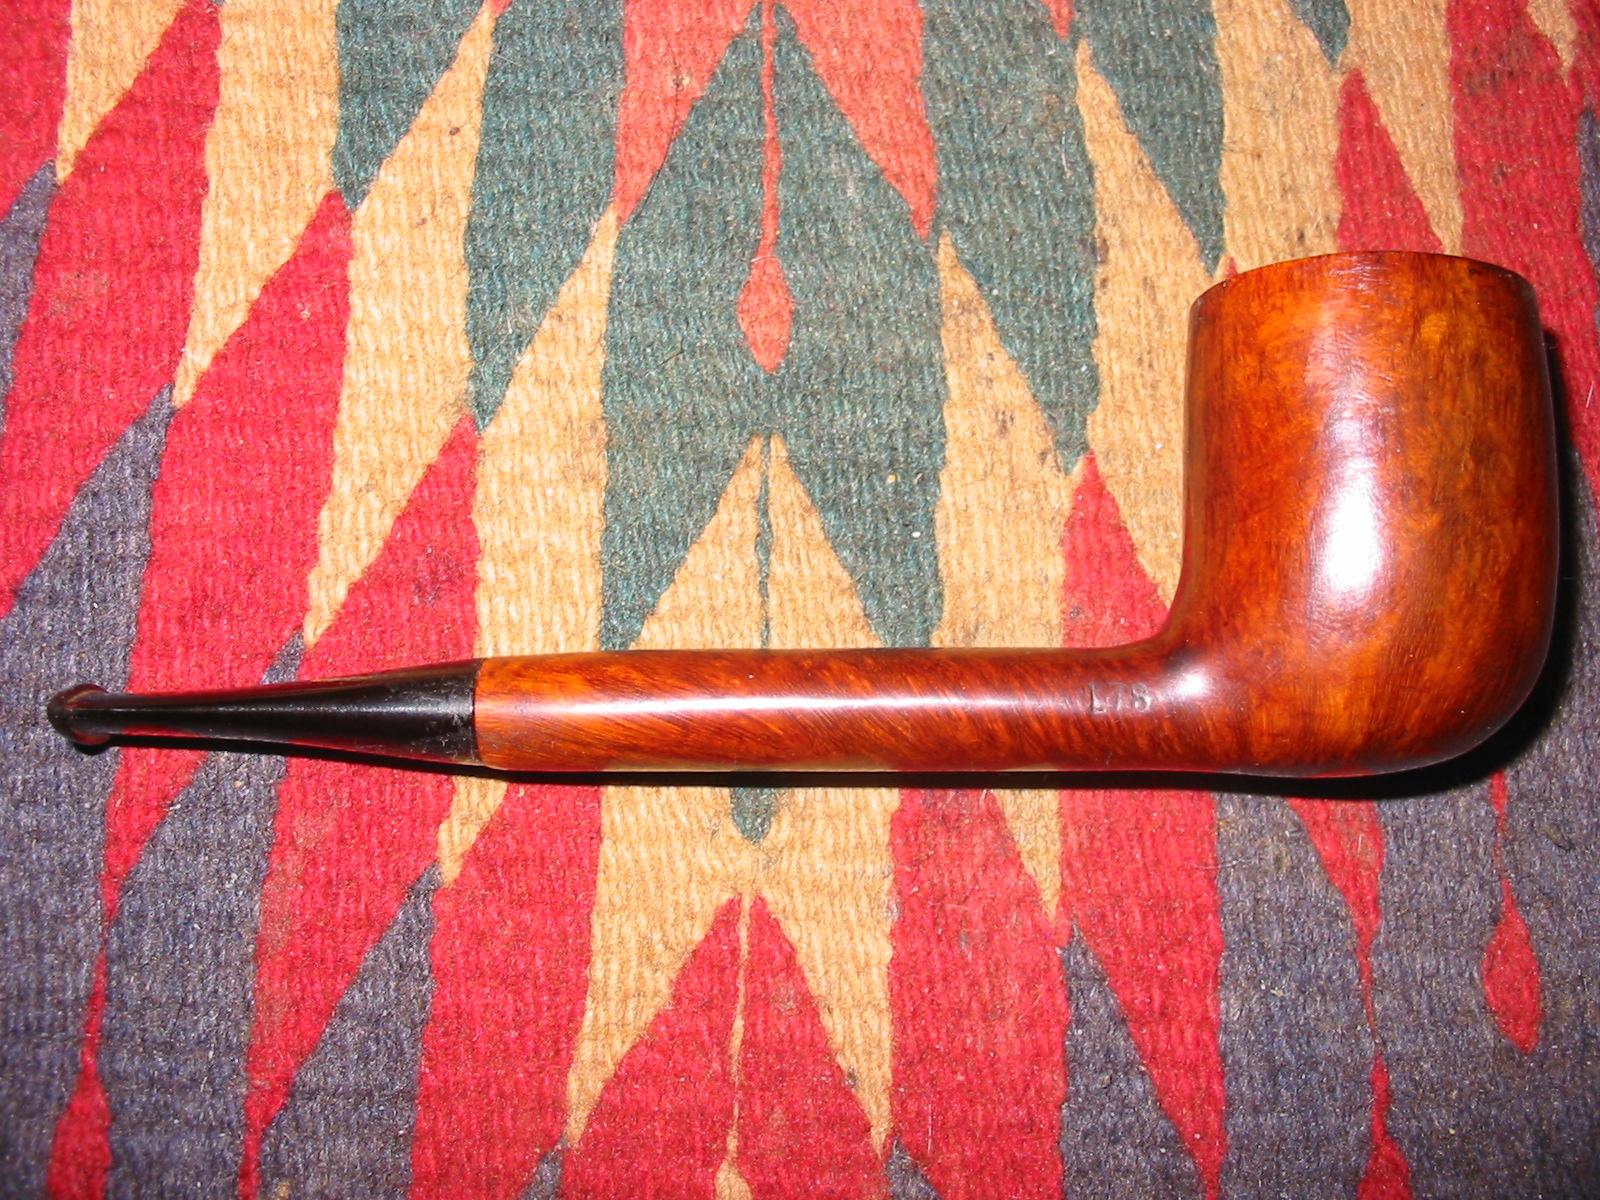
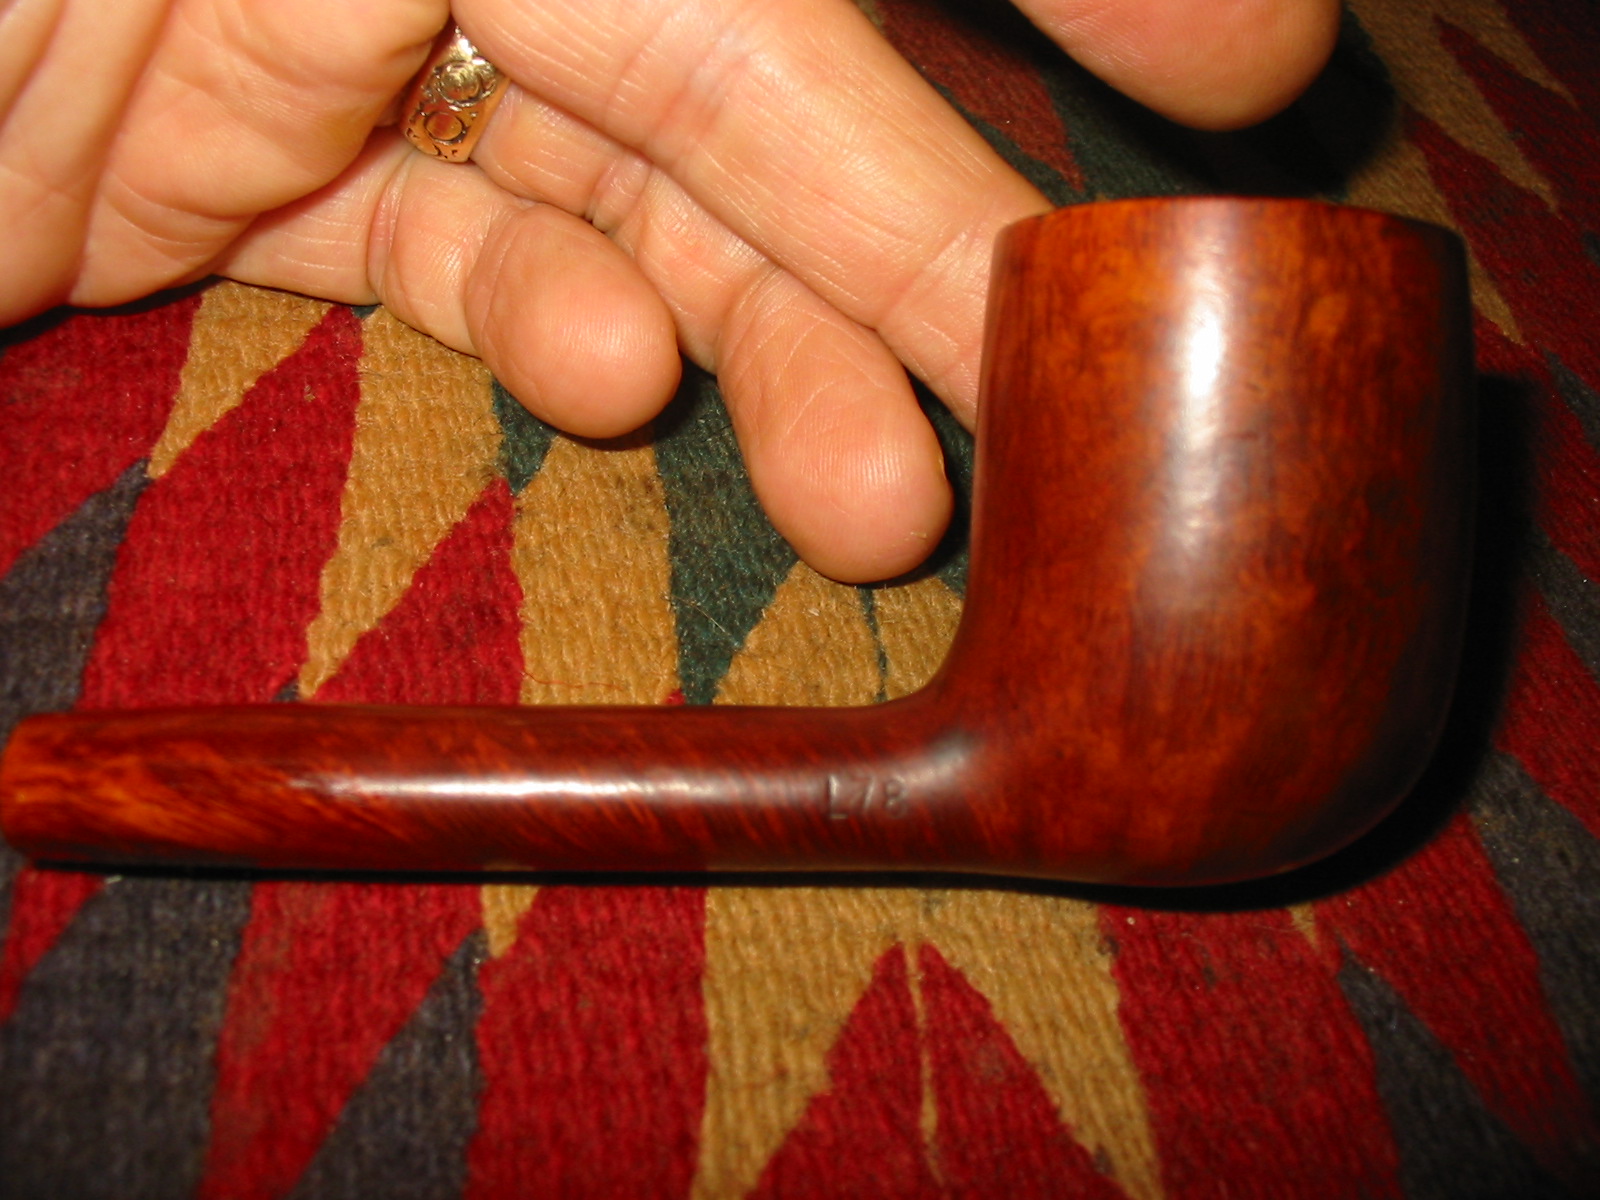
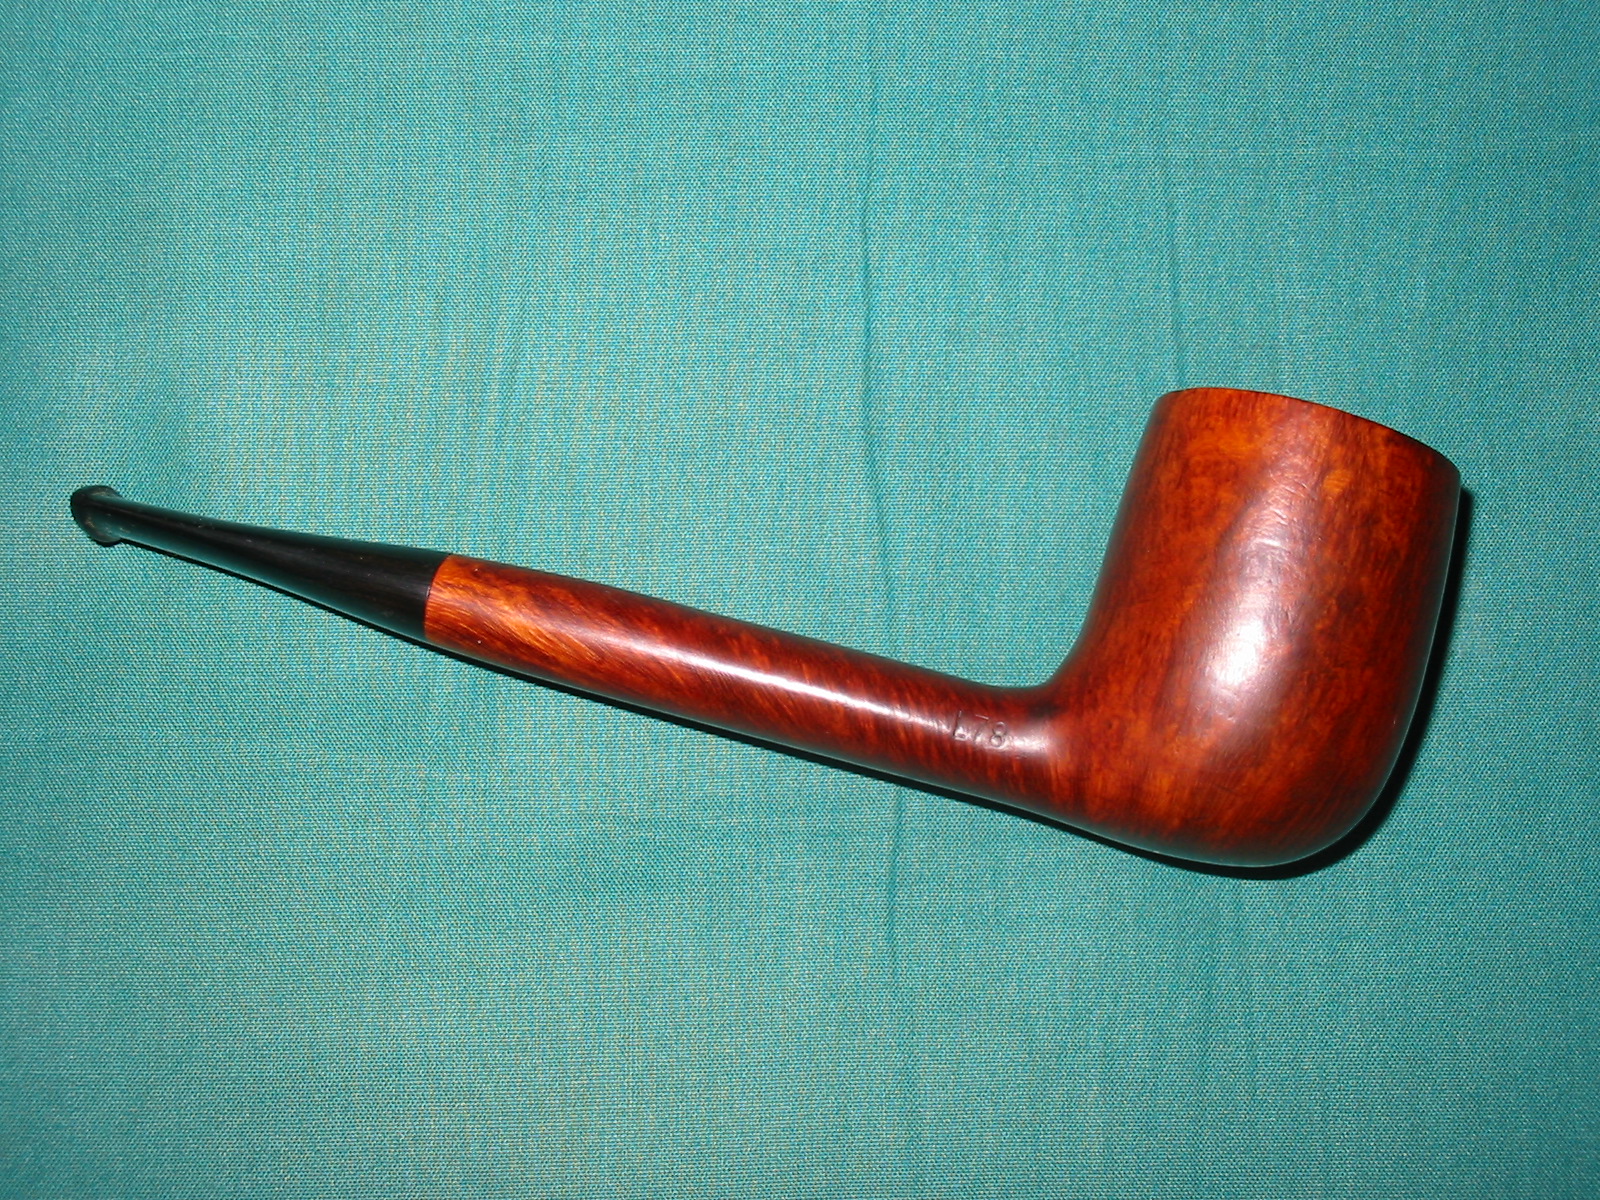
A few years ago I was gifted a small box of English pipes. I had truly forgotten about it but my daughters were cleaning out our storage room under the front porch (interior room) and came across the box. So now I have five more pipes to restore. The pipe on the table this morning was a Canadian with a poorly fitted replacement stem. It was not the same oval as the shank. The shank had been sanded down to fit the stem and done in such a way that it was no longer an even taper. Even in doing so the stem still was larger on the top and bottom where it met the shank. The transition was thus rough and uneven. The stem also had significant scratches on it and a spot at the top and bottom where there was an uneven bump near the shank. The bowl had been topped and then the rim and shank restained but they did not match the rest of the pipe. The stamping though faint on the top of the shank reads Orlik Matt over Made in England in block letters. There is also a shape number on the right side of the shank as noted in the title – L78. I did a bit of checking to see if the shape number matched what I had. I have included a page of shapes – the one I have is at the bottom of the page.
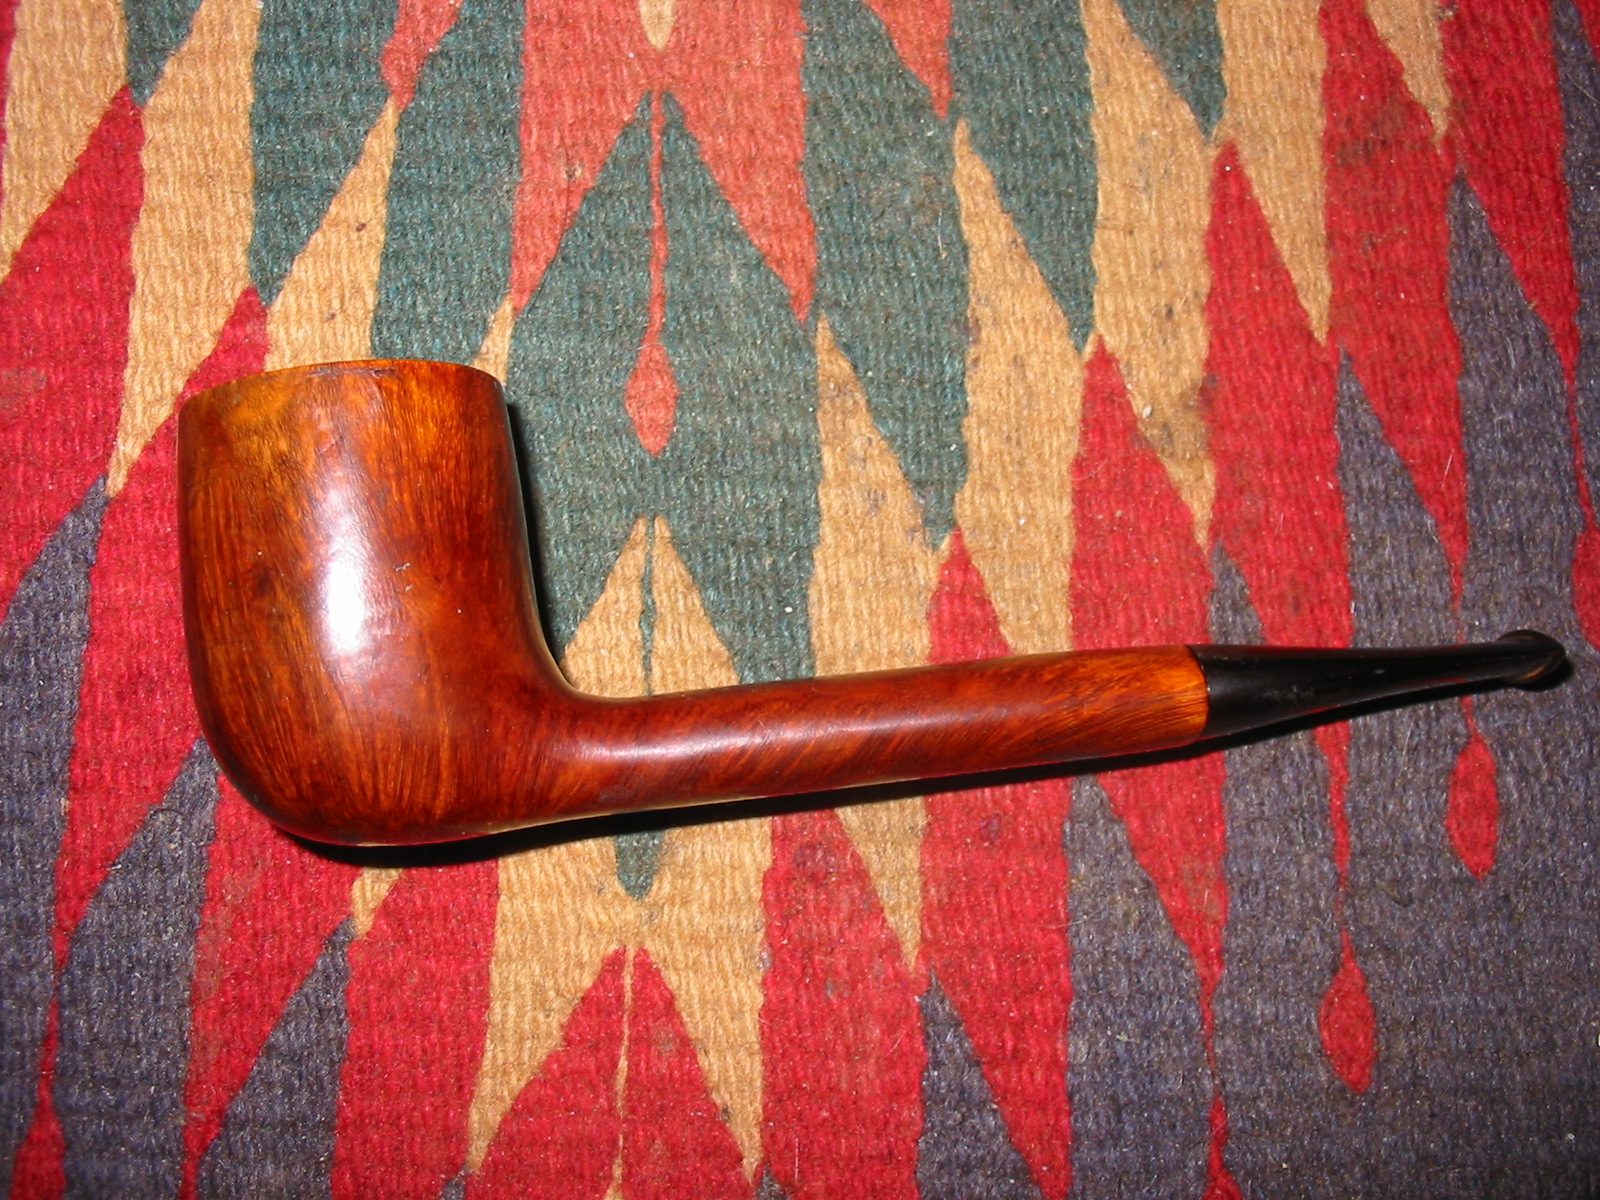
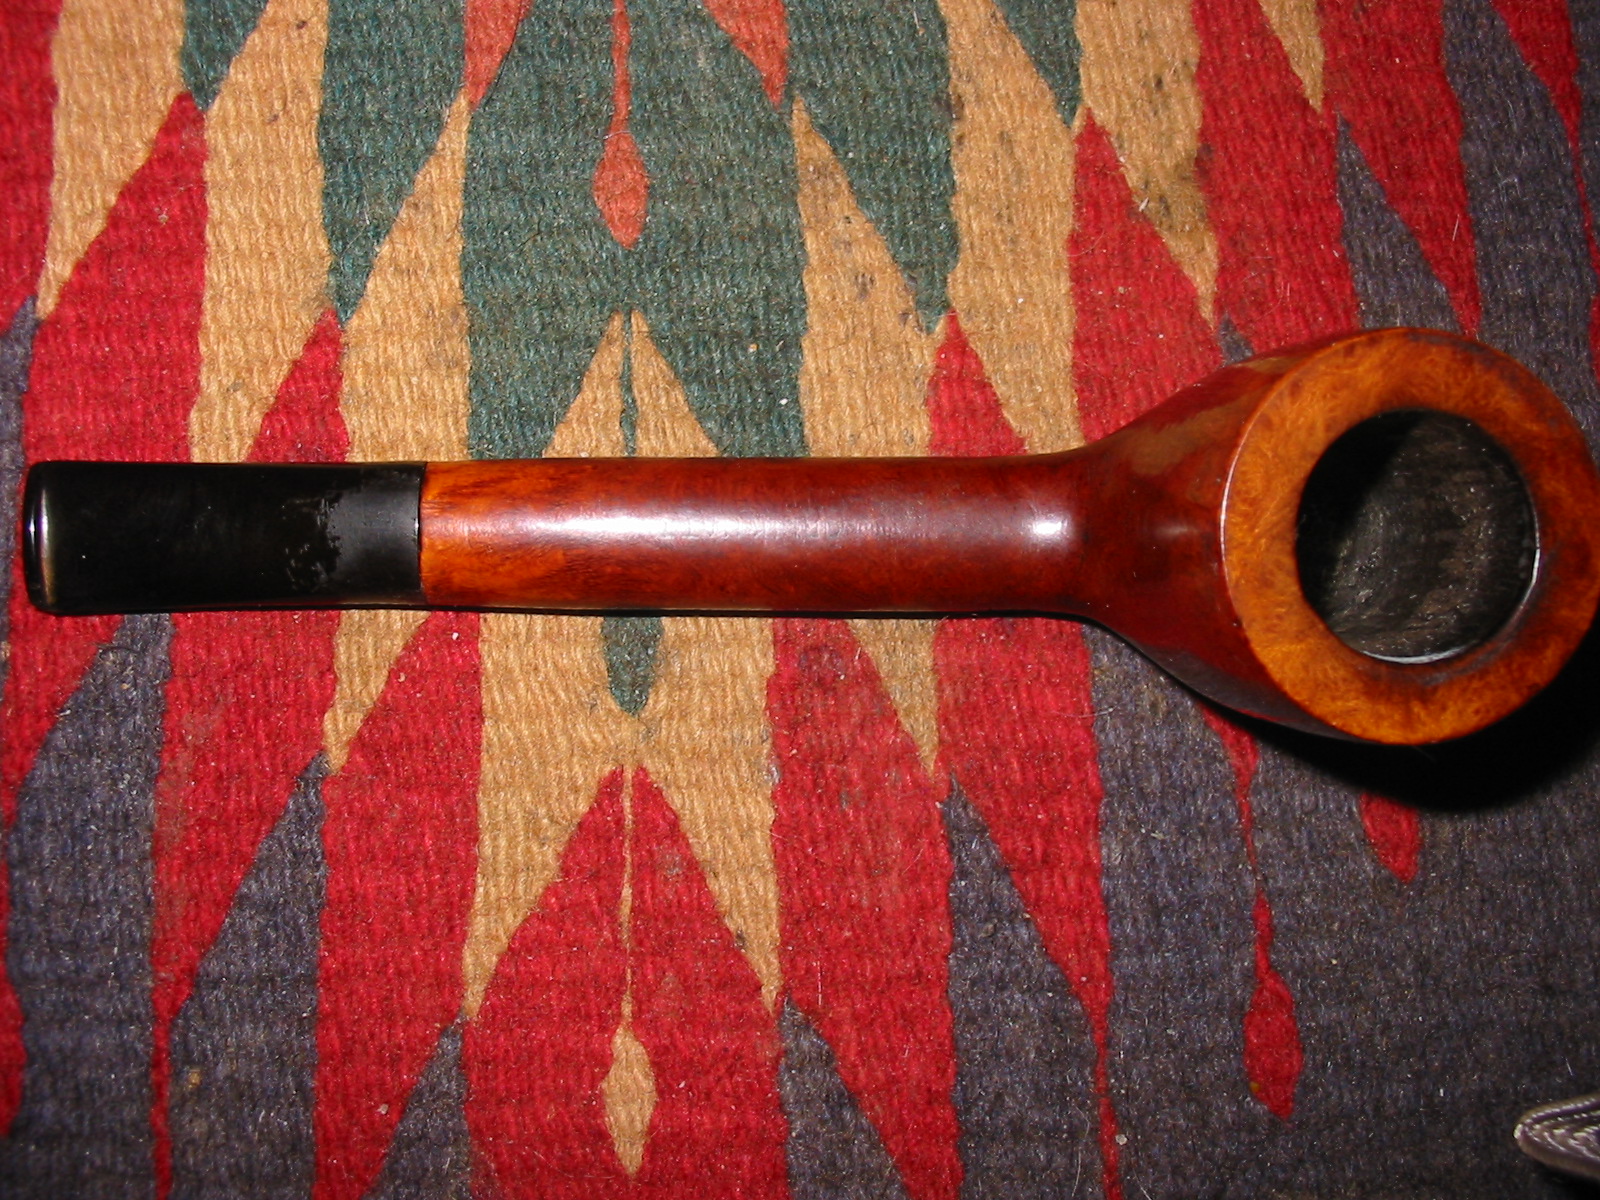
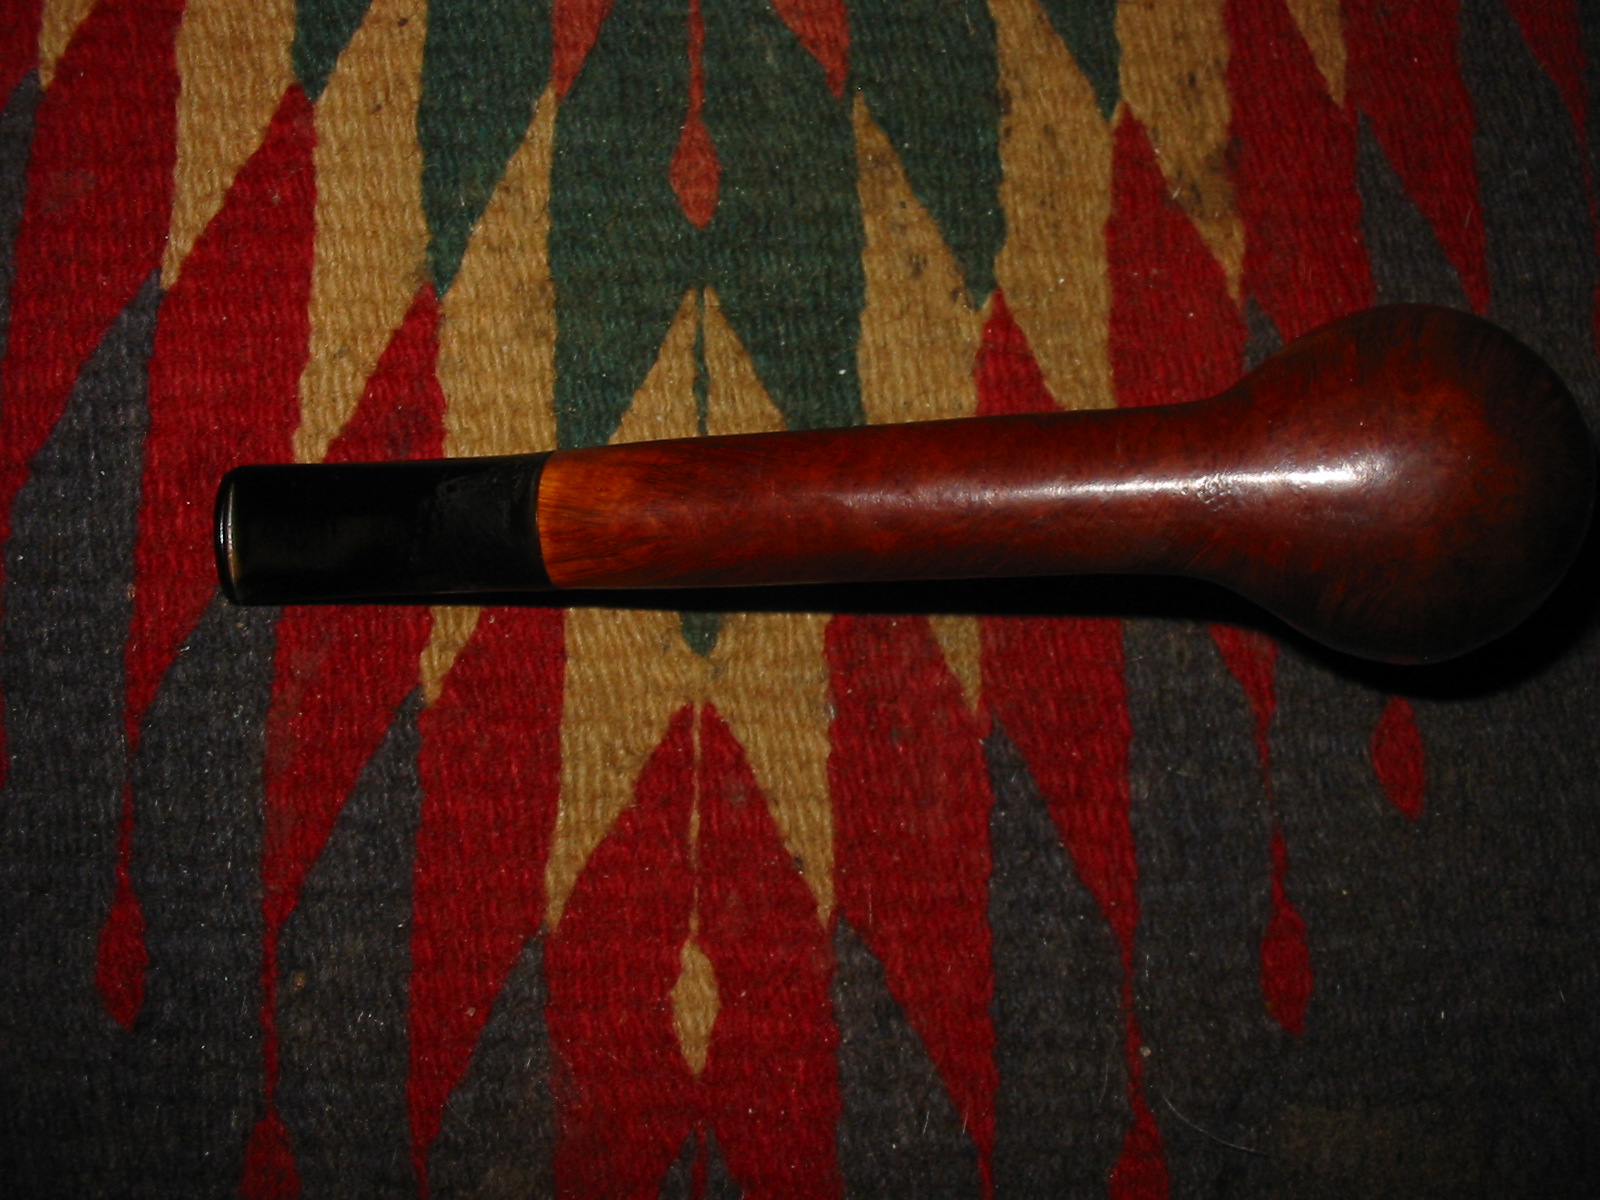
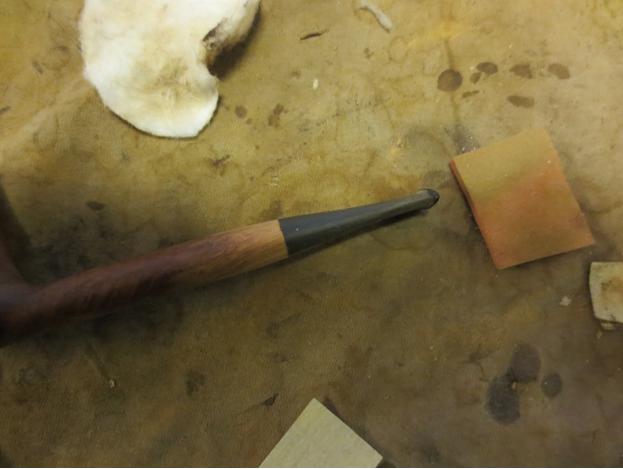
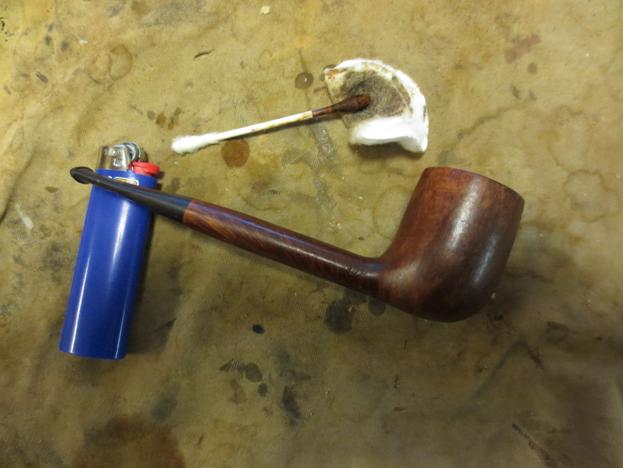
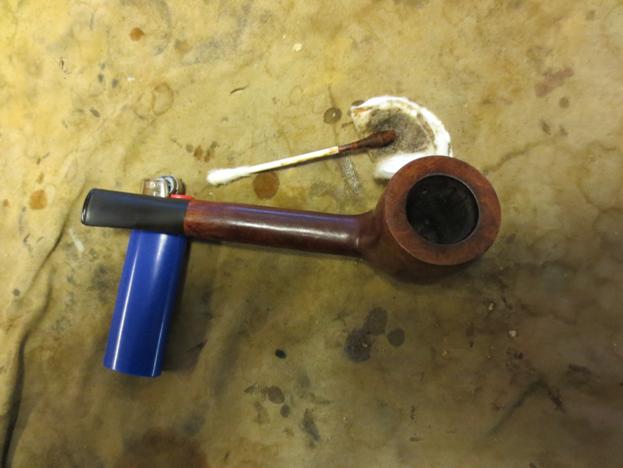
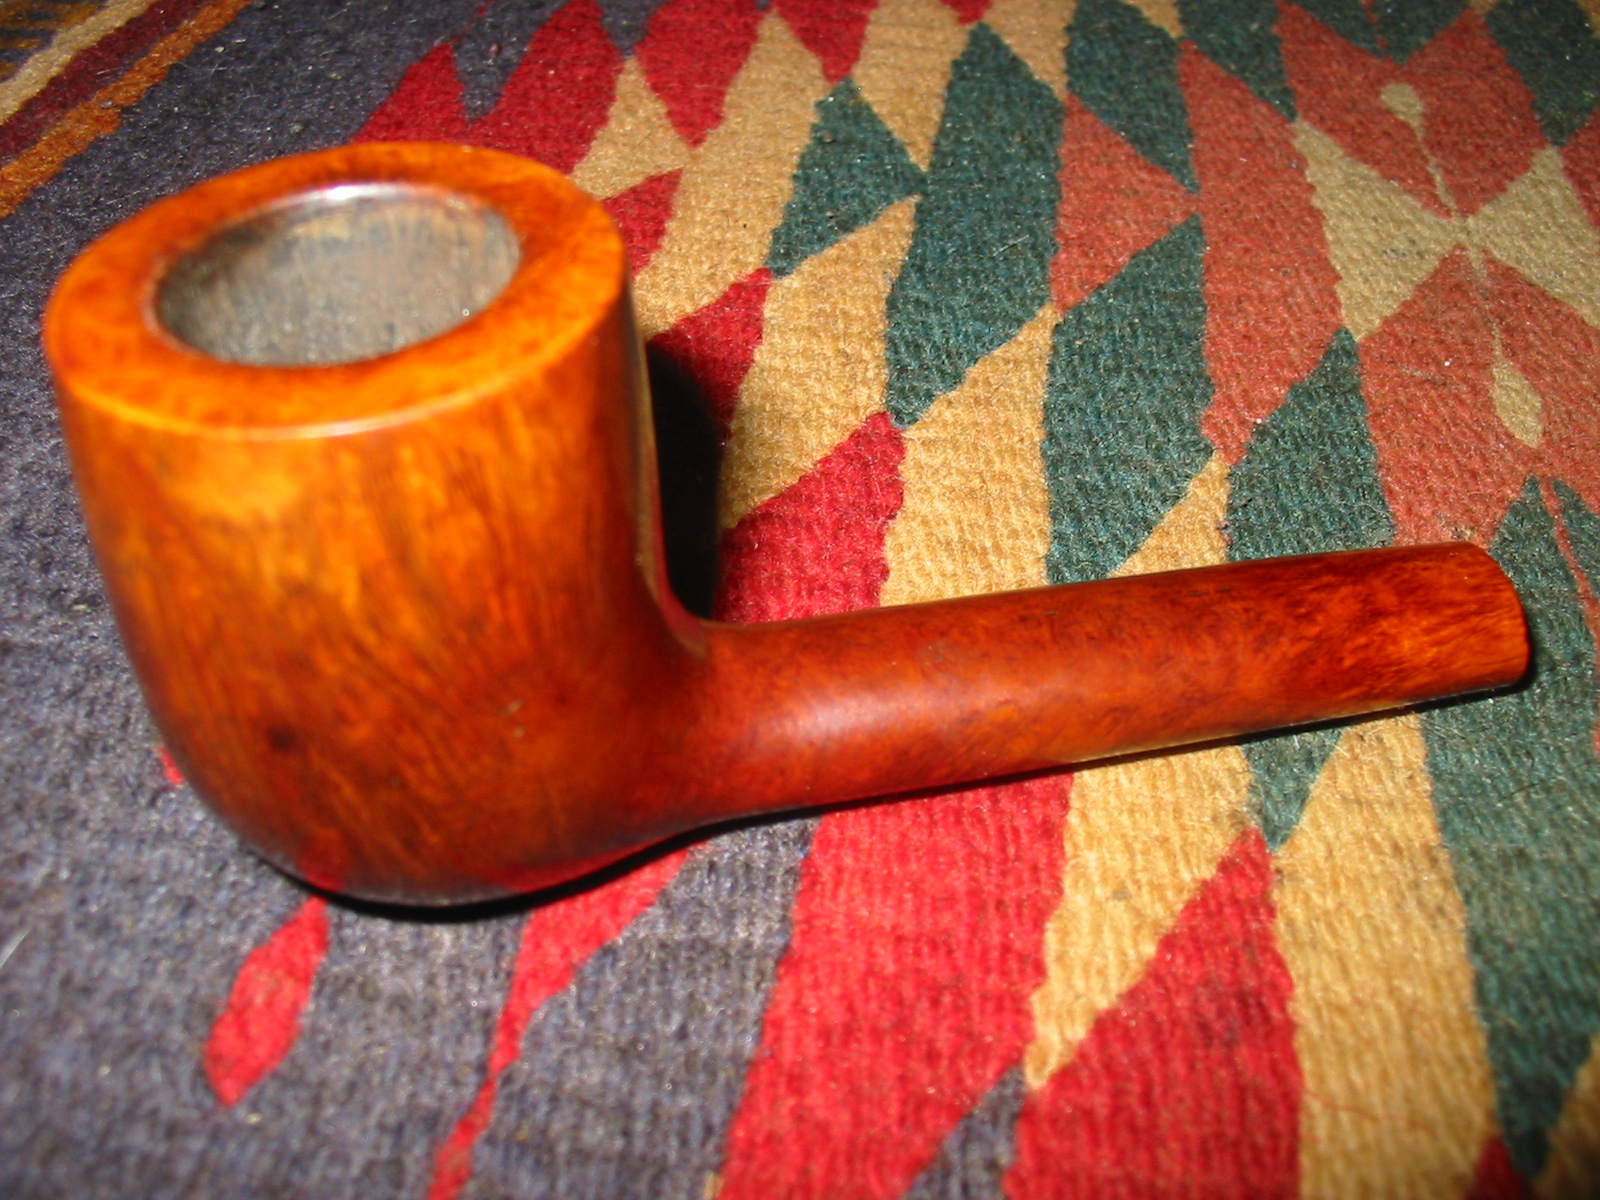
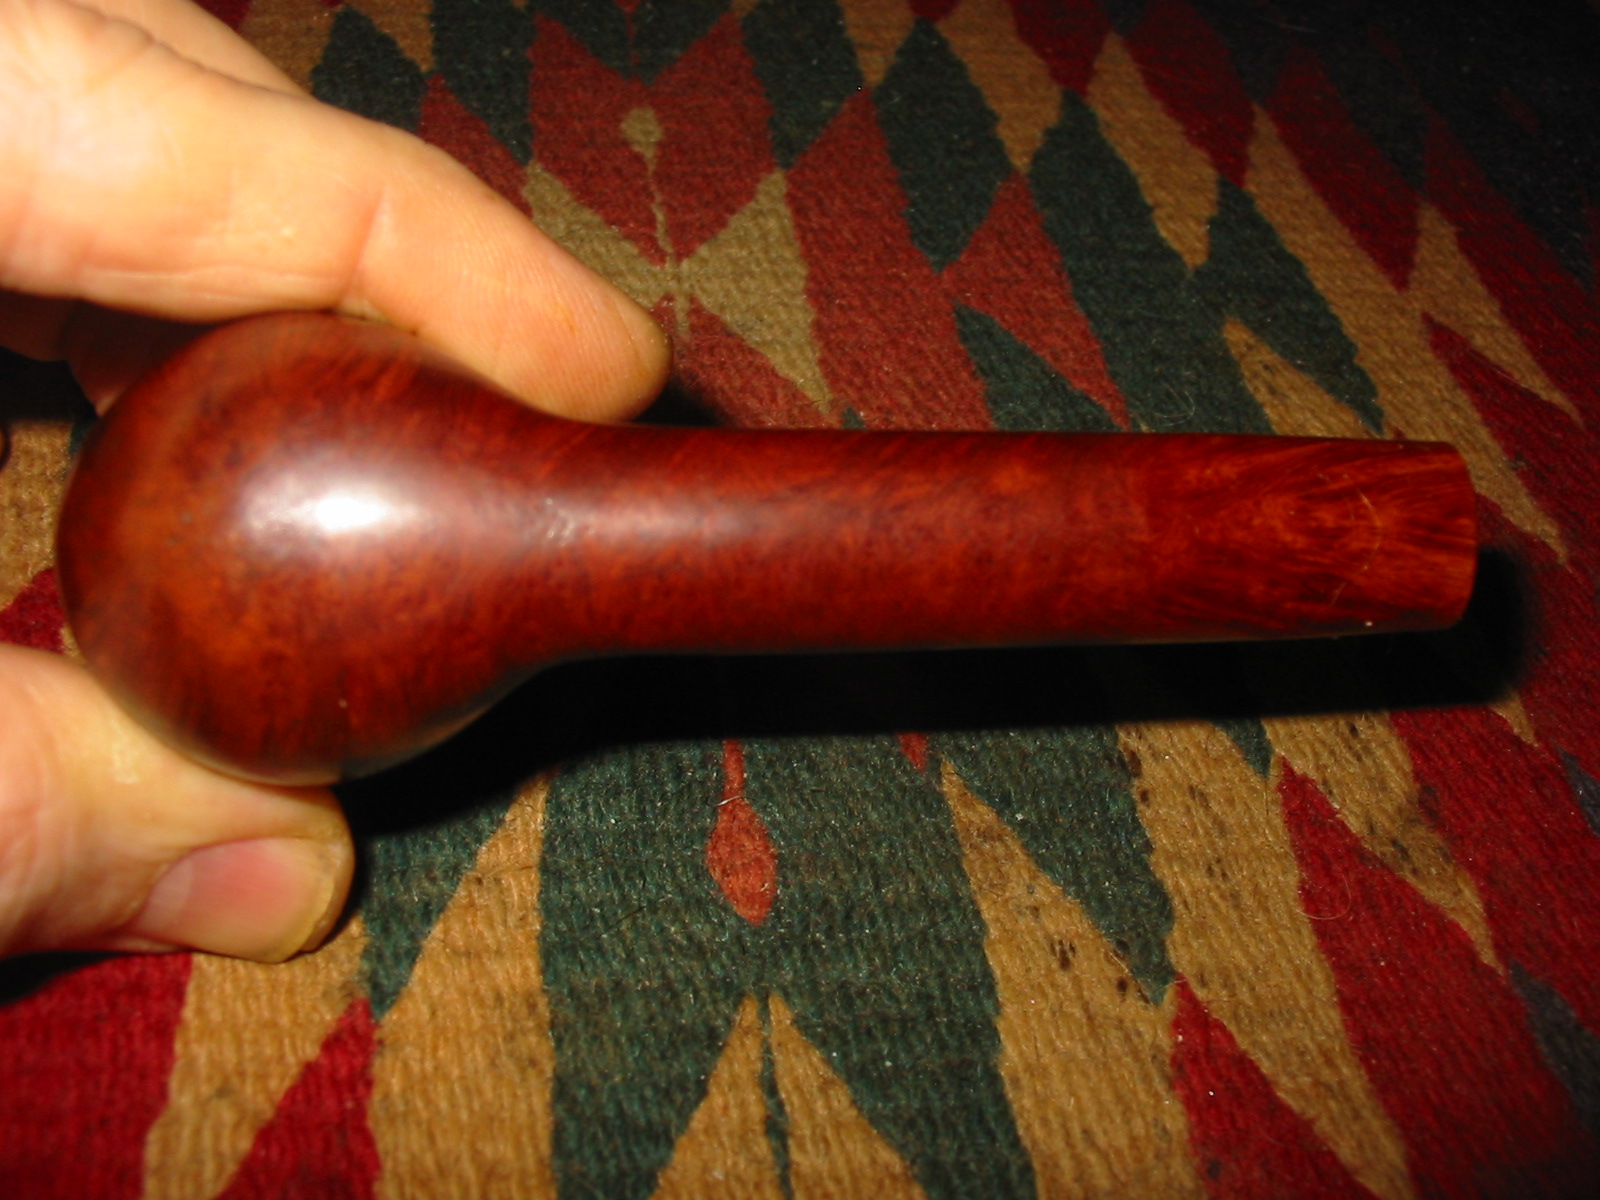
Here are some photos of the pipe when I started.
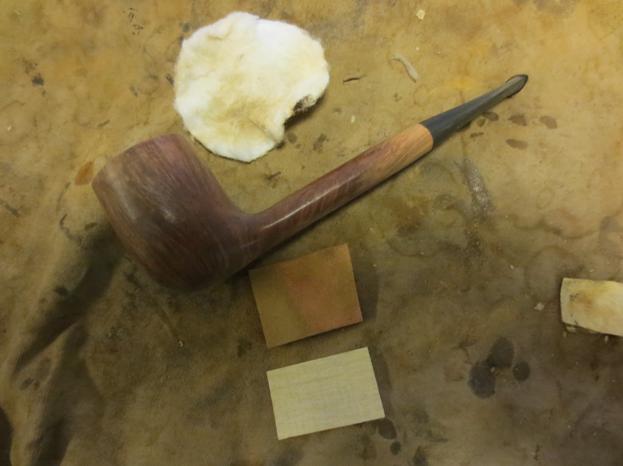
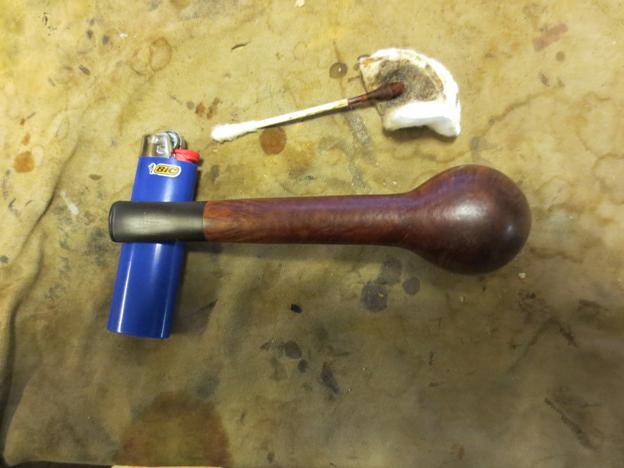
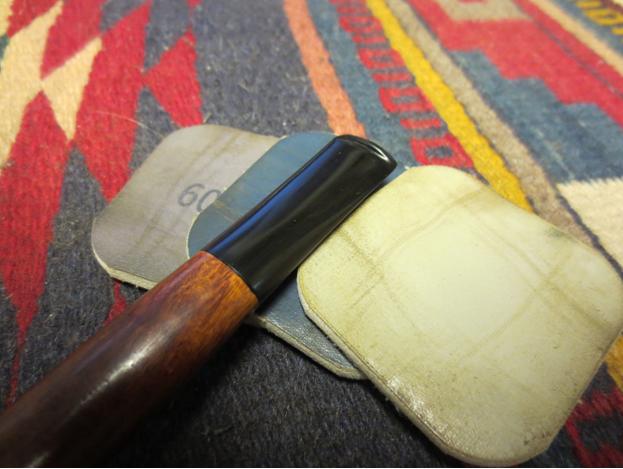
I wiped the bowl and shank down with acetone on a cotton pad to remove the spotty finish. I cleaned out the shank and stem as they were filthy and prohibited a true fit on the stem. Once I had the stem sitting in the stem correctly I sanded the shank and stem junction with 220 grit sandpaper to smooth out the transition and even out the taper from the bowl to the stem. I wanted to also remove the excess vulcanite and to reshape the oval of the stem and shank. I wanted the transition to be smooth to the feel. I think that whoever restemmed and restored this pipe the first time gave the bowl a coat of varnish so I removed that with the acetone.
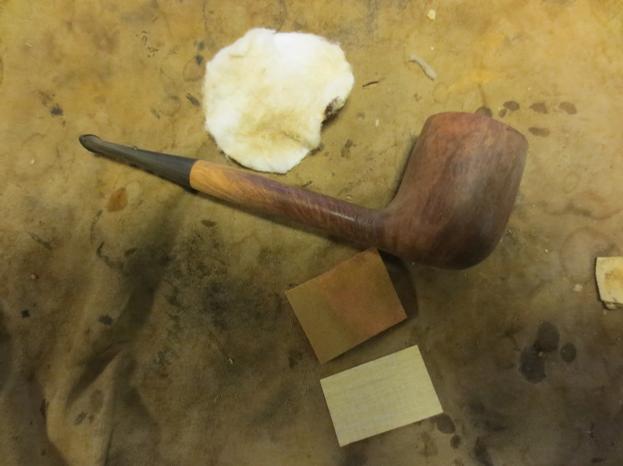

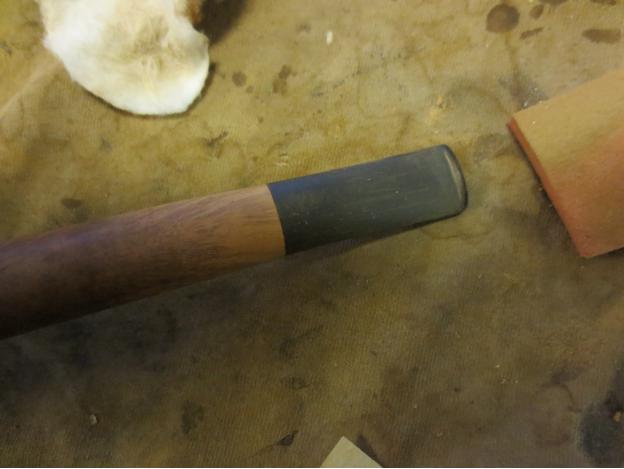
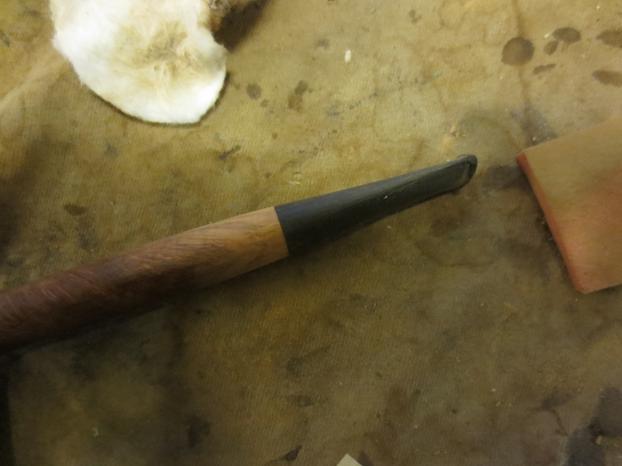
I sanded the stem shank union with a medium grit sanding sponge and a fine grit sanding block to further smooth out the transition and lines. I wanted a smooth flow of line from the bowl to the button.

Once I had finished sanding the stem and shank and the briar was smooth and unscratched it was time to stain the shank and rim. I gave the shank end and the rim a coat of dark brown aniline stain to try to bring it back to the same hues and the rest of the bowl and then stained the entire bowl and shank with a Minwax Medium Walnut stain. The first time I did it the stain still did not match well so I heated the end and the rim with a lighter and reapplied the dark brown aniline. Then stained them both again with the Minwax stain. When I had finished they were closer than before.
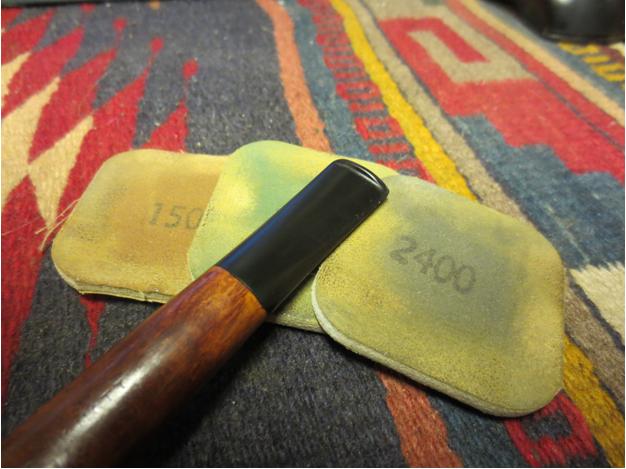
I sanded the stem and the bowl with micromesh sanding pads. I wet sanded the stem with 1500-2400 grit pads and then dry sanded the bowl and stem with 3200-12,000 grit pads. I rubbed the stem down with Obsidian Oil and then took the pipe to the buffer to give it a light buff with White Diamond to polish. I was careful in the buffing to avoid the already light stamping on the top of the shank. I had buffed that section with a soft cotton cloth.
I still was not happy with the stain coverage on the sanded portions of the pipe as they appeared lighter than the body of the pipe. I brought it back to the work table and touched up those two areas – the stem shank junction and the rim – with Minwax Red Mahogany Stain then set it aside to dry.
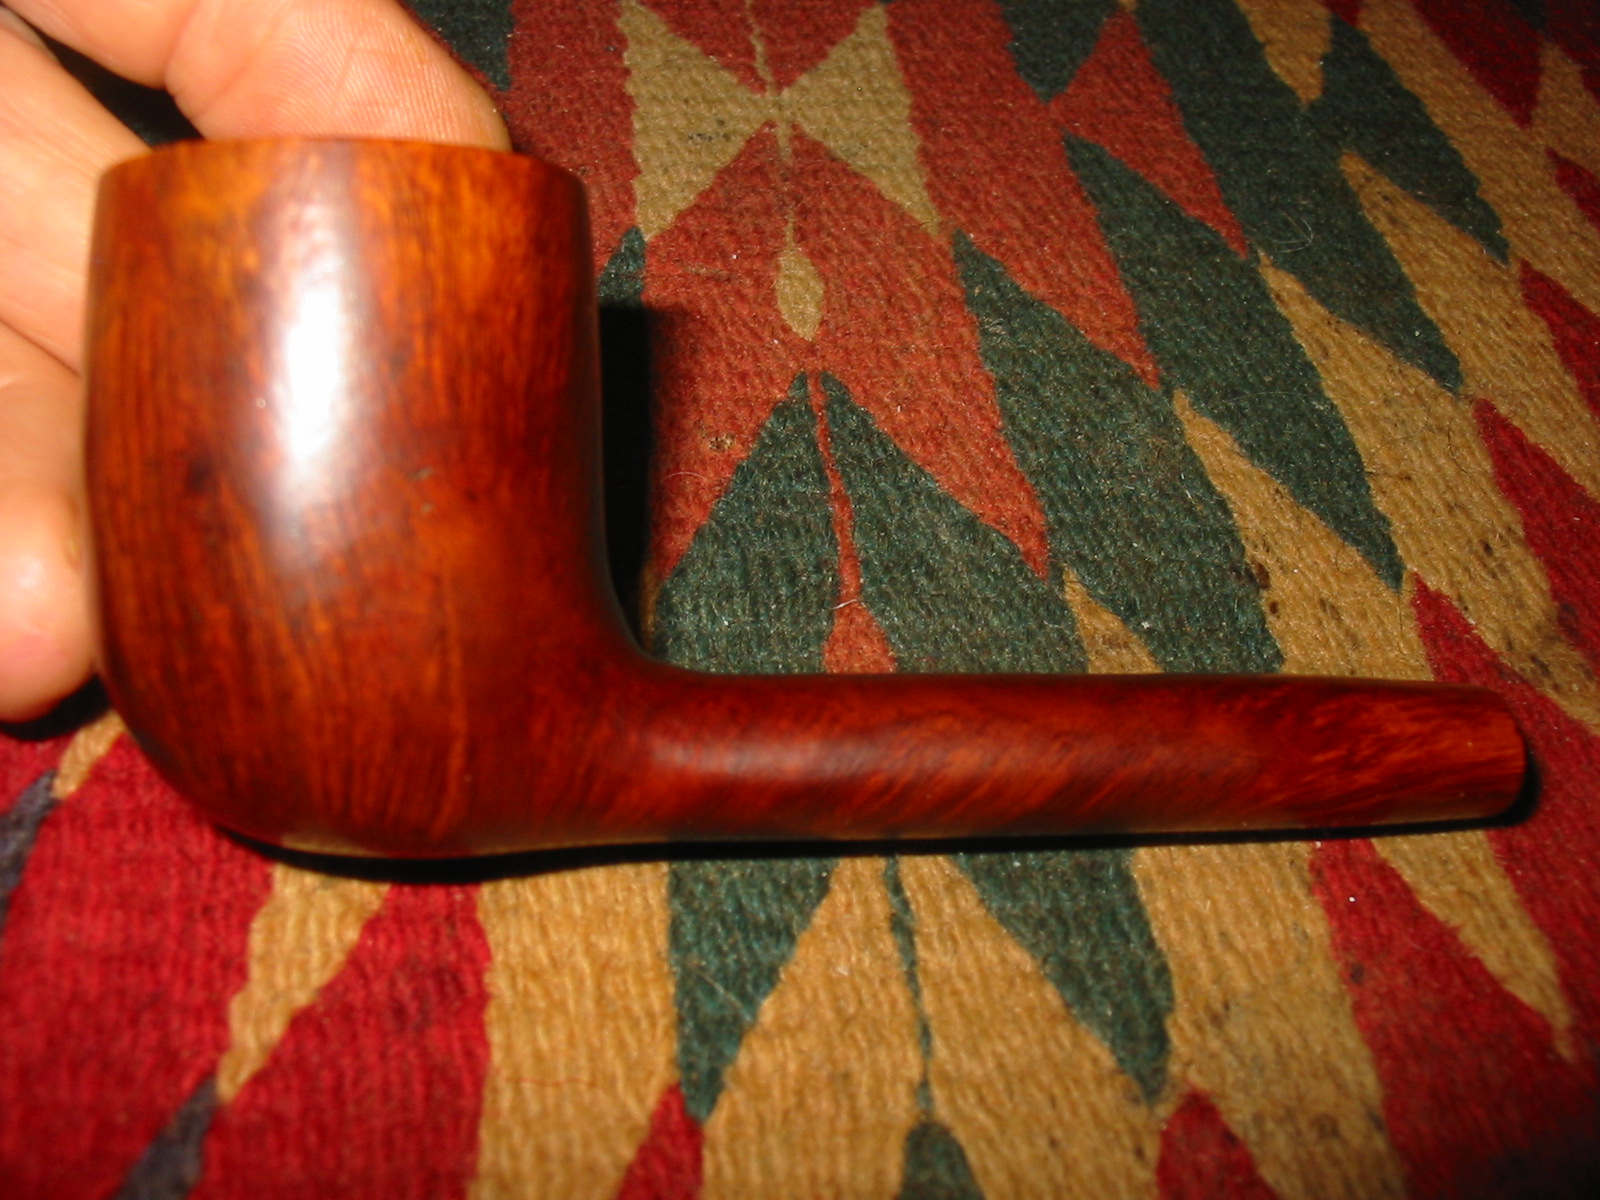

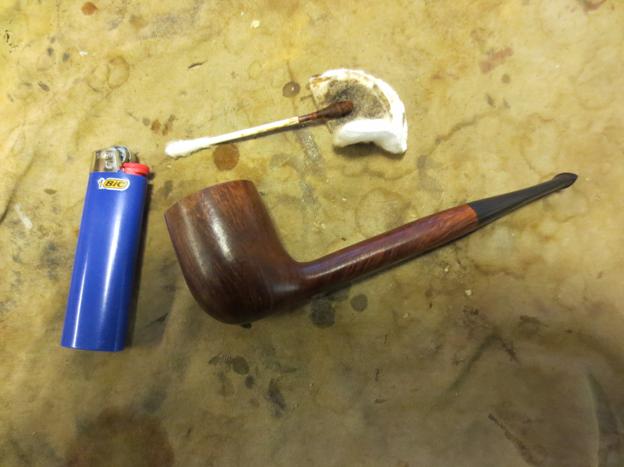
Once the stain was dry I lightly buffed the pipe with White Diamond and then gave it multiple coats of carnauba wax with the buffer. I polished the finished pipe with a clean flannel buff to protect it and give a shine. Even with the buffing I was seeking more of a matt look to the pipe than a shiny one. The finished pipe is pictured below.
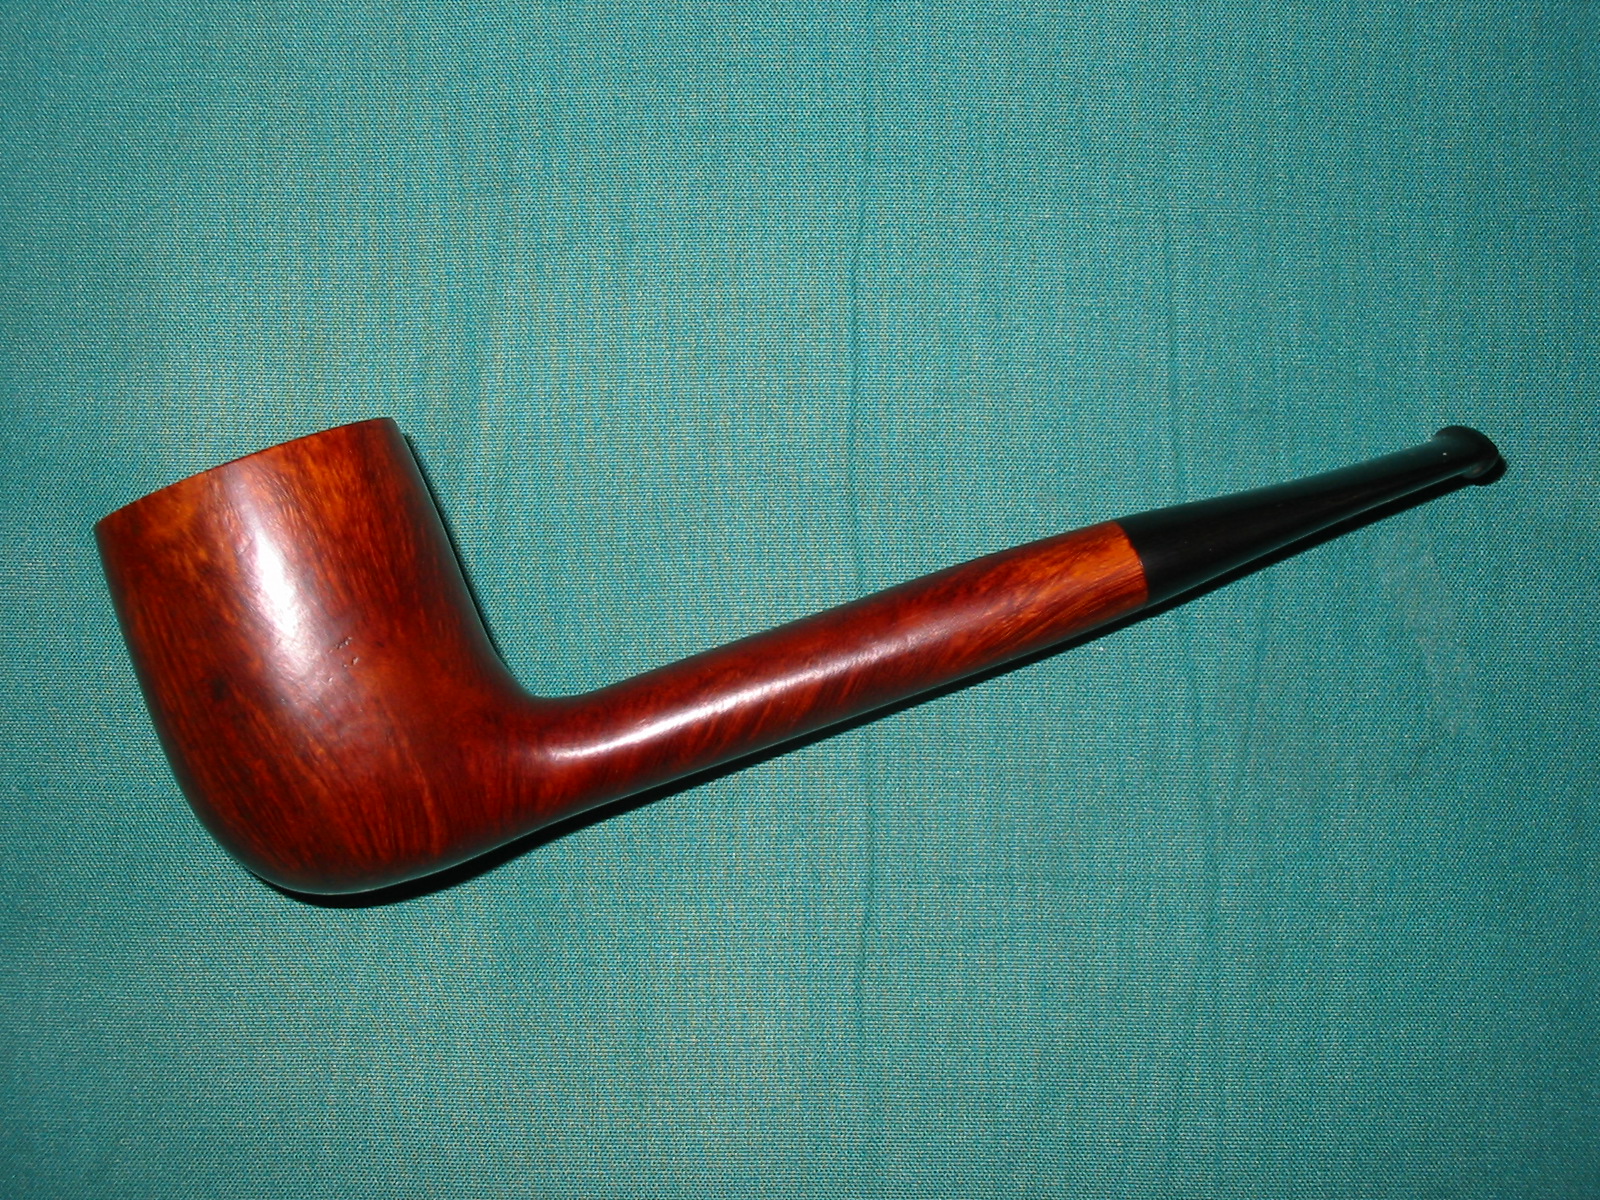
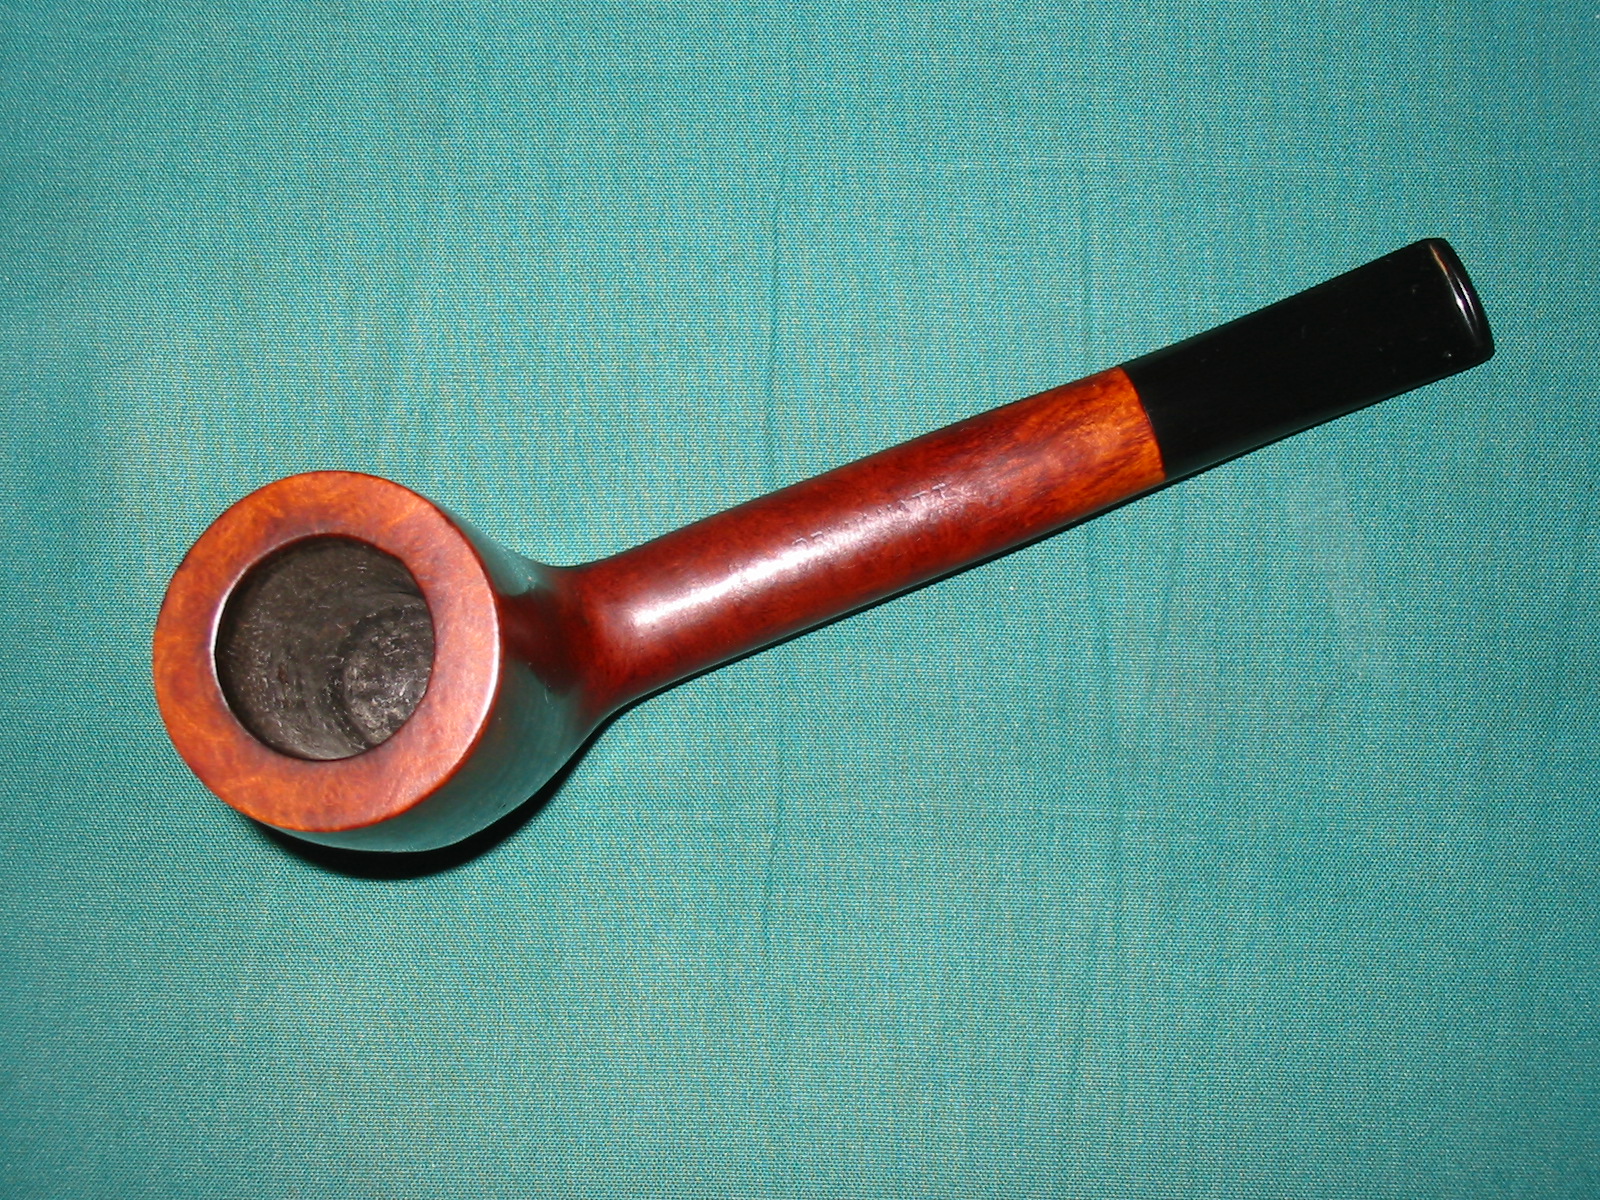
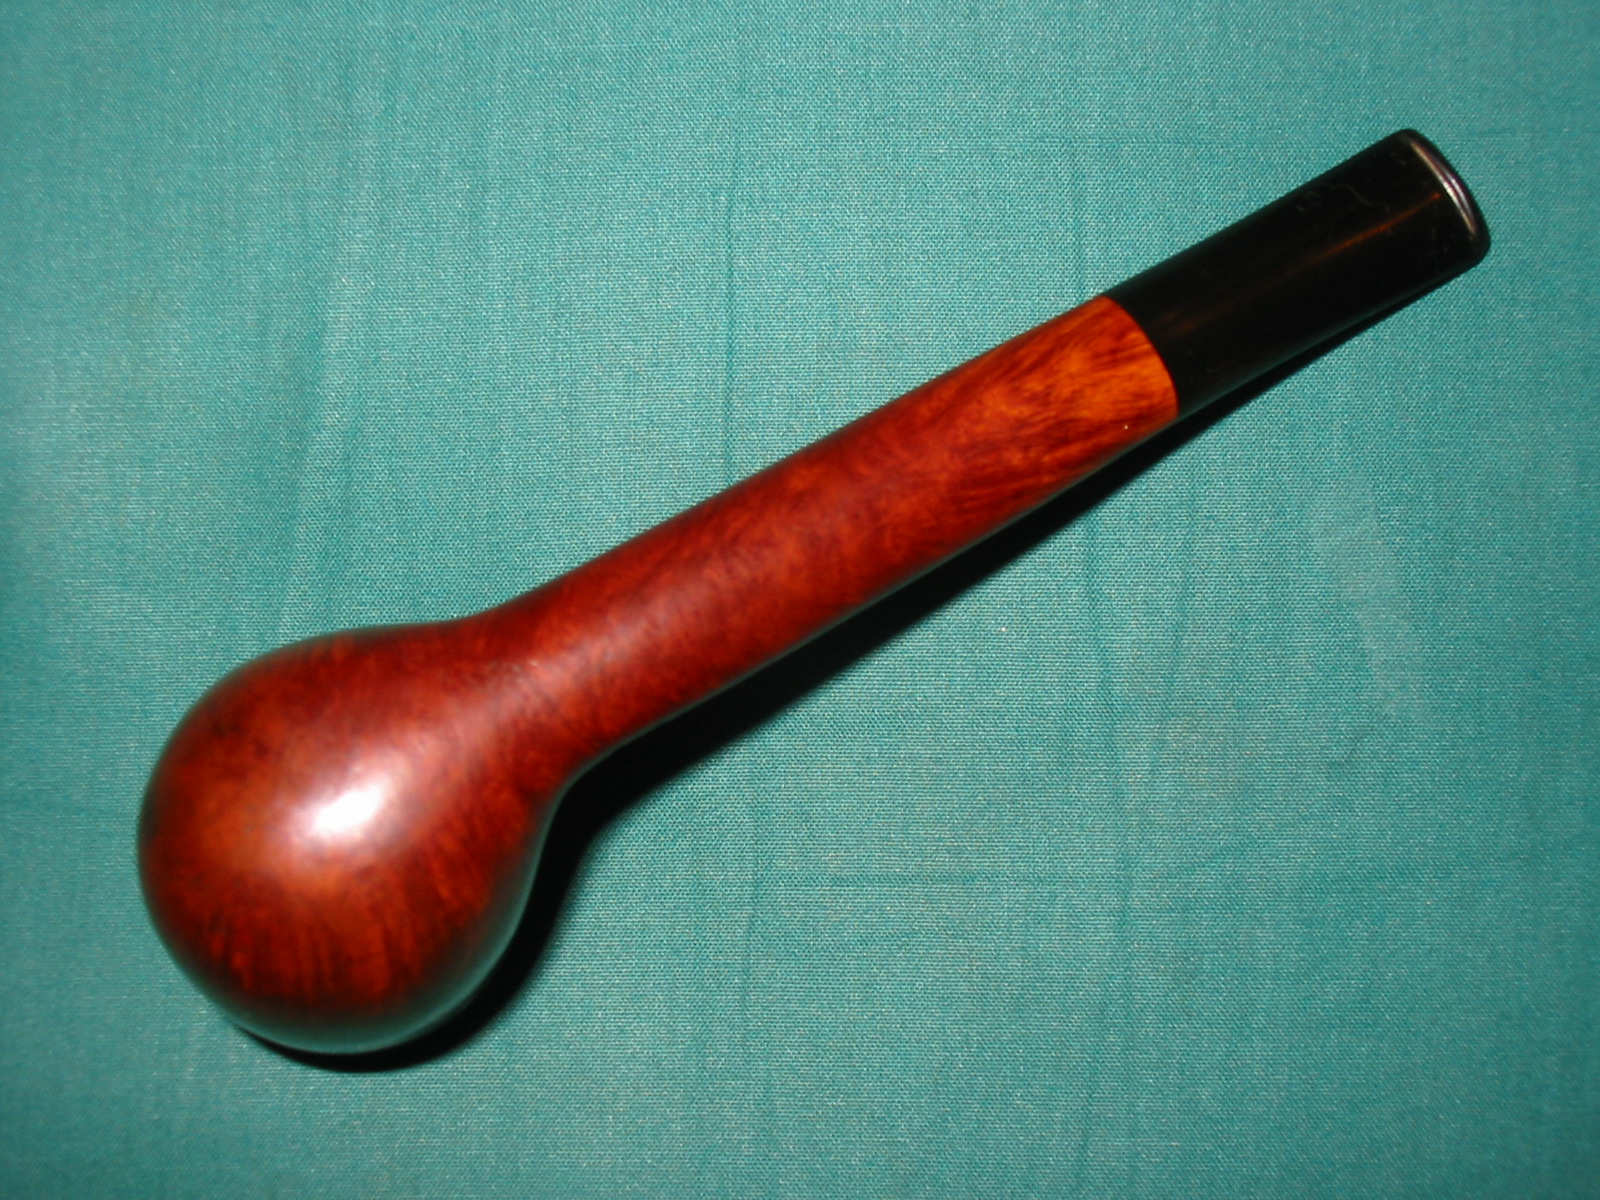

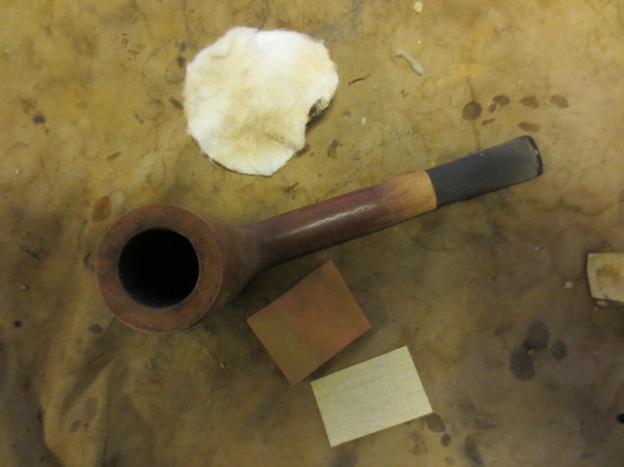
Some nice thick walls on that one!
LikeLike