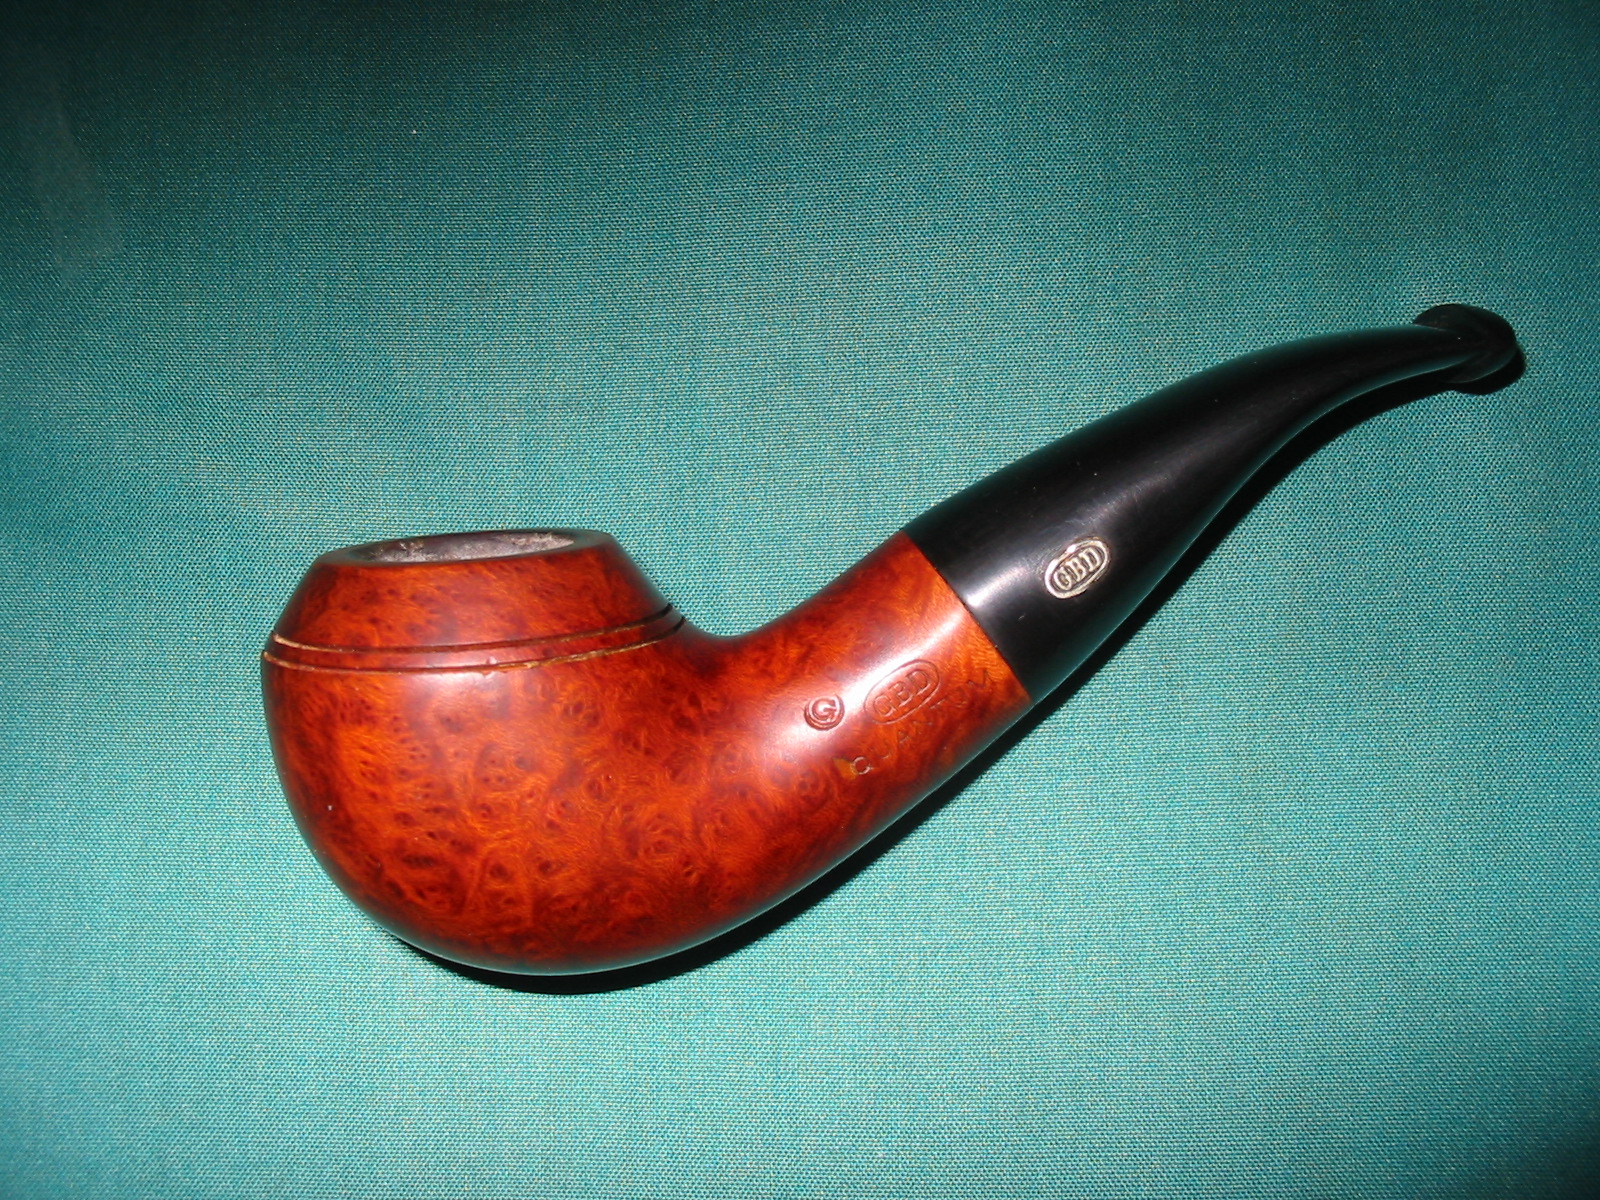
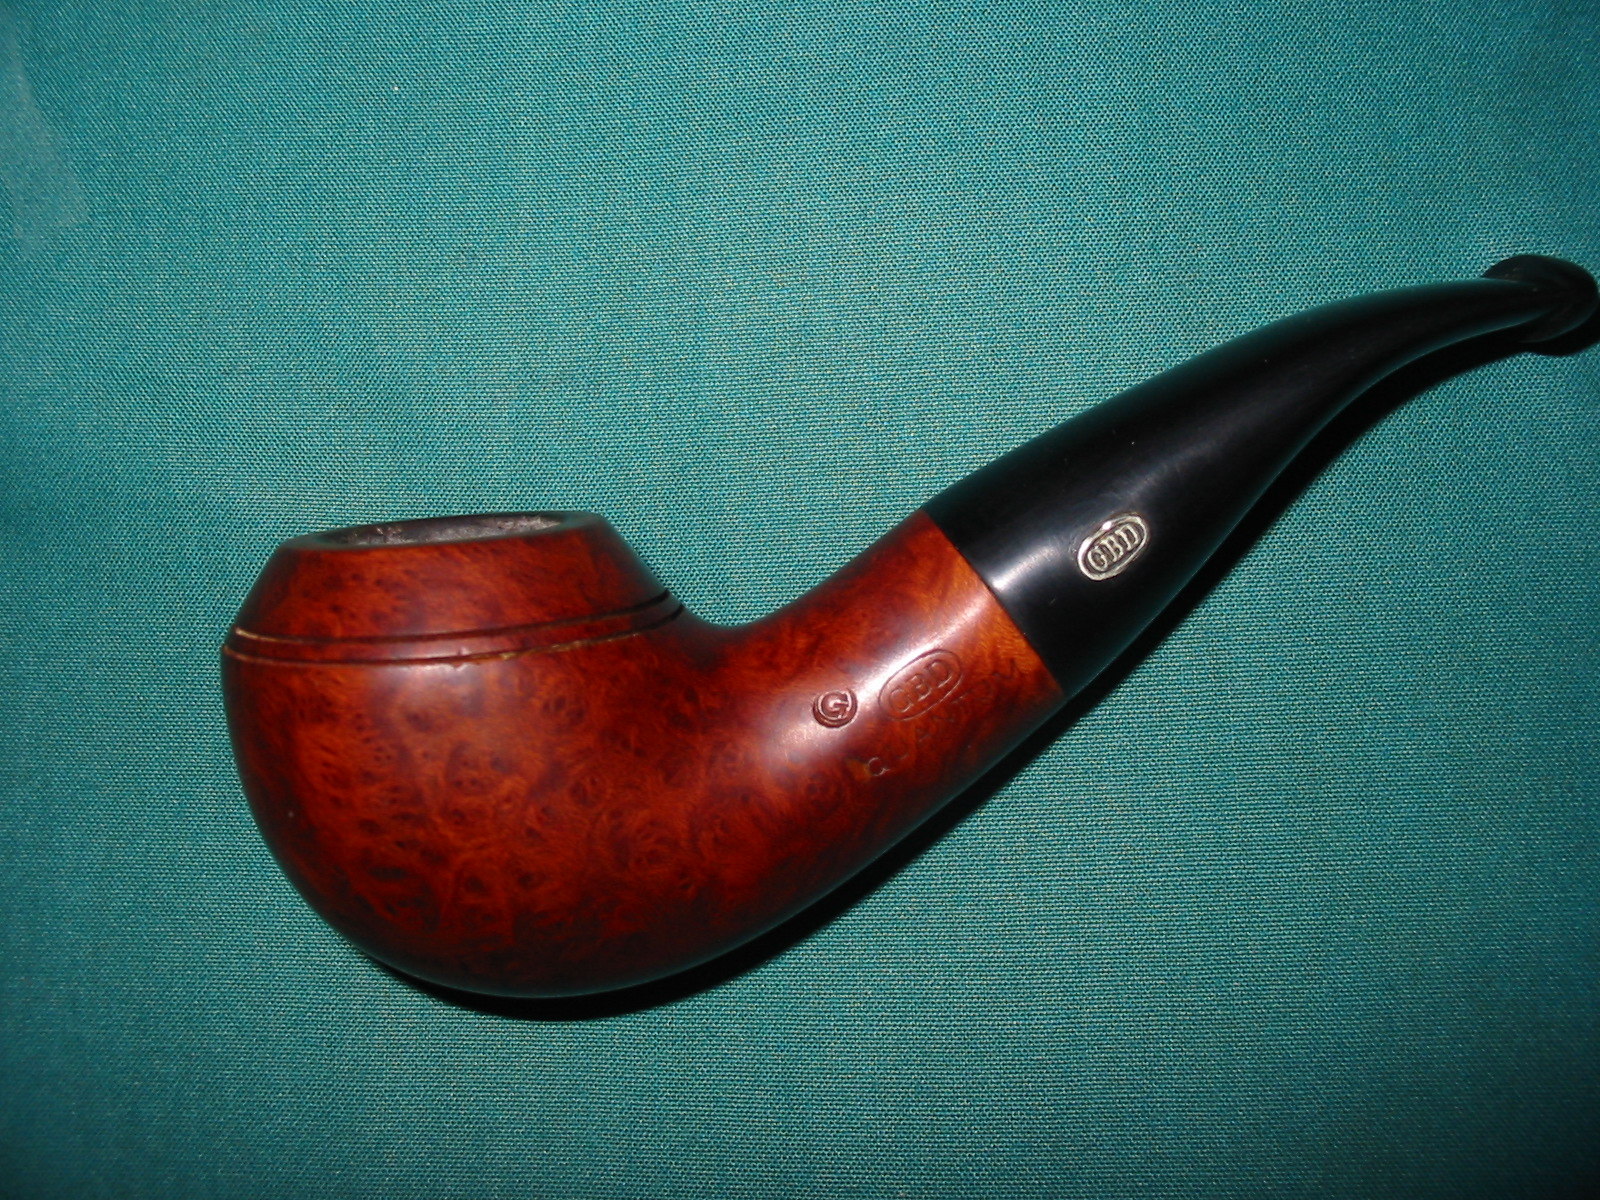
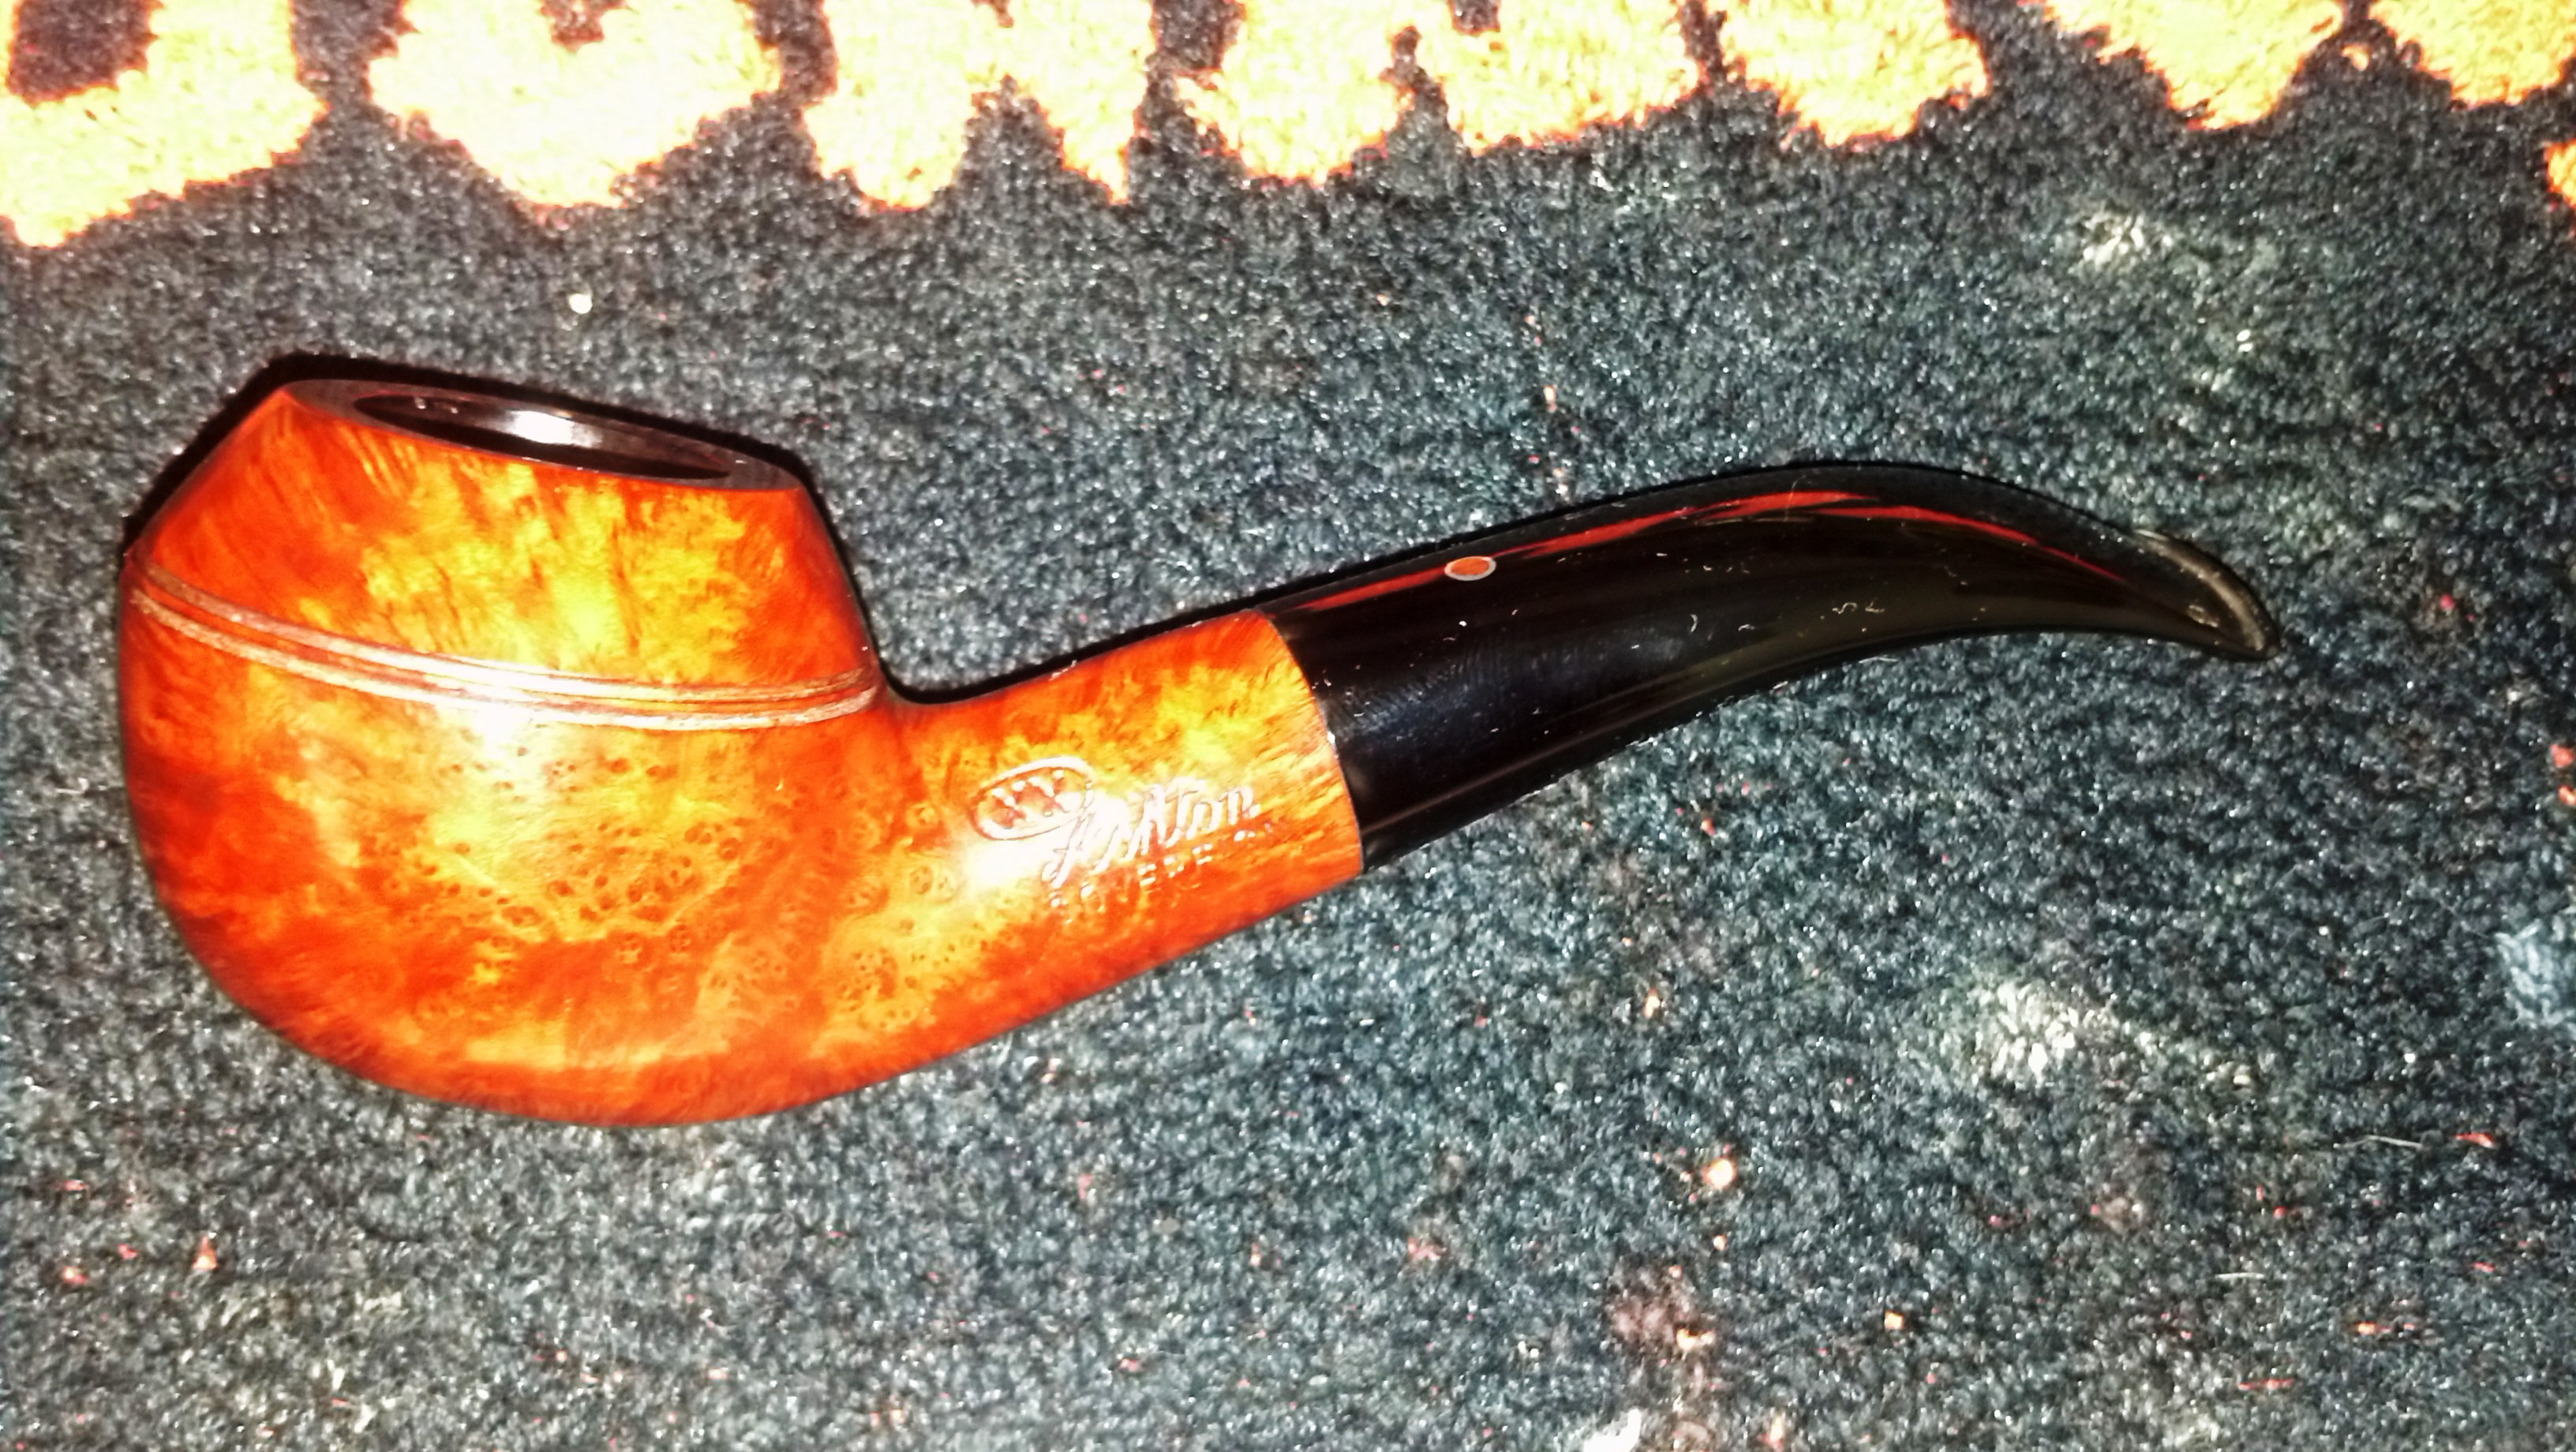
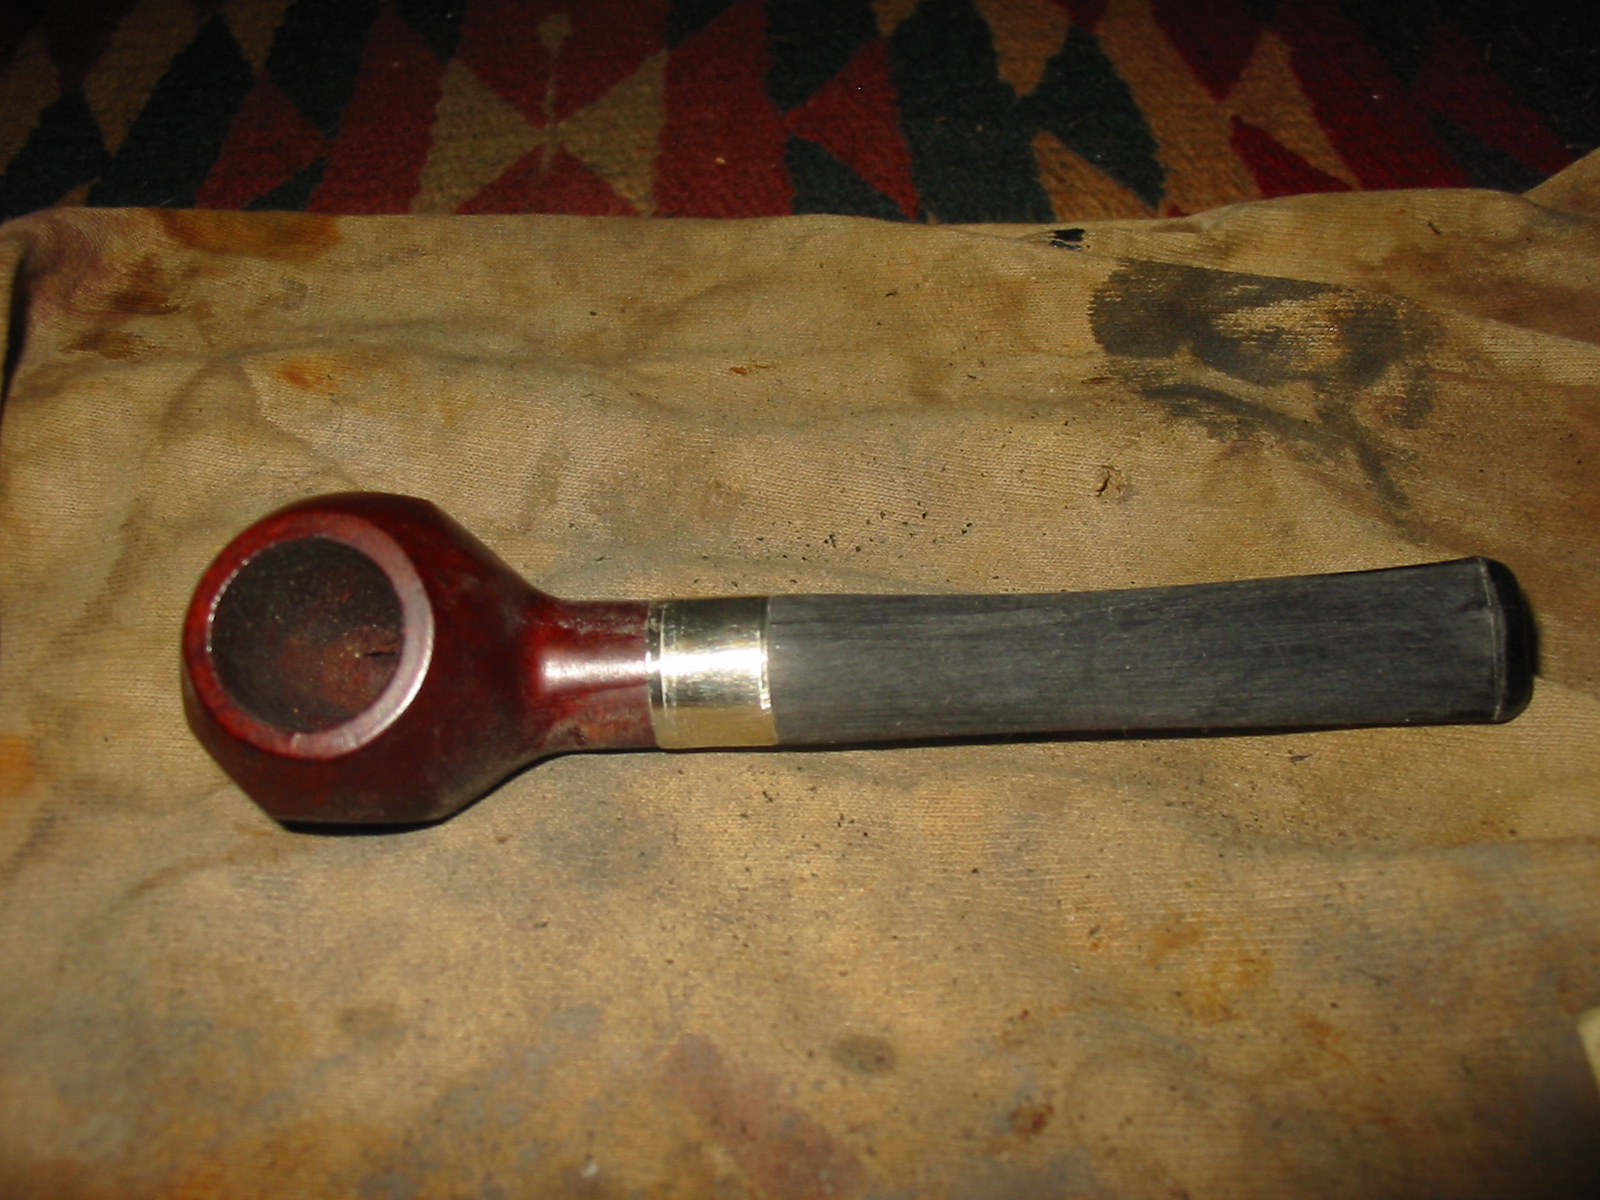
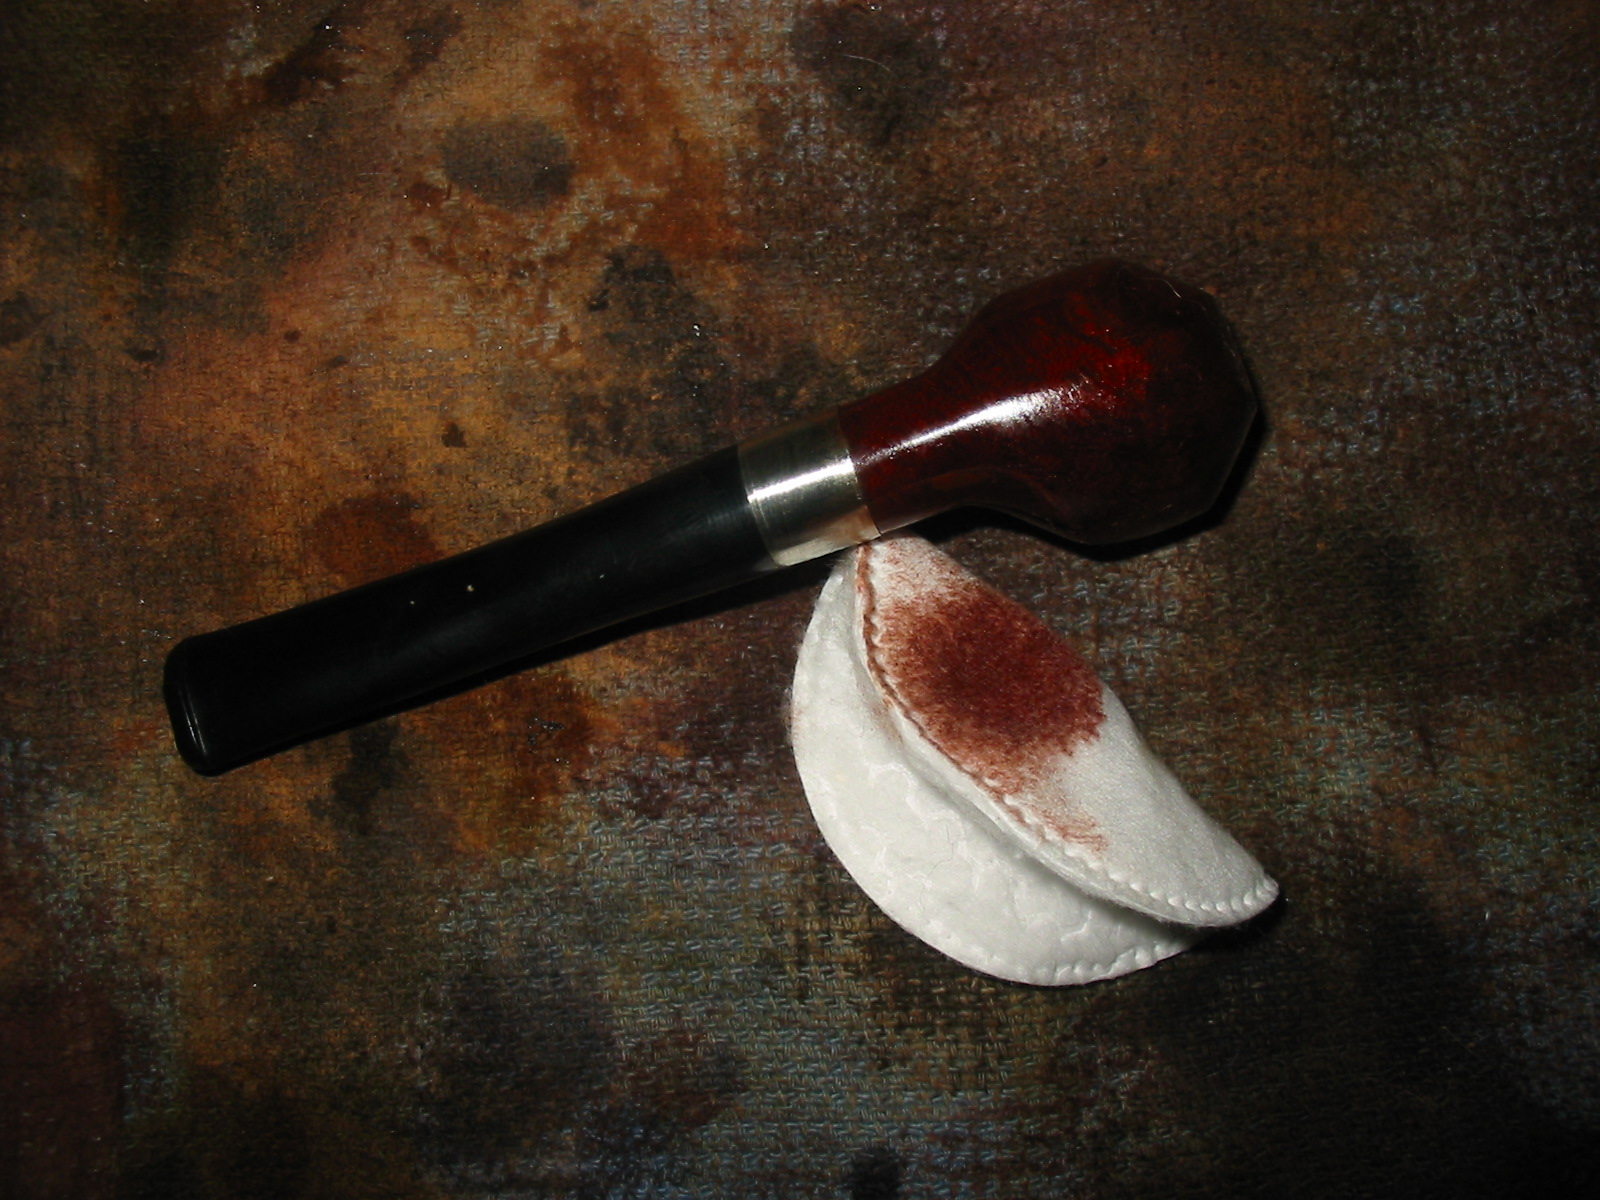
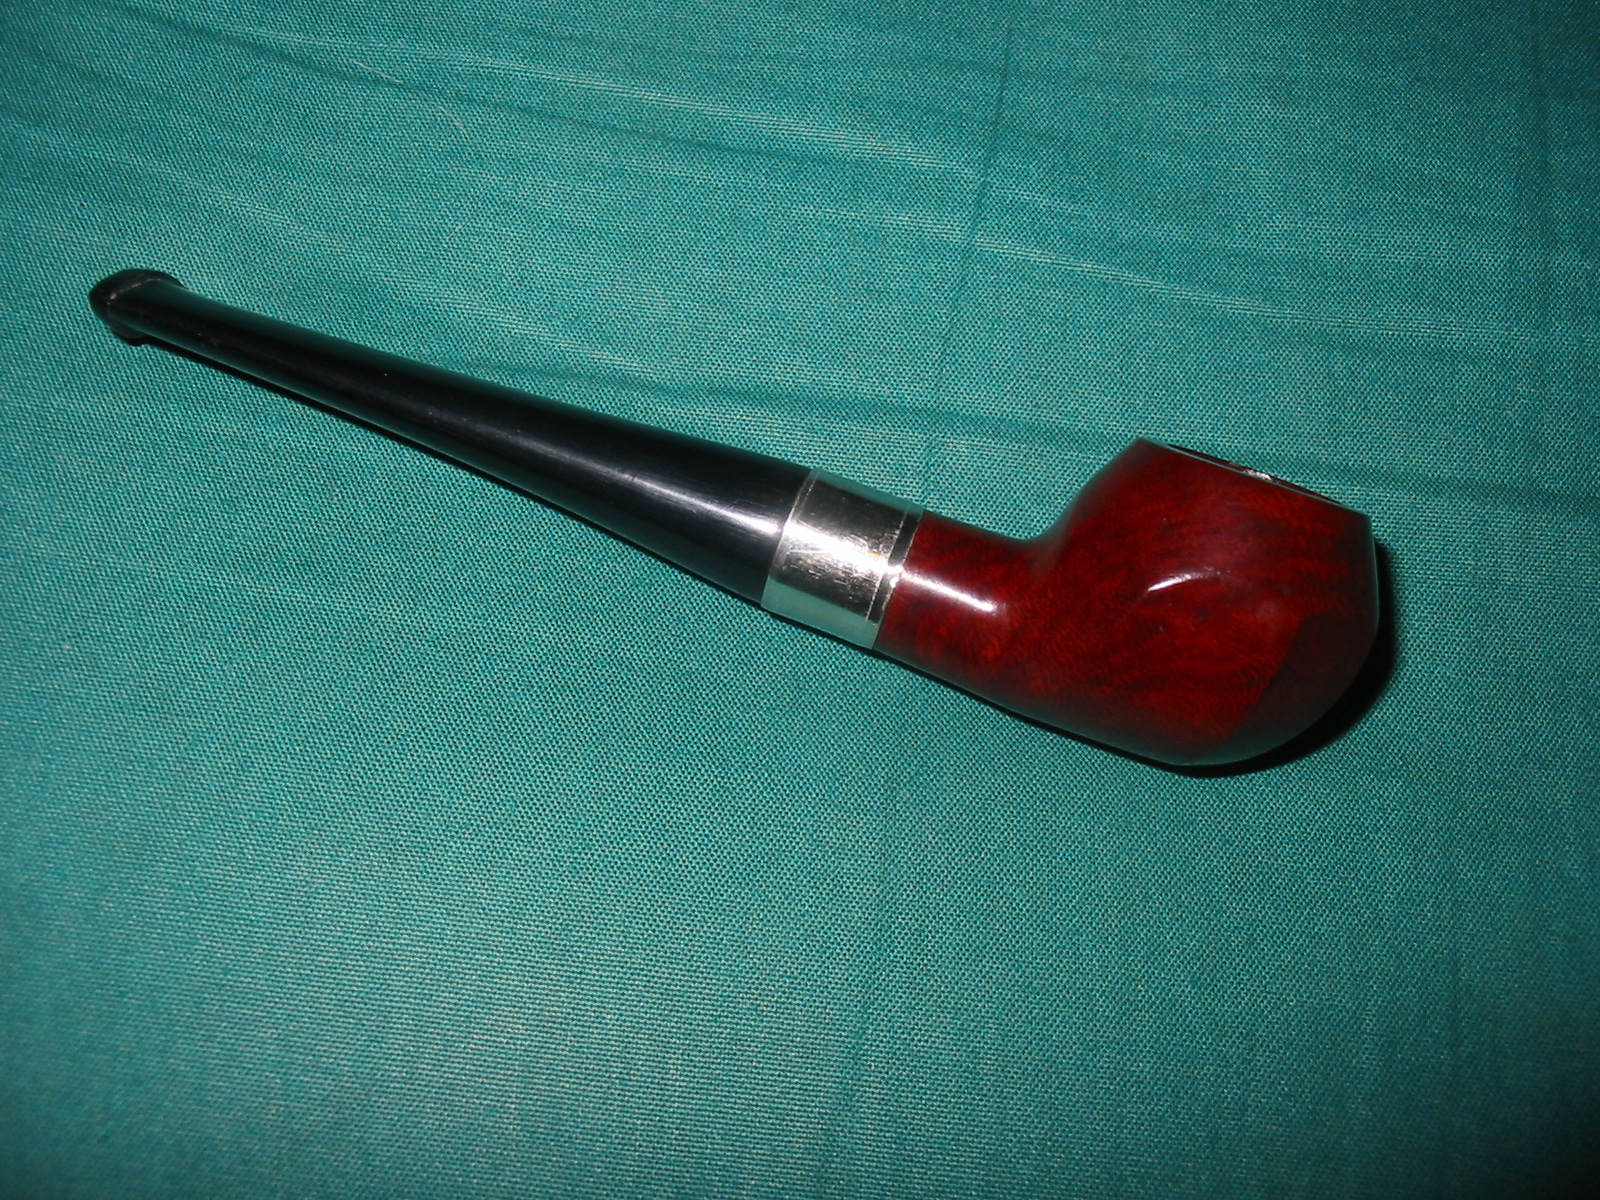
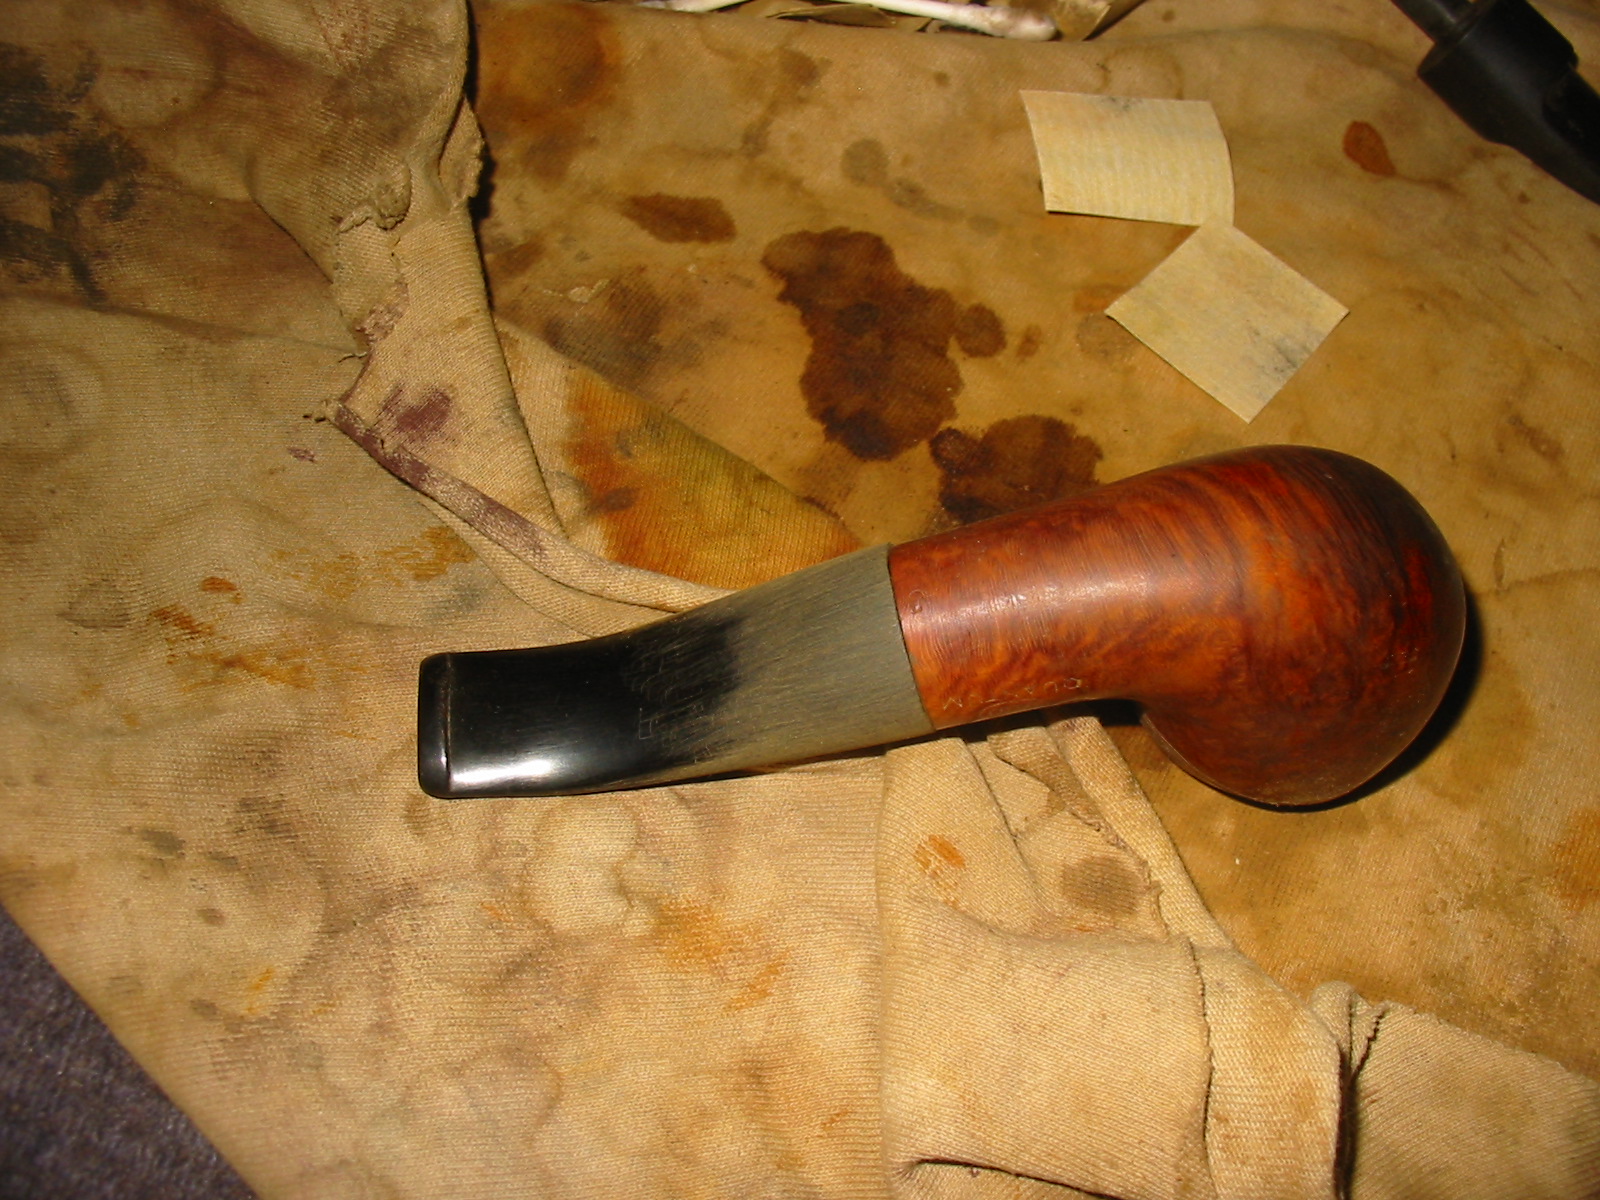
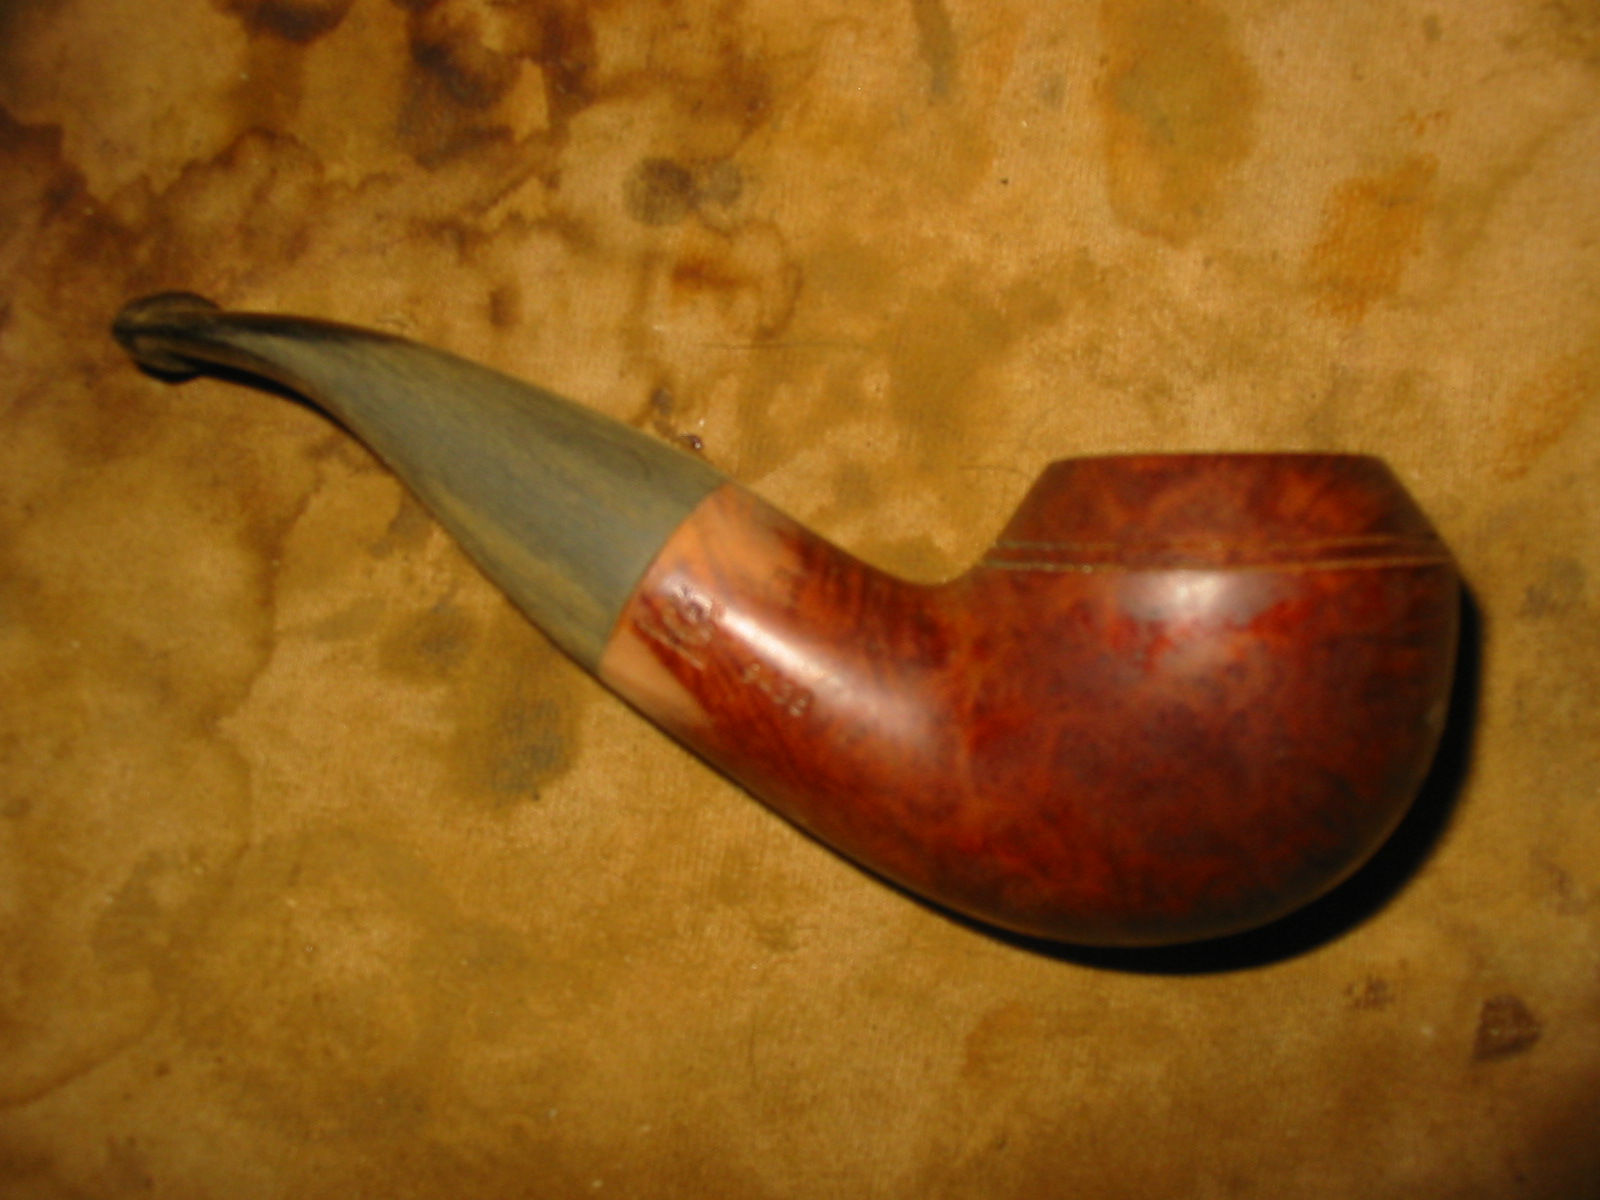
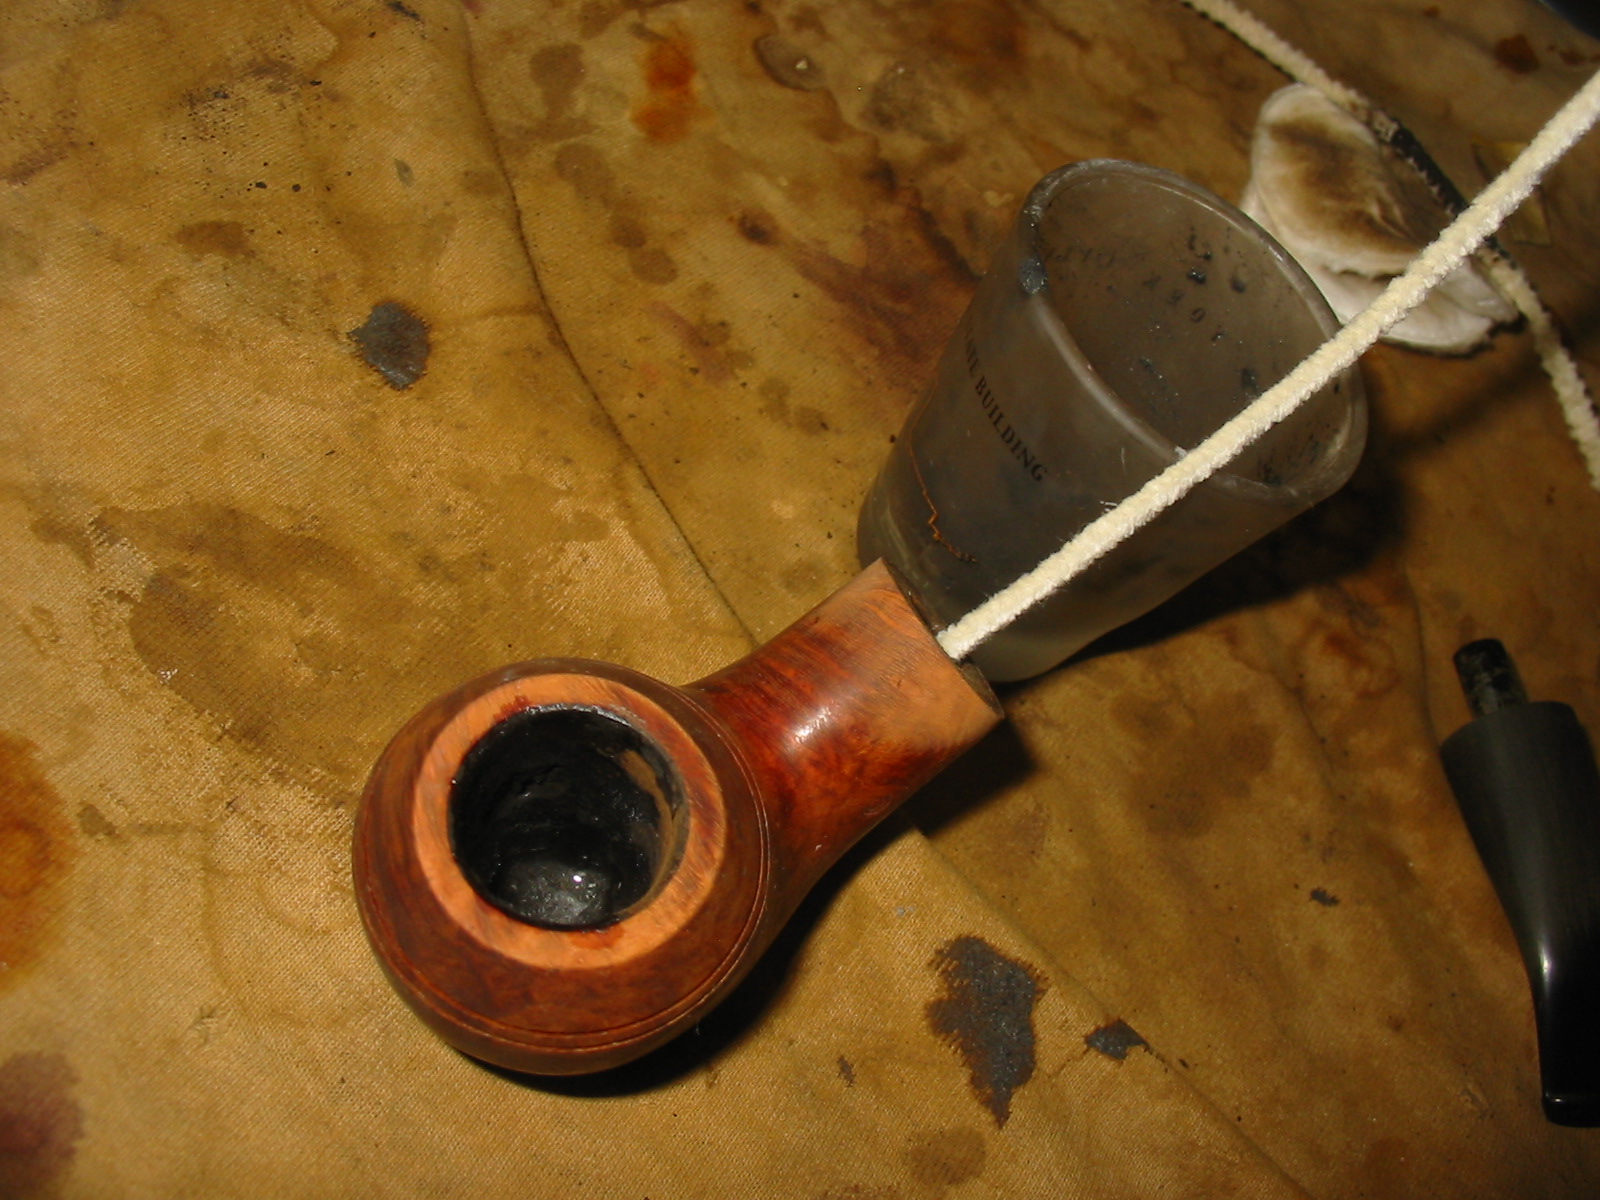
I am always on the lookout for Rhodesian shaped pipes and 9438s in particular. I have a few that I picked up before they became so sought after. So when I picked up this 9438 Rhodesian for $9.99 on Ebay recently I figured I had a deal. I am pretty sure that the reason for the low price was the condition of the stem and the look of the pipe in the photos on the sale. I was hoping that the bowl was actually in better shape than it looked. I knew that the stem was ruined and a real mess but the bowl looked like it had some life left in it. To me the price it was listed at made it worth bidding on and I won it. I had several possible solutions in mind for the pipe if the bowl was as salvageable as it looked. One possibility is that I have a terribly over reamed 9438 that I could salvage the stem from and utilize on this pipe. If that does not work, my second possibility is to make a new taper stem for it. At the moment I am leaning toward the taper stem. I have included the photos from the seller to give an idea of the pipe’s condition.
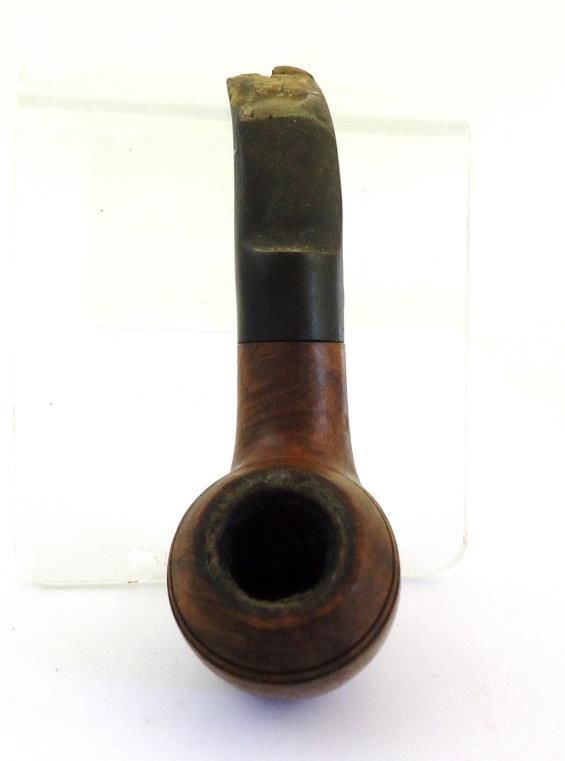


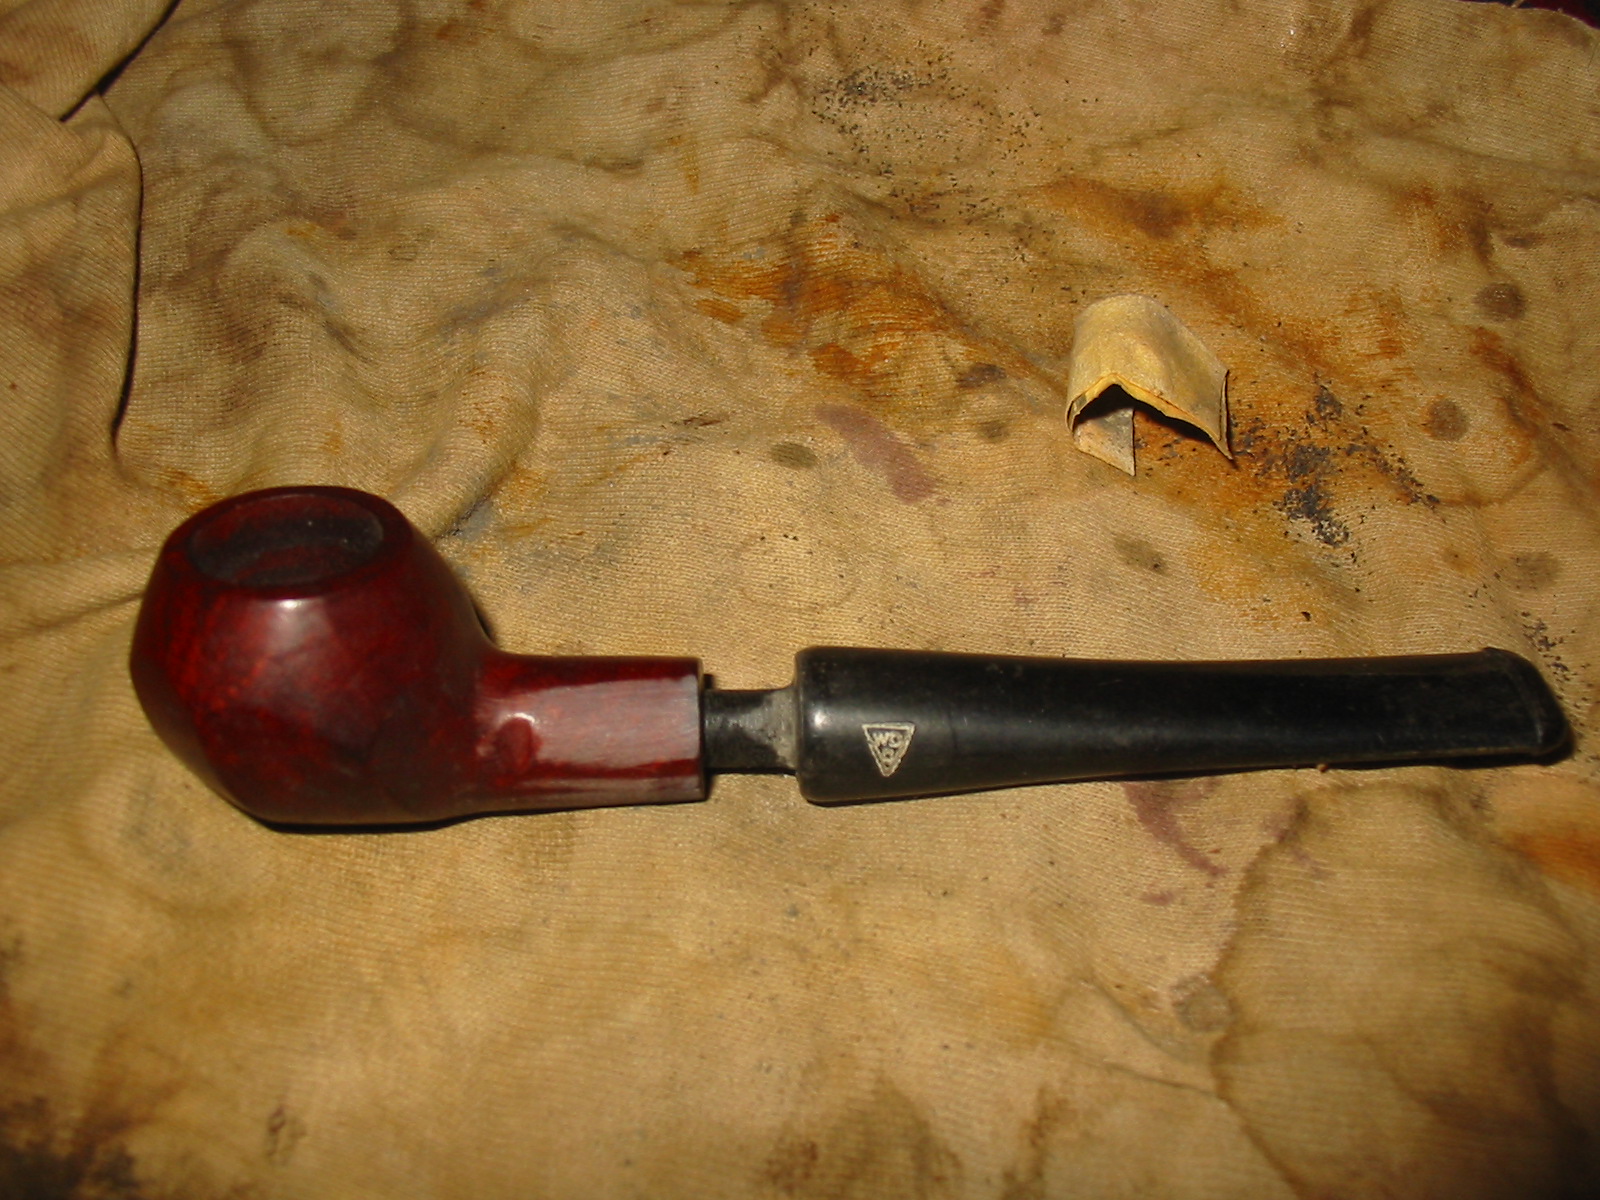
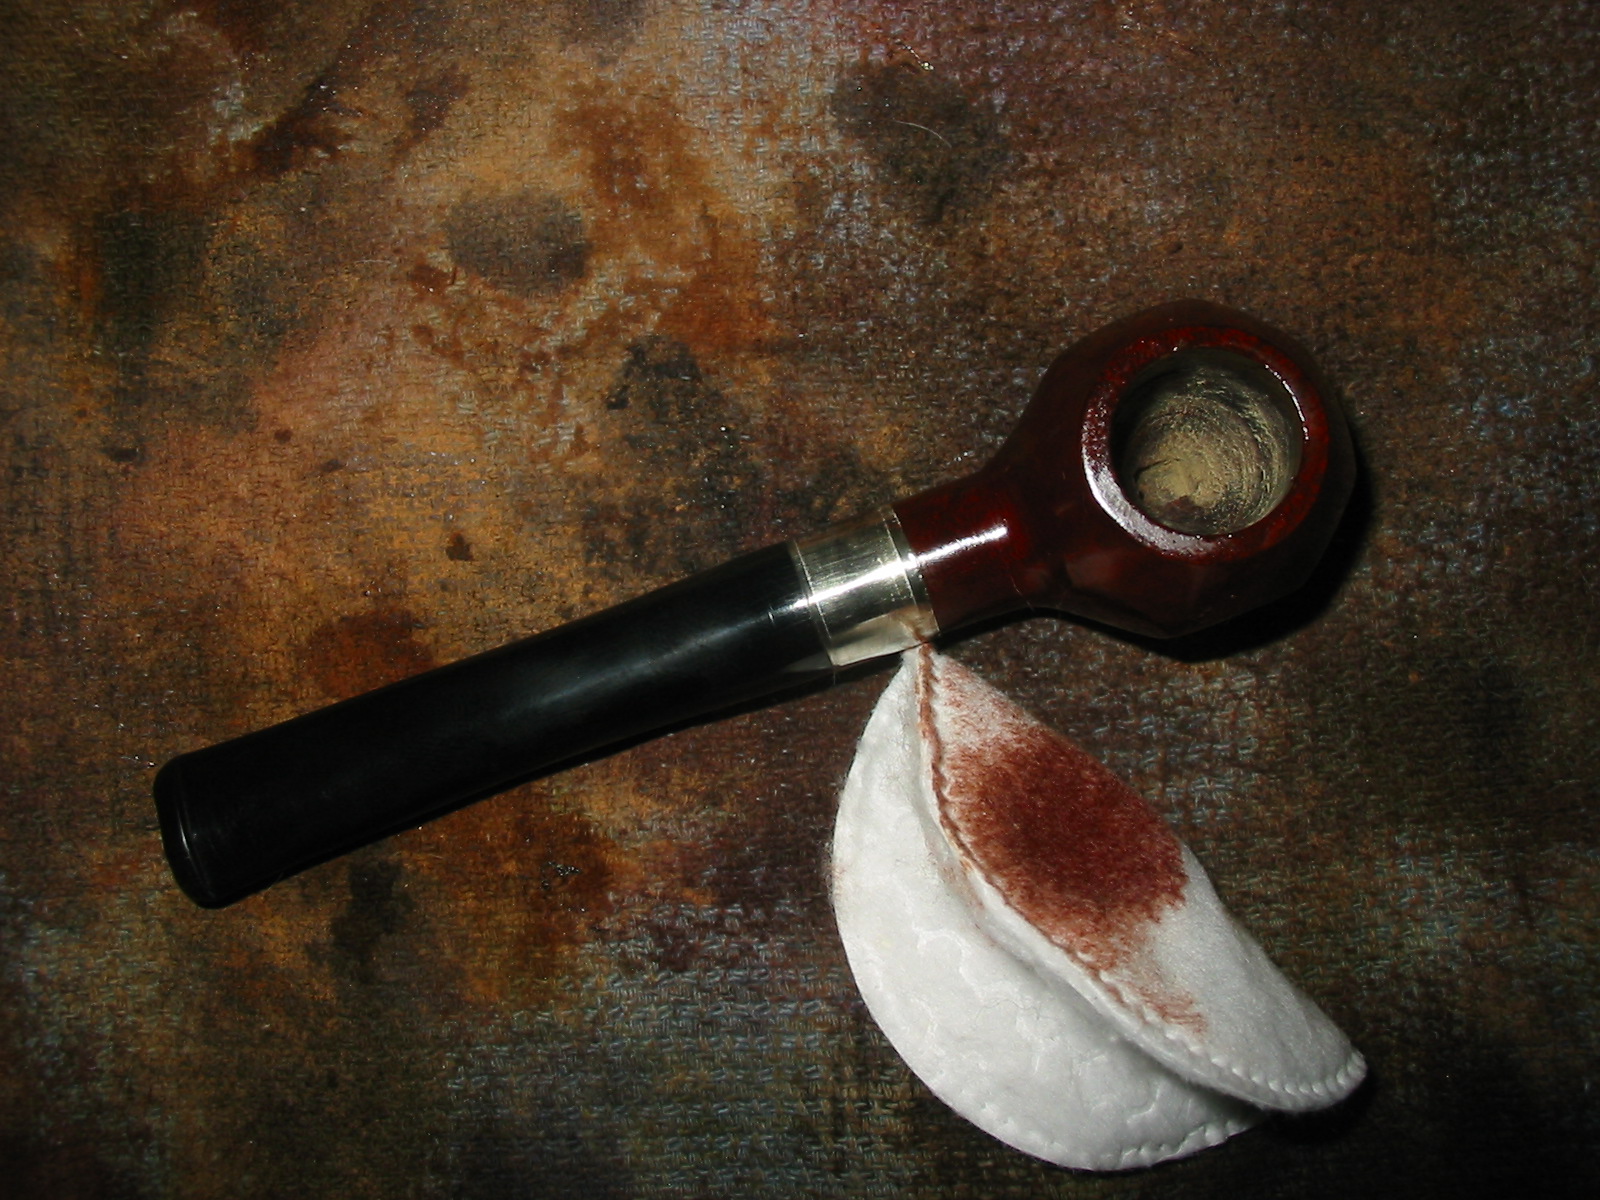
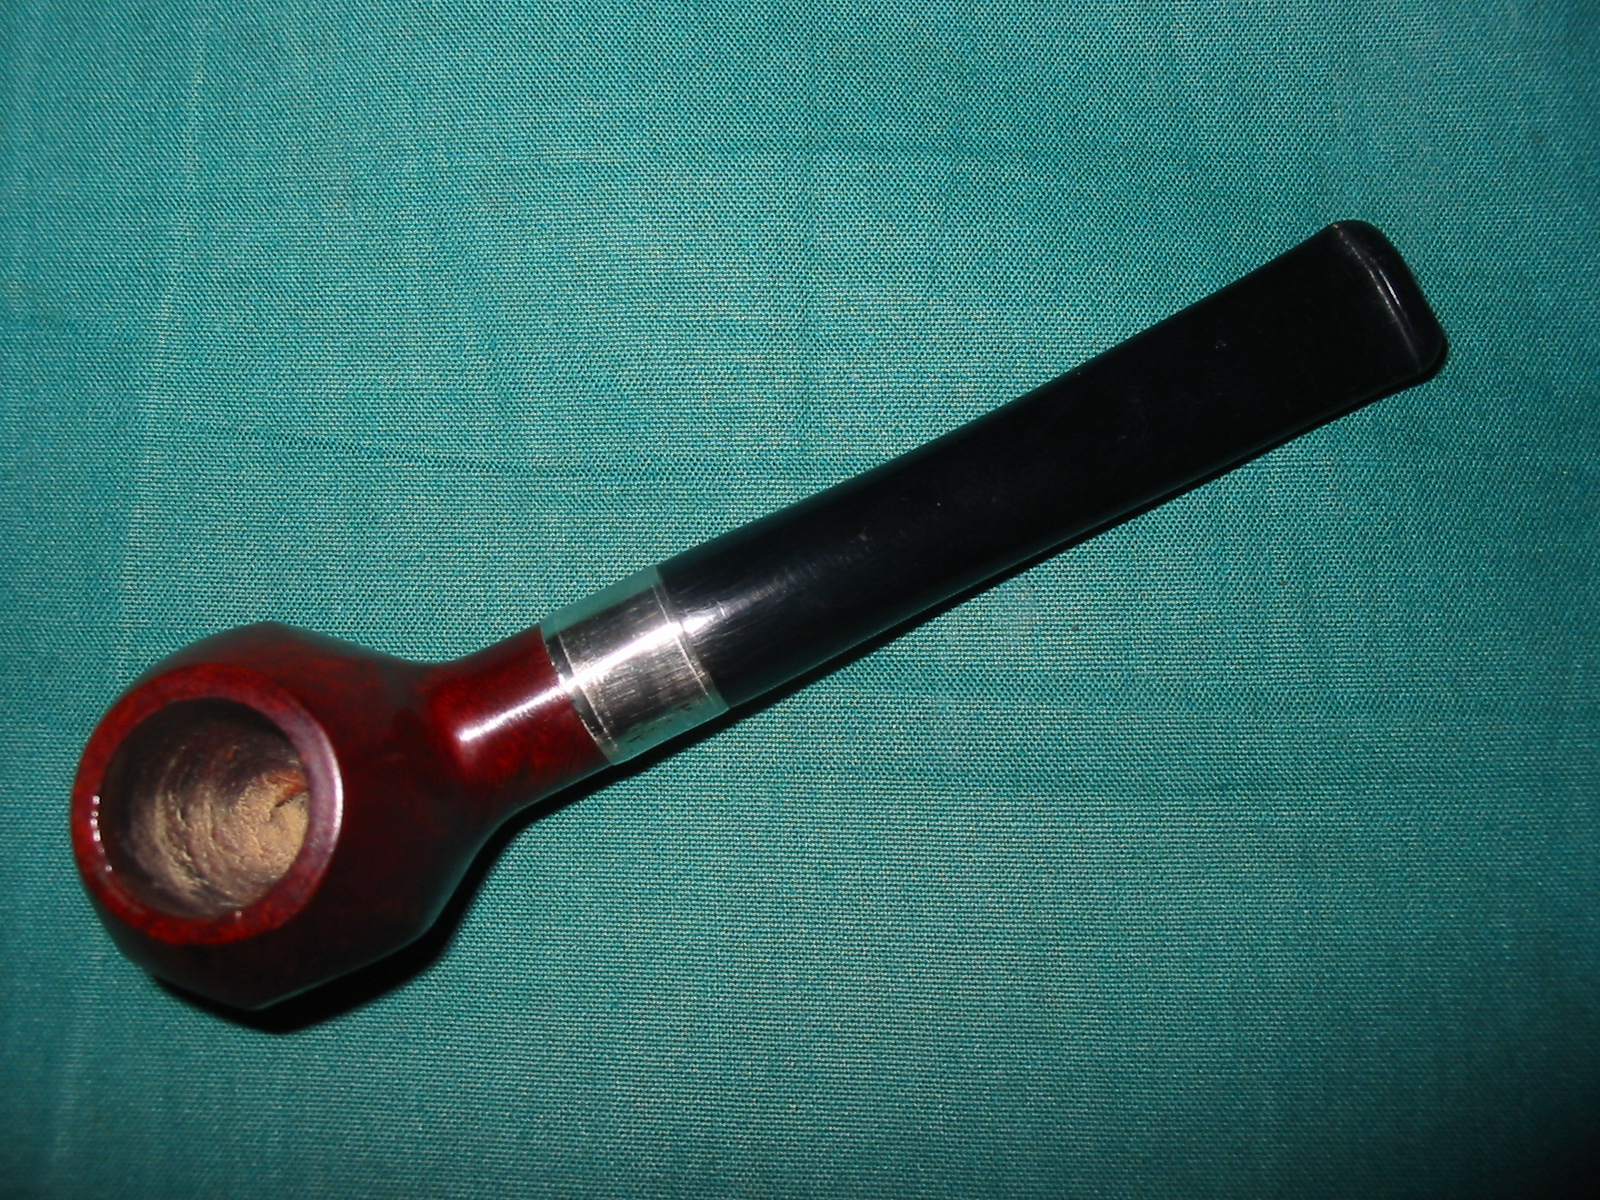
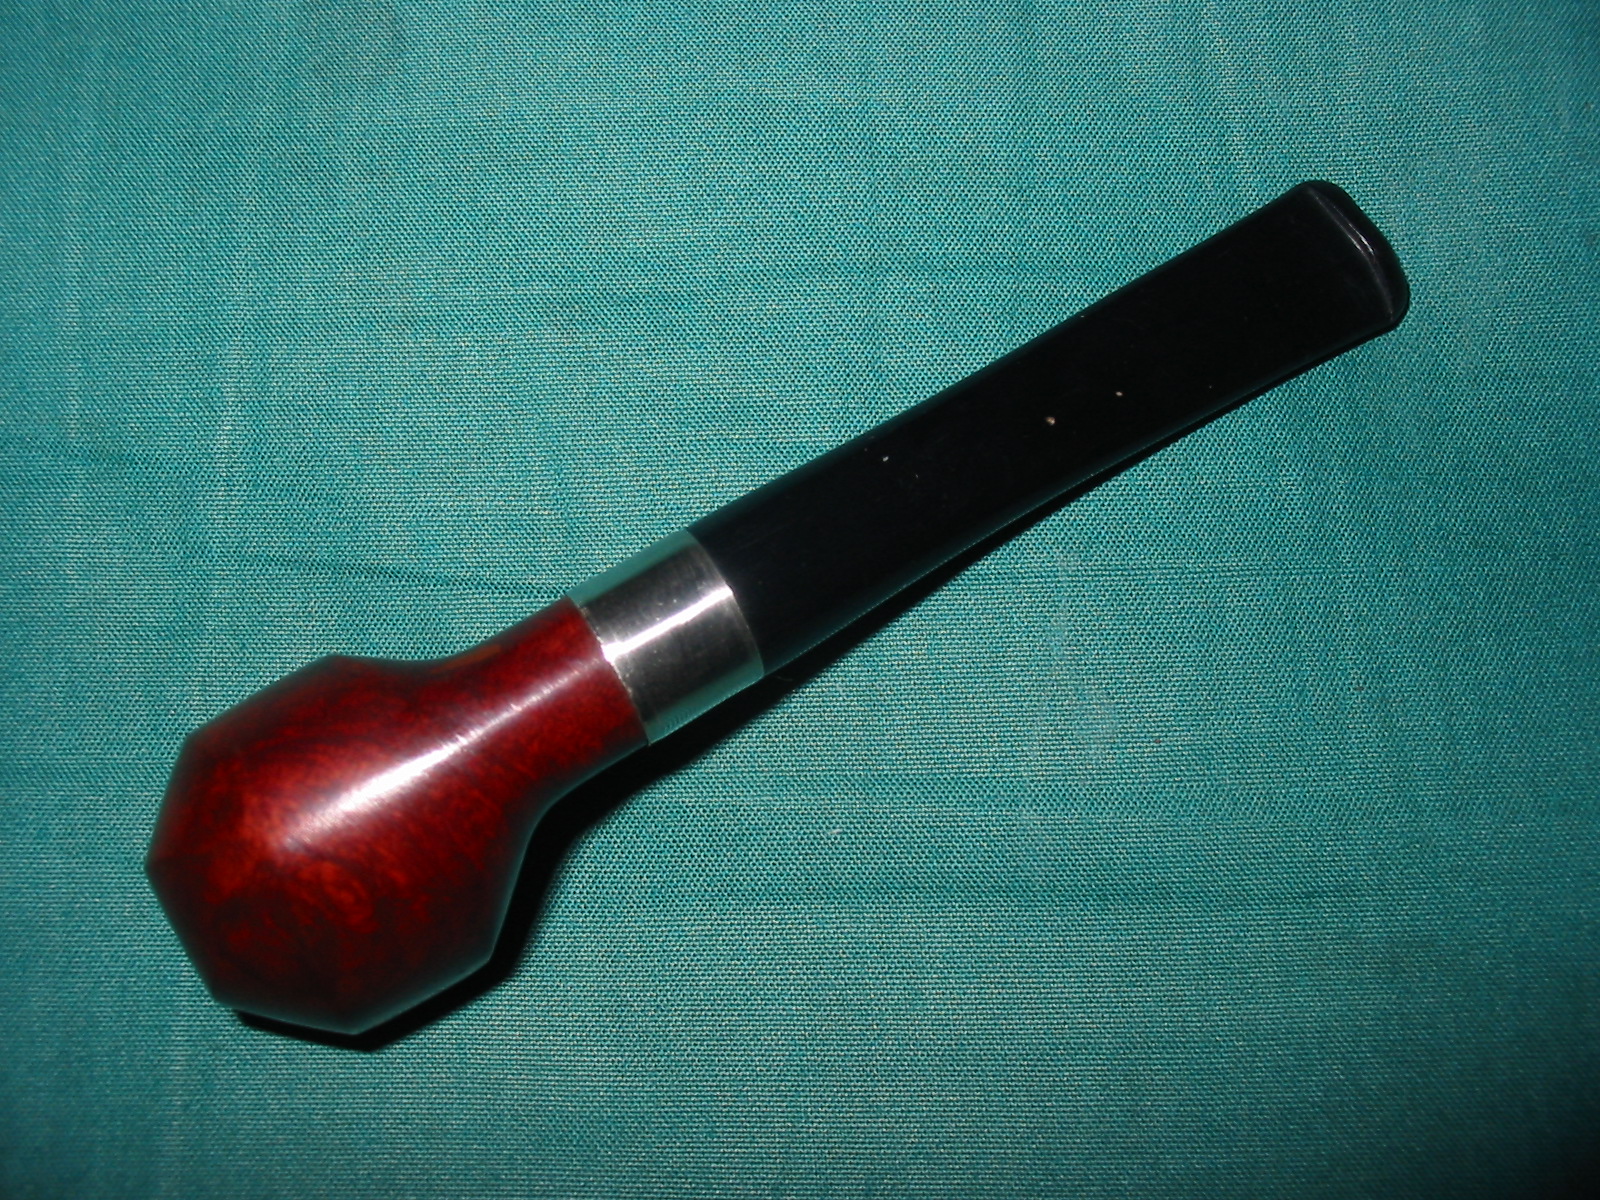
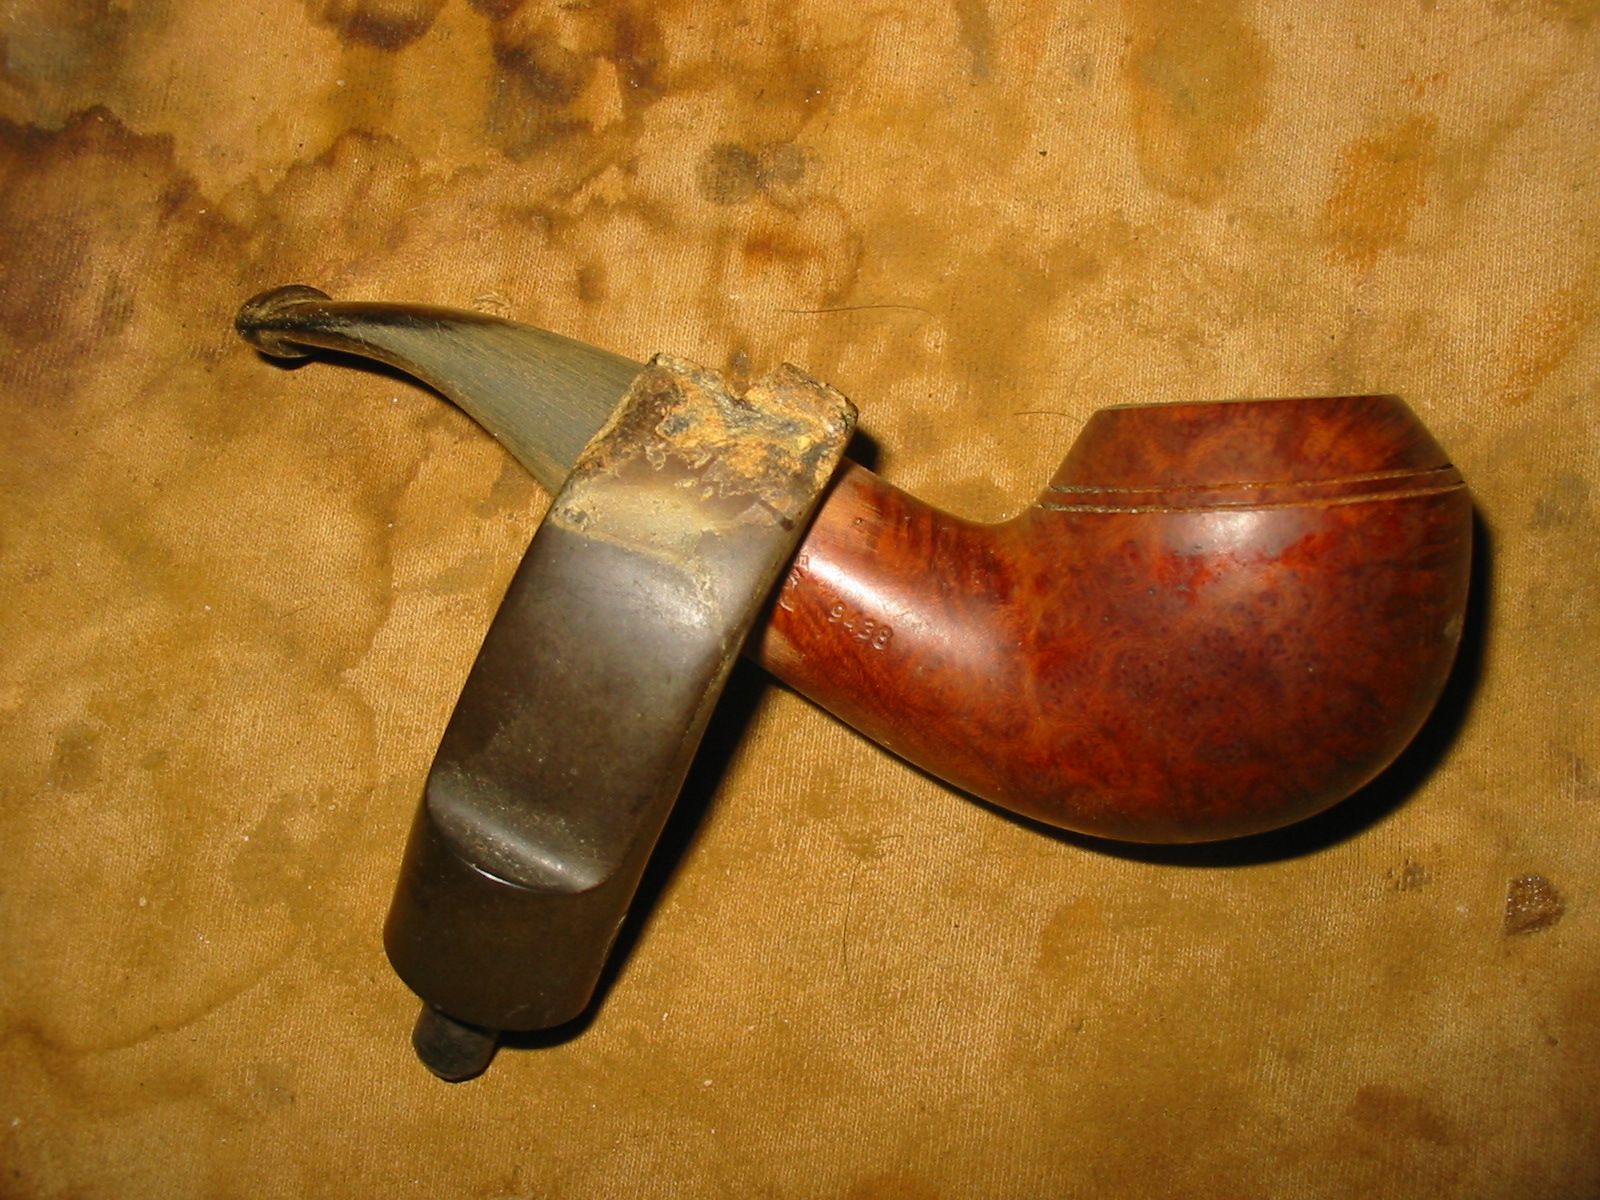
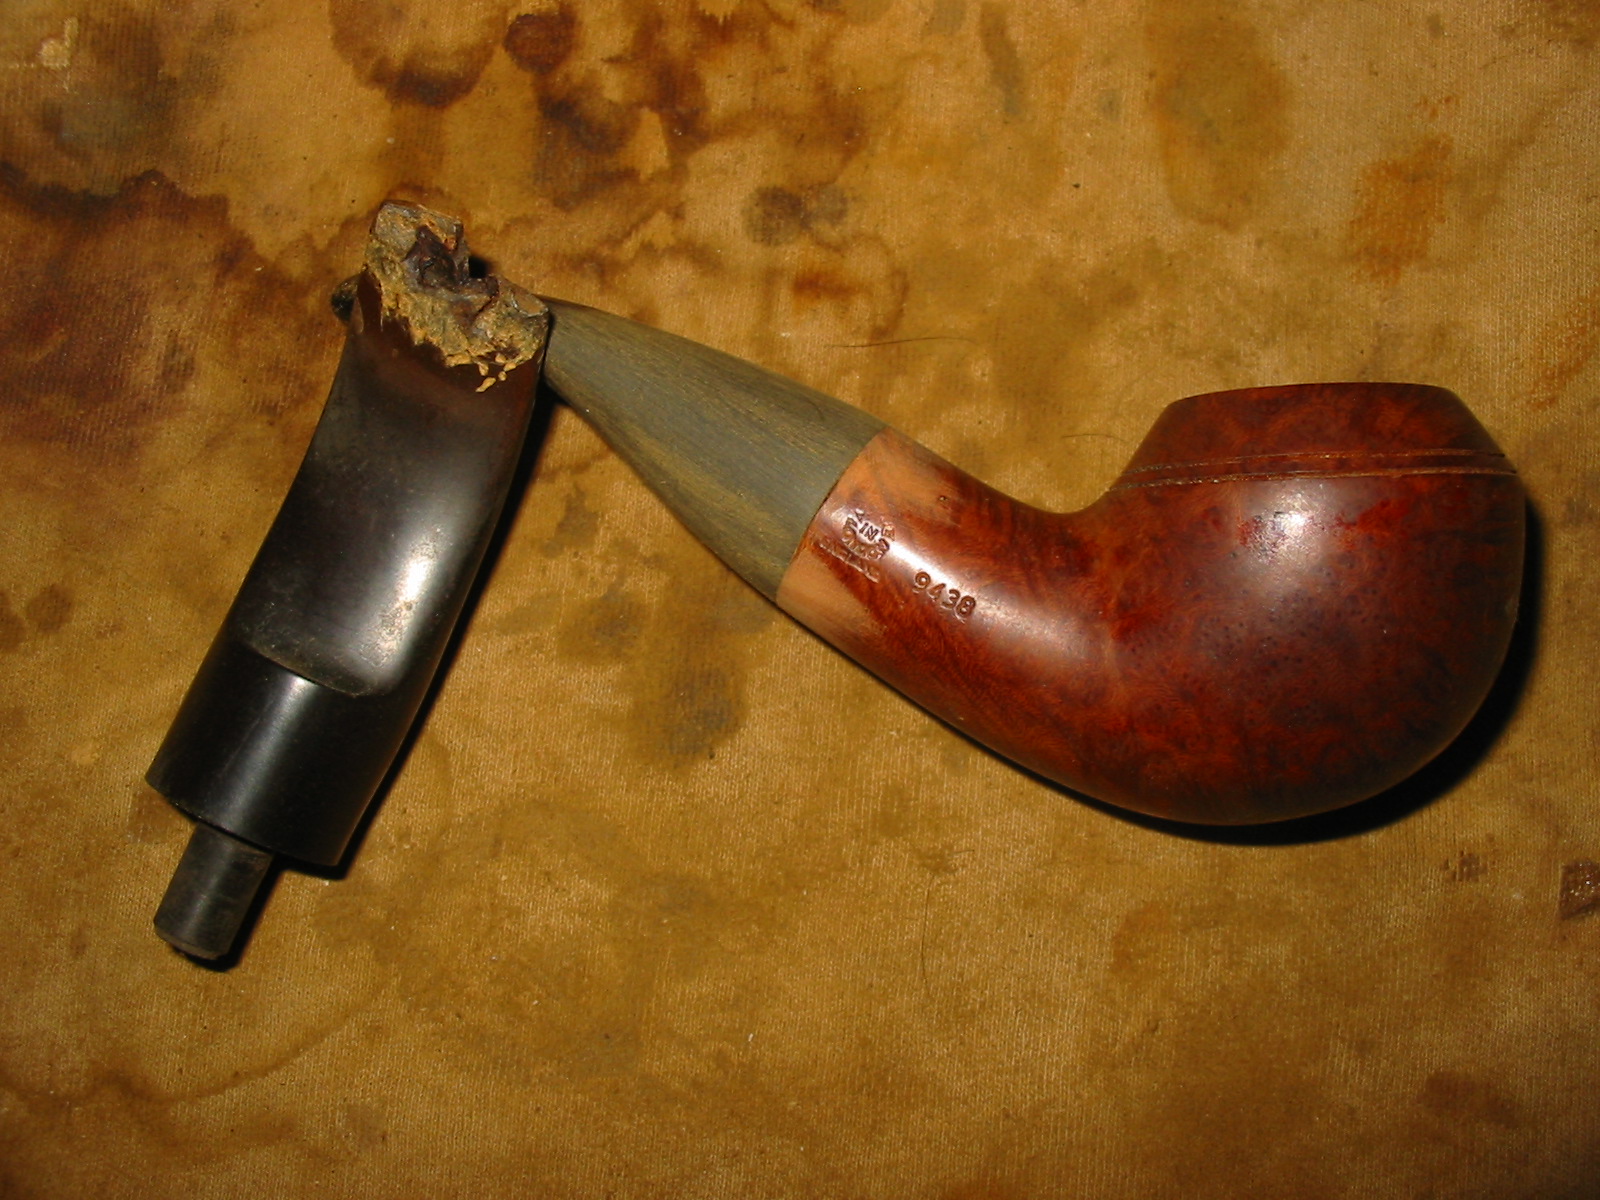
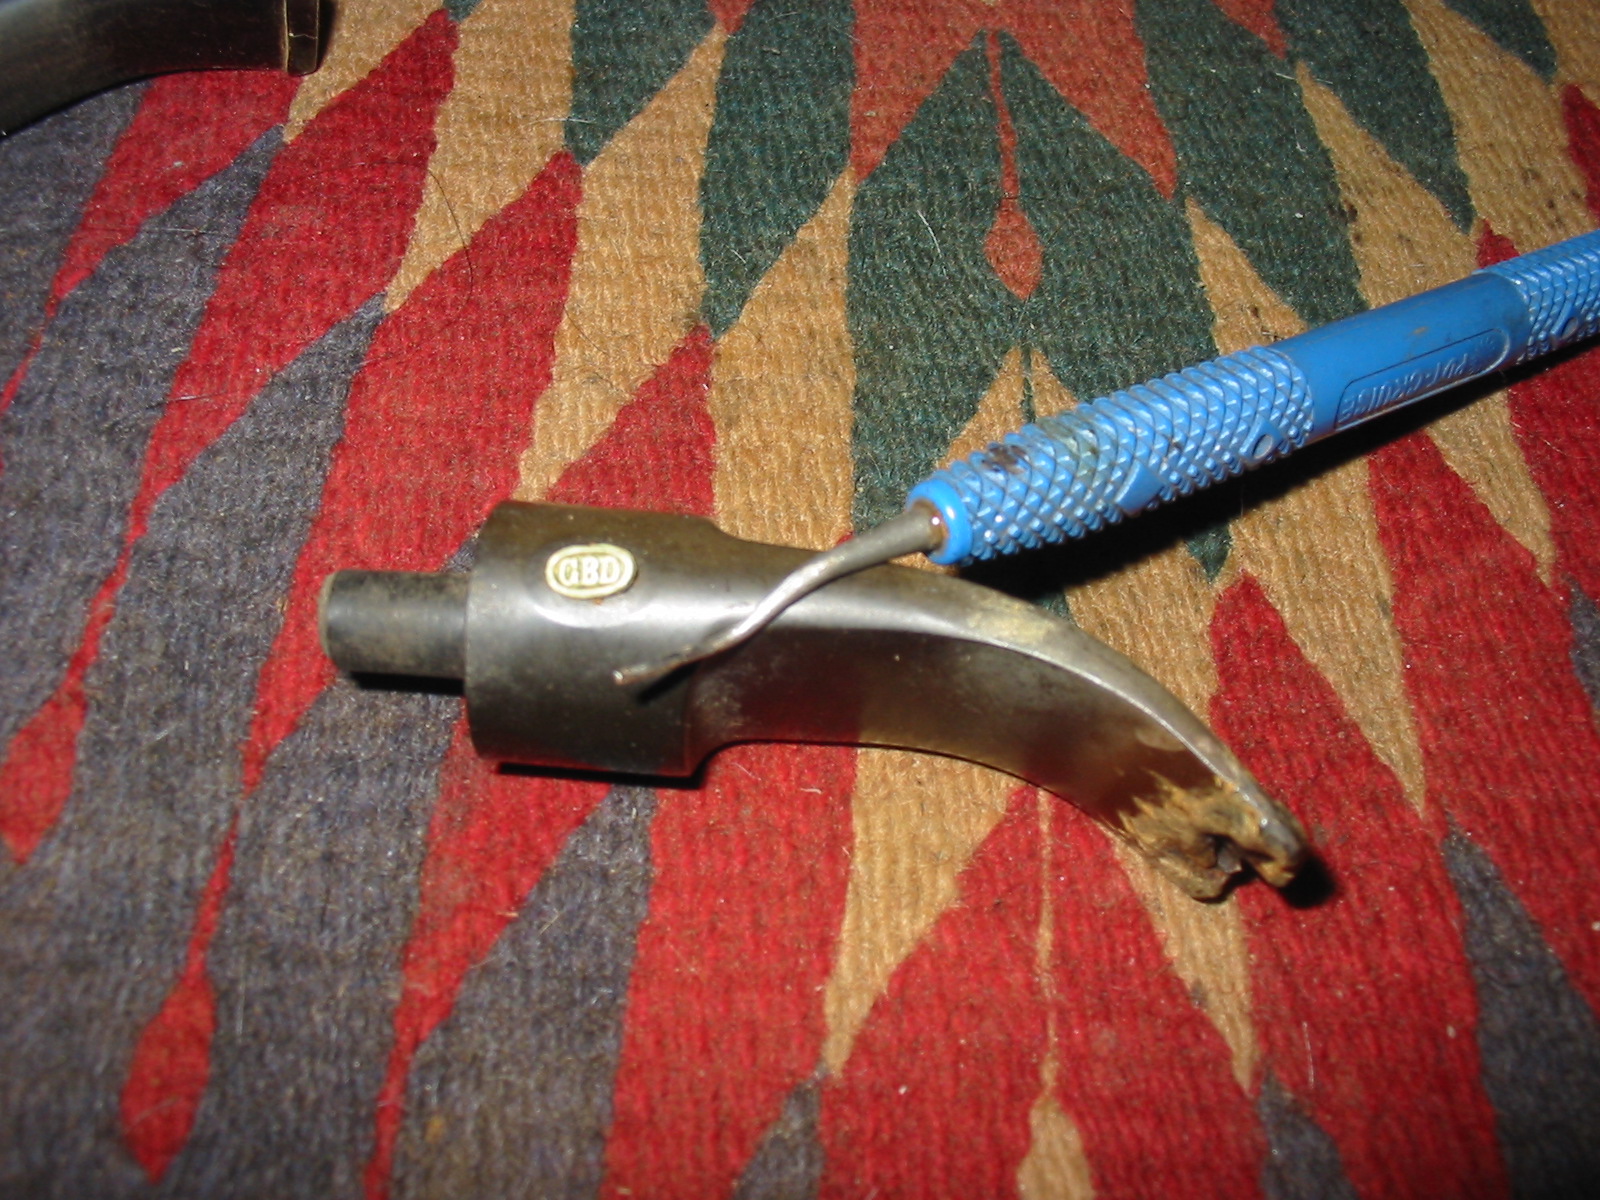
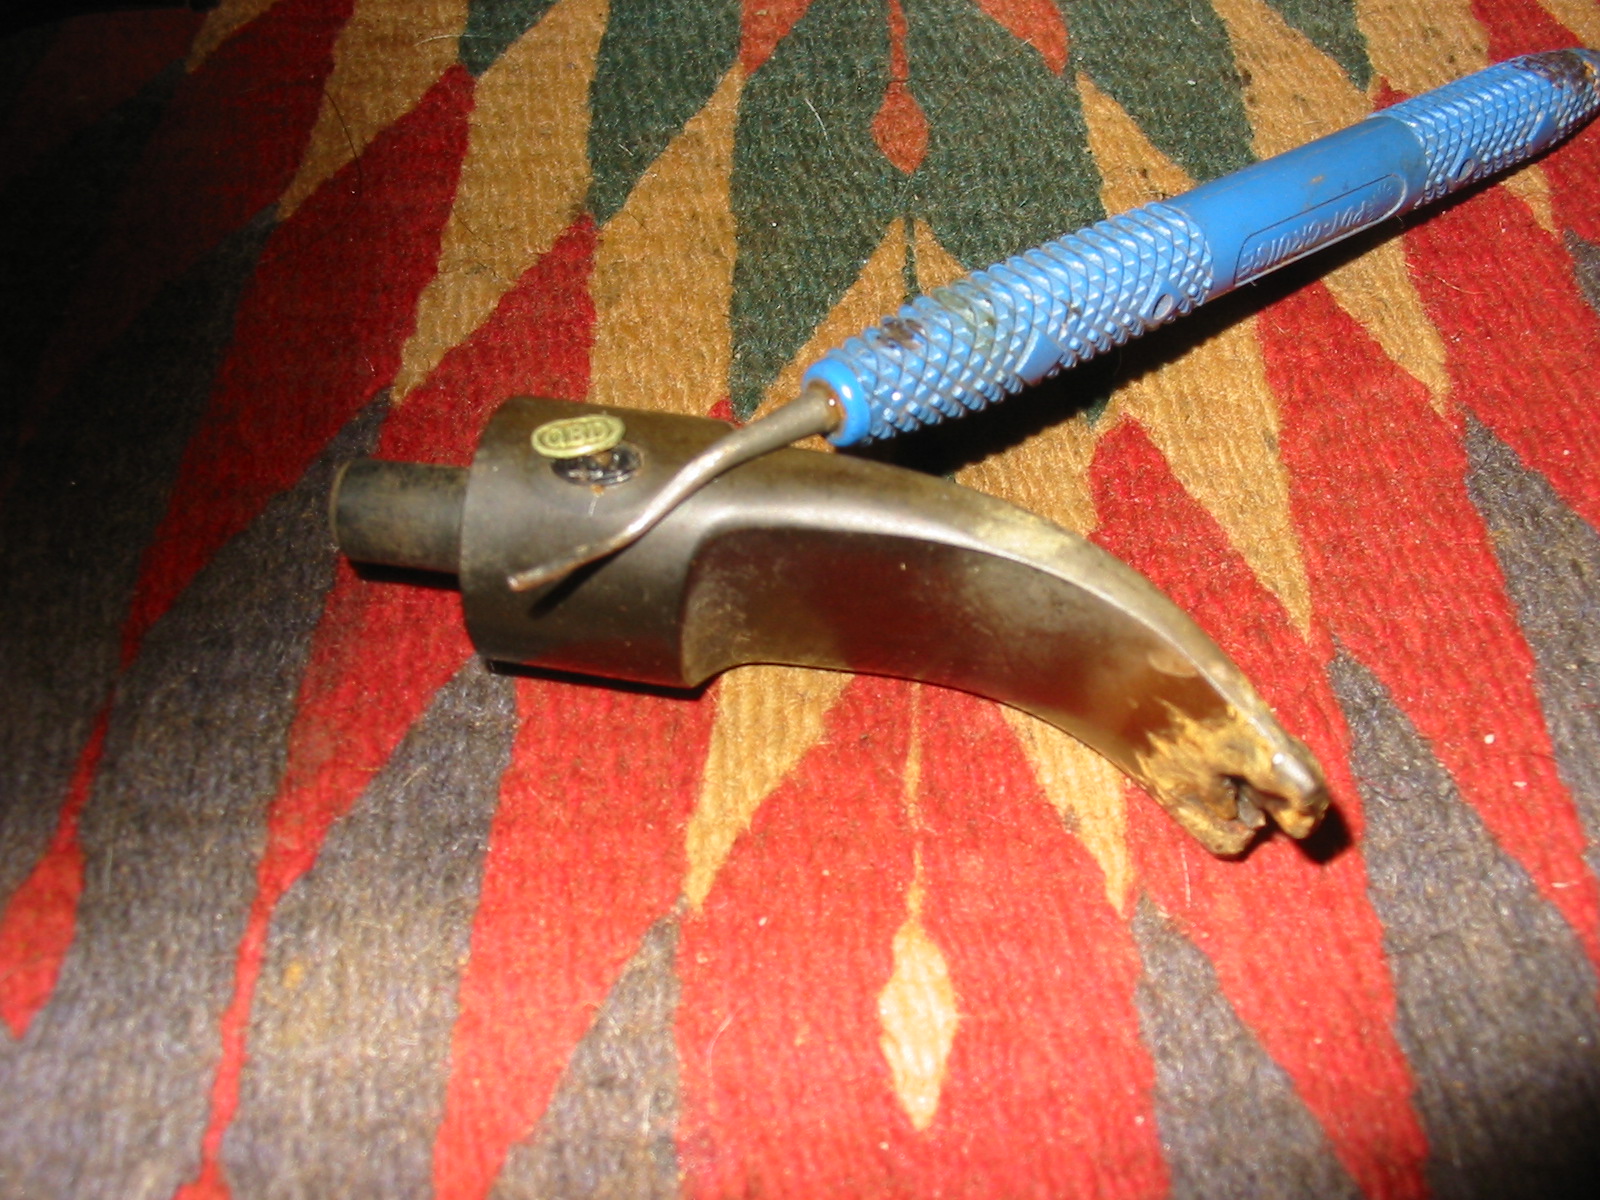
When it arrived it was in worse shape than the photos alluded to, if that is possible. The bowl was badly caked and the rim was caked and slightly scorched. That part was actually not a big issue to me. I could easily take care of that. The finish was shot as expected so that was no surprise. But the stem was not only chewed and broken but also was quite brittle. It was almost as if it was rotted. To cut it off back to the solid material would make the stem very short and stubby. There were also no guarantees that the rest of the stem was not in the same condition once I removed the ruined portion. The shank was dirty and there was a lot of build up inside.
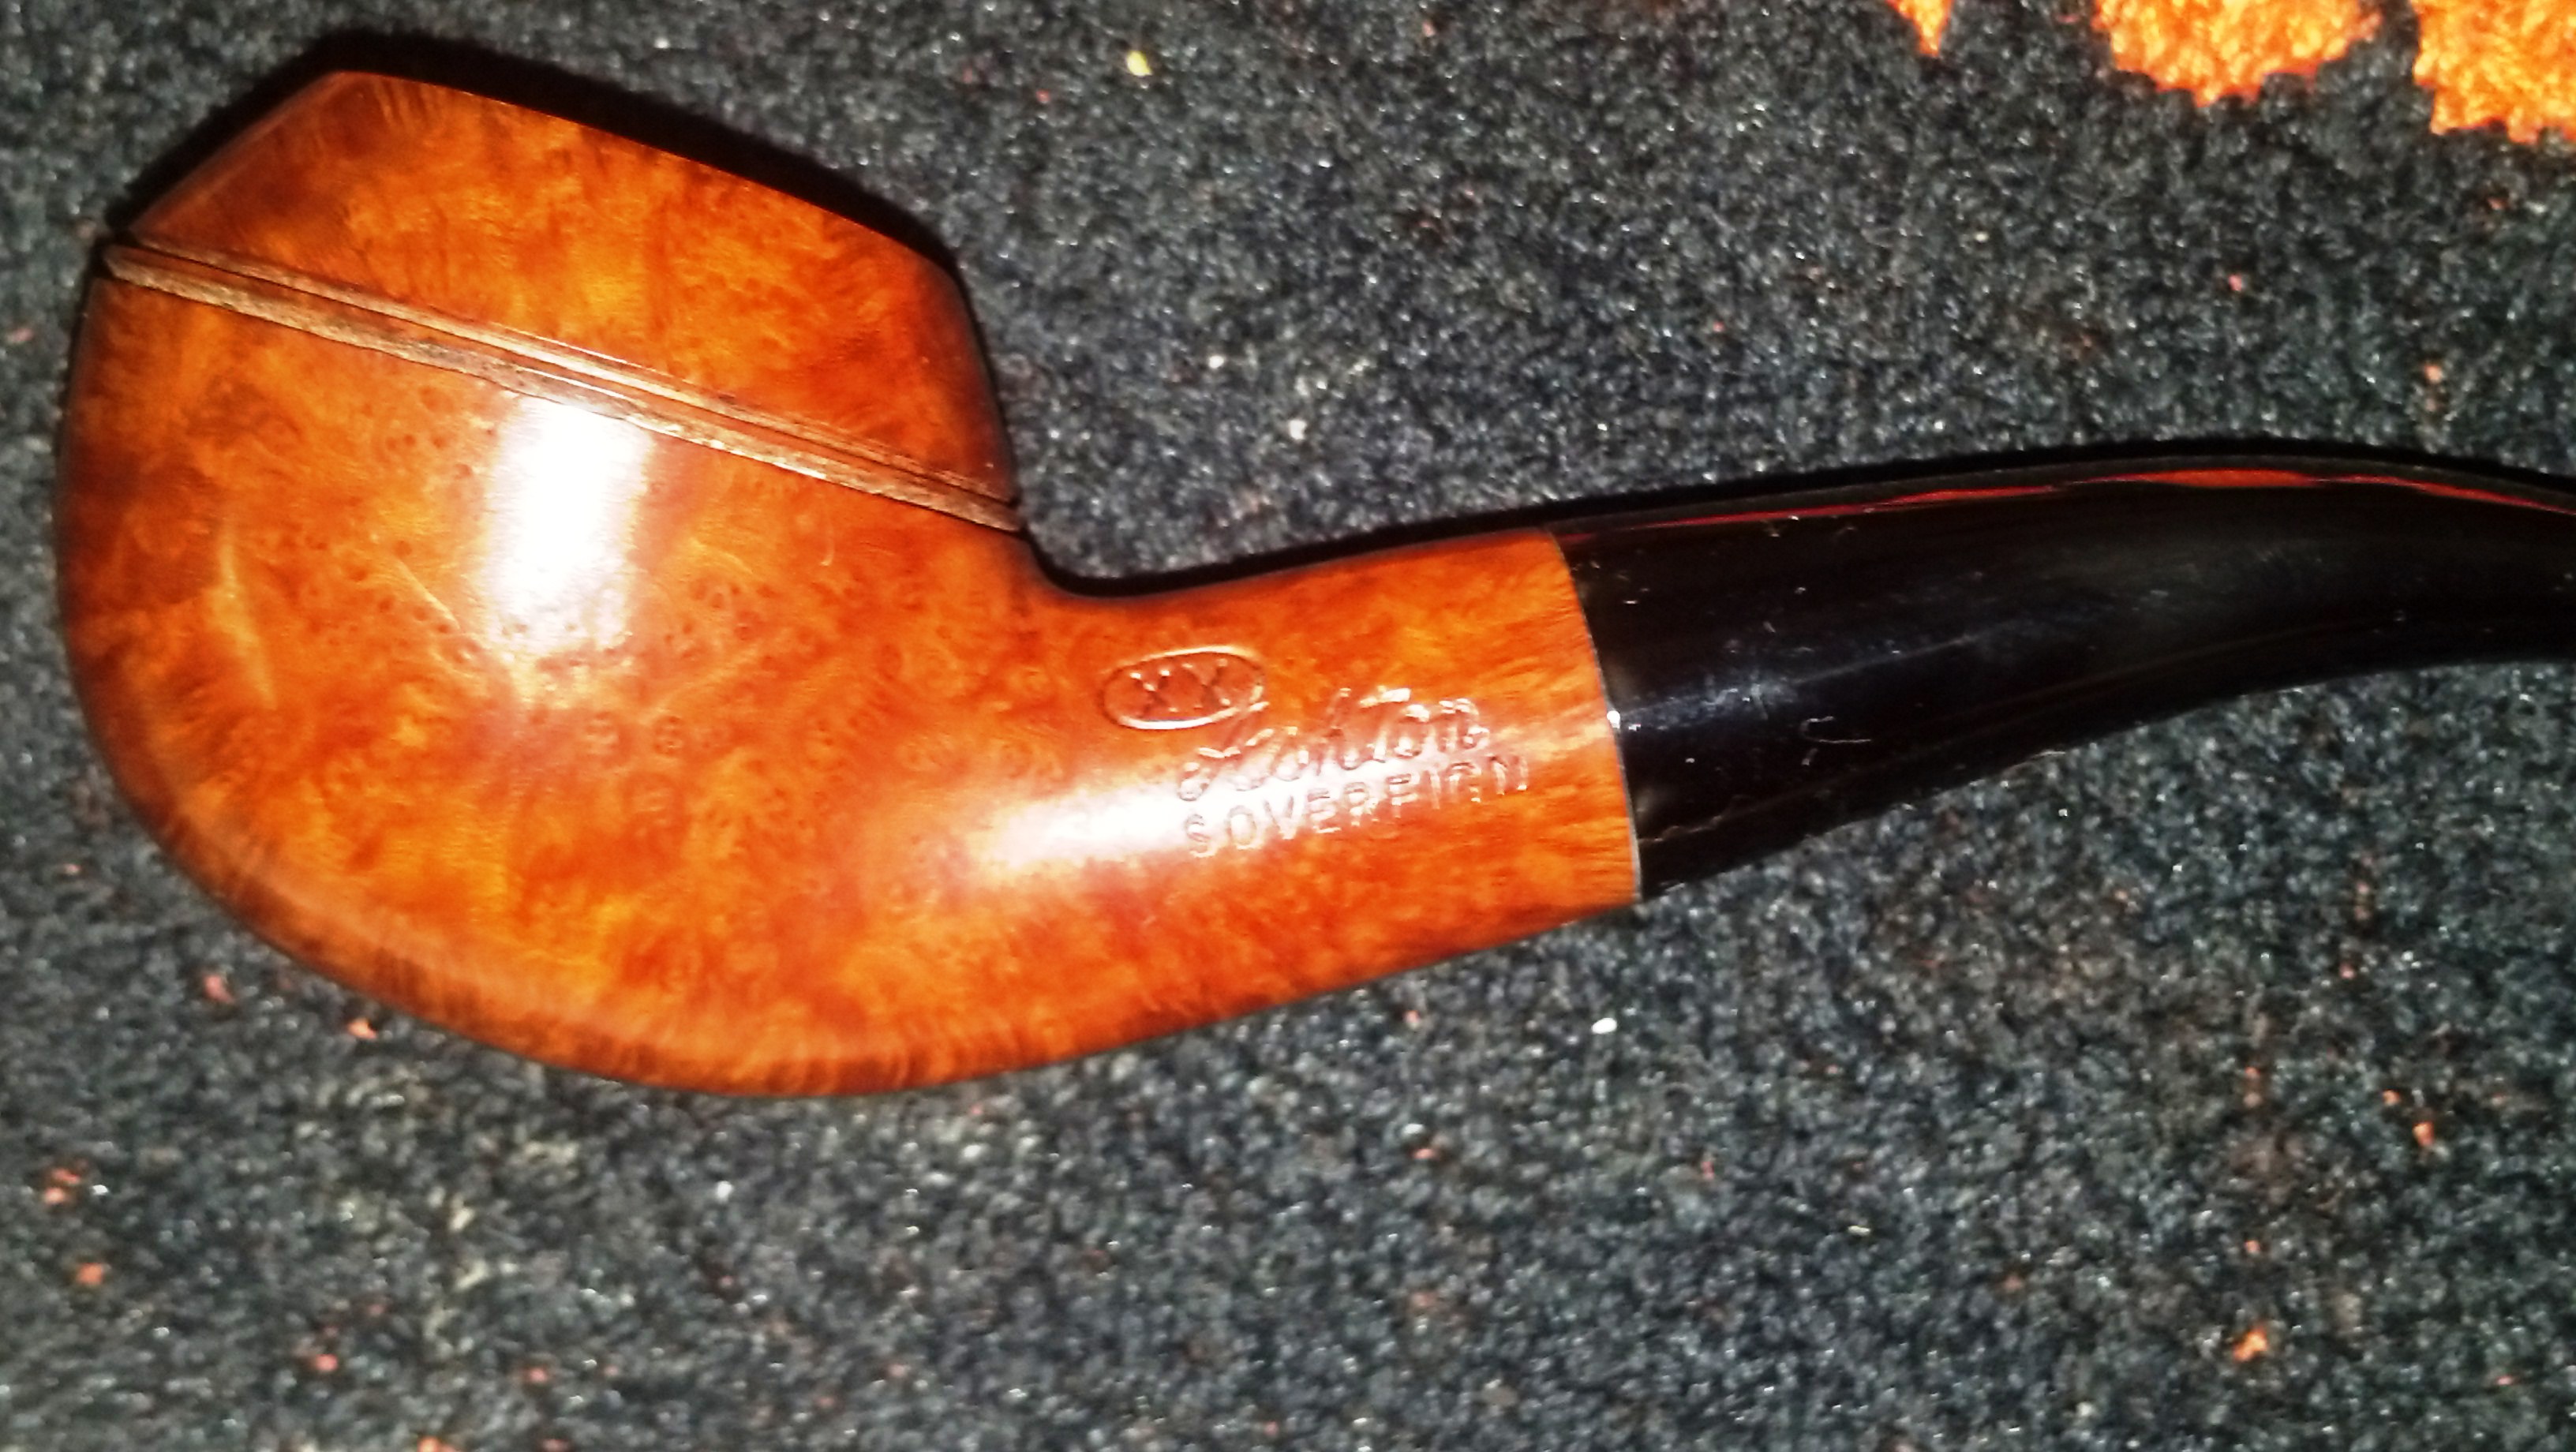
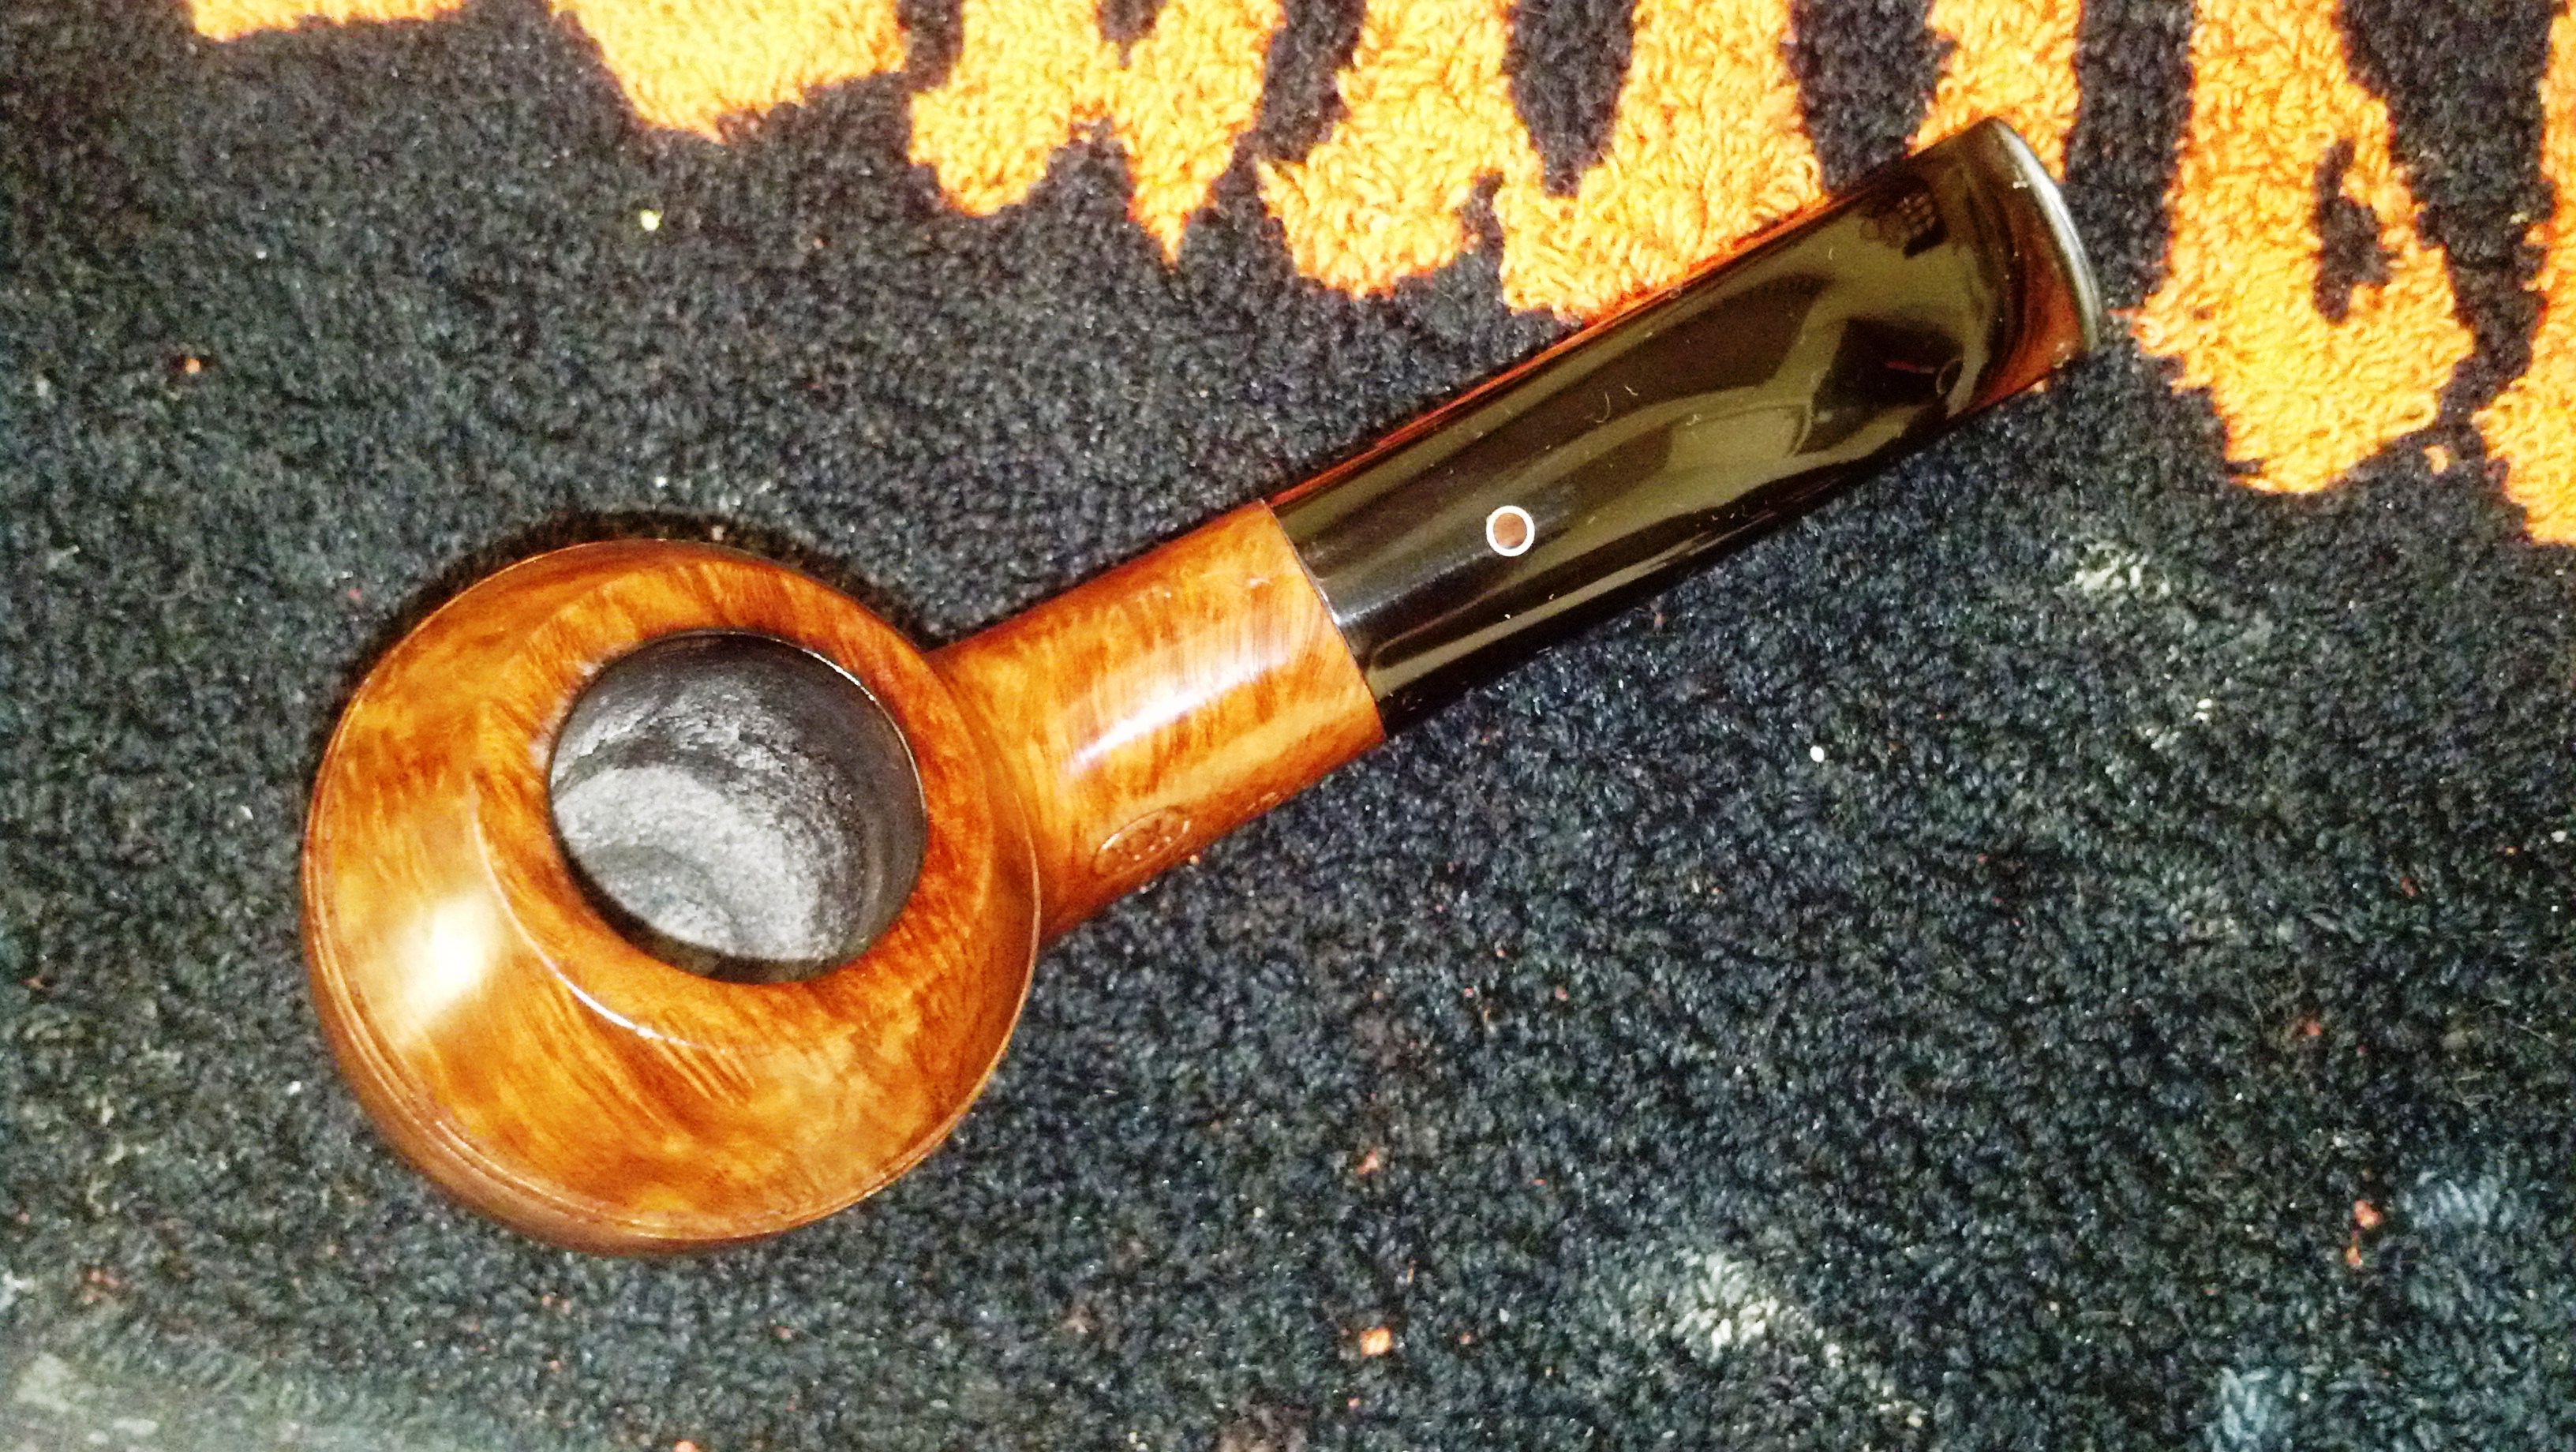
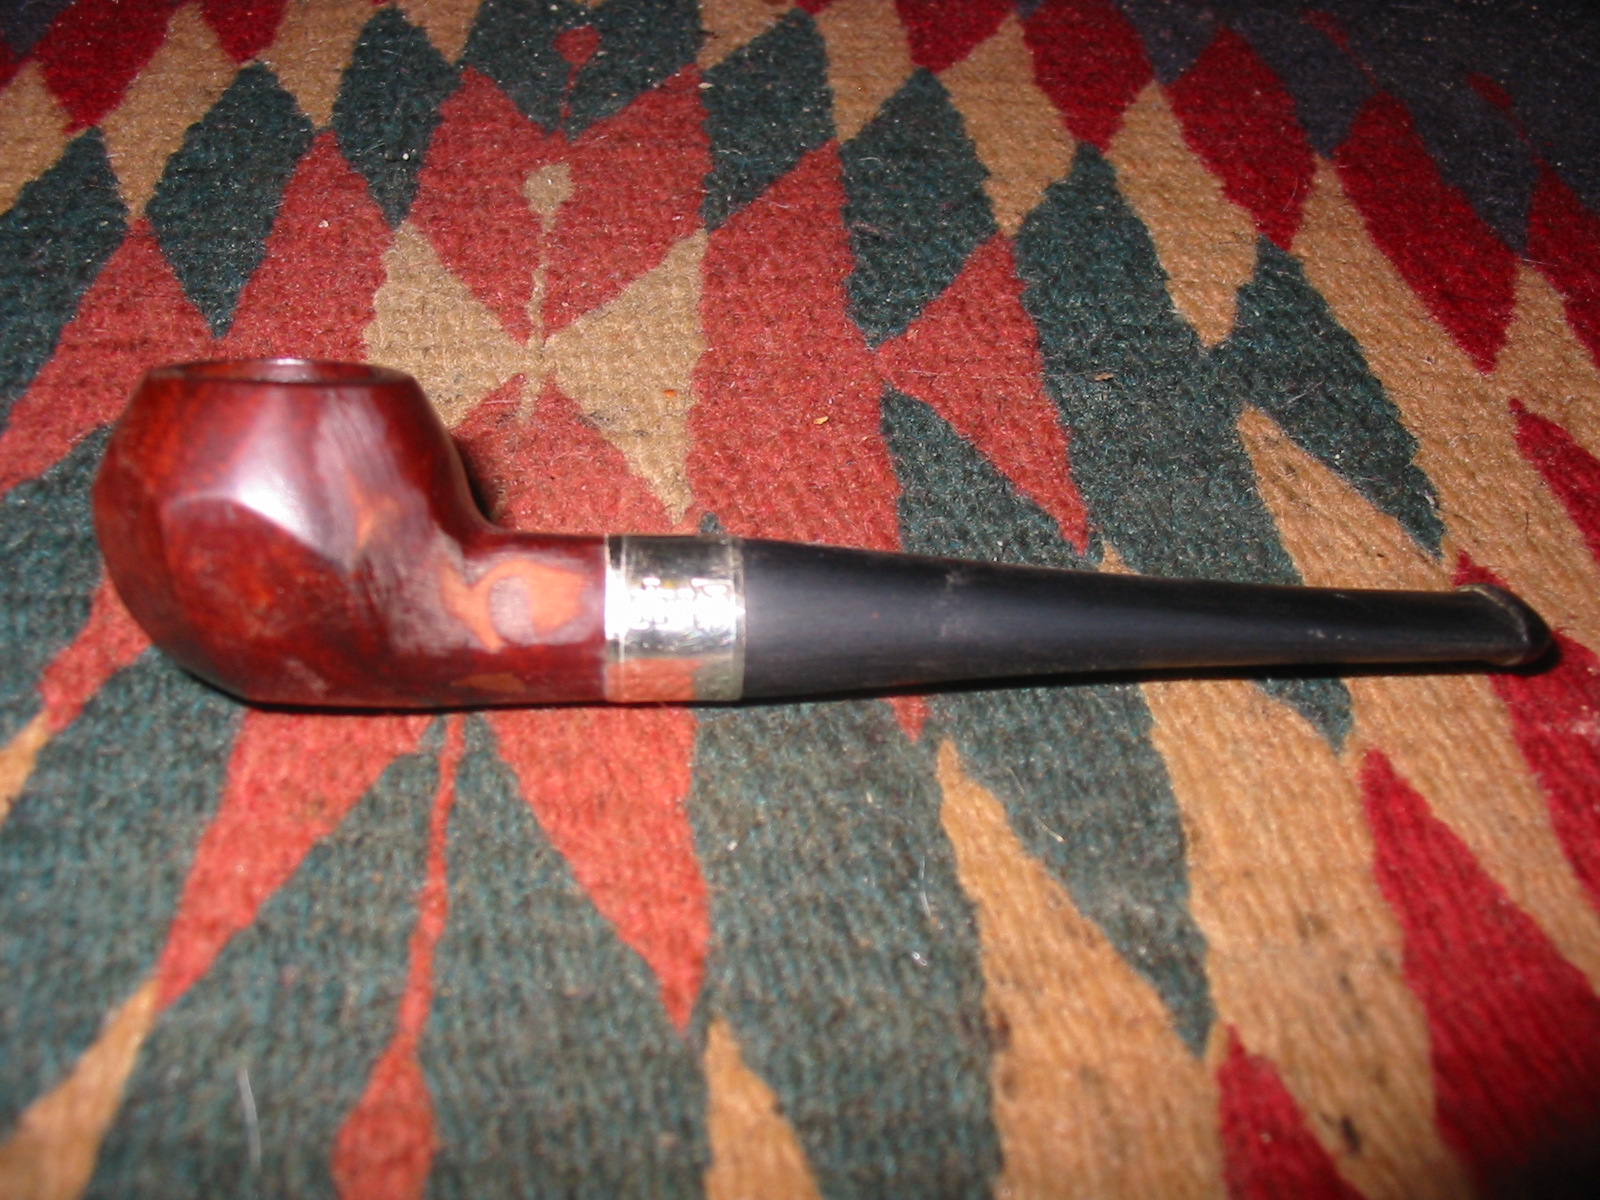
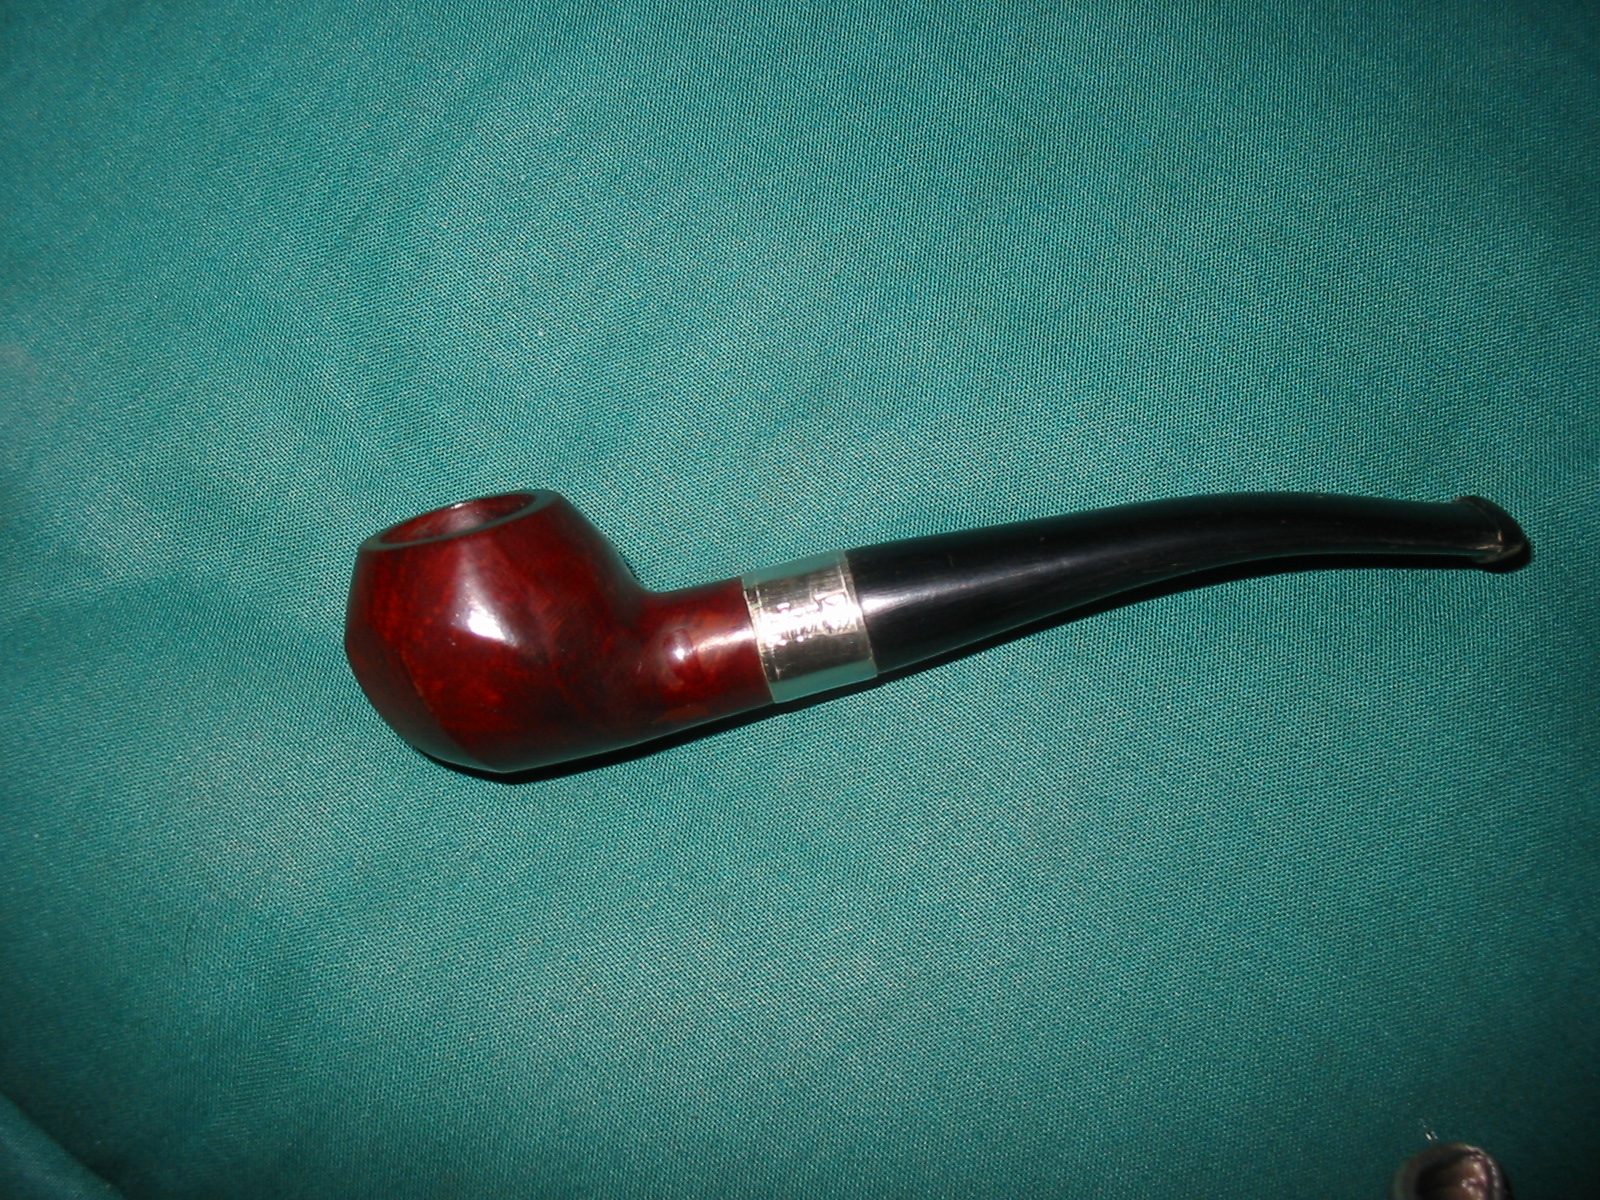
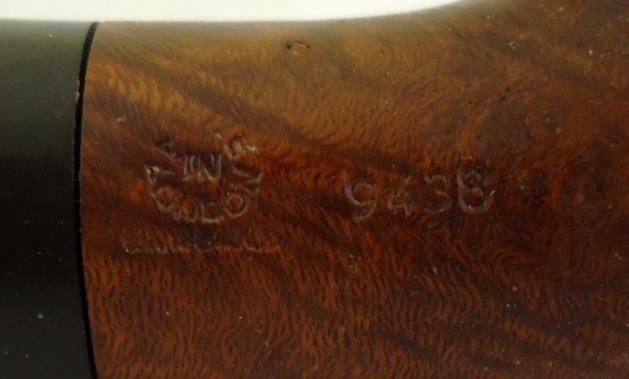
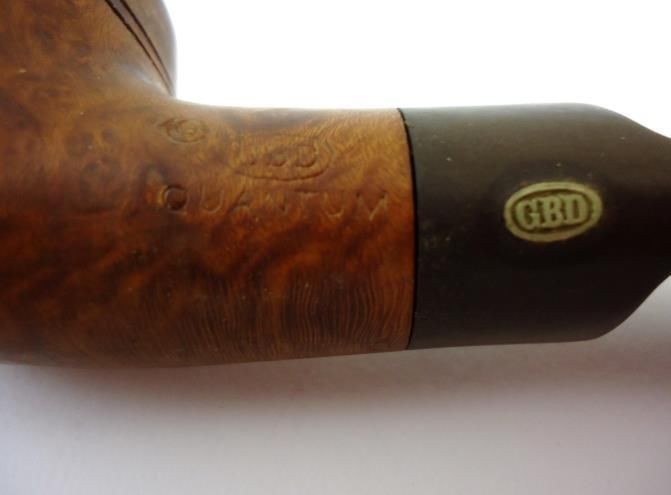
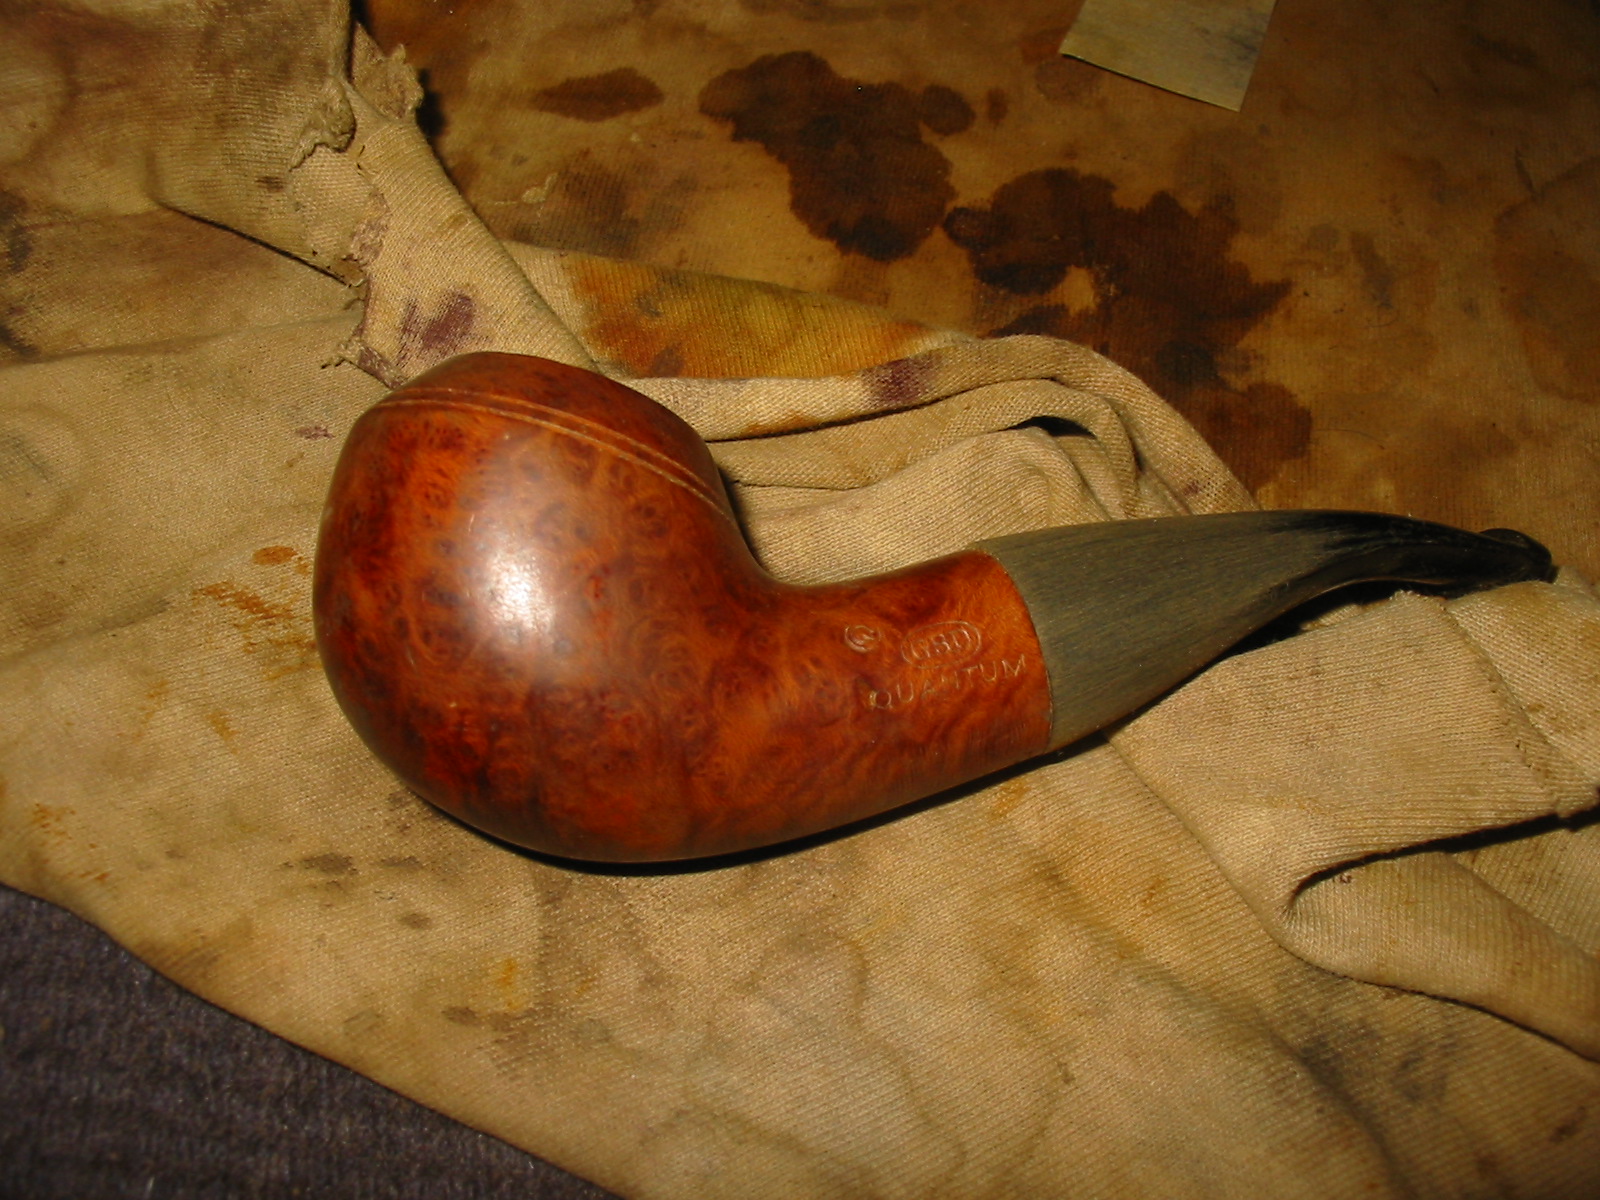
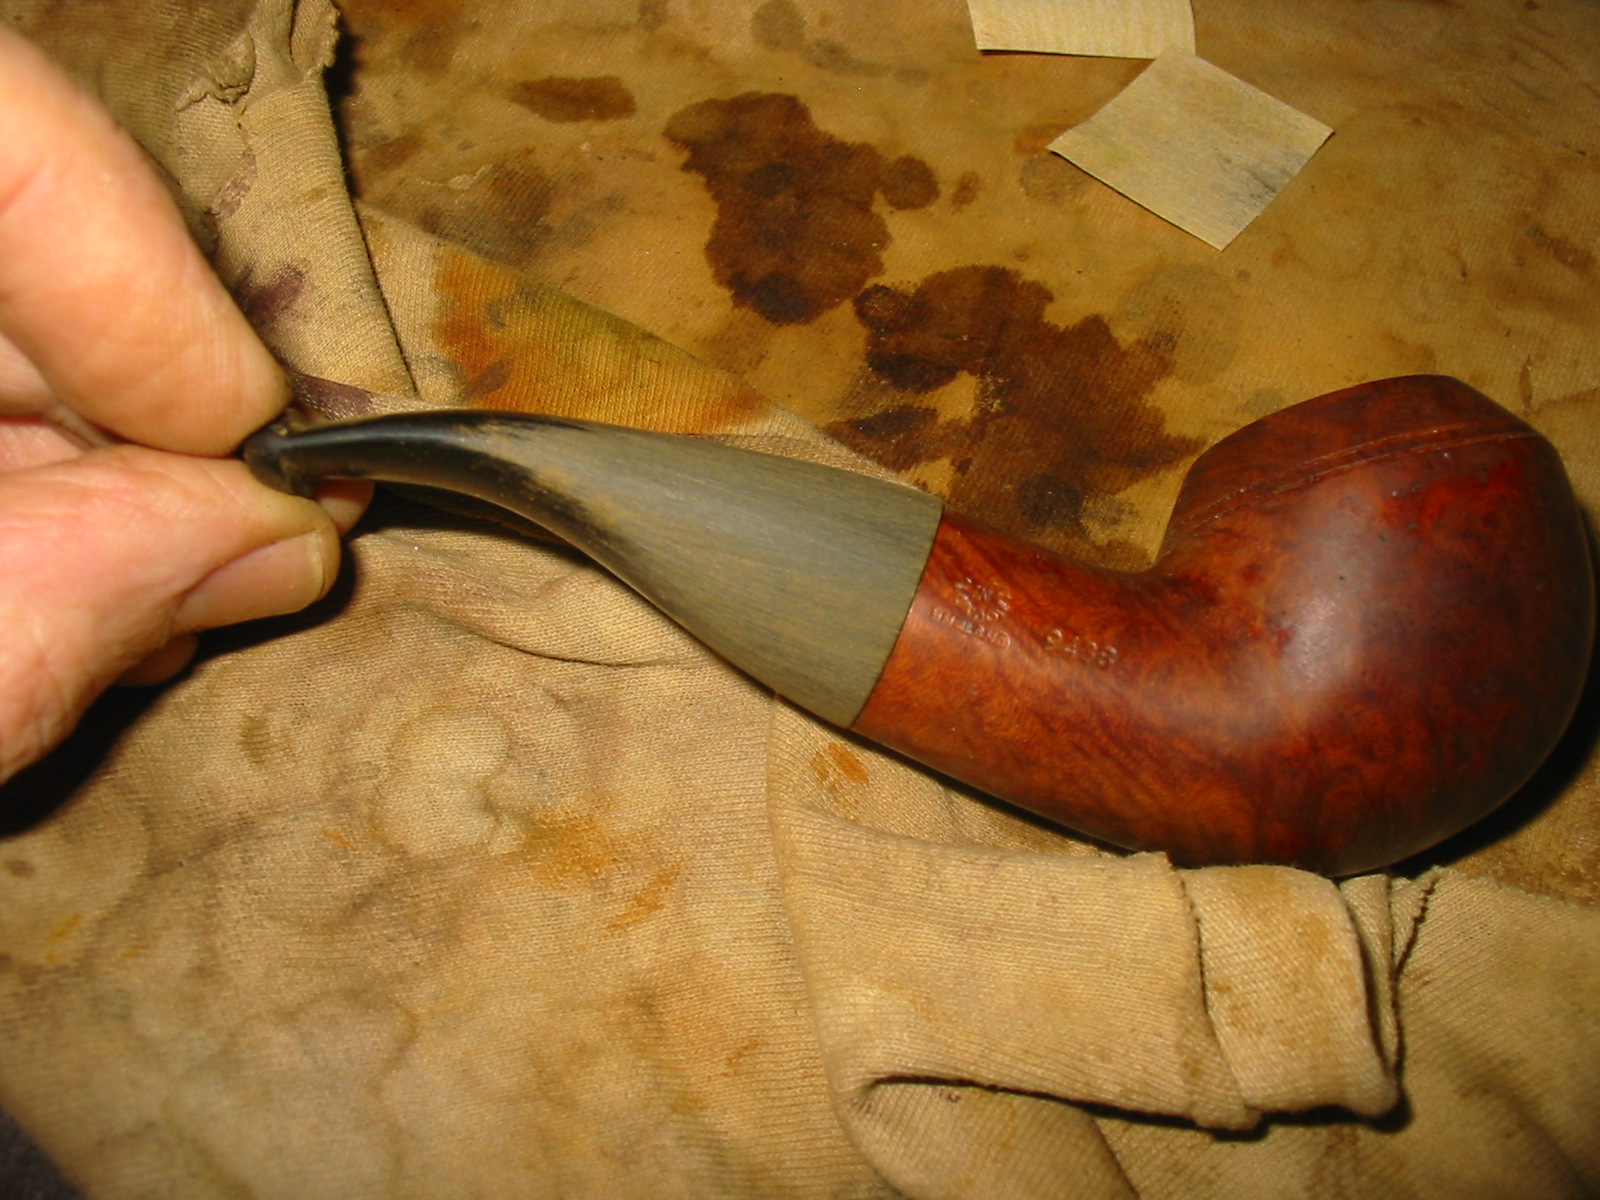
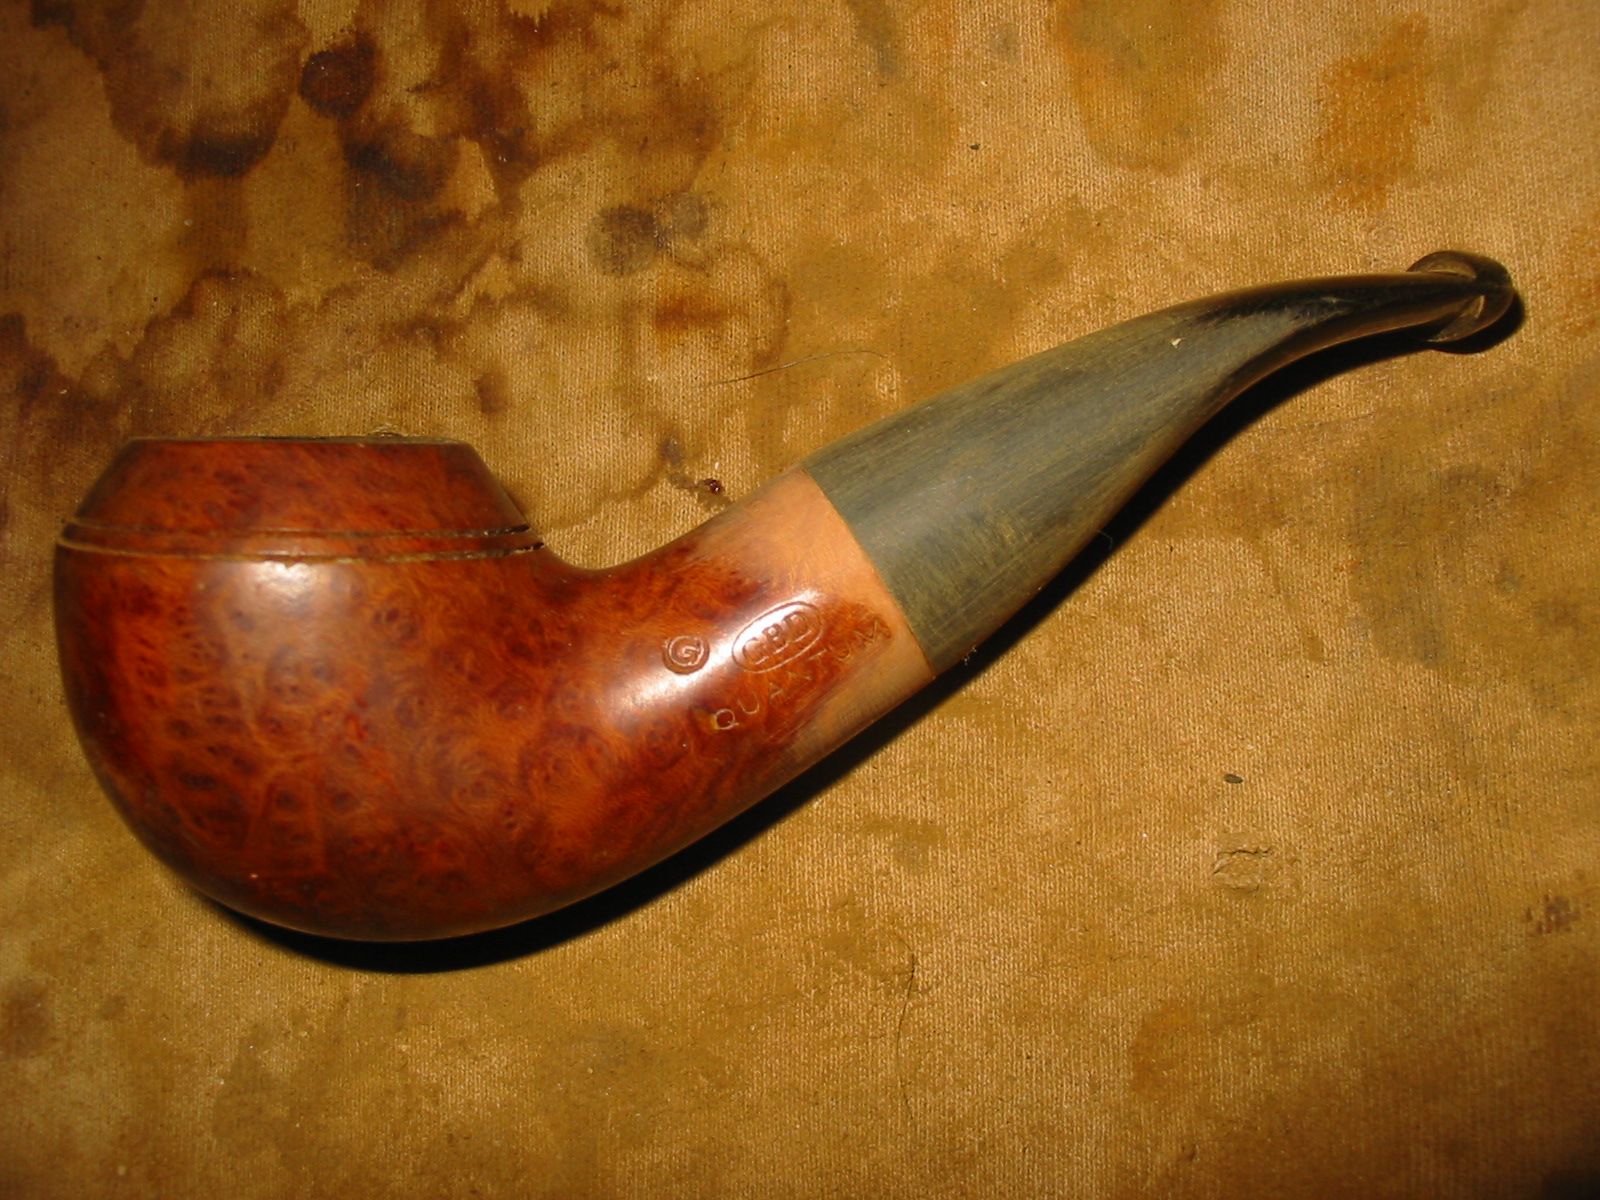
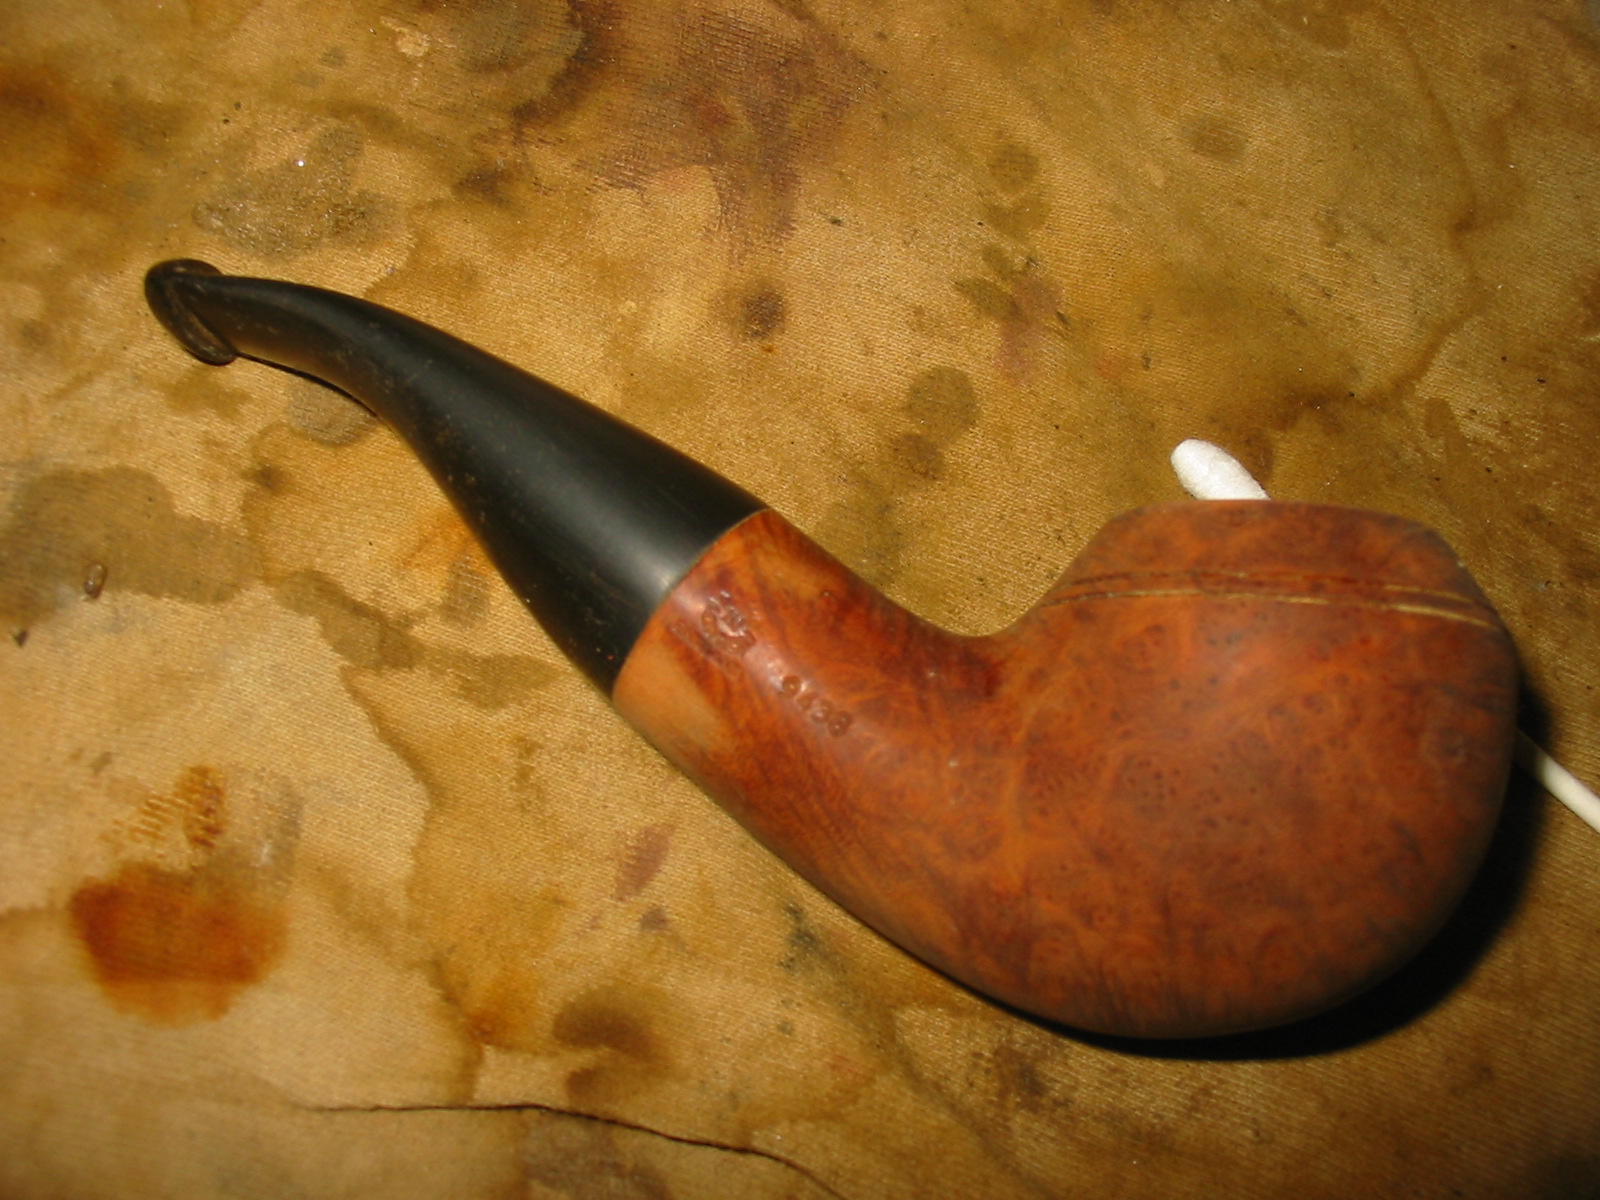
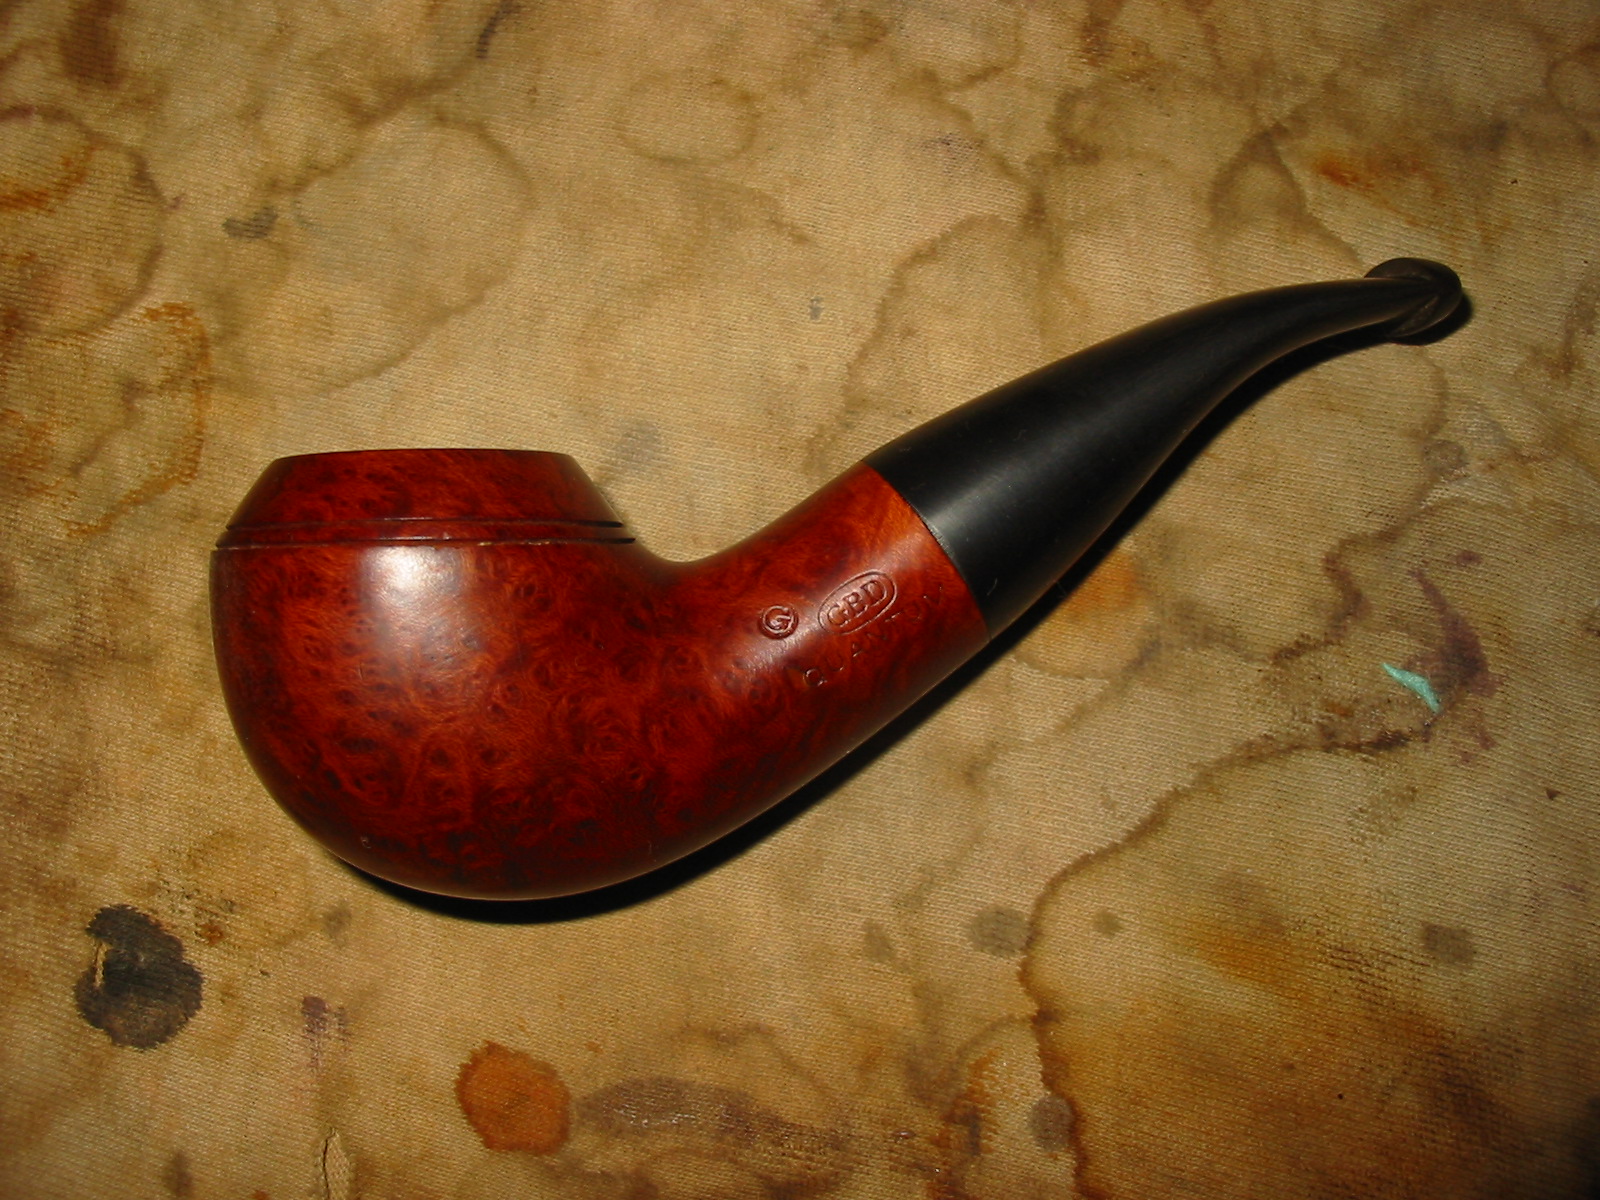
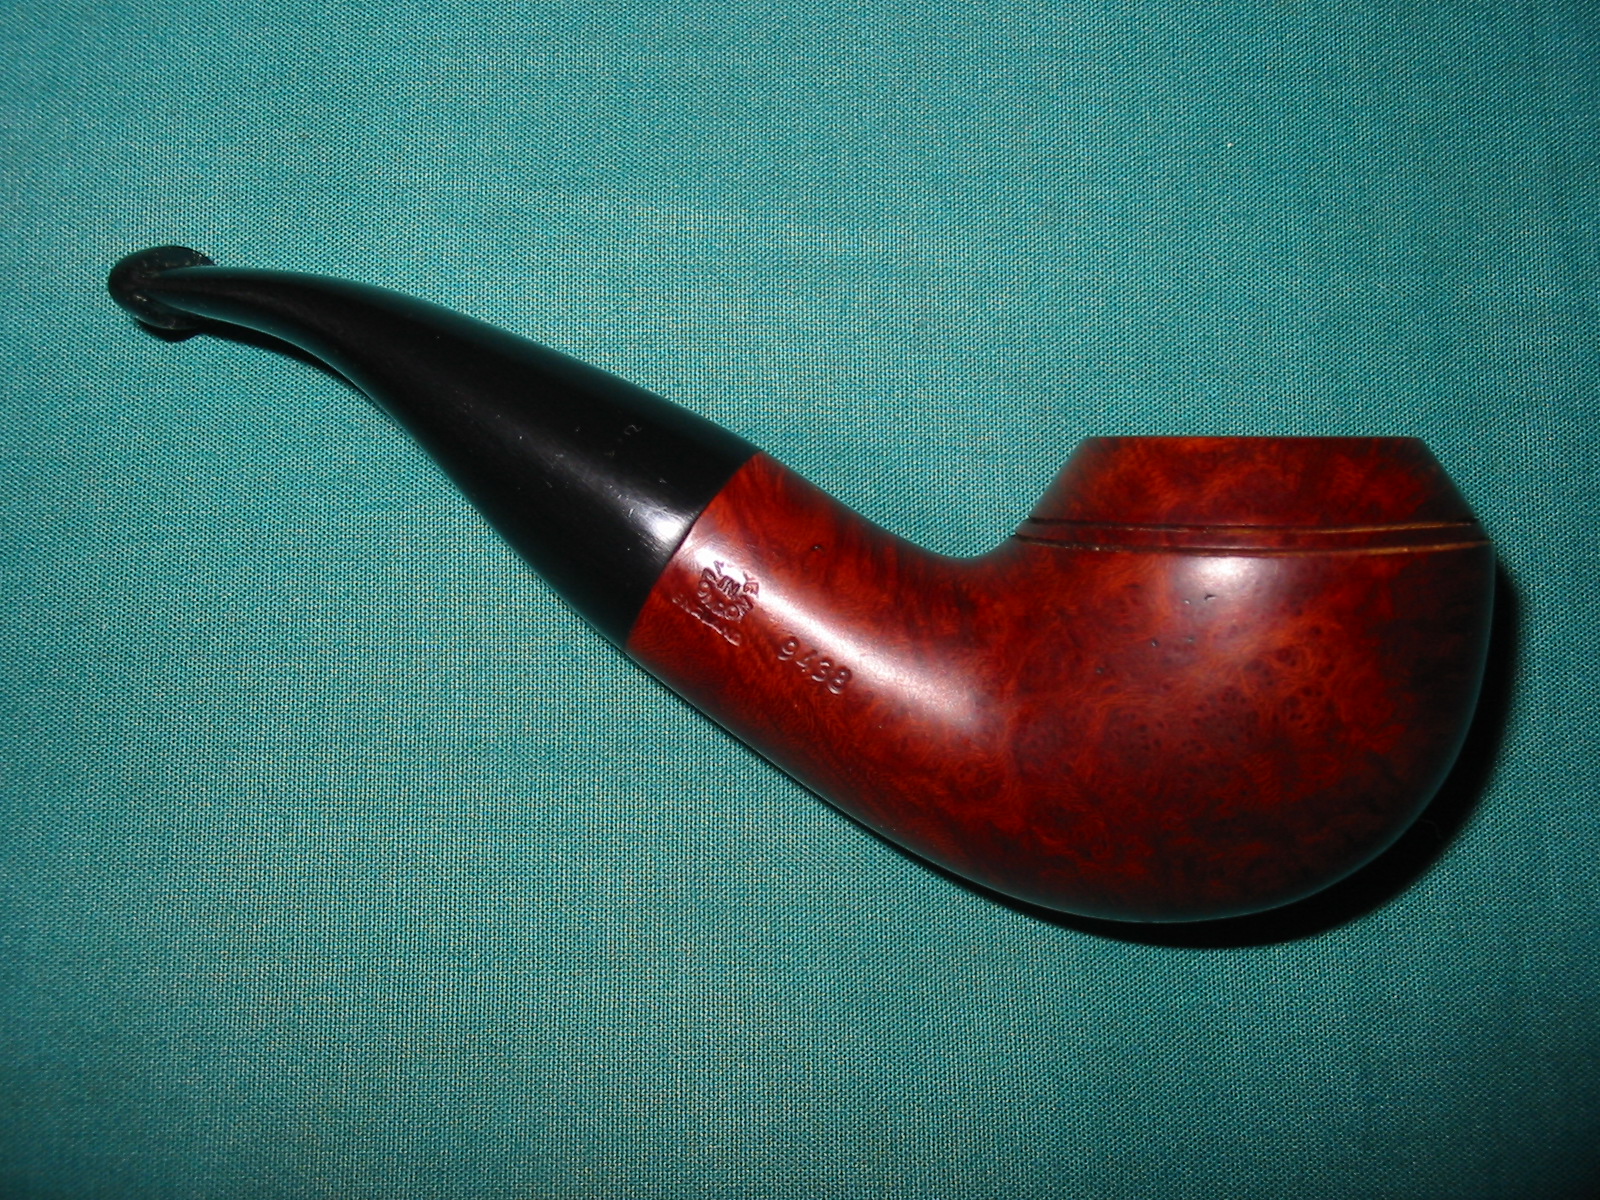
The stamping is actually quite unique. I have not seen a 9438 stamped this way. On the left side of the shank it is stamped with a letter G in a circle to the left of the GBD in the oval as normal. Underneath it is stamped QUANTUM, which is a line I am not familiar with in the GBD family. On the underside of the shank next to the stem is stamped with a J. On the right side it is stamped Made in London in a circle with the “in” inside the circle. Underneath it reads England. Next to that is the 9438 stamping. All of these stampings leave me with many questions. I know from previous study that the oval Made in London stamping, a Comoy’s like stamping, dates it as a Cadogan era pipe and that would likely put it in the 1980’s. The parts that leave me wondering are the G in a circle stamp on the left side and the line QUANTUM. I have never seen or heard of either of those stampings. I have included the next three photos to show the stamping on the shank for those of you who are interested.

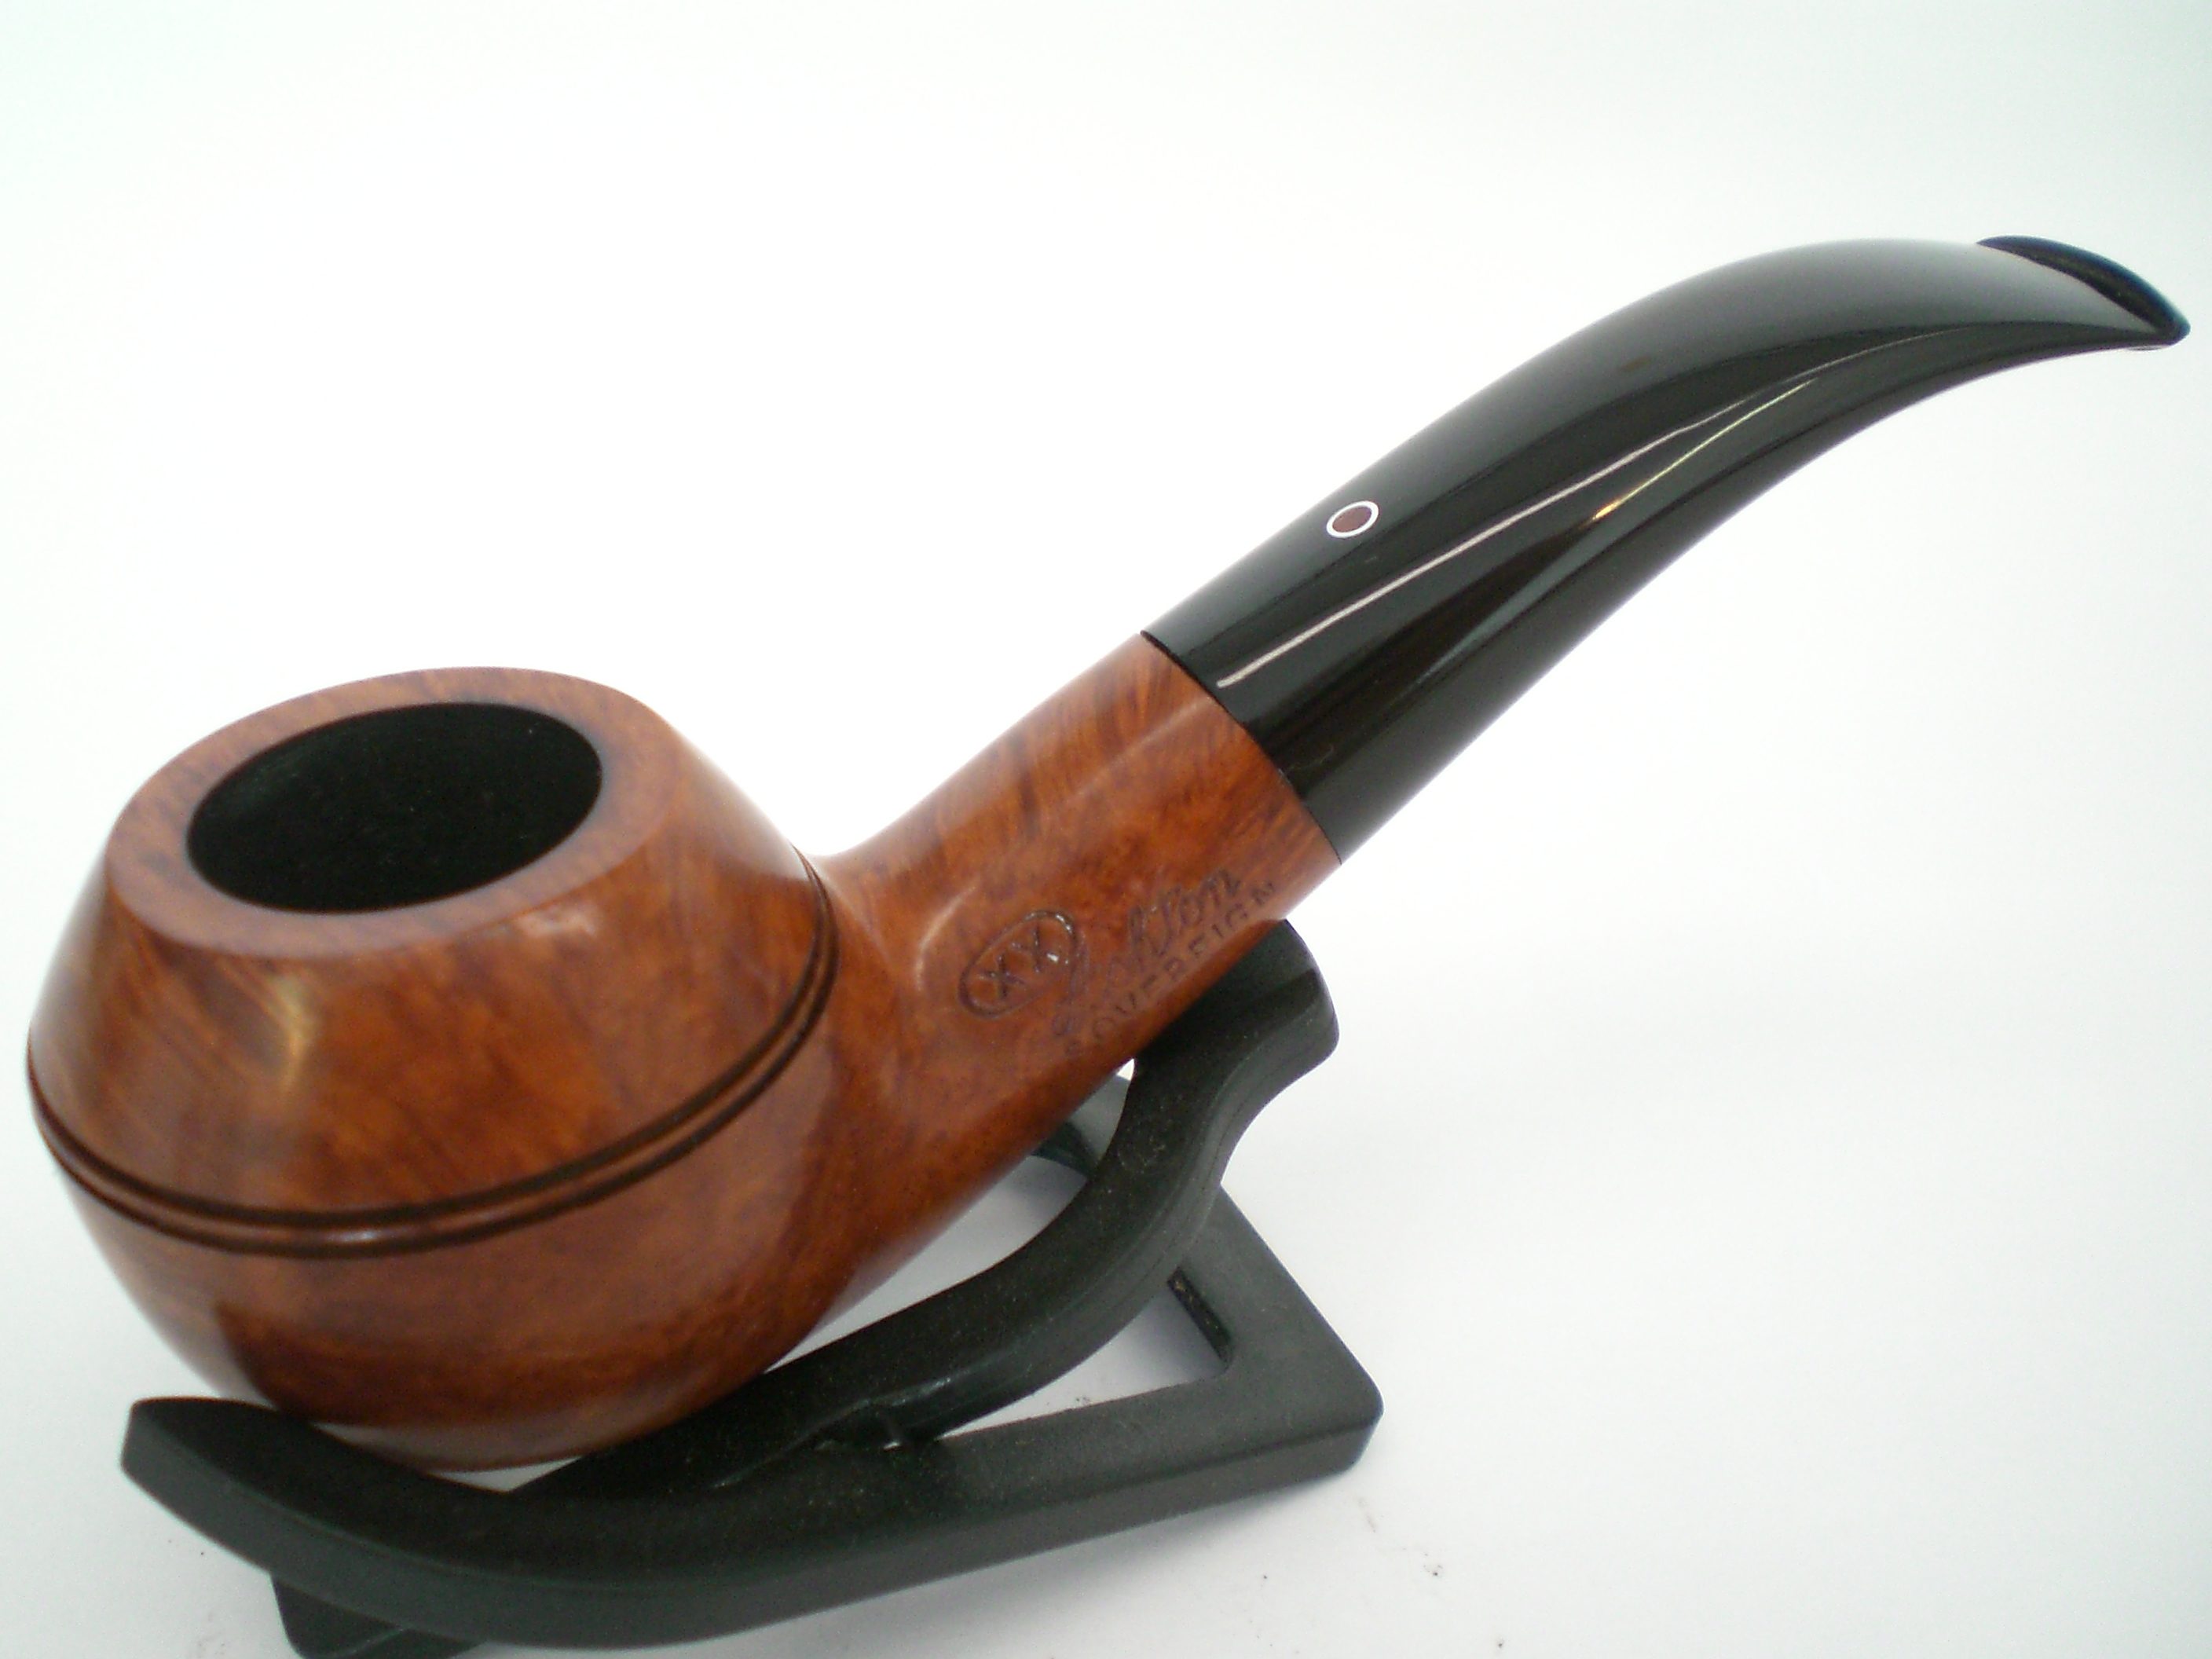
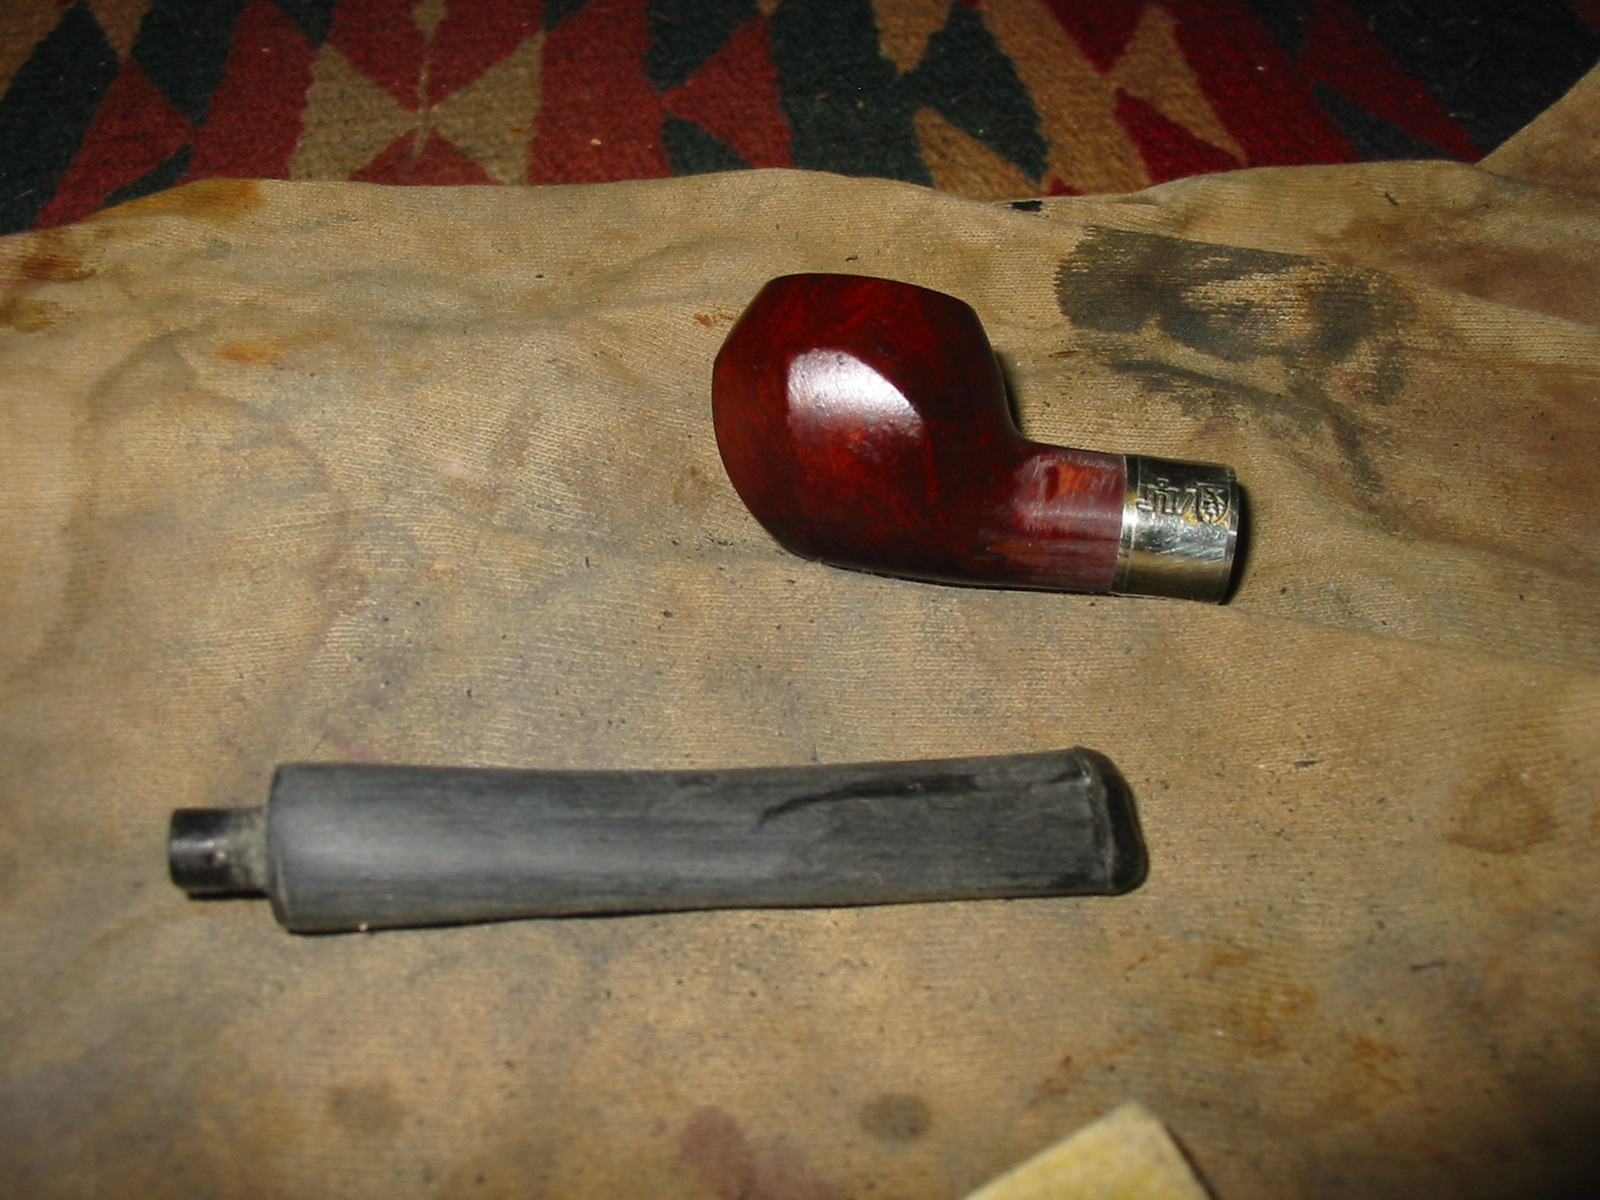
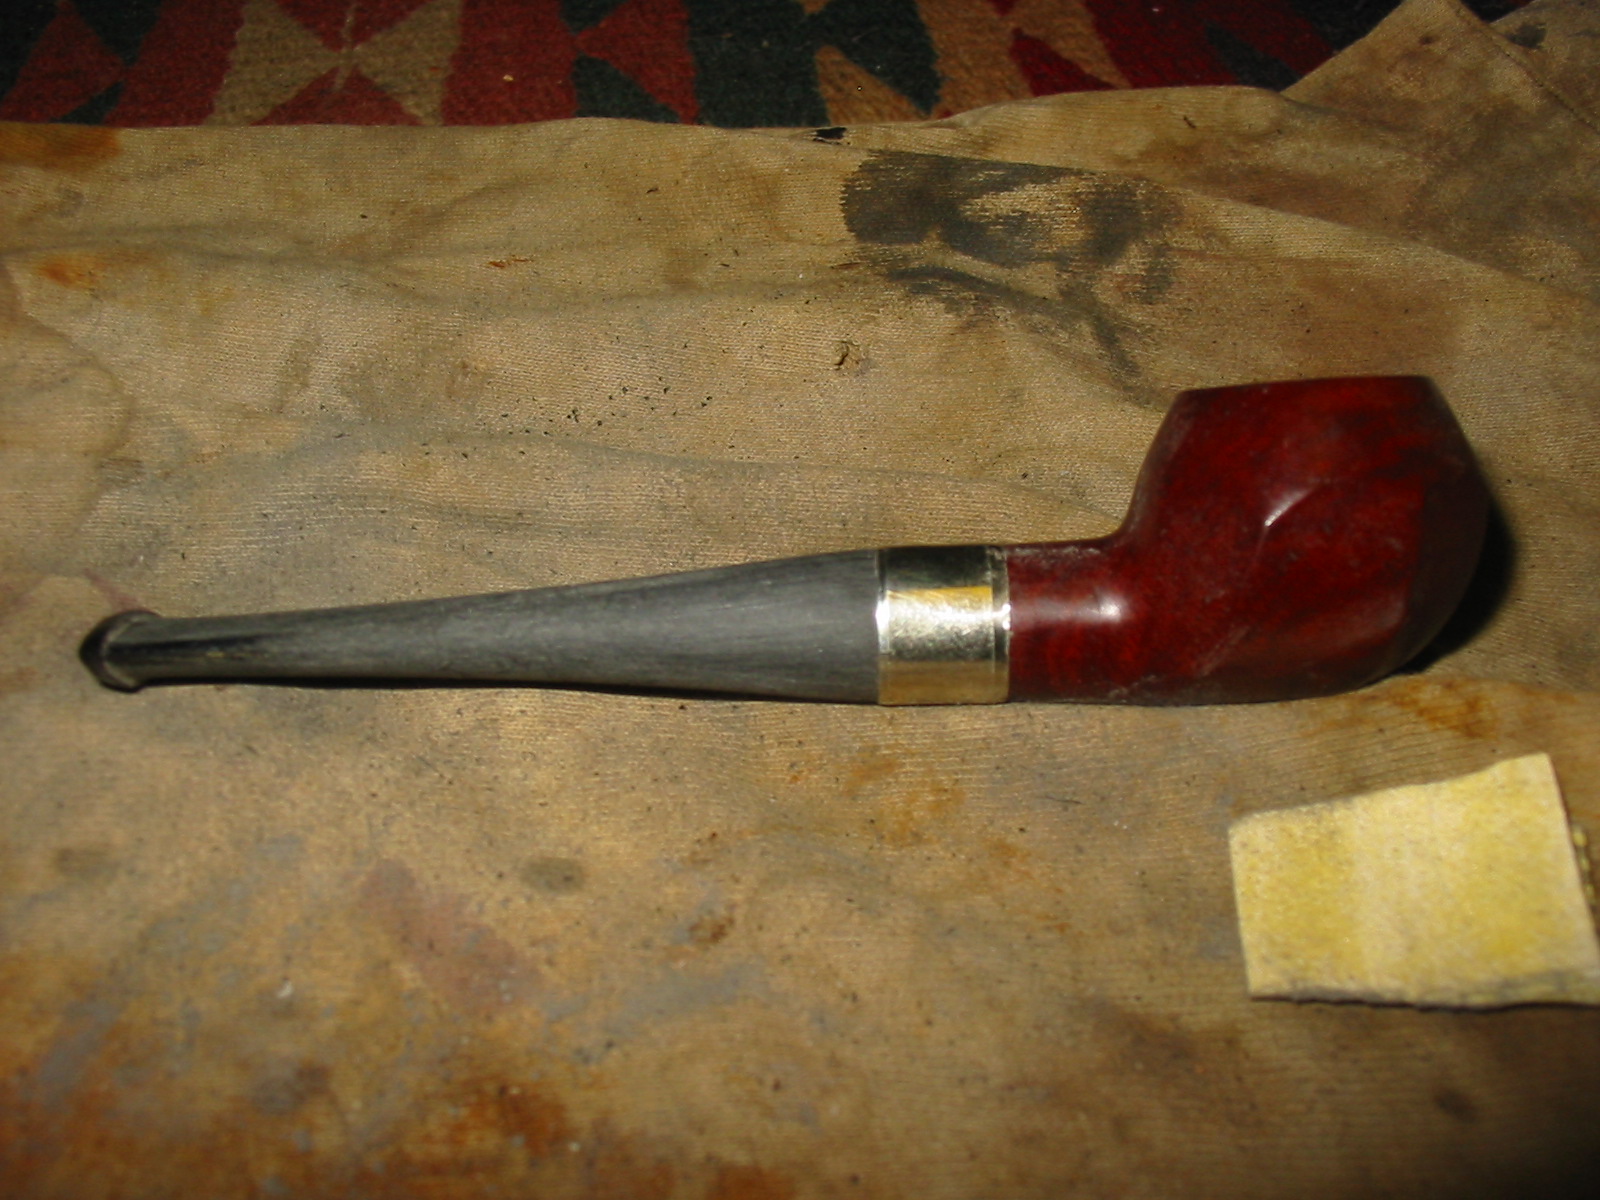
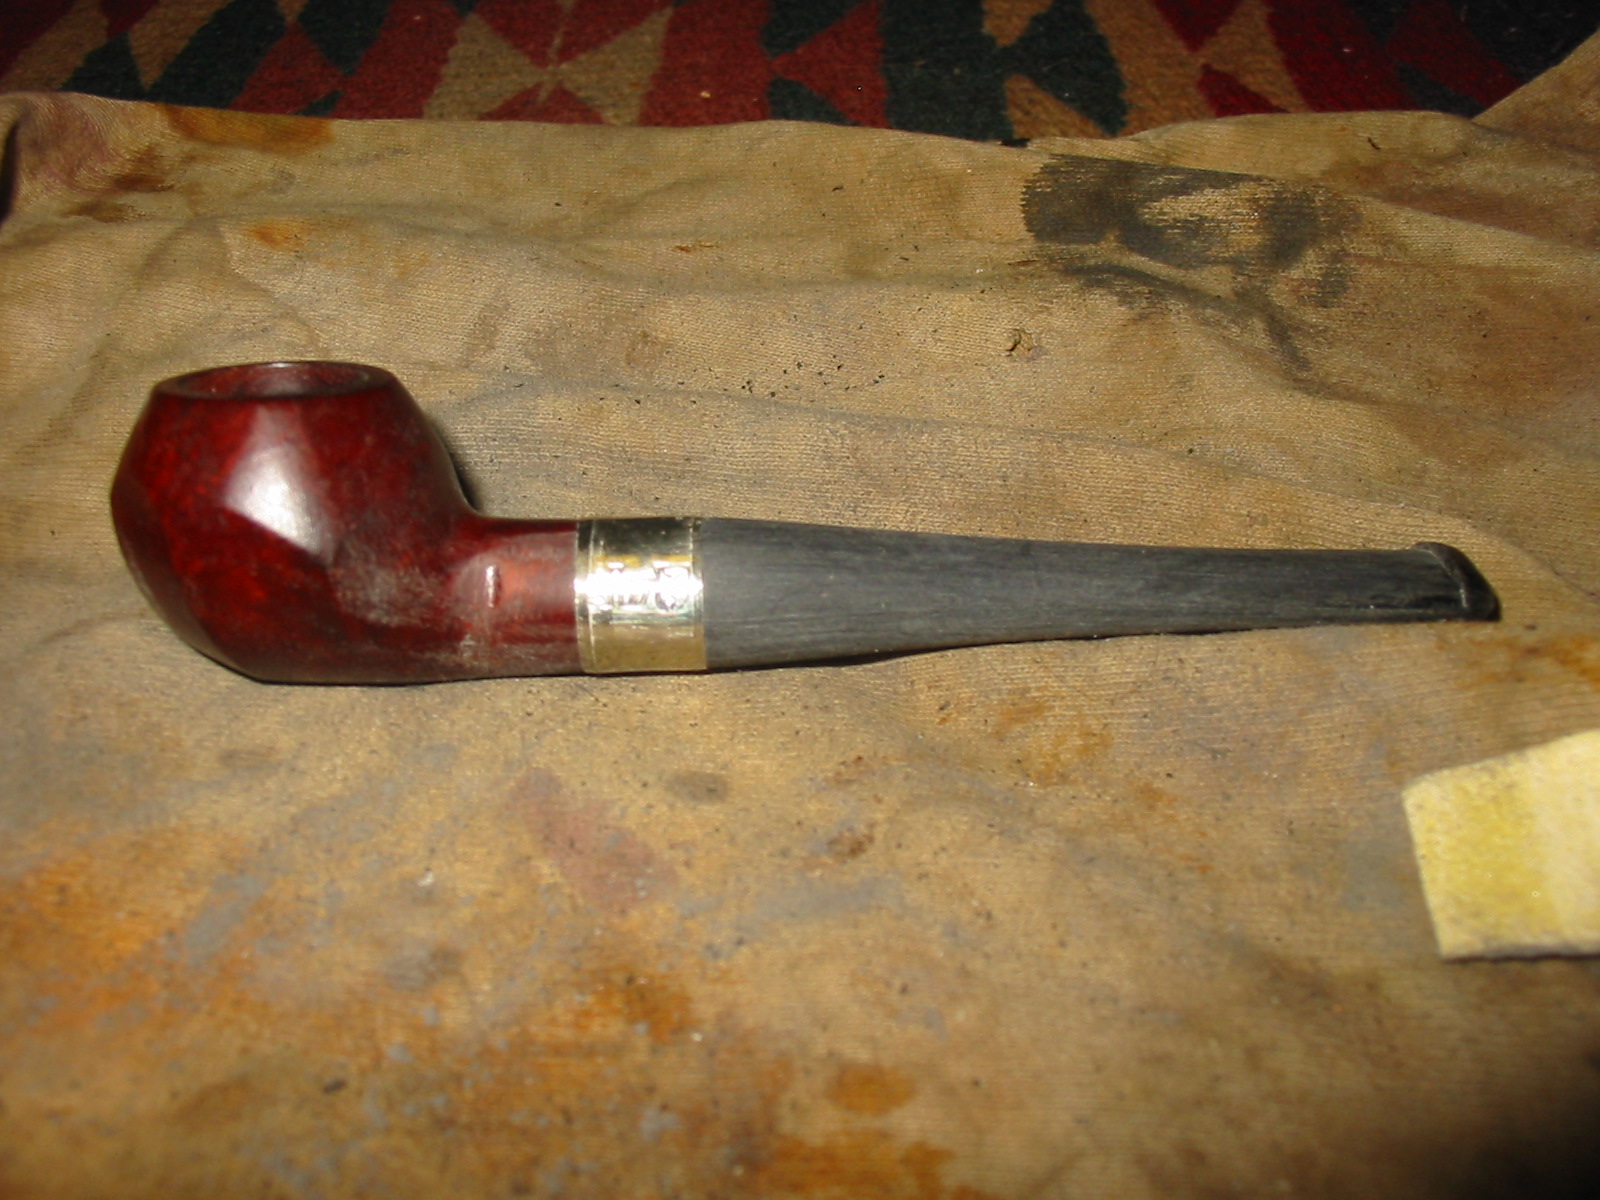
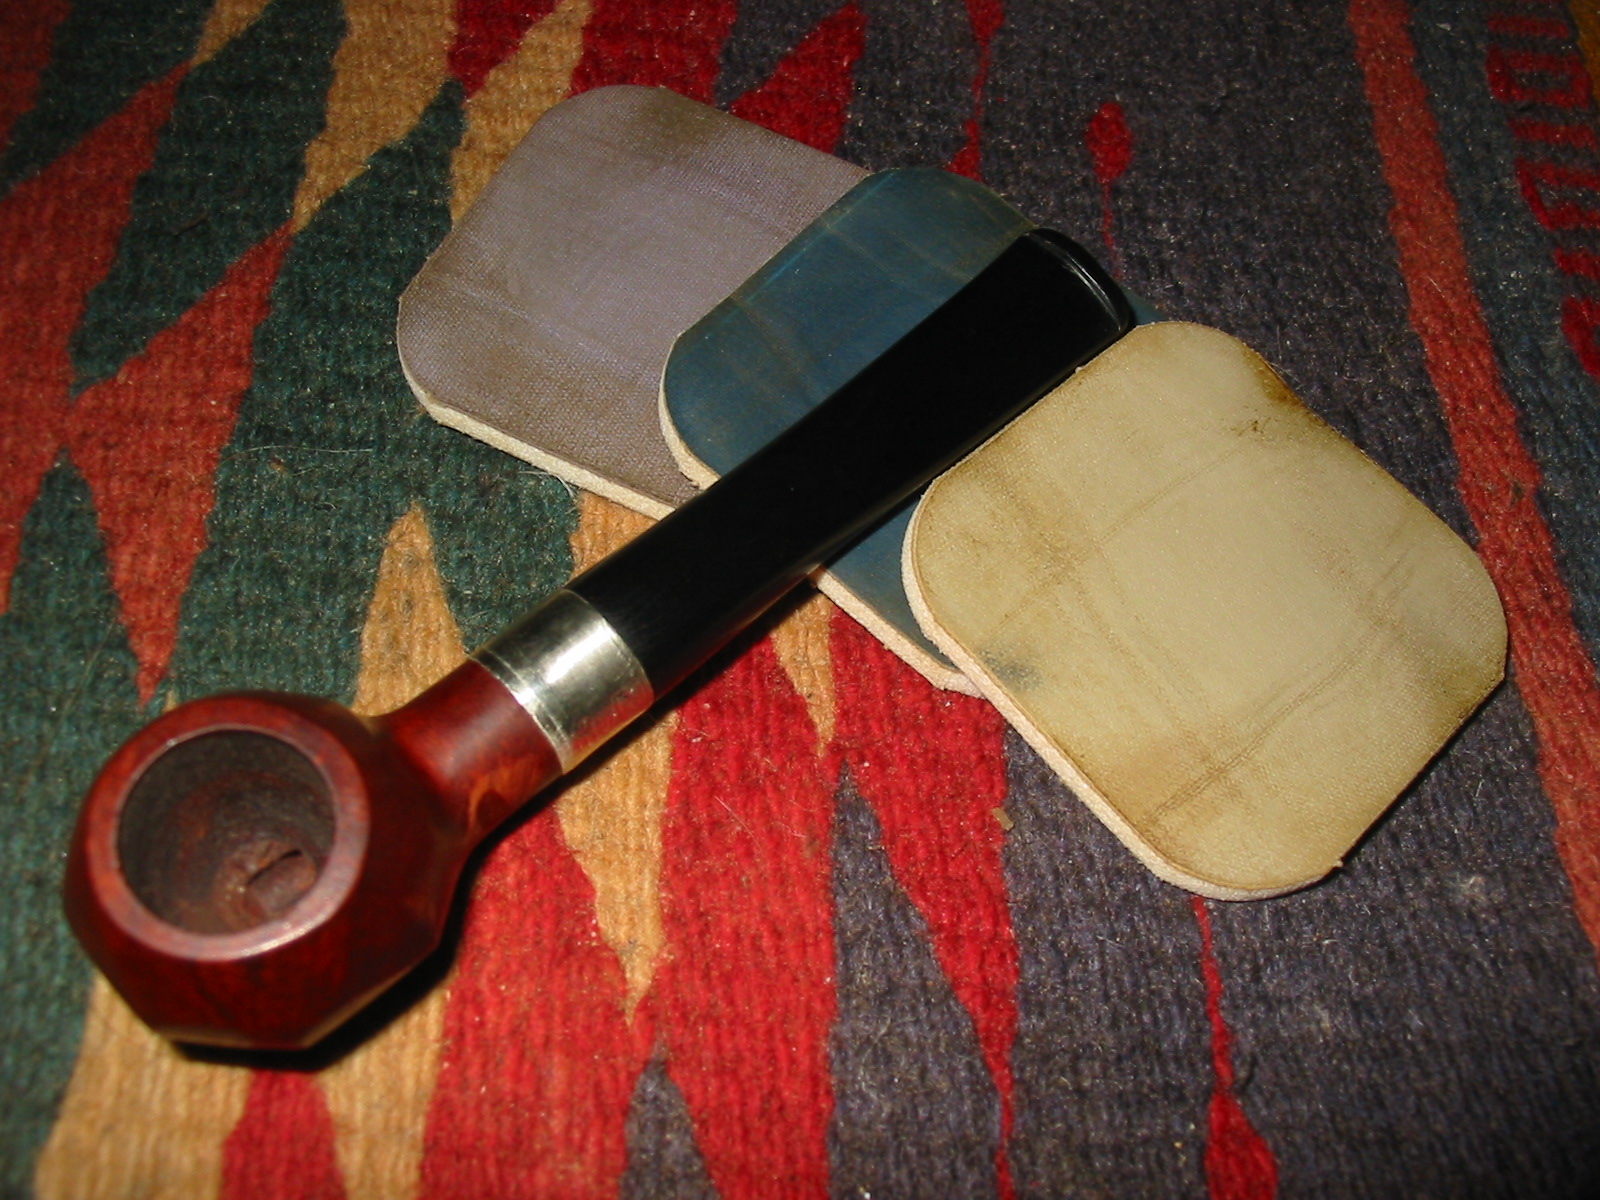
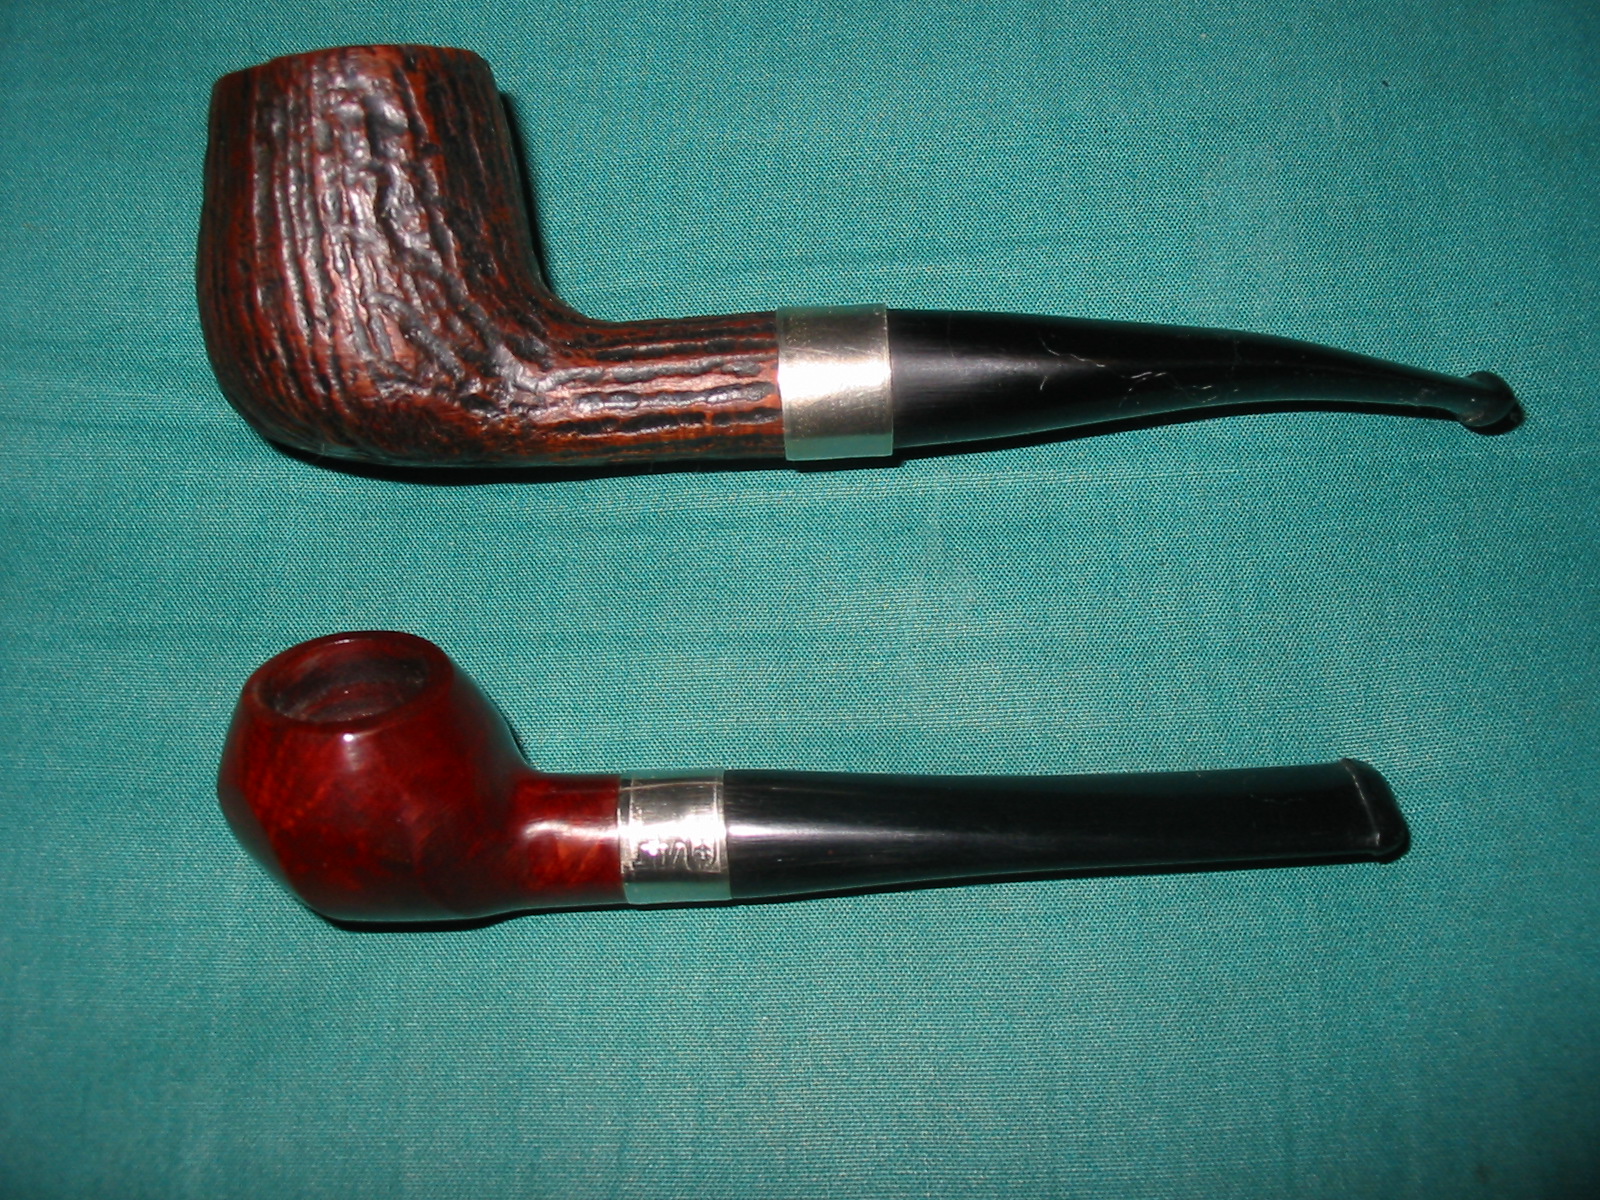
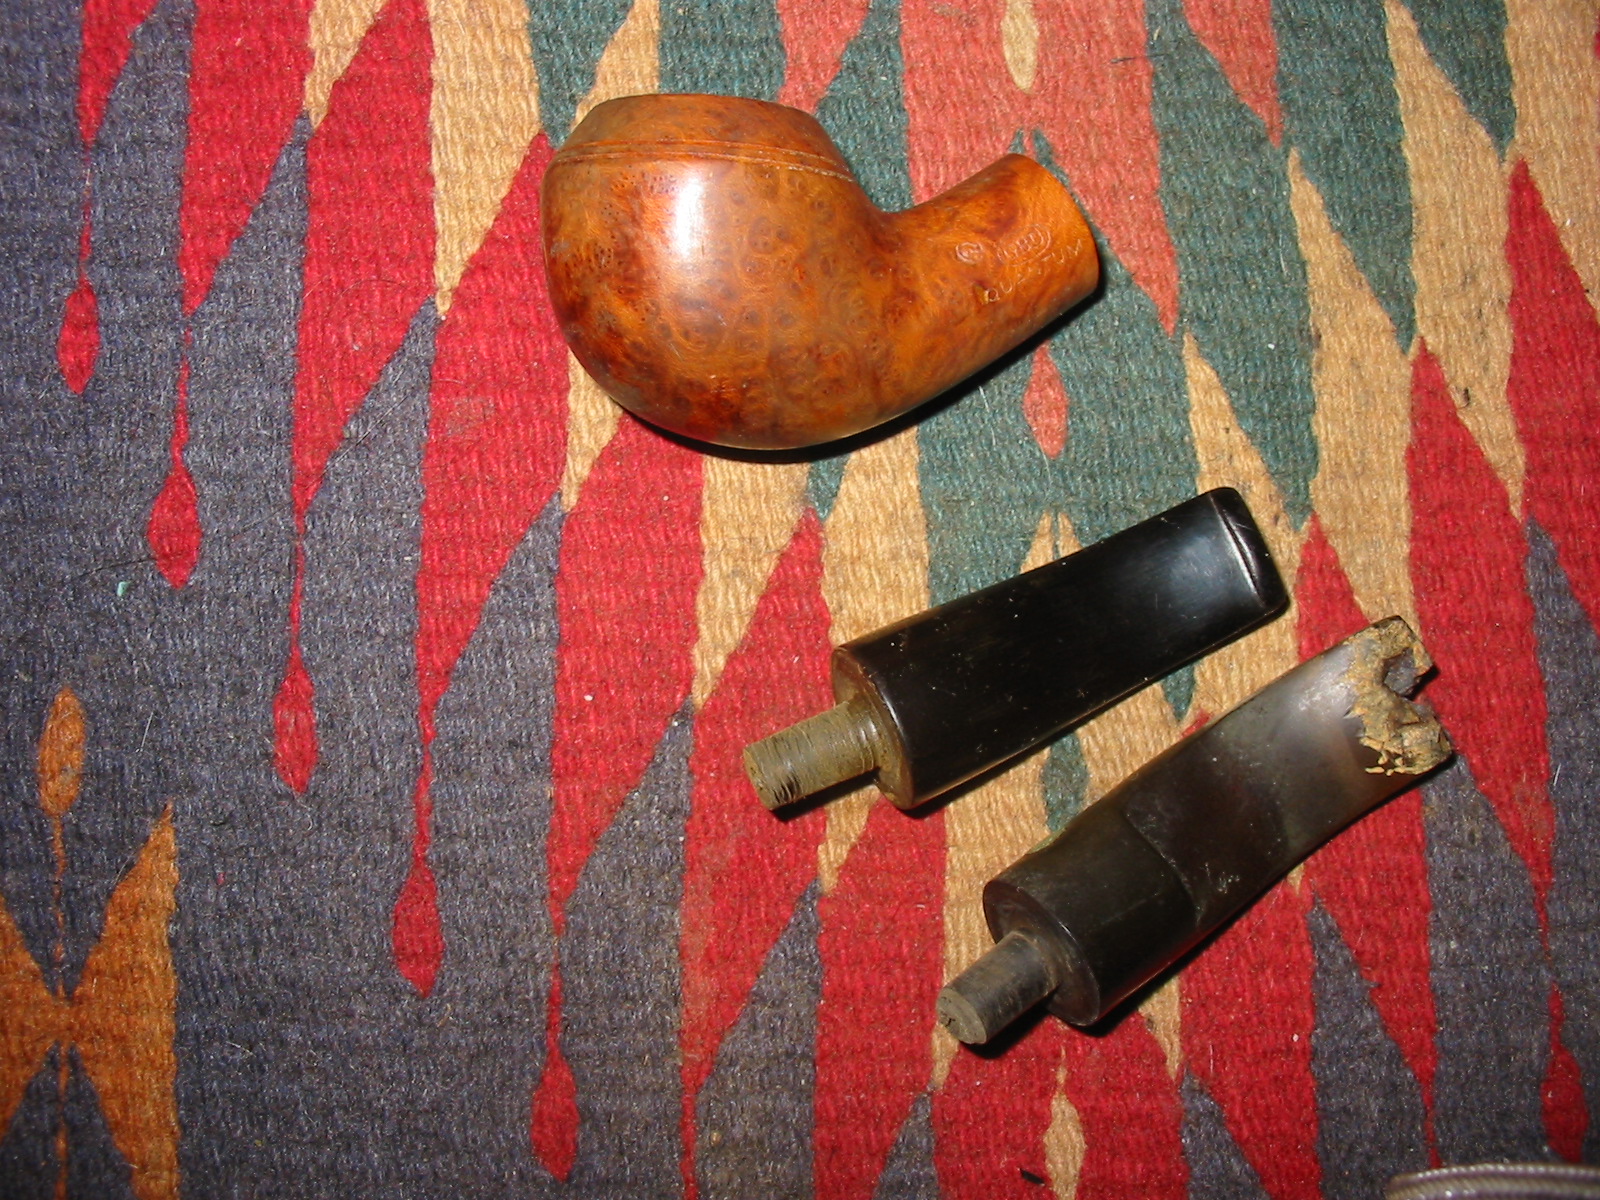
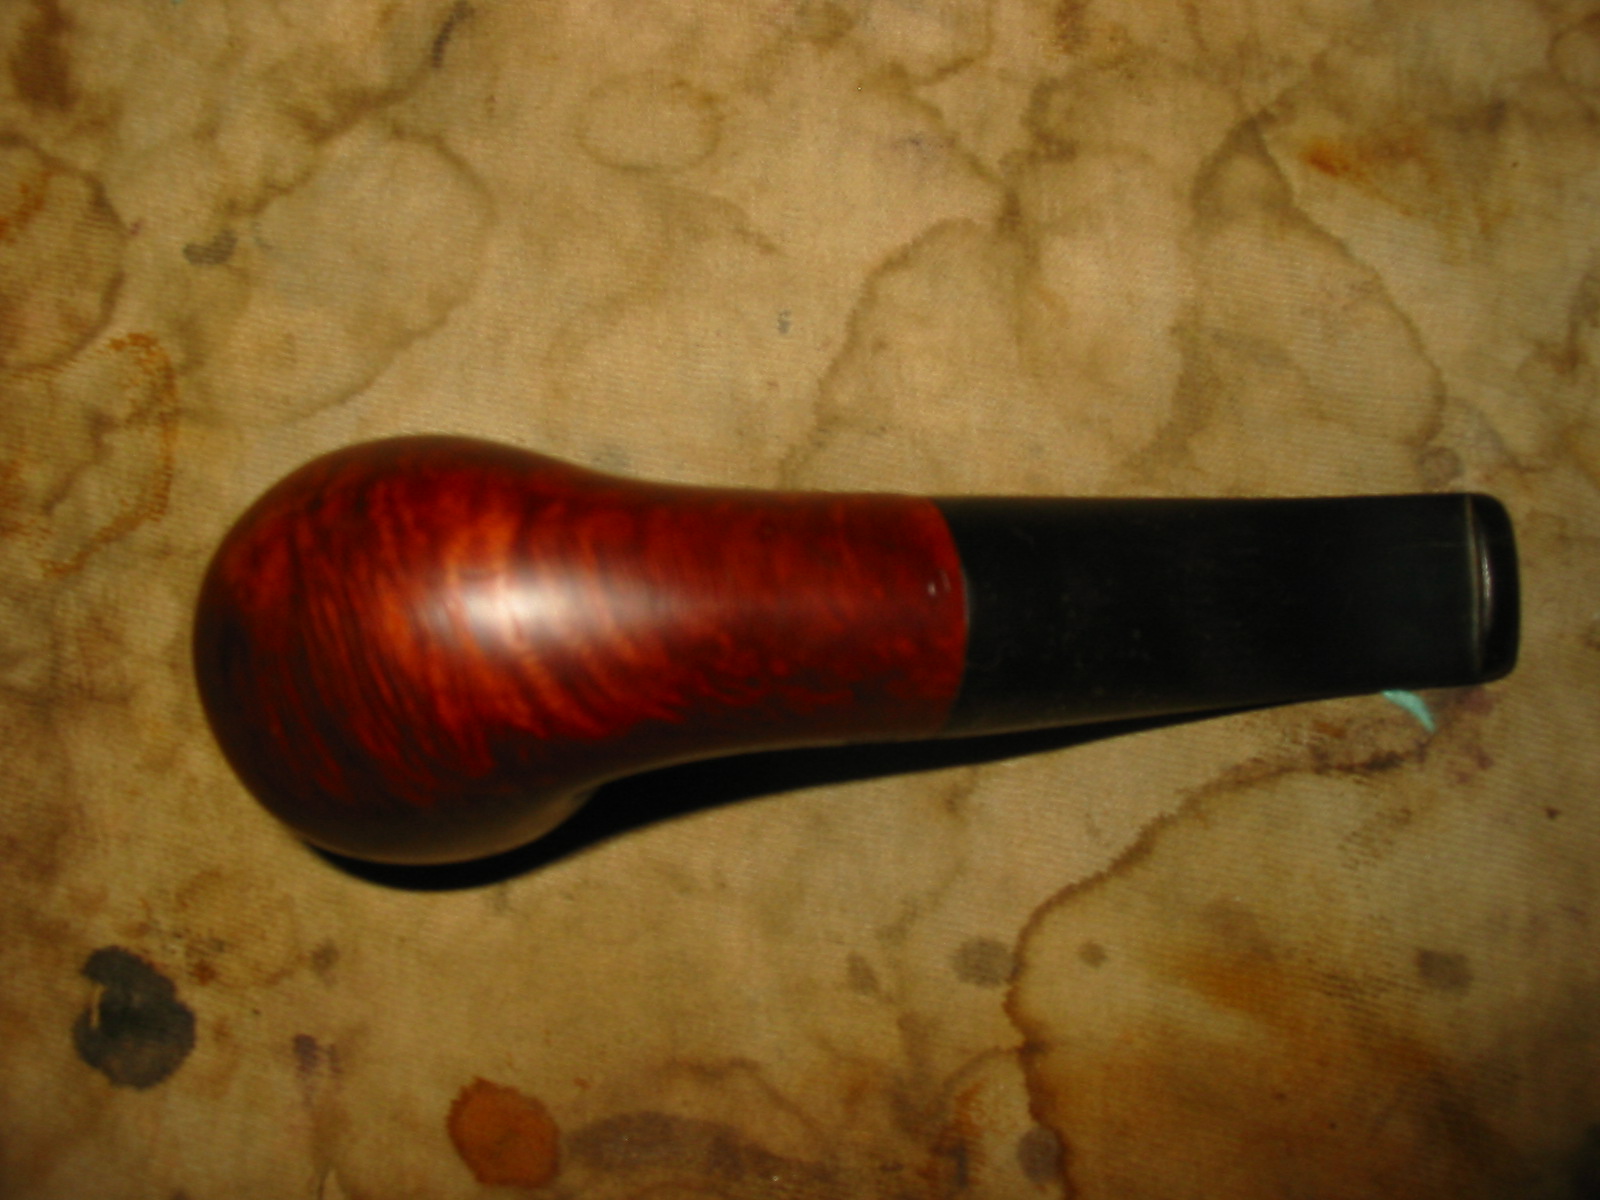
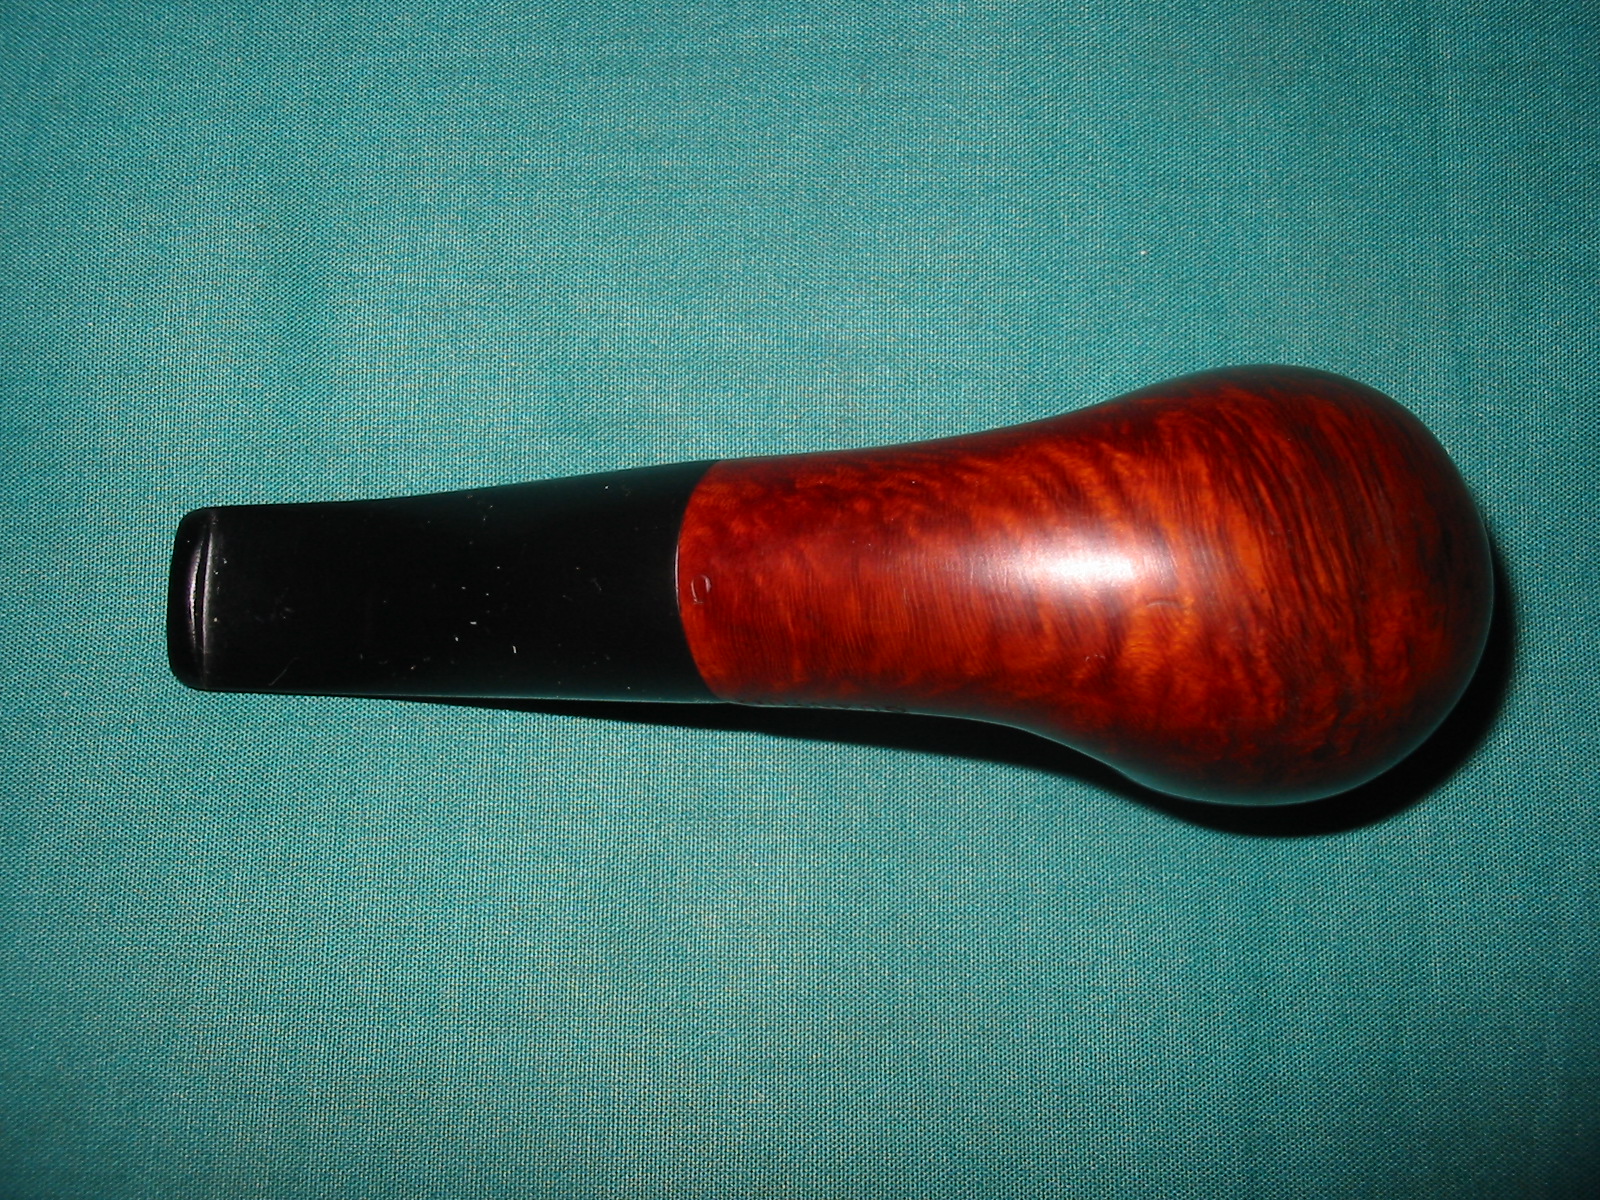
I checked my over reamed GBD 9438 to see if it would work on this pipe. It is a Perspex stem and would look quite nice. However, the stem was already a repair and the shank diameter was slightly smaller so that was a no go. I was left with my second option mentioned above – to fit a new taper stem on it. Since the pipe was already in need of a lot of work fitting a taper stem on it would not be an issue. I was pretty sure that I had a vulcanite taper stem that would be a close fit. I went through my stem box until I found the fat taper stem I was looking for. The tenon was too large so I turned it with the PIMO Tenon Turning Tool until it was a close fit to the shank and then took it back to the work table to hand sand it to a snug fit. The two photos below show the new stem. The first photo shows the new stem alone and the second one shows it in comparison with the damaged stem. It is slightly shorter and the shape of the end of the stem tapers more than the original chewed one.

The diameter of the stem at the shank was slightly larger than the shank so I sanded it with 220 grit sandpaper to get a good fit between the shank and the stem. I carefully sanded the shank to clean up the fit and make a smooth transition. I wanted to avoid all of the stamping to leave it as pristine as possible.

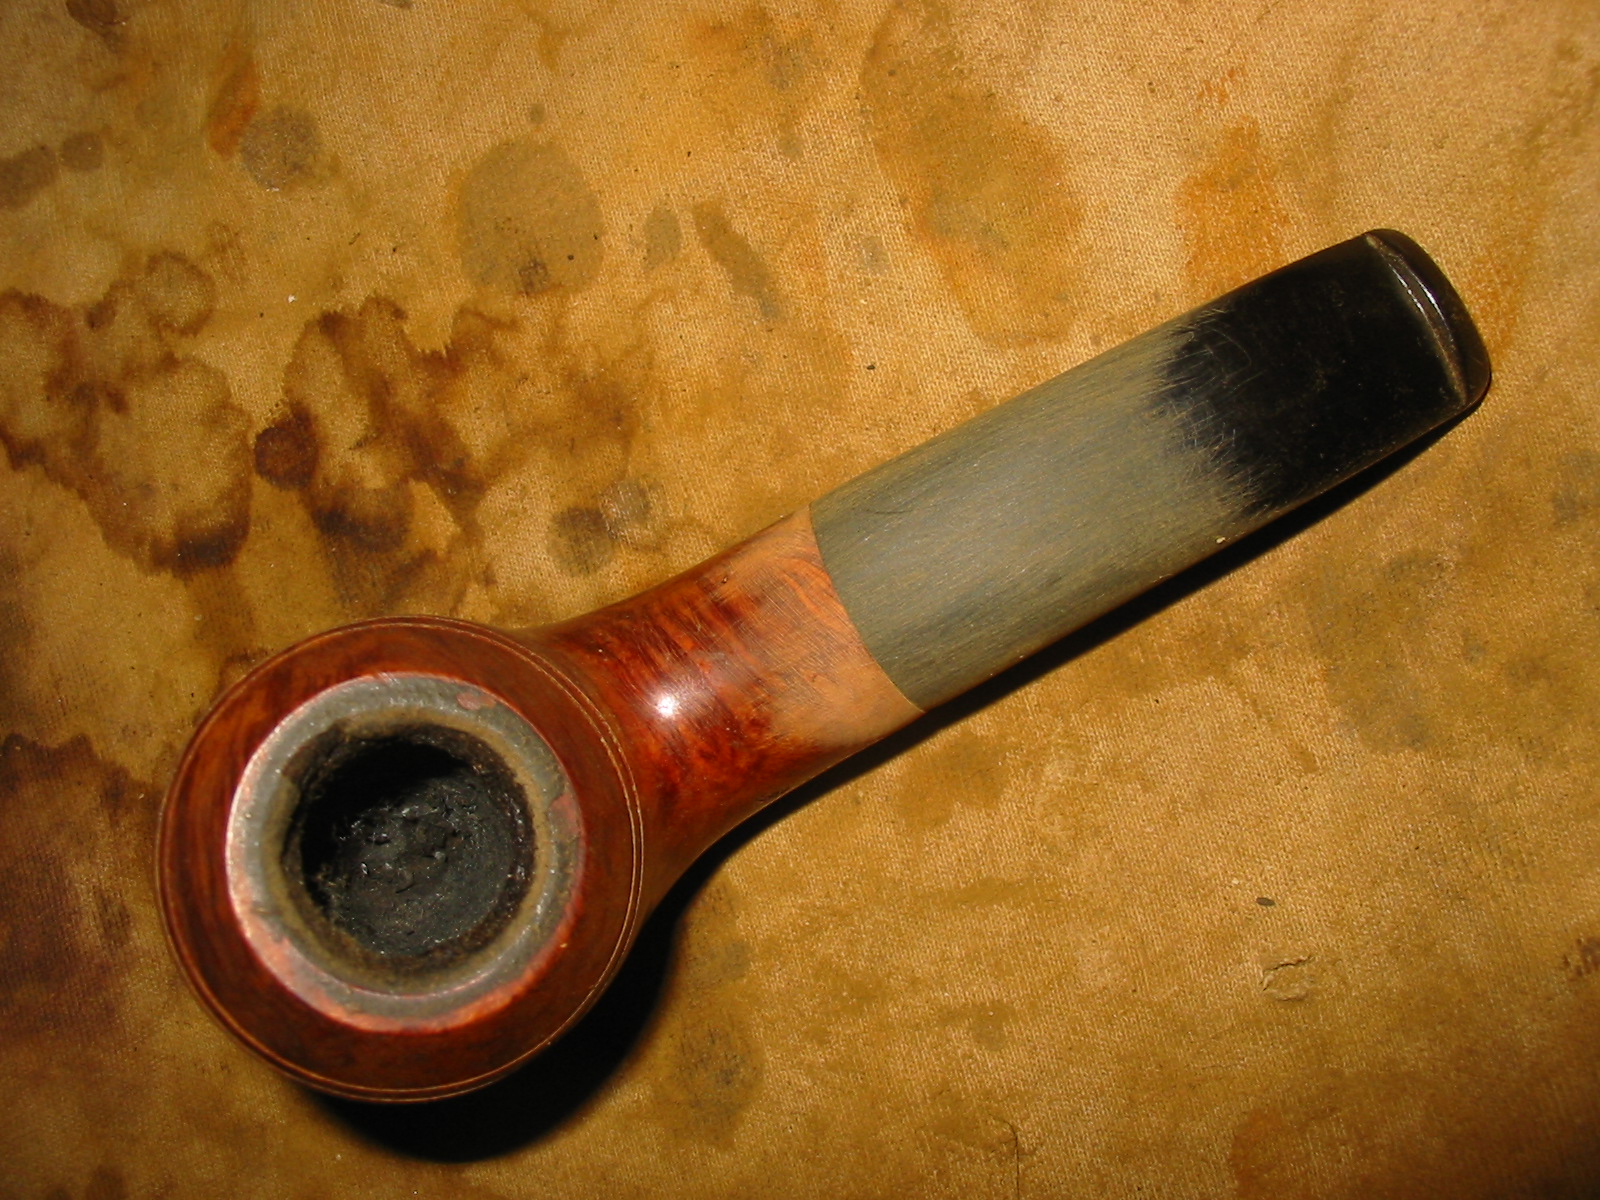
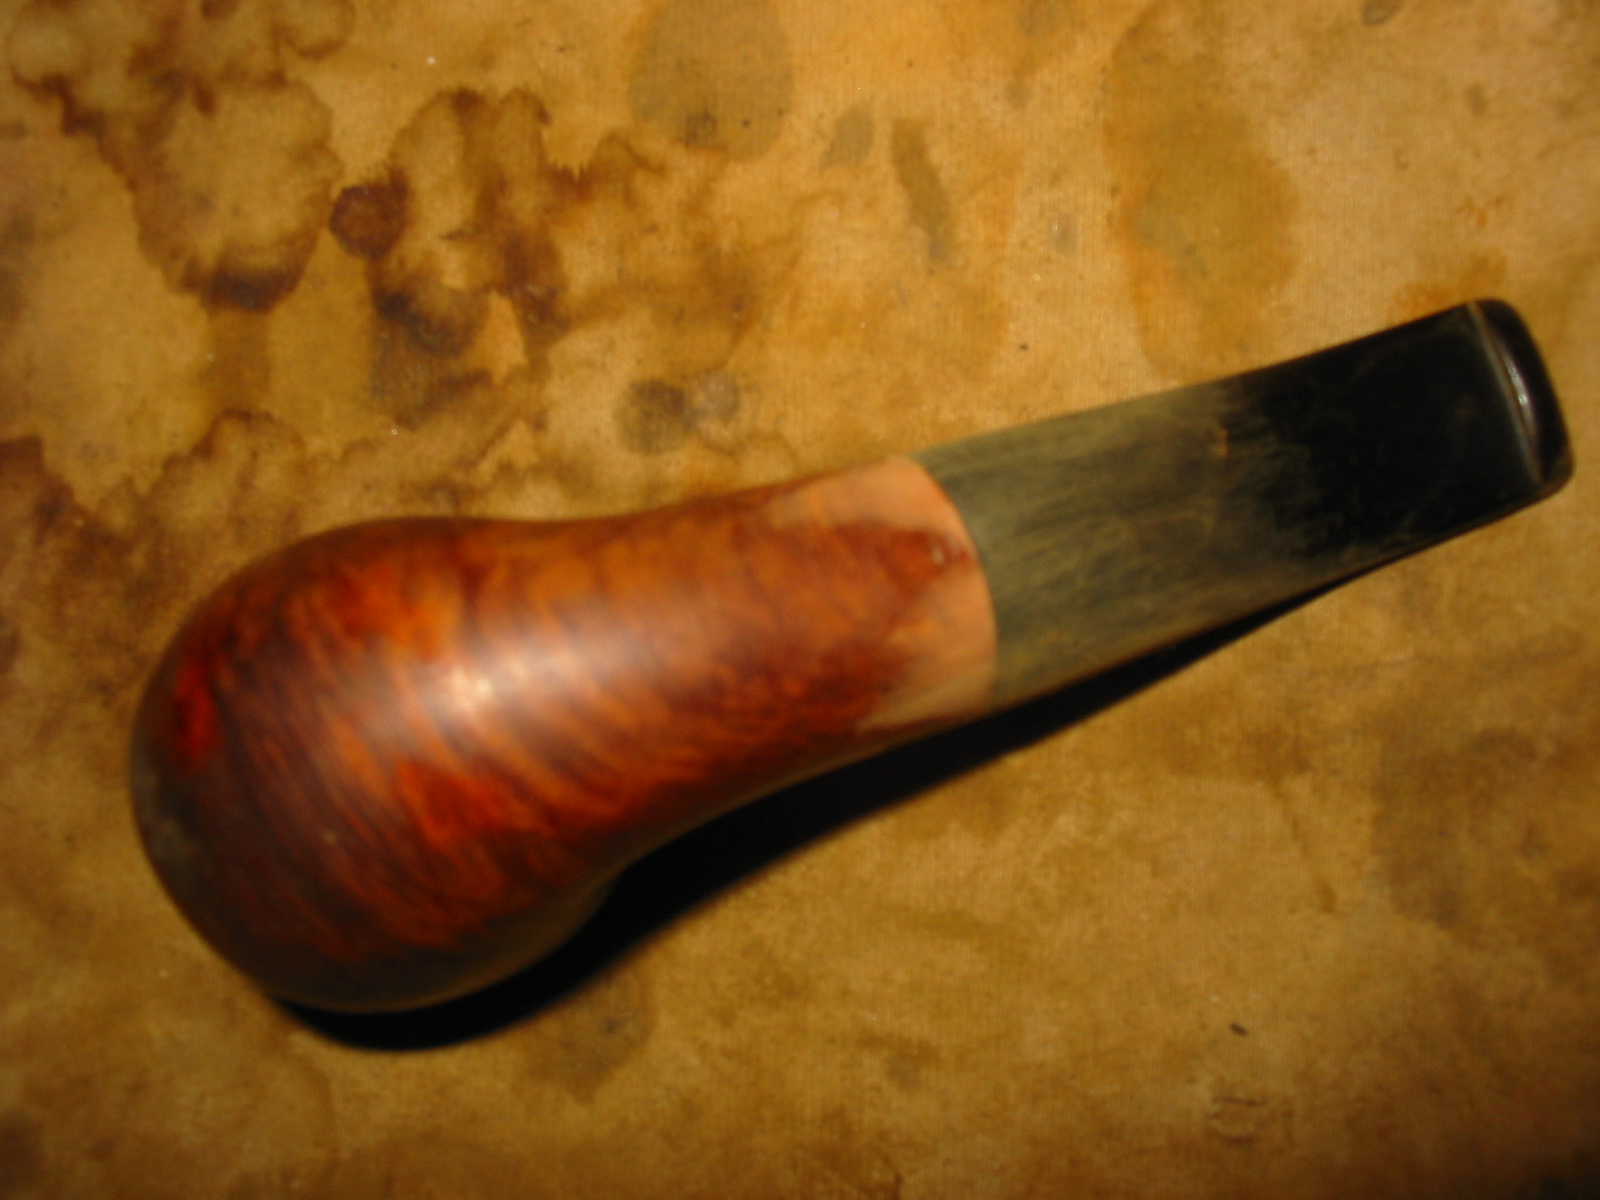
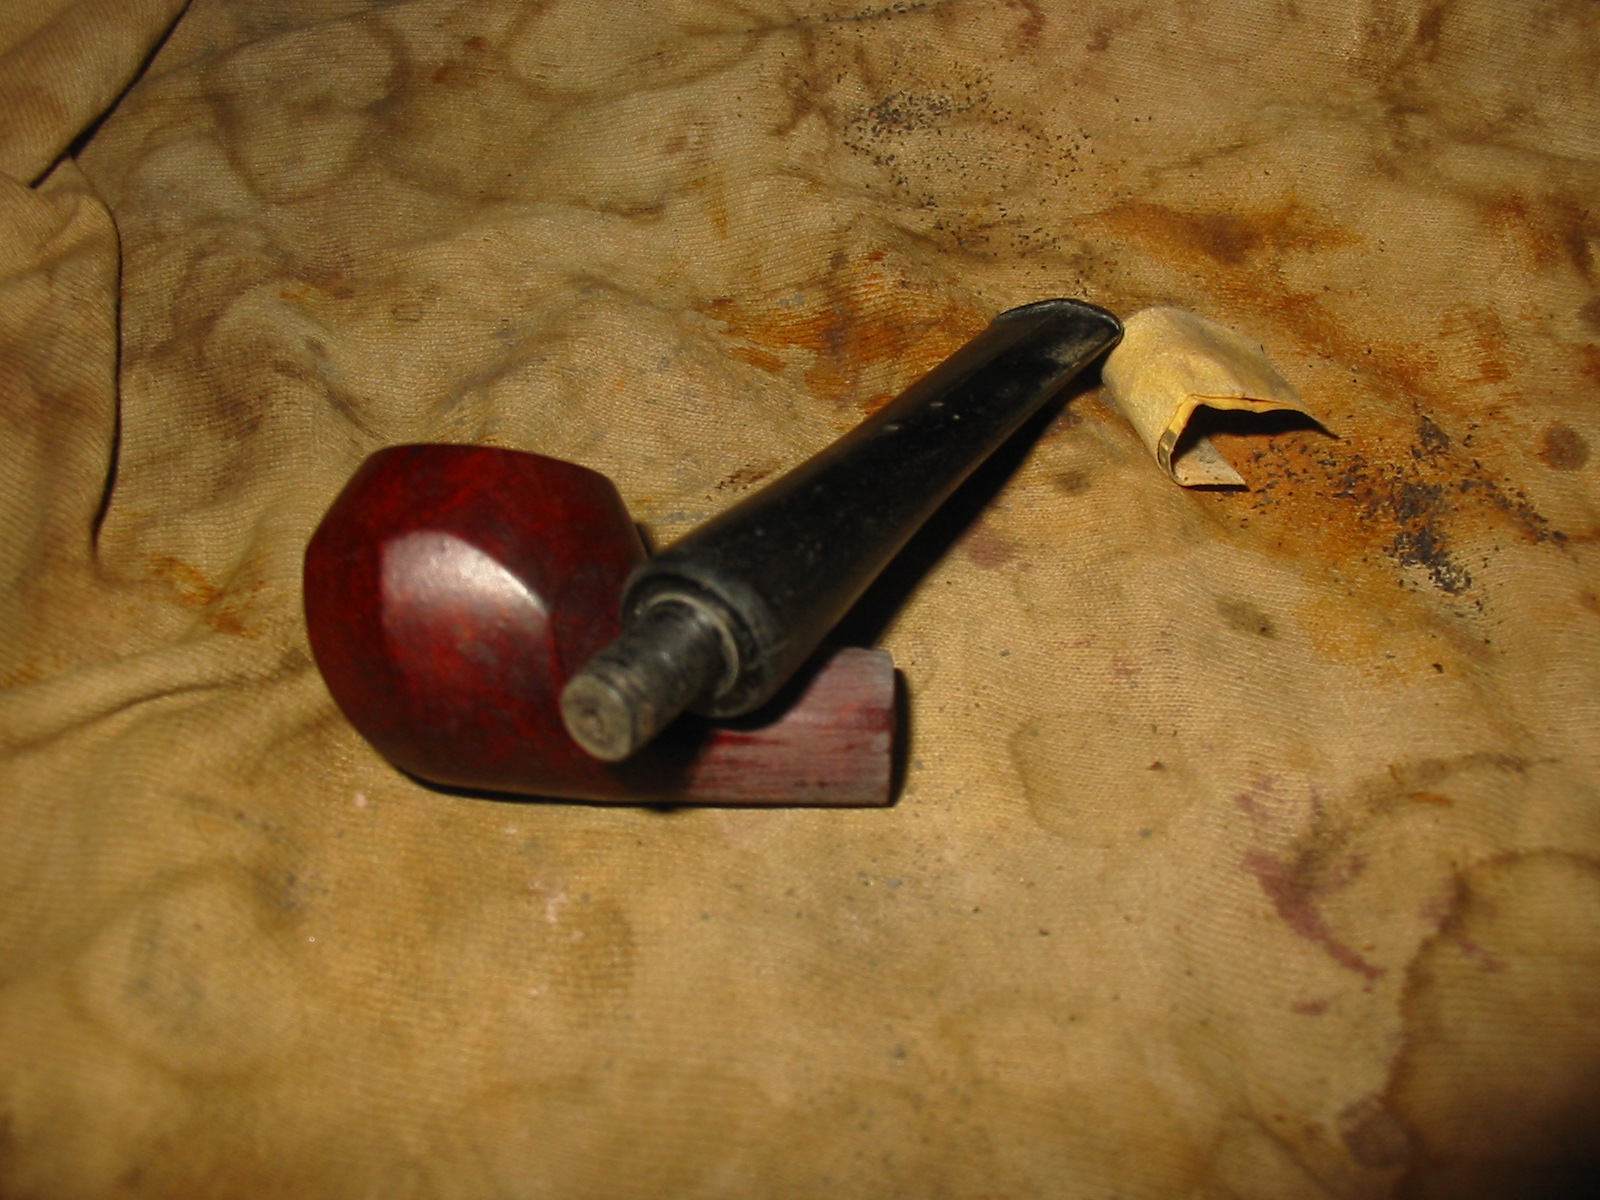
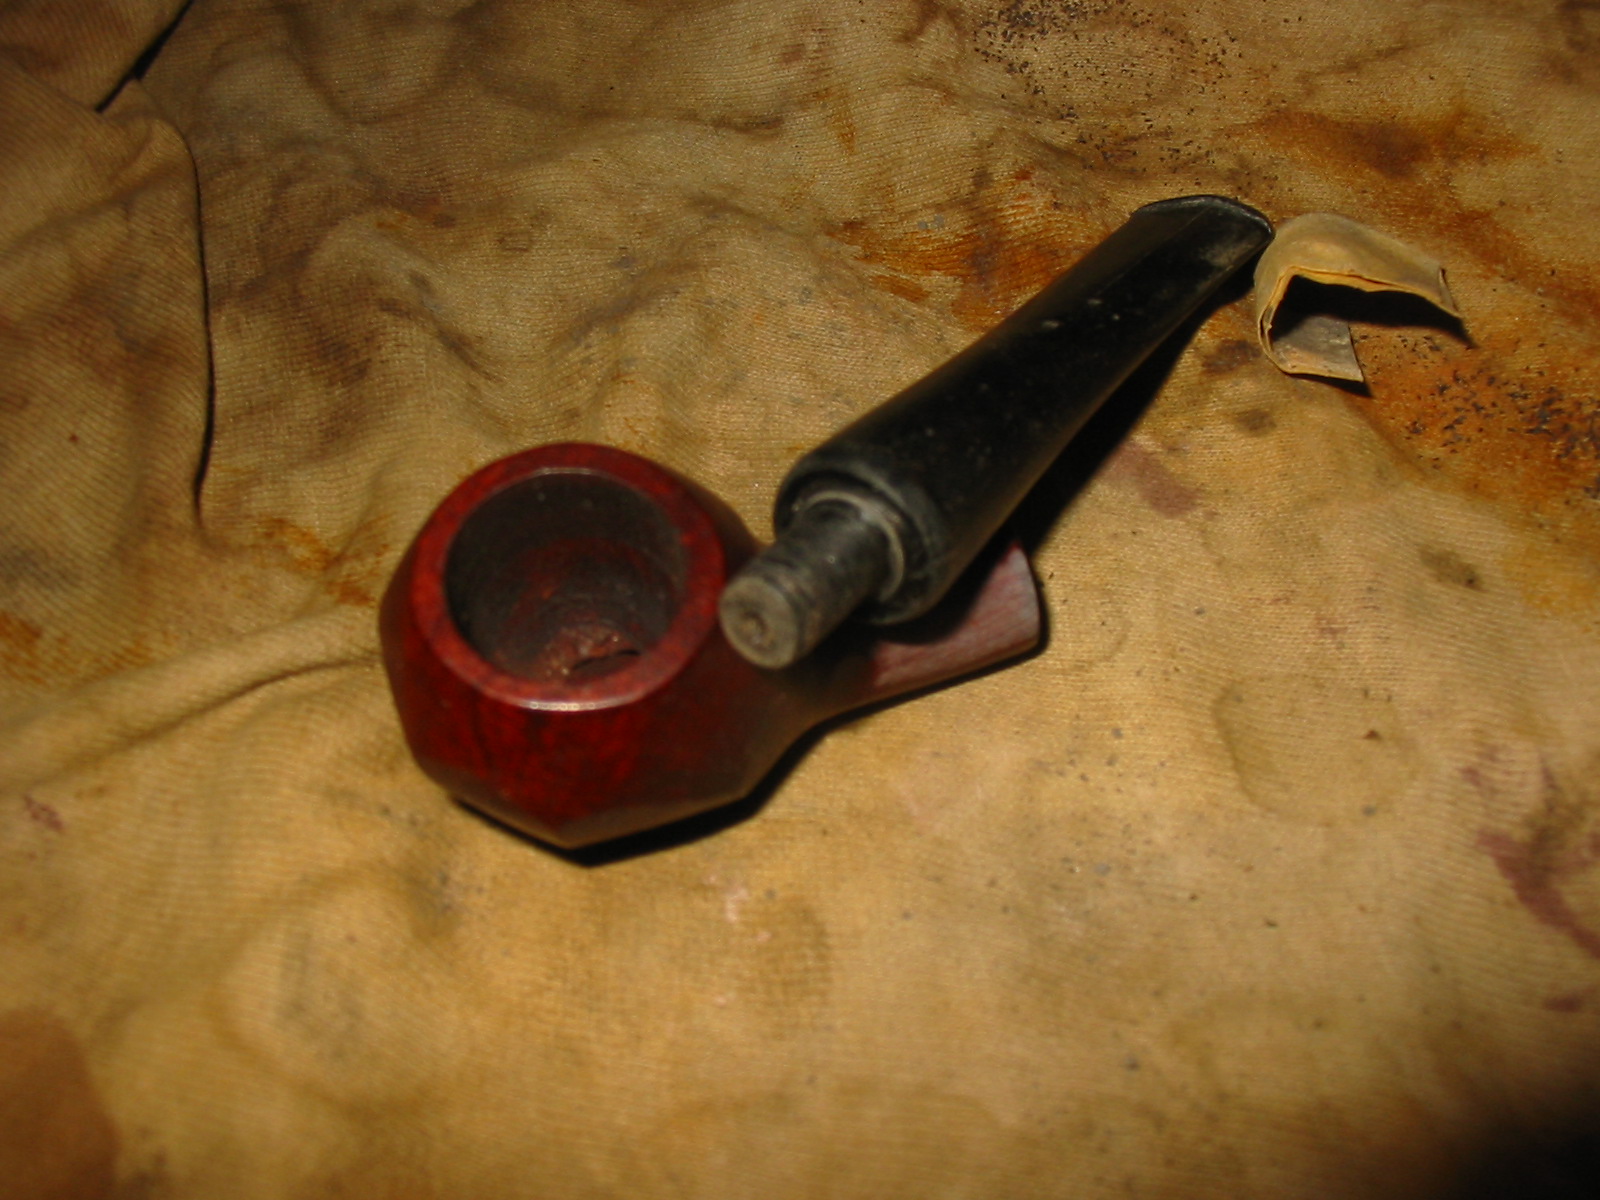
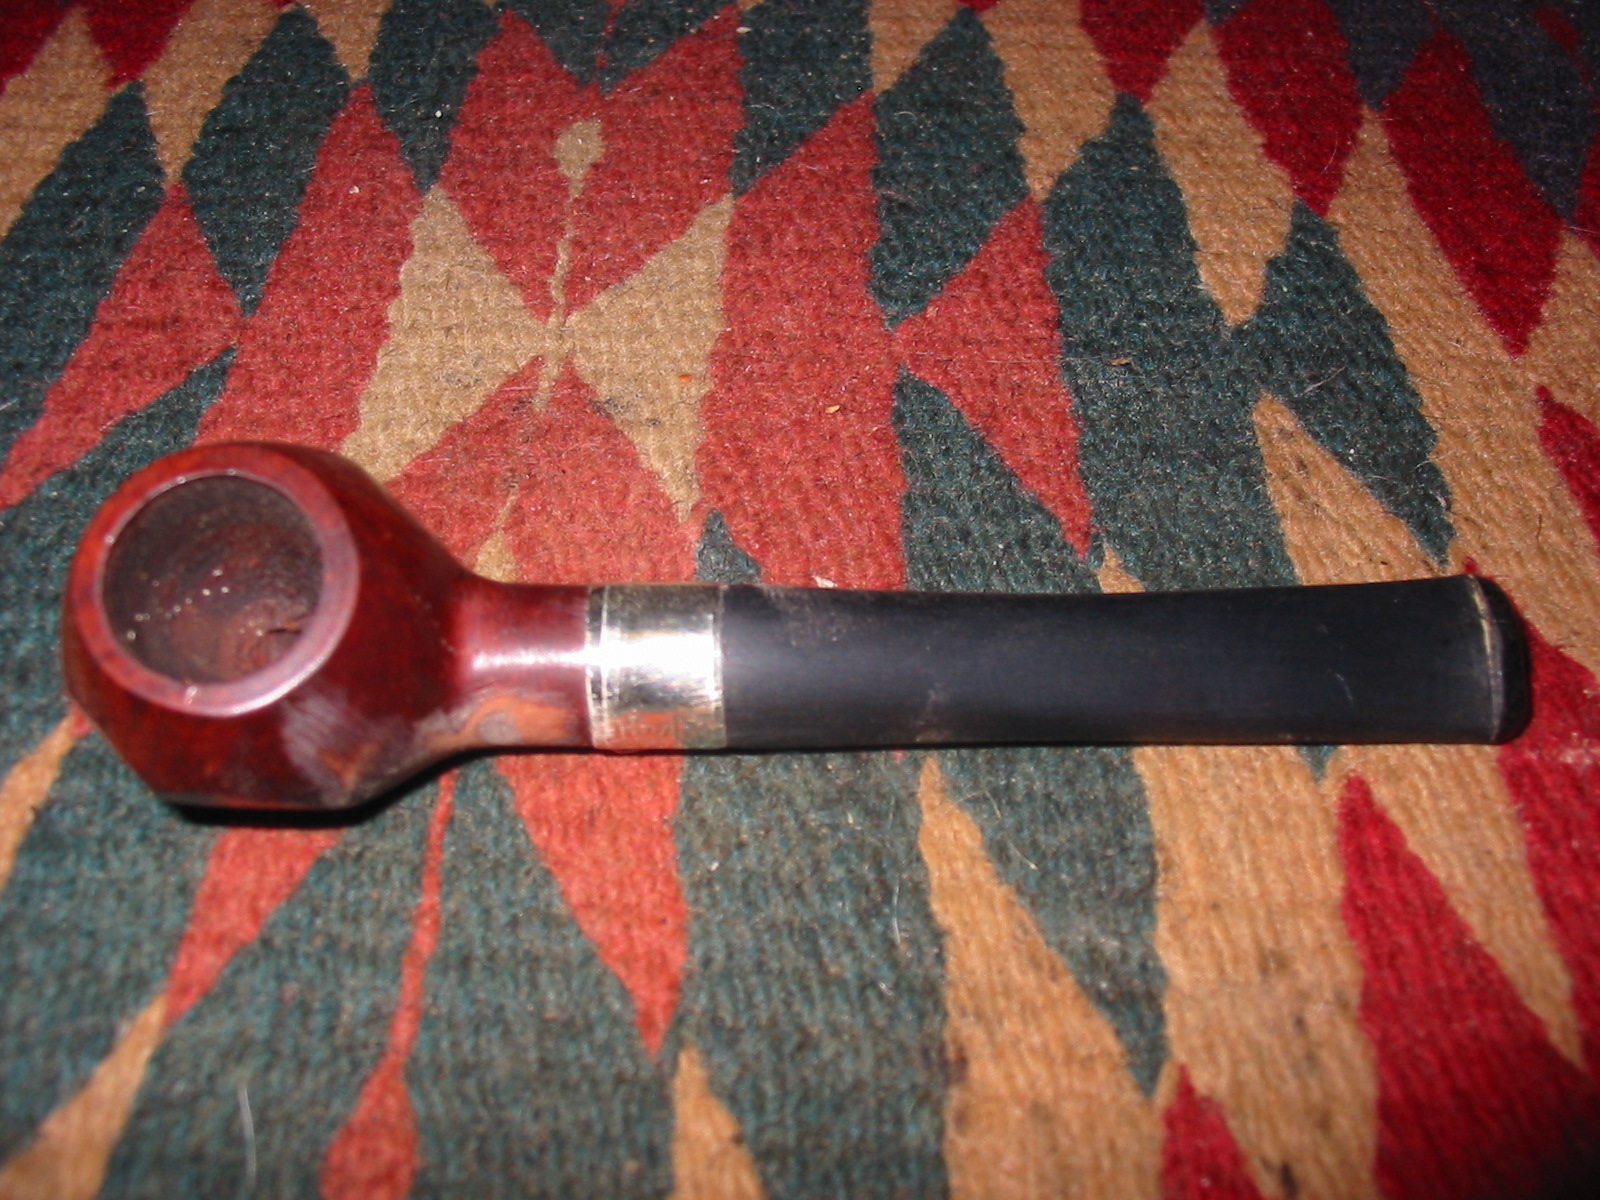
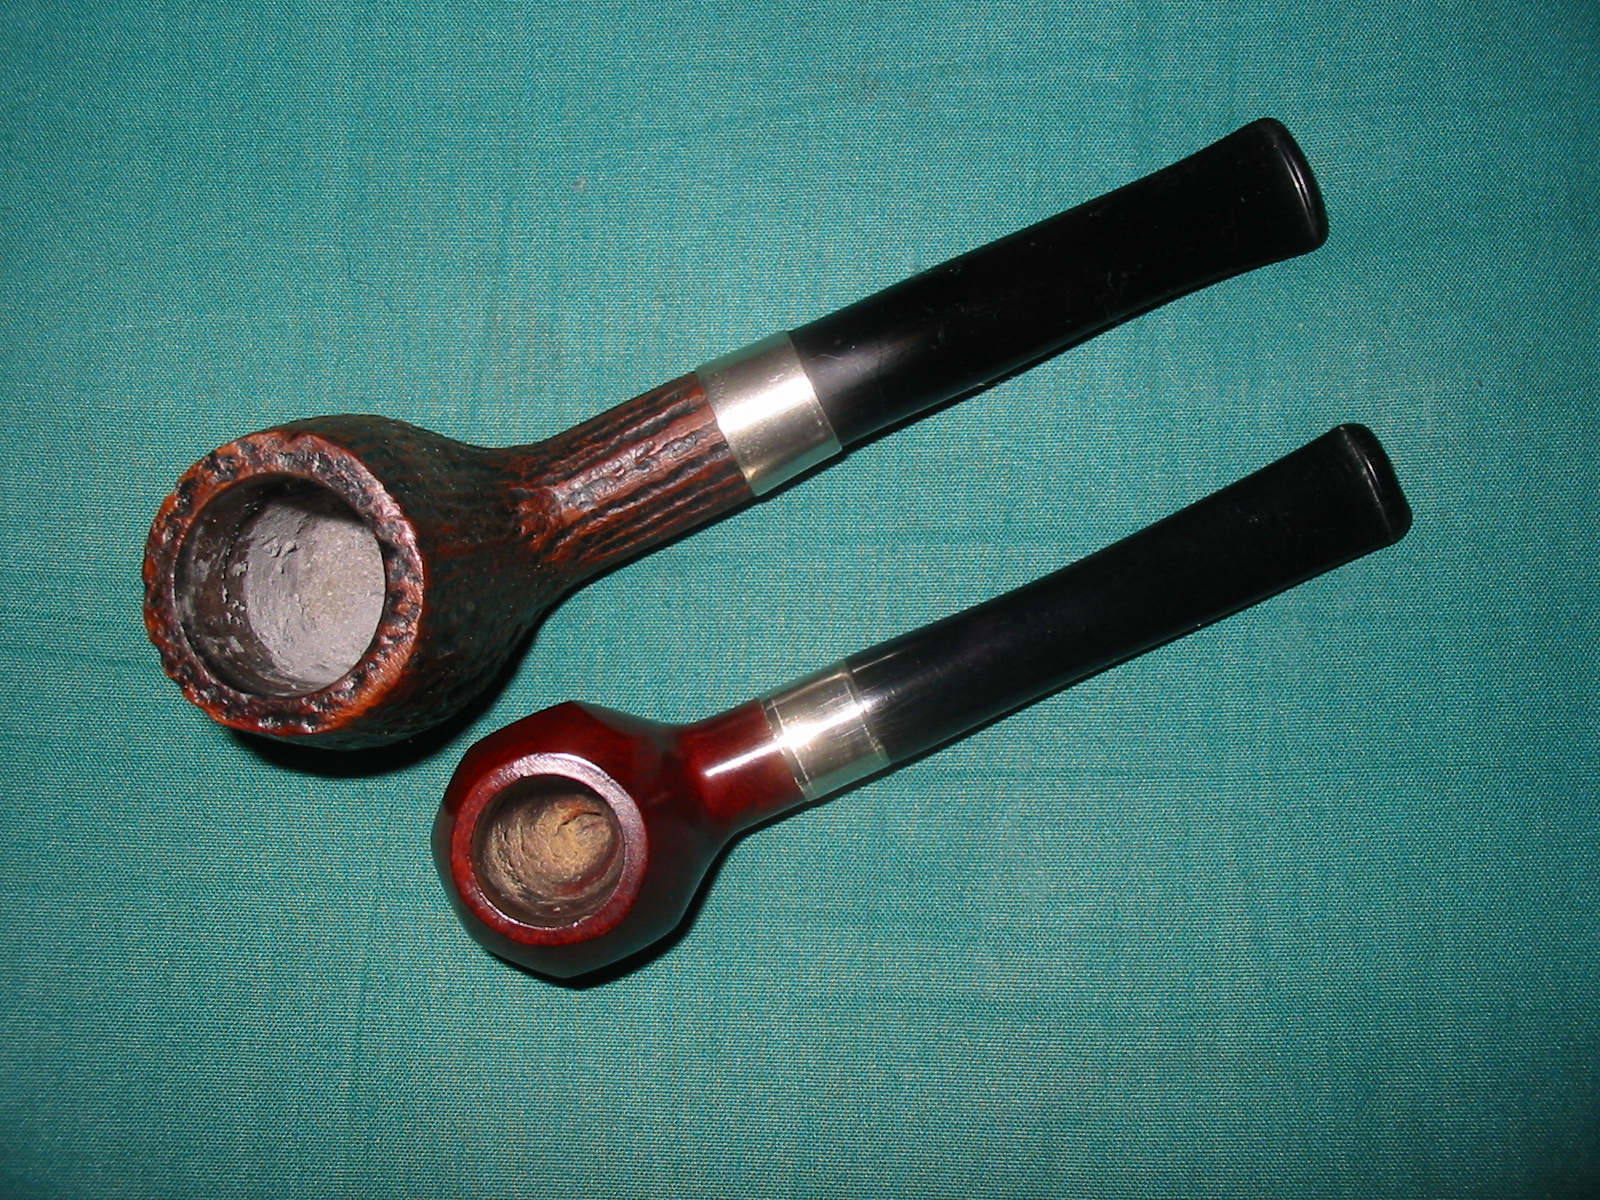
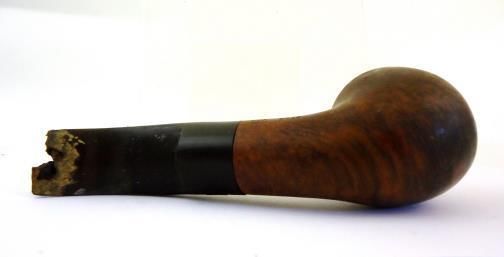
The next two photos show the extent of damage to the old stem. I wanted to have those photos for comparison purposes and to give an idea of how short I would have to cut back the original stem to remove the damage.
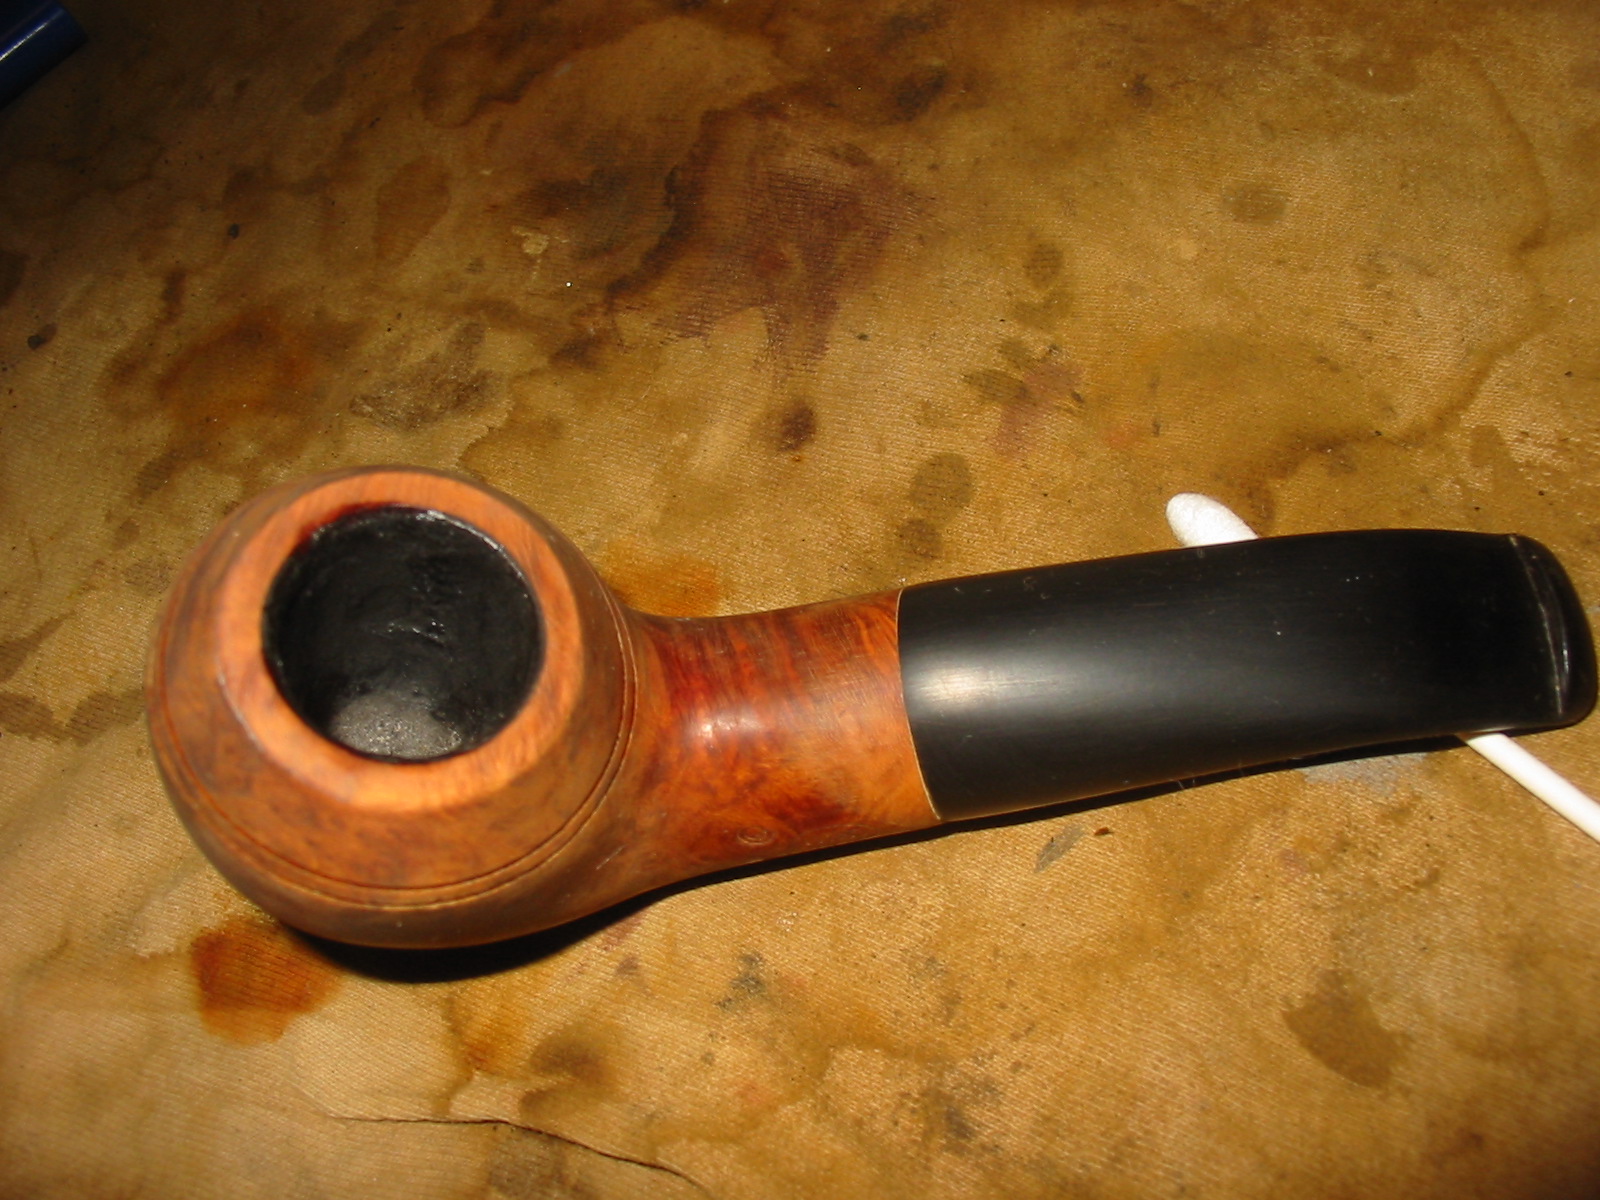
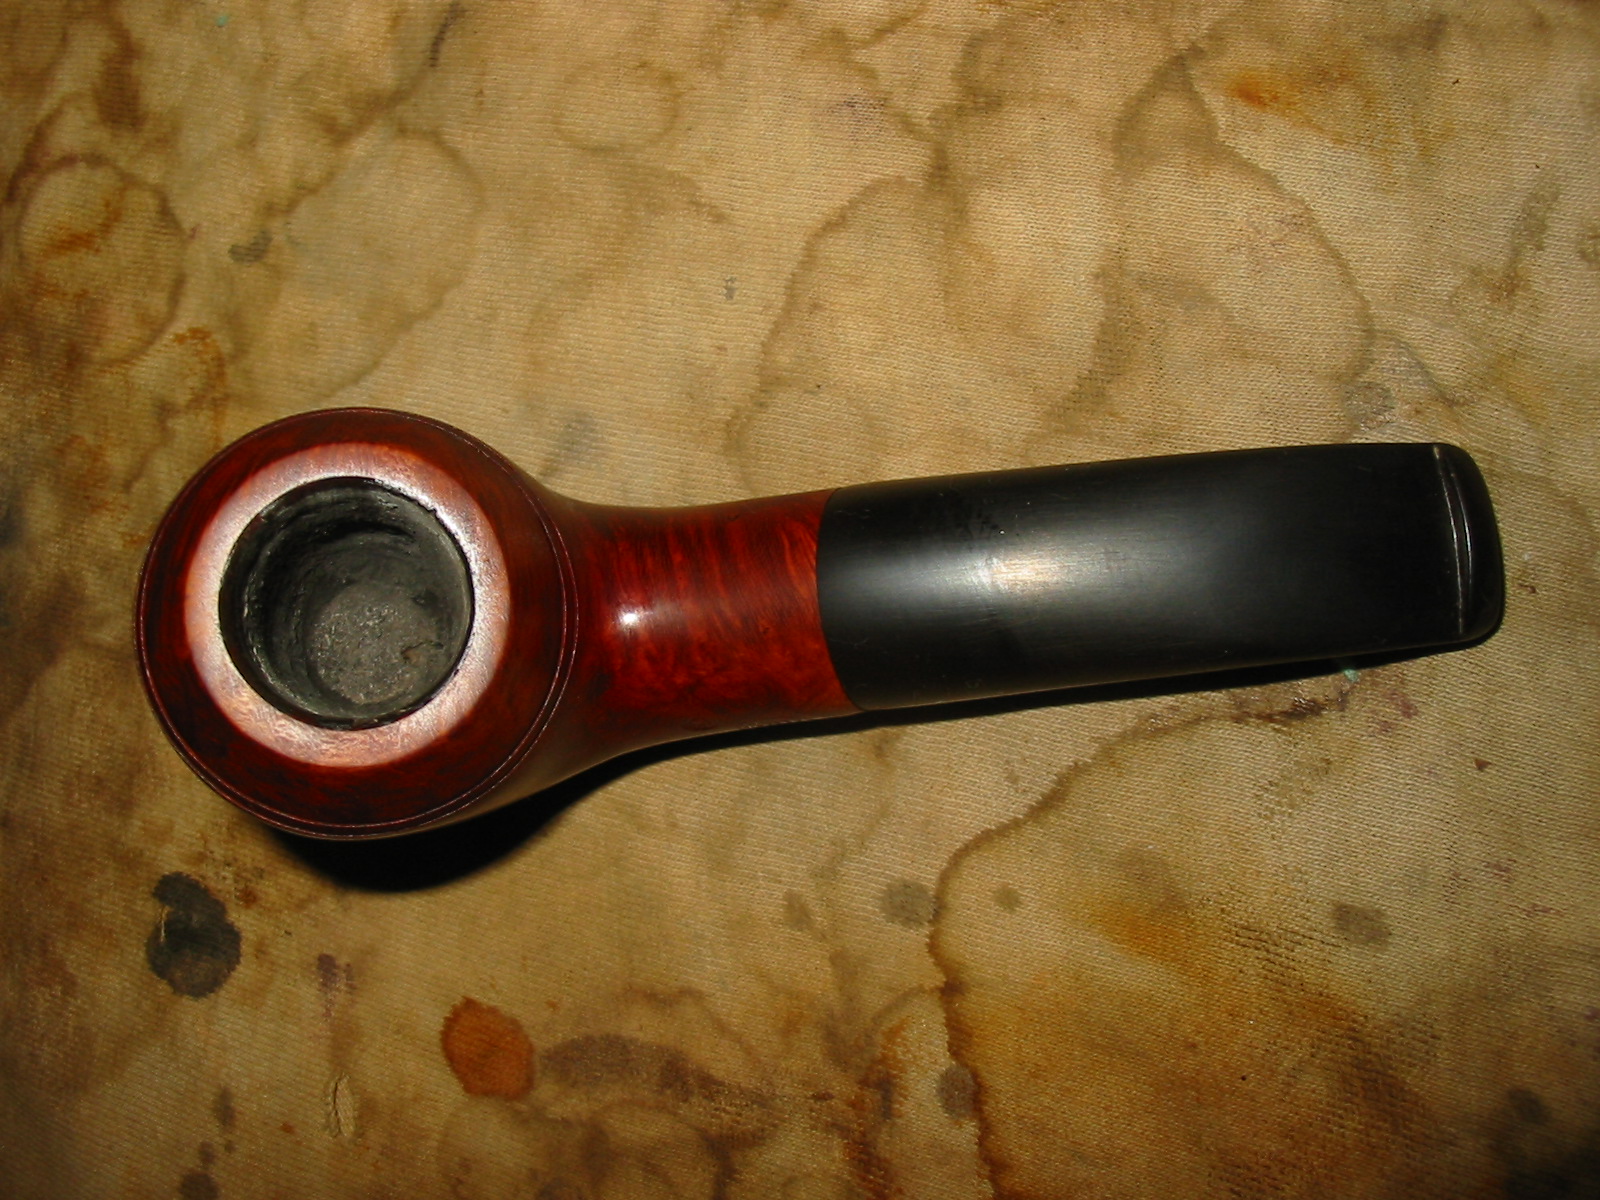
I reamed the bowl with the PipNet reamer until it was bare wood. In doing that I found that underneath the cake, on the right side about half way down the inside, there was some charring on the wall. It was the beginning of a burn through in that area. I cleaned up around the area with sandpaper and picked at it with the dental pick. In doing so I found that it was still solid and not too deeply damaged. It would require some damage control and protection so I coated it with some pipe mud. The airway entered the bowl a bit high as well so I raised the bottom of the bowl with the pipe mud at the same time. I may well give it a bowl coating to further protect it but will decide that in the future.

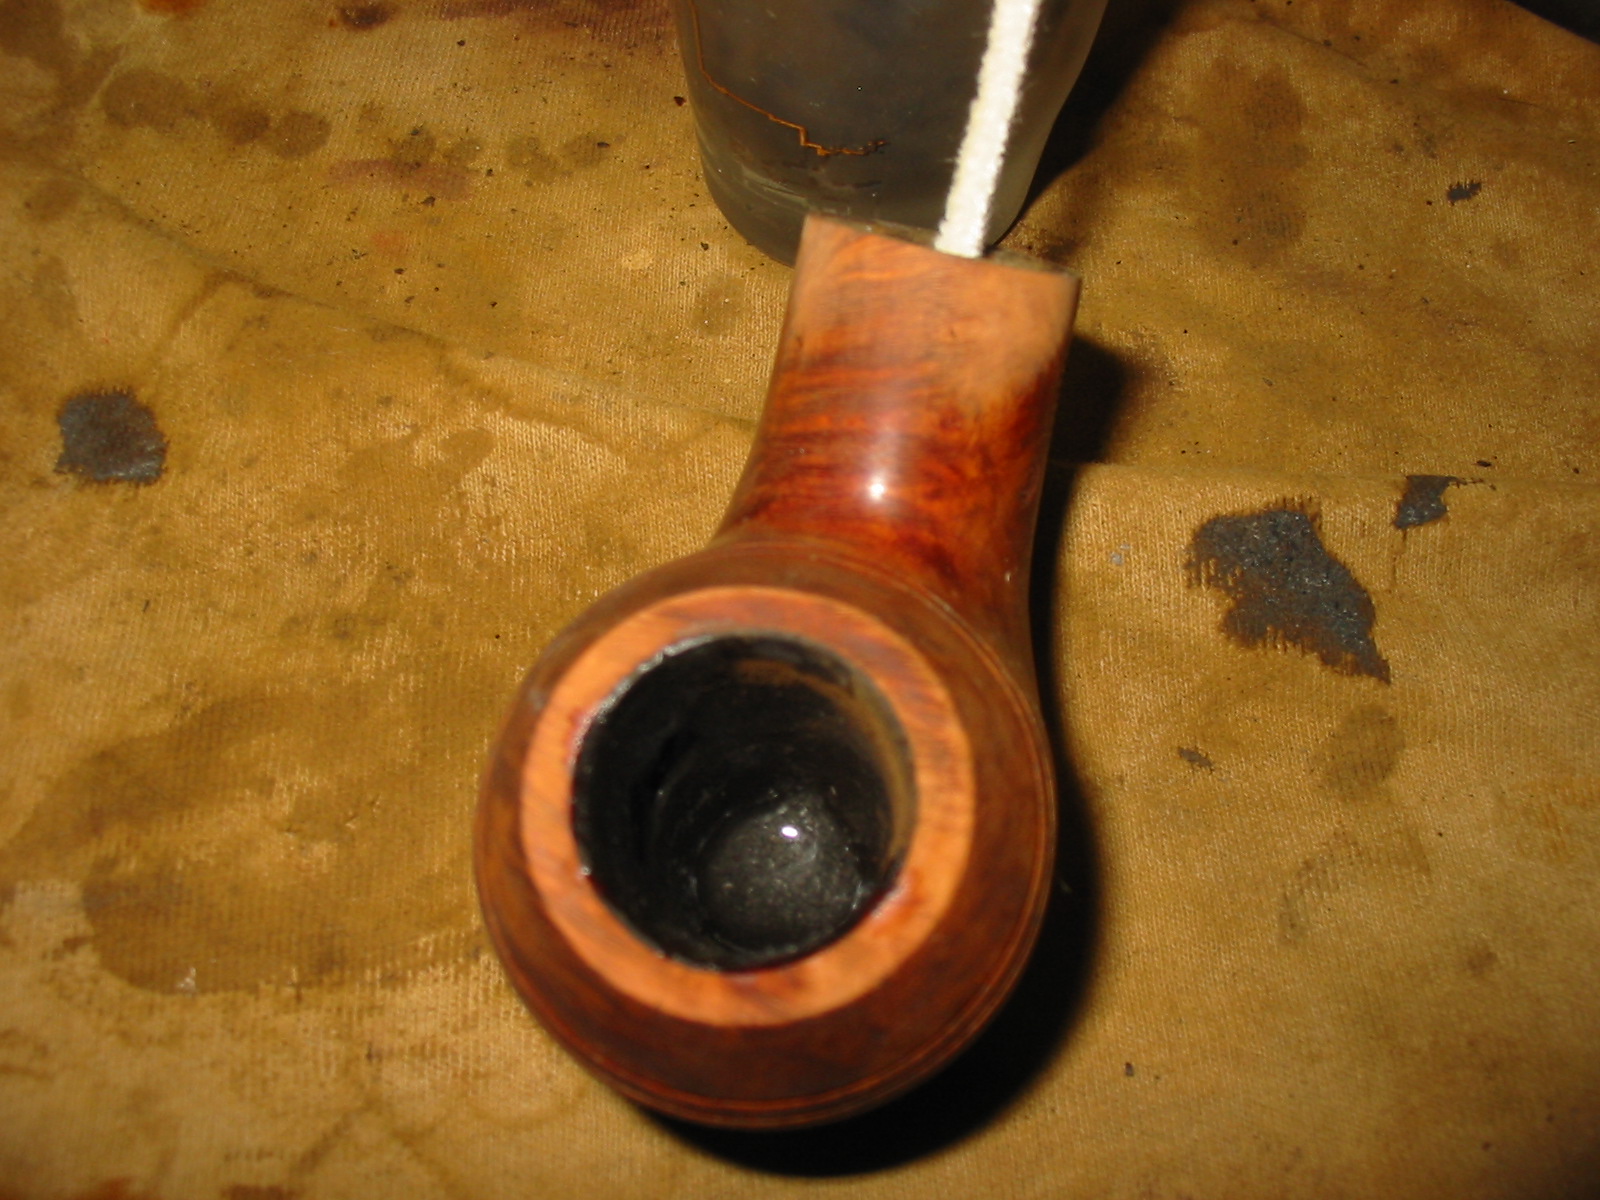
The rim also needed to be lightly topped to remove some of the damage there that I could not steam out or repair. I did that with a piece of sandpaper on a board and lightly sanded the rim until it was smooth and the damage minimized. I used a folded piece of sandpaper to bevel the inner edge of the rim to match what remained in the undamaged portion of the rim.
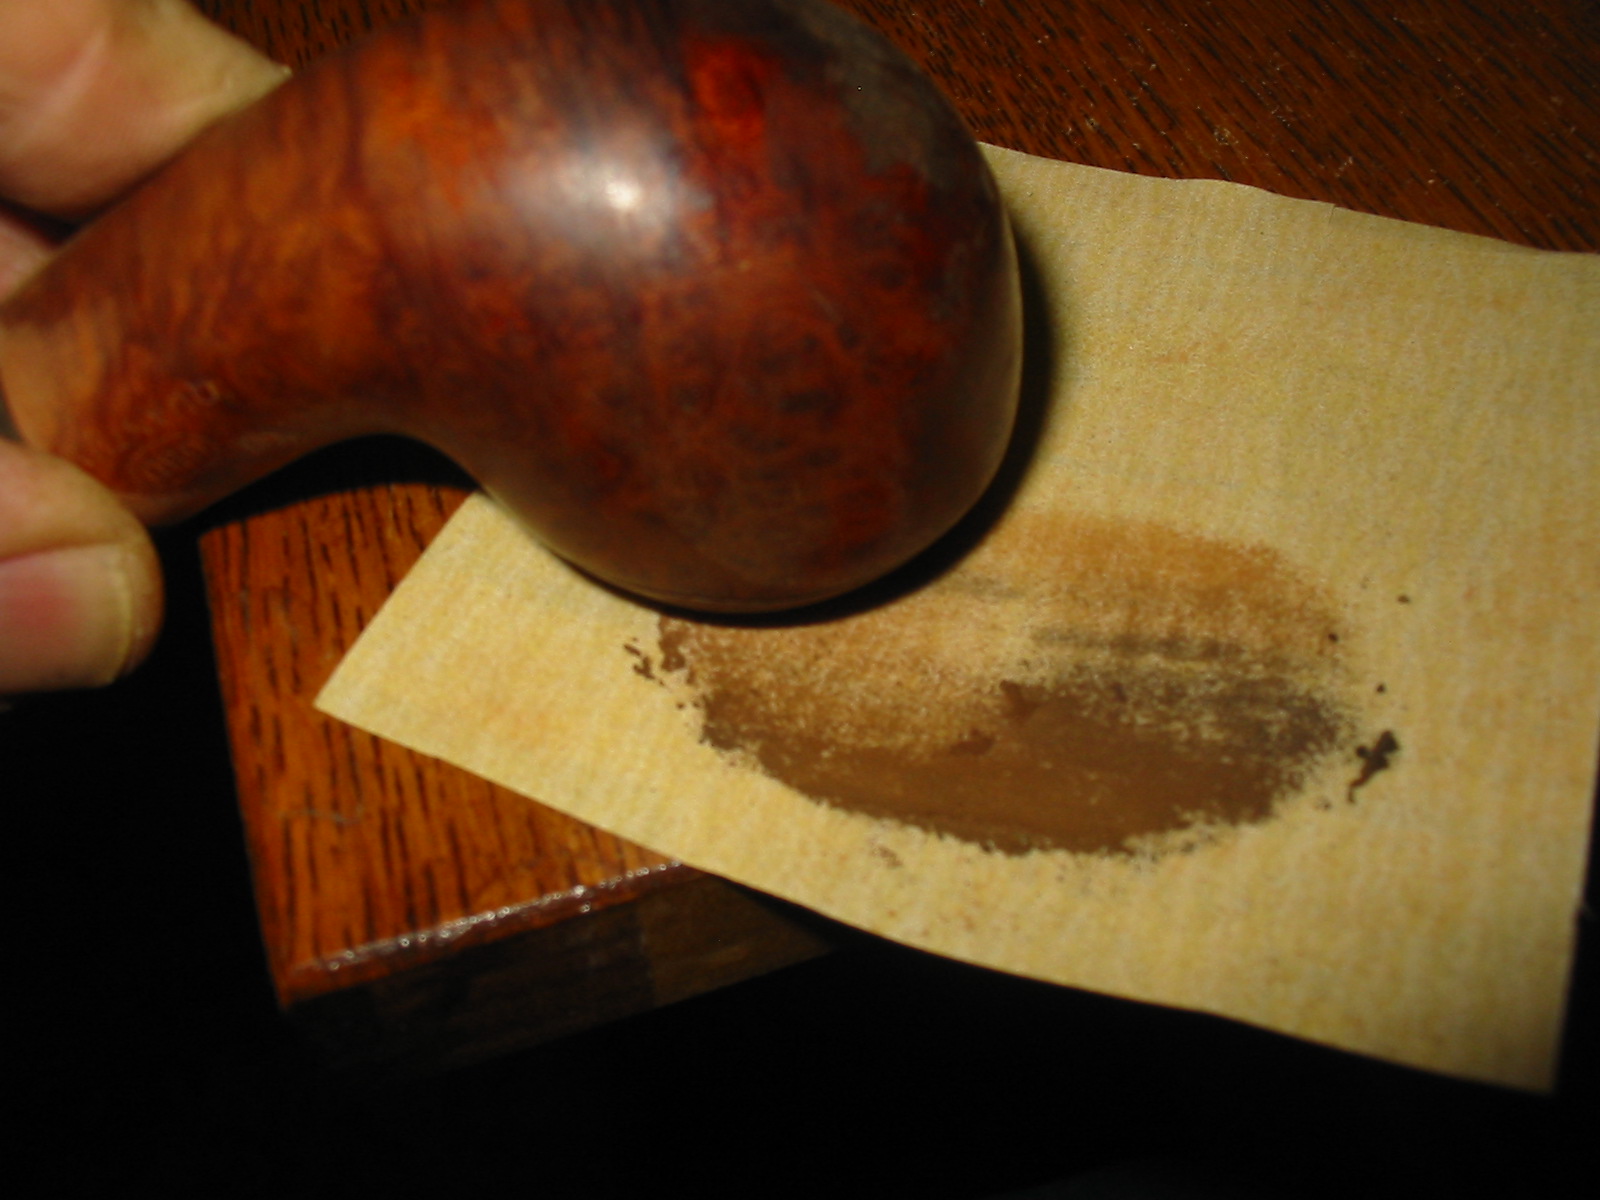
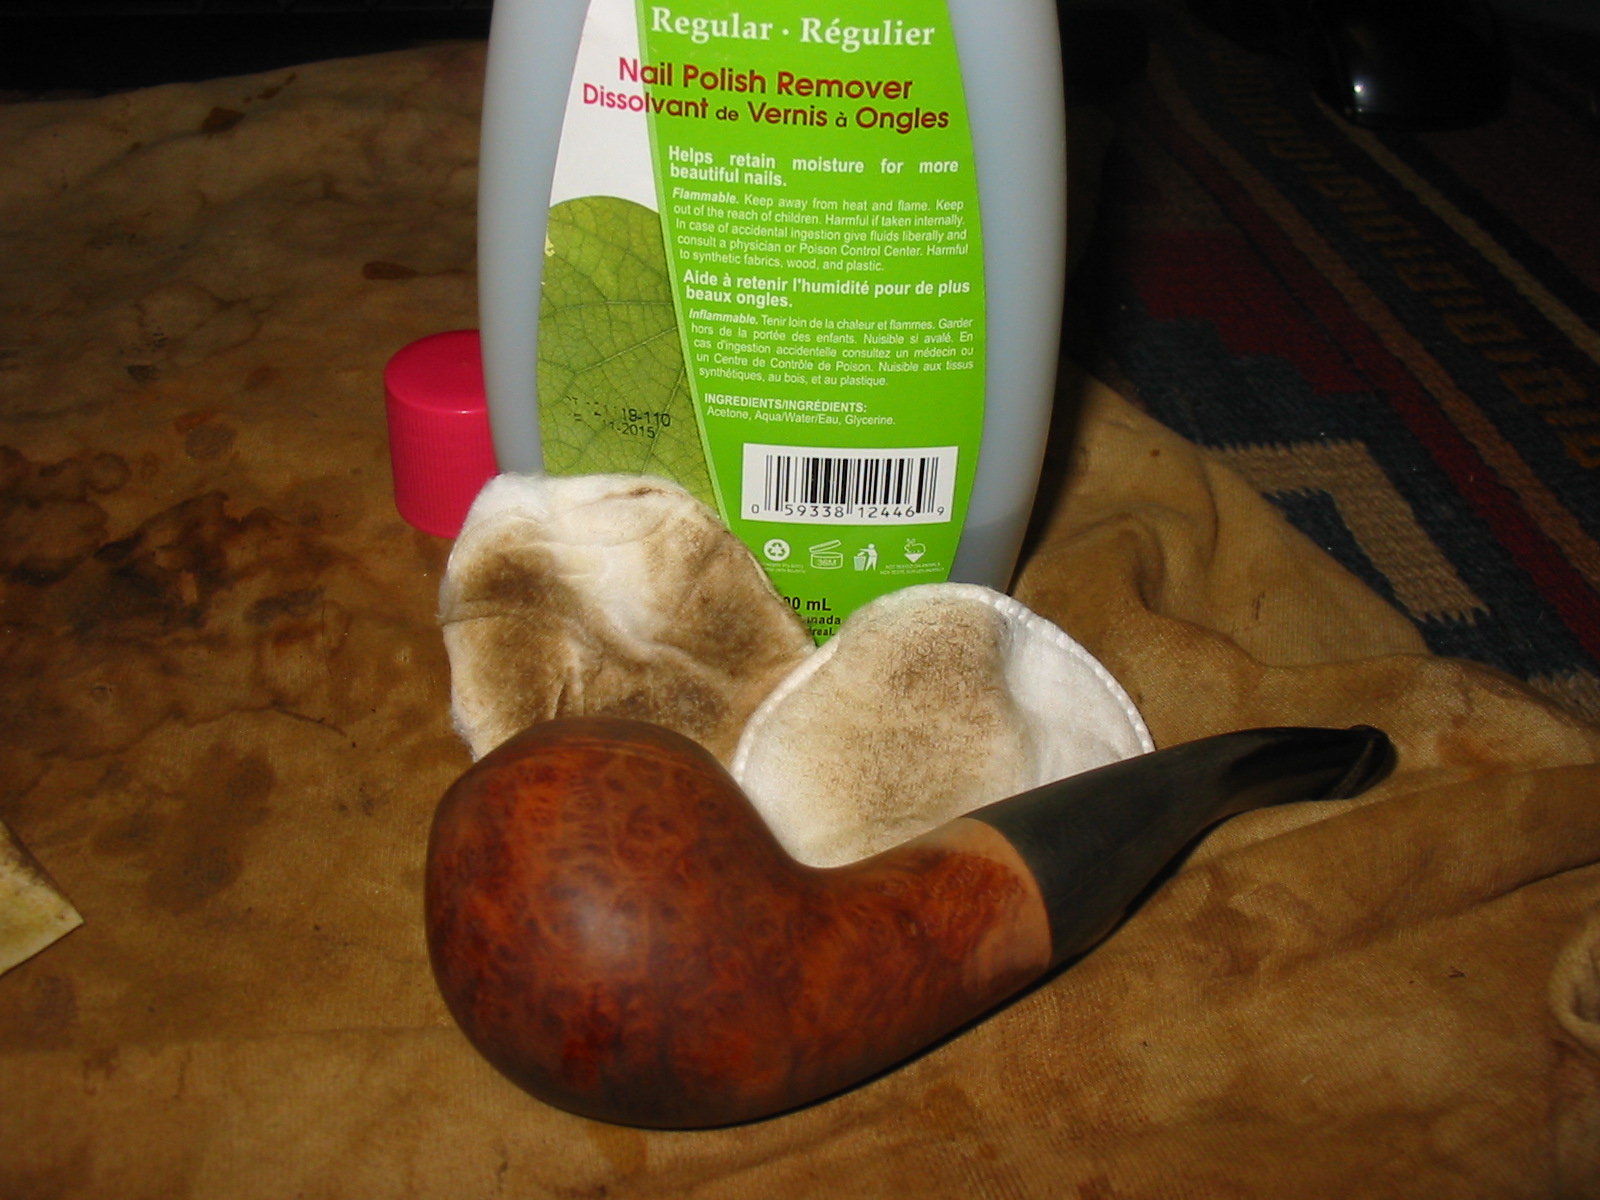
I wiped the bowl down with acetone on a cotton pad to clean up the finish and remove the remaining stain. I have found that when I am planning to restain a bowl it is easier blend the sanded portions and the remainder of the bowl when I wash down the finish with acetone before restaining.
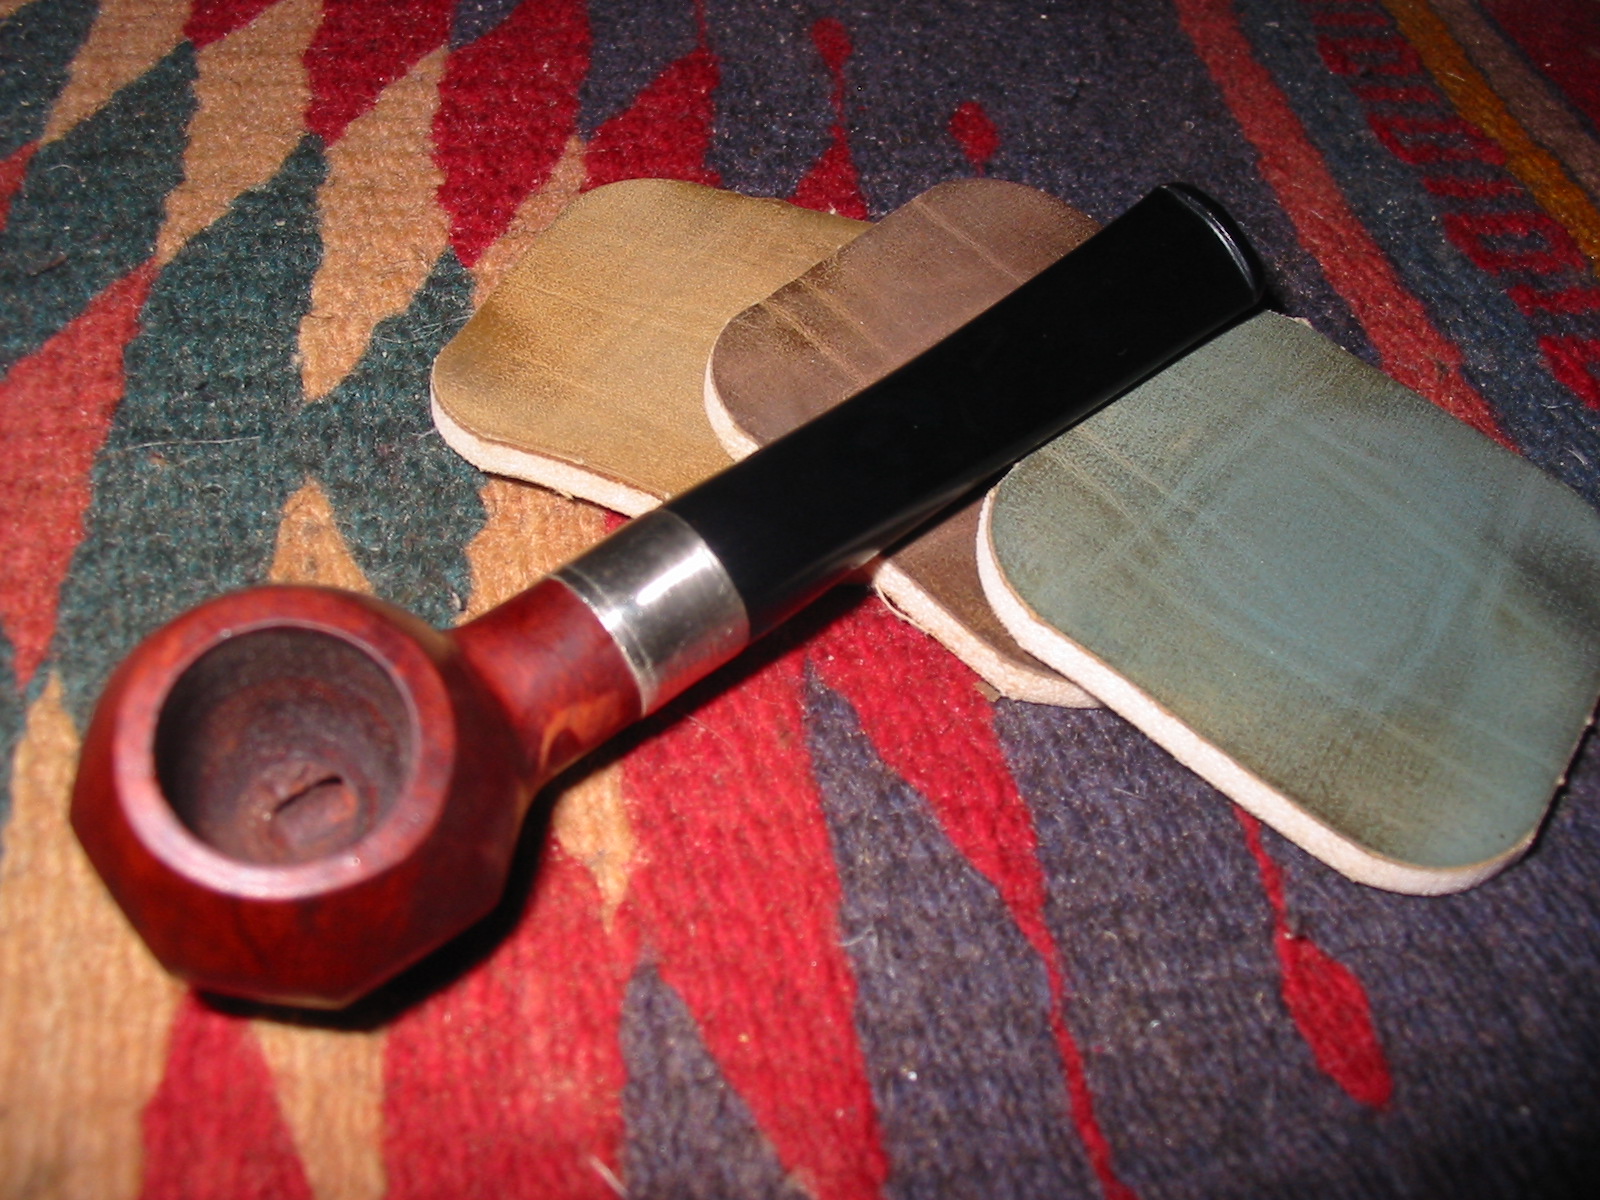
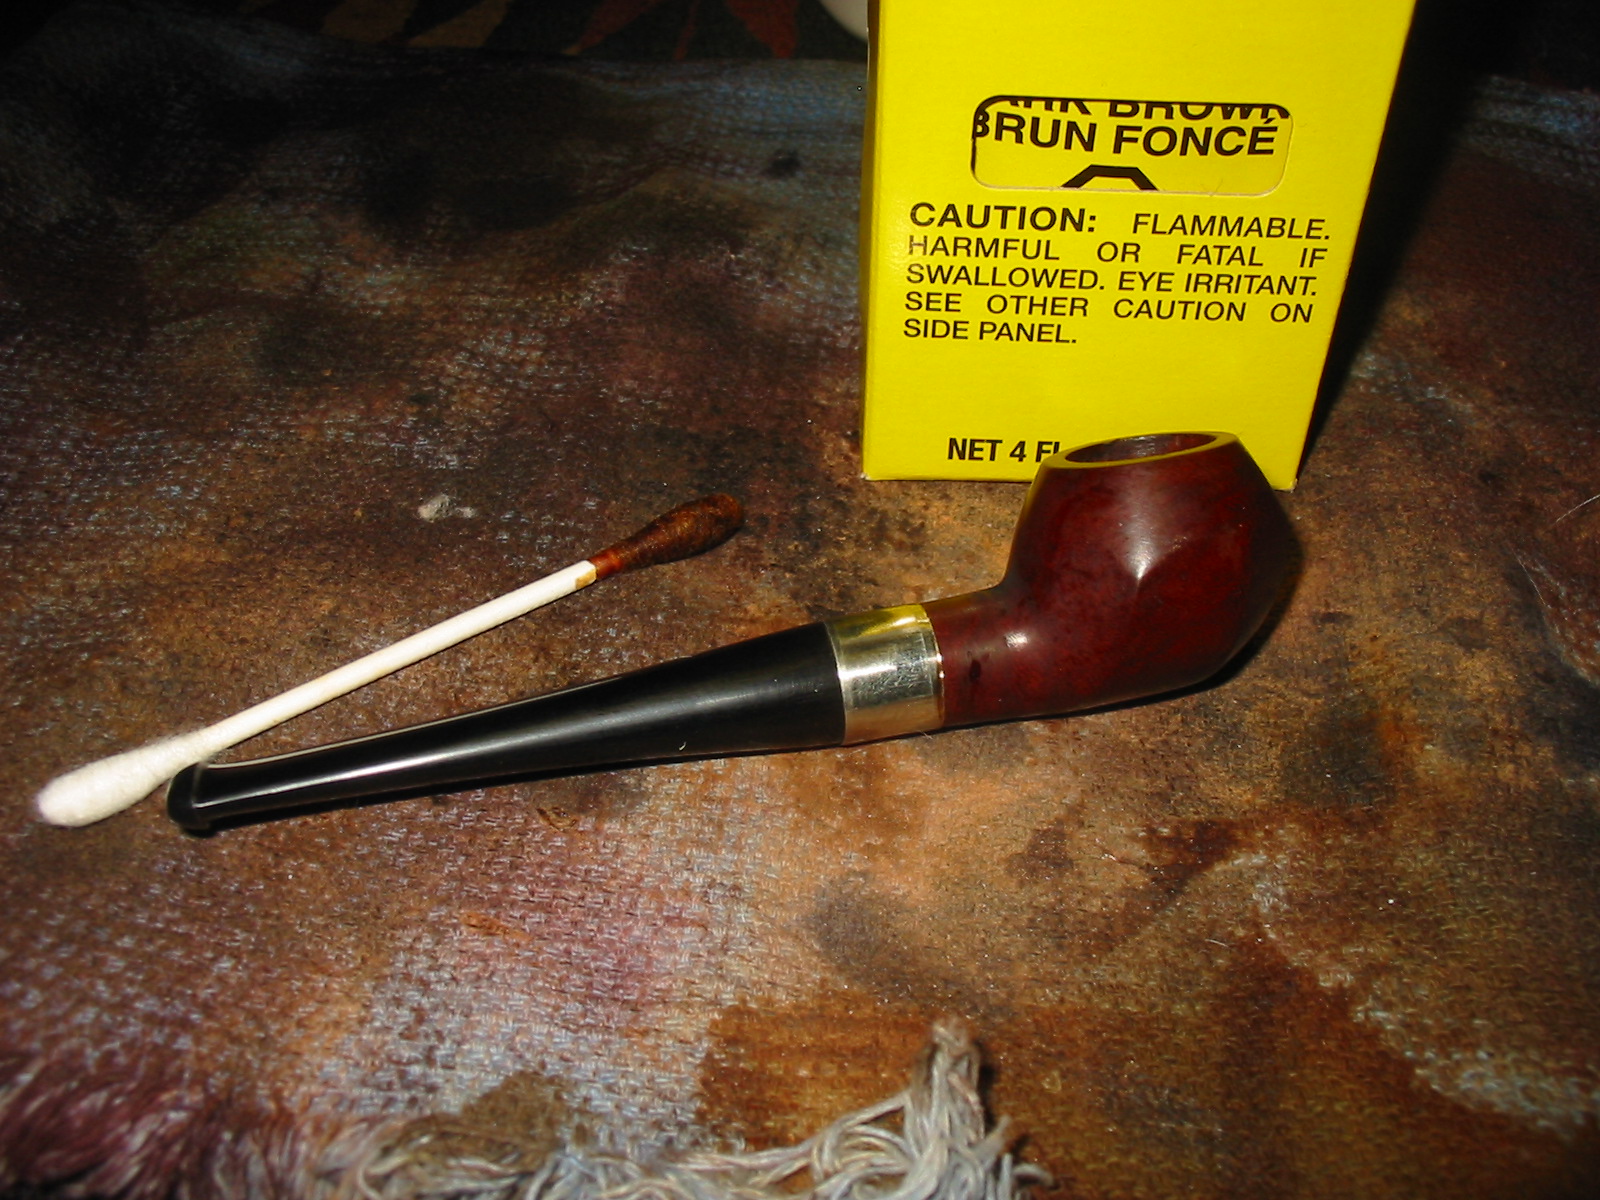
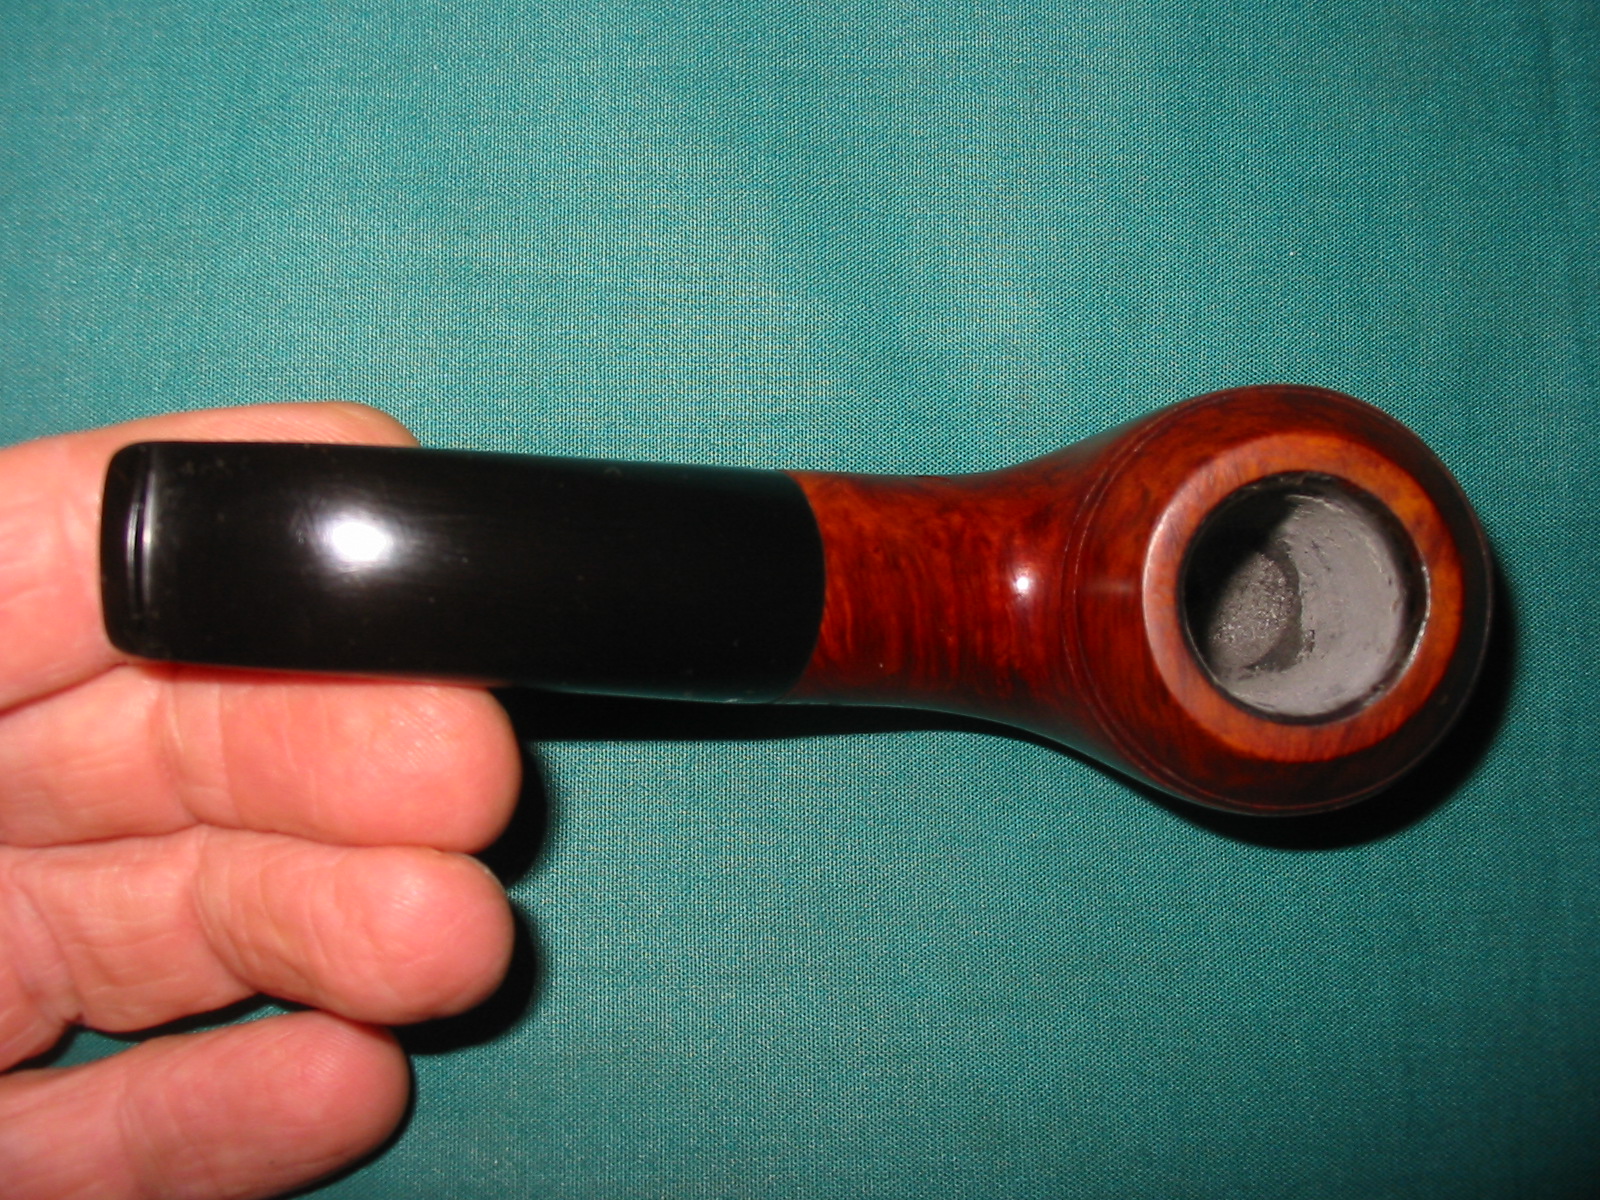
I removed the GBD oval from the old stem with a dental pick. I am still deciding whether to insert it on the new stem or to save it for later use on another old pipe in need of one. Time will tell. I always scavenge as much as is usable before discarding old pipe parts.
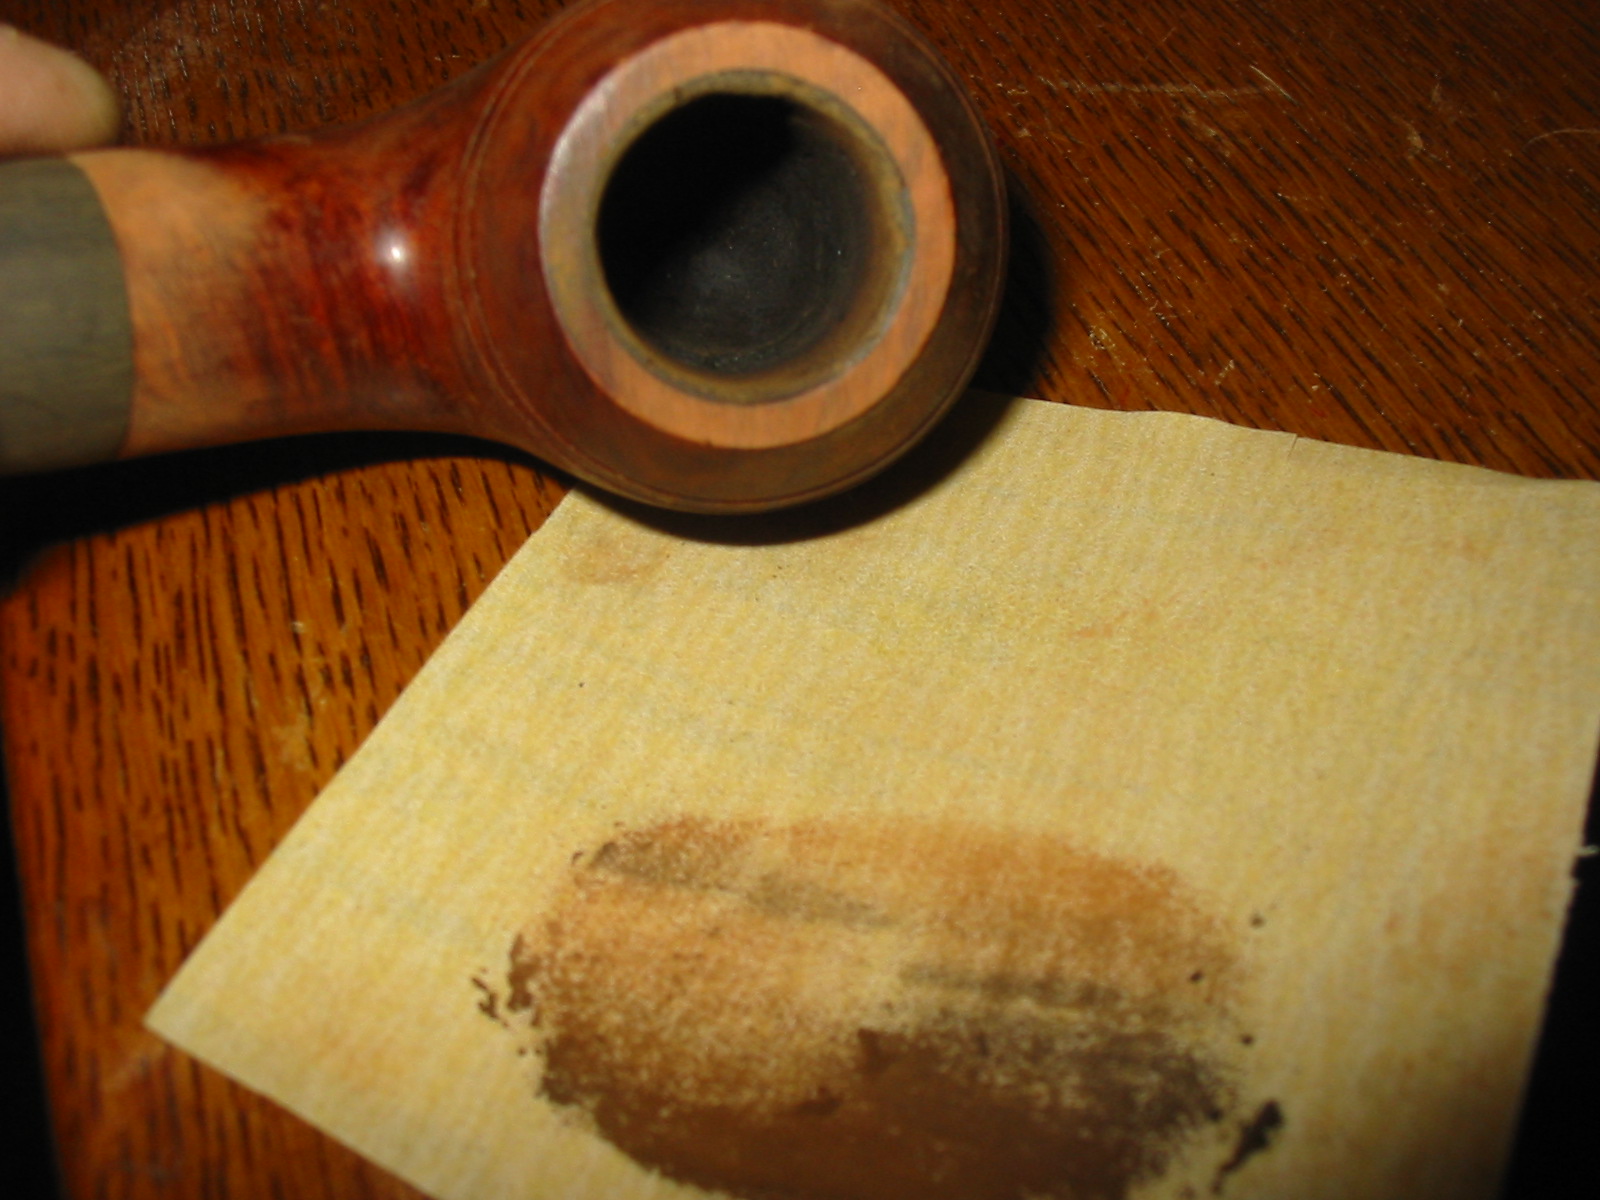
I washed the pipe down with acetone another time to further clean it up and prepare it for staining. This final wash removed the rest of the finish nicely and I sanded the bowl with micromesh sanding pads 1500-2400 grit to further prepare it.

I warmed the briar with a heat gun and then stained it with a dark brown aniline stain. I flamed it and reapplied the stain and reflamed it until it had an even coat of the brown stain. I mixed the aniline stain with isopropyl alcohol – 2 parts stain to 1 part alcohol. I wanted the grain on the pipe to show through the stain and I also was using it as the undercoat before giving it a slightly darker topcoat.
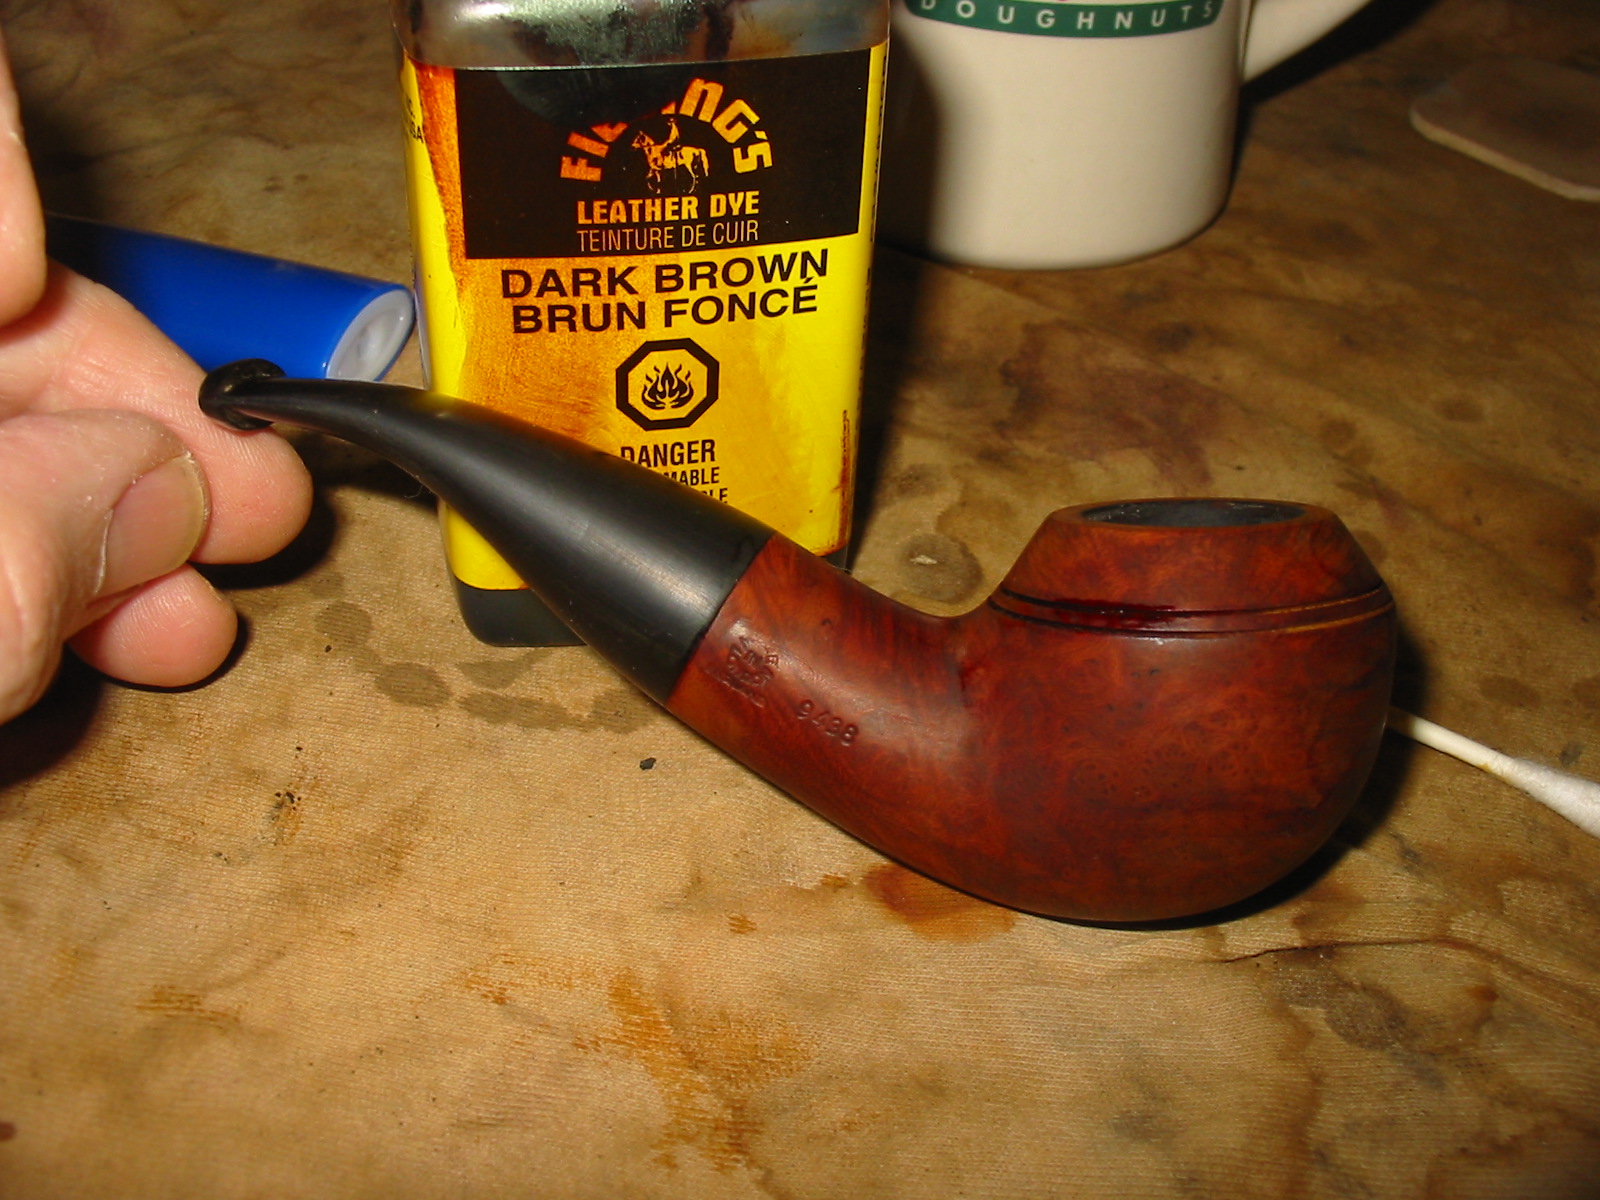
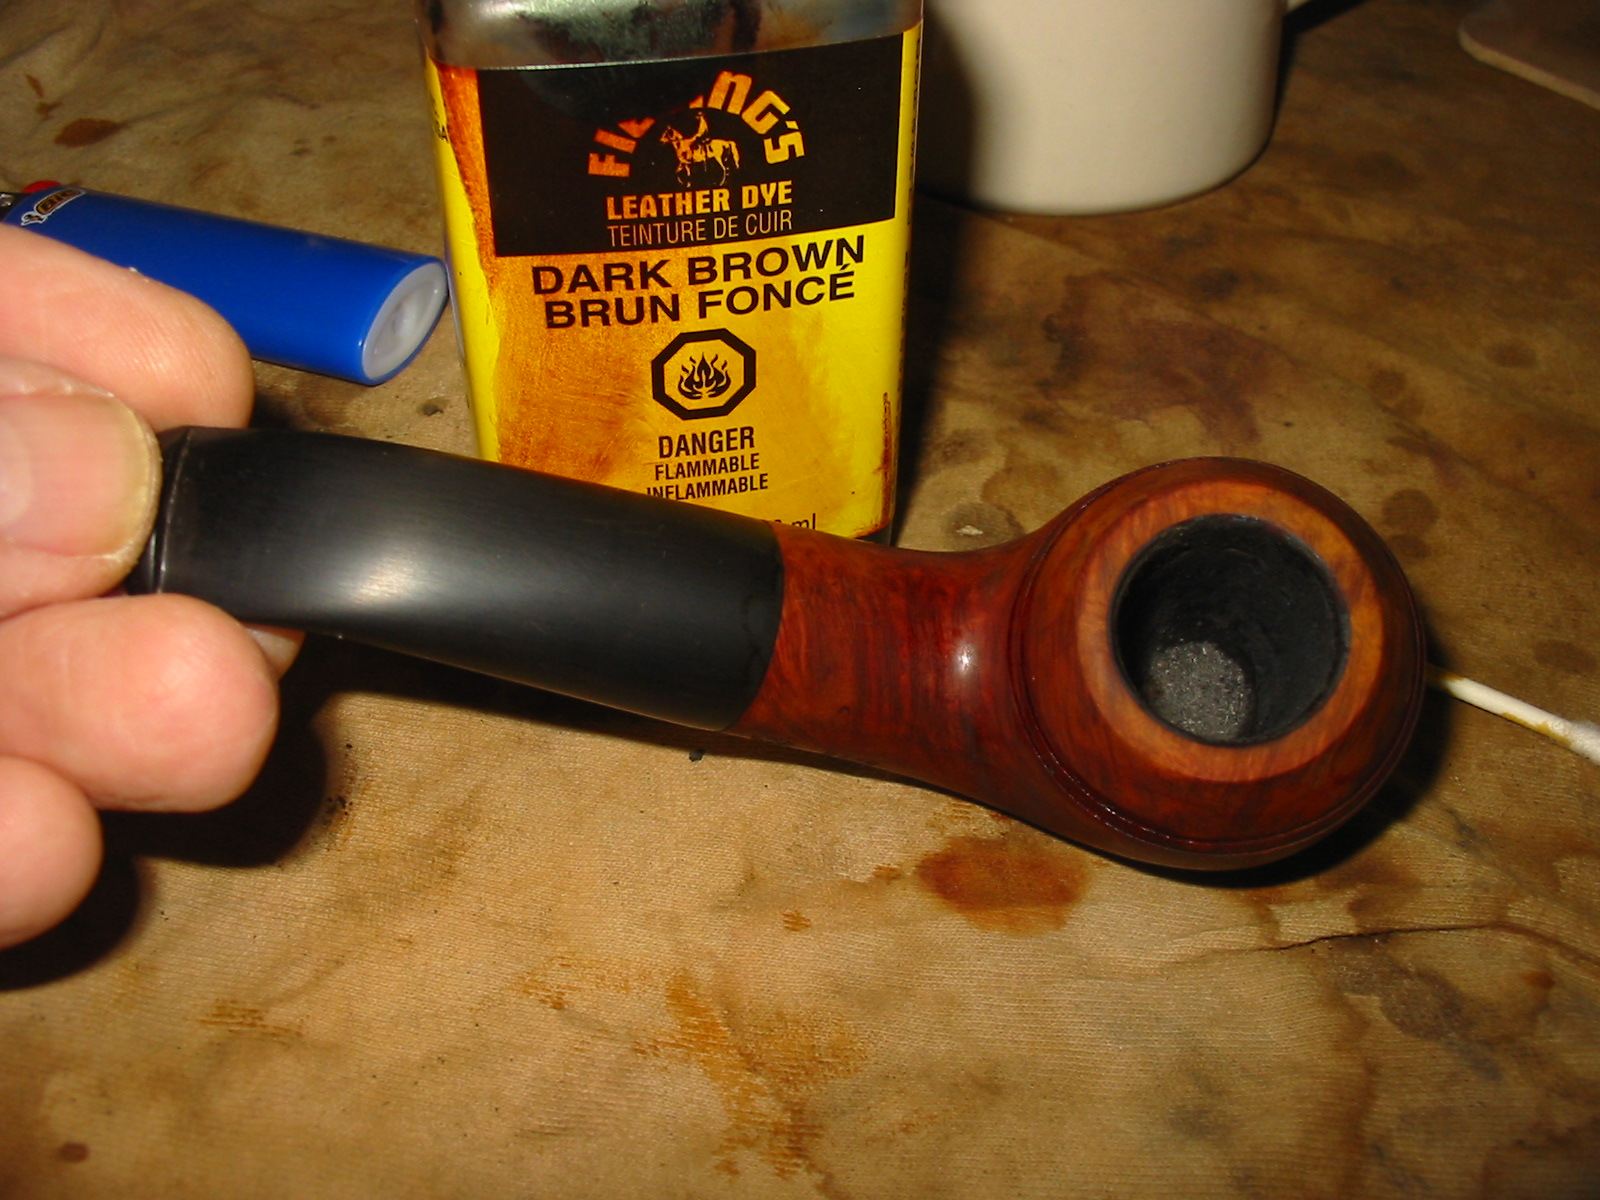
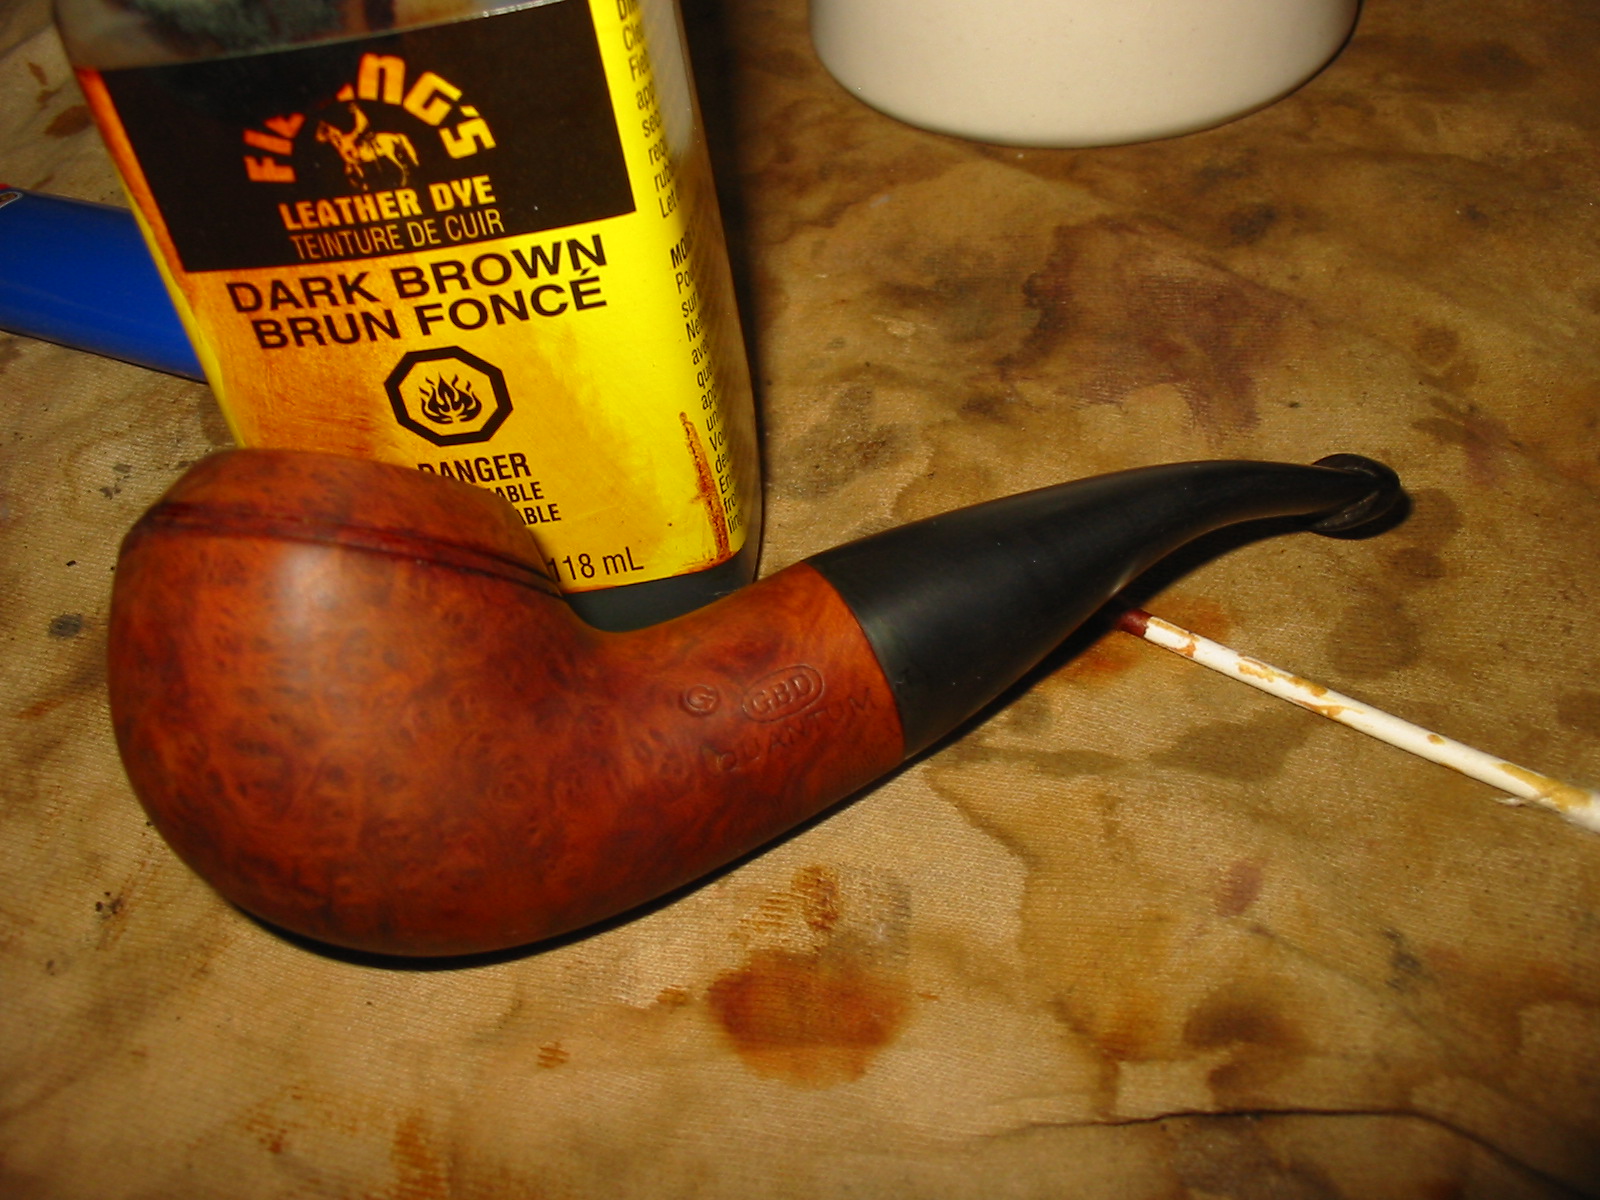
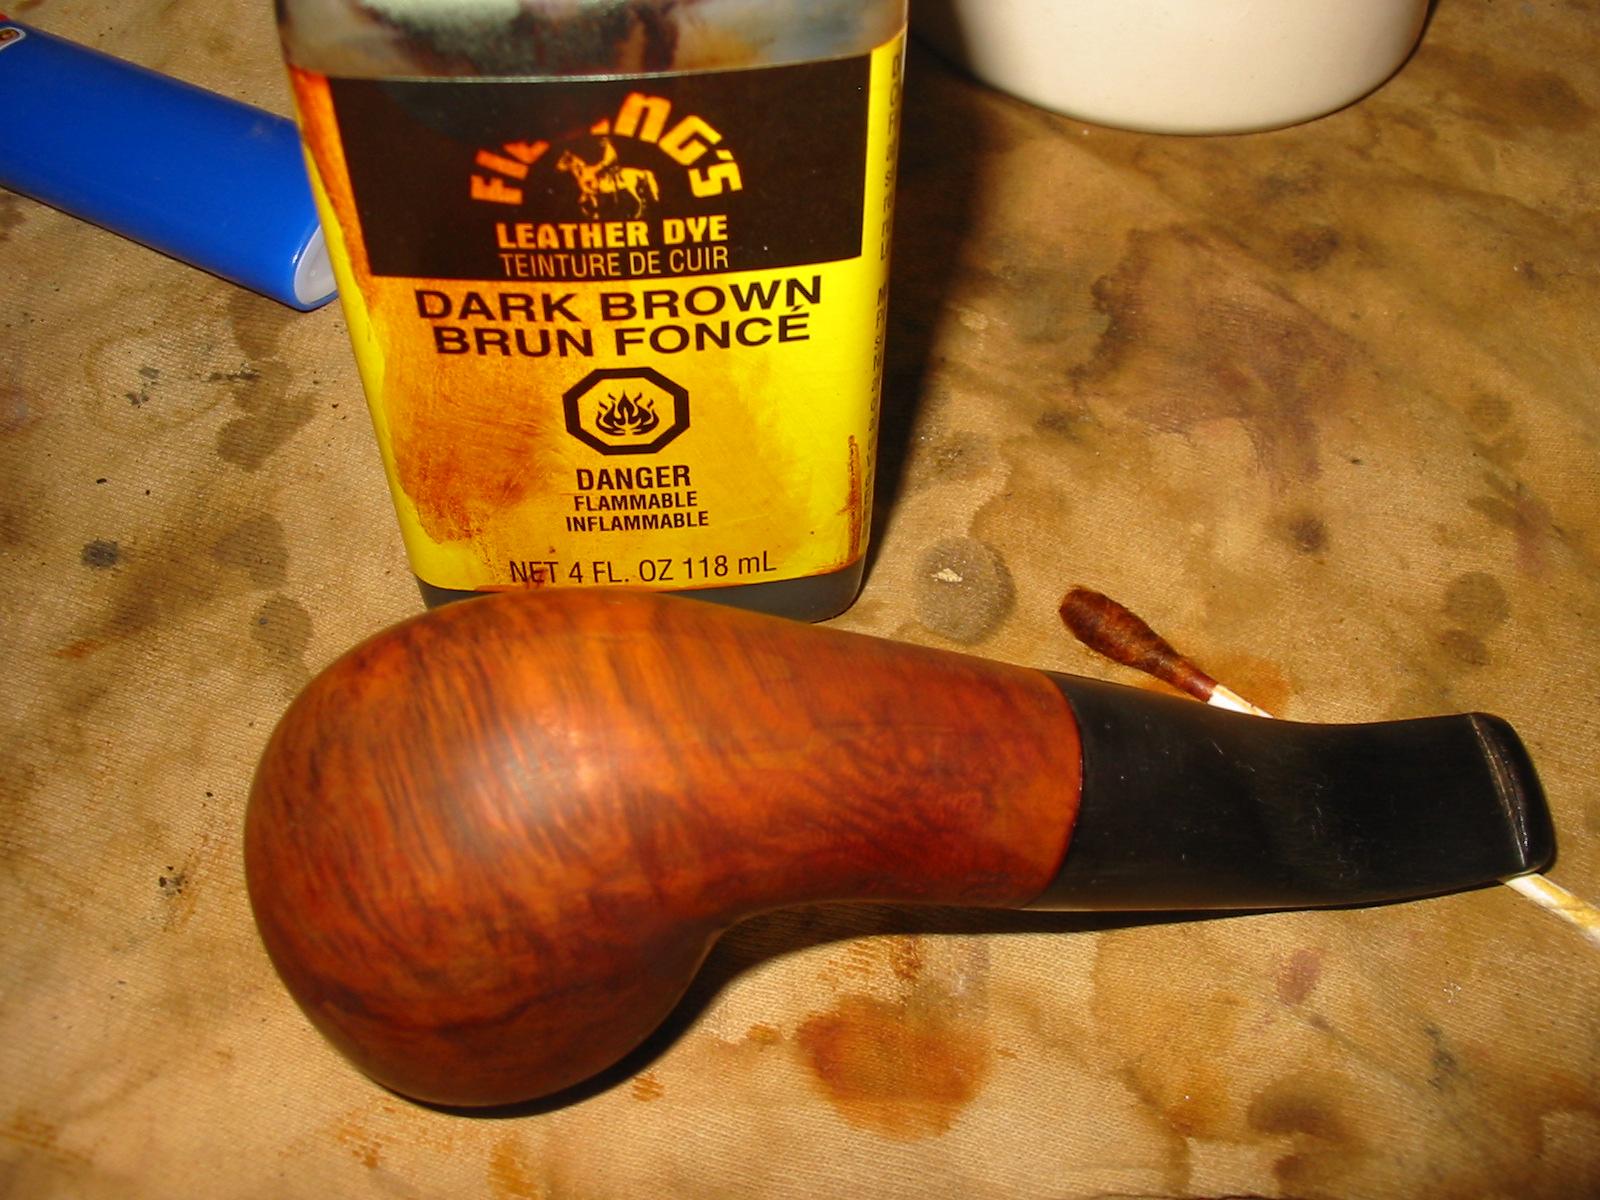
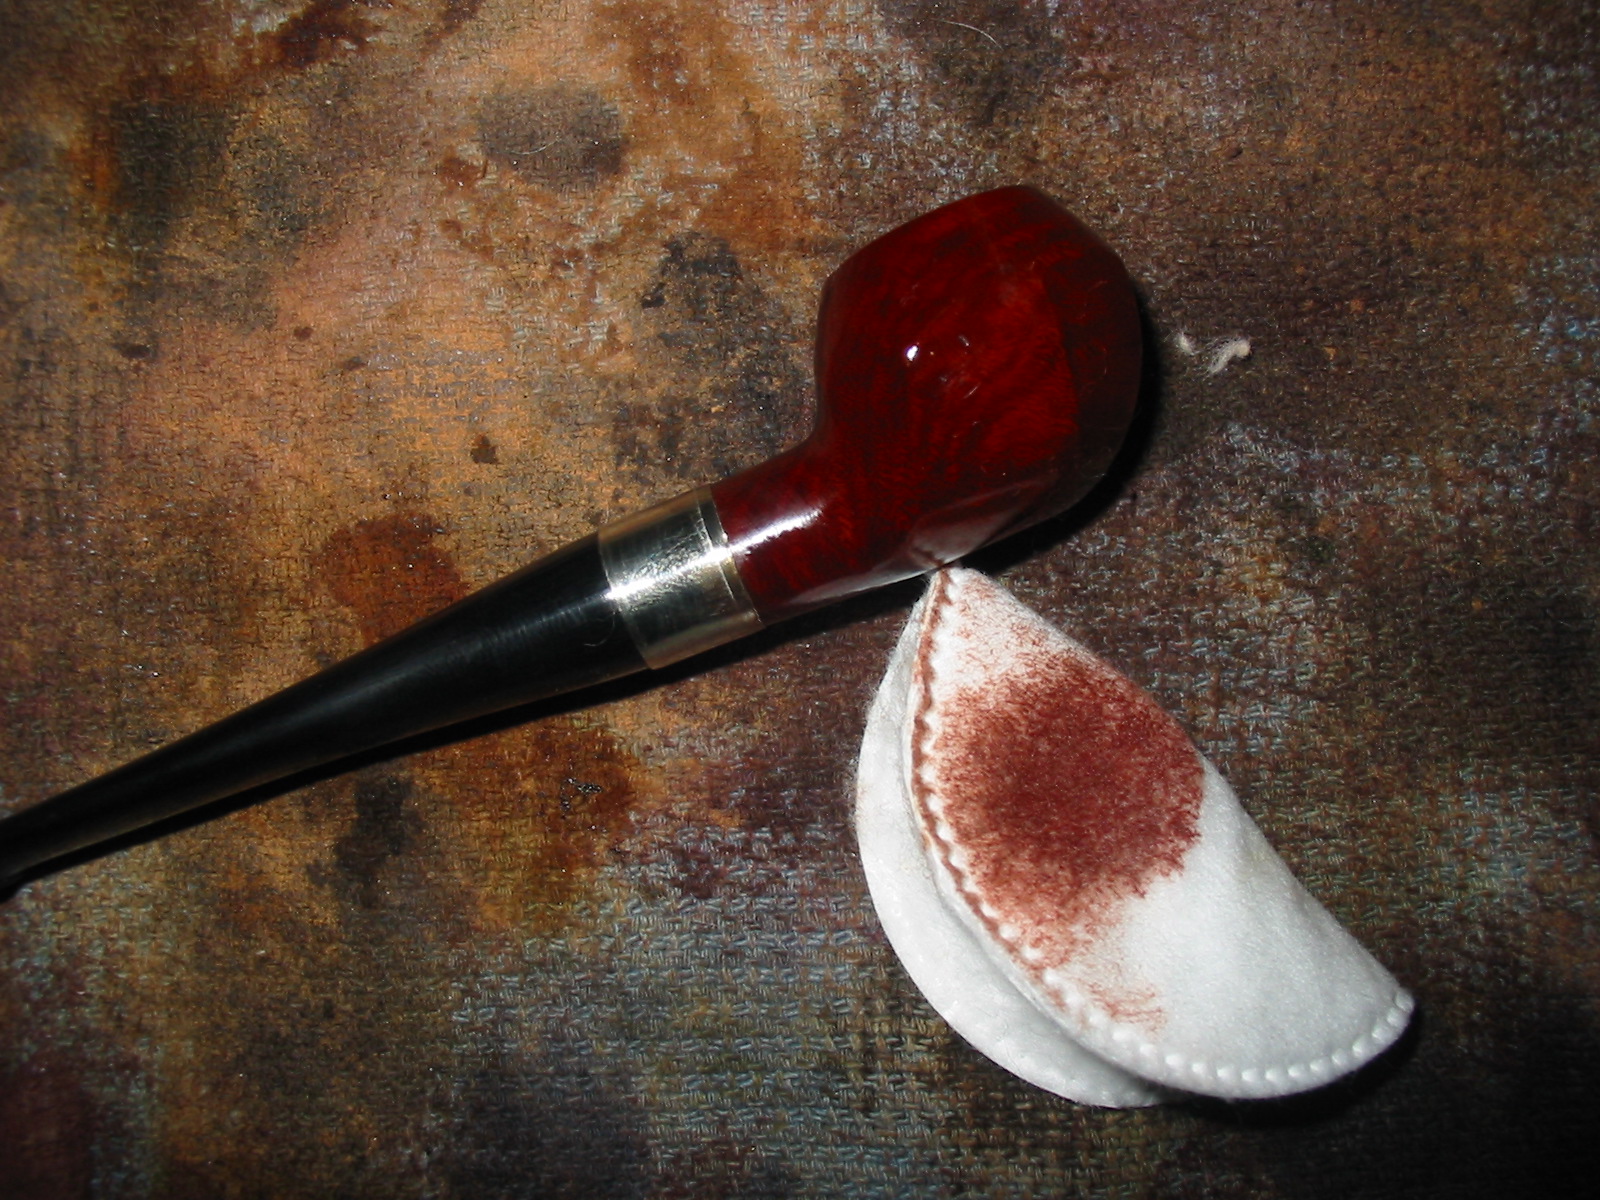
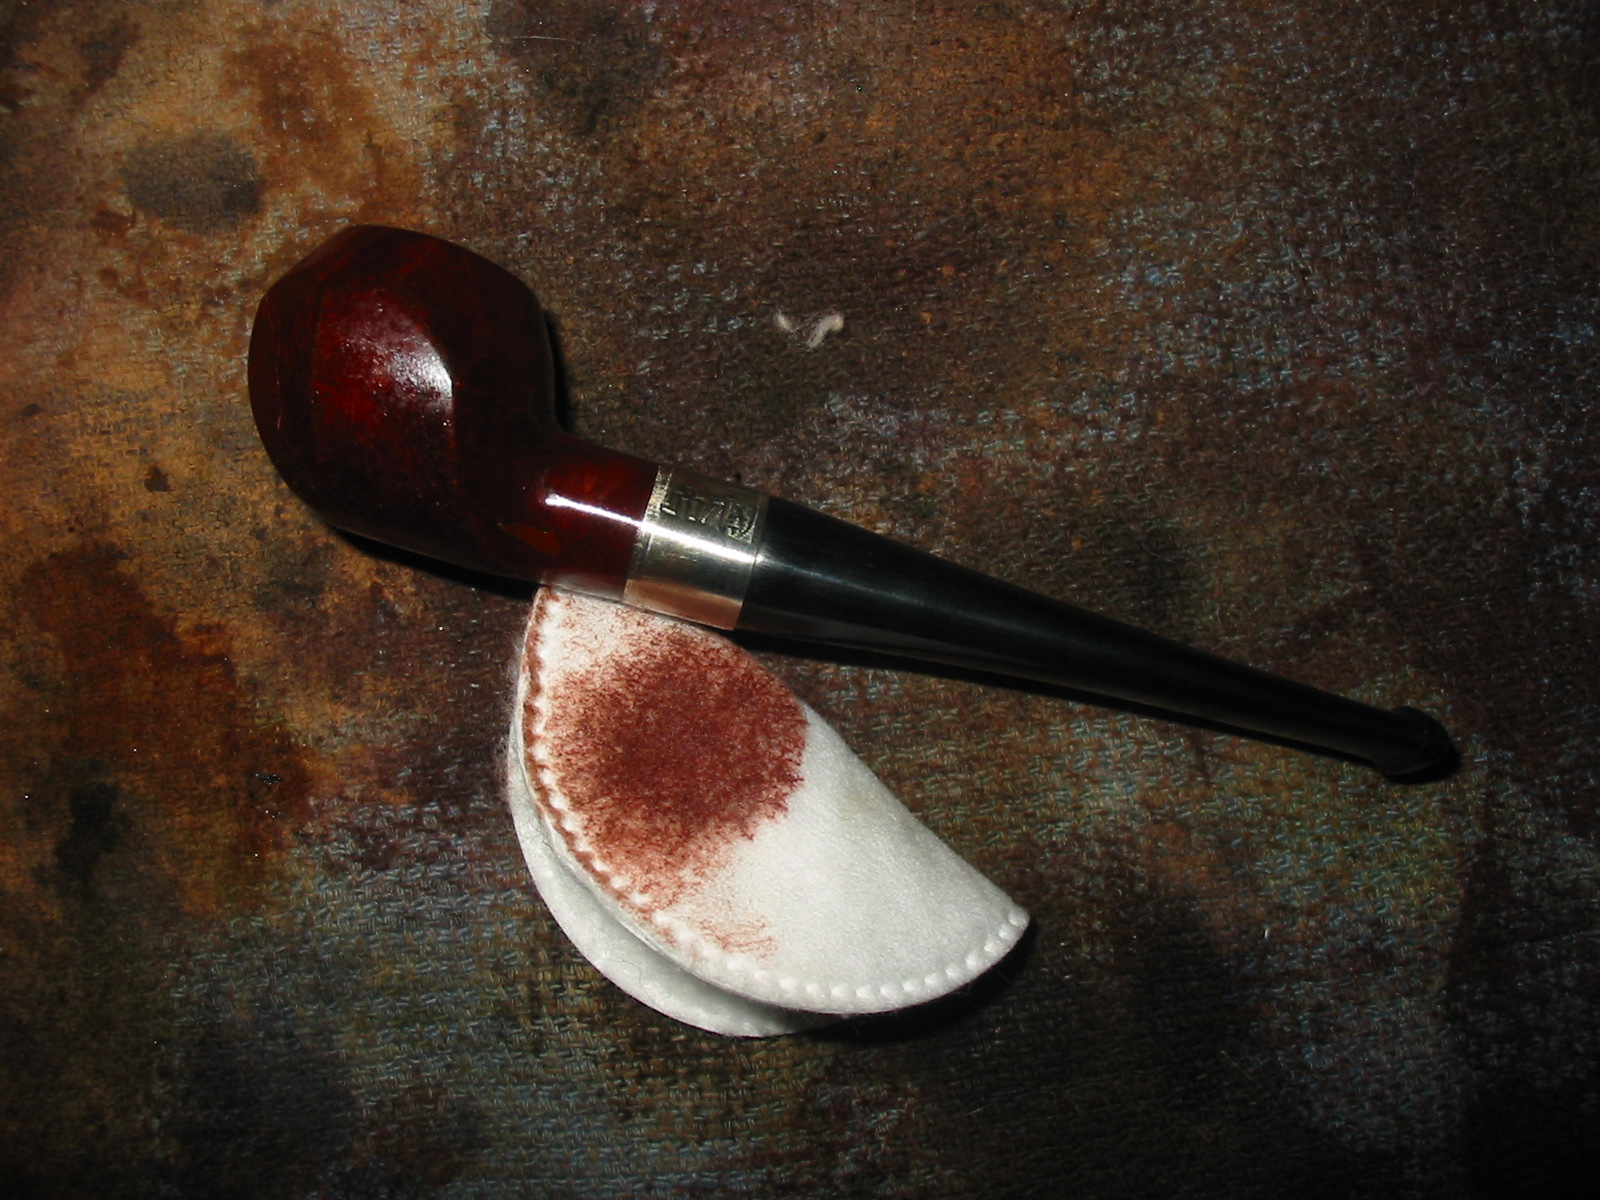
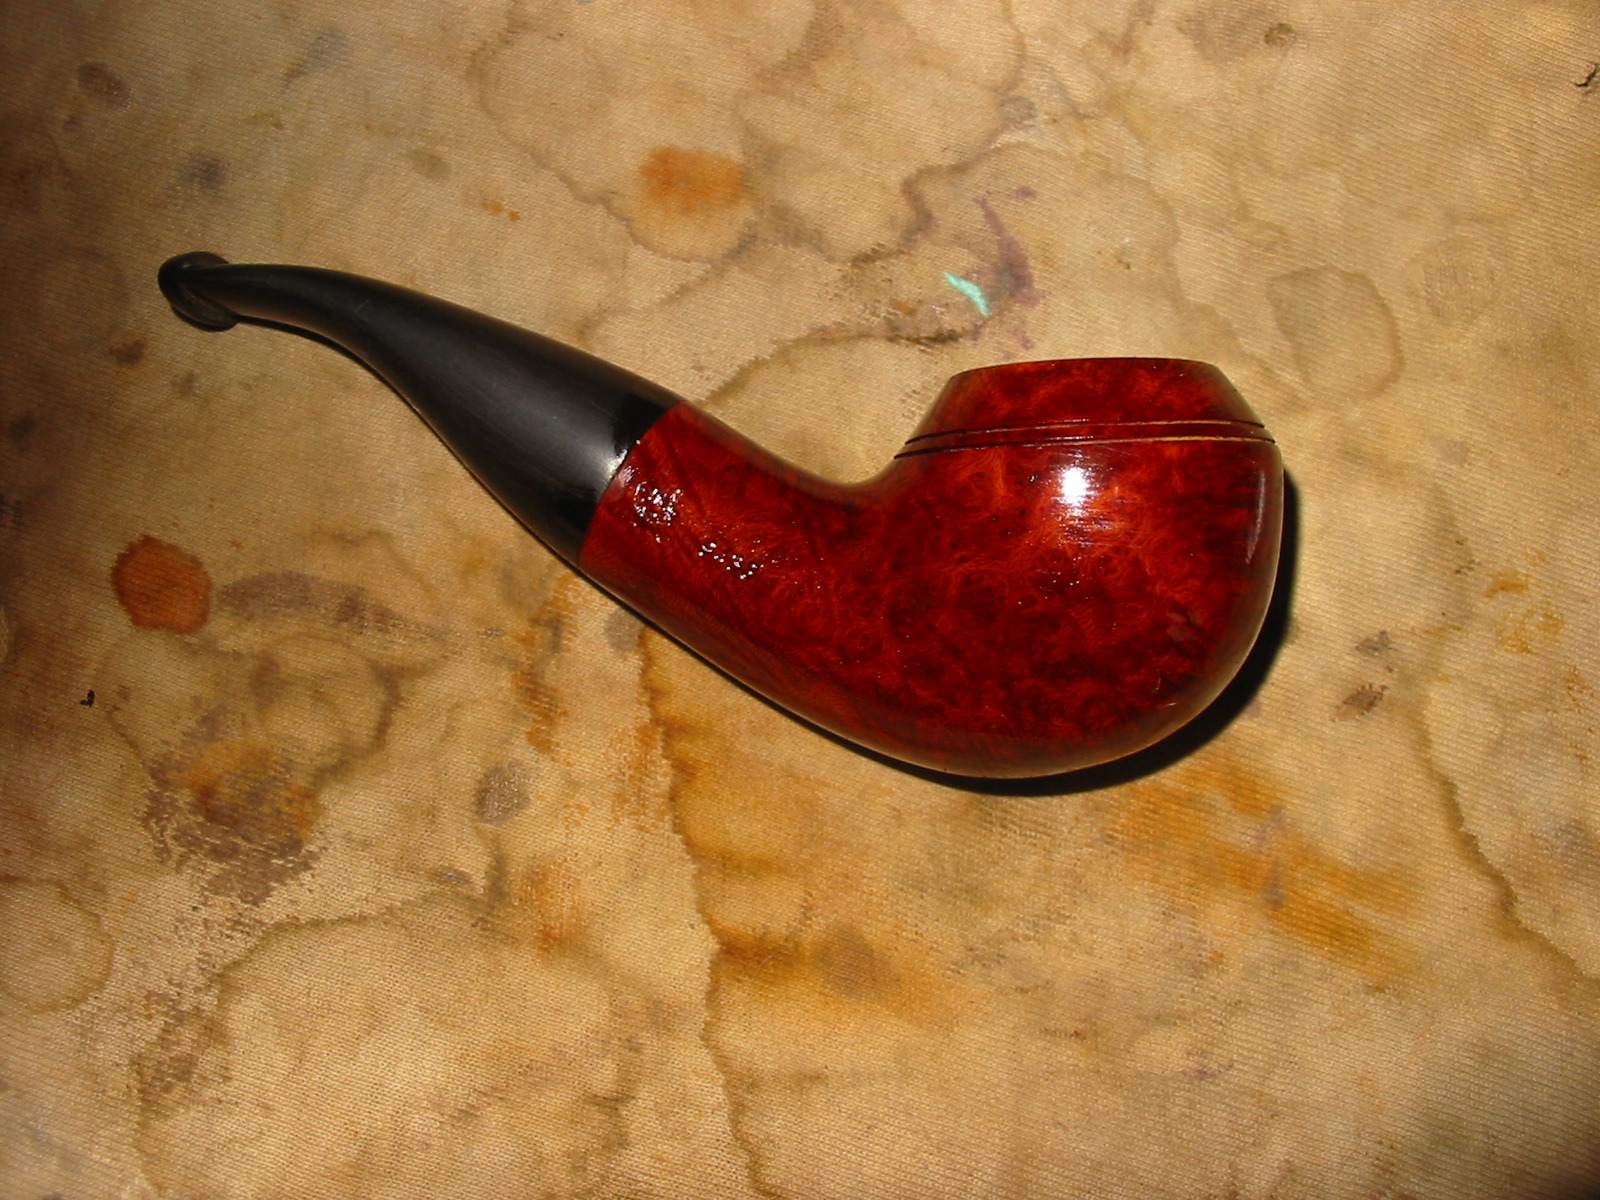
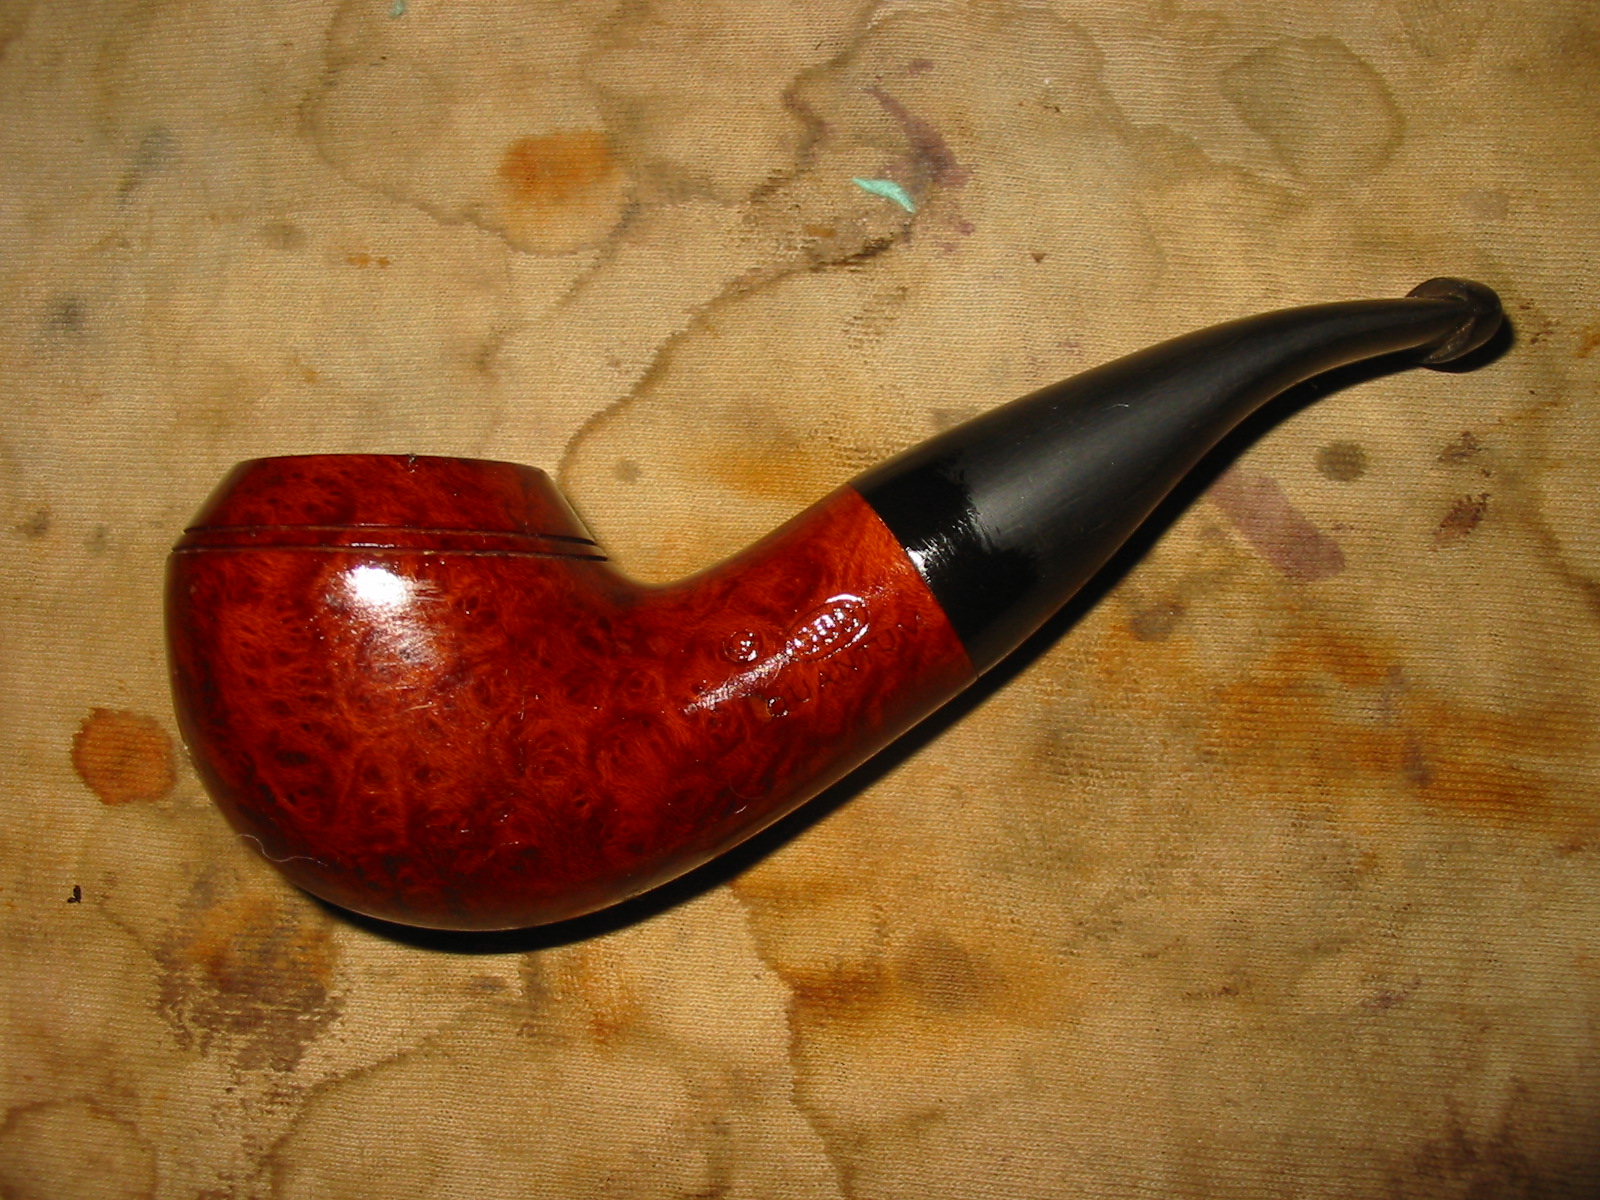
I buffed the pipe with White Diamond and then applied a Danish Oil Walnut stain as the top coat. It is a mixture of stain and linseed oil and gives a great finish when put over the top of the previous stain coat. The first three pictures below show the pipe while the stain is still wet. I wiped it down with a soft cotton cloth and hand buffed it to give it an initial shine (Photos 4-7).


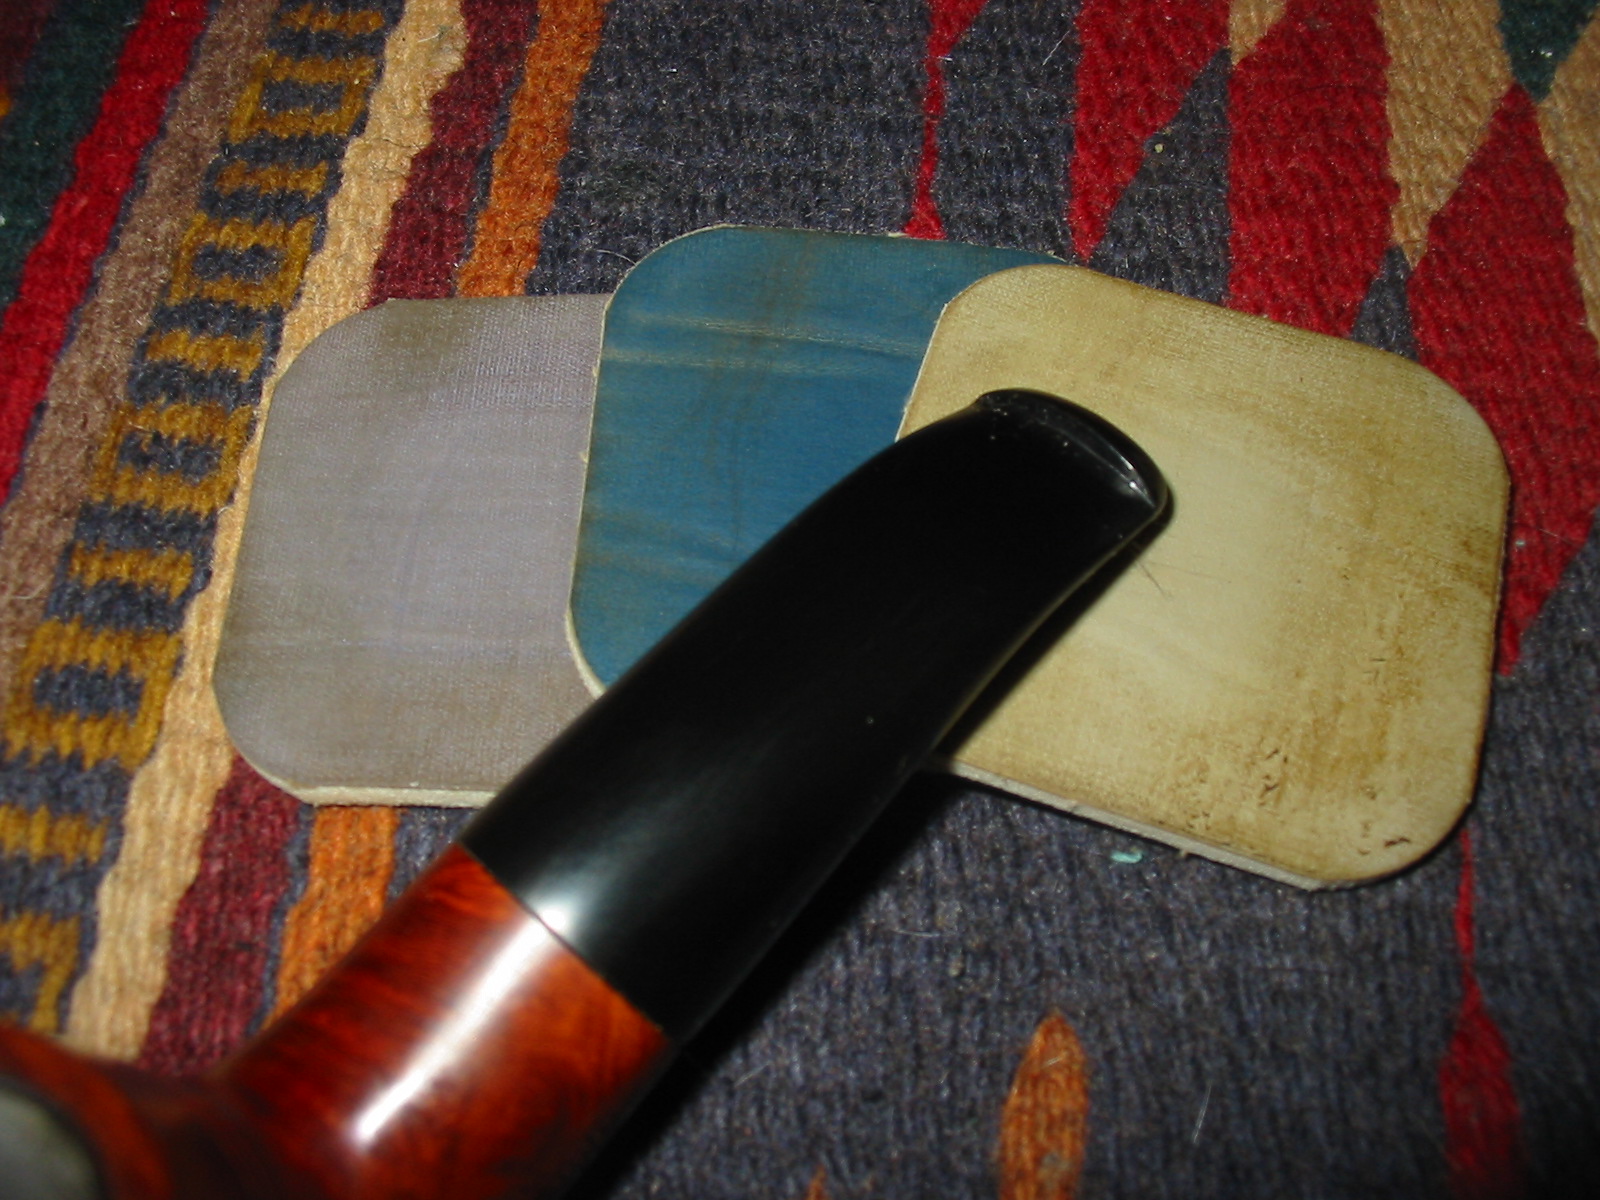
Once the bowl was finished I put it aside and worked on the stem. I had already sanded it with a fine grit sanding sponge so now it was time to sand with the micromesh sanding pads. I wet sanded with 1500-2400 grit pads and dry sanded with 3200-12,000 grit pads. Each successive grit of micromesh deepened the shine in the vulcanite.


I wiped it down with Obsidian Oil, rubbed it down afterwards when it had dried and then buffed it lightly with White diamond. I reinserted it in the shank and then buffed the entire pipe with White Diamond and gave it multiple coats of carnauba to protect and give it a shine. I gave the bowl a second coat of pipe mud on the damage section to fill the shrinkage that had occurred as the pipe mud dried. It is drying and curing now but I look forward to firing up a bowl soon. I like the new look of the pipe and definitely like the taper stem. The shorter stem gives it a stubby look but it actually less than ¼ inch shorter than the saddle stem on my other 9438s.

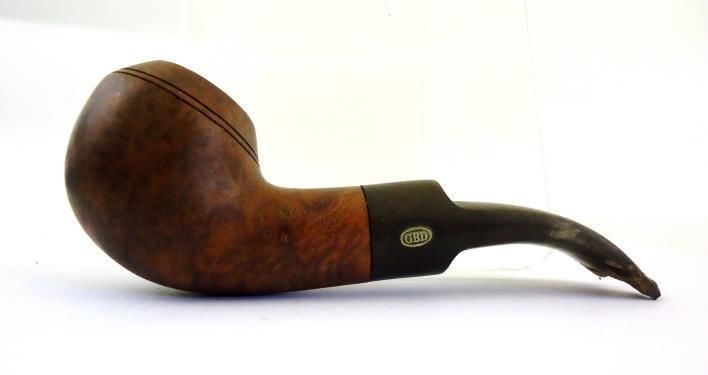
Here are a couple of photos with the rondelle inserted in the stem and a bit more of a bend applied to the stem.