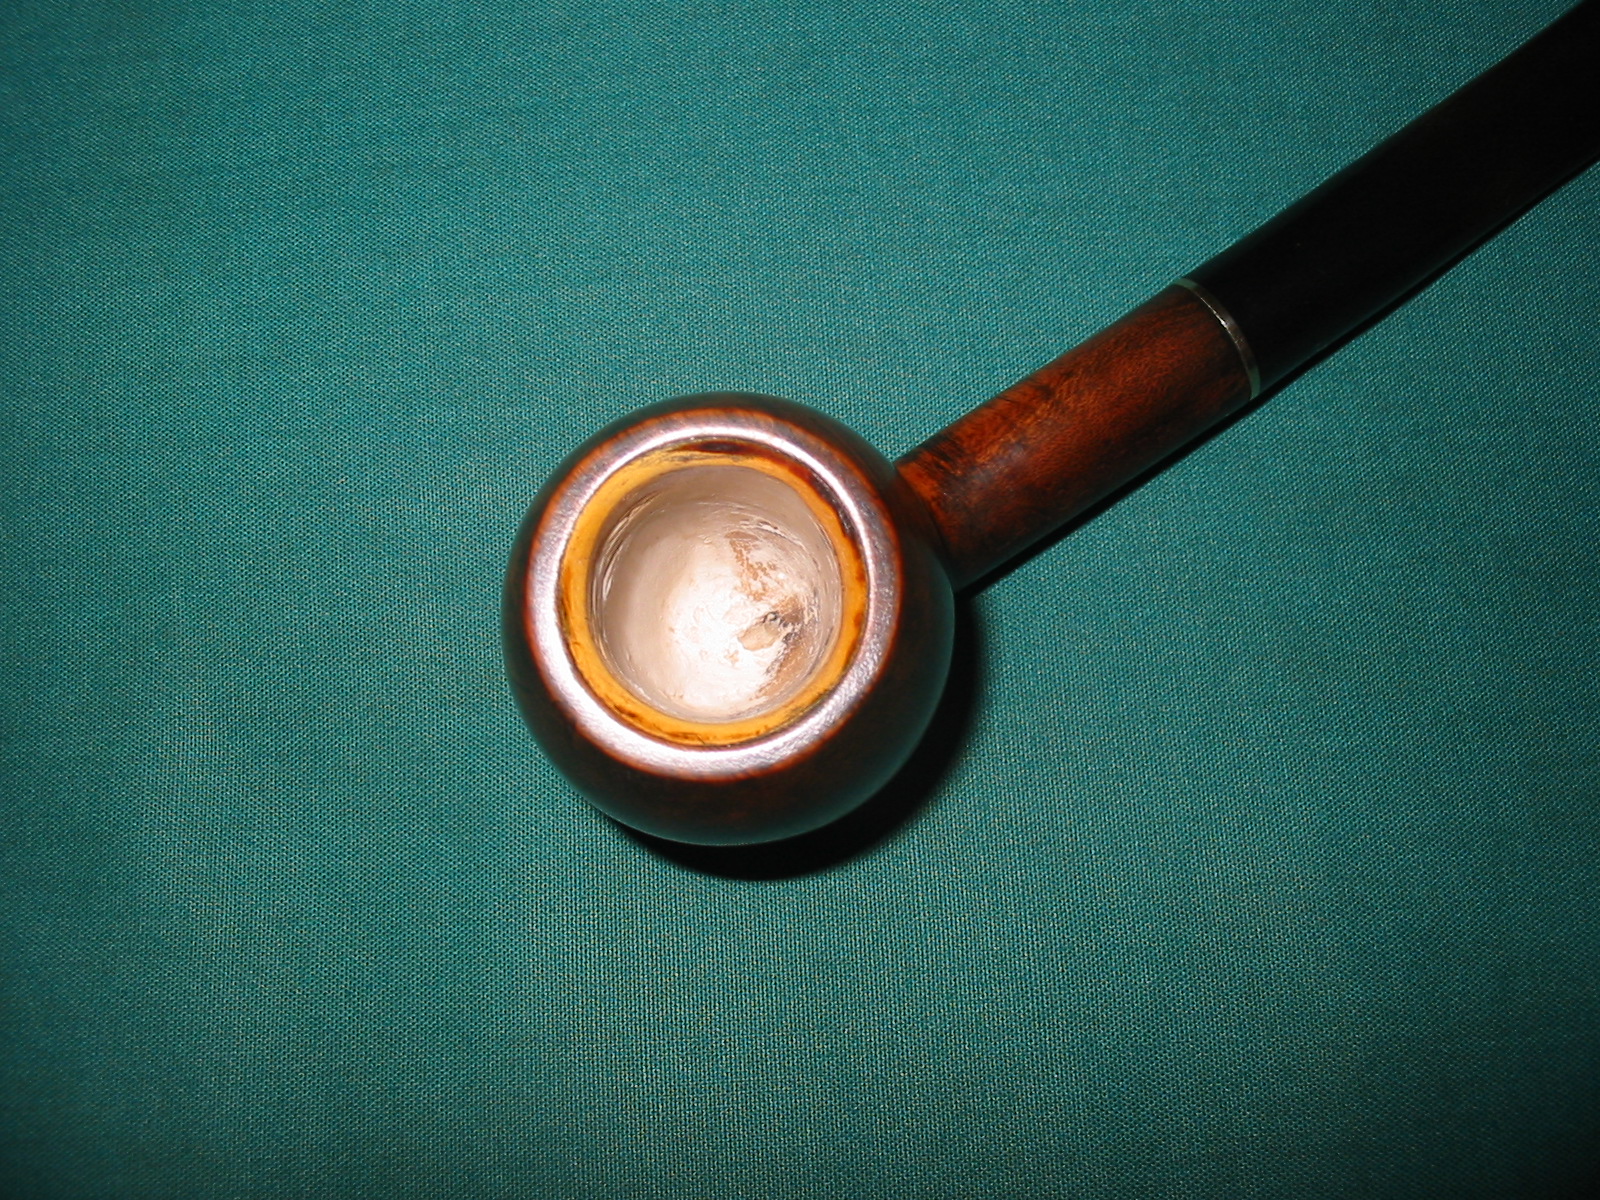
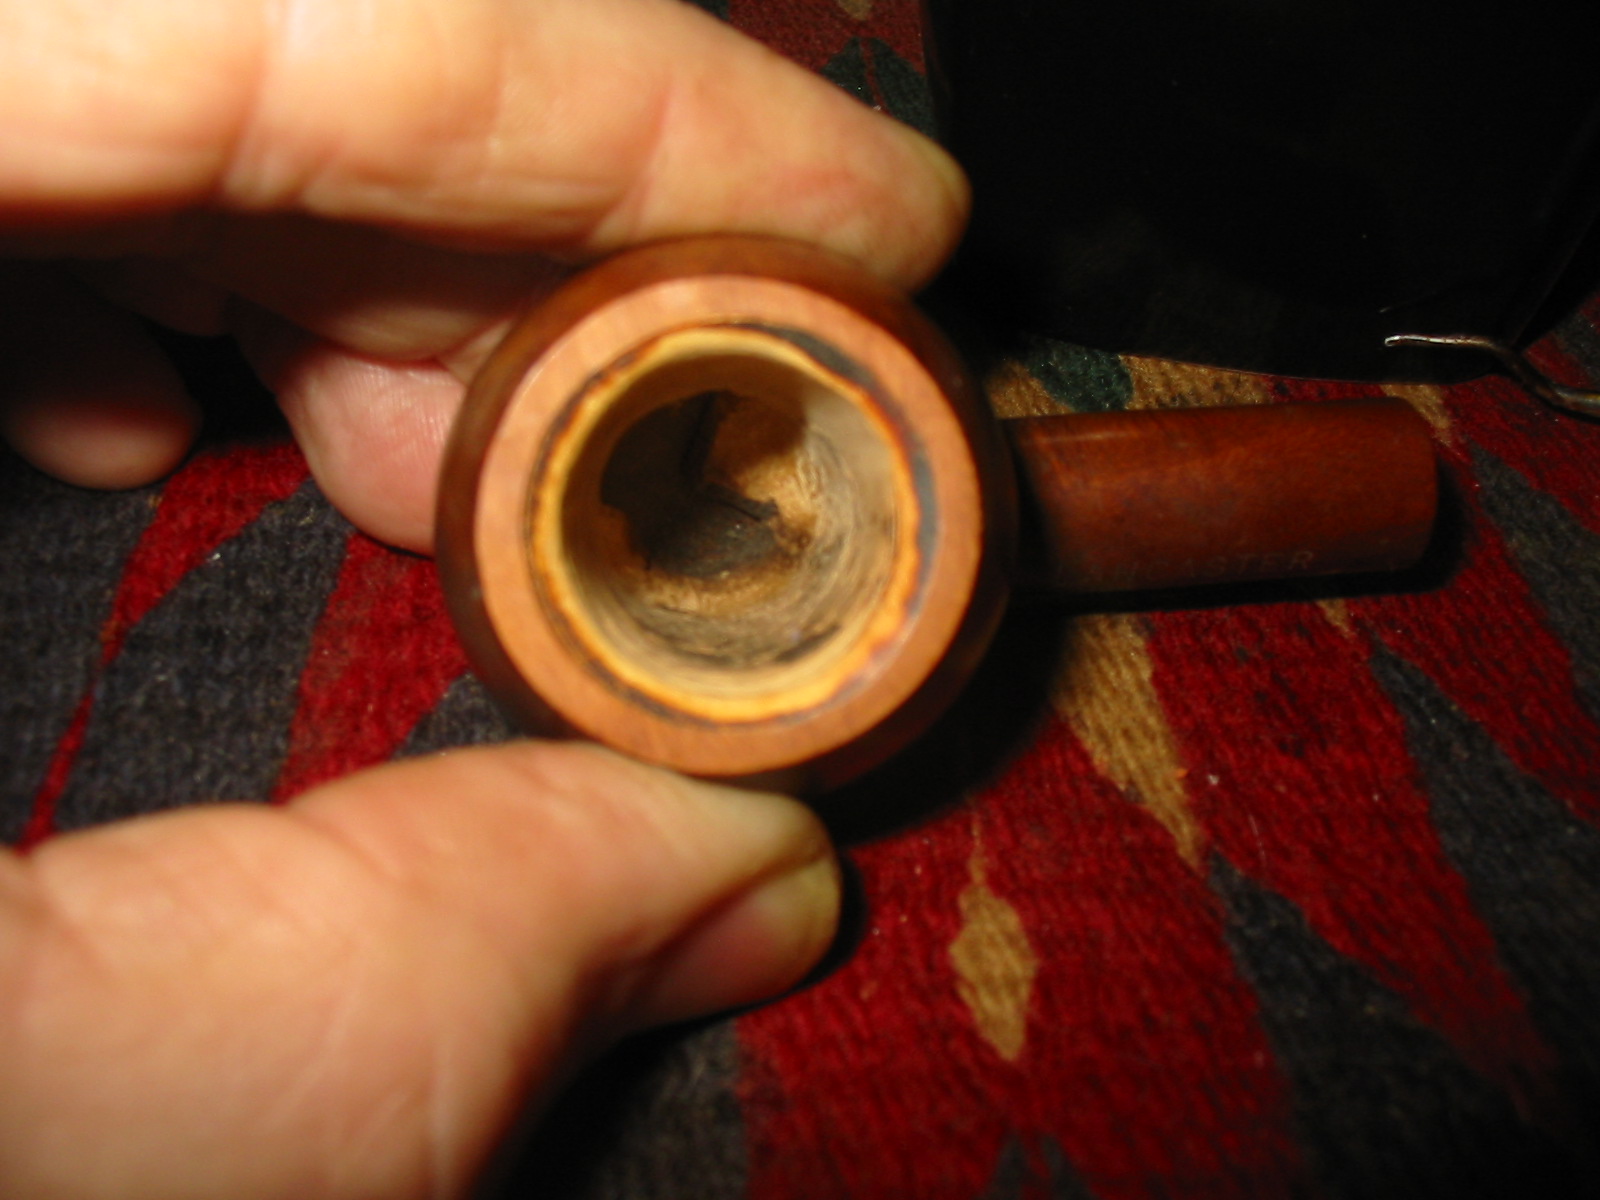
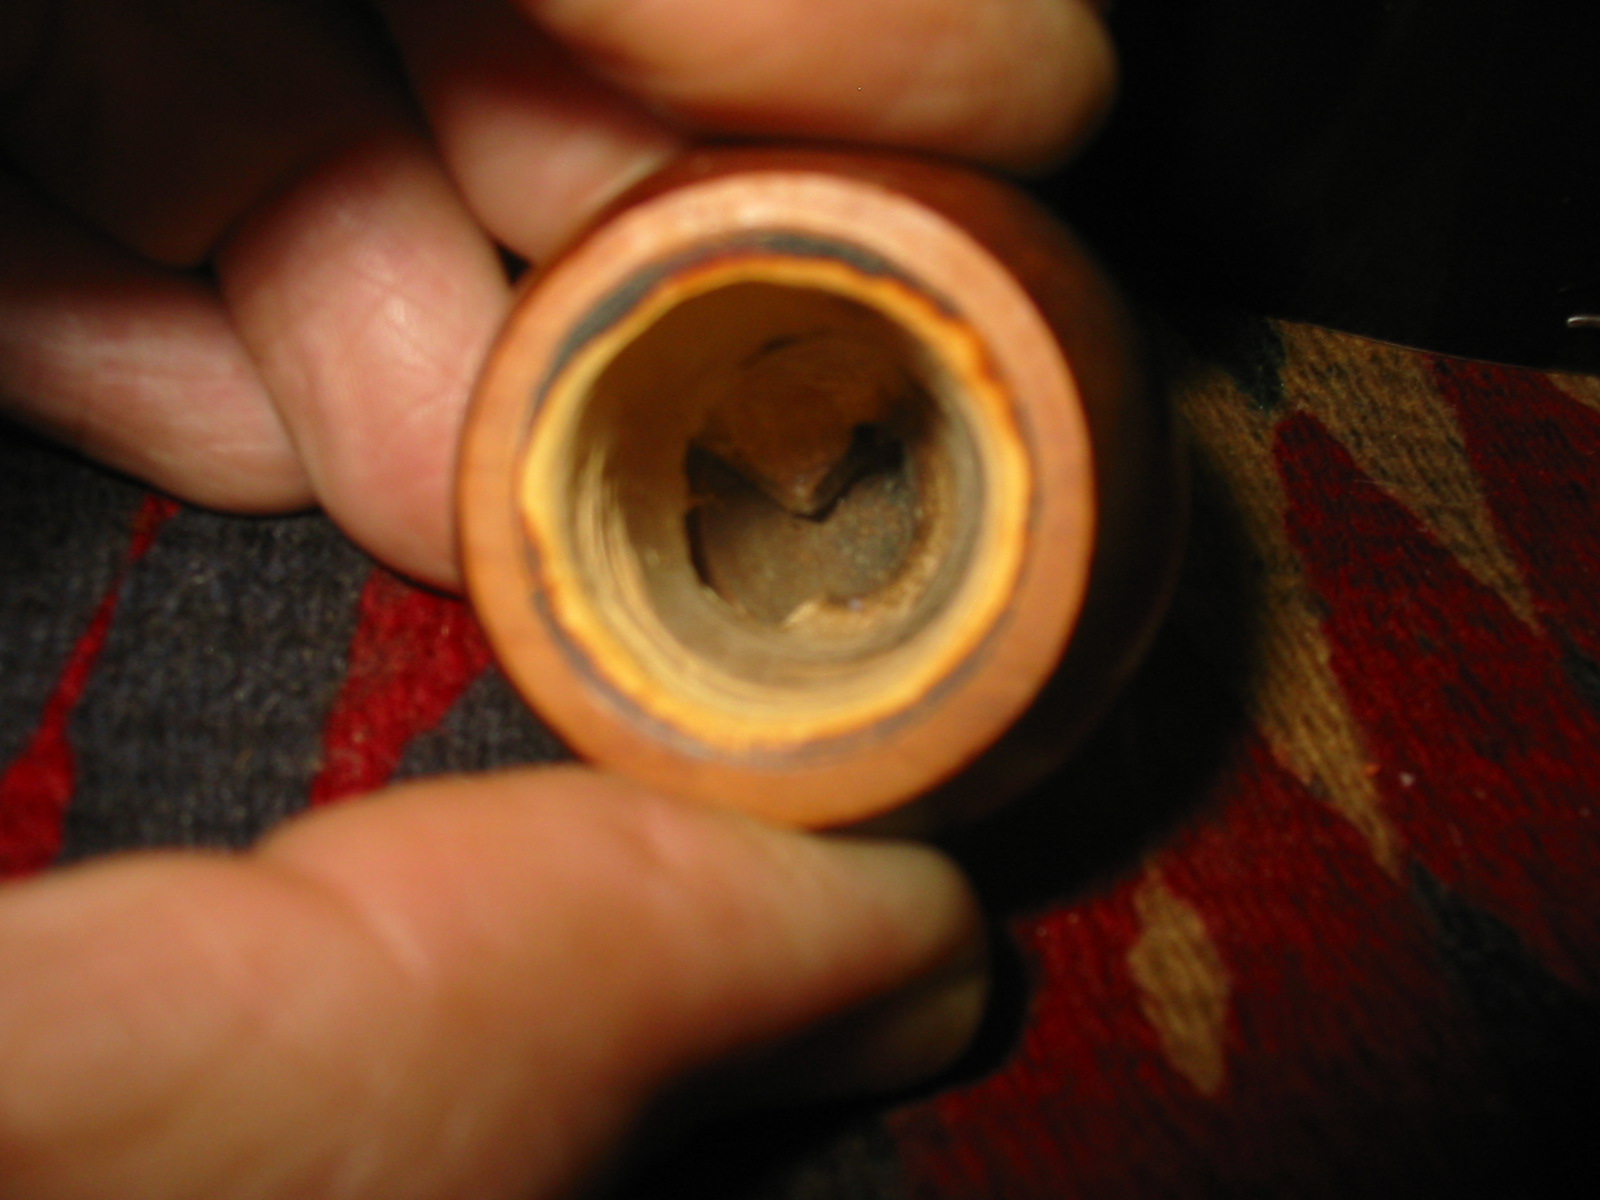
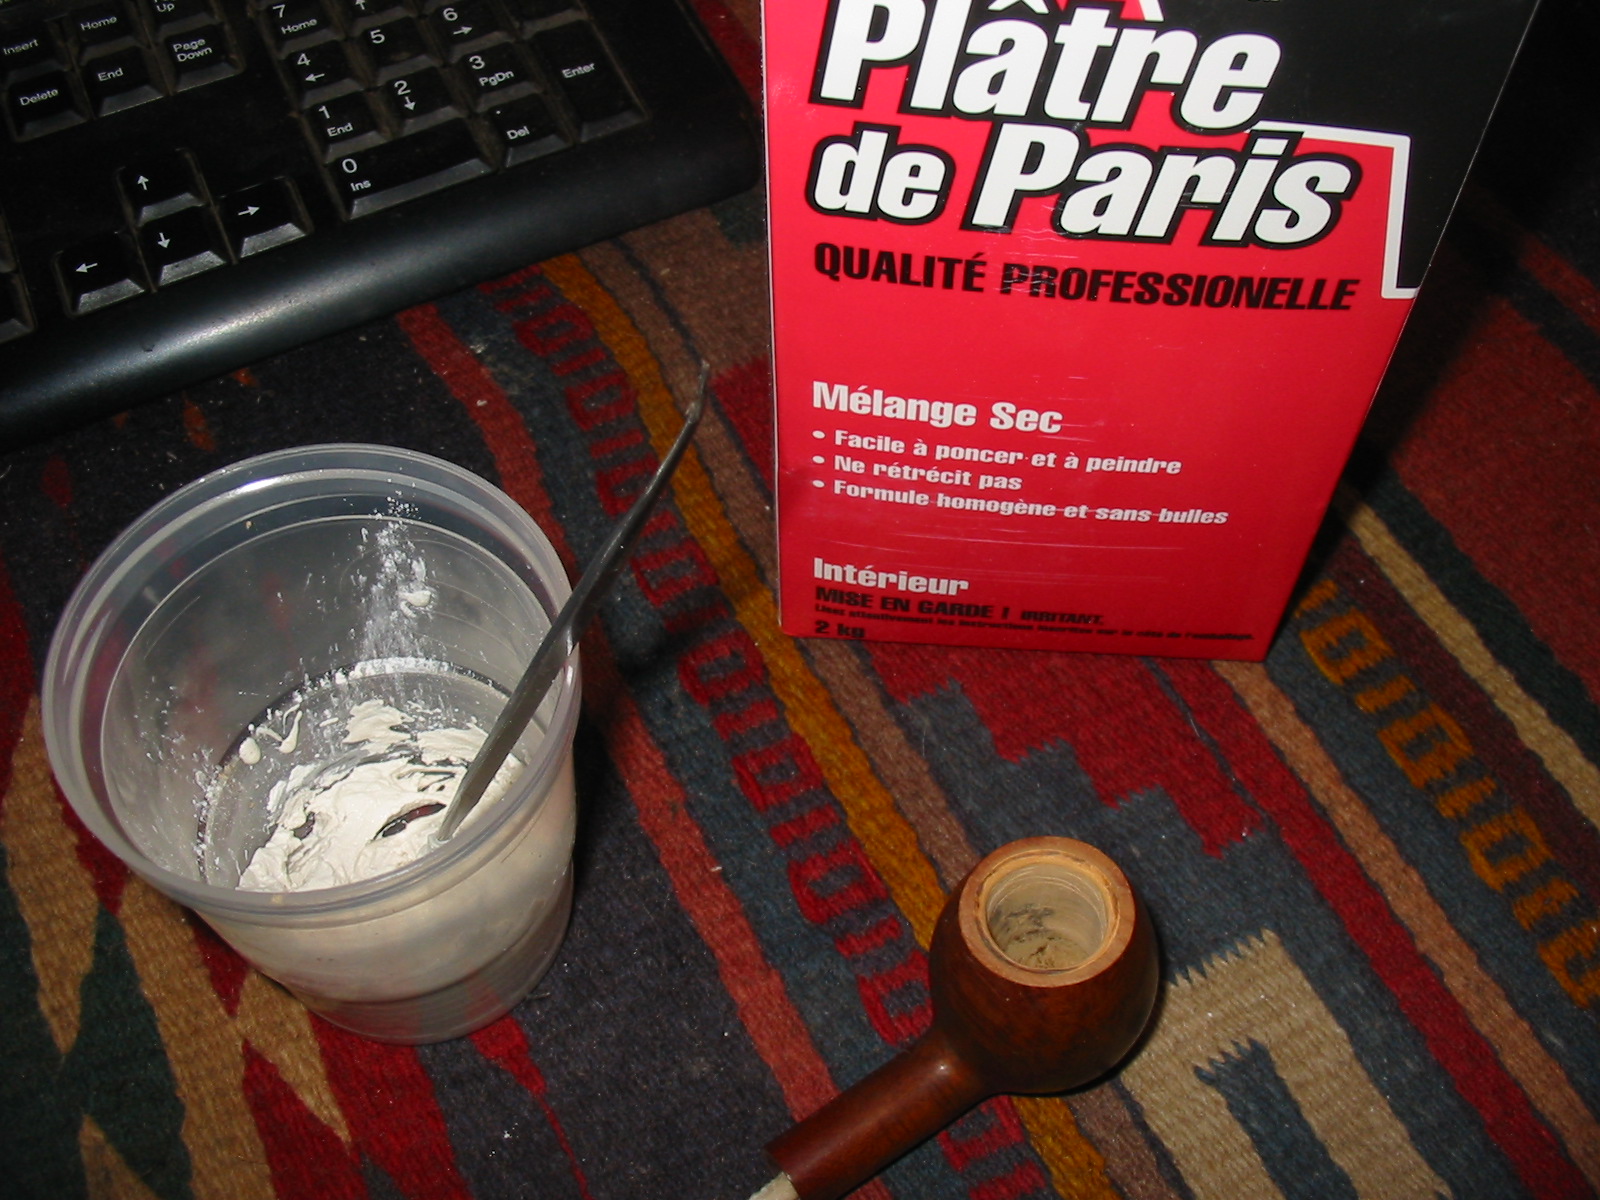
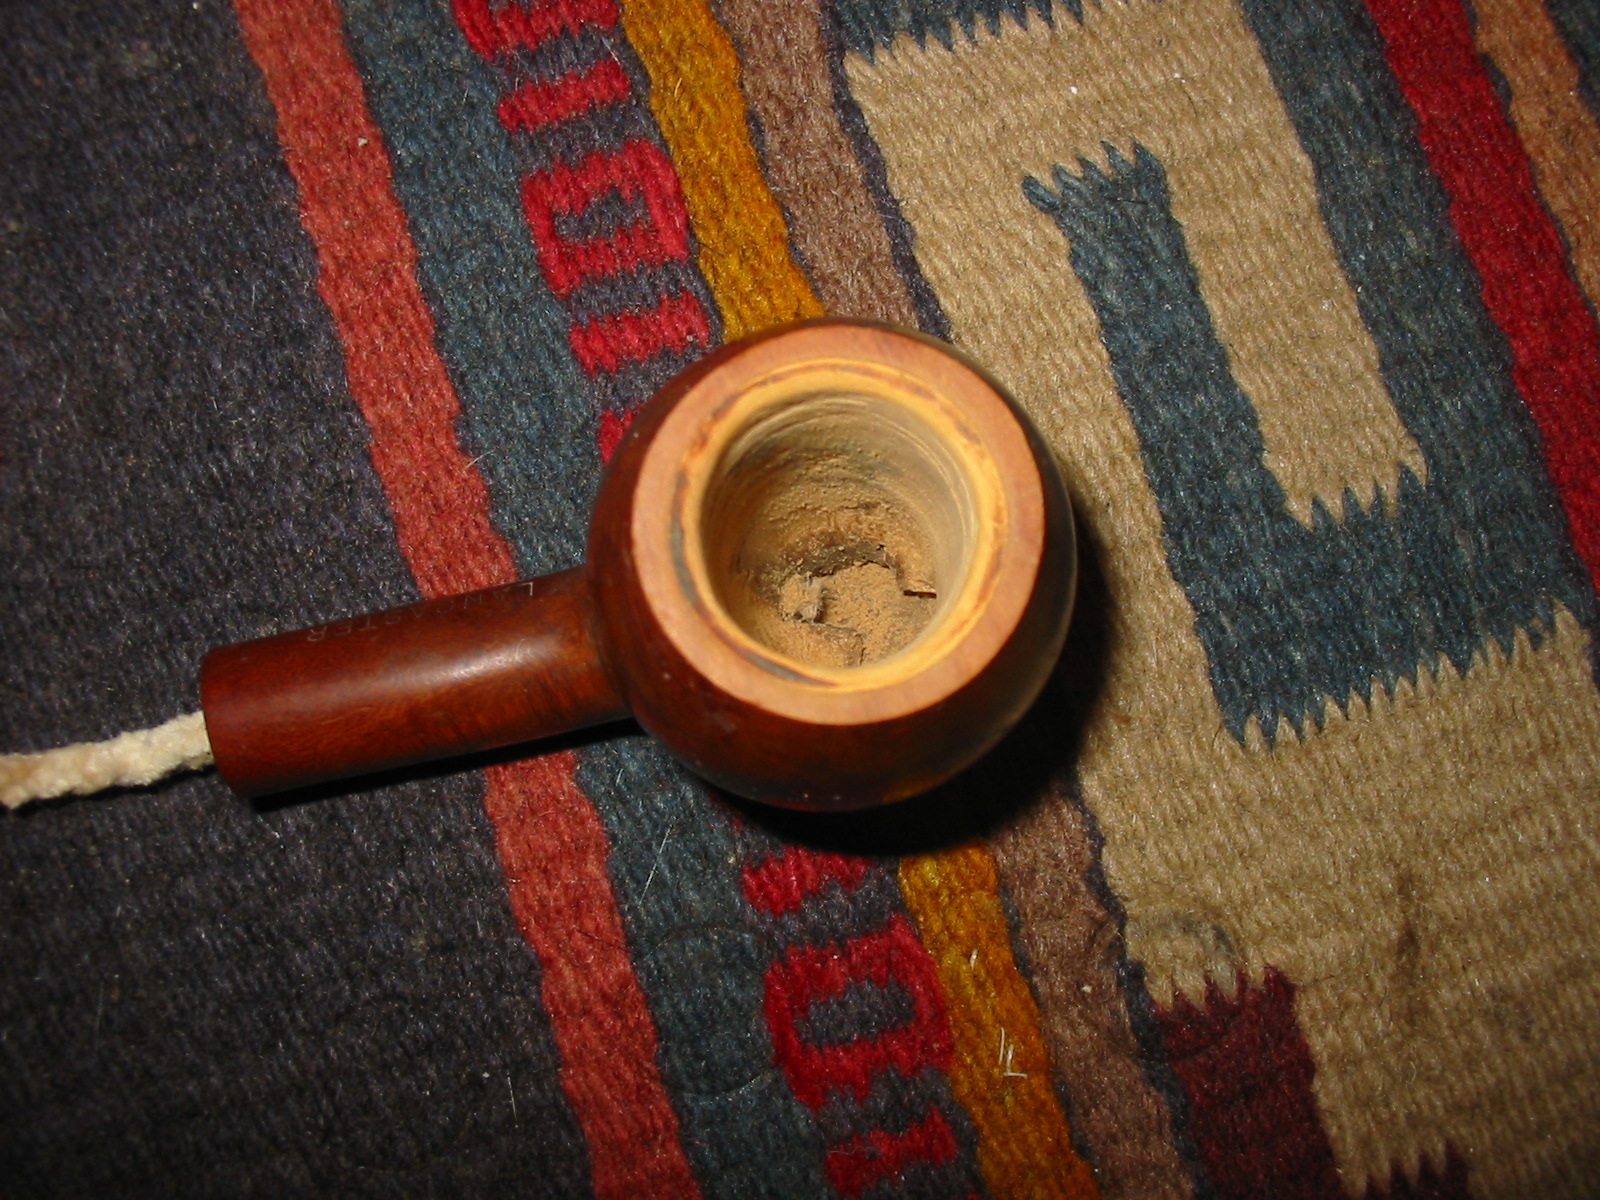
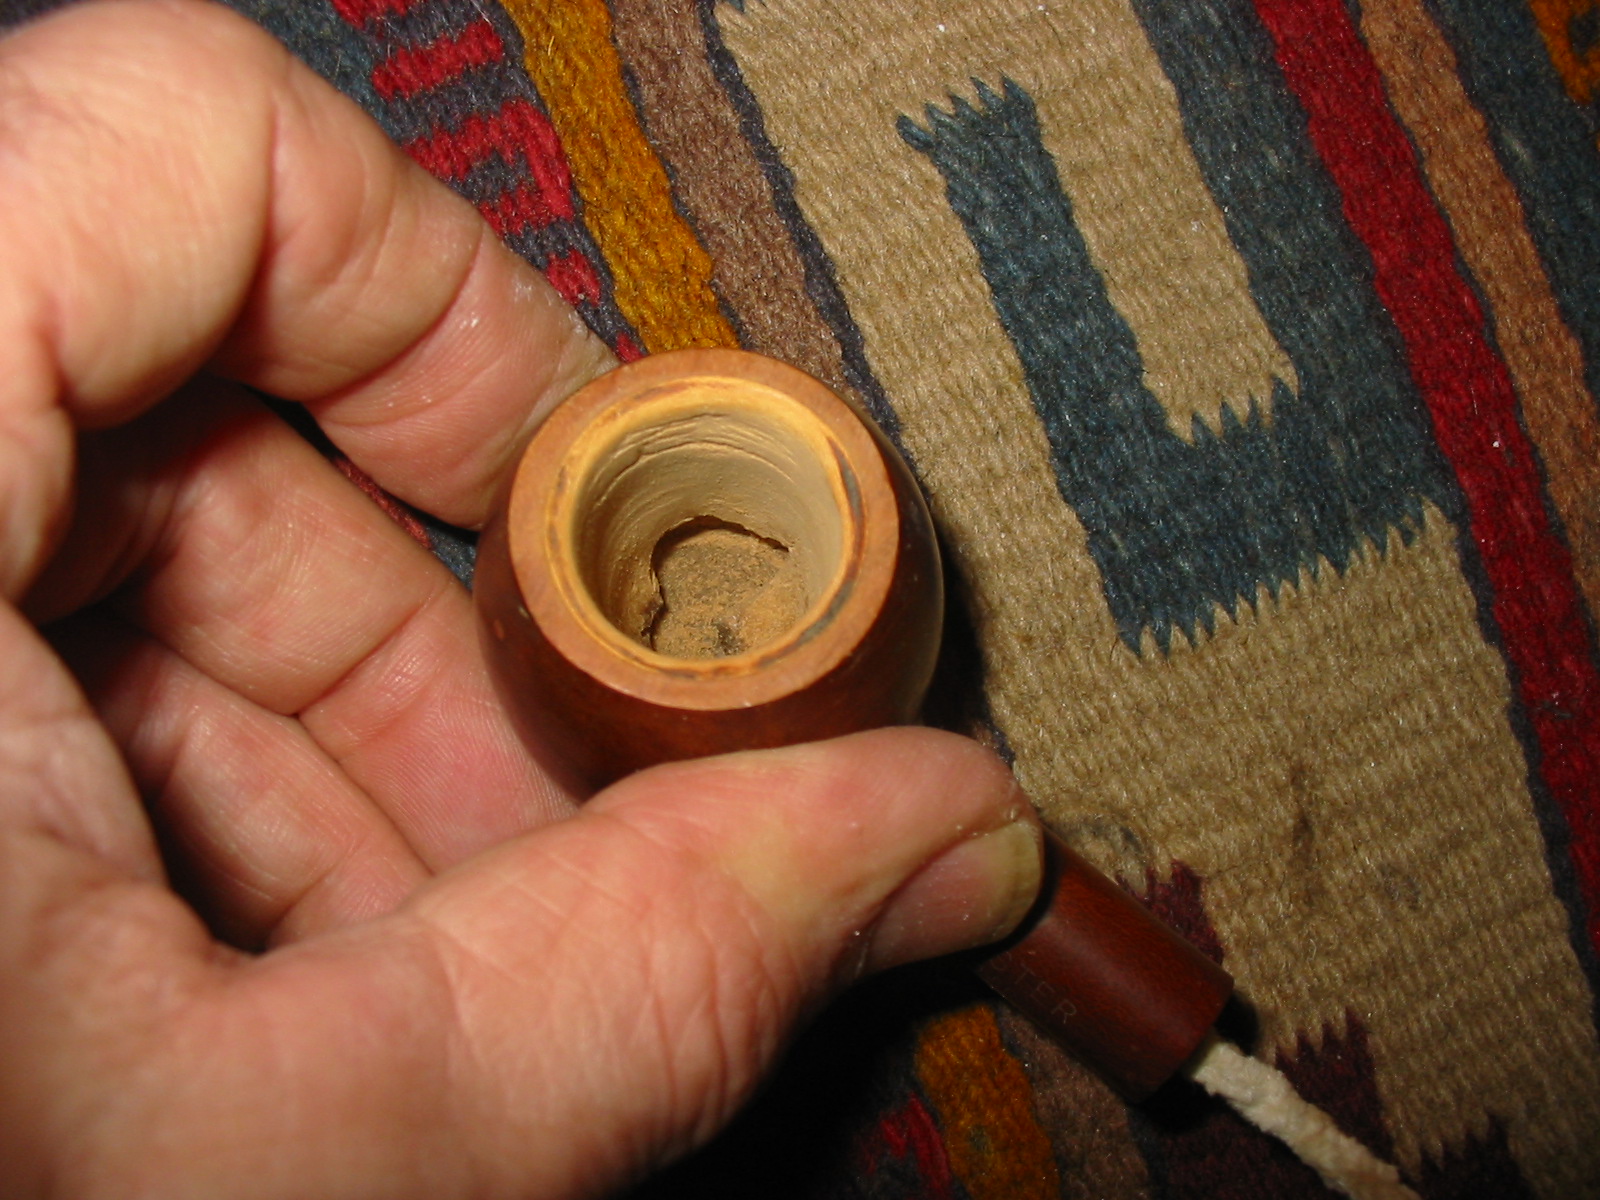
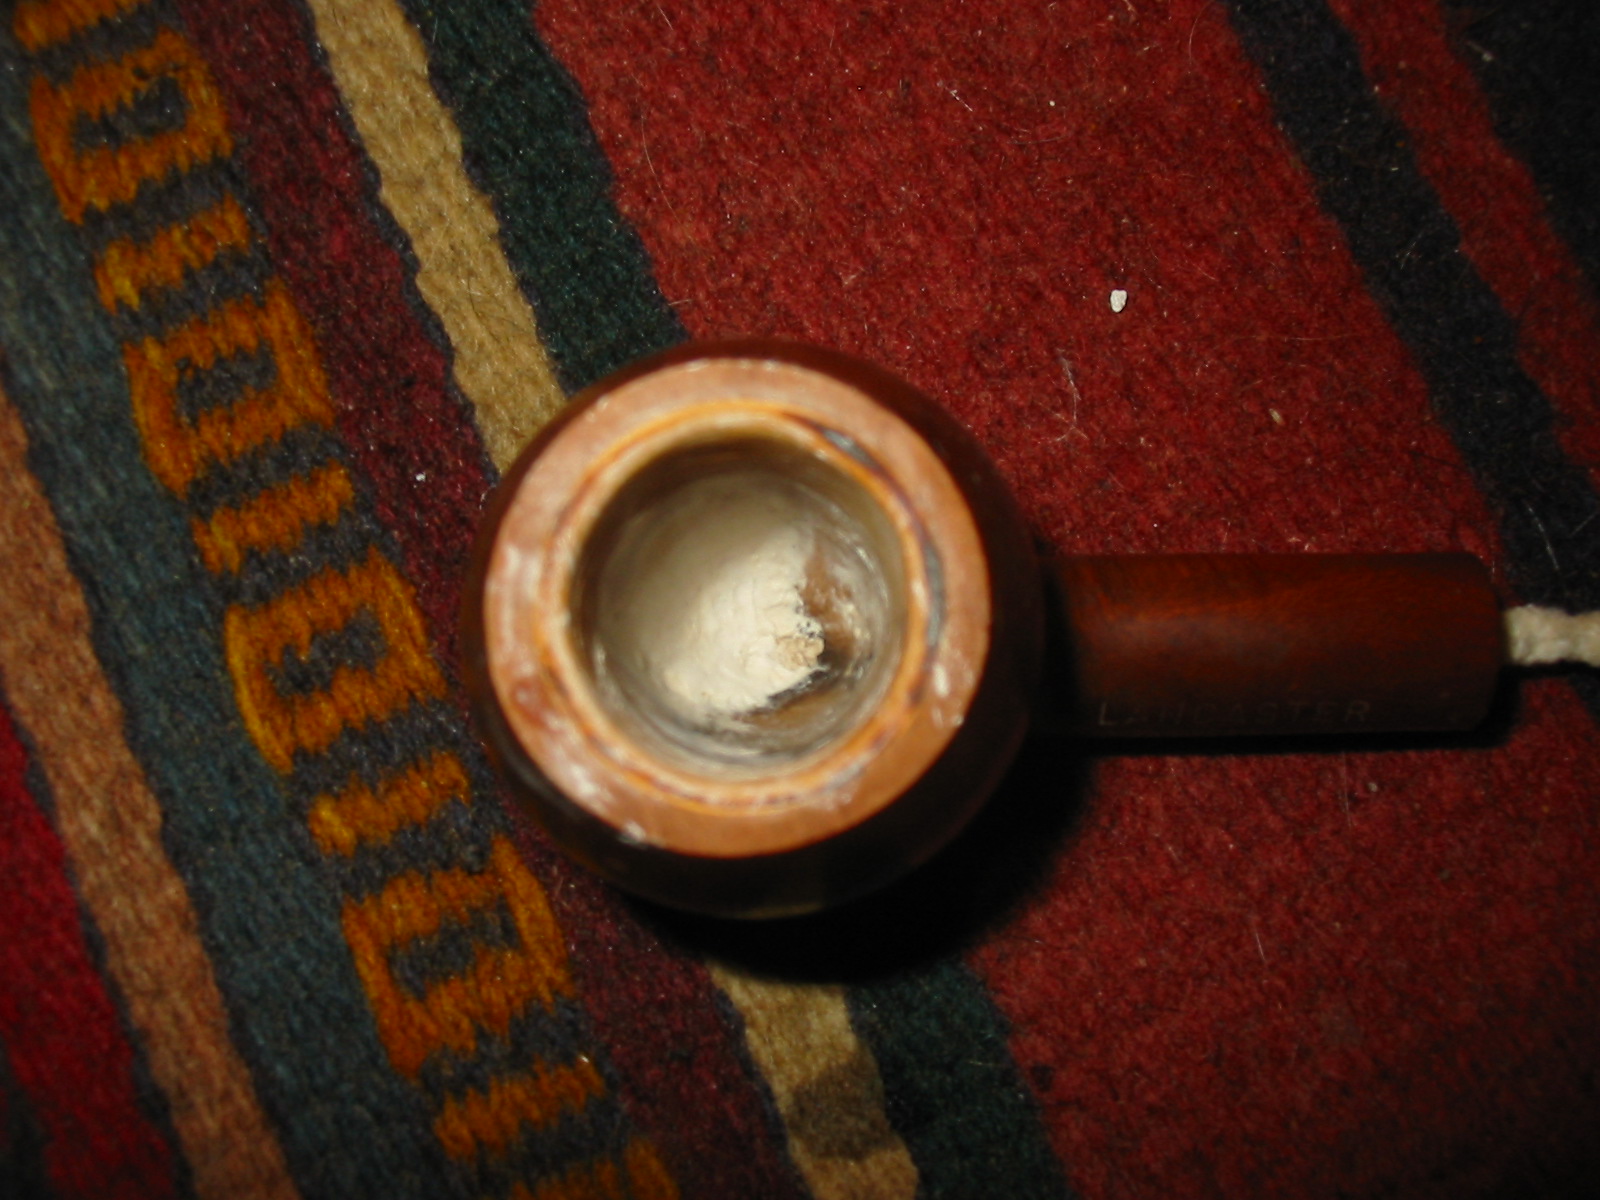
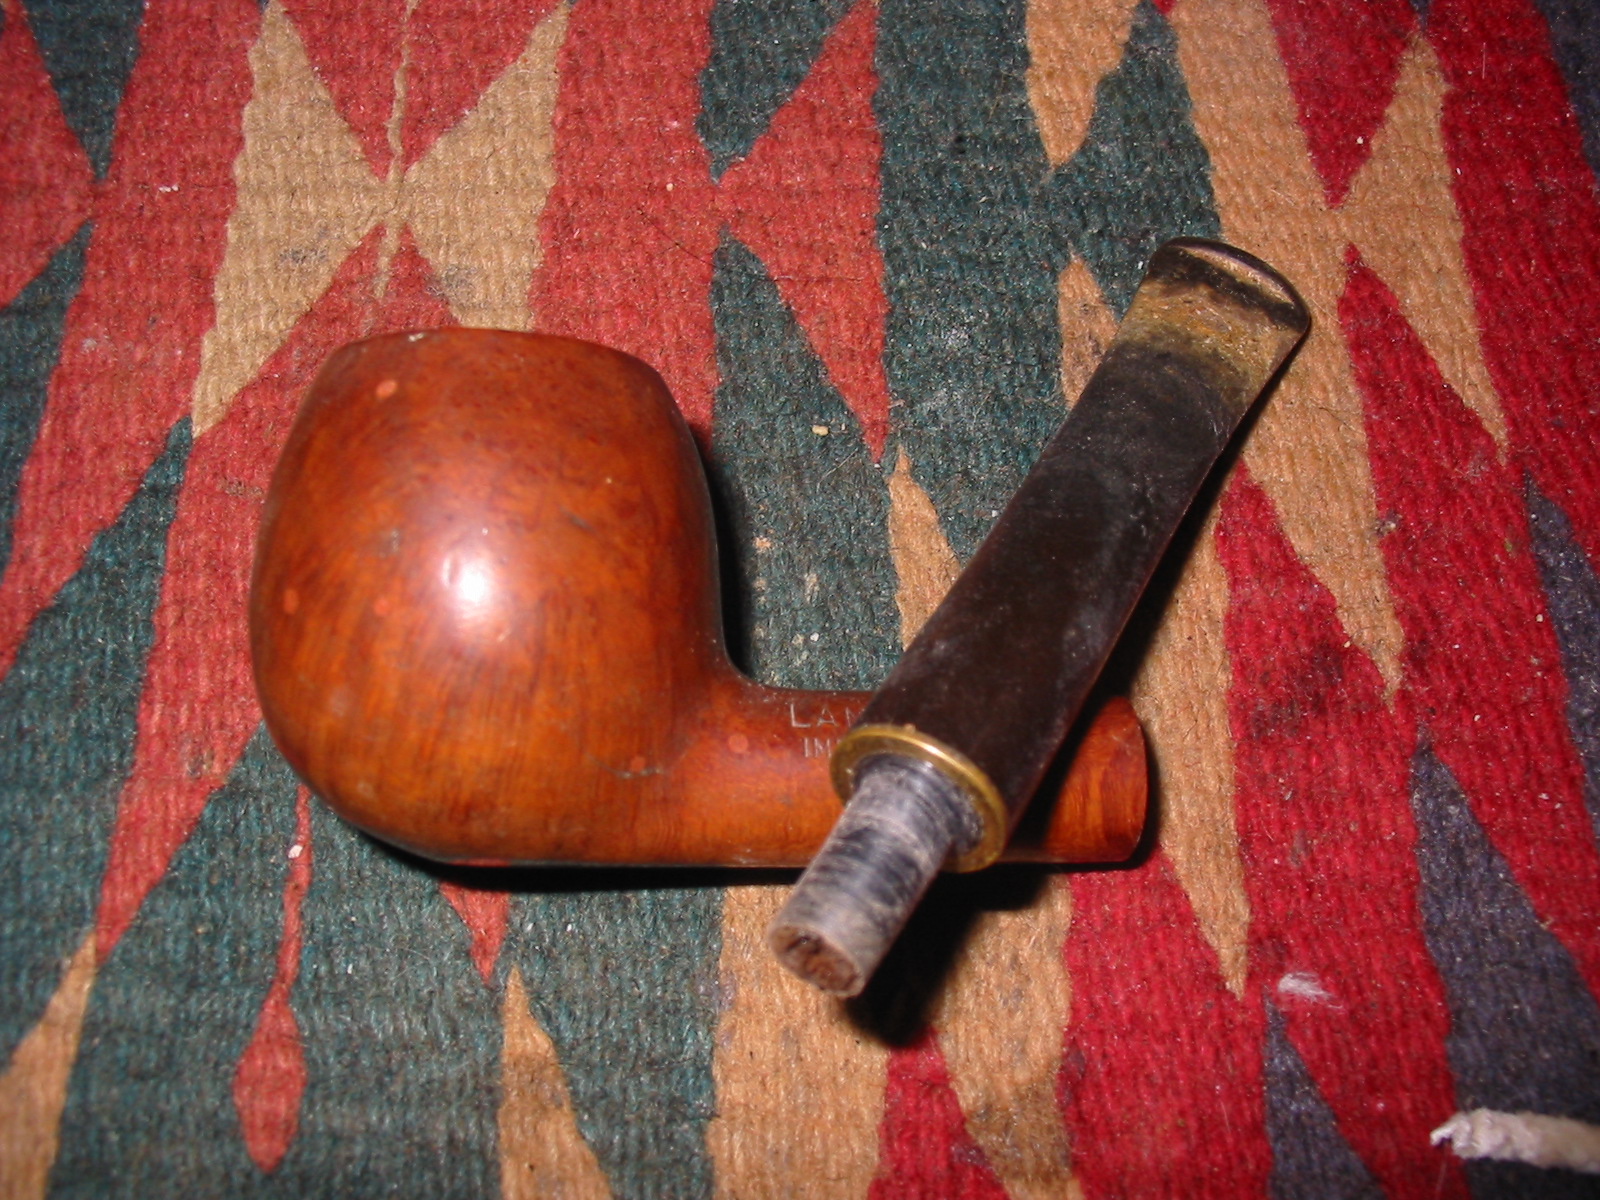
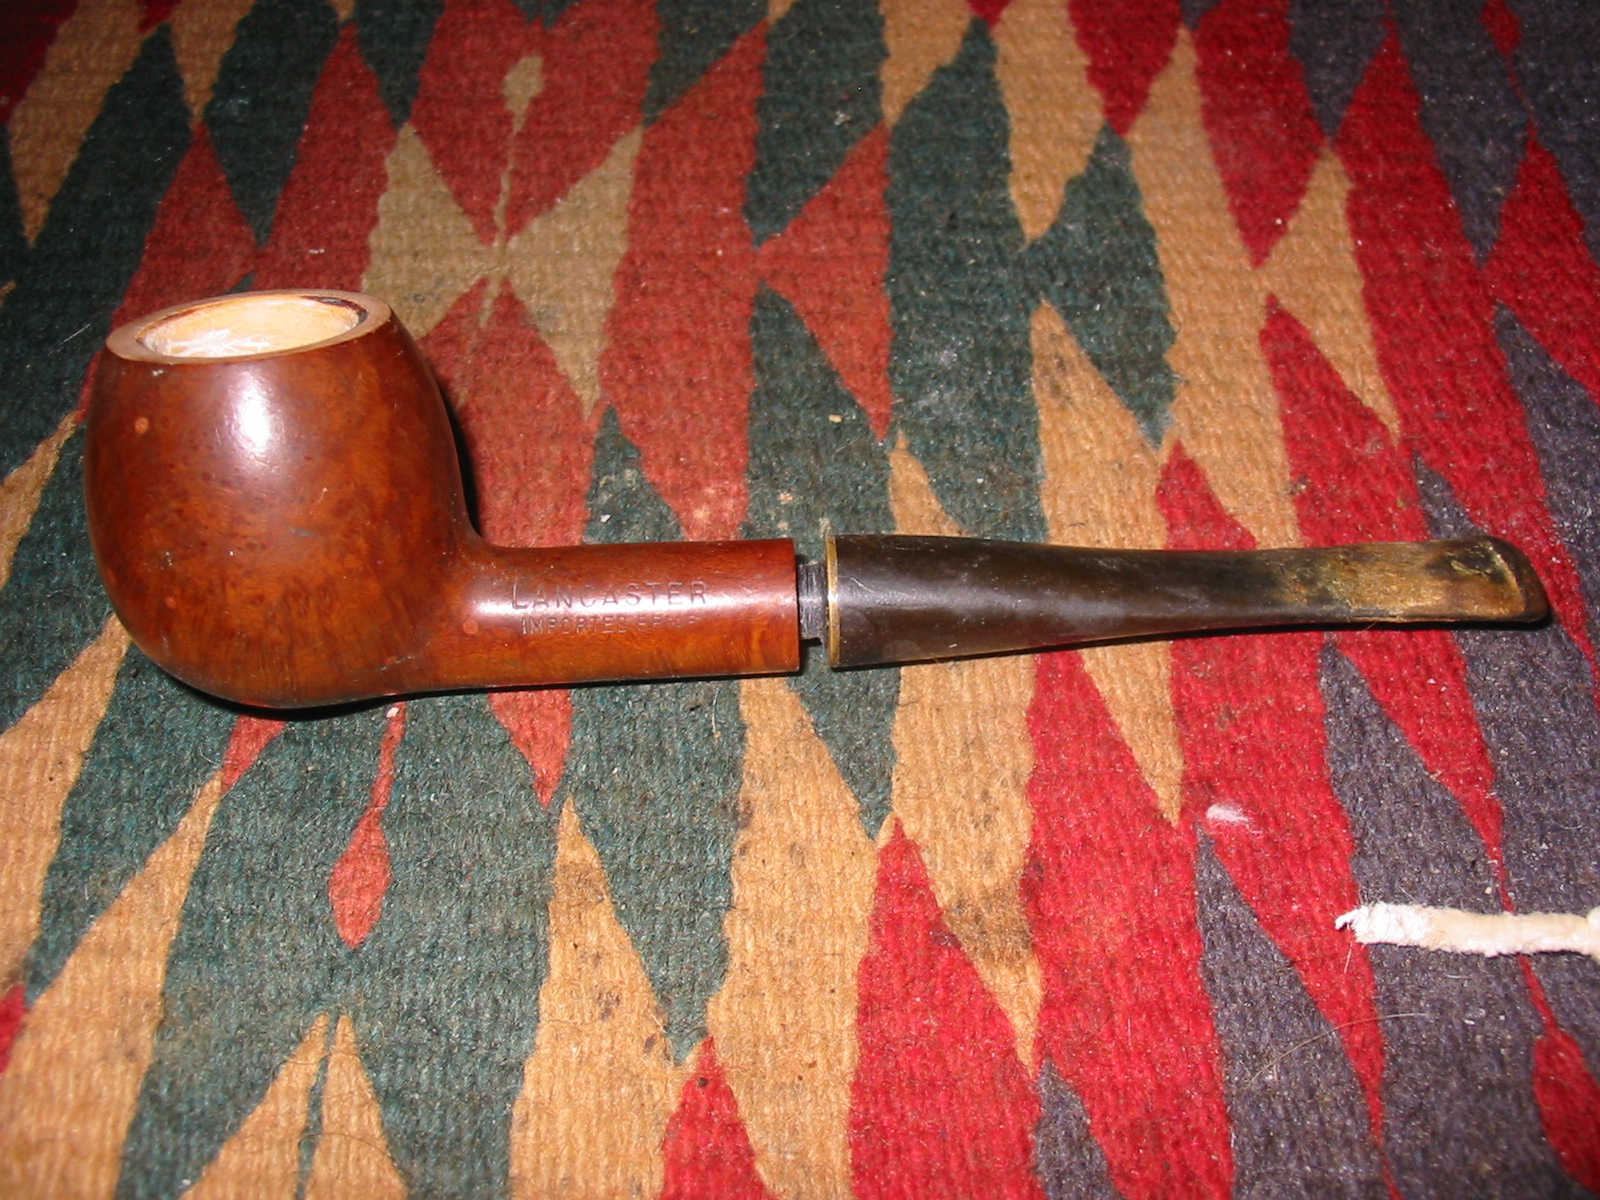
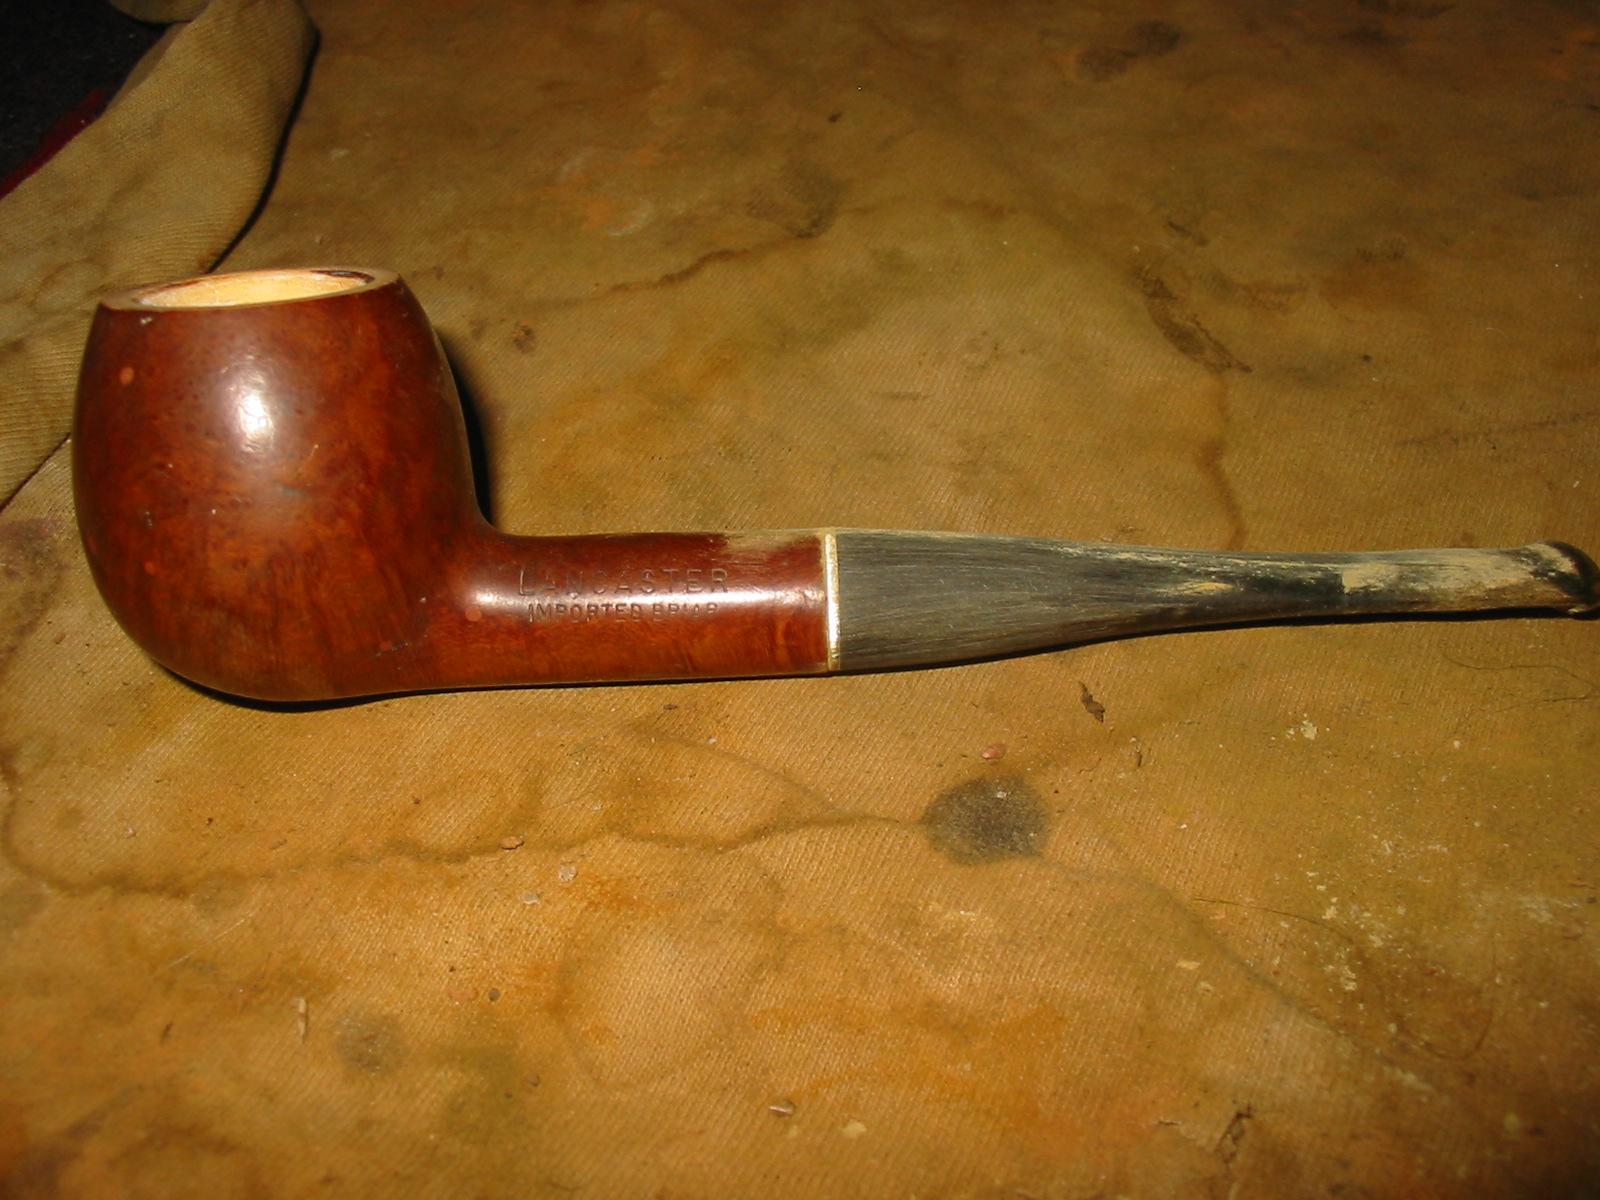
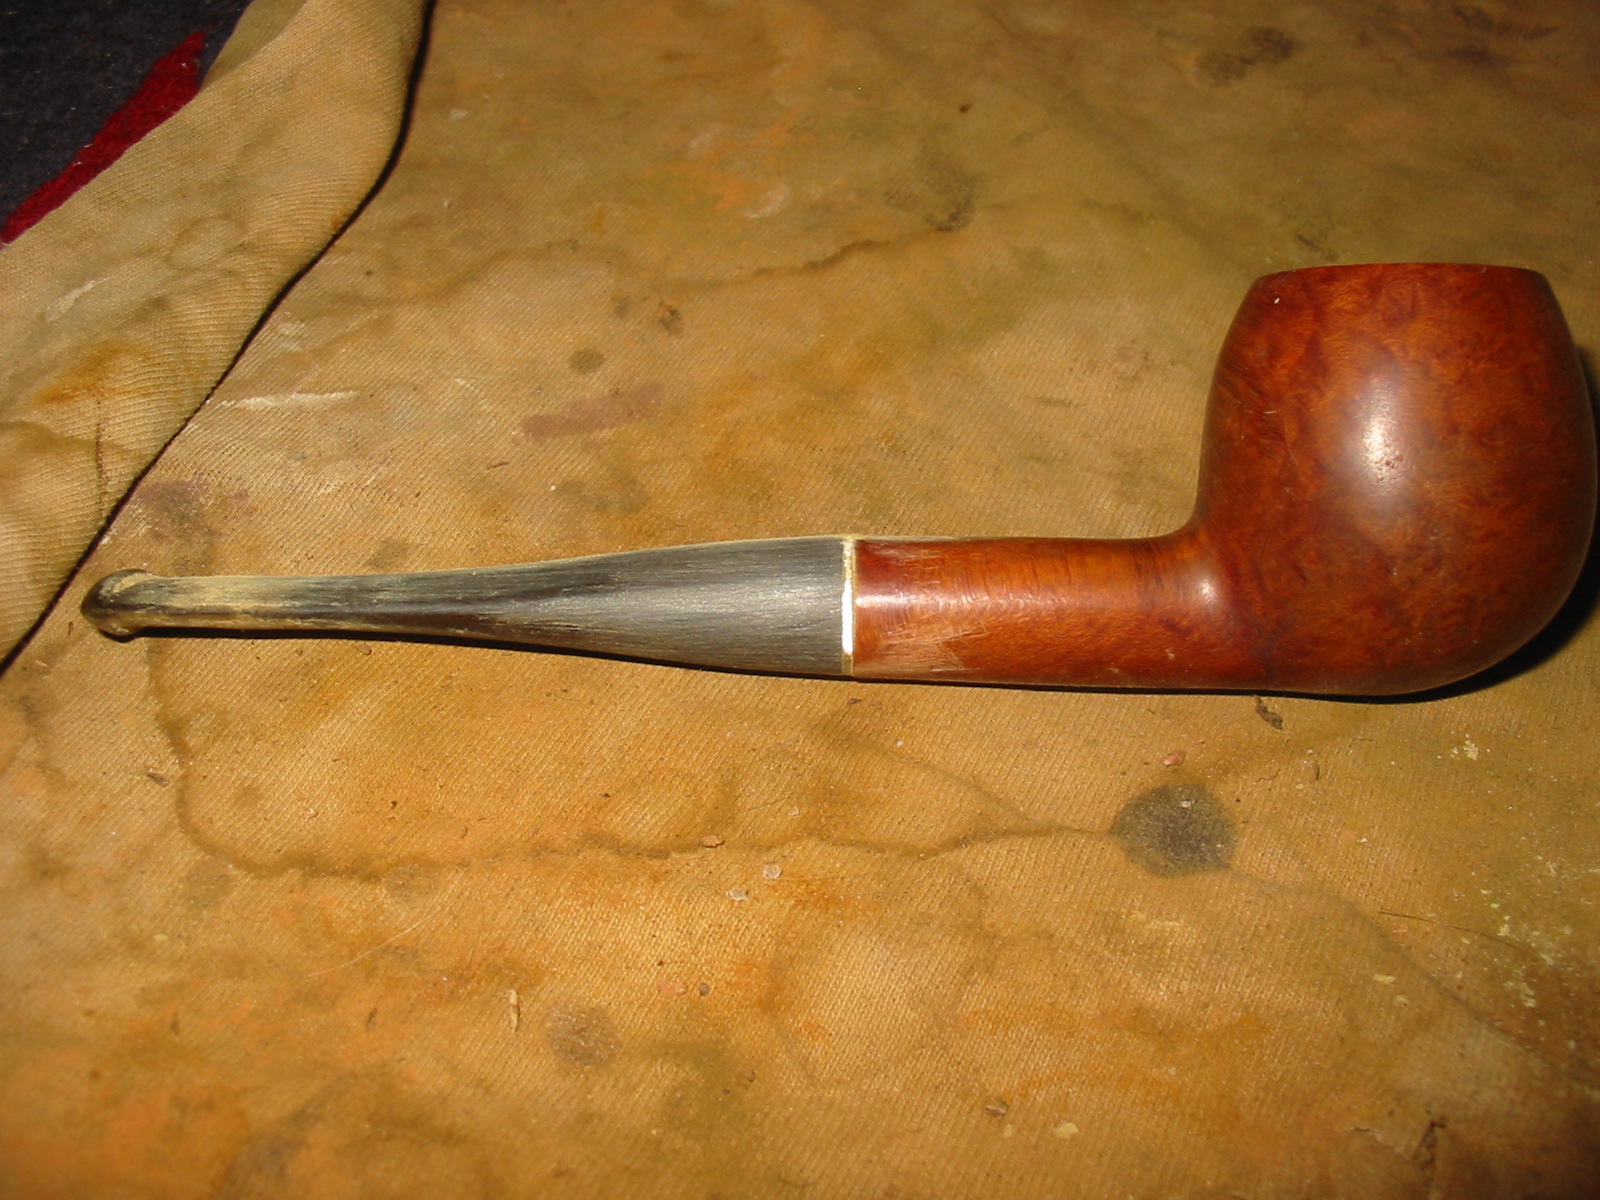
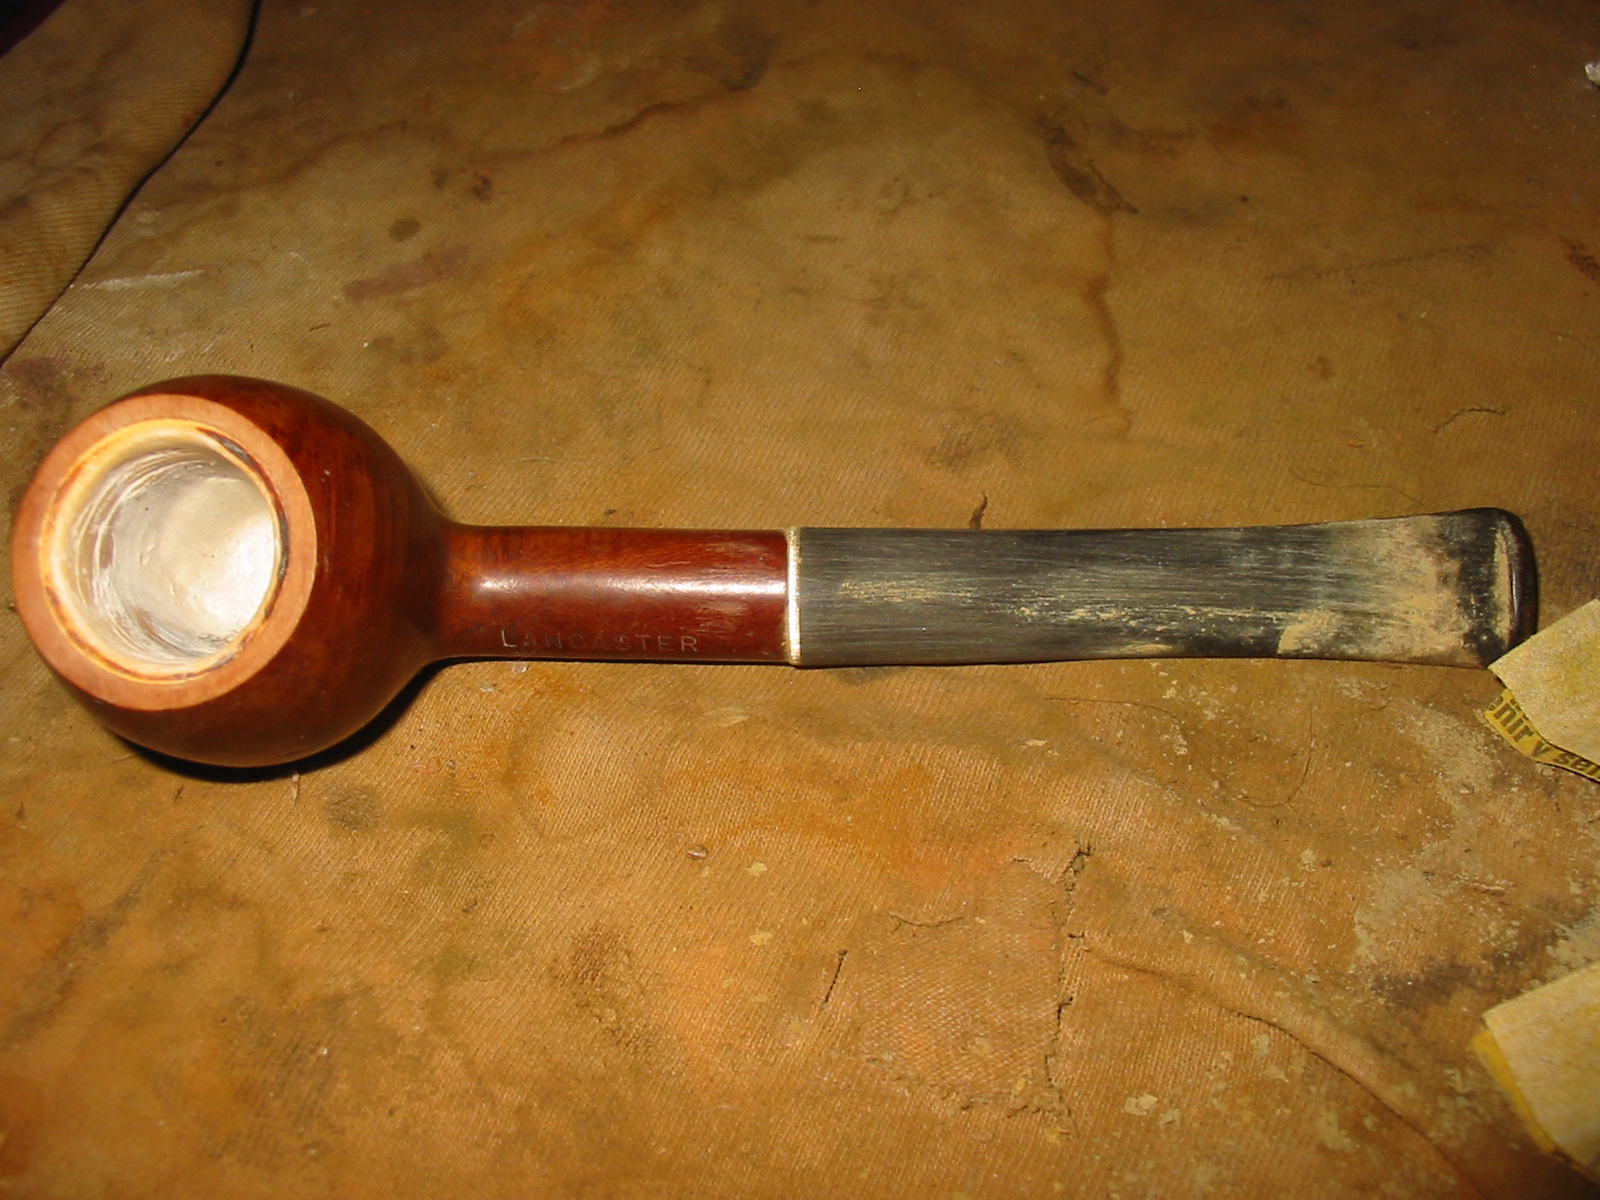
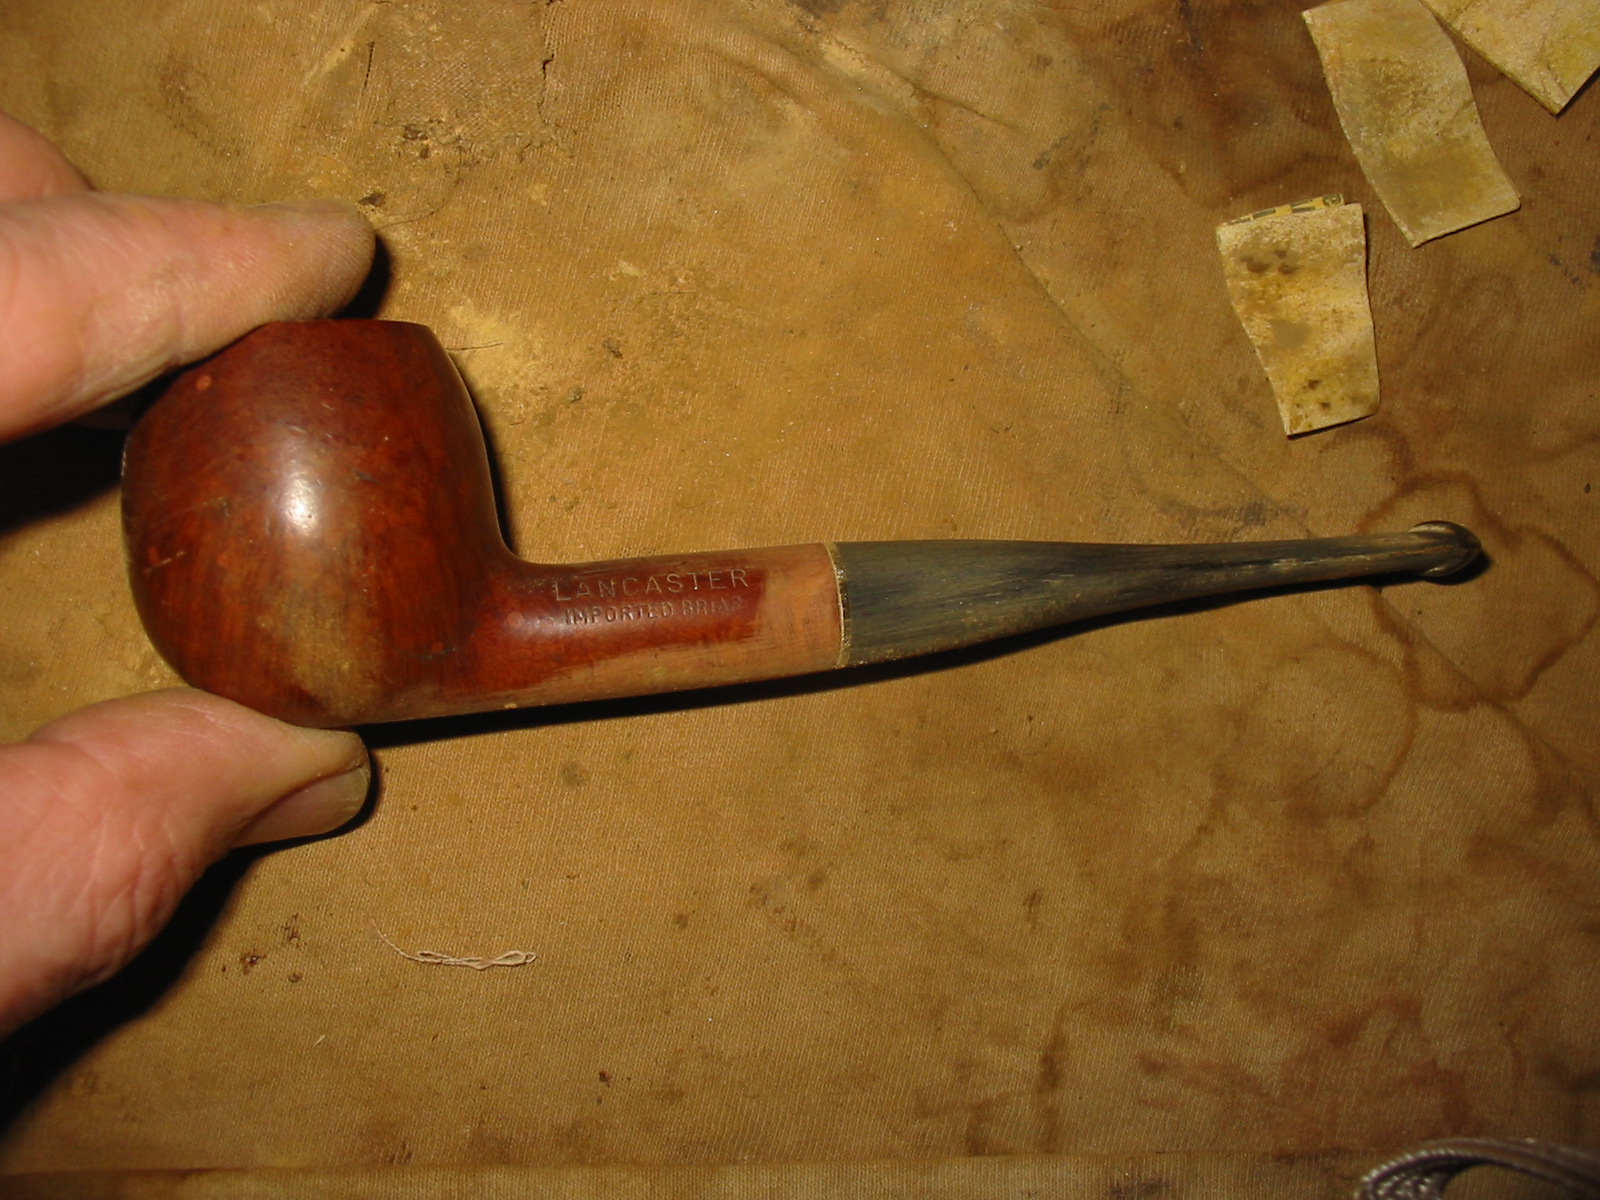
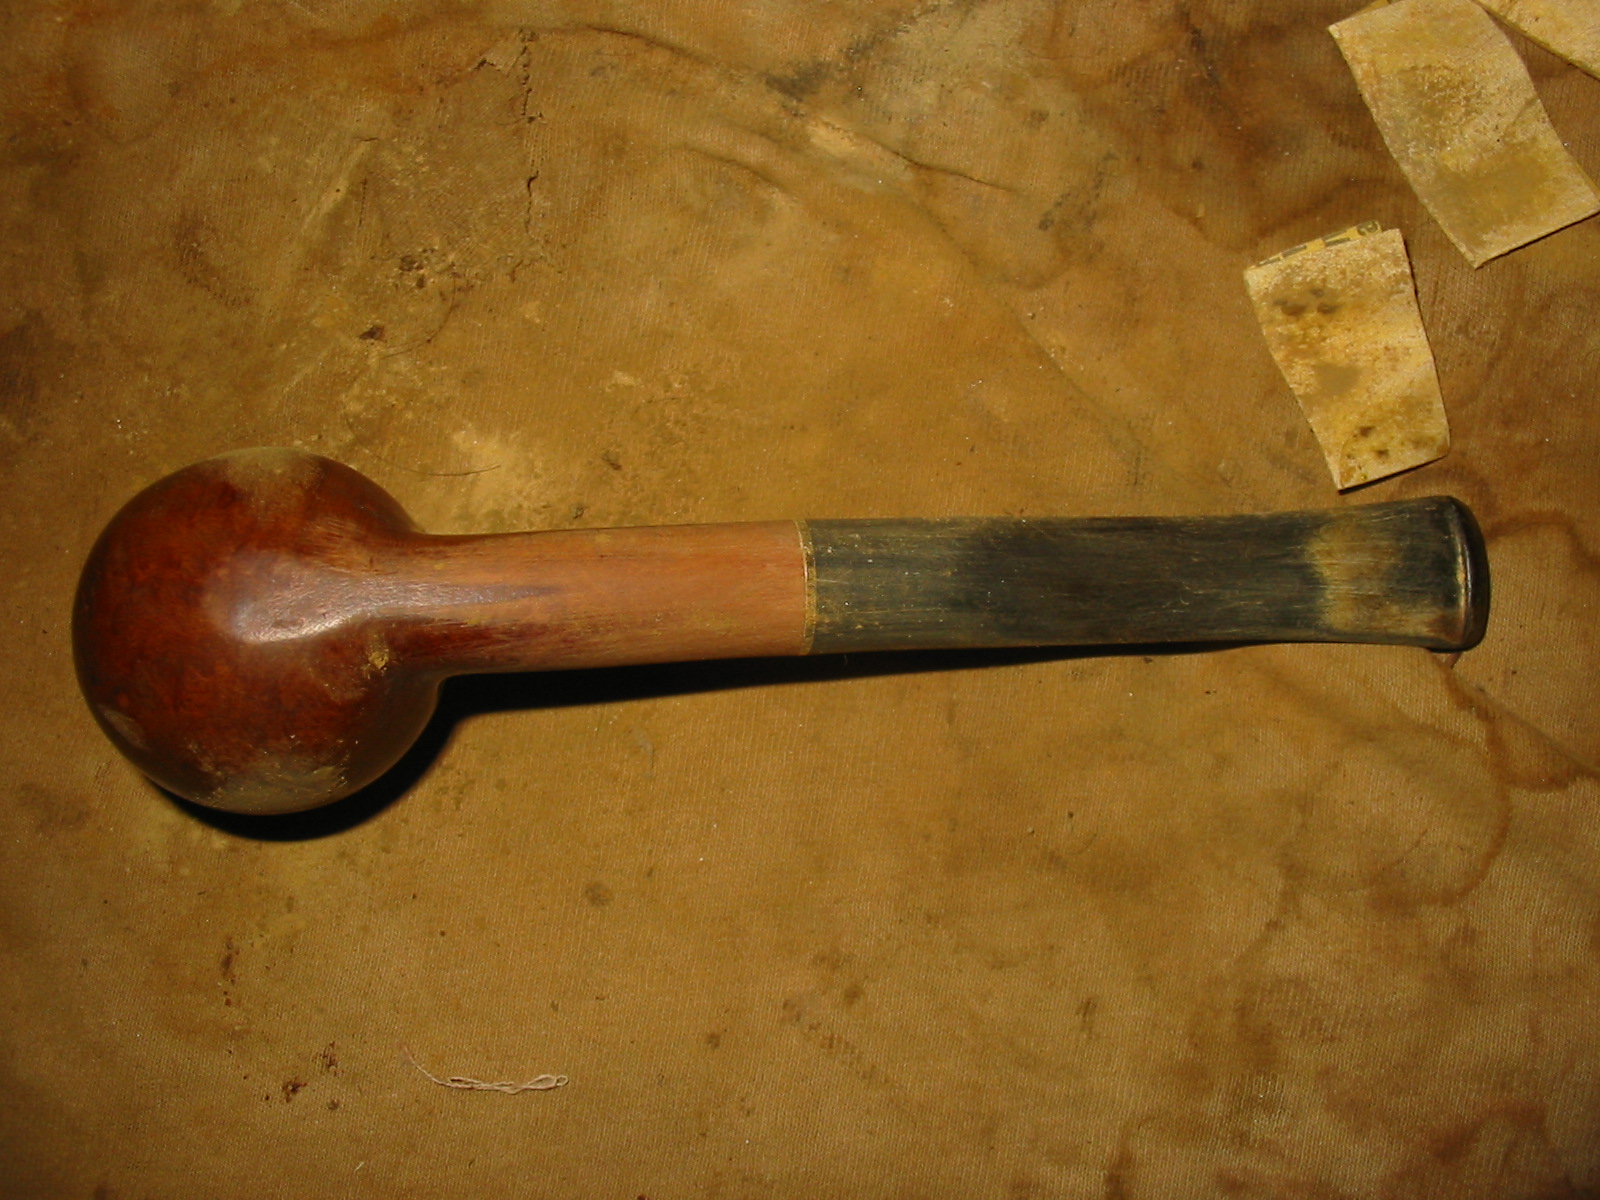
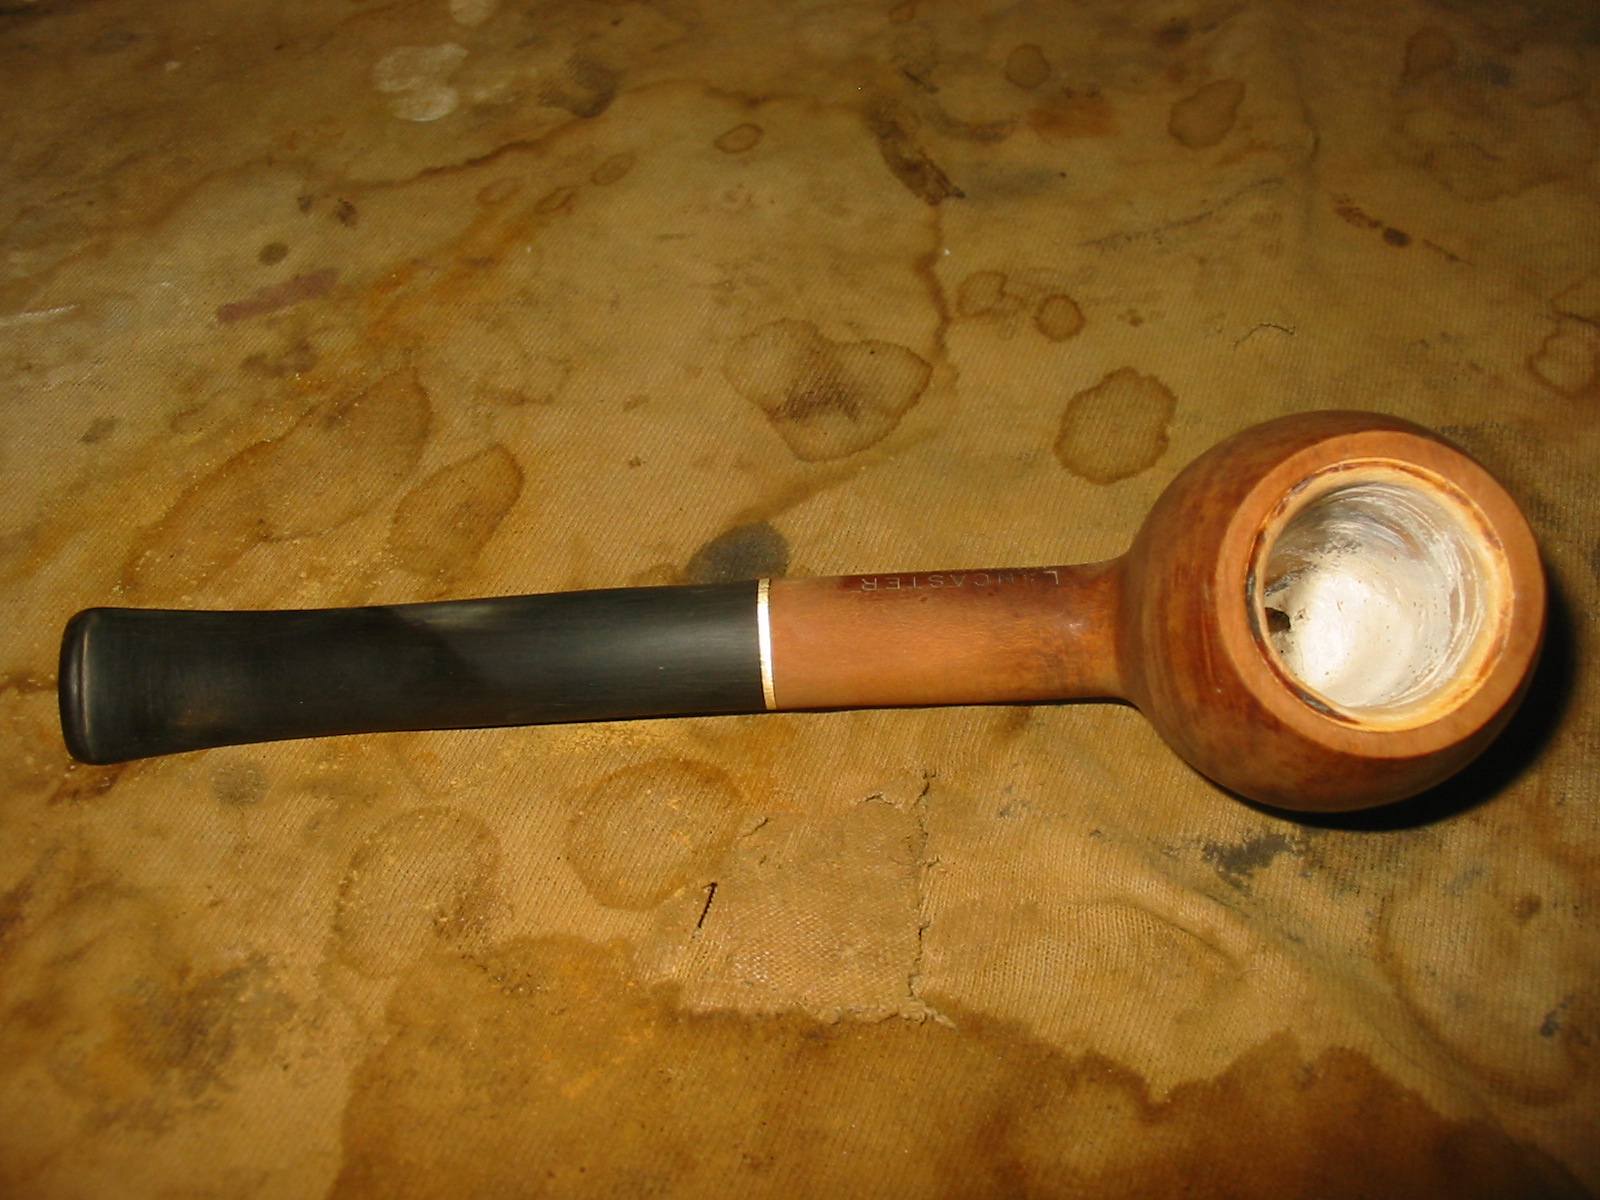
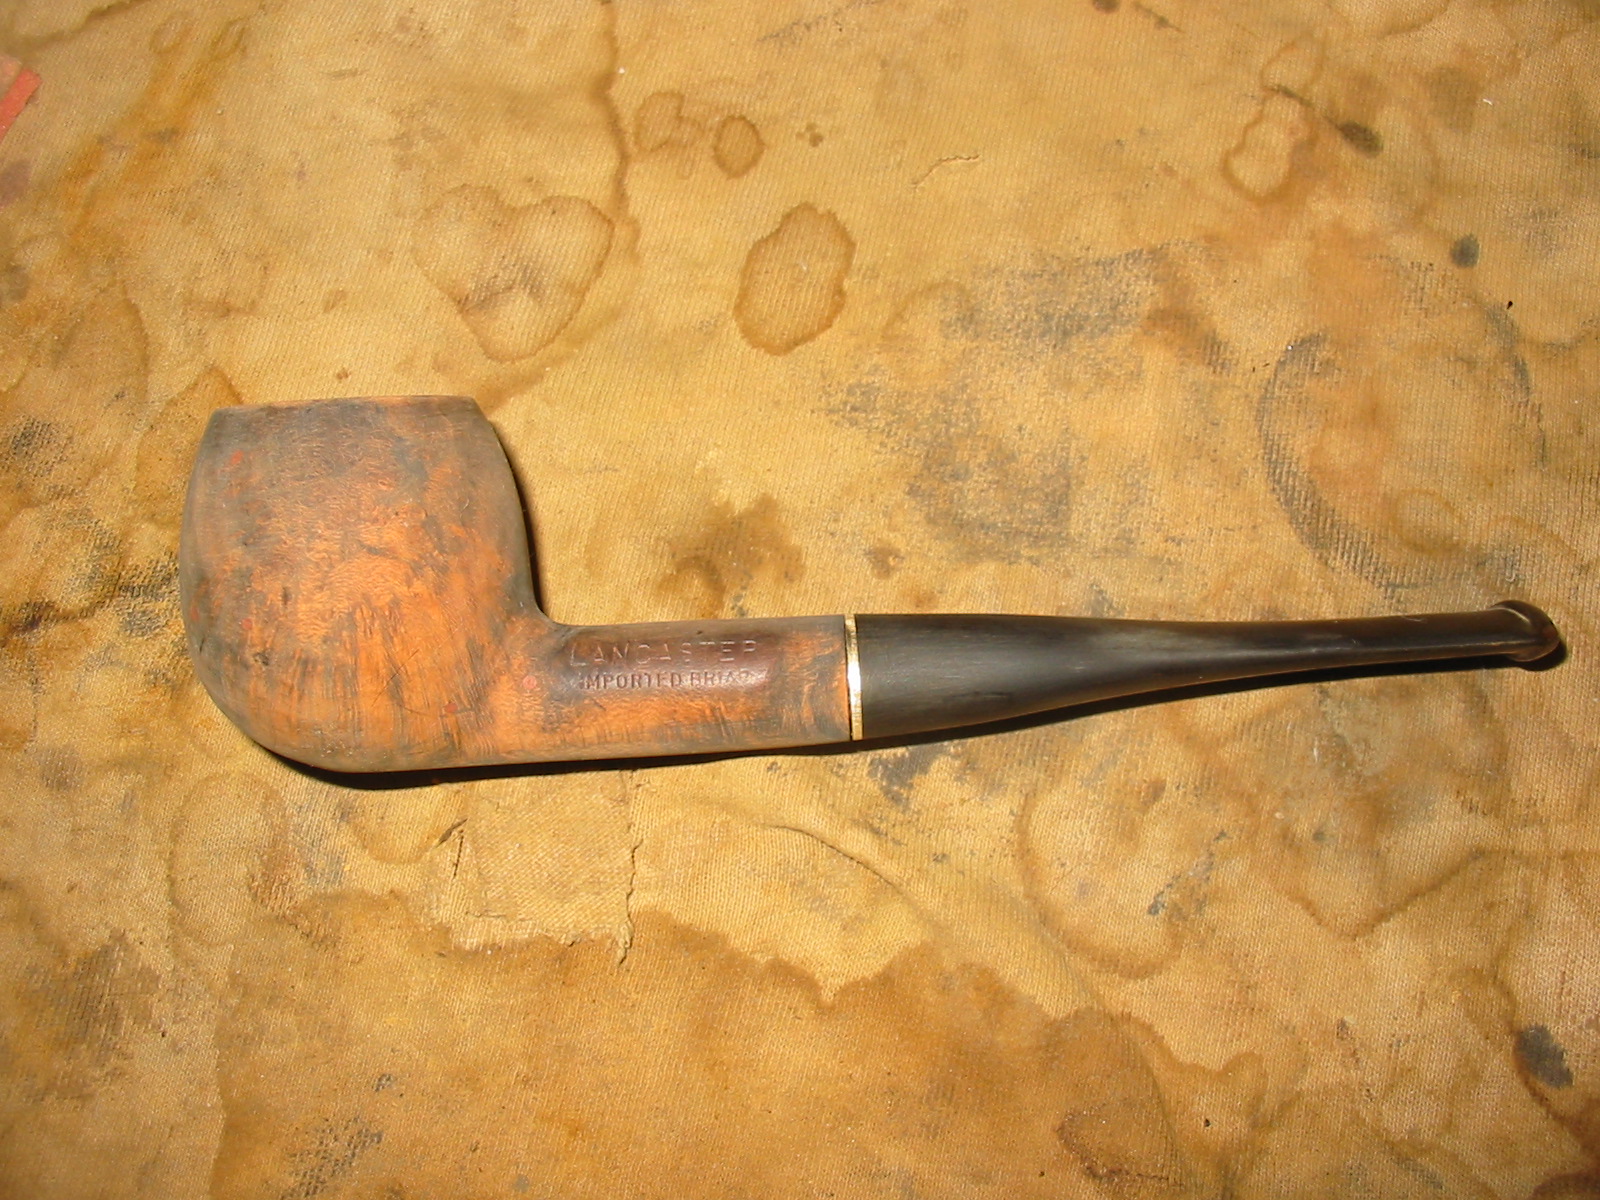
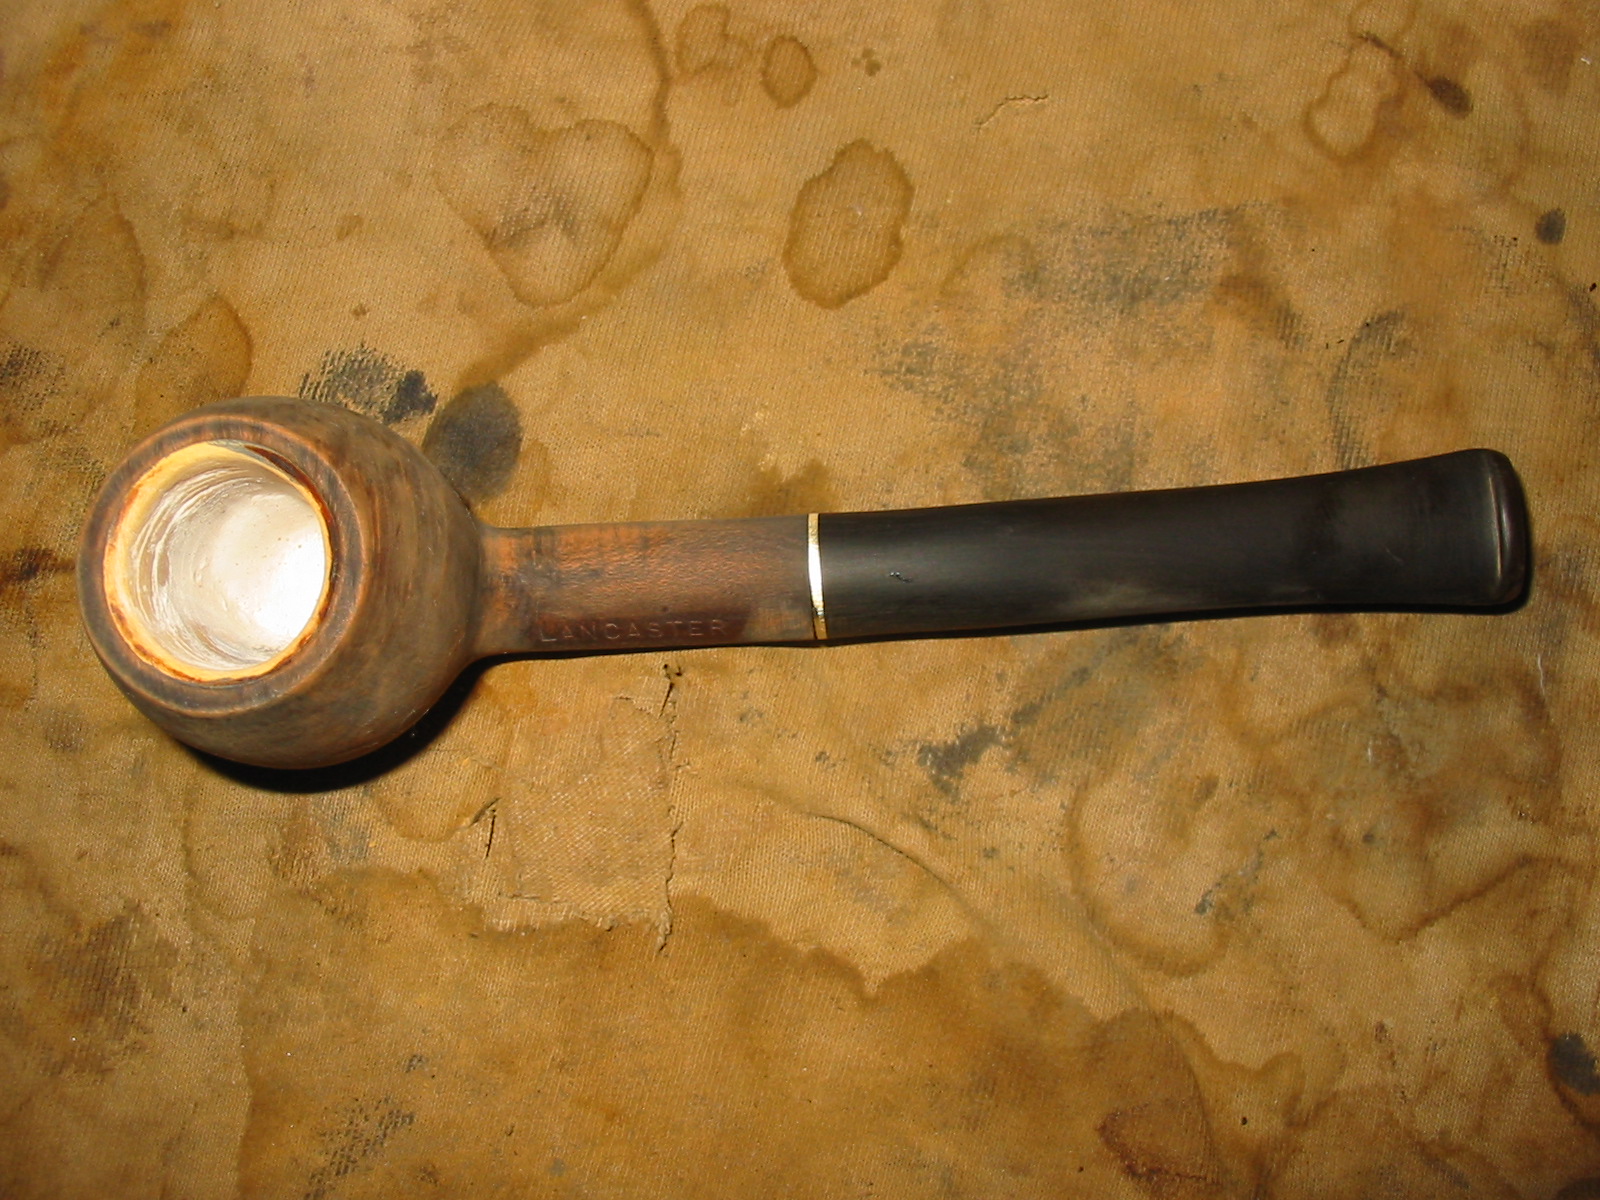
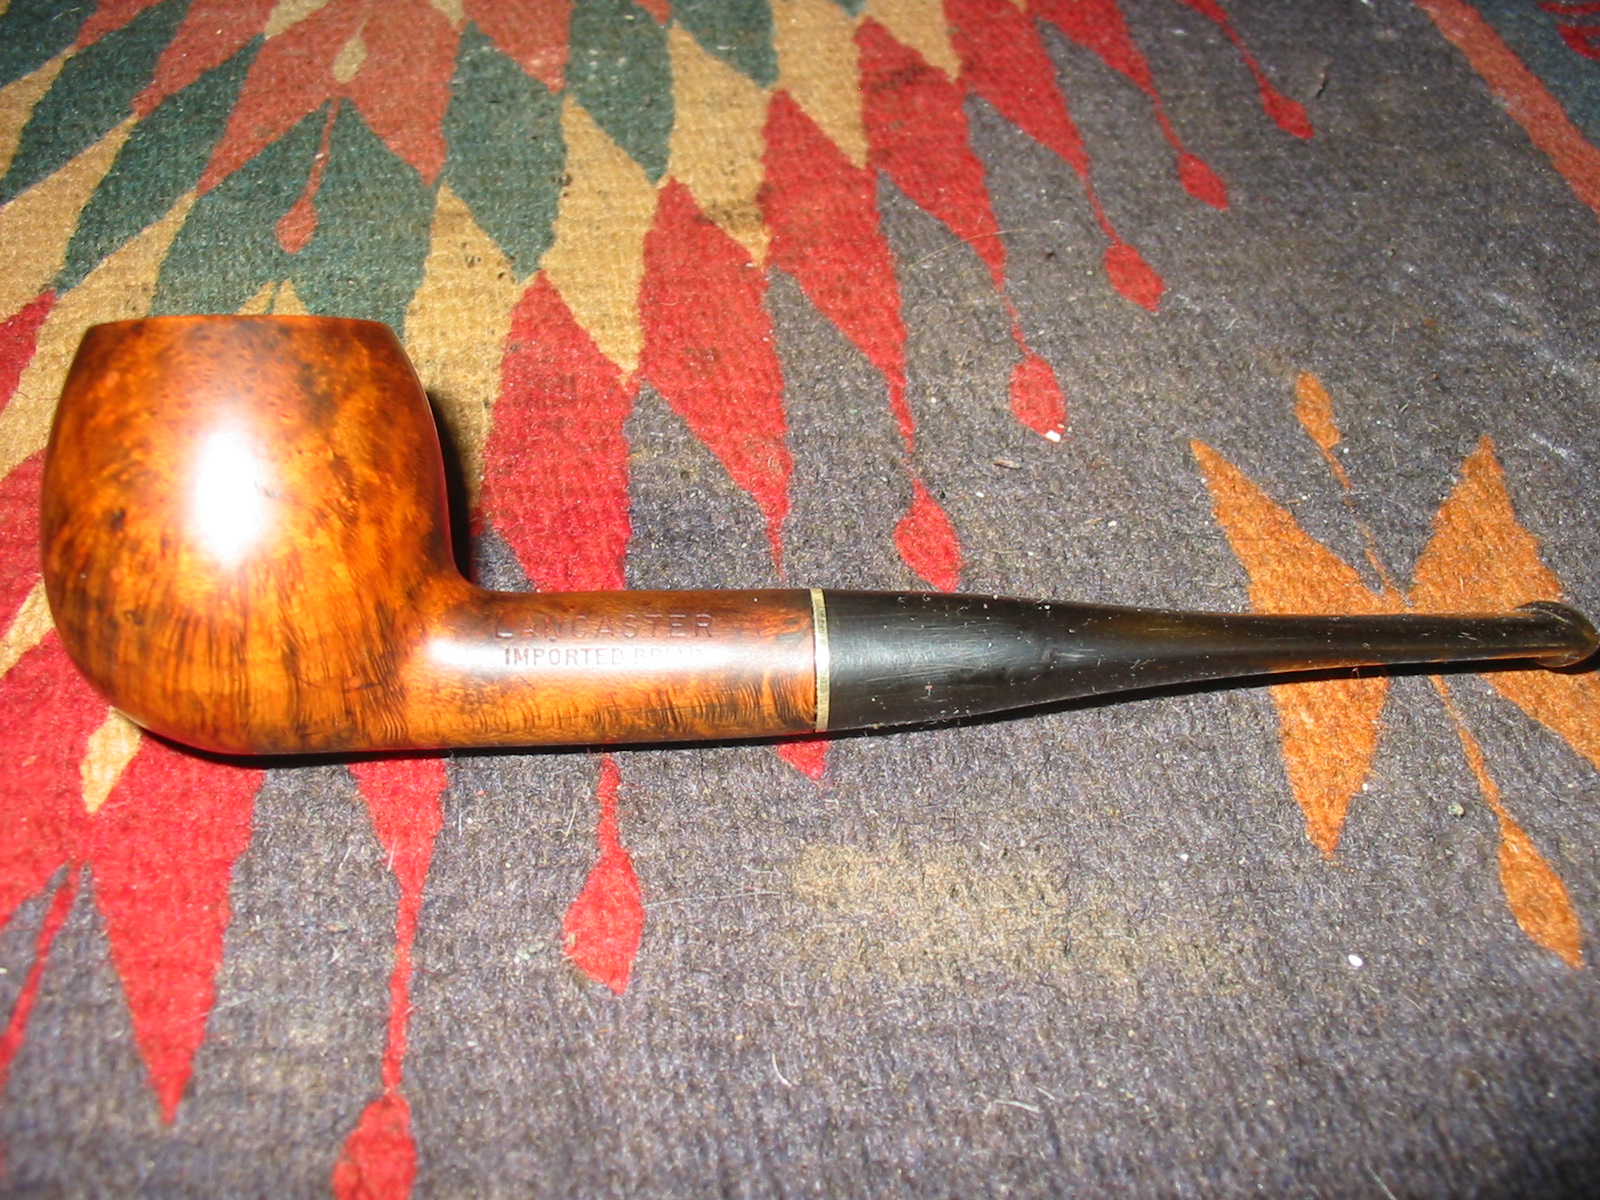
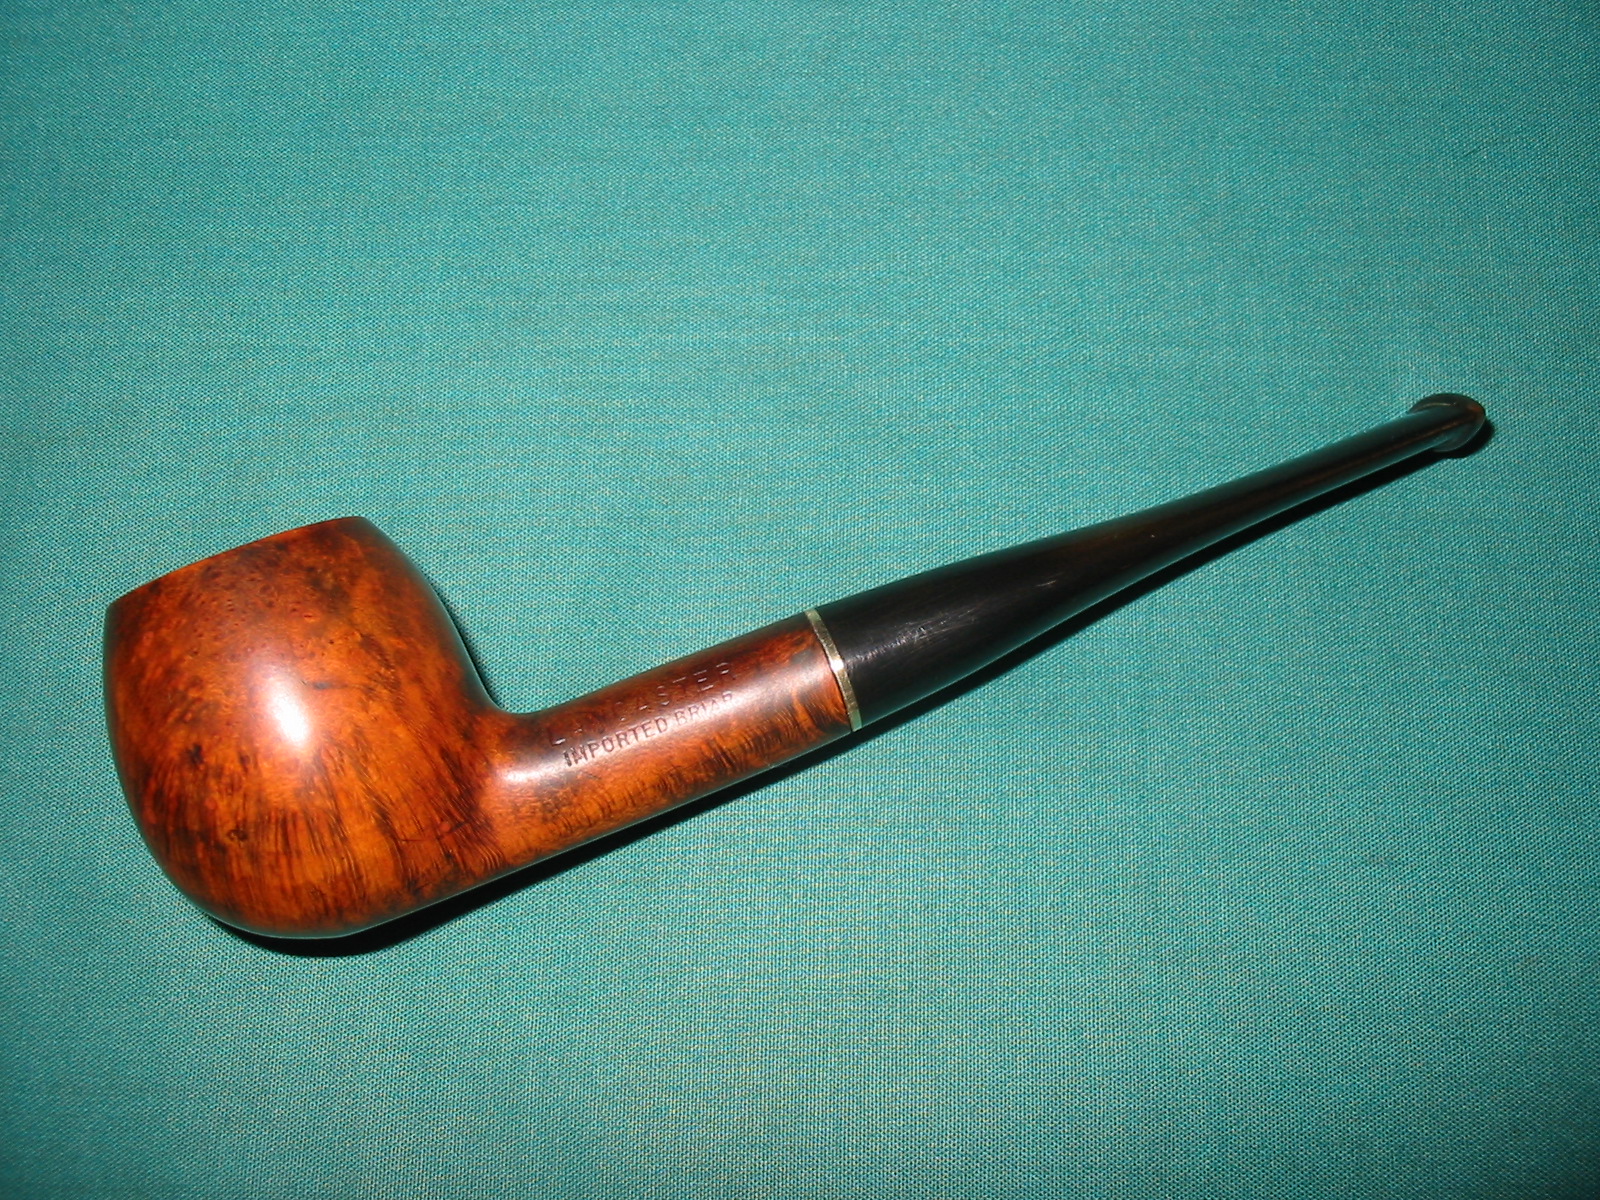
I have had this old meerschaum lined bowl for many years now. It has been sitting in a cupboard and should have rightly been pitched several times over. For some reason I could not bring myself to throw it away. I kind of figured that one day when I had nothing else to do I would experiment on a repair of the meerschaum lining. I had read of several repairs in the past and experimented with one of them previously. The two methods I had read of involved a non-acrylic tile grout without sand while the other one involved Plaster of Paris. I had used the tile grout on a pipe many years ago and still smoke it. The bowl has long since look repaired and you would be hard pressed to see where the repair was in the bowl. This old bowl had much the same damage as that one so I decided to experiment with the Plaster of Paris method. The pipe did not have a stem so I would also need to restem it once the patch was finished. The bowl is stamped Lancaster over Imported Briar on the left side of the shank and has no stamping on the right side. There were small fills present on the bowl – almost like small pin pricks that had been filled in the manufacture of the pipe. The finish on the bowl was virtually not present except for a few spots where the stain had held on stubbornly over the years.
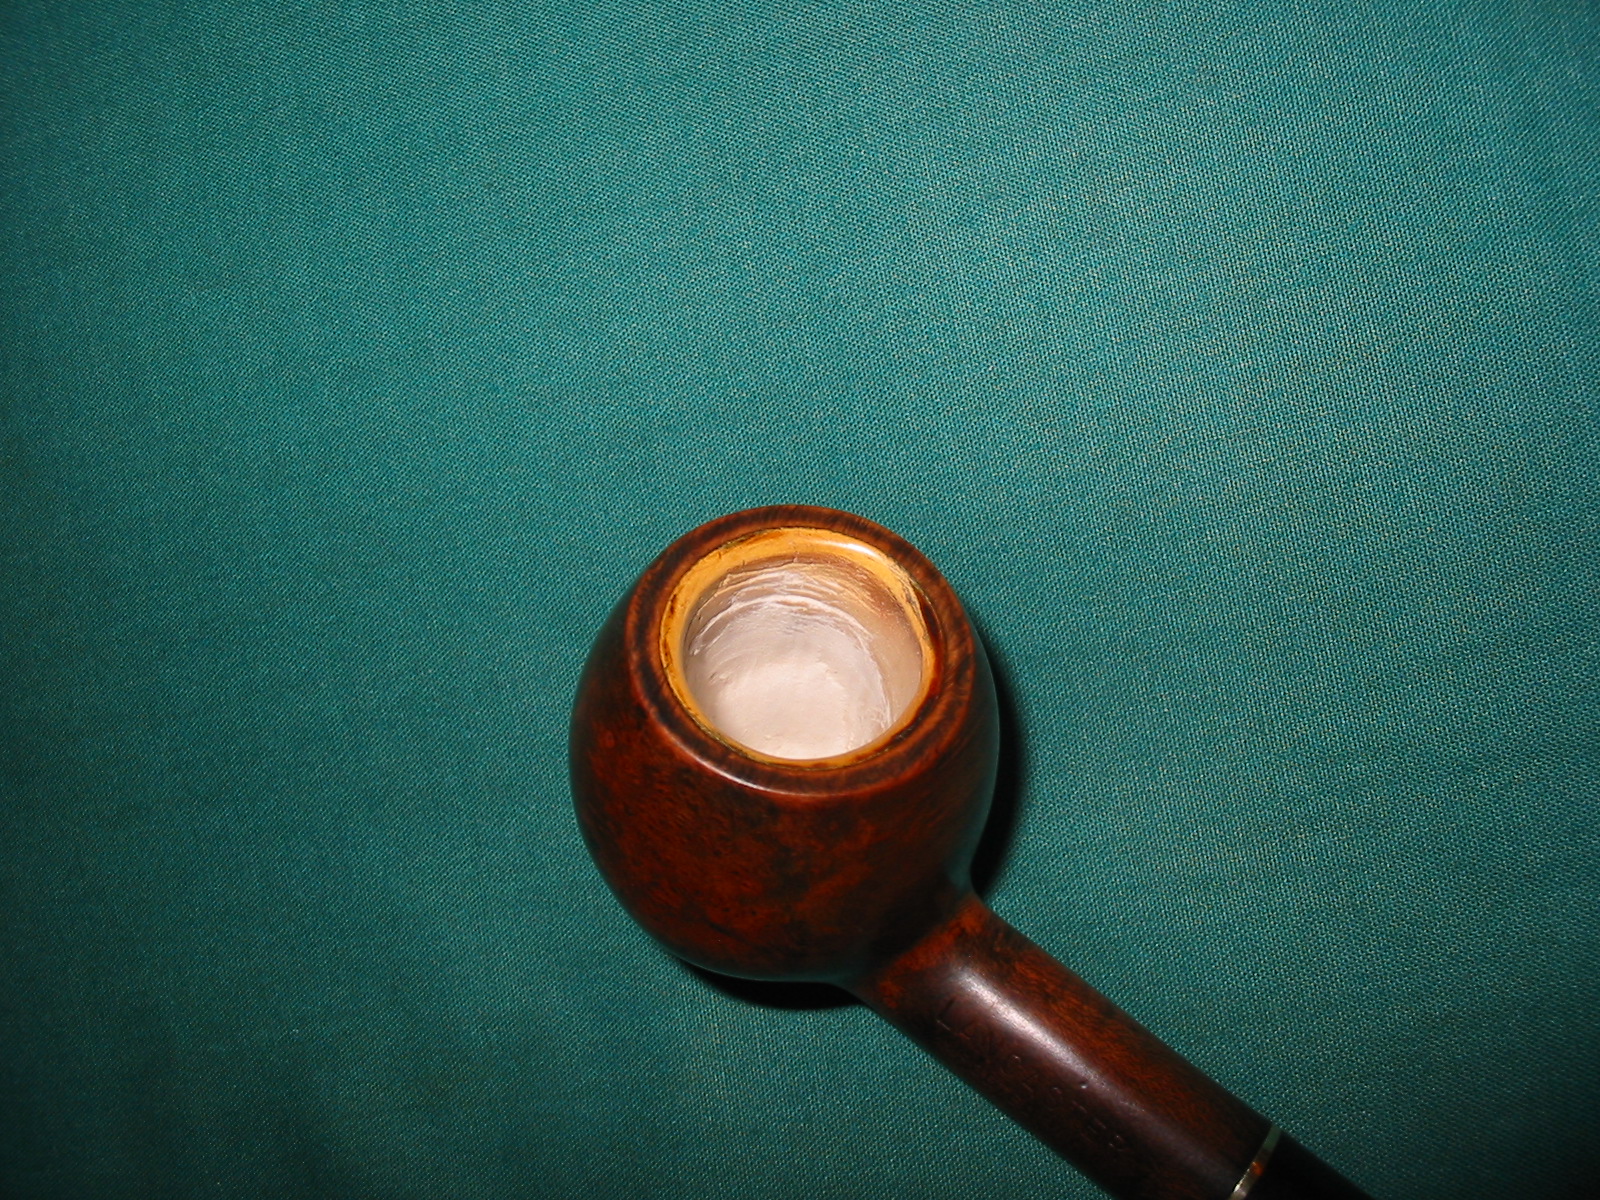
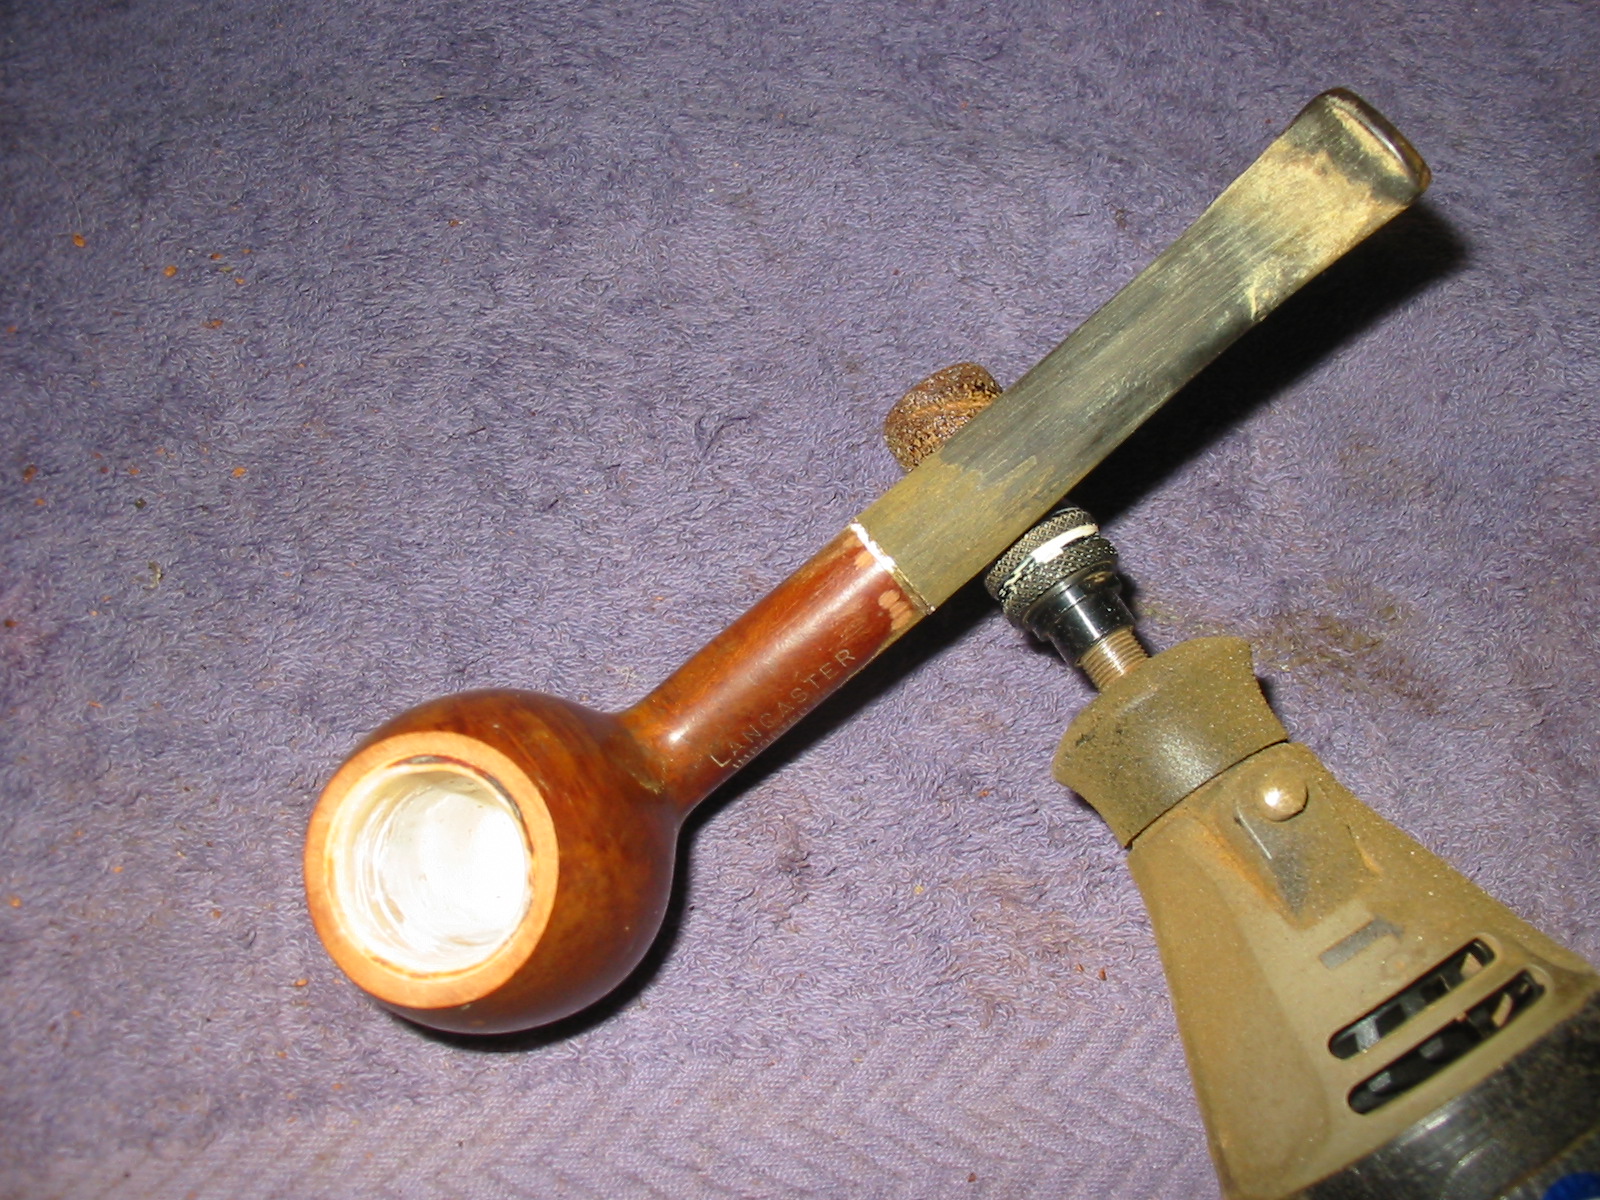
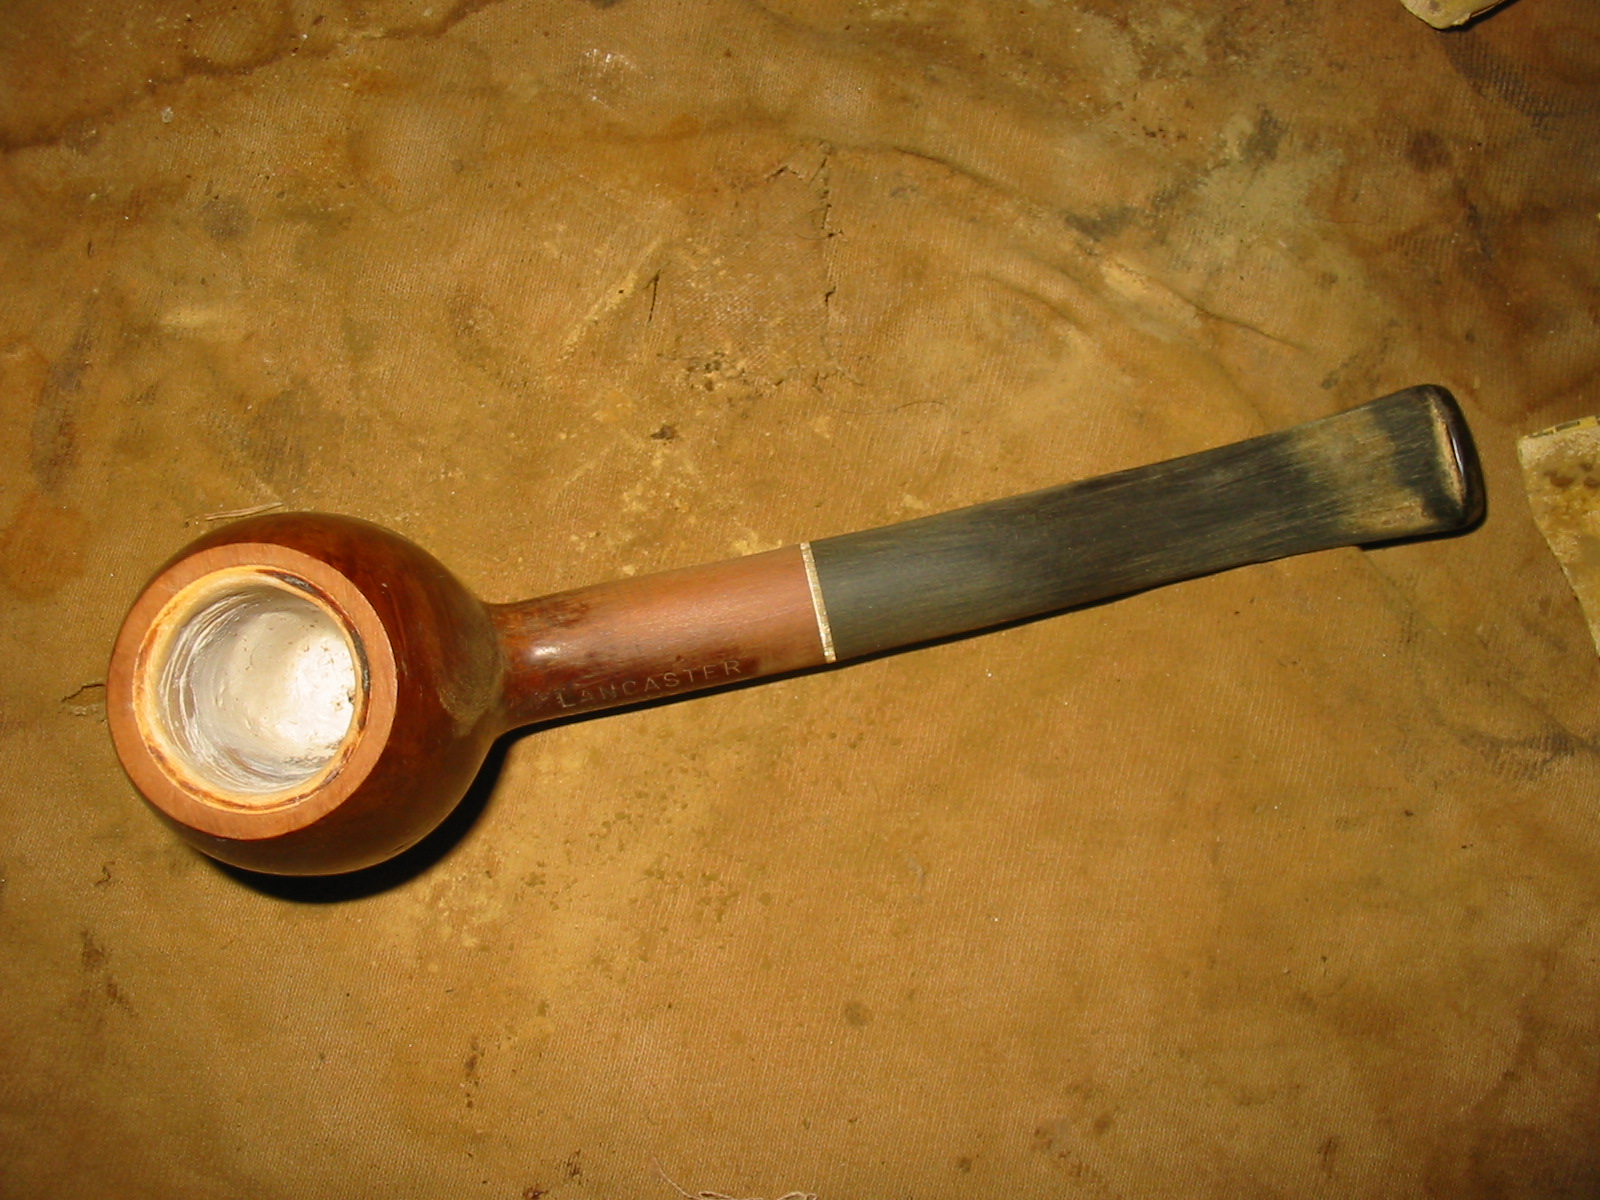
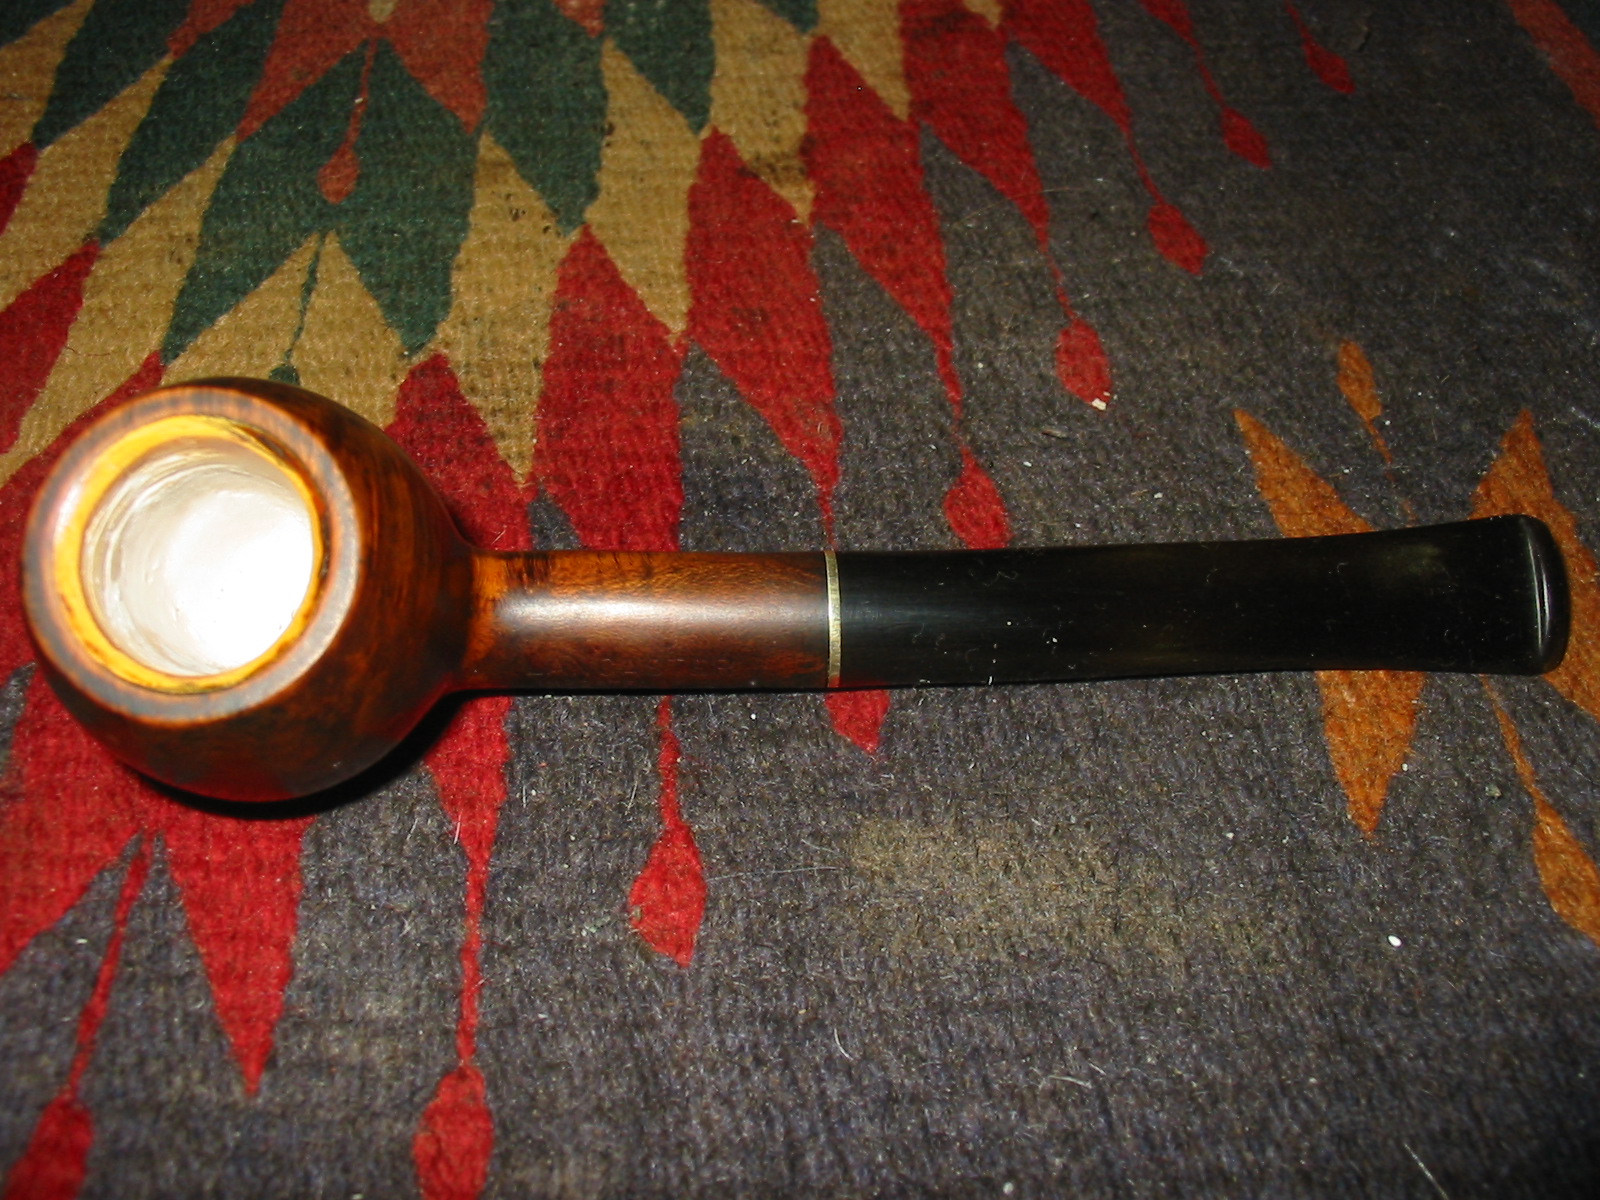
I mixed a small batch of Plaster of Paris and water and stirred it with a dental pick. I also had some sanding dust from a meer bowl that I had save so I mixed it in with the Plaster of Paris mixture. I inserted a pipe cleaner into the airway to keep it open when I packed in the mixture to the bowl bottom and side. Once I had a good paste mixed up I used the dental pick to put pieces of it into the bowl. I used the head of a tamper to pack the Plaster of Paris into the bowl bottom. I also pushed the Plaster mixture into the side of the bowl and used the spoon end of the tamper to push it into place. I used the dental pick to carve the airway open at the bottom of the bowl and then a wetted pipe cleaner to smooth out the bowl wall and shape the bottom of the bowl in a slight cup shape. Once that was completed I smoothed out the whole bowl with the wetted pipe cleaner and feathered the edges of the patch into the existing meerschaum material.
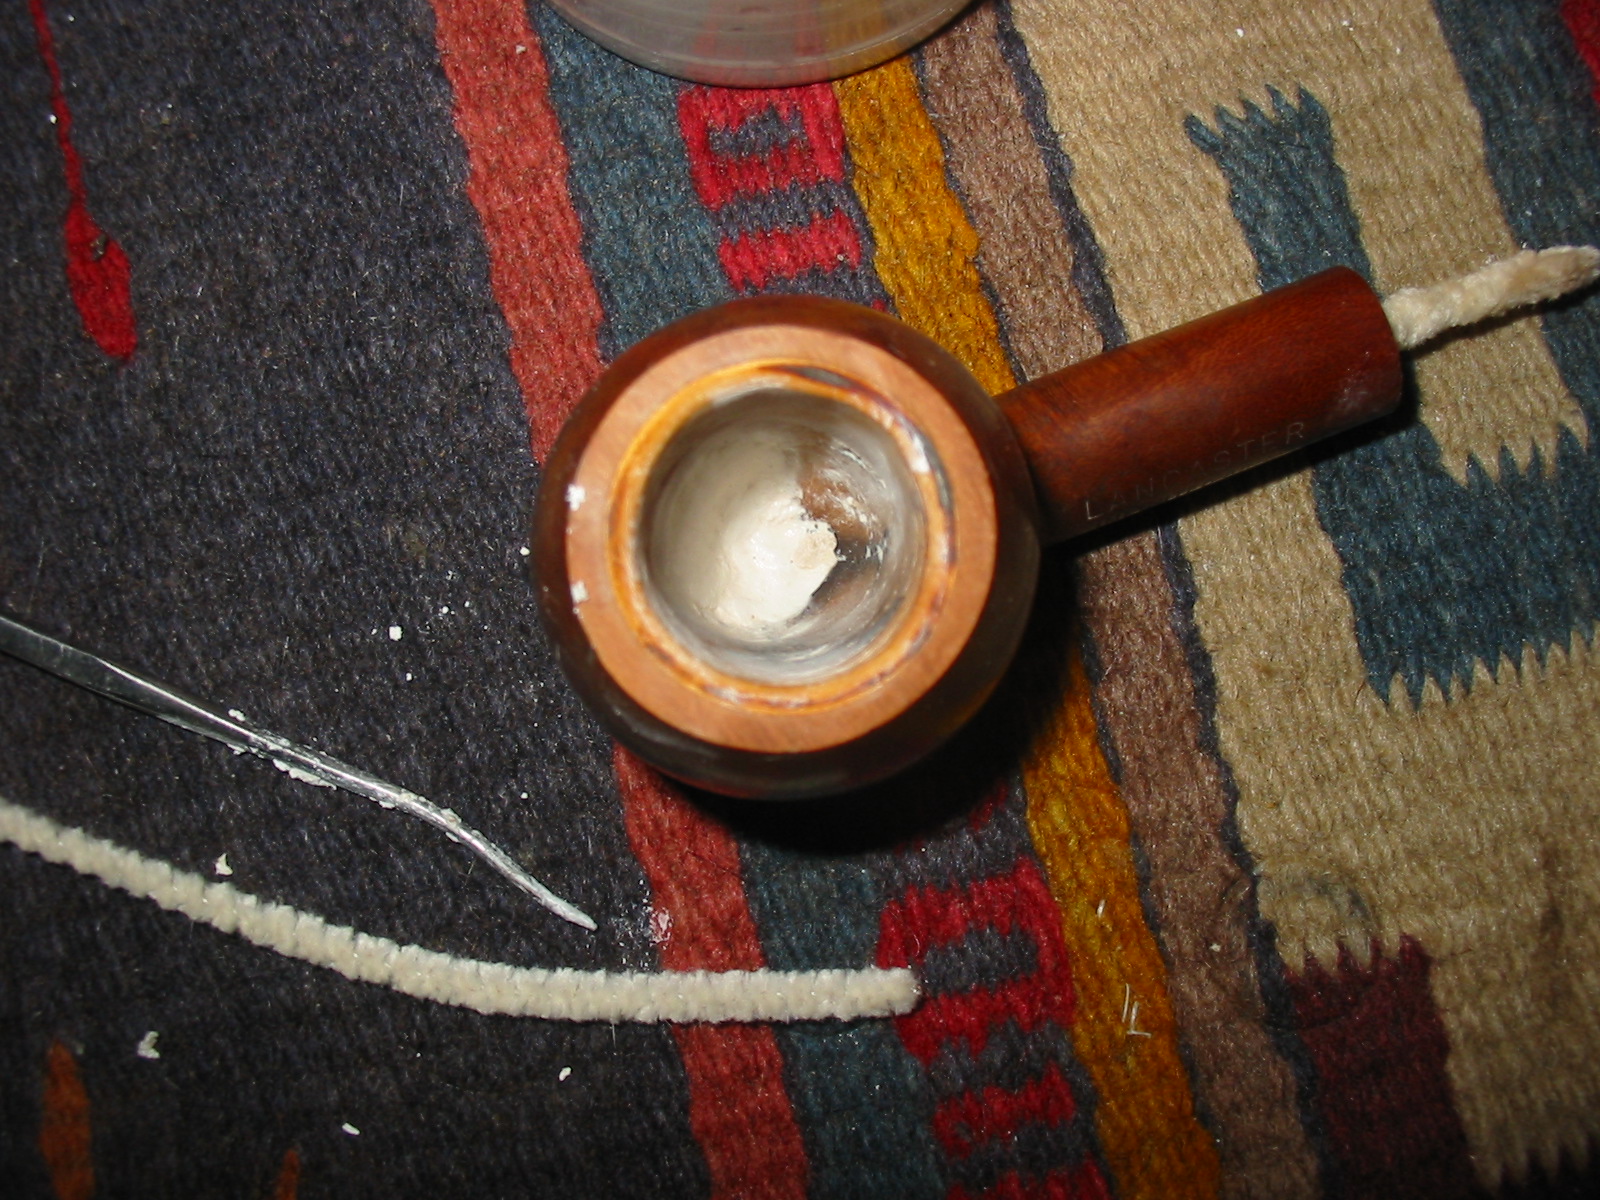

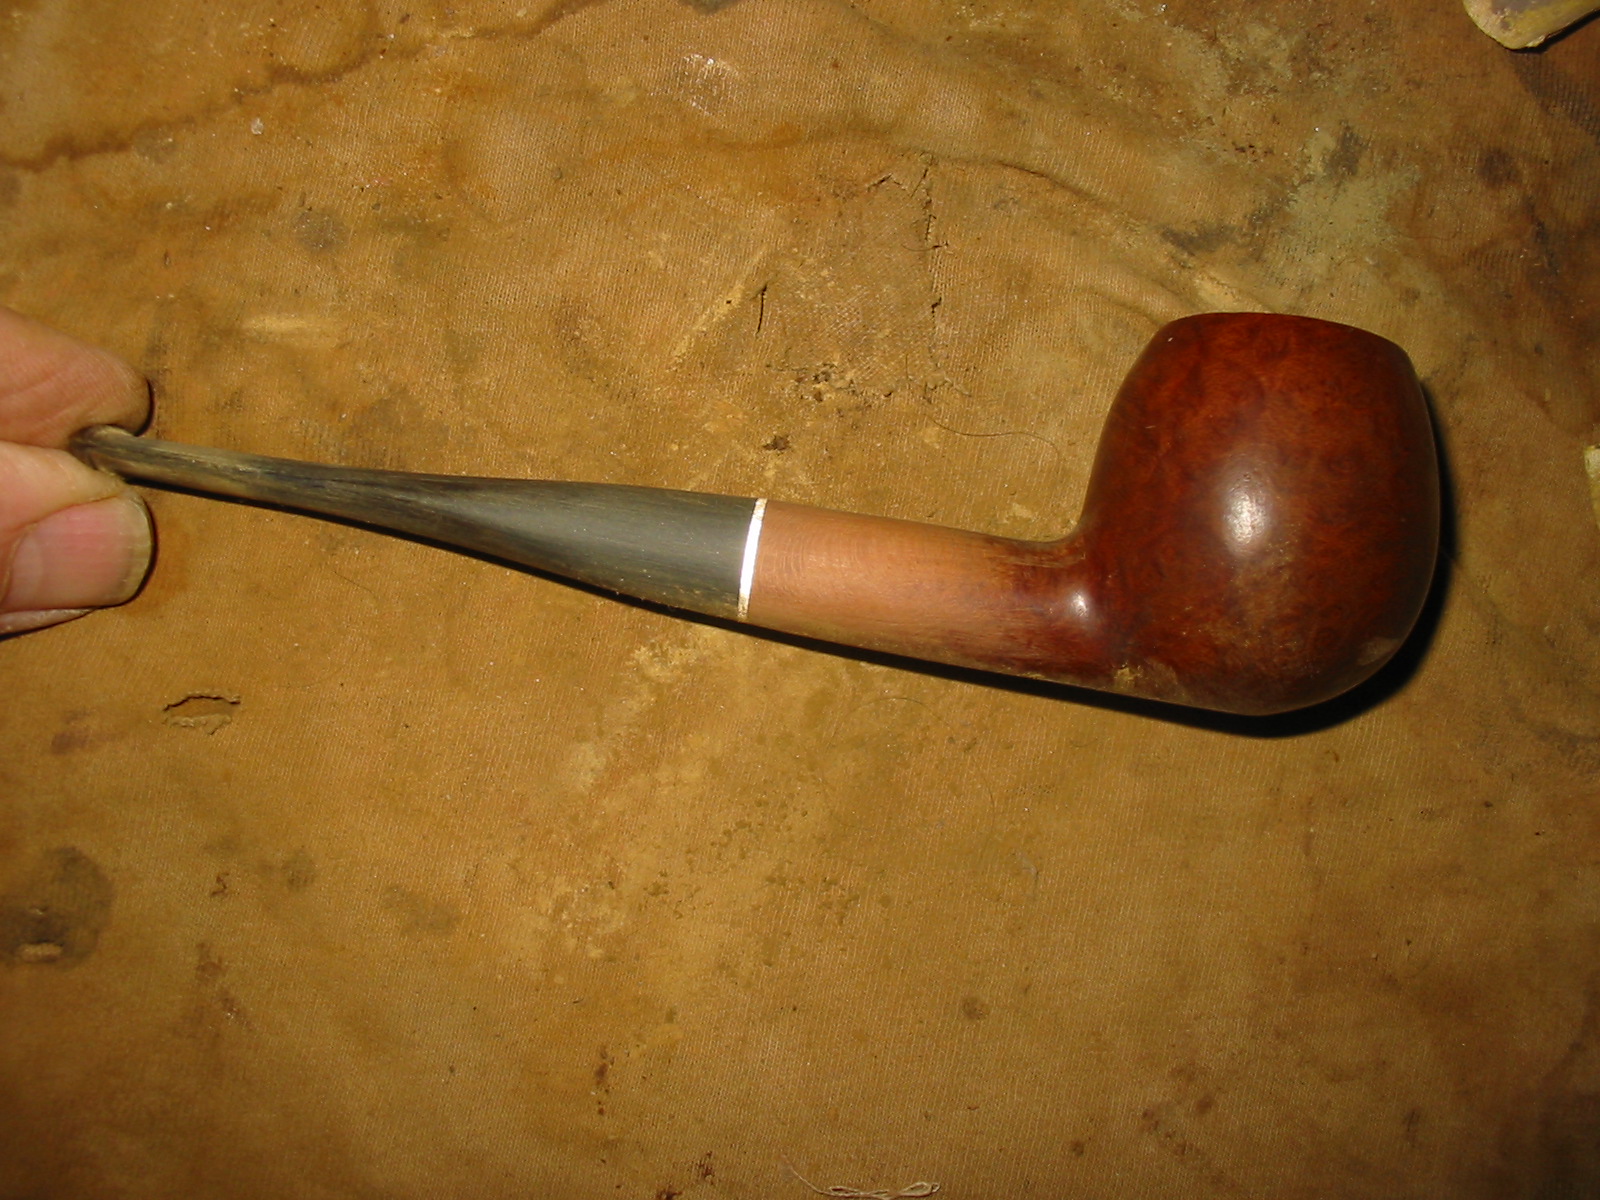
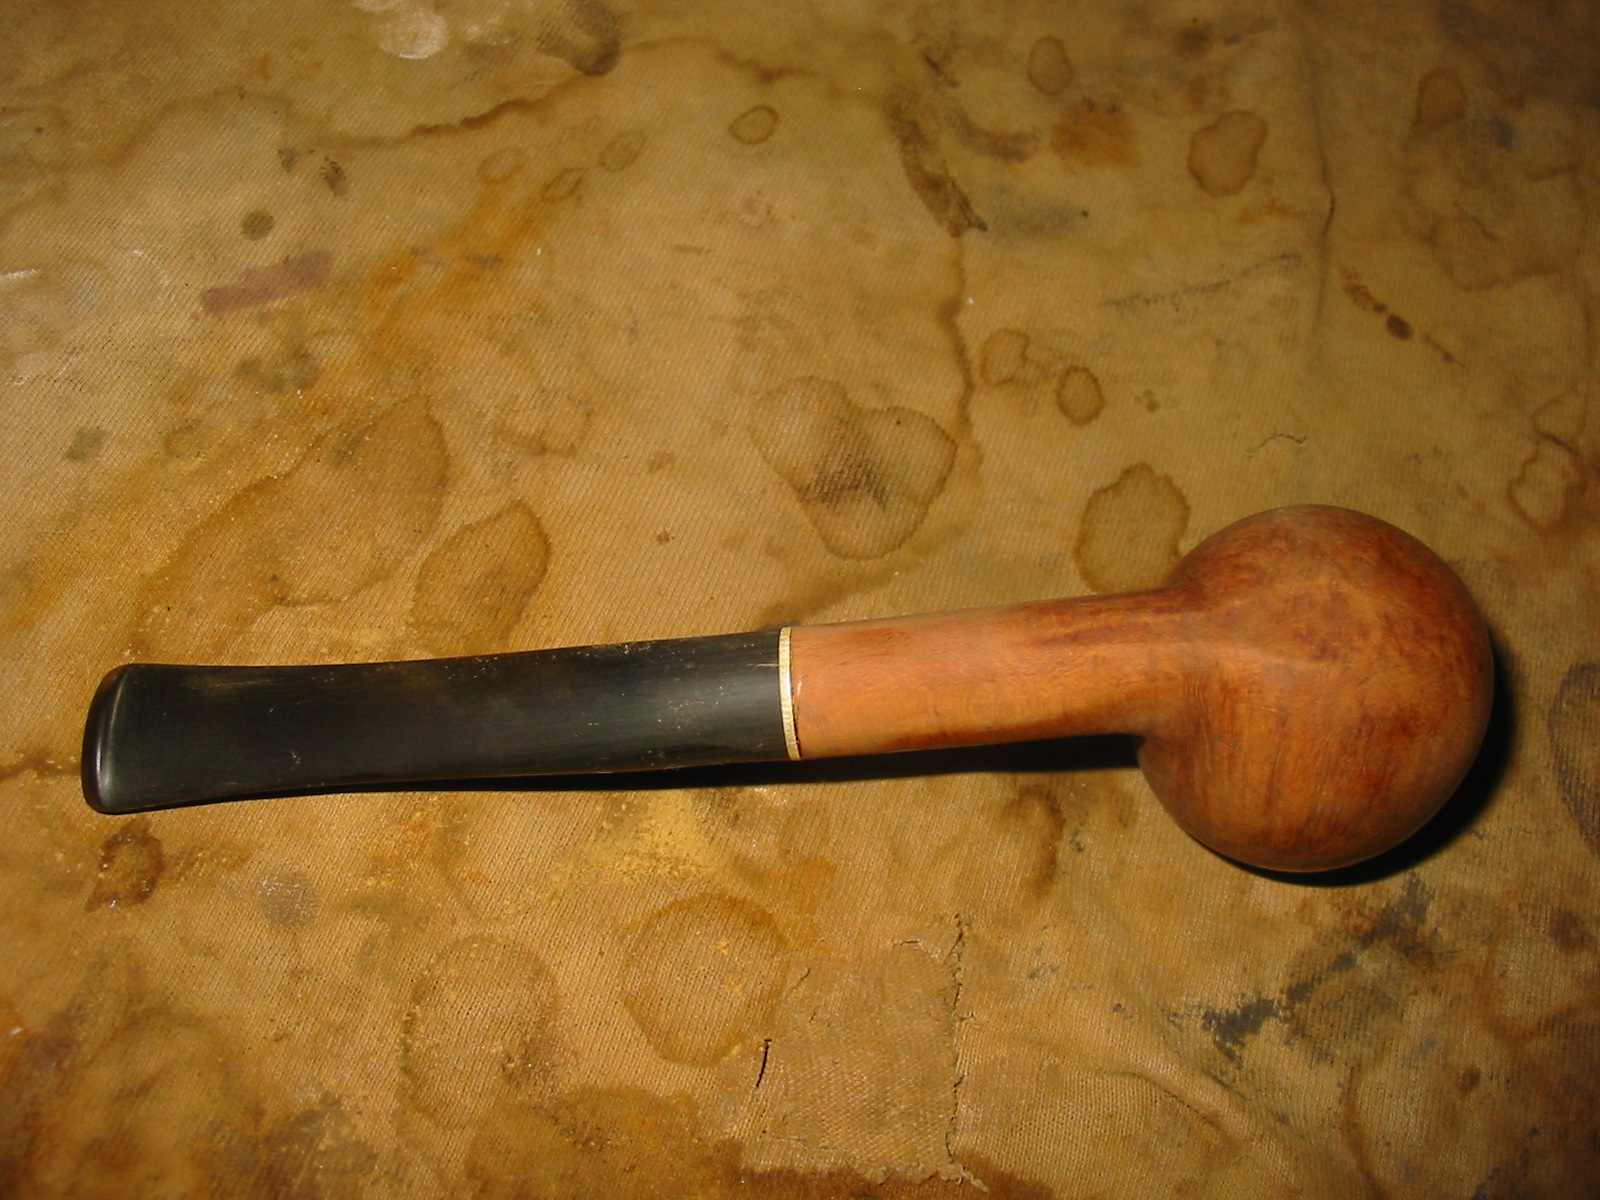
I cleaned up the top of the bowl and the tools and set the bowl aside to dry. After one hour the Plaster of Paris set and I removed the pipe cleaner from the shank. I used the dental pick to shape the airway after removing the pipe cleaner. The bowl was ready to restem. I went through my can of stems and found an old stem that was the right length and close to the correct diameter of the shank. It had a brass stem band that would look great on the old pipe bowl. When I cleaned it up I found that it had a Delrin tenon. I used the tenon tool to turn the tenon down enough to fit the shank snugly. When I cleaned out the end of the tenon after turning it I found that it was set up for a nine millimeter filter.
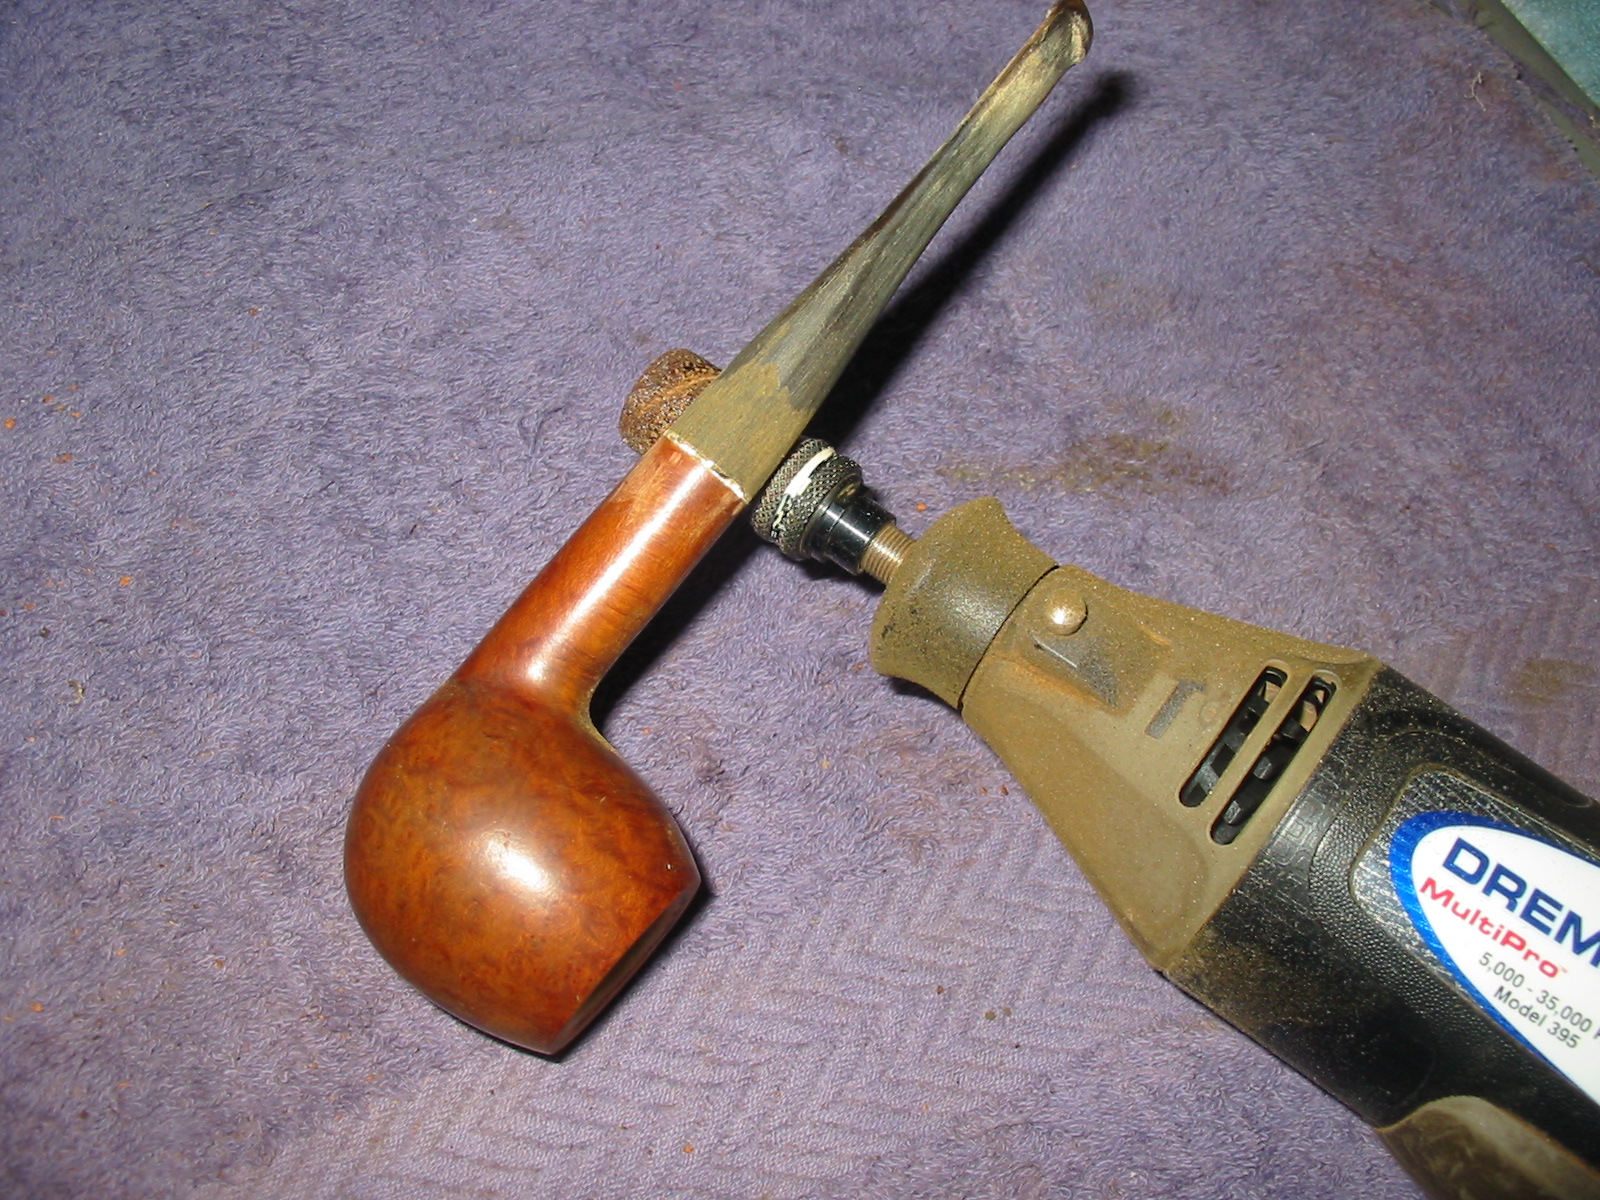
I fit it into the shank and used the Dremel with a sanding drum to sand down the diameter of the brass band and stem to fit the shank. I nicked the shank a couple of times lightly with the drum as I worked on the brass band. The nicks were not deep but merely surface so they would clean up when I sanded the stem and shank for a smooth transition.
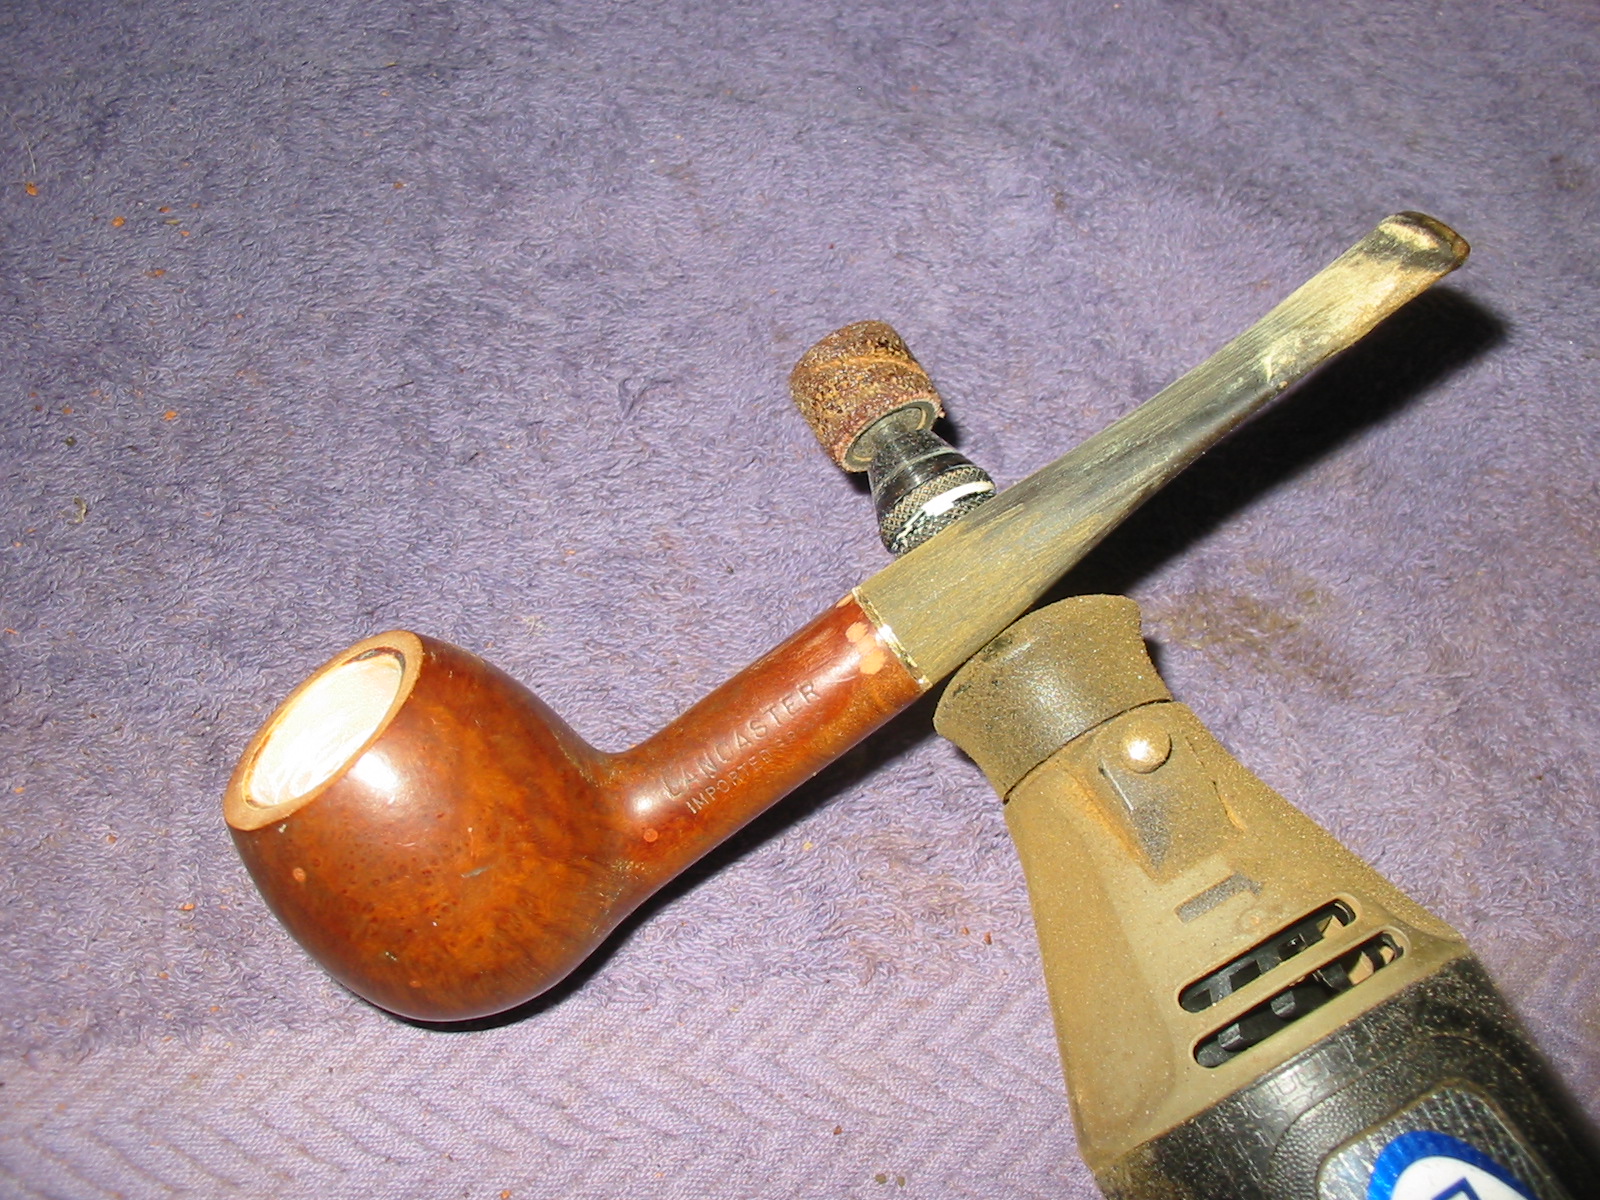
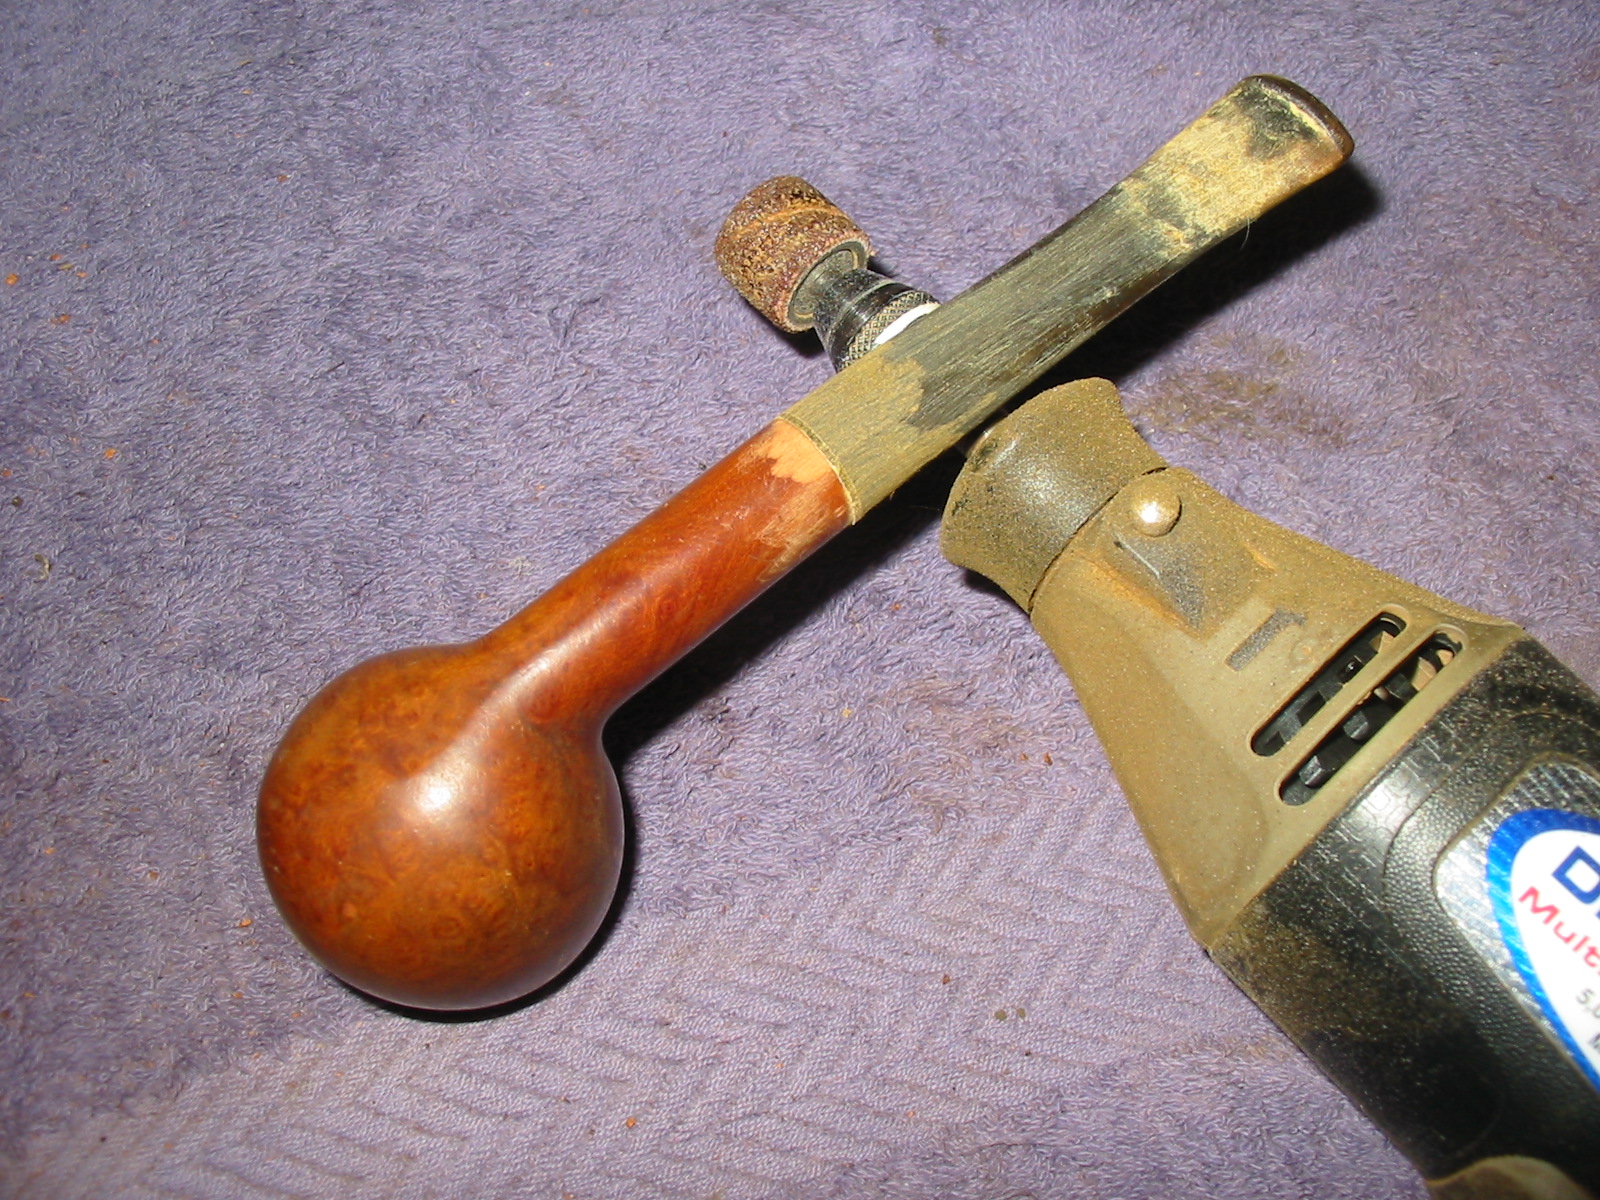
I took the pipe back to the work table and sanded the stem and shank with 220 grit sandpaper to make a smooth transition between the shank and the stem. I also sanded off the calcification that had built up around the button at the same time.

I sanded the bowl with the 220 grit sandpaper and then the stem and the bowl with a medium grit sanding sponge to smooth out the scratches left behind by the sandpaper. I wet sanded the bowl with 1500-2400 grit micromesh sanding pads to smooth out the finish before I stained it. I then wiped the bowl and shank down with acetone on a cotton pad to clean off the sanding dust.
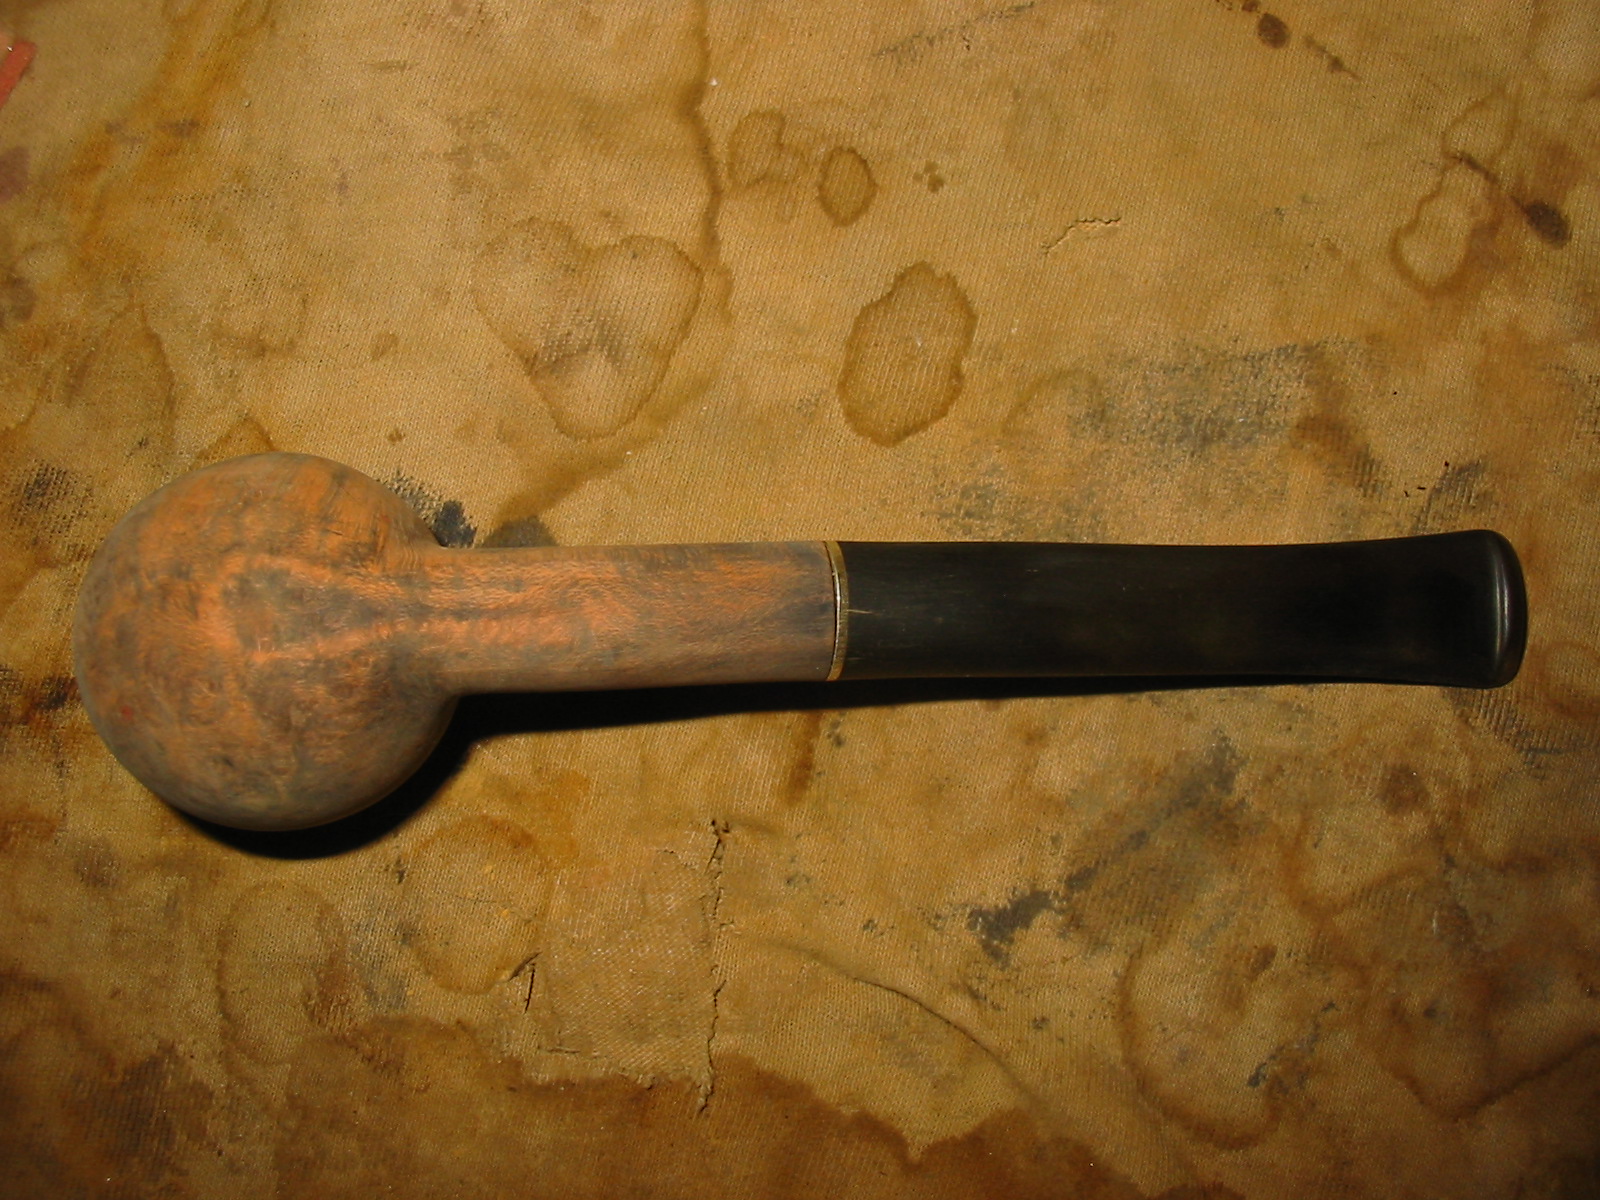
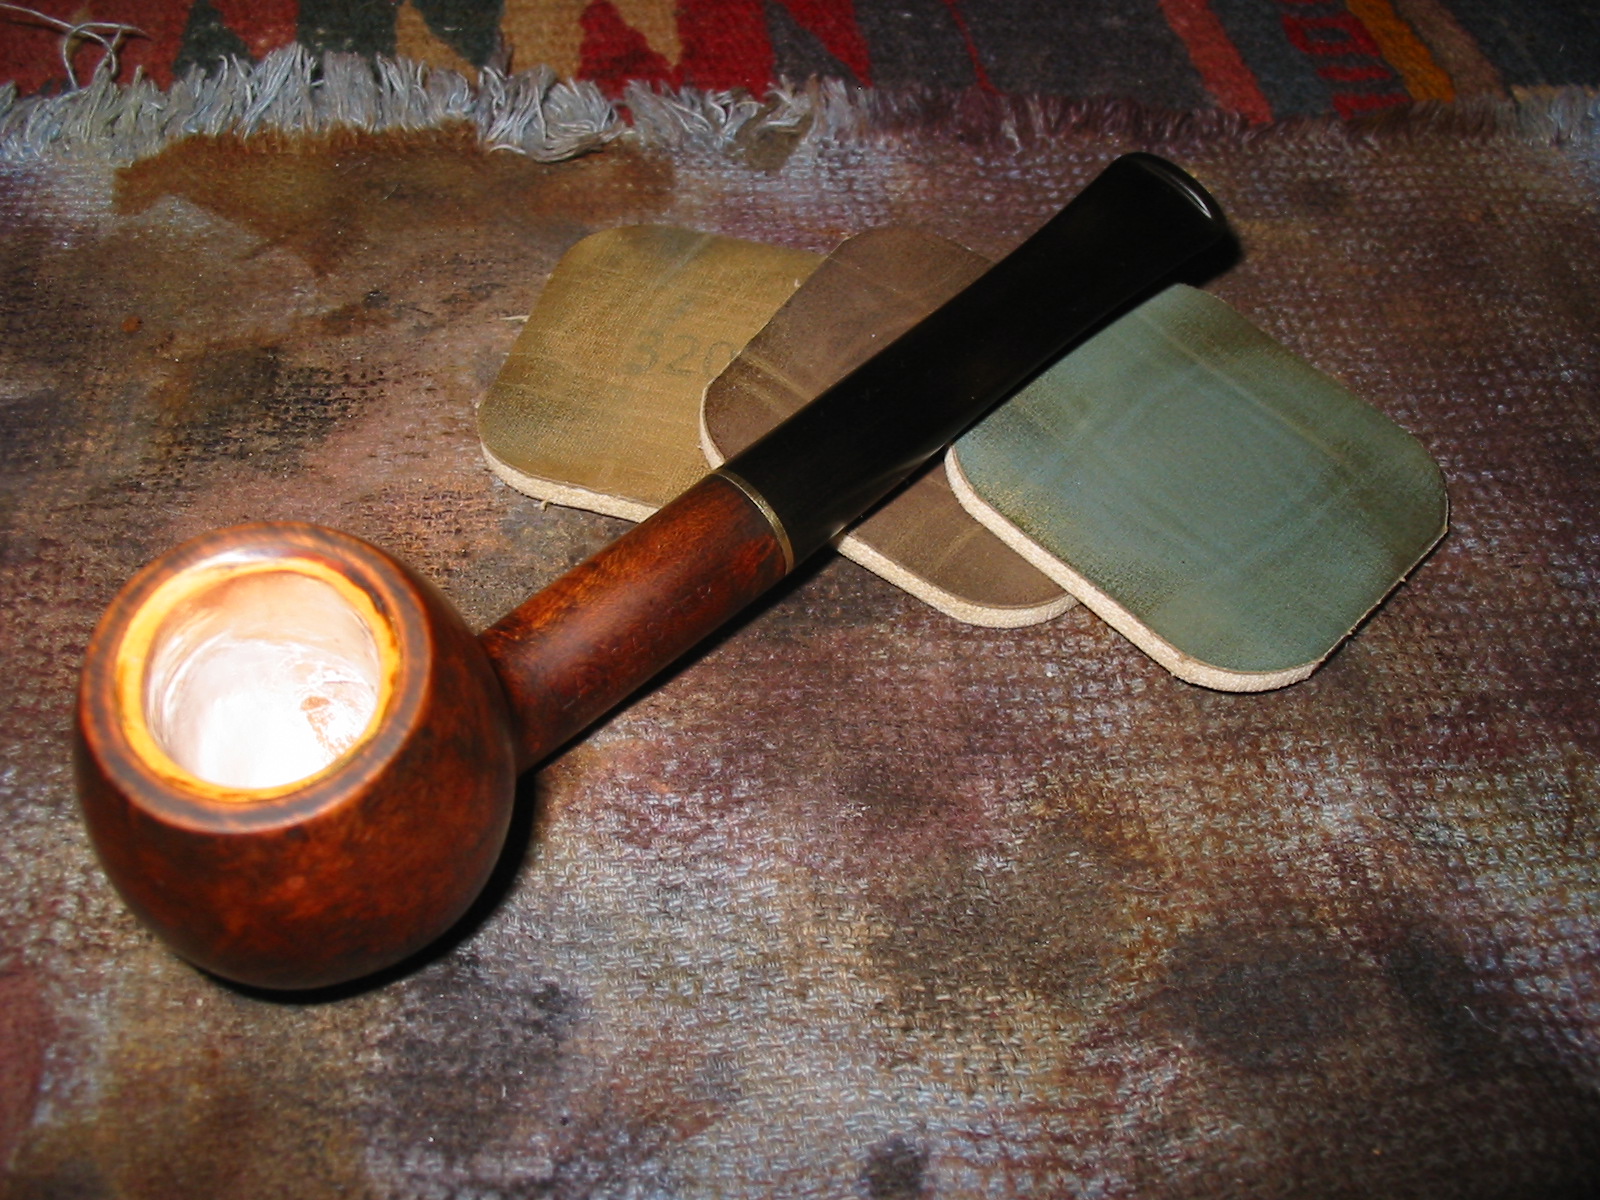
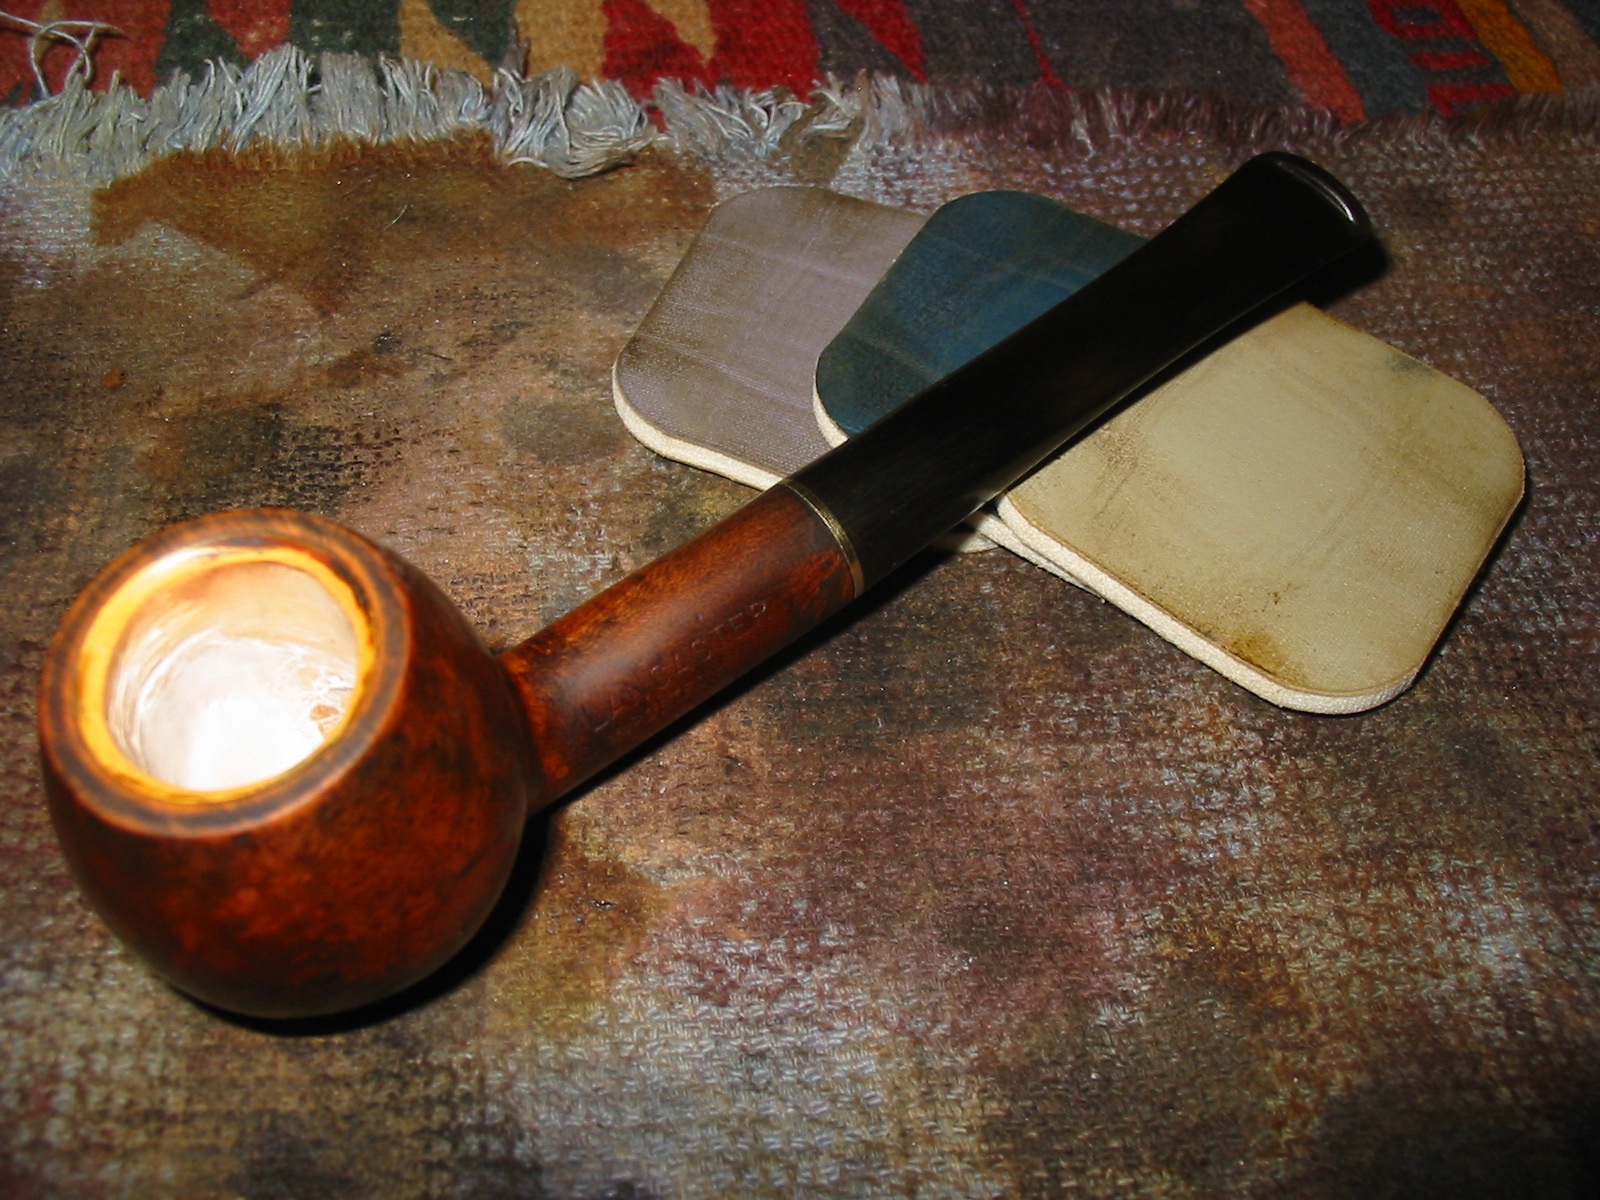
I stained the bowl with a black aniline stain, flamed it and repeated the process until the coverage was even. I heated the bowl with a lighter to set the stain into the grain of the pipe. I wiped the freshly stained bowl with Everclear to remove the top coat of stain and reduce the black stain. The next series of three photos shows the bowl after the wash.


I sanded the bowl with 220 grit sandpaper and then a medium grit sanding sponge to further remove the black stain. The next four photos show the pipe after I had sanded it and wiped it down with Everclear.
I dry sanded it again with 1500-2400 grit micromesh sanding pads and then stained it with a coat of Minwax red mahogany stain. I rubbed it on the bowl and rubbed off again to give a contrast look to the briar and to hide some of the fills that were present. I sanded it with 3200-4000 grit micromesh to polish the remaining scratches in the briar.

I wet sanded the stem with 1500-2400 grit micromesh and then dry sanded it with 3200-12,000 grit micromesh sanding pads.

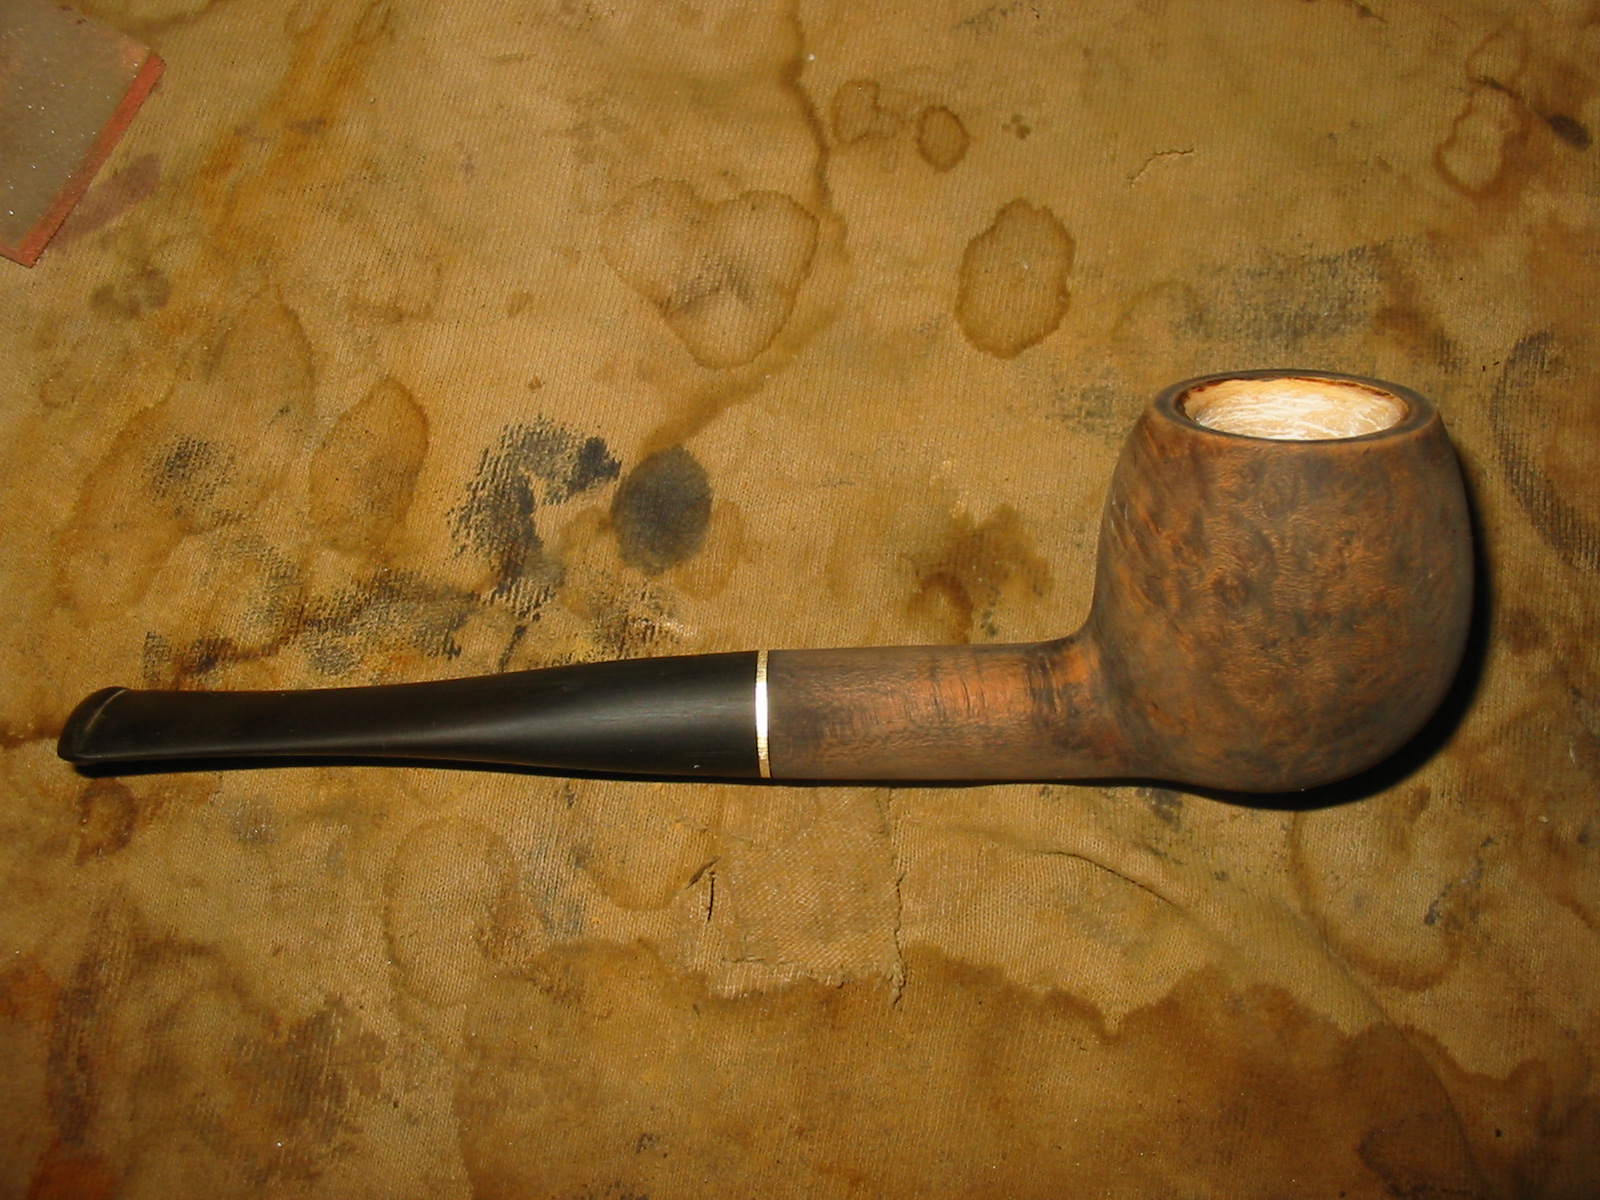
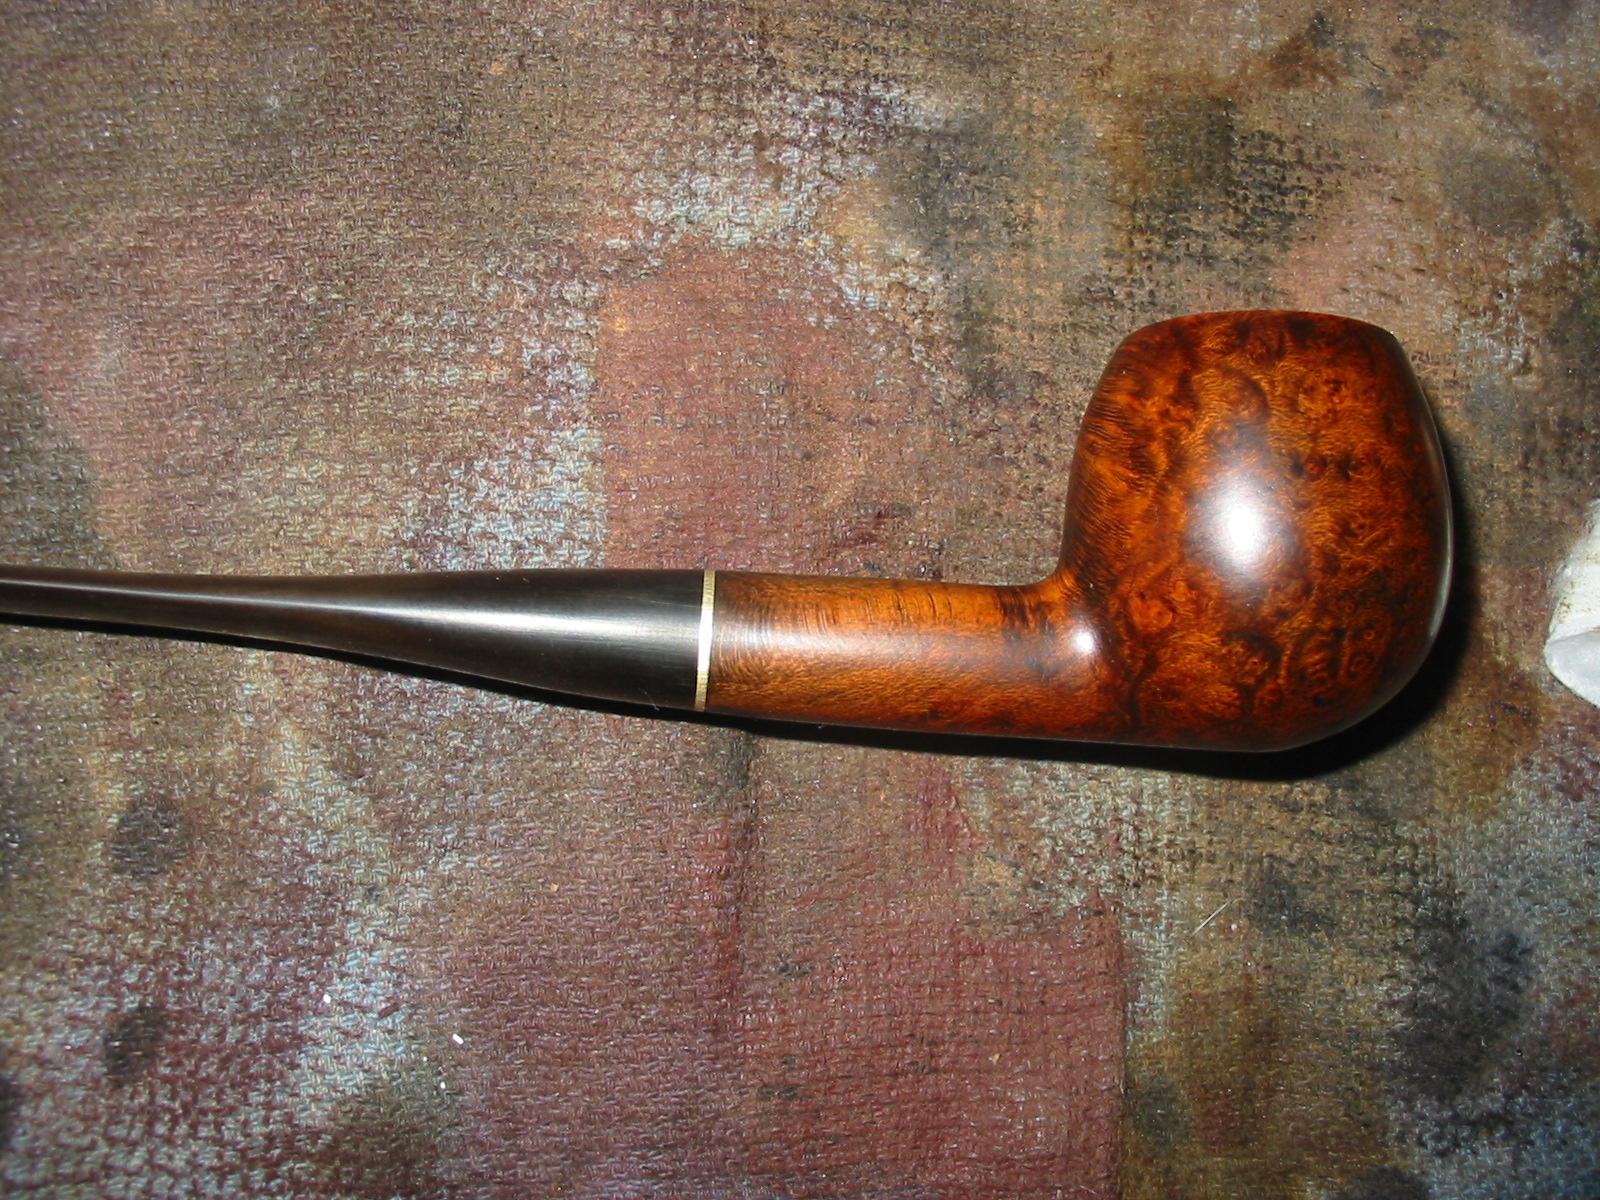
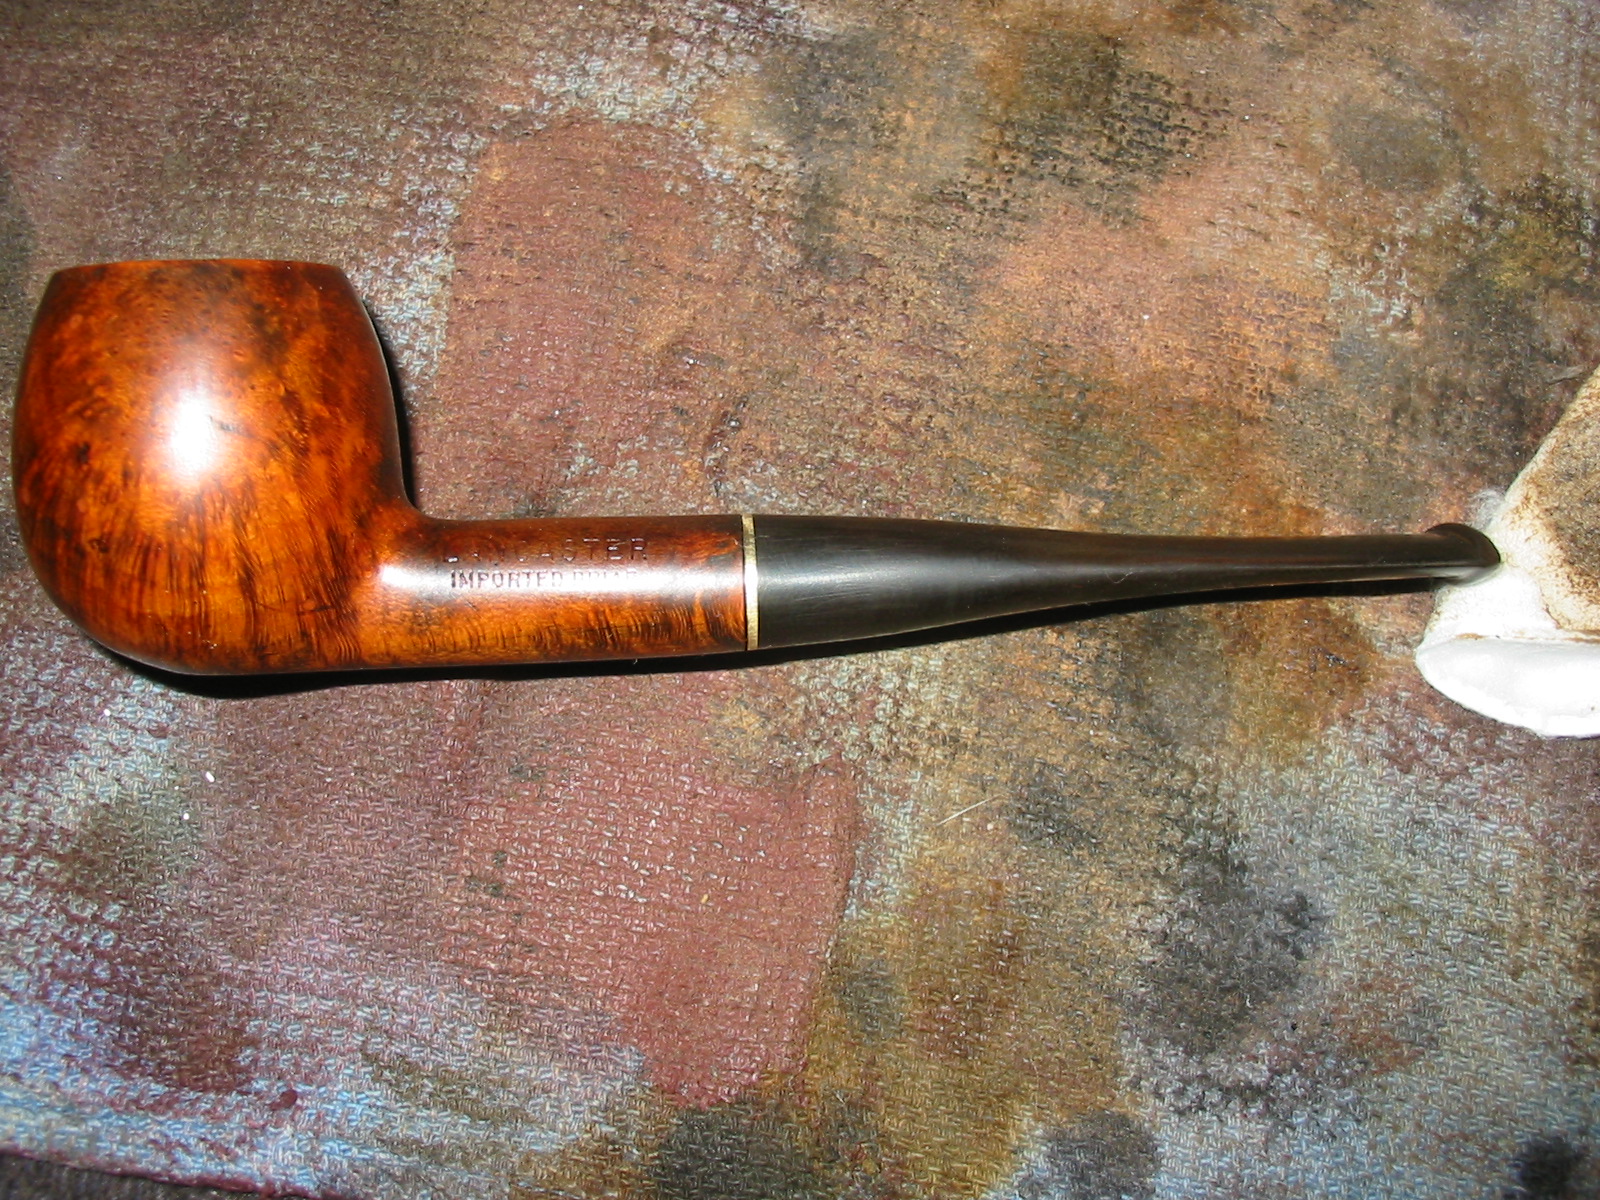
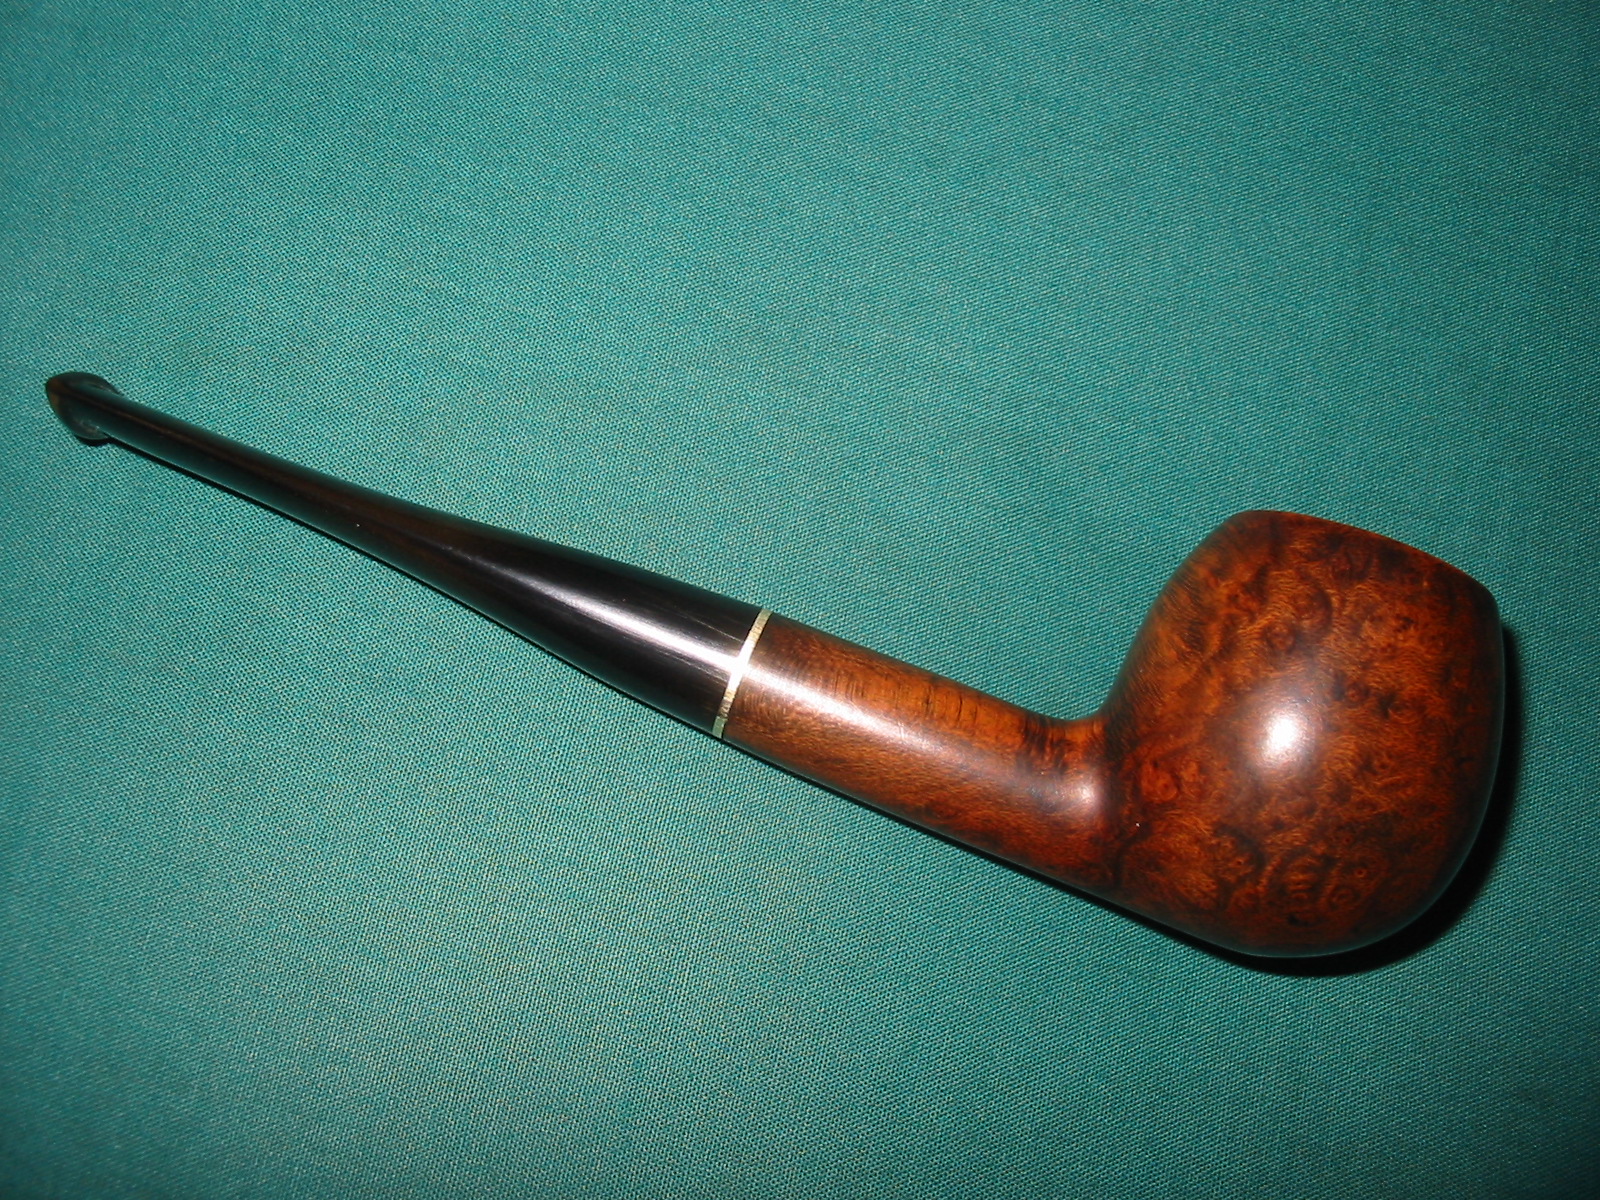
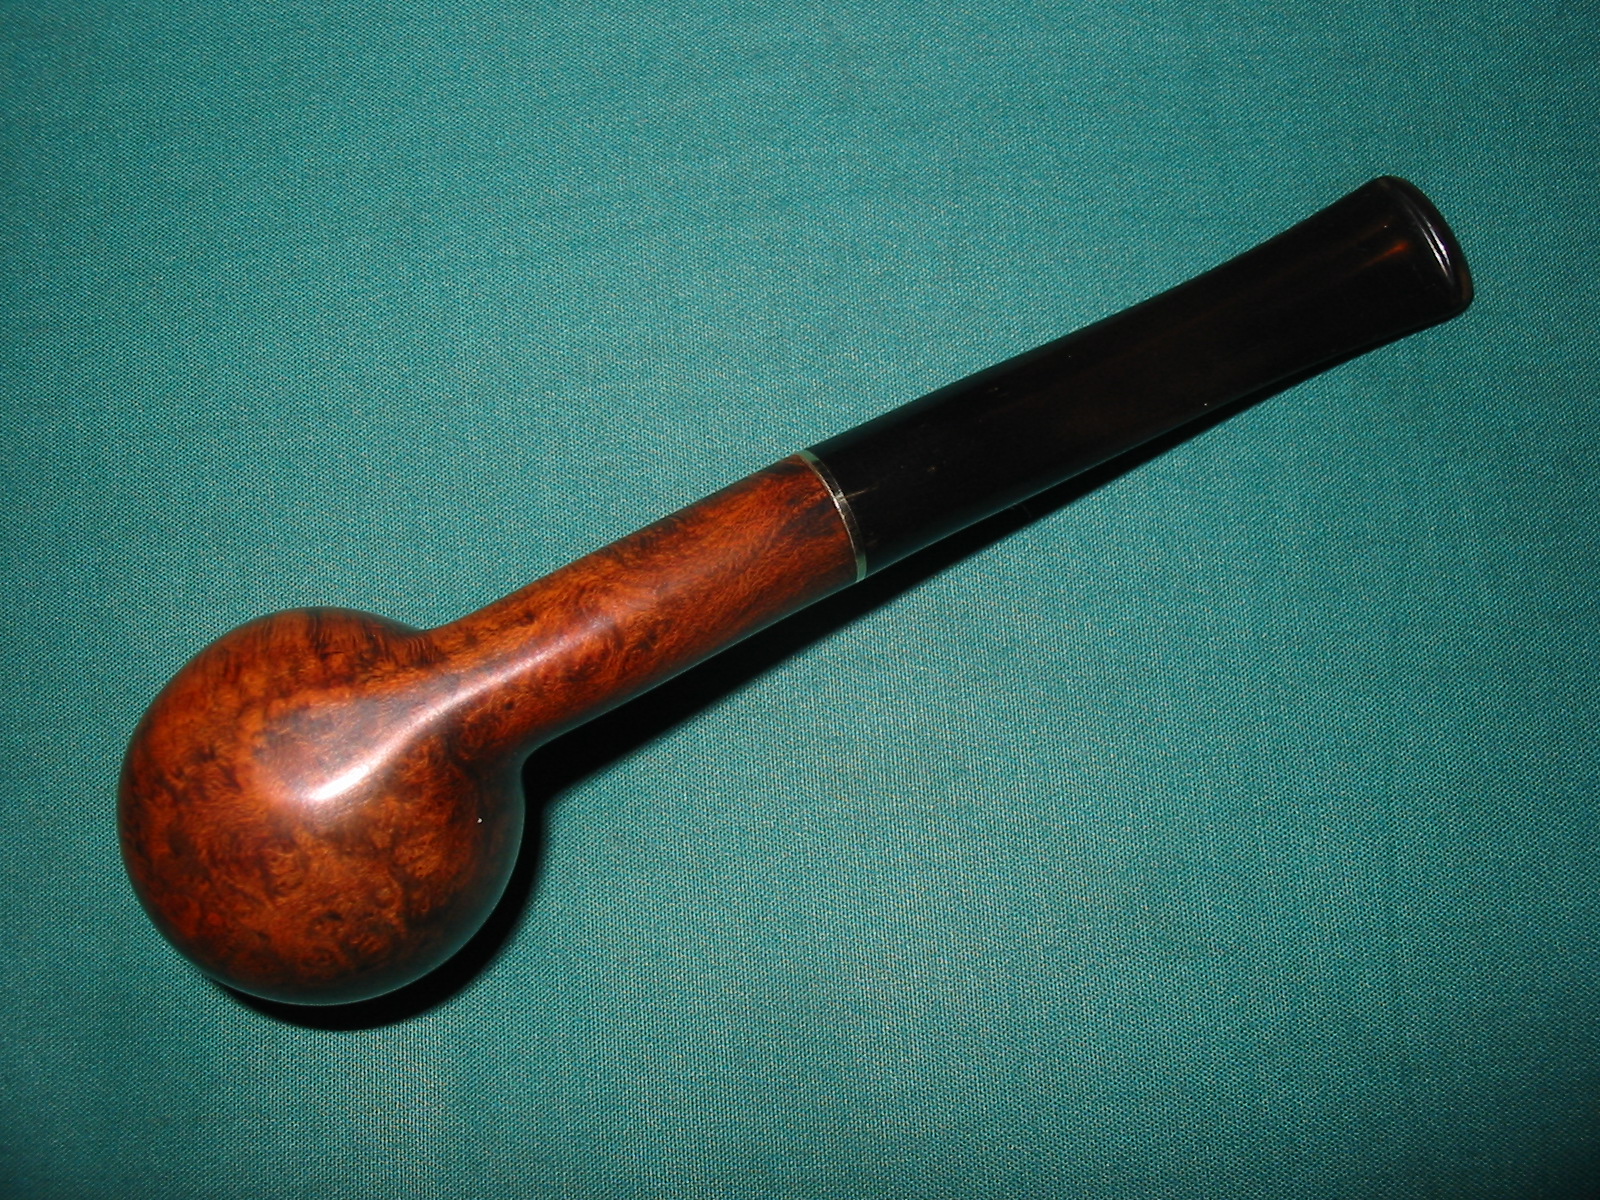
I finished the bowl by giving it a final coat of Minwax medium walnut stain. I rubbed it into the bowl and wiped it off and then hand buffed the pipe with a shoe brush. The rich red brown stain on the bowl turned out well with a variety of highlights.
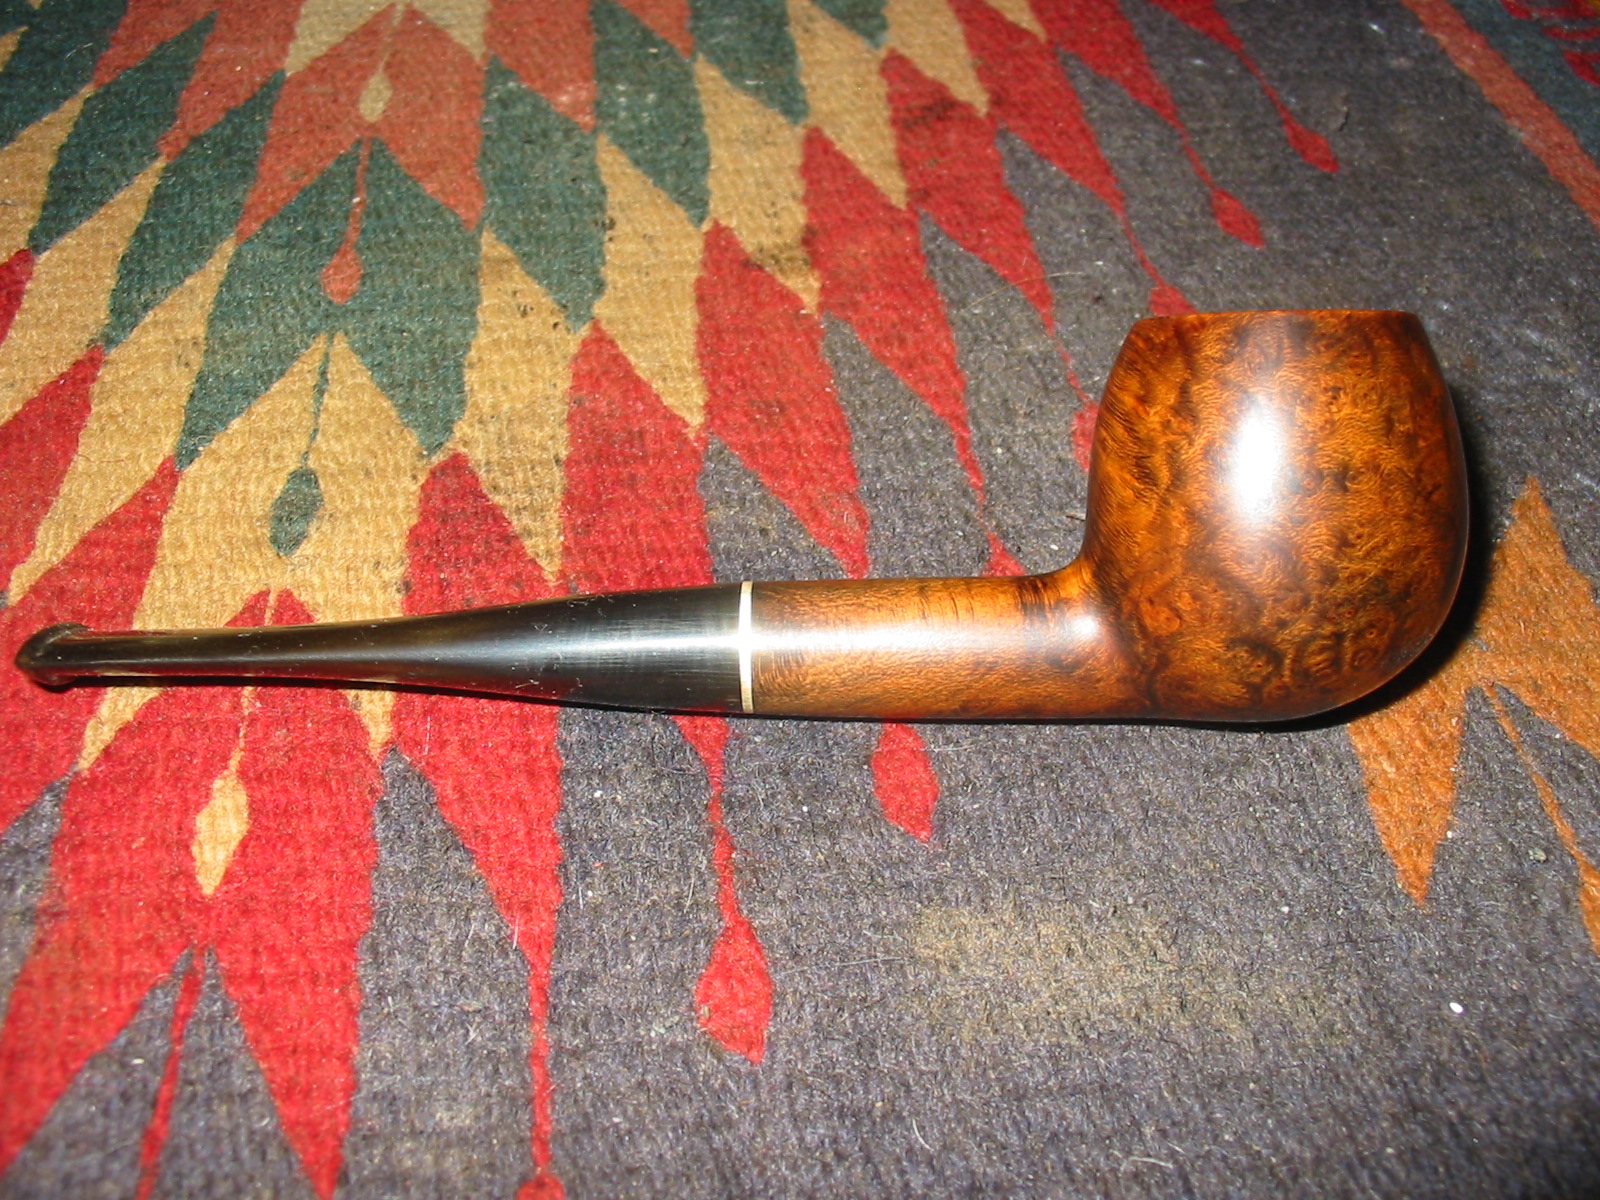
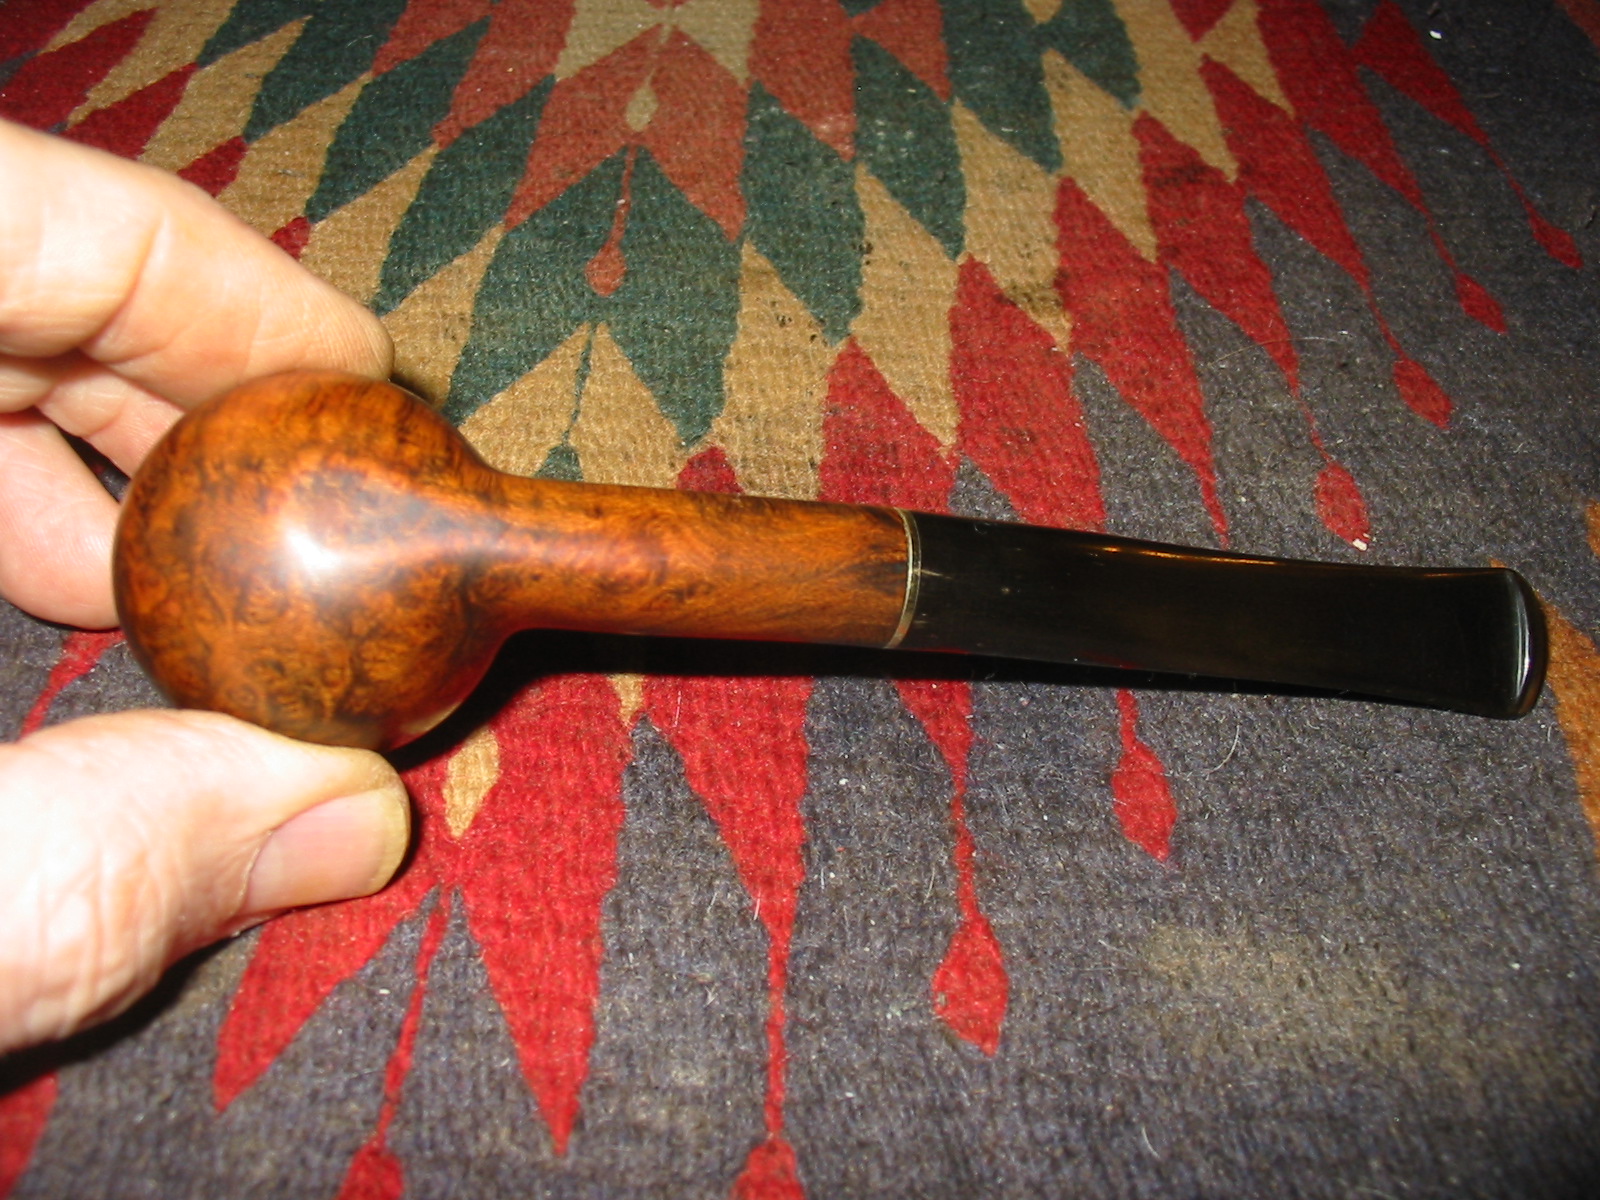
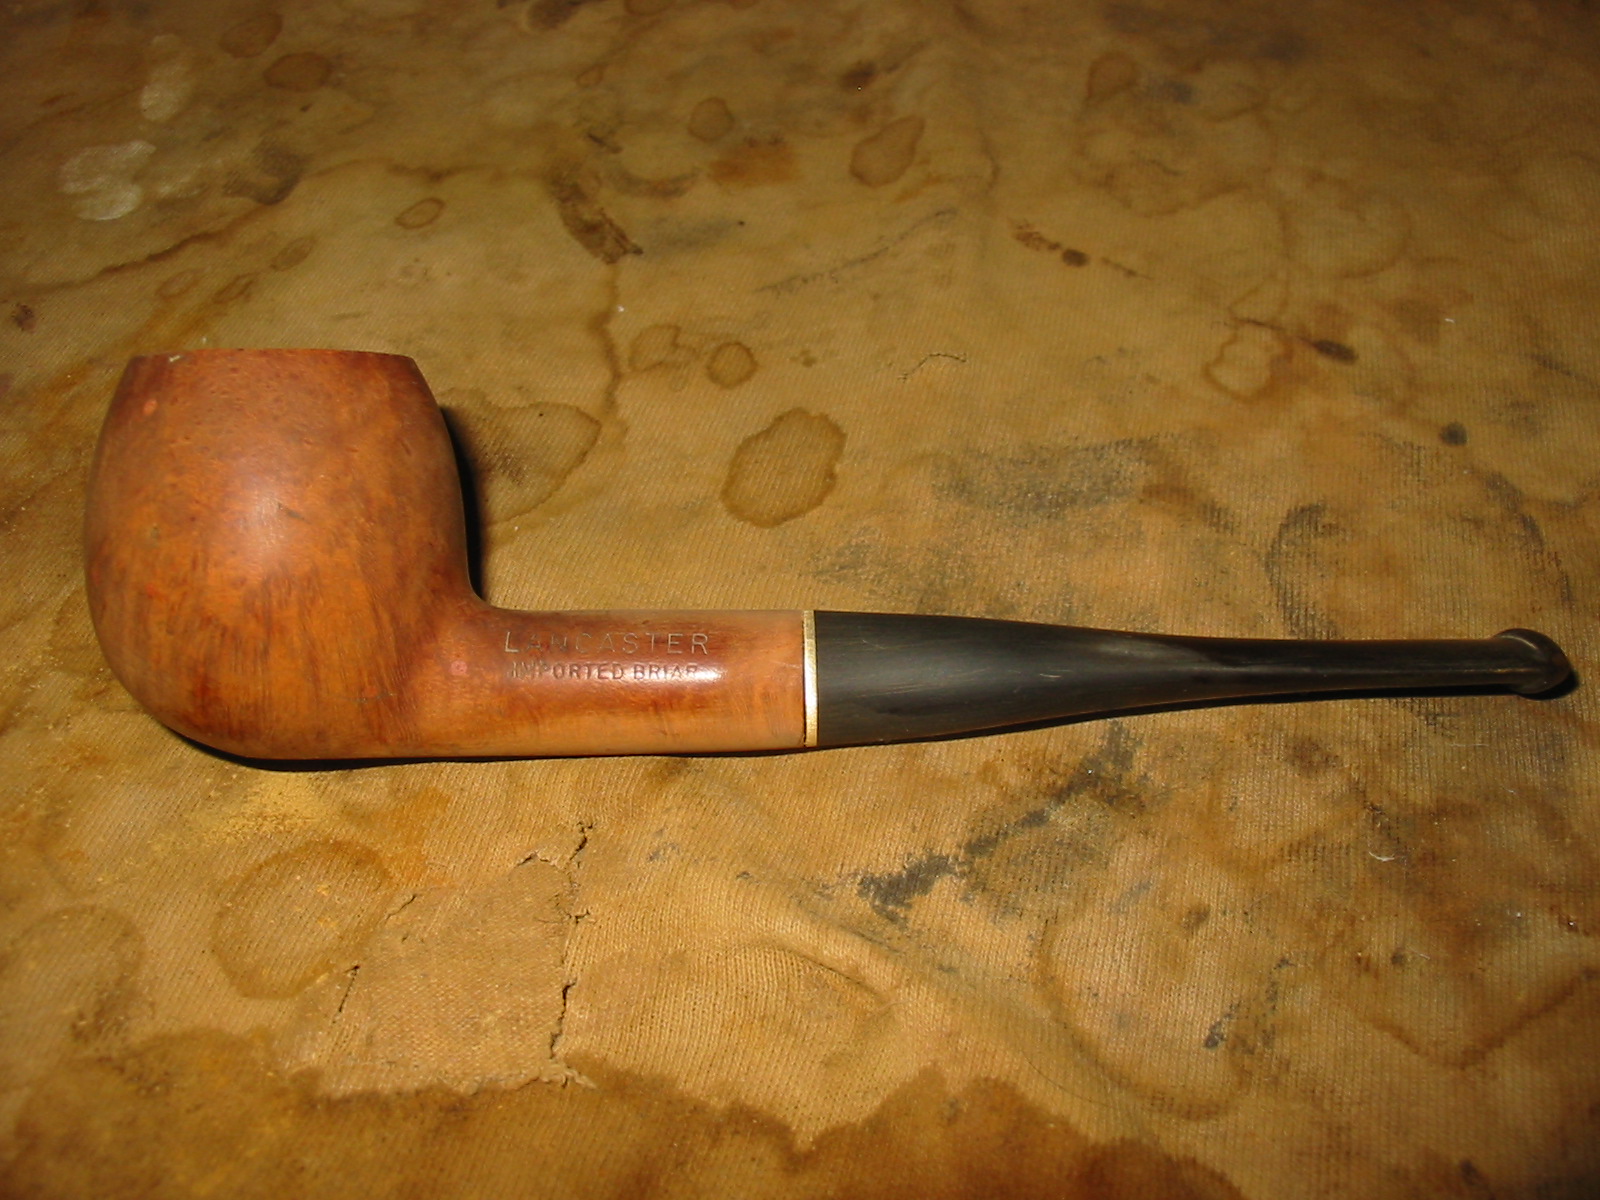
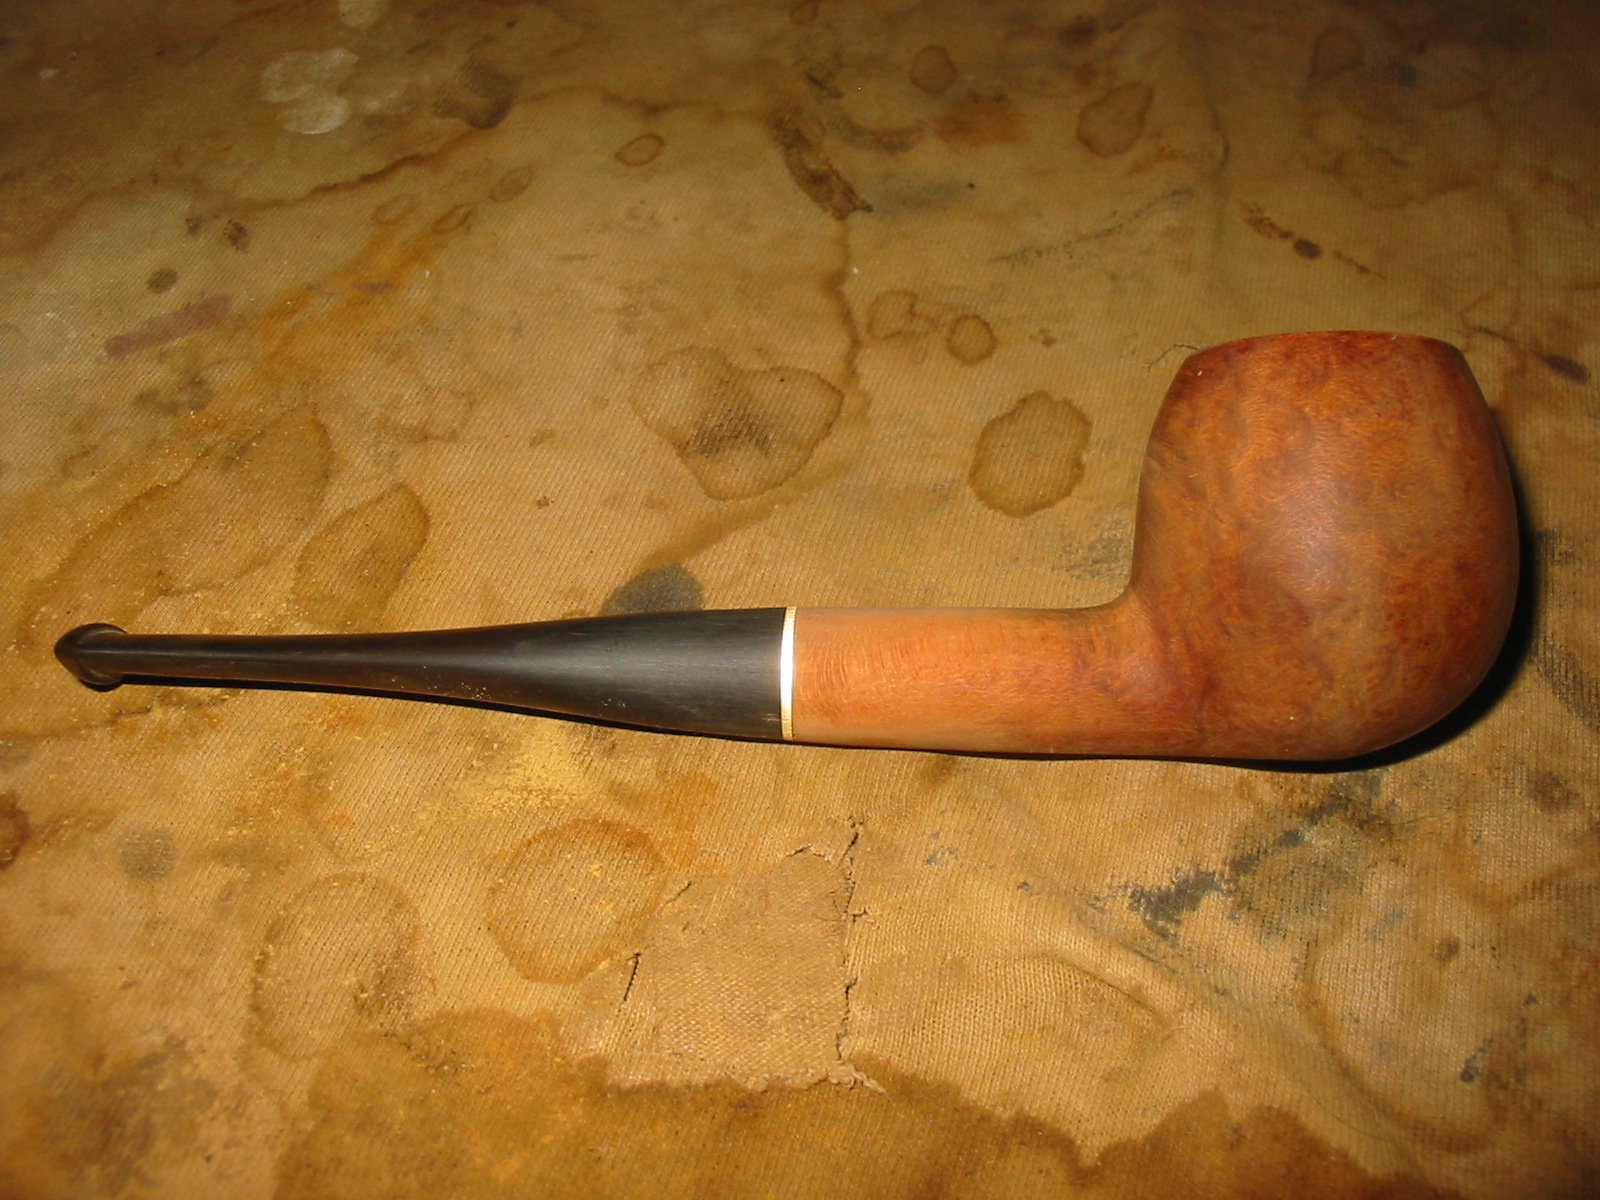
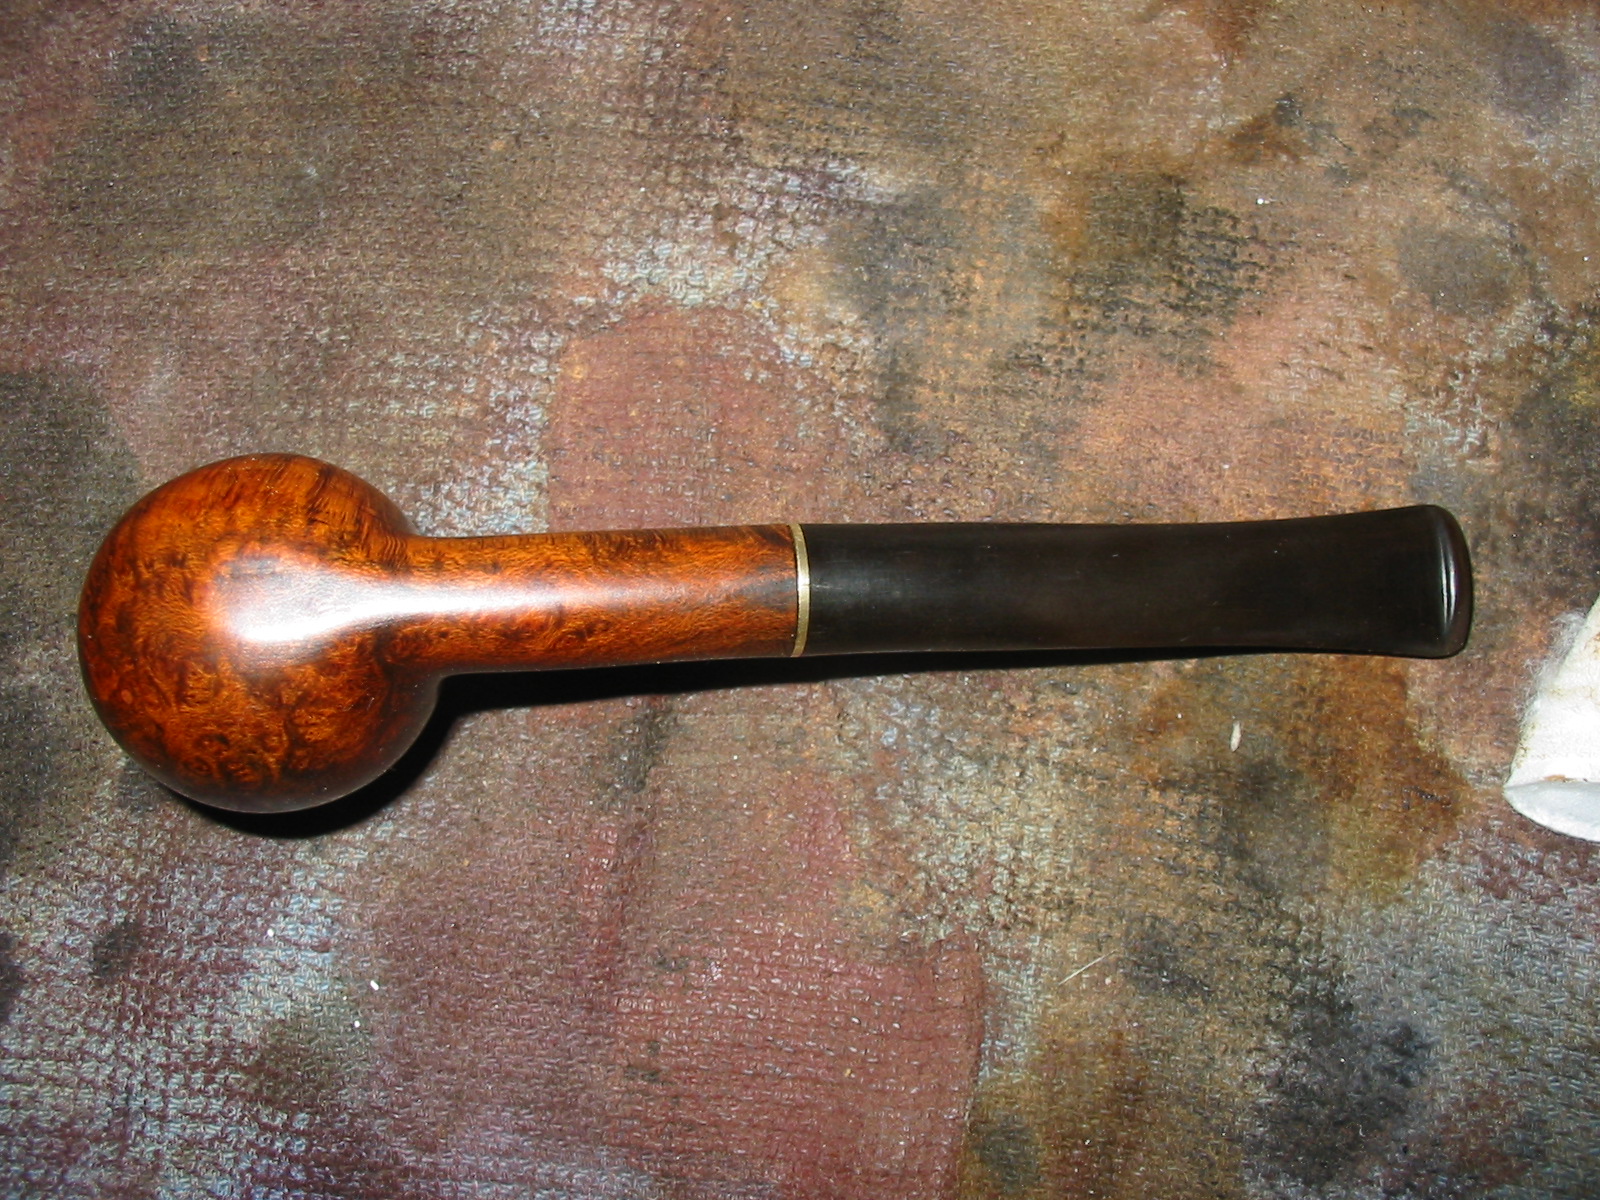
I rubbed the stem down with Obsidian Oil and then buffed the whole pipe with White Diamond to polish it. I finished by giving it multiple coats of carnauba wax to build a shine and protect the finish. The completed pipe is visible in the next four photos.
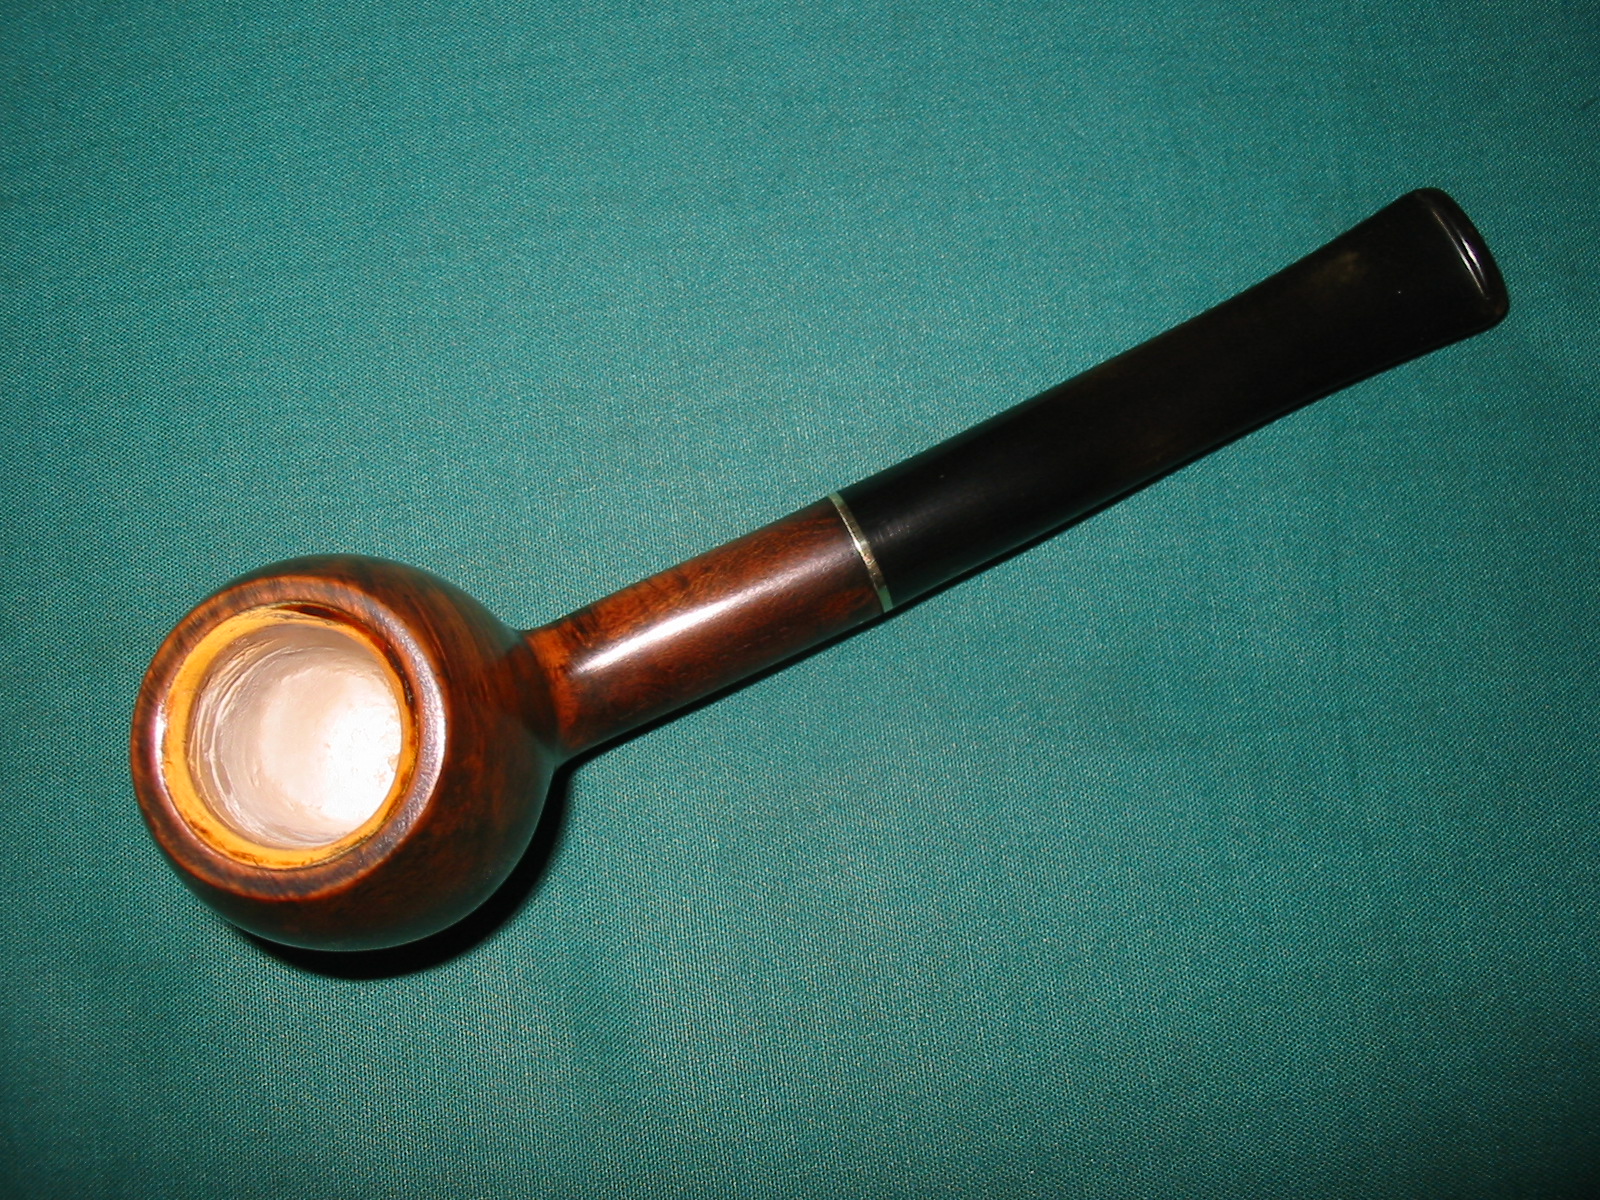
I also sanded the top of the rim and the inner bevel of meerschaum with the 1500-2400 grit micromesh sanding pad to polish the meerschaum edge. I gave this top edge a final coat of carnauba wax and buffed it to a shine. The Plaster of Paris patch is drying and needs to cure for 24 hours before it is good to go. The box says that it does not shrink as it dries and so far it is good to its promise. I will have to see if it holds true tomorrow after it has cured a full 24 hours. If so, then it is time to fire it up and check out if it holds as well as the tile grout patch has held up over all these years.