Over the past three years I have been working and developing my own process of fitting stems to pipe bowls. I use both stem blanks and older recycled or reinvented stems that I have collected over the years. It is rare that either of them actually fit the diameter of a shank right from the stem bin. Sometimes I am able to get close to a good fit after turning the tenon and sometimes it is a bit more work. There have been times when I have had to shape a thin taper out of a saddle bit and times I have had to shape a saddle out of a large tapered stem. Doing this I have learned a few tricks that work for me.
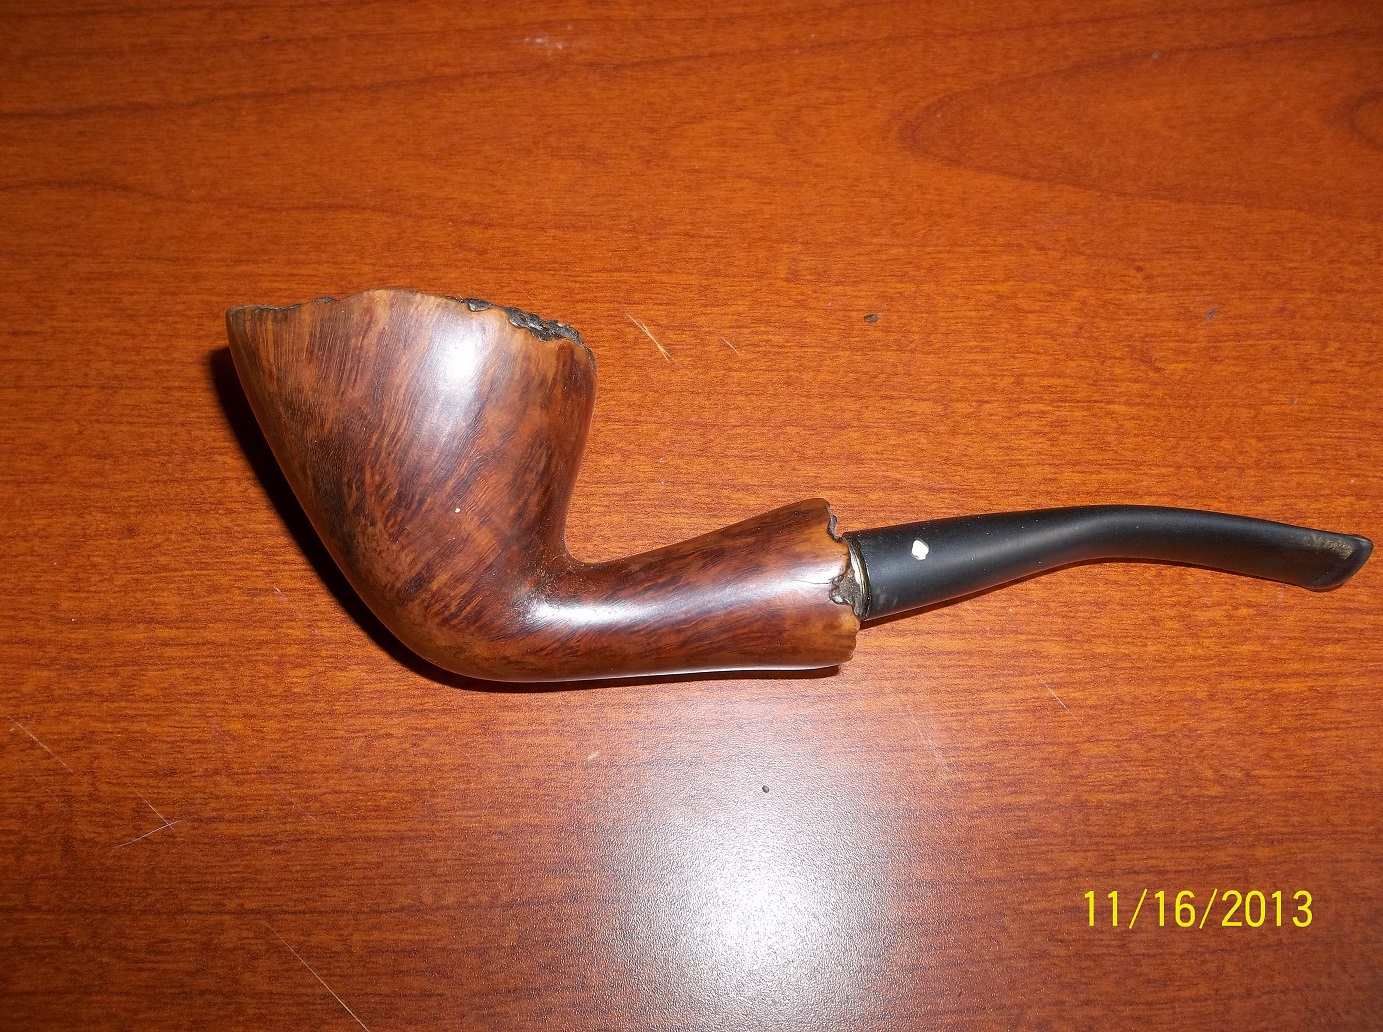
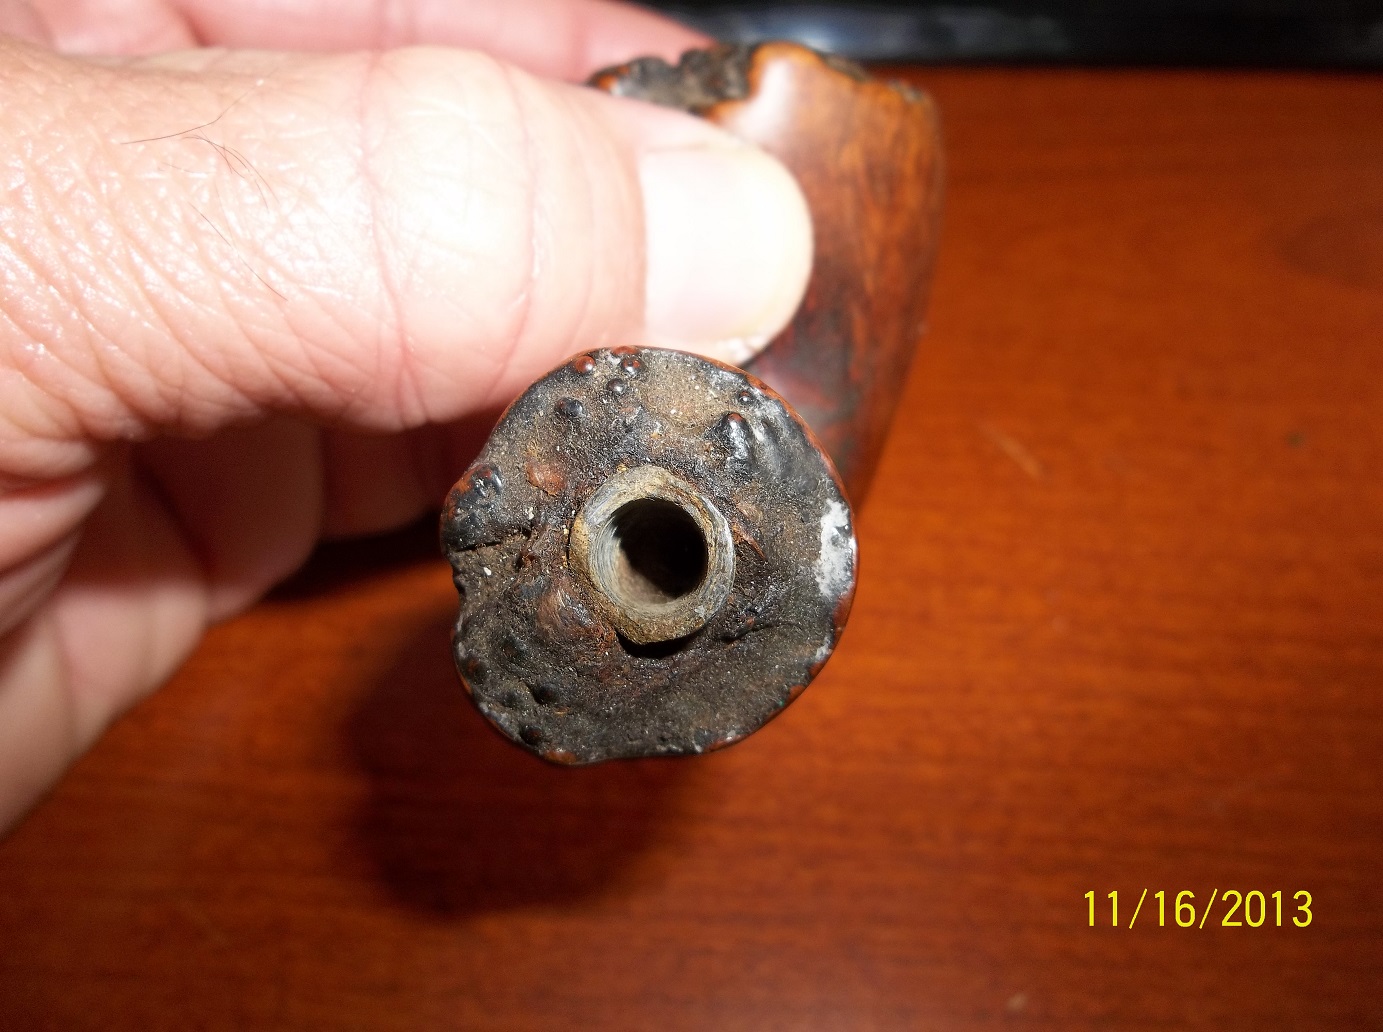
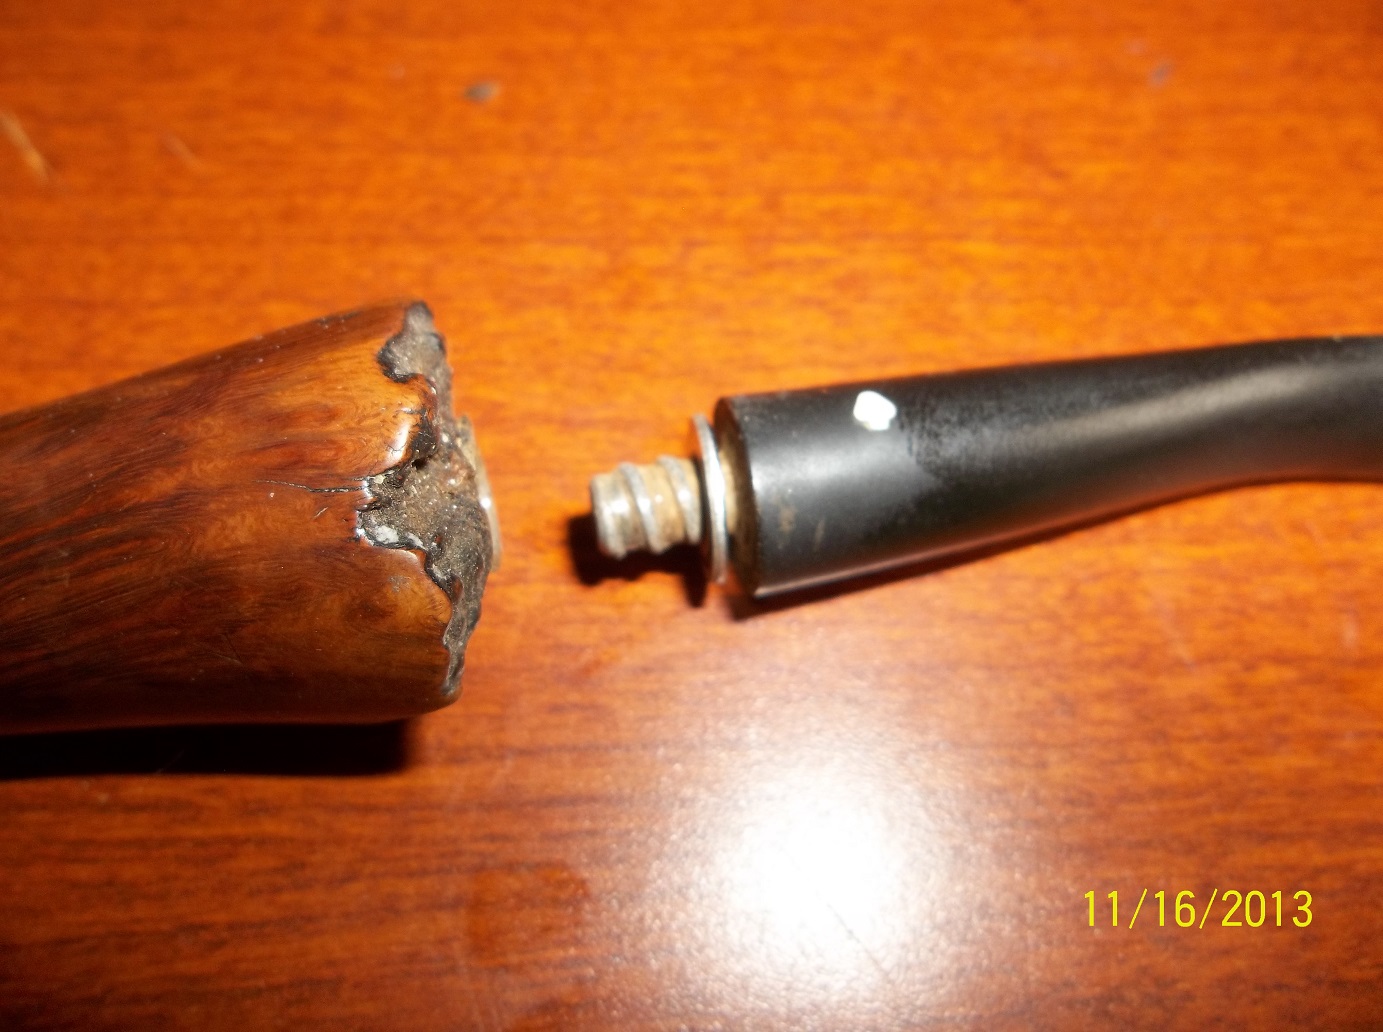
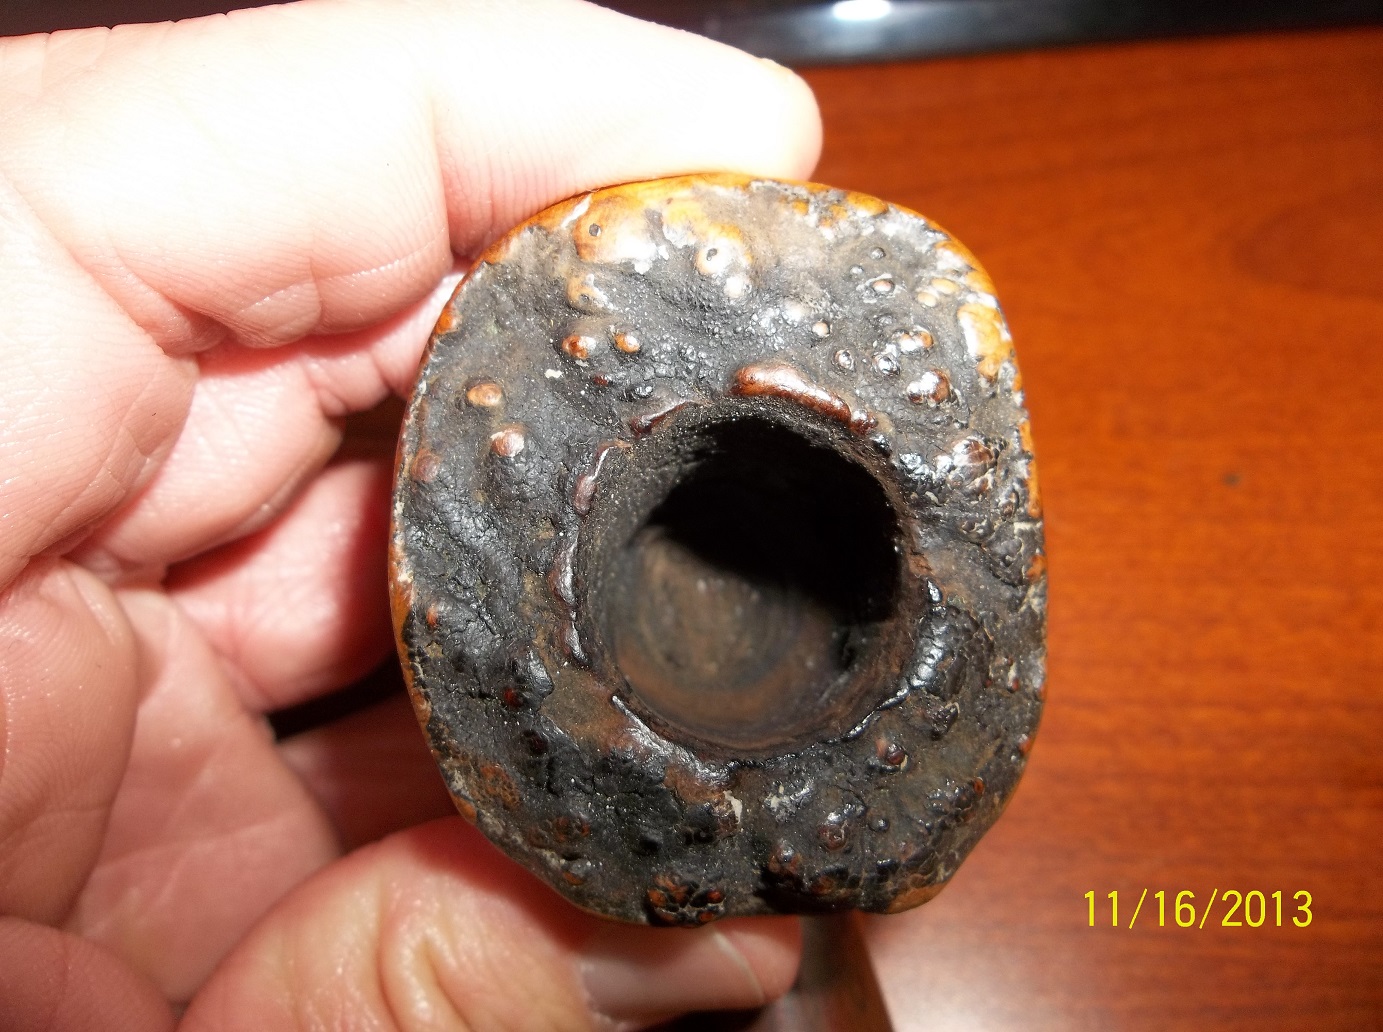
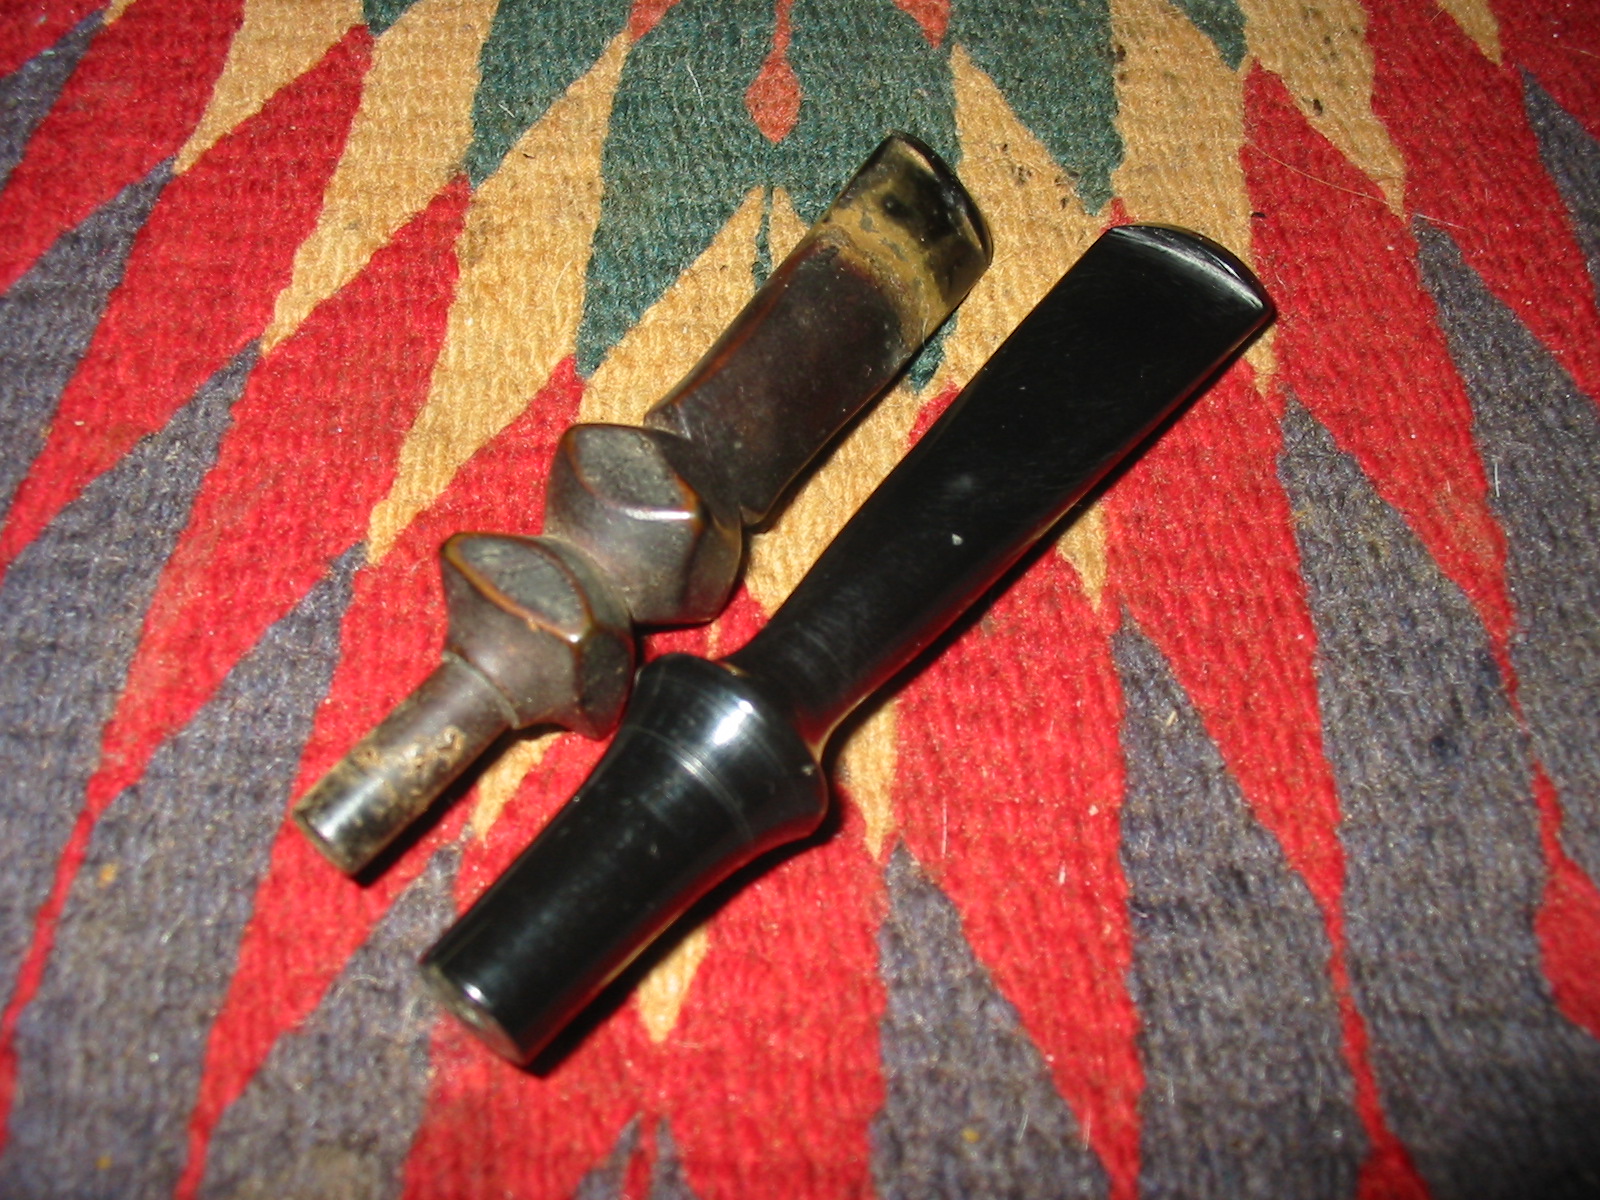
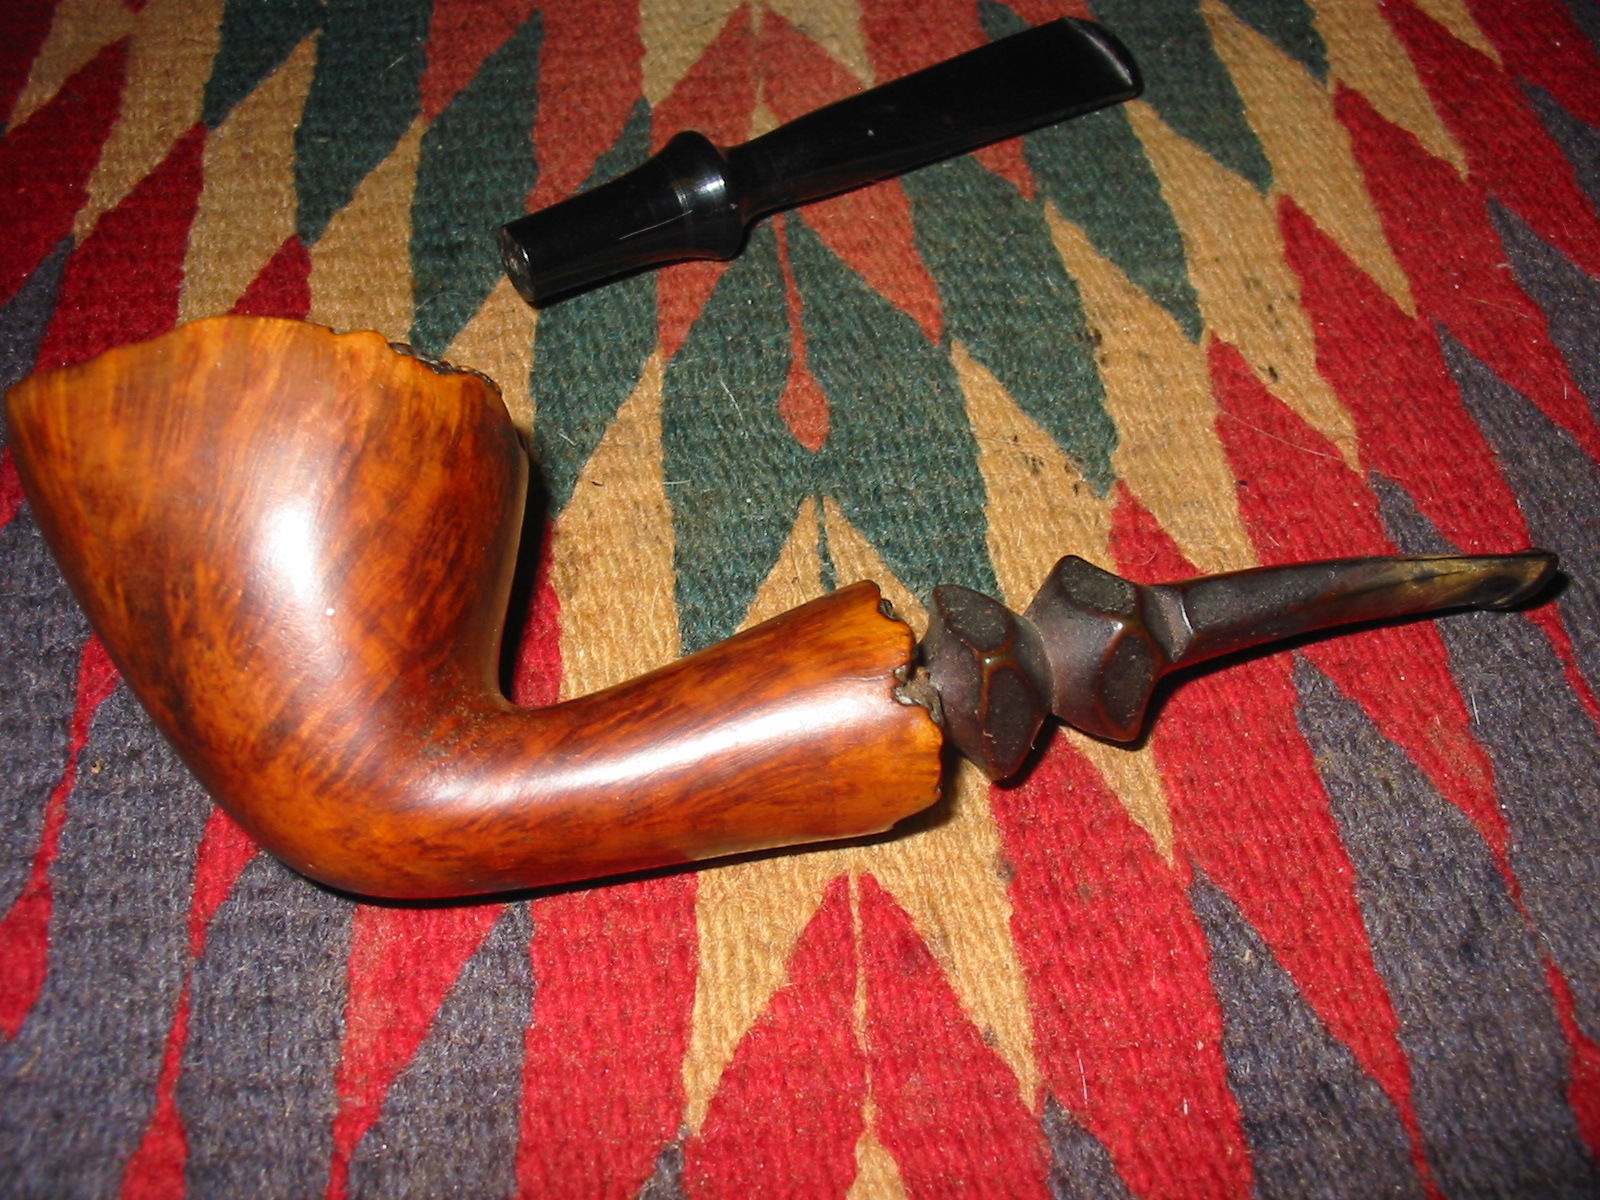
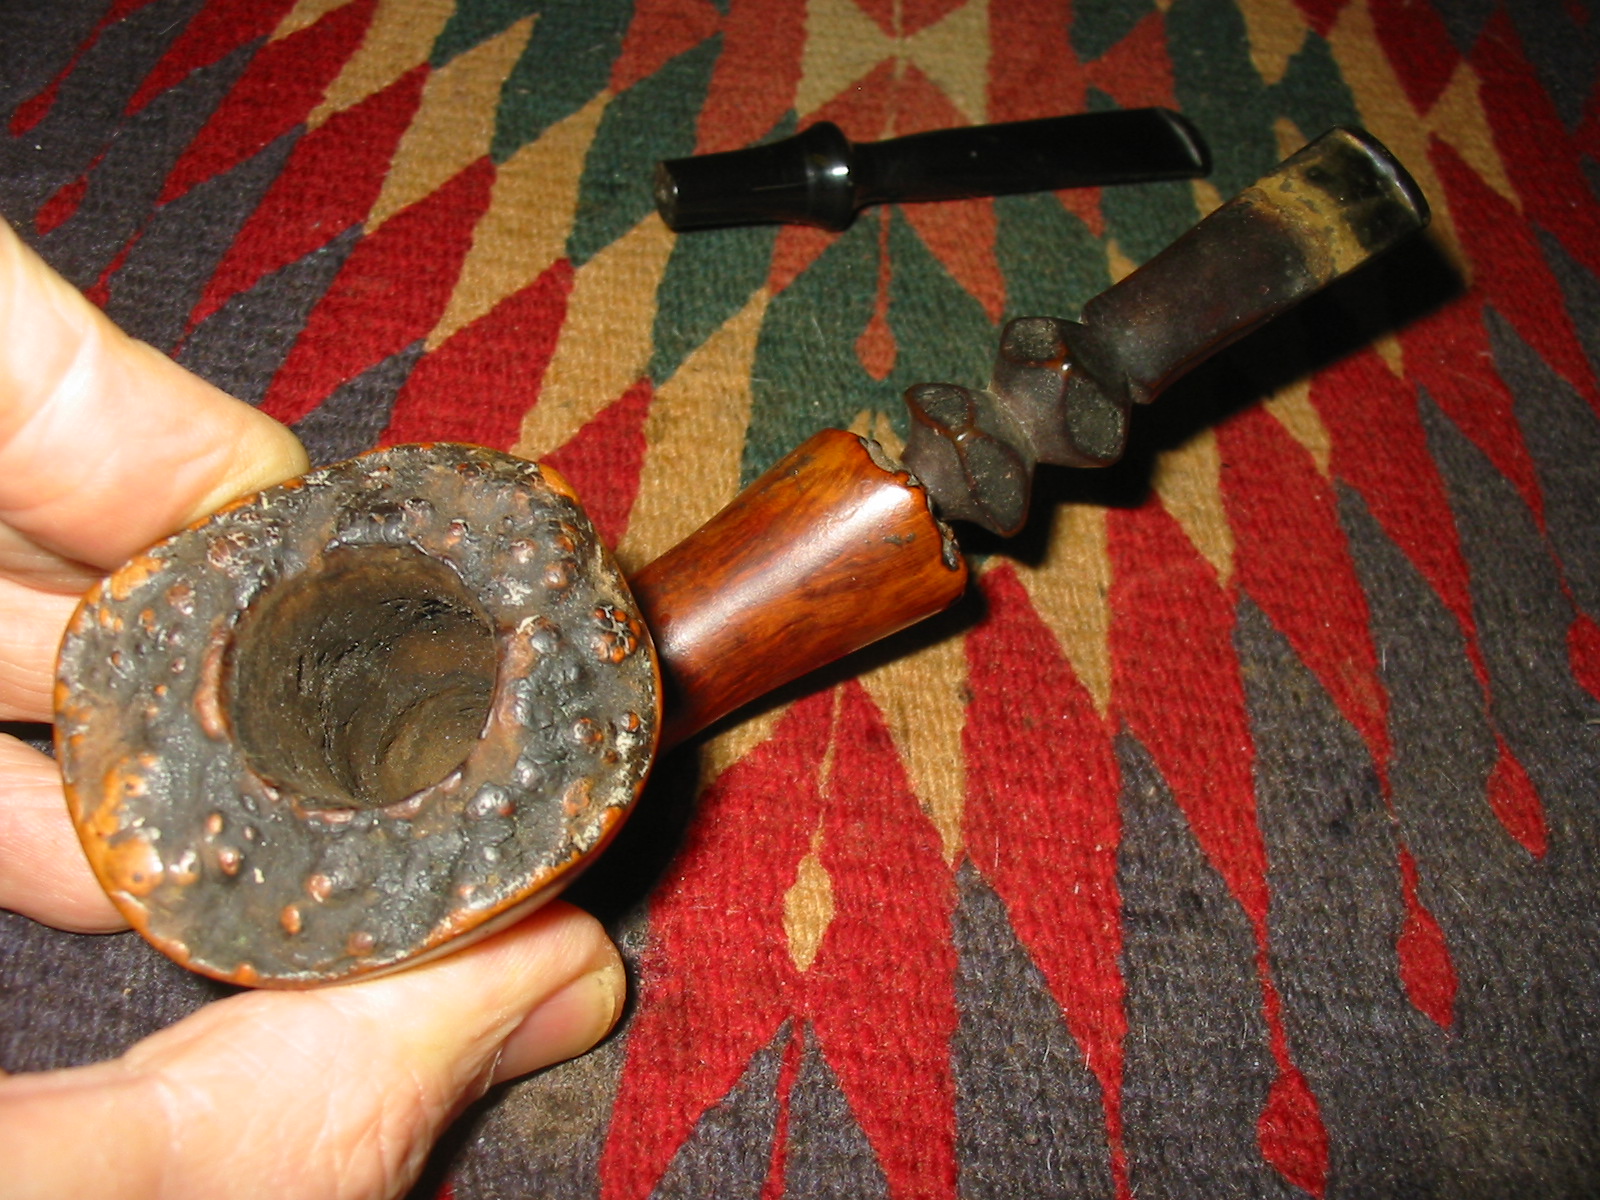
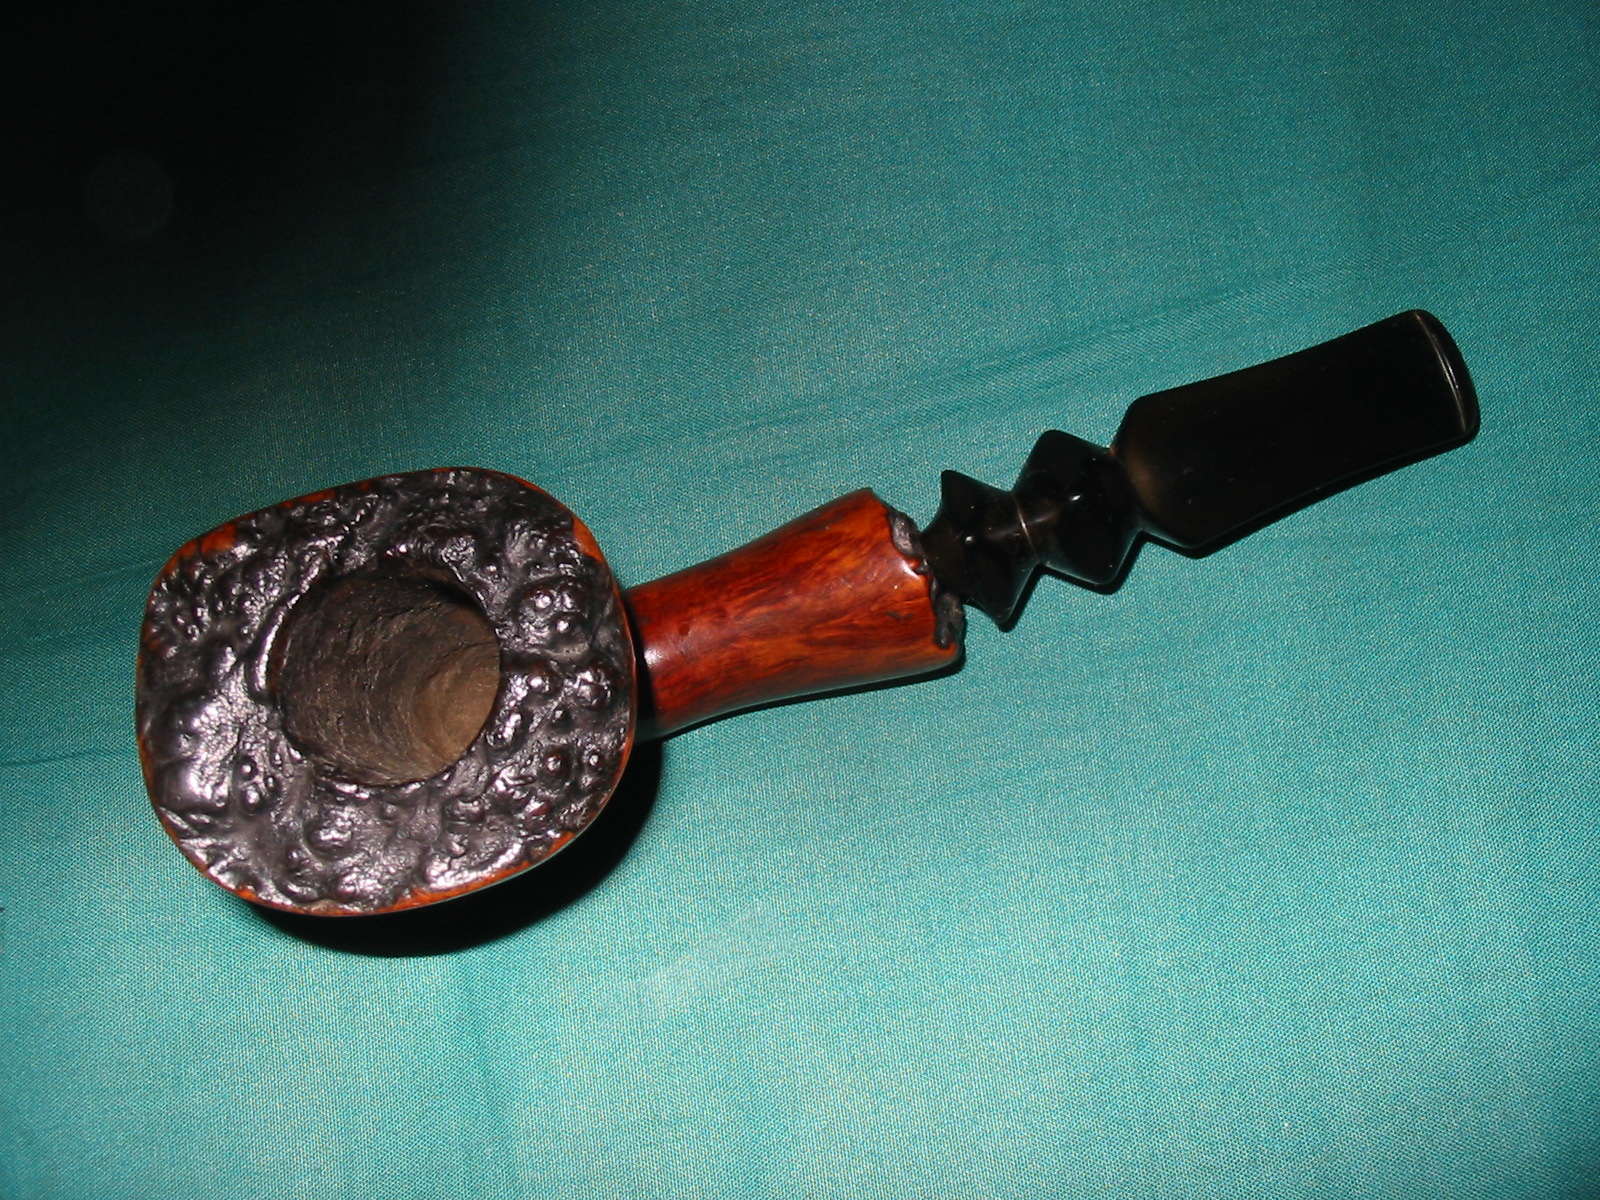
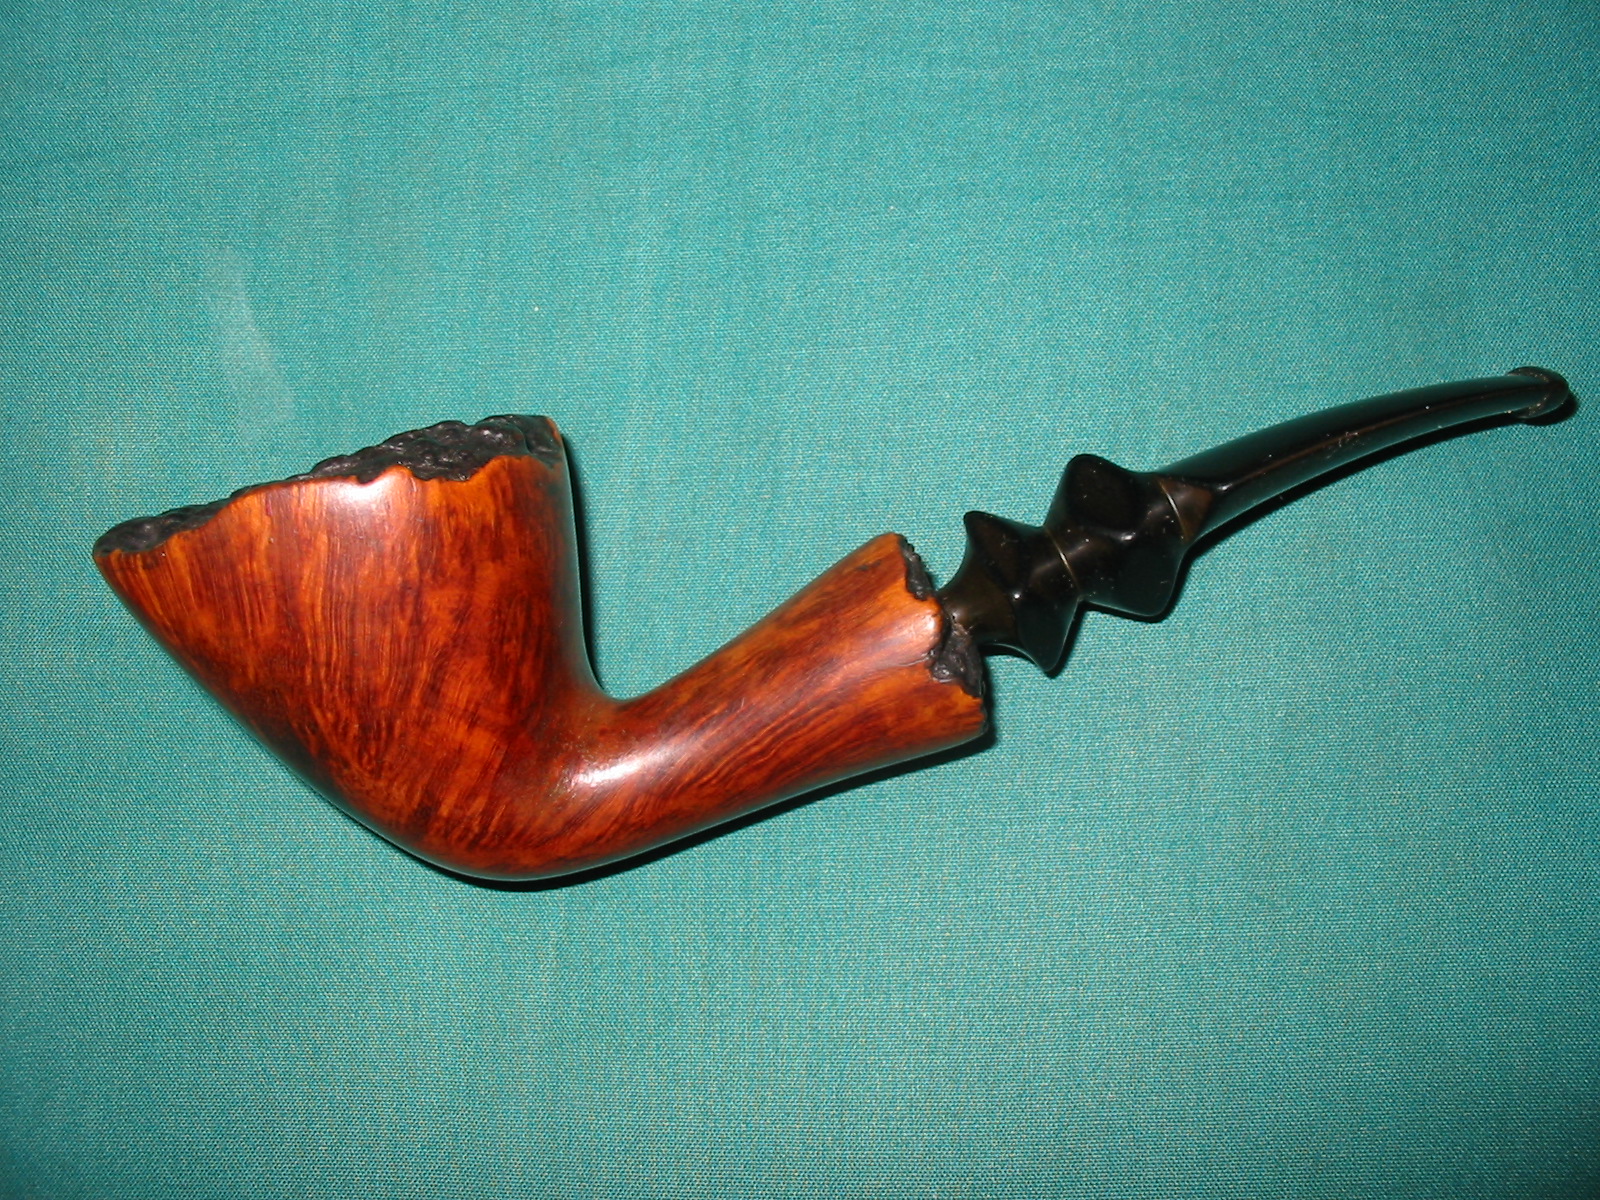
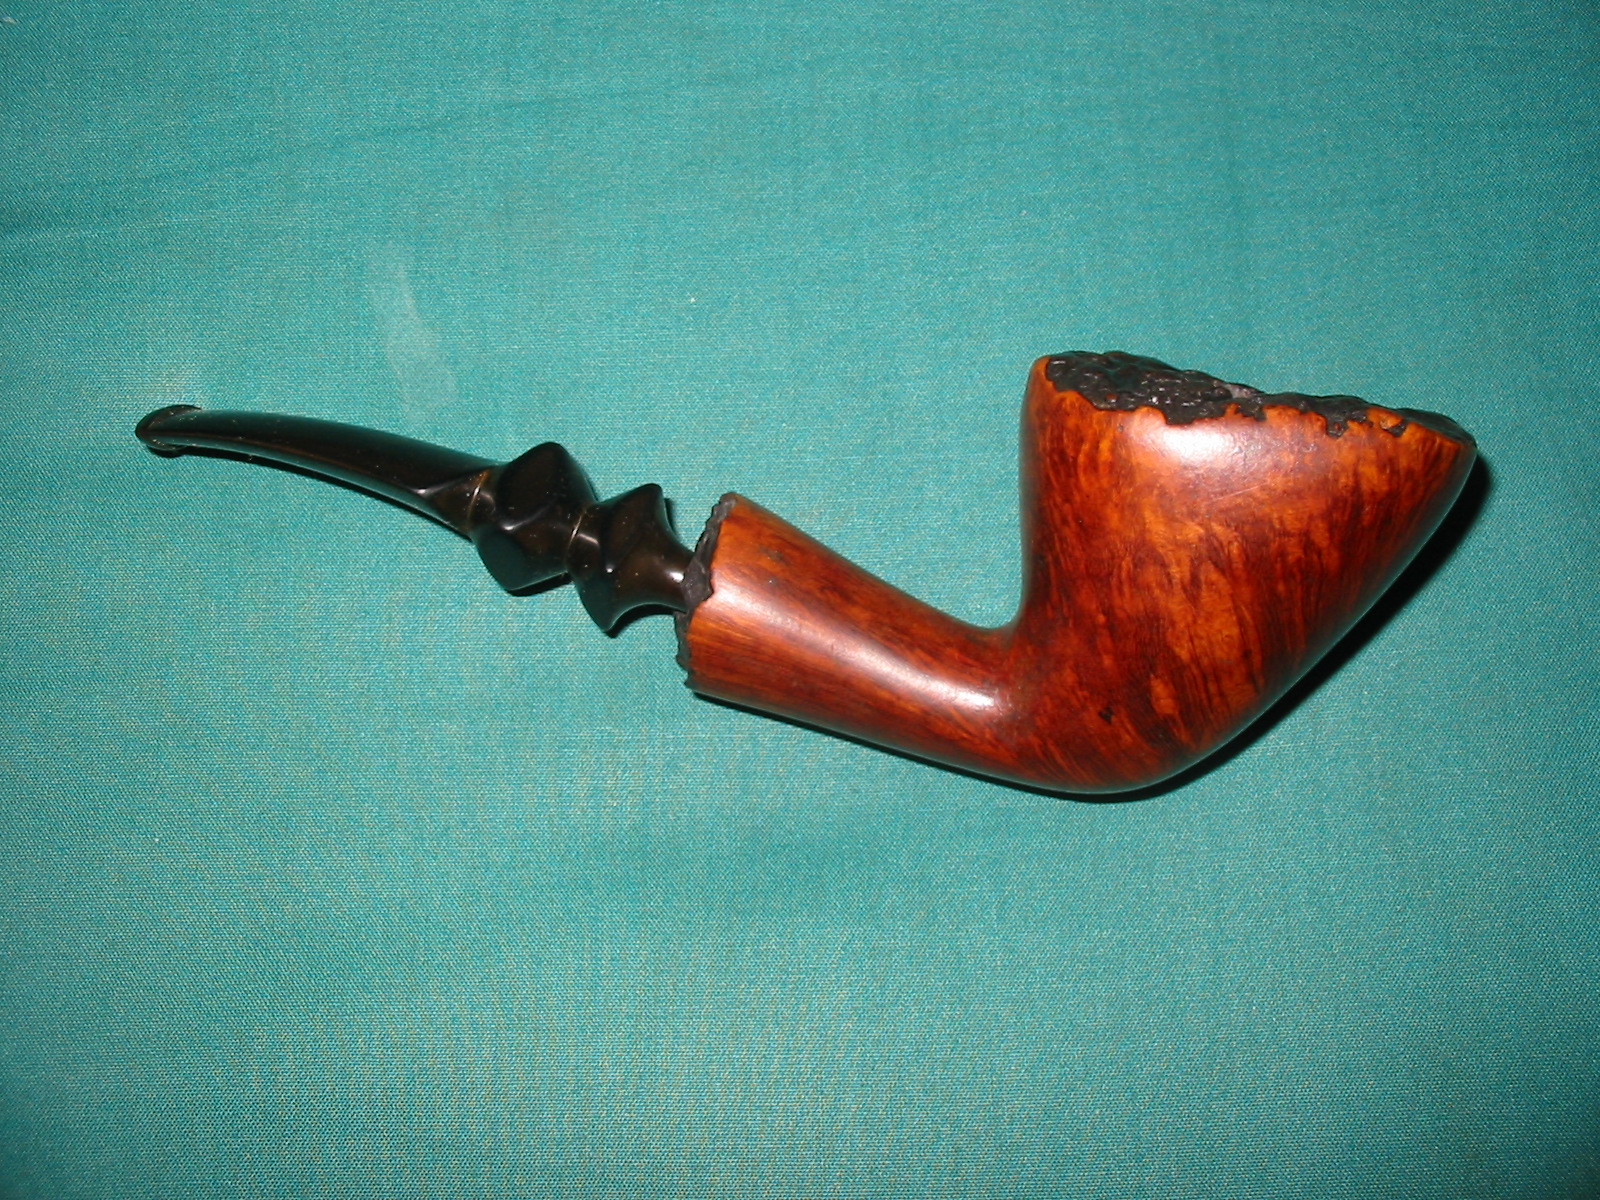
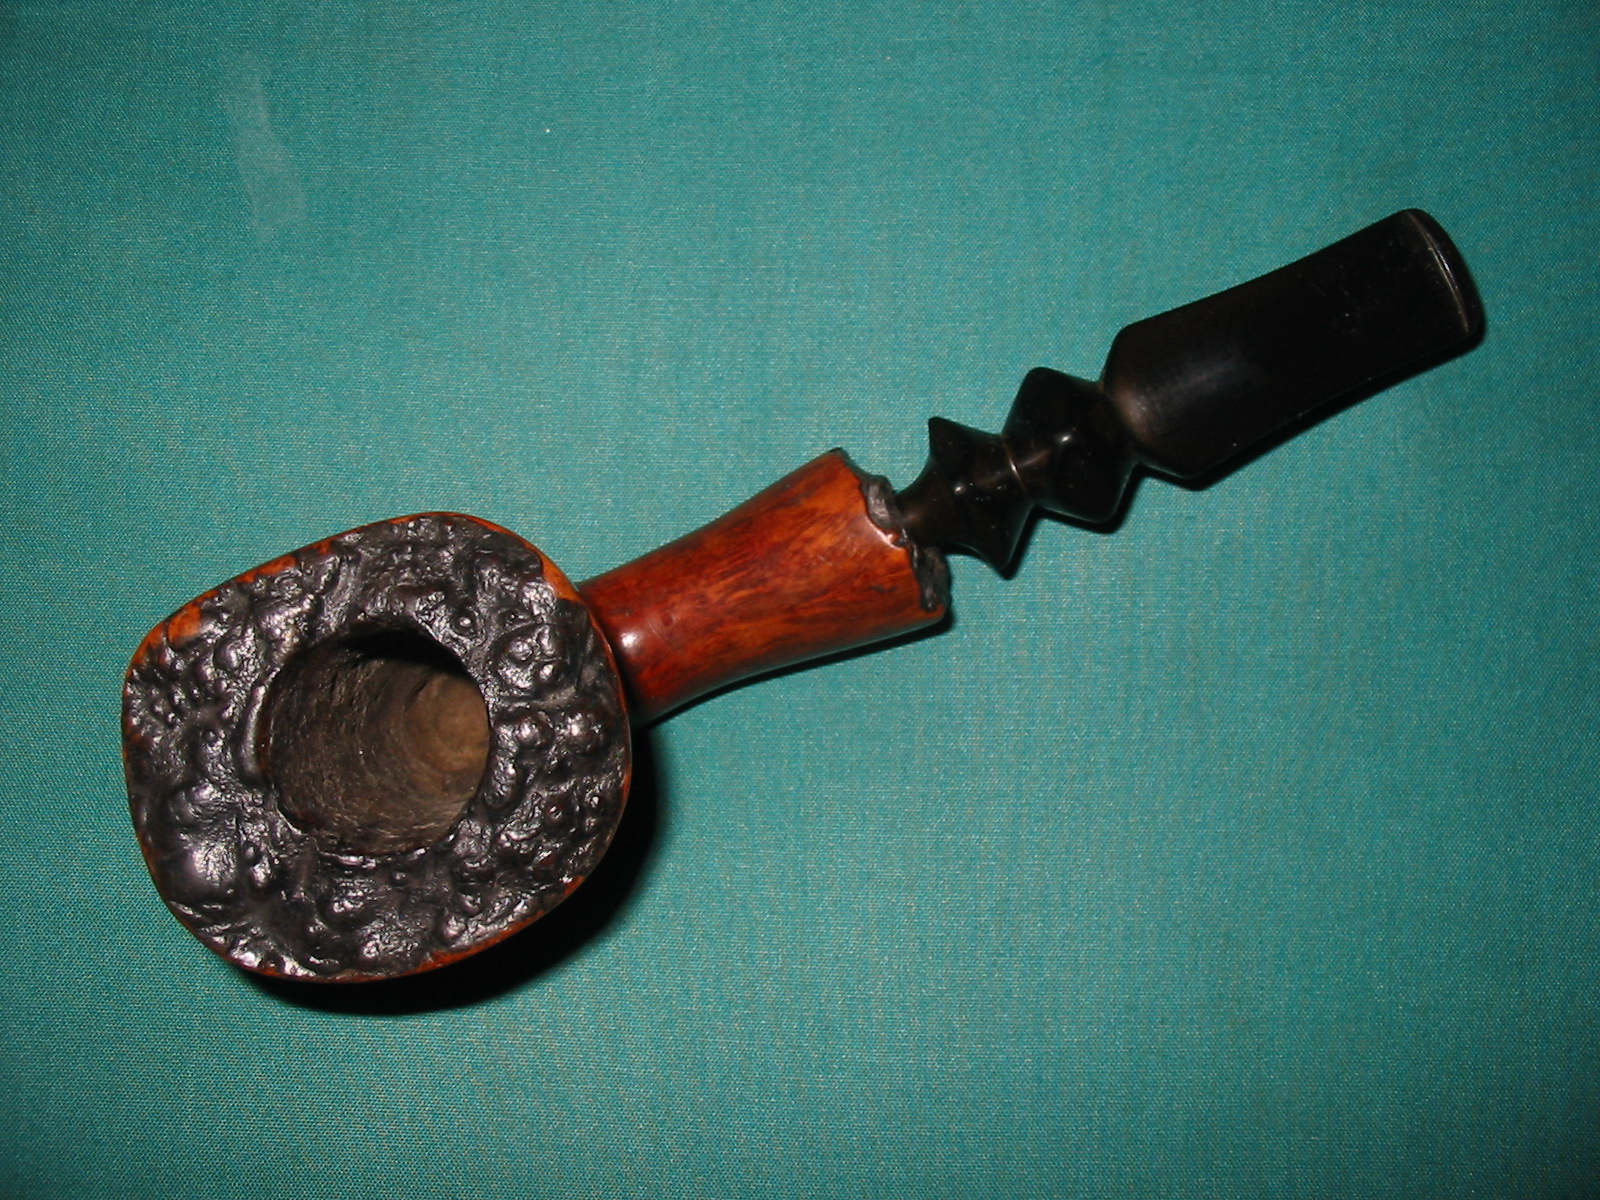
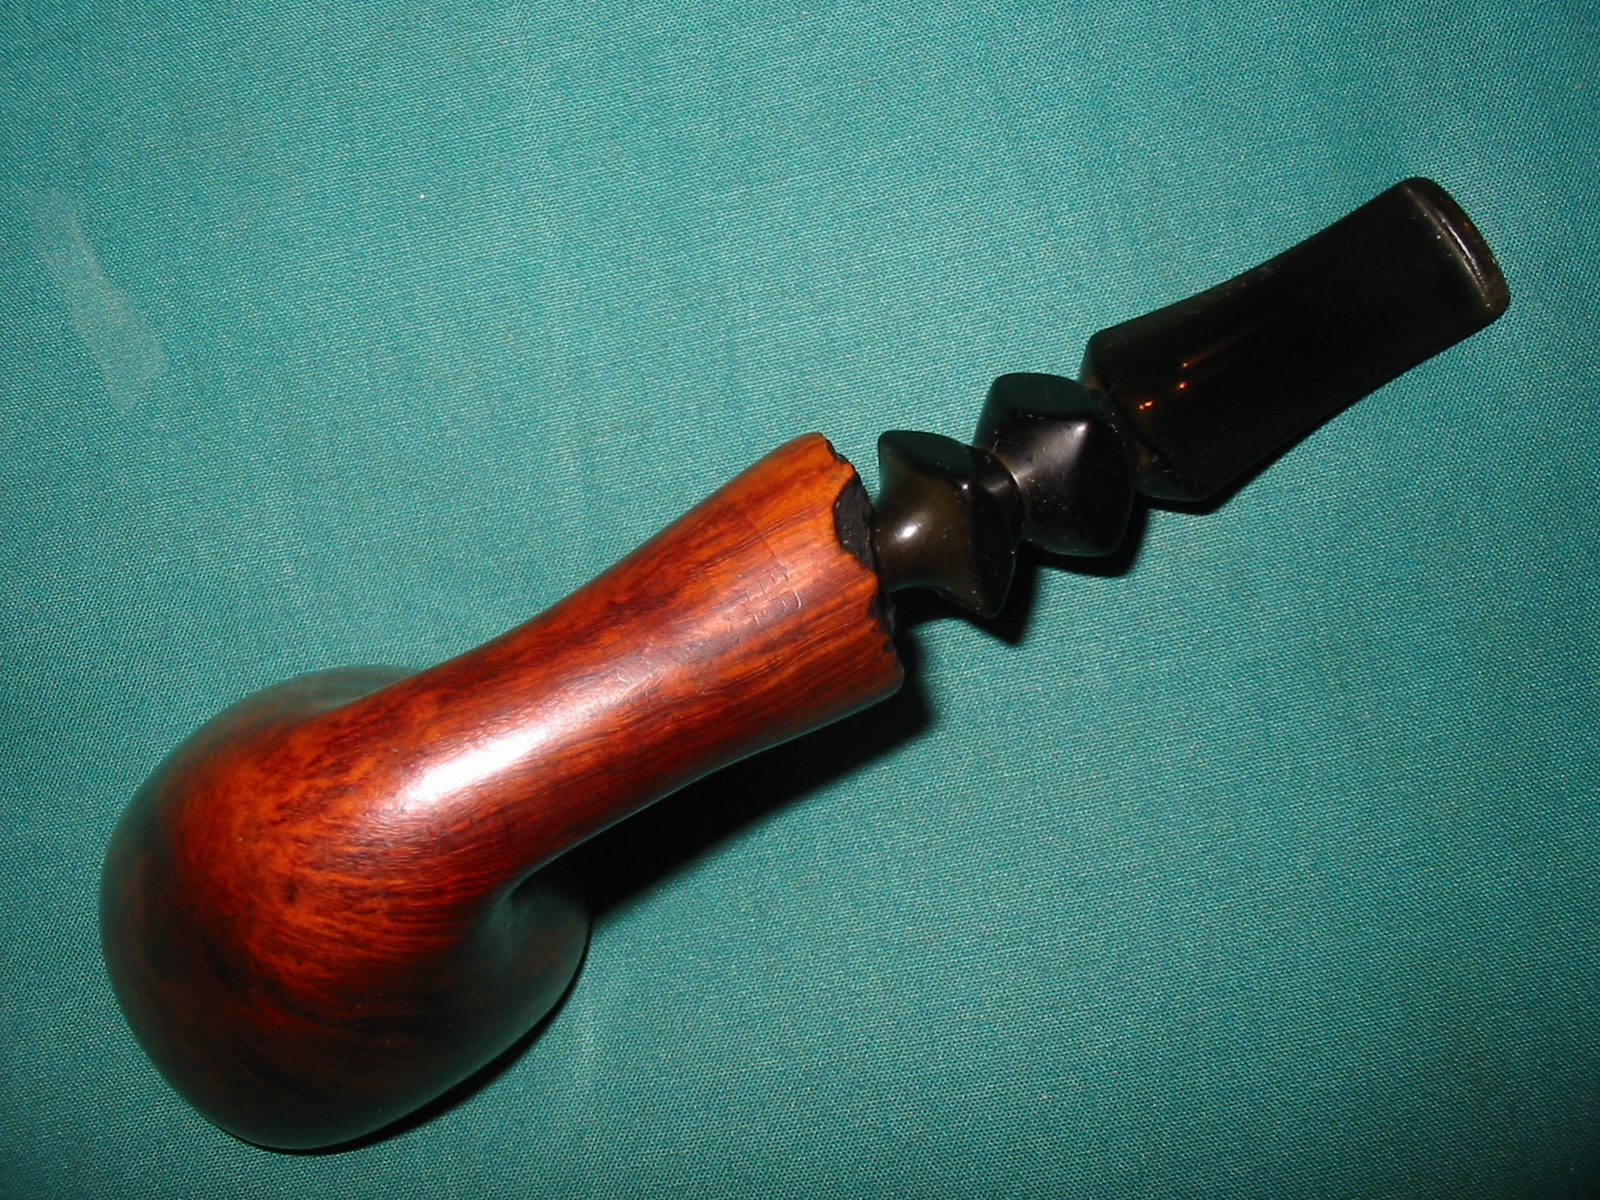
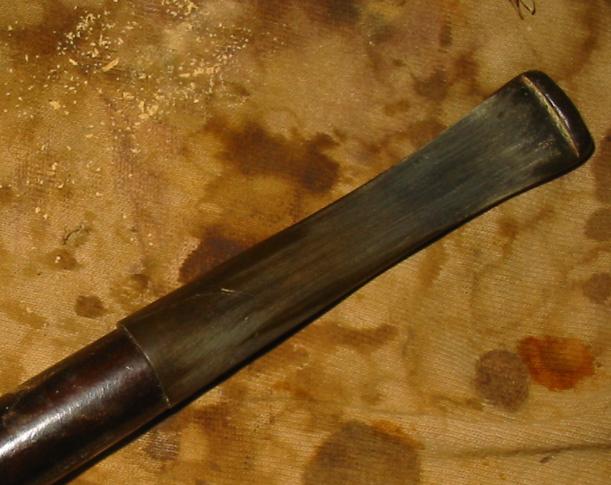
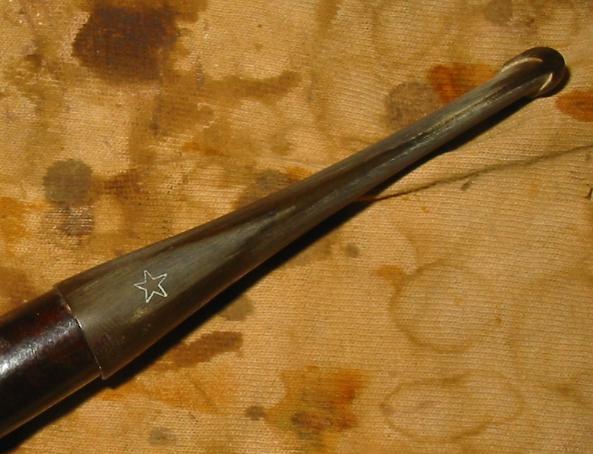
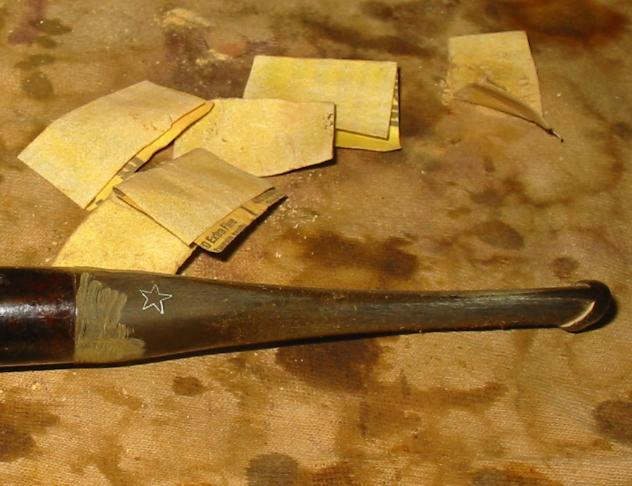
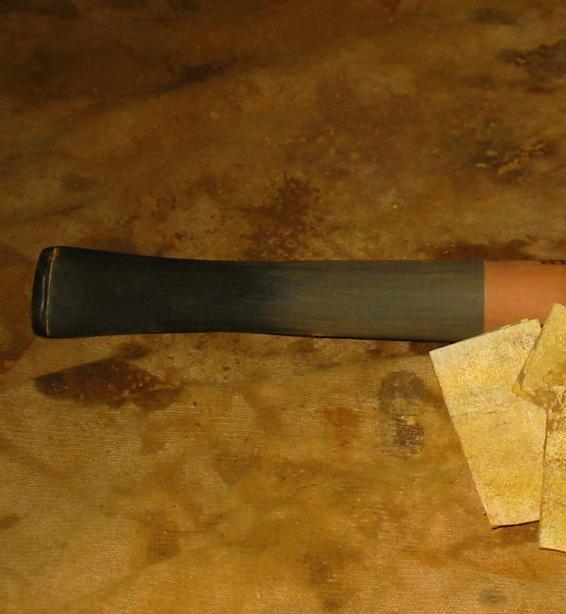
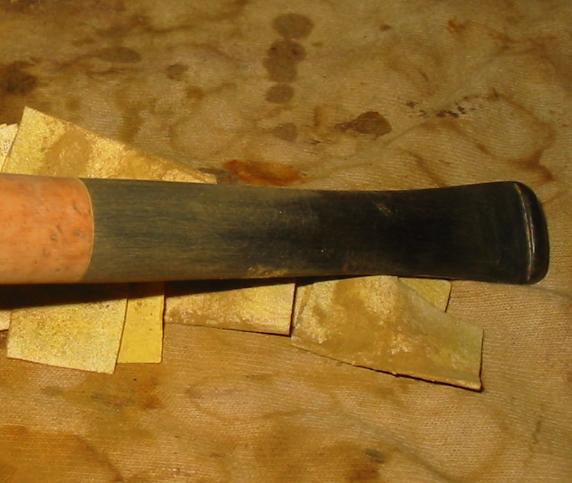
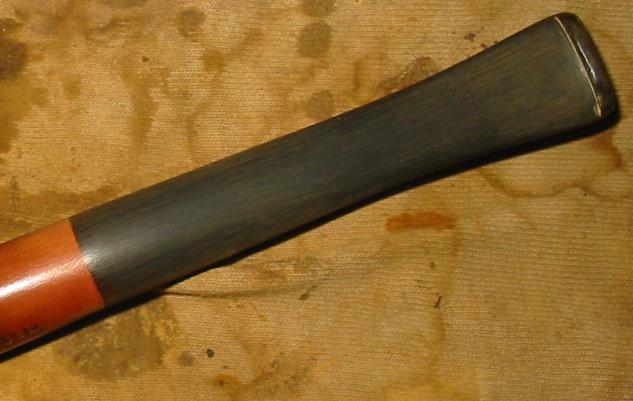
While I was restemming an old basket pipe from the bottom of my refurbishing box I thought I would document the process of shaping the stem using a Dremel and sandpaper. In the case of the stem below you will notice that I decided to sand the shank and restain the whole pipe. I don’t always do that and in fact it is rare that I do unless the pipe is one that I intend to totally rework anyway. The stem I chose was a recycled one probably from a City DeLuxe pipe or at least one that bore the five point star stamping. In this case I intended to sand out the stamping as the diameter of the stem was larger than that of the shank. The four photos below show the stem from top, bottom and left and right sides to give an idea of the size of the stem when I started.


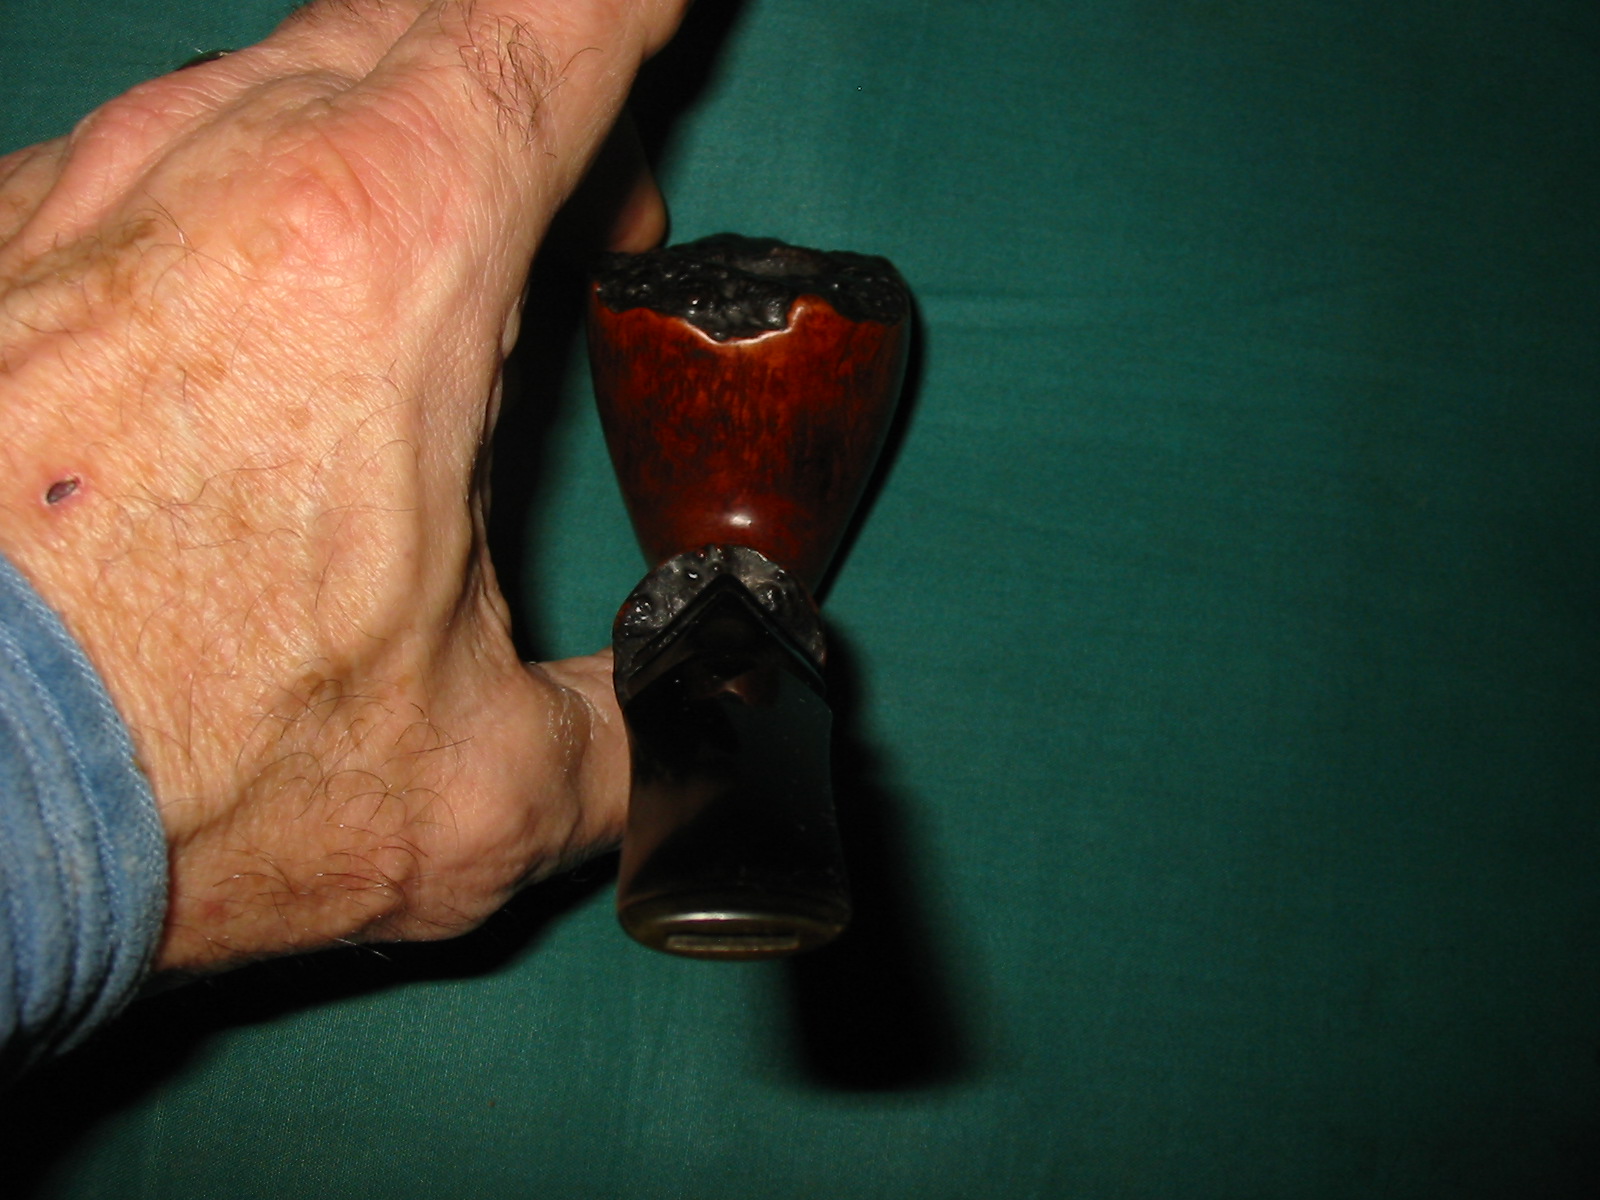
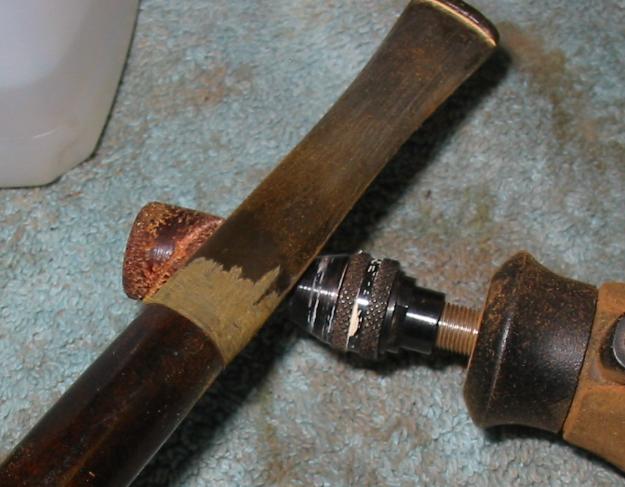
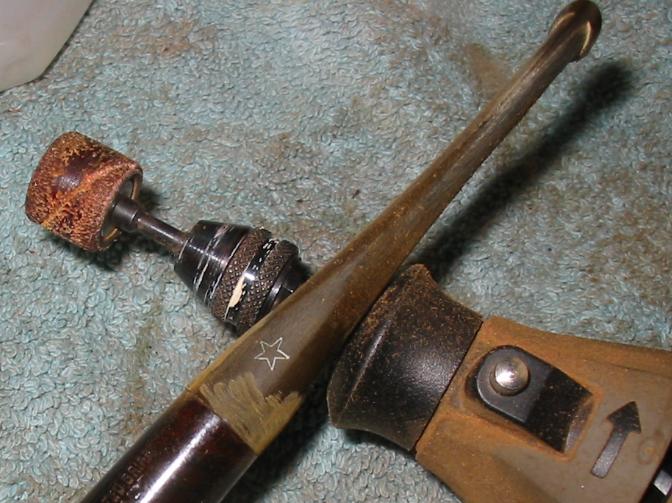
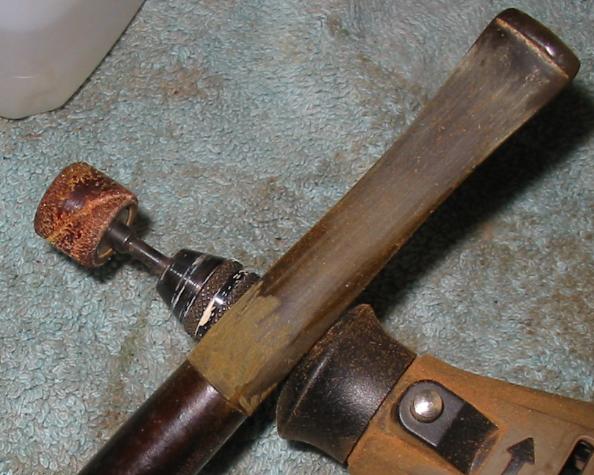
I use a Dremel with a large sanding drum to remove the excess material from the stem at the shank stem junction. I am careful to not damage the shank in the process but push the end of the sanding drum as close to the shank as I can. The next series of four photos show the stem after the sanding drum has done its work. The diameter of the stem is very close to that of the shank at the end of this process.

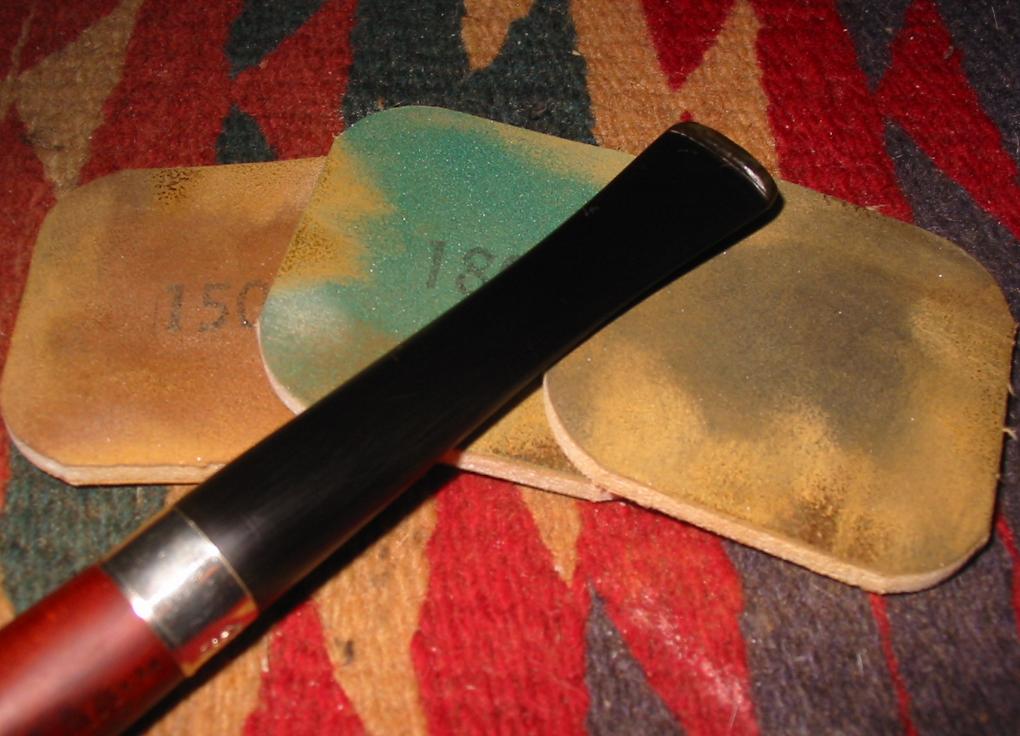
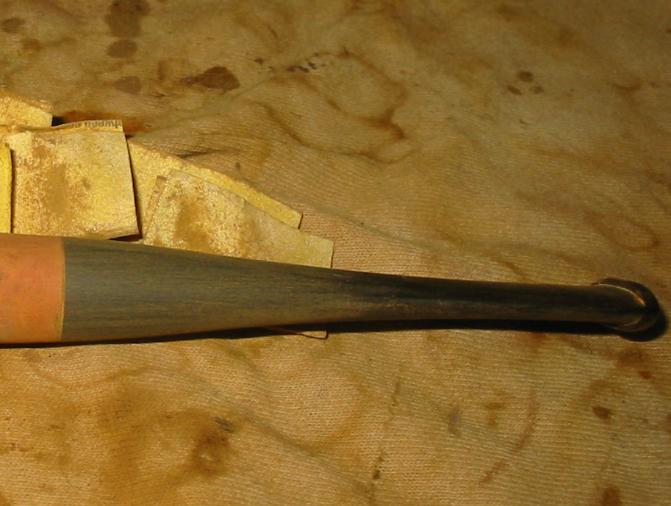
The remainder of the fine tuning of the fit I do by hand with folded sandpaper to shape and match the stem and the shank. On this pipe the finish on the pipe was a heavy dark varnished stain that I was going to remove from the pipe for refinishing so I sanded the shank the same time I sanded the stem. The next five photos show the stem and shank after sanding with 220 grit sandpaper to match the two surfaces.
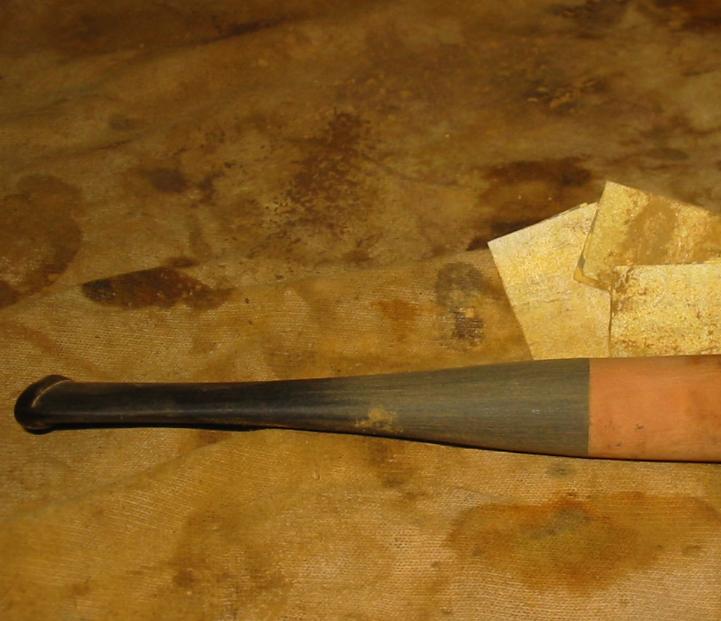
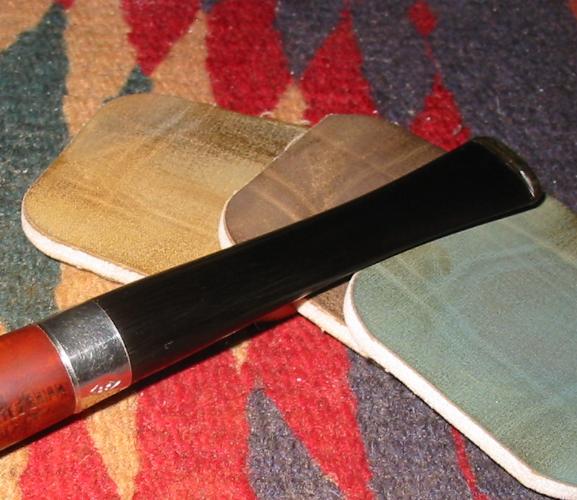
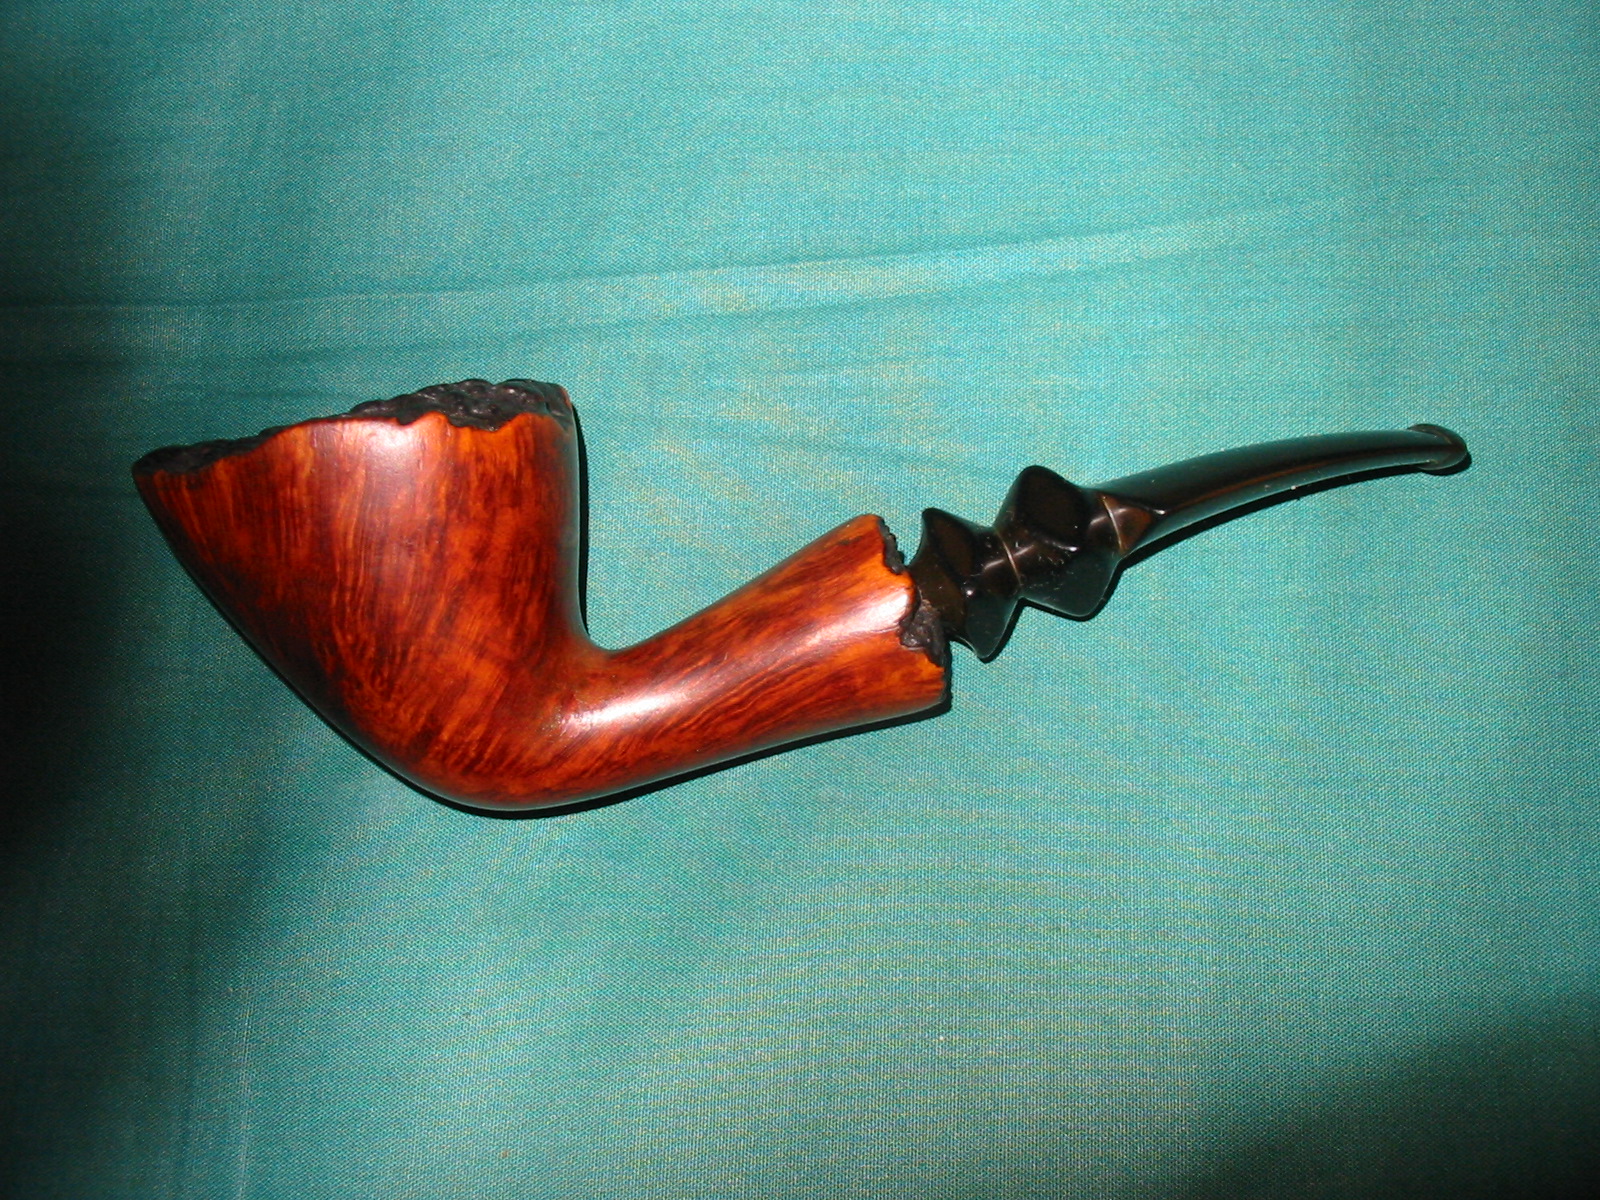
I buffed the stem and shank with red Tripoli to remove some of the surface scratching before I went on to sand the stem with a medium grit sanding sponge. The next two photos show the stem after sanding with the sanding sponge. The stem and shank fit is very tight and smooth and the feel of the transition from briar to vulcanite is almost seamless.

On this pipe I decided to band the shank for cosmetic purposes so the remaining photos show the shank banded. You will note though from the above photos that the stem fit is actually very smooth and clean. I sanded the stem with micromesh sanding pads to remove the scratches and bring out the deep shine of the polished vulcanite. The final three photos show the fit of the stem after sanding with the micromesh sanding pads. From this point I wiped the stem down with Obsidian Oil and then buffed it with carnauba wax to finish the work.