Daily Archives: October 26, 2013

When I saw it I thought it was a Sasieni one dot billiard


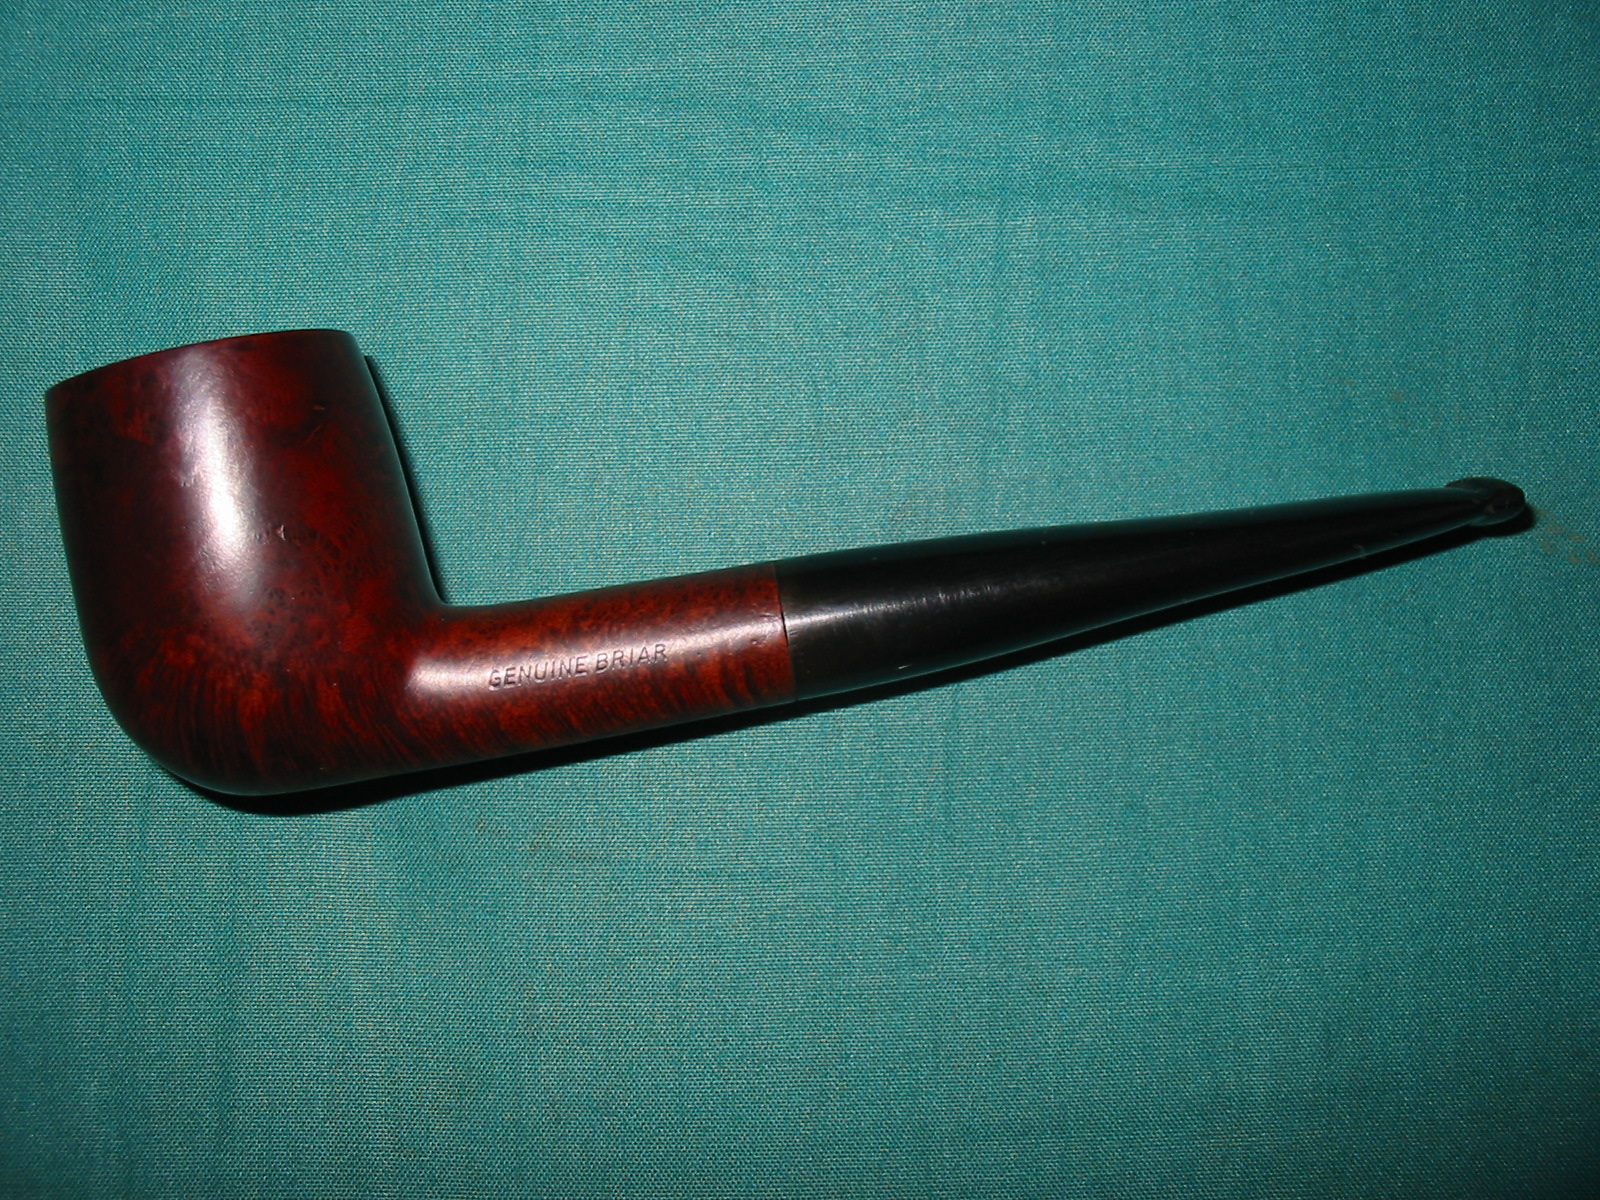
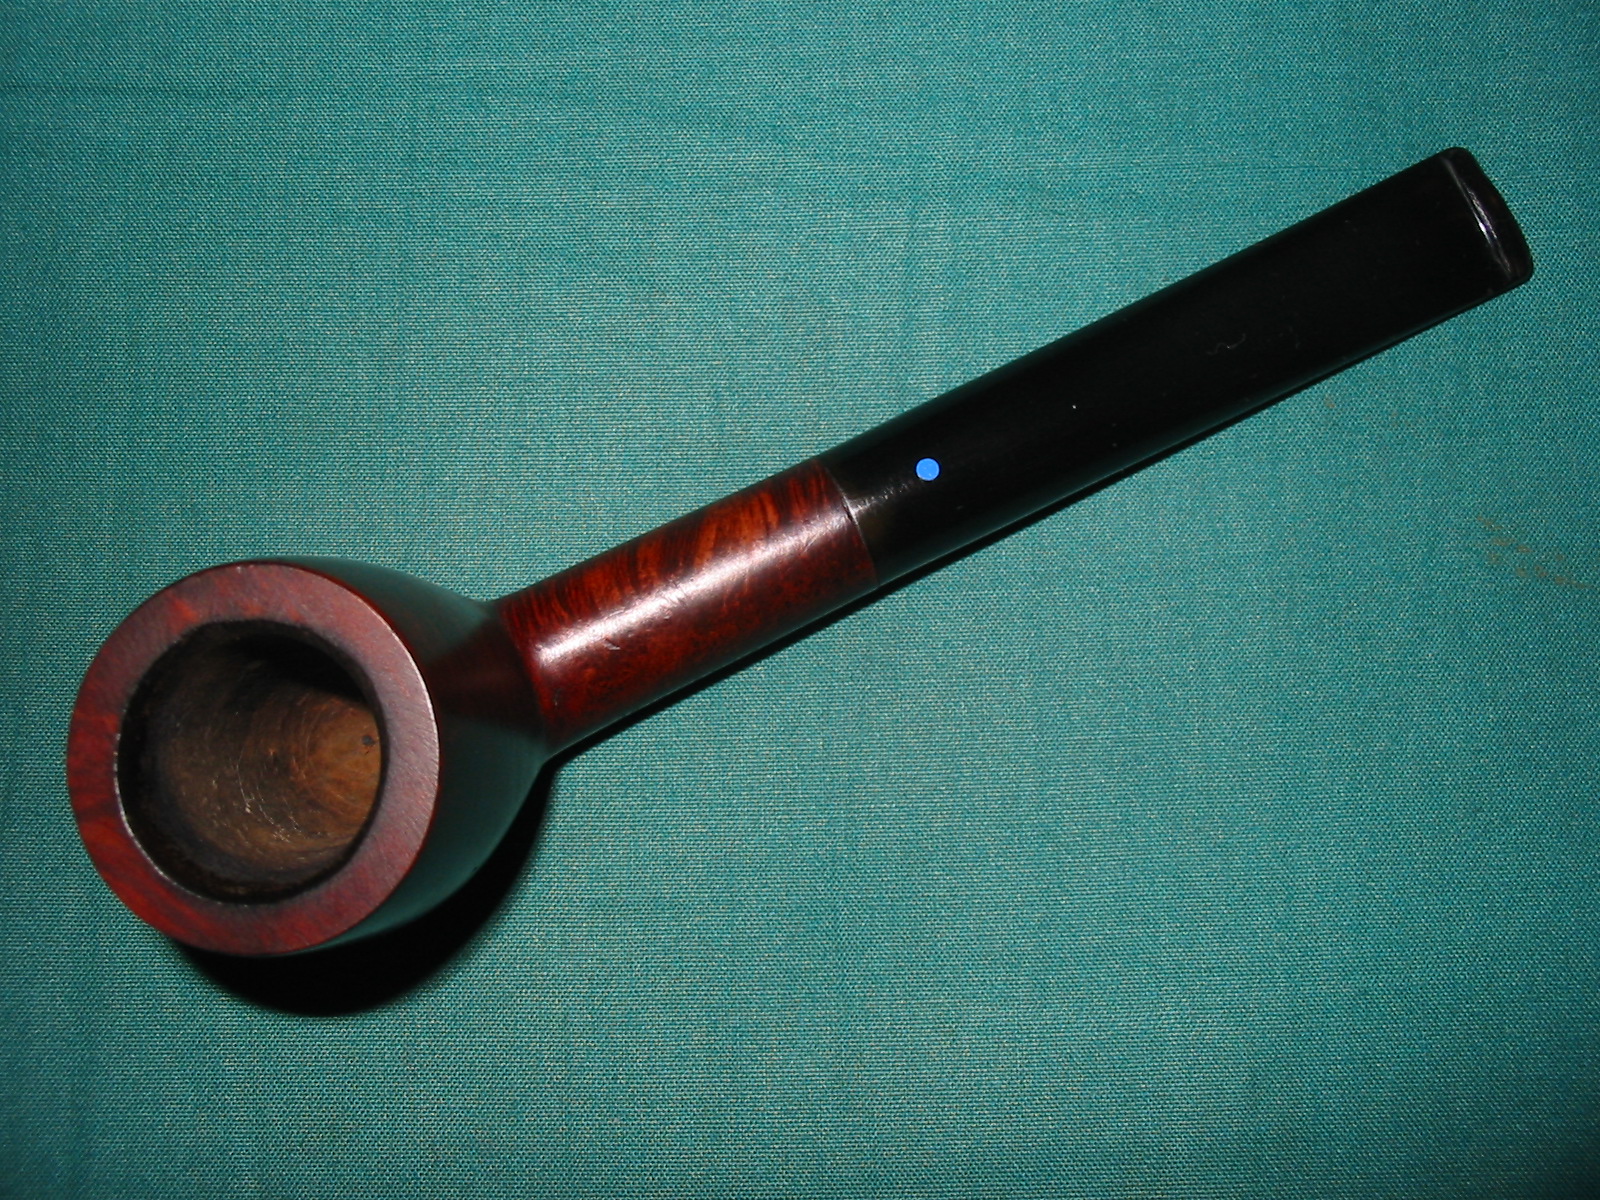
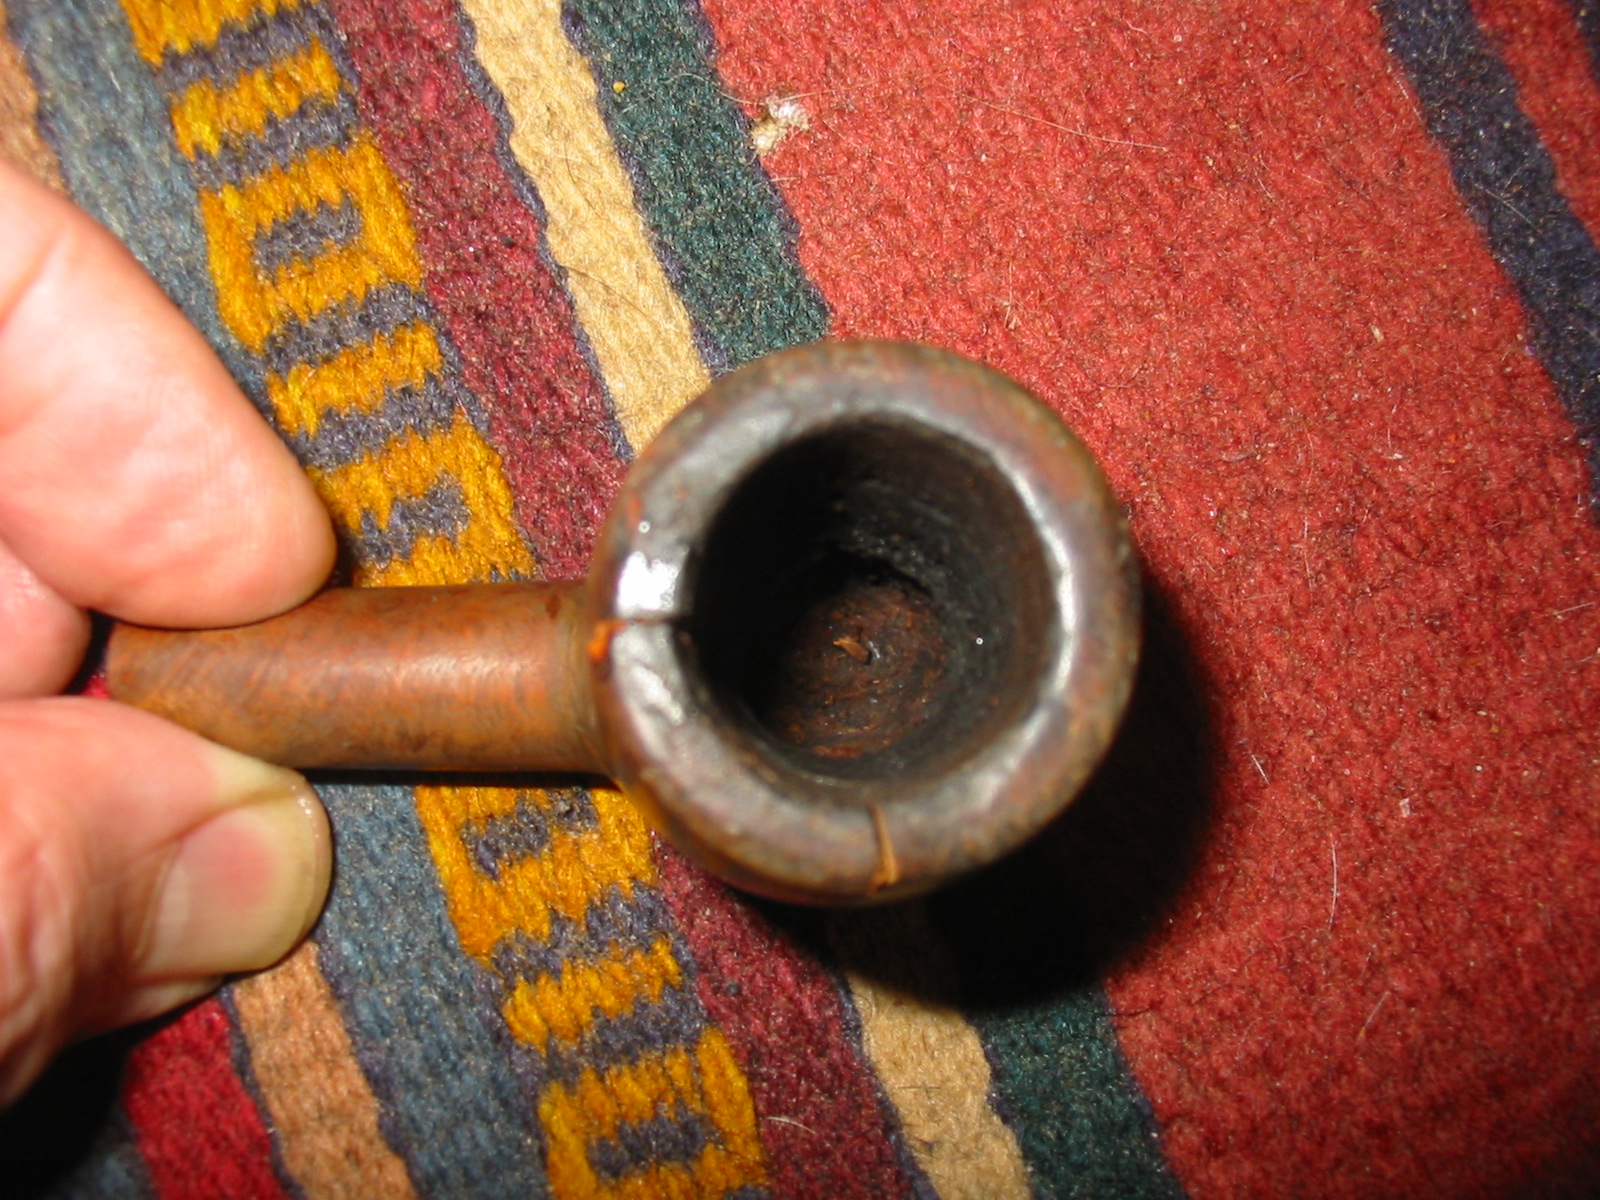
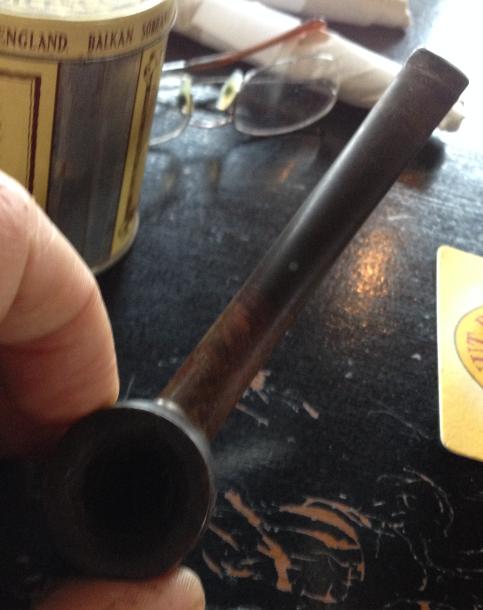
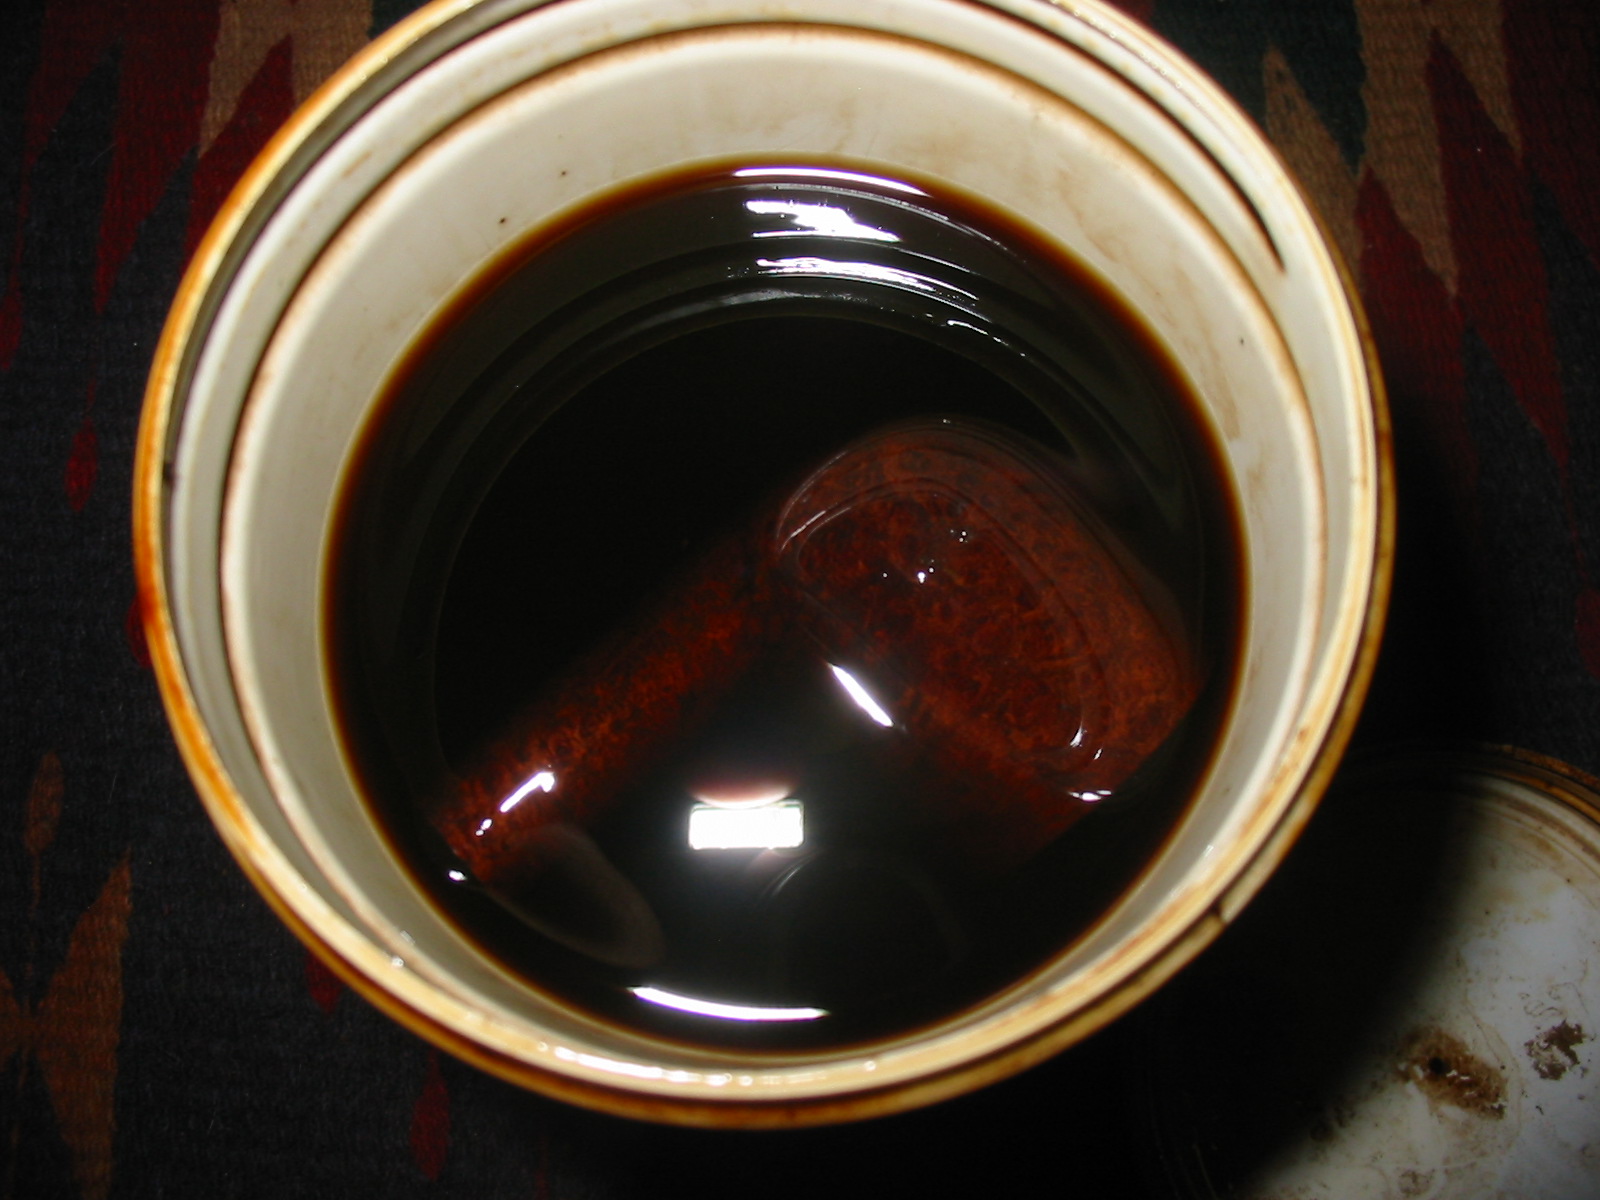
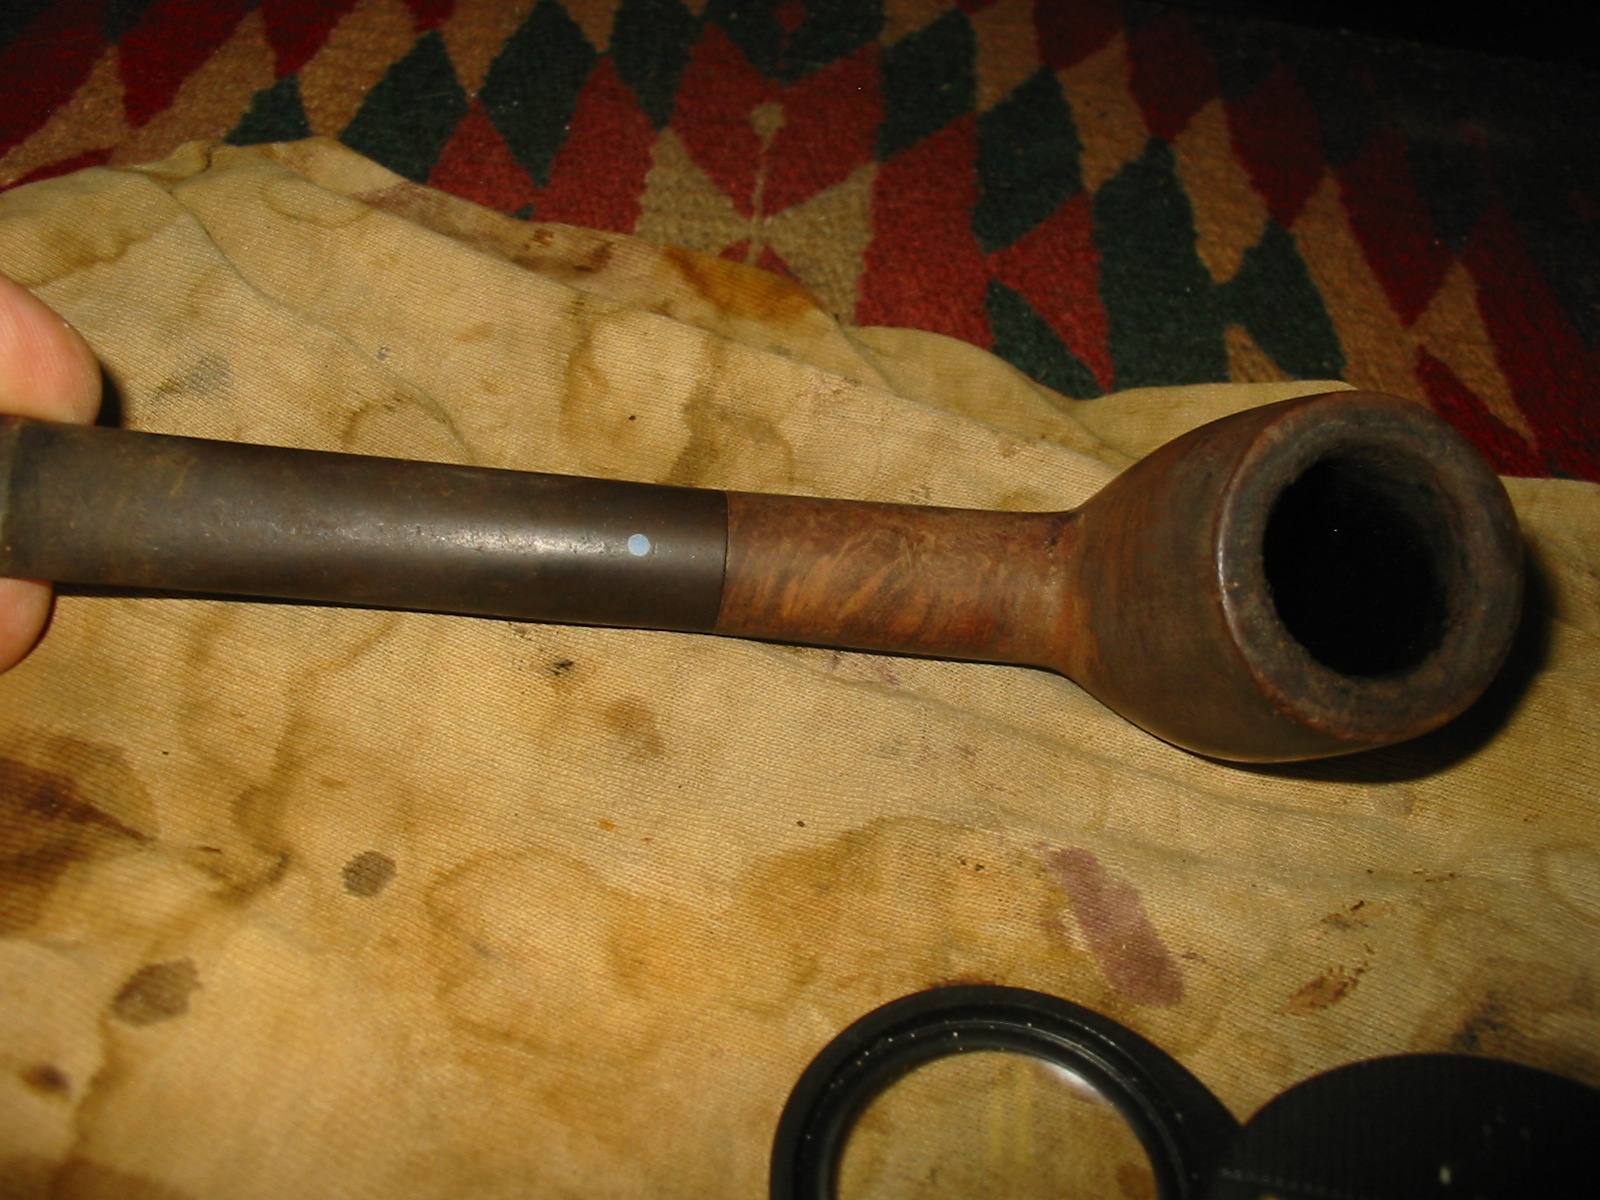
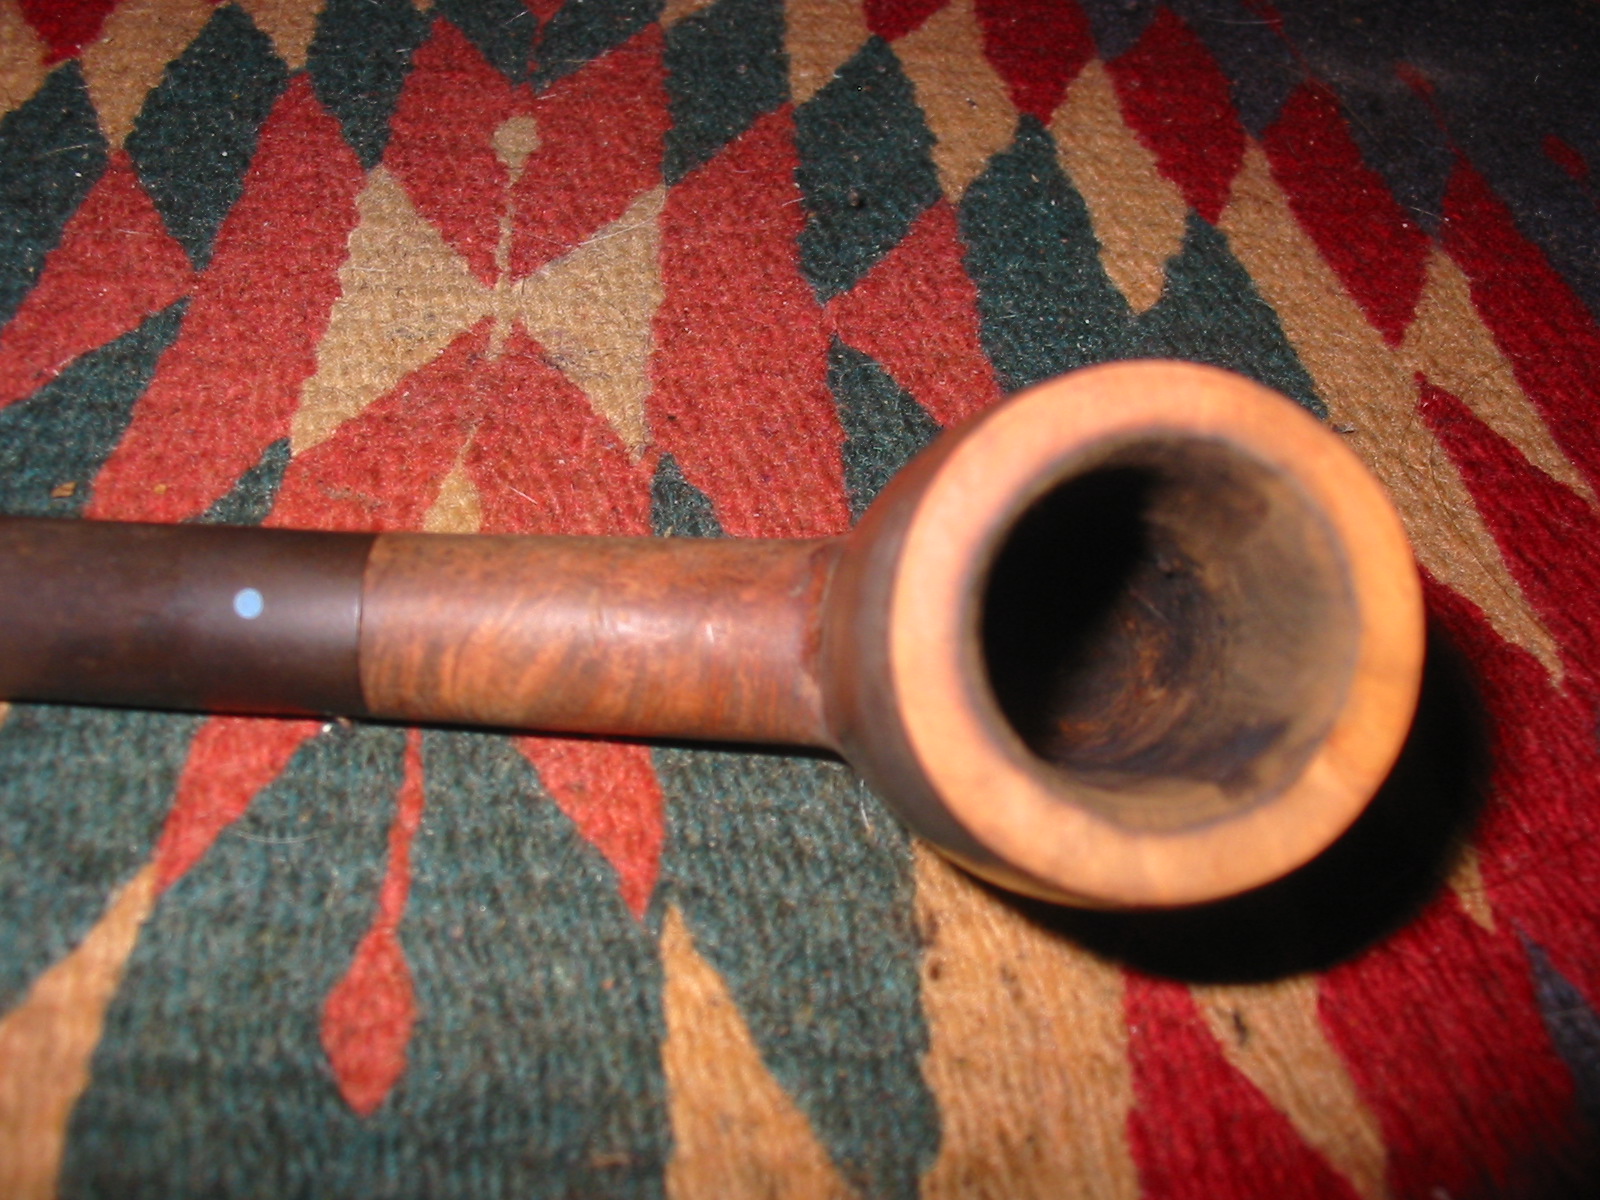
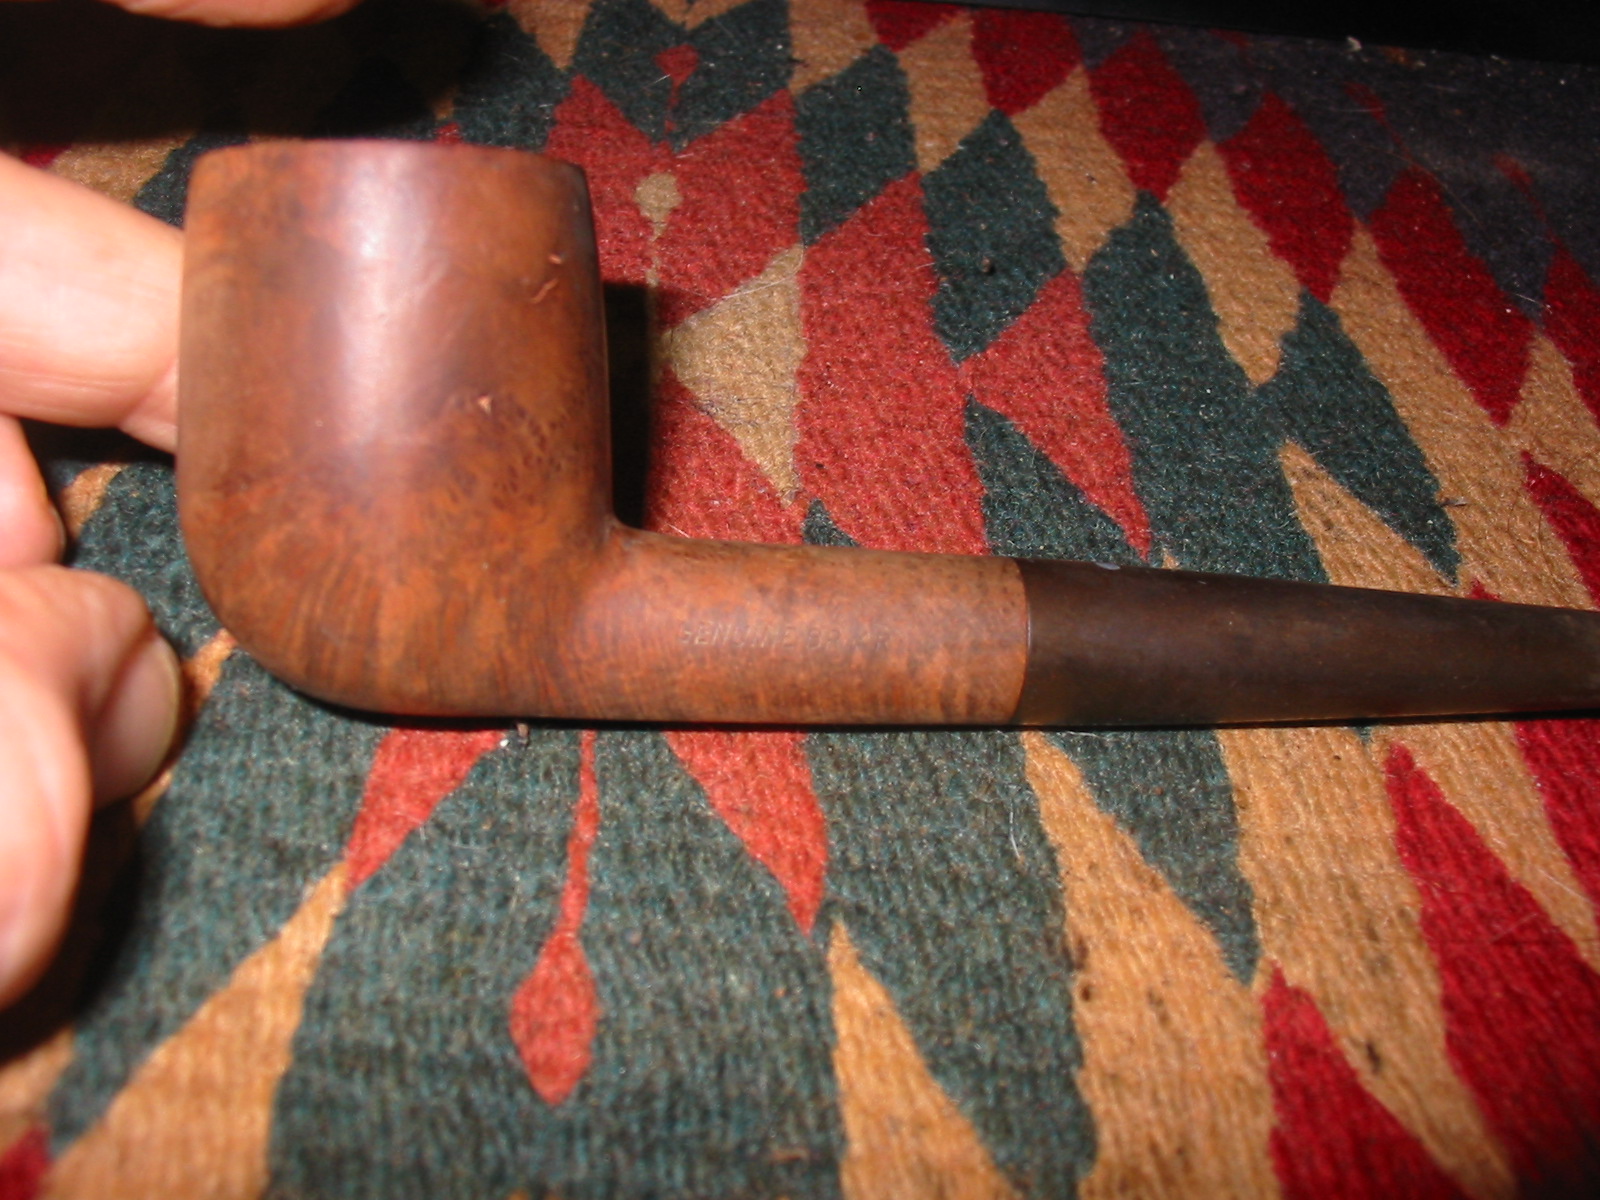
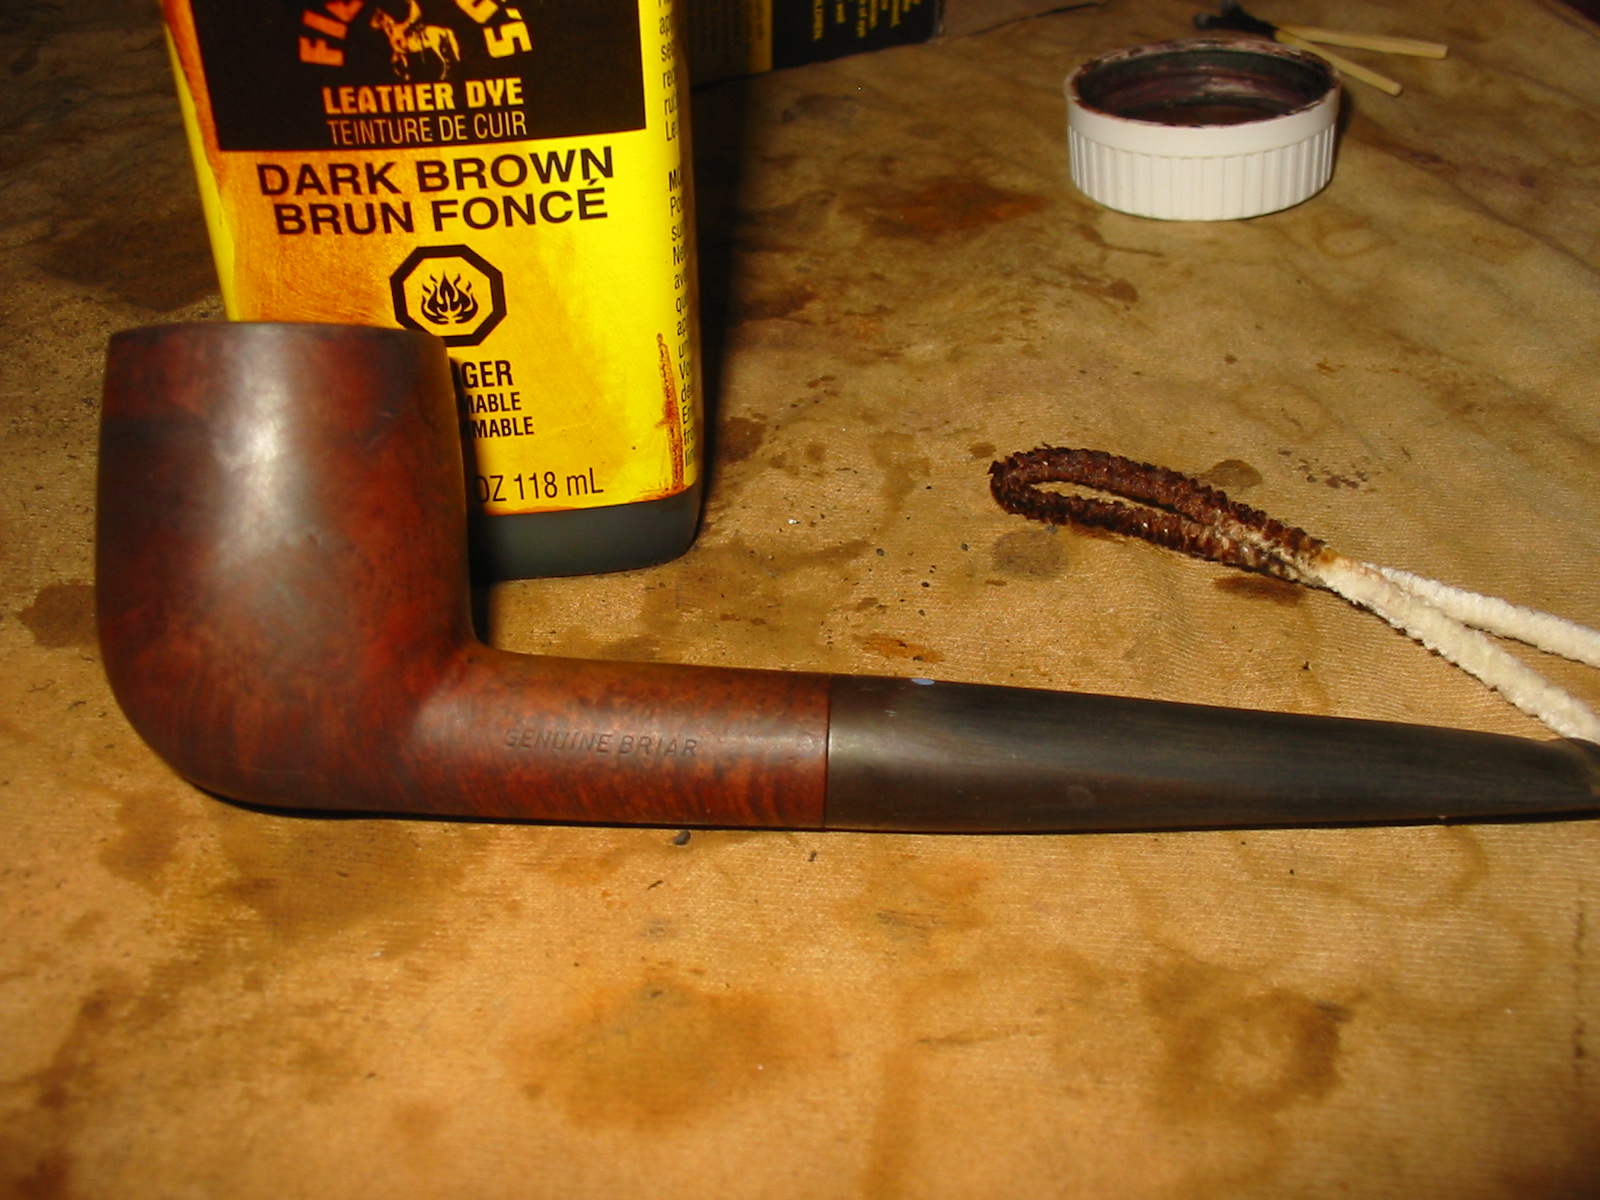
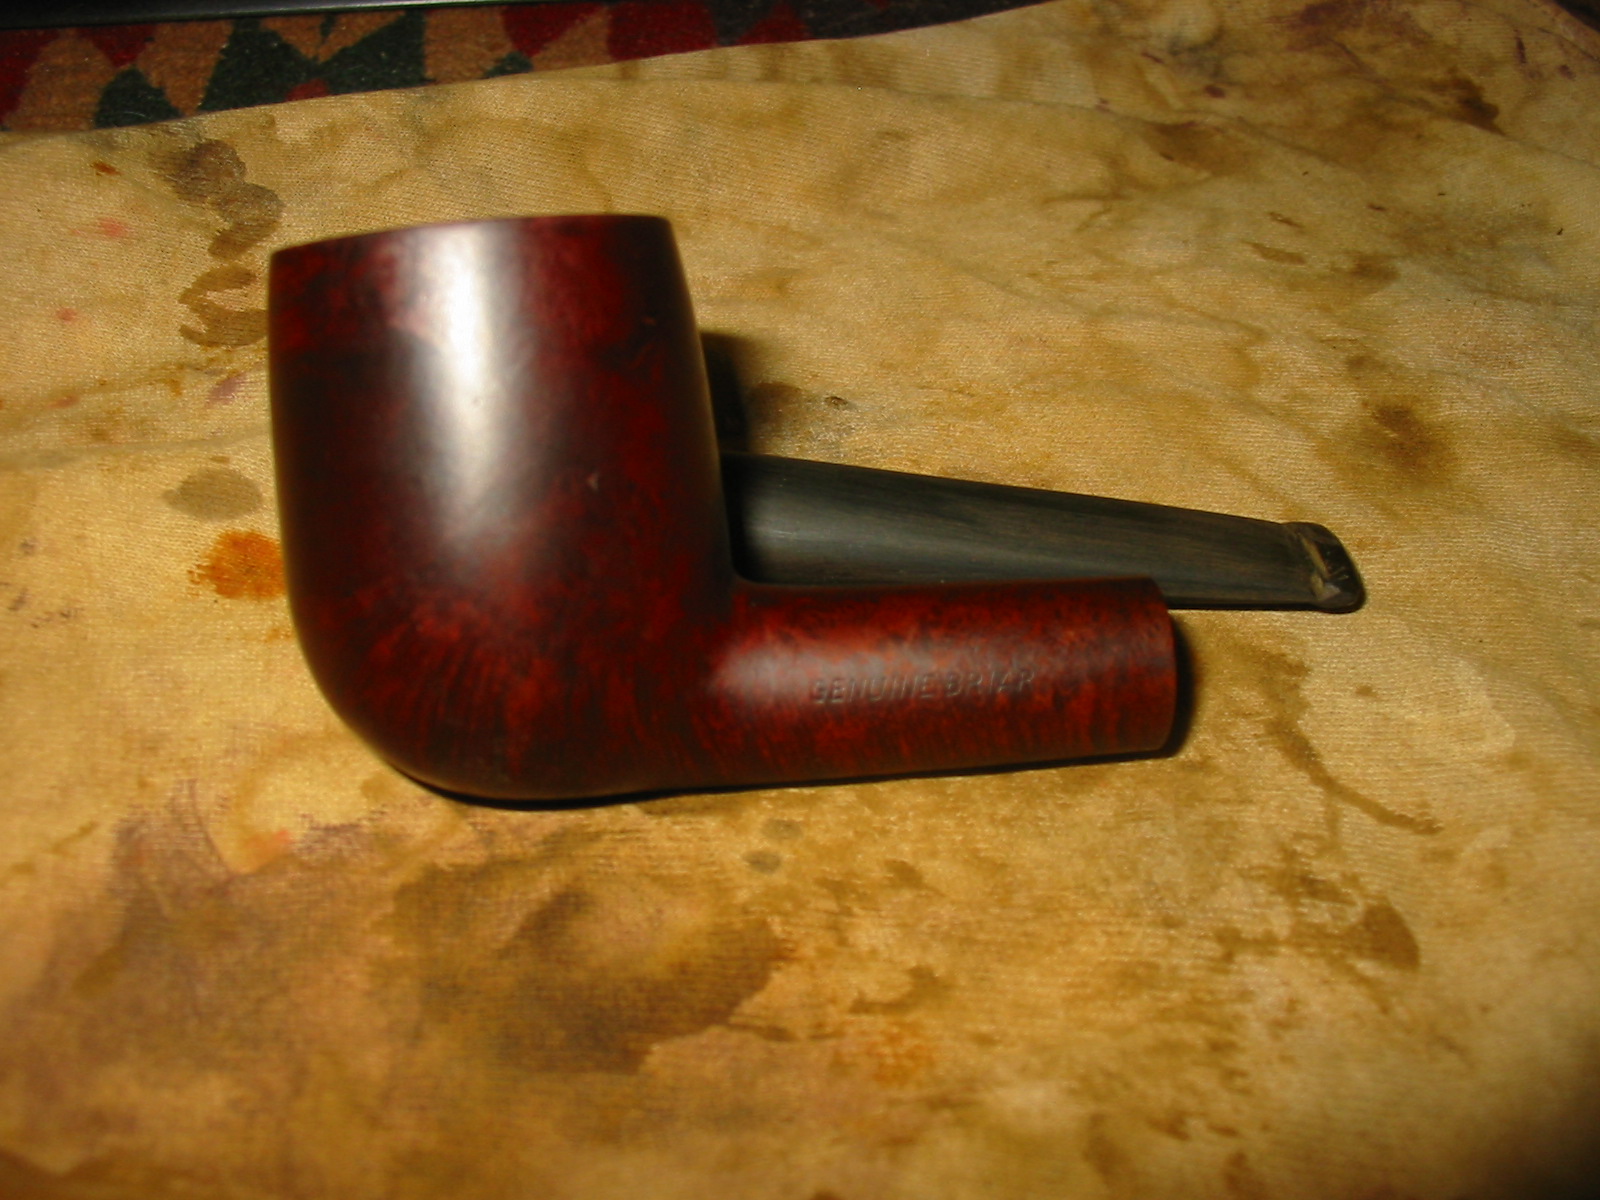
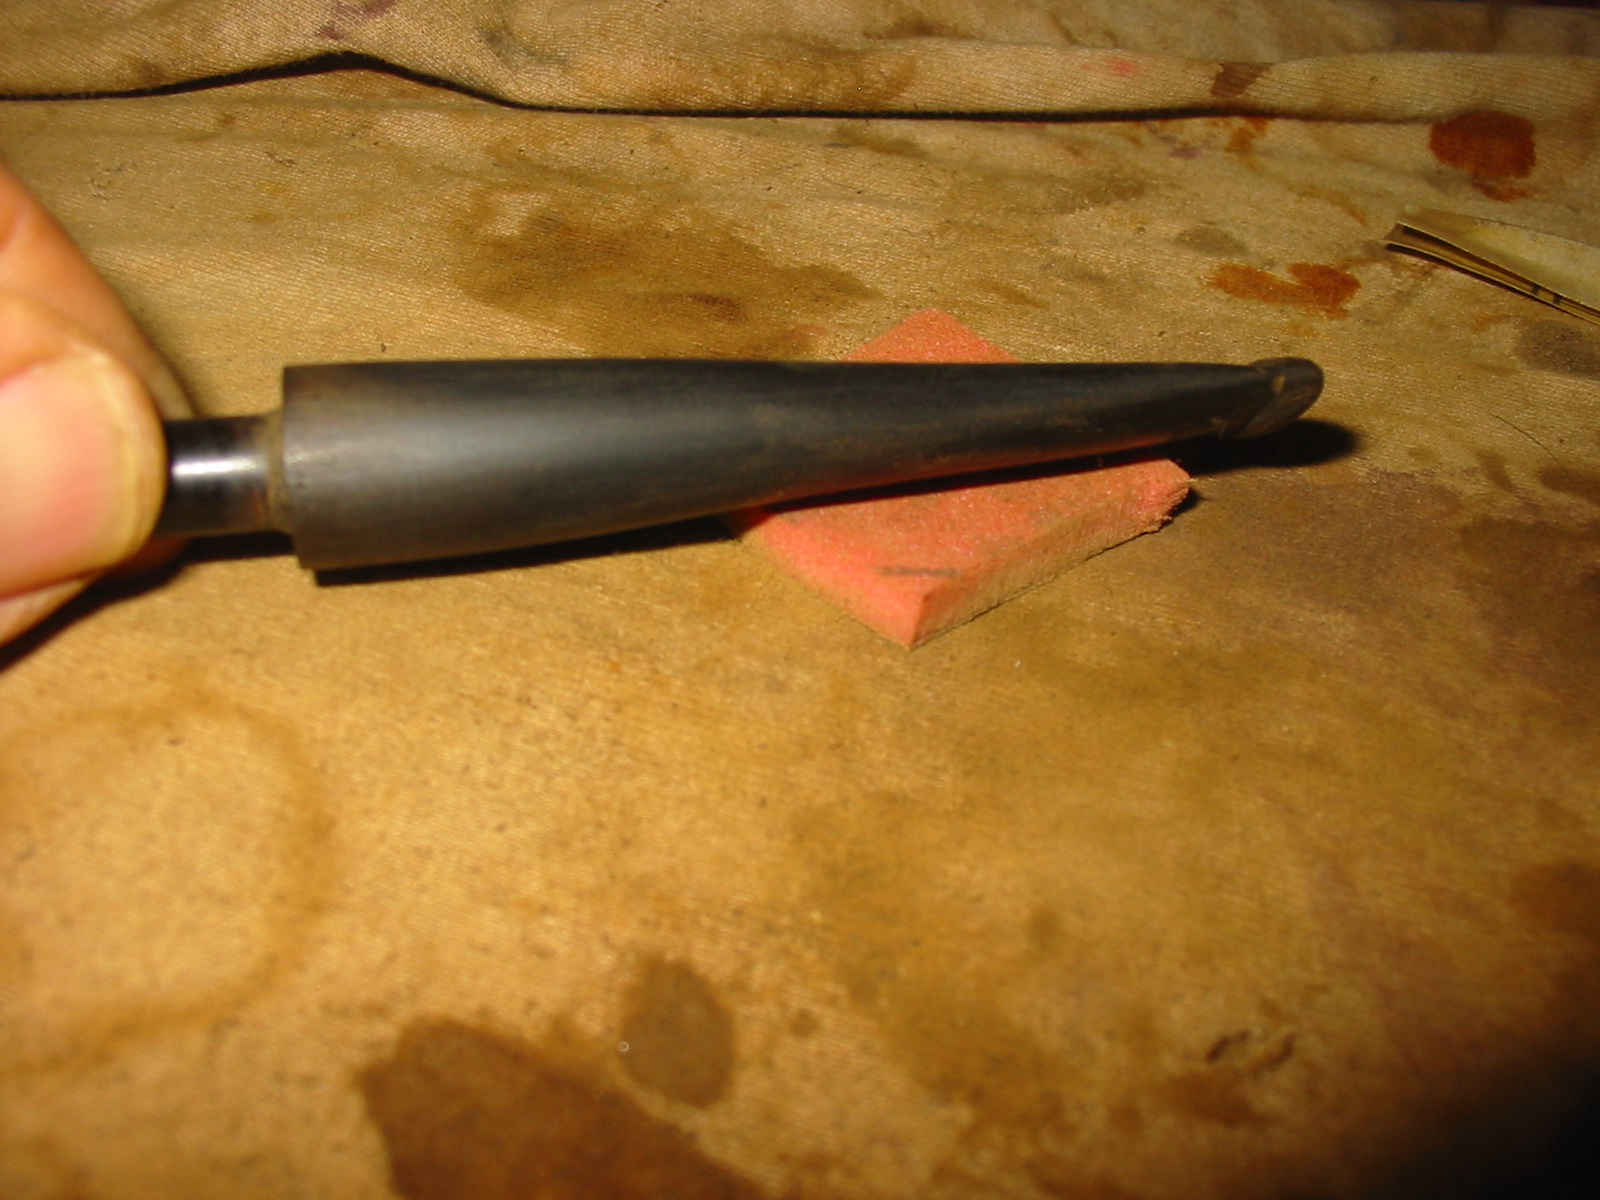
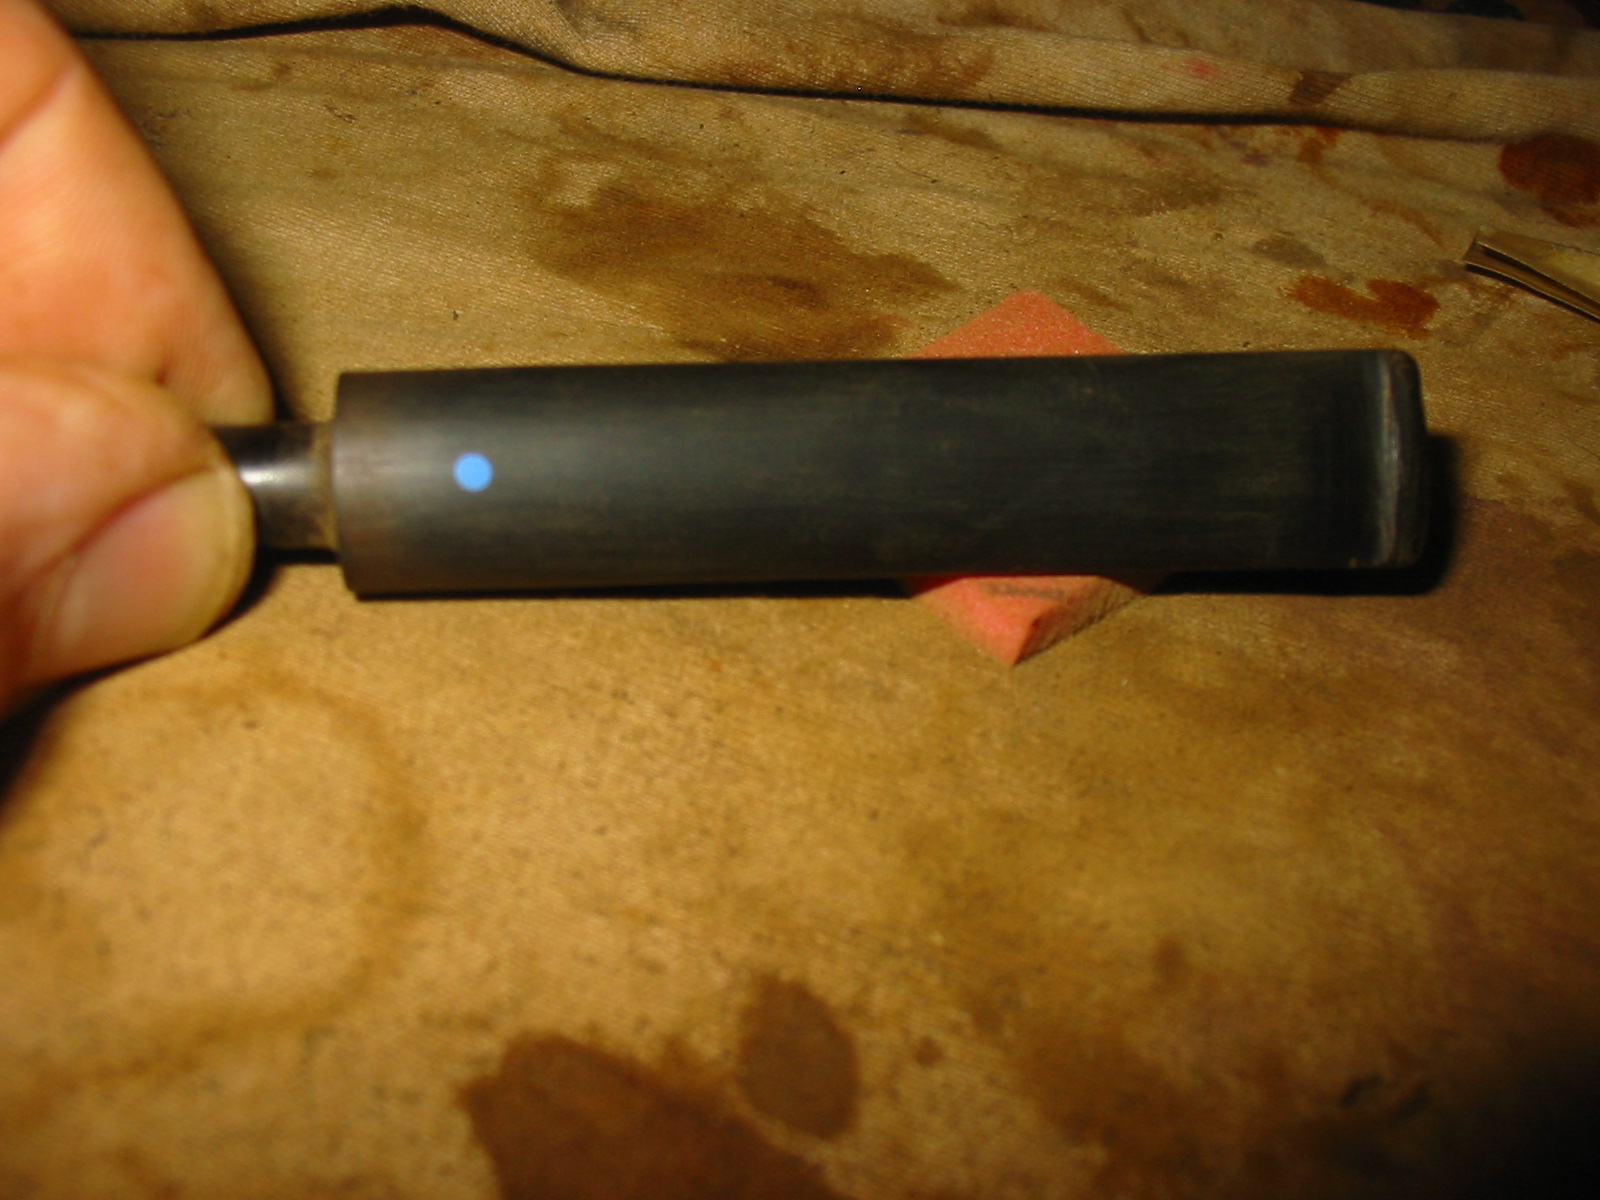
I came across this little billiard in an antique shop last weekend and when I saw the blue dot on the stem and saw the classic English shape of the bowl I truly thought I had found an elusive Sasieni one dot pipe. Lots of things about it seemed to signal that is what I had. The stamping was hard to see under the grime but there were i’s and an e. I was hopeful and I guess also wishful in my thinking. The pipe was dirty as can be seen below. The stem had obviously been damaged and cut off by the previous owner and a new button filed into the stem. The bowl was badly caked and the rim was damaged with dents and chips. I took the picture below while I was relaxing in a pub near the shop and looking over the finds of the afternoon.
IMG_0489

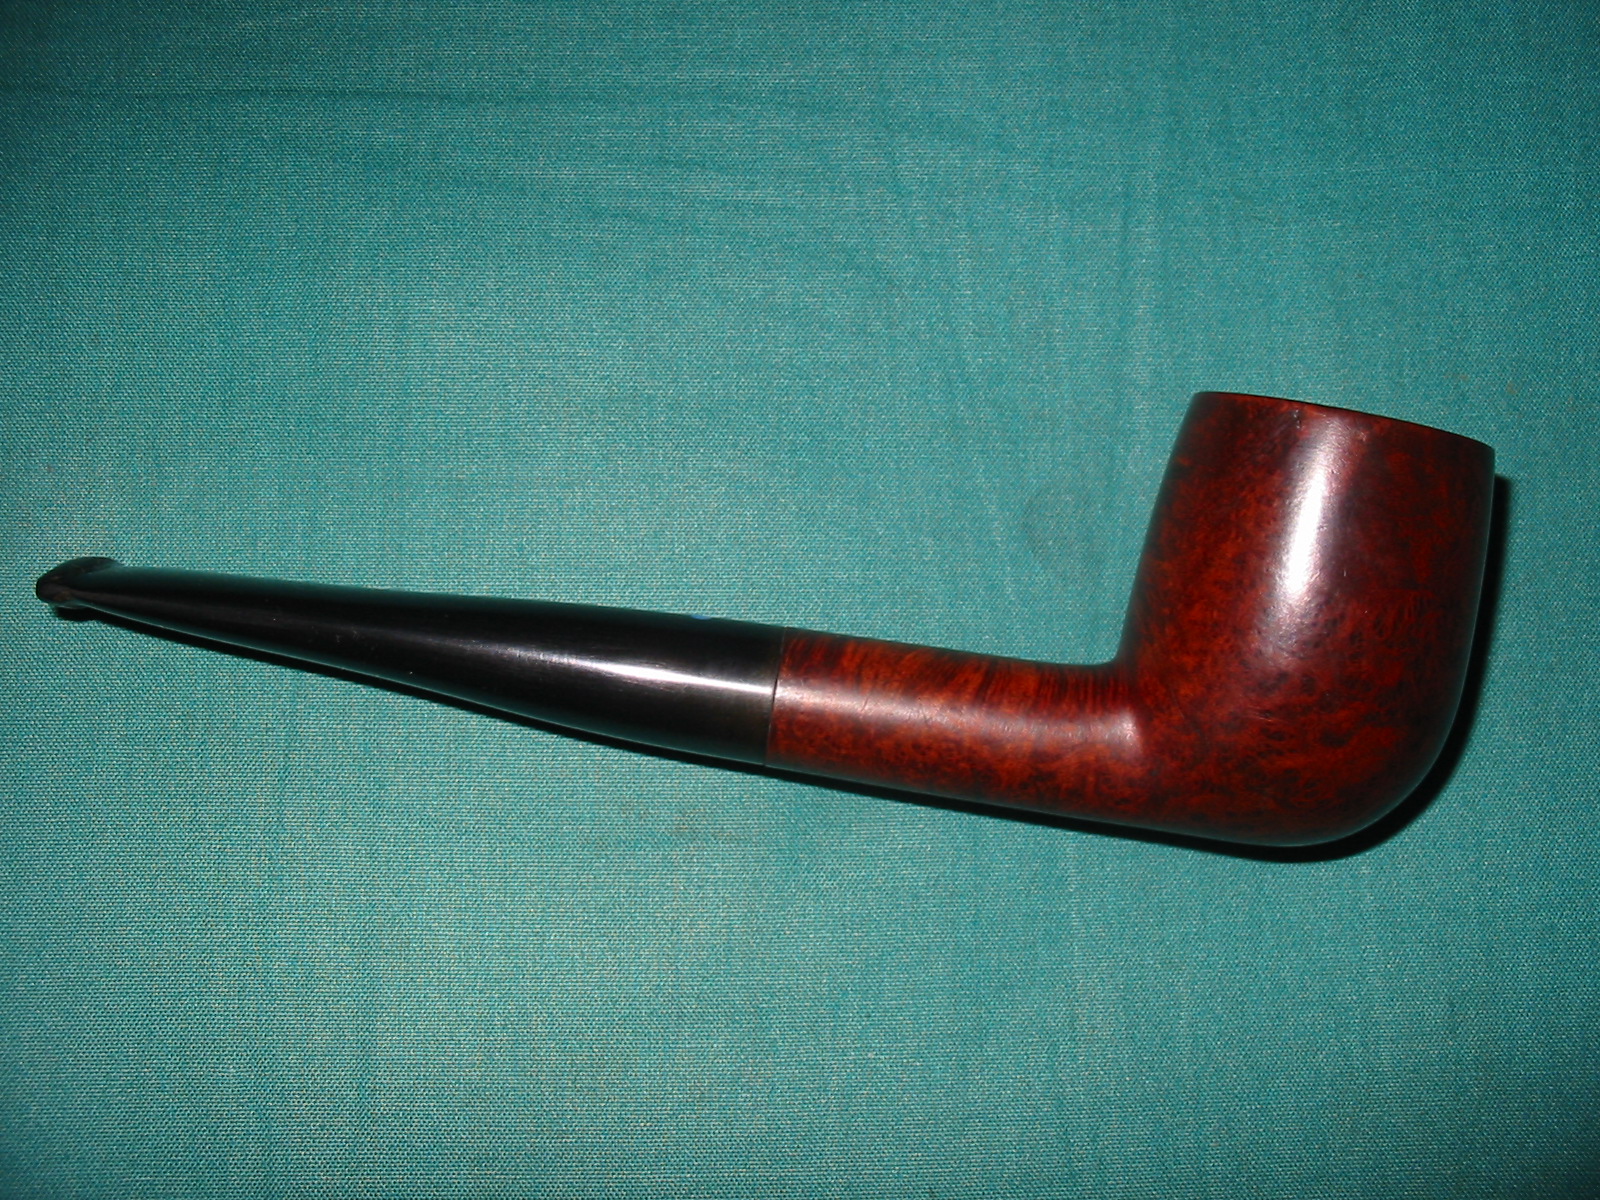
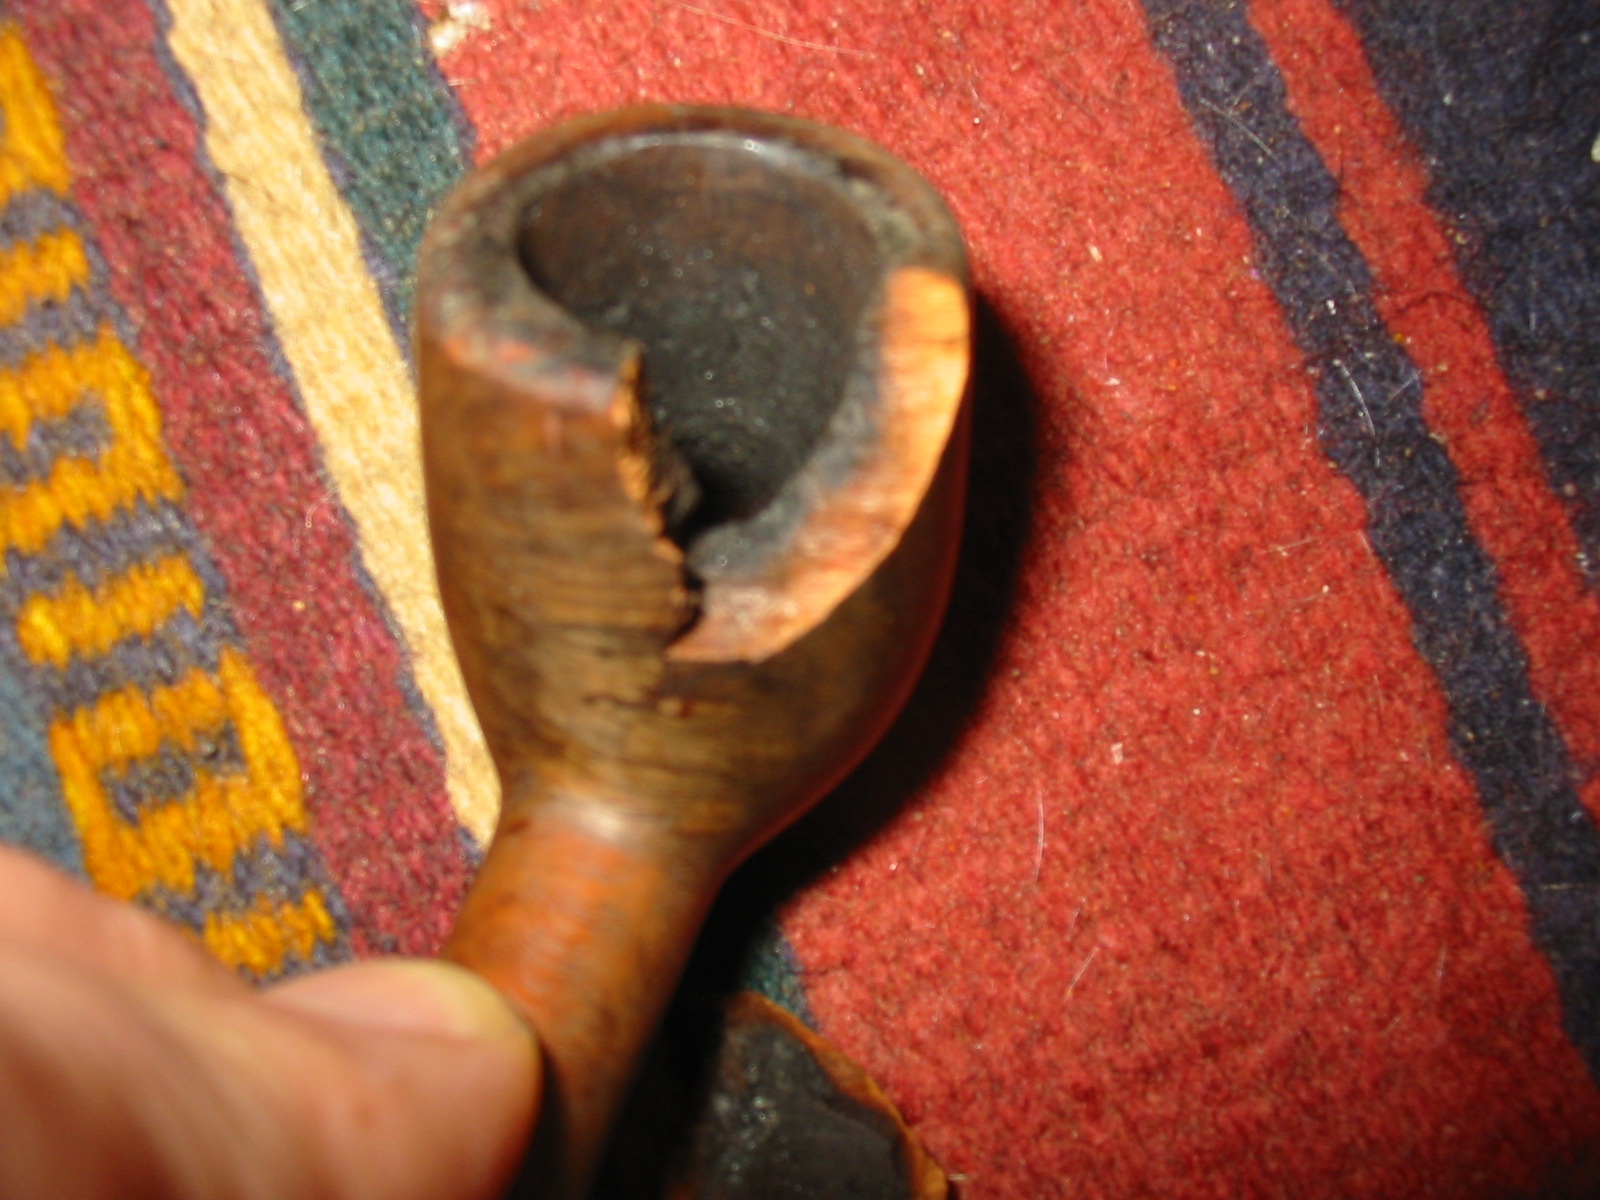
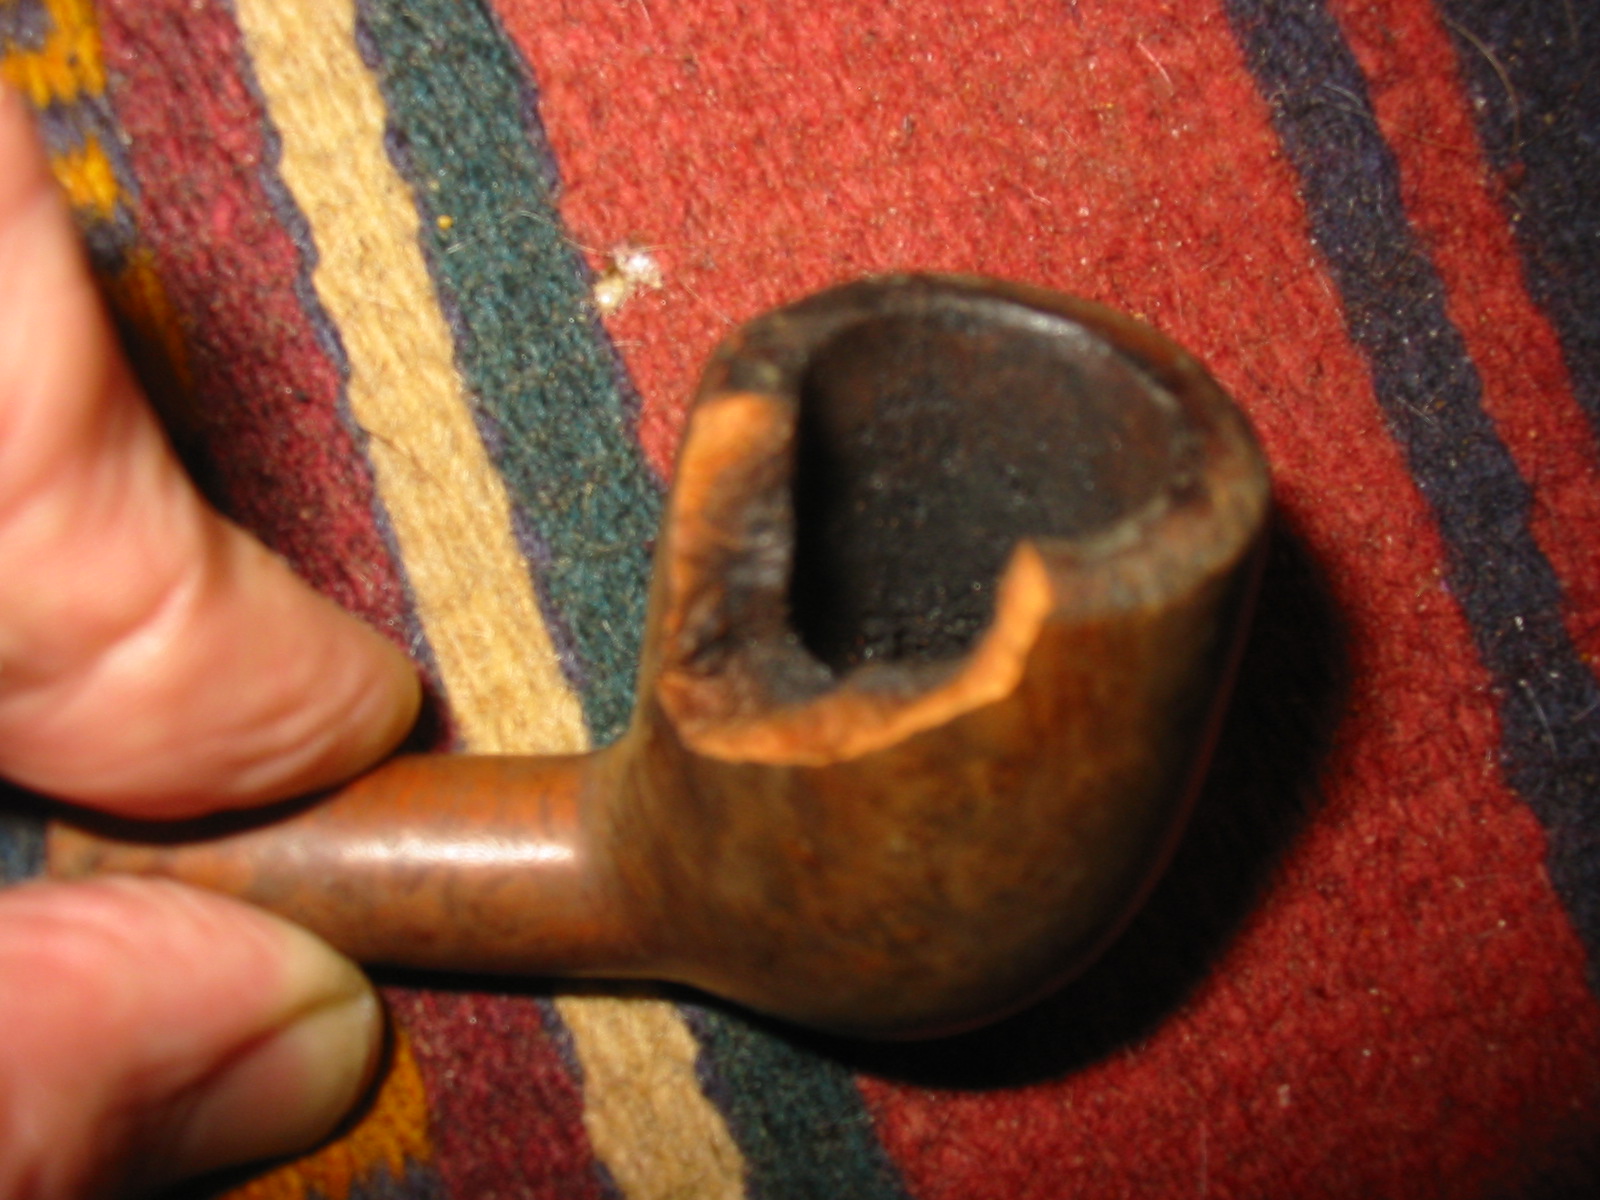
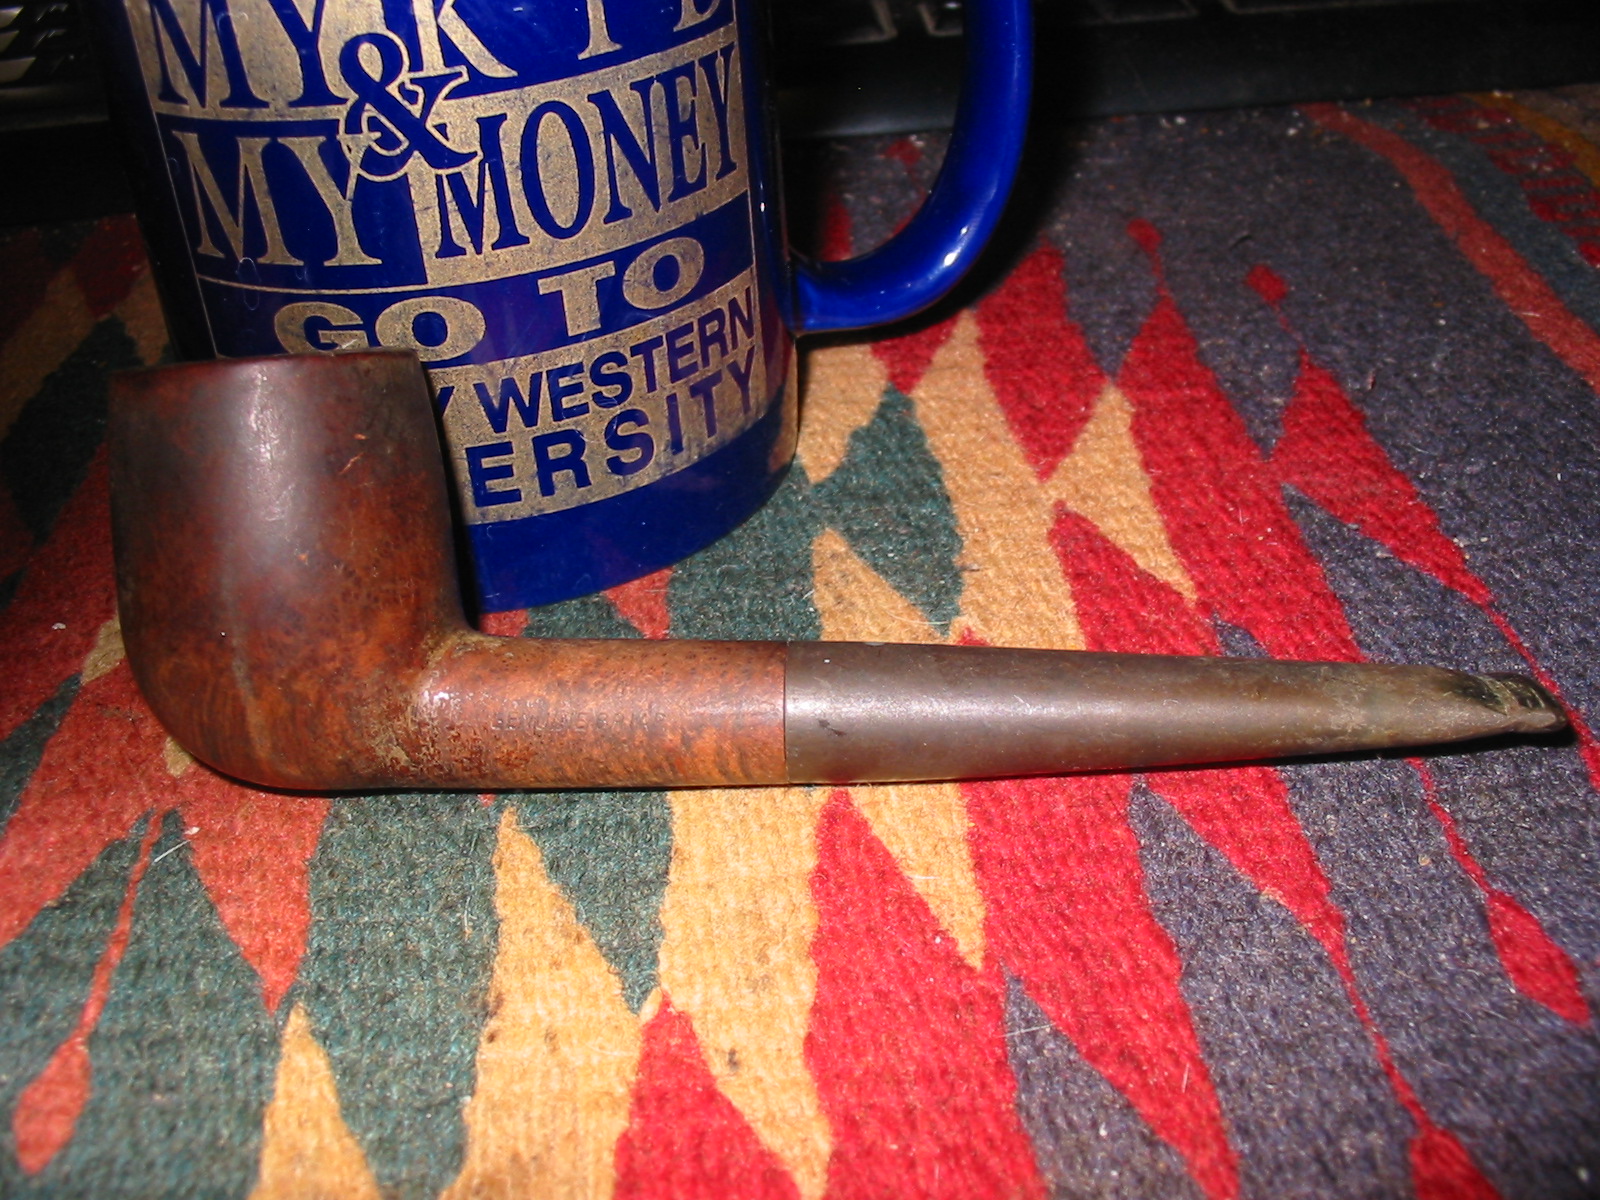
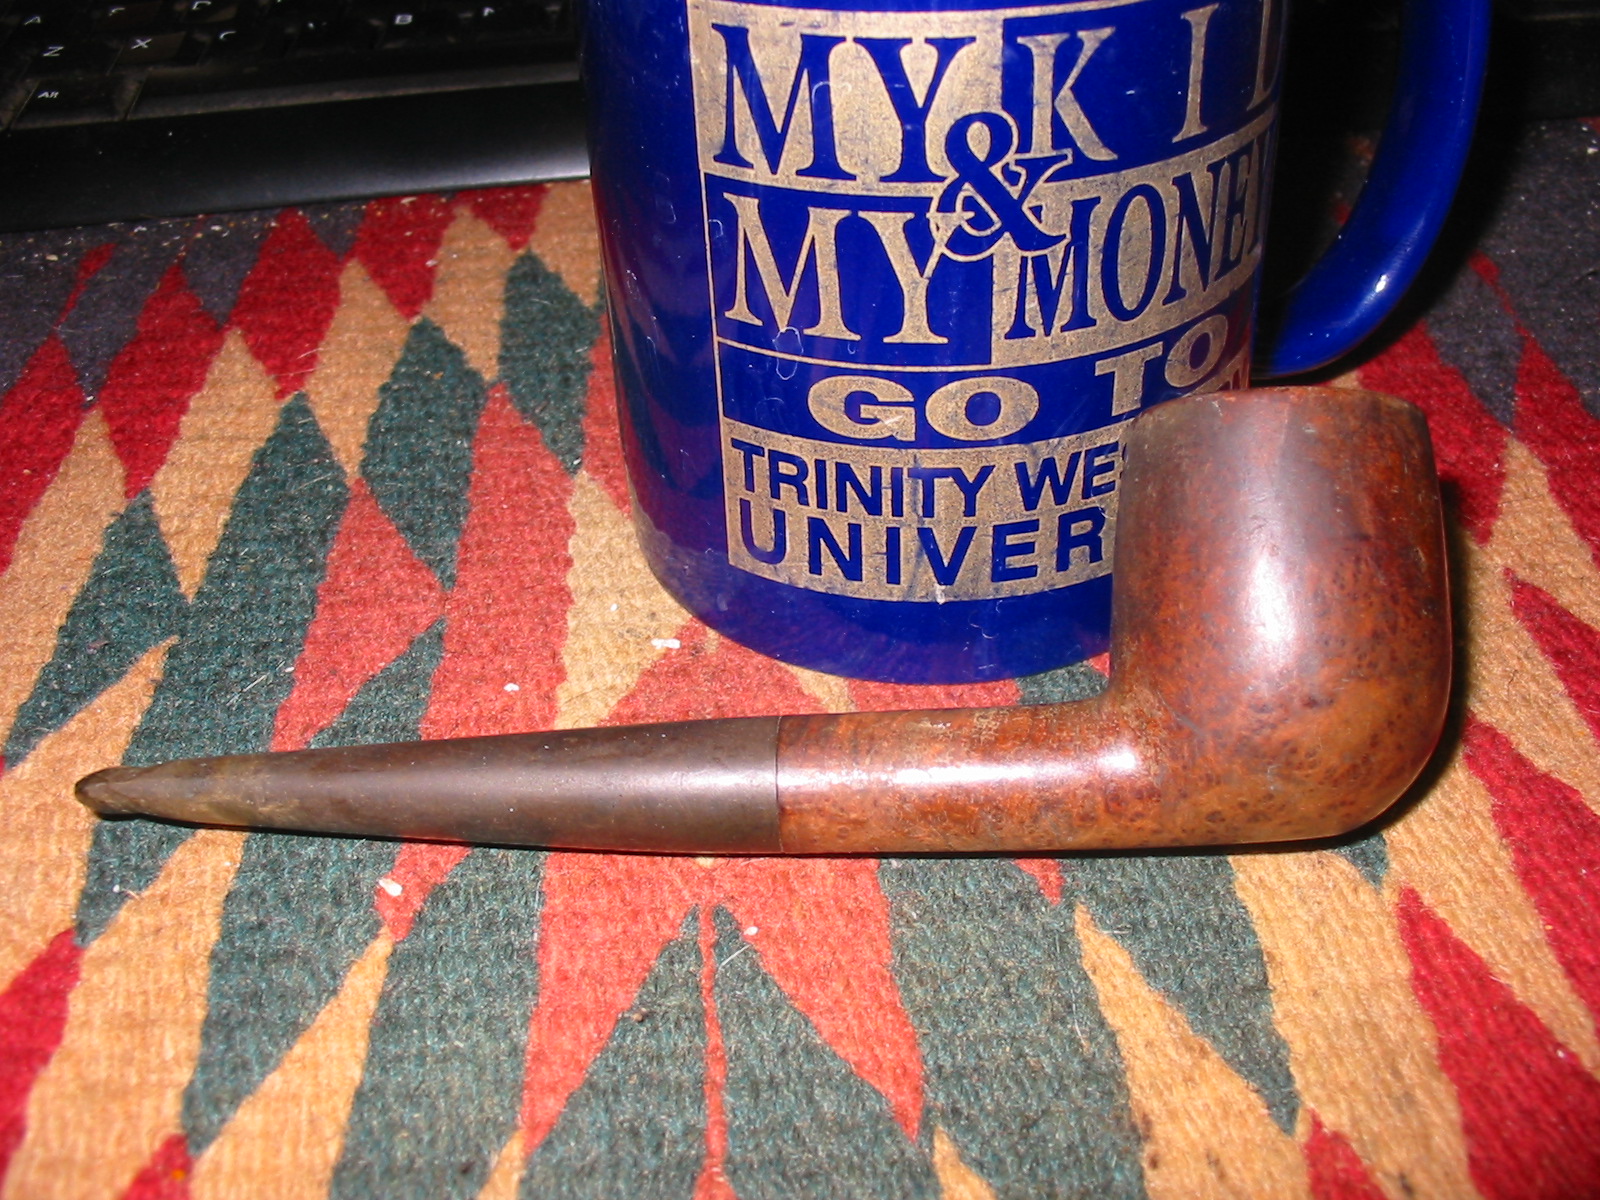
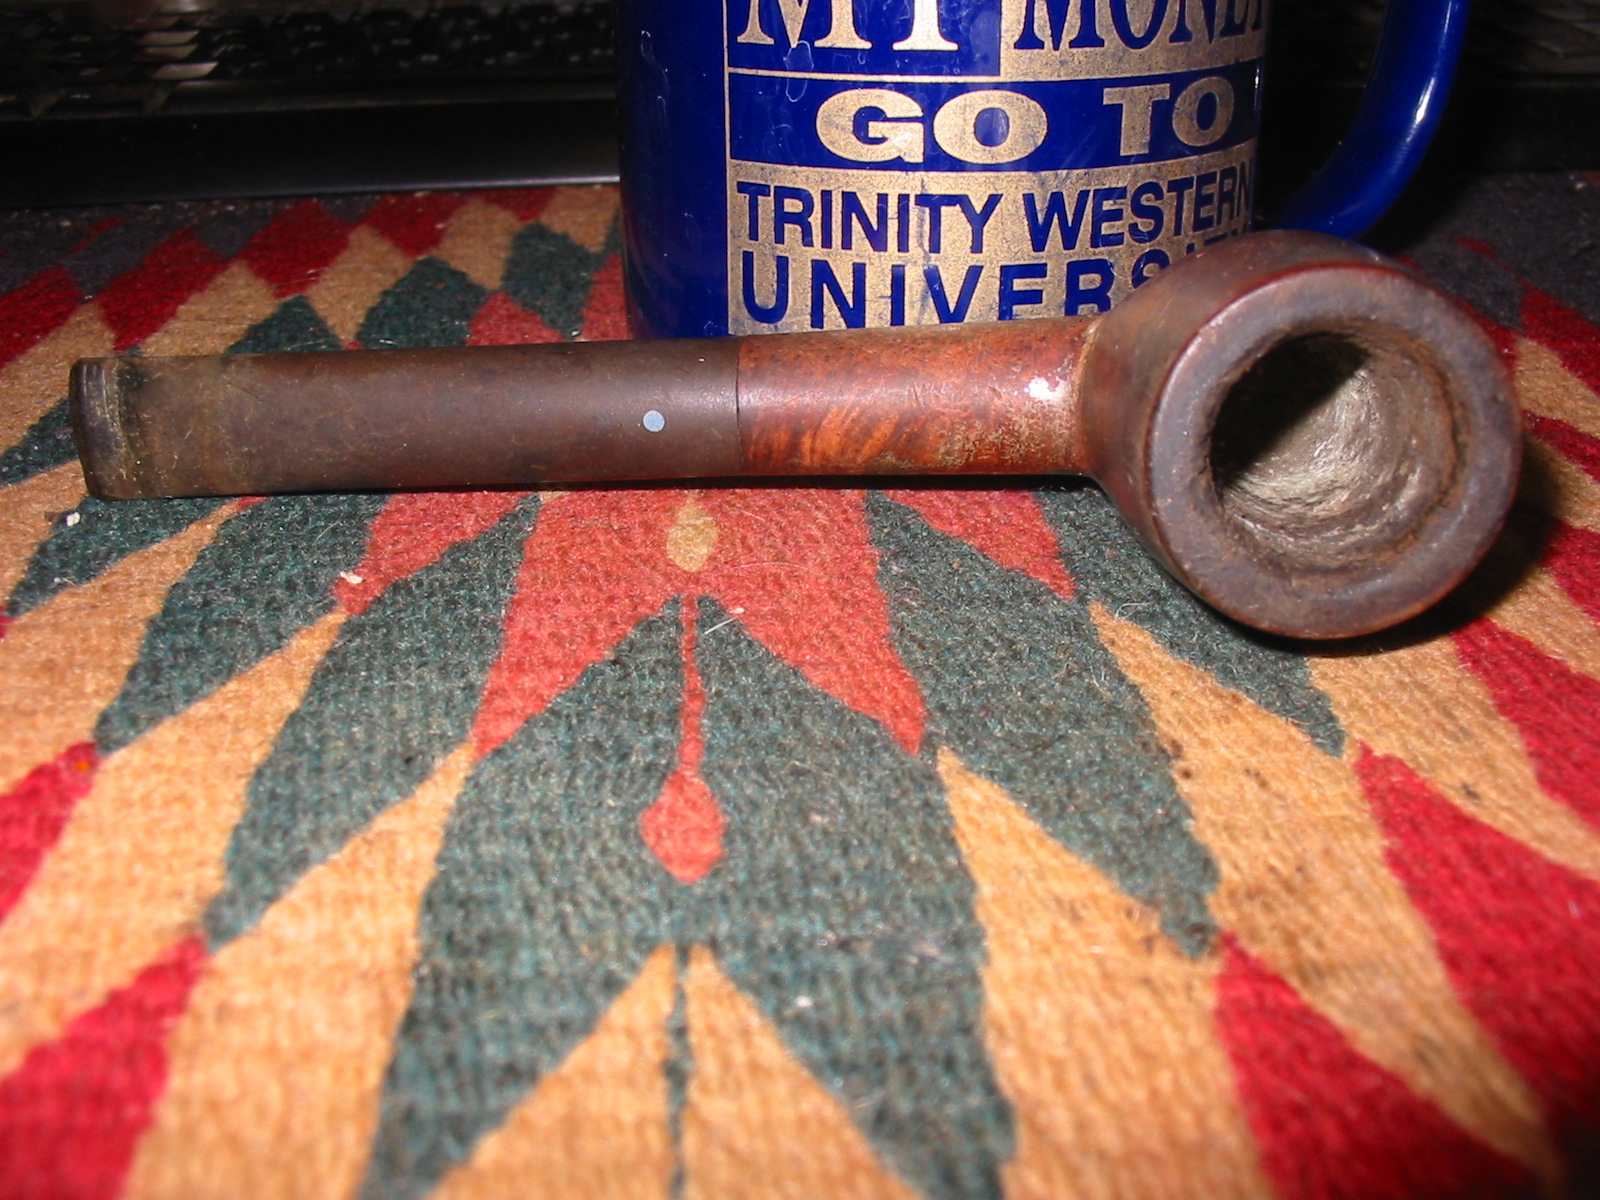
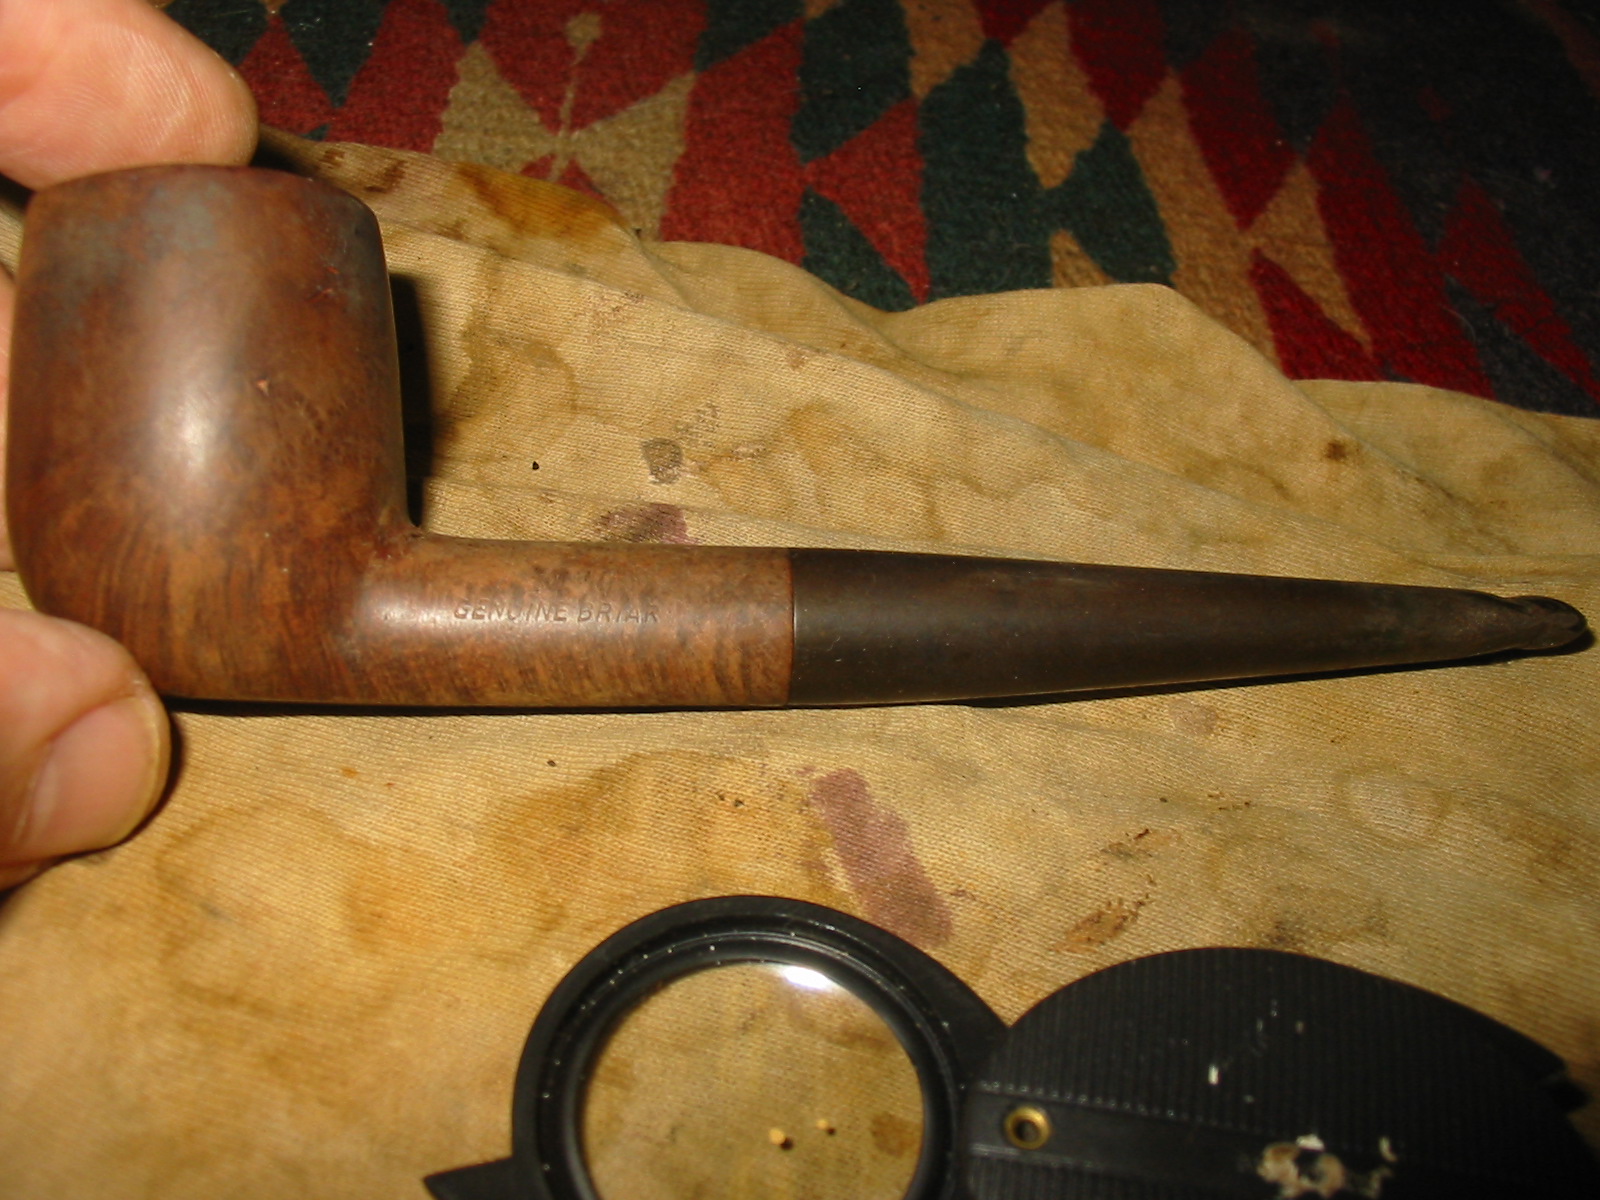
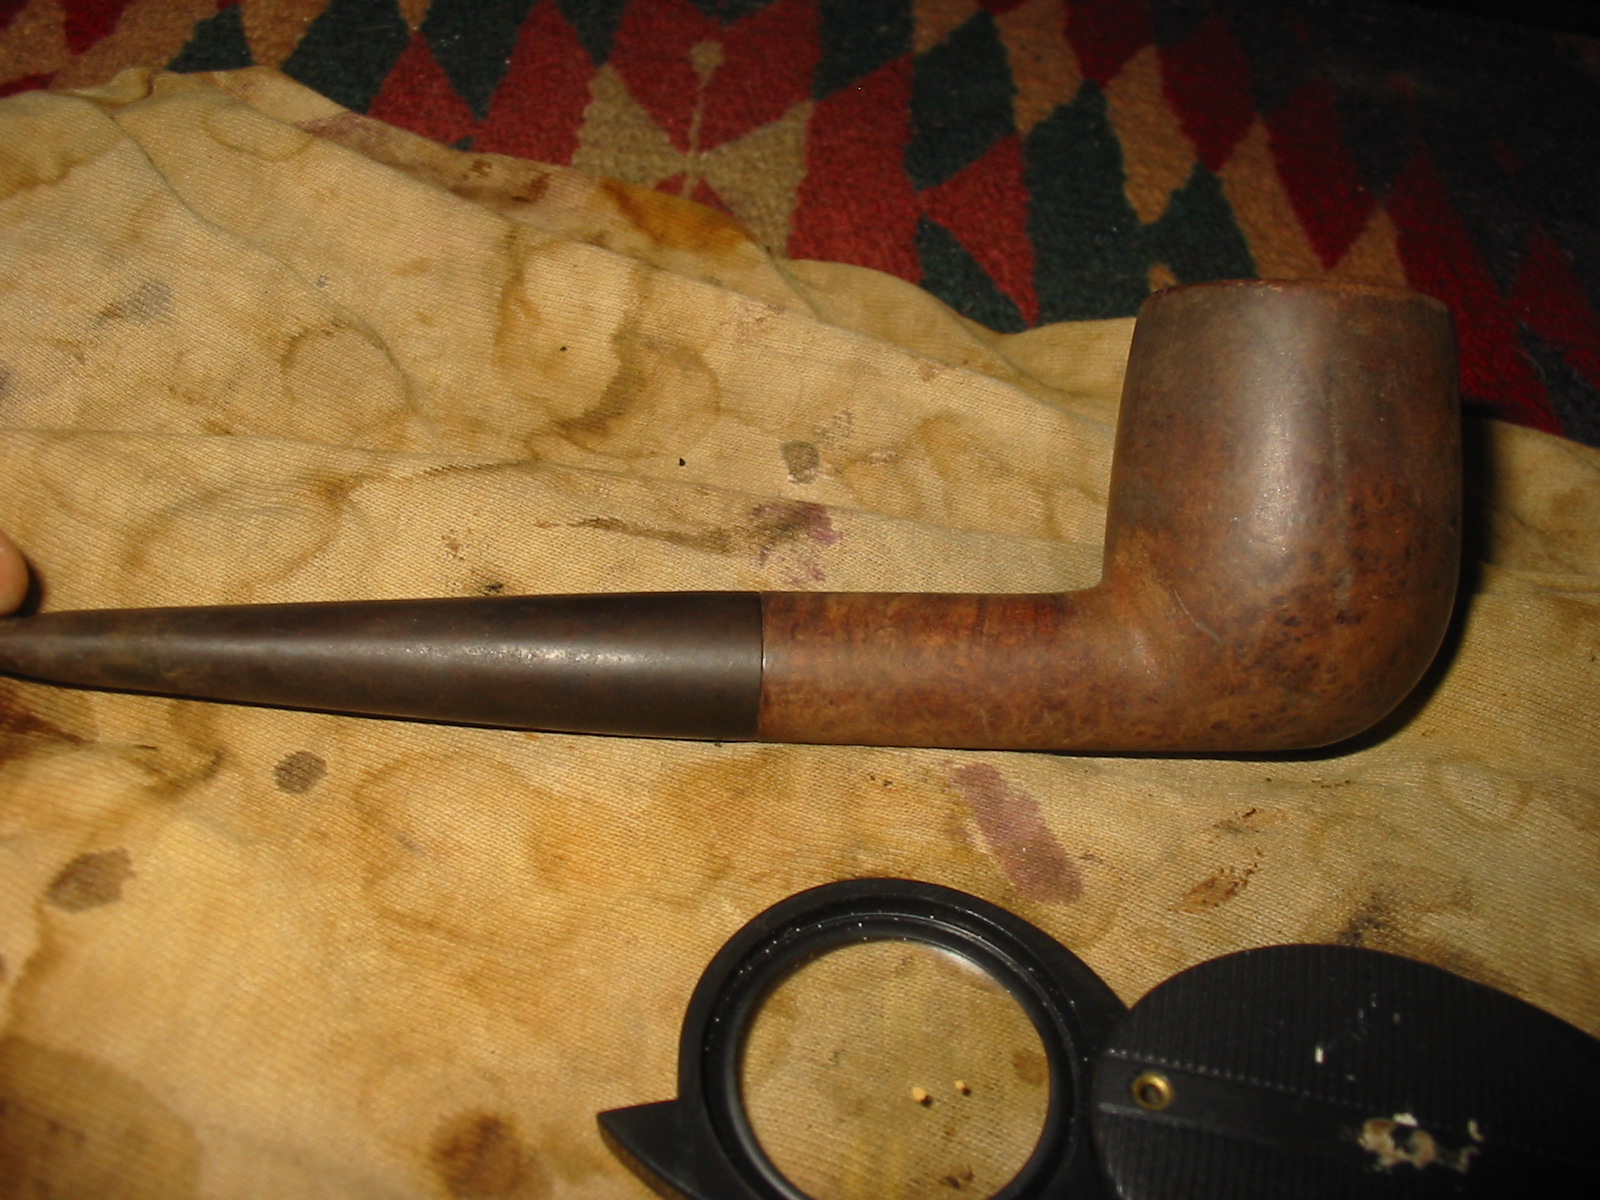
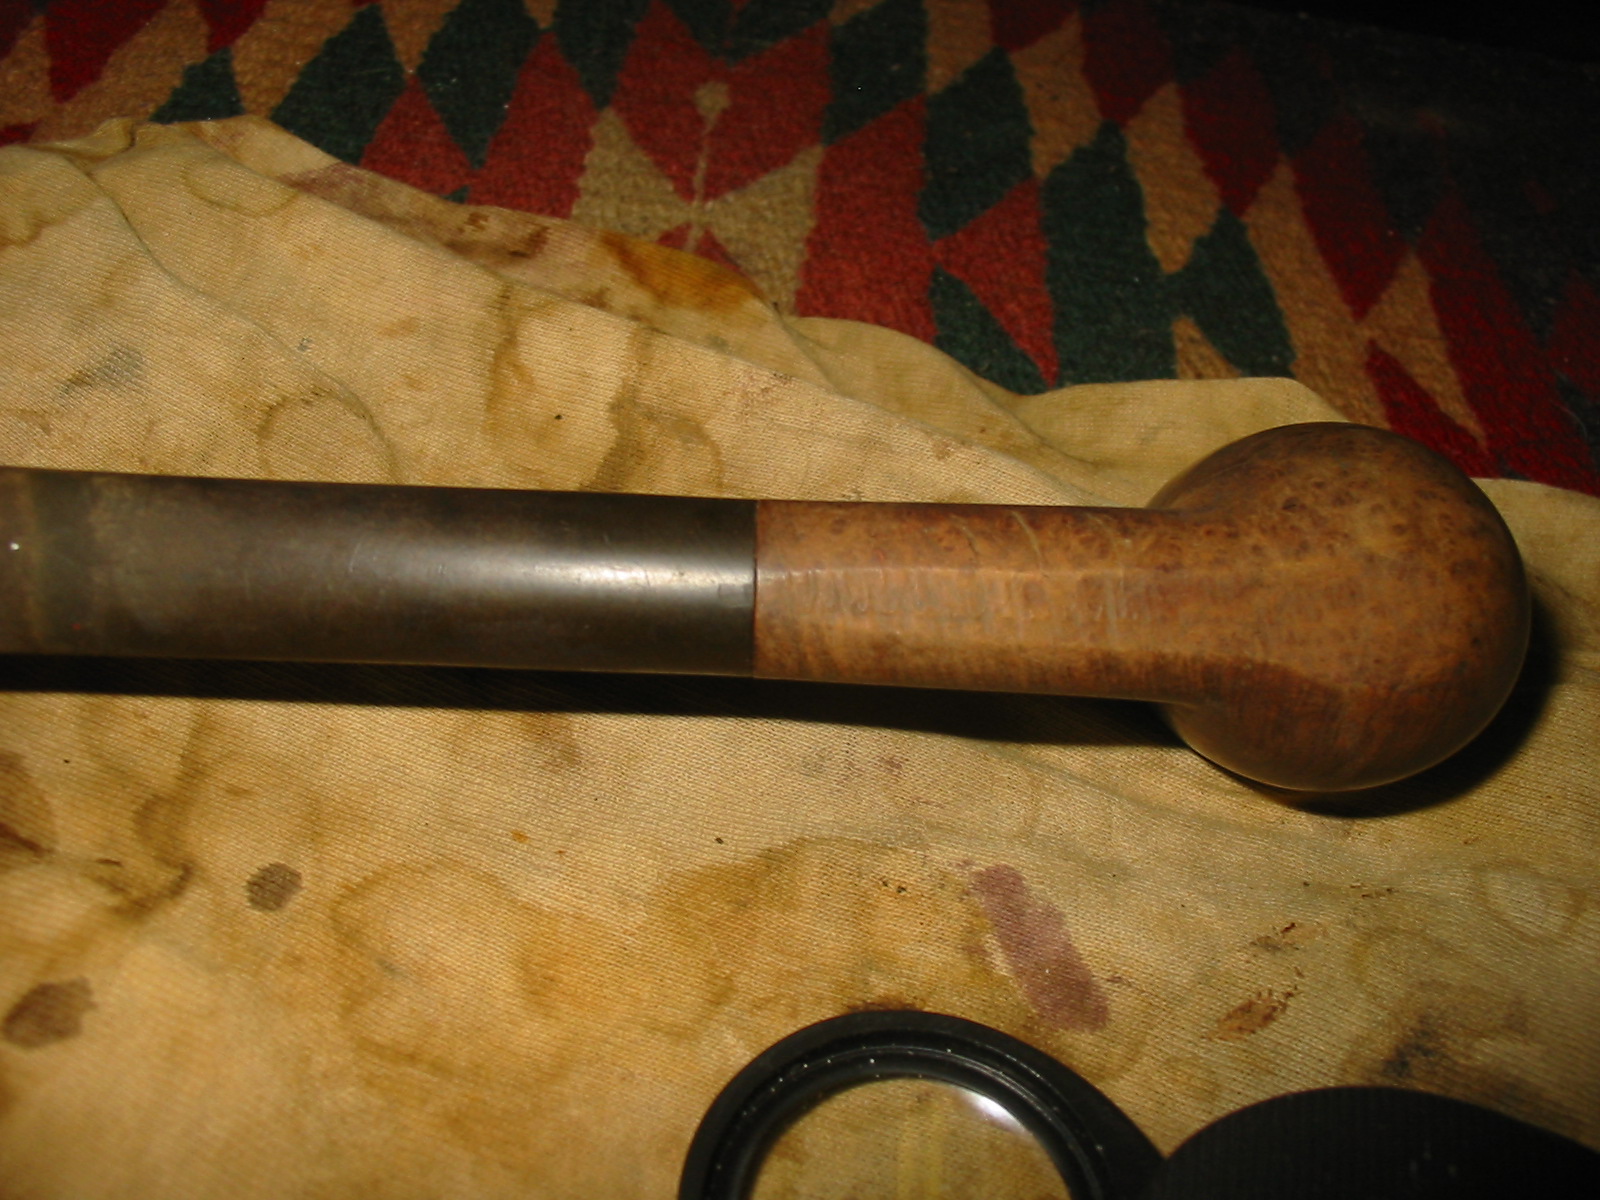
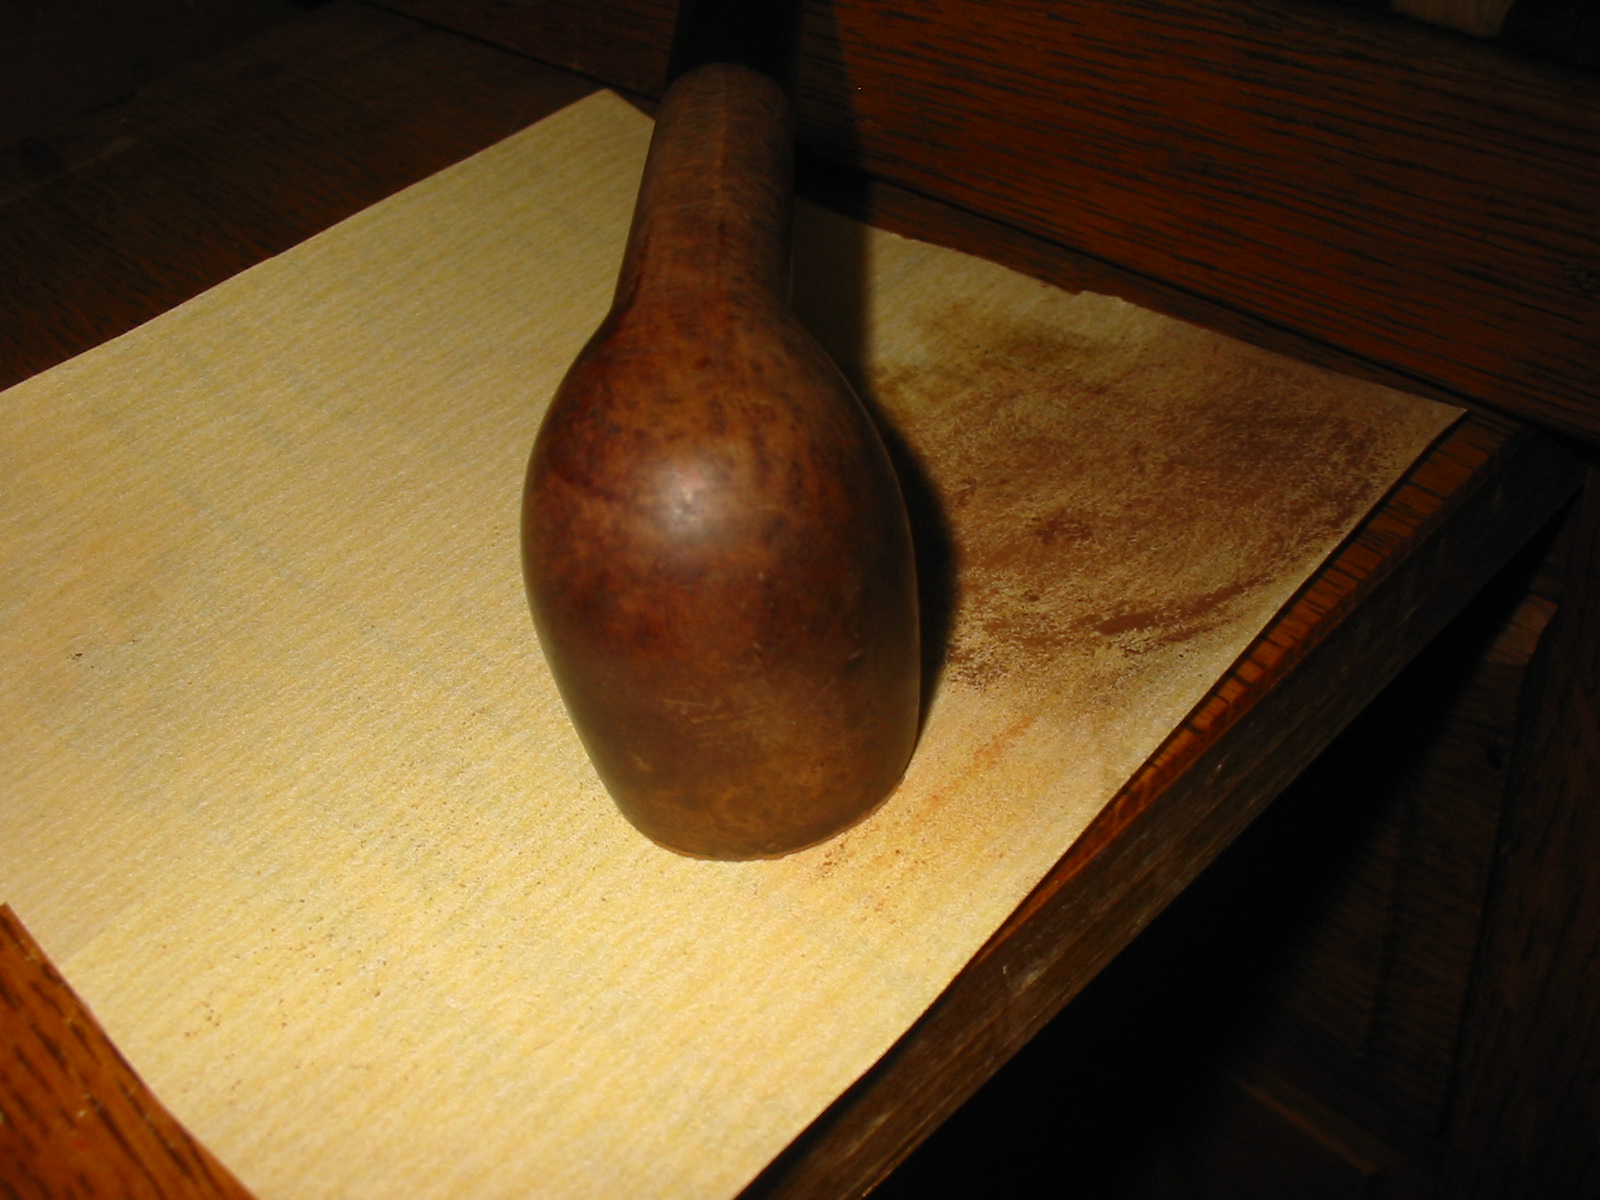
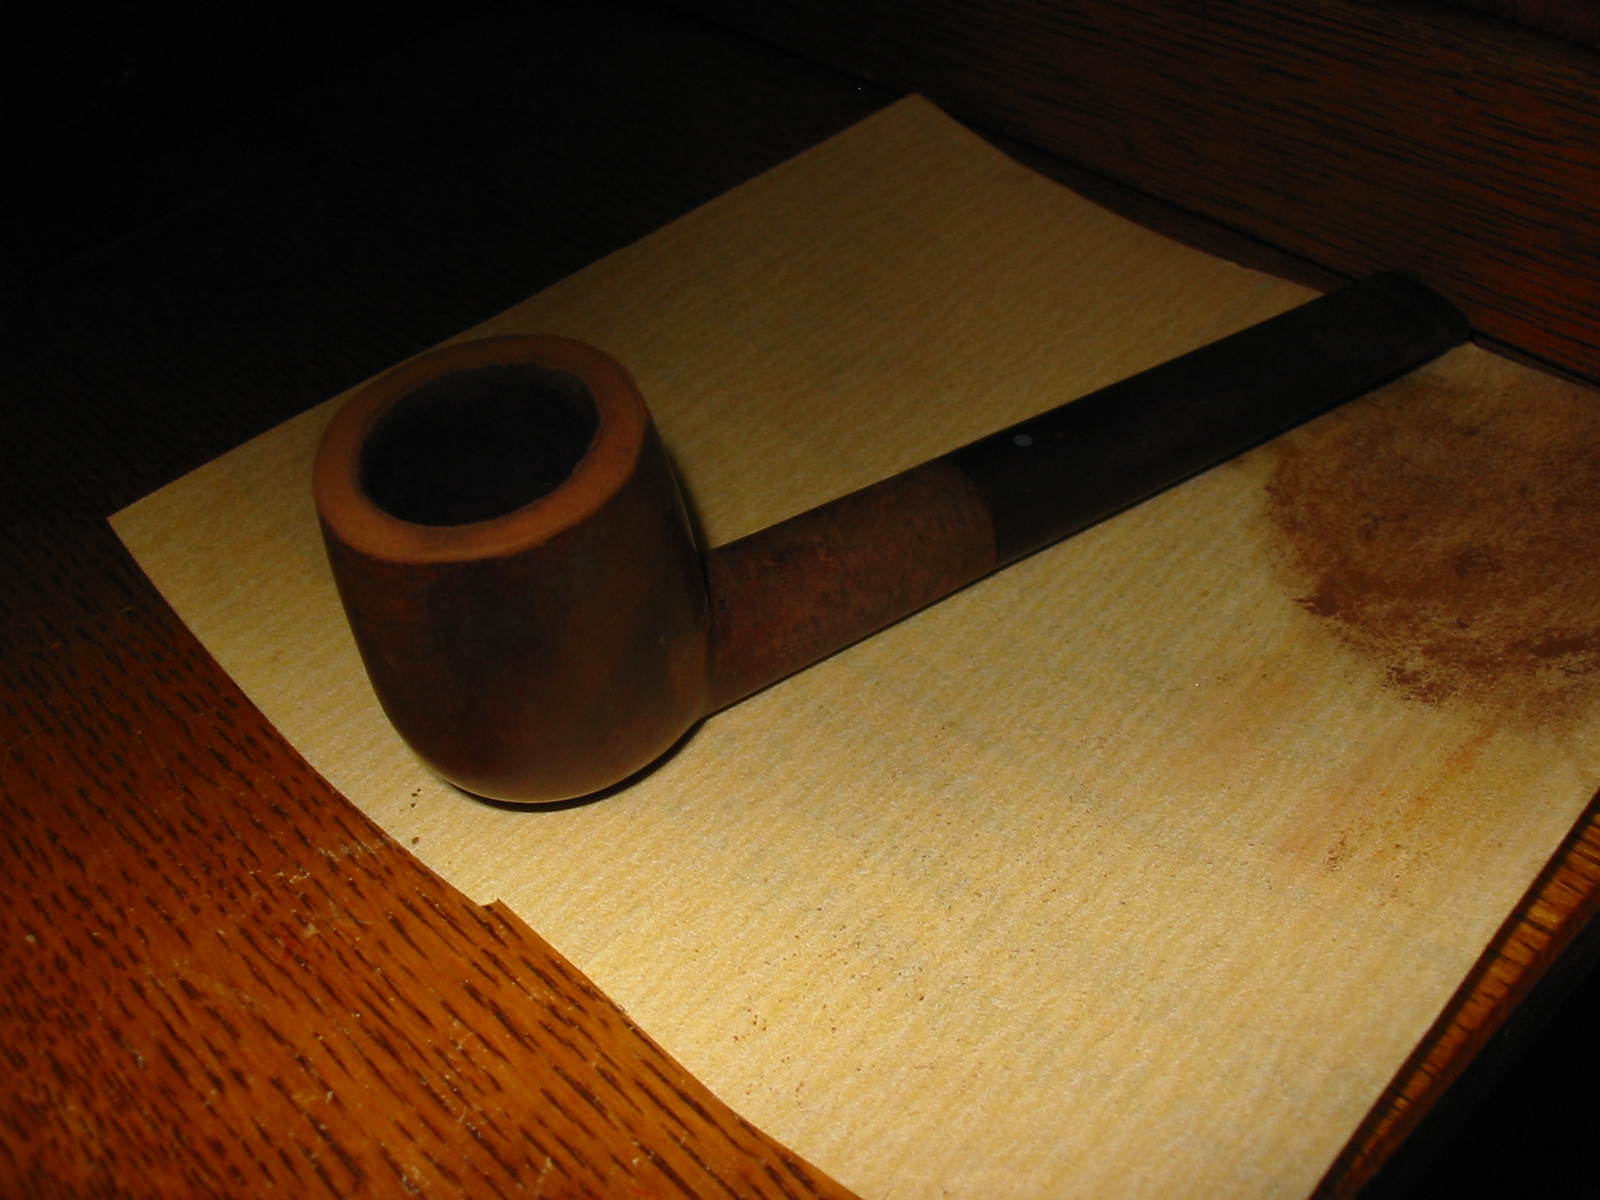
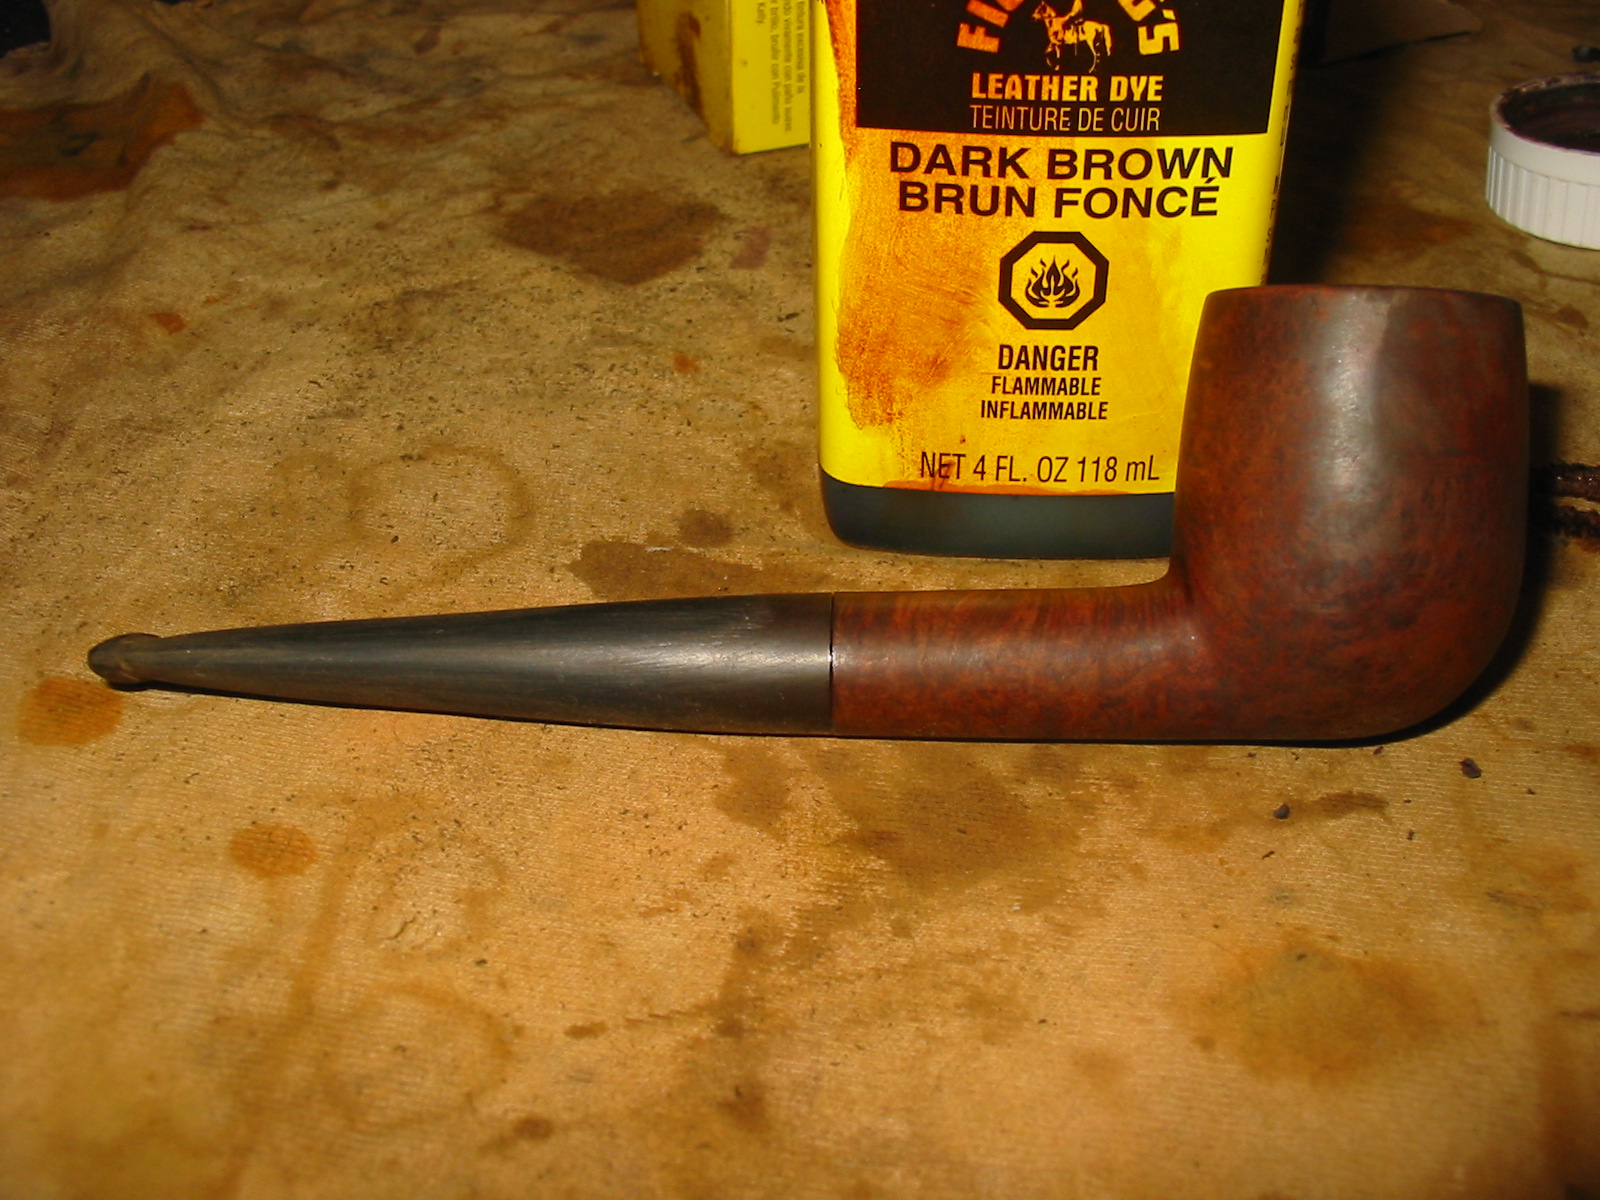
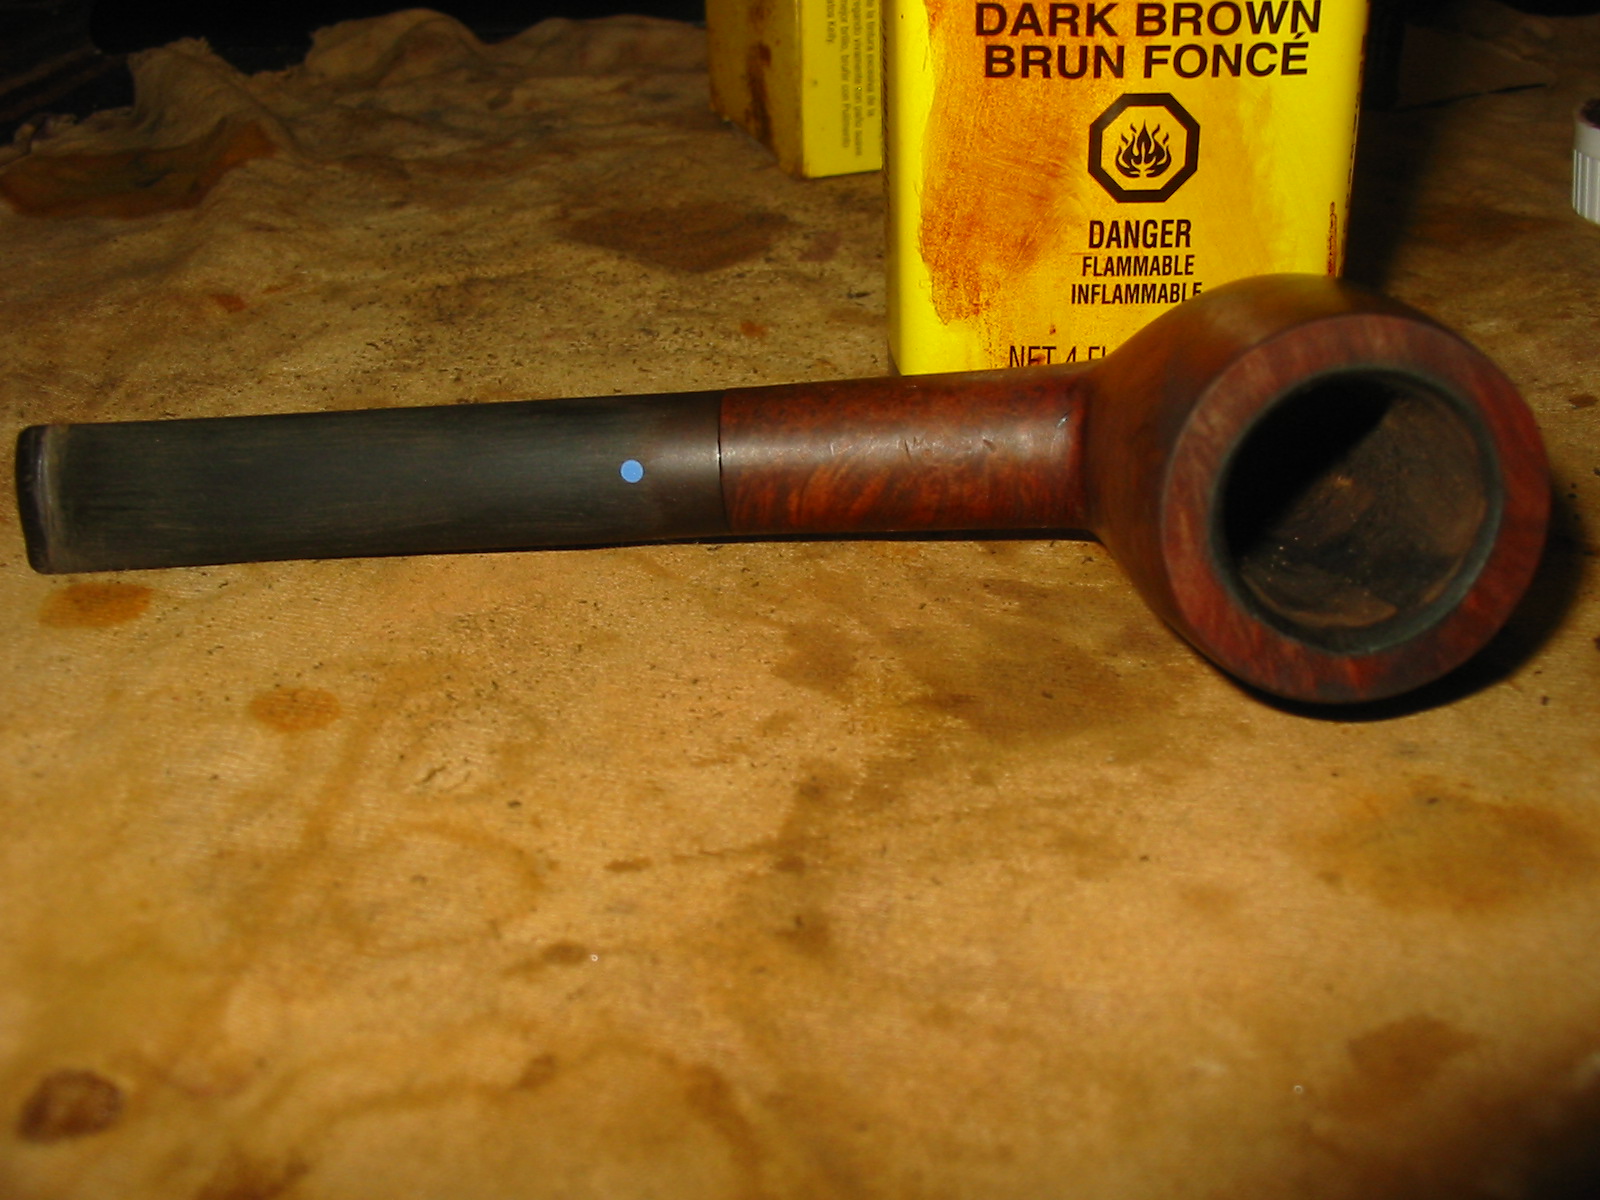
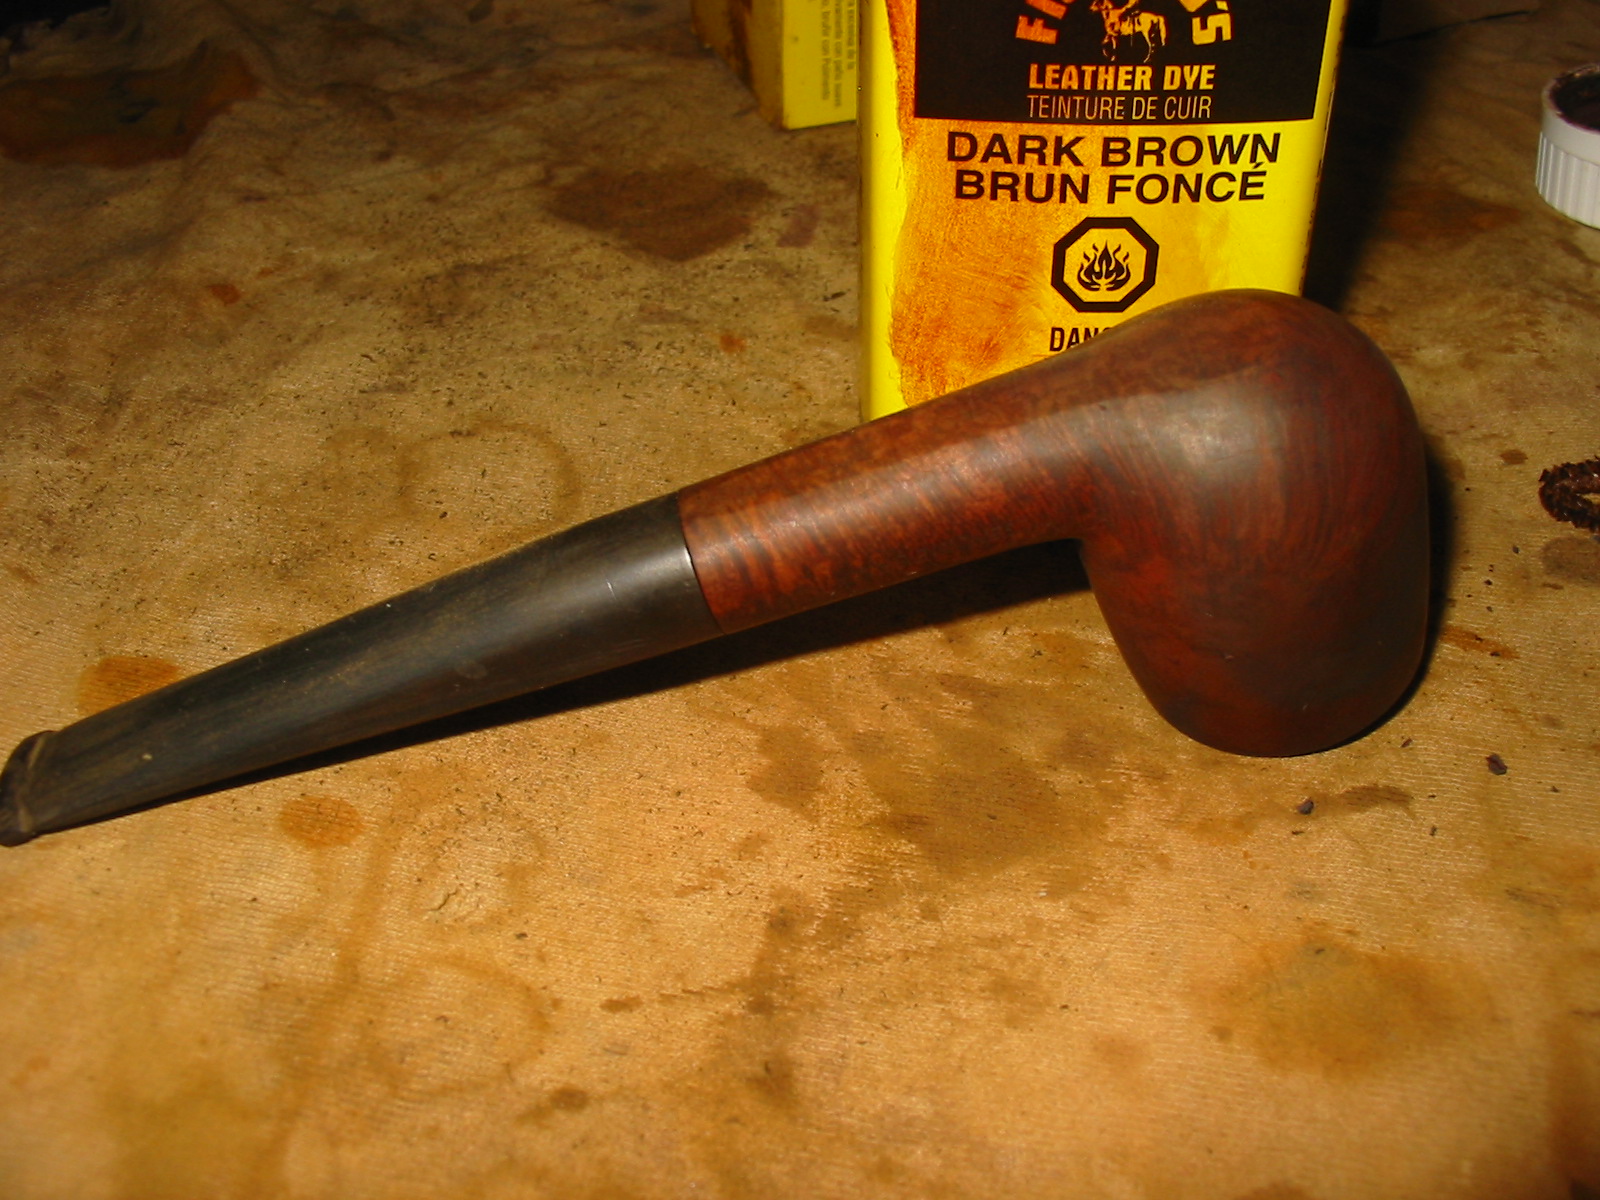
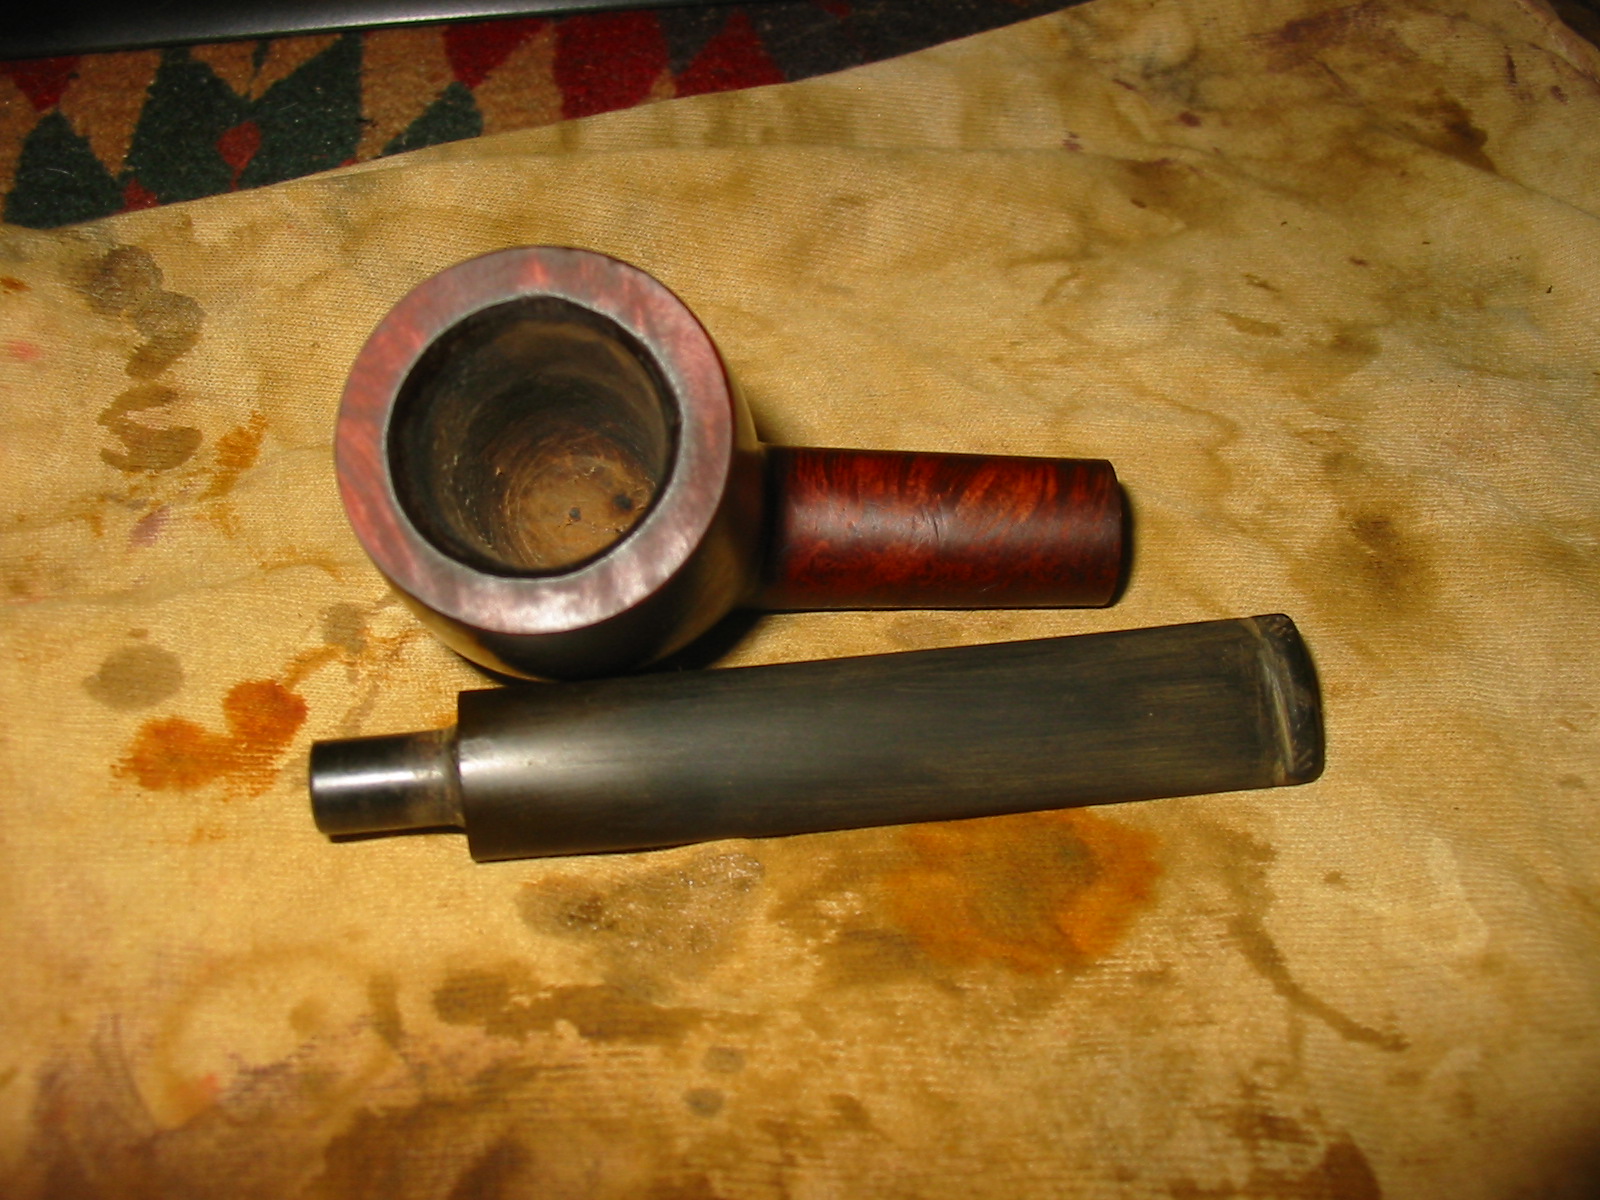
When I got home I took it to the basement and wiped down the bowl with acetone on a cotton pad to remove some of the grime. Once the outside was wiped down I tried to read the stamping with a magnifying lens. I could not make out the stamping – it was too faint. There was no stamping on the right side of the shank. On the underside it appeared that there had been stamping but it was no longer visible. The next three photos give a good idea of what the pipe looked like before I did a cleanup on the bowl and stem.
IMG_2192

IMG_2193

IMG_2194

I reamed the bowl with a PipNet reamer and took it back to bare wood. I picked at the inside of the bowl to check out the solidity of the walls and to check for potential burns. Everything looked and felt like it was solid so I dropped the bowl in an alcohol bath to soak over night.
IMG_2066

The next day I took it out of the bath and dried it off. The bath had removed the old finish for the most part. I finished by once again wiping it down with acetone on a cotton pad. After soaking part of the stamping had become visible. I was disappointed that it appeared that the pipe was not a Sasieni. The stamping that showed up after it was dry read Genuine Briar, which seemed to point to an American made pipe post WW2. I believe it is post war as that is when it became necessary to identify genuine imported briar in contrast to the Manzanita and other alternatives used by American manufacturers during the war years due to a shortage in briar. The briar was a nice piece – birdseye on one side, nice grain on other parts of the pipe and a clean shape to the bowl. I knew it would clean up nicely.
IMG_2217

IMG_2218

IMG_2219

IMG_2220

I topped the bowl using my normal method of anchoring a piece of sandpaper on a flat board and twisting the top of the bowl into the sandpaper until the top is smooth. I started with 220 grit sandpaper and then used a medium and fine grit sanding block to smooth out the rim.
IMG_2221

IMG_2222

When I had finished topping the bowl I wiped it down with acetone and a soft cotton pad to remove the sanding dust and the grime from the topping process.
IMG_2223

IMG_2224

IMG_2225

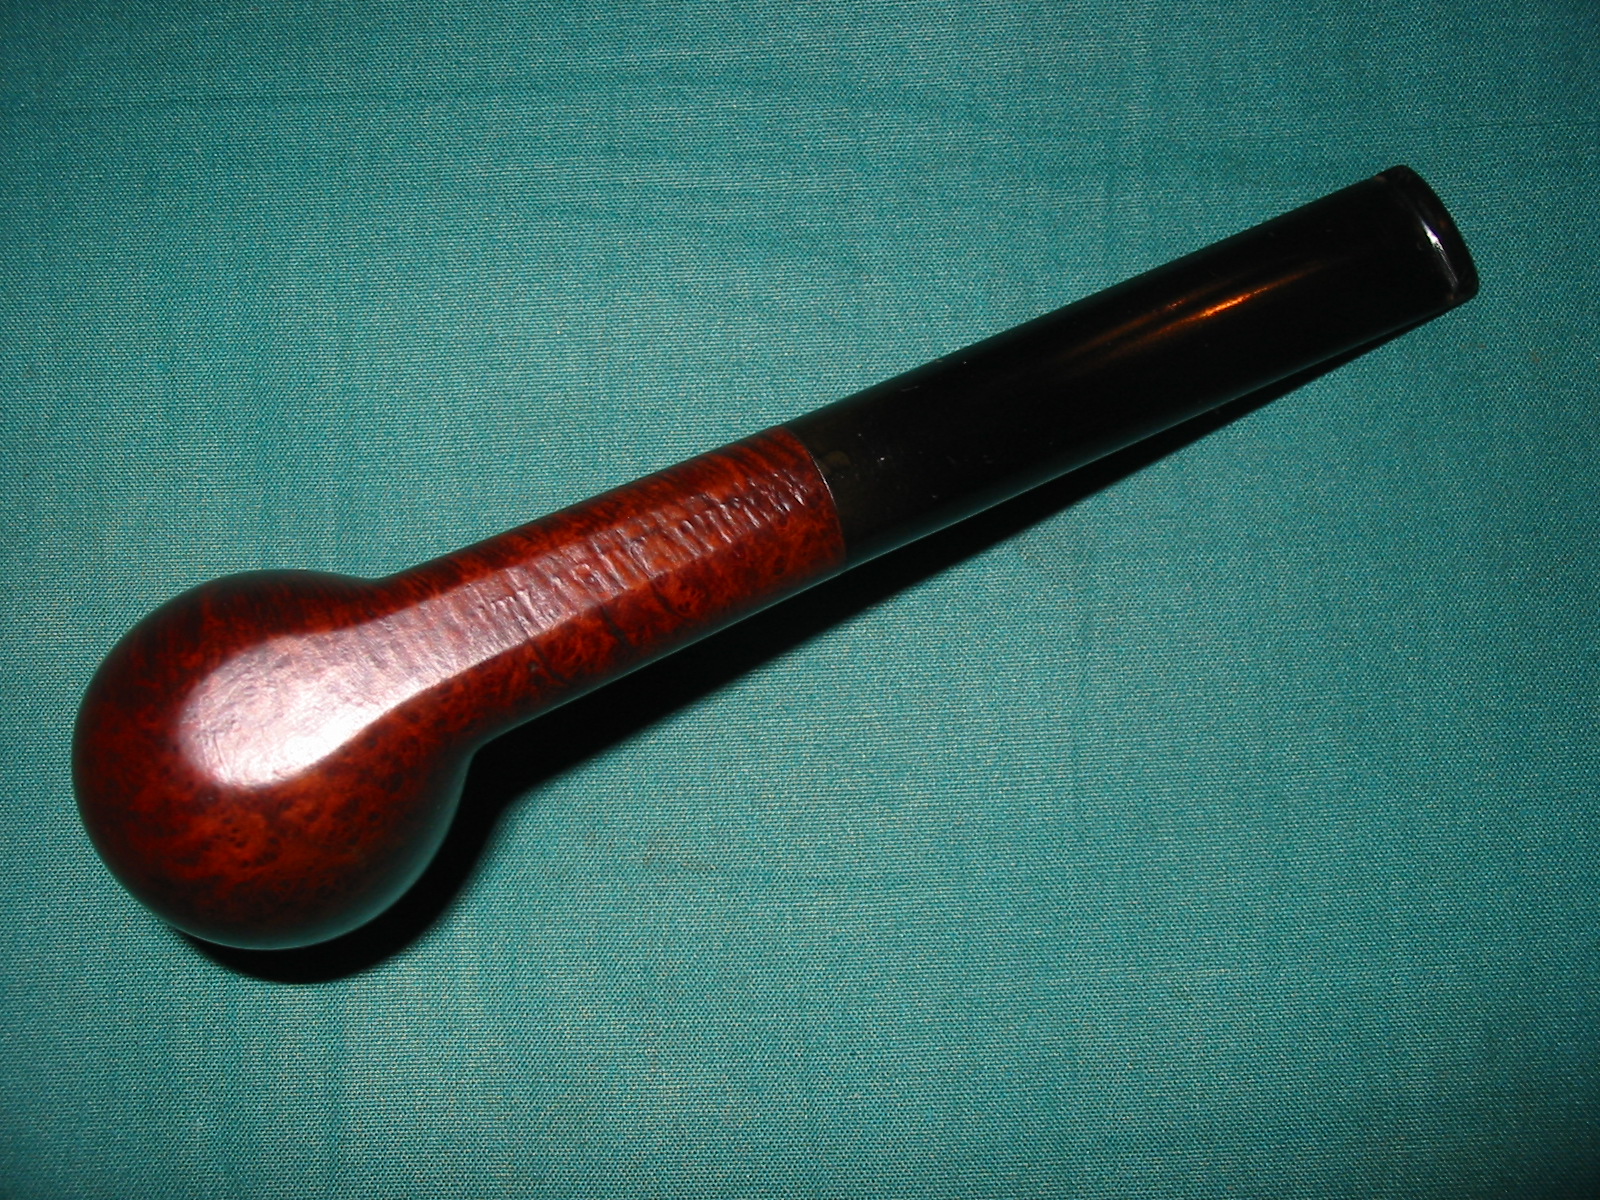
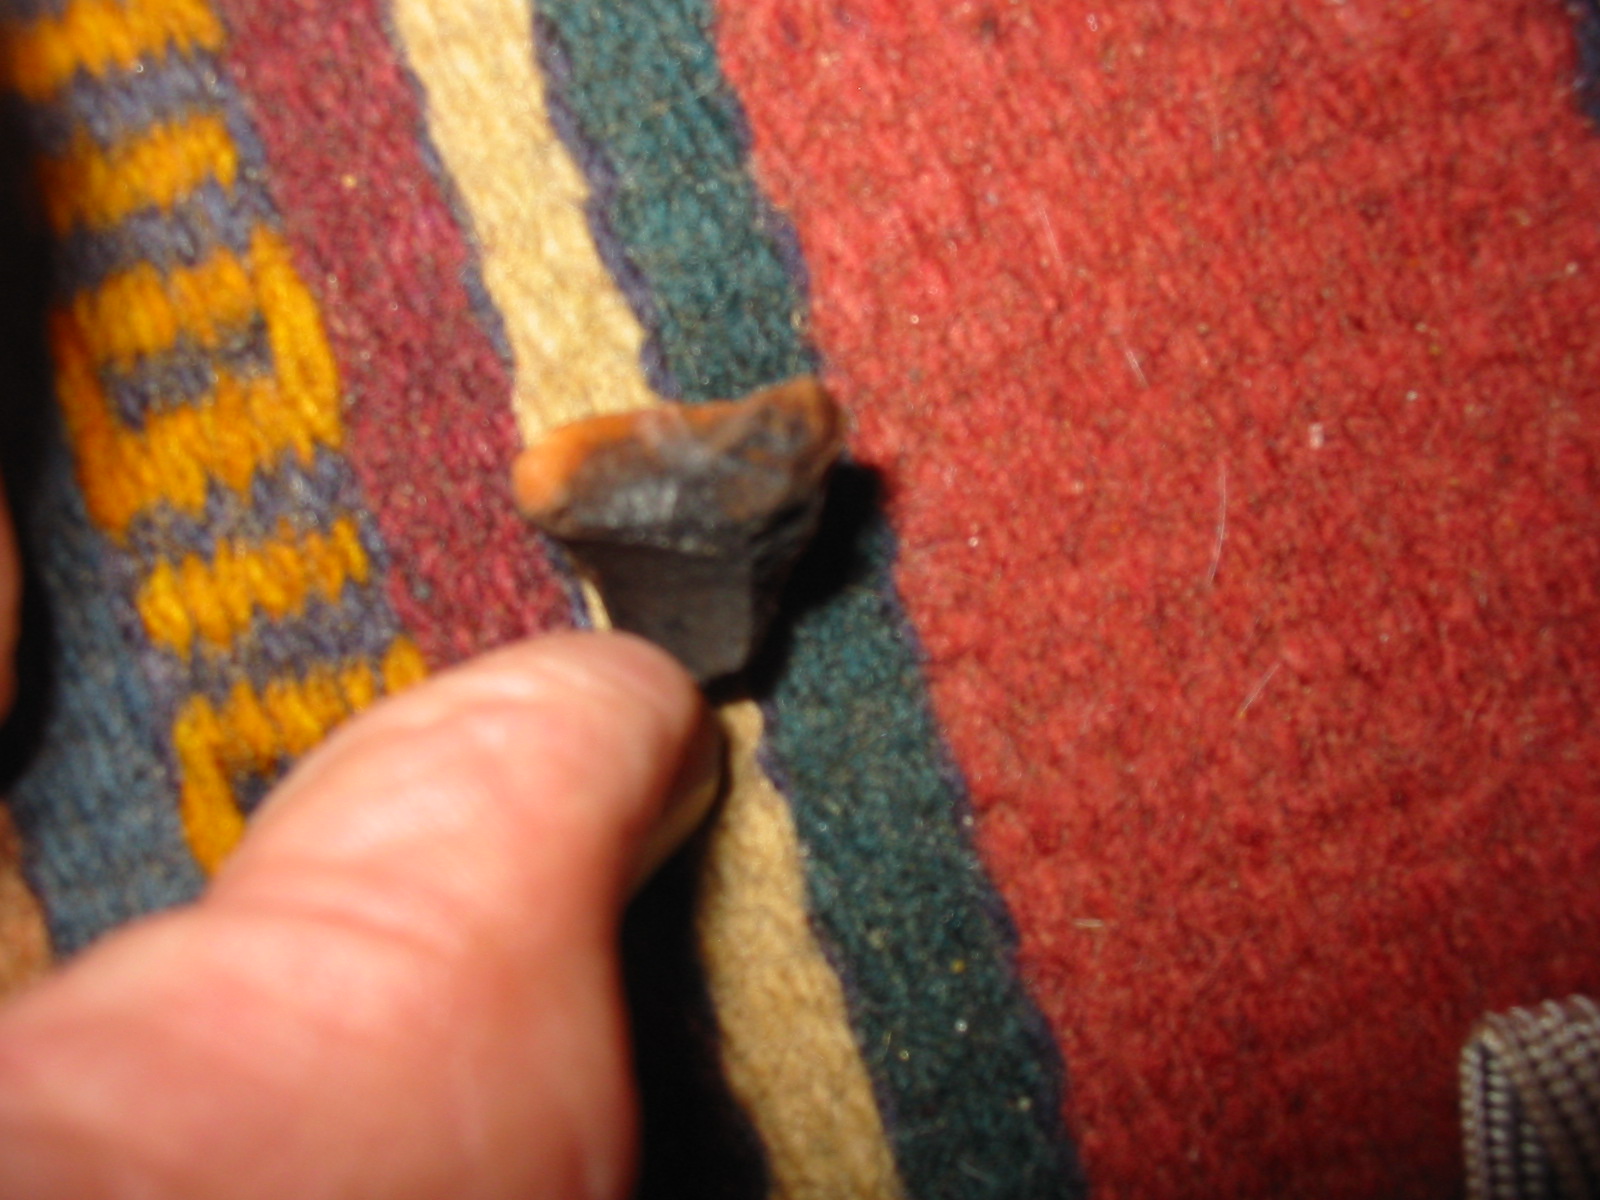
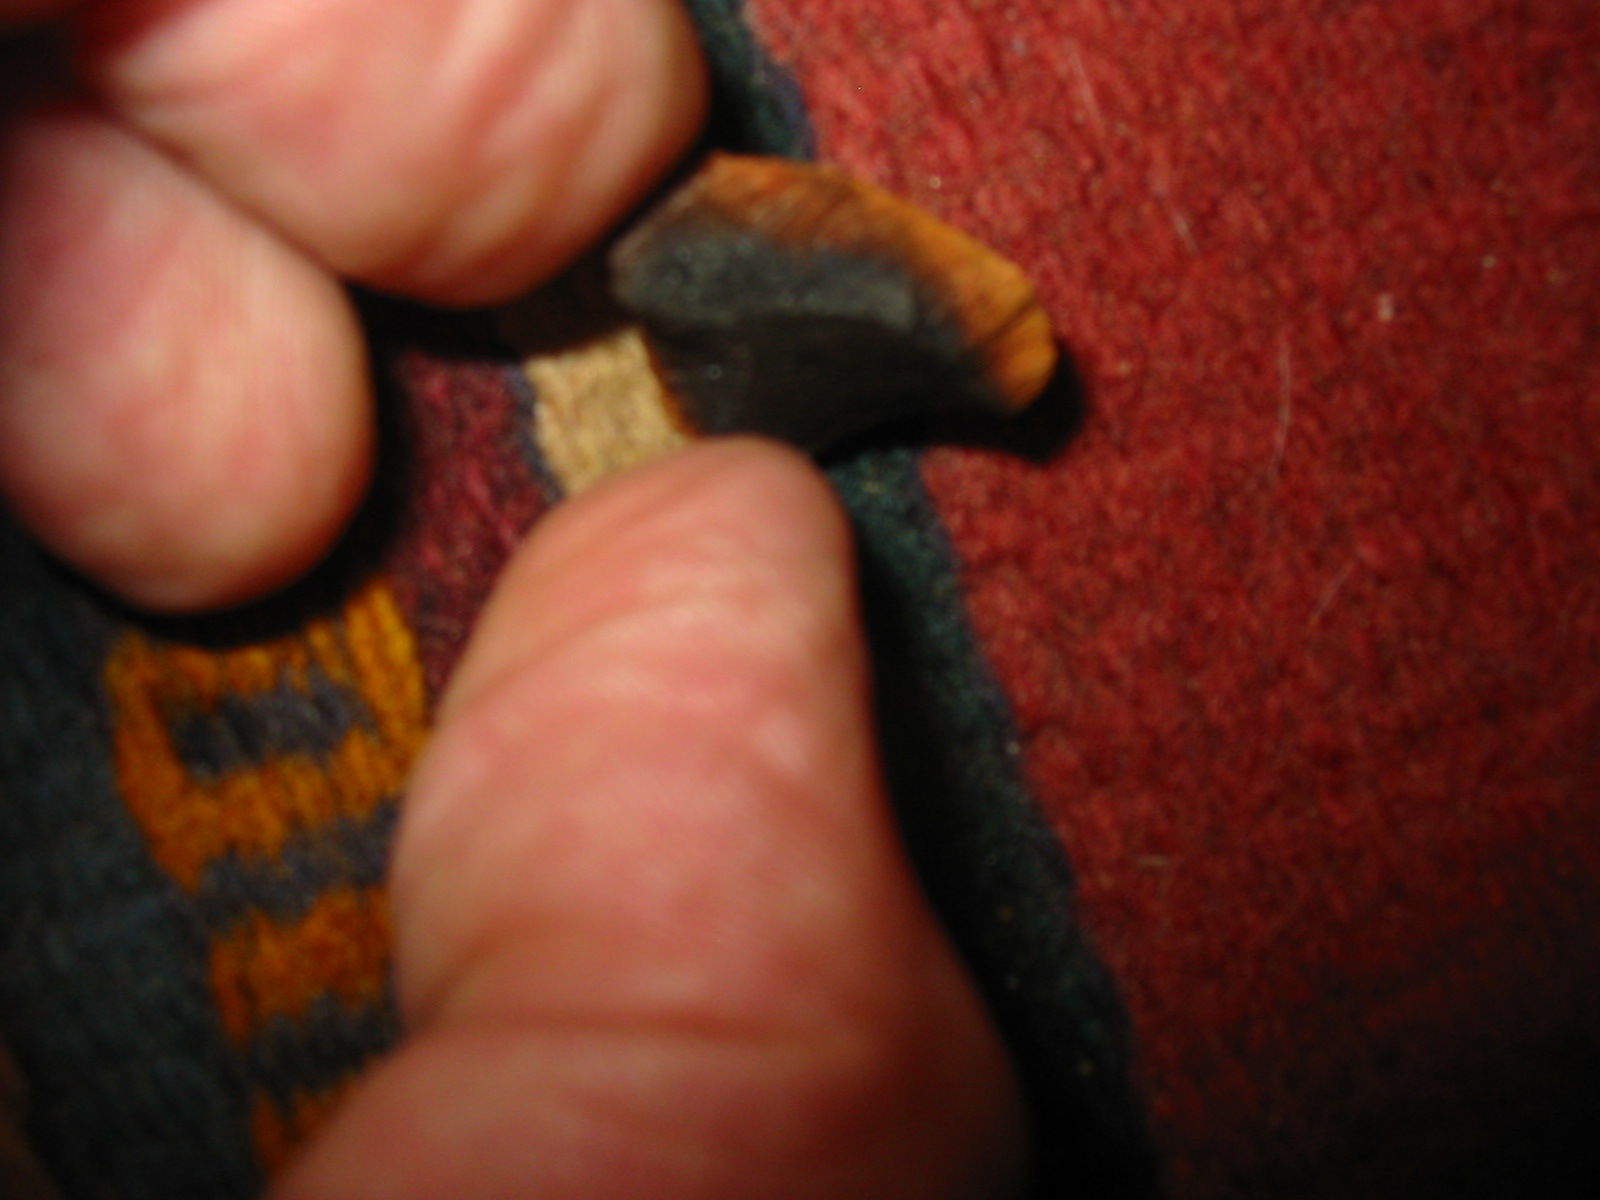
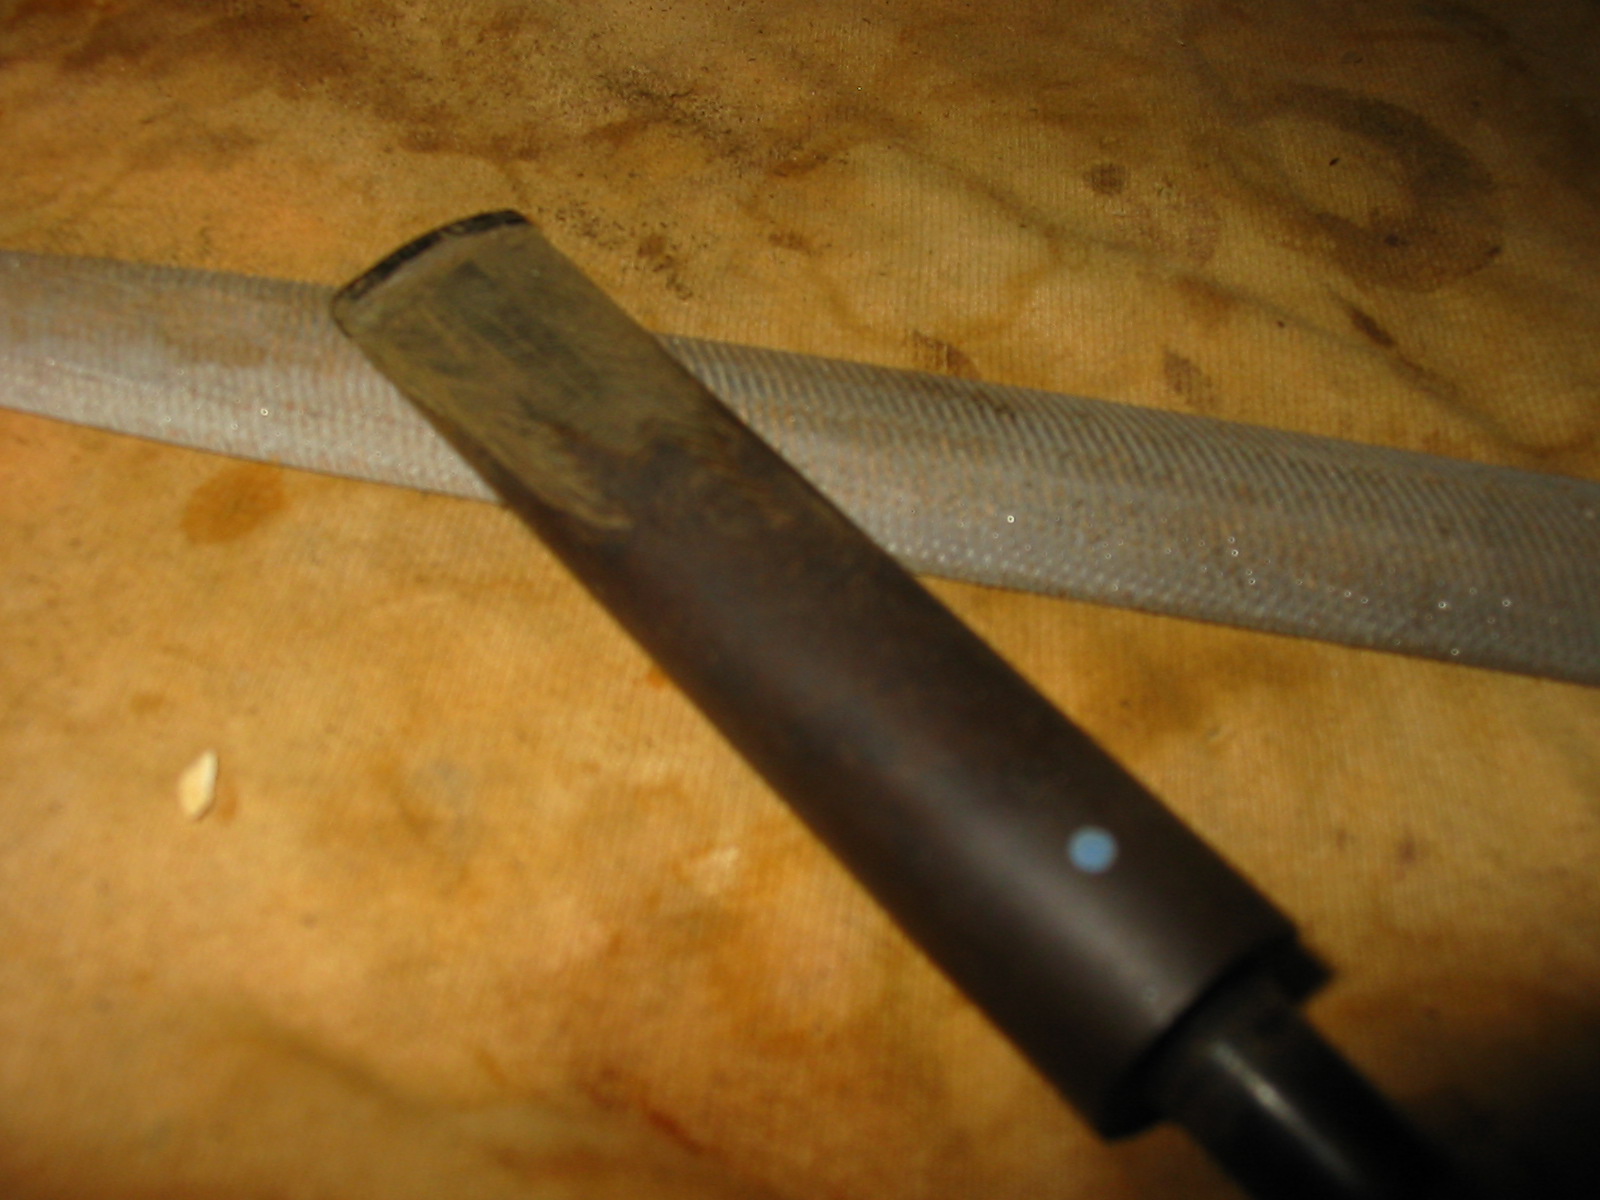
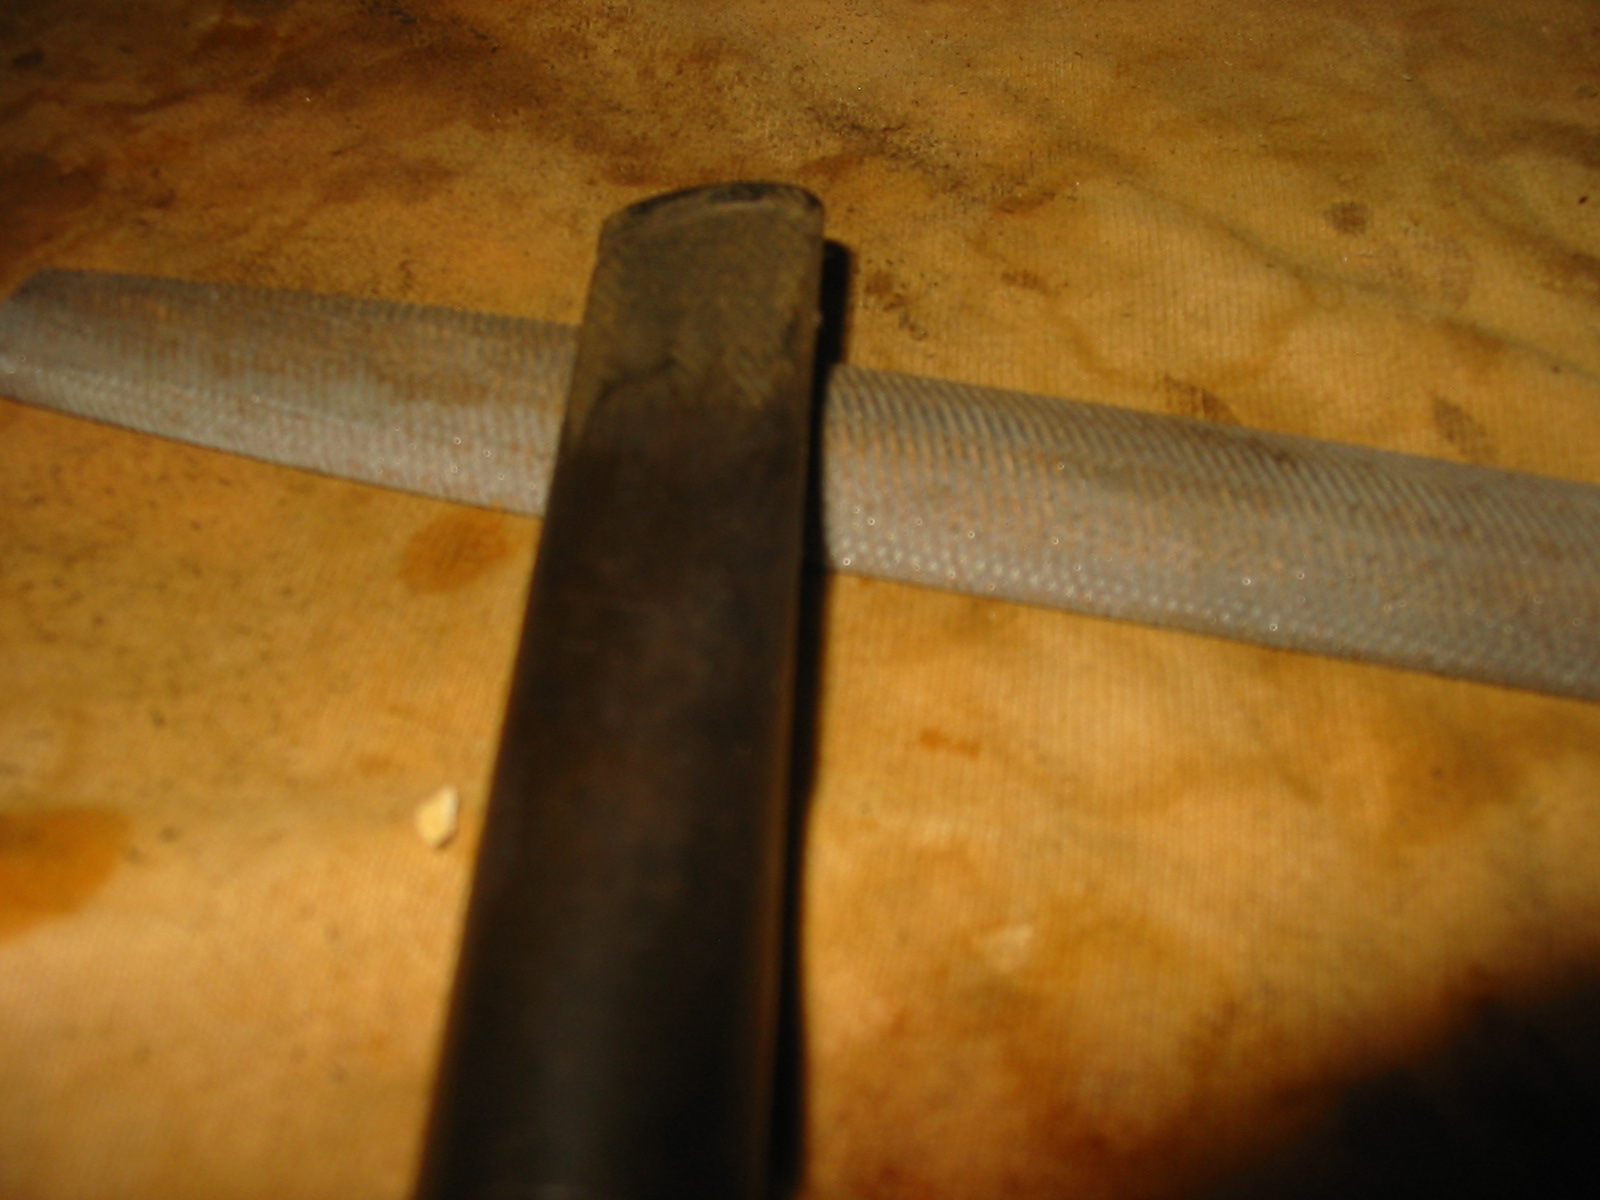
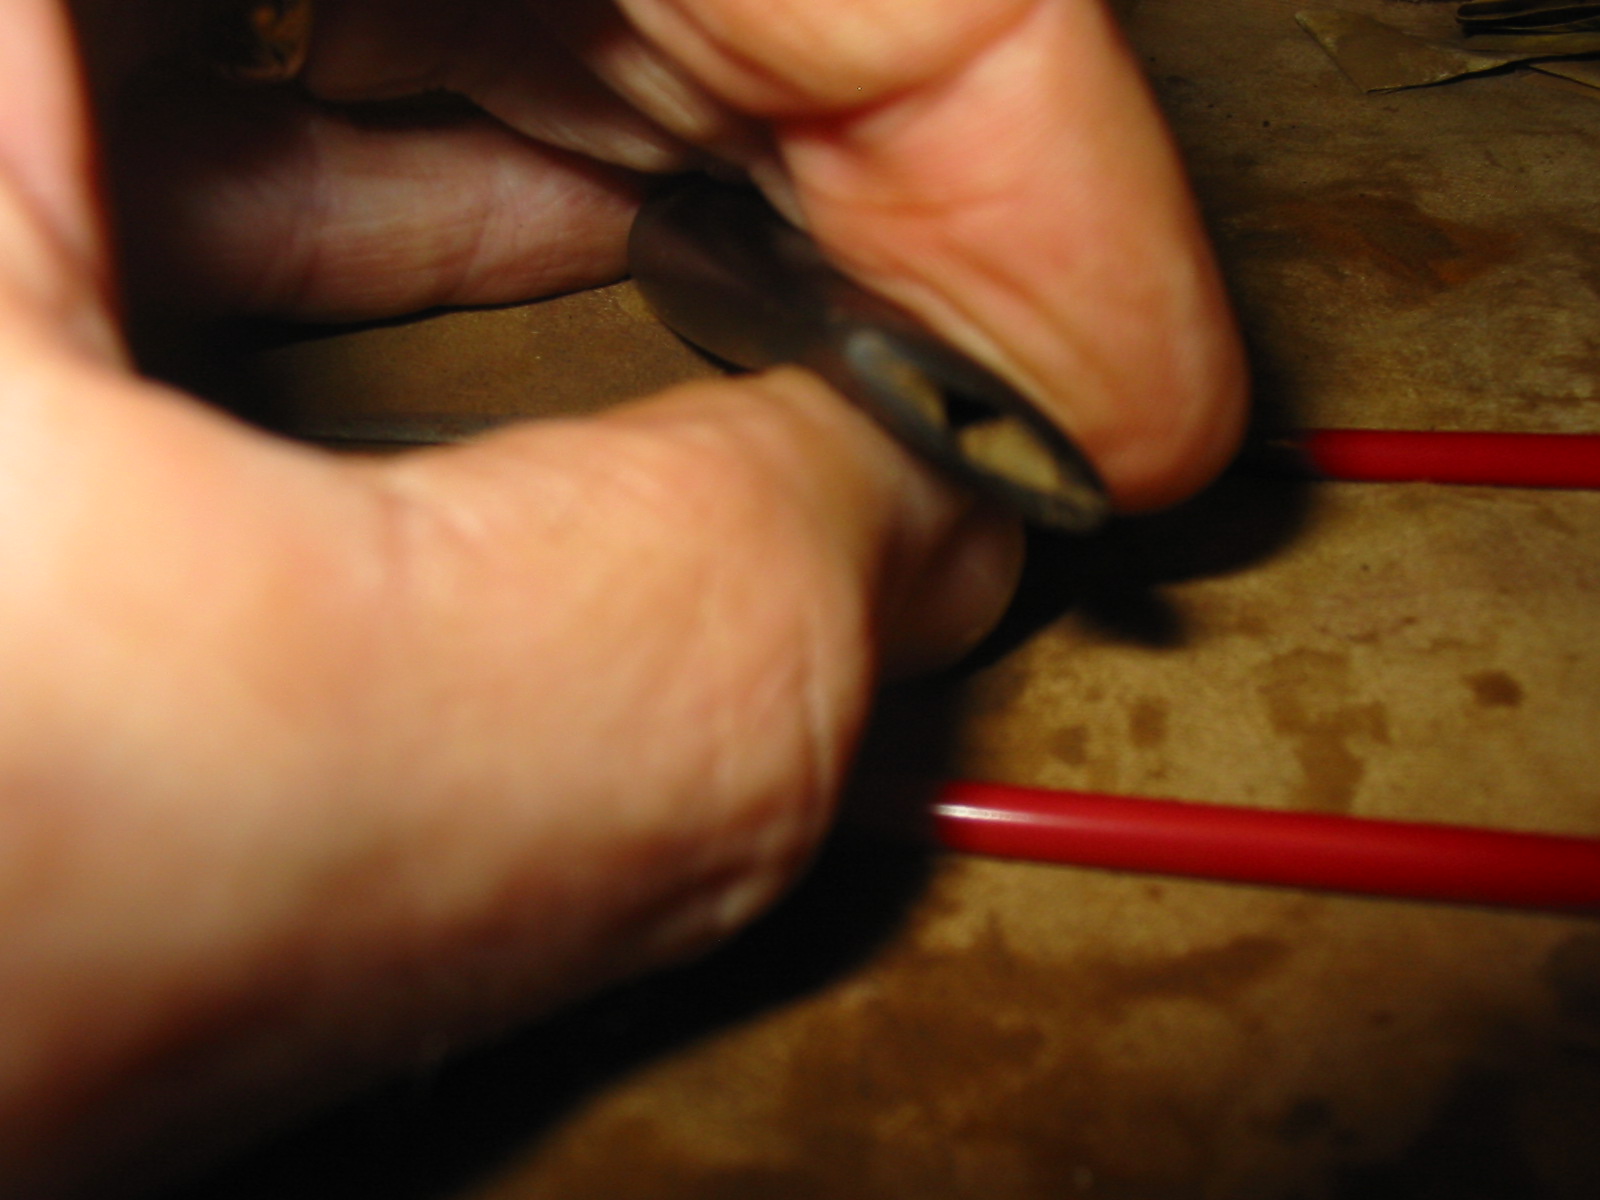
The stem had a poorly cut button on the end and the button as well as the taper on the stem needed to be reworked. I used a rasp and file to shape the taper on the stem and to take out the pinched look of the angle to the 90 degree cut on the button. The button was also not straight and not squarely cut so I also straightened out the flat edge of the button while I worked with the rasp and files. The next three photos show only the initial work on the stem and not the finished work. I removed quite a bit of the material and smooth out the slope of the taper so that it flowed evenly into the button on both the top and the bottom of the stem.
IMG_2226

IMG_2227

IMG_2228

I sanded the newly shaped stem with 220 grit sandpaper and a medium grit sanding sponge to remove the scratches left by the rasp and files. Once I had the basic shape in place I decided to restain the bowl. I warmed the briar and then gave it several coats of a dark brown aniline stain thinned 1:1 with isopropyl alcohol. I flamed it between each coats to set the stain. The rim took extra coats to match the colour of the rest of the bowl.
IMG_2240

IMG_2241

IMG_2242

IMG_2244

I buffed the newly stained bowl lightly with White Diamond and then gave it a coat of a light cherry coloured Danish Oil. Once dry I buffed it by hand and then also gave it a light buff with White Diamond to polish it.
IMG_2245

IMG_2246

IMG_2247

I then removed the stem and worked on the slot in the button. When the end of the stem had been cut off some of the flair of the original airway remained leaving the end of the button with a small rectangular opening. I used needle files to open the flair and widen the slot into more of an oval that extended the width and height of the button end.
IMG_2248

IMG_2251

IMG_2252

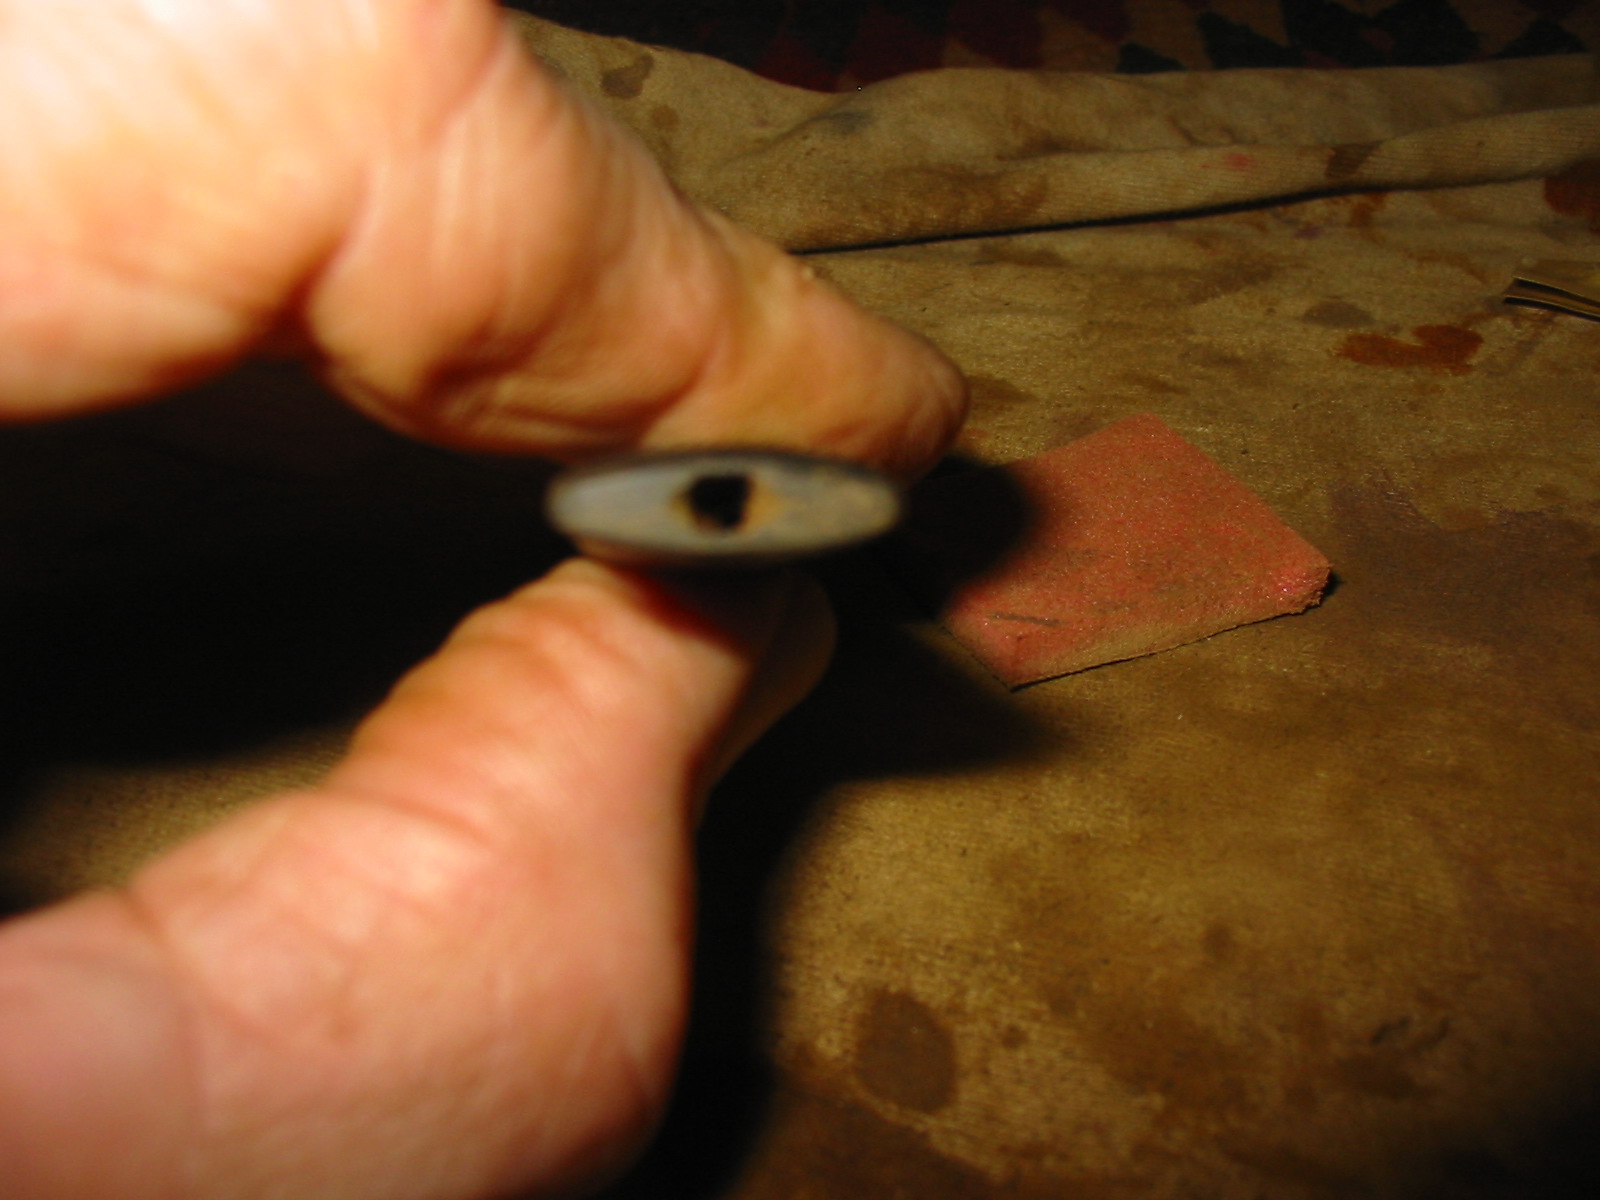
Once I had the slot opened the way I like it I sanded the inner edges with a folded piece of sandpaper to smooth it out. I also did some more shaping with files to the taper of the stems. I sanded it with 220 grit sandpaper until I had the slope well-defined from the tenon back to the button. I also shaped the externals of the button to clean up the angle at the point the button and stem taper met. I also sanded it with a medium grit sanding sponge to remove the scratches left behind and to also remove the oxidation at the stem shank junction.
IMG_2249

IMG_2250

When I had the scratches removed as far as possible with the sanding sponge I went on to sand the stem with micromesh sanding pads. I wet sanded the stem with 1500, 1800 and 2400 grit sanding pads and the dry sanded with the remaining grits.
IMG_2253

IMG_2254

IMG_2255

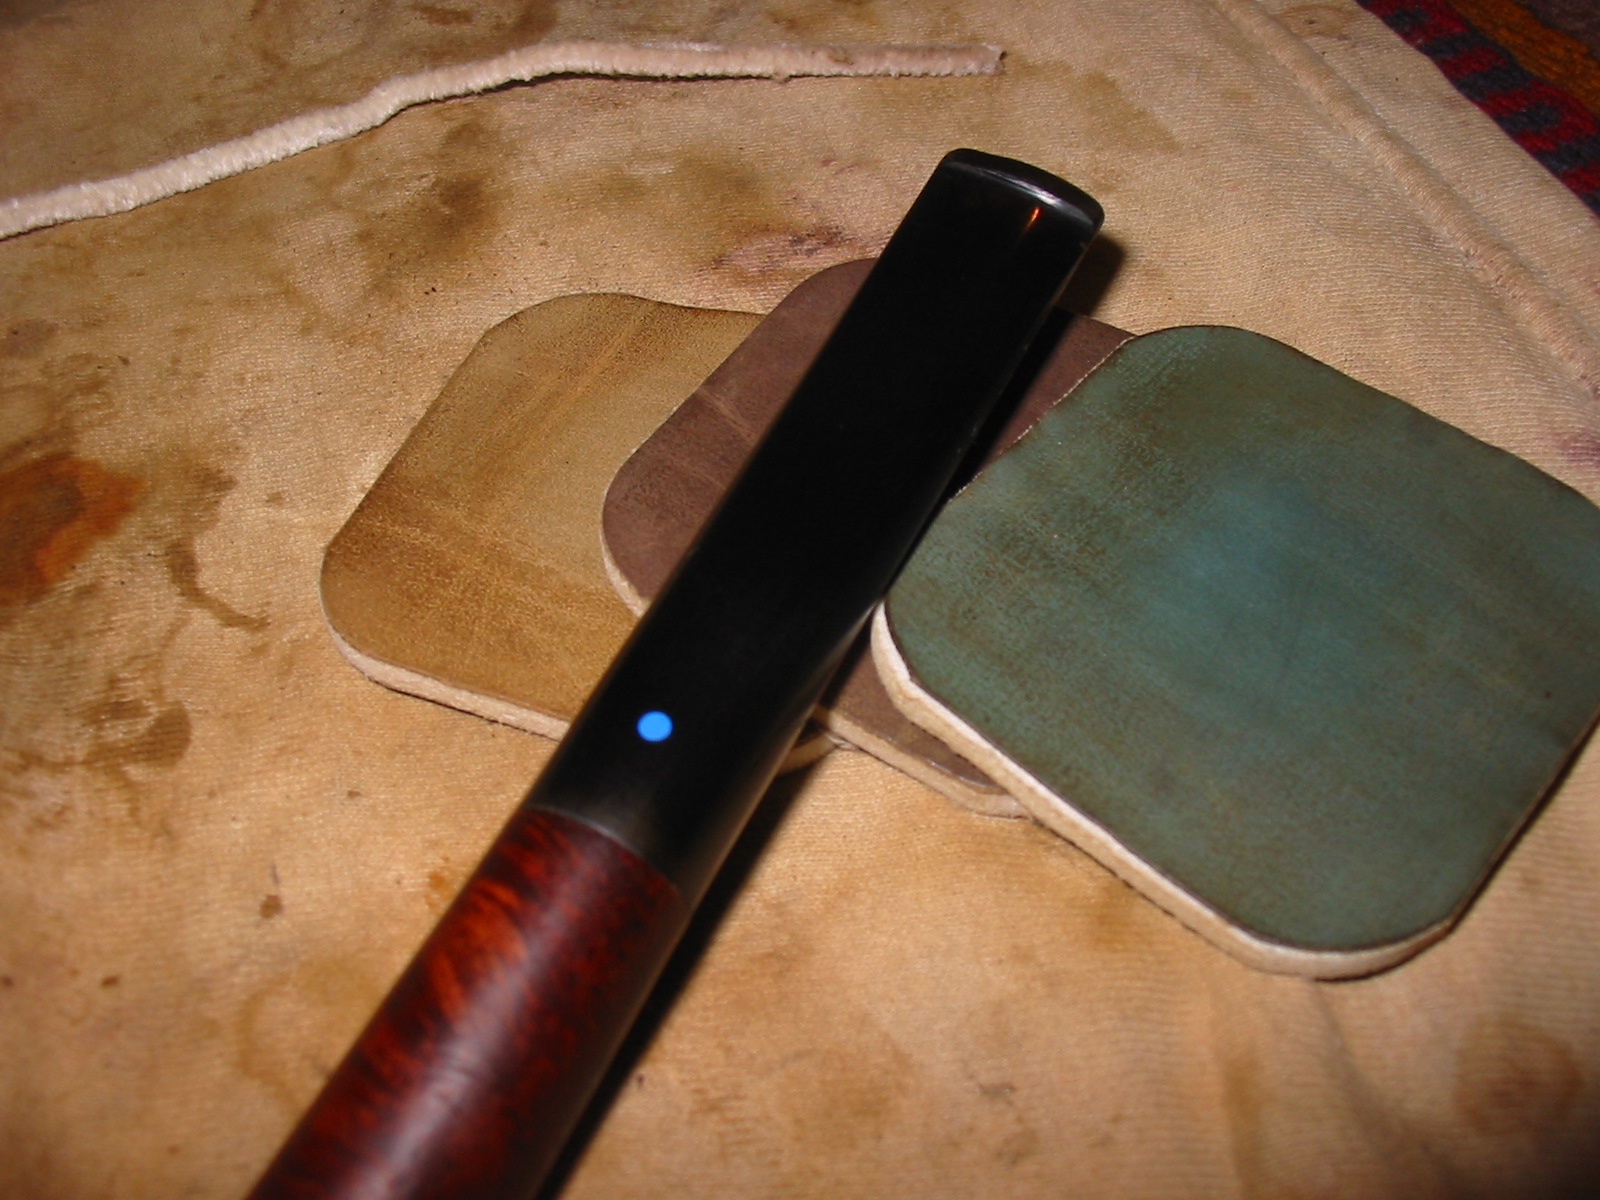
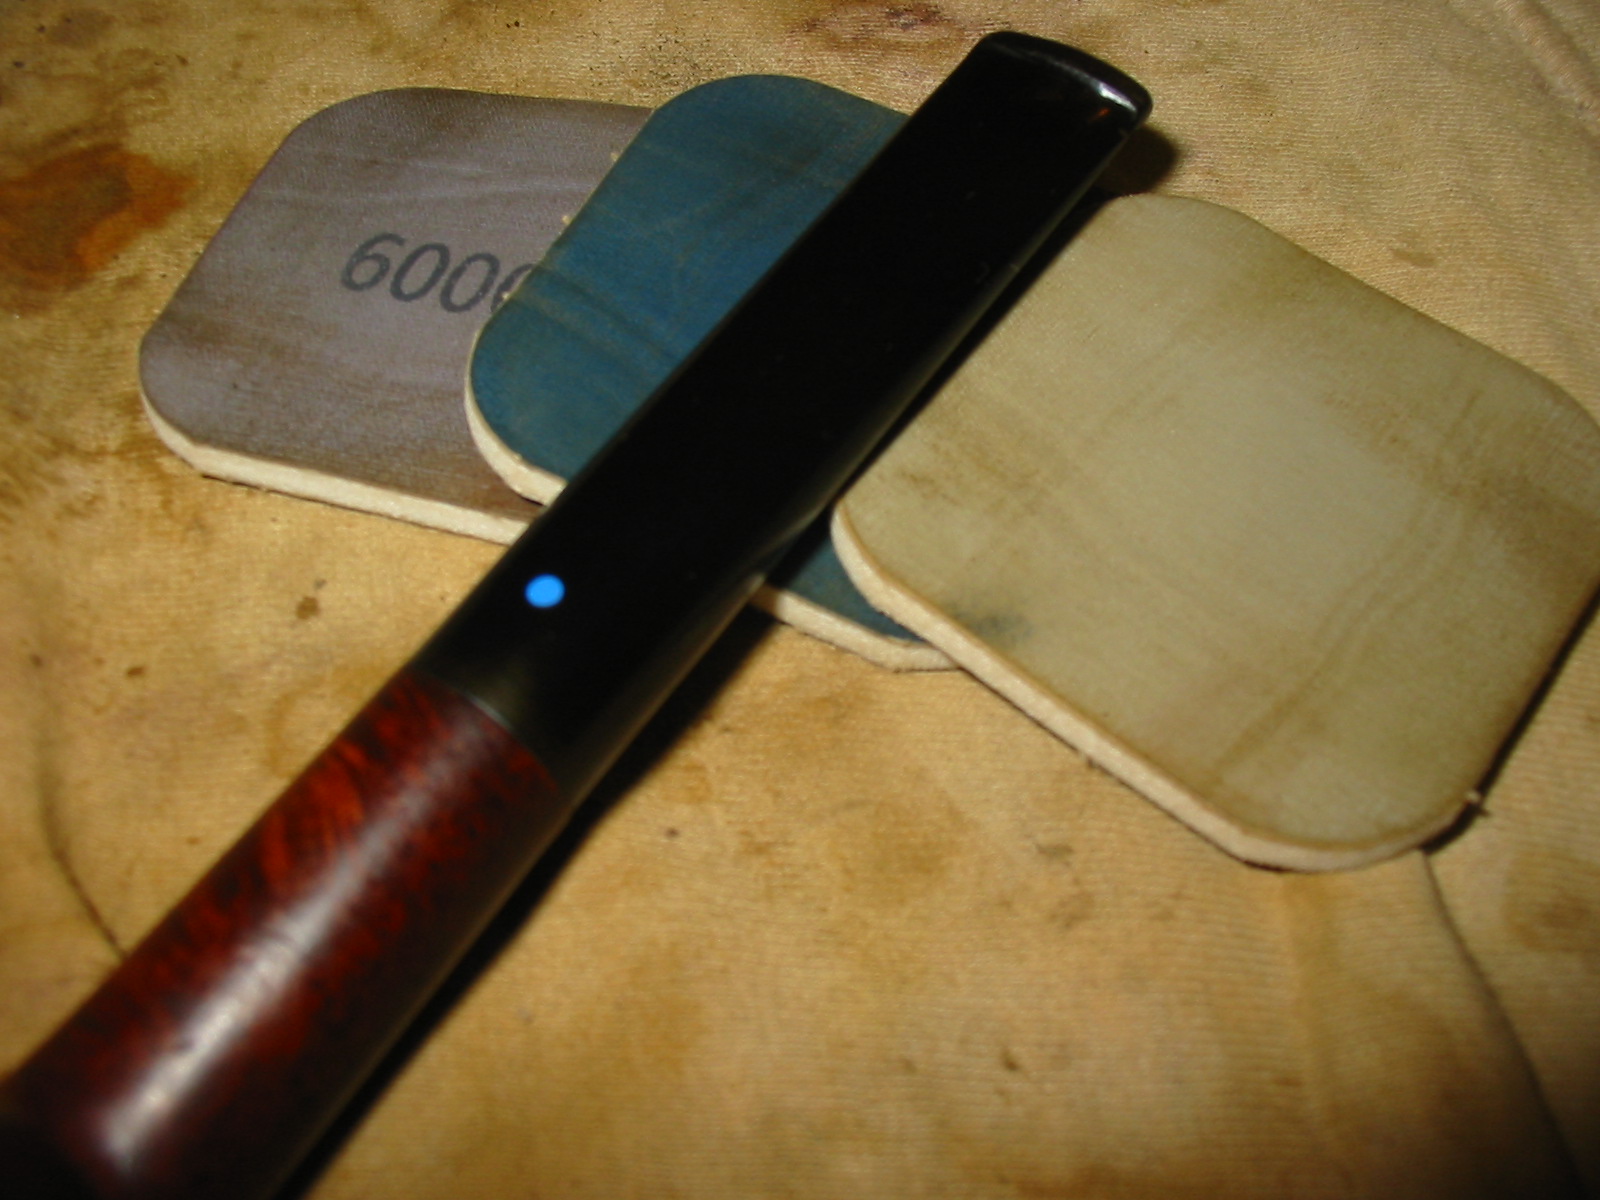
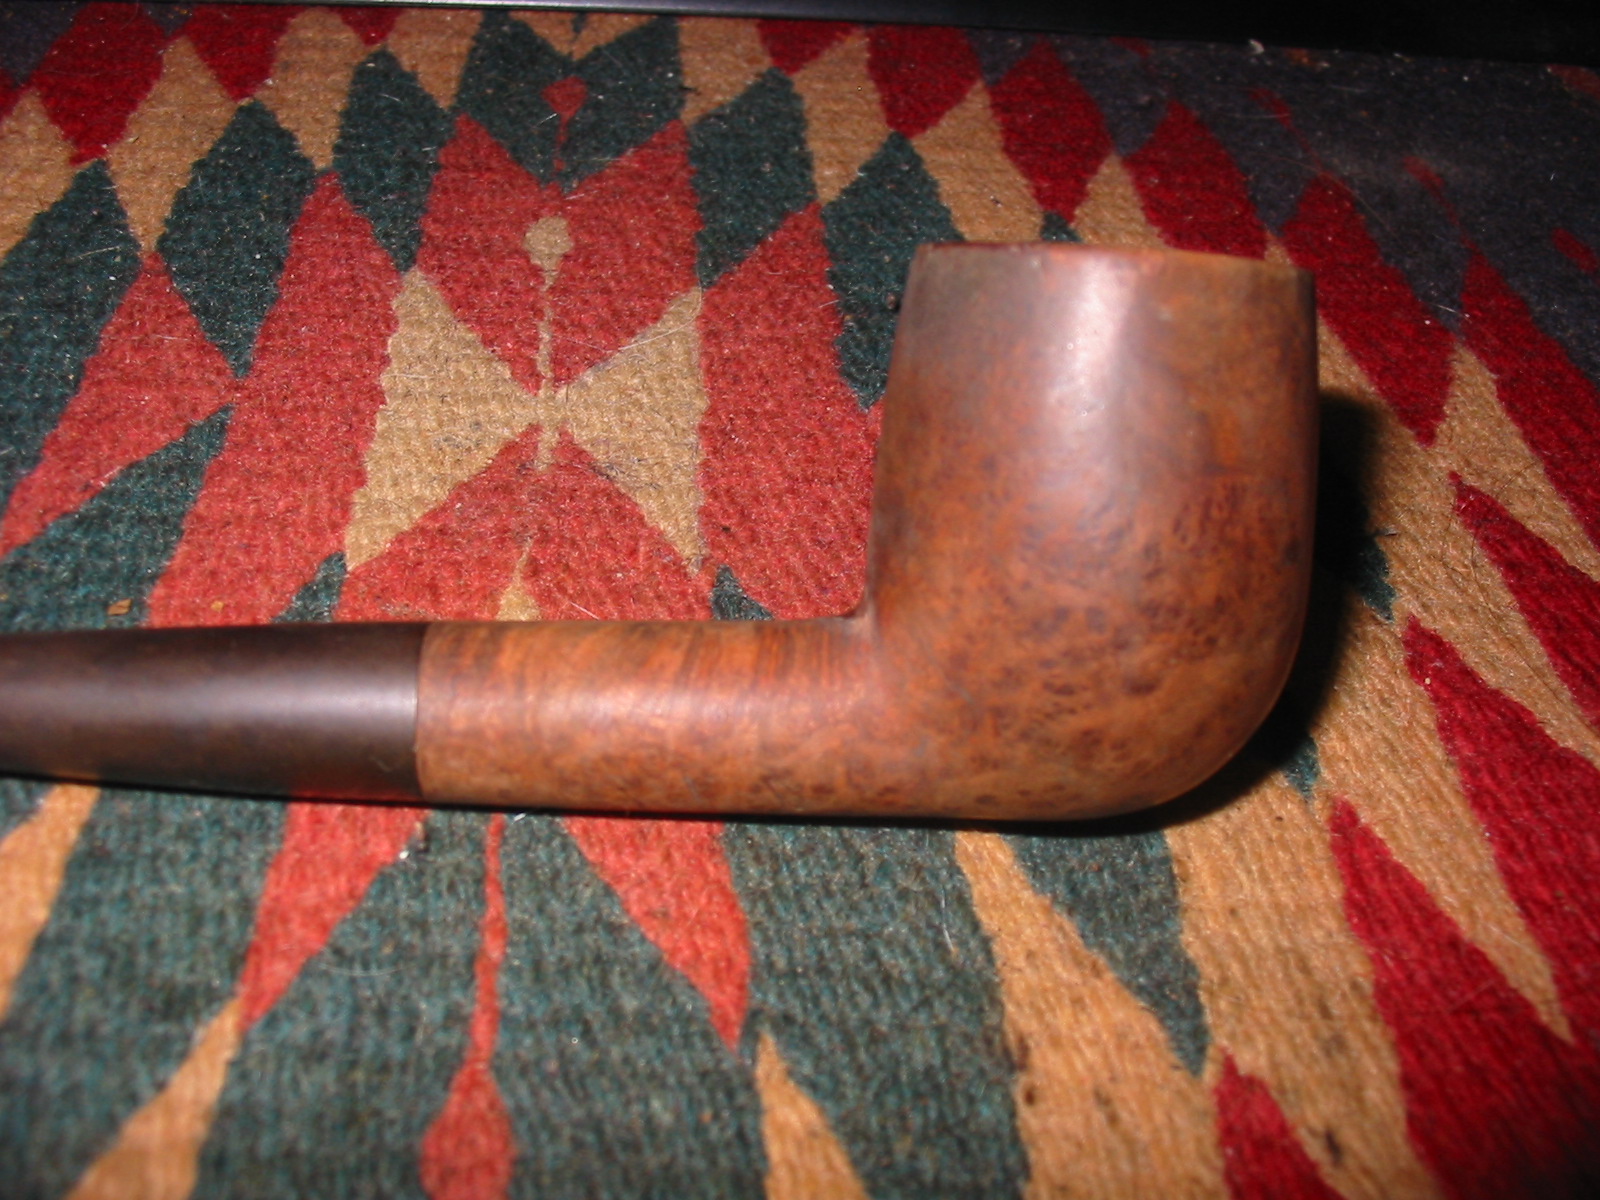
I rubbed the stem down with Obsidian Oil and rubbed it into the surface of the vulcanite. I took it to the buffer and buffed the stem with White Diamond. I gave the bowl and the stem multiple coats of carnauba wax and polished the pipe with a clean flannel buff to bring up the shine. The finished pipe is pictured below. I still wish I knew what the stamping says in full. That blue dot certainly is a symbol of some unknown to me brand of pipe. The mystery remains but in the mean time I have a great little billiard to enjoy.
IMG_2256

IMG_2257

IMG_2258

IMG_2259

Pleasure From Your Parker – How to get the most from your Parker pipe


This booklet was originally posted on Pipe Smoker Unlimited by philofumo (Troy) http://pipesmokerunlimited.com/showthread.php?3616-1949-Parker-Patent-Super-Briar-Bark-from-Alan . I am always on the lookout for old tobacciana items like this; so when I saw it I thought it was an interesting piece of pipe and tobacco history that I would like to post here on rebornpipes. I always enjoy reading these old factory booklets that came with new pipes. They give a flavour of times past that I find both fascinating and enjoyable.
Parker1

Parker2

Parker3

Parker4

Parker5

Parker6

Parker7

Parker8

Parker9

Parker10

Parker11

Parker12

Parker13

Parker14

Parker15

Parker16

Parker17

Parker18

Parker19

Parker20

Parker21

Parker22

Parker23

Parker24

Parker25

Parker26

Parker27

Parker28

Parker29

Parker30

Parker31

Parker end

A Hardcastle Billiard – All is not as it appears on the surface


Blog by Steve Laug

You can’t imagine the disappointment that I experienced when I began to ream this old Hardcastles Jack O’ London billiard; unless of course you have had the same experience or one like it. On the outside it looked like a pipe that would clean up very nicely. The stem was in excellent shape other than the normal oxidation. It did not have any tooth marks in the stem. The finish was in pretty good shape with no dents or divots in the briar. The bowl was caked with a heavy coat of carbon all the way to the bottom. The inner edge of the bowl was slightly out of round but repairable. The top of the rim was not too bad under the light buildup of tars and lava. A light sanding would bring it back to smooth. The outer edge was not dented or damaged. Yes, it was a great find from all appearances.

But that was not to be the case with this old pipe. Things were not as they appeared on the surface. When I begin refurbishing a pipe I always begin with a light reaming. In a pipe like this I start with the smallest reaming head on the PipNet reamer and work my way up to the proper size to take back the cake to the thinness of a dime or back to bare wood. I put the smallest cutting head in the handle and inserted it in the bowl. No problem. The head cut back the cake without any effort. Once it was trimmed to the bottom of the bowl I used the nest larger cutting head on the handle. I put it in the bowl and slowly turned reamer. As I did I heard and felt a small crack. I stopped turning the reamer and a chunk of briar dropped free of the bowl. You can’t imagine the surprise… and frustration at having that happen. I have never had a bowl do that when I am reaming and all things considered it should not have done it this time if all things were the same as usual.

But they were not the same. I examined the bowl with the chunk out on the table and also examined the chunk. The depth of the char on that portion of the bowl went half way through in most spots and in some was just under the surface of the outside of the bowl. In the first top view photo below you can see how far the reamer went down in the bowl and the cracks on the top of the rim – looking at it like a clock face the cracks are at half past and quarter of on the circle of the bowl. The second photo below is a side view of the cracked portion of the bowl wall with the piece of briar inserted for the photo.
IMG_2230

IMG_2231

For the next two photos I lifted the chunk out of the side of the bowl to show the extent of the damage to the briar. In the first photo below I show the angle right side of the cracked area. Note how deeply the char had gone into the side of the bowl. The depth of the burned area grows as you move down the bowl to the point at the bottom of the cracked area. At the bottom of the photo you can see that it is charred at least half way through. For the second photo below I turned the bowl to show the other side of the cracked area. At the bottom point just before the crack goes straight upward on the left side of the area, the depth of the burn is just below the surface of the briar. This area was due for a burnout in a very short time. From these photos you can see the amount of damage that occurred in this old pipe. Too me it was smoked hard and not properly cared for in break in period. In examining the rest of the bowl it is clear that the damage goes all the way around the bowl. I used a dental pick to poke at the inside walls of the remaining bowl and found that they were also soft and charred to a similar depth.
IMG_2233

IMG_2236

This bowl was as good as history. But the bowl is also a great demonstration of why I ream an old estate back to the bare wood and then examine it for burned or charred areas. I explore the bowl surface with a pick to see what I am dealing with before I finish the rest of the refurbishing.

I have also included two photos that show the piece of briar that broke free from the pipe bowl. These also show the extent of the damage to this old bowl. In the first photo you can see that the burn/char is all the way through the piece on that side. The second photo shows the other side of the piece and shows that on that side of the briar the burn is not as deep as the other side.
IMG_2237

IMG_2238

I took a final photo showing a top down view of the bowl with the broken piece of briar removed. Examine it closely and you can see the depth of the burn into the inner surface of the briar.
IMG_2239

While this pipe is lost and not redeemable all is not a waste. I will part out everything that is usable and it will find purpose in other pipes that will cross the work table. Nothing will be wasted. The stem will be scavenged for use on another pipe. The shank will be cut off and used for something. Only the bowl itself will be assigned to the fire. Nothing is totally wasted and the old pipe also served an educational purpose. The photos of the burned and broken briar show the extent of damage into the interior of the walls of this old pipe. It was one that had been smoked hard and abused.