Blog by Steve Laug
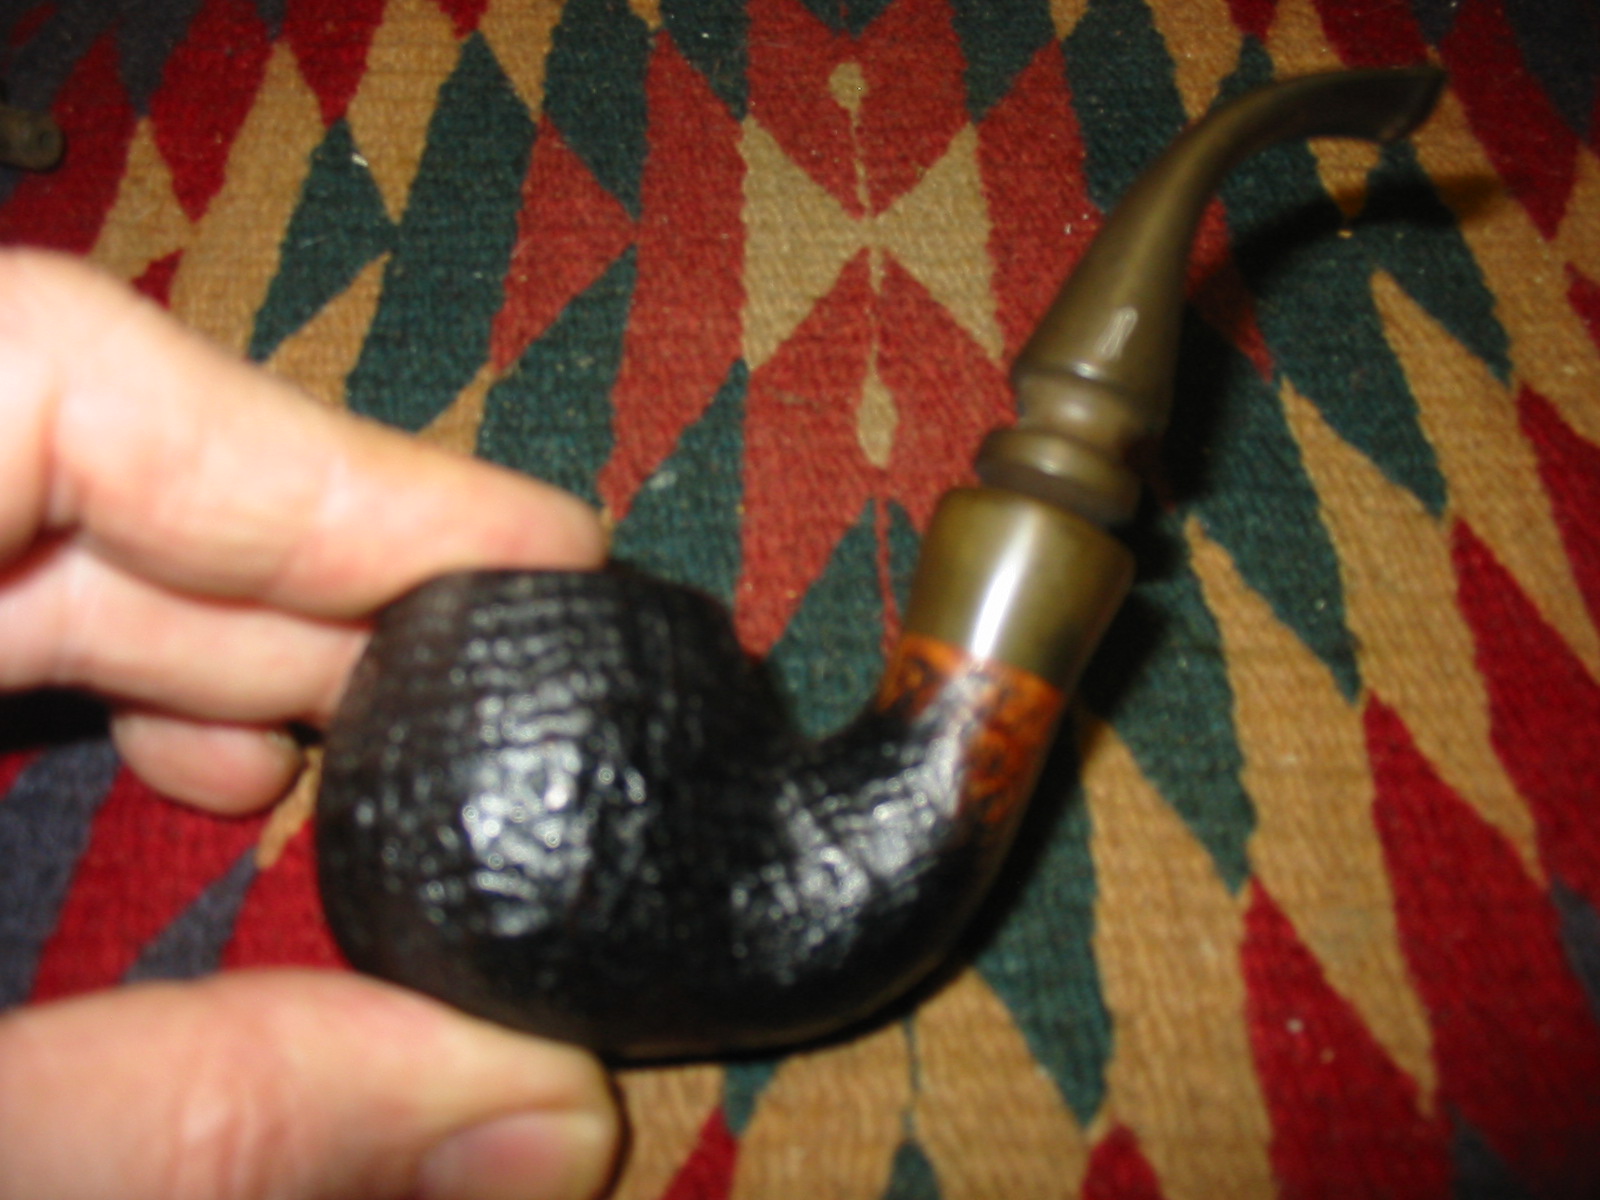
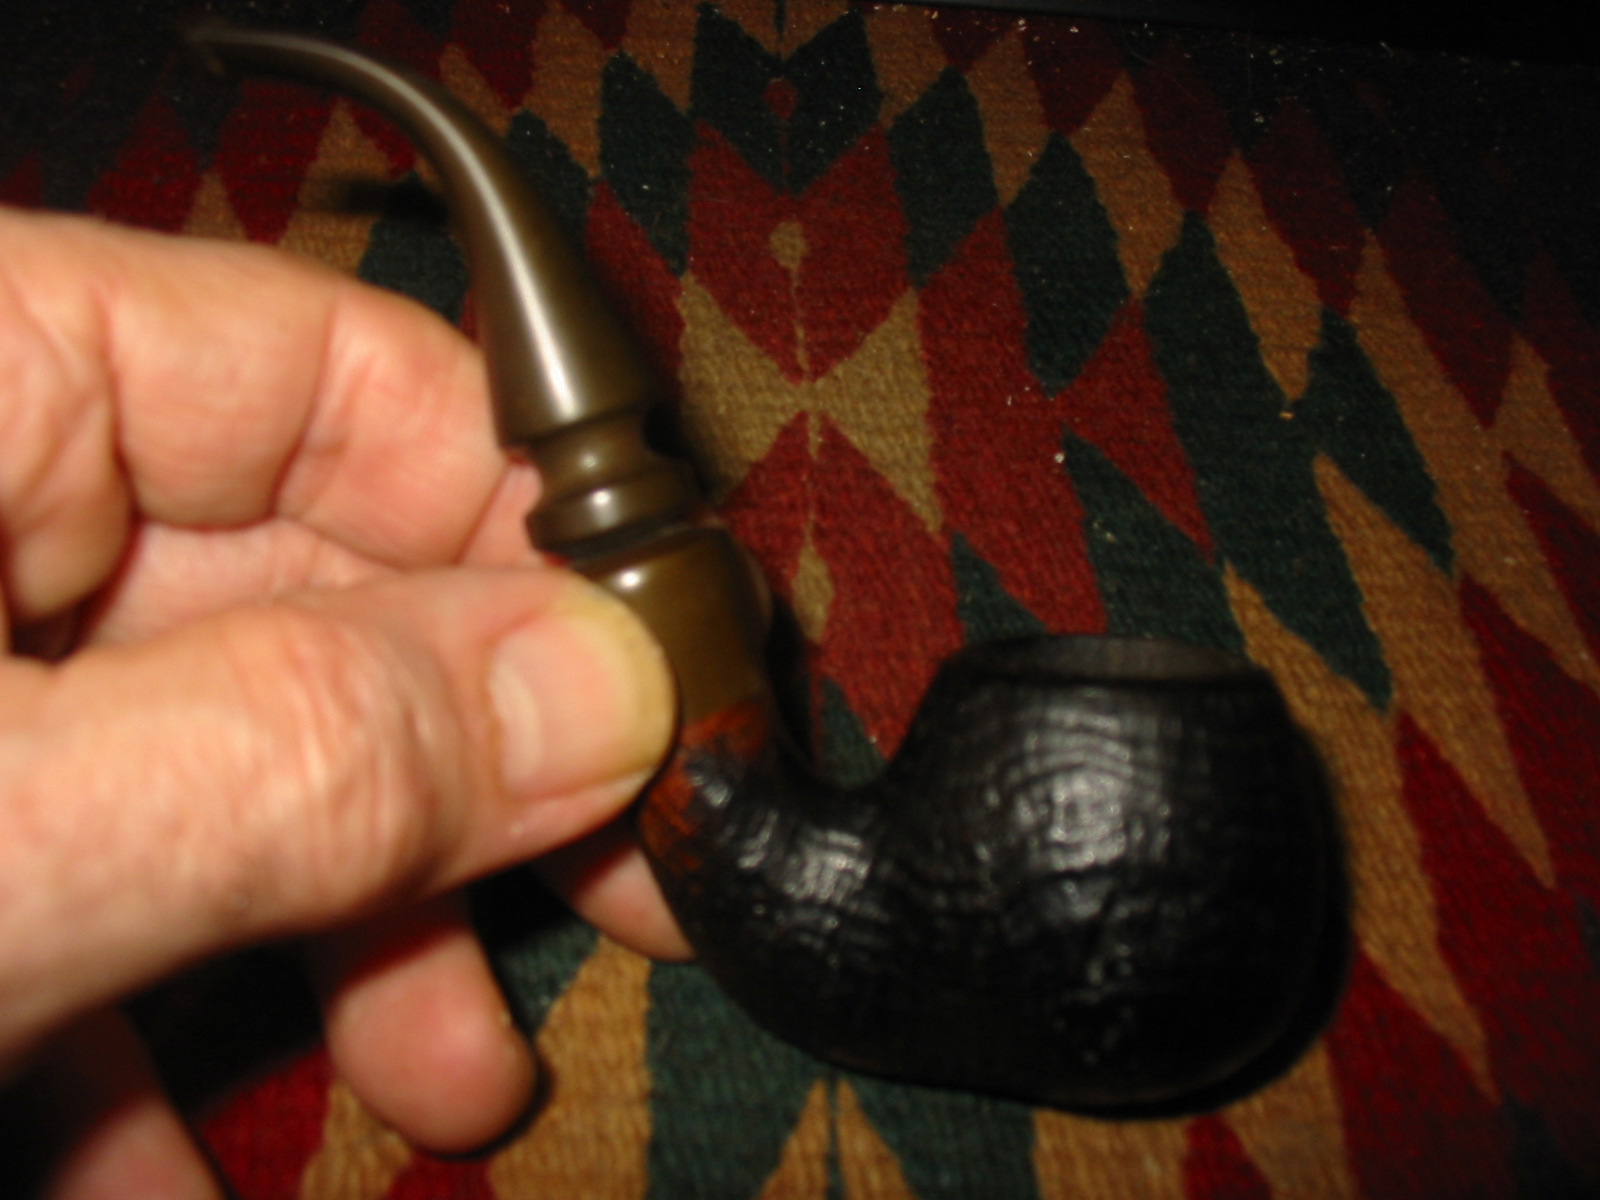
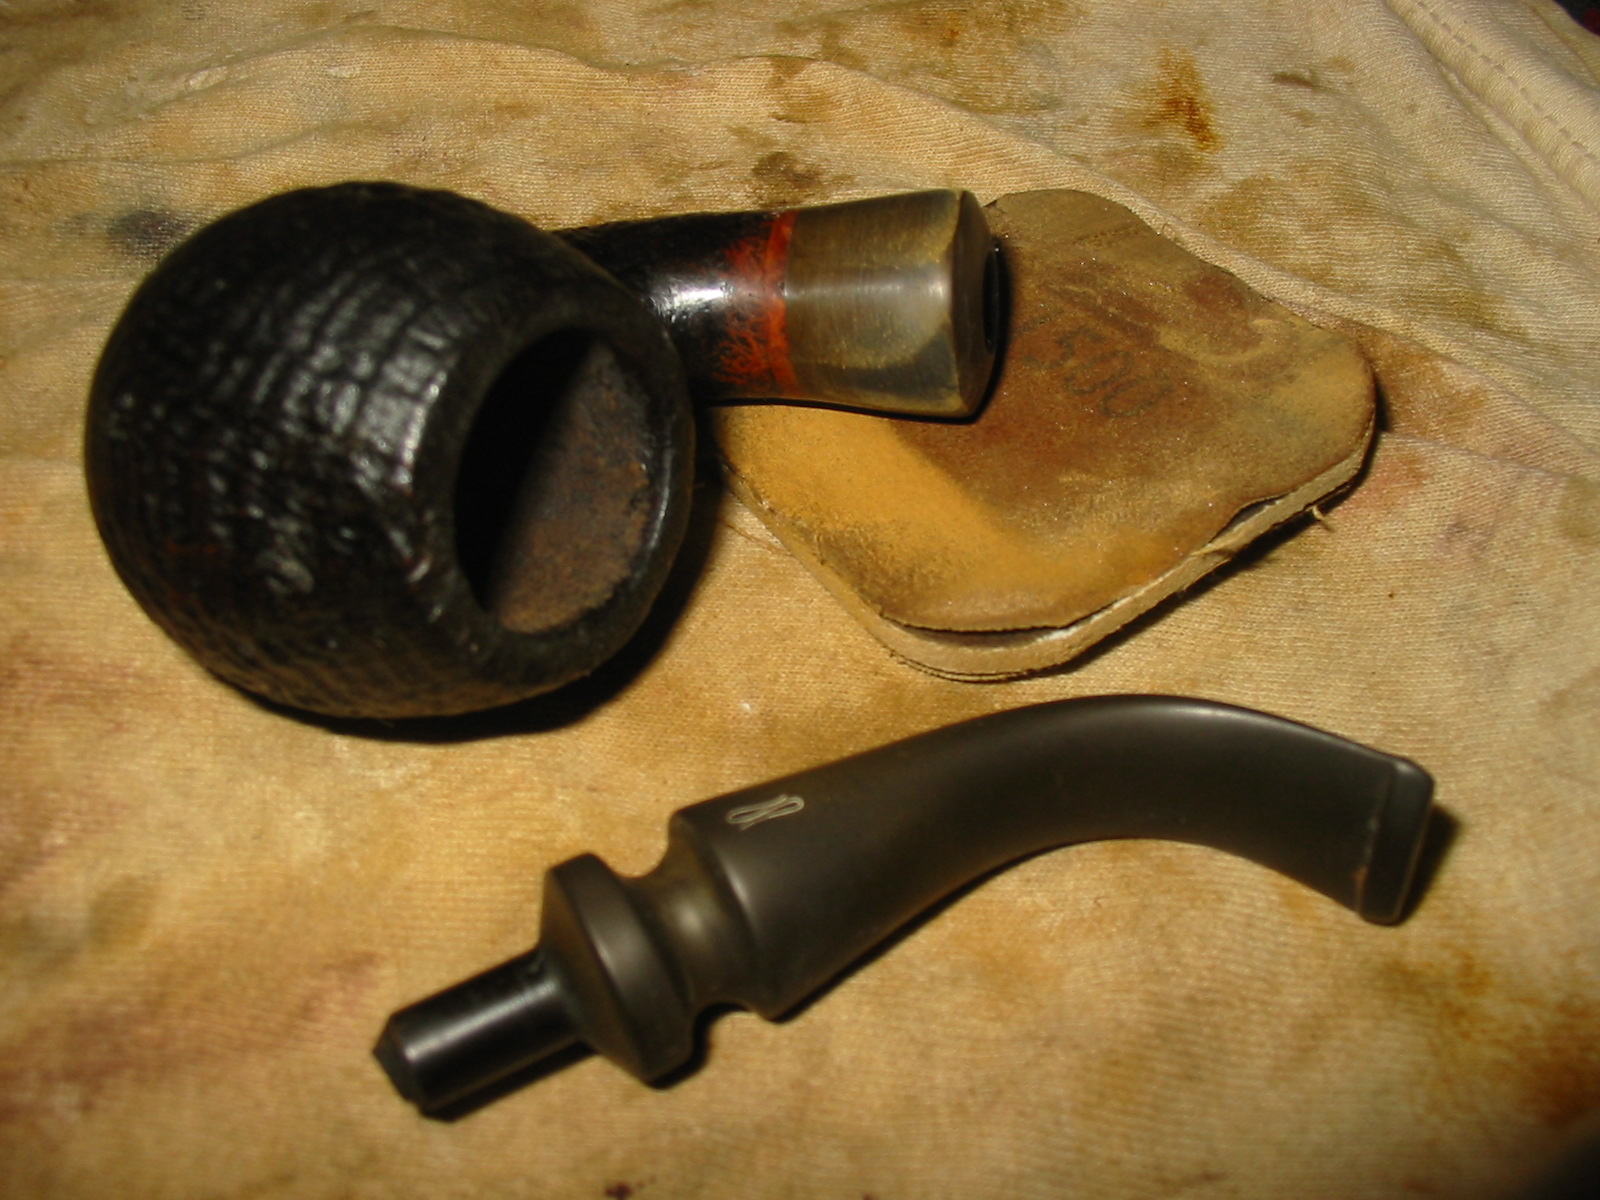
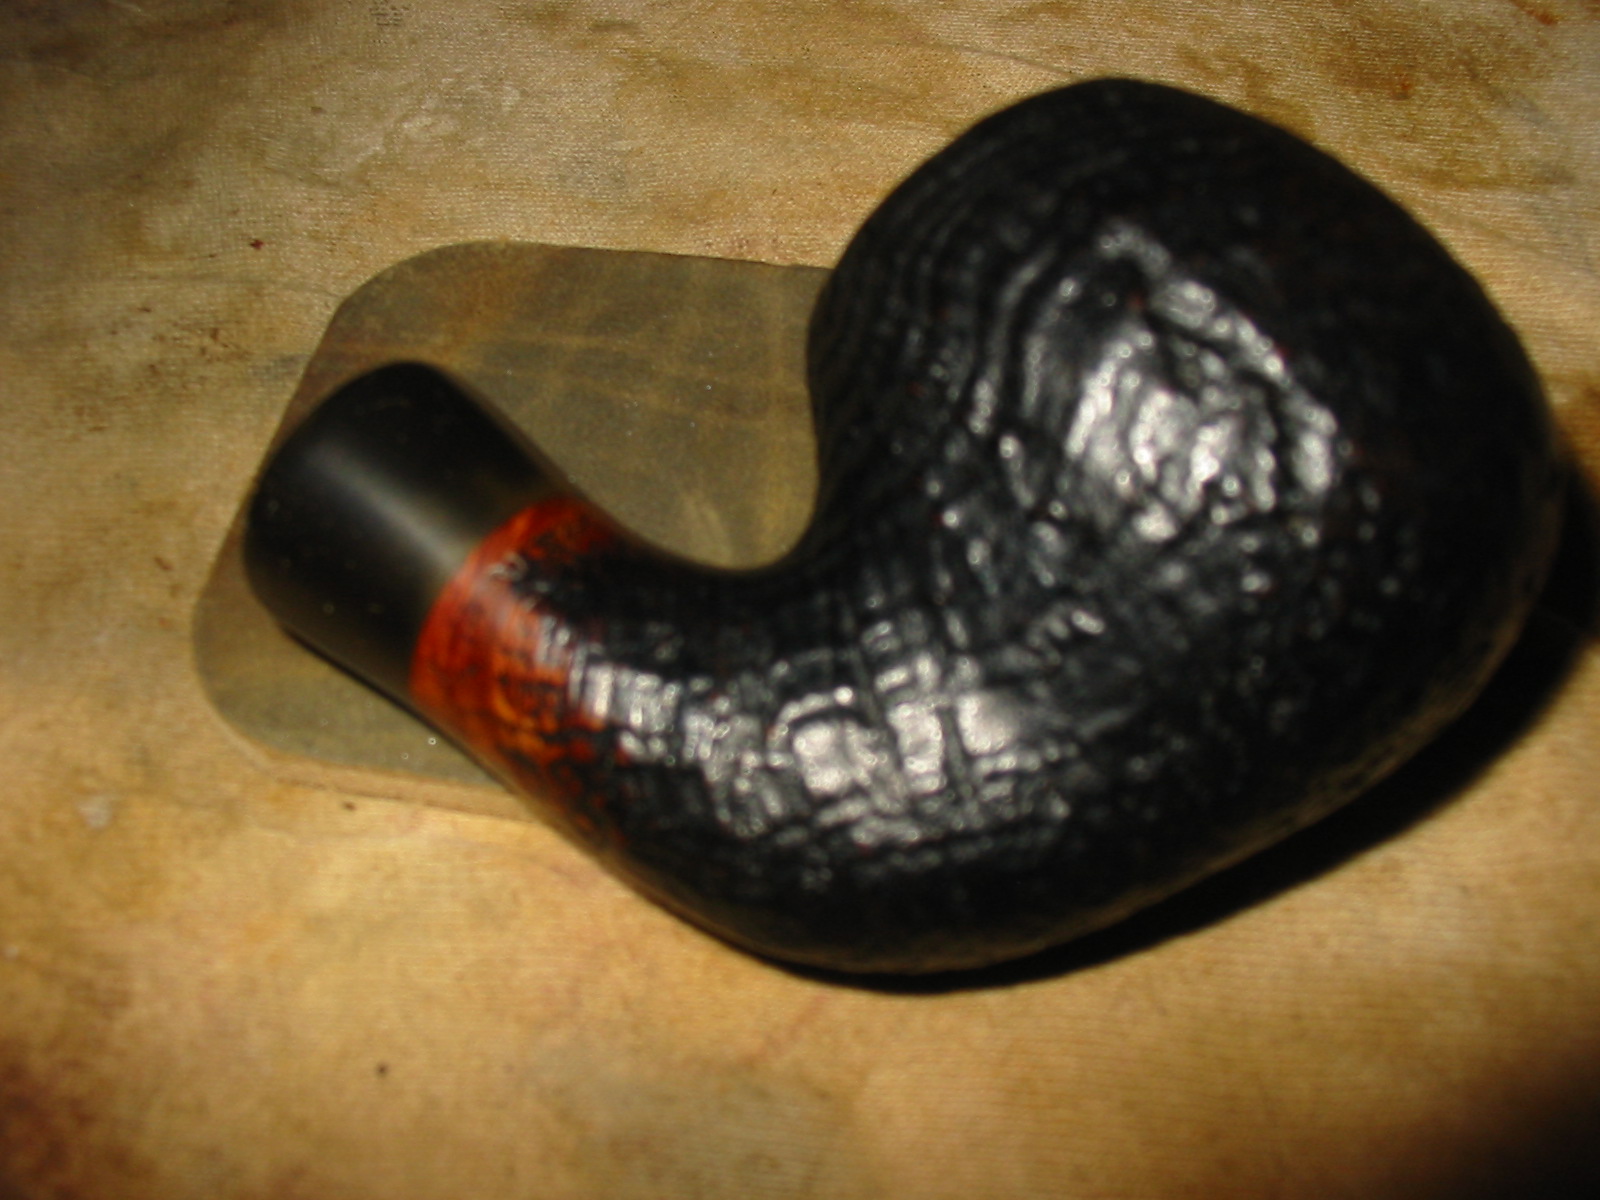
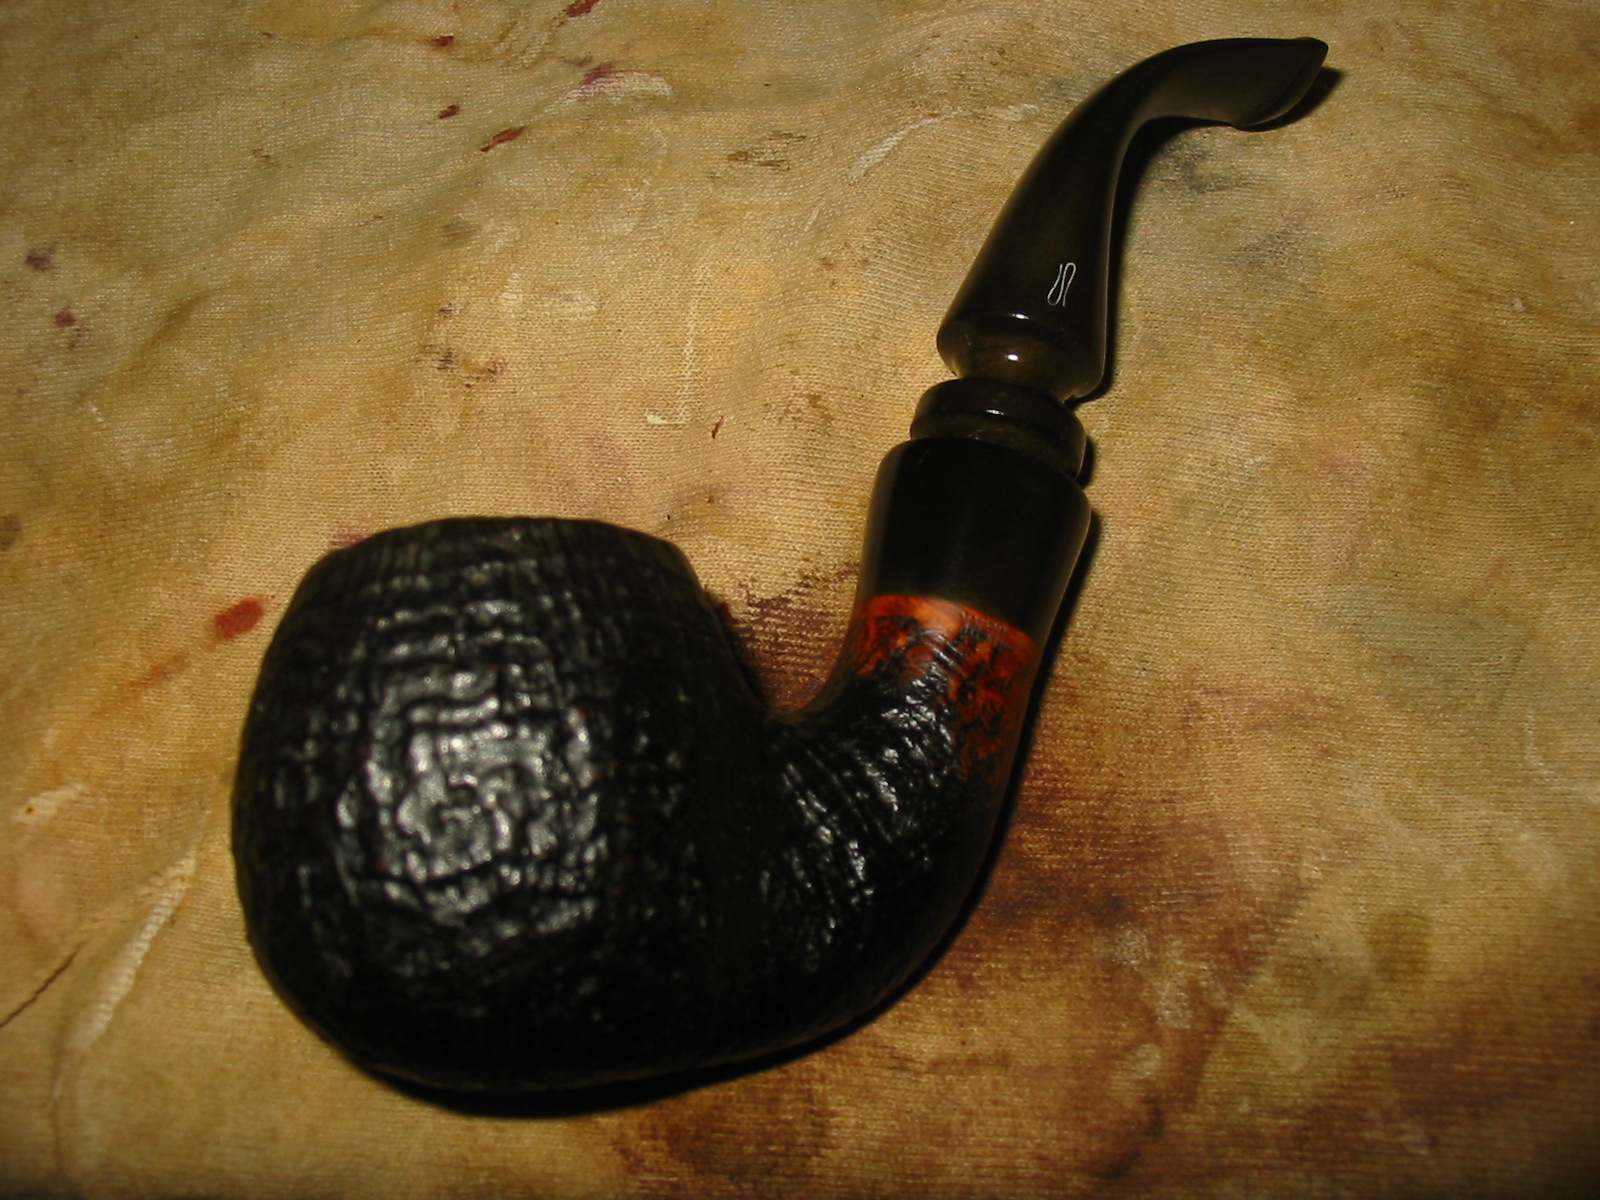
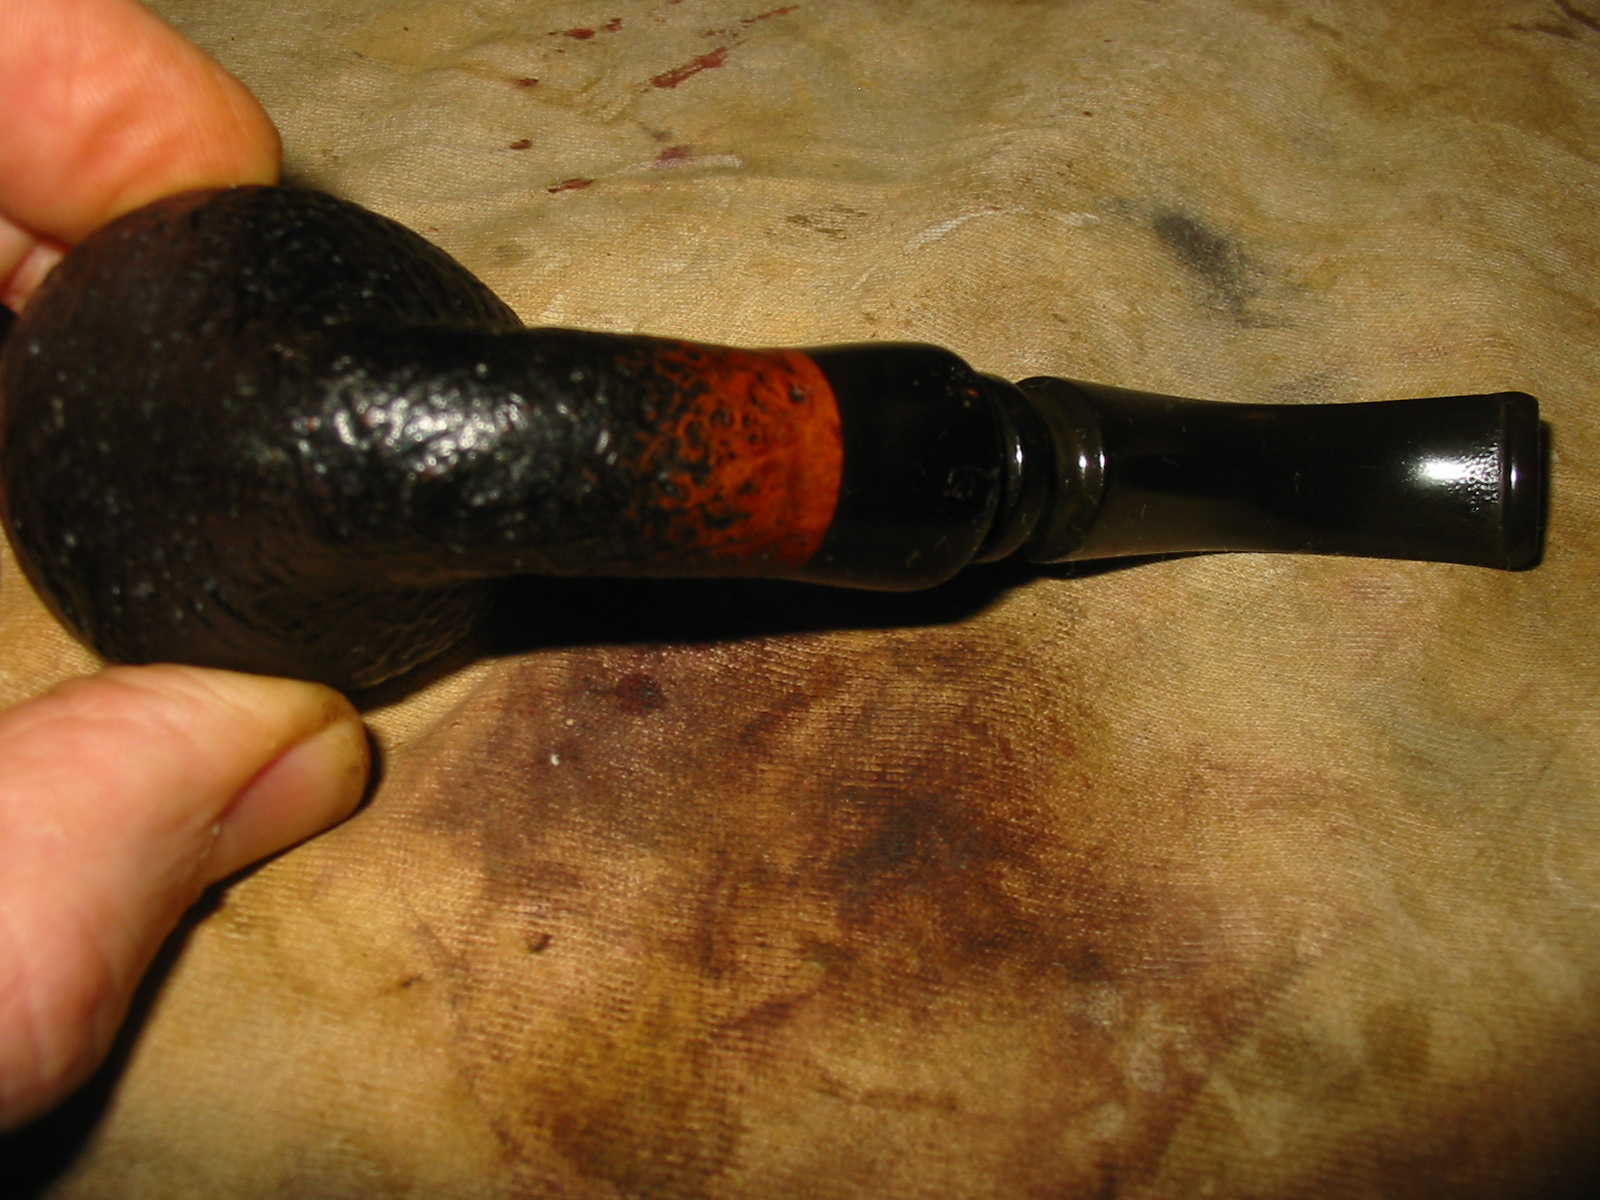
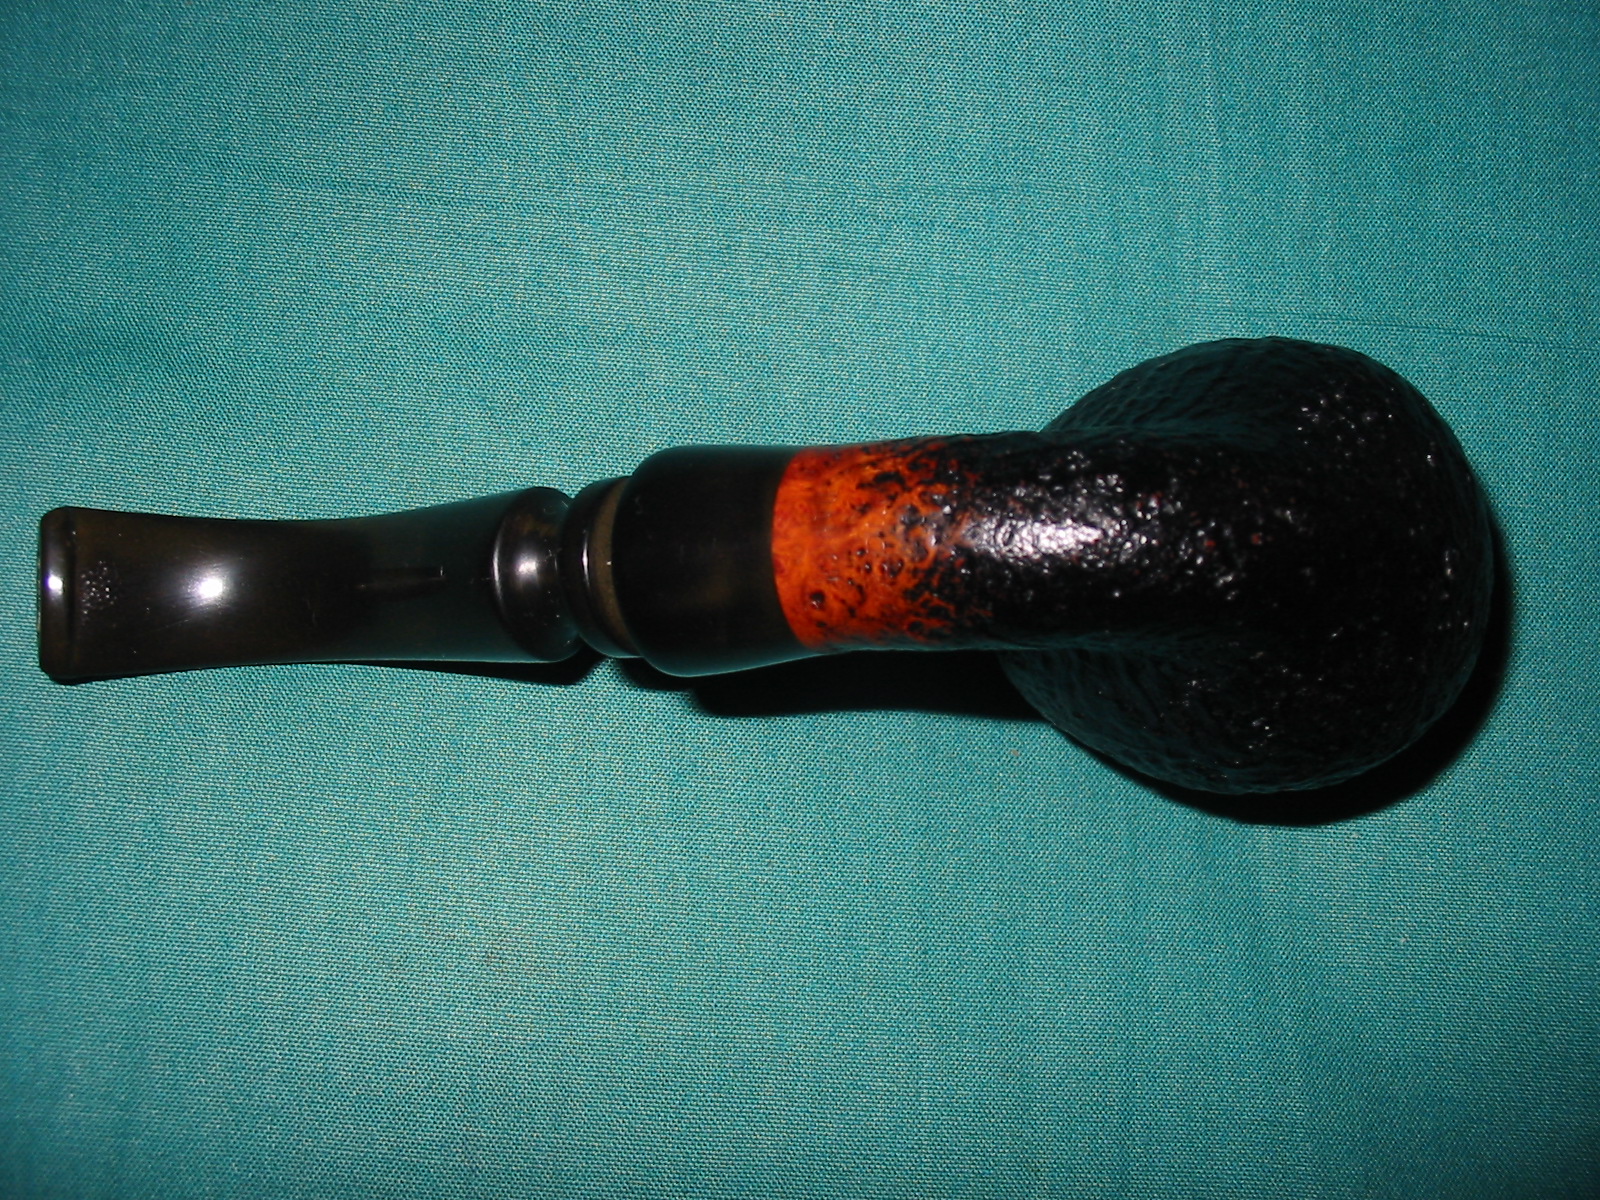
From http://www.pipephil.eu/logos/en/logo-s8.html I learned the following information: The Svendborg brand founded in 1970s by Henrik Jørgensen, Poul Ilsted and Tao Nielsen. They bought an old factory (Nordisc Pibefabriker) in Svendborg on Funen Island. Poul and Tao gradually bowed out from machine manufactured pipes (1982) and Henrik Jørgensen managed the brand until it was taken over by Design Berlin (D) in the late 90’s. Kaj C. Rasmussen joined the firm for several years. 17 employees worked for this brand under Henrik Jørgensen direction. I was given this pipe by a good friend last weekend when I visited him on Vancouver Island. The bowl was in great shape and the stem merely oxidized. There were no bite marks and some minimal tooth chatter on the underside of the stem near the button. The pipe is stamped on the underside Svendborg over Danish over Hand Made and on the left side of the shank is stamped Bark. The stem has the squashed S logo on the left side. The stem is a chairleg type saddle near the shank. The shank has a vulcanite shank extension. (I apologize for the blurry quality of several of the before cleanup pics I am adjusting to a new camera.)
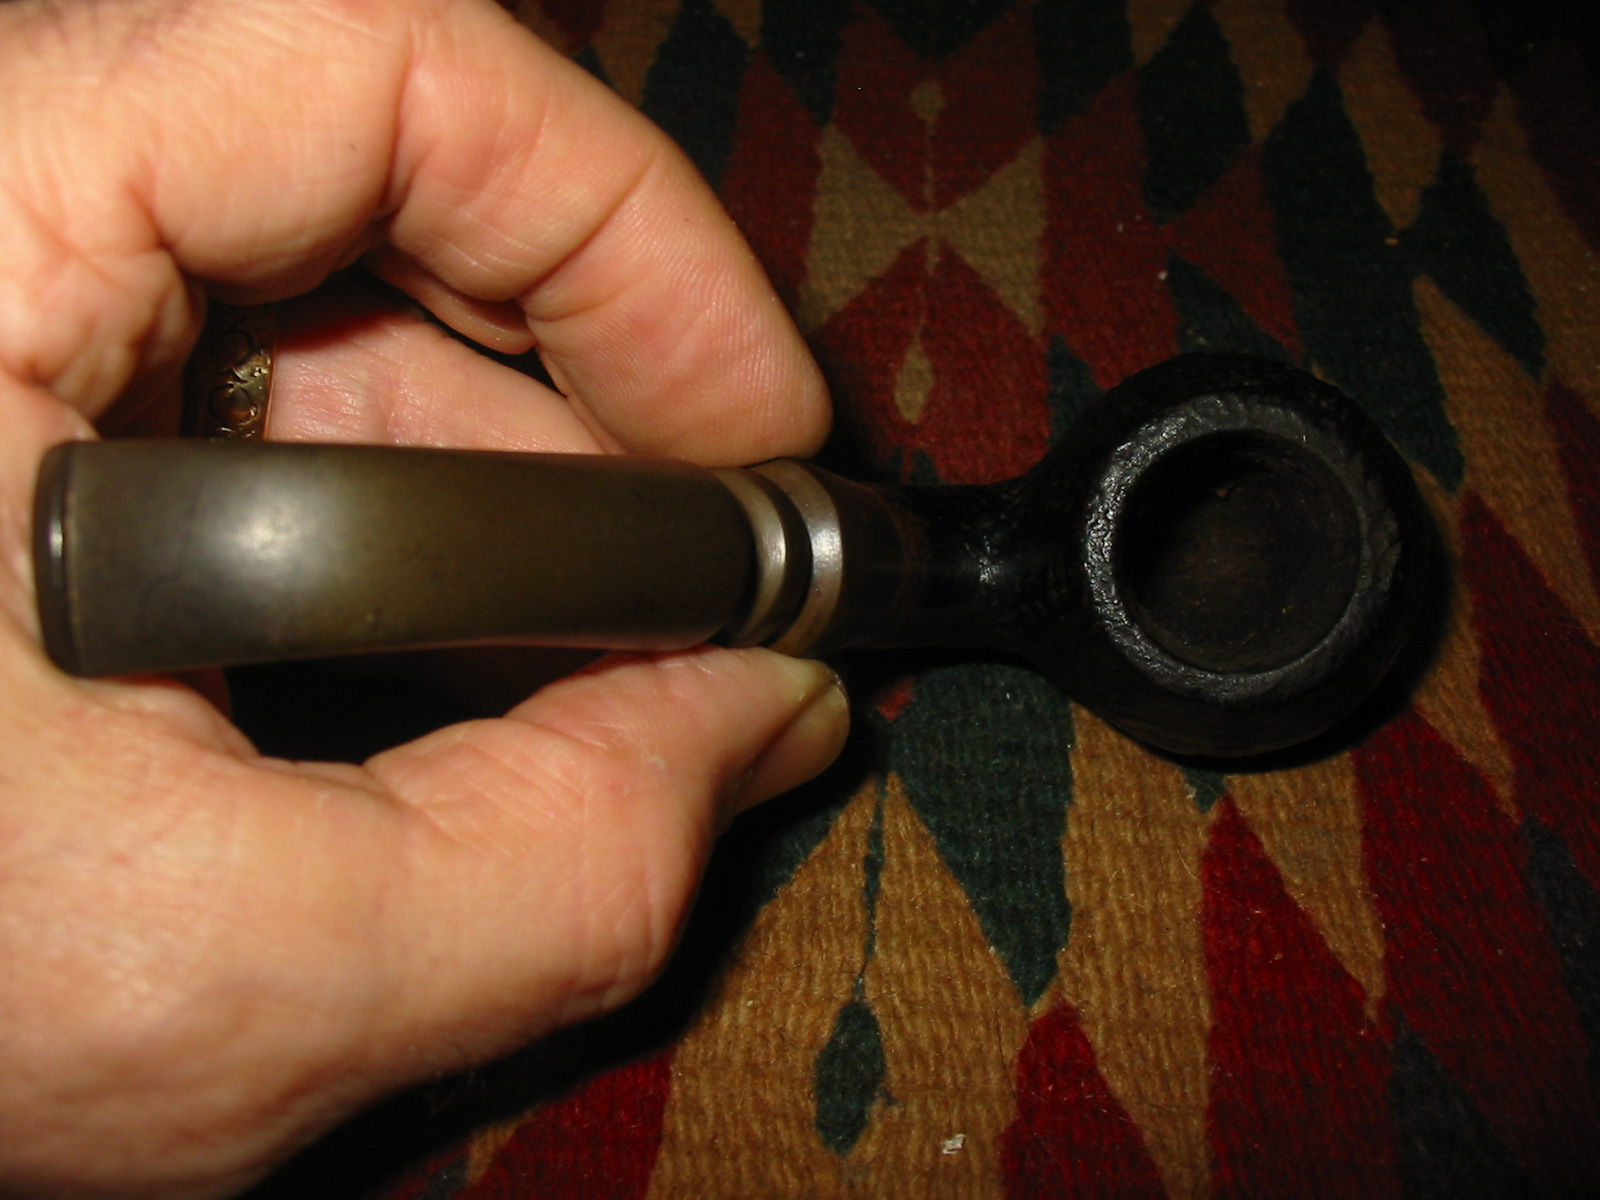
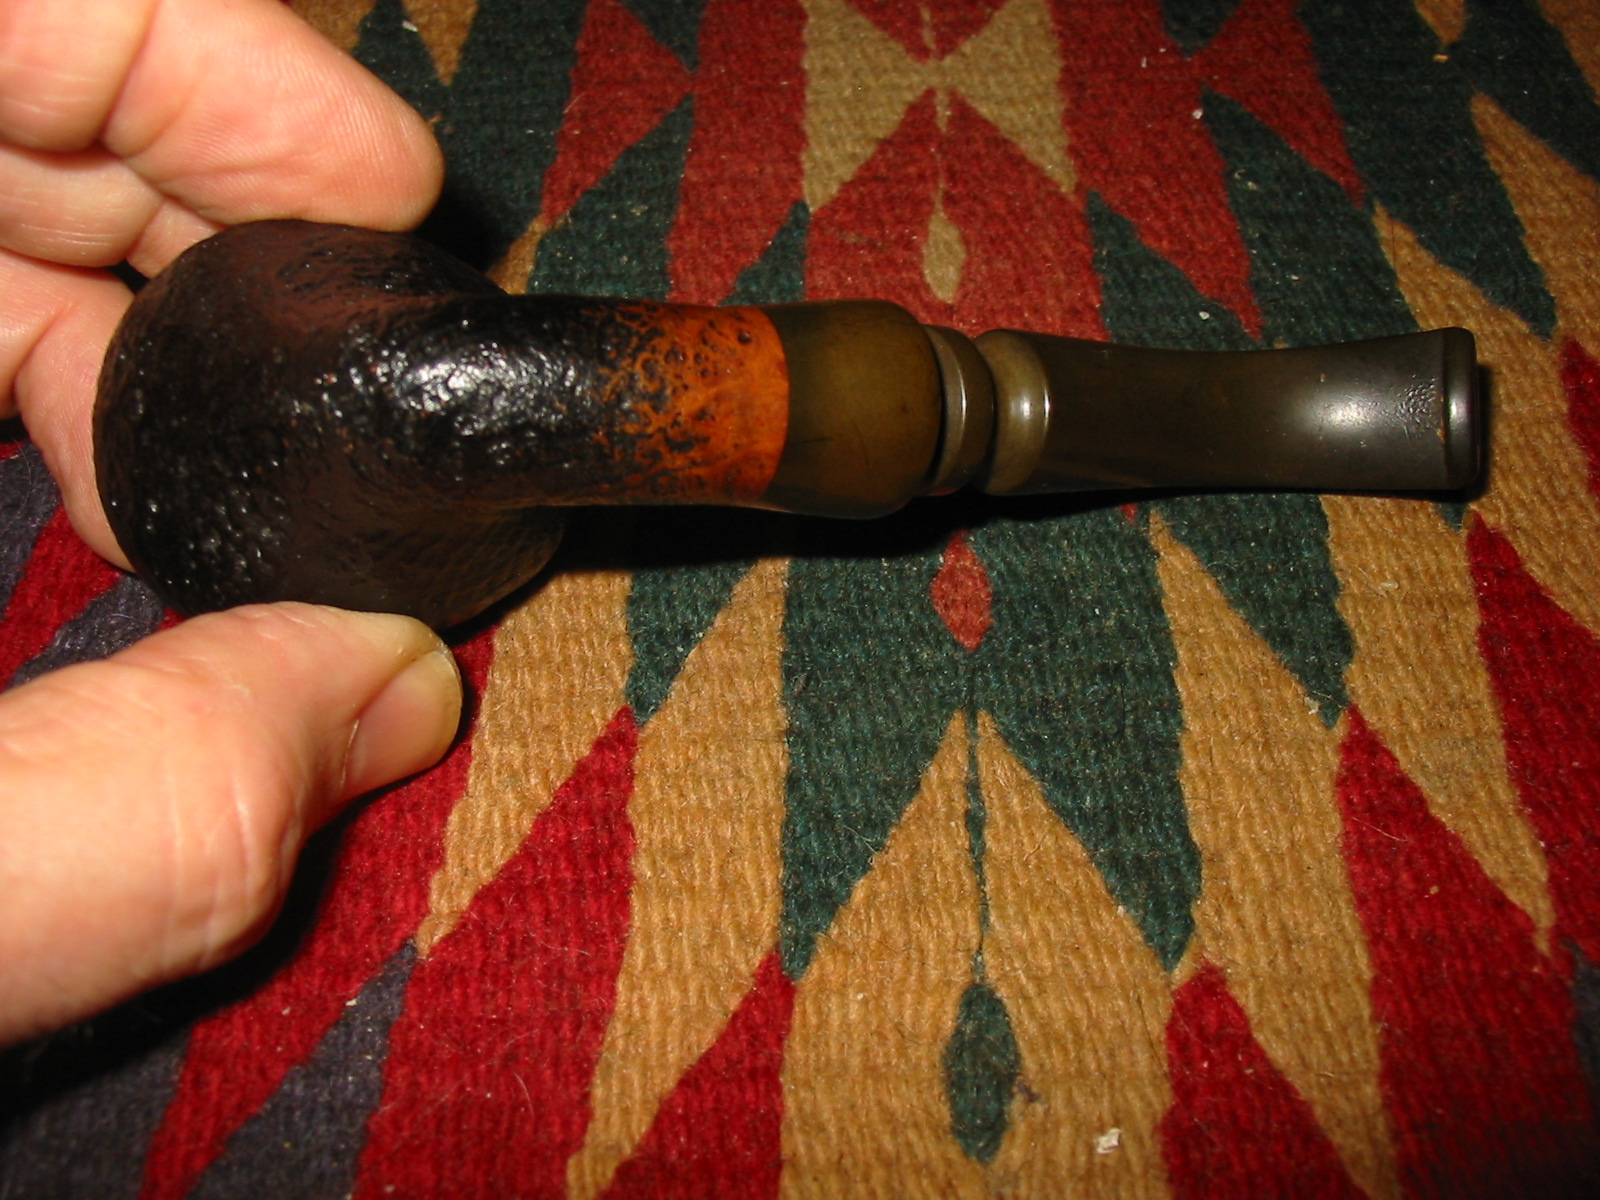
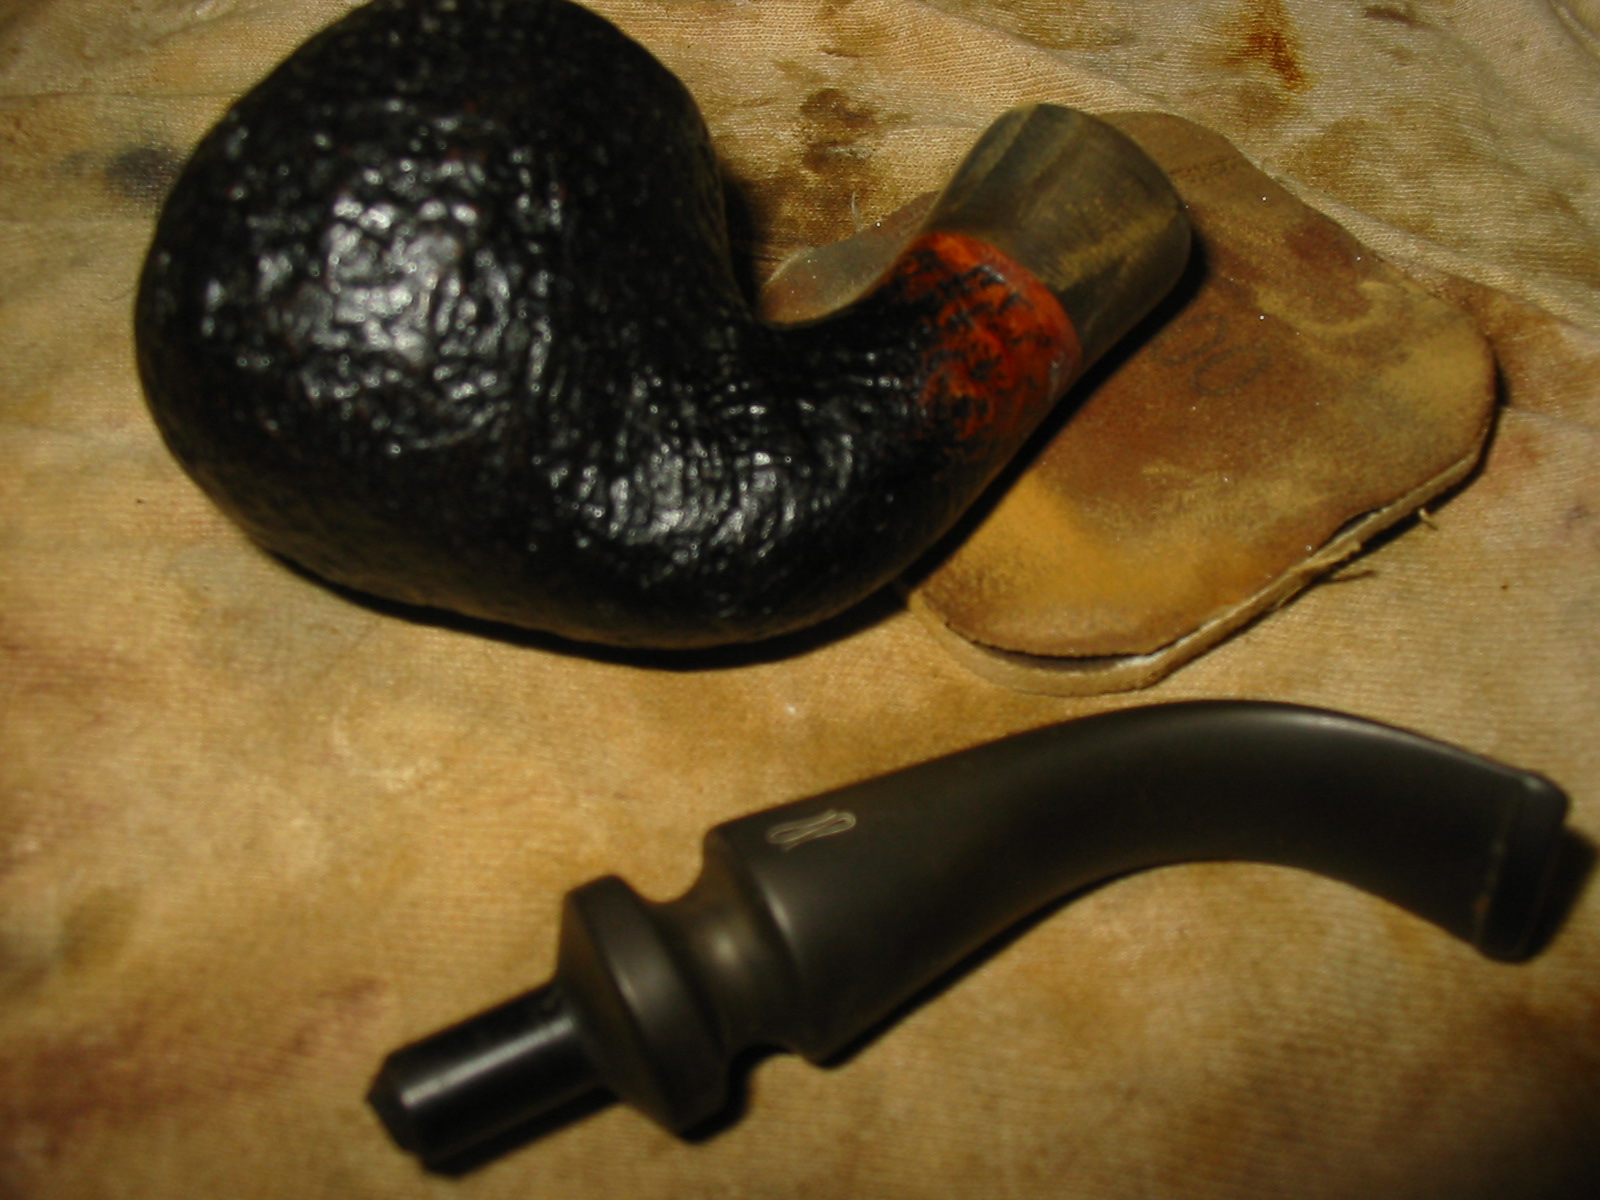
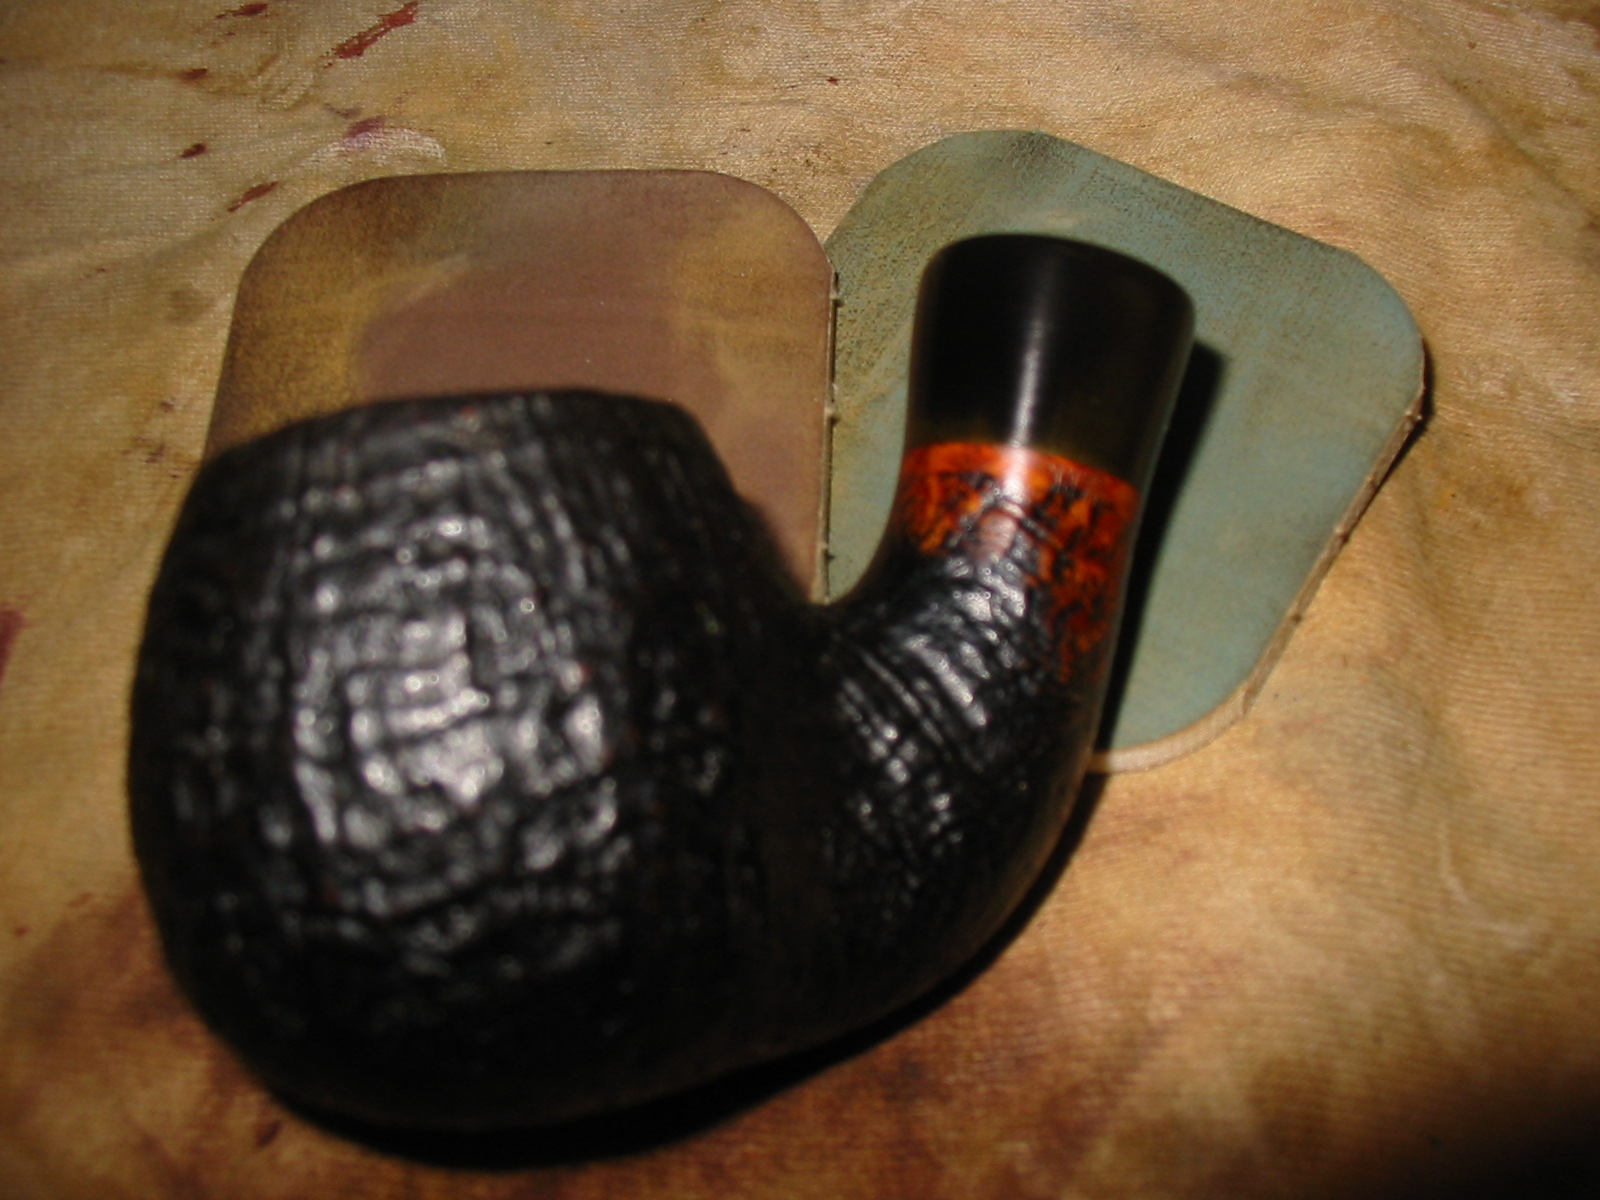
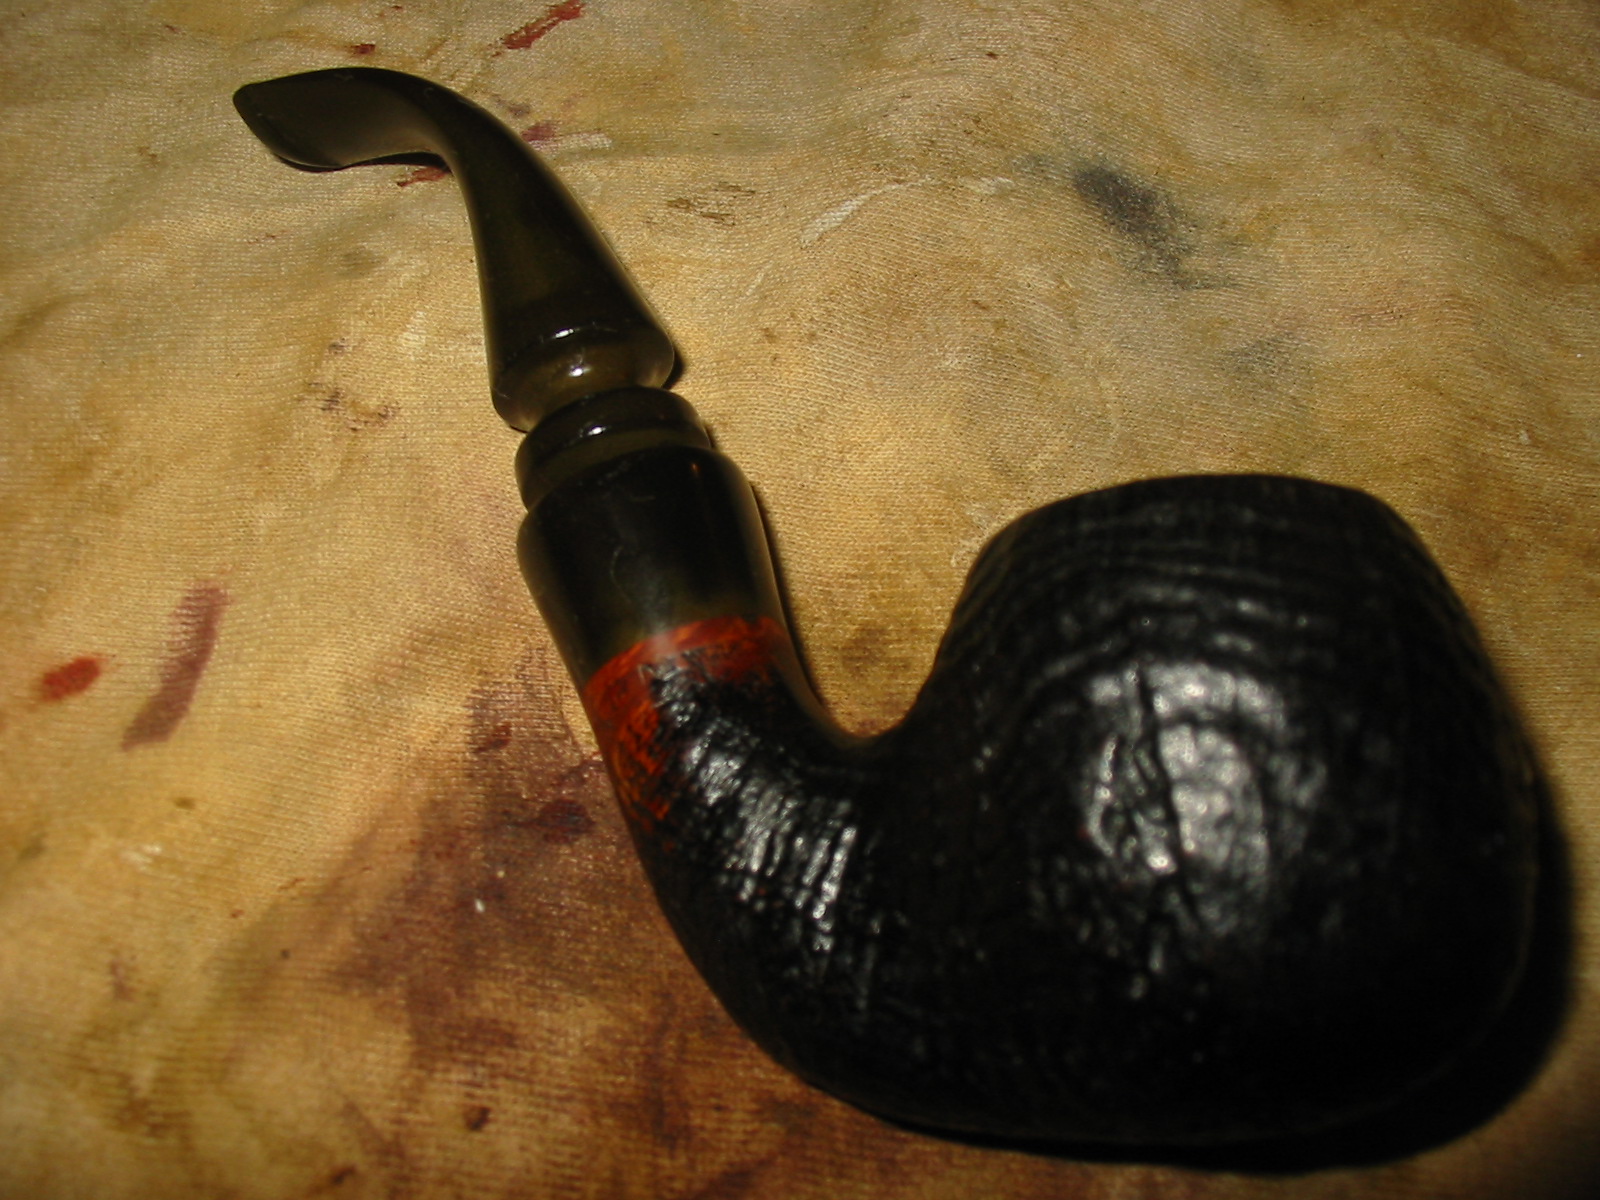
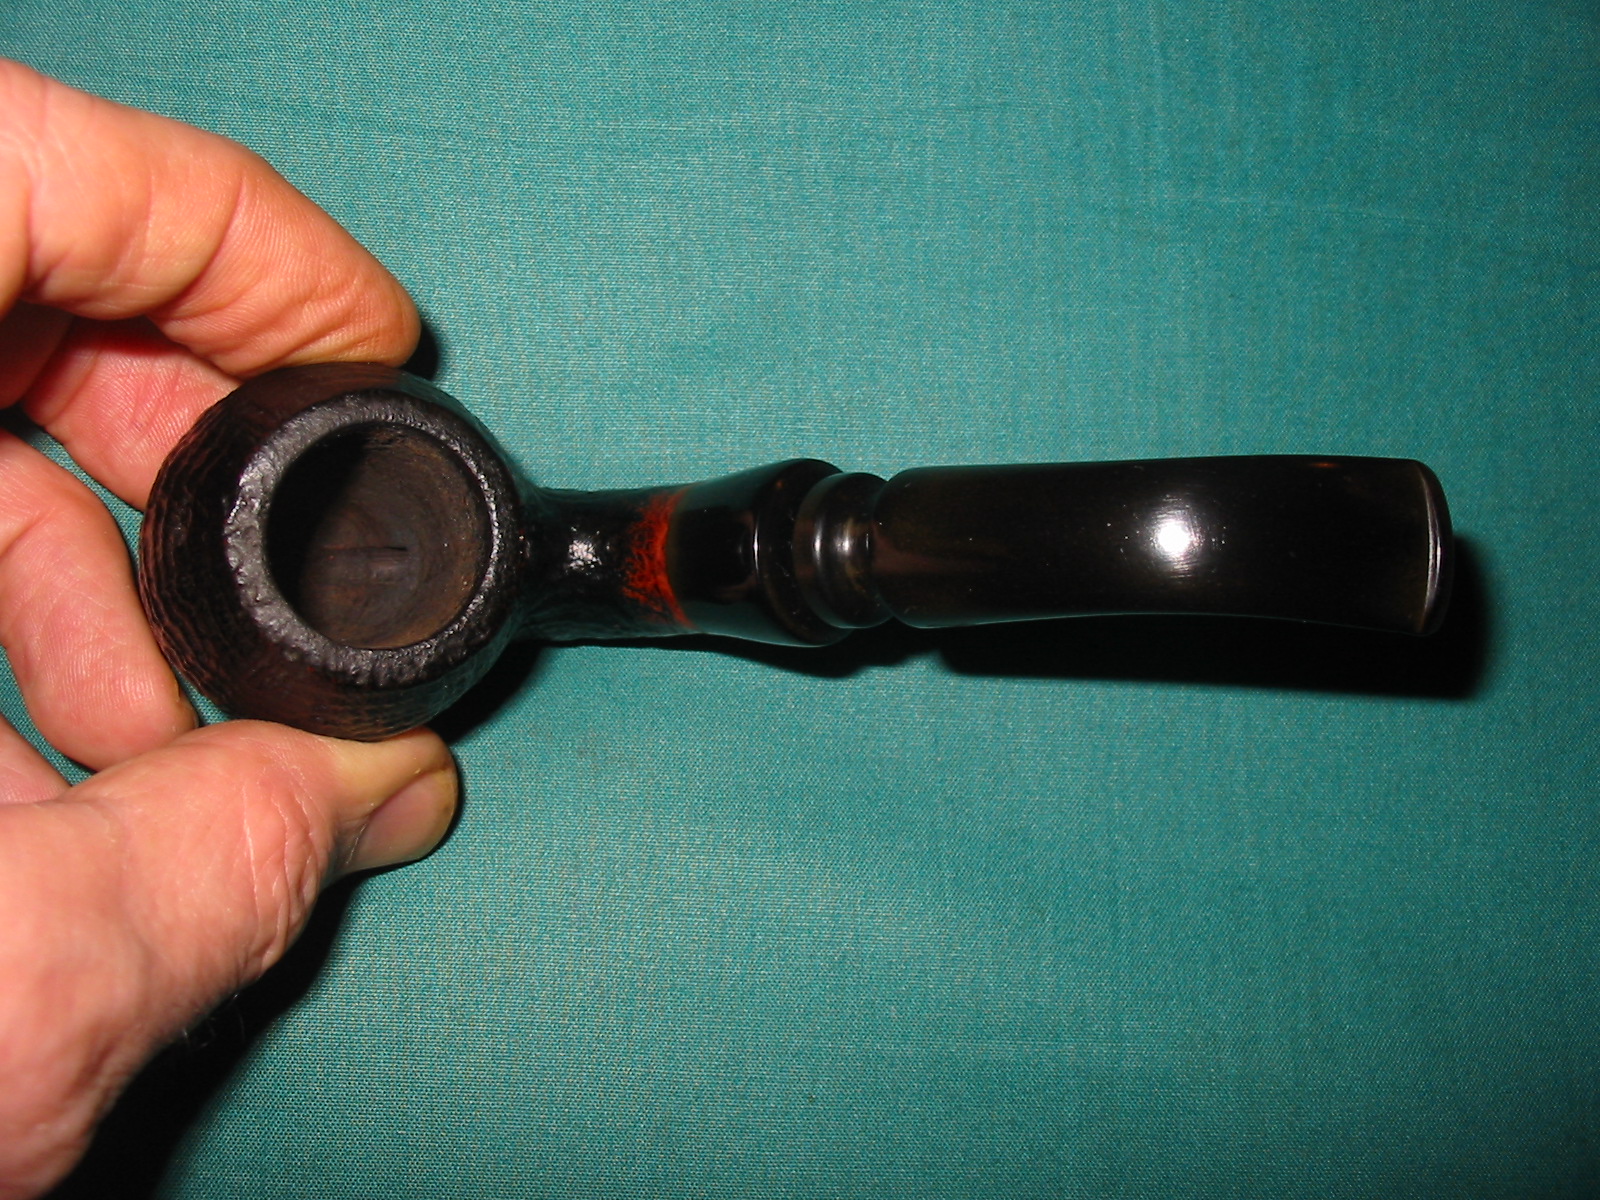
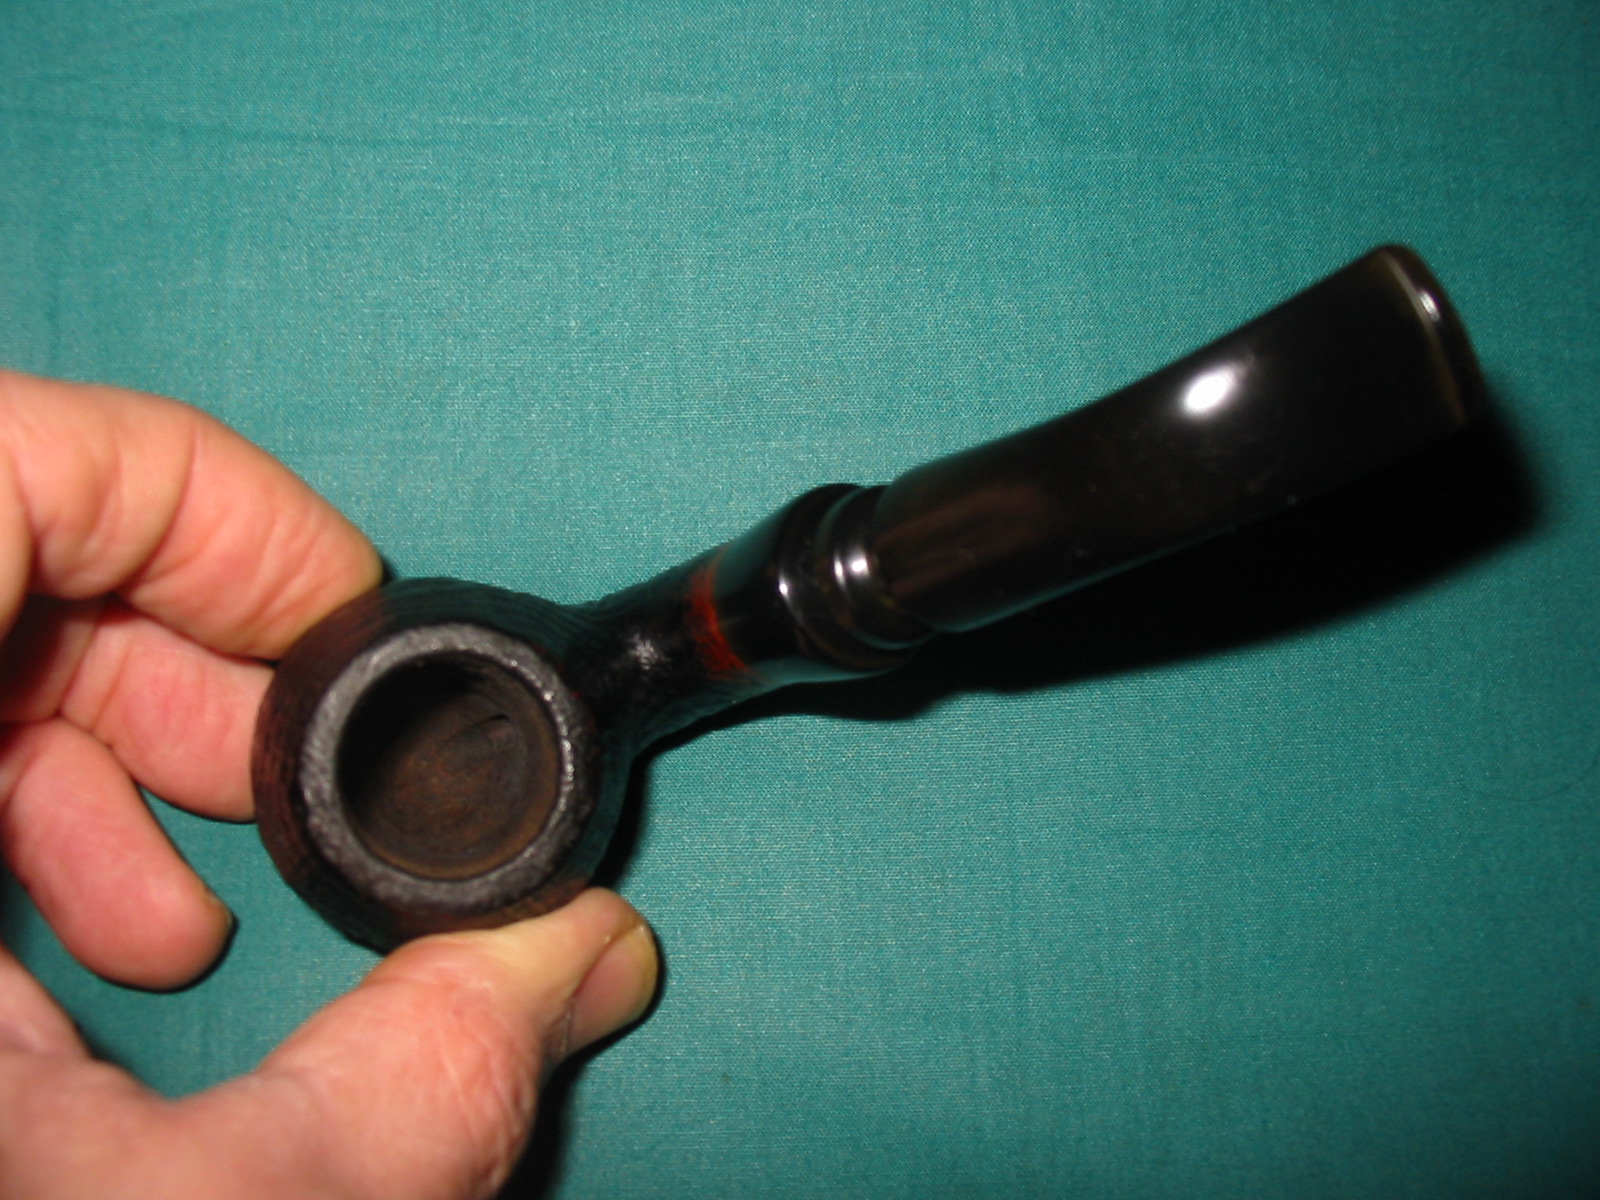
I reamed the pipe and cleaned the rim with a soft bristle tooth brush and Murphy’s Oil Soap. It quickly removed the buildup on the rim. I wiped down the outside of the bowl with a soft cloth and a light dampening with Murphy’s Oil Soap. The blast cleaned up very nicely. The sand blast on the bowl is well done with blast in the birdseye on the rim and the bottom of the bowl. The sides have ring blast that looks great. There is a smooth patch on the underside that has the stamping present in it and there is a smooth band around the shank at the shank extension junction. I sanded the shank extension with 1500 grit micromesh sanding pads. I chose to sand this section dry as I did not want to risk loosening the joint of the extension. The next five photos show the sanded extension during and after I finished with this grit.


The next three photos show the extension after I sanded it with 1800 and 2400 grit micromesh sanding pads. The oxidation is beginning to disappear as I work on it.

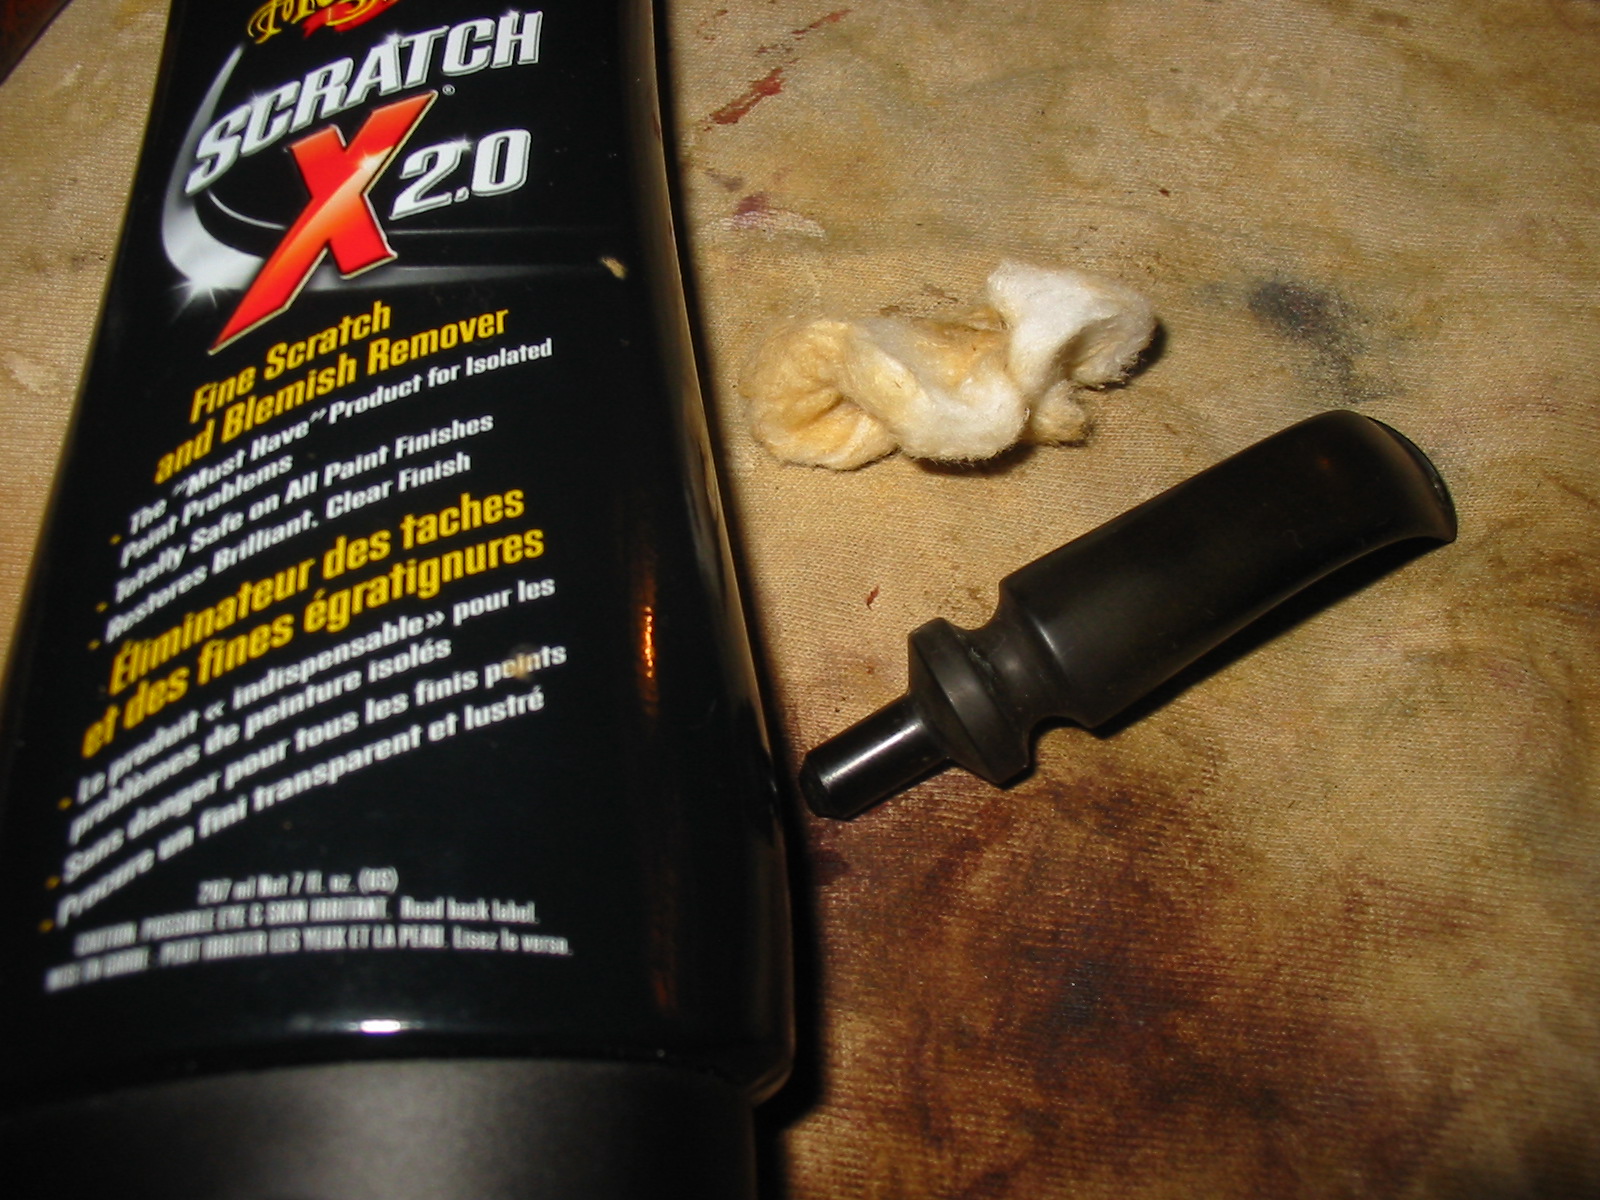
I then sanded it with the 3200, 3600, and 4000 grit micromesh pads. I wiped the extension down between the various grits of micromesh. I then polished the extension with Maguiar’s and rubbed it into the vulcanite and then wiped it off with the cotton pads. I finished sanding with the remaining grits of micromesh from 6000-12,000. Then polished it again with Maguiar’s before taking it to the buffer and buffing with White Diamond.

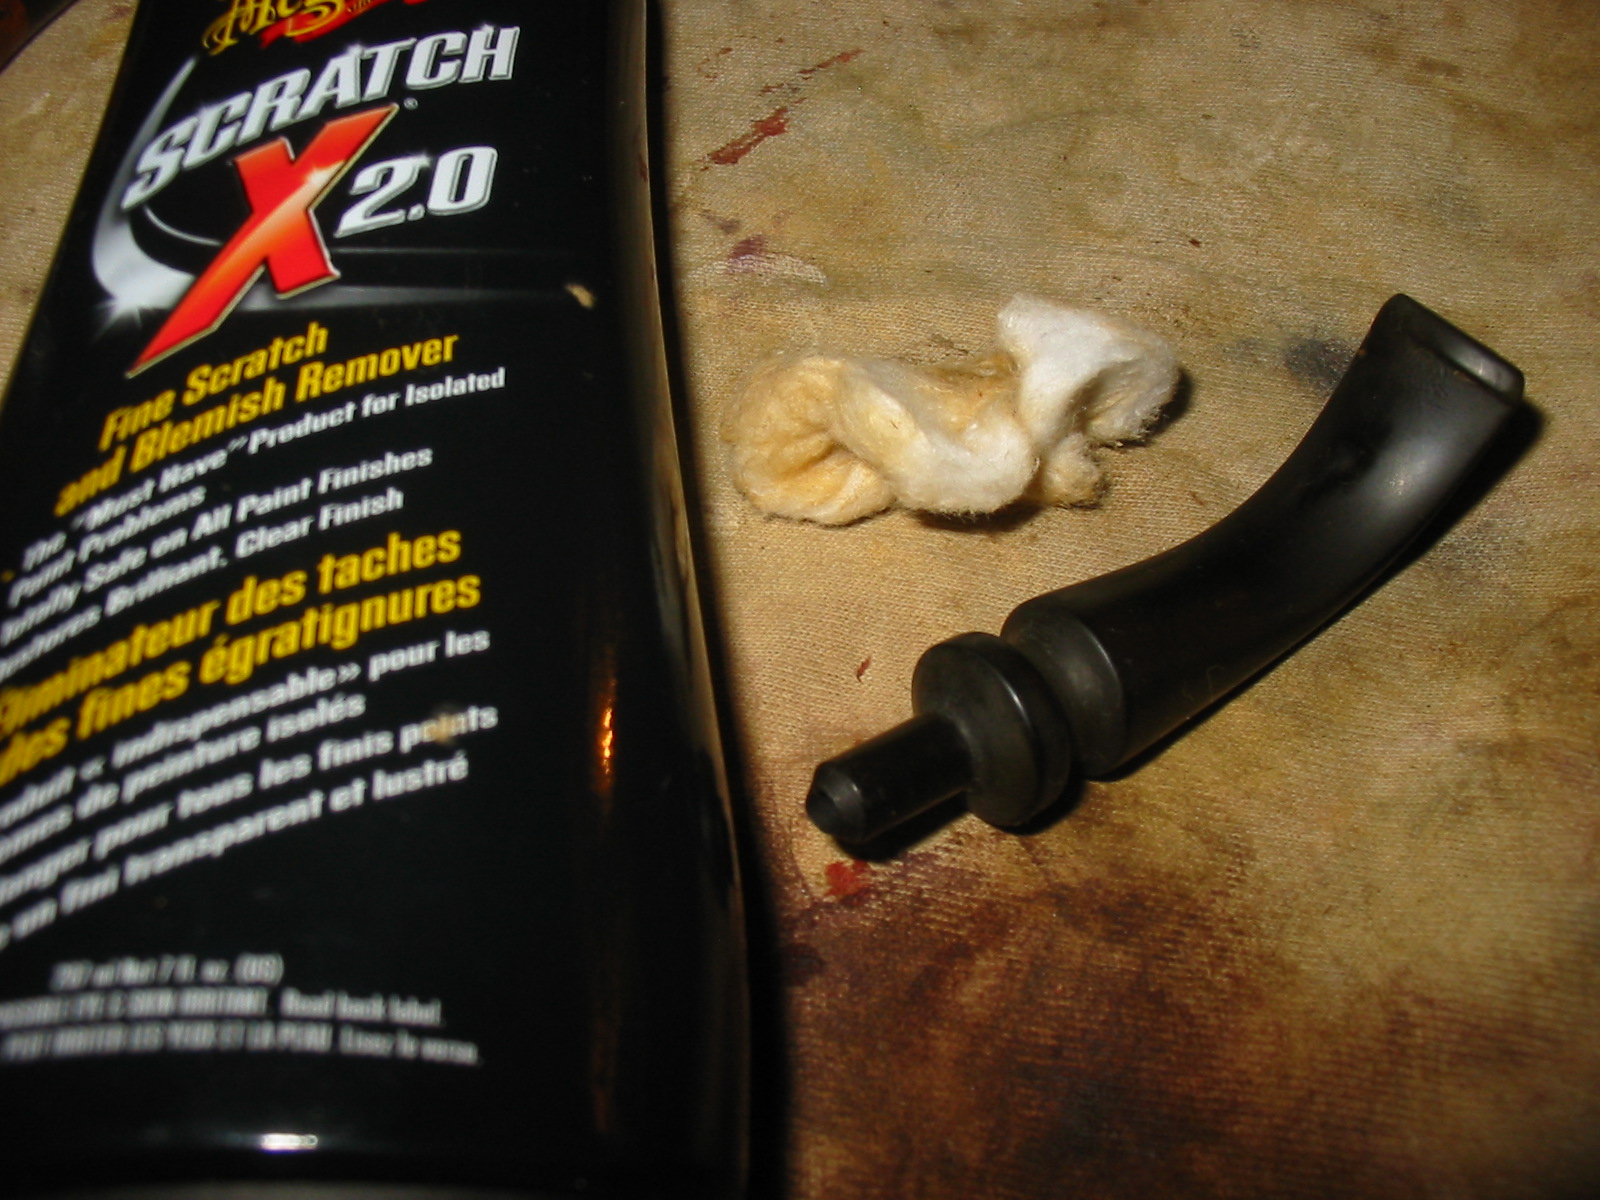
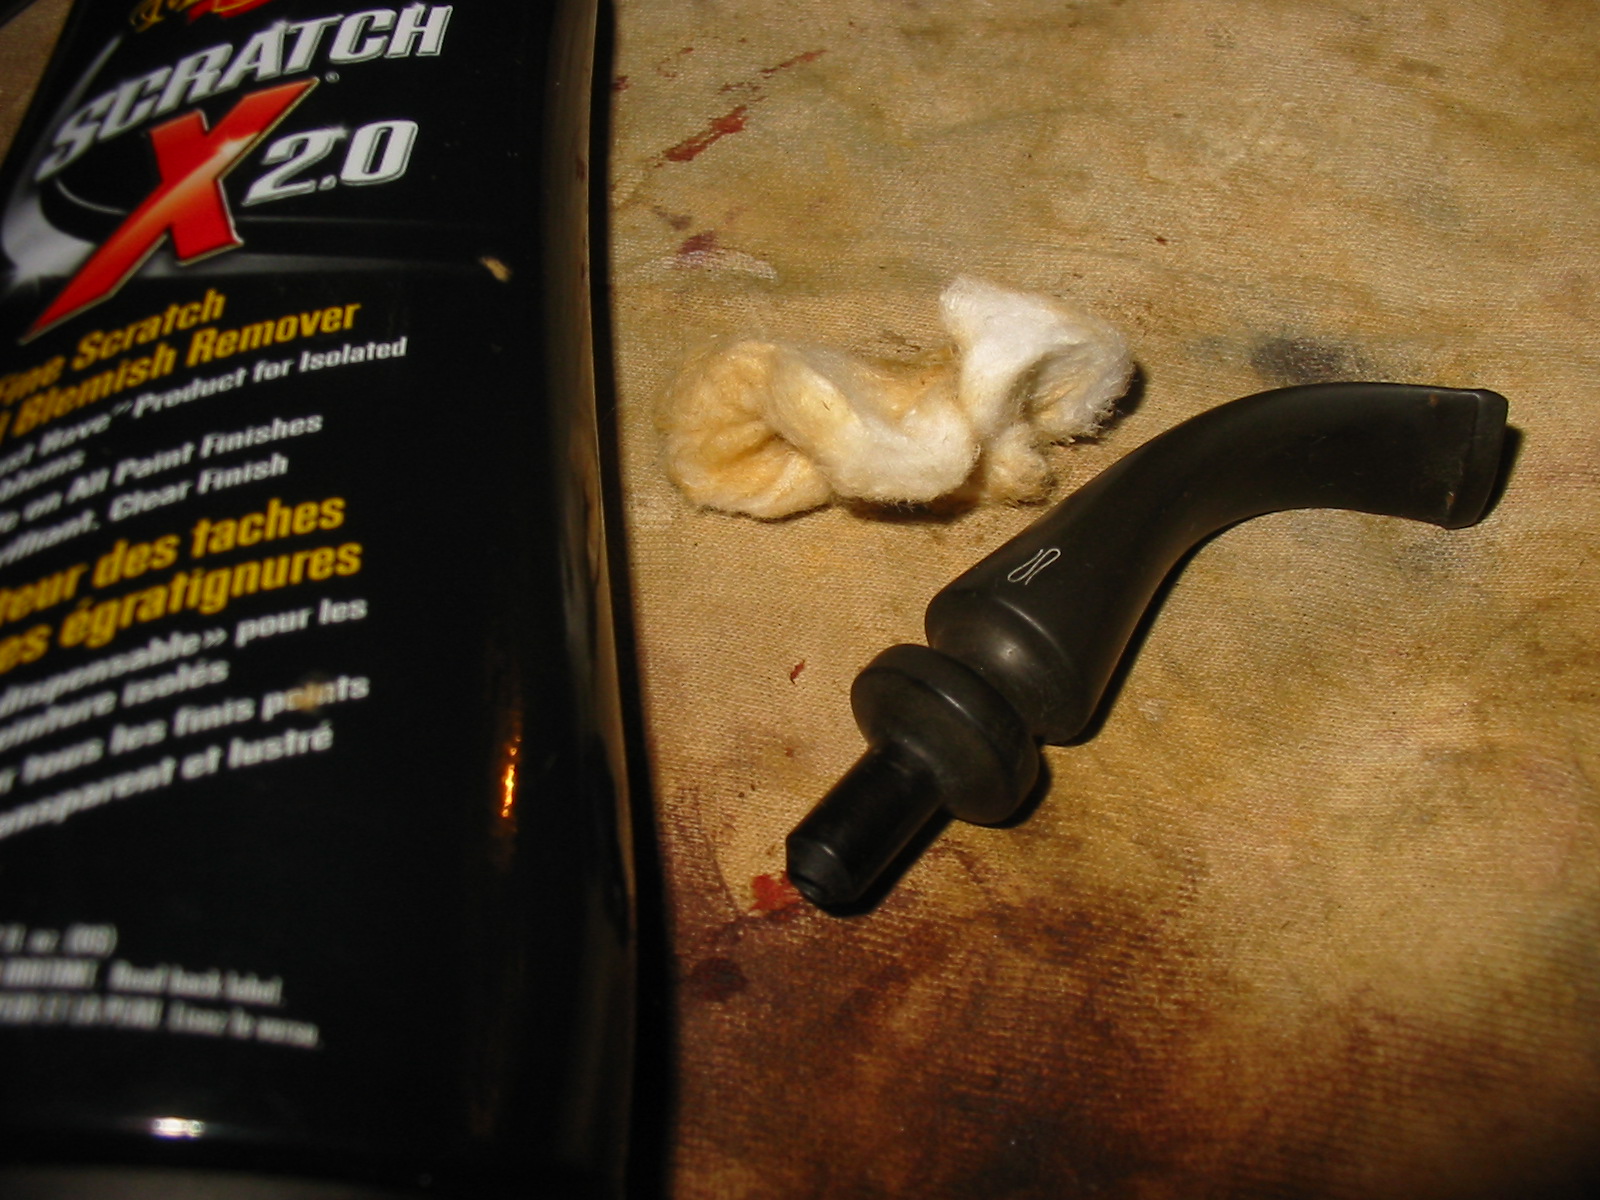
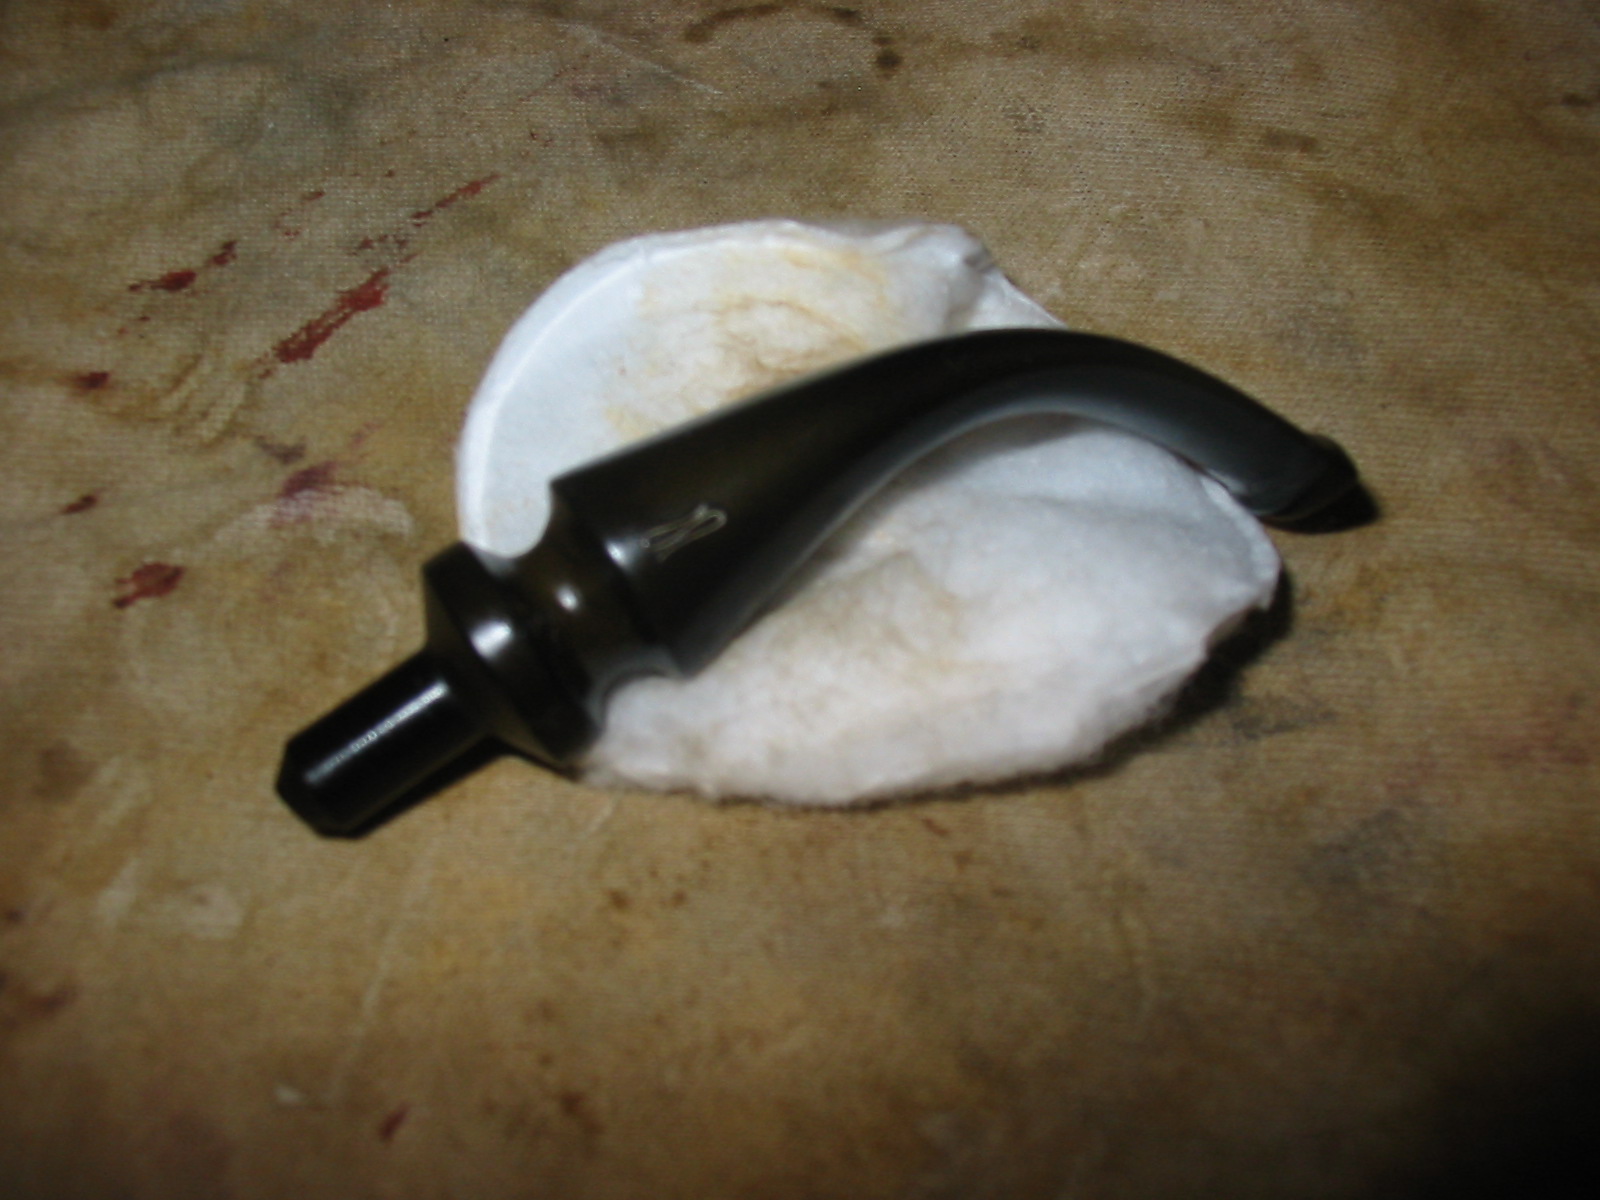
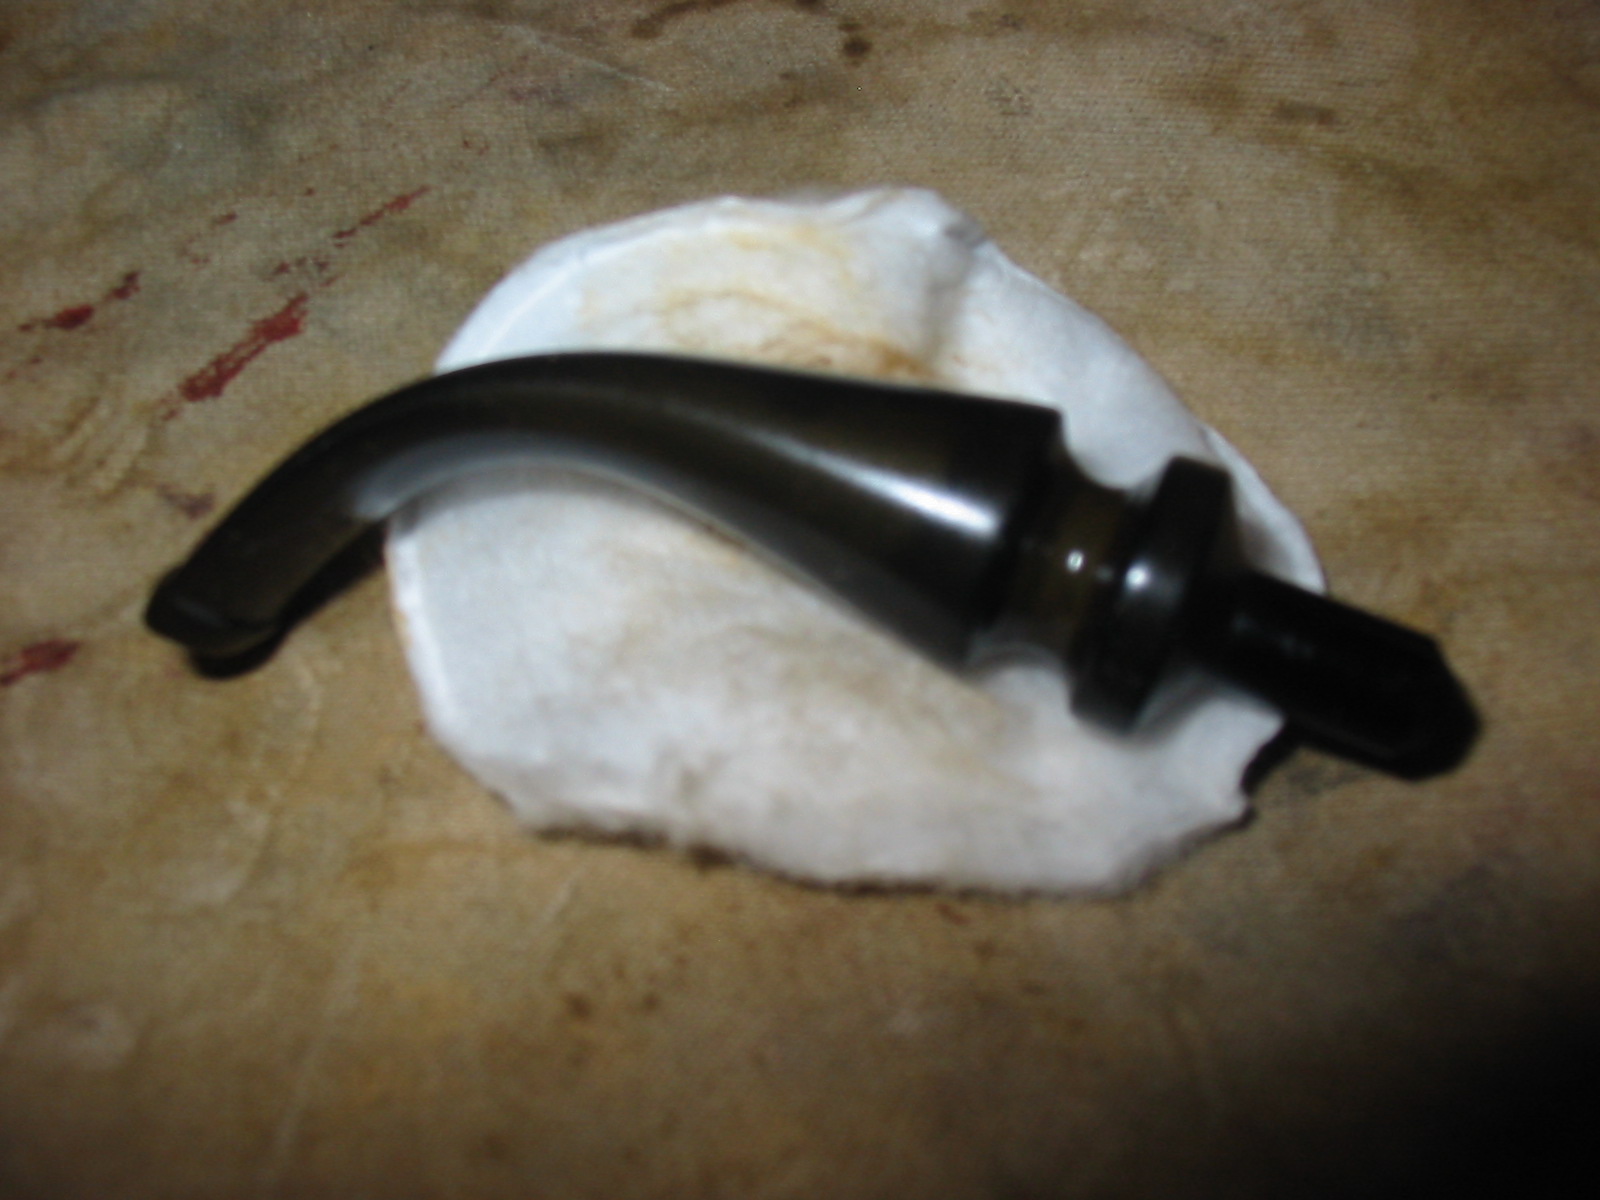
The next six photos show the process and progress of polishing the stem with Maguiar’s. I wanted to preserve the stamping on the stem so I was careful around that. I rubbed the polish into the stem, wiped it off and reapplied and rewiped until I had removed most of the oxidation.
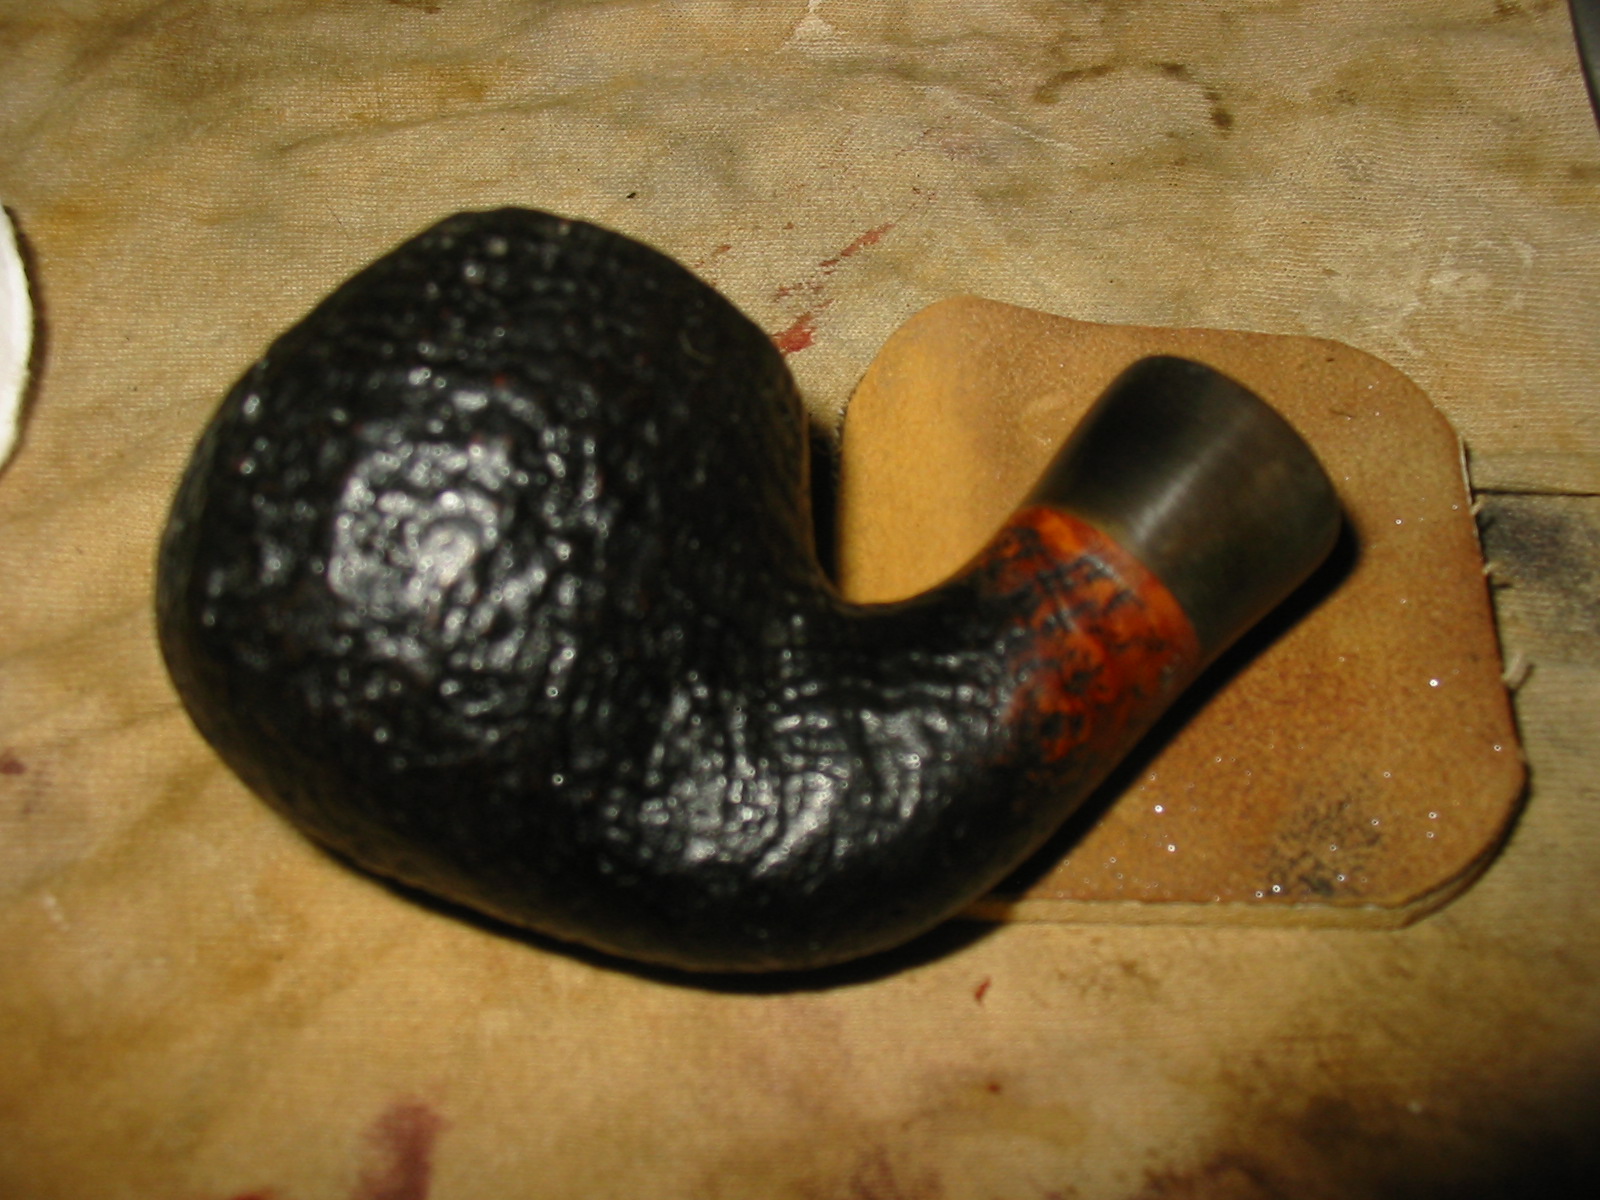
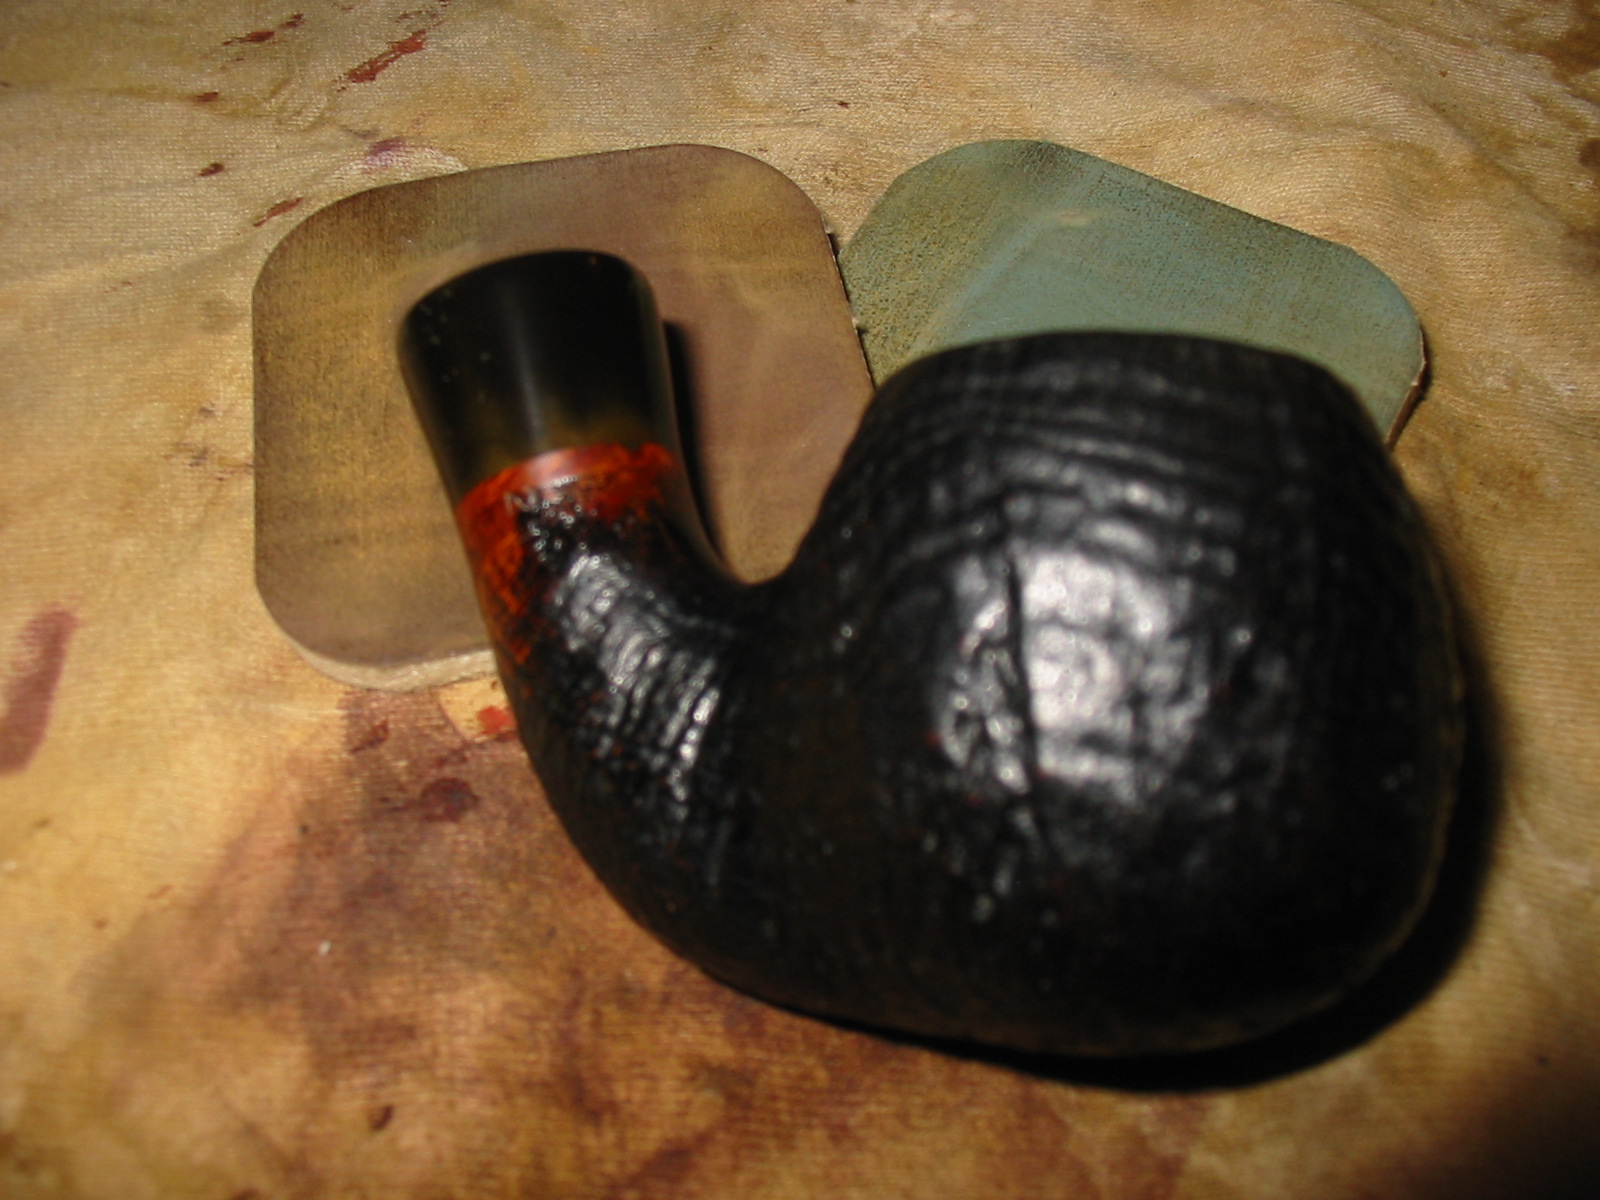
The next series of four photos shows the progress on the stem. I reinserted it in the bowl and shank to give me a clear picture of the progress in removing the oxidation. The shank extension was a bright black and the stem still needed some work to remove the oxidation. The chairleg portion of the stem was the hardest to work on, that and around the stamping on the stem.
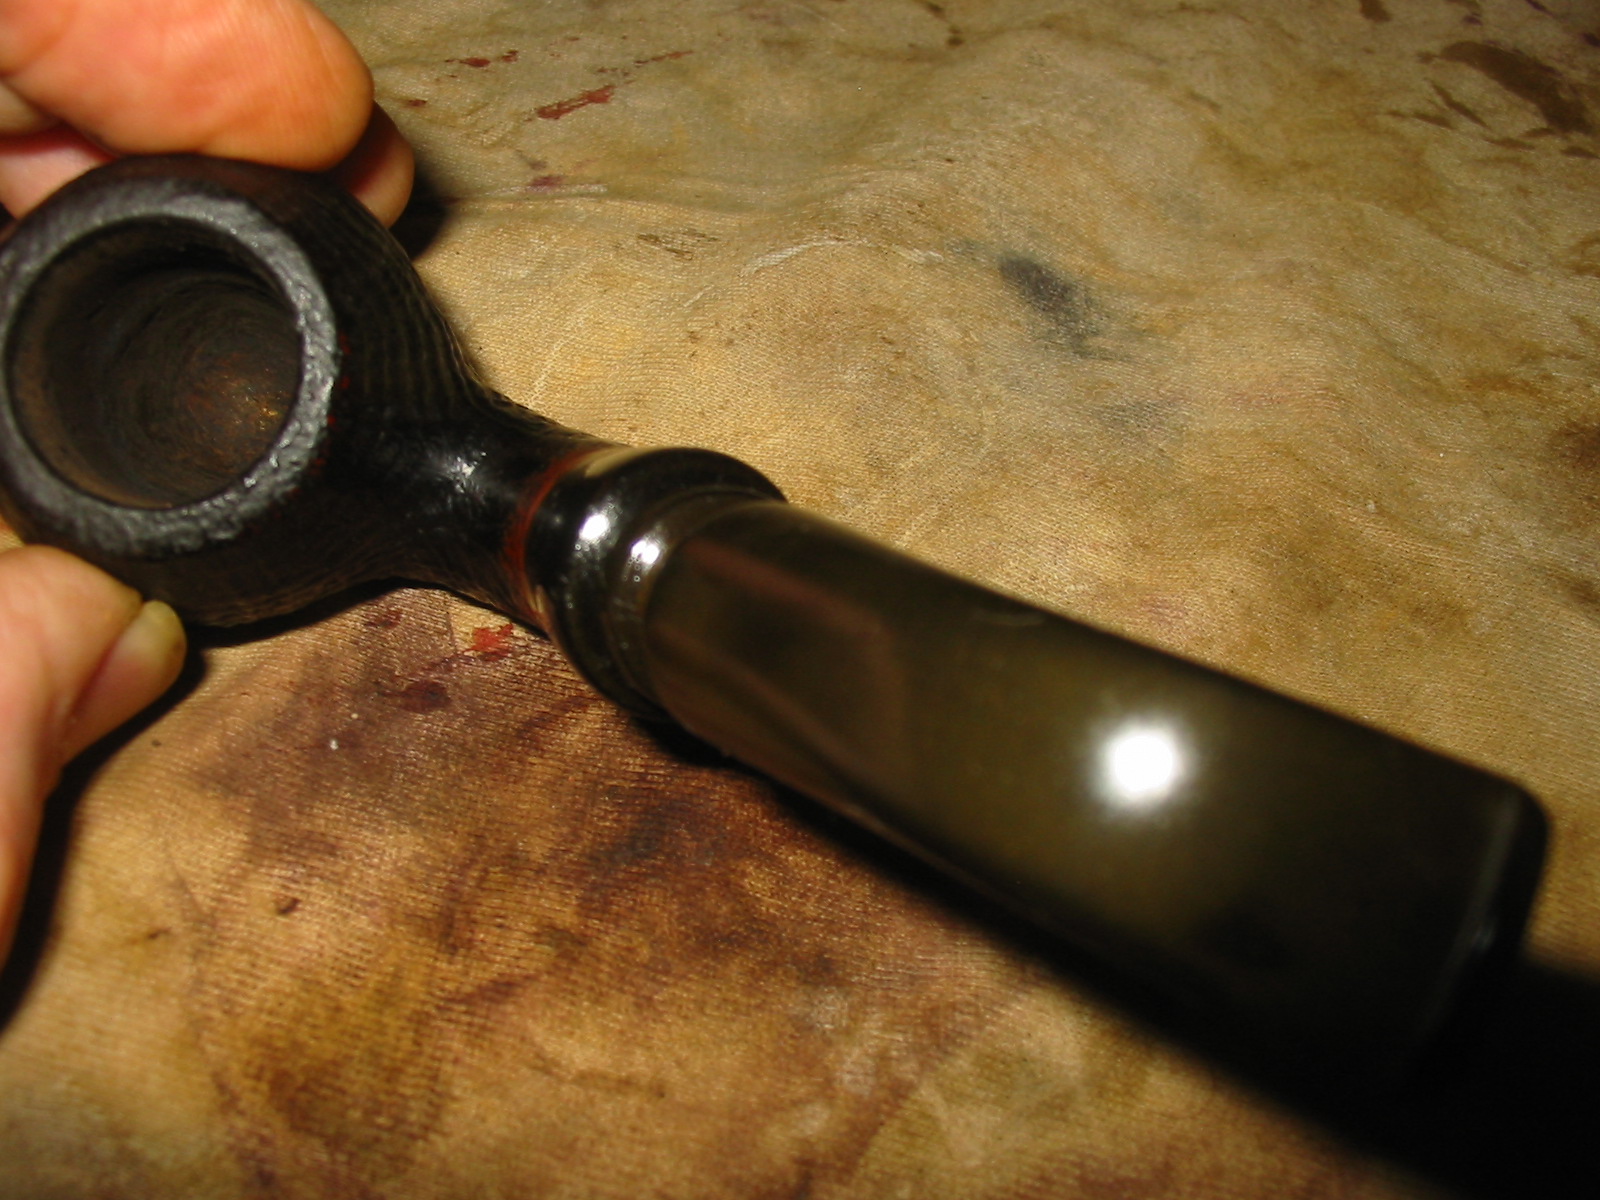
I worked on the stem with 320 grit sandpaper to remove the tooth chatter that is visible in the photo above. I also used the micromesh pads to address the oxidation on the top and underside of the stem. I restarted with 1500 grit micromesh and worked through the rest all the way to 12,000. The next series of four photos show the stem at the finish of much sanding. The oxidation was beginning to disappear even in the chairleg part of the stem. You can still see the tooth chatter in the photos and the oxidation. More work needed to be done on the stem to remove it all.
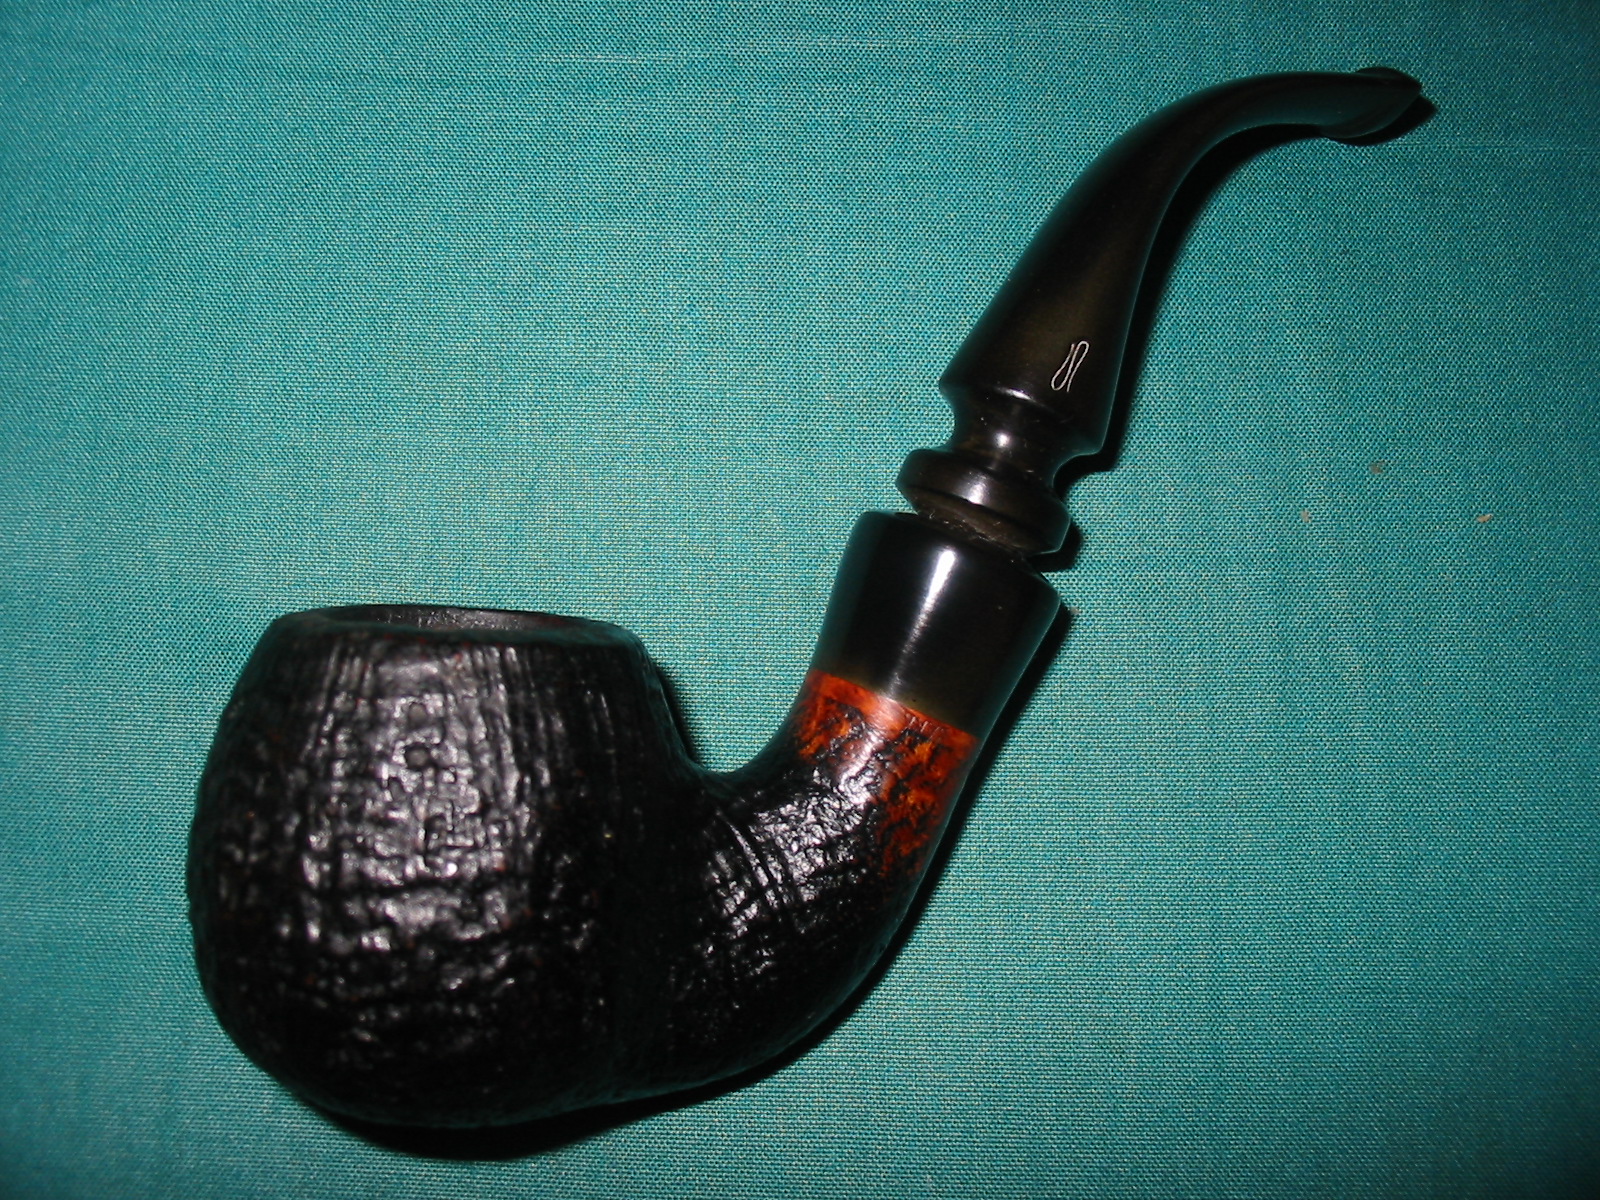
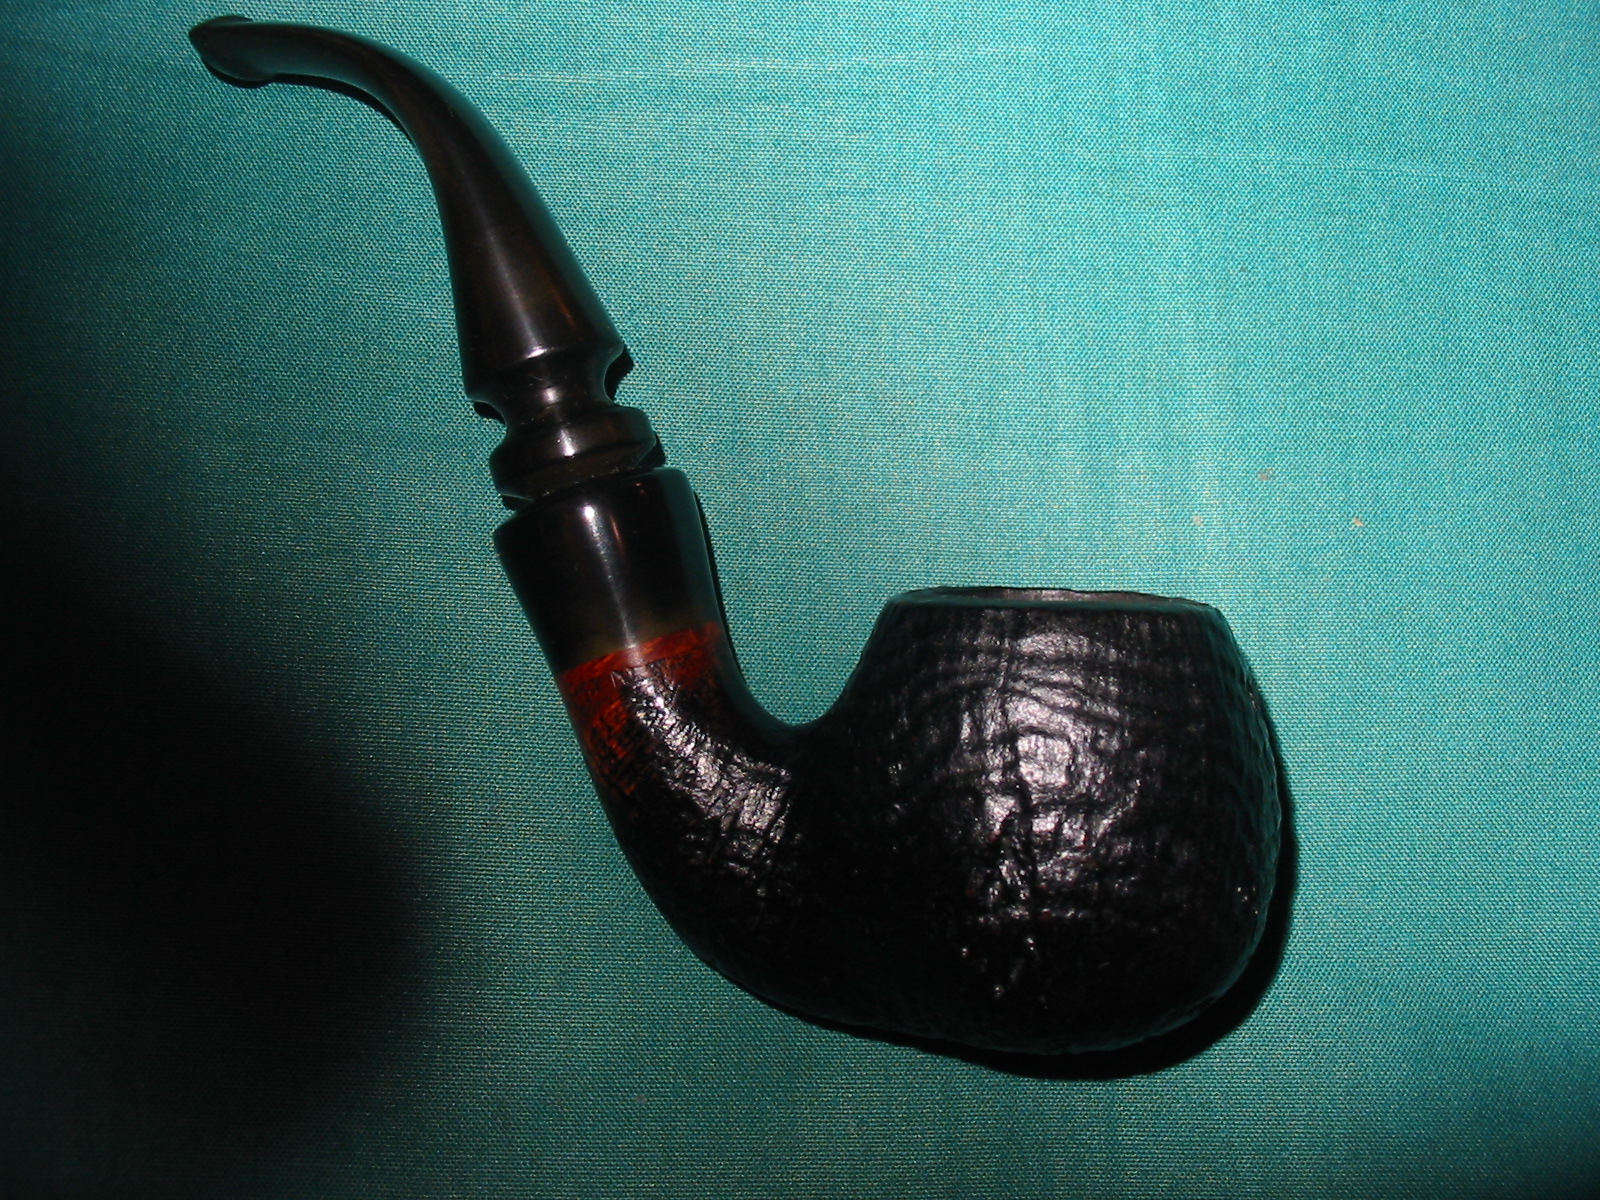
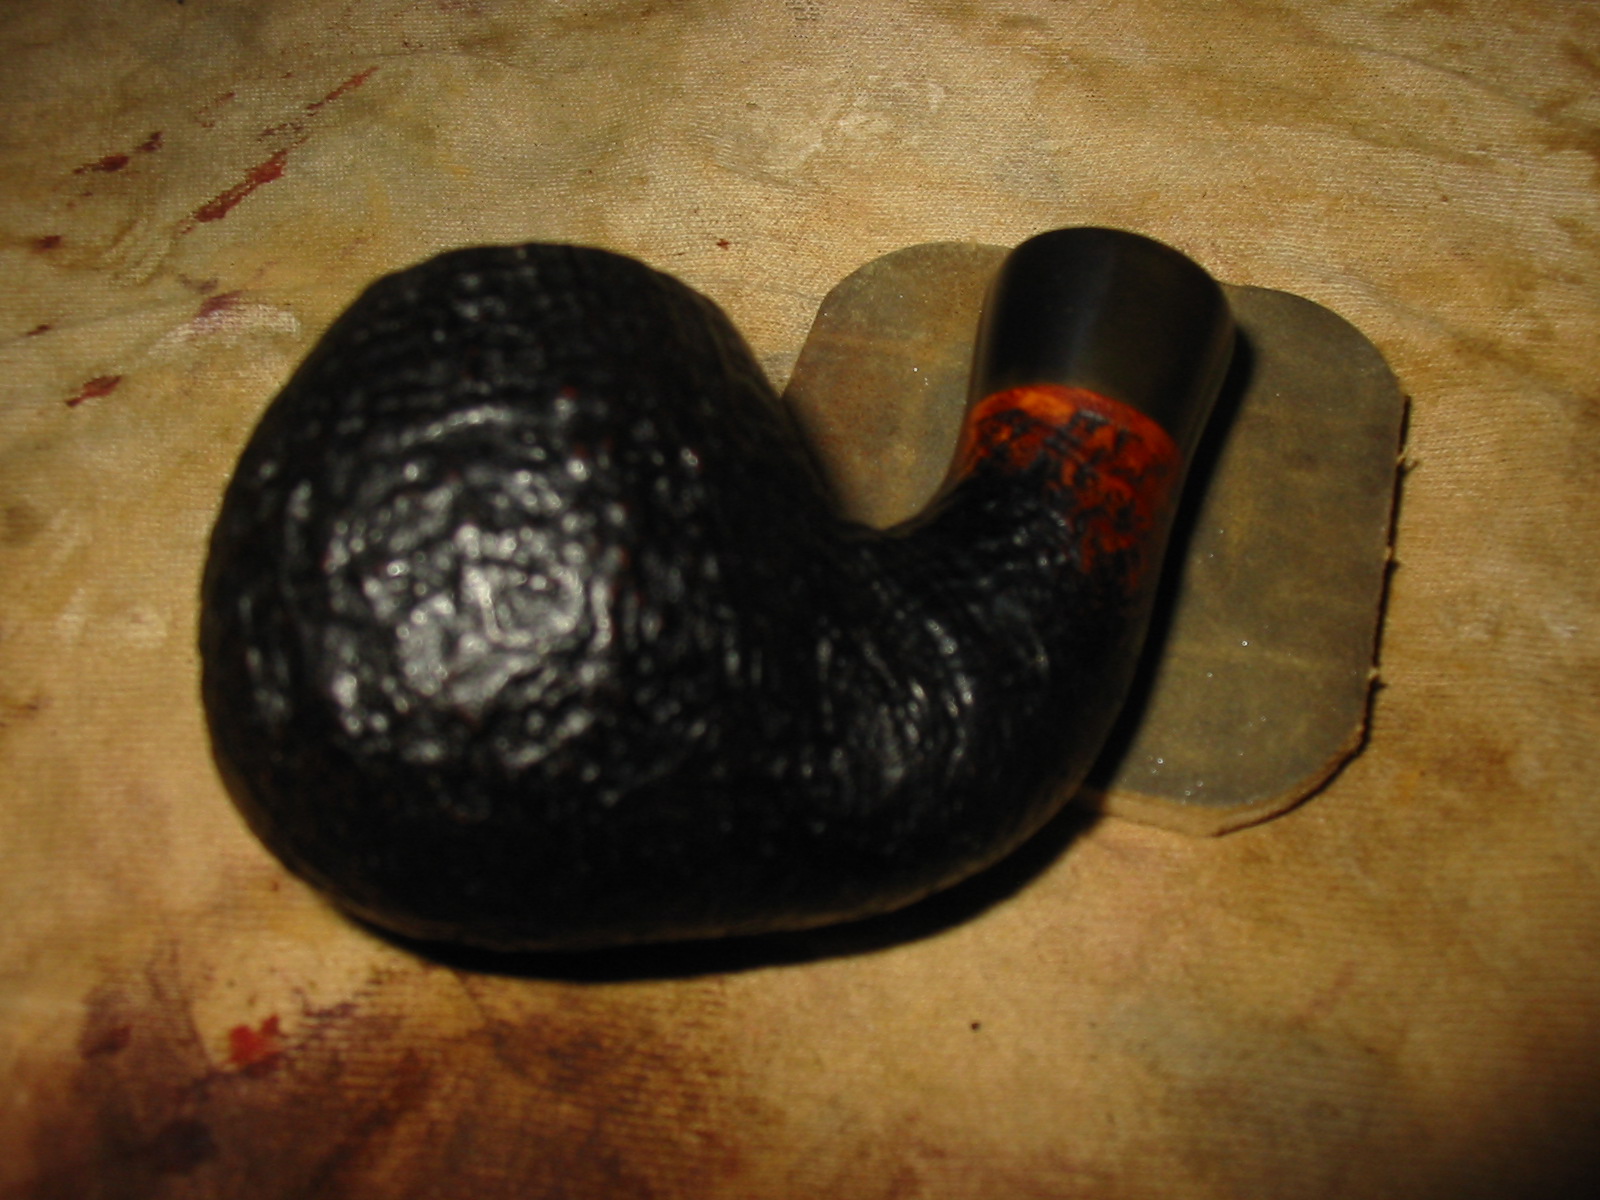
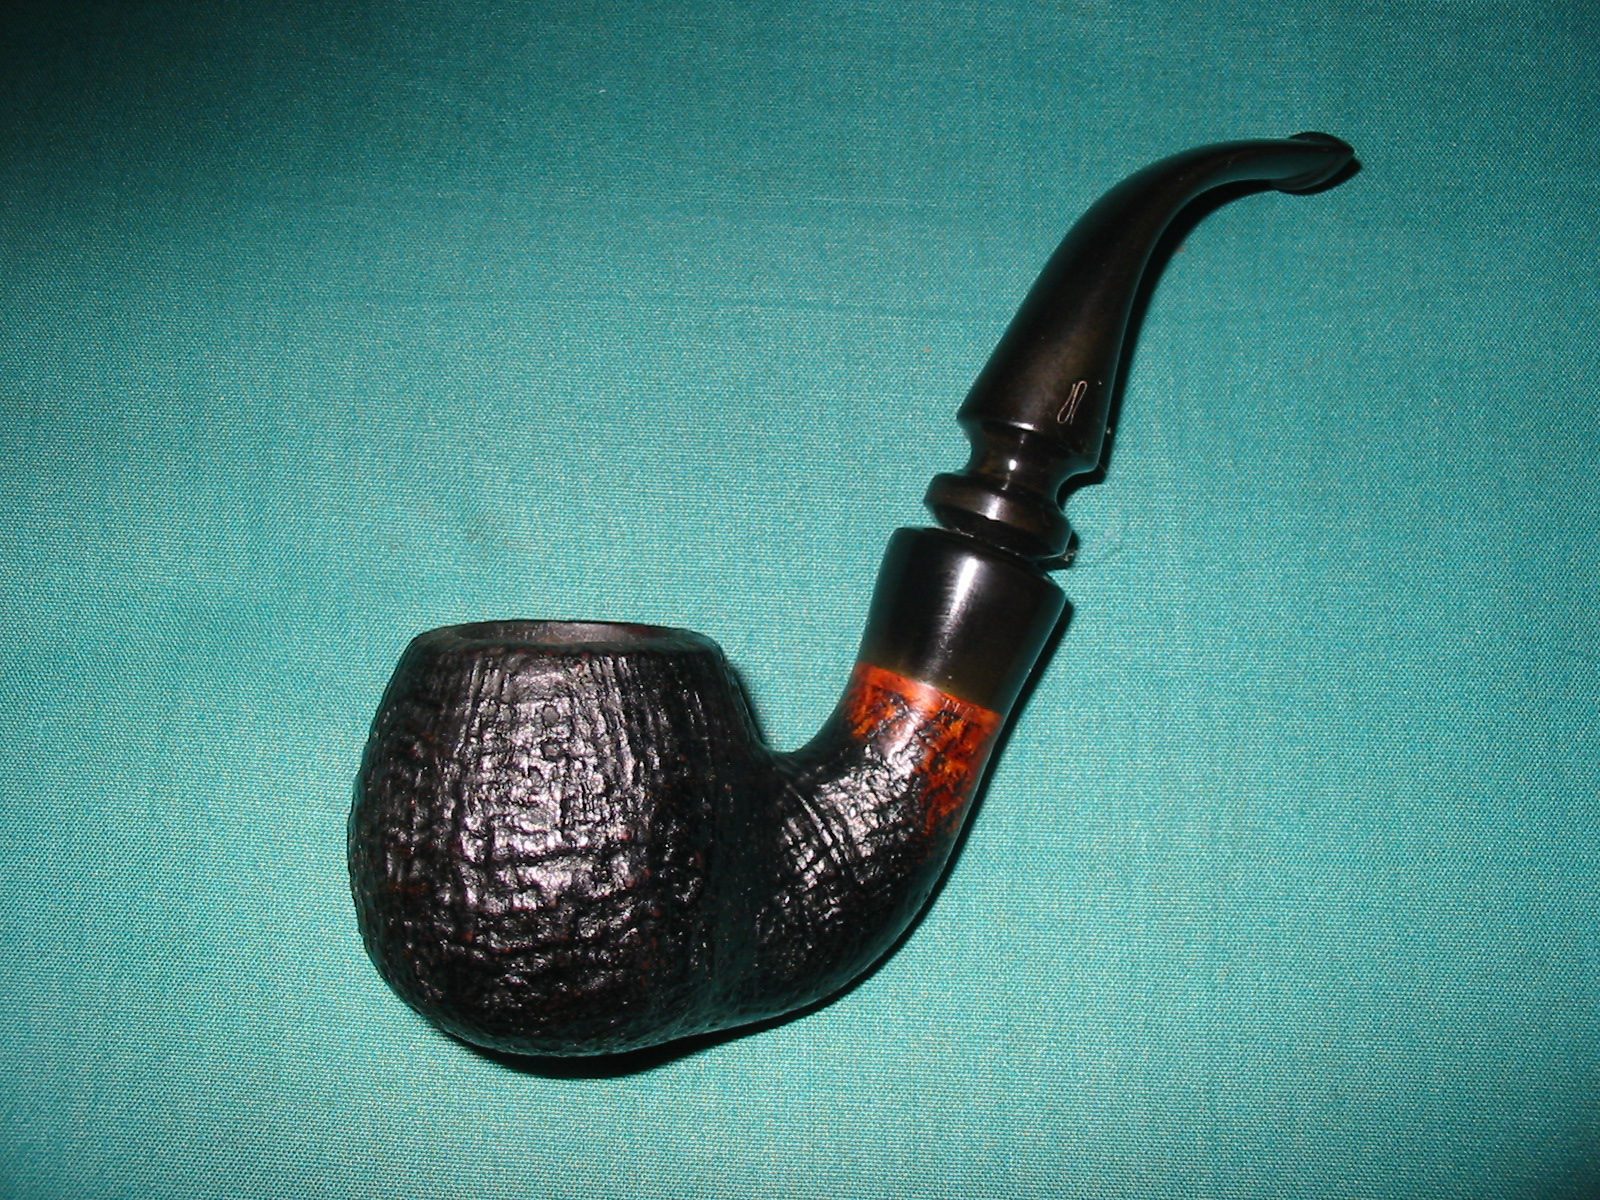
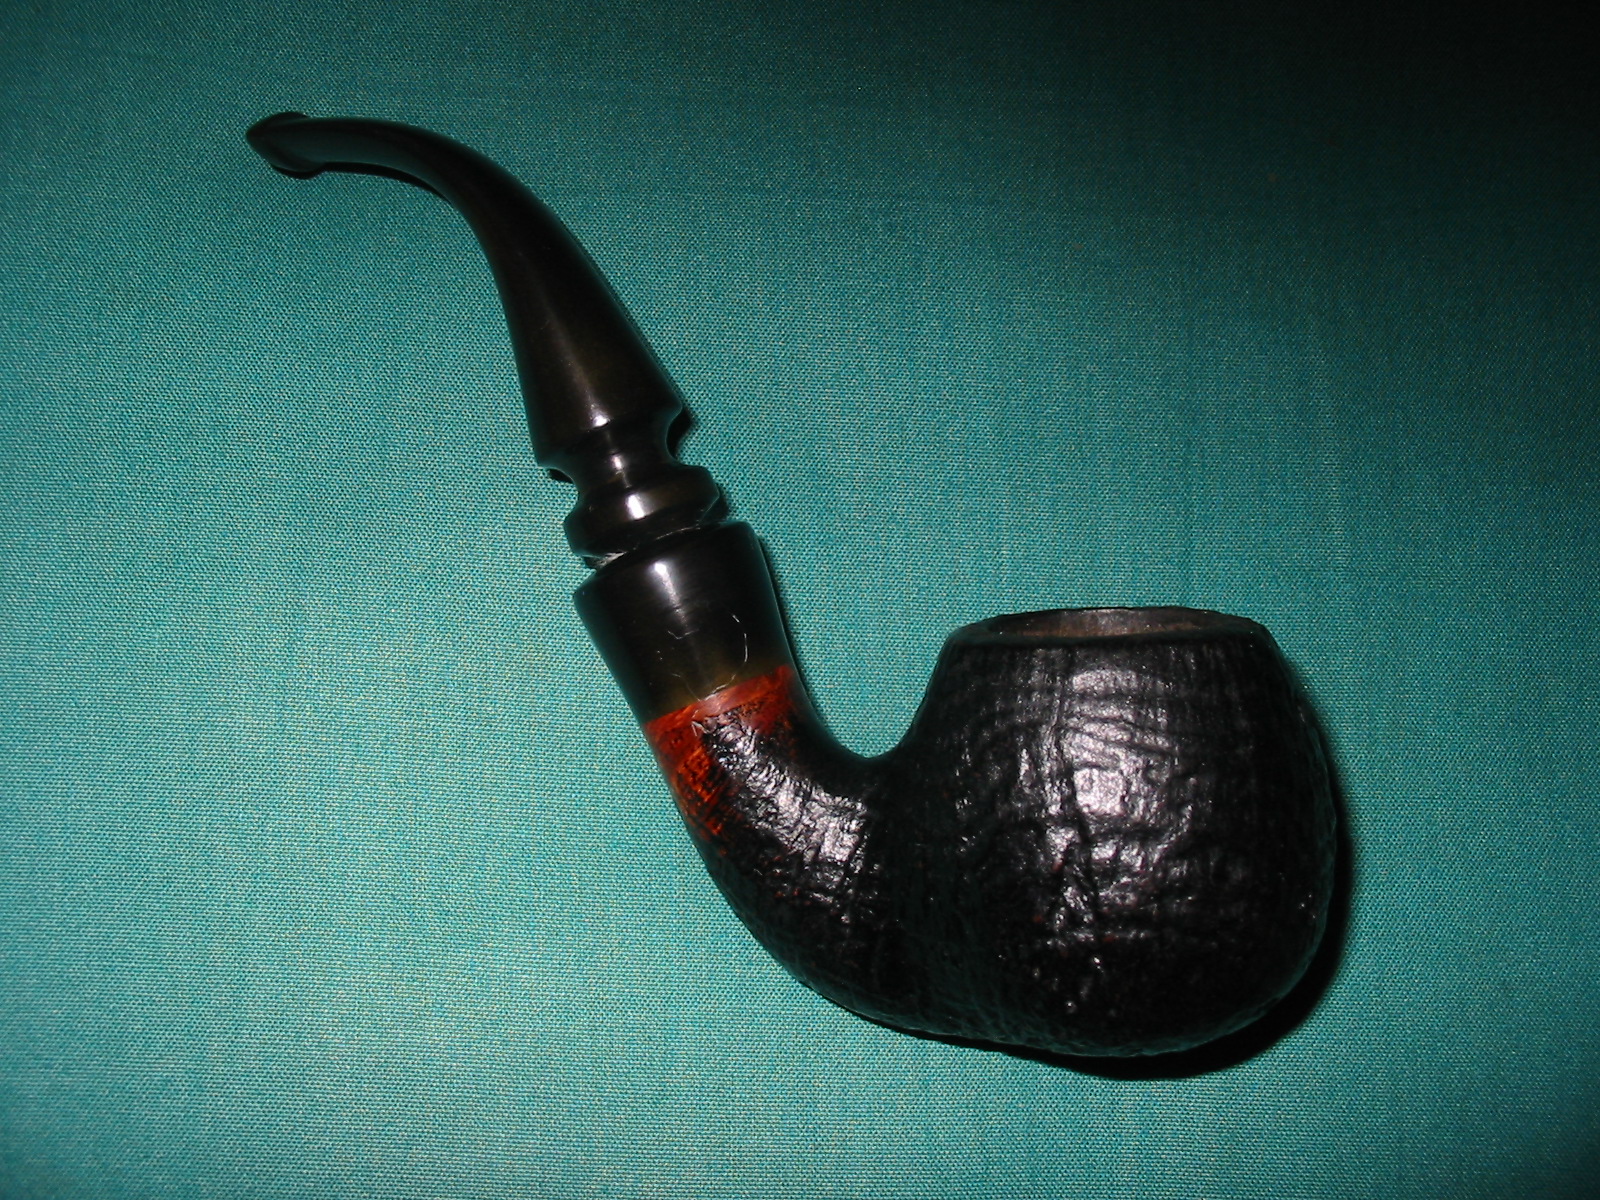
I reworked the stem with 320 grit sandpaper and micromesh sanding pads to remove the tooth chatter and to address the remaining oxidation. I polished it again with the Maguiar’s polish and then buffed it with White Diamond. The finished pipe is pictured below. It is ready to load up and enjoy today while I am at work.


Pingback: Replacing a Broken Tenon on one of my own – a Svendborg Full Bent Apple | rebornpipes
Beautiful little pipe. I bet she’s a smoking dream.
LikeLike
did you get my reply to your amber stem post ? I offered to send you some free pine resin blocks
LikeLike
Yes, I did get it and replied in the previous reply. I would love some pine resin blocks. I will email you my address.
LikeLike