Blog by Steve Laug
I have had the pleasure of working on over a half dozen horn stems on some old pipes I have purchased and been given. Each of them presented a different challenge in terms of restoration. Several had the normal tooth dents and chatter that come as a normal part of the stems of many old pipes while other stems had been gnawed to the point of changing the profile of the stem forever. Horn is significantly different to work with than vulcanite or Lucite stems. In many ways it is softer and more pliant than either of the other materials. When it is in good order the sheen is almost translucent and there is deep almost internal warmth to them. In this article I want to talk about the process of reworking horn stems and restoring them to their former glory.
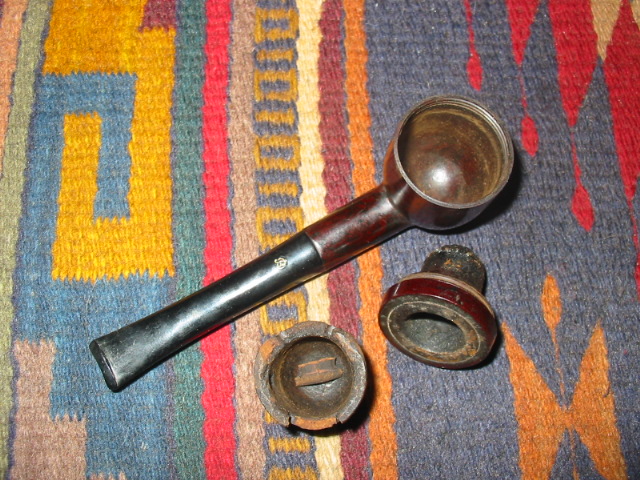
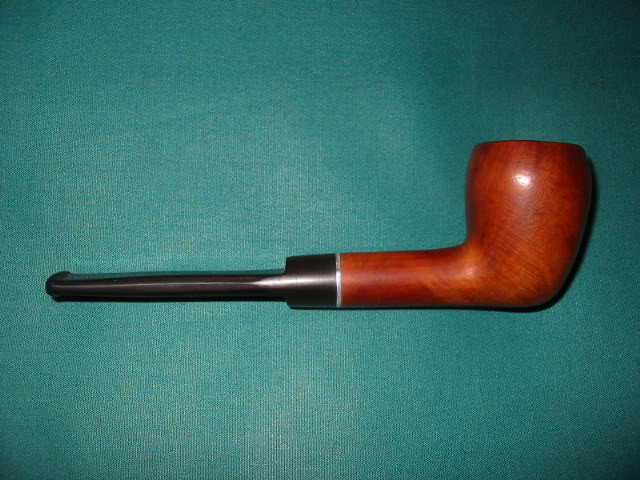
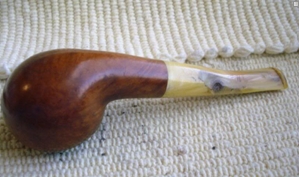
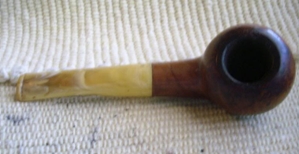
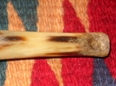
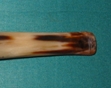
The first issue with horn stems I had to learn to work on was the tooth dents and tooth chatter that often covers the last half inch or more of the stem just ahead of the button. When I first attacked this I did it with a bit of fear and trepidation as I had all kinds of concerns about the laminate of the horn separating or delaminating. However, through the help of several of the folks on Smokers Forums, an online pipe smoking community, many of my concerns were alleviated. Here are some pictures of this first issue with horn stems. I took pictures of the top/side profile and the bottom/side profile of this particular stem as it highlights the issue.

Looking closely at the stems above you will see the tooth marks along the button area of the stem. This area was rough to the touch and was dry and almost flakey feeling. I was concerned that the horn had softened from the breakdown of the outer coating and wondered if it could be brought back. They were shallow though so I went to work on them with multiple grits of sandpaper to smooth out the surface. I used 240 grit to smooth out the roughness and then worked my way through 400 and 600 grit wet dry sandpaper. The trick with the latter two was to wet them as I sanded the stem. Each progressively higher grit smoothed out the roughness until it was smooth to touch. The wetness of the sandpaper made the grit really bite into the surface of the horn. I then used micro-mesh pads beginning with 1500 grit followed by 1800, 2400, 3200, 4000 and 6000. By the time I got to the 3200 the scratches in the surface were virtually gone – even under a bright light. Again the trick is to work with a bowl of water near at hand to wet the pads as you sand the stem. When I finished with the 4000 and 6000 there was a good sheen to the stems.
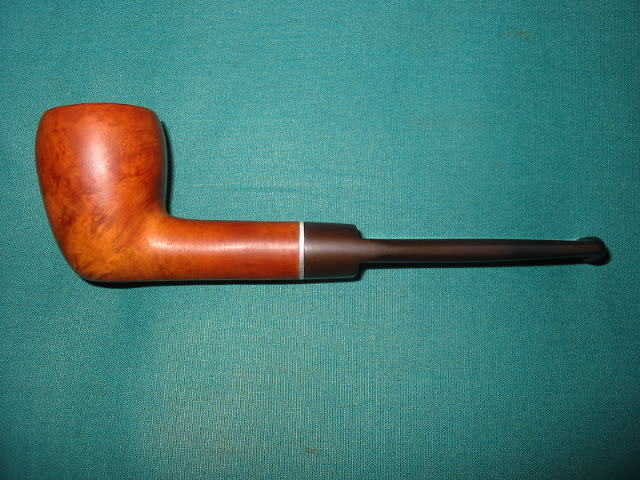
At that point in the process I took them to my buffer to finish the work. I used White Diamond polishing compound on the buffing wheel to give it a deep gloss finish. Then I gave a polish with carnauba wax and buffed to a glassy finish.
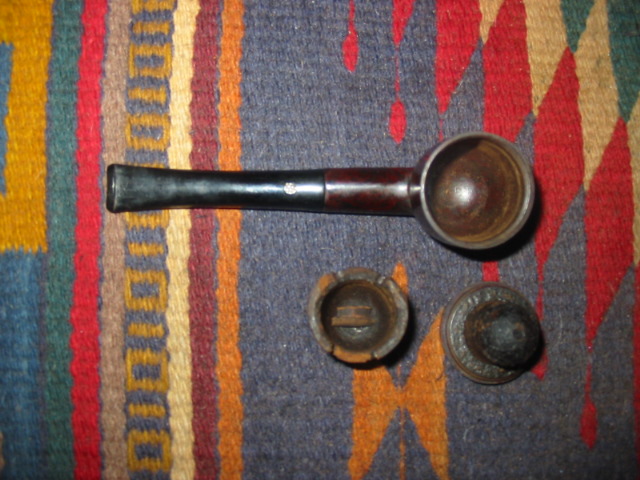
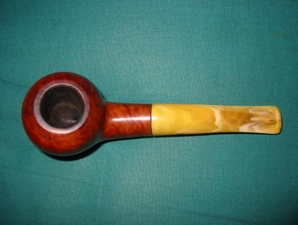
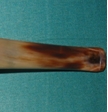
Here are some pictures of the finished stem minus the tooth chatter. The original issue had been addressed and the stem returned to its former beauty.
One quick note that I should mention is that horn will stink as you work it. Its smell has been likened to the smell of a tooth getting drilled by the dentist or burning hair. I found though, that as I worked with it I got used to it.
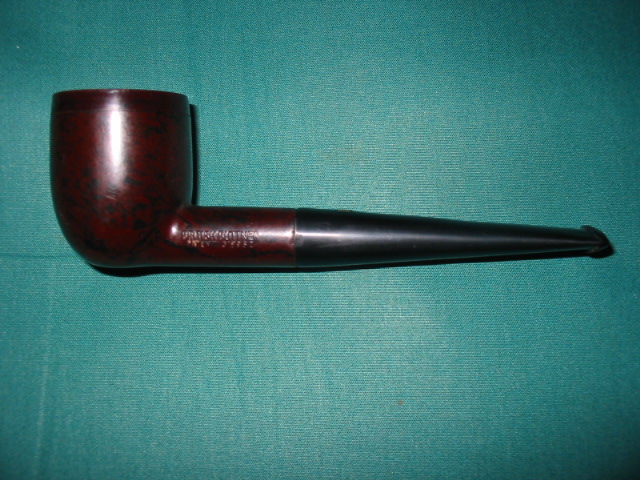
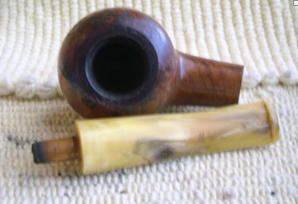
The second issue with horn stems that I had to learn to deal with was more serious. It involved deep tooth dents and a chewed stem. The stem pictured below was a real mess. The previous owner obviously gnawed it and clenched it so the horn was dented and chewed with the profile changed. The question for me was whether I would be able to raise the tooth dents and smooth the surface while reworking the profile of the old stem to make it look as much as possible like it did when it came out of production. Here are three pictures to give you a look at the stem in its state of disarray.
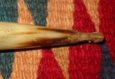
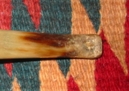
Looking closely at the stem pictured above you will see the depth of the tooth dents in the second and third picture and the serious loss of shape in the stem profile in the first picture. The profile shows the pinched look of the stem in front of the button and how thin the stem had been squeezed by chewing. My concern was whether there would be enough meat on the stem at that point to restore it without breaking through into the airway. The second and third pictures show the stem from the top and the bottom. In those two pictures you can see how deep the dents are in the surface of the stem. Also notice the virtual loss of the lip on the edge of the button. The stem appeared to be a loss.
From Chris Askwith, a talented young British pipe maker I learned a few tricks that I was anxious to try out on the stem (http://www.askwithpipes.com/). I had used the same tricks to lift dents out of the rims and sides of briar bowls so I was looking forward to seeing the process work as described by Chris. I steamed the dents and lifted the major depth of them by using a damp cloth laid on the surface of the dents and then heating a butter knife on the gas stove and applying the hot blade to the wet surface of the cloth on the stem. The gentle hiss and the presence of steam assured me that the steaming was working. You have to be careful as you work this process, checking repeatedly as you apply the knife and steam to make sure not to scorch or split the horn. Most of the deeper dents rose significantly and the more shallow ones came out completely.
I sanded the stem and cleaned up the chewed part starting with 240 grit sandpaper as I did with the stem above. I gradually worked my way through 400 and 600 grit wet dry sandpaper clean up and even out the surface. I worked on the profile and cleaned up the sharp edges of the button with a set of needle files to restore the right angles of the button and stem surface. There were still a few remaining spots on the stem where the tooth dents had cut the surface of the horn and would not lift with the steam. I addressed these by filling them with a few drops of clear super glue. The glue dried quickly and left a small bump in place of the dent. I sanded these with the sandpaper combo mentioned above until the surface was even and smooth. Once I had a clean and smooth surface to work with I then moved on to Micro-mesh pads beginning with 1500 grit followed by 1800, 2400, 3200, 4000 and 6000. By the time I got to the 3200 the scratches in the surface were virtually gone – even under a bright light. Again the trick was to work with a bowl of water near at hand to wet the pads as you sand the stem. When I finished with the 4000 and 6000 there was a good sheen to the stems. They were beginning to shine like glass.
I took the stem to my buffer and used White Diamond polishing compound to buff the surface smooth and shiny. It was truly glassy in terms of look and feel. I finished the stem by applying a good coat of carnauba wax and buffing to polish the wax.
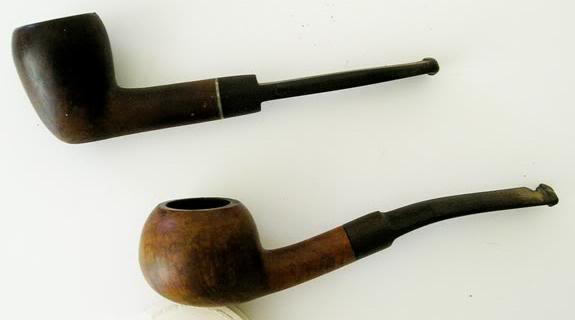
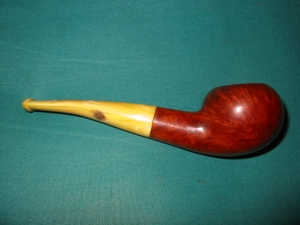
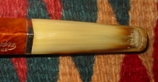
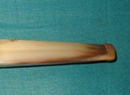
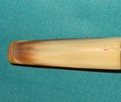
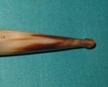
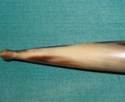
Here are some pictures of the finished stem minus the tooth dents and with a restored profile. Notice the restored profile of the stem in the first and second picture below. Notice the functional button and lip that has been restored. The third and the fourth picture show the top and bottom of the stem and show the way the super glue patch and the work with the steam and sandpaper restored the deep pits in the surface of the stem.
Because of the success I experienced with these two different issues with horn stems I have gone on to bid on others that need work. I have found those that only needed a buff and polish to restore them to their pristine condition and I have found others with similar problems to those shown above. The challenge of restoring them to the original beauty always is a draw to me. To smoke one of these old horn stem pipes is an experience that all pipemen should have. The work to restore them is worth the effort when you put the newly restored stem in your mouth for the first time. There is nothing quite like the feel of a “new” horn stem on your lips as you puff a favourite tobacco. And that is to say nothing of the good aged briar that is on the other end of the stem. Give restoring a horn stem a try. It is a pleasure! Won’t you join me for a bowl full in one of these old timers?
Steve Laug
June 8, 2012