Blog by Steve Laug
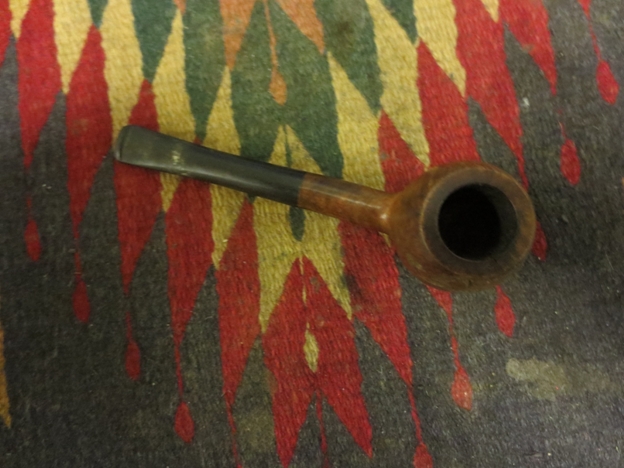
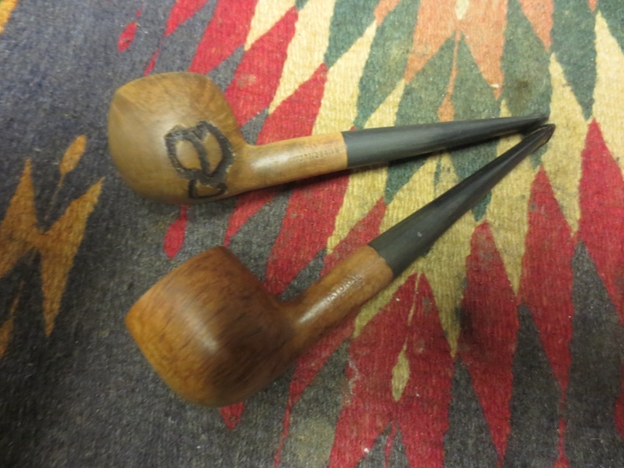
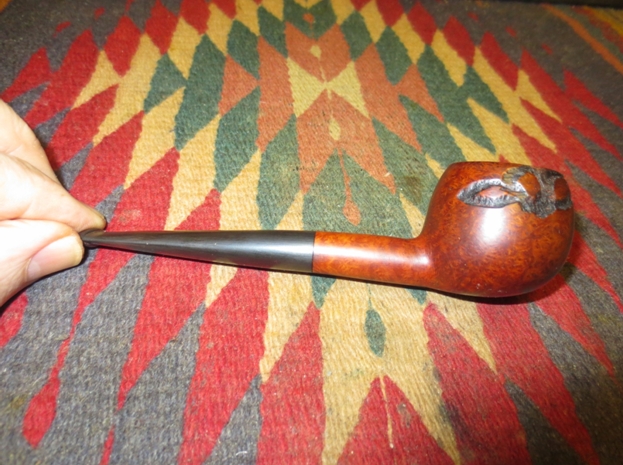
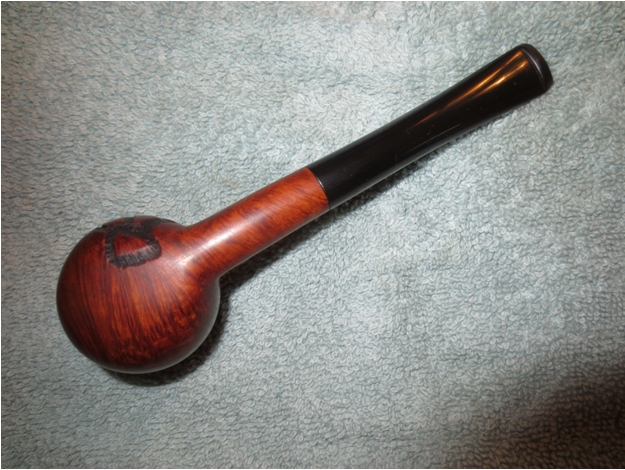
The next pipe on the work table is a little prince with no stampings other than Imported Briar on the left side of the shank. It has the characteristic worm trail carvings that were used in days gone by to cover imperfections in the briar. I have never been a fan of these carvings and would much rather have had the original sand pits or rough areas exposed. This pipe had a natural finish – unstained. It looked like it had originally sported and oil finish. The rim was damaged and had a small crack that went into the surface across the top right front edge. The transition between the stem and the shank was not smooth. The vulcanite stem was higher than the briar on the underside and the sides of the shank. The stem itself was made of good quality vulcanite and was not oxidized and did not have tooth marks or chatter.

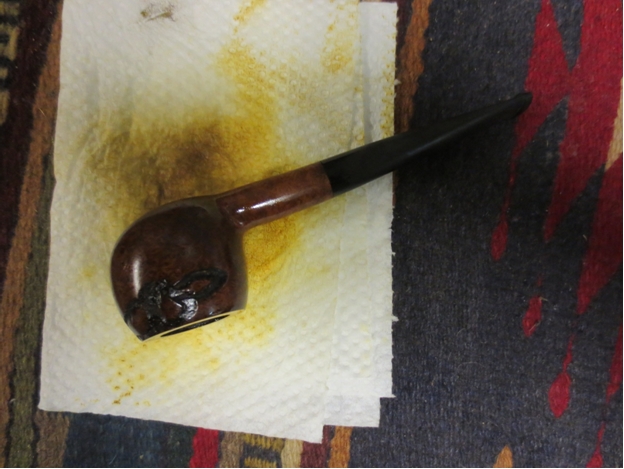
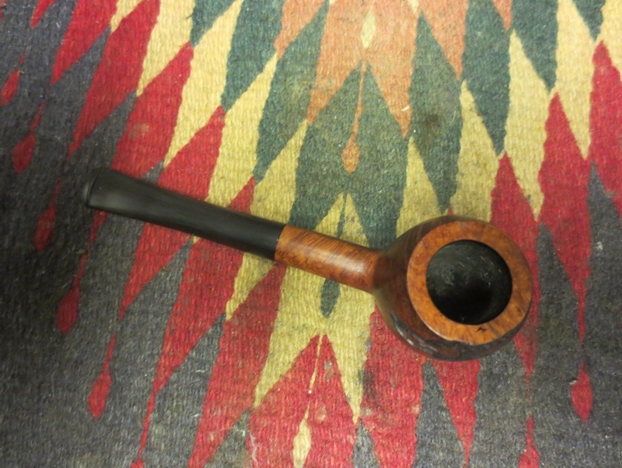
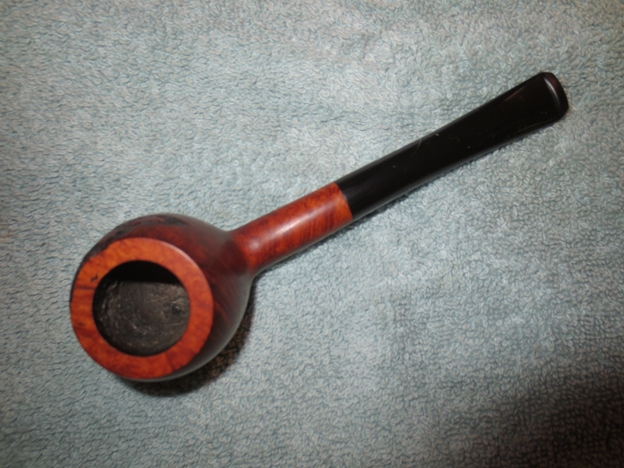
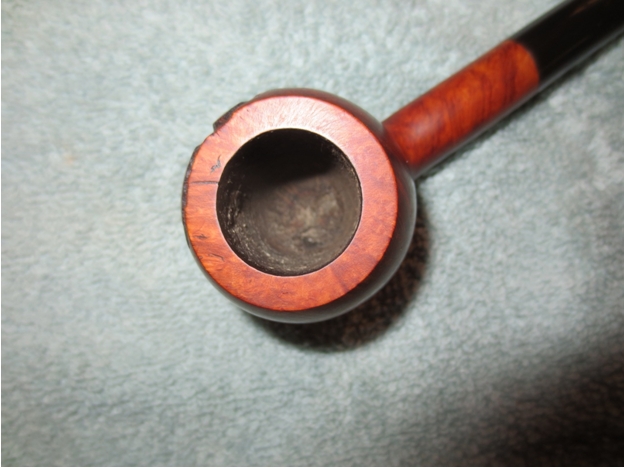
 The next photo shows a close-up of the rim surface and gives a clear picture of the crack on the rim. It looks far worse than it actually was. The crack did not go too deeply in to the rim surface. It certainly was there and went into the bowl on the inside and into the worm trails on the outside of the bowl. I figured I could top the bowl and remove most of the cracked portion.
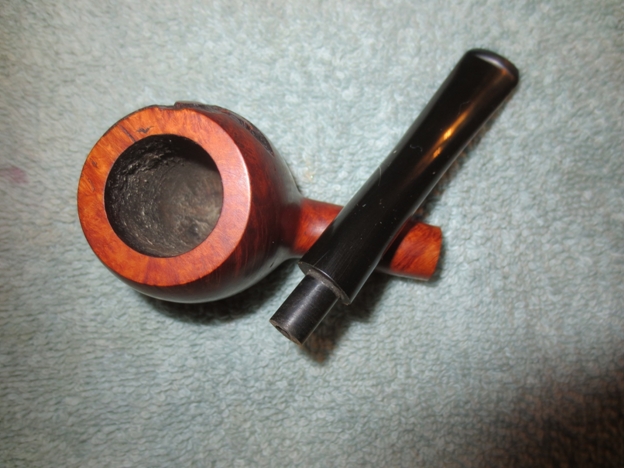
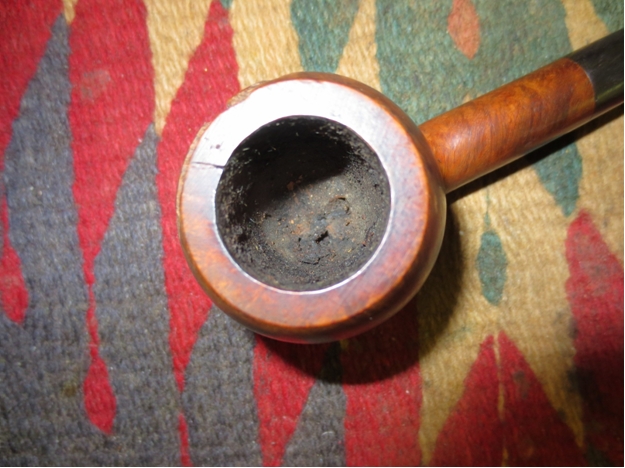 I reamed the bowl with a PipNet reamer starting with the cutting head that was closest in diameter to the bowl. I reamed it back to bare wood so that I could examine the crack on the inside edge of the rim.
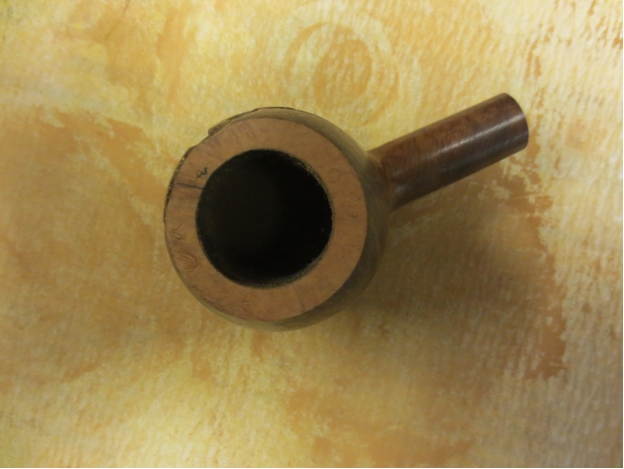
 I topped the bowl on a topping board using 220 grit sandpaper. I wanted to remove as much of the damaged area as possible without altering the profile of the pipe.
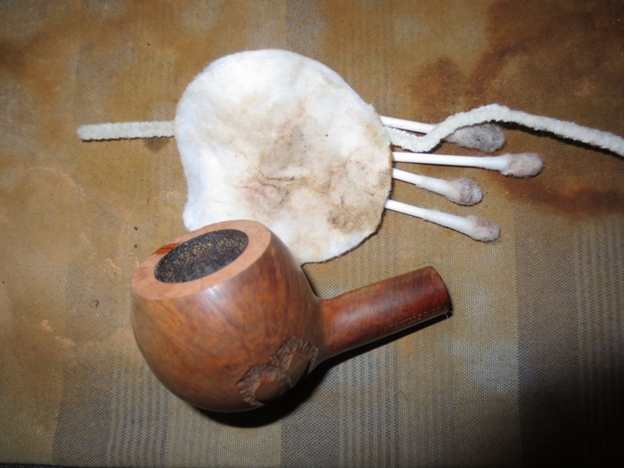
 I cleaned of the rim with isopropyl alcohol to remove the sanding dust. I dripped some clear superglue into the shallow surface of the remaining crack in the rim. I cleaned out the shank with cotton swabs, pipe cleaners and alcohol. Once the glue dried I topped the rim a final time to remove the excess glue and smooth out the rim. I also wanted to remove a bit more of the damaged area.
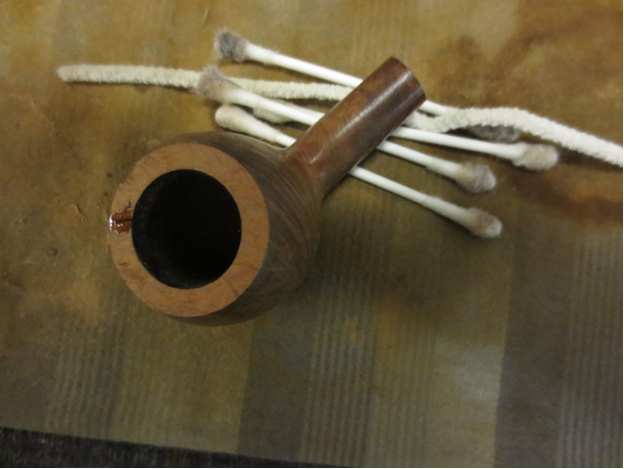
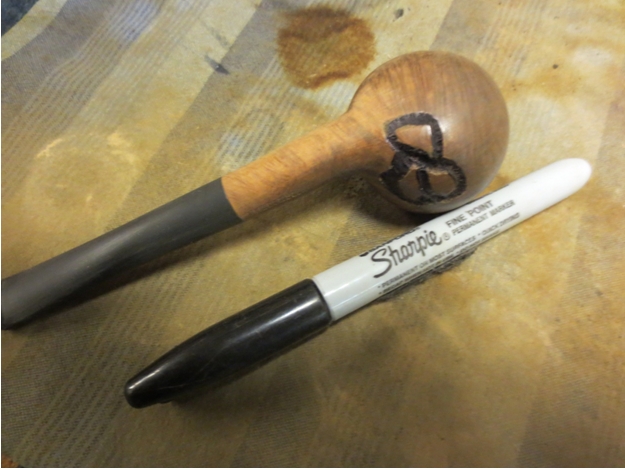
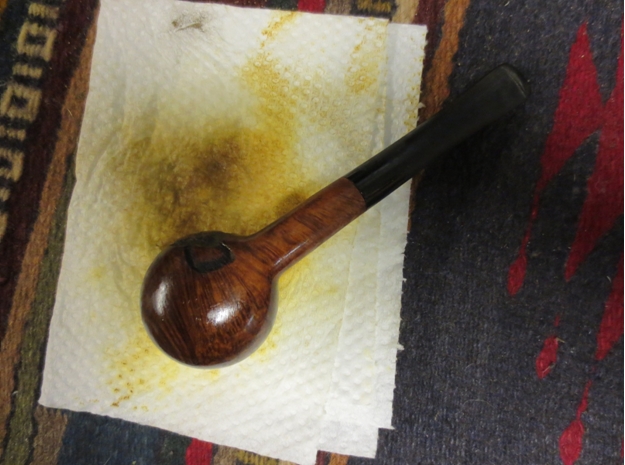
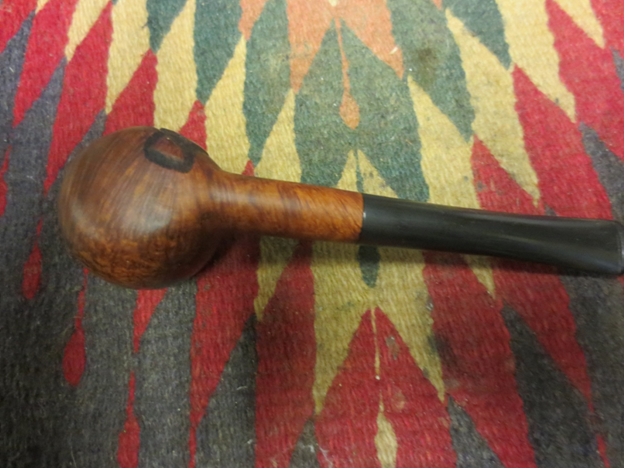
 Over the years when I have come on pipes with the worm trail carvings I have decided to highlight them since I cannot hide them. I have never liked them but figured why pretend that they are not present. I use a black permanent marked to trace the carving in the trails. I go over the carvings until the black has a good coverage on the surface of the carvings. At this point in the process it always looks quite stark against the lighter reddish brown of the briar but once I am finished it looks far better in my opinion.
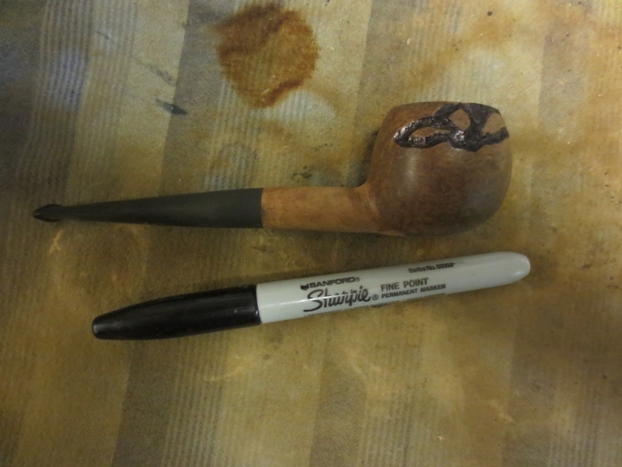
 I wiped the bowl down with acetone on a cotton pad a final time to clean off the dust and to clean up the markings from the Sharpie.
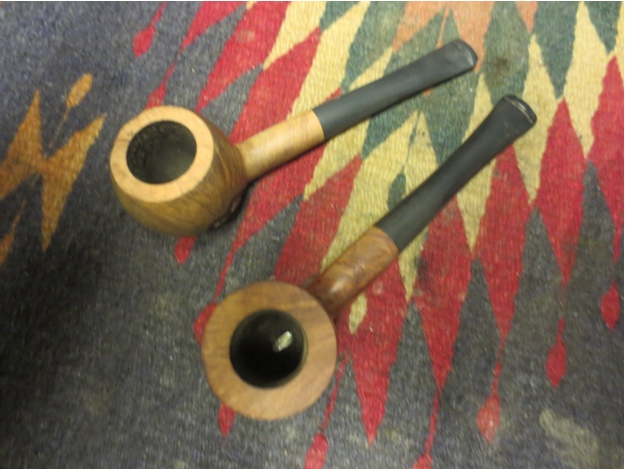
 Since this pipe originally had a natural finish – possibly oil finish I decided to return it to that state. I rubbed the bowl down with a light coat of olive oil.

 I have read others talk about the oil going rancid on the briar but I have never had that happen. Rather, I have found that when I rub it on to the surface of the briar and rub it in by hand the heat of my hands rubbing it quickly cause the oil to be absorbed and the result is that the grain is highlighted and the briar has a rich reddish brown hue once it is buffed and polished.
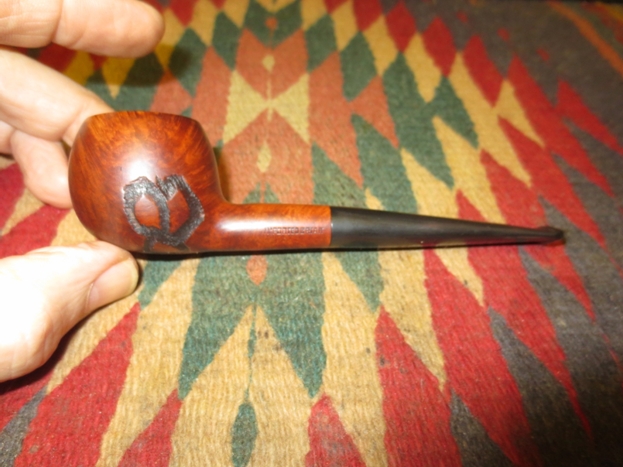
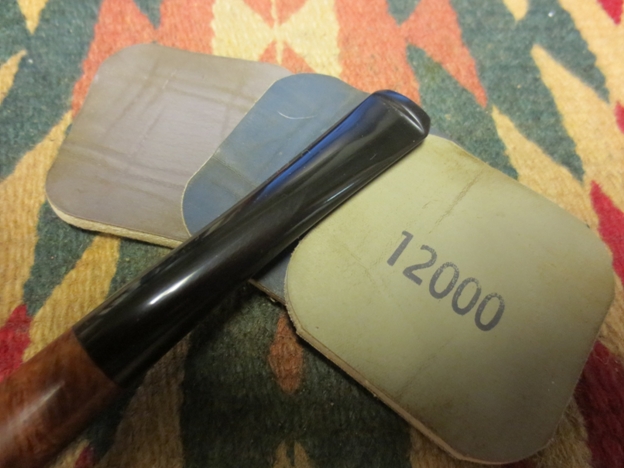
 I sanded the shank stem junction earlier in the process with 220 grit sandpaper and also with a medium and fine grit sanding sponge. I sanded the entire stem in the process of adjusting the fit with the shank. I now used the micromesh sanding pads to polish the stem. I wet sanded the stem with 1500-2400 grit pads and also sanded the bowl and shank at the same time.
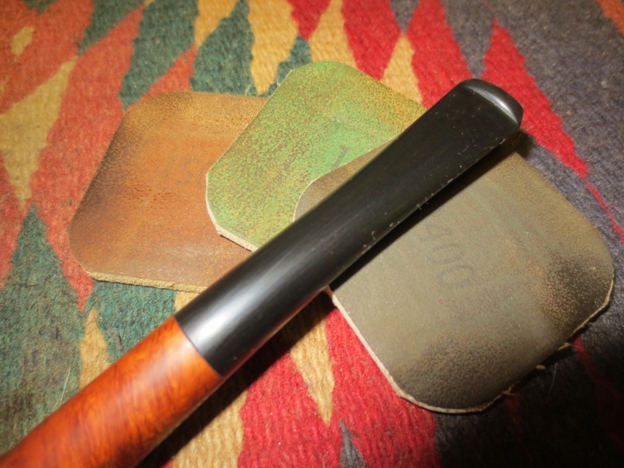 I dry sanded the stem, shank and bowl with 3200 -12,000 grit sanding pads. The bowl and the stem began to take on sheen with each successive step up in grit of micromesh pad. I rubbed the stem down with Obsidian Oil between each set of three pads and continued to sand until the stem was finished. I gave it a final coat of Obsidian Oil and gave the bowl a final wipe down with olive oil on the towel to remove any sanding dust from the polishing.
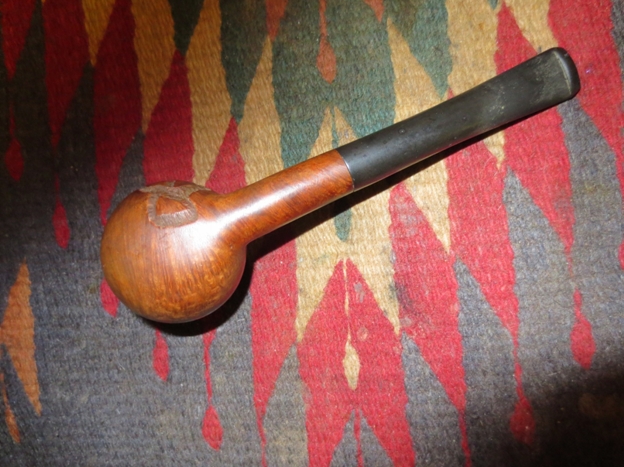
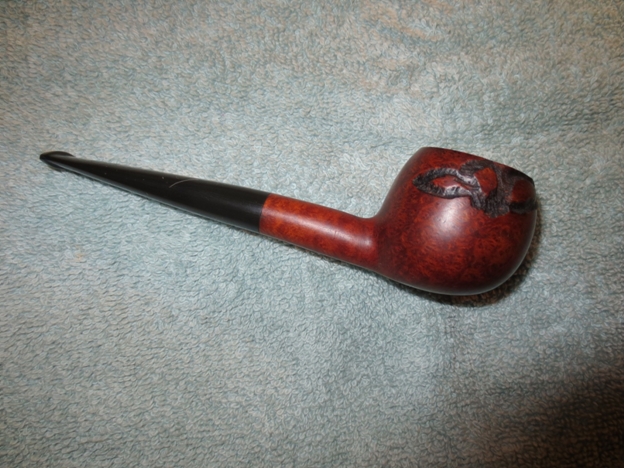
 I buffed the stem and bowl with White Diamond on the wheel and then gave both multiple coats of carnauba wax. I buffed the pipe to a shine with a soft flannel buffing wheel. The finished pipe is shown below. You know, on this one after the refinish, the worm trails don’t look too bad!
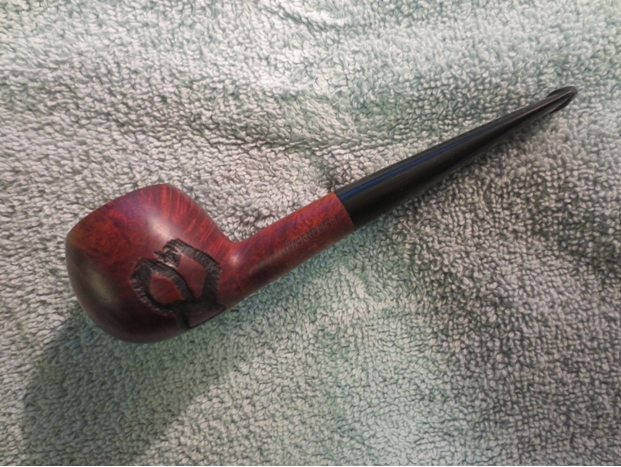
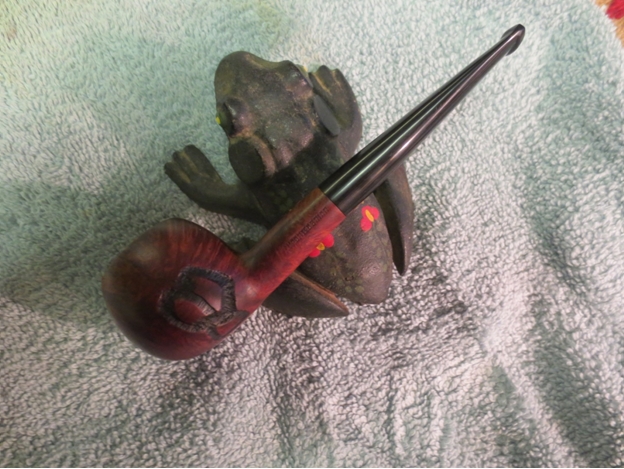
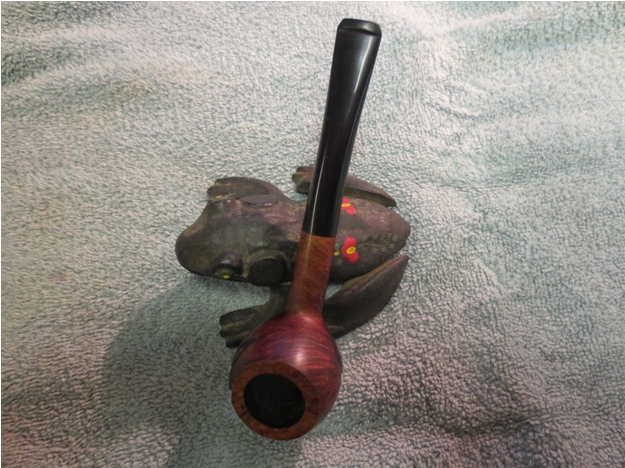
 I decided to take a lesson from Andrew Selking and his pipe photos for the final pictures of the pipe. His signature is the nice piece of drift wood in the photos. I don’t have one of those but I do have an old cast iron frog that my grand dad gave me years ago. I decided to use it as a prop in the photos to hold up the pipe.