Blog by Steve Laug
The silver came as a trade from Japan on 01/12/23… Bret Gross
The next pipe I chose to work on was a newer one in my box of pipes to restore. We took it in on a trade for some pipes we had to sell. It is a great sandblast that really shows the grain around the sides and shank. It is stamped Savinelli [over] Silver on a smooth panel on the underside of the shank. That is followed by a Savinelli S shield followed by the shape number 621 [over] Italy. There was a Sterling Silver band on the shank that was stamped with a flattened triangle reading 925 [over] Savinelli. On the right side of the band it is stamped Sterling Mounted. The bowl had been cleaned and reamed by the fellow we received it from. The rim top looked very good with some slight darkening on the back and on the beveled inner edge of the bowl. The acrylic saddle stem was made to hold a 9MM filter and was in great condition. The stem was free of tooth marks or chatter both sides and the button. Jeff took some photos of the pipe before he did his clean up work.
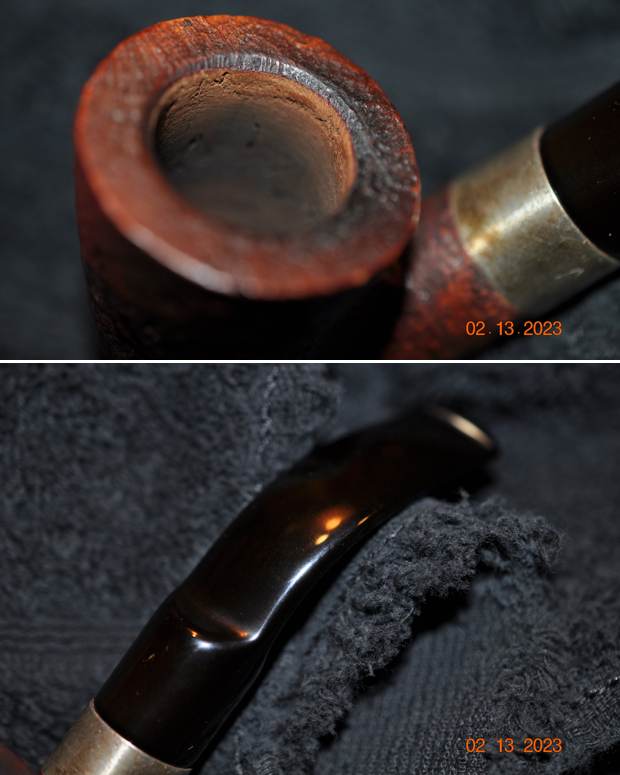
 He took some photos of the bowl and the rim top to show the remnants of the cake left behind when it was reamed and the darkening on the rim top and beveled edge on the back of the bowl. The stem photos show the condition of the stem surface and confirm the description given above. It was in excellent condition. There was a slight trough along the underside edge of the button that showed up in the photos he took that will need to be dealt with.
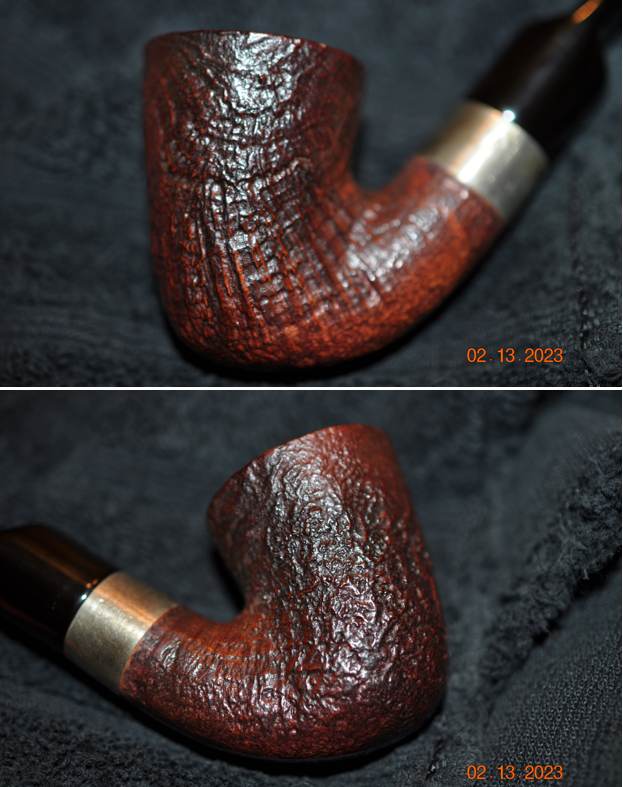
 He took photos of the sides and heel of the bowl to show the patterns in the sandblast on the briar. It really shows the grain through the finish.
 He took photos of the stamping on the smooth panel on the underside of the shank to capture what was stamped there. It is clear and readable as noted above. He also took a photos of the stamping on the silver band.
  Jeff had done a great clean up of the pipe. He had cleaned up the reaming with a PipNet reamer and took the remaining cake back to bare briar. He cleaned up the remnants with a Savinelli Fitsall Pipe Knife. He scrubbed internals of the shank and stem with alcohol, cotton swabs and pipe cleaners. He cleaned the exterior of the pipe with undiluted Murphy’s Oil Soap and a tooth brush was able to remove the darkening on the rim top and beveled edge. He scrubbed the stem with Soft Scrub to remove the debris that had accumulated on it. The stem was soaked in Briarville’s Pipe Stem Deoxidizer and then rinsed clean. The pipe looked clean and ready for the next step in the process. Here are some photos of it when I brought it to the table.
 I took photos of the rim top and the top and underside of the stem. You can see the clean bowl and rim top. The stem looks very good.
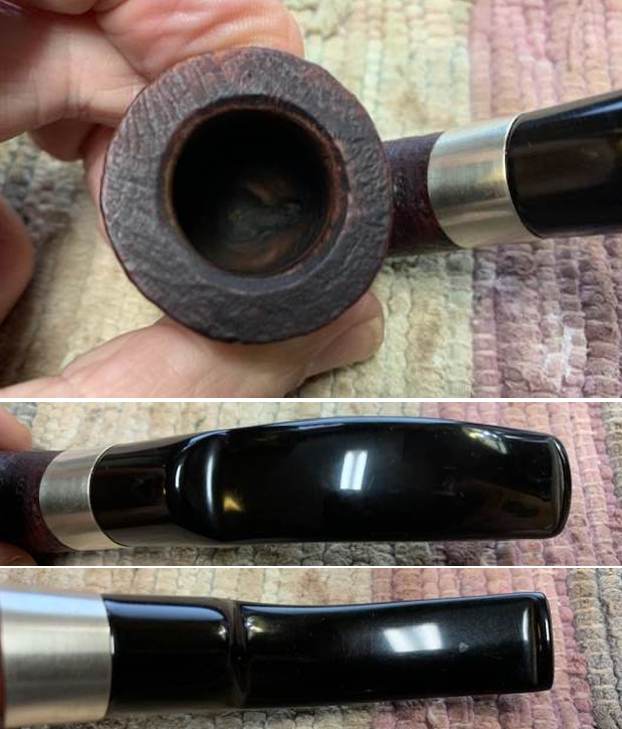 The next photo shows the stamping on a smooth panel on the underside of the shank. It is clear and readable as noted above. You can also see the stamping on the silver band.
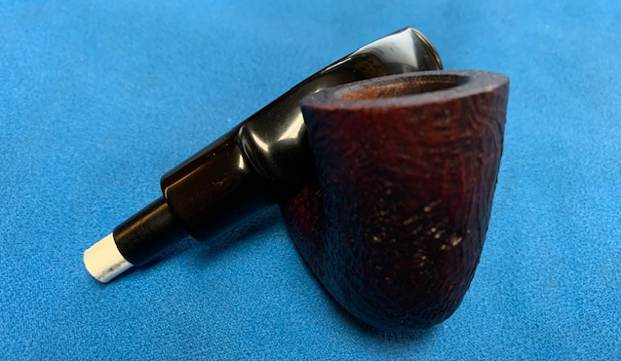
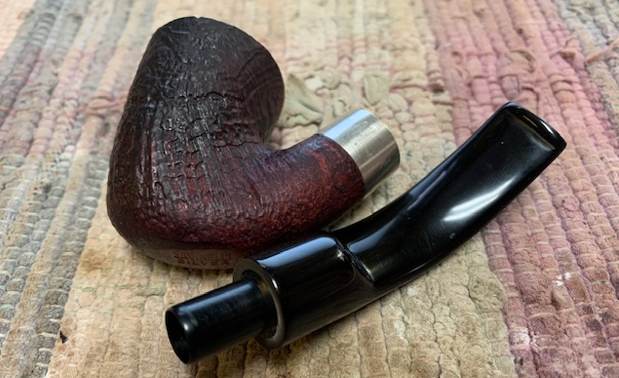
 I removed the stem from the shank and took a photo of the parts to give a sense of the overall look of the pipe. It is really a nicely looking pipe that will look great once it is cleaned up. (Note the 9MM filter tenon in the photo below.)
 The bowl was in great condition so started my work by rubbing it down with Before & After Restoration Balm to deep clean the nooks and crannies of the sandblast finish, enliven and protect the briar. I hand rubbed it with my fingers and into the finish with a horsehair shoe brush. I let it sit for 10 minutes to let it do its work. I wiped it off with a soft cloth. I buffed the bowl with a cotton cloth. It really began to have a deep shine in the briar. I took some photos of the bowl at this point to mark the progress in the restoration.

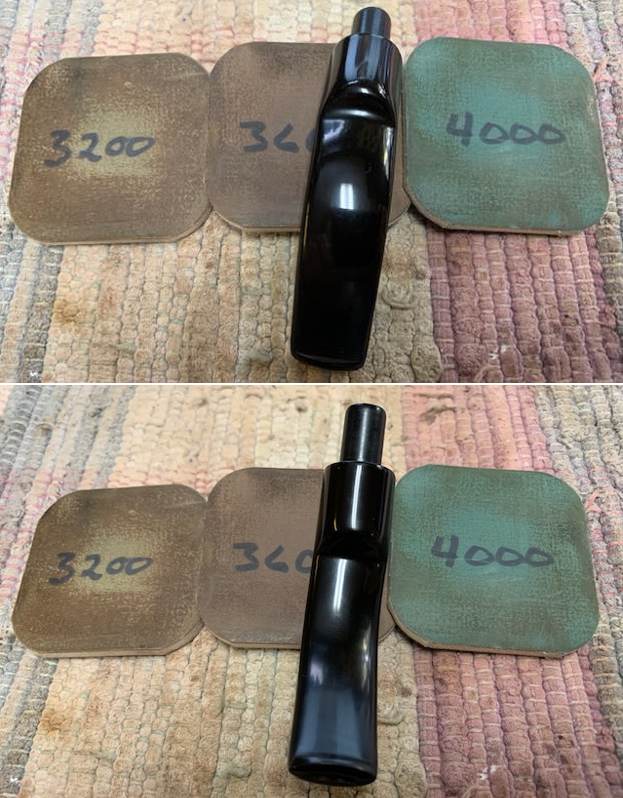
 I set the bowl aside and turned my attention to the stem. I worked on the slight dip in the acrylic ahead of the button on the underside of the stem with 220 grit sandpaper to smooth it out and level it. Once it was smooth I polished it with 600 grit wet dry sandpaper.
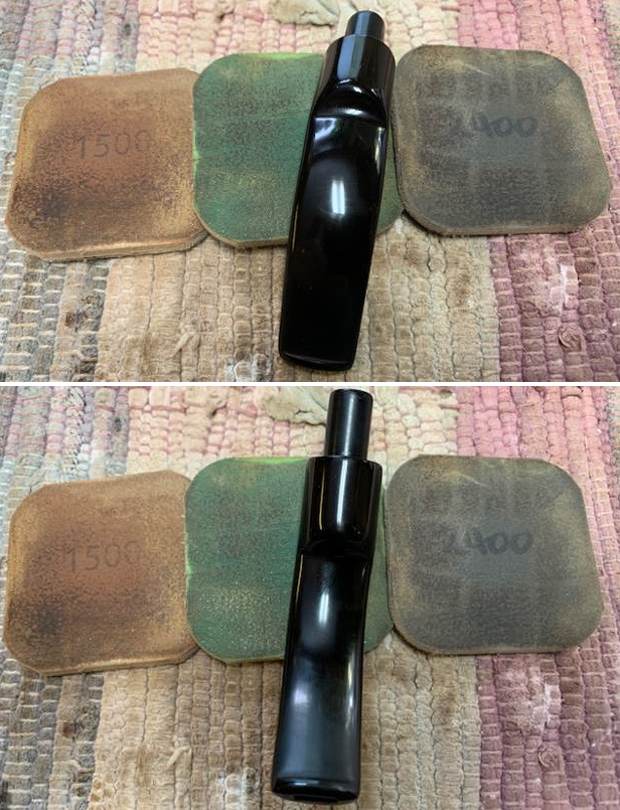
 I polished the stem on both sides using micromesh sanding pads. I dry sanded the stem with the 1500-12000 grit pads, then wiped it down with a cloth impregnated with Obsidian Oil. I finished polishing it with Before & After stem polish – both Fine and Extra Fine. I gave it a final coat of Obsidian Oil and set it aside to dry.

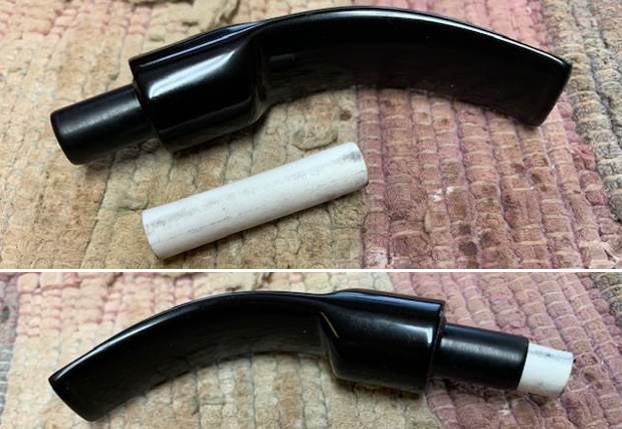
 I fit a new charcoal 9MM filter in the tenon of the stem and took photos.
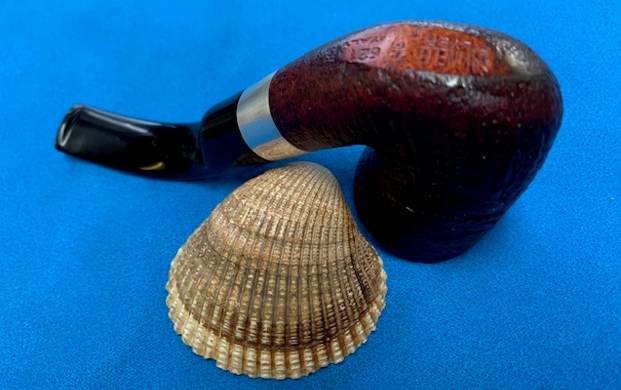
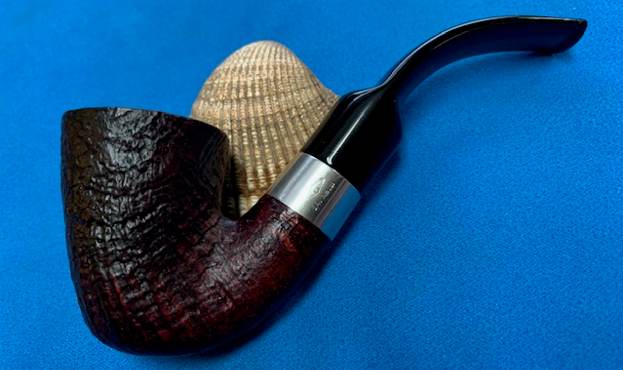
 This is another pipe I am excited to finish. It is a Savinelli Silver 6211 Bent Filter Stem Dublin. I put the pipe back together and buffed it lightly with Blue Diamond on the buffing wheel. I gave the bowl and the stem multiple coats of carnauba wax. I buffed the pipe with a clean buffing pad to raise the shine and hand buffed it with microfiber cloth to deepen the shine. It is fun to see what the polished bowl looks like with the polished acrylic stem. It really was a beautiful pipe. The sandblast finish surface show the grain shining through the rich browns/black stain on smooth portions of the finish of this Savinelli Silver Bent Dublin. It is nice looking and the pipe feels great in my hand. It is light and well balanced. Have a look at it with the photos below. The dimensions are Length: 5 inches, Height: 2 ¾ inches, Outside diameter of the bowl: 1 ¼ inches, Chamber diameter: 7/8 of an inch. The weight of the pipe is 1.27 ounces/37 grams. It is a beautiful pipe and one that I will be putting on the rebornpipes store in the Italian Pipe Maker section. Thanks to each of you who are reading this blog. Remember we are not pipe owners; we are pipemen and women who hold our pipes in trust until they pass on into the trust of those who follow us.


