Blog by Steve Laug
In Part One I wrote about the refinishing of this pipe and how I cut off the broken stem and reshaped the button. I wrote of the time and energy it took to rebirth this pipe. I also ended with the sound of the click as the pipe hit the floor and the tenon snapped off in the shank. You have to understand the sick feeling that settled into the pit of my stomach. I knew I could cut a new stem and reshape it to fit the pipe – no problem. I knew I could drill out the stem and put in a new replacement tenon – again no problem. I had done both of those things many times. But you also need to understand that I am stubborn. I hated, having invested the time and energy into this repair to this point to throw it away and start over. To me that is a frustration that I did not want to deal with. Besides I would lose the straight brass insert in the stem that is so much a part of these older Savinellis.
I laid the pipe aside and went to bed. I was irritated and frustrated with myself for even carrying it upstairs in the first place. A good night’s sleep would give me a different perspective. I woke up with a kernel of an idea regarding the broken pipe. Really it was a bit of an experiment for me as I had never tried the idea in reality. I think it was born out of conversations with Troy about repairing a cracked shank on a LHS billiard that he was working on and from my recent putting together my latest Frankenpipe. If a metal tube could provide a strong bond in joining two parts of a shank together why wouldn’t it work to bond a broken tenon to the stem? I know that the repair works well on a stable, unmovable shank but would it work on a removable stem and tenon? Would it be stable enough to endure repeated removal from the shank for cleaning and just observing that pipe smokers do? I had no idea but figured it was an experiment worth trying and also worth documenting.
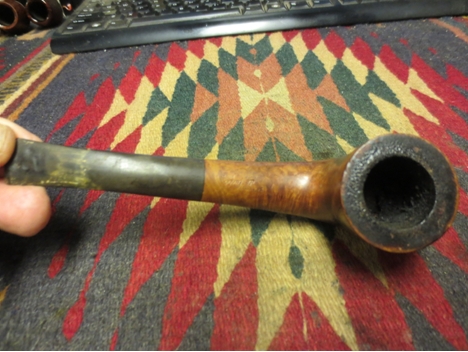
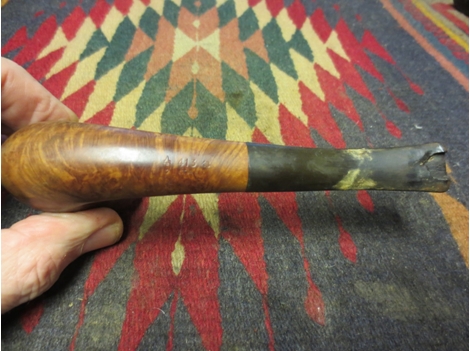
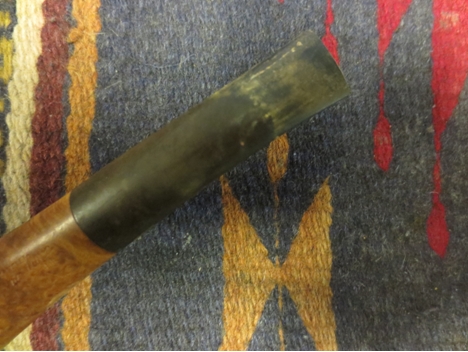
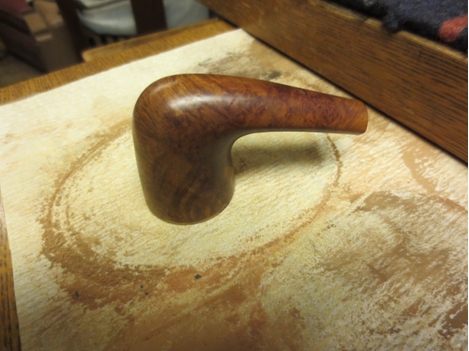
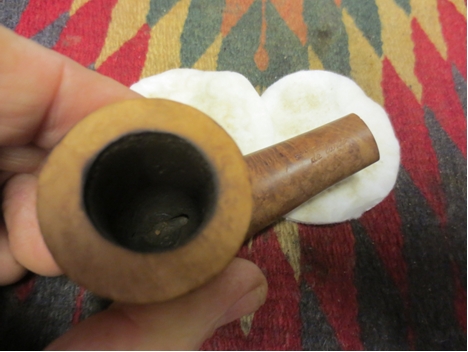
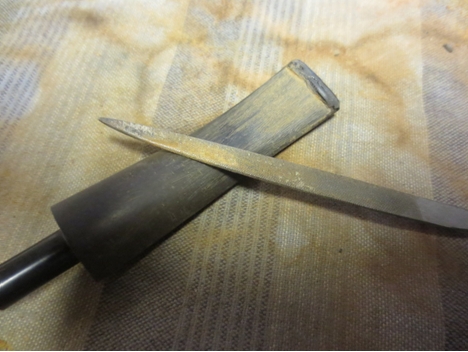
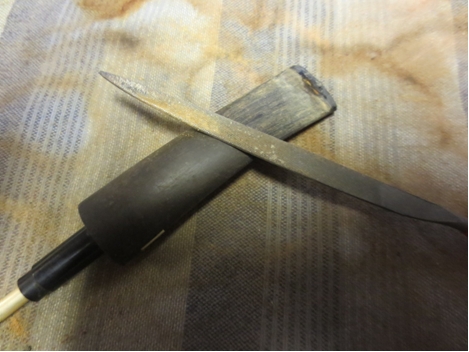
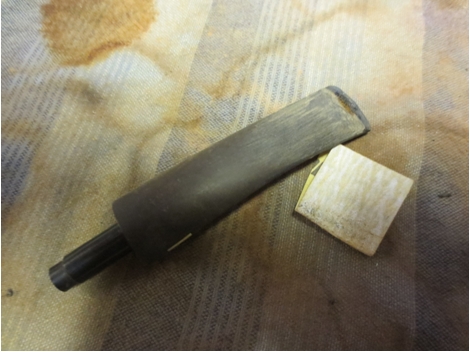
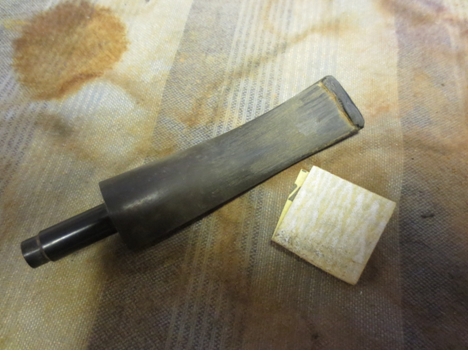
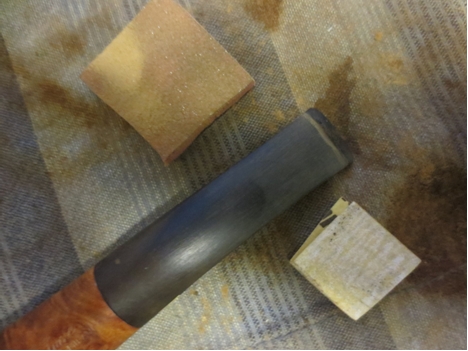
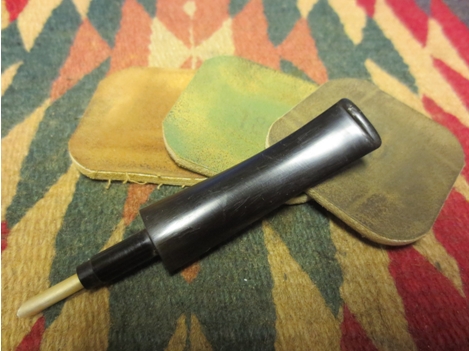
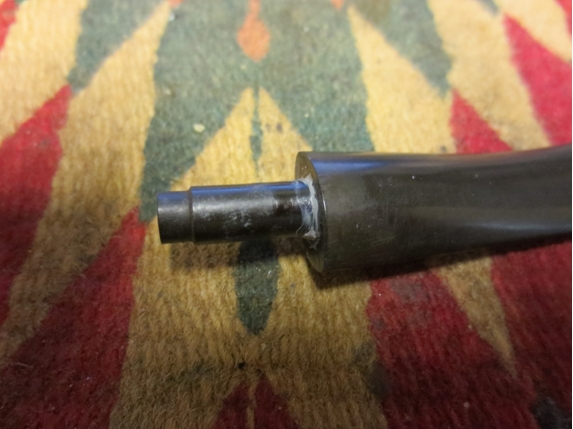
In Part 2 I want to look at that experiment in from the idea to the execution and see what develops. I want to look at the challenges and the issues that arose in executing this repair. And ultimately I want to document it so that I can come back to it and report on its durability and feasibility as a long term solution to a broken tenon. I took the first photo below just after the event happened. I took the pipe back to the worktable to lay it aside and before I did I thought I would take a photo to document the damage. Those of you who have snapped a tenon will well know the thoughts going through my mind. And those of you who restore old pipes only to have a fiasco occur at the end of a long clean up will know the “pain” of the moment.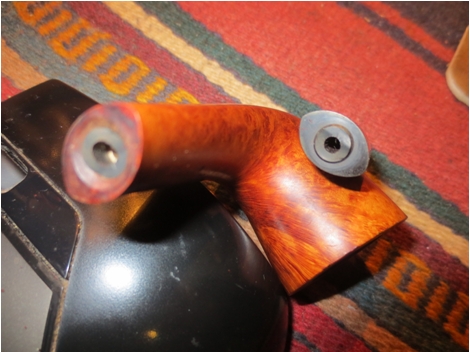 In the morning when I got up I pulled the tenon out of the shank using a screw that I keep on the work table for that purpose. I screw it into the tenon and then work the tenon out of the shank. This time it would be both easy and difficult. The shank was clean and the pipe had not been smoked so it would not be stuck in the shank – that was the easy part. The hard part was the metal inner tube that was in the end of the tenon. It would be in the way of the screw when I turned it into the shank. On an off chance that the tube would pop free of the tenon I inserted an ice pick into the end of the shank and push on the tube. I let out a sigh of relief when I heard it drop into the airway and bowl. I inserted the screw and with no effort popped the broken tenon free. I tipped the shank back and the tube fell out of the airway. It was at this moment that my idea was born. The metal tube lay on the table next to the tenon and stem. Why not use that already fitting tube to try to join the broken parts? It was worth a try.
 I tried to run the tube through the broken tenon only to find that it did not go all the way through. It stopped ¾ of the way in and would not go through. I used a needle file to open up the airway until the tube could be pressed all the way through. I removed the tube and opened it further so that once it had a coat of epoxy on it the tube would still fit through the airway. I had decided to sacrifice the inner tube to this purpose.
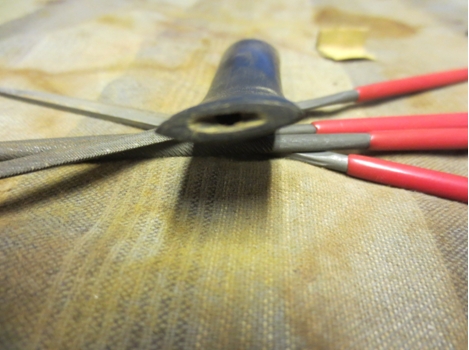
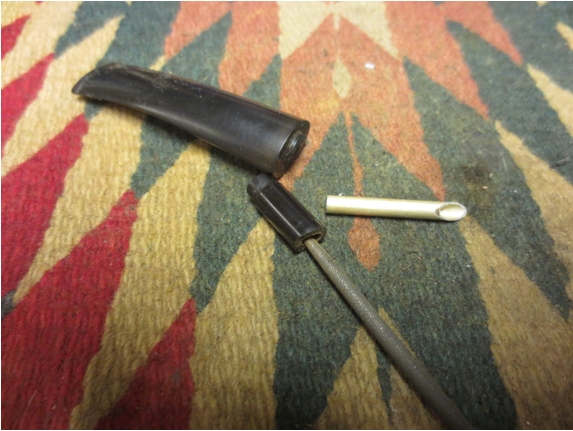 With the tube easily fitting through the tenon I then tackled the airway in the stem portion of the break. It was too small for the tube to fit. It would need to be opened up considerably for the tube to slide in place with the epoxy. I decided to begin opening it with a drill bit. I set up my cordless drill with the proper sized bit and hand turned the stem on the bit. I do this without powering up the drill as I find that I can turn it by hand without risking going too far with the bit.
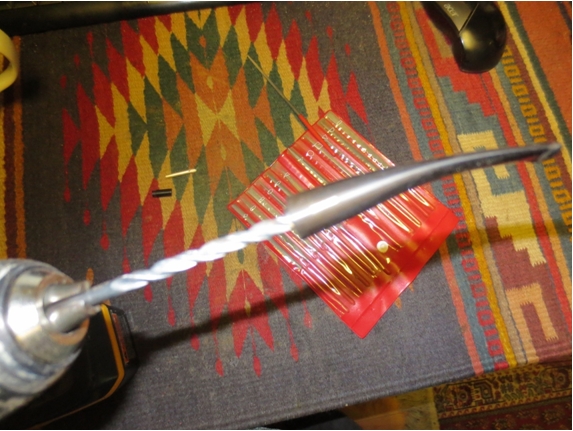 Once I had the airway opened far enough into the stem to give it a decent depth for the tube when inserted I cleaned up the airway with needle files to ensure a smooth transition from the tube to the remainder of the airway. I did not want a lip between the two that a pipe cleaner would catch on when cleaning the pipe.
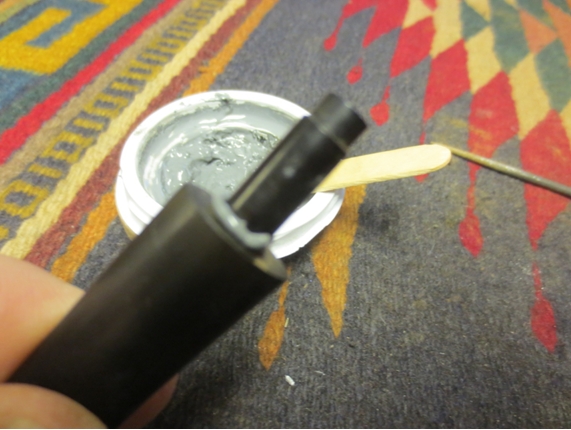
 With the airway open on the tenon and the stem I used a flat knife blade needle file to score the smooth surface of the inner tube. Smooth aluminum does not provide a surface that epoxy will bind to so I need to score. I then coated the sharp end of the tube with a two part epoxy and pushed the tube into the stem portion of the break. I slide the tenon on to ensure that the tube was straight and the tenon when glued on would still fit tightly against the shank.
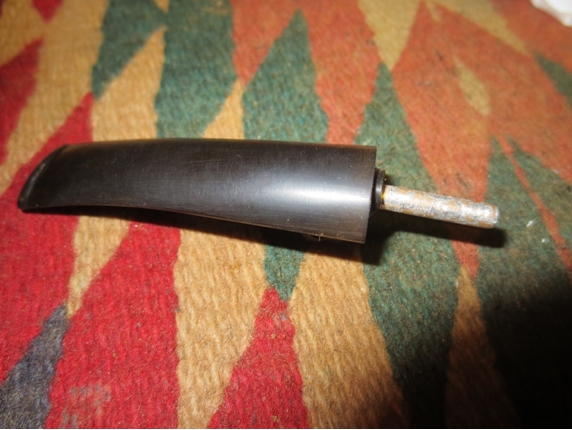 When the epoxy had set in the stem I gave the tube a quick once over with the file to further score the surface and then brushed on the epoxy mix. I pressed the tenon onto the tube and before pressing it in place used a tooth pick to coat the broken surfaces of the tenon and stem with epoxy.
 When pushed into place the excess epoxy squeezed out.
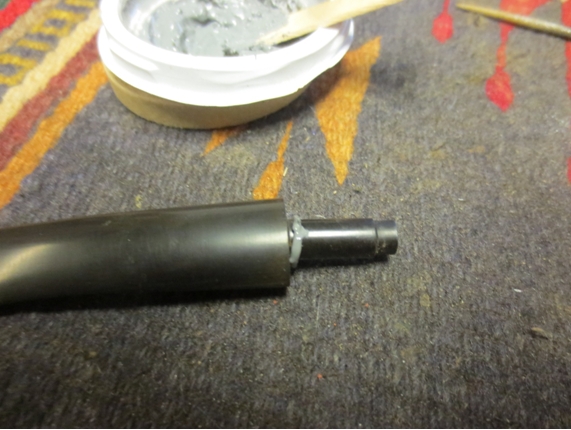
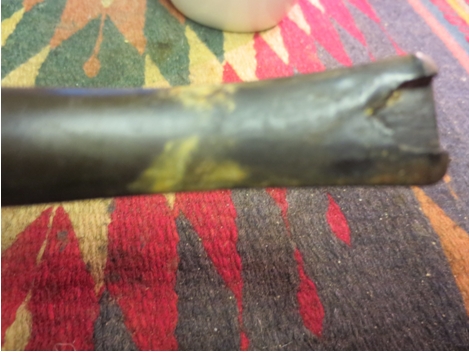
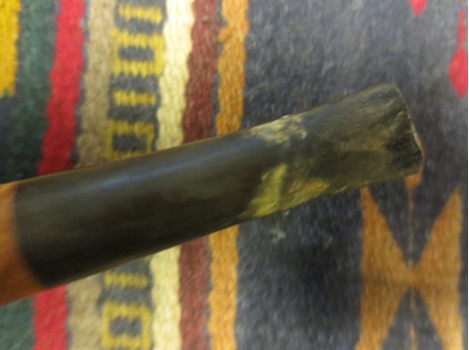
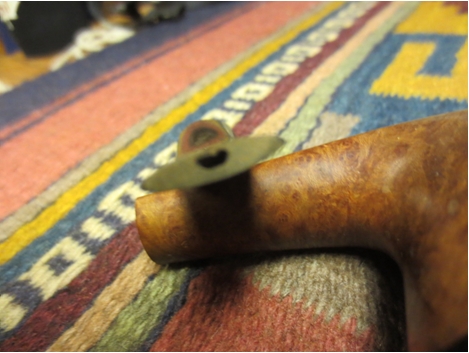
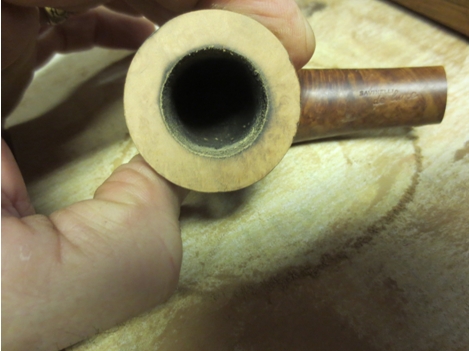
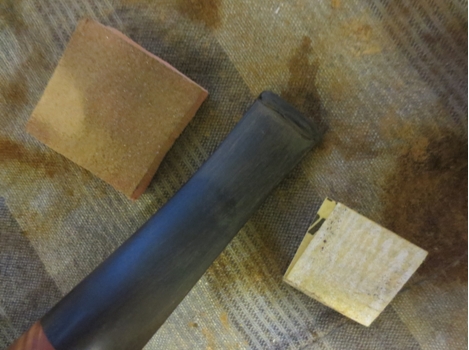
 The next photo shows the fit of the tenon on the metal tube. I pushed it in just below the surface of the face of the tenon.
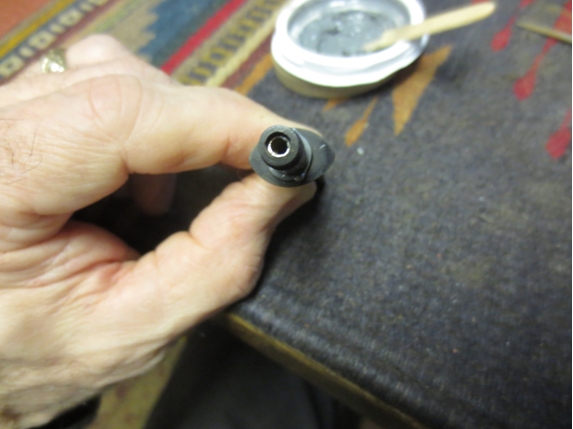 I used a dental pick to clean off the excess epoxy from the joint then set aside the stem to let the epoxy set and cure for several days.
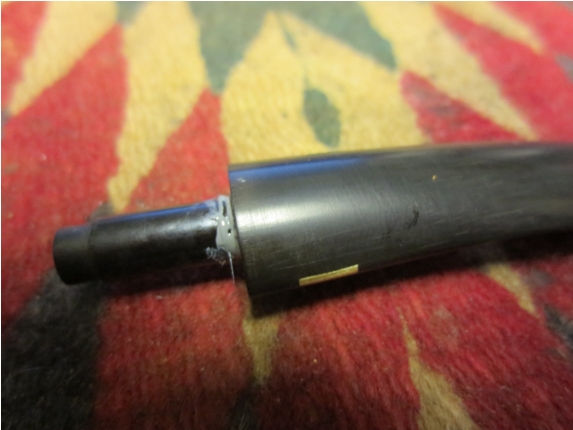
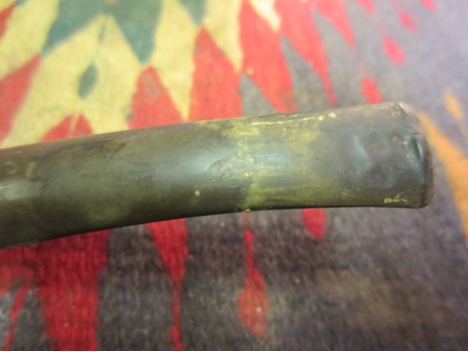
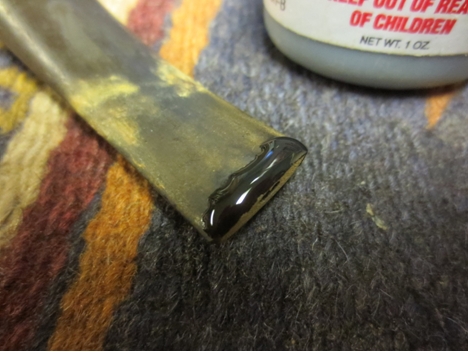
 Once I figured that the epoxy had cured and the joint was solid I cleaned it off with a dental pick, a sharp knife and sandpaper. I did not want a ridge at the joint that would catch when the tenon was pushed into the shank. I still needed to sand the joint and clean it up but the repair seems strong.
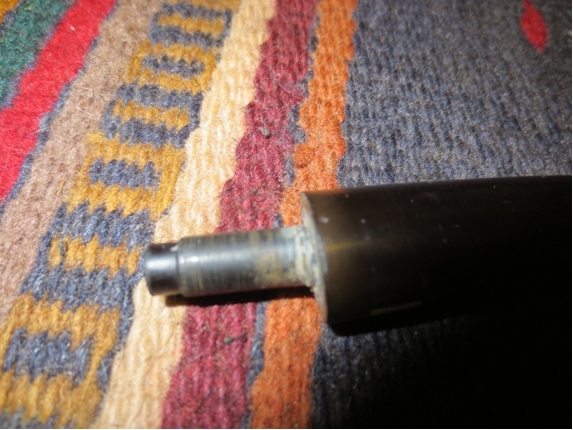
 I put the stem back in the shank and found that I had not let the epoxy cure enough. When I removed the stem from the shank the tenon remained in the shank. The epoxy holding the tenon to the tube was solid and rock hard. The epoxy on the stem side was dry but soft. It had not hardened enough. I am wondering if I should have glued it into the stem side first and let it harden before putting the tenon in place. Well, I will never know with this one. I cleaned off the metal tube and the airway in the stem and mixed a second batch of epoxy. I roughed up the surface of the metal tube even more to give the glue something to bite onto. I pressed the stem in place. This time I will let it cure for a longer before fussing with it. I wonder if the fact that it is in a confined space with limited airflow makes it take longer for the epoxy to harden. Time will tell. I am hoping that the fix works.
I let it dry for two days and then did some sanding with micromesh sanding pads to polish the stem. I did not put it into the shank at this point as I wanted it to have at least another day to cure. I did a quick, wet sand with 1500-2400 grit micromesh pads and then rubbed it down with Obsidian Oil then dry sanded with the 3200-4000 grit pads. I cleaned up the excess epoxy with a flat needle file to smooth out the joint and to clean up the face of the stem. All of this was done to prepare for refitting the stem in the shank.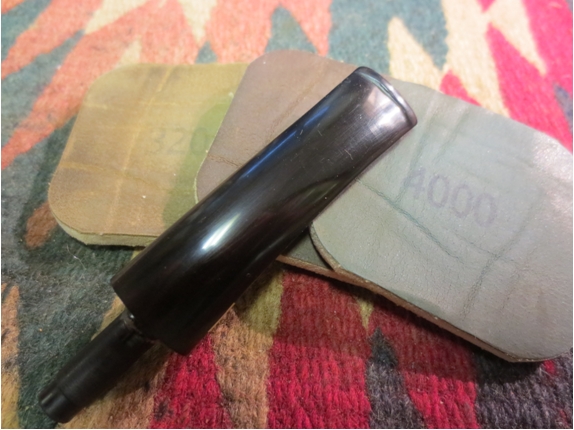 After another day sitting and curing I decided to carefully put the stem in place. I once more sanded the tenon to make sure it was clean and smooth. I wanted a snug fit but not a tight fit.
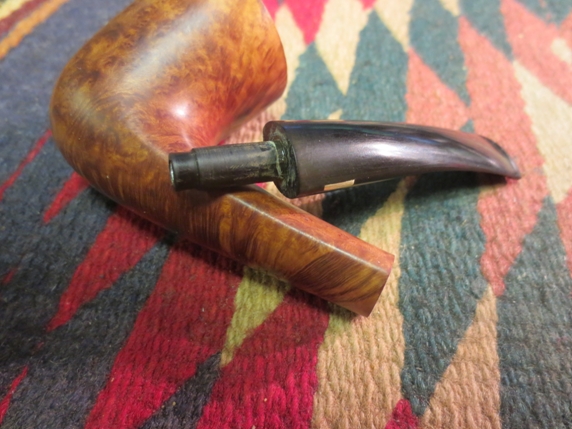 I put the first half of the tenon into the shank, literally holding my breath as I pushed it carefully into the shank. I was fully expecting the epoxy to break loose again and leave the tenon in the shank. But it did not. I push the stem in and took it out carefully several times to check the joint. I checked the crack that I had repaired and it was holding. I let out the breath I must have been holding. It was working.
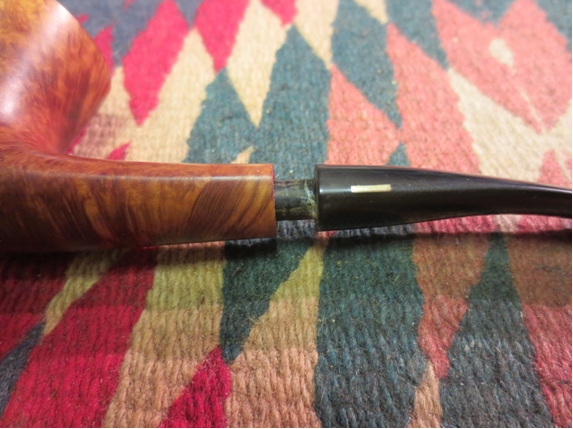

 With the stem in place and apparently solid I turned the pipe over in my hands to check it out. You cannot imagine the frustration when I saw that somehow the tenon was slightly lower than it had been and now the fit against the shank did not match. The two edges along the shank and the stem no longer lined up but were both equally off – maybe 1/16 of an inch, but off nonetheless. I set the pipe down and took a deep breath. I was not going to leave this alone. I was going to make the fit perfect. I sanded the shank and stem junction carefully with 220 grit sandpaper to smooth out the transition and remove the excess briar on the top of the junction and the excess vulcanite on the bottom of the junction. I worked on the sharp edge on both sides of the stem and shank to bring them back into alignment. Once I was done with the sandpaper I took a few photos to check the alignment.
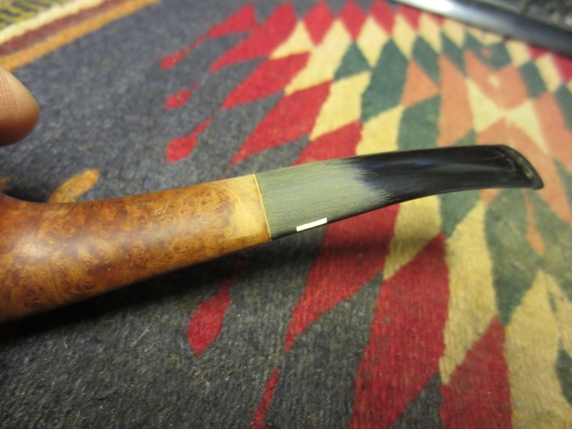
 I sanded the stem and shank with a medium and a fine grit sanding sponge to minimize the scratches left by the sandpaper and smooth out the surface of both.
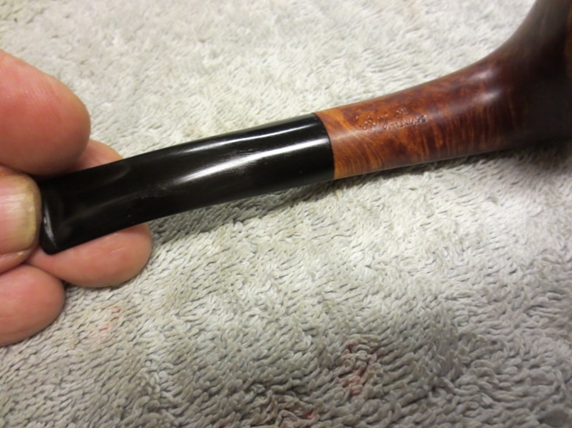
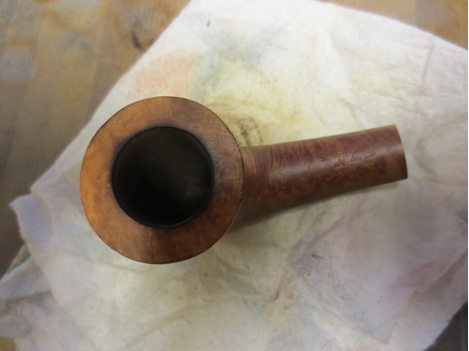
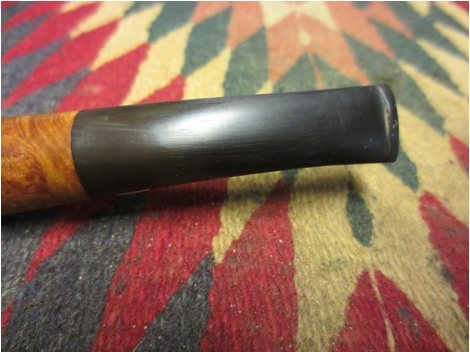
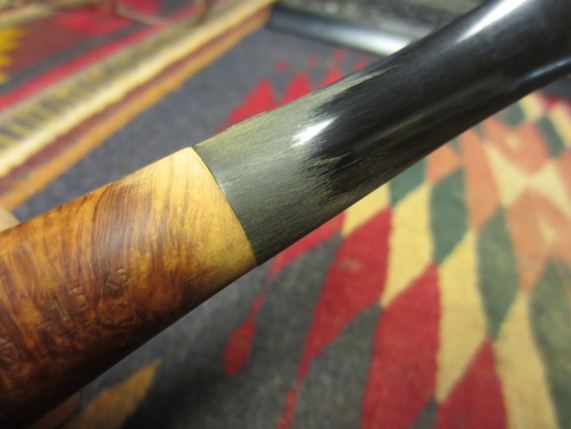
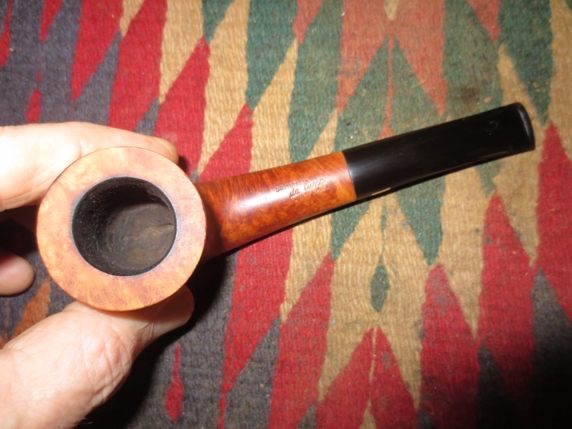
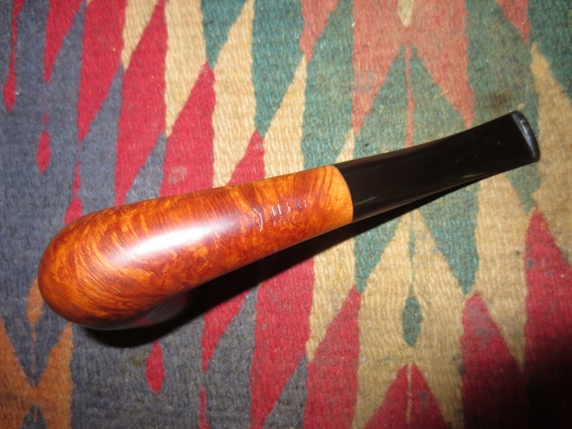
 I wiped off the sanding dust and rubbed the stem down with Obsidian Oil and took the next two close-up photos.
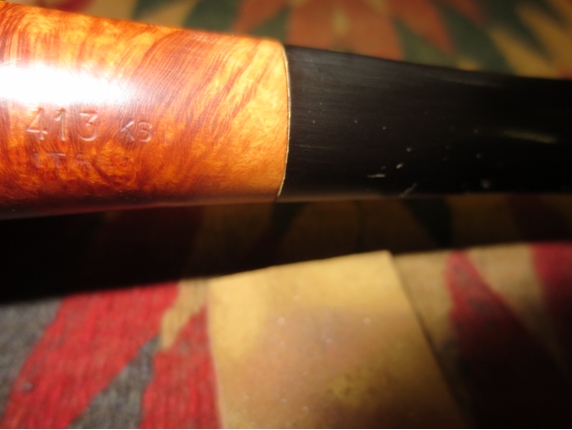
 I took the stem off the pipe and cleaned out the sanding dust that had slipped in the joint of the stem and shank. I pushed the stem back in place and worked it over with micromesh sanding pads – wet sanding with 1500-2400 grit pads and dry sanding with 3200-12,000 grit pads. I rubbed the stem down with Obsidian Oil after each set of three pads.
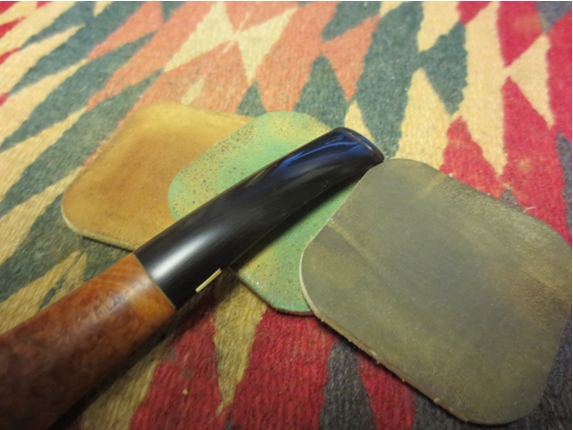
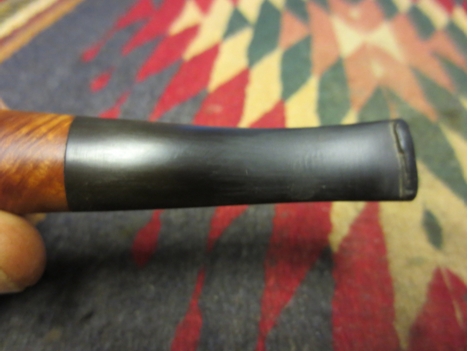
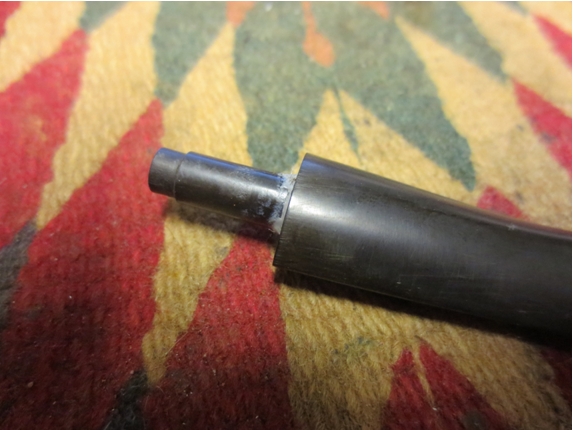
 After all of the sanding I was worried that I might have jarred the repair to the tenon so I took the stem out and took a close look. The crack was still solidly close and the repair was holding well.
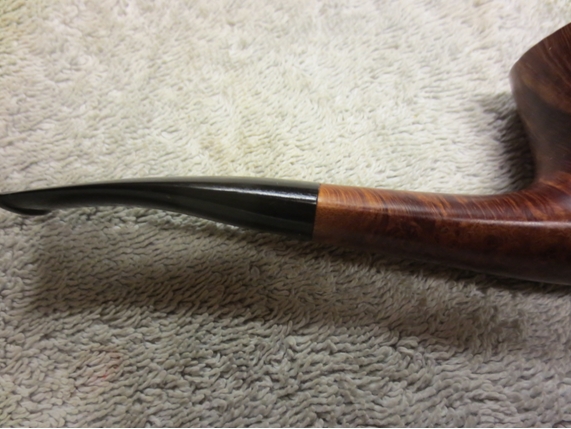
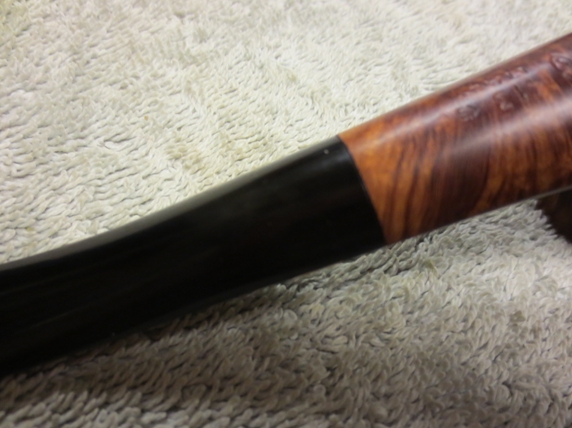
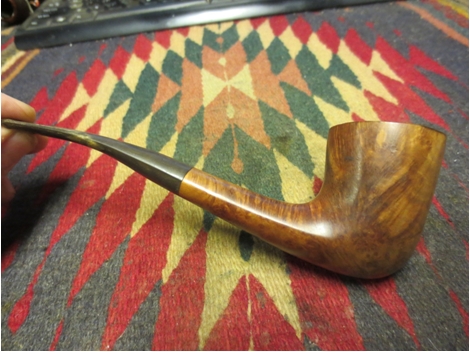
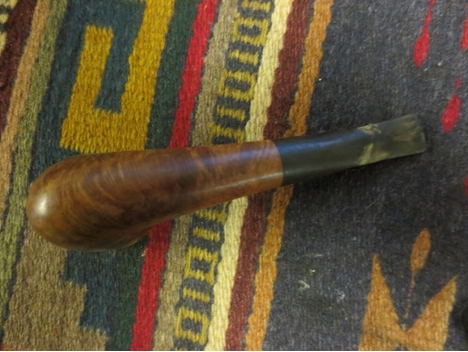
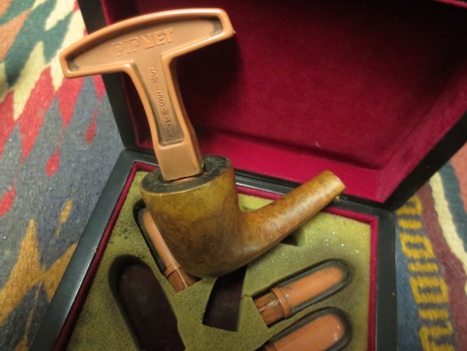
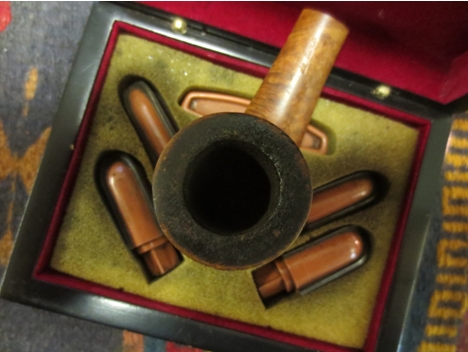
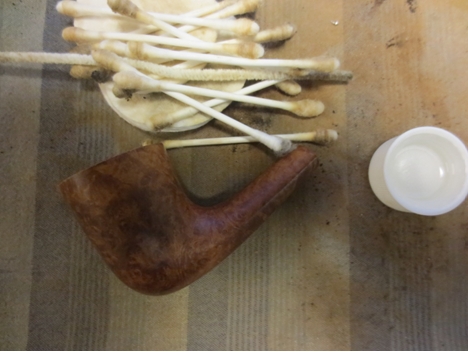
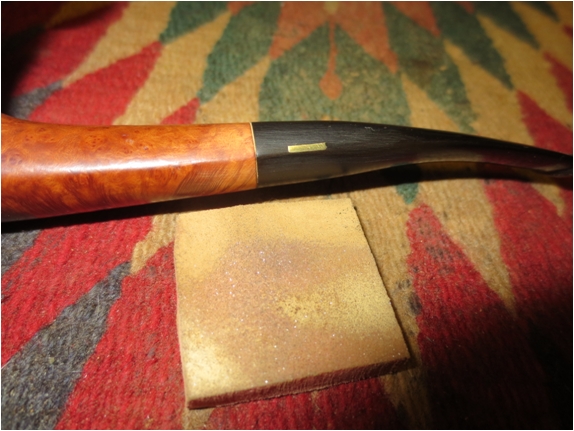
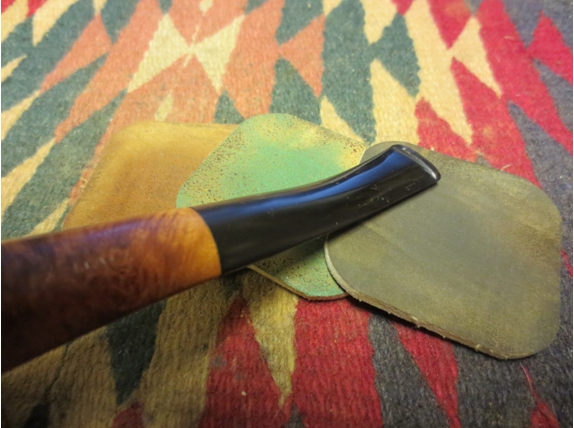
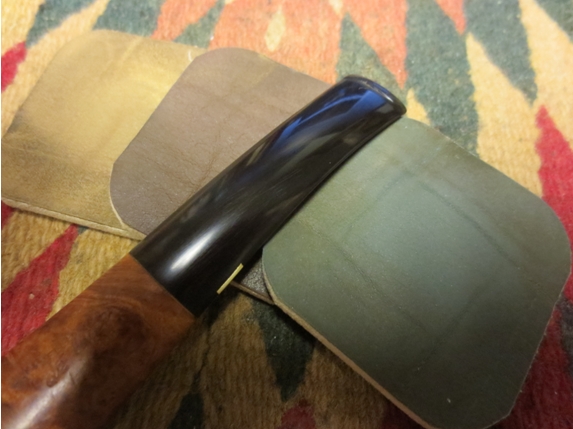
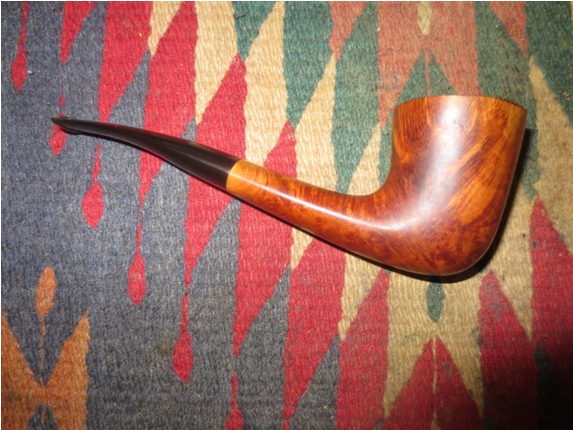
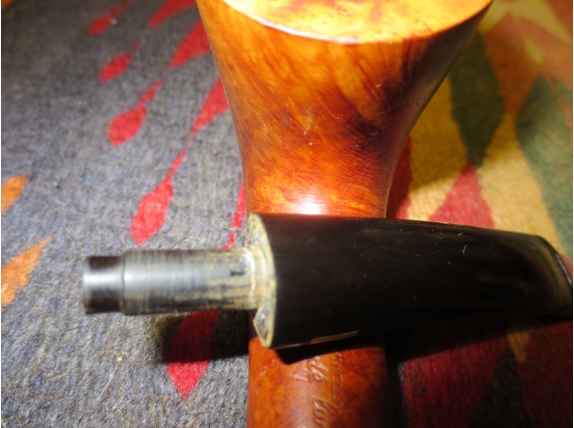 I put the stem back in place and took the next four photos of the pipe with the stem in place. The repair had worked so far.
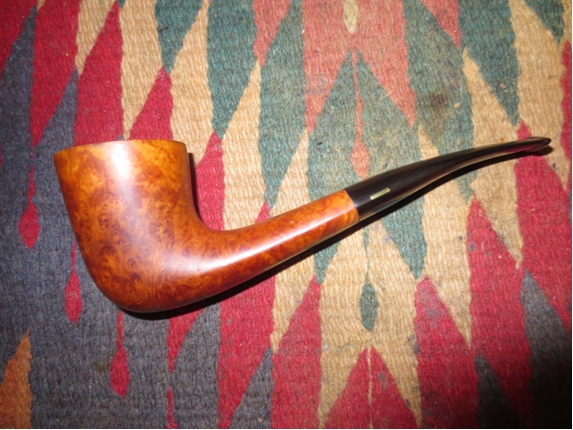
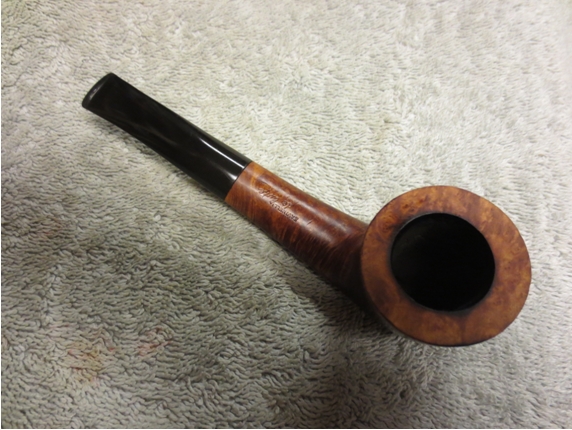
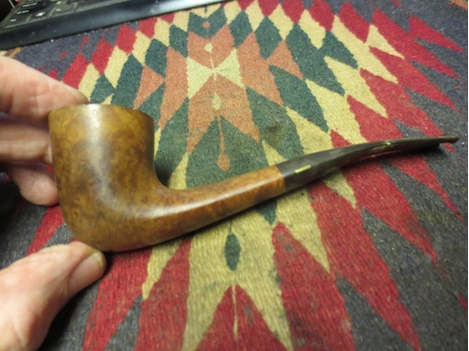
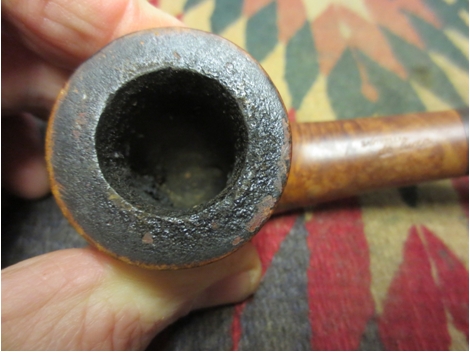
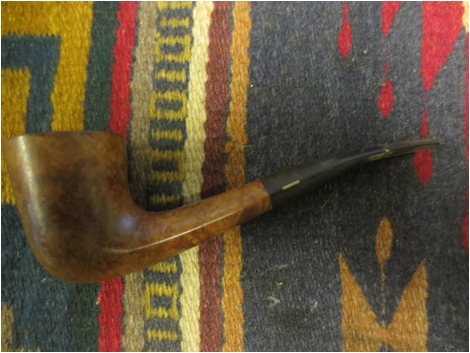
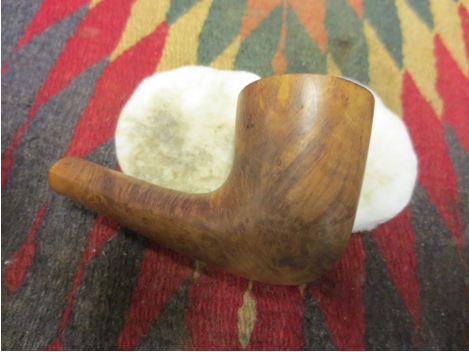
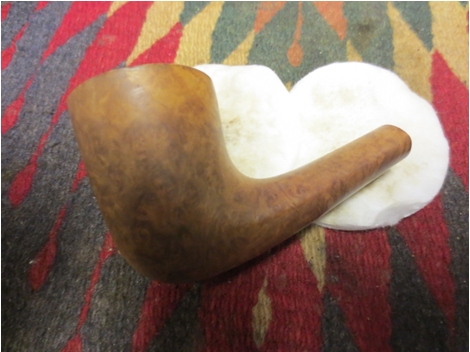
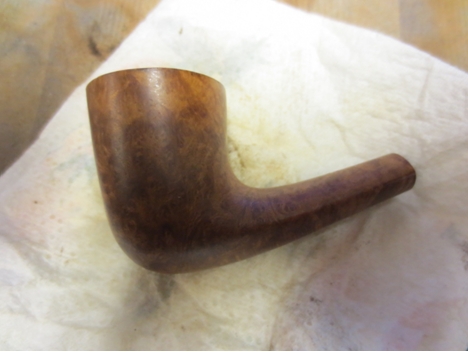
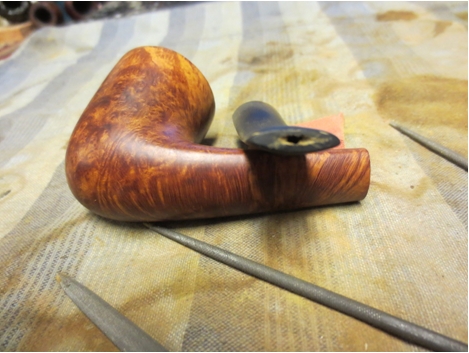
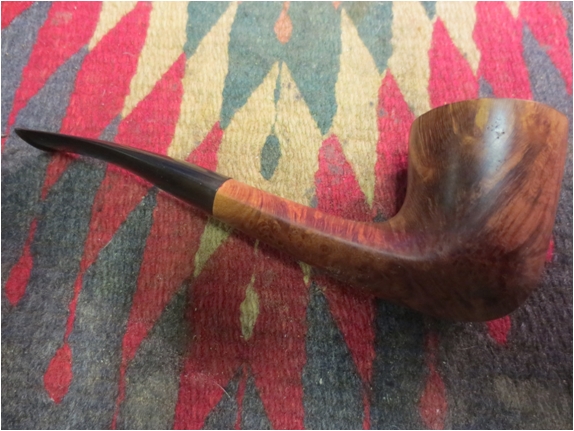
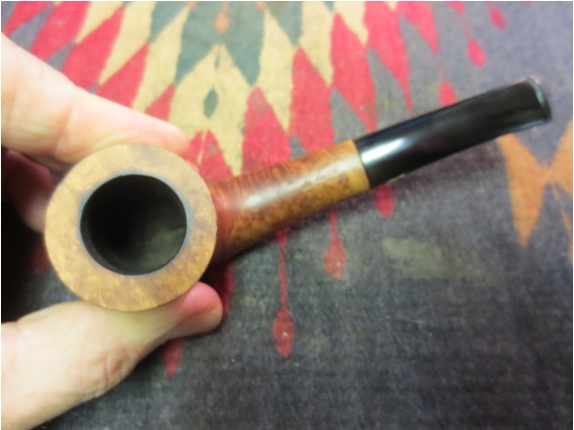
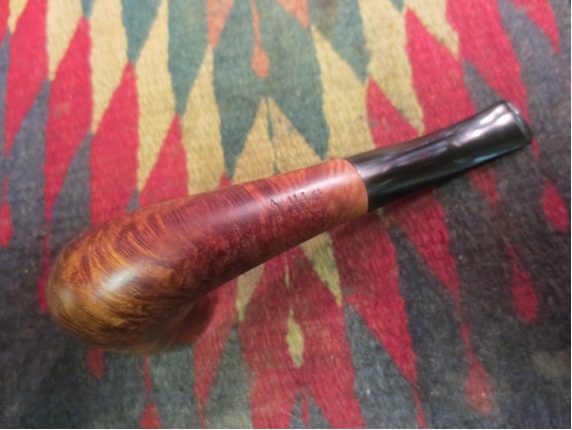
 I wanted the portion of the shank that I had sanded match the colour of the rest of the pipe. Since I had oiled the bowl with olive oil, I did the same again. I rubbed the bowl and shank down with the oil and let it absorb. I then gave the bowl and stem several coats of Conservator’s Wax and hand buffed it with a shoe brush. The finished pipe is shown below. The repair is holding well and the pipe looks good as new. The new button on the stem worked well and the repaired tenon worked. Now comes the period of waiting to see if it will hold up to regular use and cleaning. Smoking it should be no problem as the airway is open and has a clean draught. All that remains is to fire up a bowl… and wait.