Blog by Steve Laug
I went back and revisited the blog/review I wrote on this pipe back in 2013. I am including the link (https://rebornpipes.com/2013/02/15/review-of-a-ronson-centenary-bulldog/) and the first paragraph of the review below.
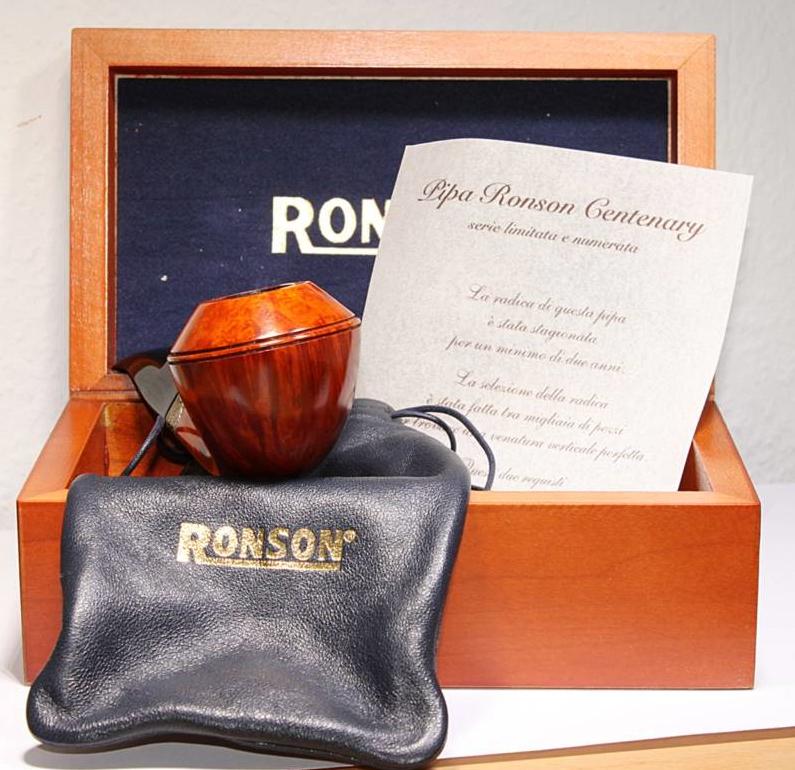
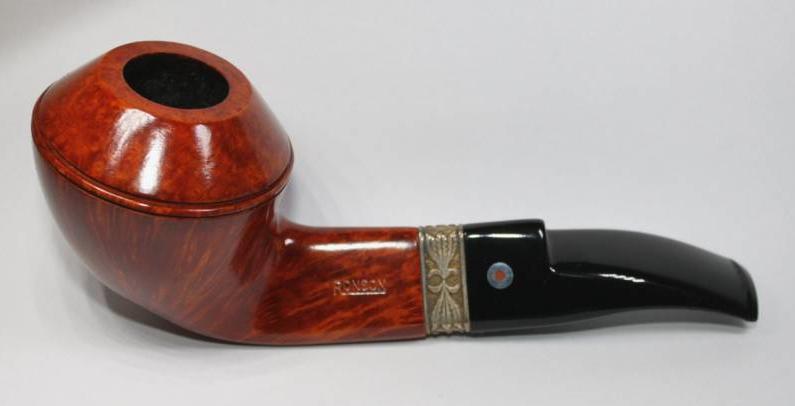
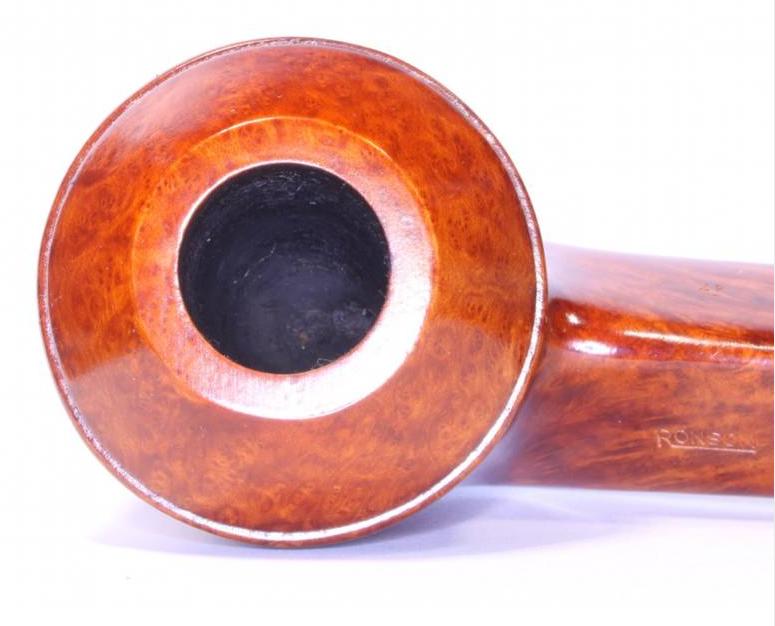
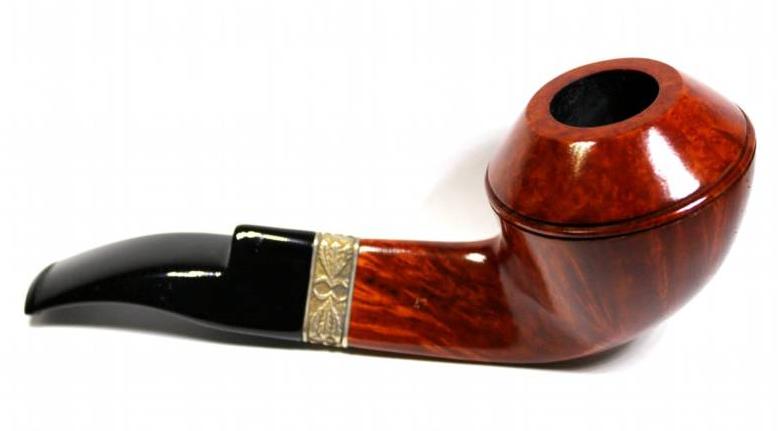
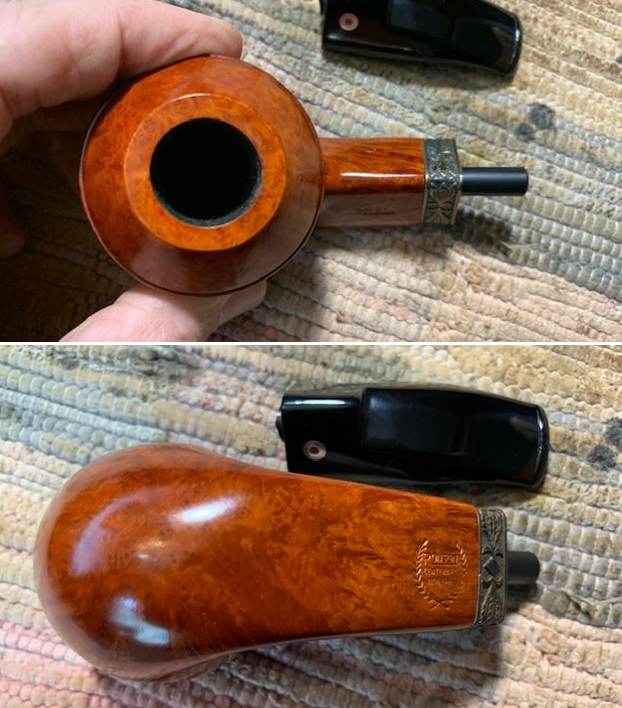
I picked this pipe up for a really cheap price on EBay. It came in a beautiful handmade wooden box lined with dark blue velvet on the inside of the box and the lid. The lid also has the golden Ronson logo. Ronson is famous for the lighters that they make but after receiving and smoking this beauty I would also say they make a fine pipe. The pipe came with a leather pipe sock and a certificate of authentication for the Centenary version of the pipe. The workmanship on this pipe is very nice. I have smoked it quite a bit since that time and it is a great smoke. Since I had the day off today I decided to also write a review on this one. The length of the pipe is 5.8 inches and the bowl height is 2 inches. The chamber diameter is .8 inches and depth is 1.8 inches. It is a large pipe but weighs 78 grams. It is a good fit in the hand. The overall shape is something like a bent bulldog. There is a sterling silver band on the shank with sheaves of laurels. The stamping is on the sides and the bottom of the triangular shank. It is stamped on the left side Ronson using the Ronson logo type and on the right side 47. On the underside of the shank it is stamped RONSON over CENTENARY over 1896-1996 and surrounded by Laurels. That dates the pipe to 1996. It came to me unsmoked.
I am including several photos of the pipe from the review blog. The first is the pipe in its case with the certificate. The second shows what I saw when I took it out of the case. It really is a nice looking pipe.
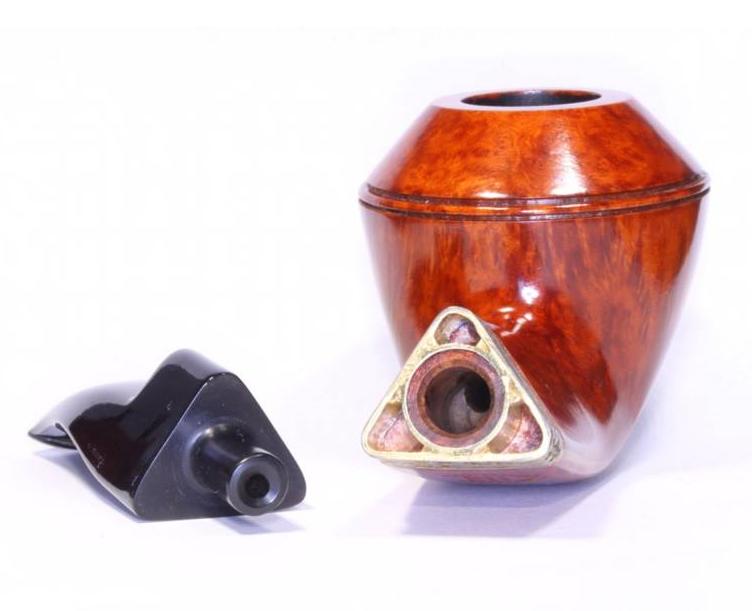
 From the title of the blog you can surmise that the pipe and I had a mishap that left the acrylic tenon snapped off in the shank. You can probably imagine the sick feeling I had when I figured out that it had happened. It was resting safely in its box and bag so I figured all was fine. I went to move it when we had our basement flood two weeks ago and the box slipped out of my hands and hit the floor. I figured that the box and bag would have protected the pipe so I did not even check it. I retrieved it and carried it upstairs to my temporary work table in our dining room. I was oblivious to any issues at this point. I let it sit for about a week and then thought I might list it on the store as I just do not smoke it enough. I opened the box and the bag to inspect it. I remembered that I had cleaned it before putting it away and it was pristine. When I opened the bag the pipe came out in two parts in my hand. The tenon had snapped off in the shank with almost a clean break. I was sick to my stomach when I saw what I had done.
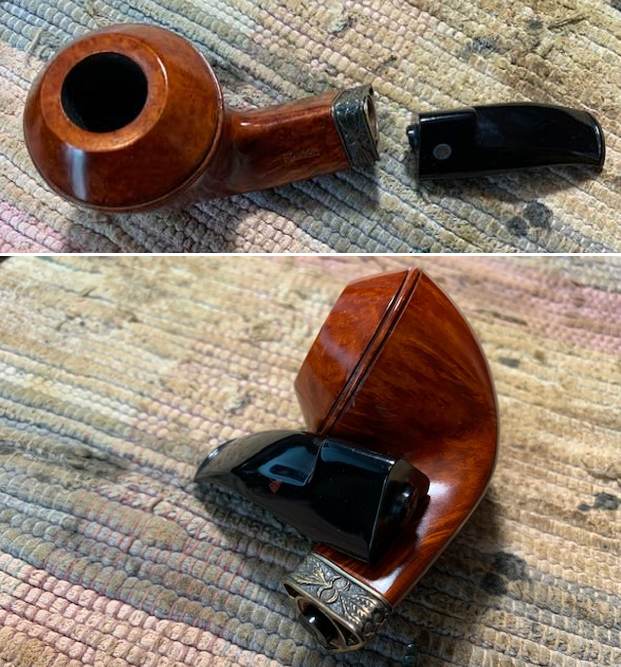 I took out the handy drywall screw that I keep at my work table for just this kind of extraction work. I carefully turned the screw into the airway of the broken tenon in the shank and said a quick prayer and wiggled the tenon out of the shank! Whew! I was thankful that it was not stuck in the shank. Now the work could begin.
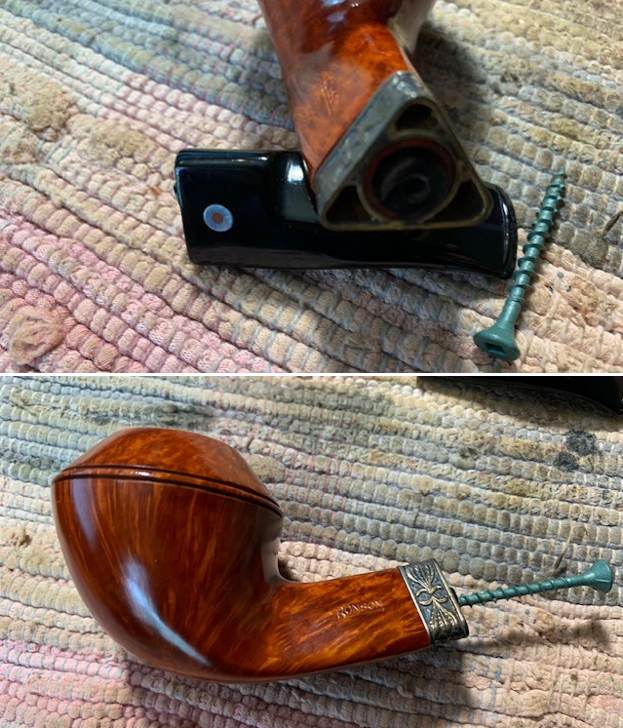
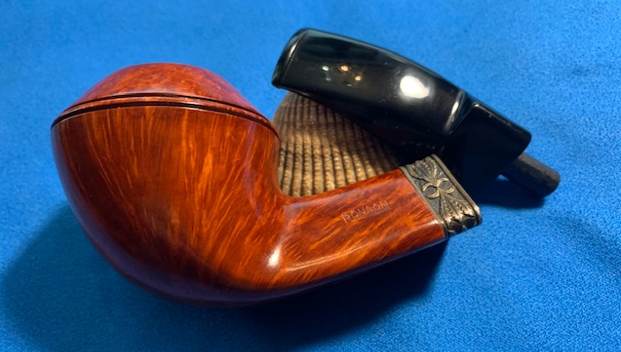
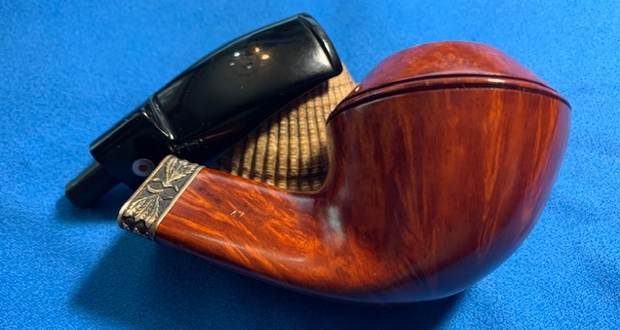
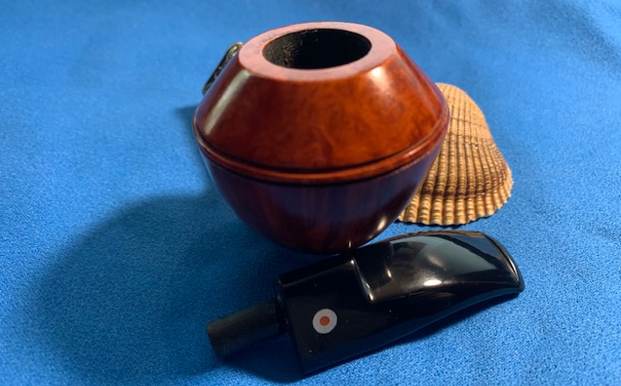
 I went through my can of Delrin tenons and found one that was a proper fit. I would need to adapt it to fit the stem but the fit in the shank was perfect. I took some photos with the tenon in the shank to show the fit.
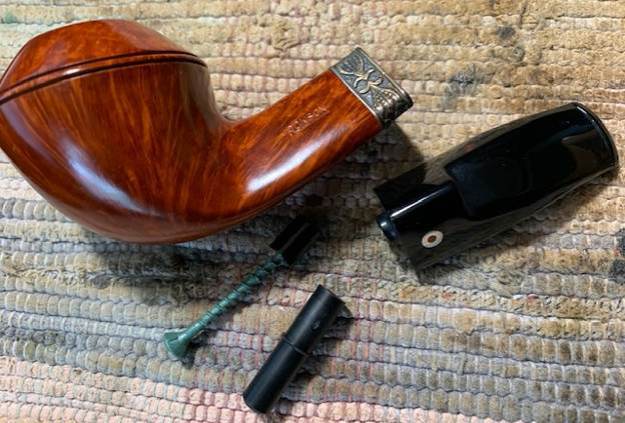
 I used my Dremel and sanding drum to remove the ridge in the middle of the tenon and set it in the shank. I also flattened the broken tenon face on the stem. I was able to smooth it out so the first step in fitting the new tenon was complete. The shank portion was complete. Now I would need to drill out the airway in the stem to receive the new tenon and then reduce the diameter of the tenon to fit the newly drilled airway.
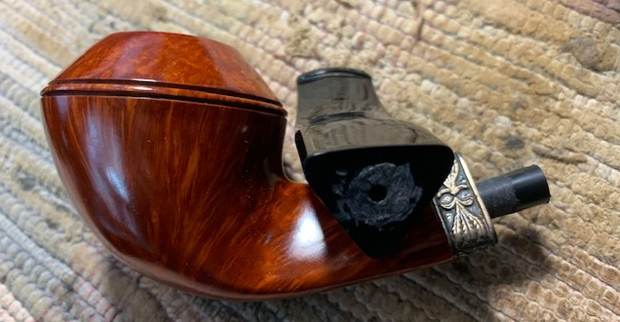 I set up my cordless drill to open the airway. I started with a bit slightly larger than the existing airway and drilled it ½ inch into the stem. I did not want to go too far and come out on the top of the stem. I worked through several bits, moving through them until I got to the largest that would safely work in this stem – 11/64 of an inch. Drilling a stem this way requires carefully moving forward so as not to angle the drill bit. I use the existing airway as the path and rigorously hold to that with each new bit.
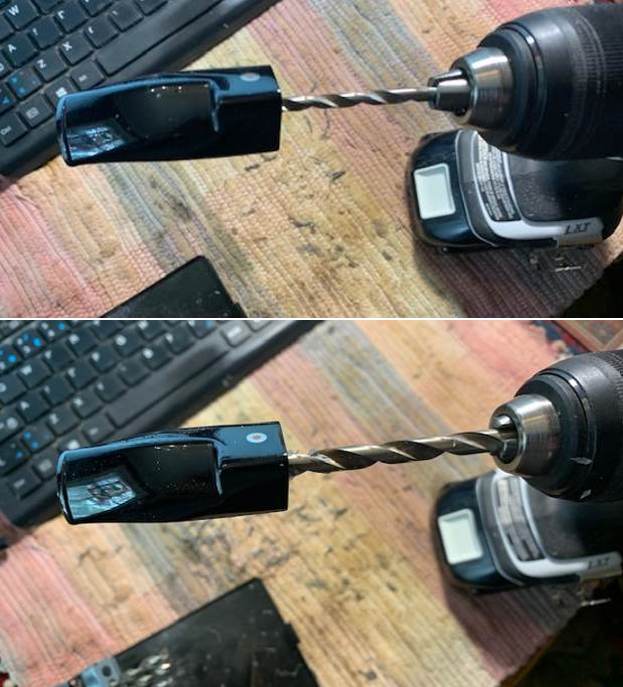 Once the path was open to the diameter I could safely drill in the stem I turned my attention to reducing the diameter of the portion of the new tenon that would fit in the airway. I used the Dremel and sanding drum to carefully take down the diameter. I took a photo of the shaped tenon with a new unshaped tenon so you can get a feel for what I had to do for the fit. I know it would be much cleaner if I had a lathe but I don’t so I use what I have. I cleaned up the shape with a small file and repeatedly checked it in the airway. I wanted to have a snug fit but I also needed to account for the addition of the glue. Once all was aligned I checked the fit of the stem against the shank end. I wanted to make sure that all was lined up. I marked the top of the tenon once I had the fit correct. I removed it from the stem and slid a pipe cleaner in the stem and tenon to make sure the glue did not seep into the airway. I painted the surface with black super glue and pushed it into the stem. I was careful to line my mark up on the top of the new tenon so the fit would be correct.
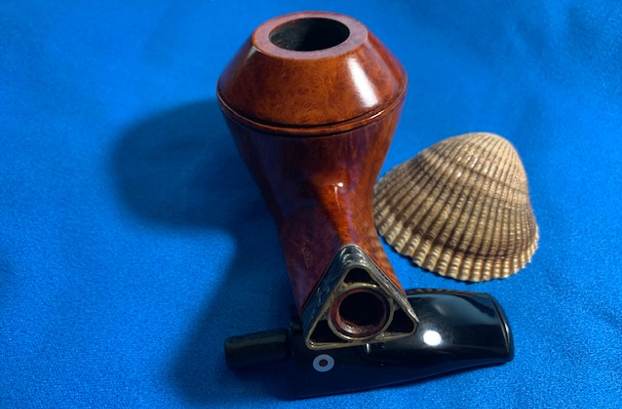
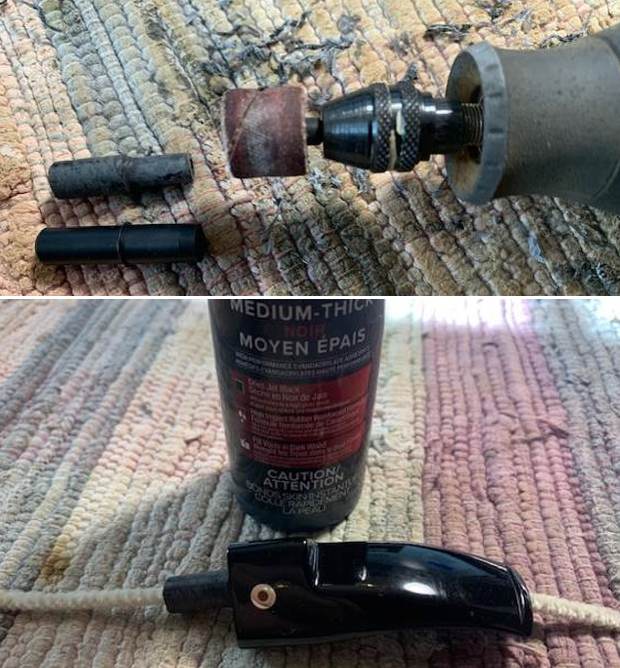 I wiped excess glue off the stem end and checked the fit of the stem to the shank. I like the way it lined up. I took some photos of the fit and then removed the stem and set it aside to allow the glue to cure.
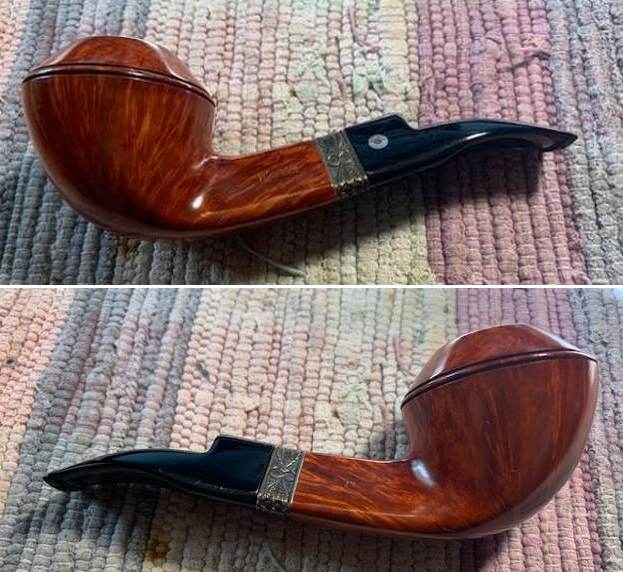
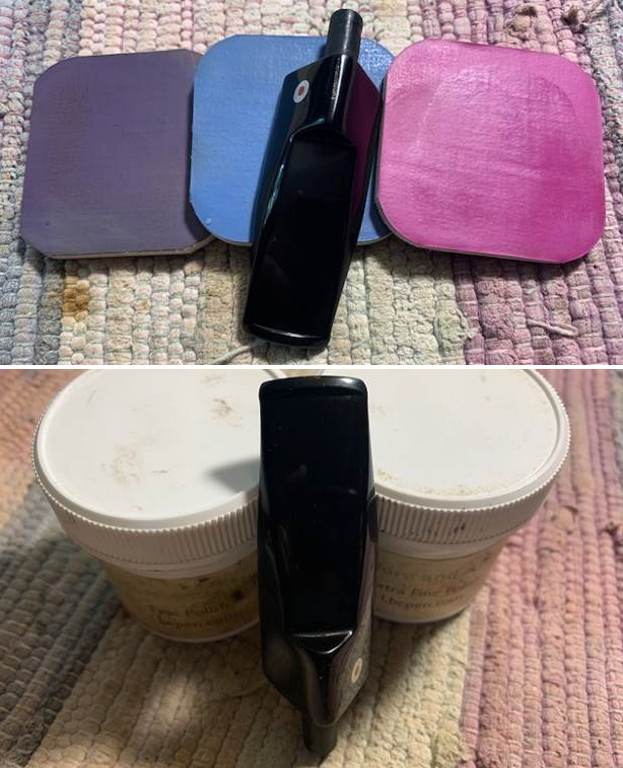
 I made a few minor adjustments to the tenon so the fit was better and then polished the saddle portion of the stem with micromesh sanding pads. I dry sanded it with 1500-12000 grit pads and wiped it down after each pad with an Obsidian Oil impregnated cloth. I gave it a deeper polish with Before & After stem polish – both Fine and Extra Fine. I gave it a final wipe down with Obsidian Oil and set it aside to dry.
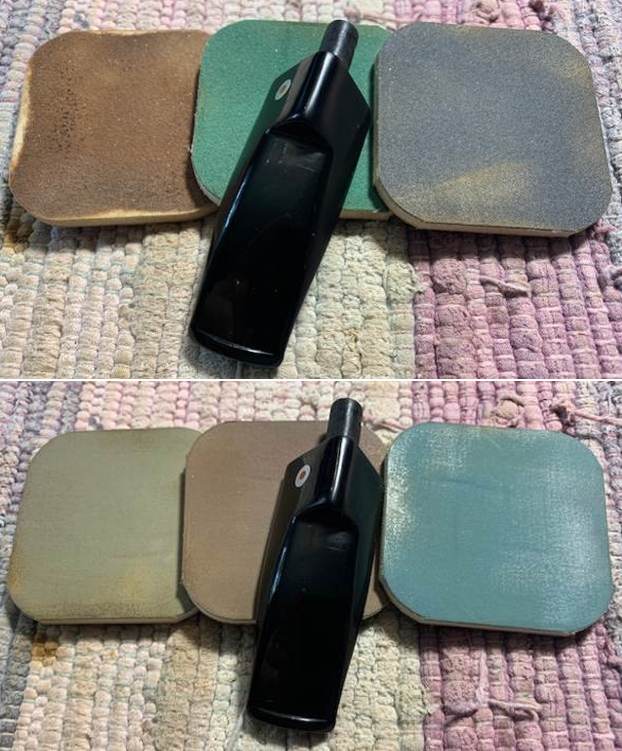
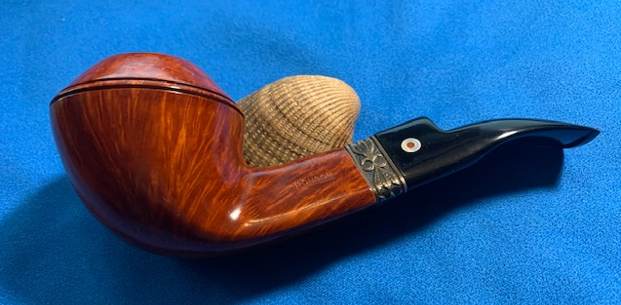
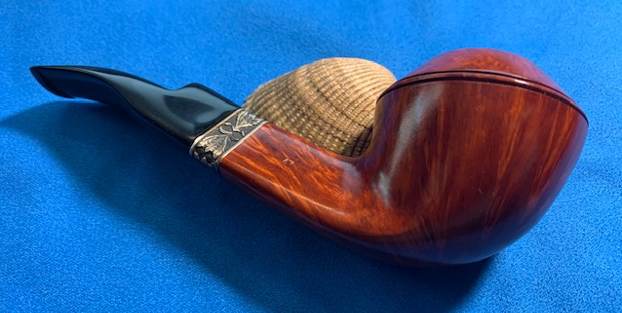
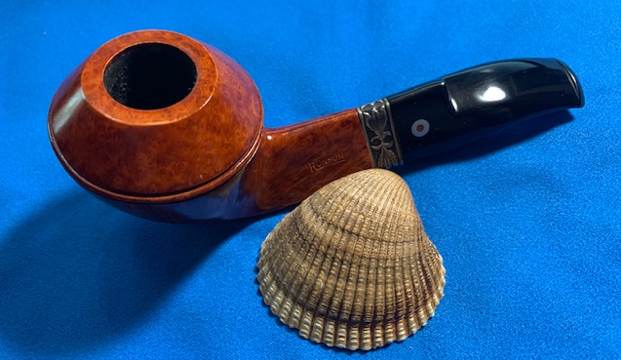
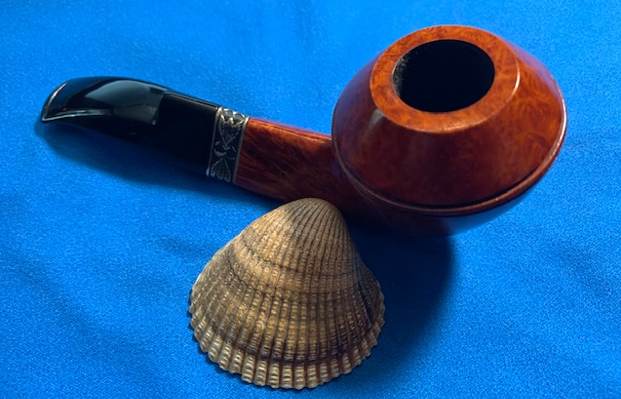
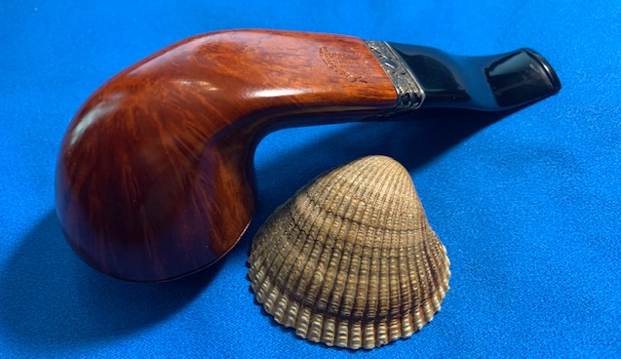
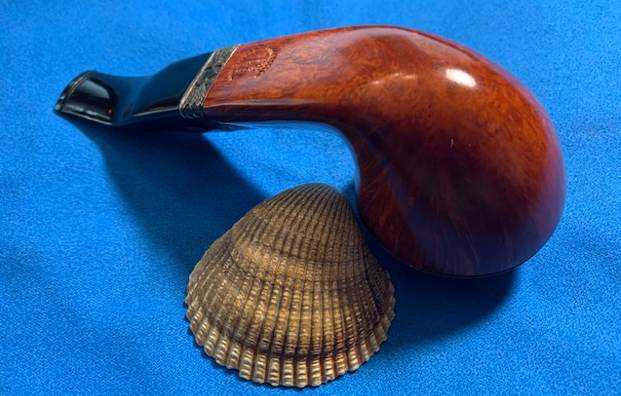
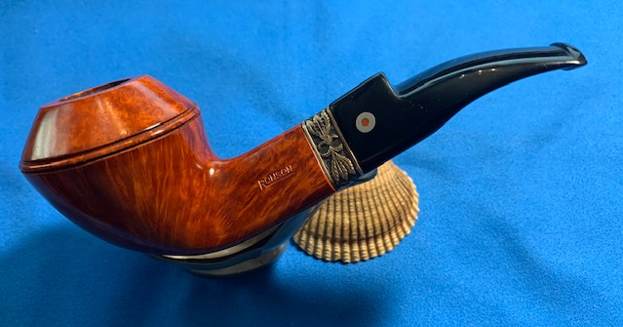
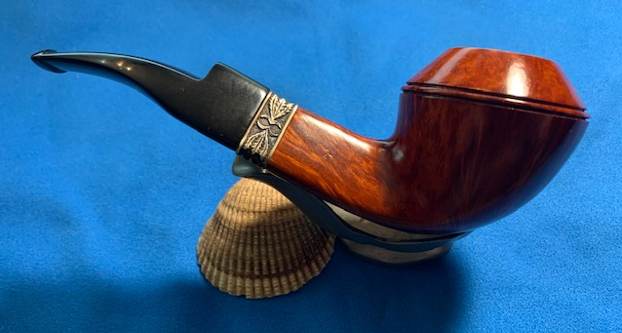
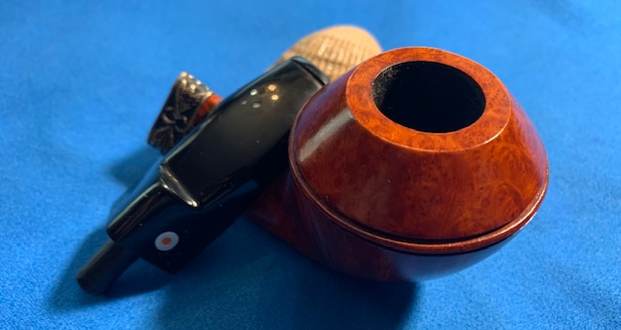
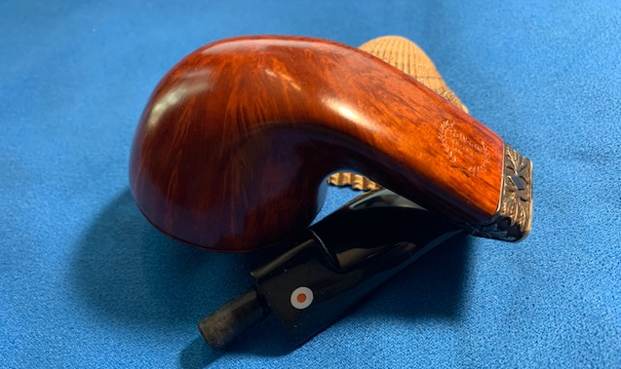
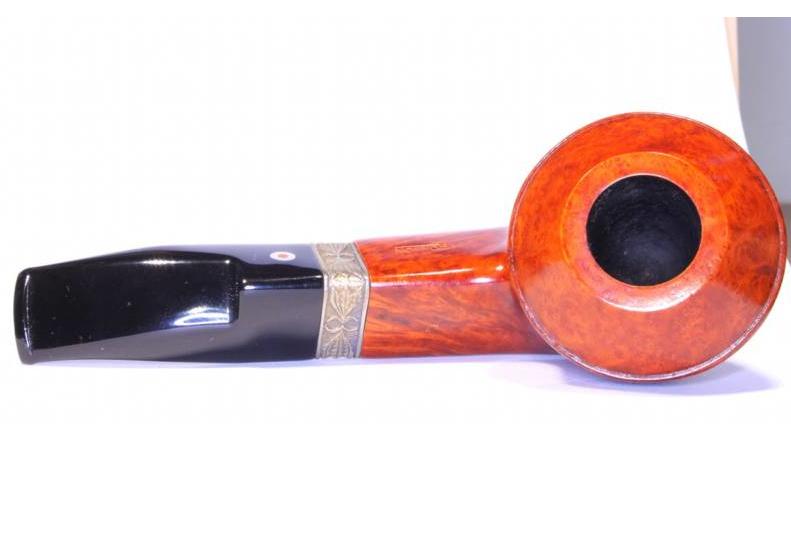
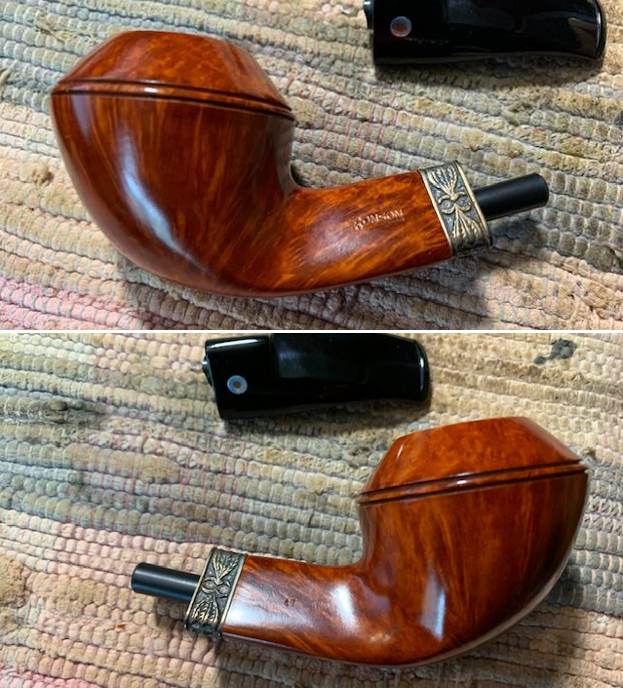
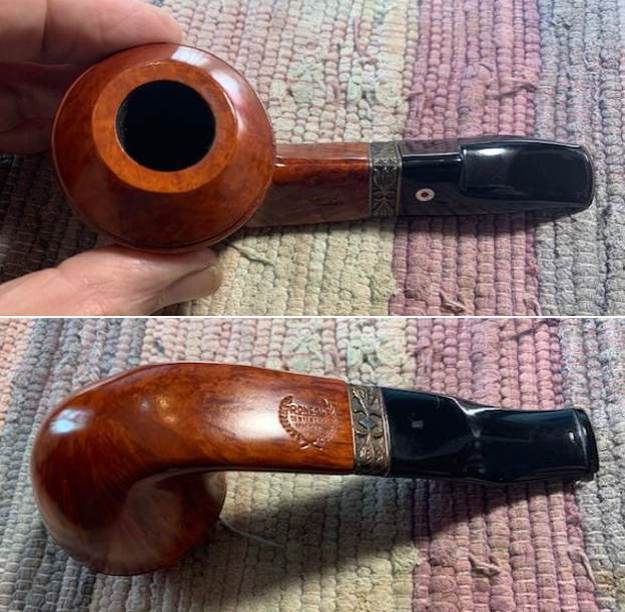
 I was finished with the repair and put the pipe back together. It actually looked very good and the repair was a perfect fit against the shank. I was pleased with the fit. I buffed the stem with a microfiber cloth to give it a rich shine. I buffed the bowl the same way and took photos of the finished pipe that I have included below. The tenon repair went very well and the pipe is back to being fully functional. Thanks for walking through the tenon replacement with me.