Tag Archives: rhodesian

Grail List Addition – Dunhill Root Briar Rhodesian


By Al Jones

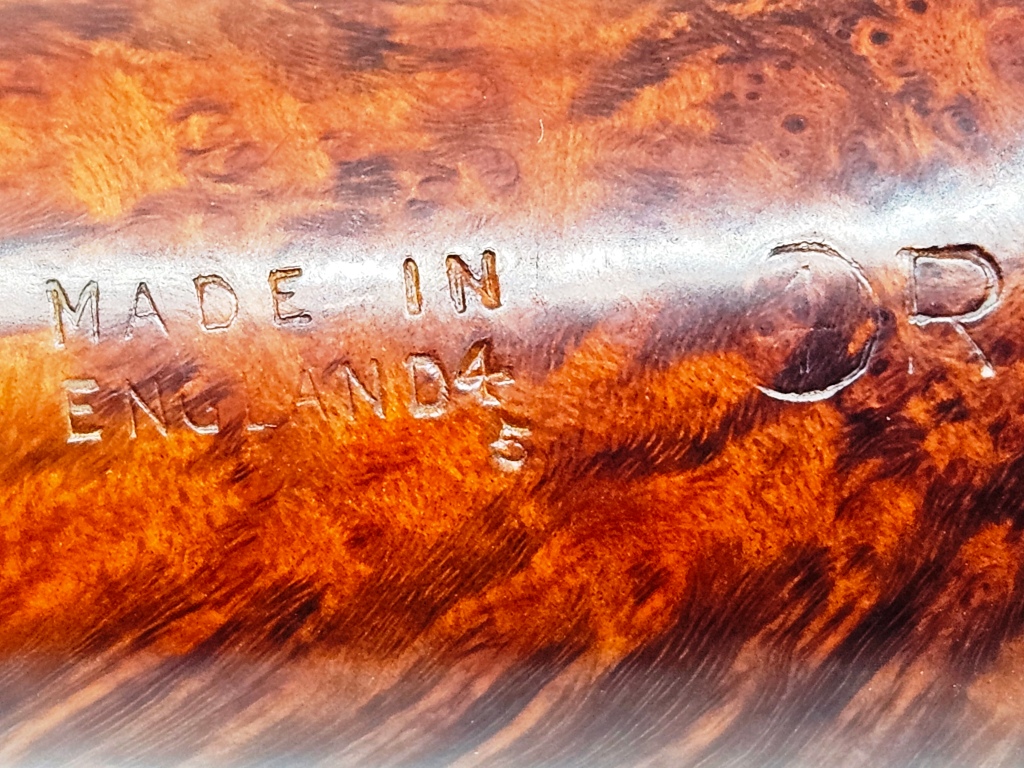
In 2010, I started smoking a pipe and by 2011, I knew my passion was with the classic British shapes and makers. I started a “Holy Grail” list of pipe makes and shapes I wanted to own. Around 2018, I completed the list, with one exception. In 2014 a pipe reseller listed a Dunhill 747, a saddle stemmed Rhodesian. Similar in shape to the GBD 9438, one of my all time favorite Rhodesians. It was way out of my price range comfort zone and it was quickly sold. I added the shape to my Holy Grail list. Jesse Silver, on the PipesMagazine forum always wisely advises folks who missed a bid on an exorbitantly priced pipe – and said another one will come along. I waited patiently, but by 2020, I still had not seen another example and I just removed it from my otherwise completed list. Then, last week, another one showed up on eBay, this one a Root Briar with what appeared to be a 1964 date stamp. The new to eBay sellers pictures were not great. A picture with the shape number was not shown at all. I requested additional pictures and the seller quickly complied and satisfied my answers. I waited until the final seconds to bid, with a bid only slightly over the starting bid. I was surprised to find I was the lone bidder.

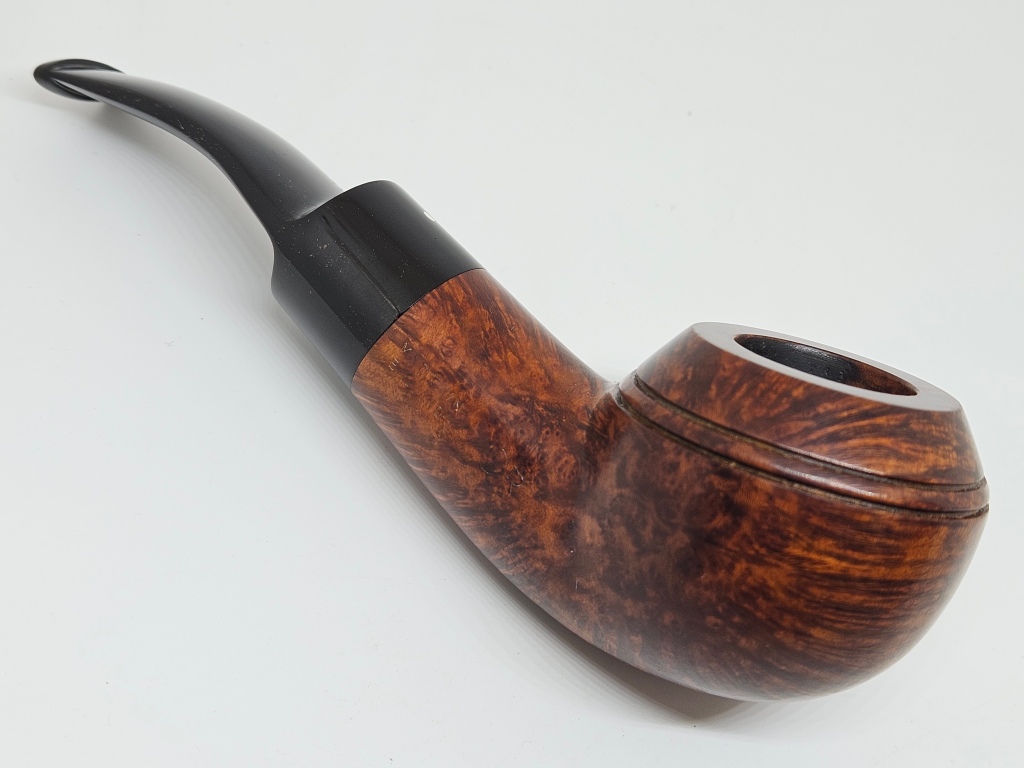
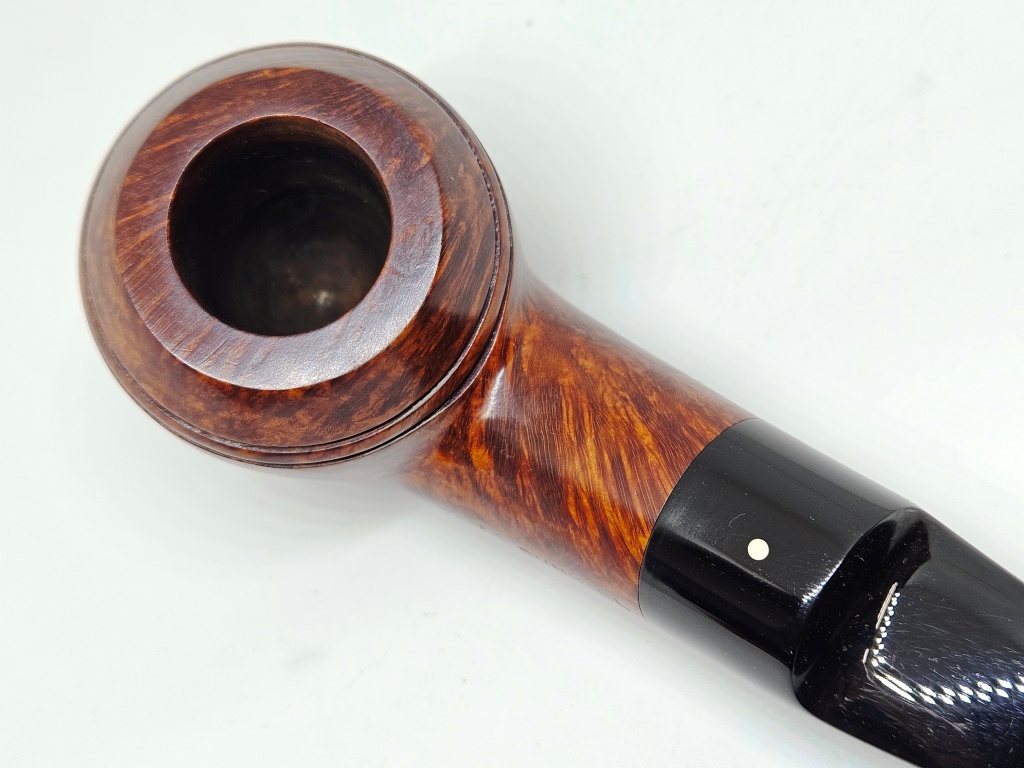
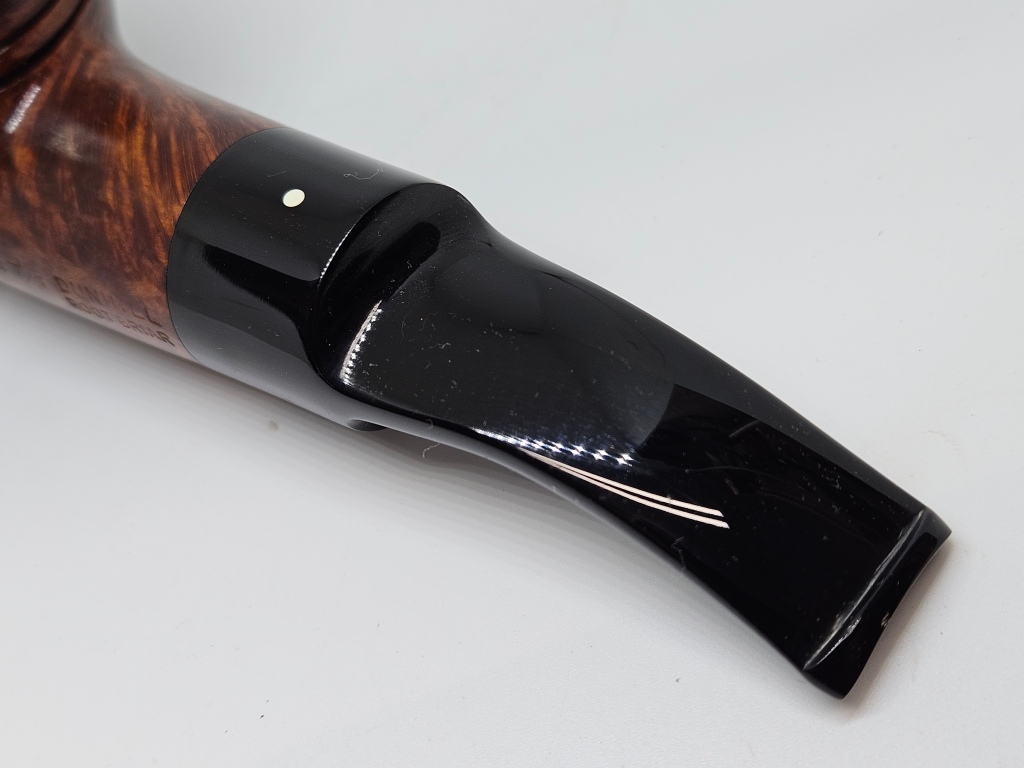
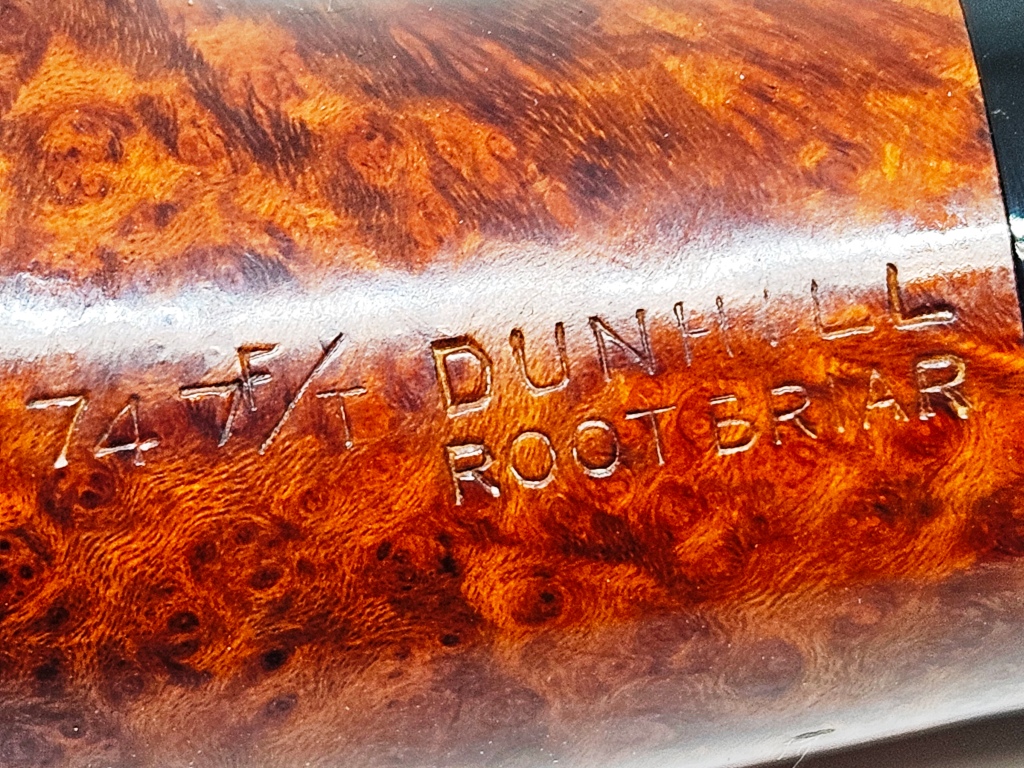
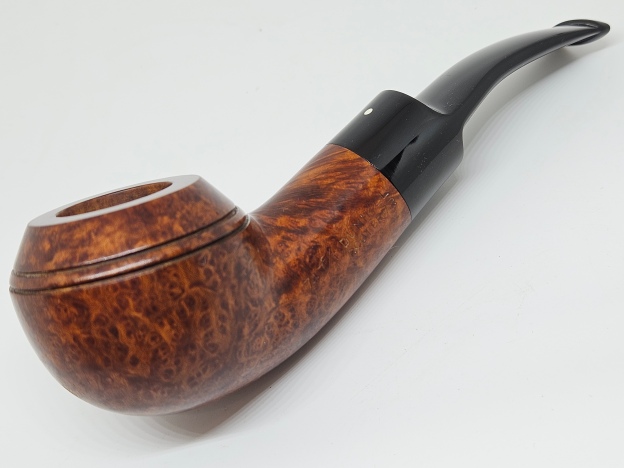
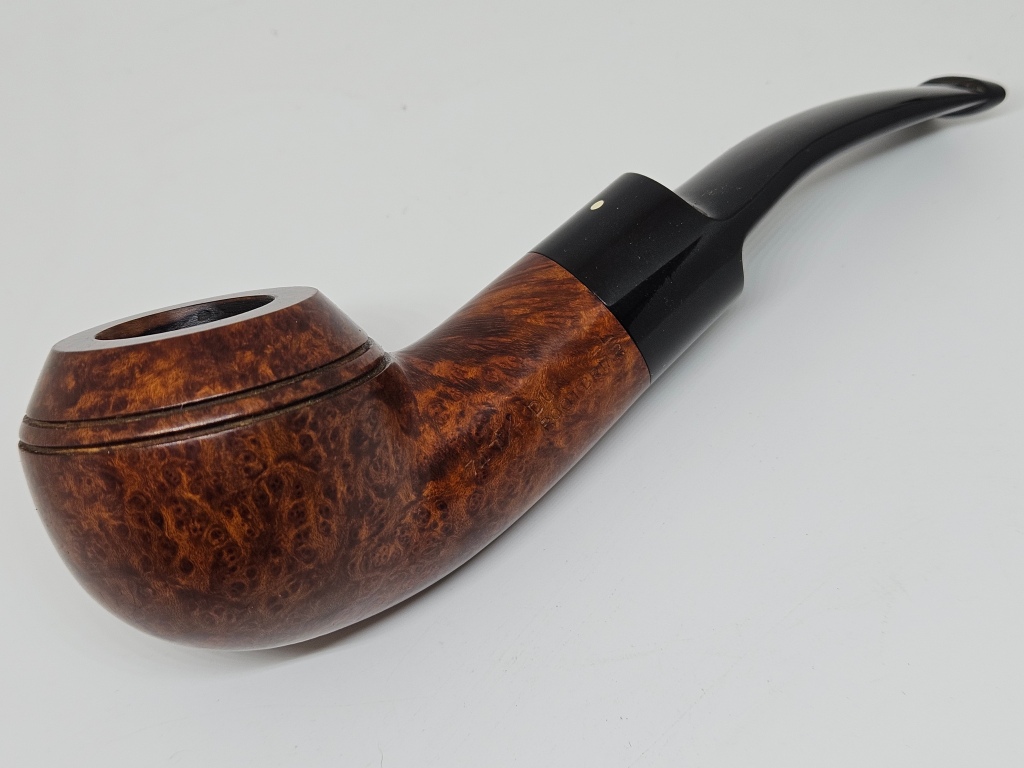
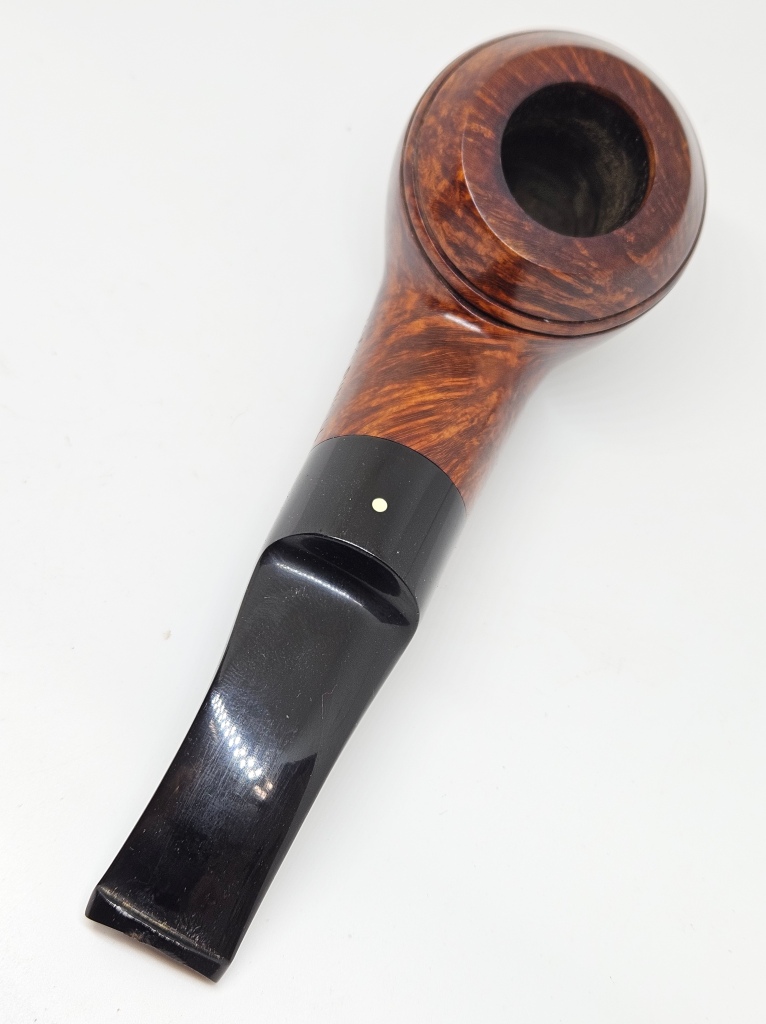
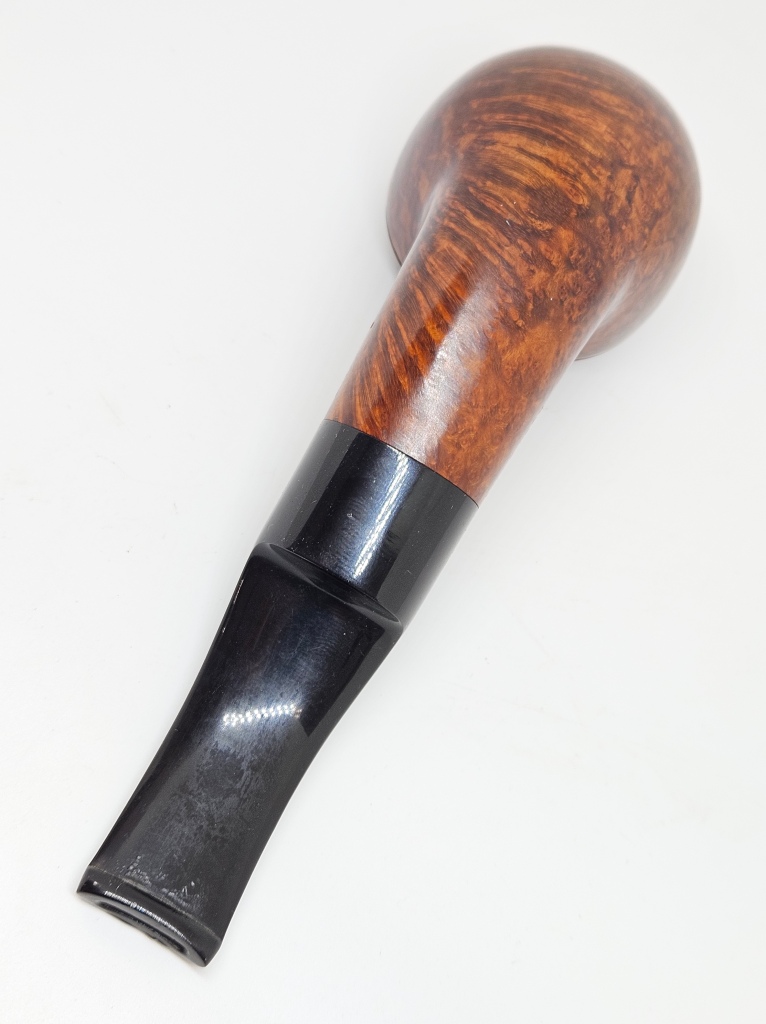
The pipe was delivered quickly and it was in very good condition. There were some minor teeth indentions and one nip out of the beautifully shaped Dunhill button. The bowl was in great shape with only some mild cake residue. The nomenclature was strong. The stem was slightly loose, but I knew smoking it would fix that issue. Dunhill Root Briar grain is never spectacular, but I feel this one was better than average for that grade. Below is the pipe as it was received, which included a nifty shaped and zippered velour pouch. The pipe is only slightly larger than the GBD 9438 and at 61 grams, weighs a few grams more.

The cake was so mild, I only used a piece of 320 paper to remove the minor residue. I cleaned the shank with a bristle brush dipped in alcohol, but didn’t feel the need to soak this one with my normal practice of alcohol and sea salt.

A flame from a lighter nicely lifted the teeth indentions. I used wet sandpaper to remove the light oxidation, moving from 800 to 2000 and then 12,000 grade micromesh. The stem was then buffed with White Diamond and Meguiars Plastic Polish.

I polished bowl carefully with White Diamond rouge and then several coats of Carnuba wax.

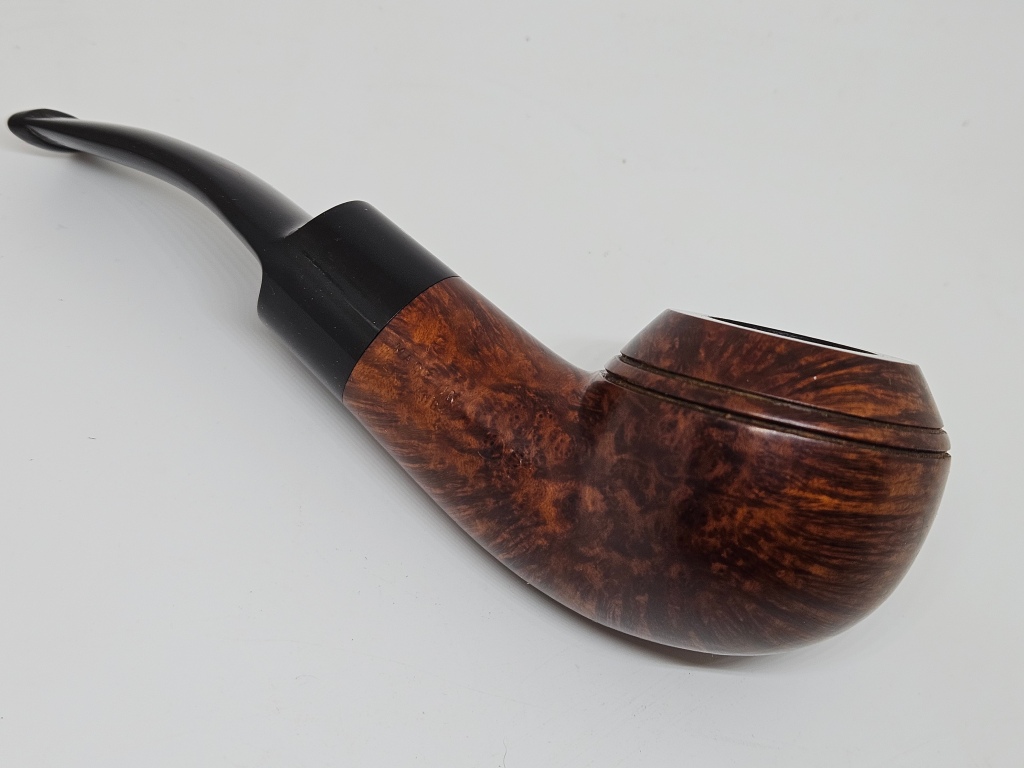
Below is the finished pipe, that I’m smoking while writing this blog entry. The stem did tighten nicely to its original fitment.

Irwin 943810 by GBD – A Makeover.


I have had this older Irwin 943810 made by GBD for some time now. It is described on the GBD Models website http://www.perardua.net/pipes/GBDlines.html as follows: “The warm dual-tone brown finish deepens with repeated smoking. Finest rum is used in the special process of maturing these fine pipes. Its smooth flavour compliments the natural taste fine tobacco. Catalogue (1976)” With that description my old pipe looked pretty faded and worn.  The warm dual-tone brown finish was pretty much washed out and no longer “warm”. The dark undercoat on the pipe was clearly visible, highlighting the grain but it seemed that previous owners had buffed the pipe hard and the top stain of brown was gone. The bowl was dirty. The stamping is really light and I can just make out the Irwin stamp and the numbers on the side. The stem had some tooth damage in terms of scratching and tooth chatter but at least there were no deep dents. The edge of the button on the top had some minor denting to it. Tonight I decided it was time to give it a makeover.

As an aside, I have never seen the 6 digit stamping on the GBD lines so this one was interesting to me. I have sent out several emails to search out the stamping details but so far no luck. Anyone have any clue as to the meaning of the stamping? Thanks.

I started the makeover by wiping down the bowl with acetone and cleaning off the remnants of the stain and the finish that was pretty well gone. I also wanted to see if wetting the stamping would make it a bit more visible to my eye. It did and afterwards I was able to read the stamping. You can see the scratches and marks on the stem in the last two photos below. Right next to the button and on top of it there are some white spots that show the marks and scratches.

I decided to work on the stem with a medium grit sanding pad to remove the tooth marks and scratches. It also brought up the oxidation that was present but not visible in the photos above. Once I had the rough sanding done I stained the pipe with some oxblood stain. I daubed it on with the cotton/wool dauber that comes with the stain and then flamed it to dry it. In the photos below you can see the stain just after I applied it. I put it on good and heavy as I was wanting a rich coat to this old timer.

I hand buffed the bowl with a soft cotton cloth to remove the excess stain and to give it a quick polish. I decided not to use my buffer as I did not want to further damage the stamping that is already faint on this one. My goal was to enhance the pipe and try to raise the stamping a bit to make it more legible. I was able to do it enough to read it but it is still very faint. The hand buffing takes more work but I find that it does not harm the stamping at all.

The next series of four photos show both the new stain and the work that I was doing on the stem. You can see in the first and the third photos how the whole stem looked at this point in the process. The major scratches have been removed but there are still small scratches and oxidation that needed to be dealt with. In the second and the fourth photos you can see close up shots of the stem and button area. I continued to sand the stem at this point moving on to a fine grit sanding block to remove more of the scratches and the marks in the stem and the button.

I sanded the stem with micromesh pads from 1500 to 12,000 grit and the stem began to take on a shine. I gave it a coating of Obsidian Oil, rubbed it in and let it dry. I finished by giving the pipe several coats of carnauba wax.