Blog by Steve Laug
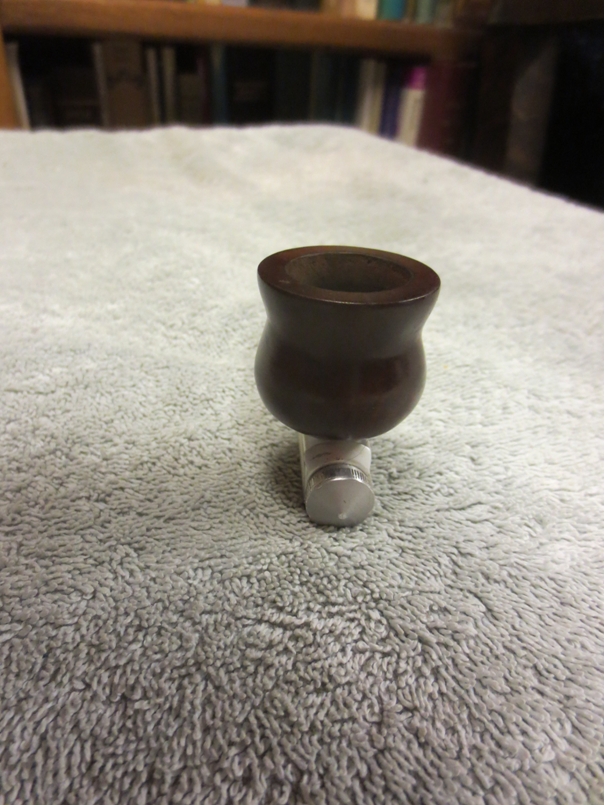
After I finished fitting the old Maplewood bowl for my son-in-law’s Kirsten I took another bowl from my pipe parts box. This was another old bowl with the airway drilled on the bottom of the bowl and having a nipple fitting. This bowl came from part of an old hookah type set up. I had picked it up in the same bag of parts as the maple bowl. It had a rubber fitting that the bowl sat in and a glass pipette that extended from the bottom of the fitting. I removed the bowl from the rubber and then stripped it with acetone on a cotton pad and wiped it down until the finish was gone. I sanded the surface of the bowl with 220 grit sandpaper to remove the remnants of the finish.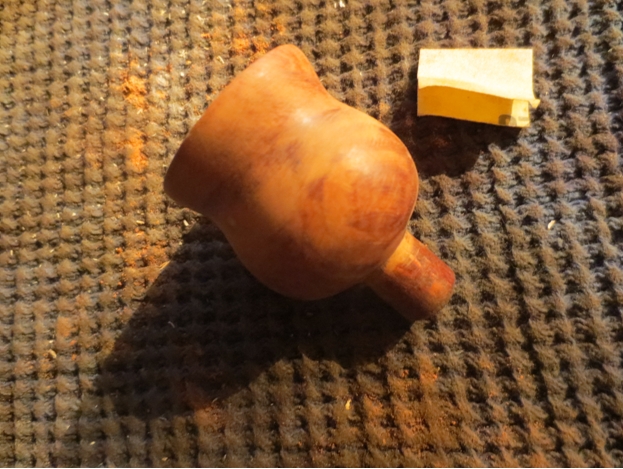 There were also fills in the bowl on two sides. Some of them had shrunken and needed to be refilled. I sanded the surface to clean up around the fills. I filled them with super glue and briar dust and sanded them flush against the surface of the bowl.
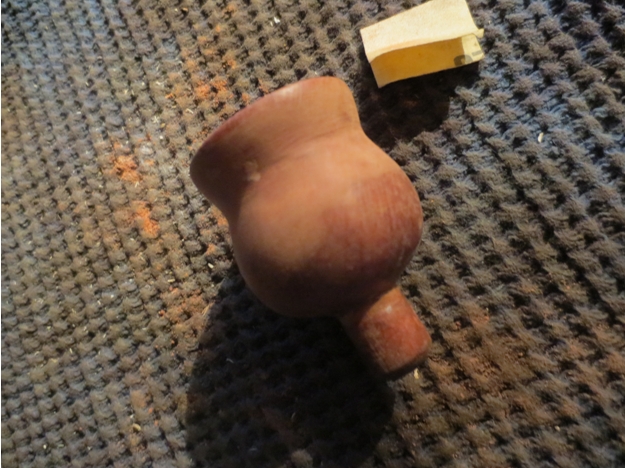
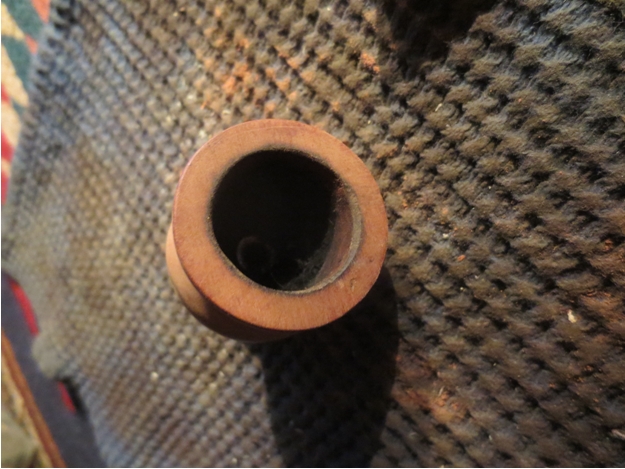
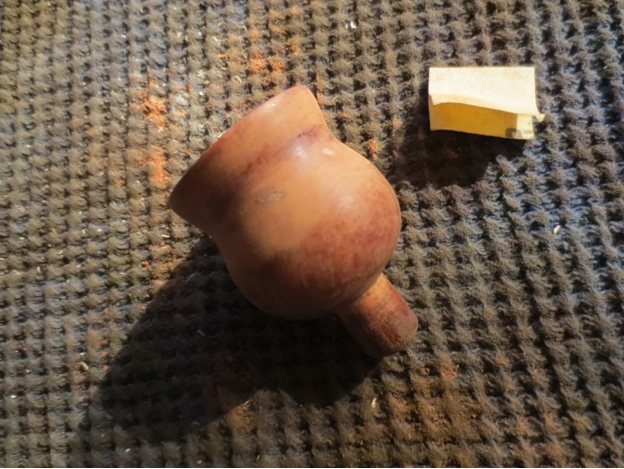 The underside of the bowl also had several fills. The nipple actually was not part of the briar bowl but was made out of maple. It was inserted in the bottom of the bowl. I wiped it clean to show the connections. I also topped the bowl on a topping board with 220 grit sandpaper to smooth out the surface.
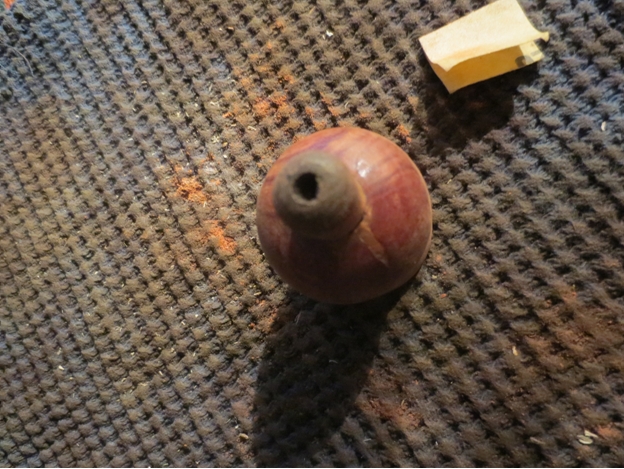
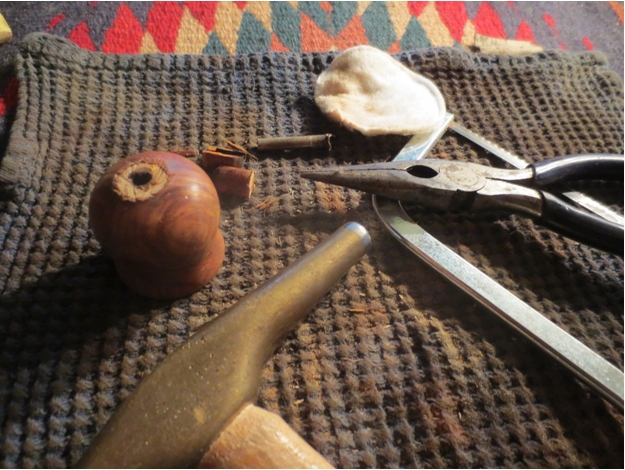
 I used a hacksaw to cut the nipple off the bottom of the bowl. Once I had the wood portion of the nipple cut all the way through it came off the bowl. In the middle was a brass tube that ran the length of the nipple and went into the bottom of the bowl where it was flared against the inside bottom. I used a small hammer to drive the tube into the bowl.
 When I had removed the tube I sanded the bottom of the bowl to smooth out the surface. Once it was clean I could see that the maple was inset into the bottom of the bowl. It is distinguishable in that it is white in the photos below. On one side of the white maple insert were two flaws in the briar that had originally been filled. One of the fills fell out of the bowl bottom when I drove out the metal tube.
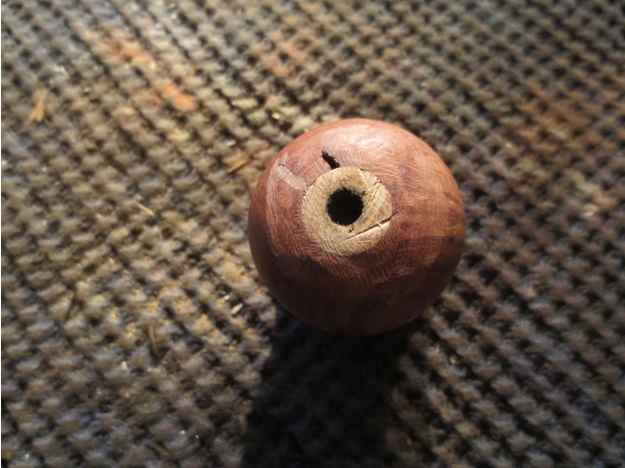 I drilled the airway in the bottom of the bowl larger with a drill bit the same size as the metal bottom cap that is part of the Kirsten bowl system. The cap would sit in the hole and a drilled screw would be inserted into the cap from inside the bowl. When I drilled out the hole the maple insert came out of the bottom. It left an inset area on the bottom that would be removed when I sanded the bottom of the bowl for the cap to sit flush against the bottom.
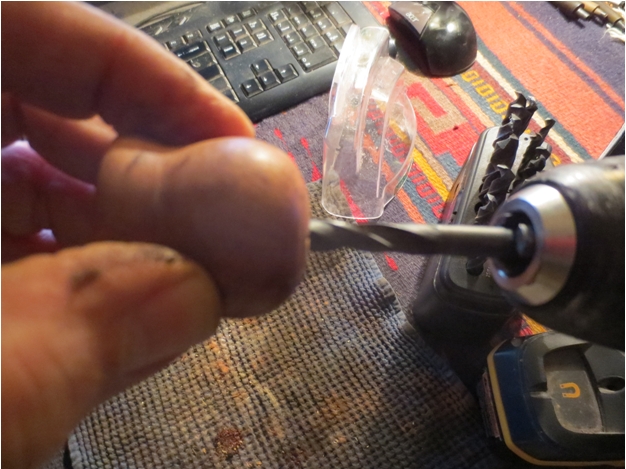 I used super glue and briar dust to repair the two flaws in the bottom of the bowl. I dripped the glue into the holes and then pushed super glue into the flaws with a dental pick.
 I sanded the bottom of the bowl with a Dremel and sanding drum to shape the bottom edges of the bowl to fit on the Kirsten shank. I sanded the bottom edges of the bowl at a sharper angle to give it a more defined shape.
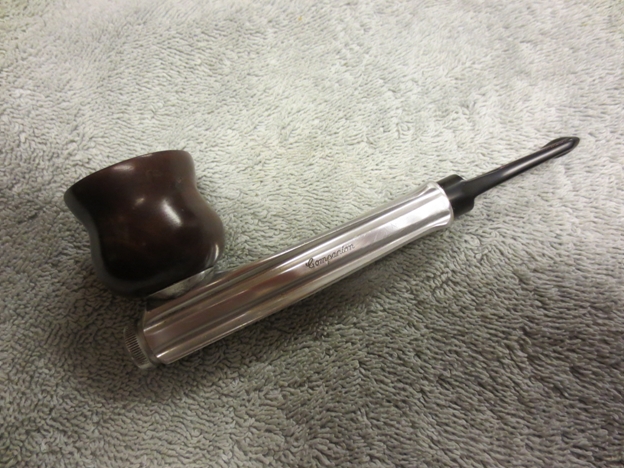
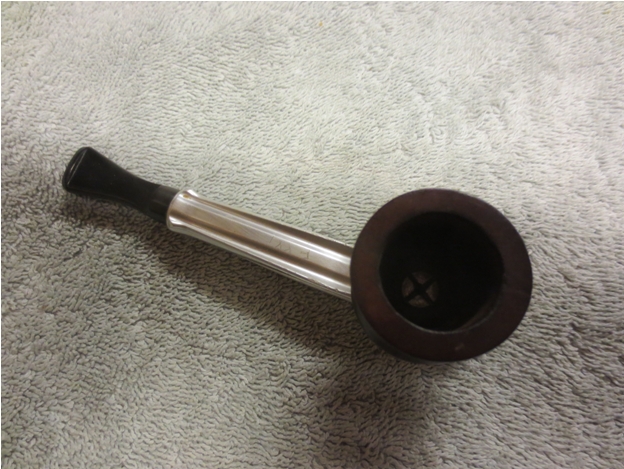
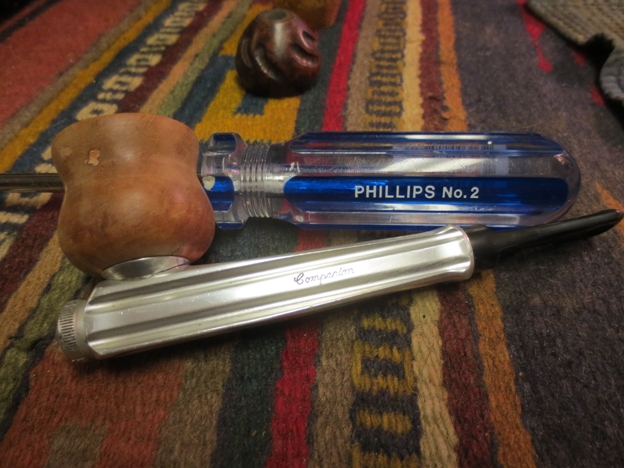
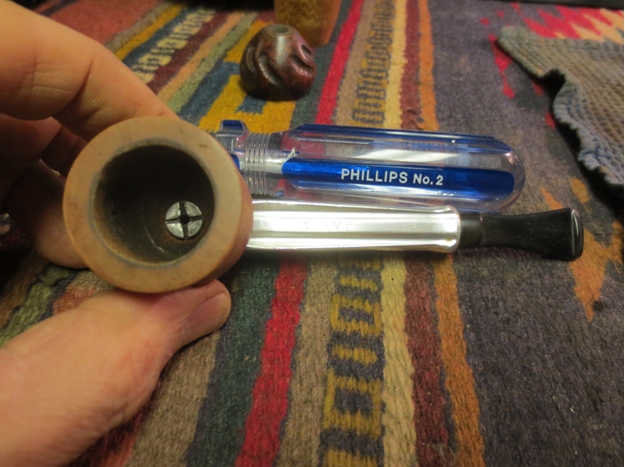
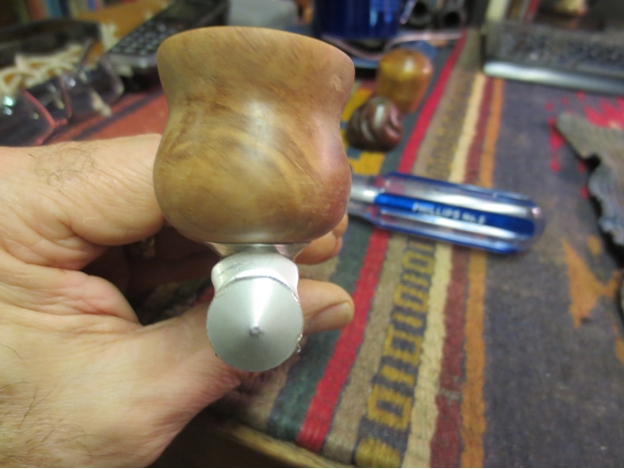
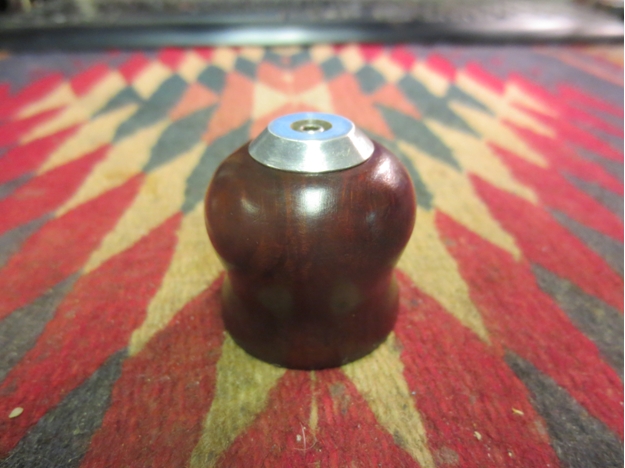
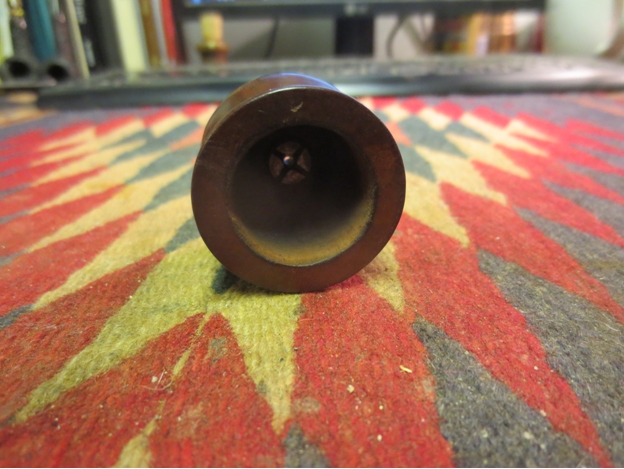
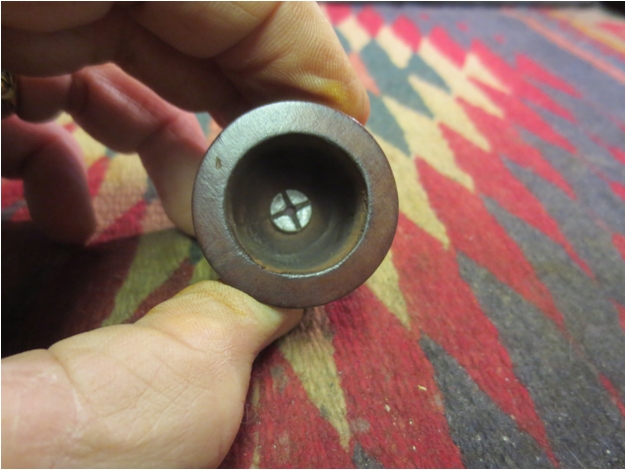
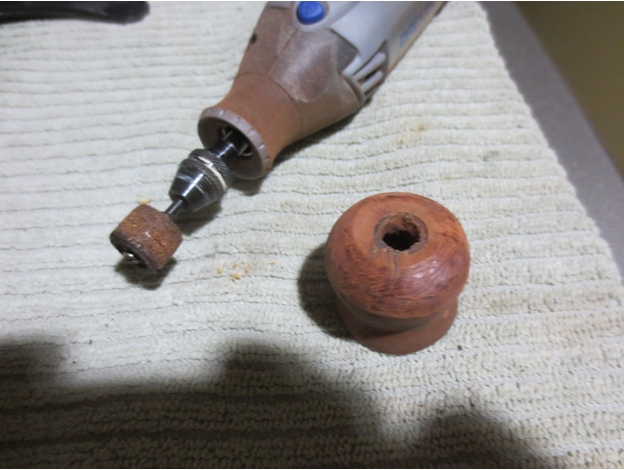 I used the Dremel and sanding drum to deepen the bottom of the bowl and give the internal screw a flat surface to seat against. I also used a PipNet reamer with the largest cutting head to flatten out the bottom of the bowl and smooth out the surface. Once it was smooth I inserted the screw into the bowl bottom and threaded it onto the bottom cap. Once I had the cap inserted and tightened with a Philips screwdriver I screwed it onto the Kirsten shank. The next four photos show the newly shaped cauldron bowl on the Kirsten.
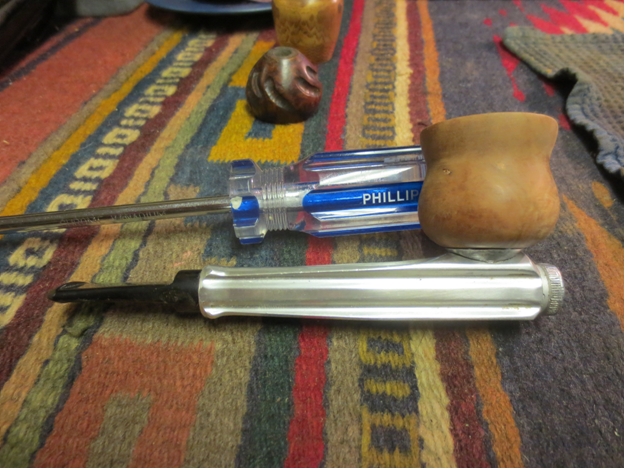
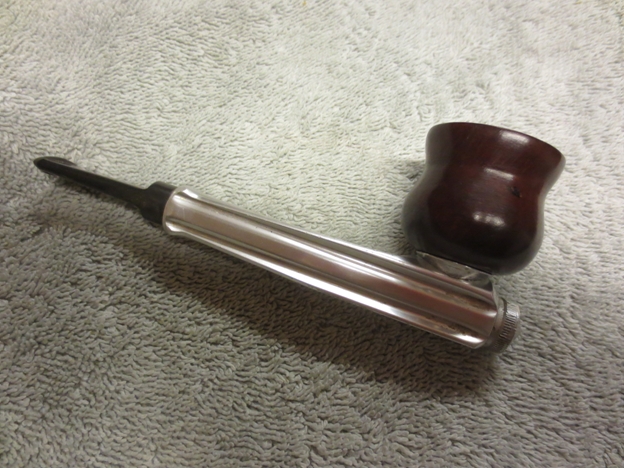
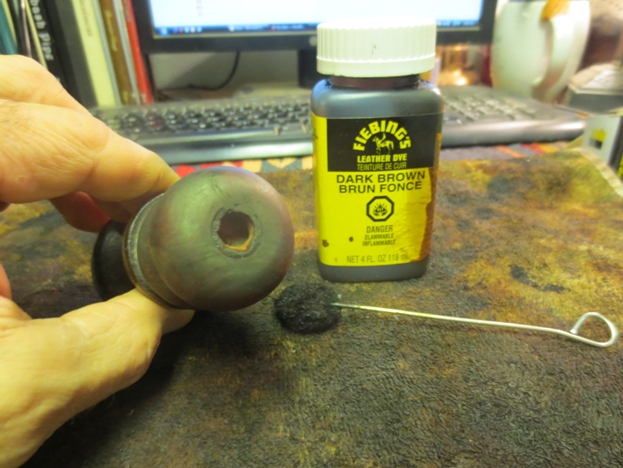
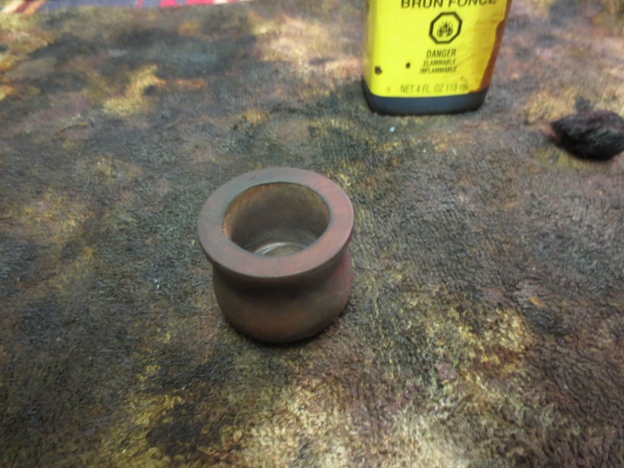
 I took the cap and screw off the bowl and wiped it down a final time before staining it with a dark brown aniline stain. I applied the stain and then flamed it to set it in the briar. I restained and reflamed it until the coverage was even.
 I buffed the bowl with red Tripoli and White Diamond to polish the stain and give it a shine. In doing so the fills were highlighted. I used a permanent marker to cover the fills and then gave the bowl multiple coats of carnauba wax and buffed it with a soft flannel buff. I put the cap and screw in place and tightened it down. The photos below show the finished bowl.
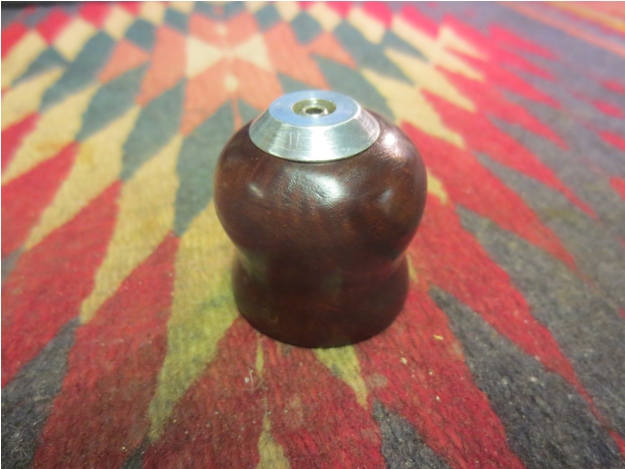
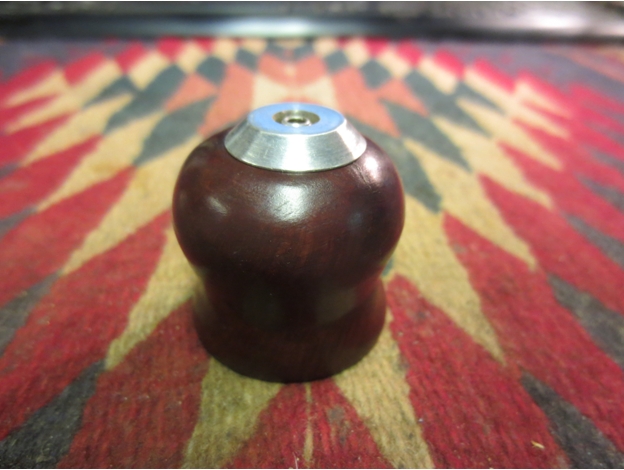
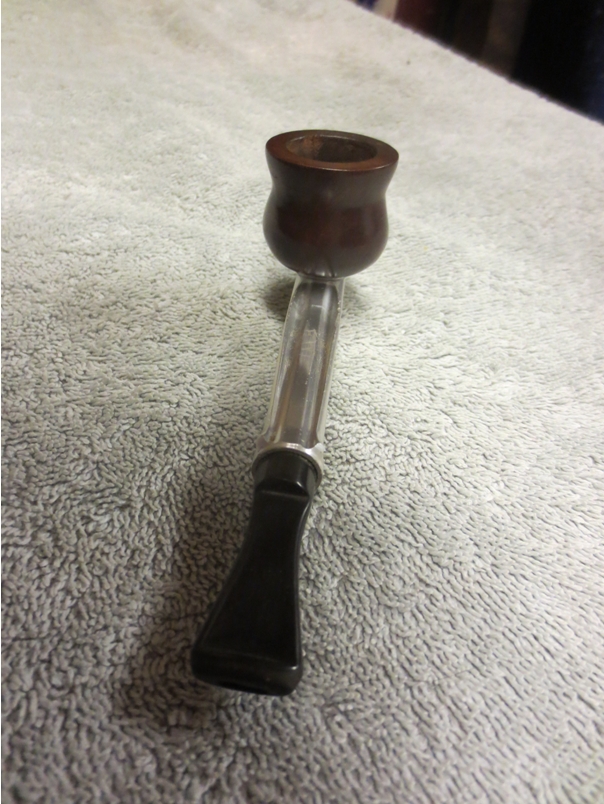
 I buffed the bowl with several new coats of carnauba wax and polished it to a shine with a soft flannel buffing pad. The finished cauldron bowl is shown in place on the pipe below. It looks really good on the Kirsten stem. It provides a second bowl for one of my other Kirsten pipes. I like the overall look of the piece and it is great to have a repurposed bowl to use. I look forward to loading it up and giving it an inaugural smoke.