Tag Archives: refinishing a bowl and rim

An Amphora Extra Saddle Billiard Reborn


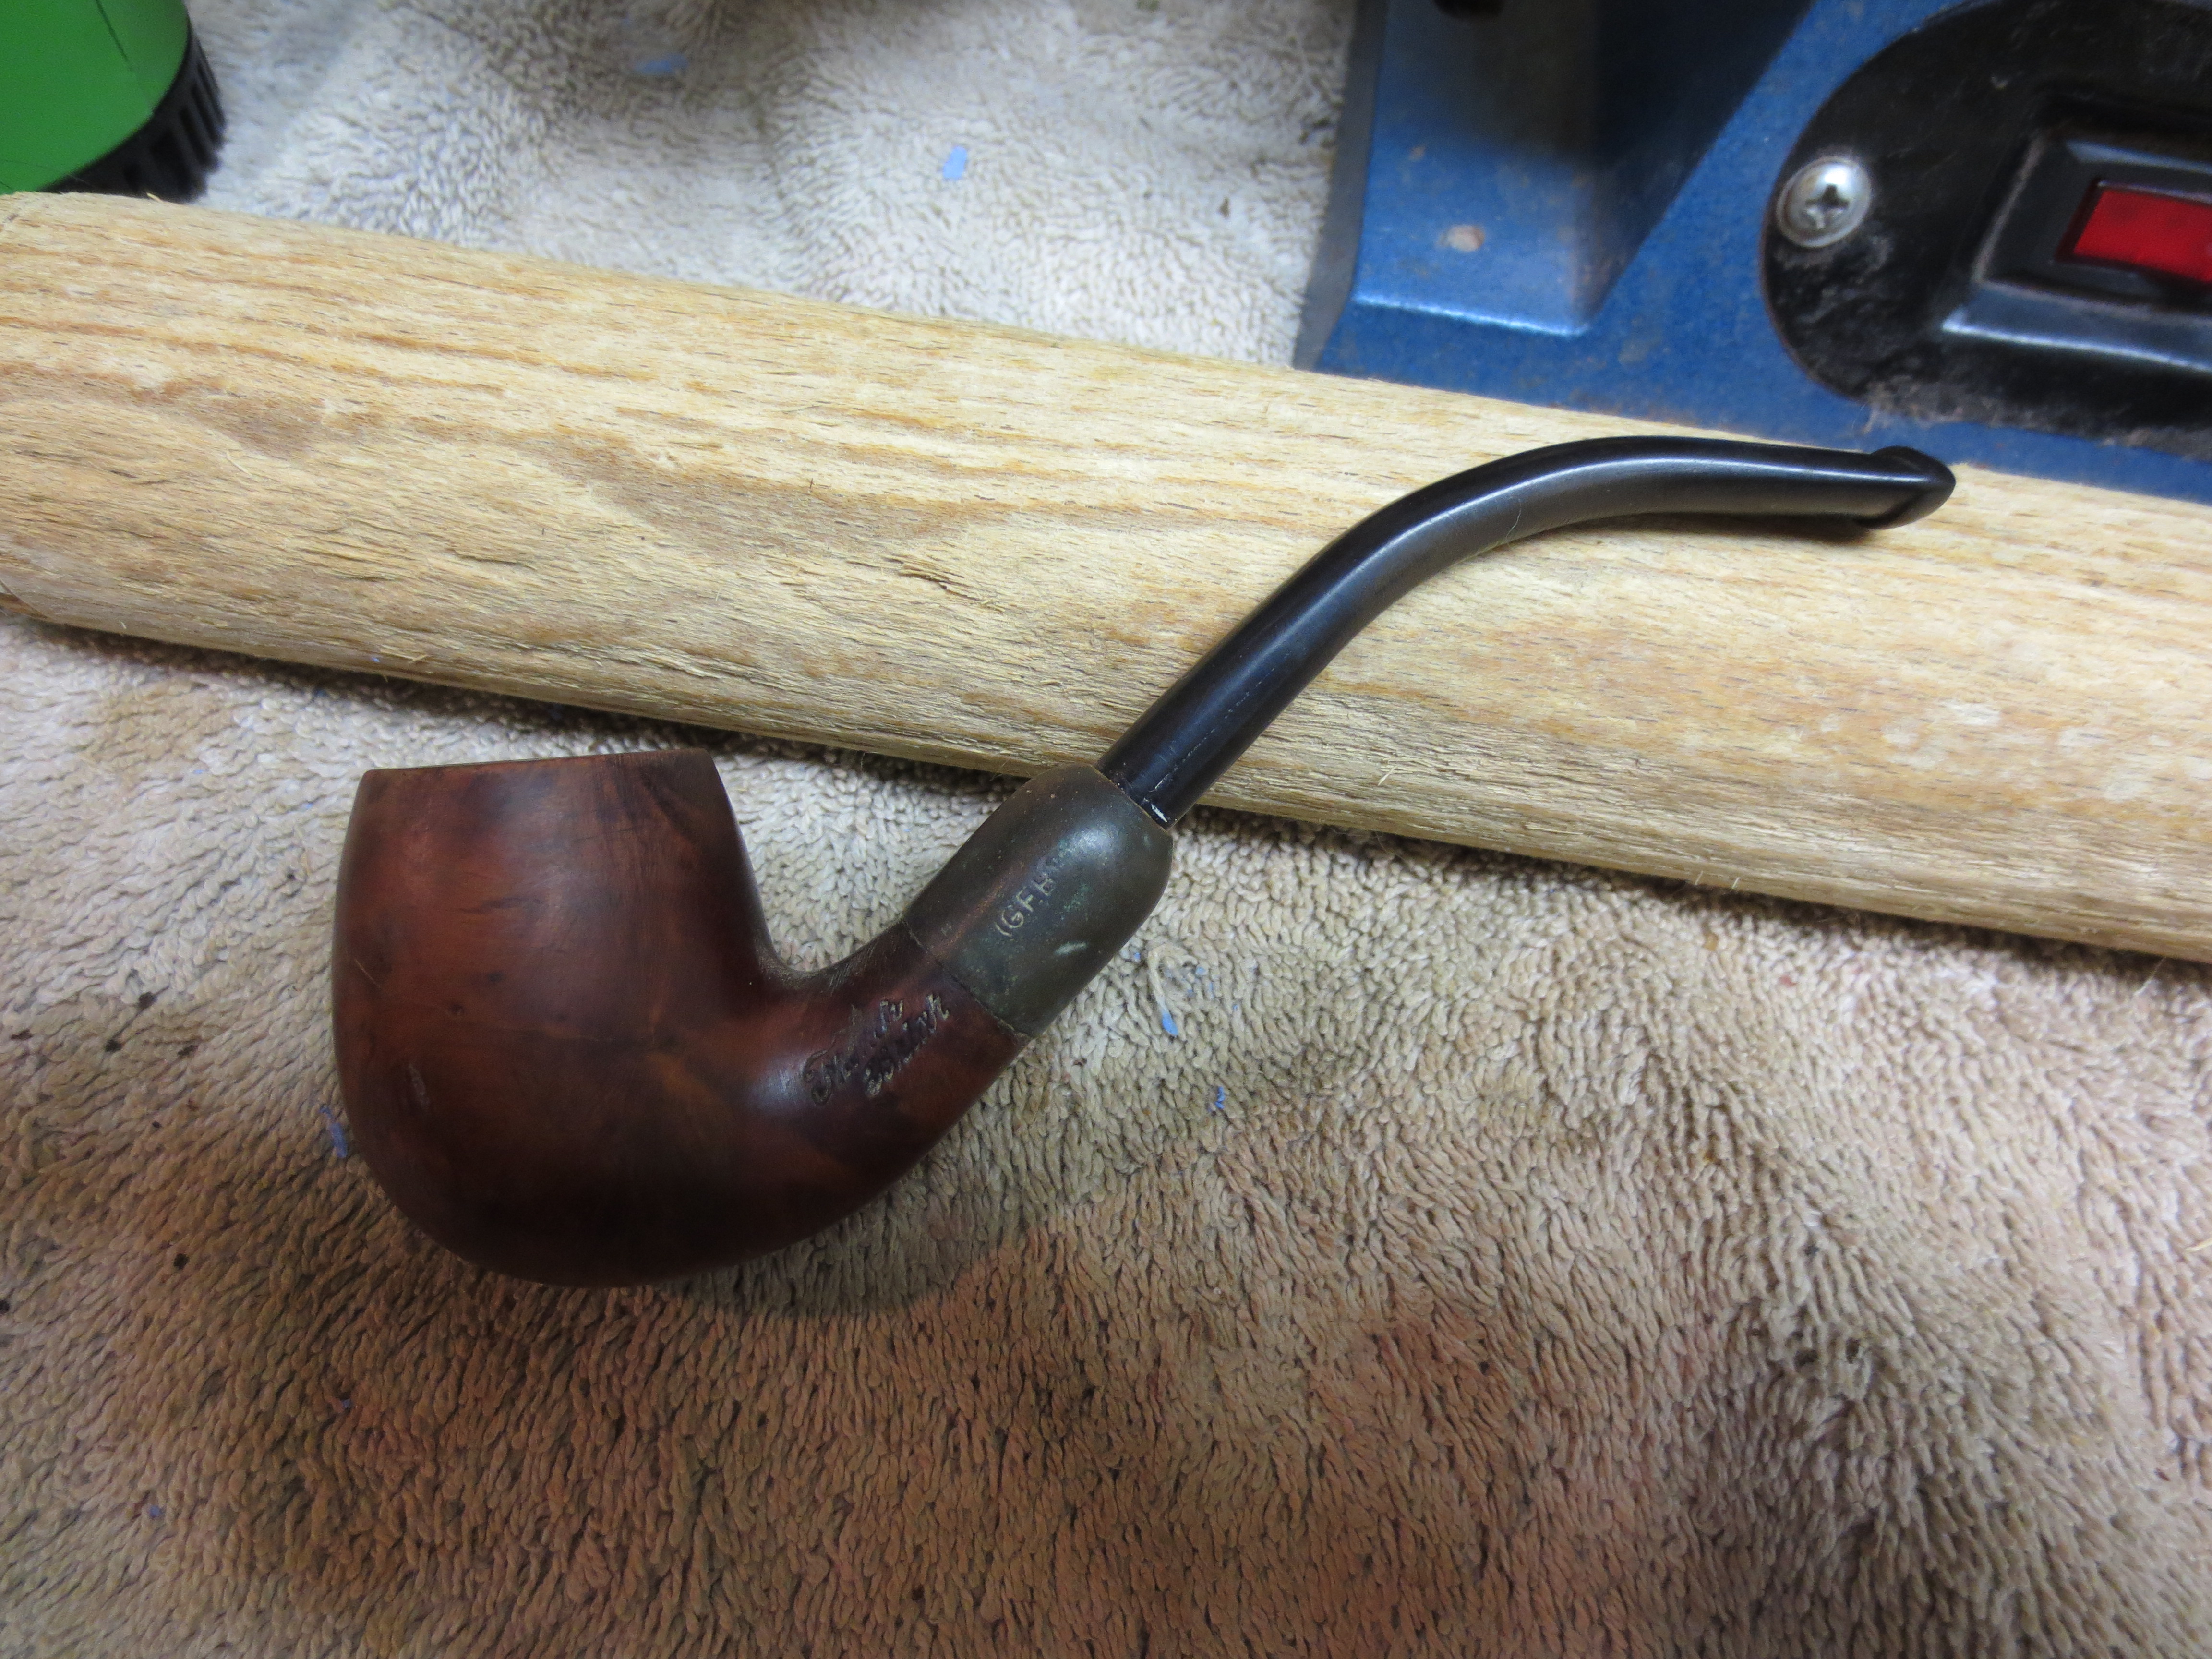
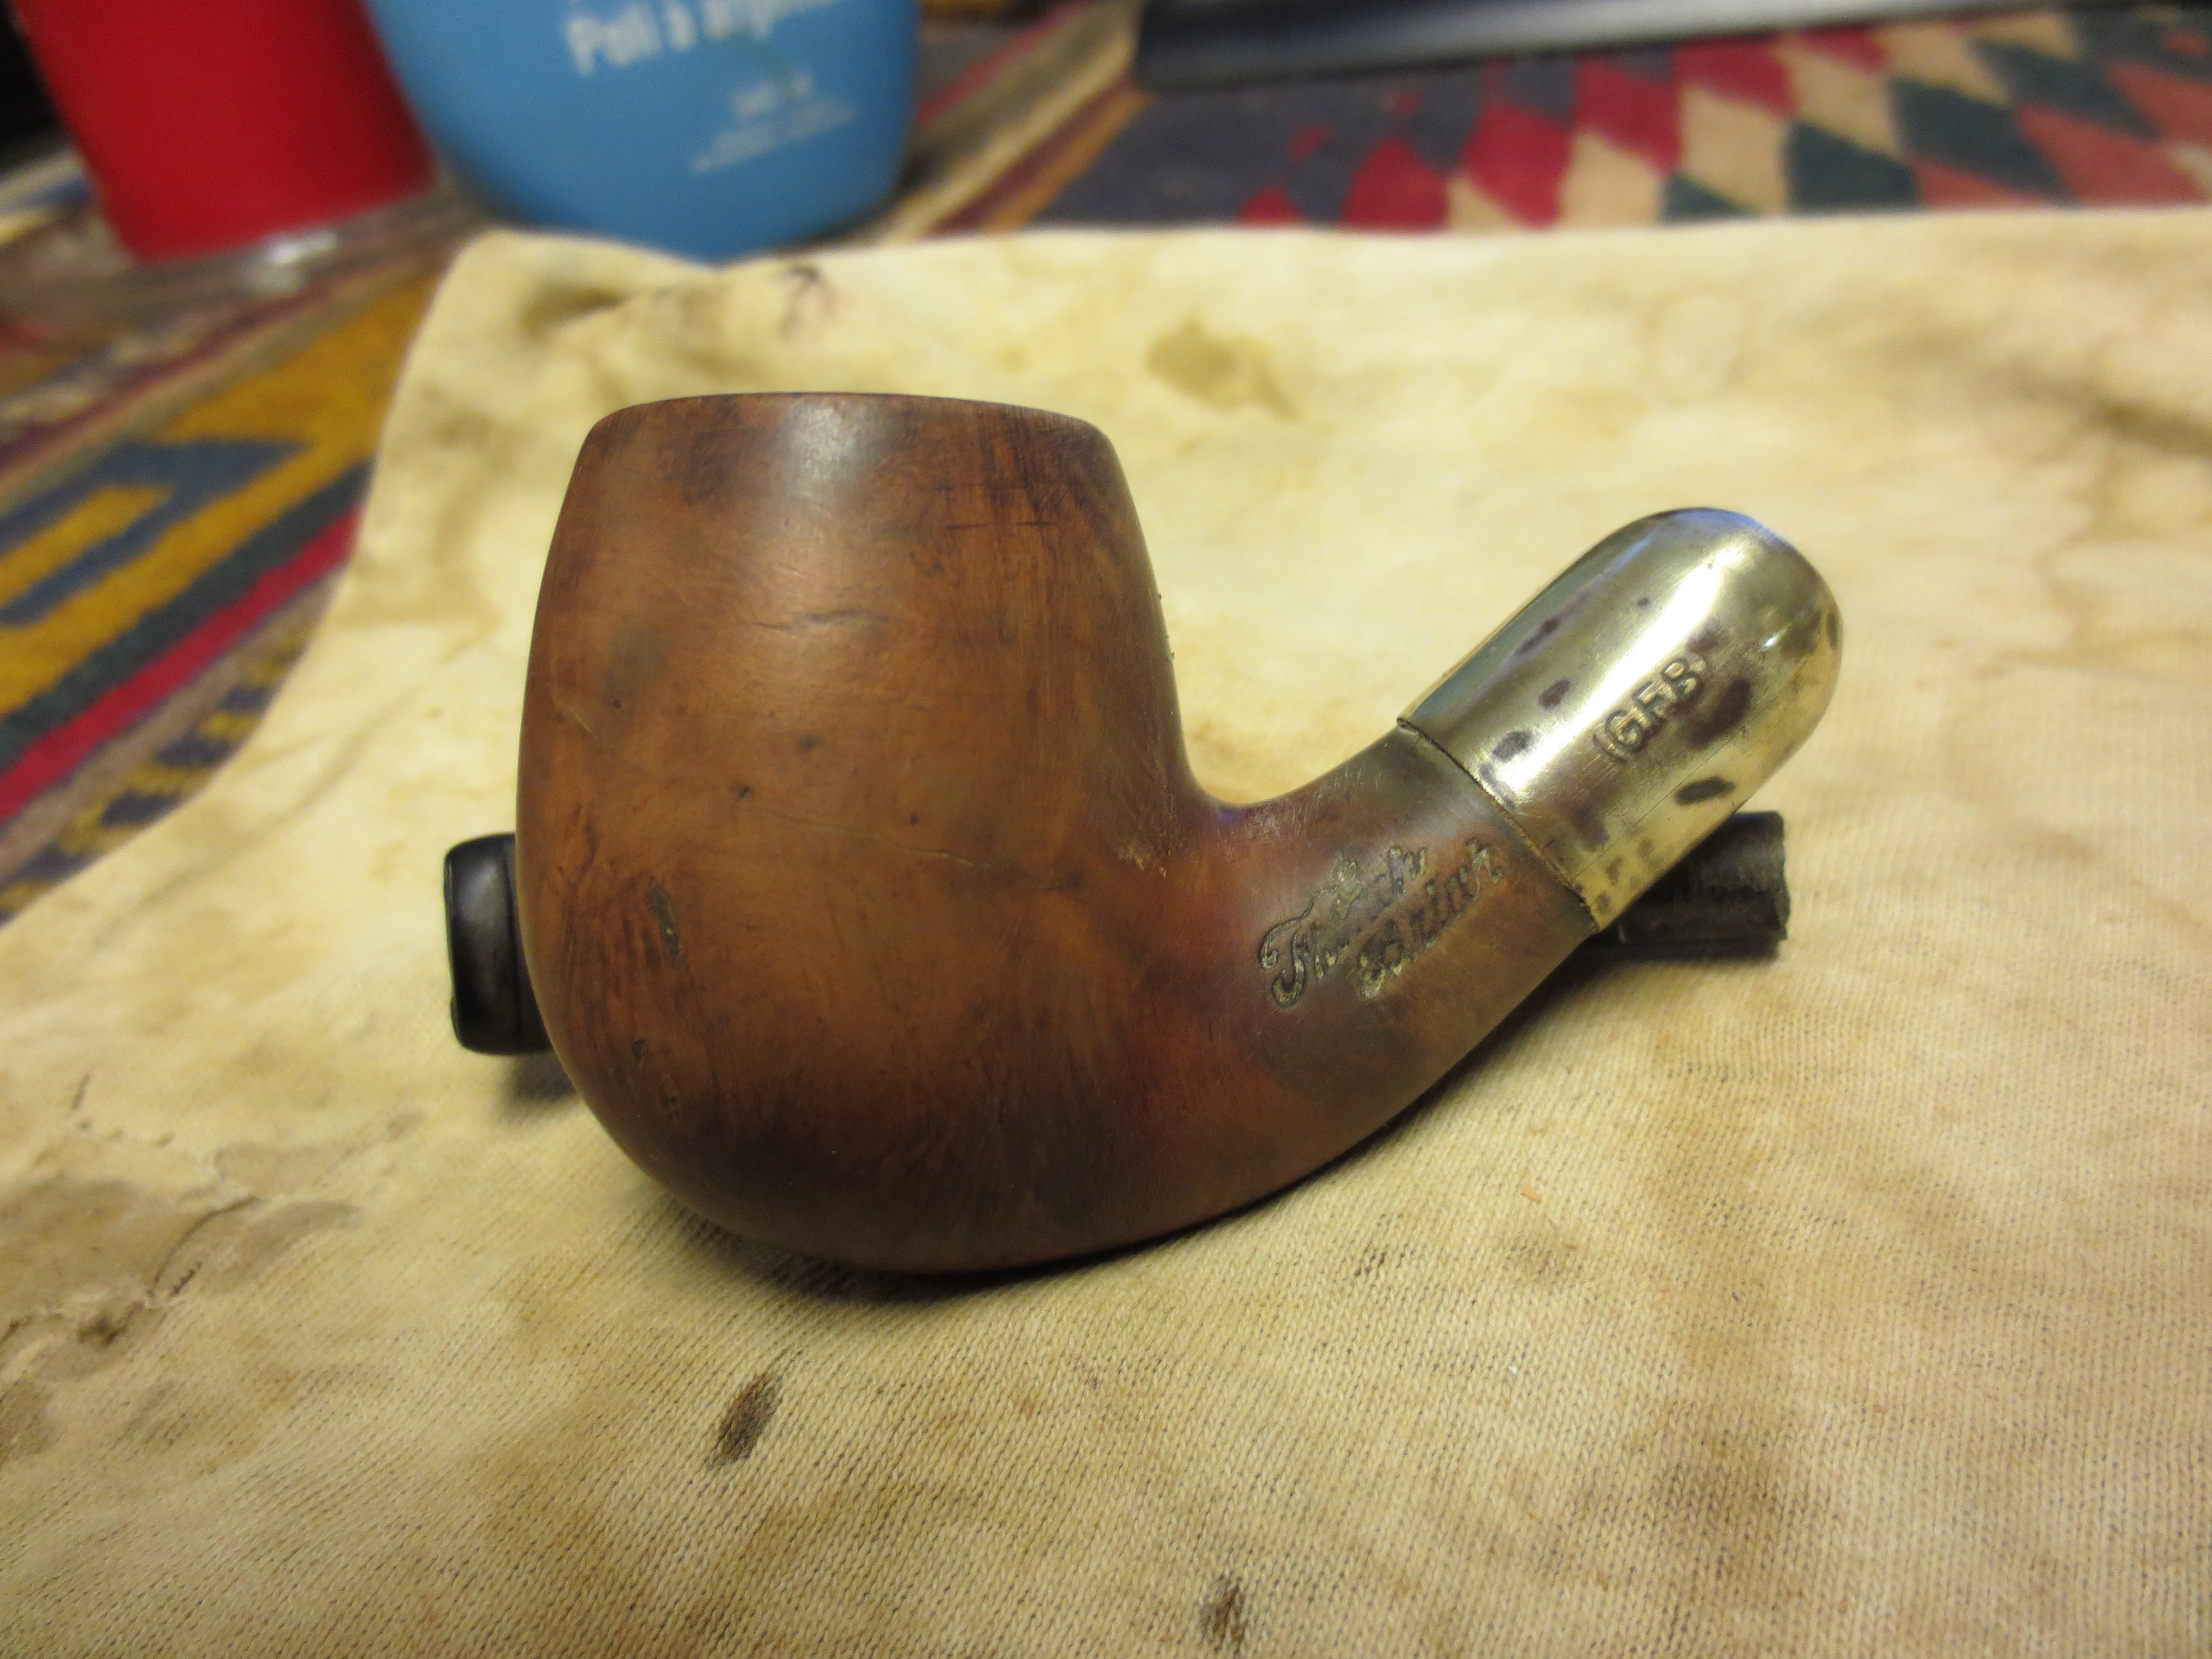
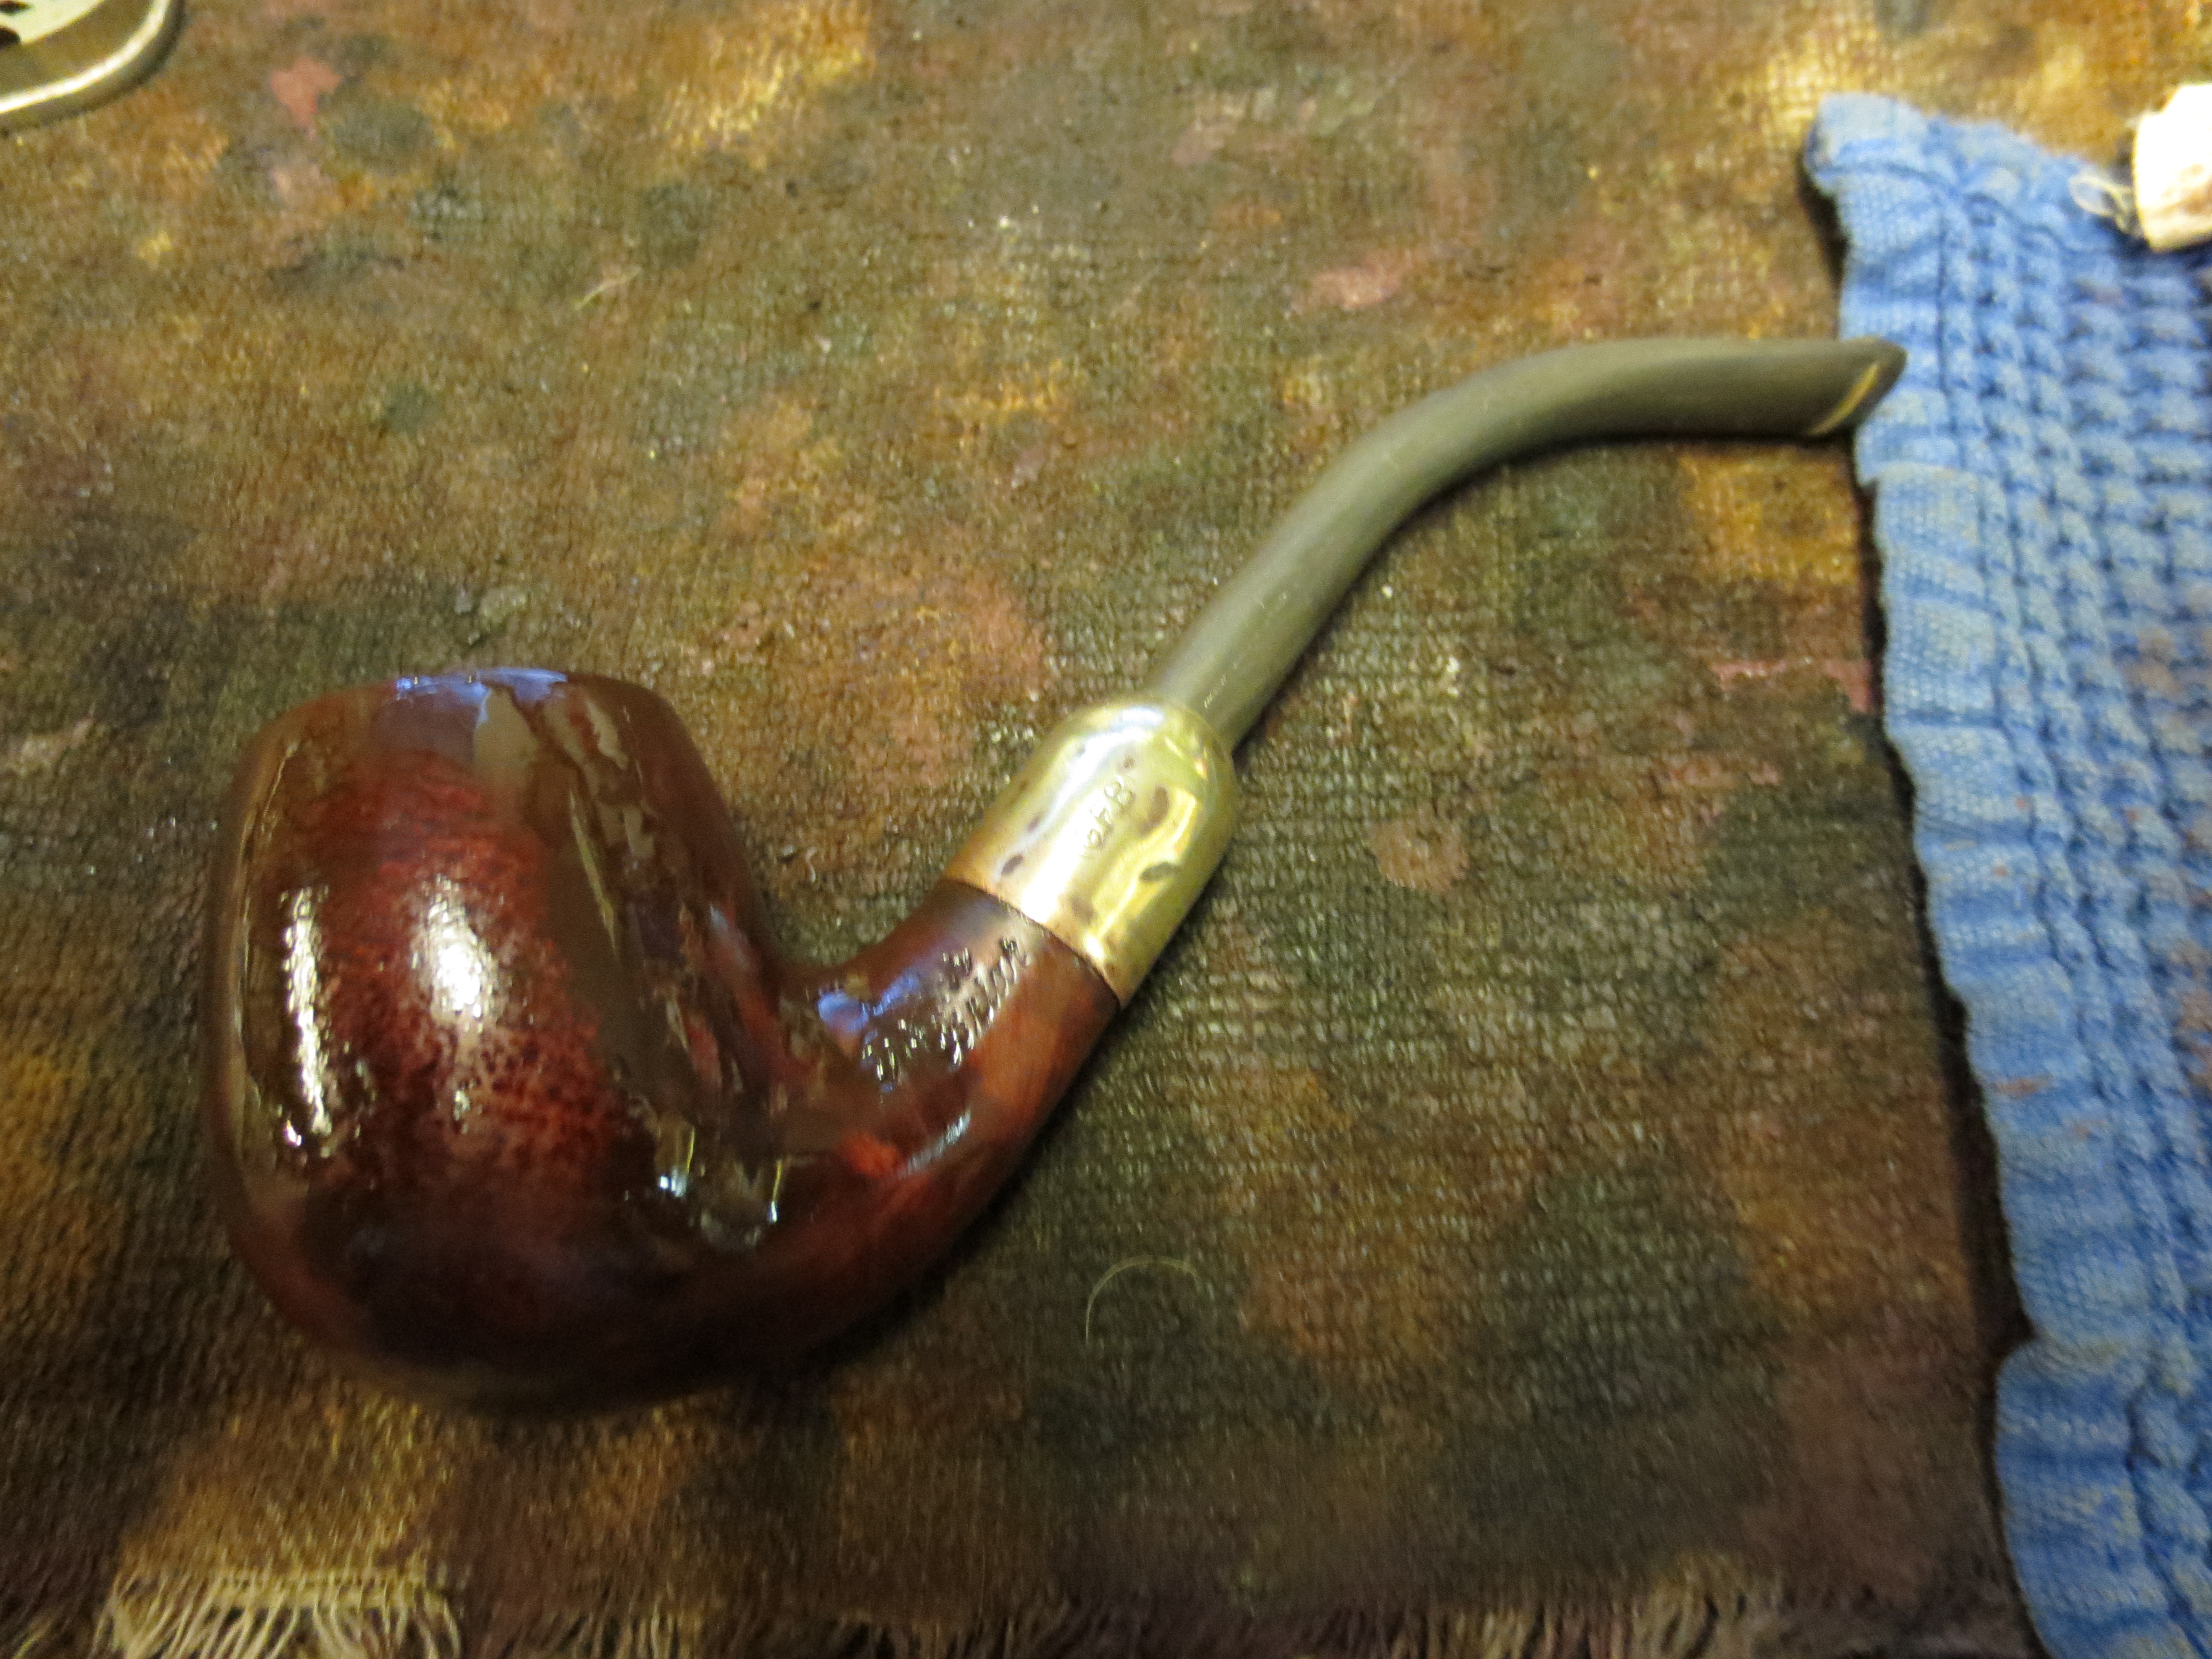
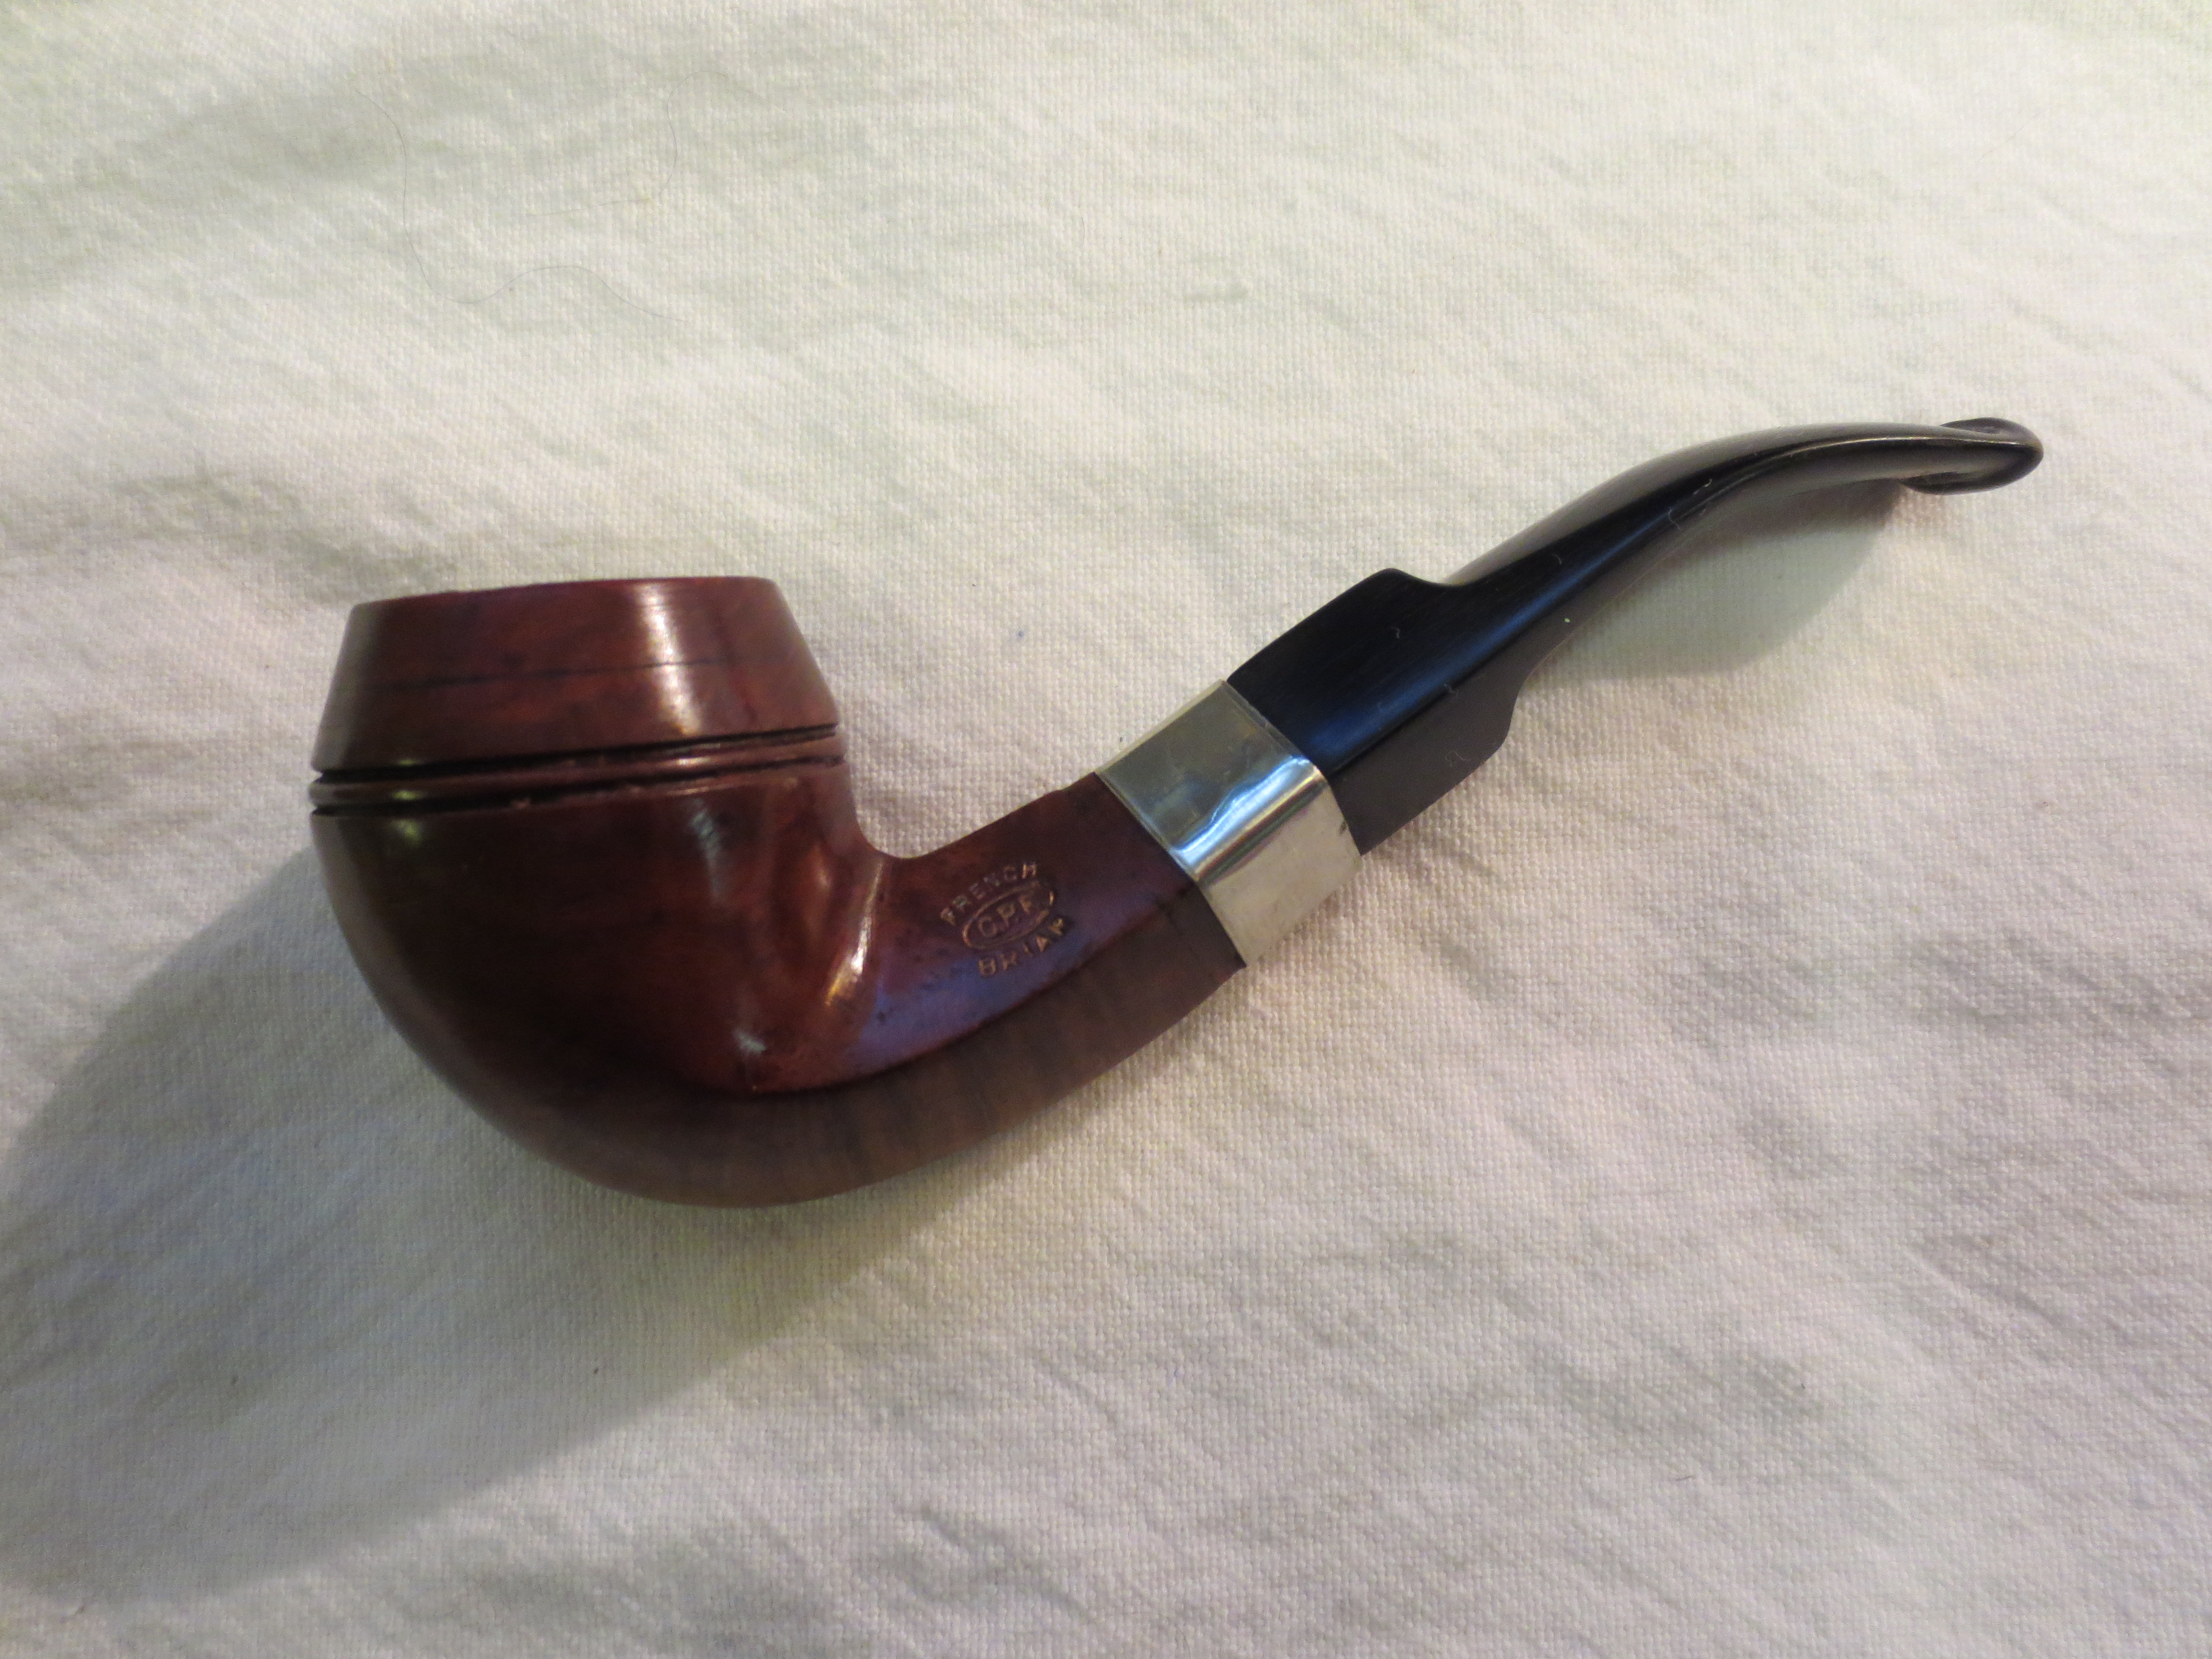
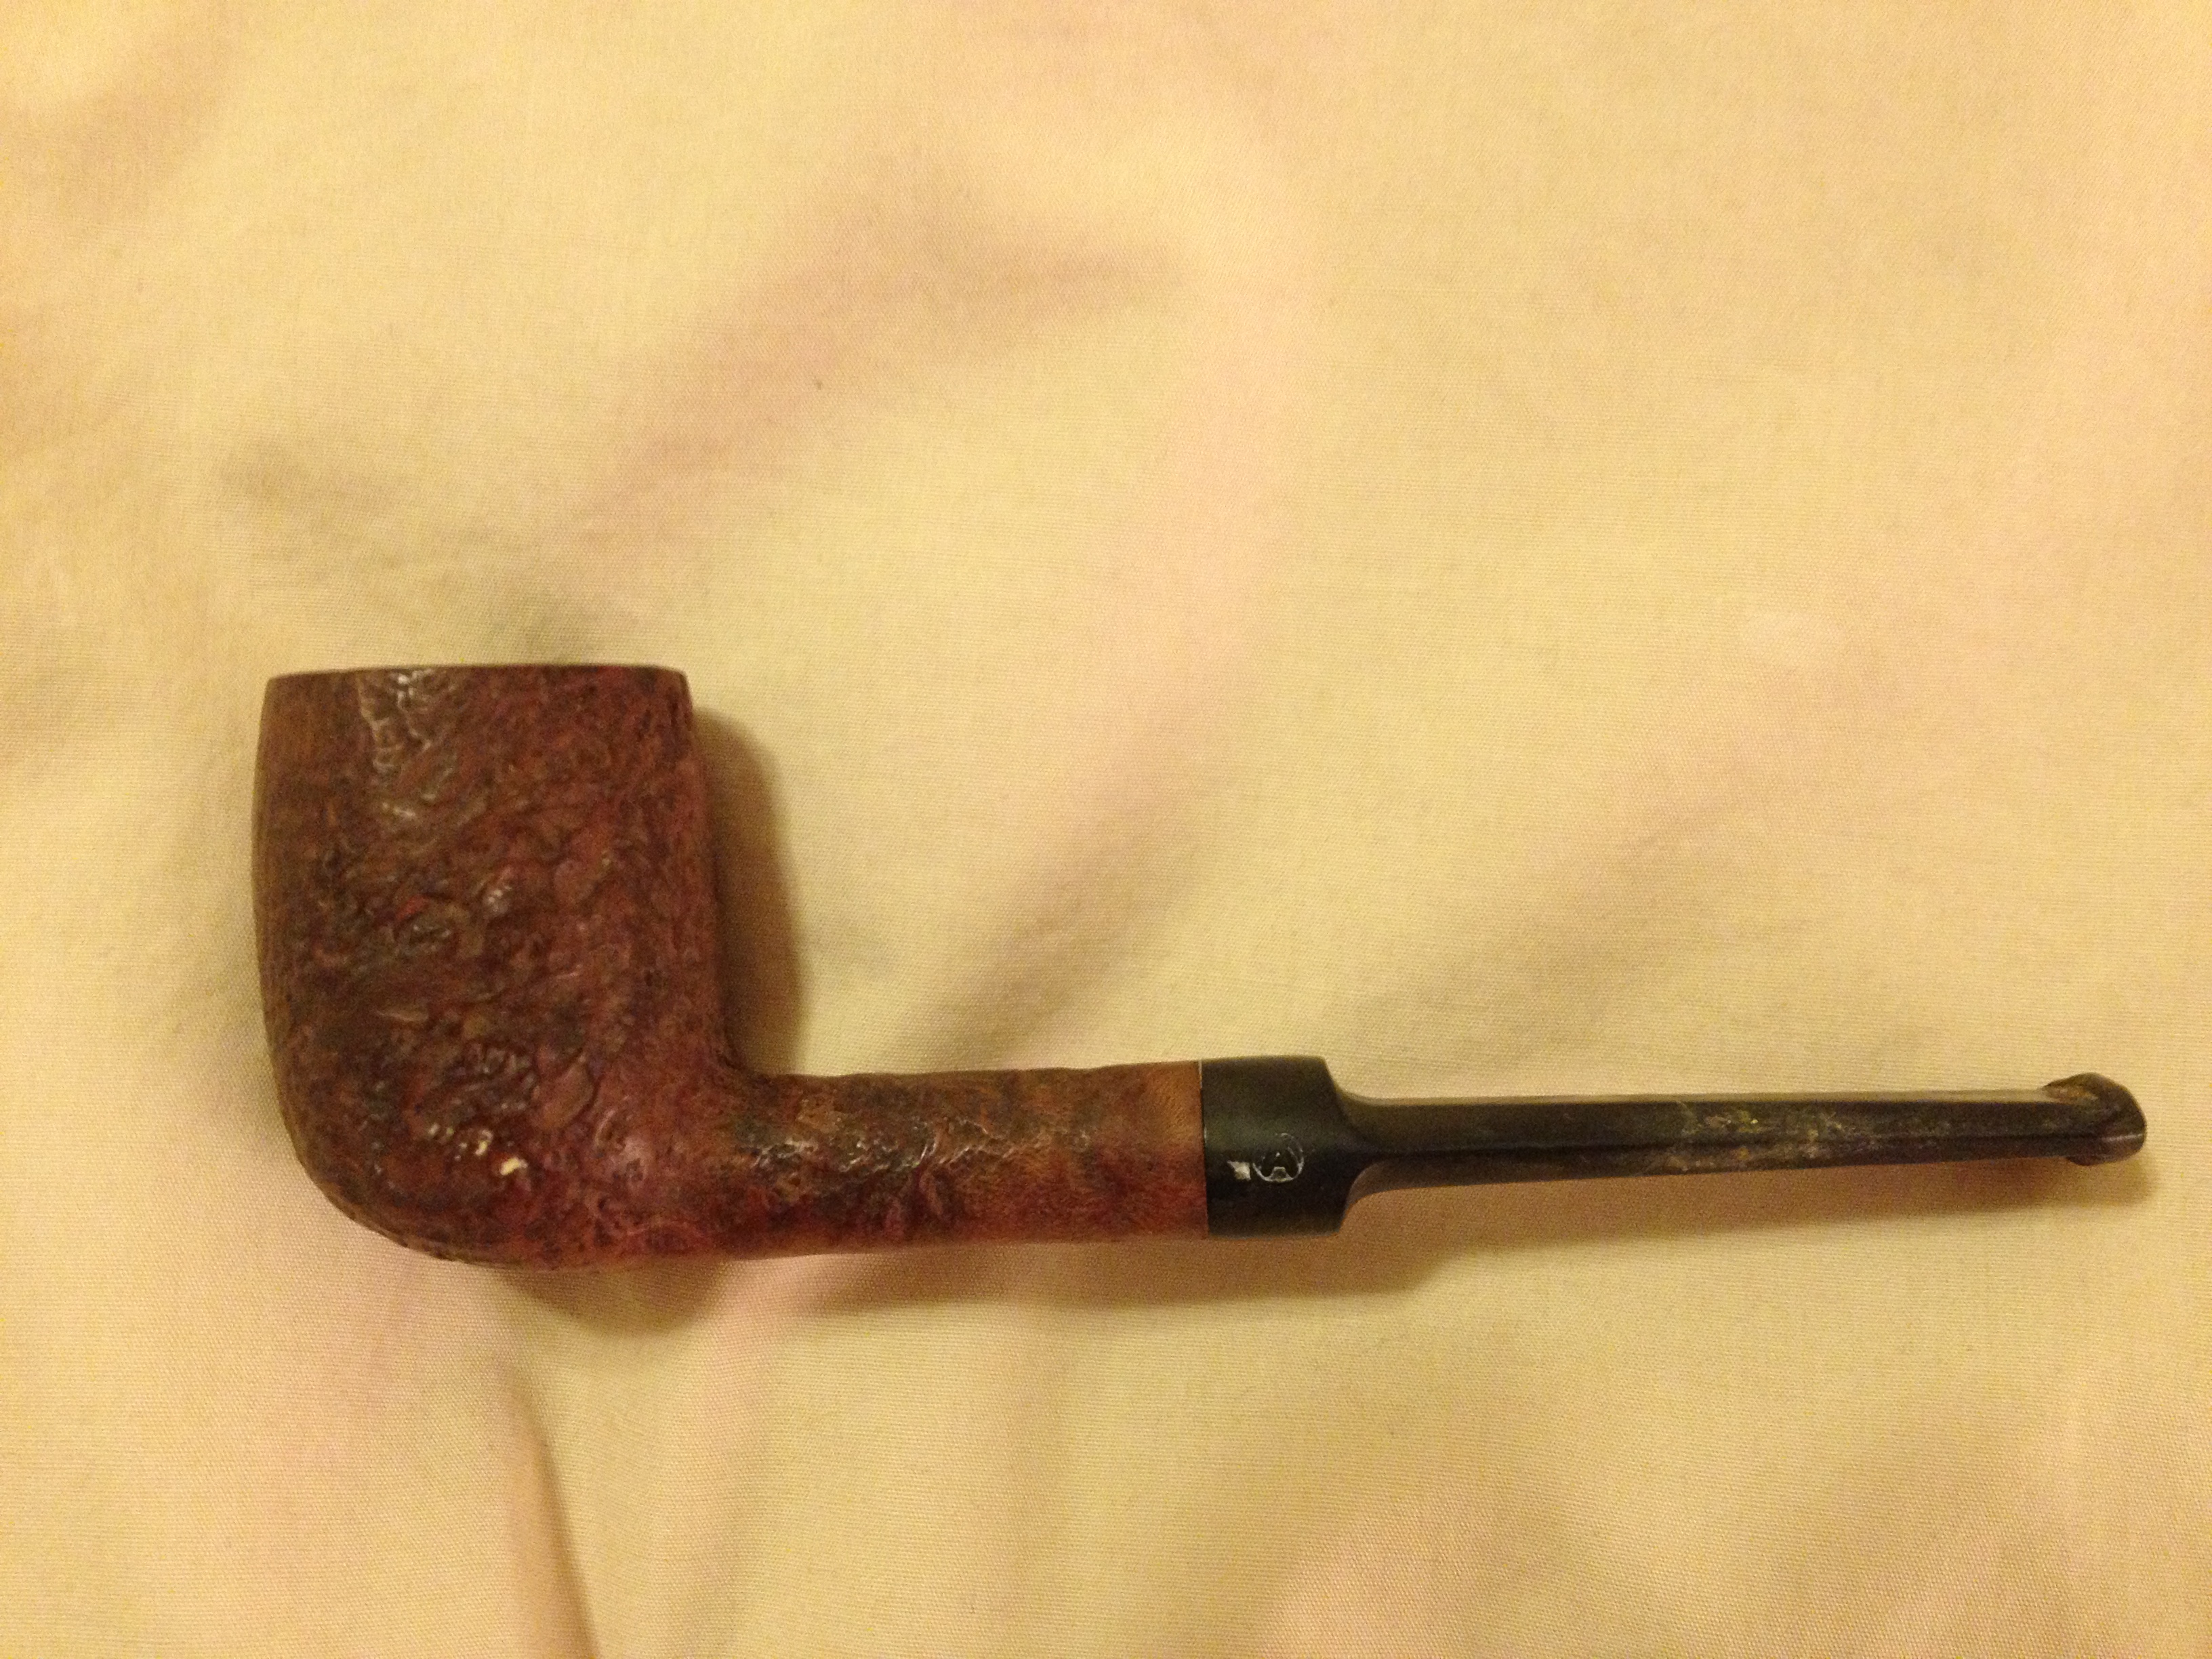
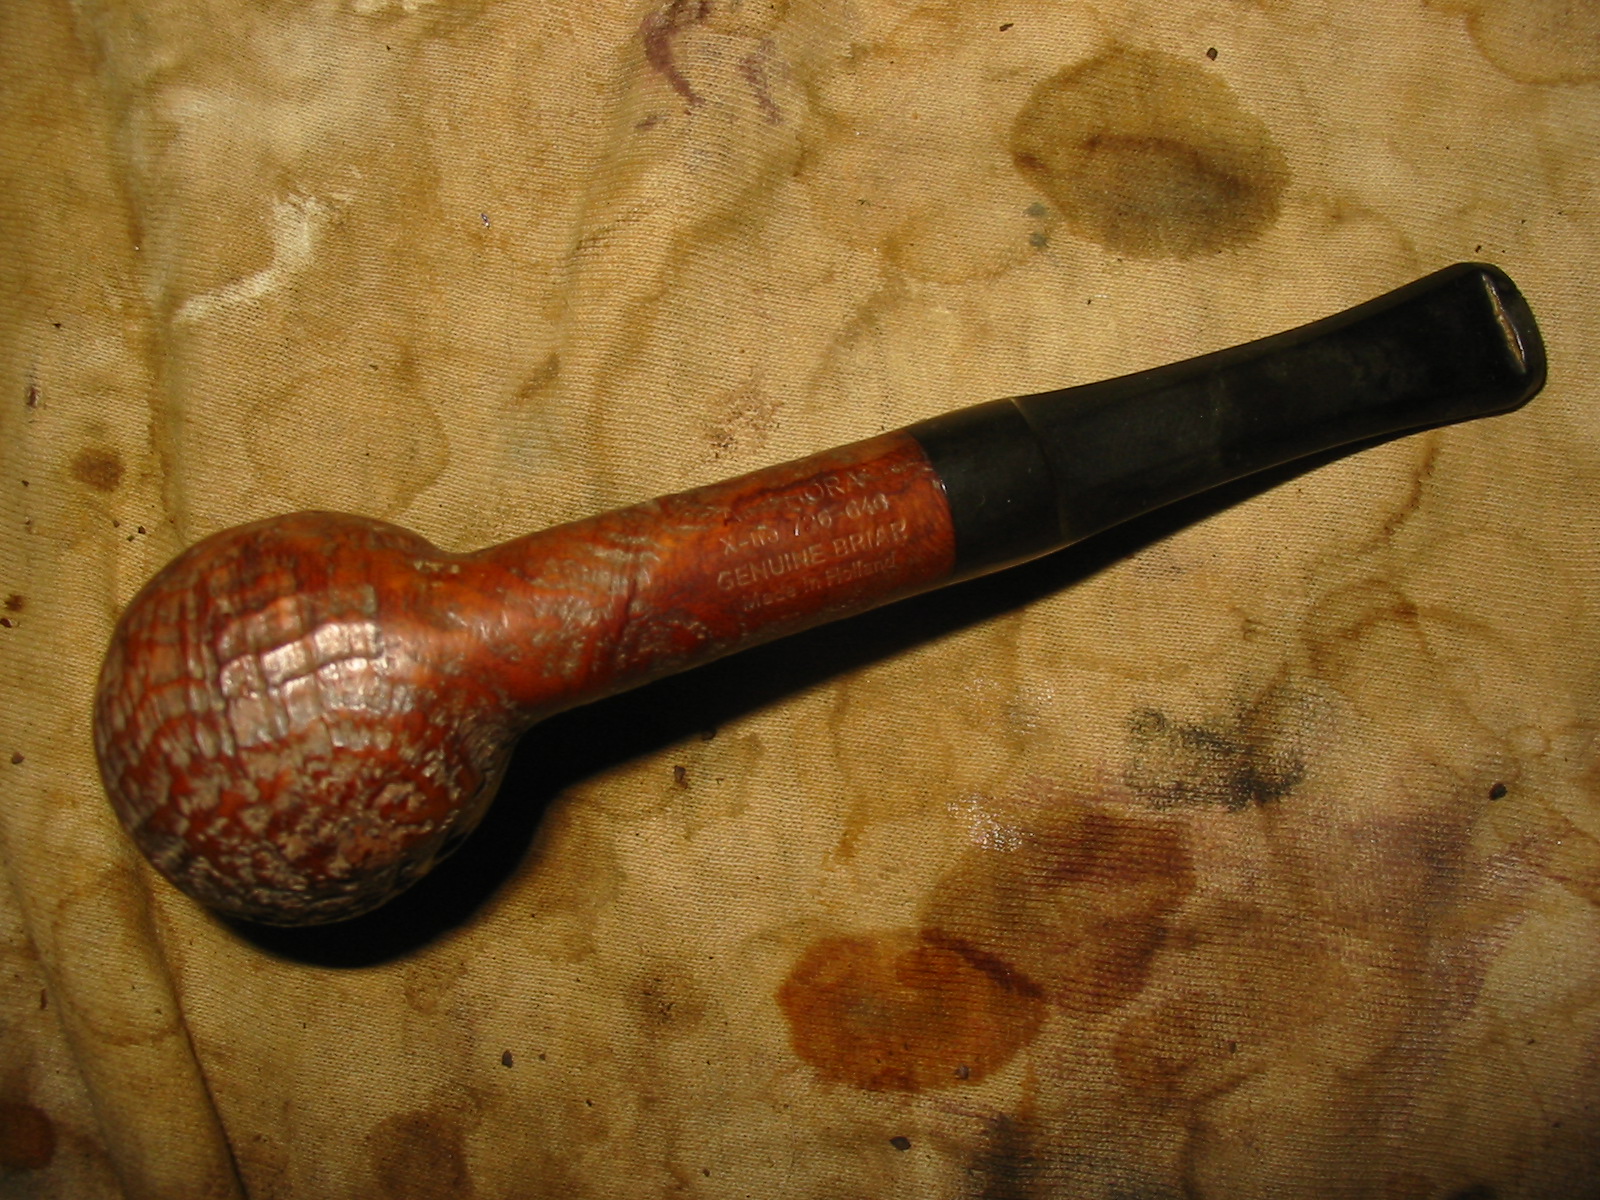
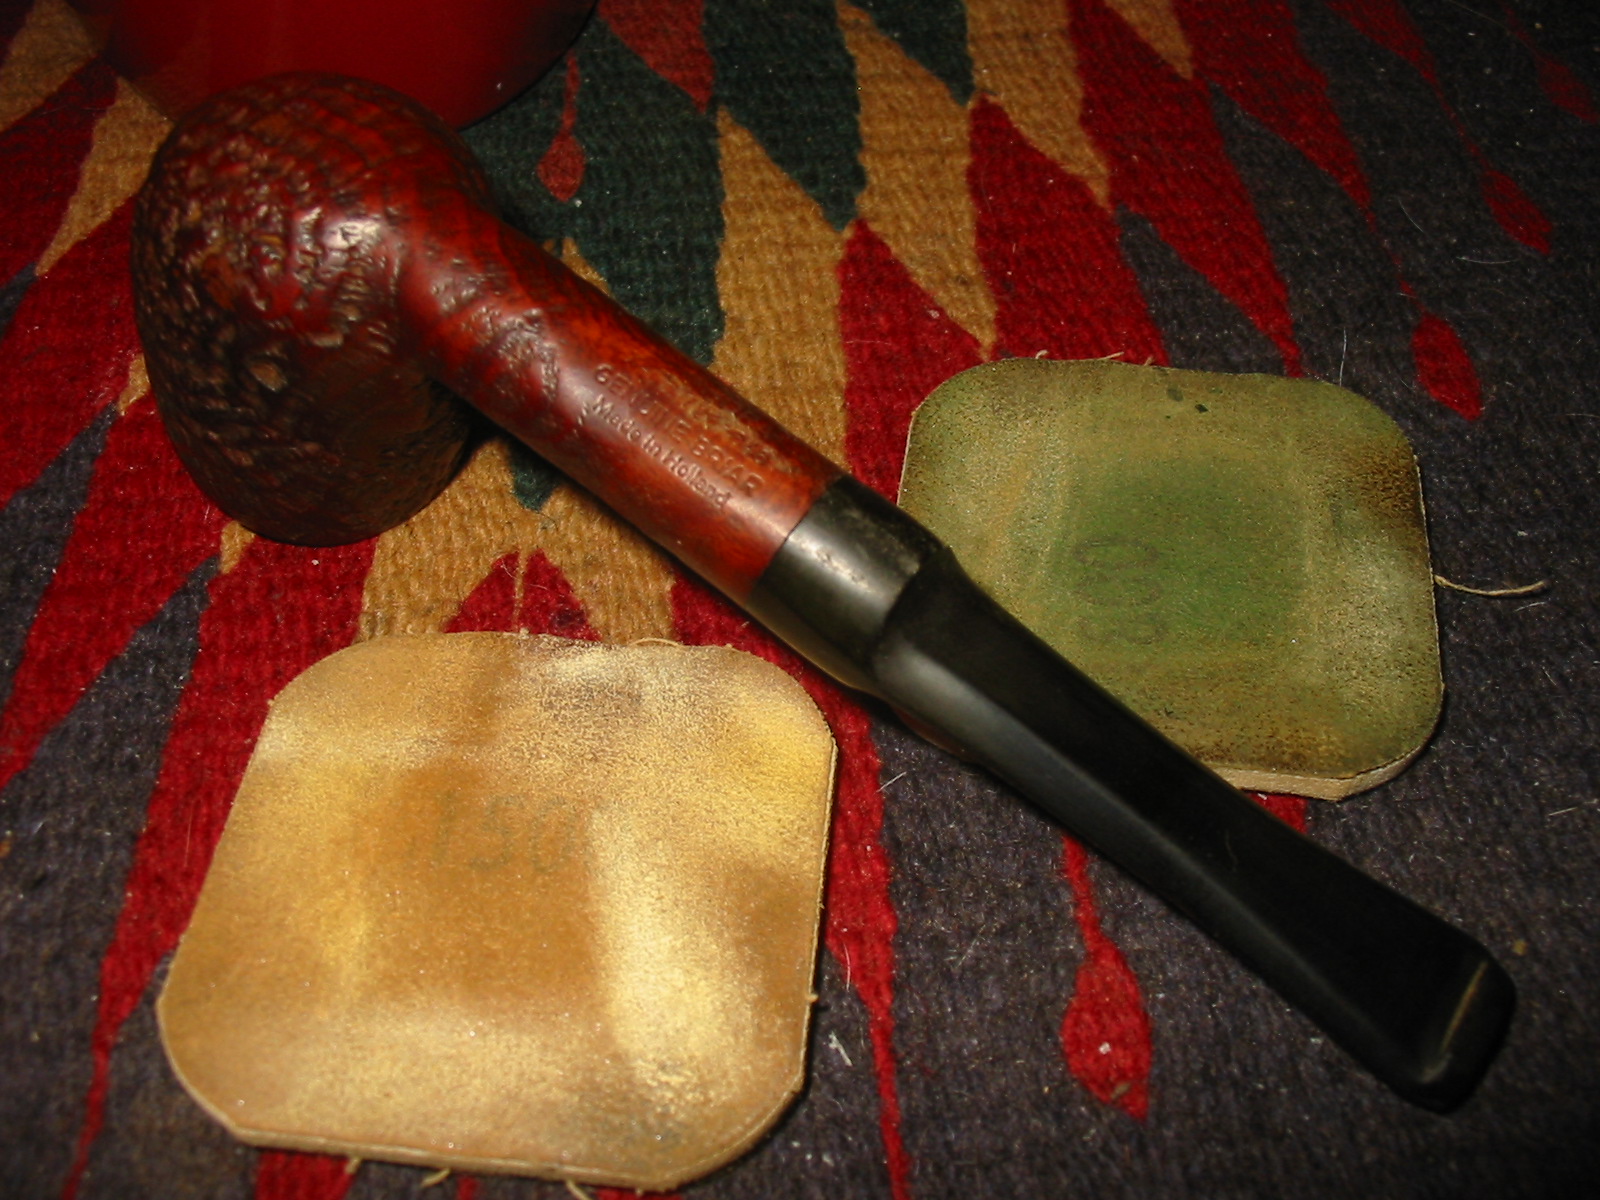
This one is the third of the three I bought at an antique mall in Edmonton, Alberta on a recent trip. It is stamped on the bottom of the shank as follows:
AMPHORA
X-tra 726-649
GENUINE BRIAR
Made in Holland

IMG_0302

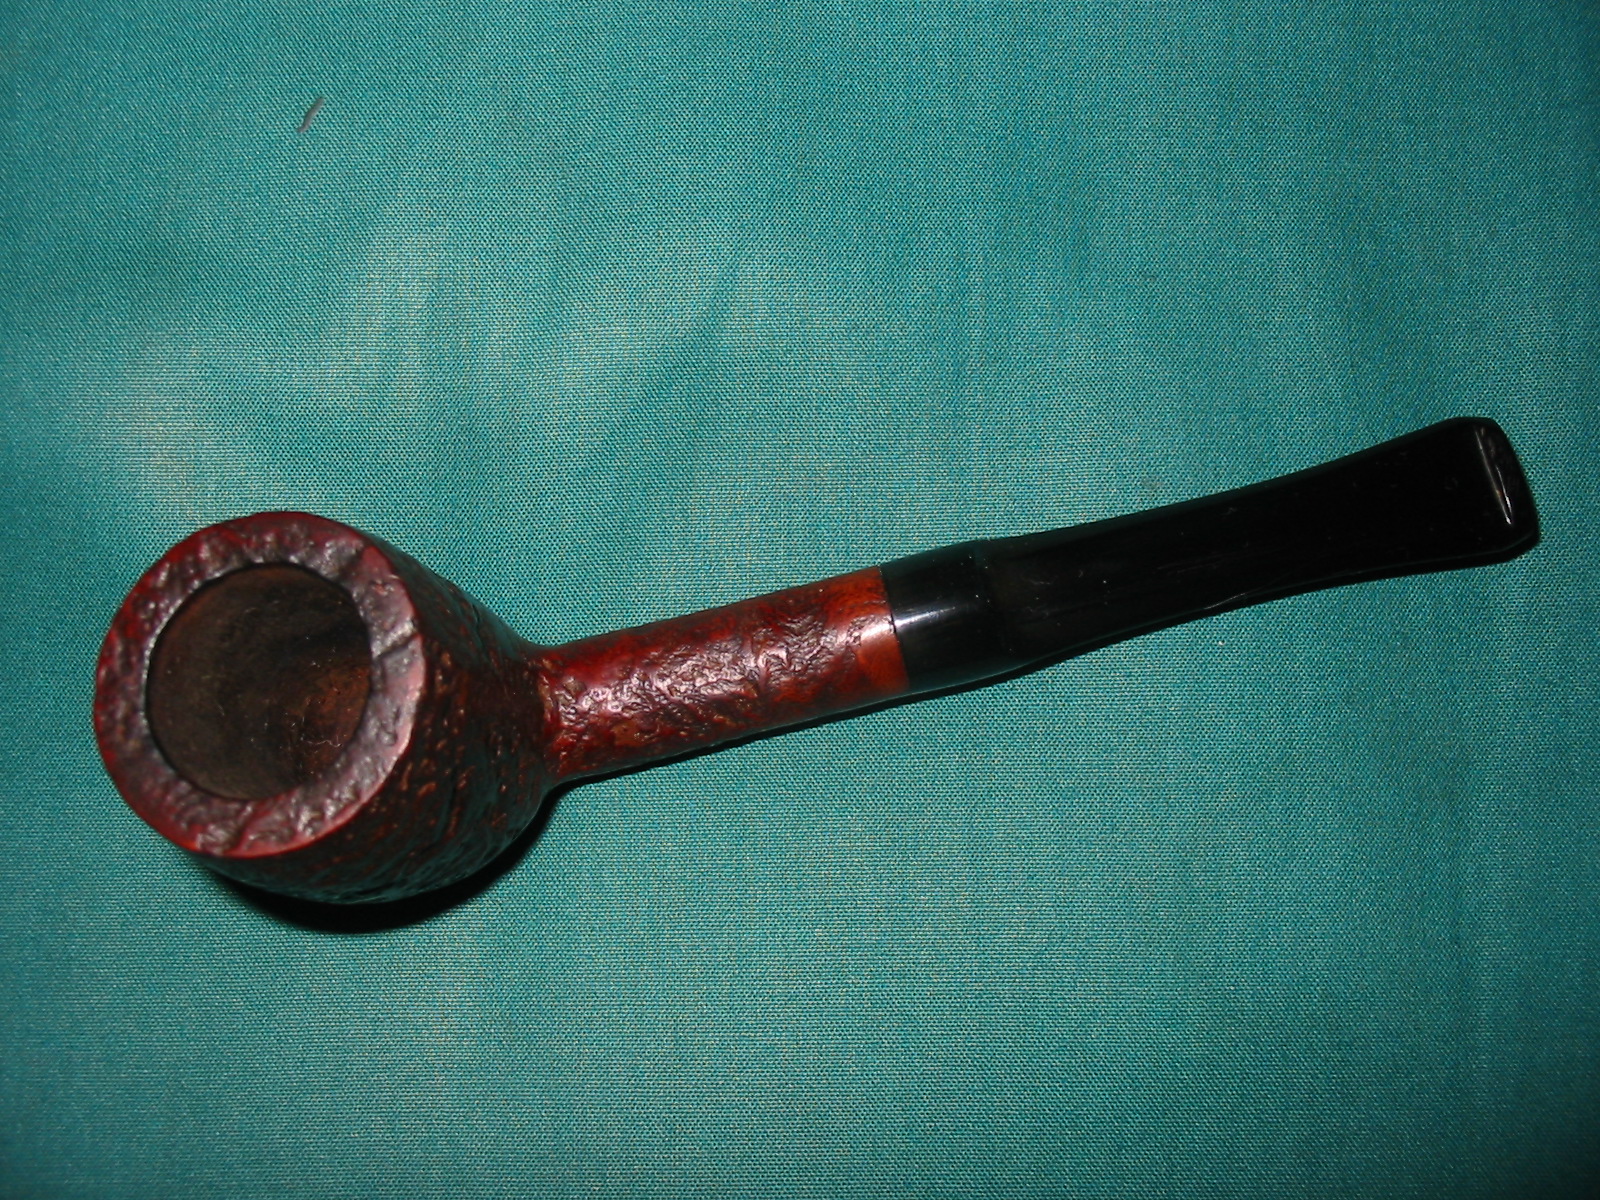
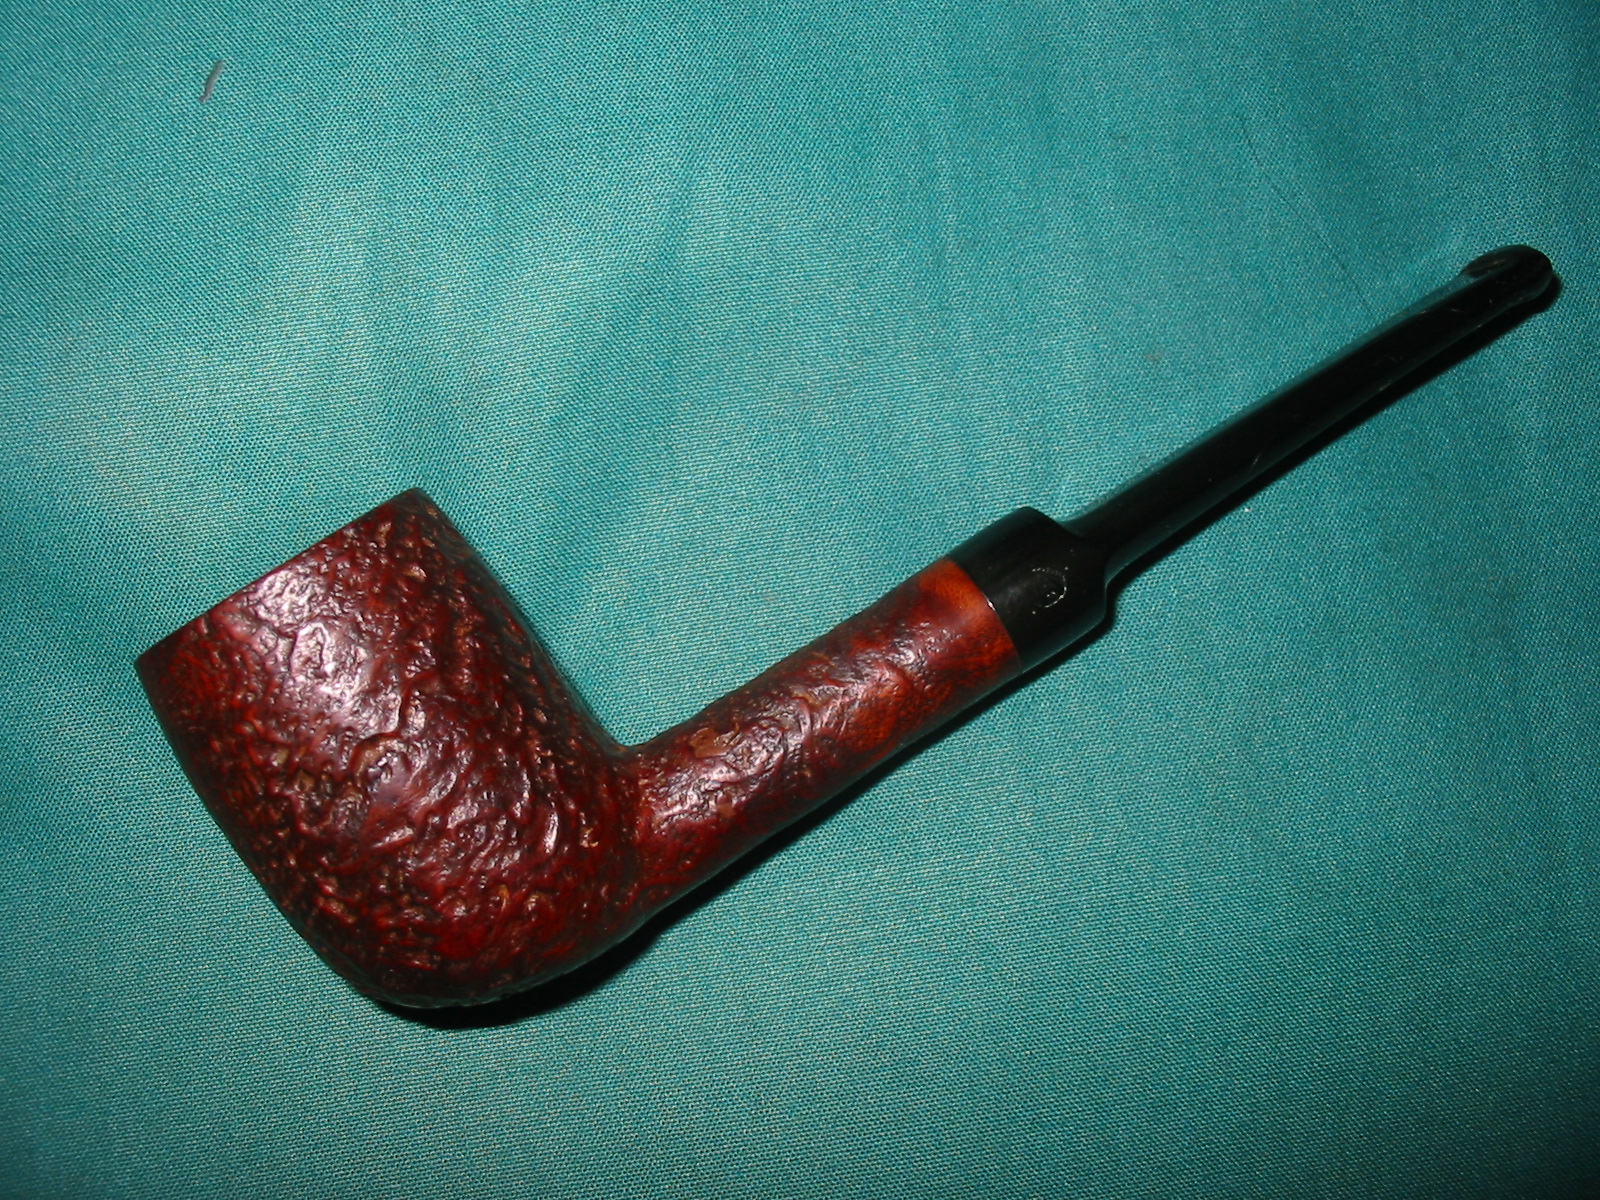
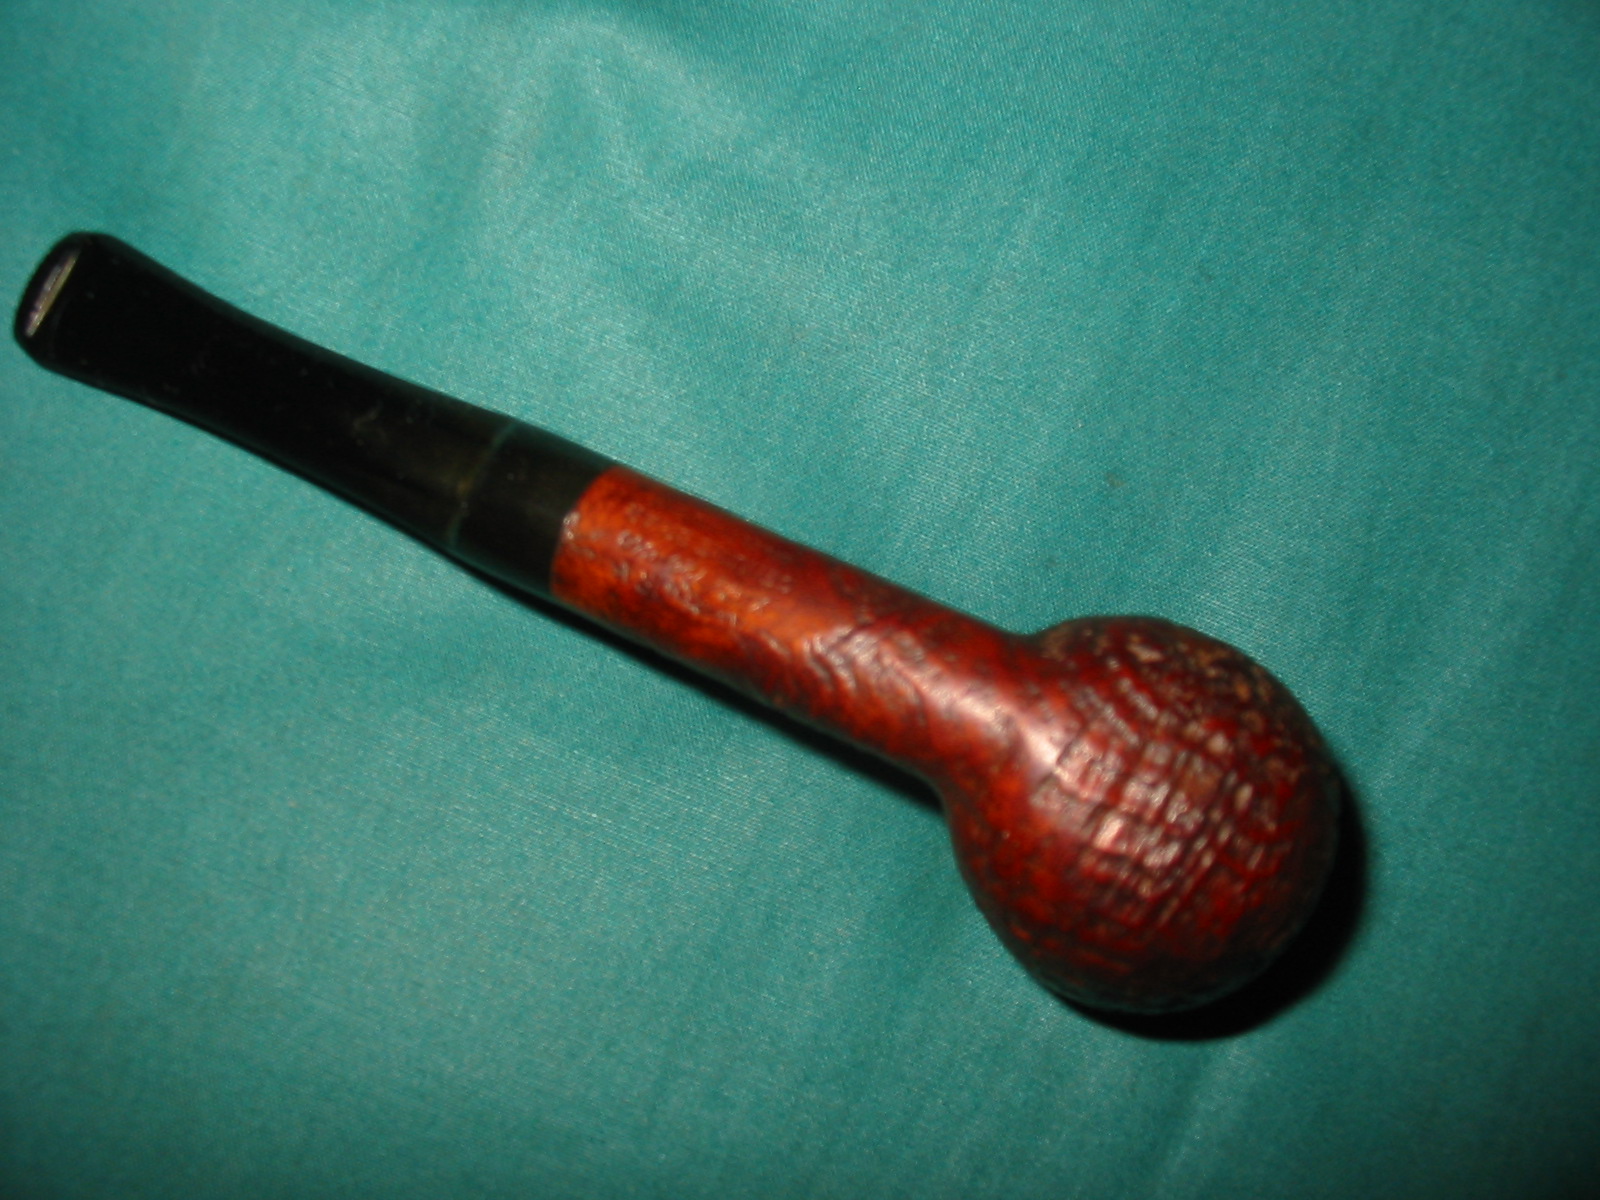
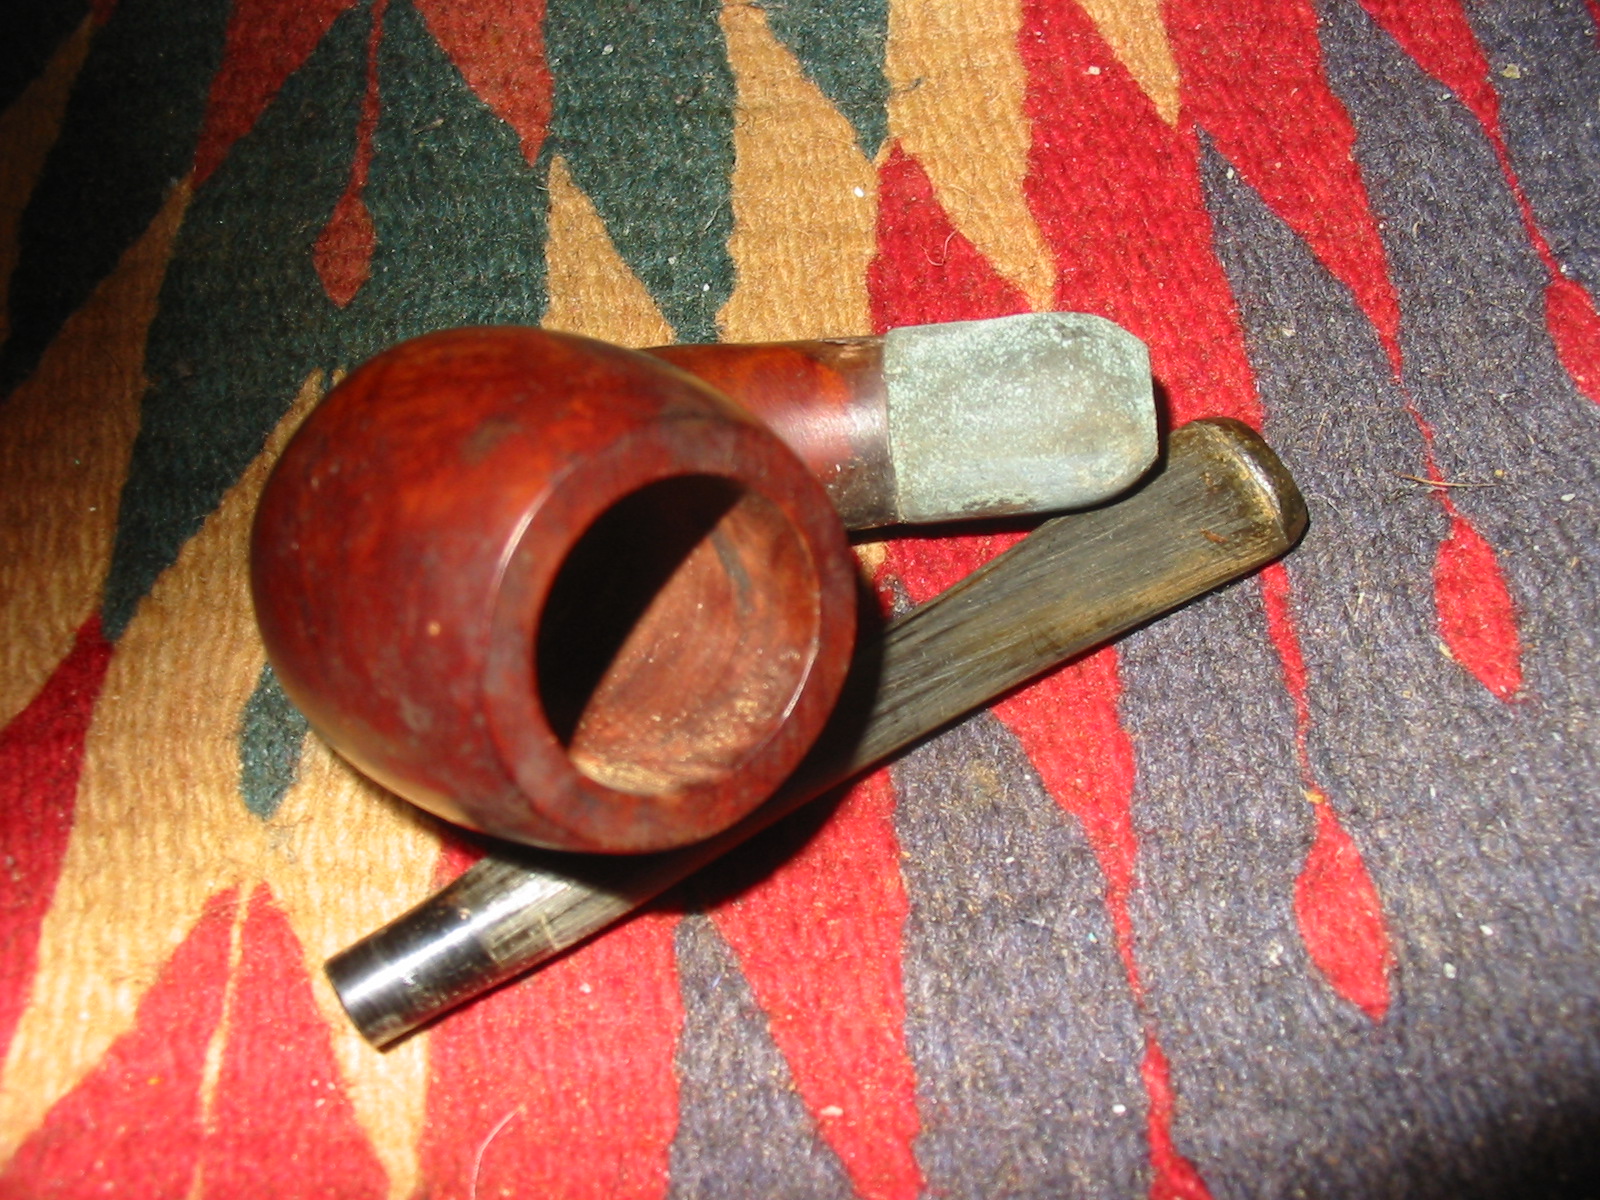
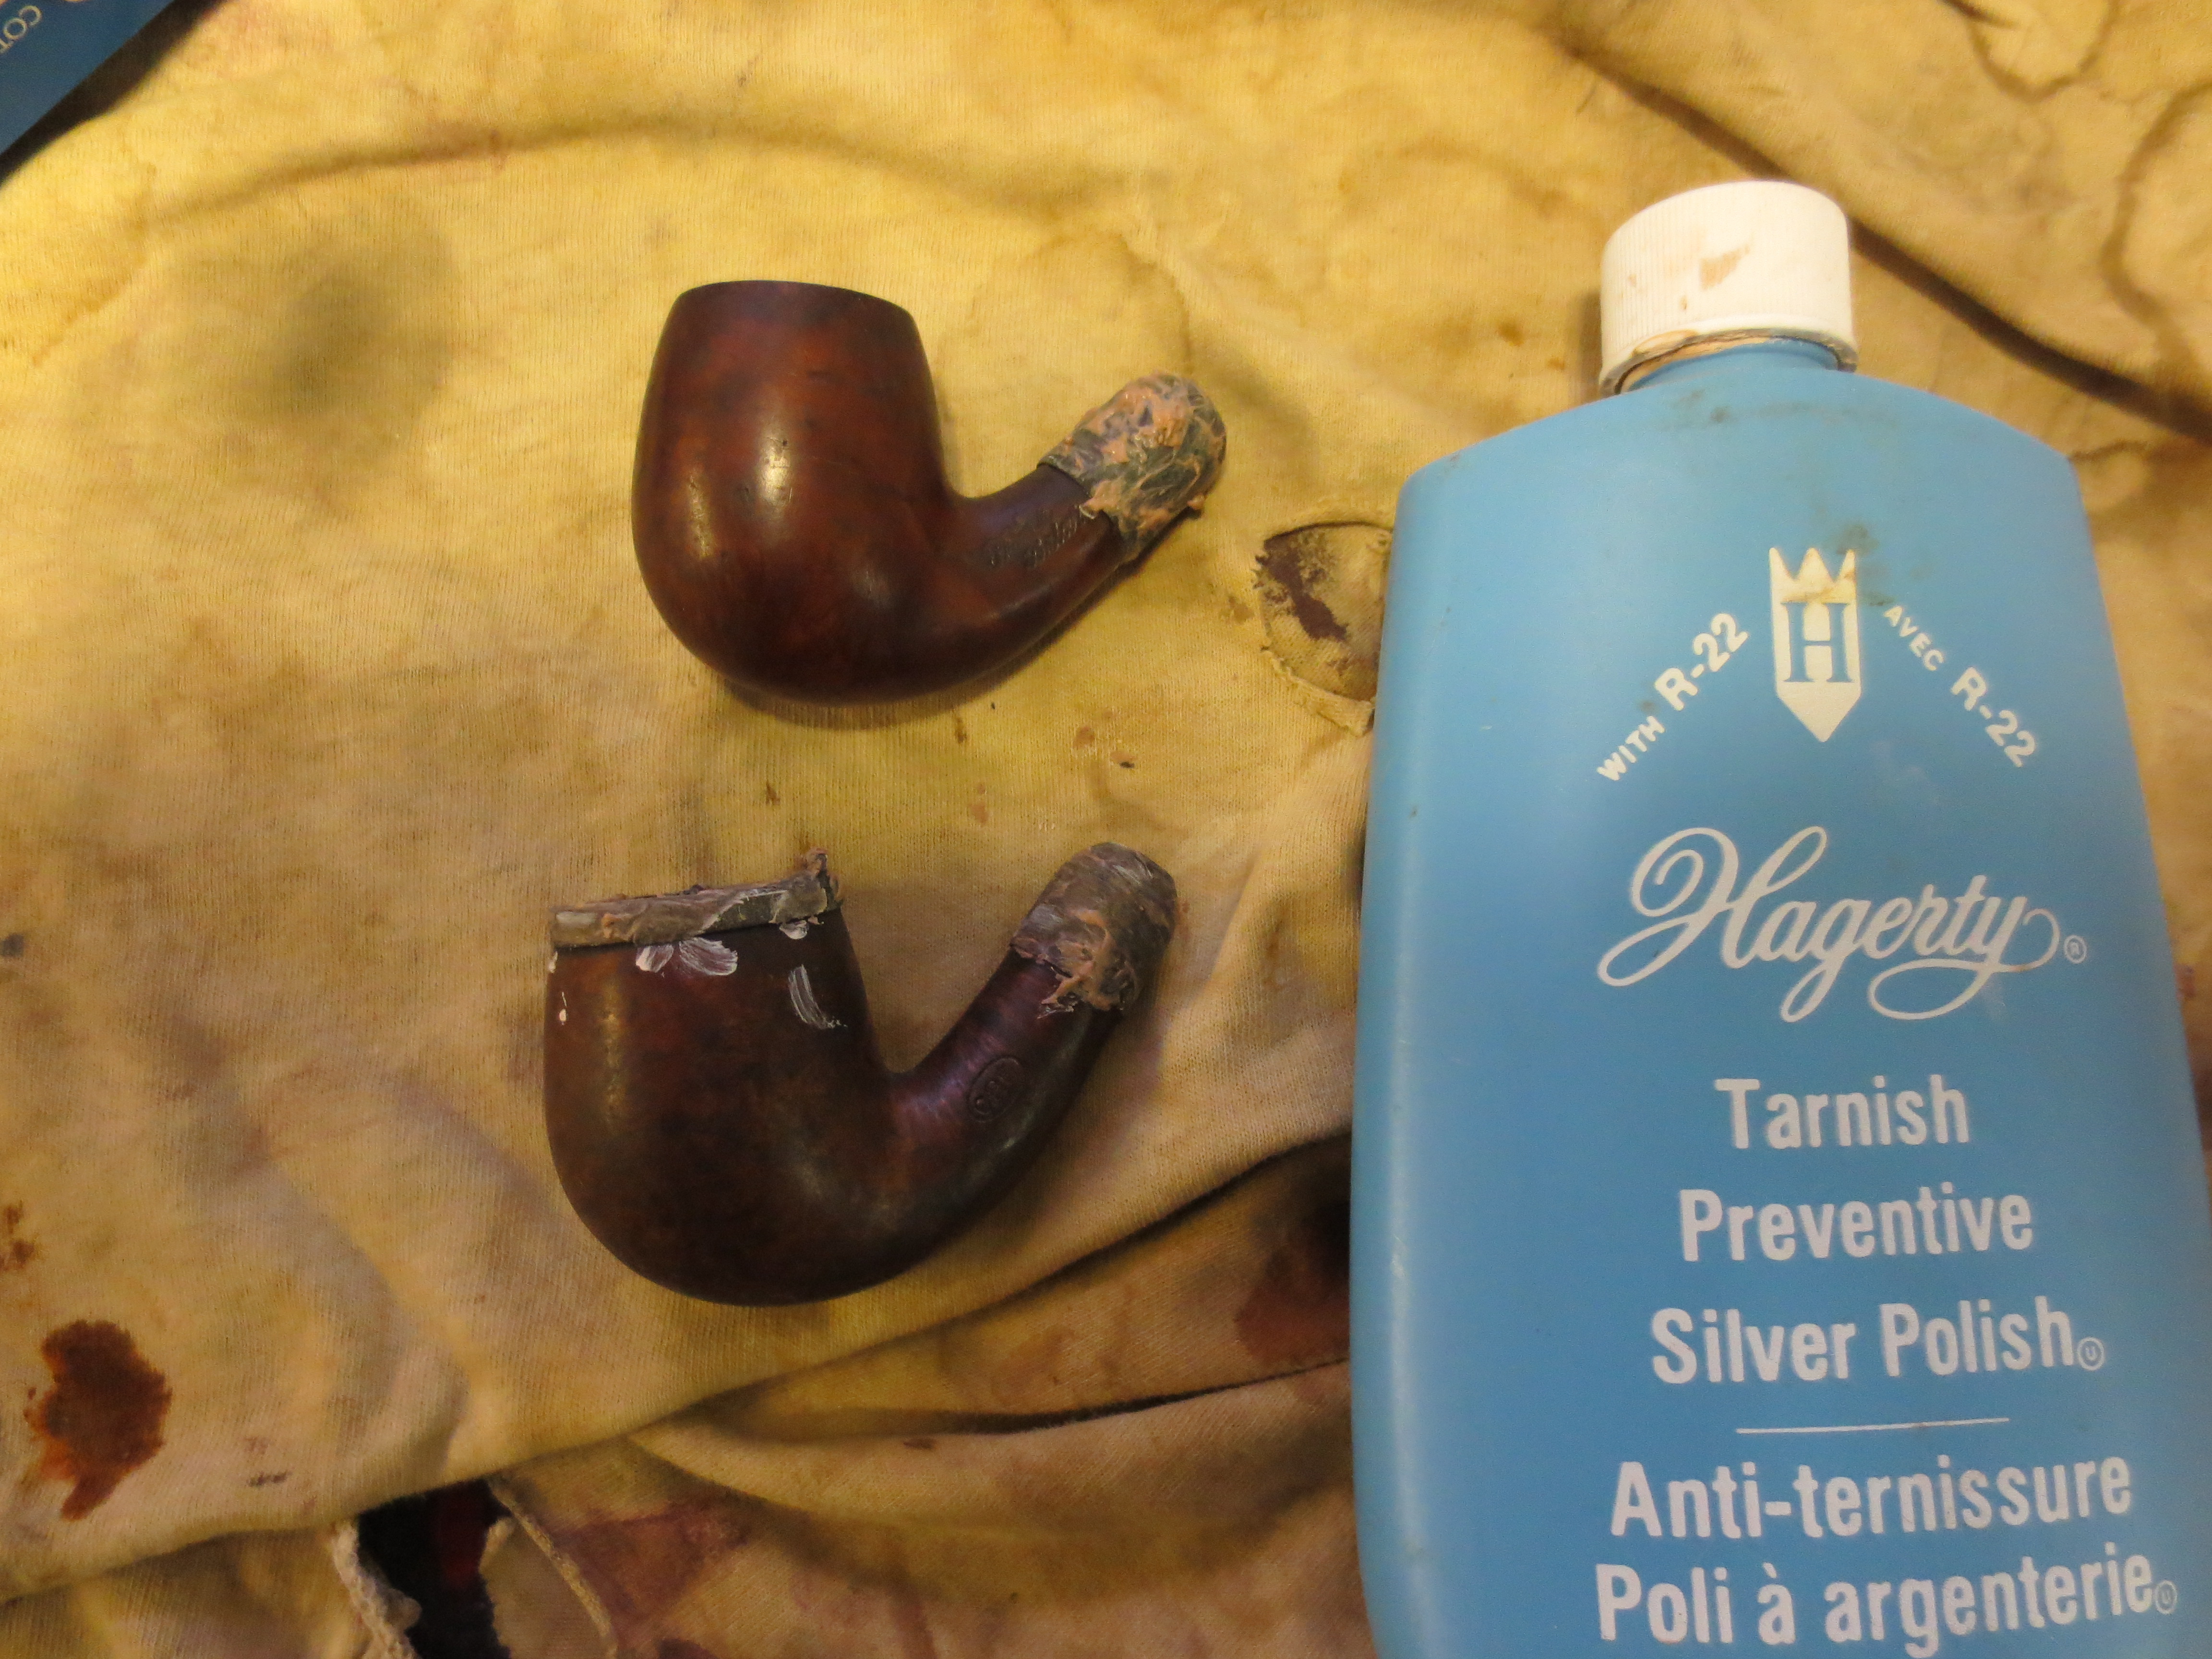
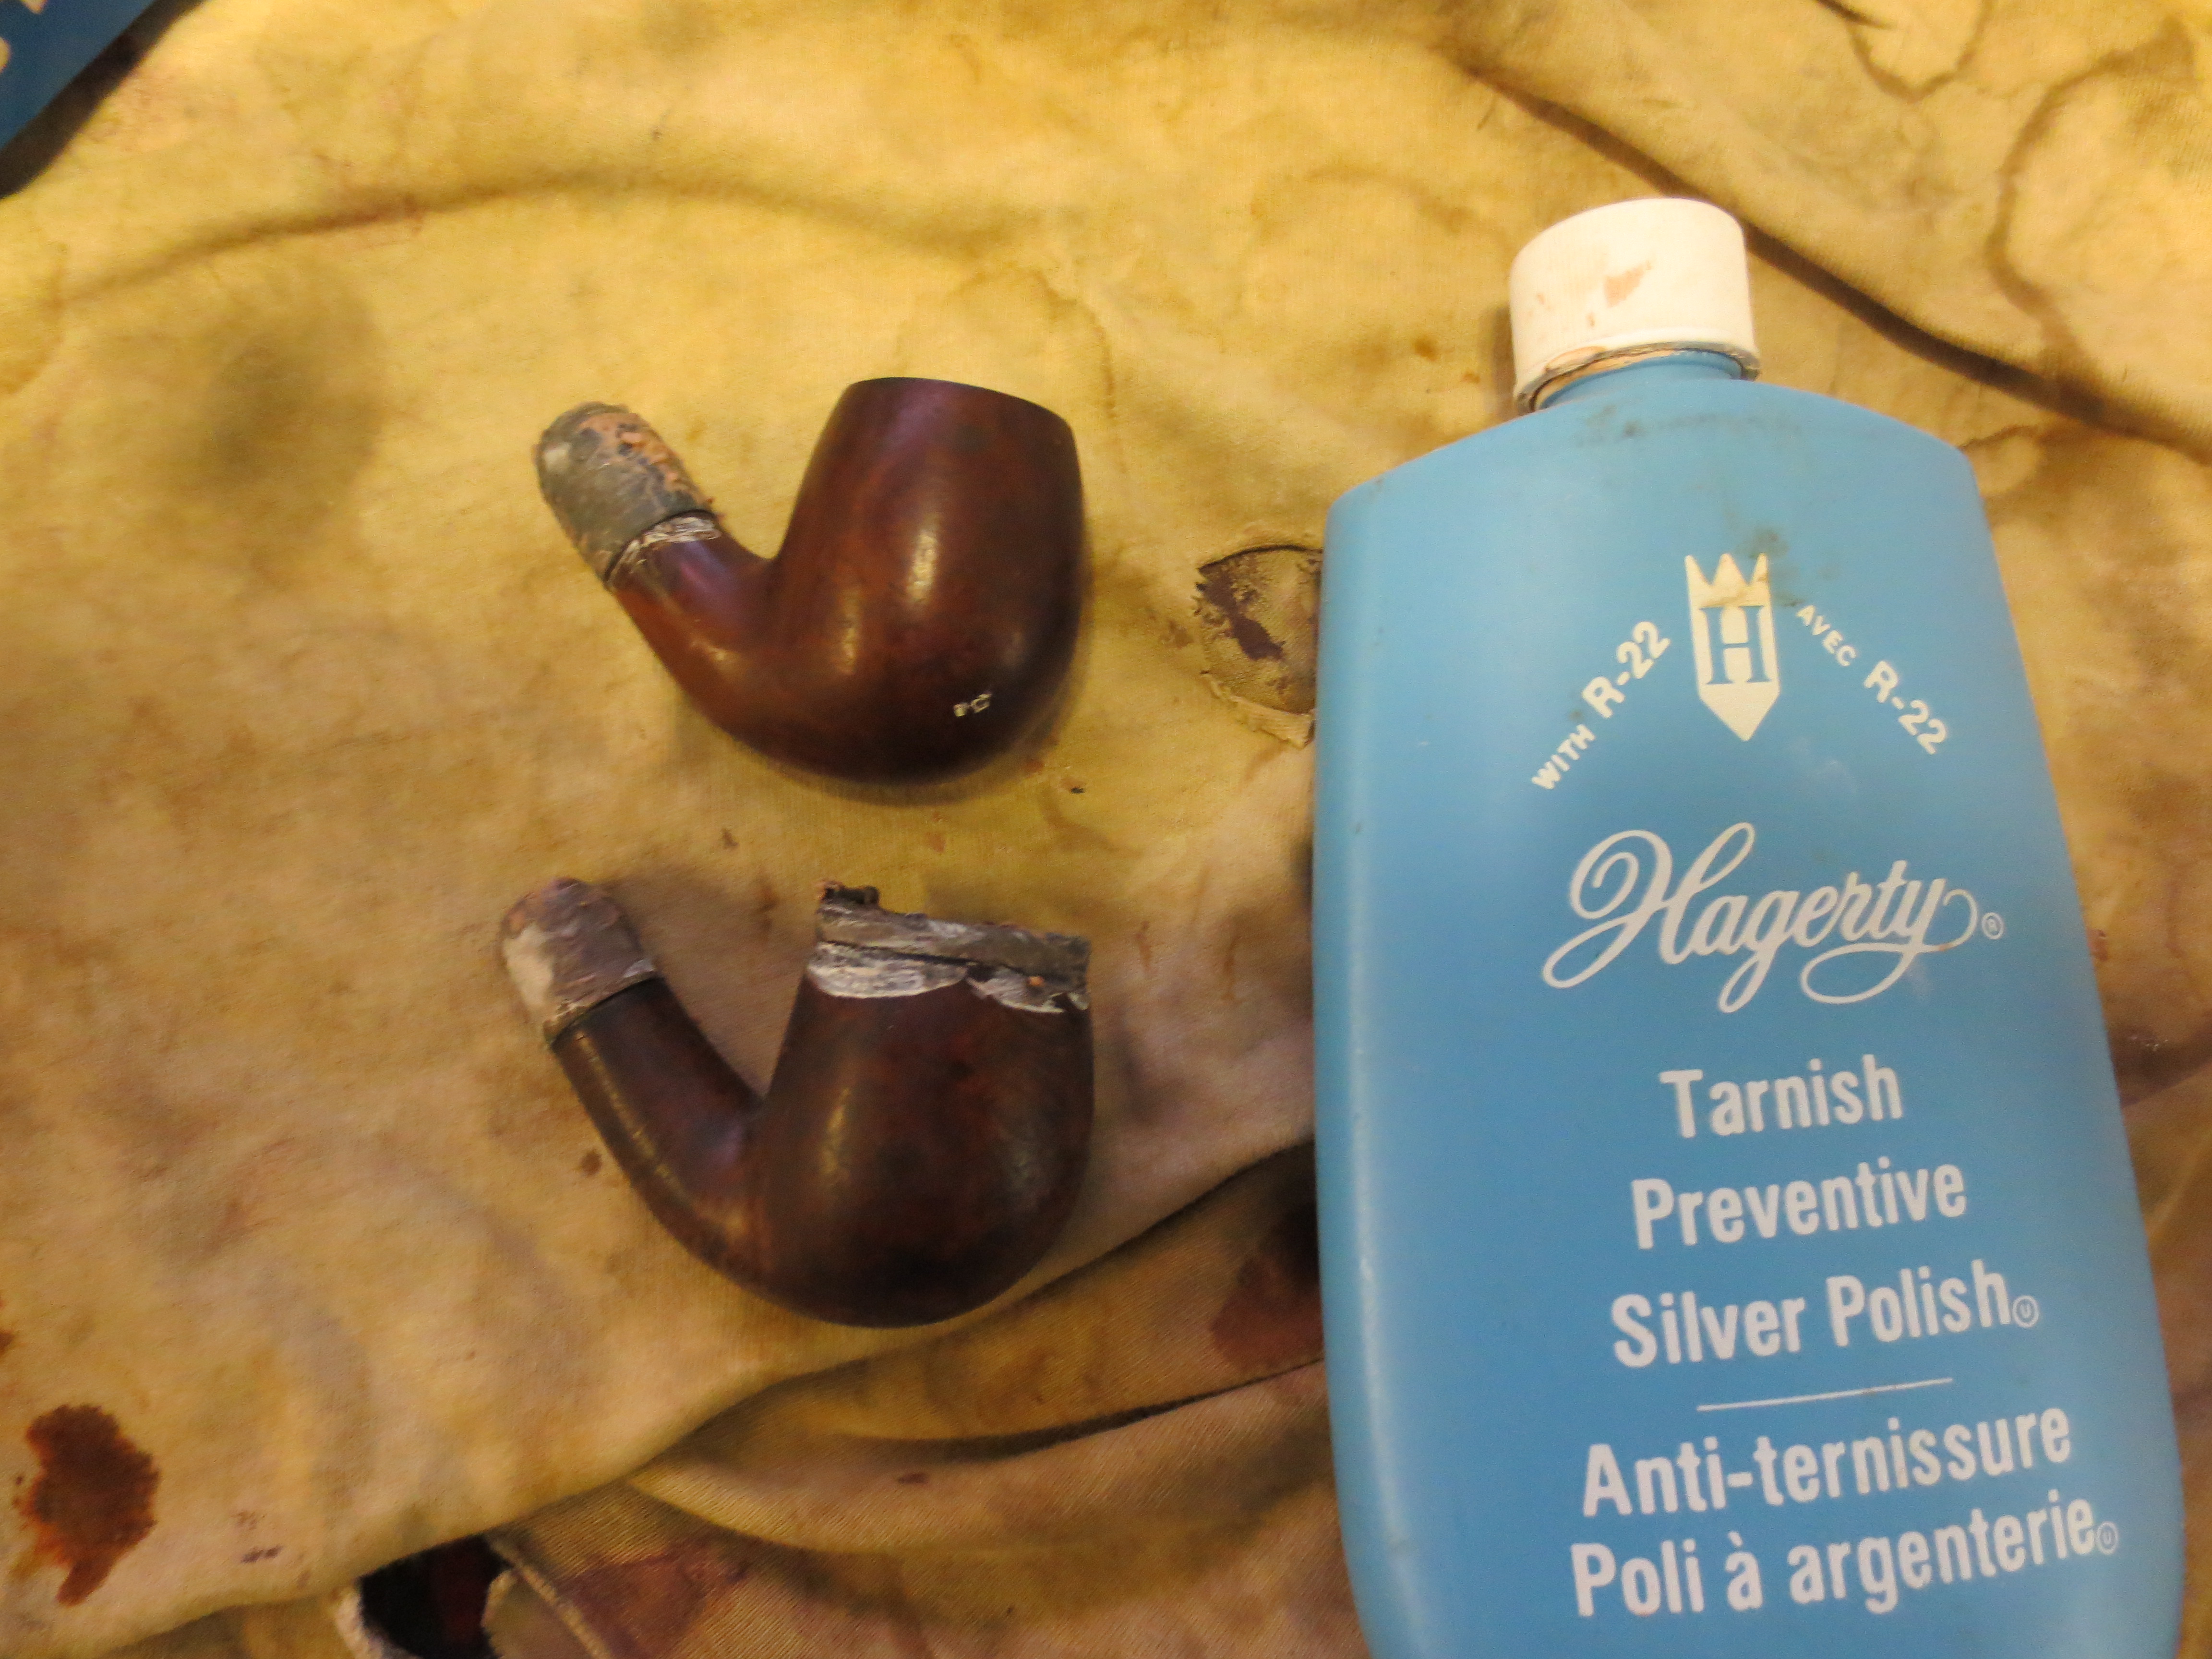
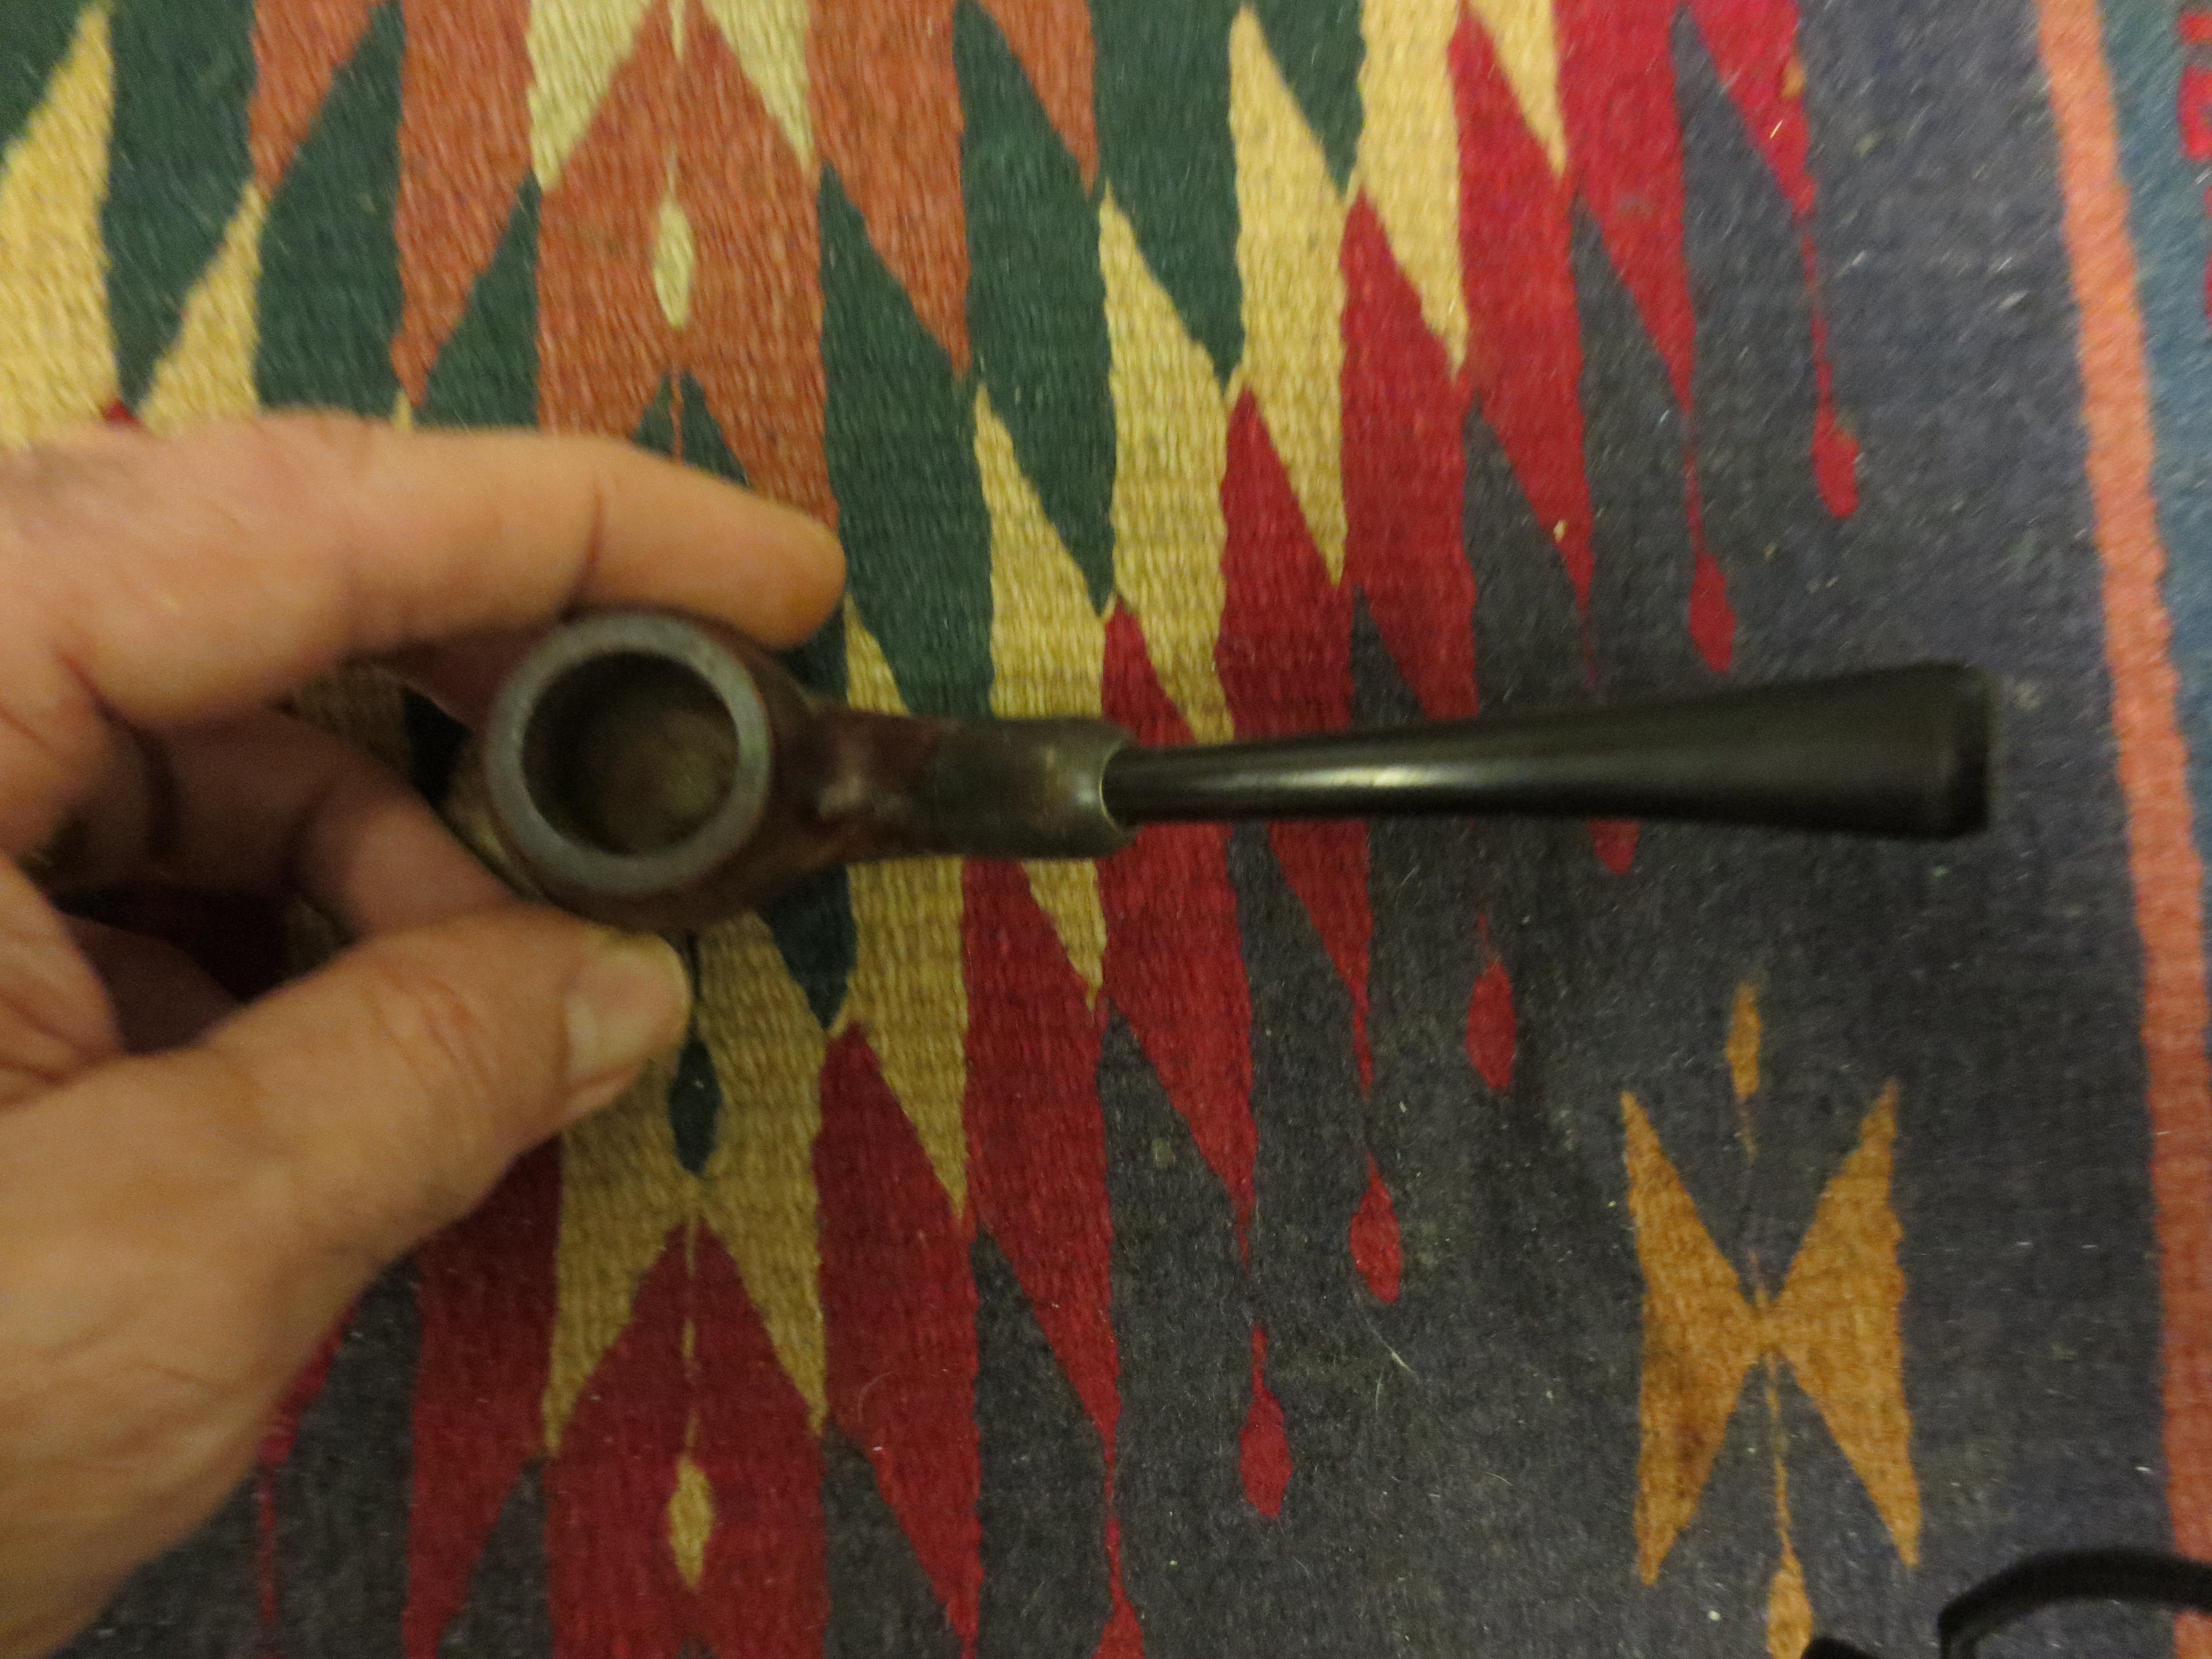
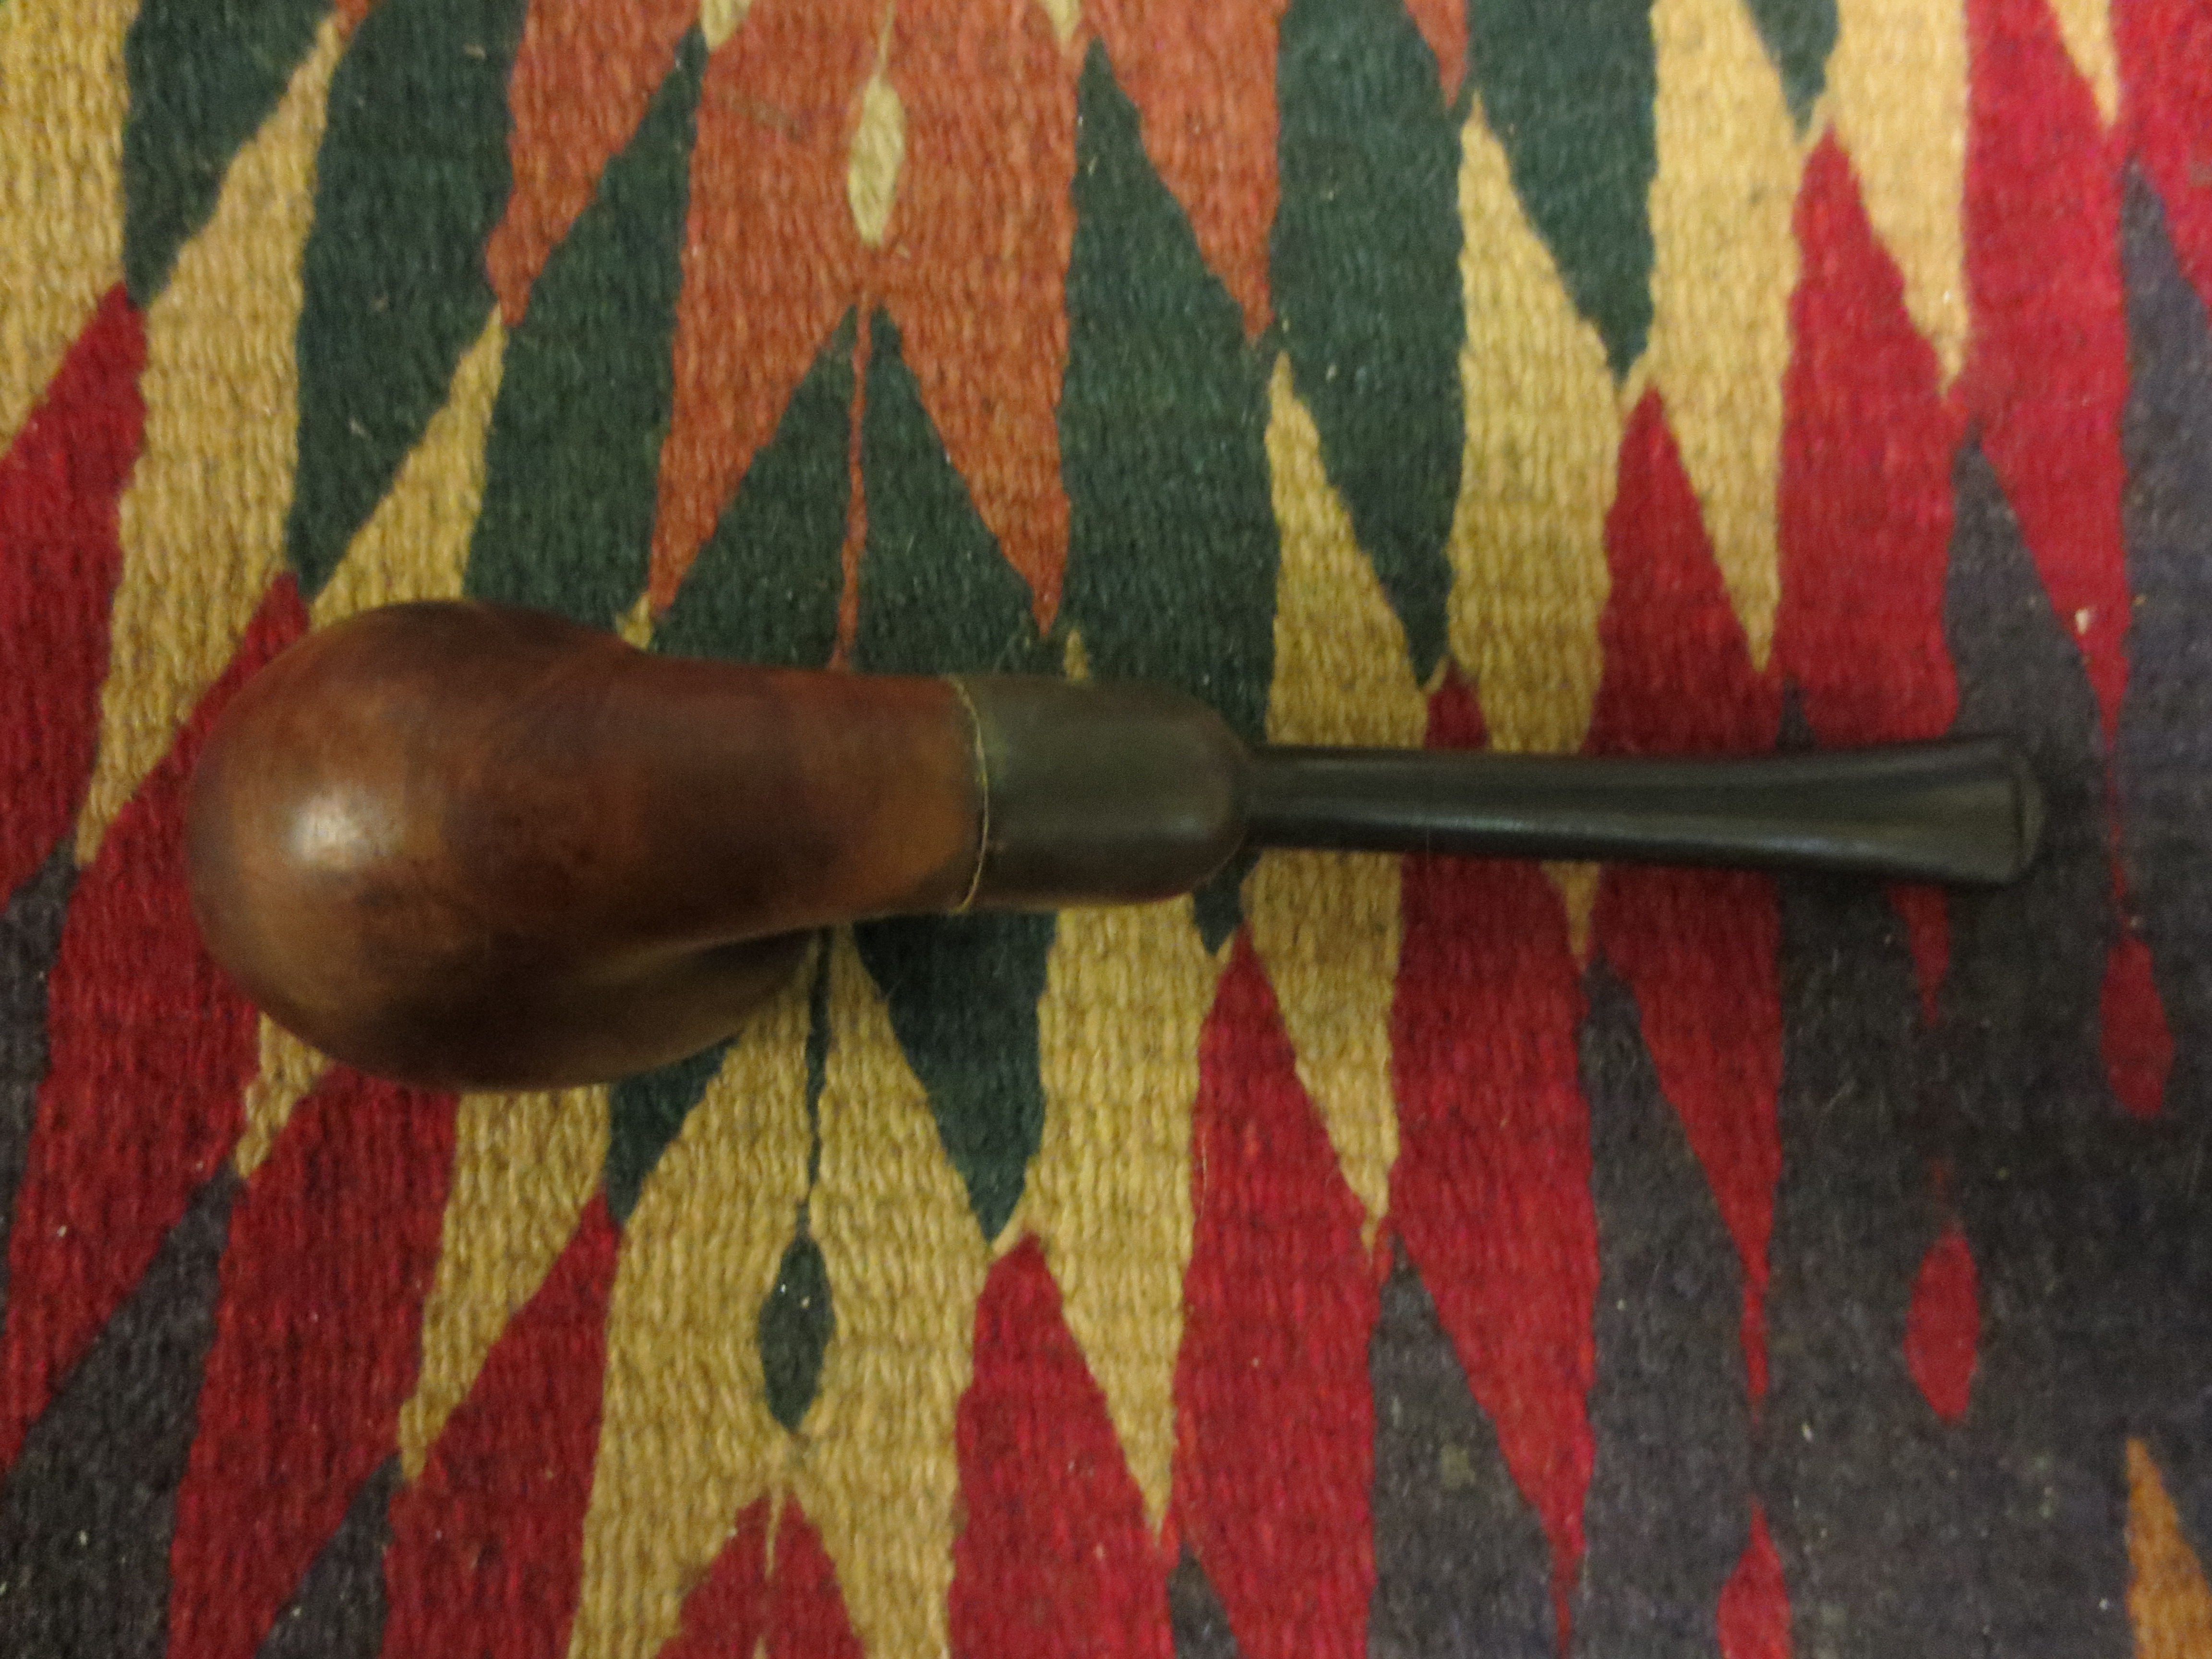
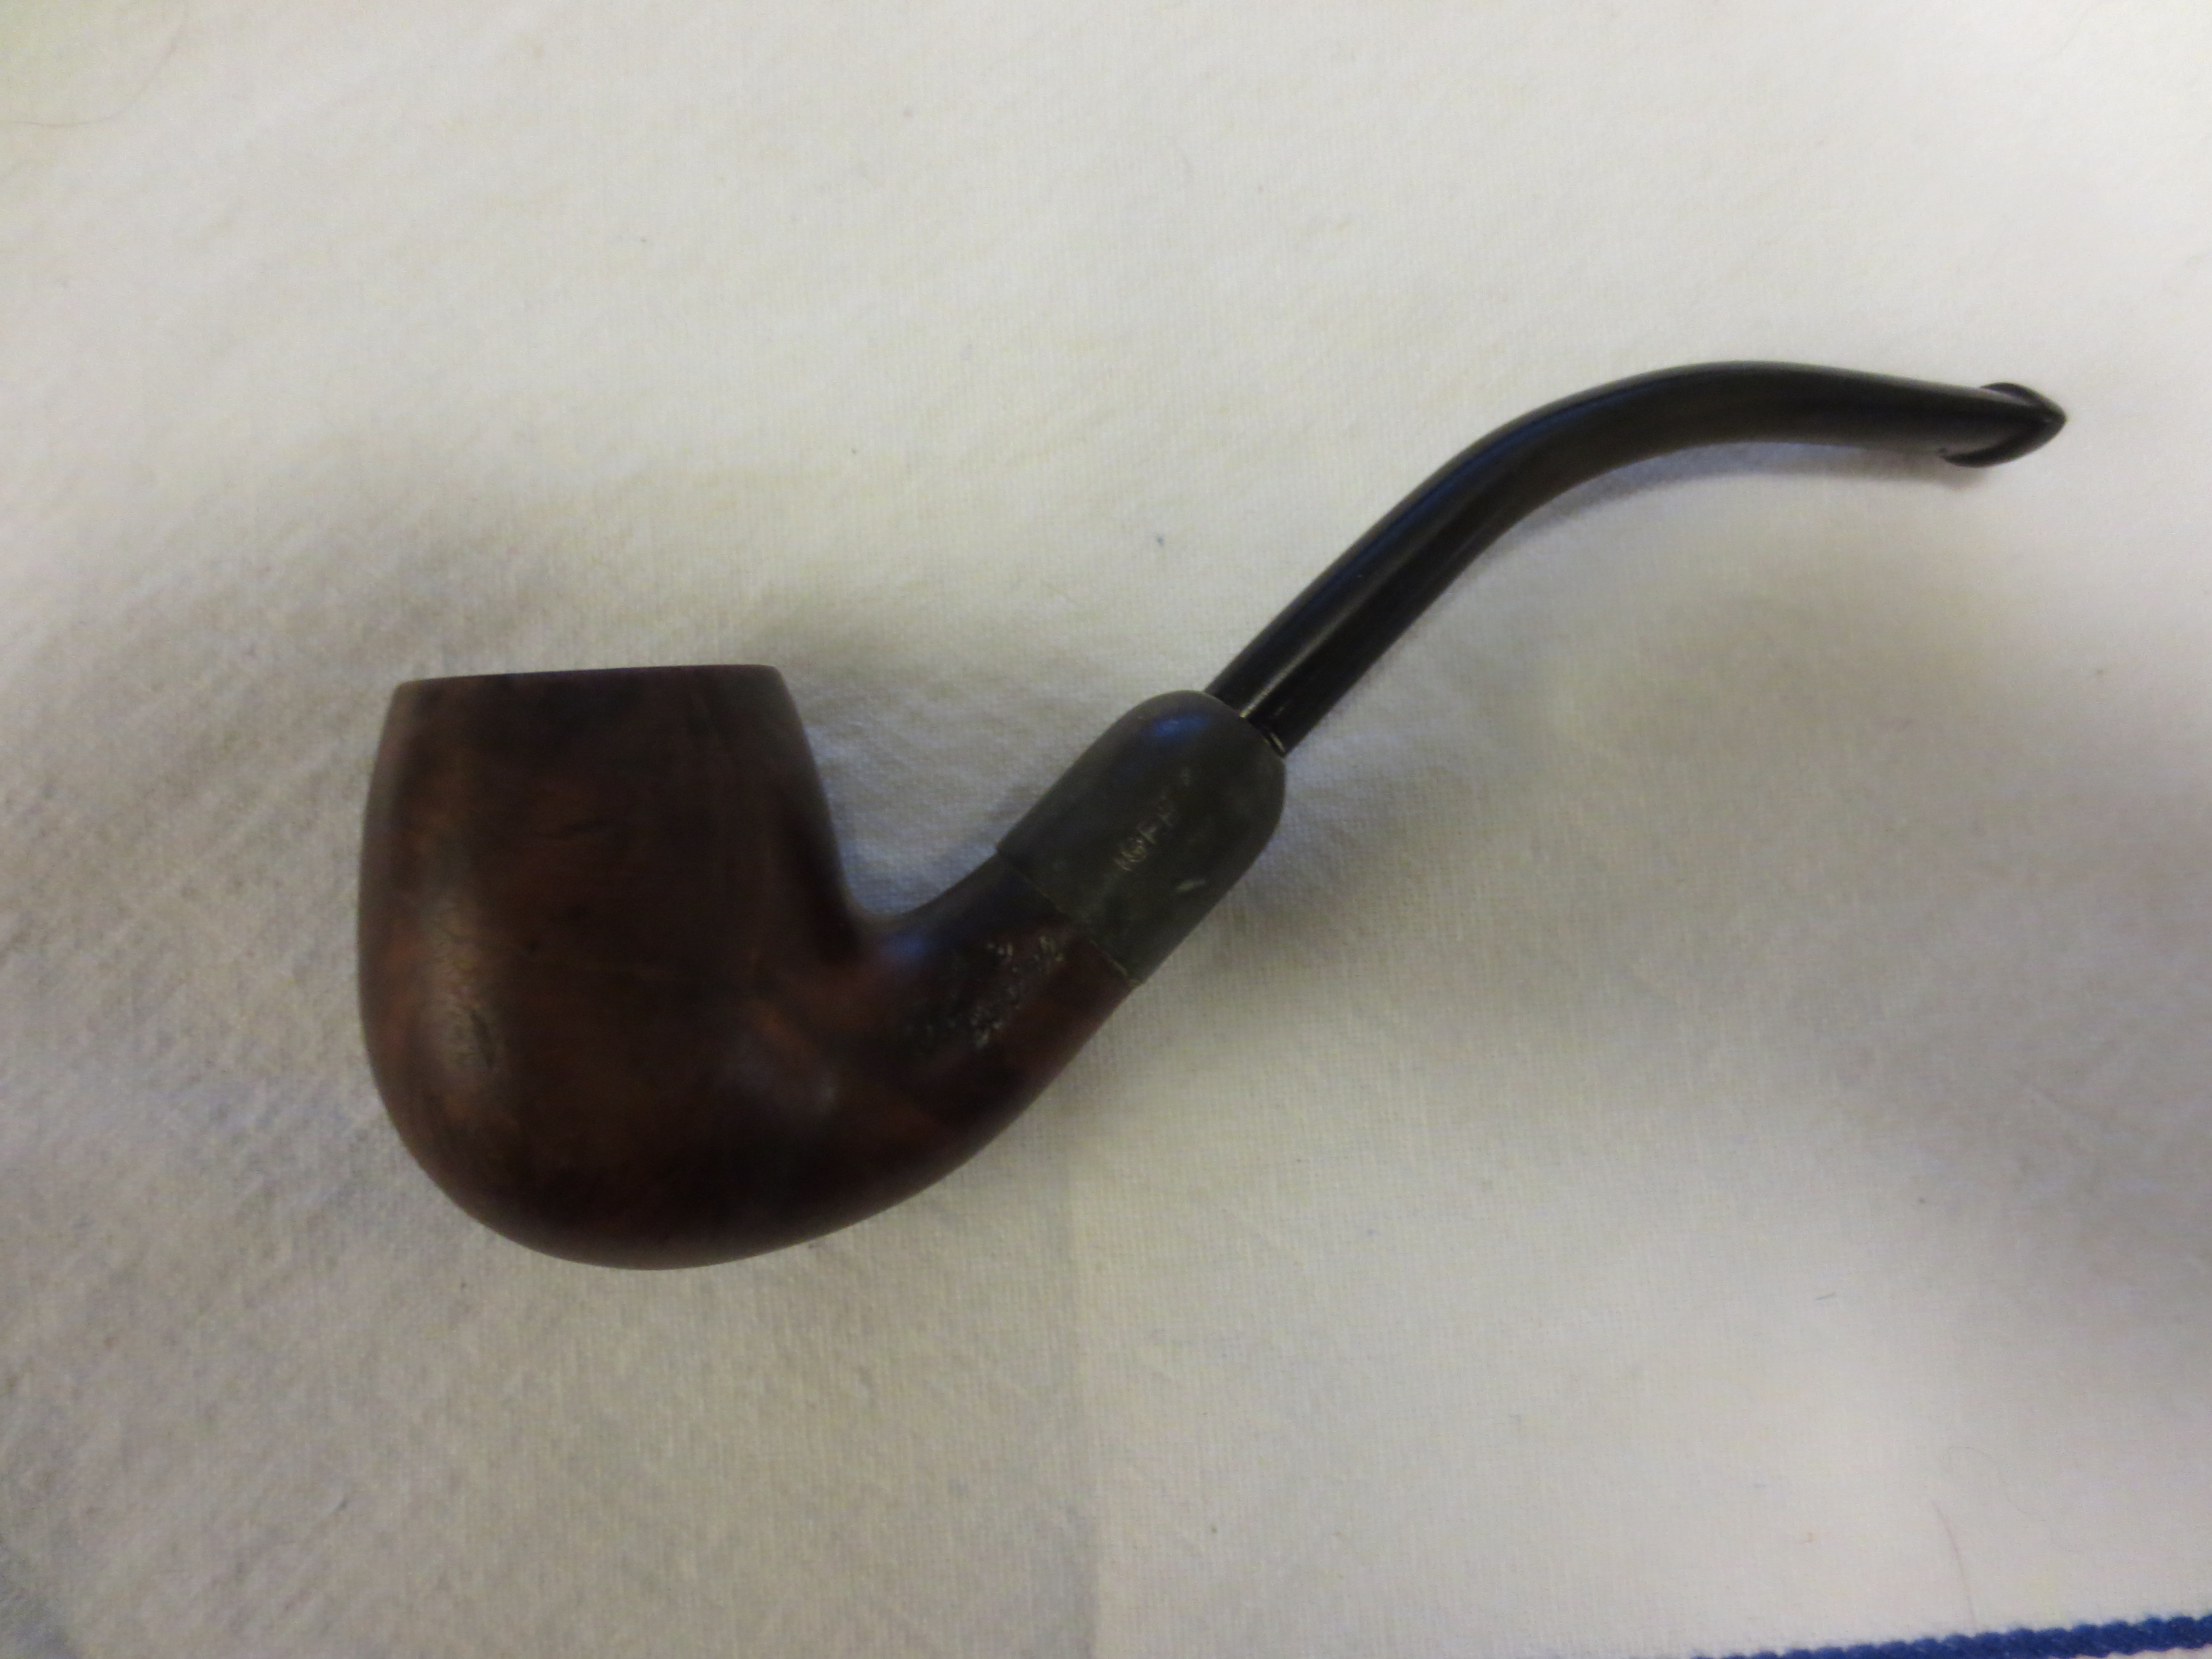
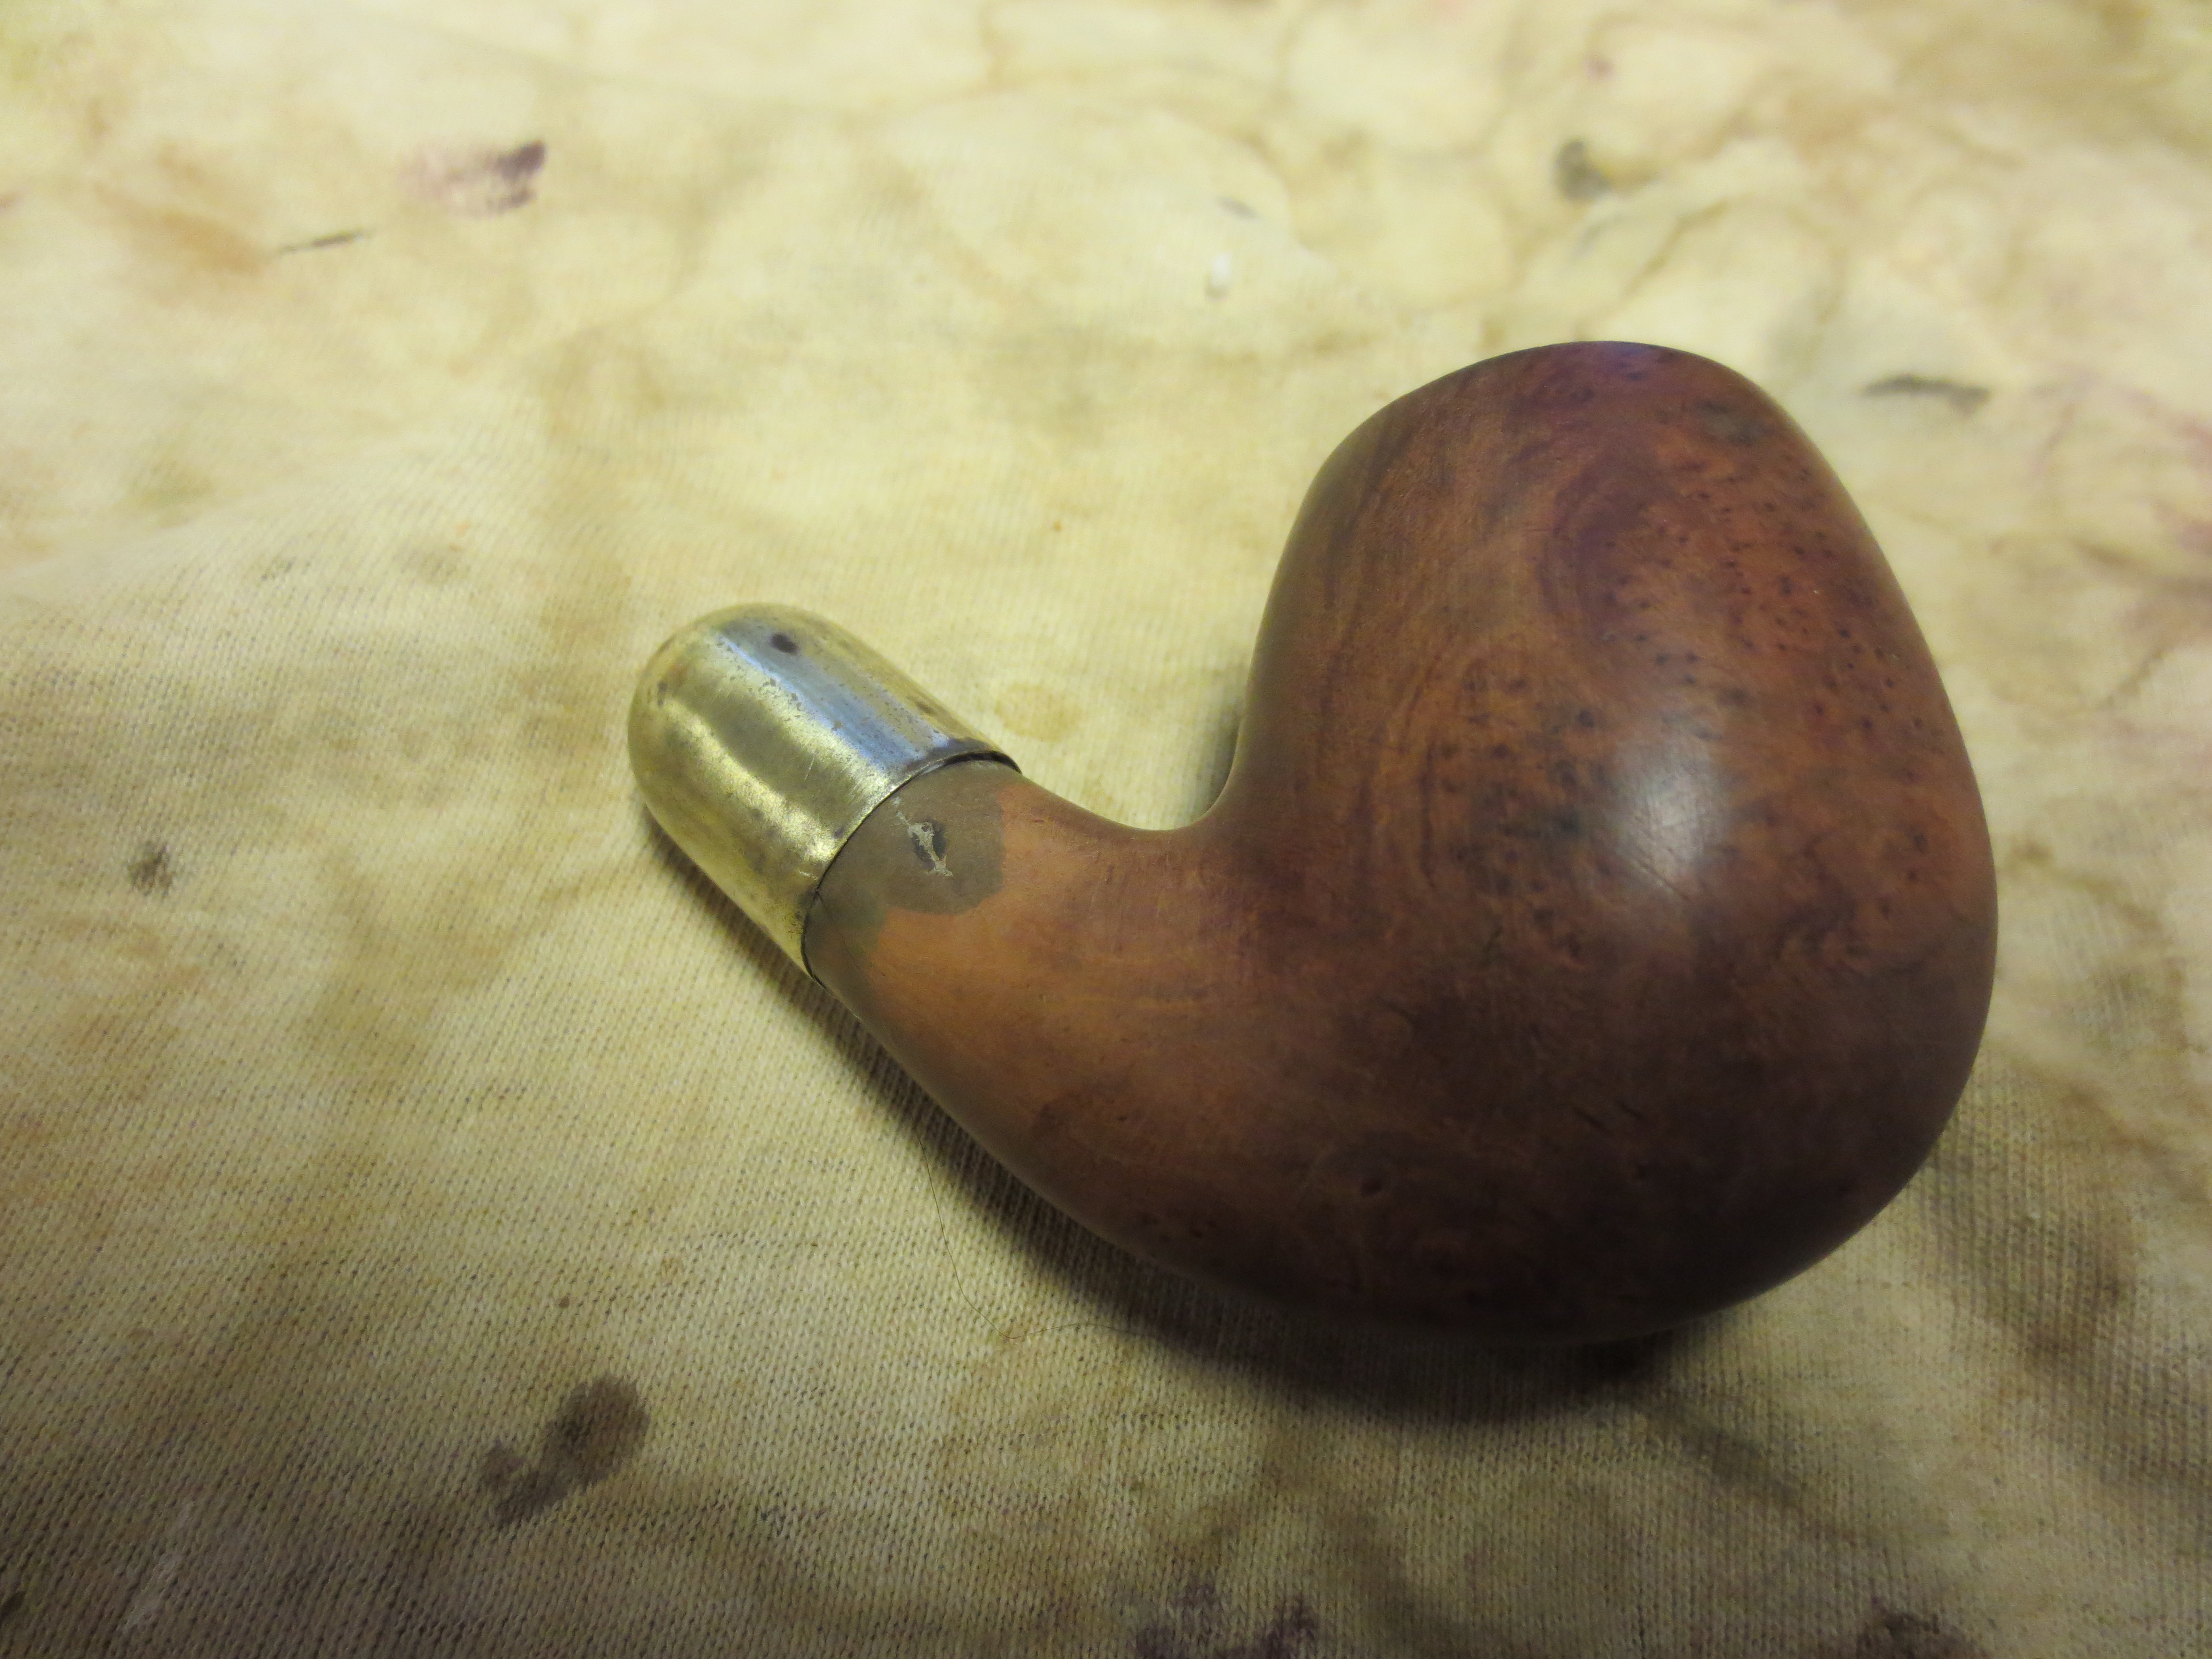
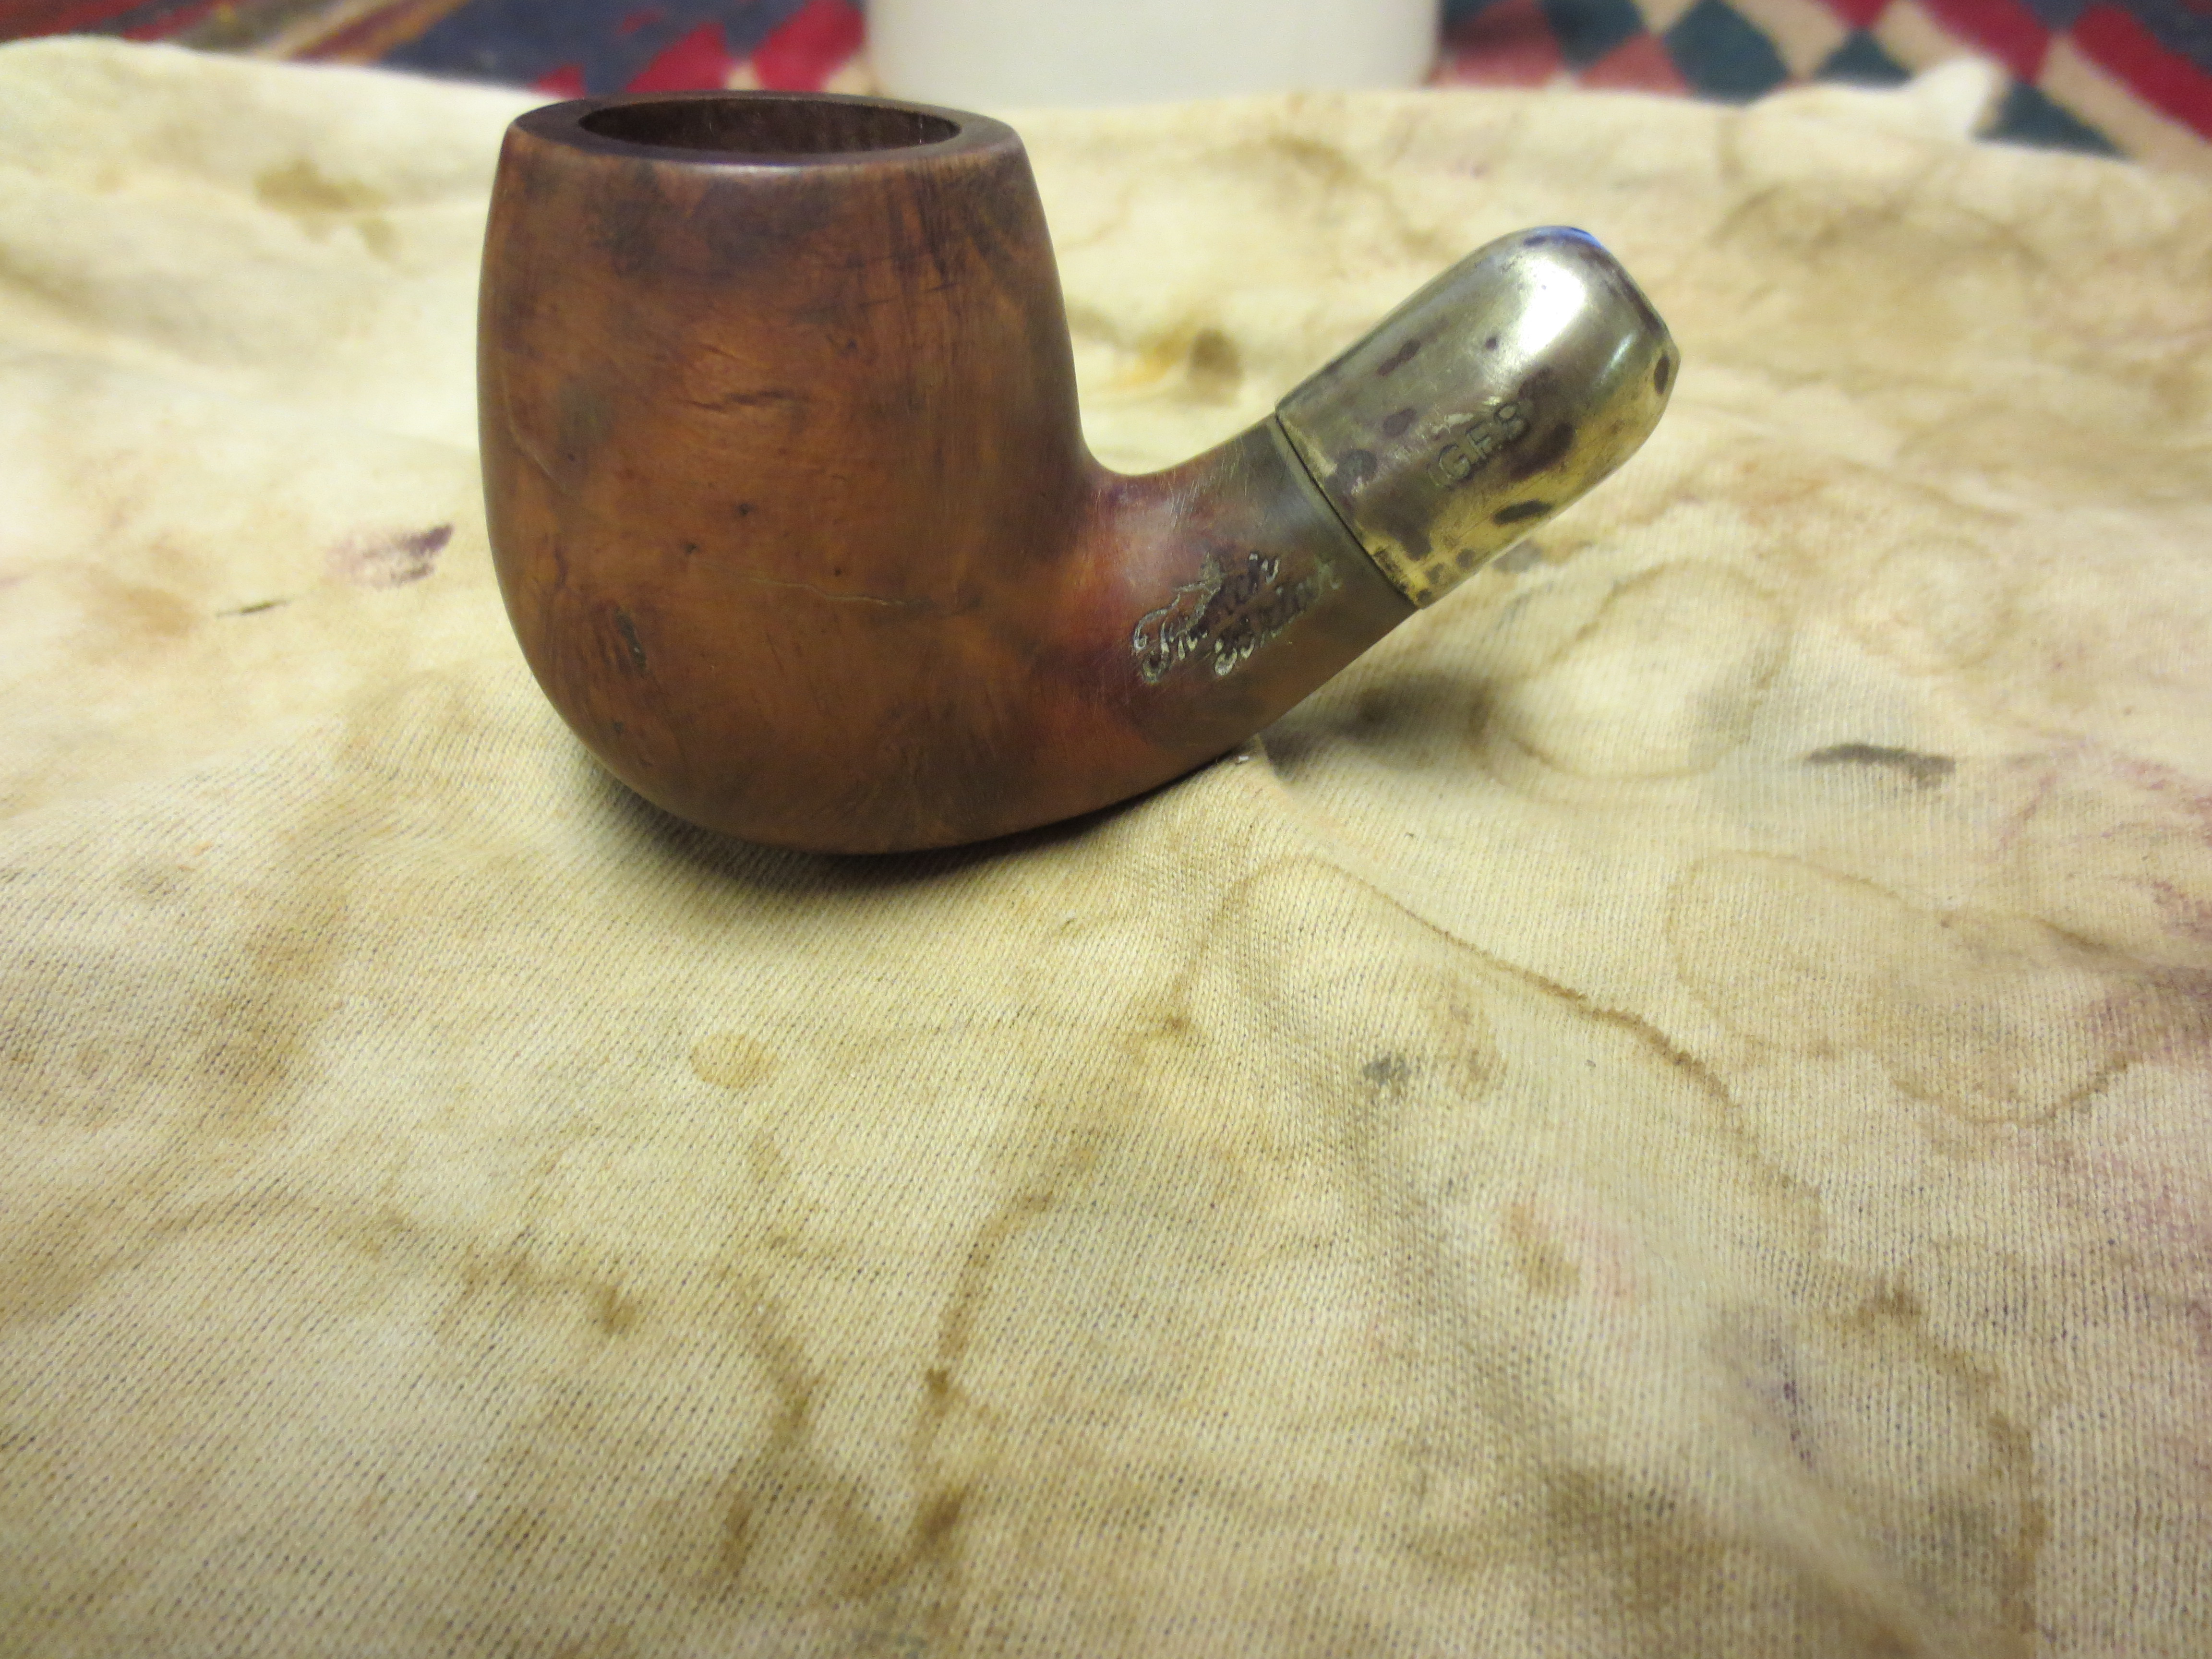
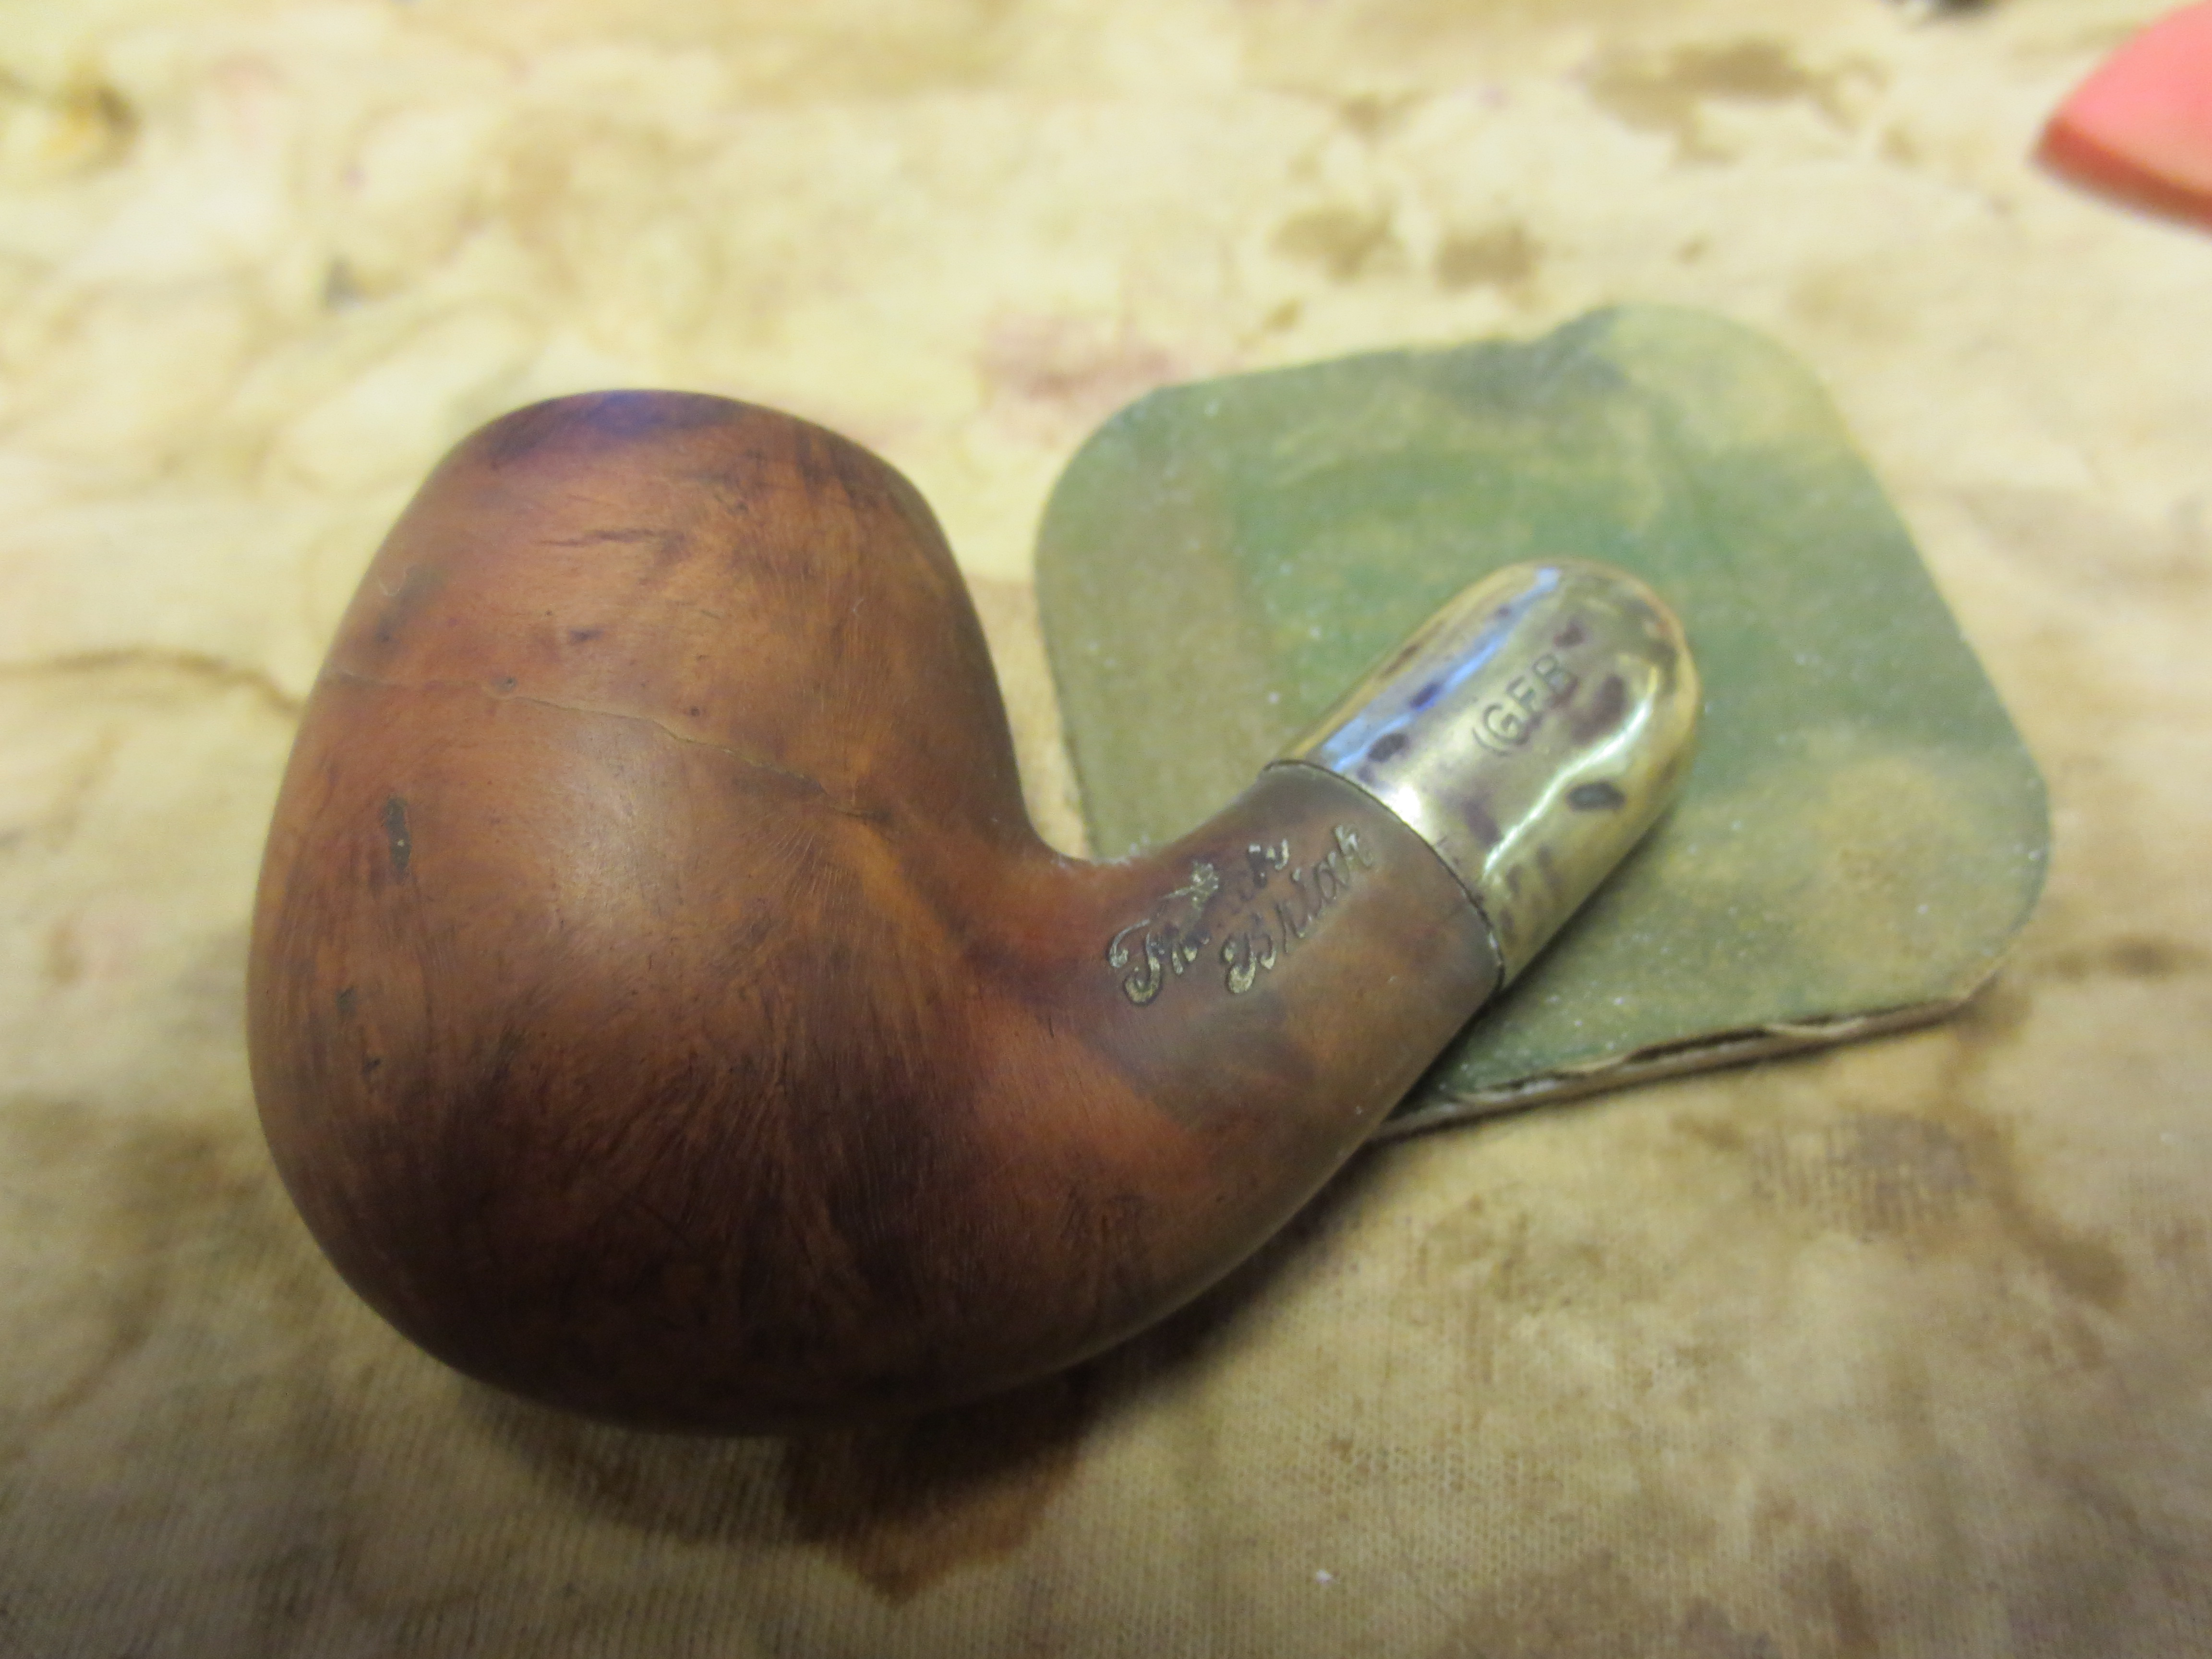
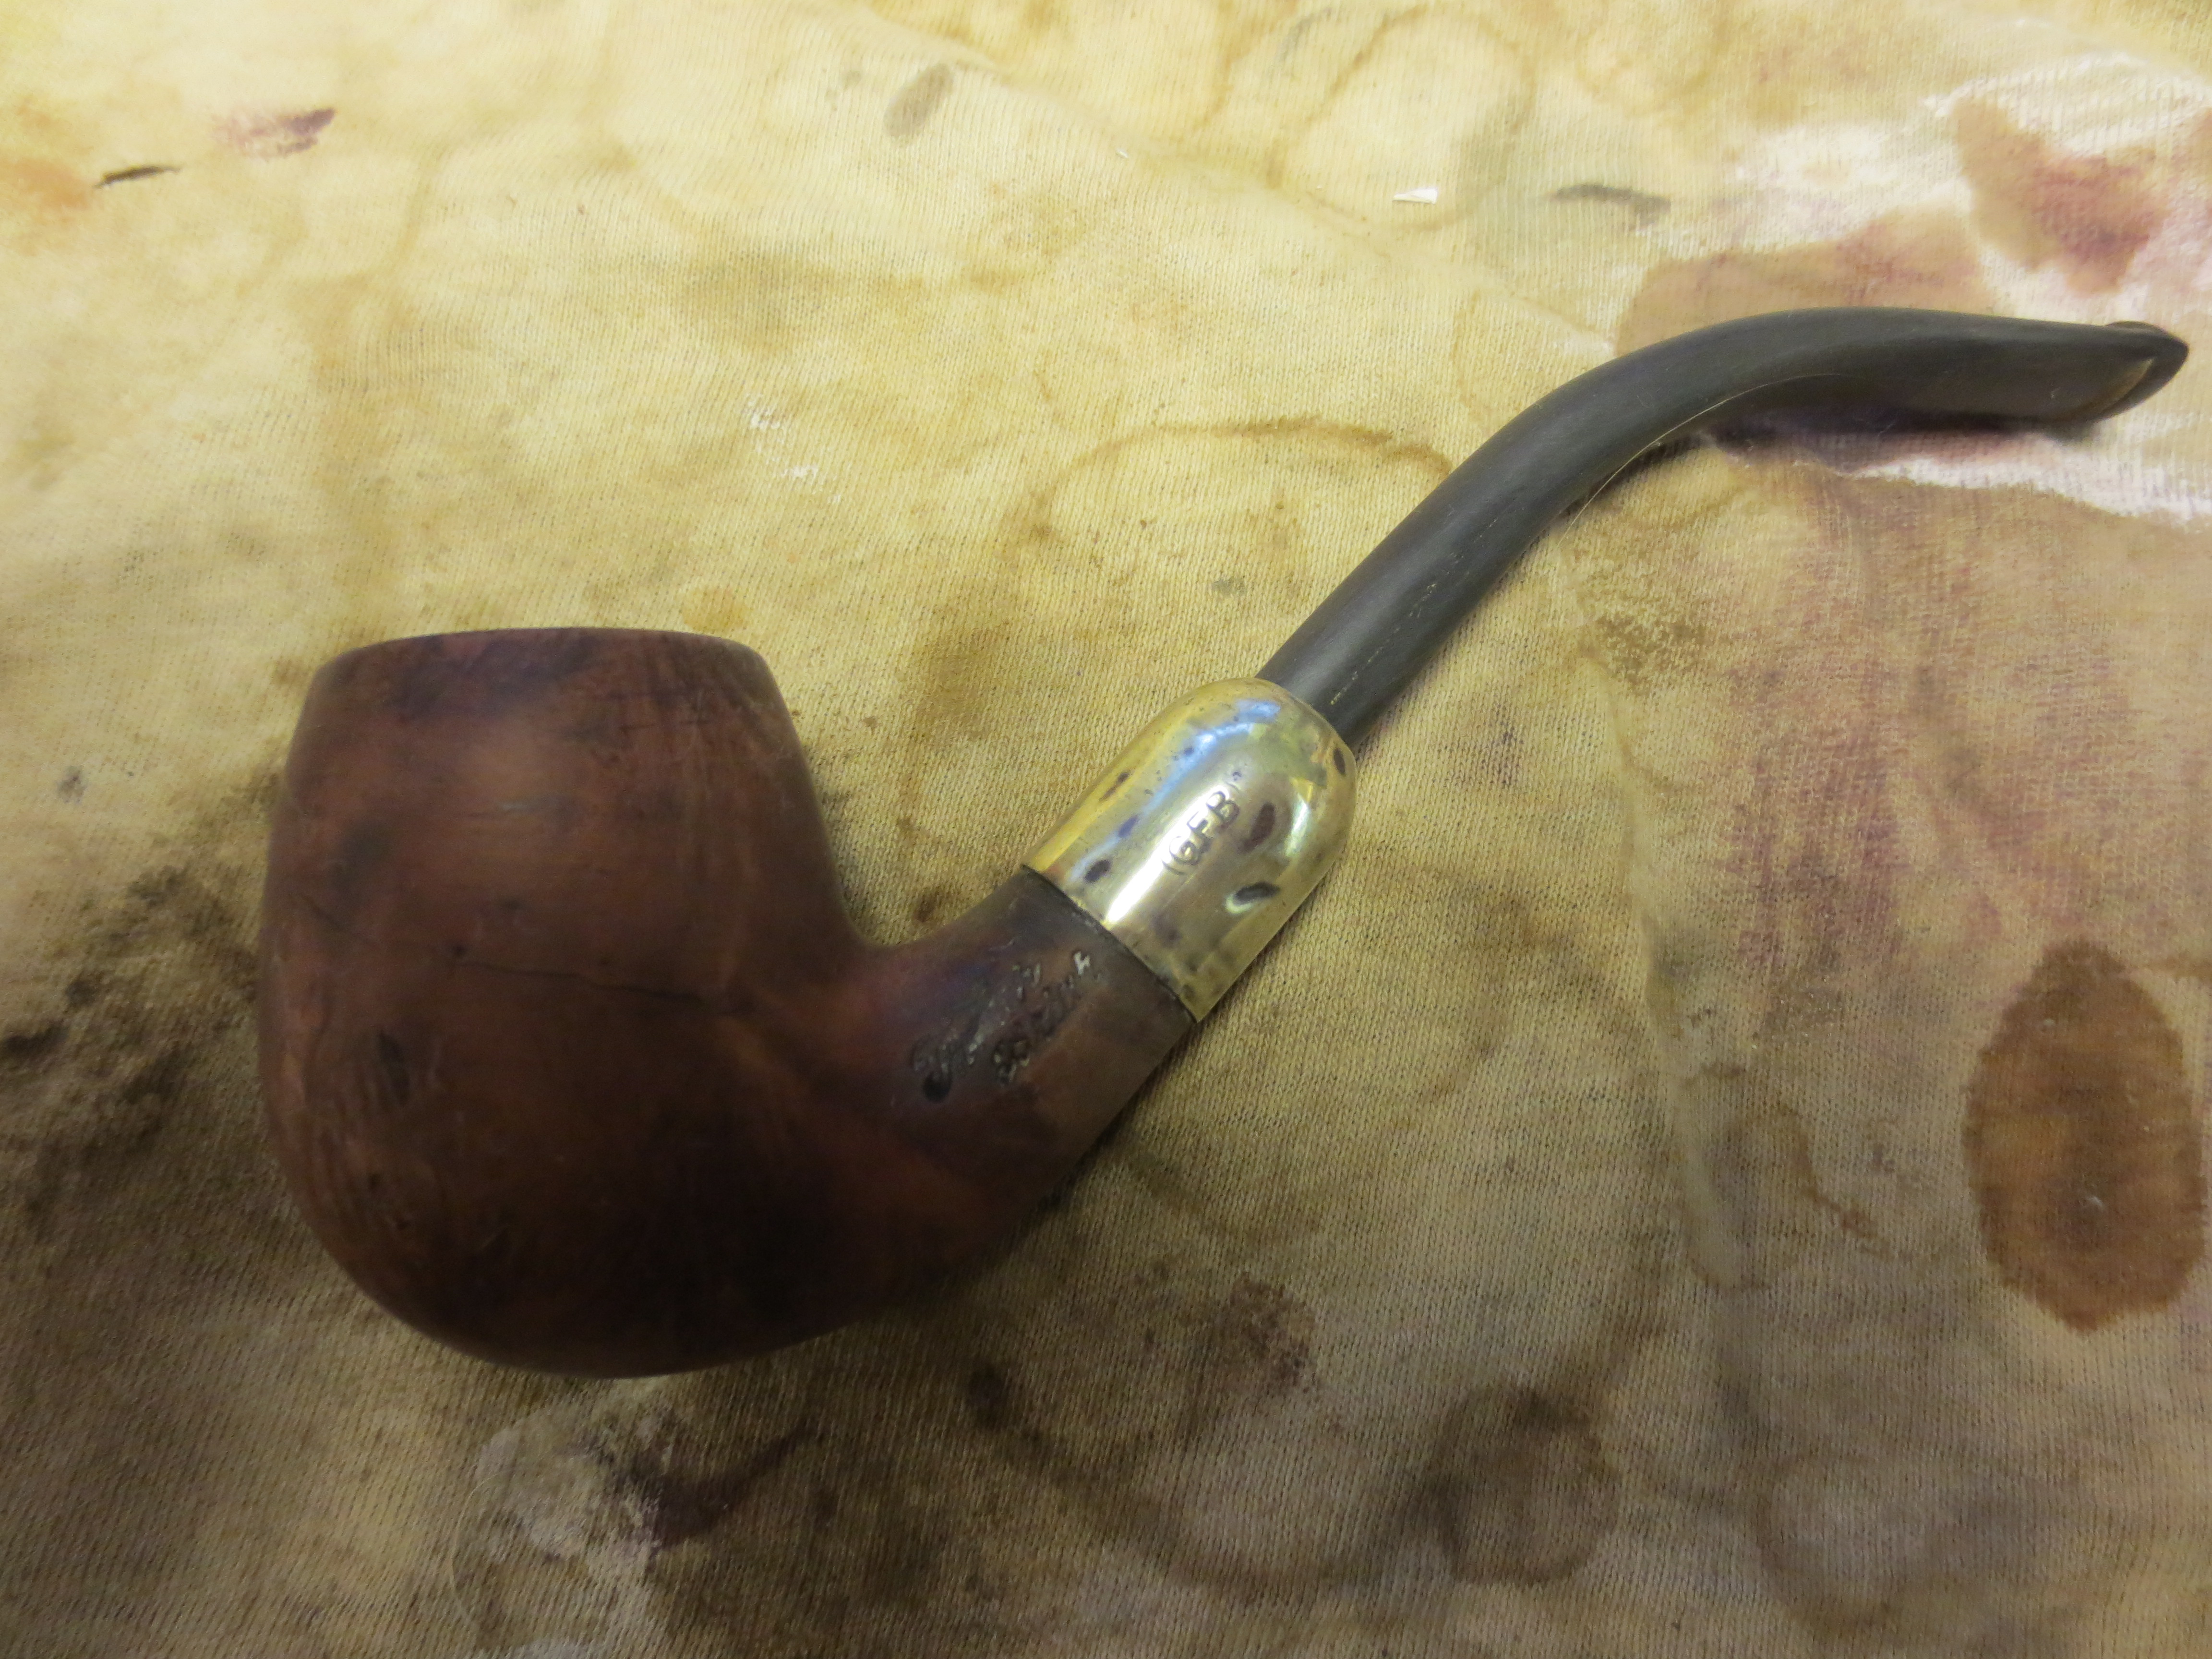
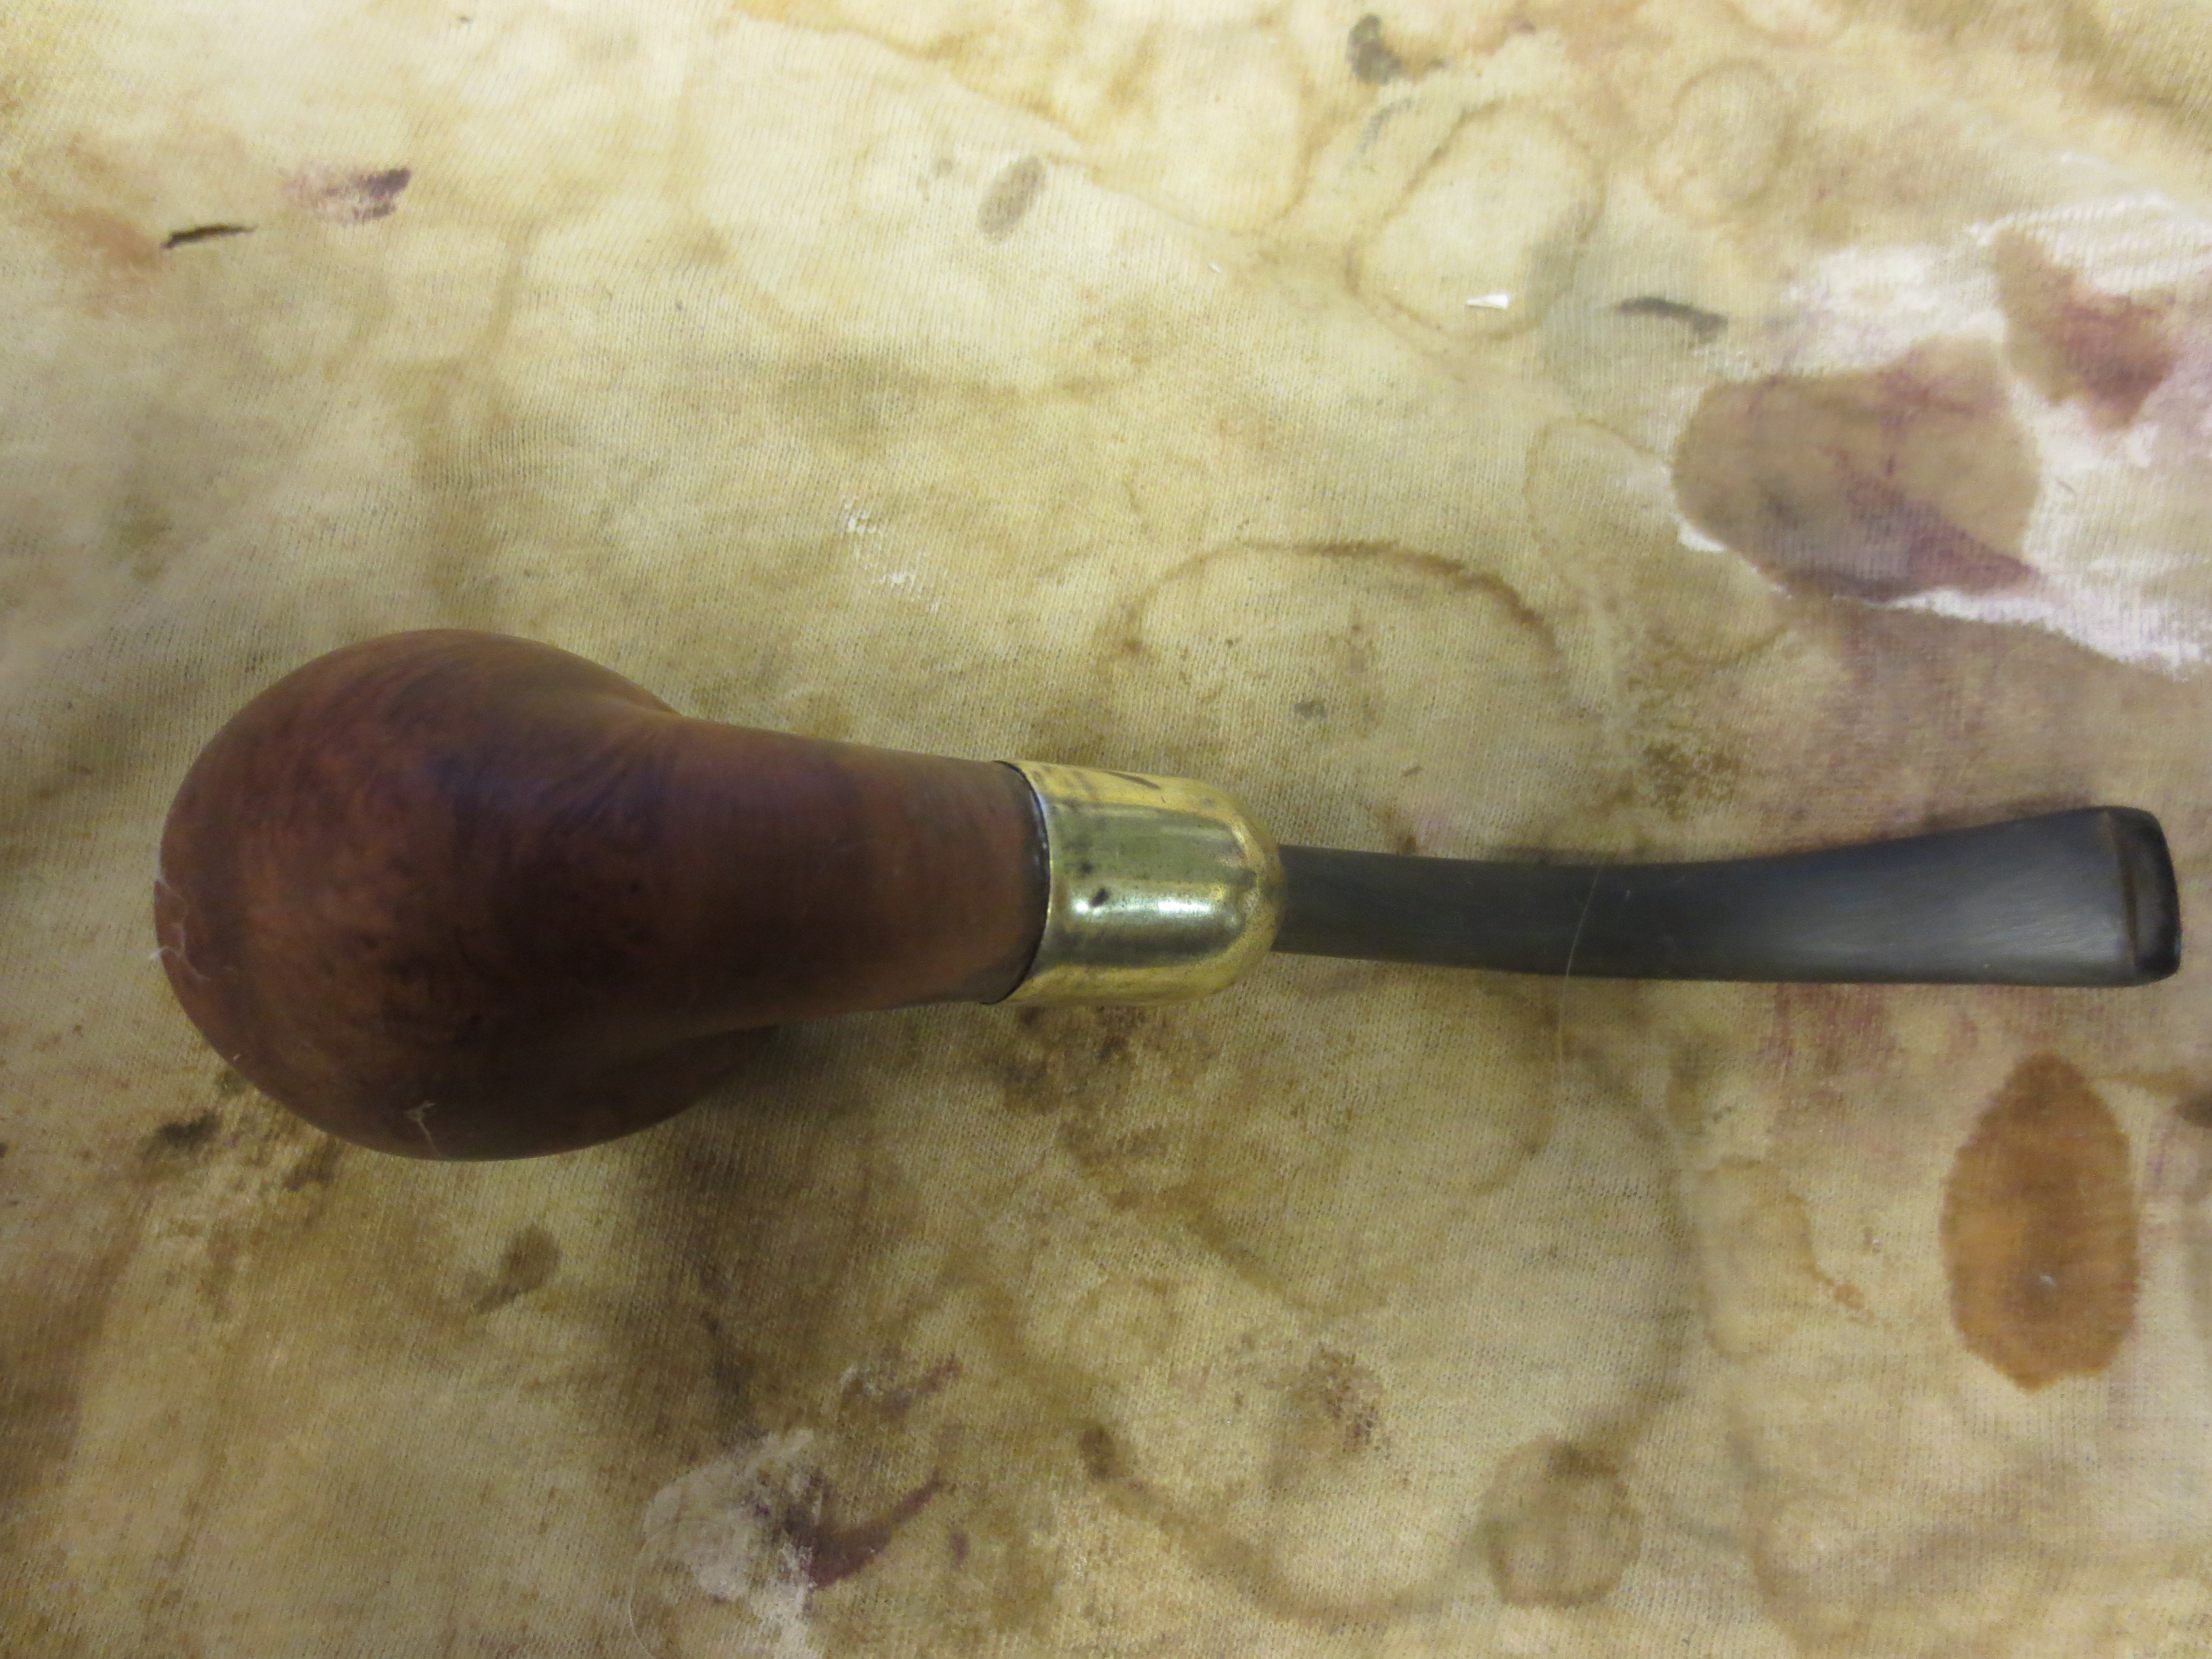
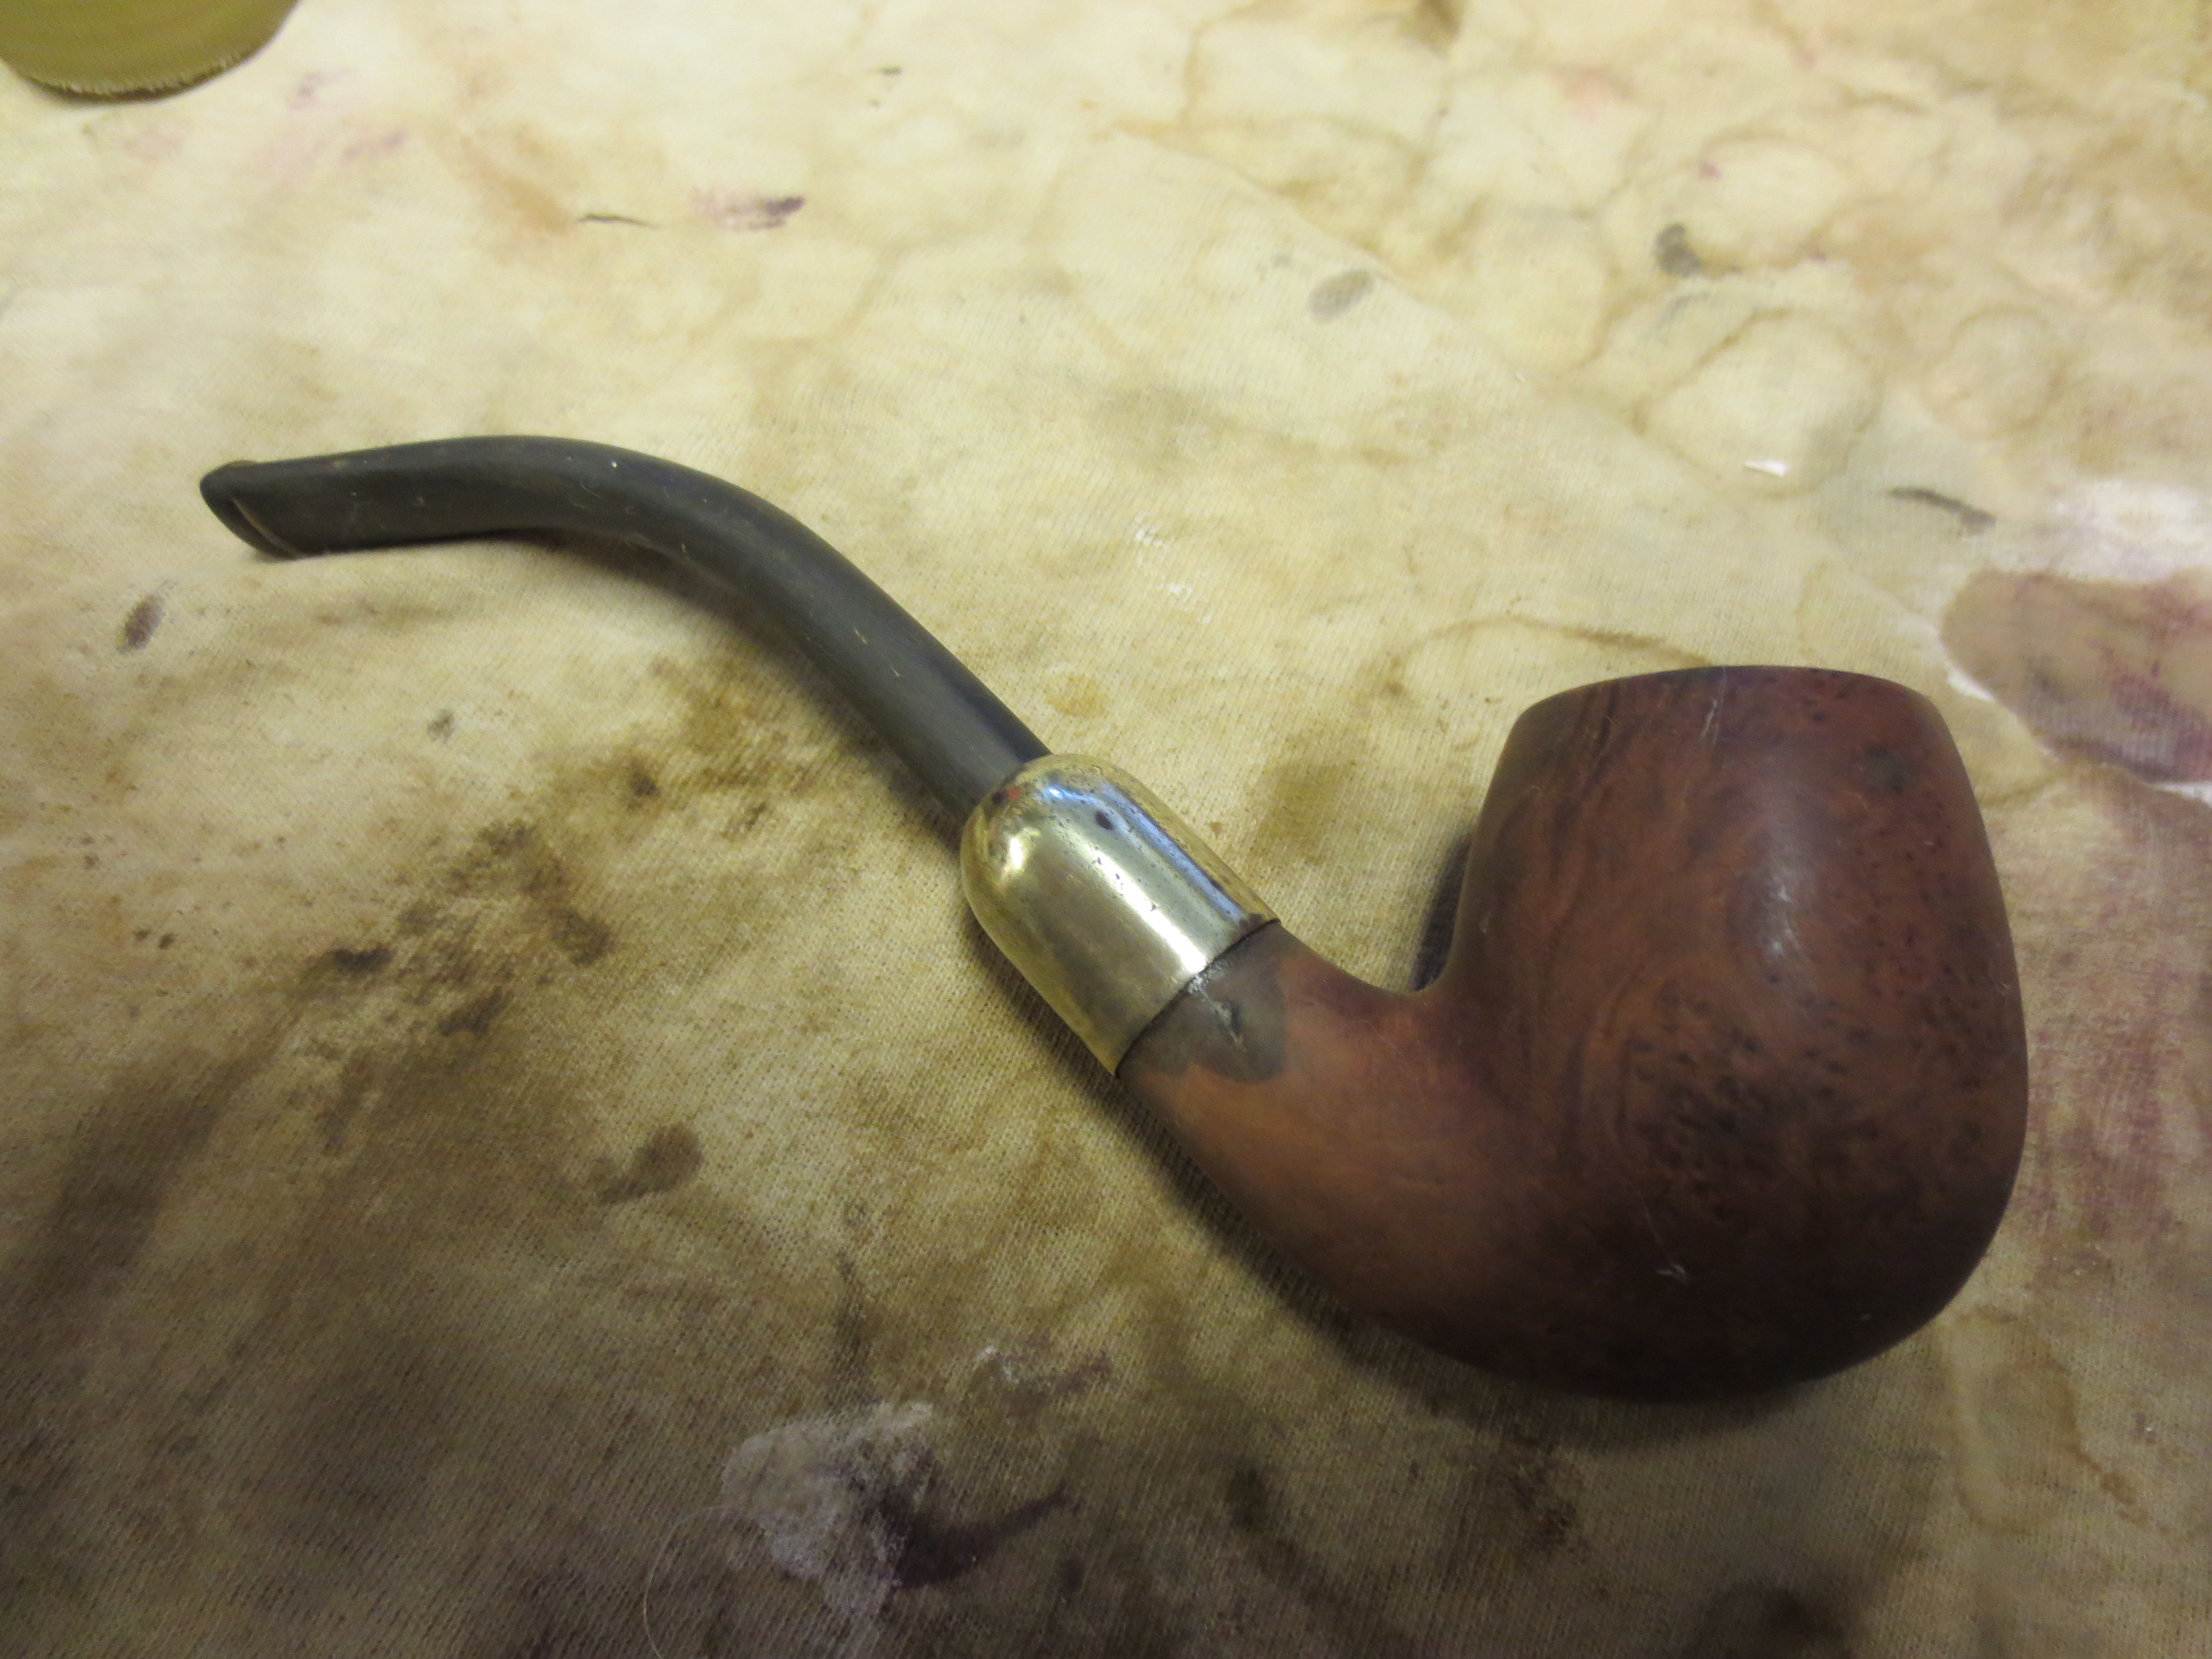
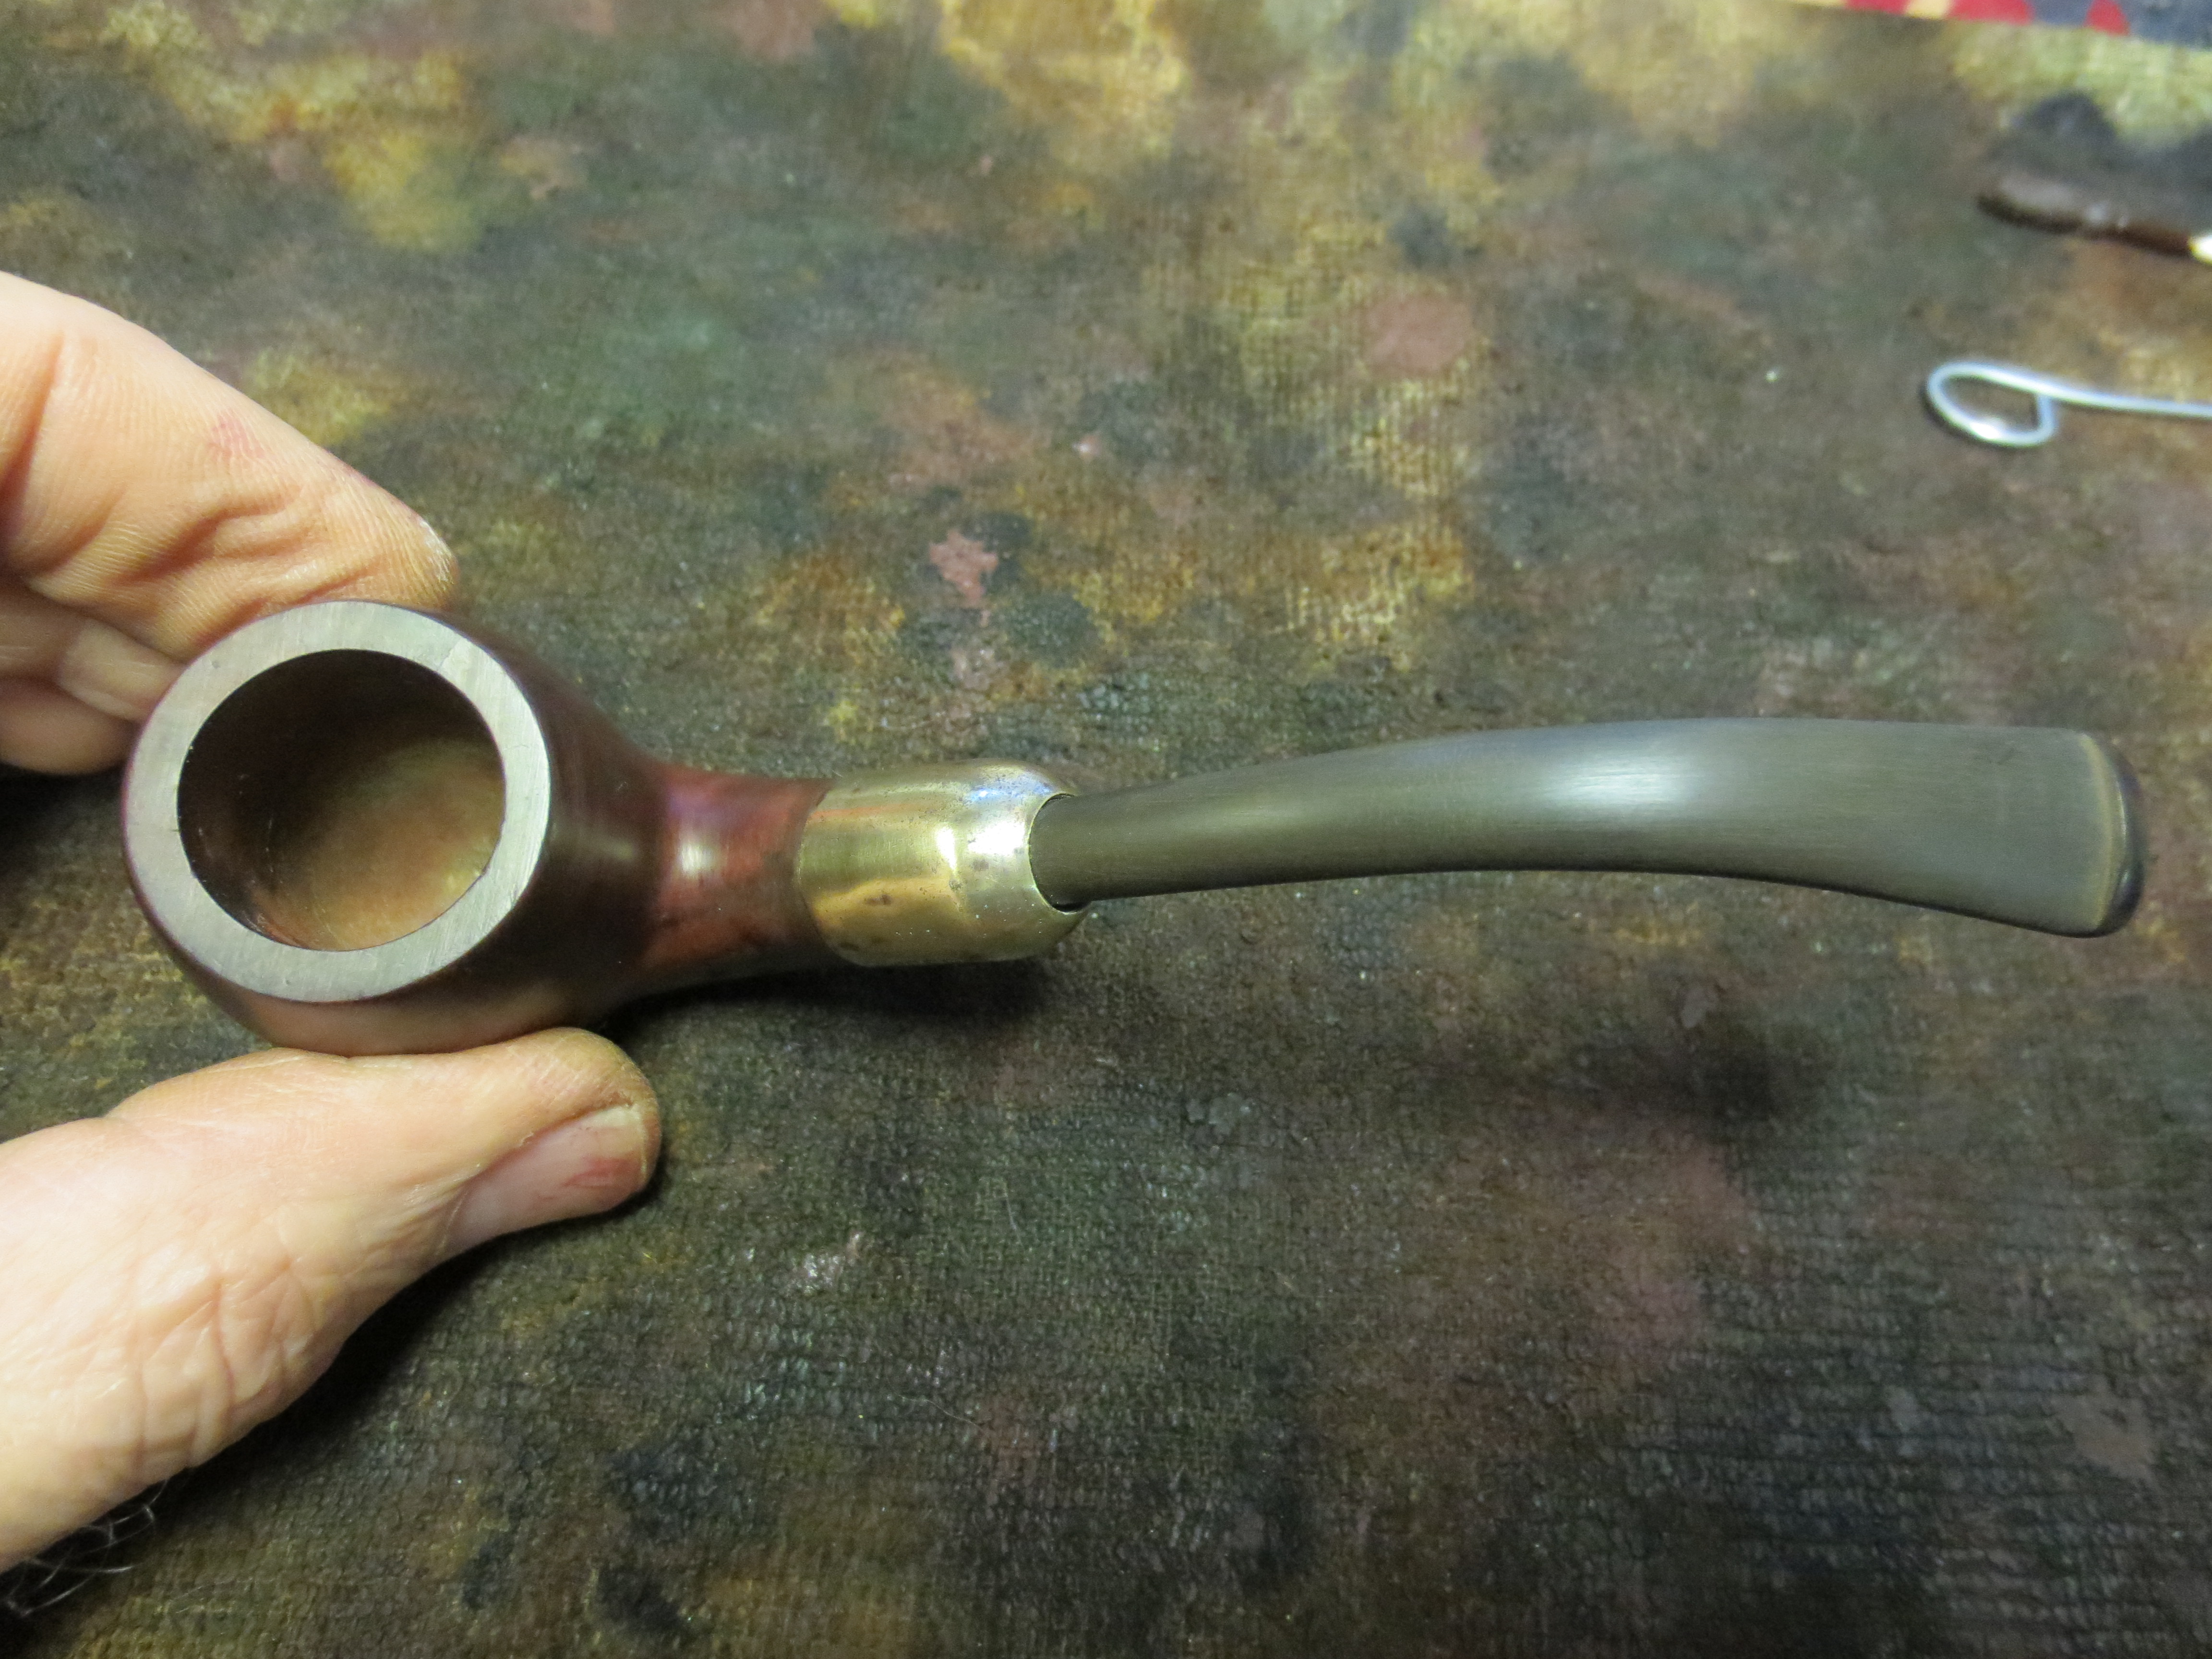
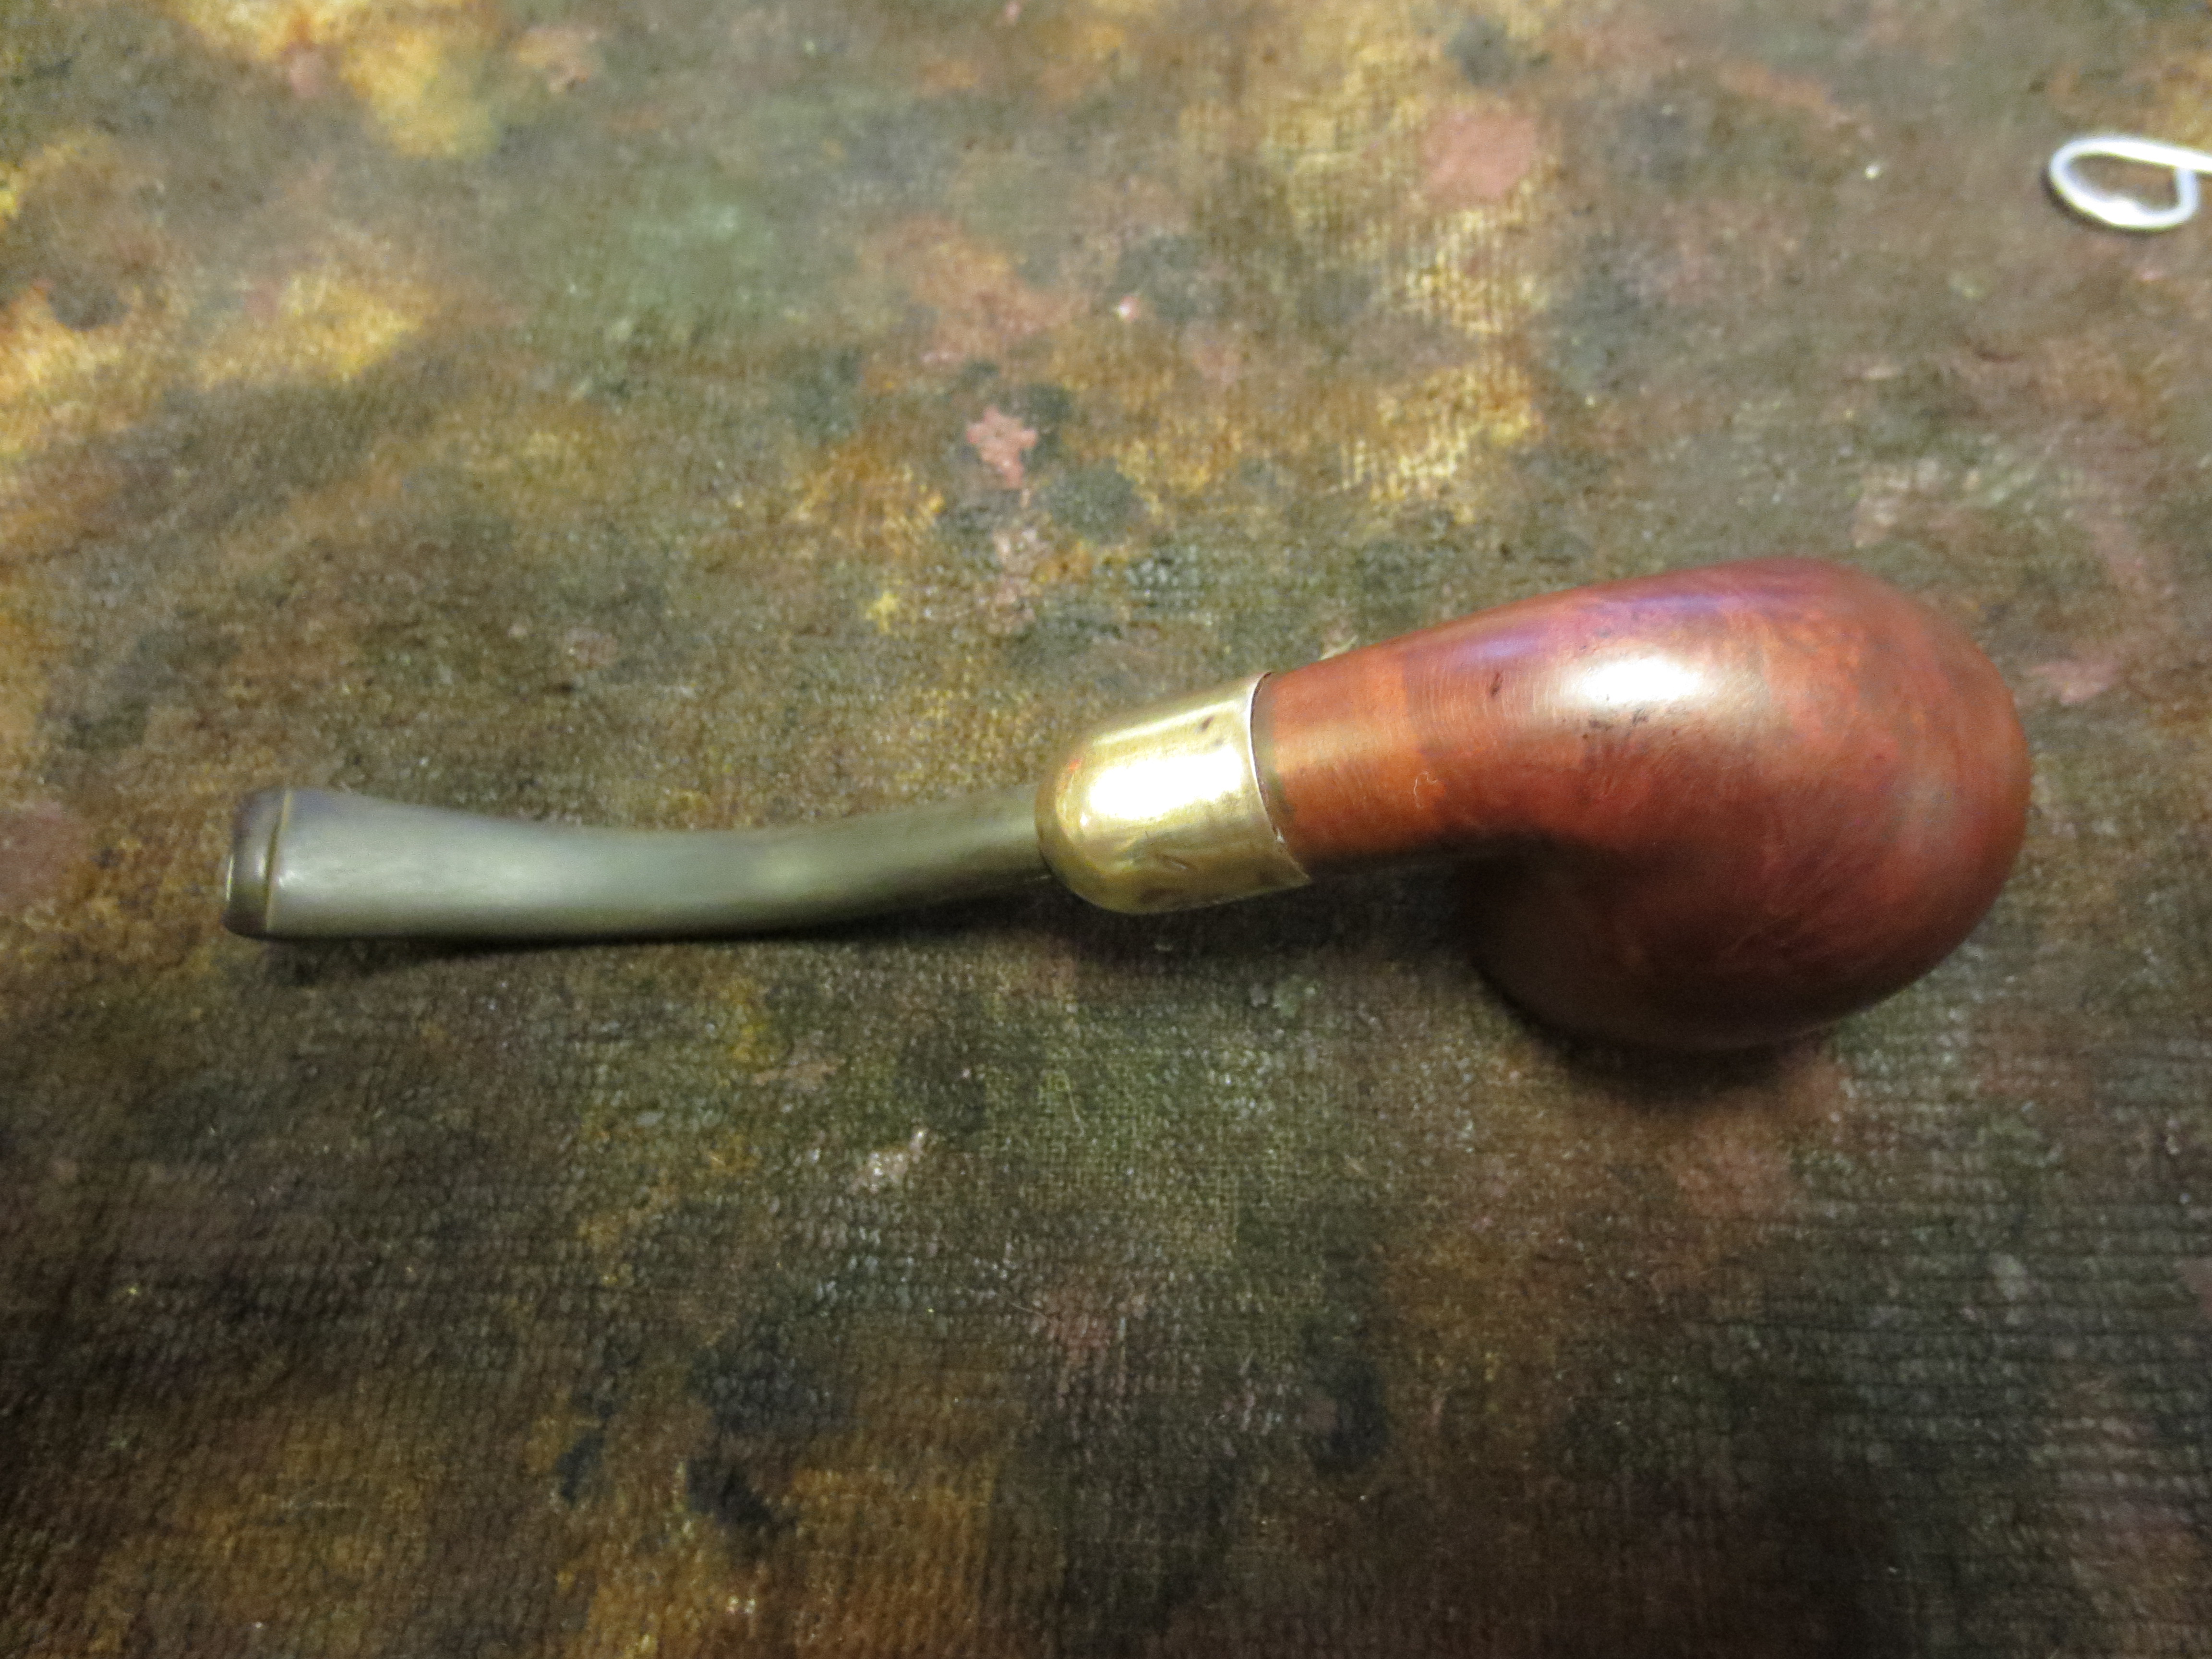
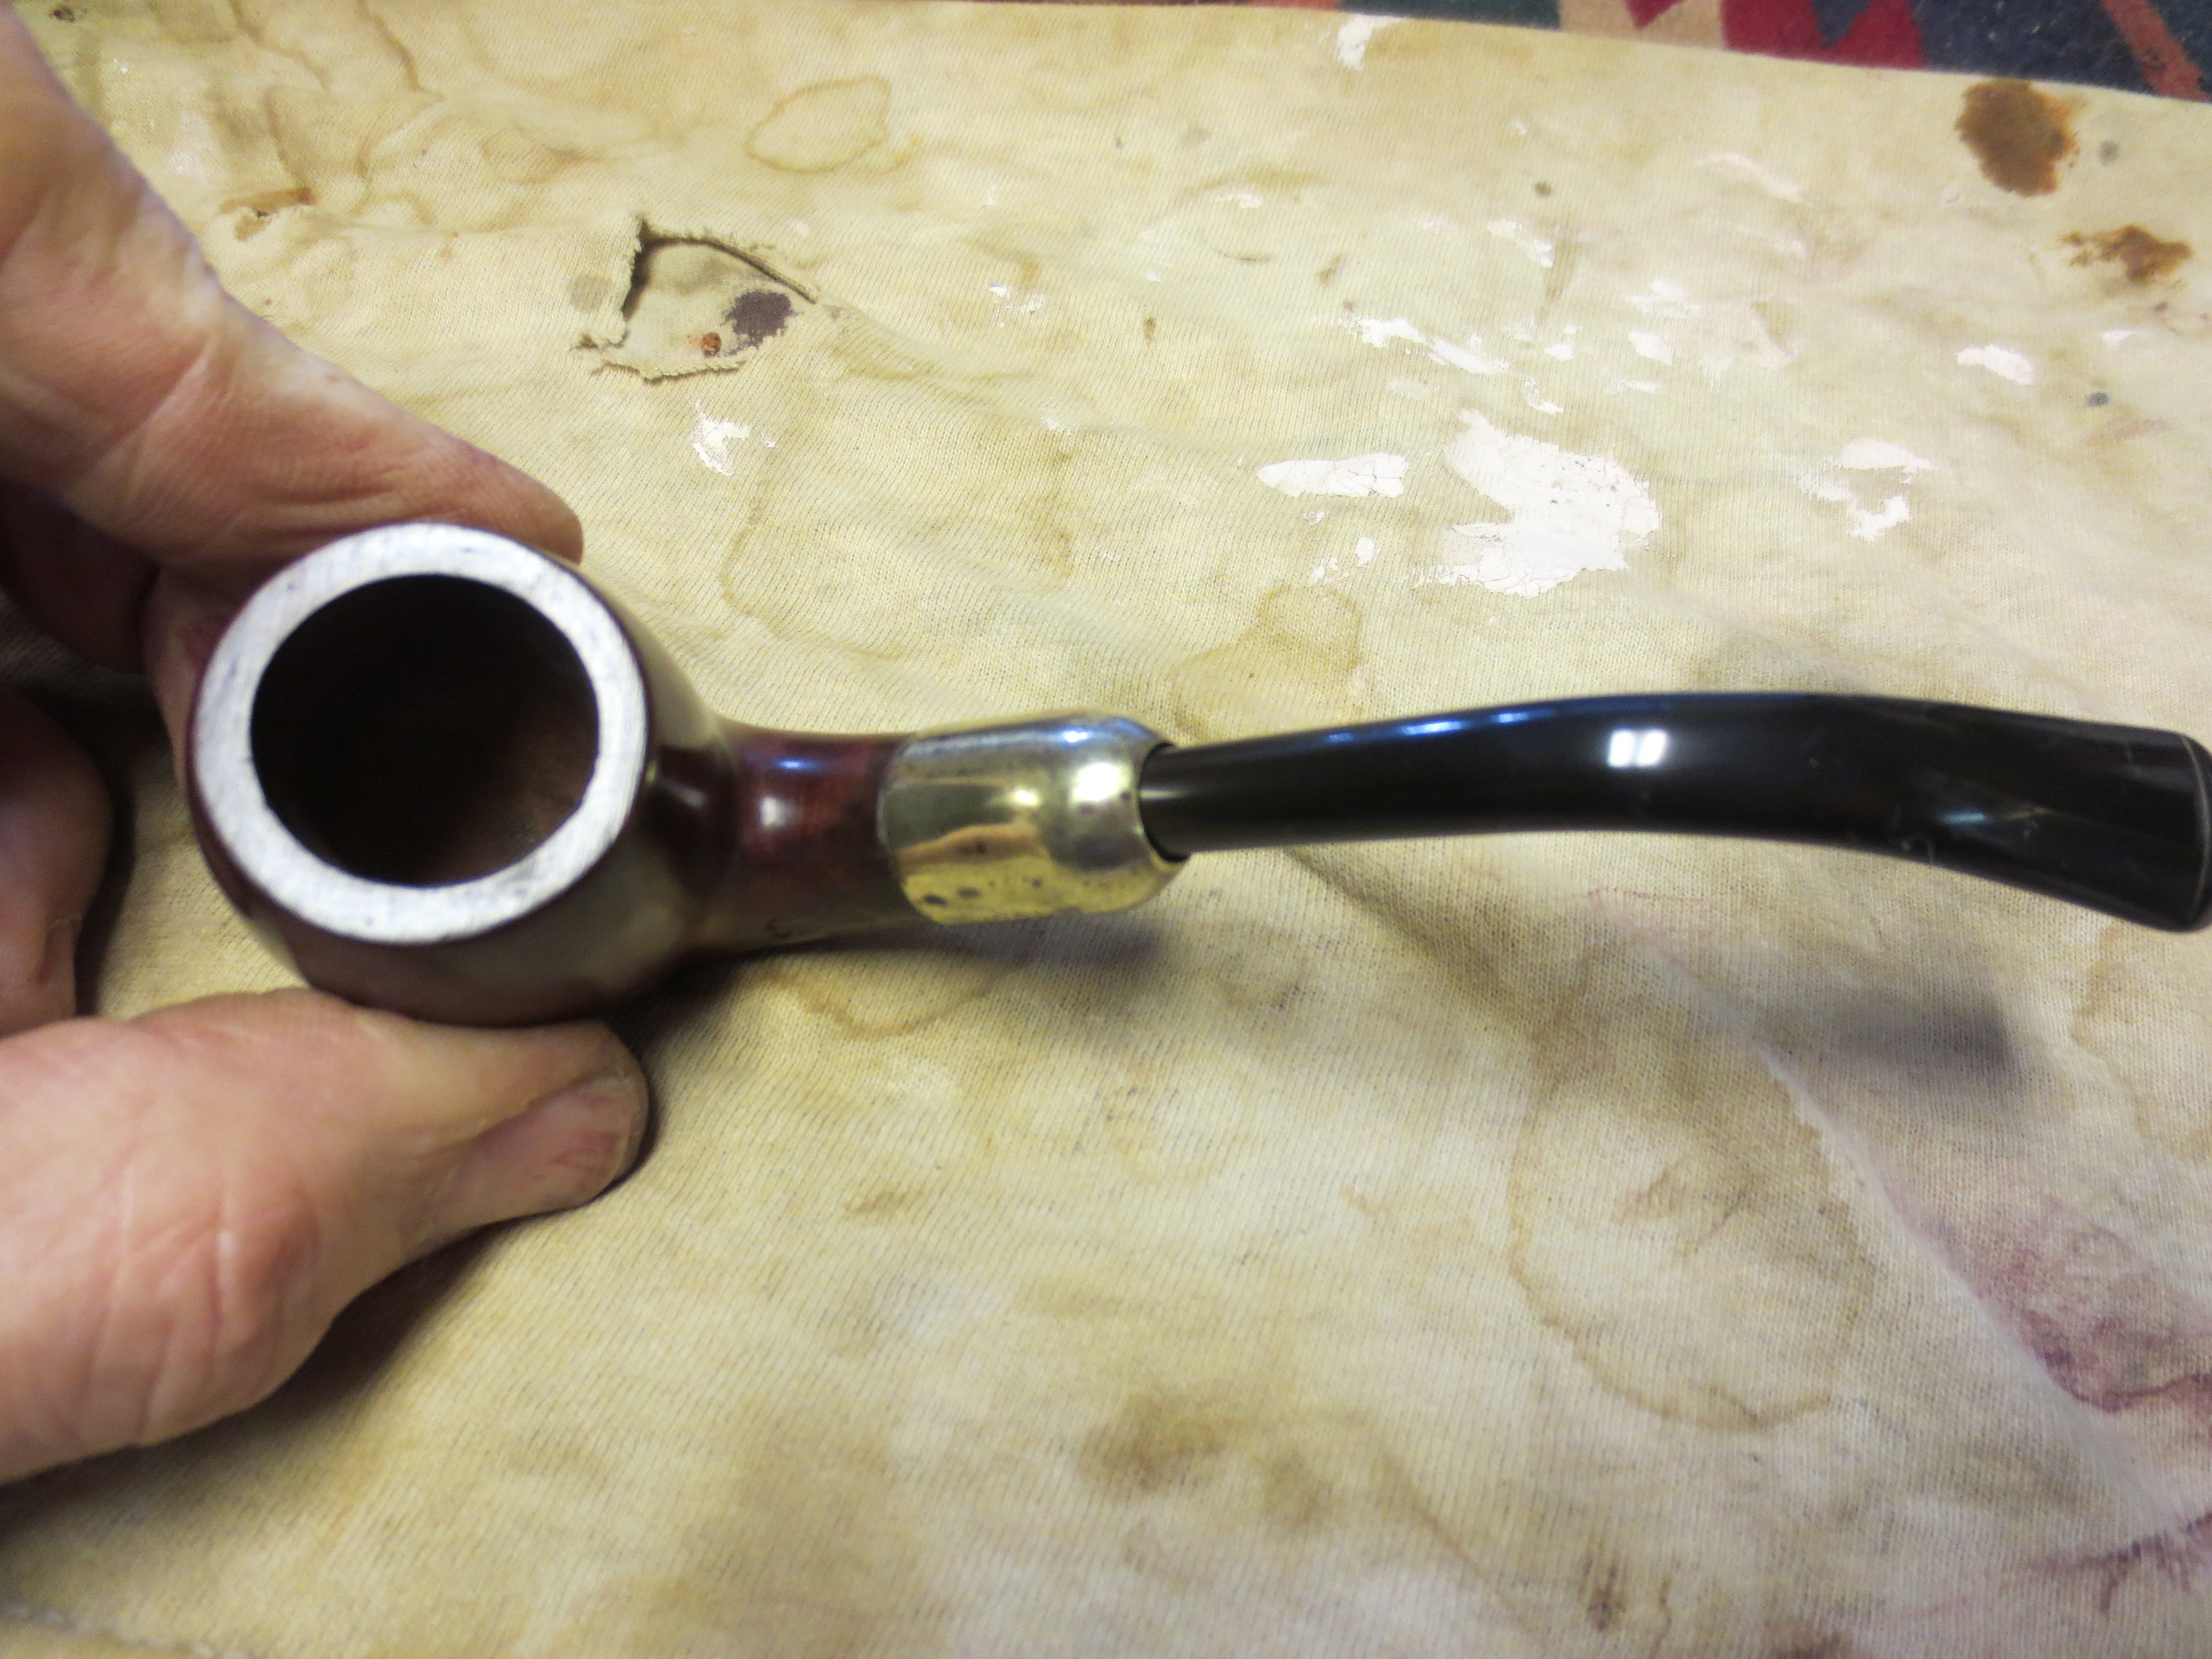
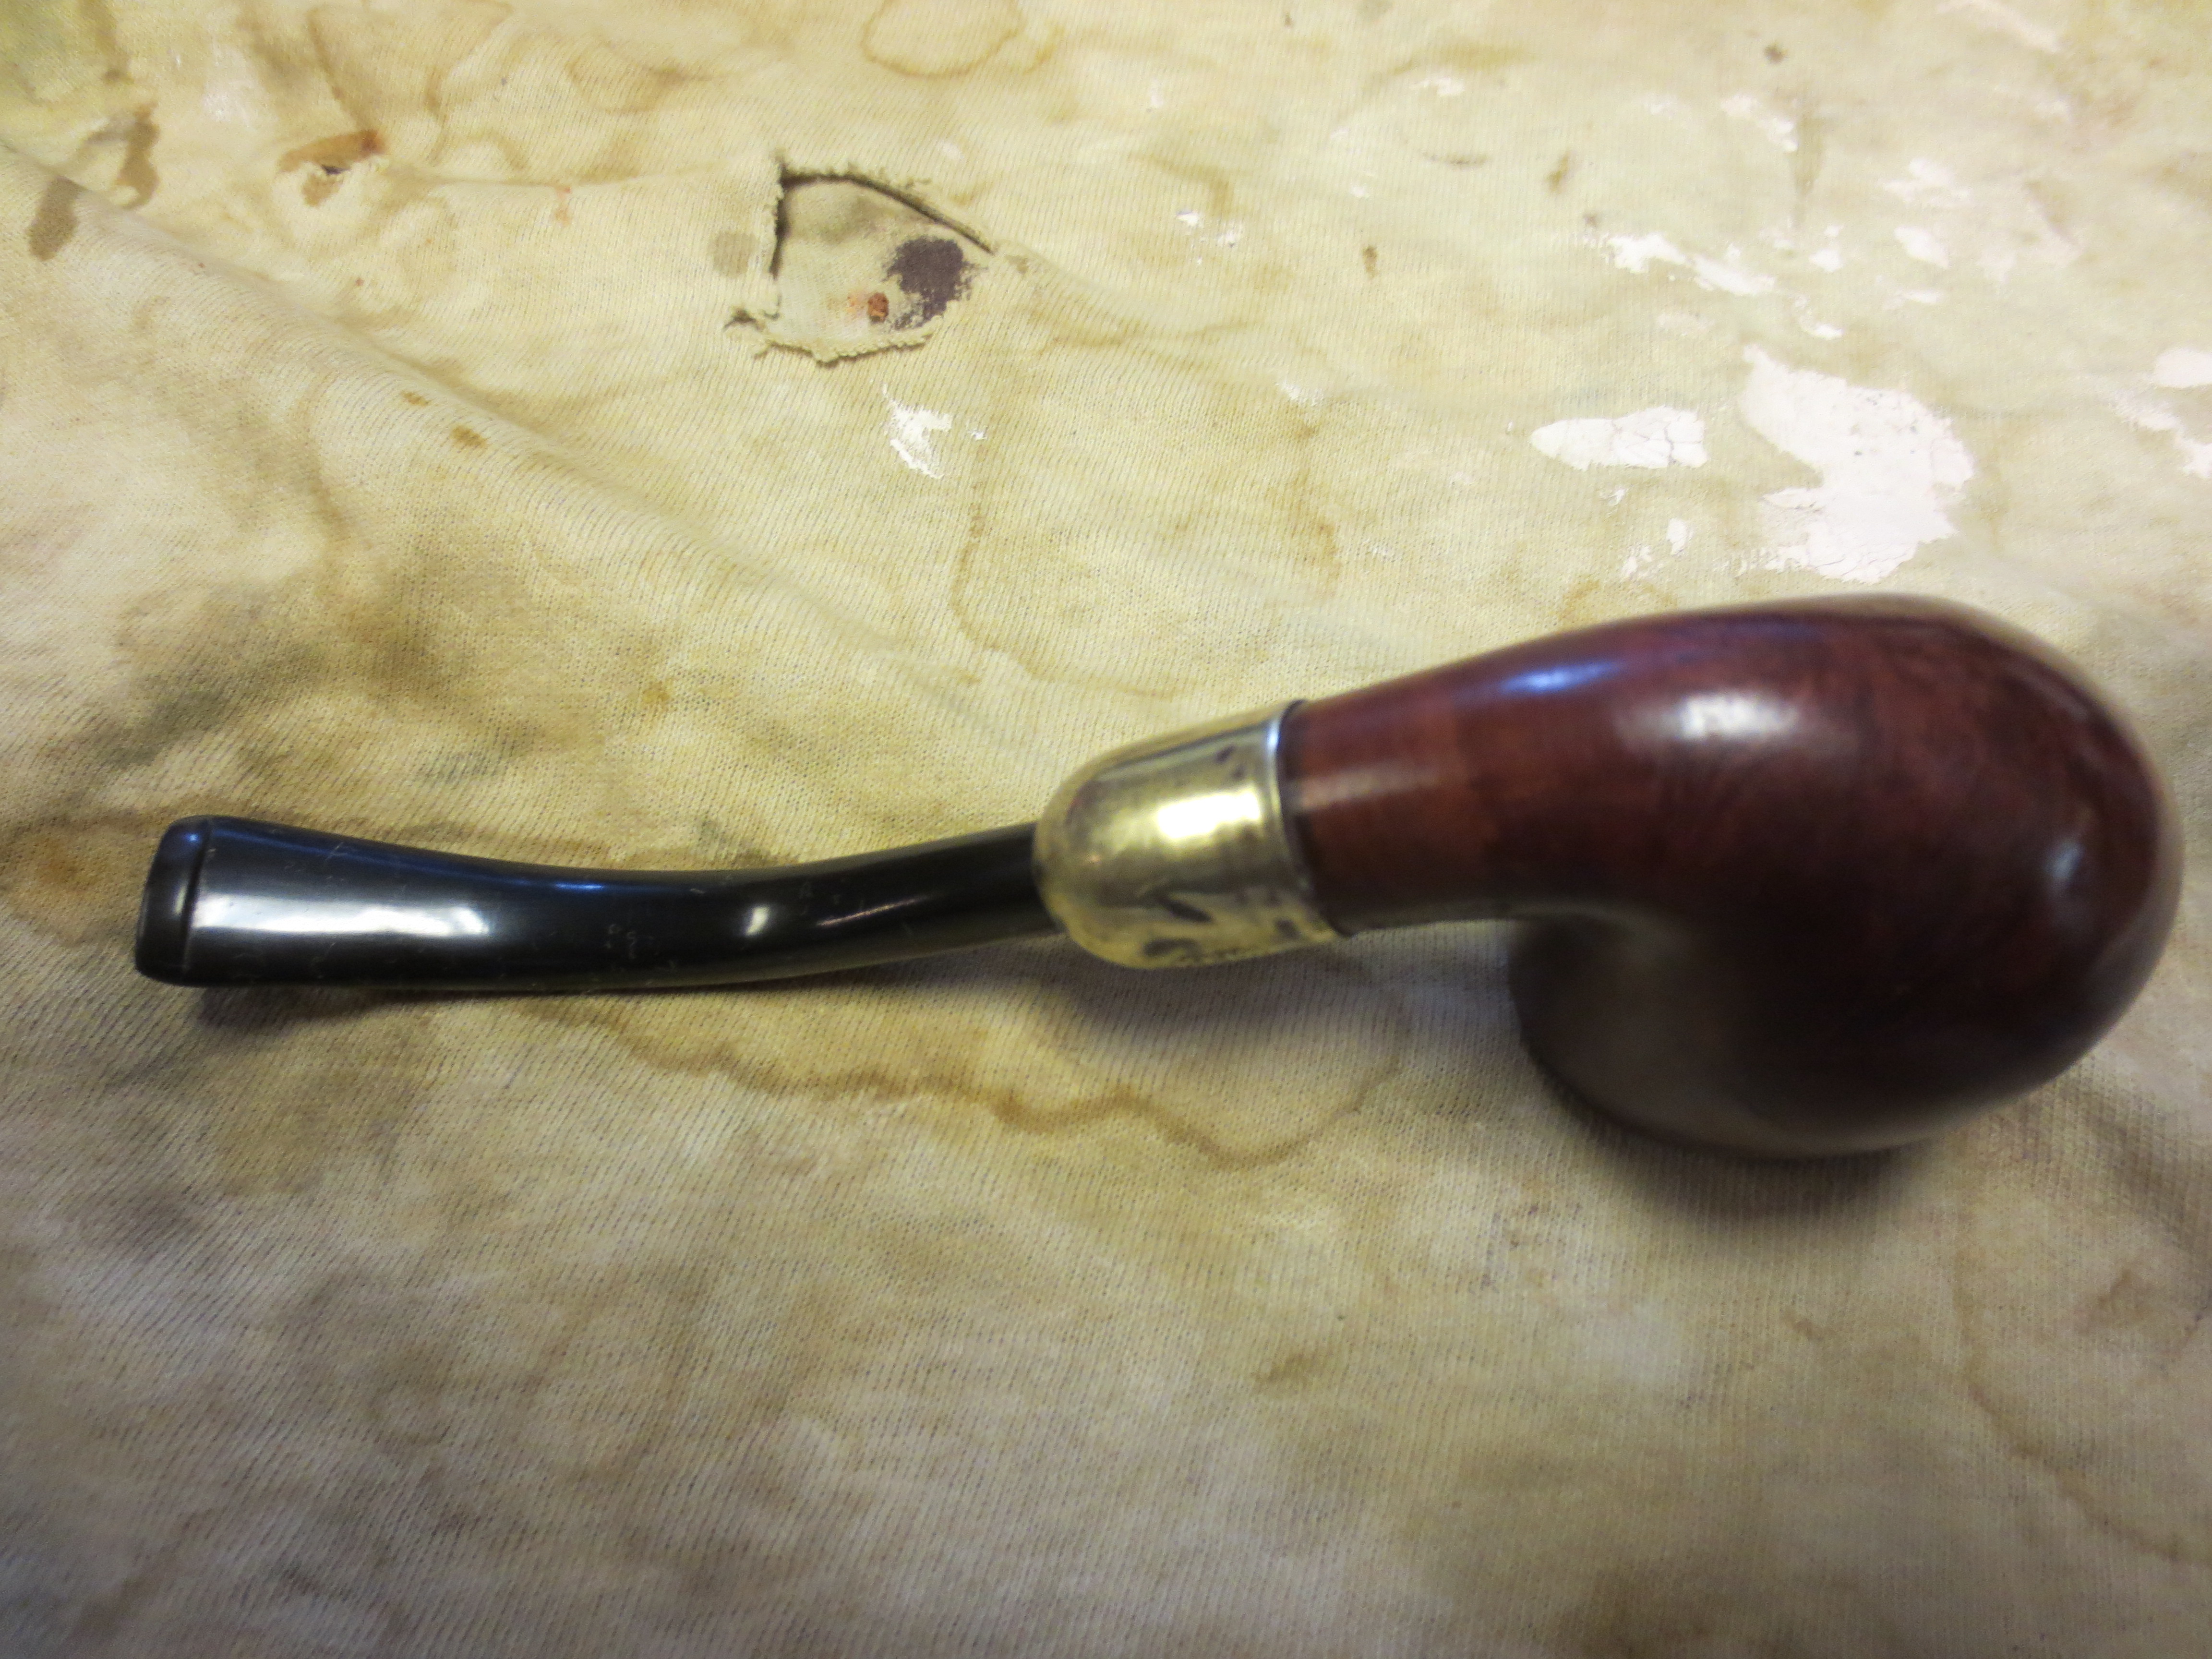
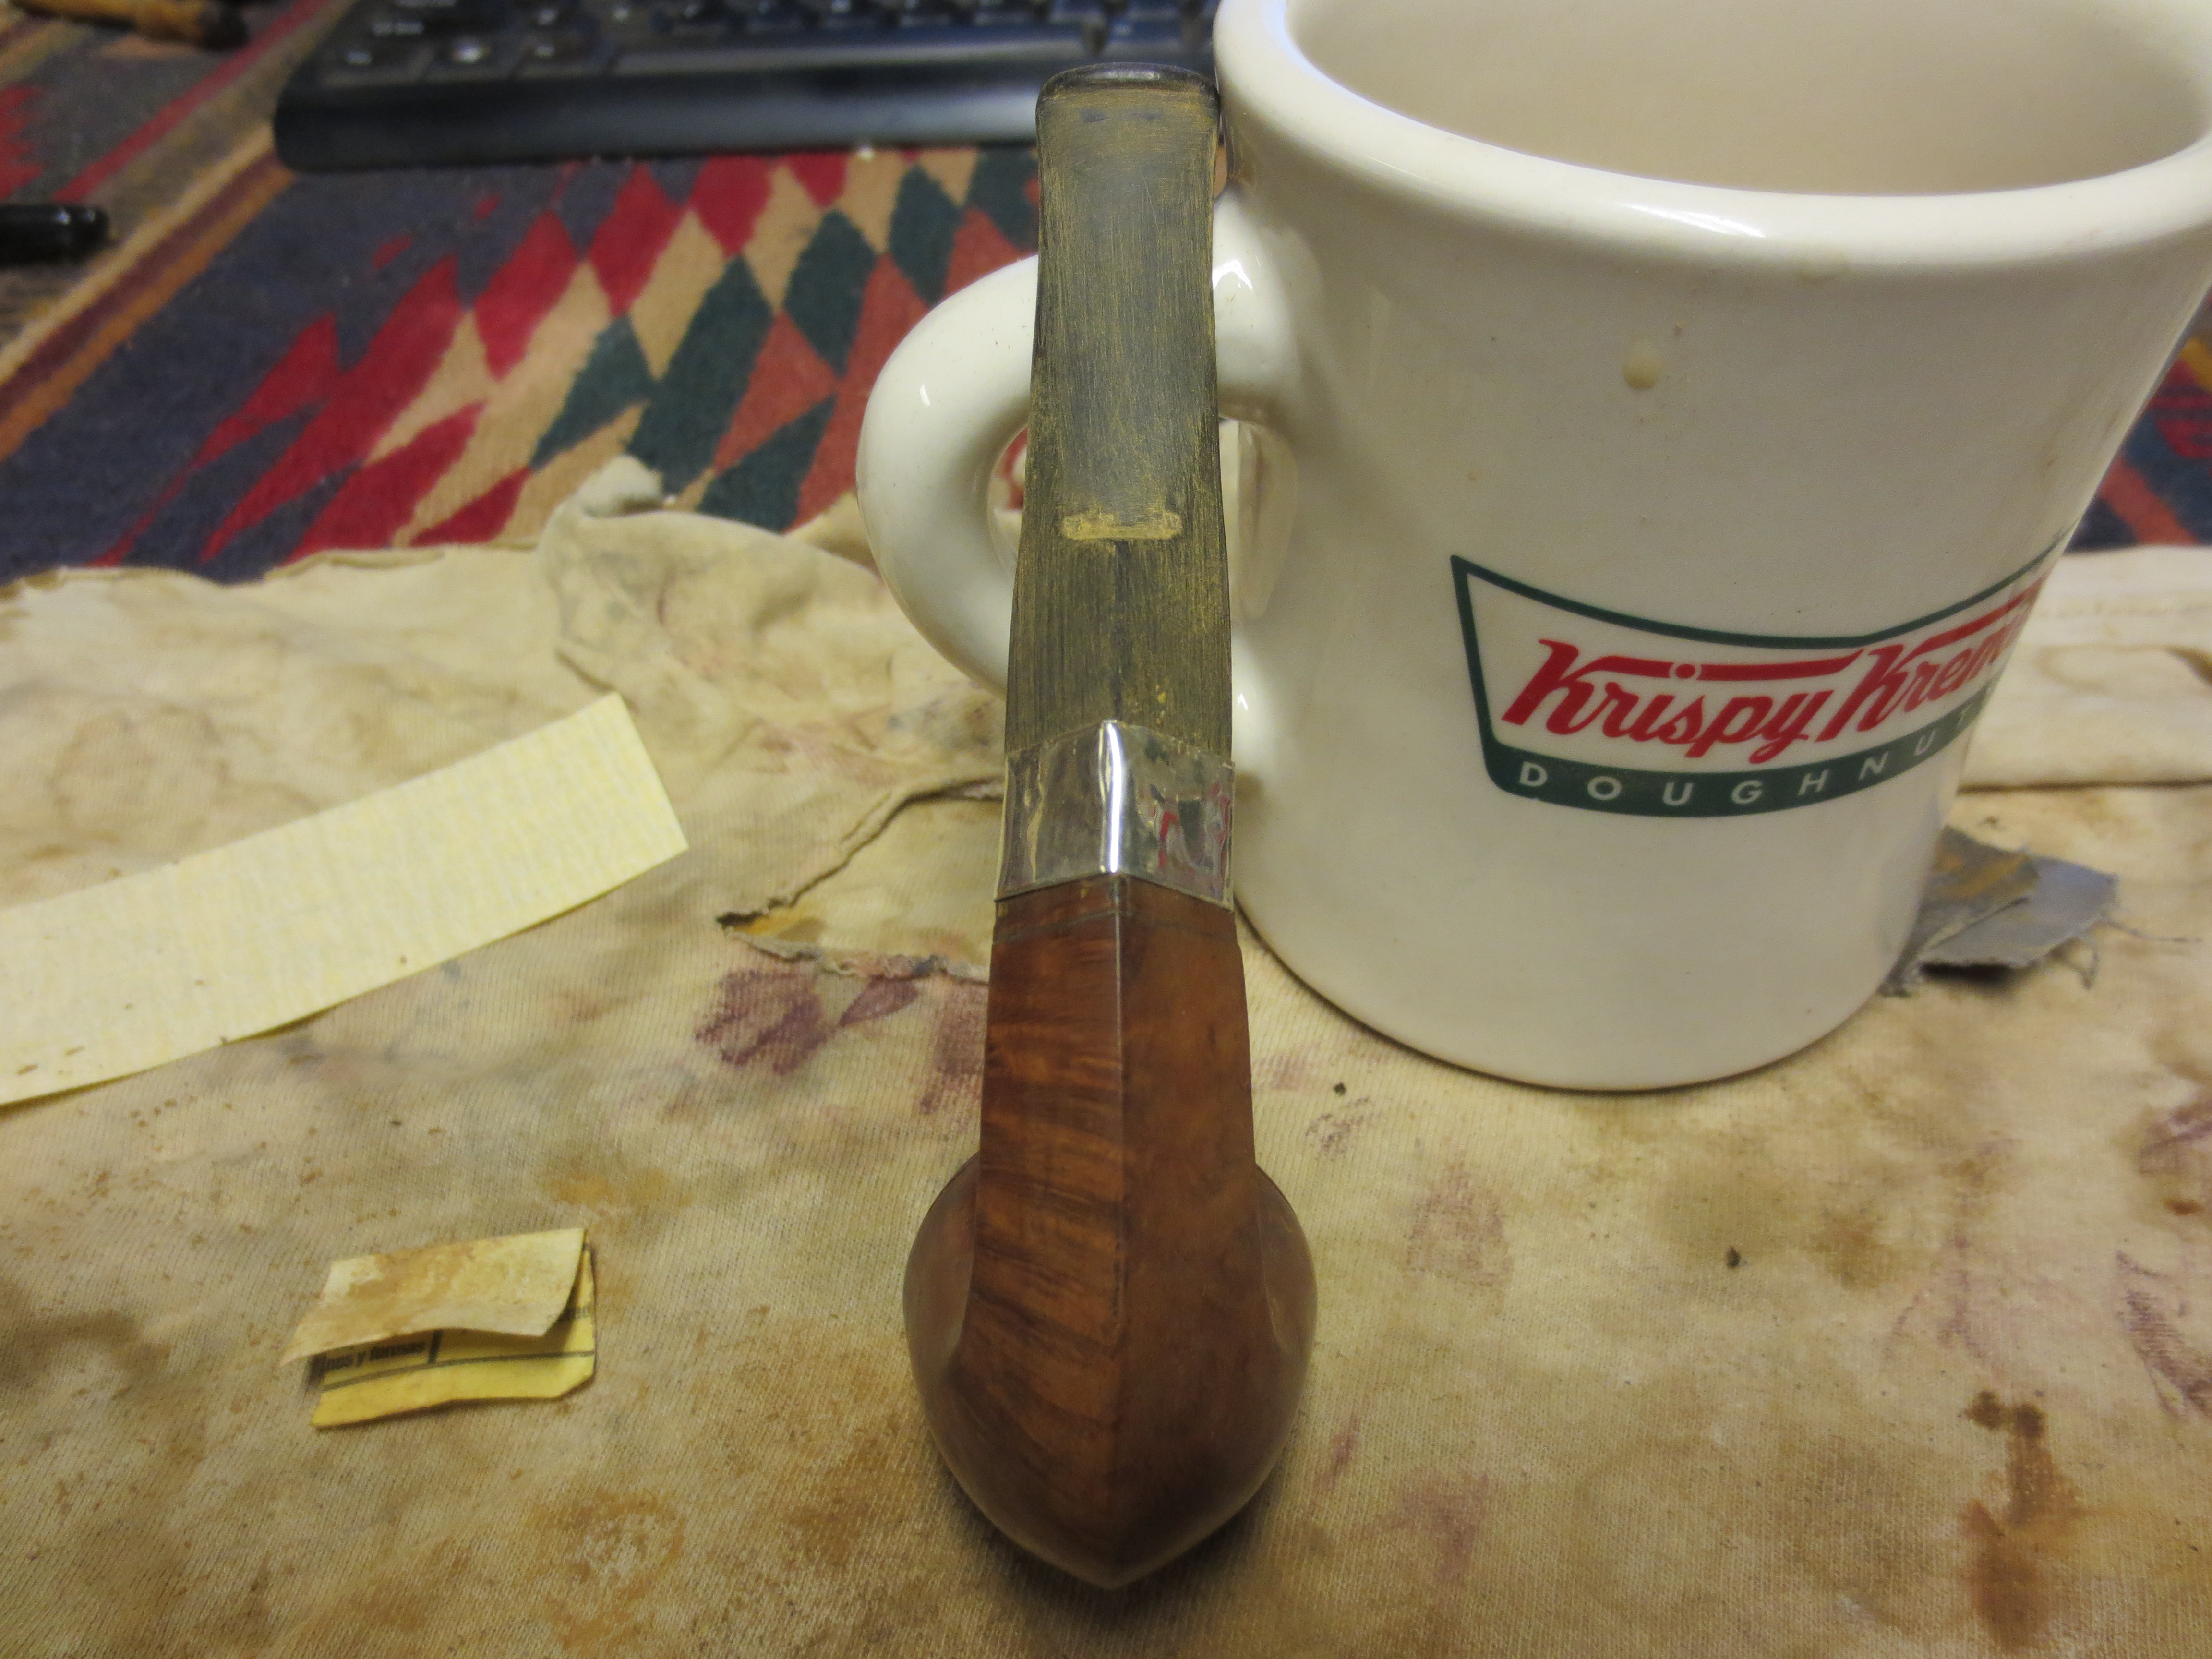
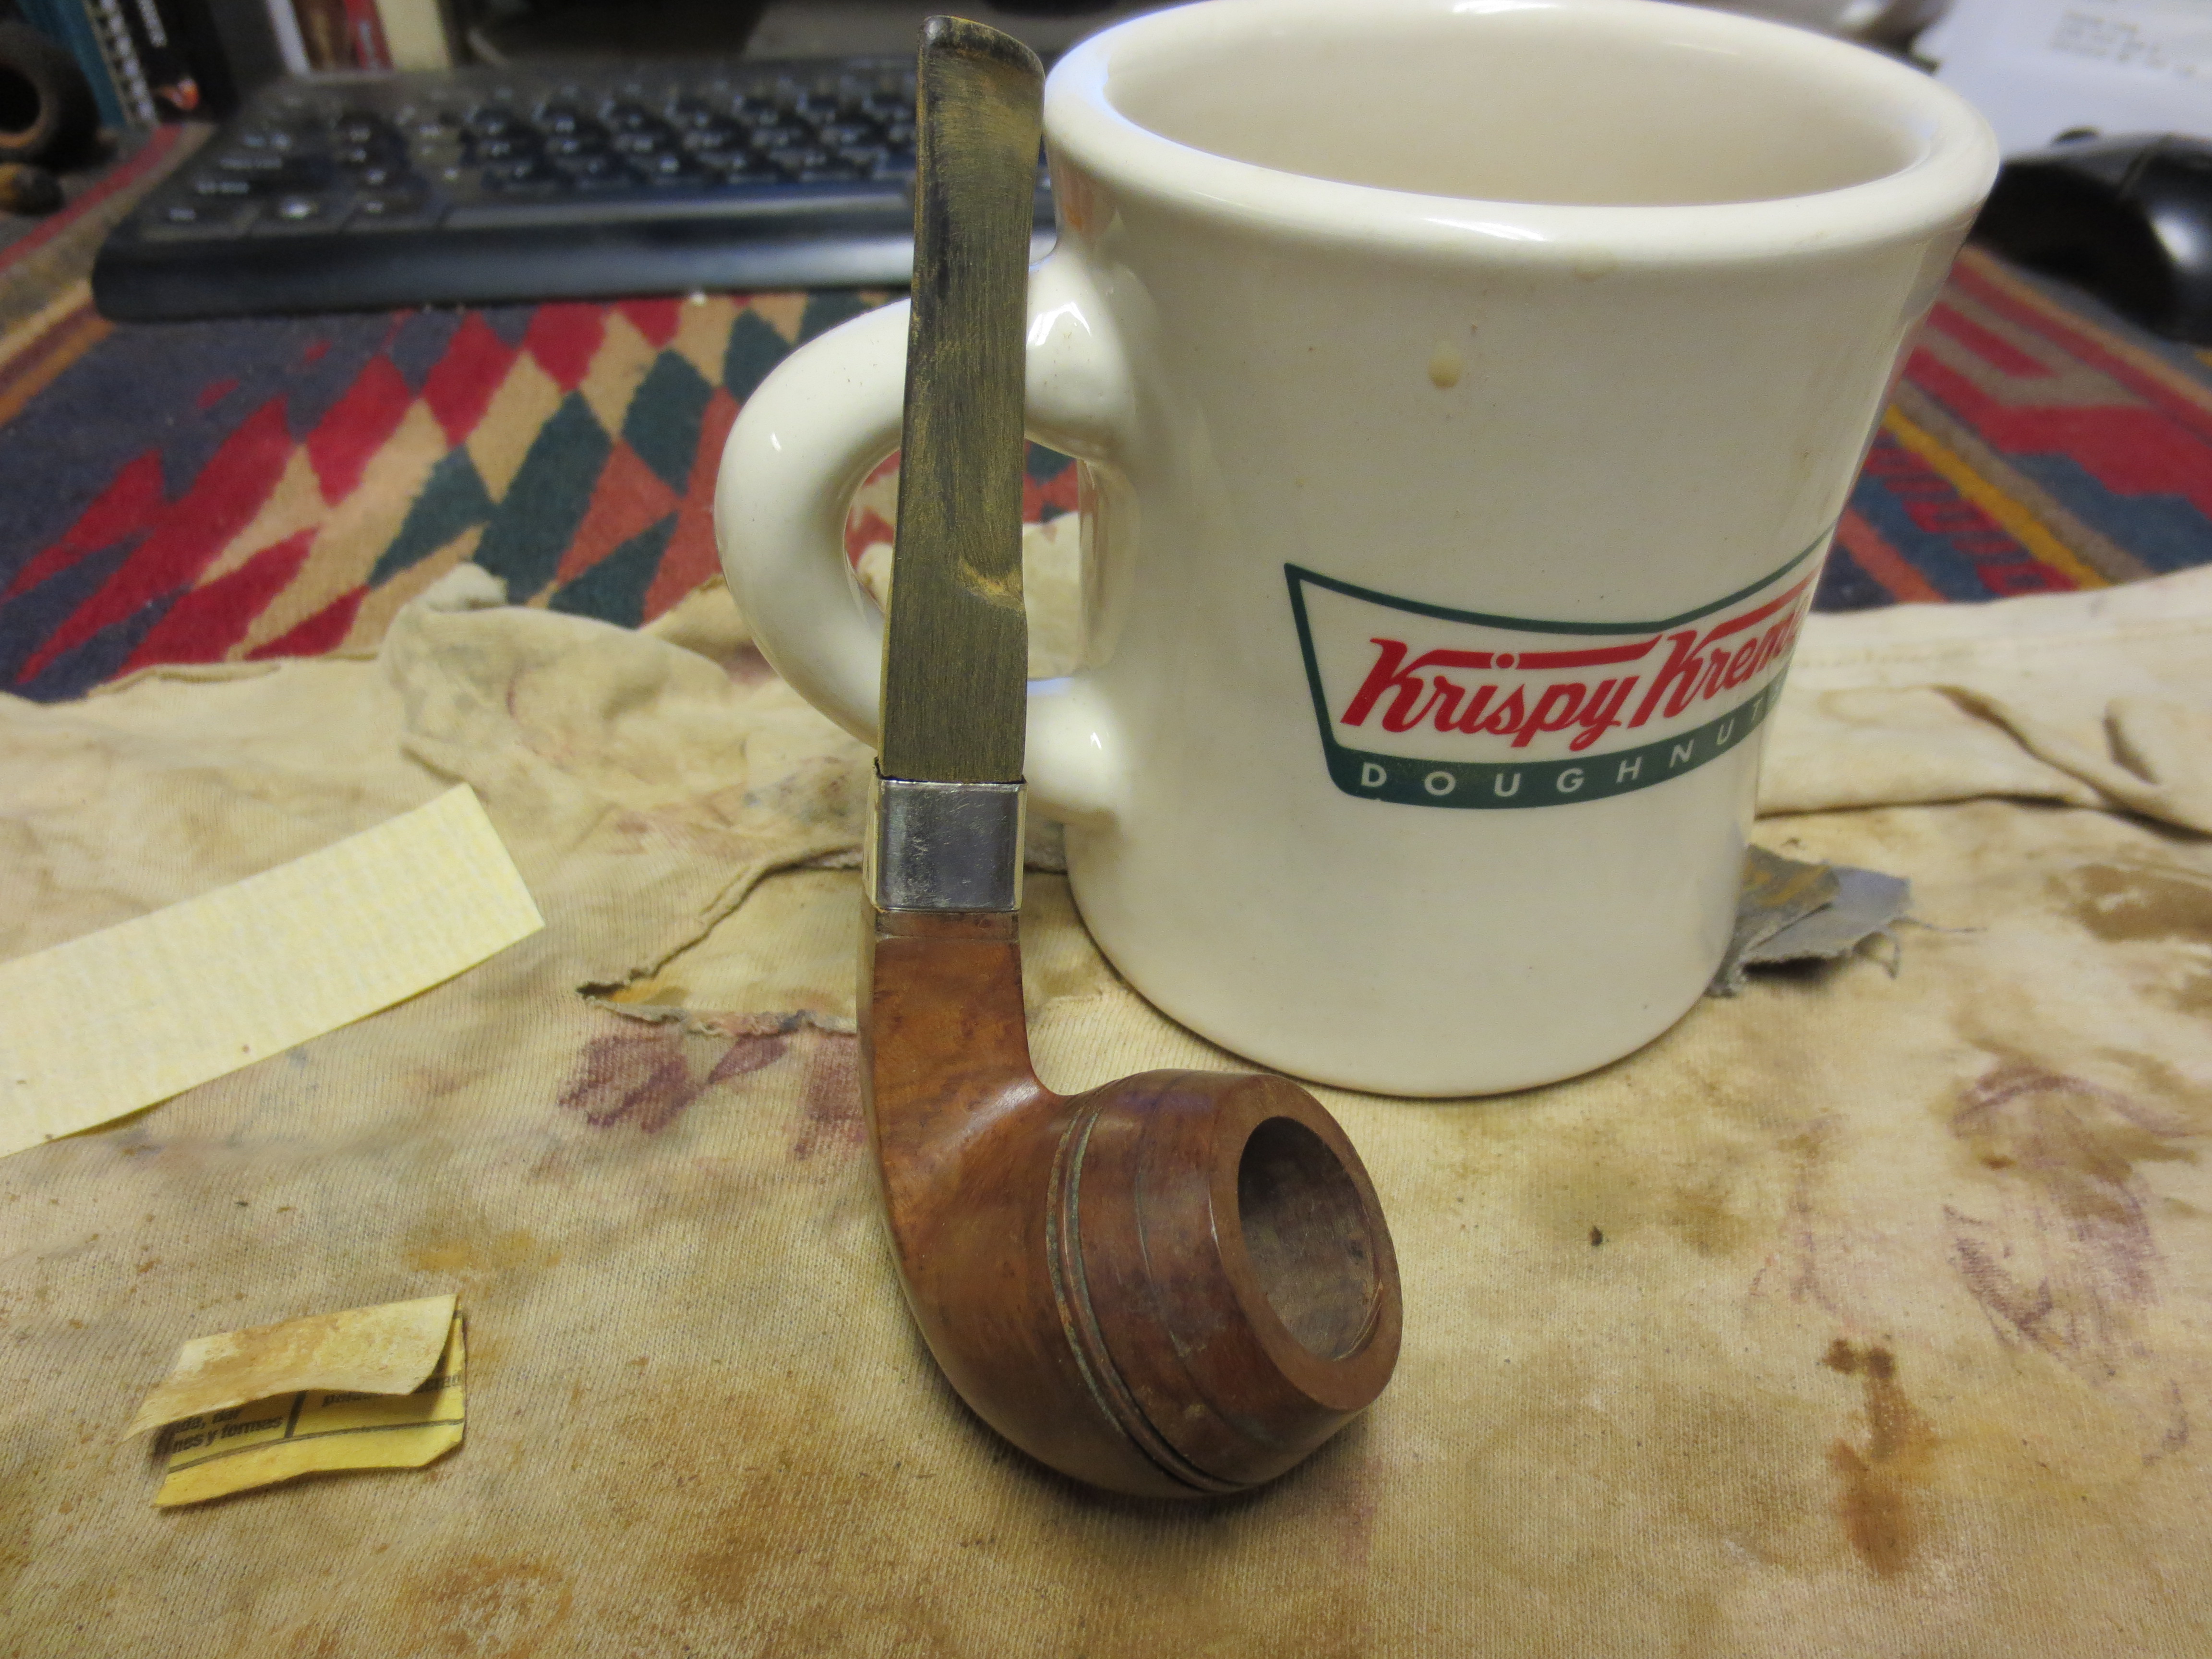
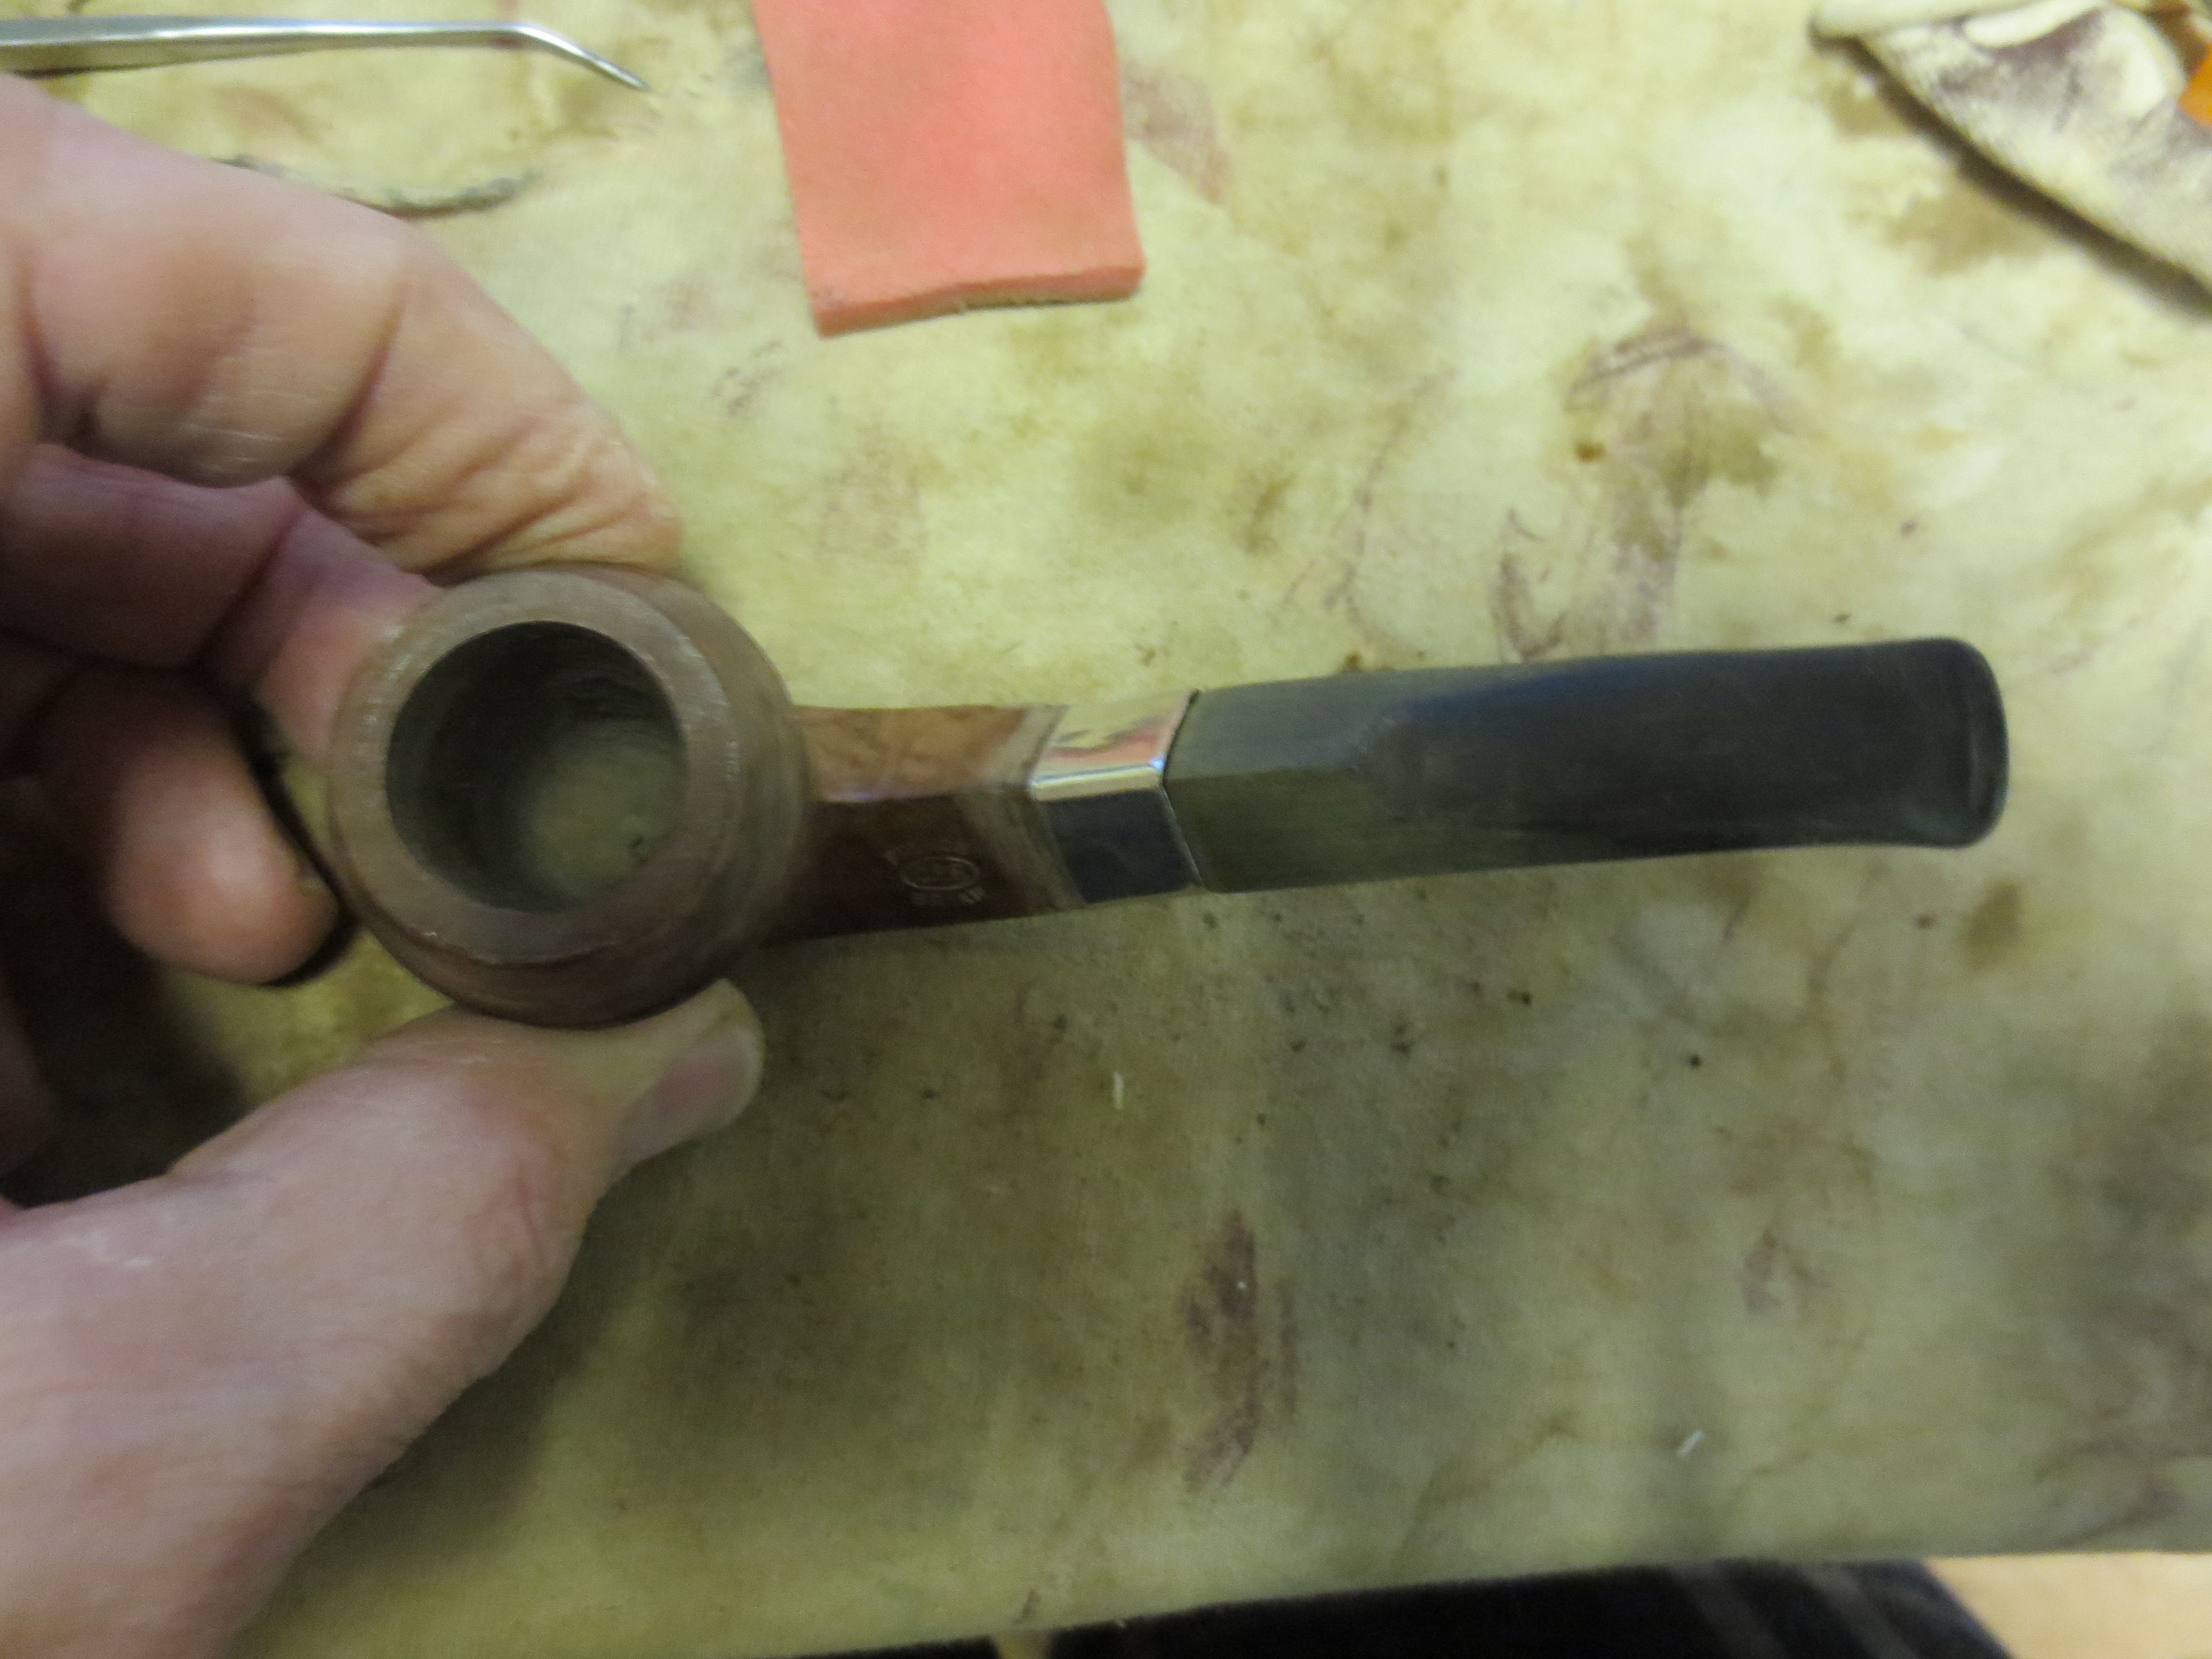
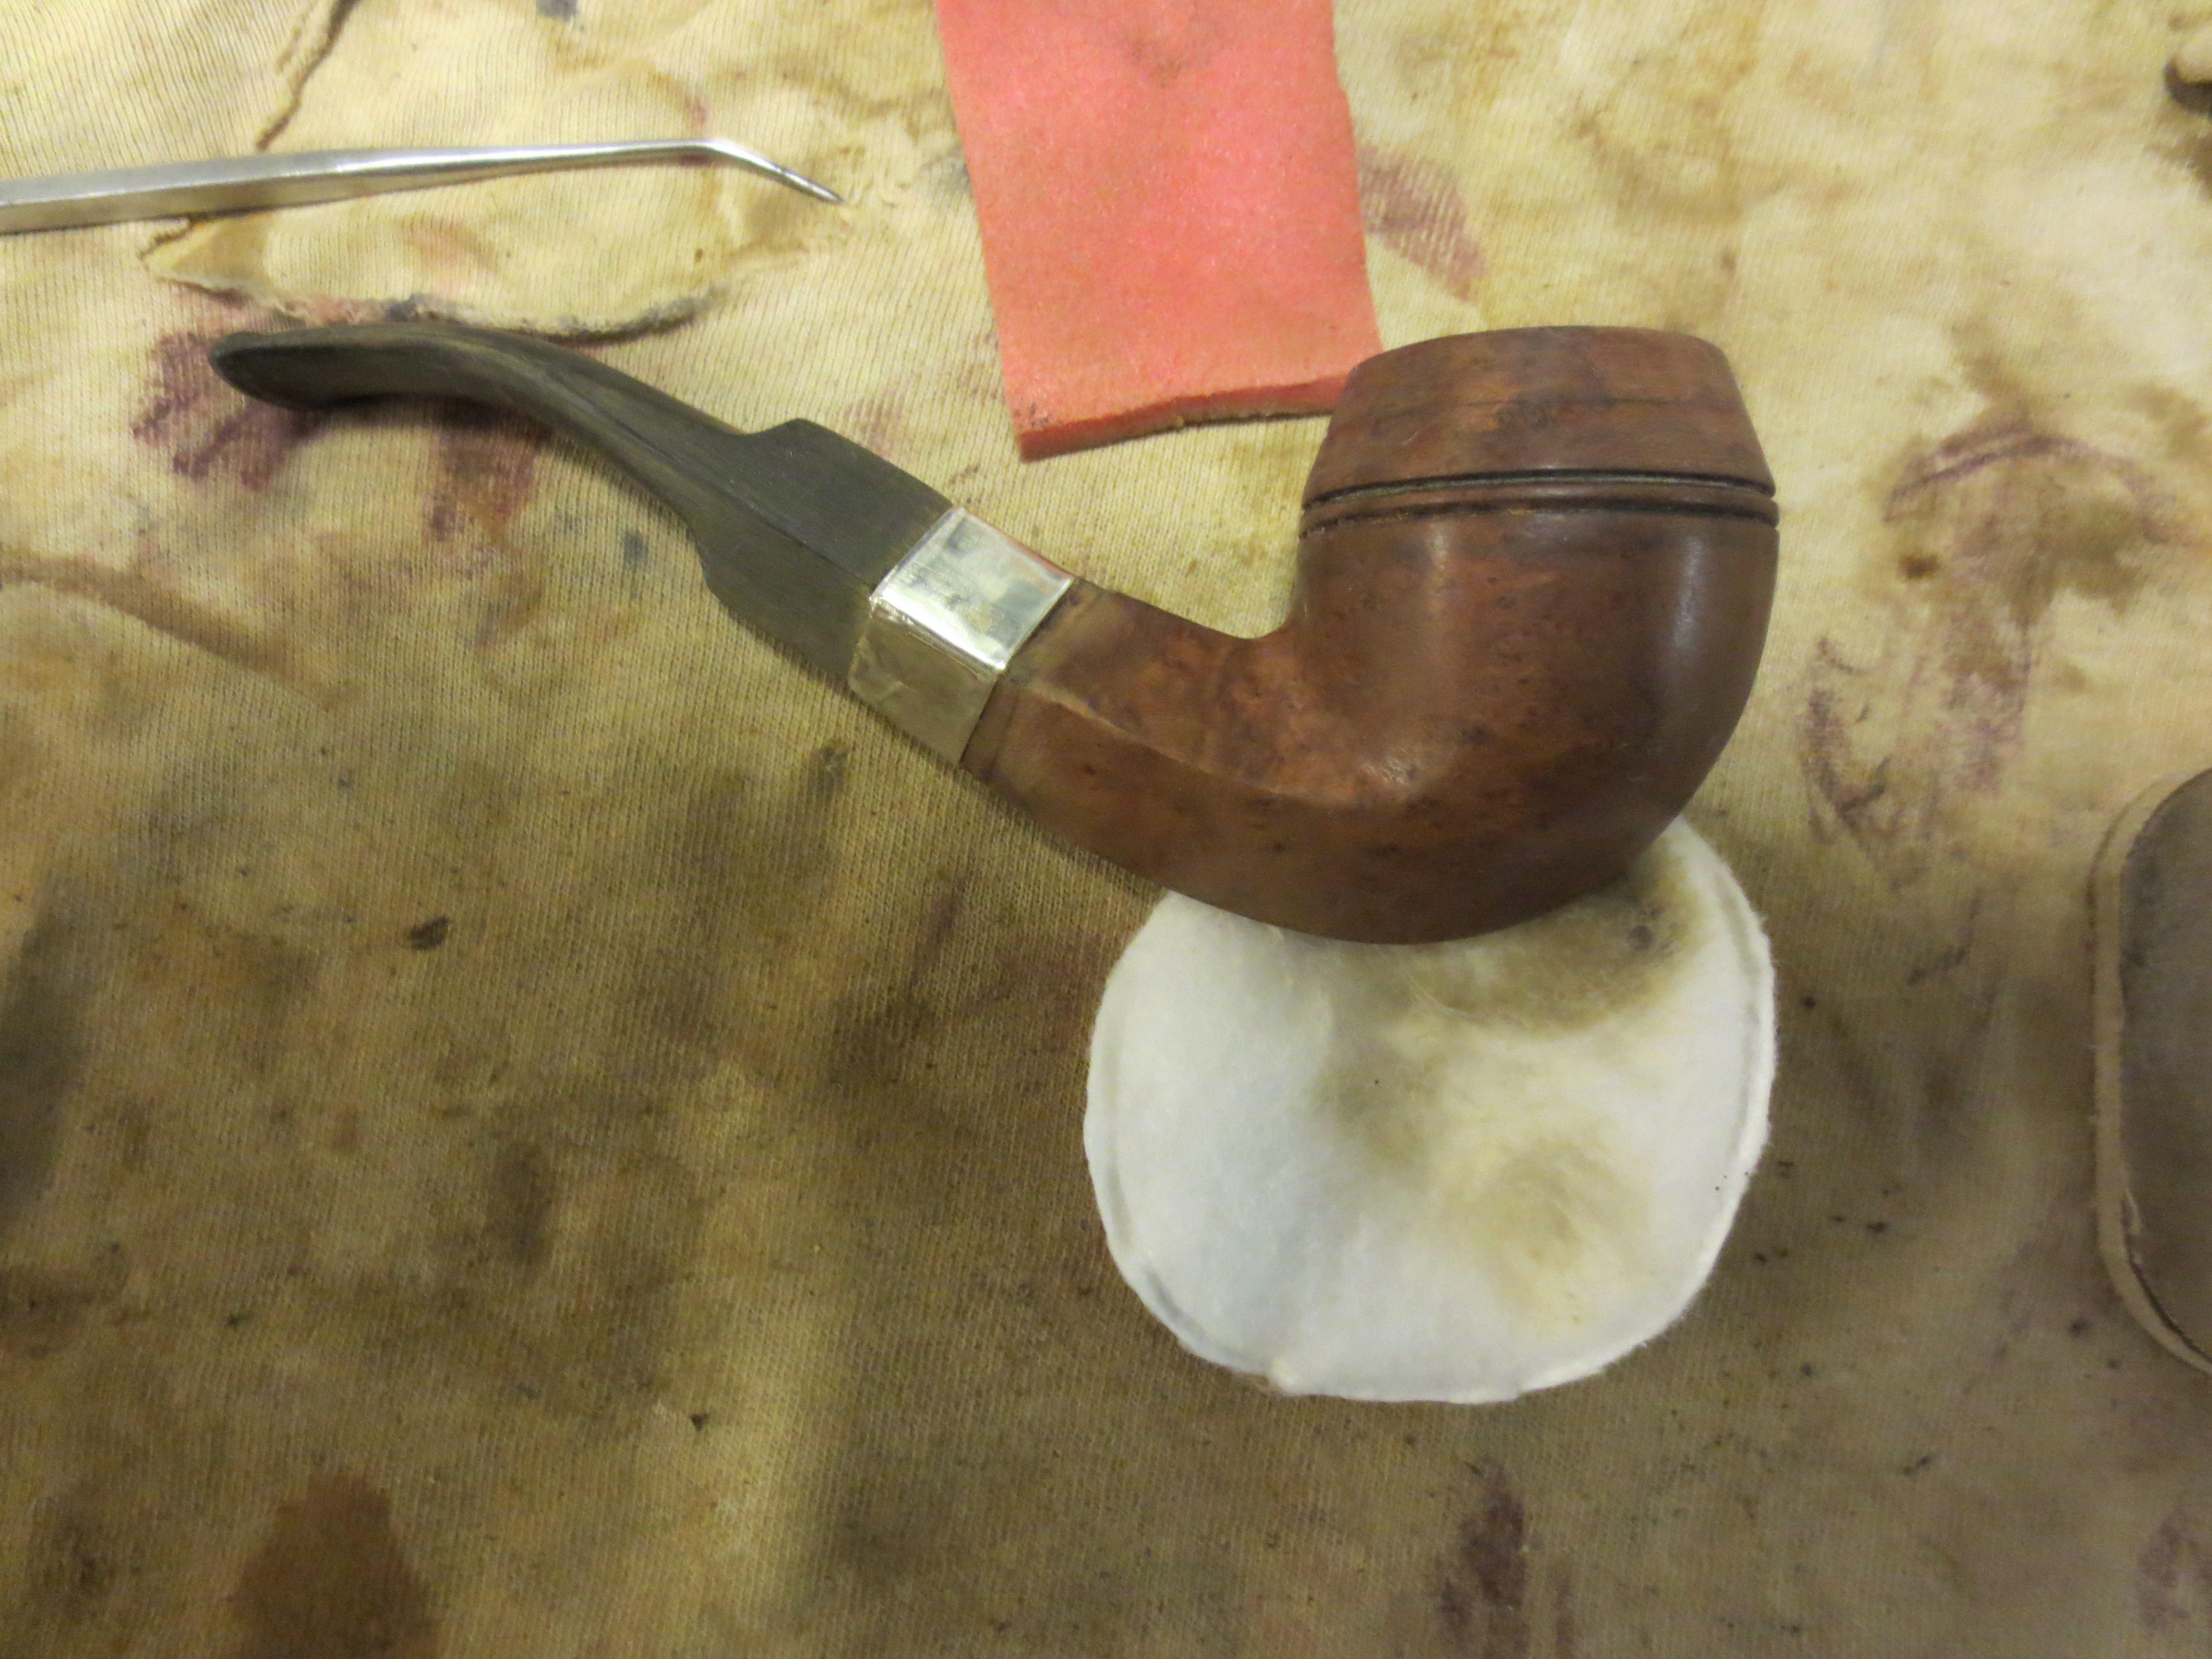
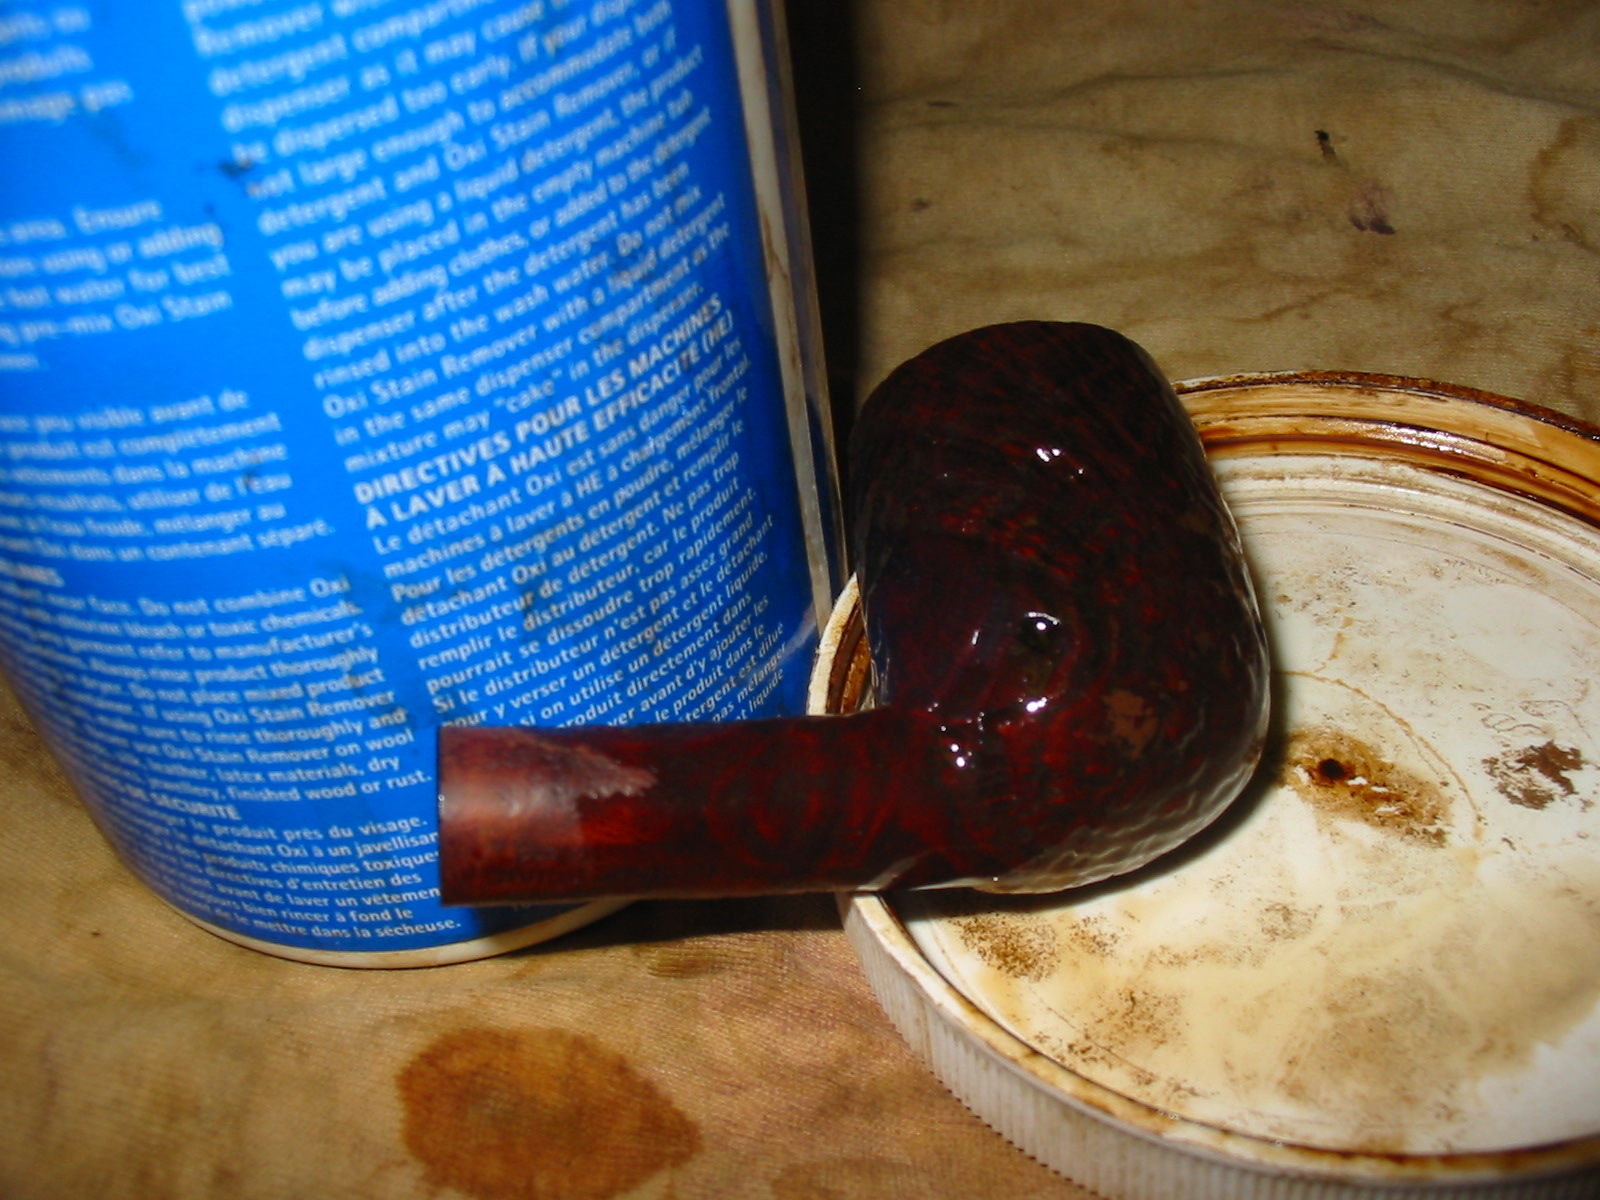
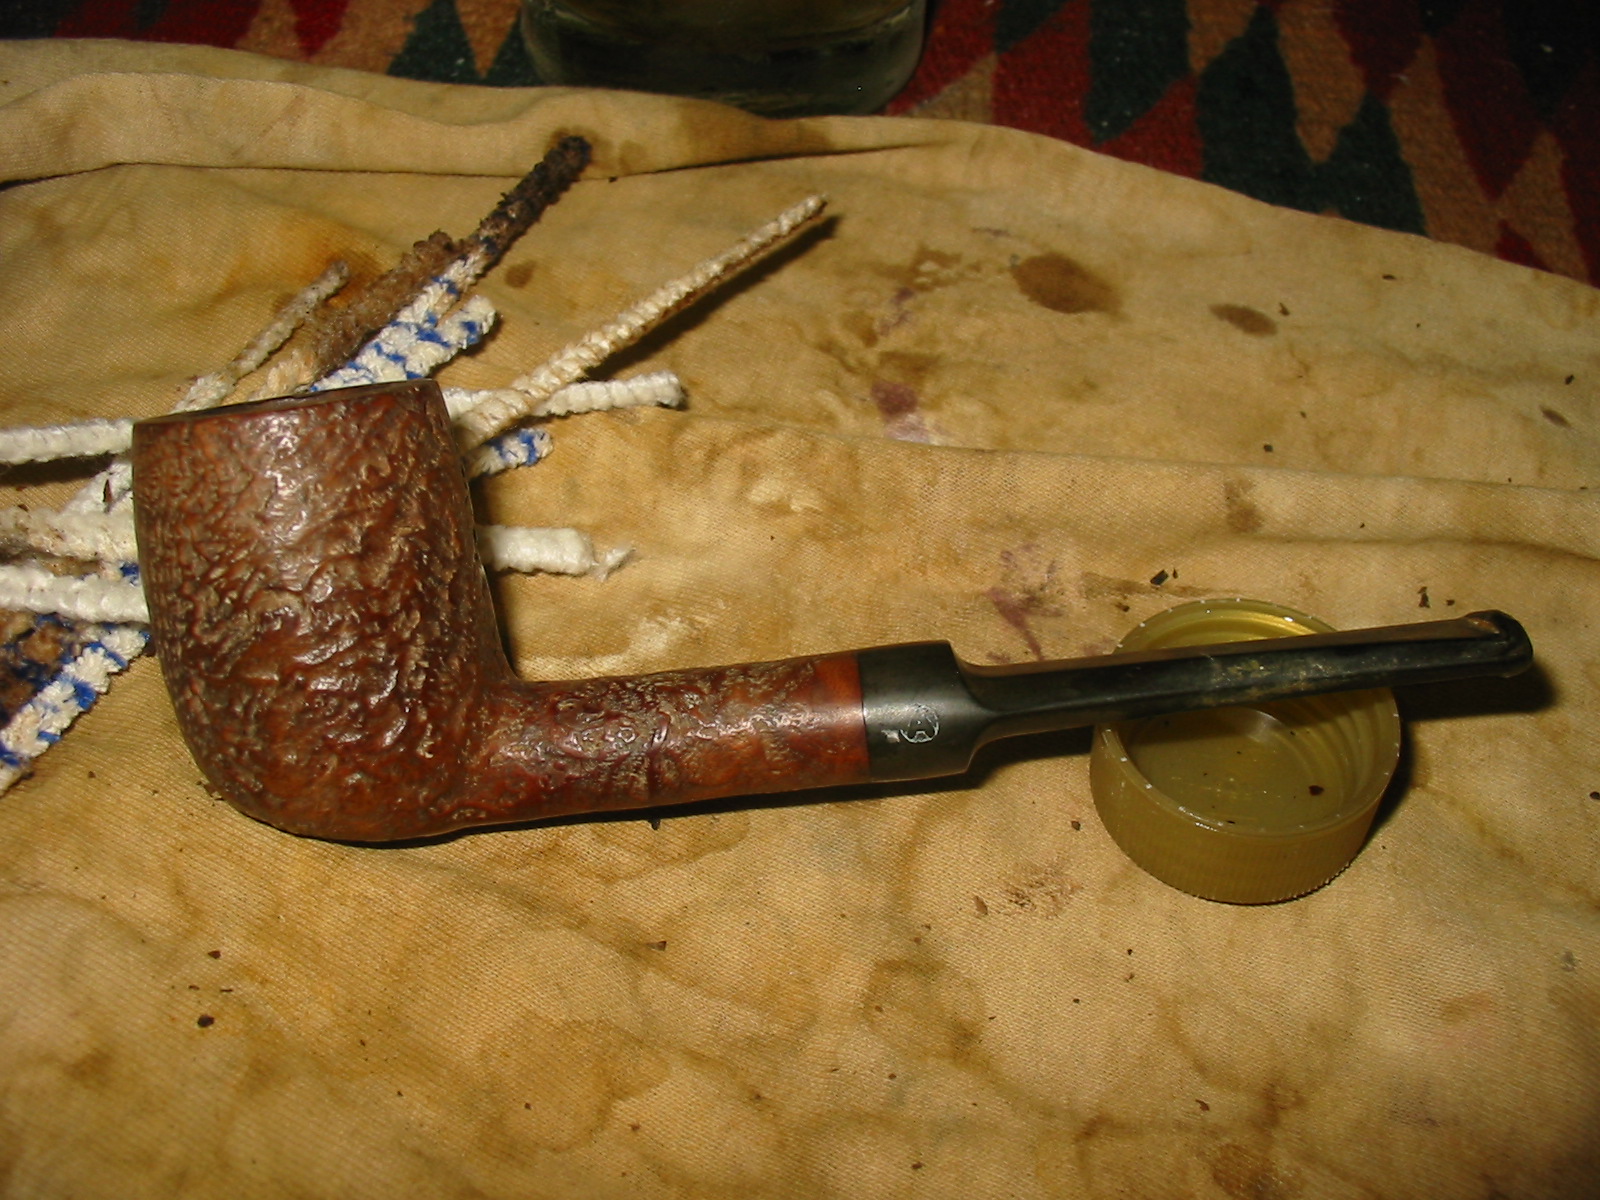
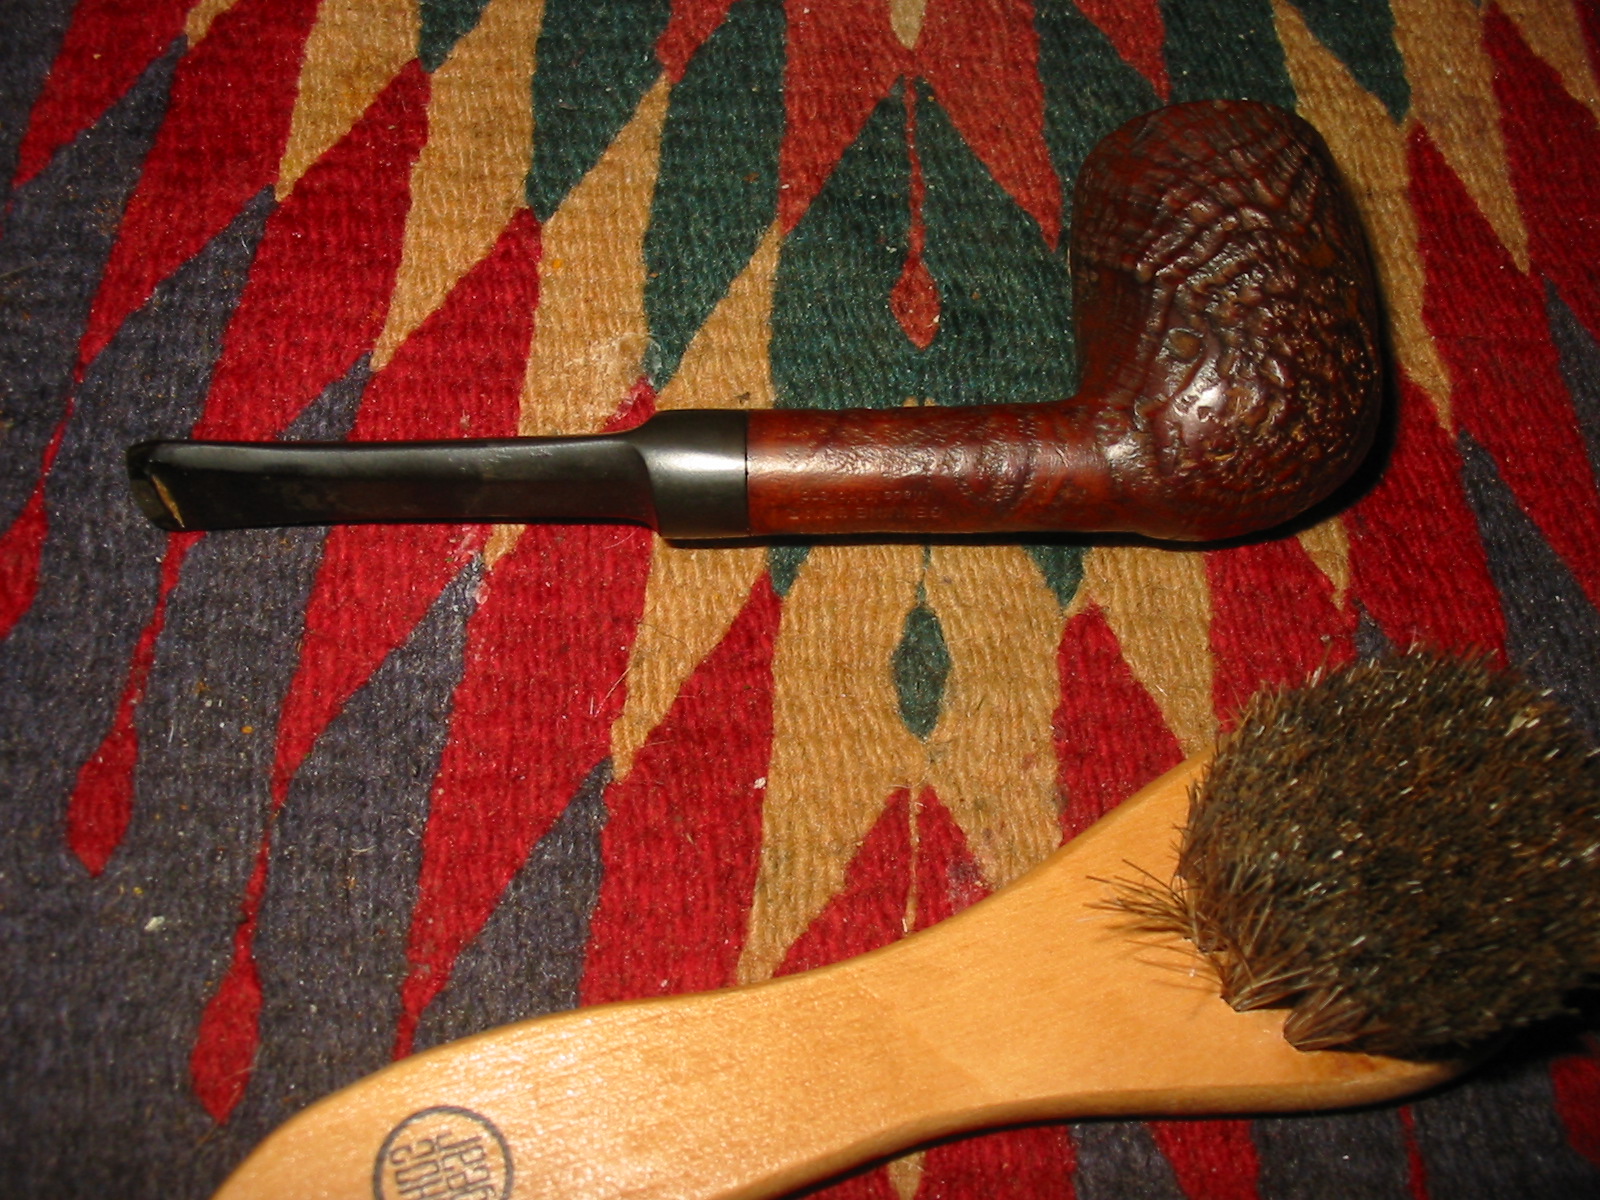
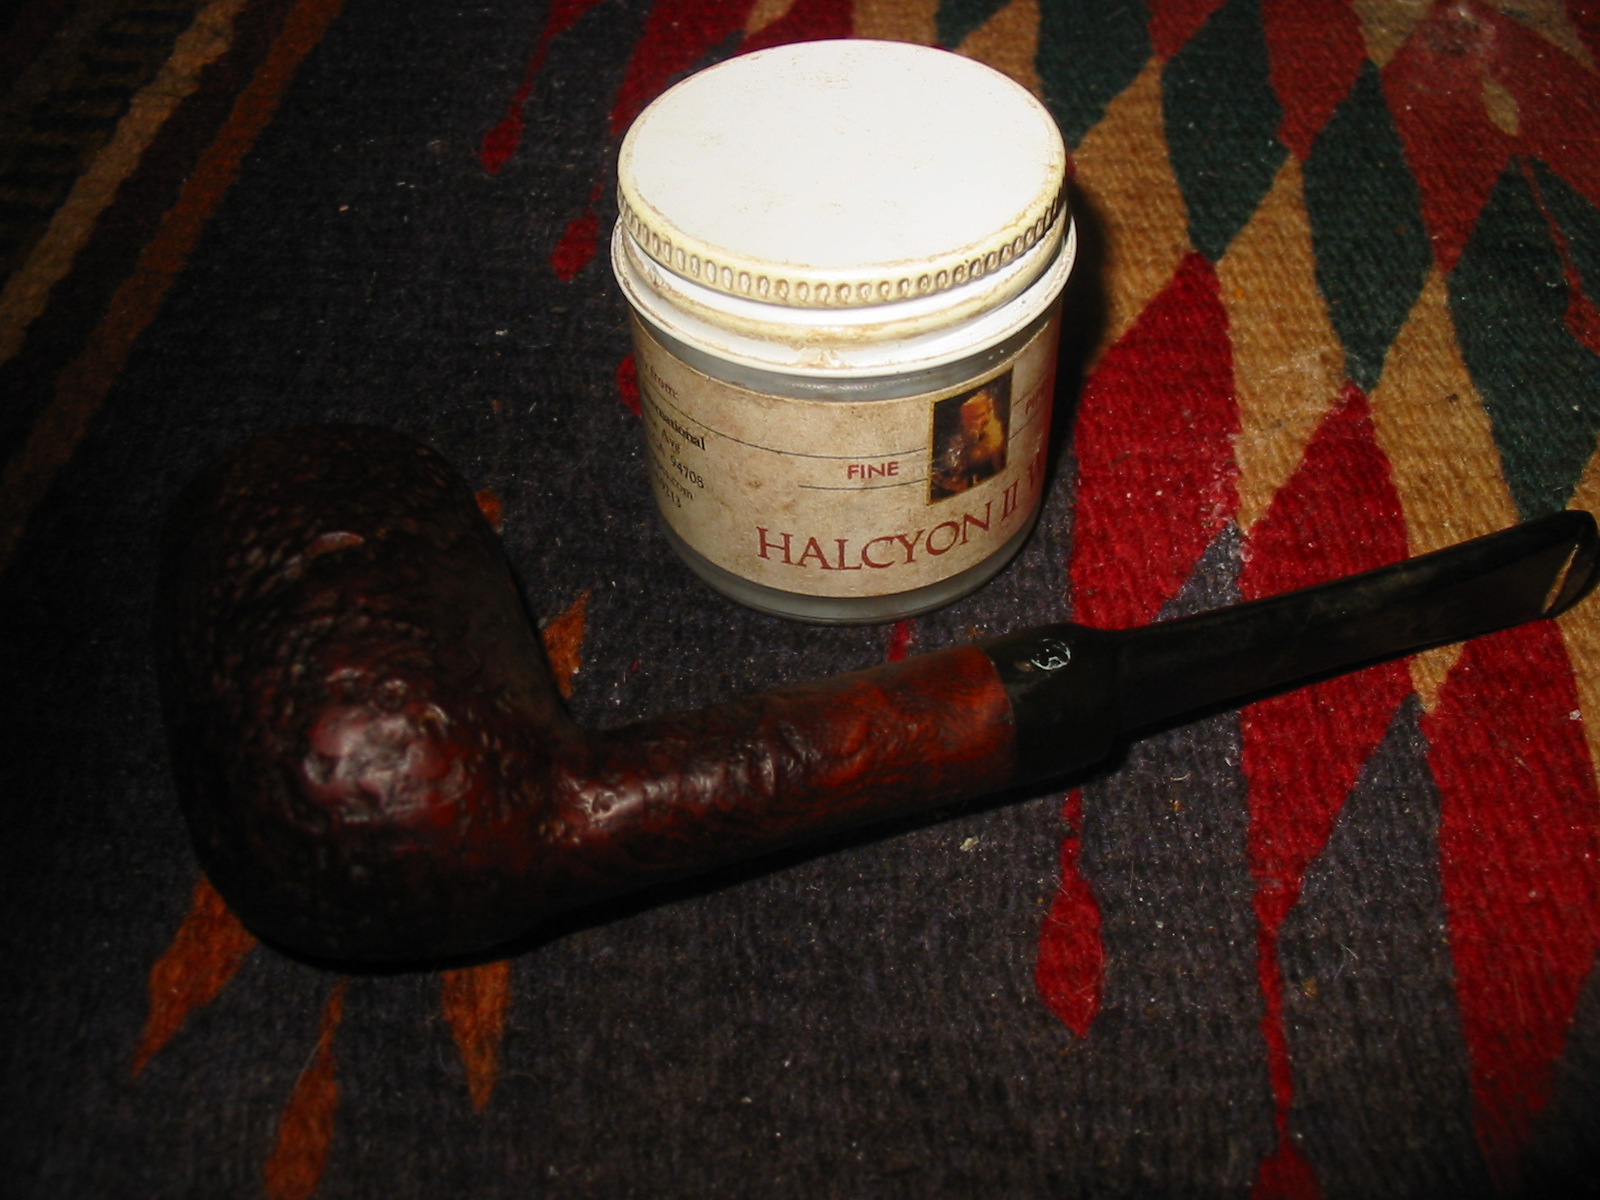
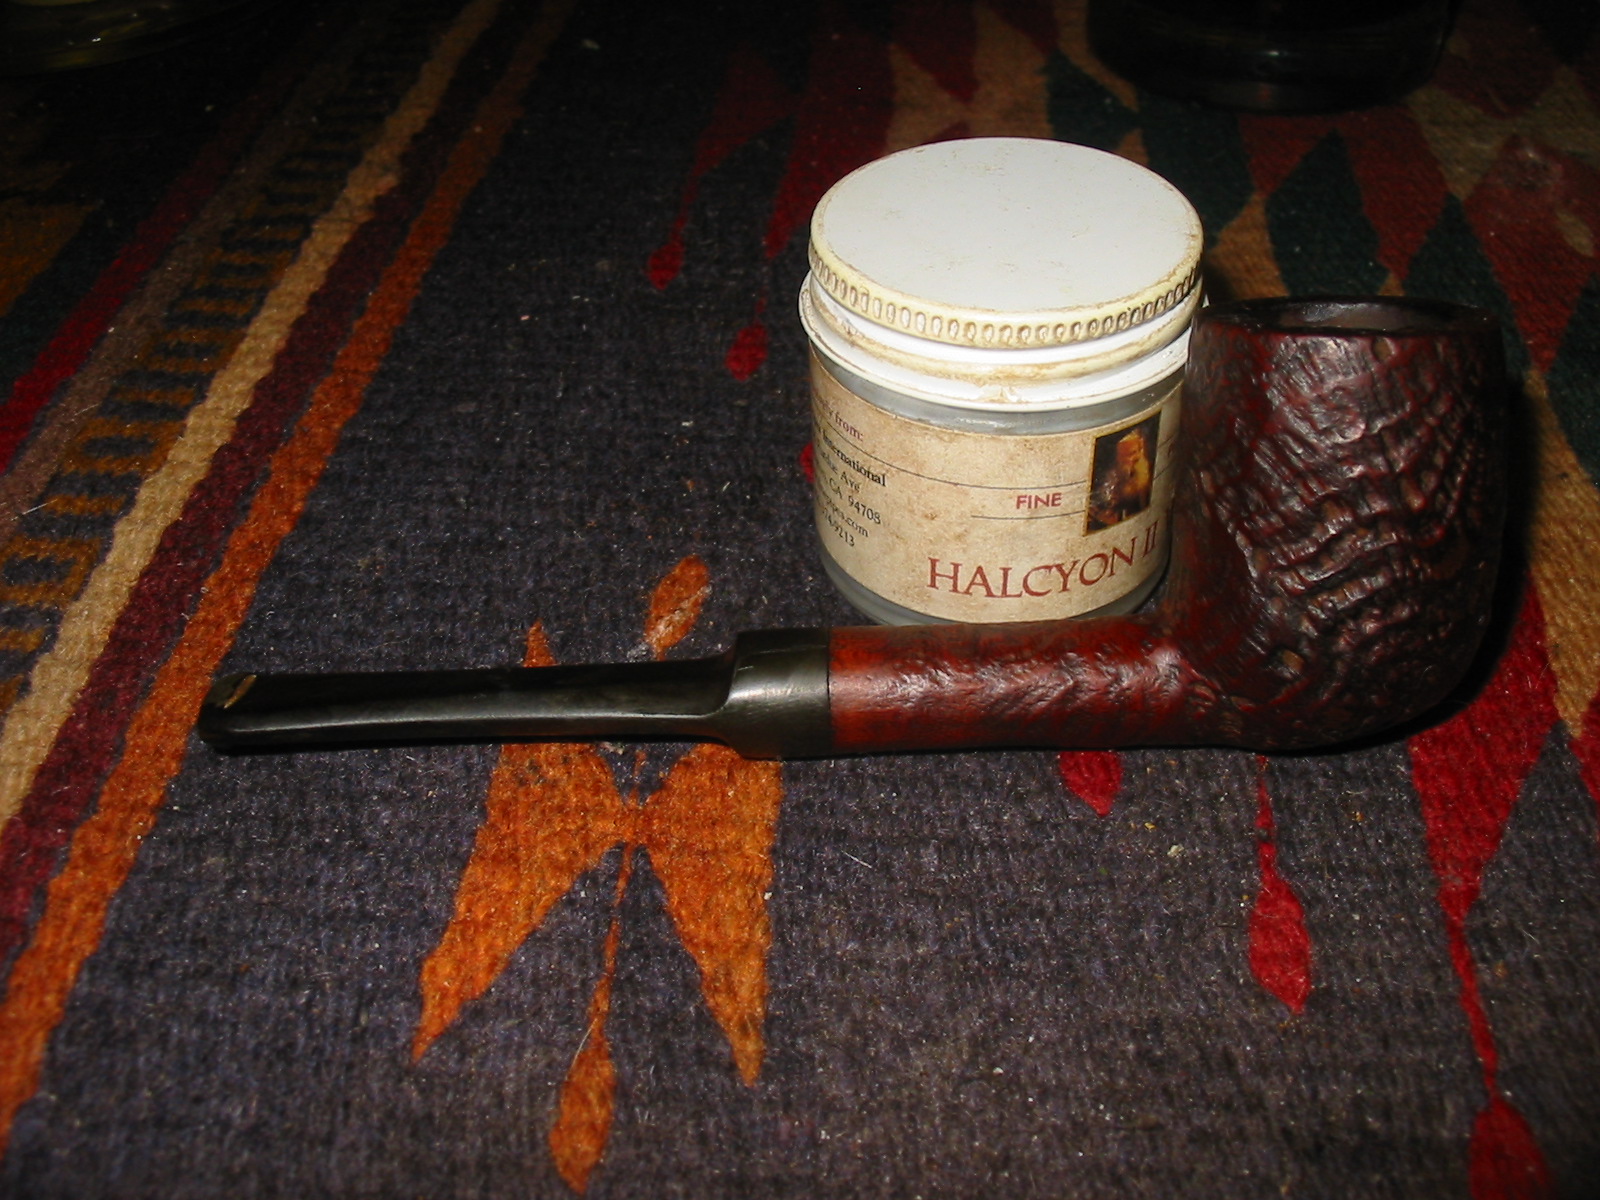
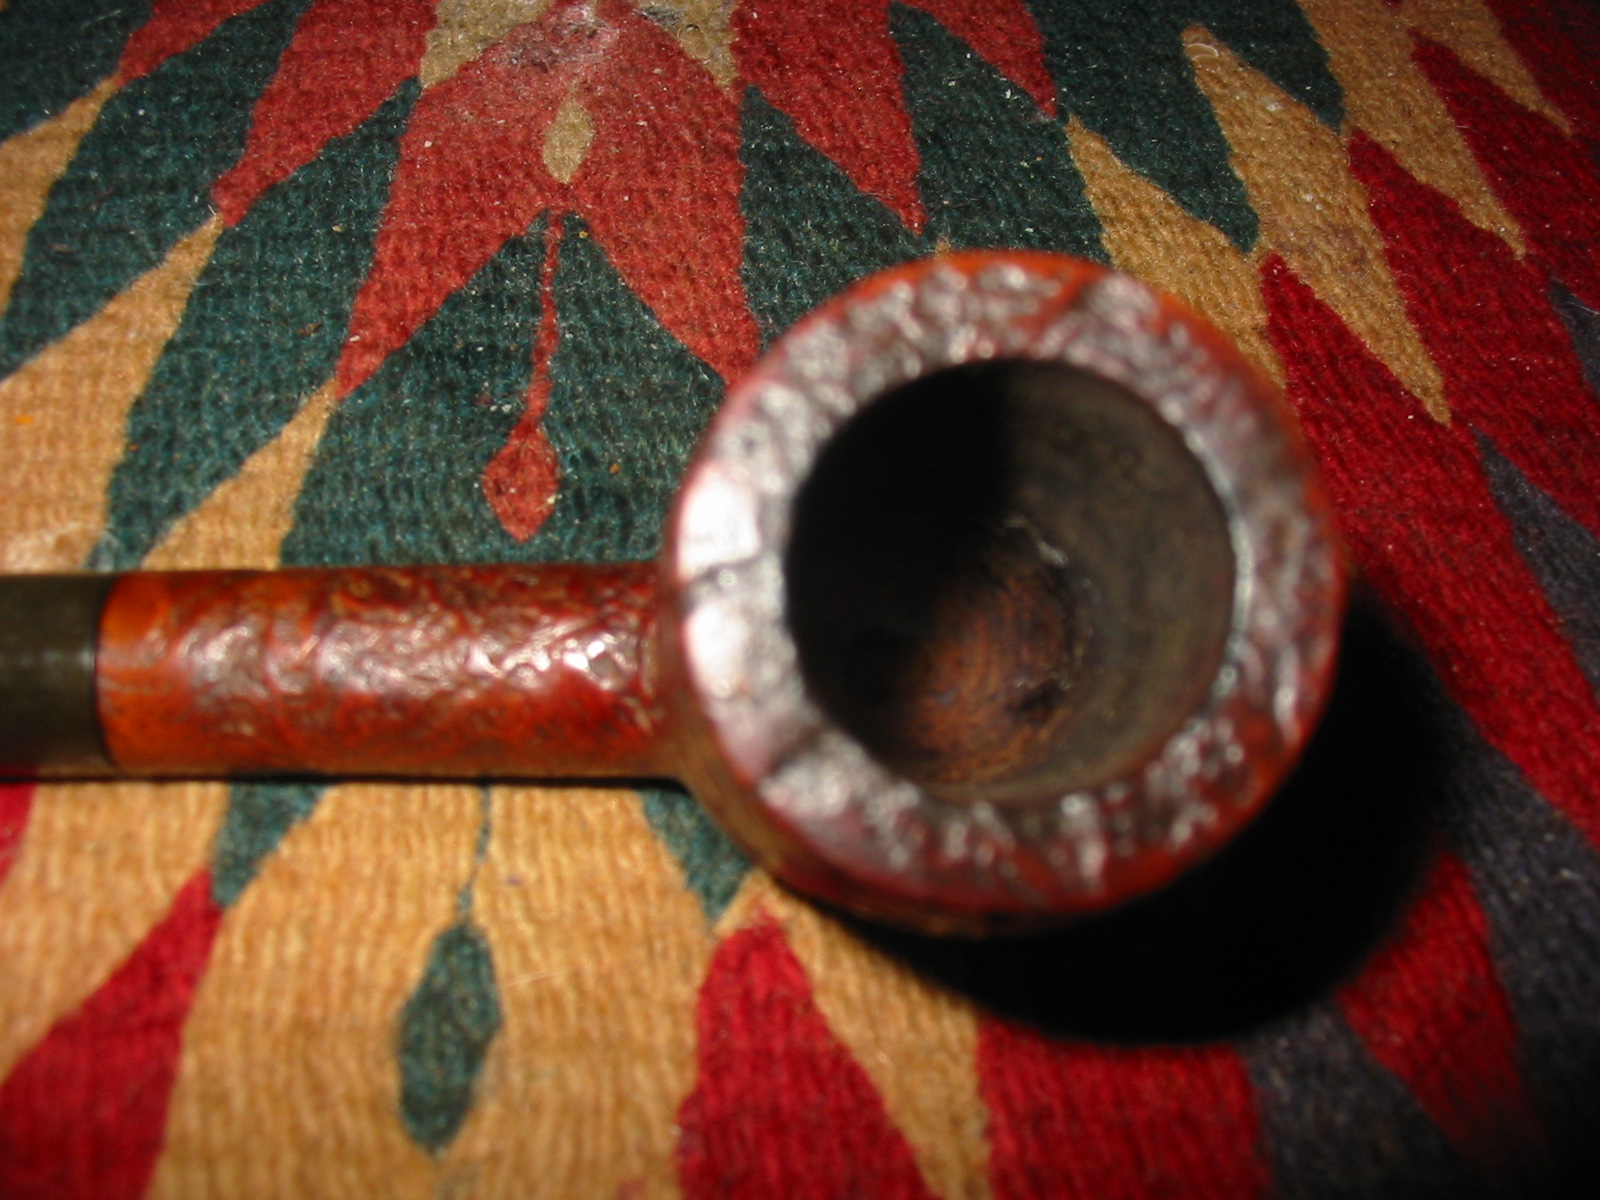
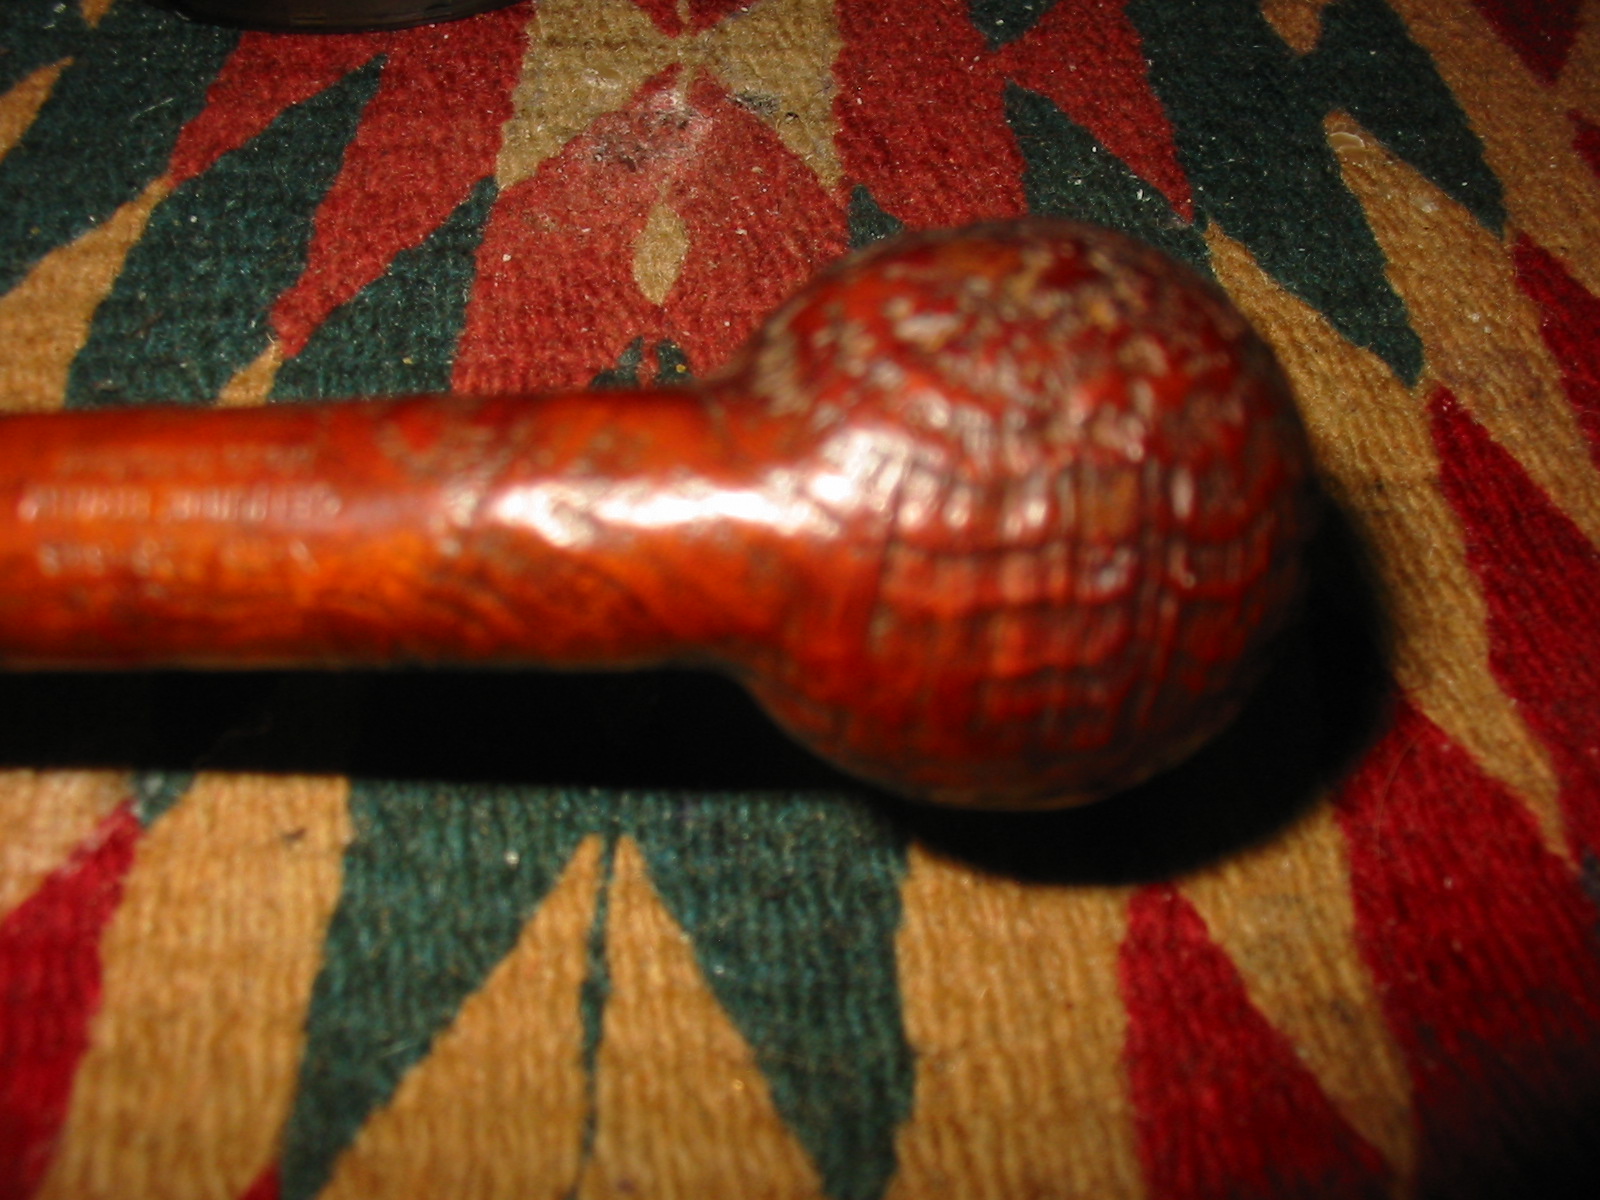
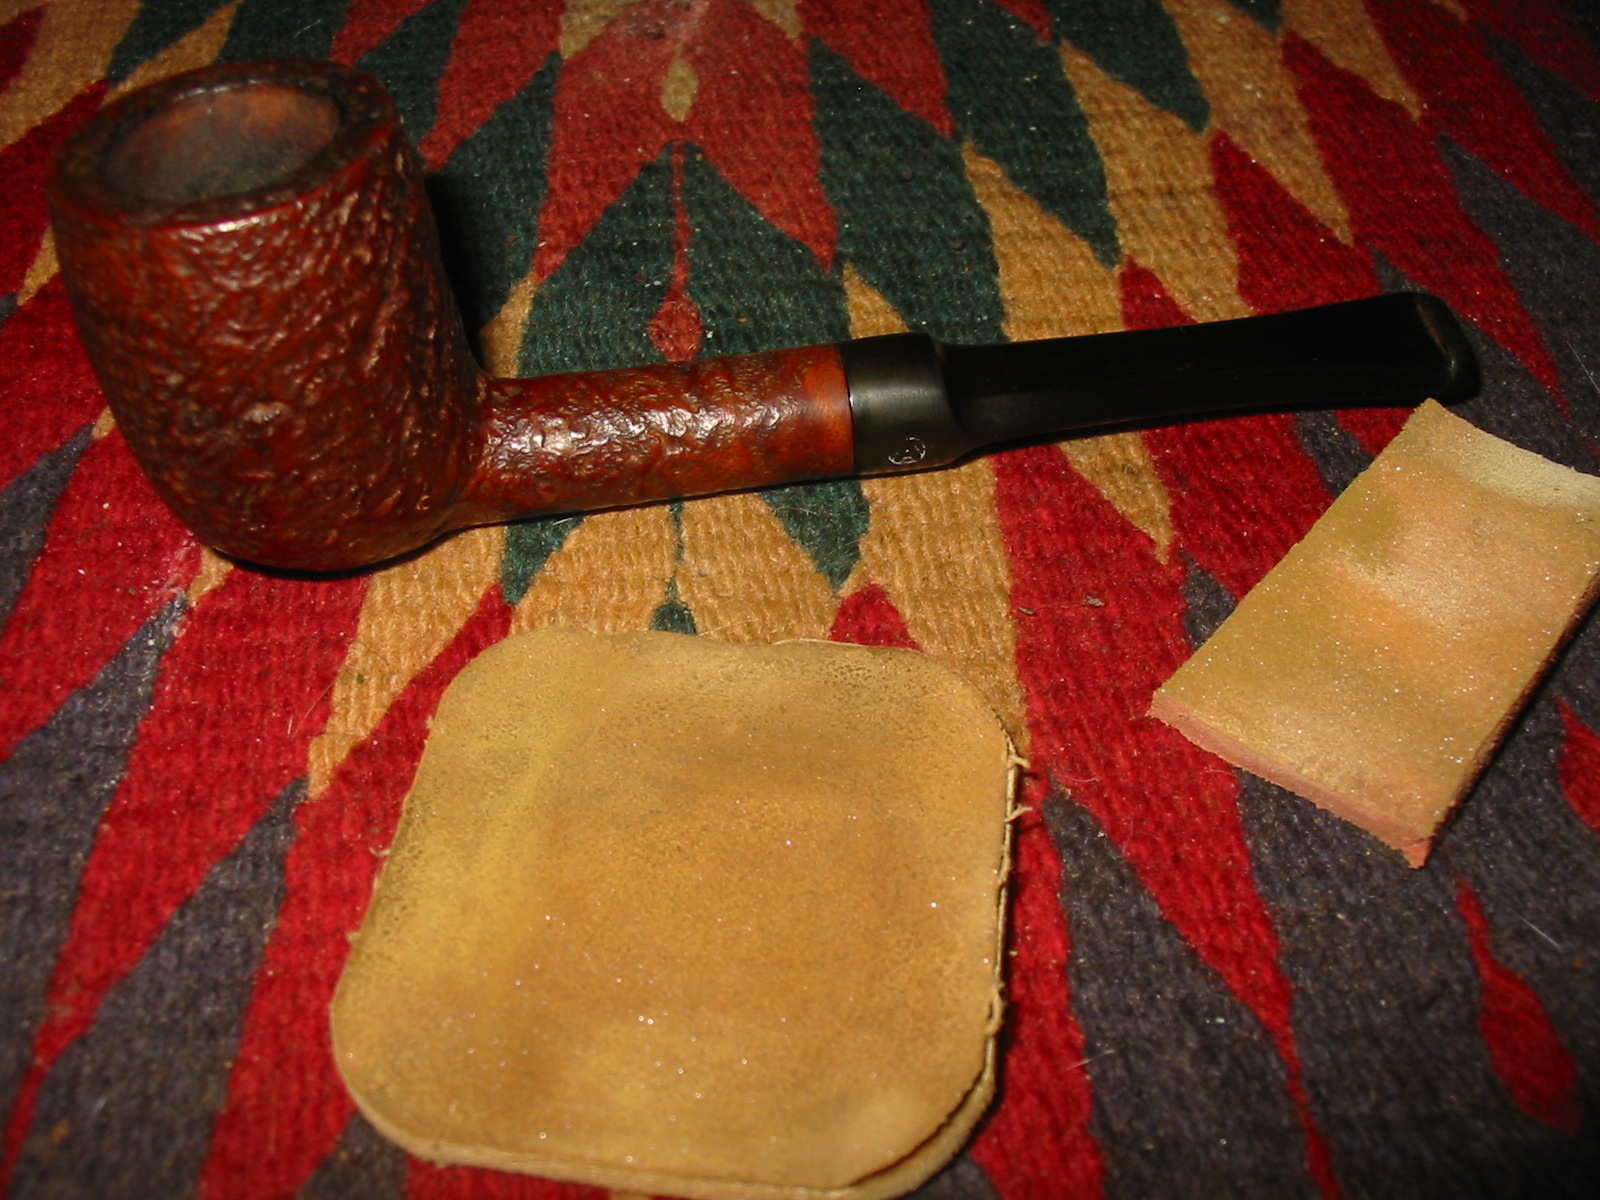
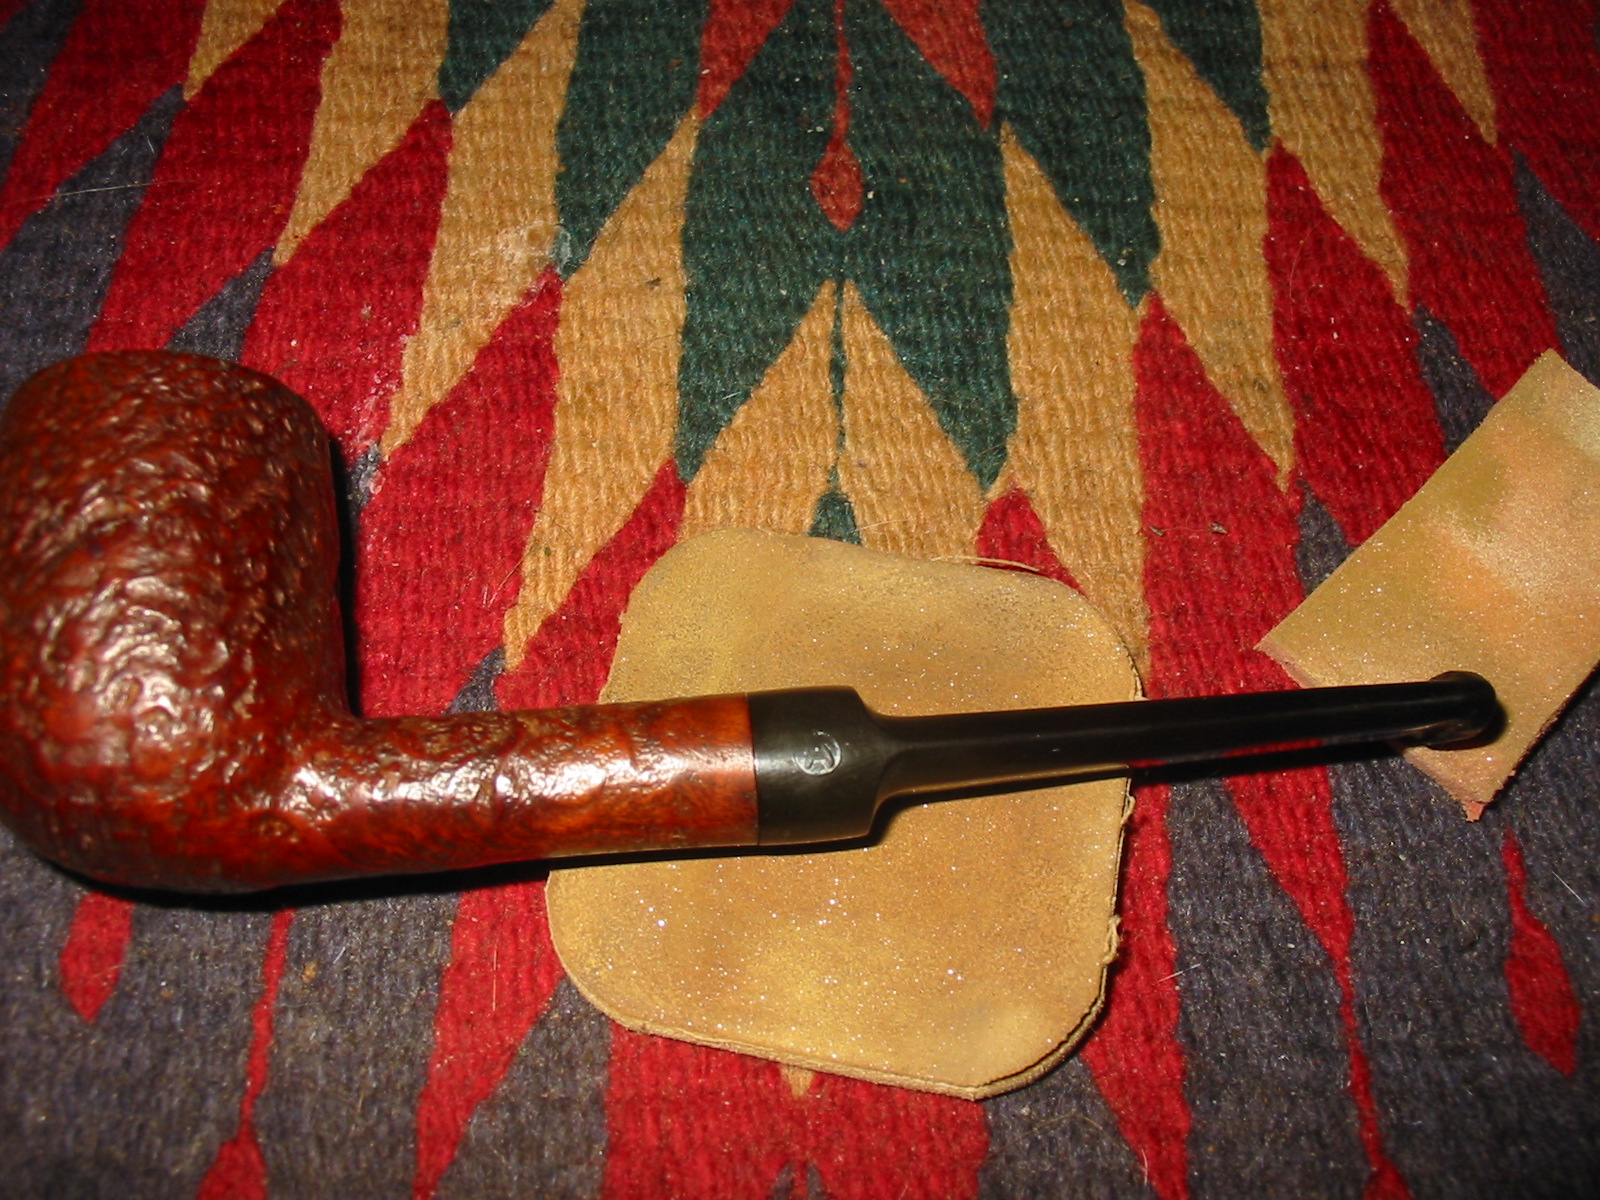
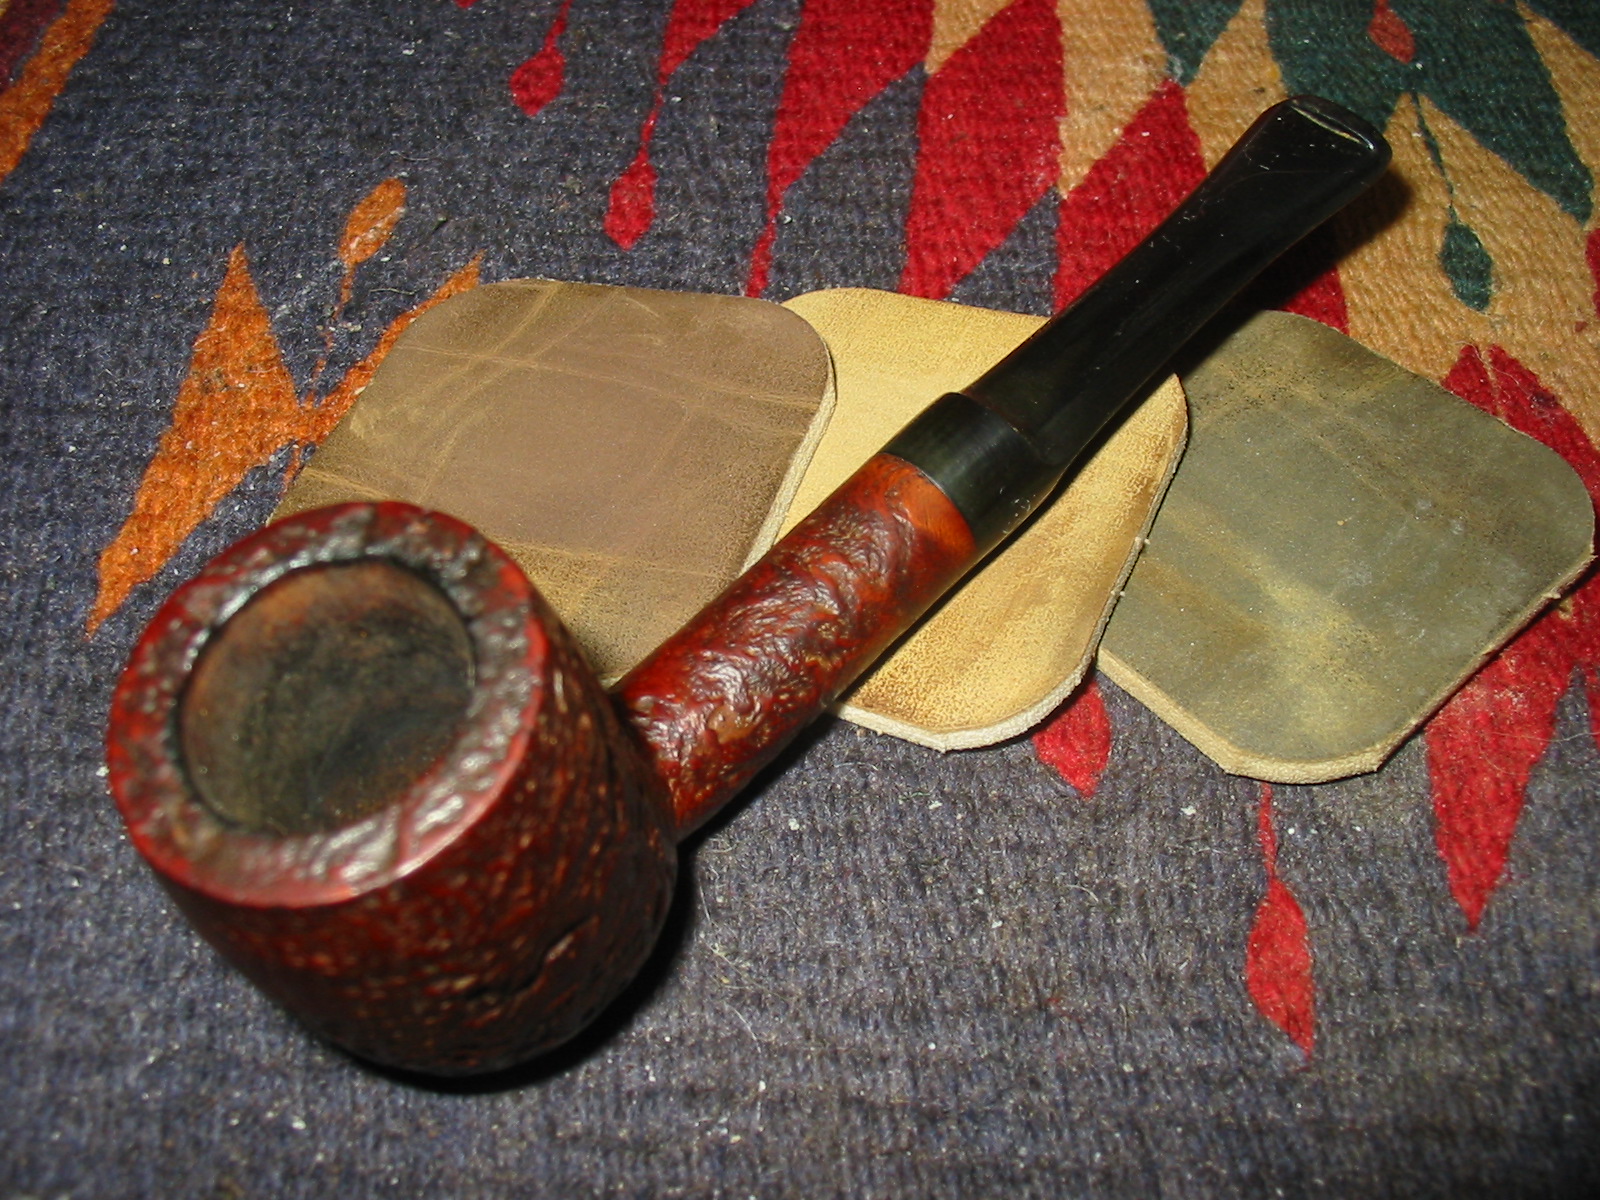
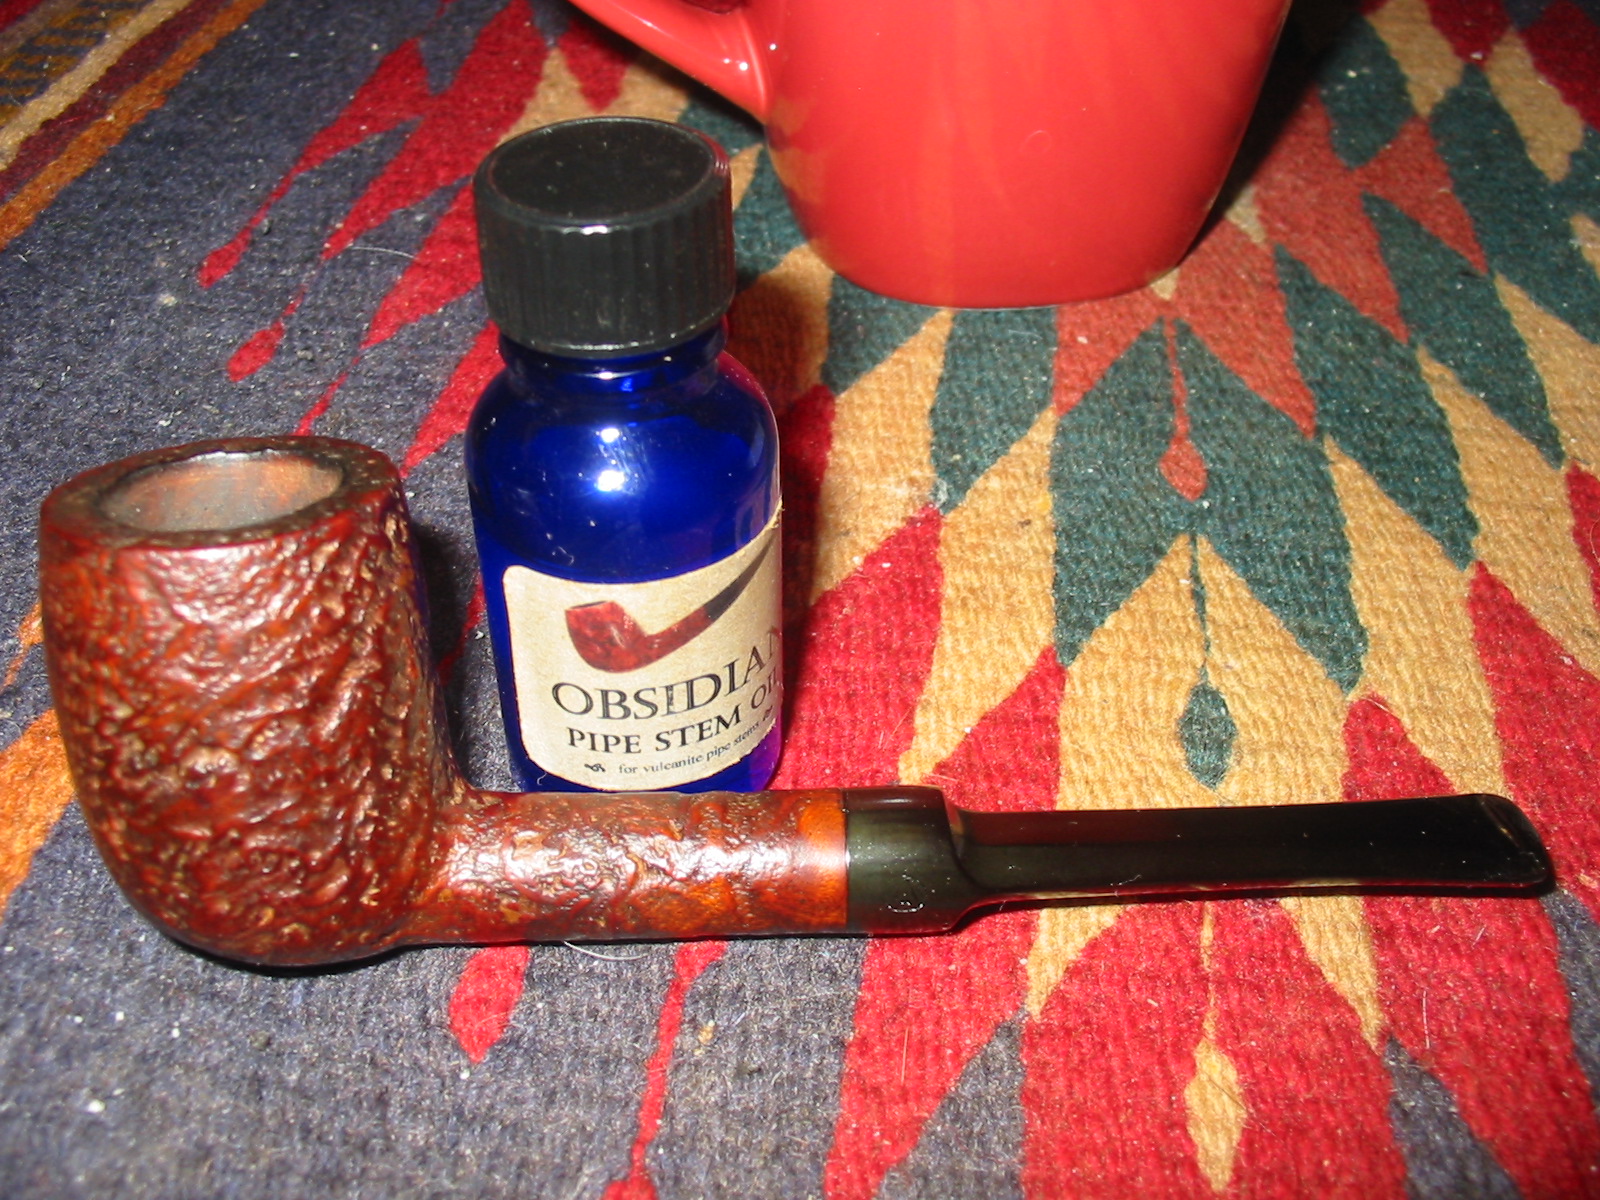
It has a deep craggy blast that attracted me to the pipe in the first place. The briar was dirty and the finish was gone. The remaining stain was very spotty and dirty. The grime of many dirty hands had ground into the blast leaving dark spots all around the bowl and shank. The state of the finish can be seen in the photo below. The bowl was dirty and had a slight cake with dottle still in the bowl. The rim had some darkening from the lighter and there was lava on the surface hiding most of the blast. The beauty was that the bowl did not have any damage from tapping it out or burning on the edges. It would clean up very nicely. The stem was slightly oxidized and had a calcified buildup in several spots. It also had a few faint tooth marks about a ¼ inch back from the button. The button itself had several dents in it as well. The slot in the button was too tight to even take a thin pipe cleaner. The inside of the shank was thick with a tarry buildup and the stem was clogged with buildup as well. I am pretty sure the stem had never been cleaned out as a pipe cleaner would not pass through the slot.

IMG_0305

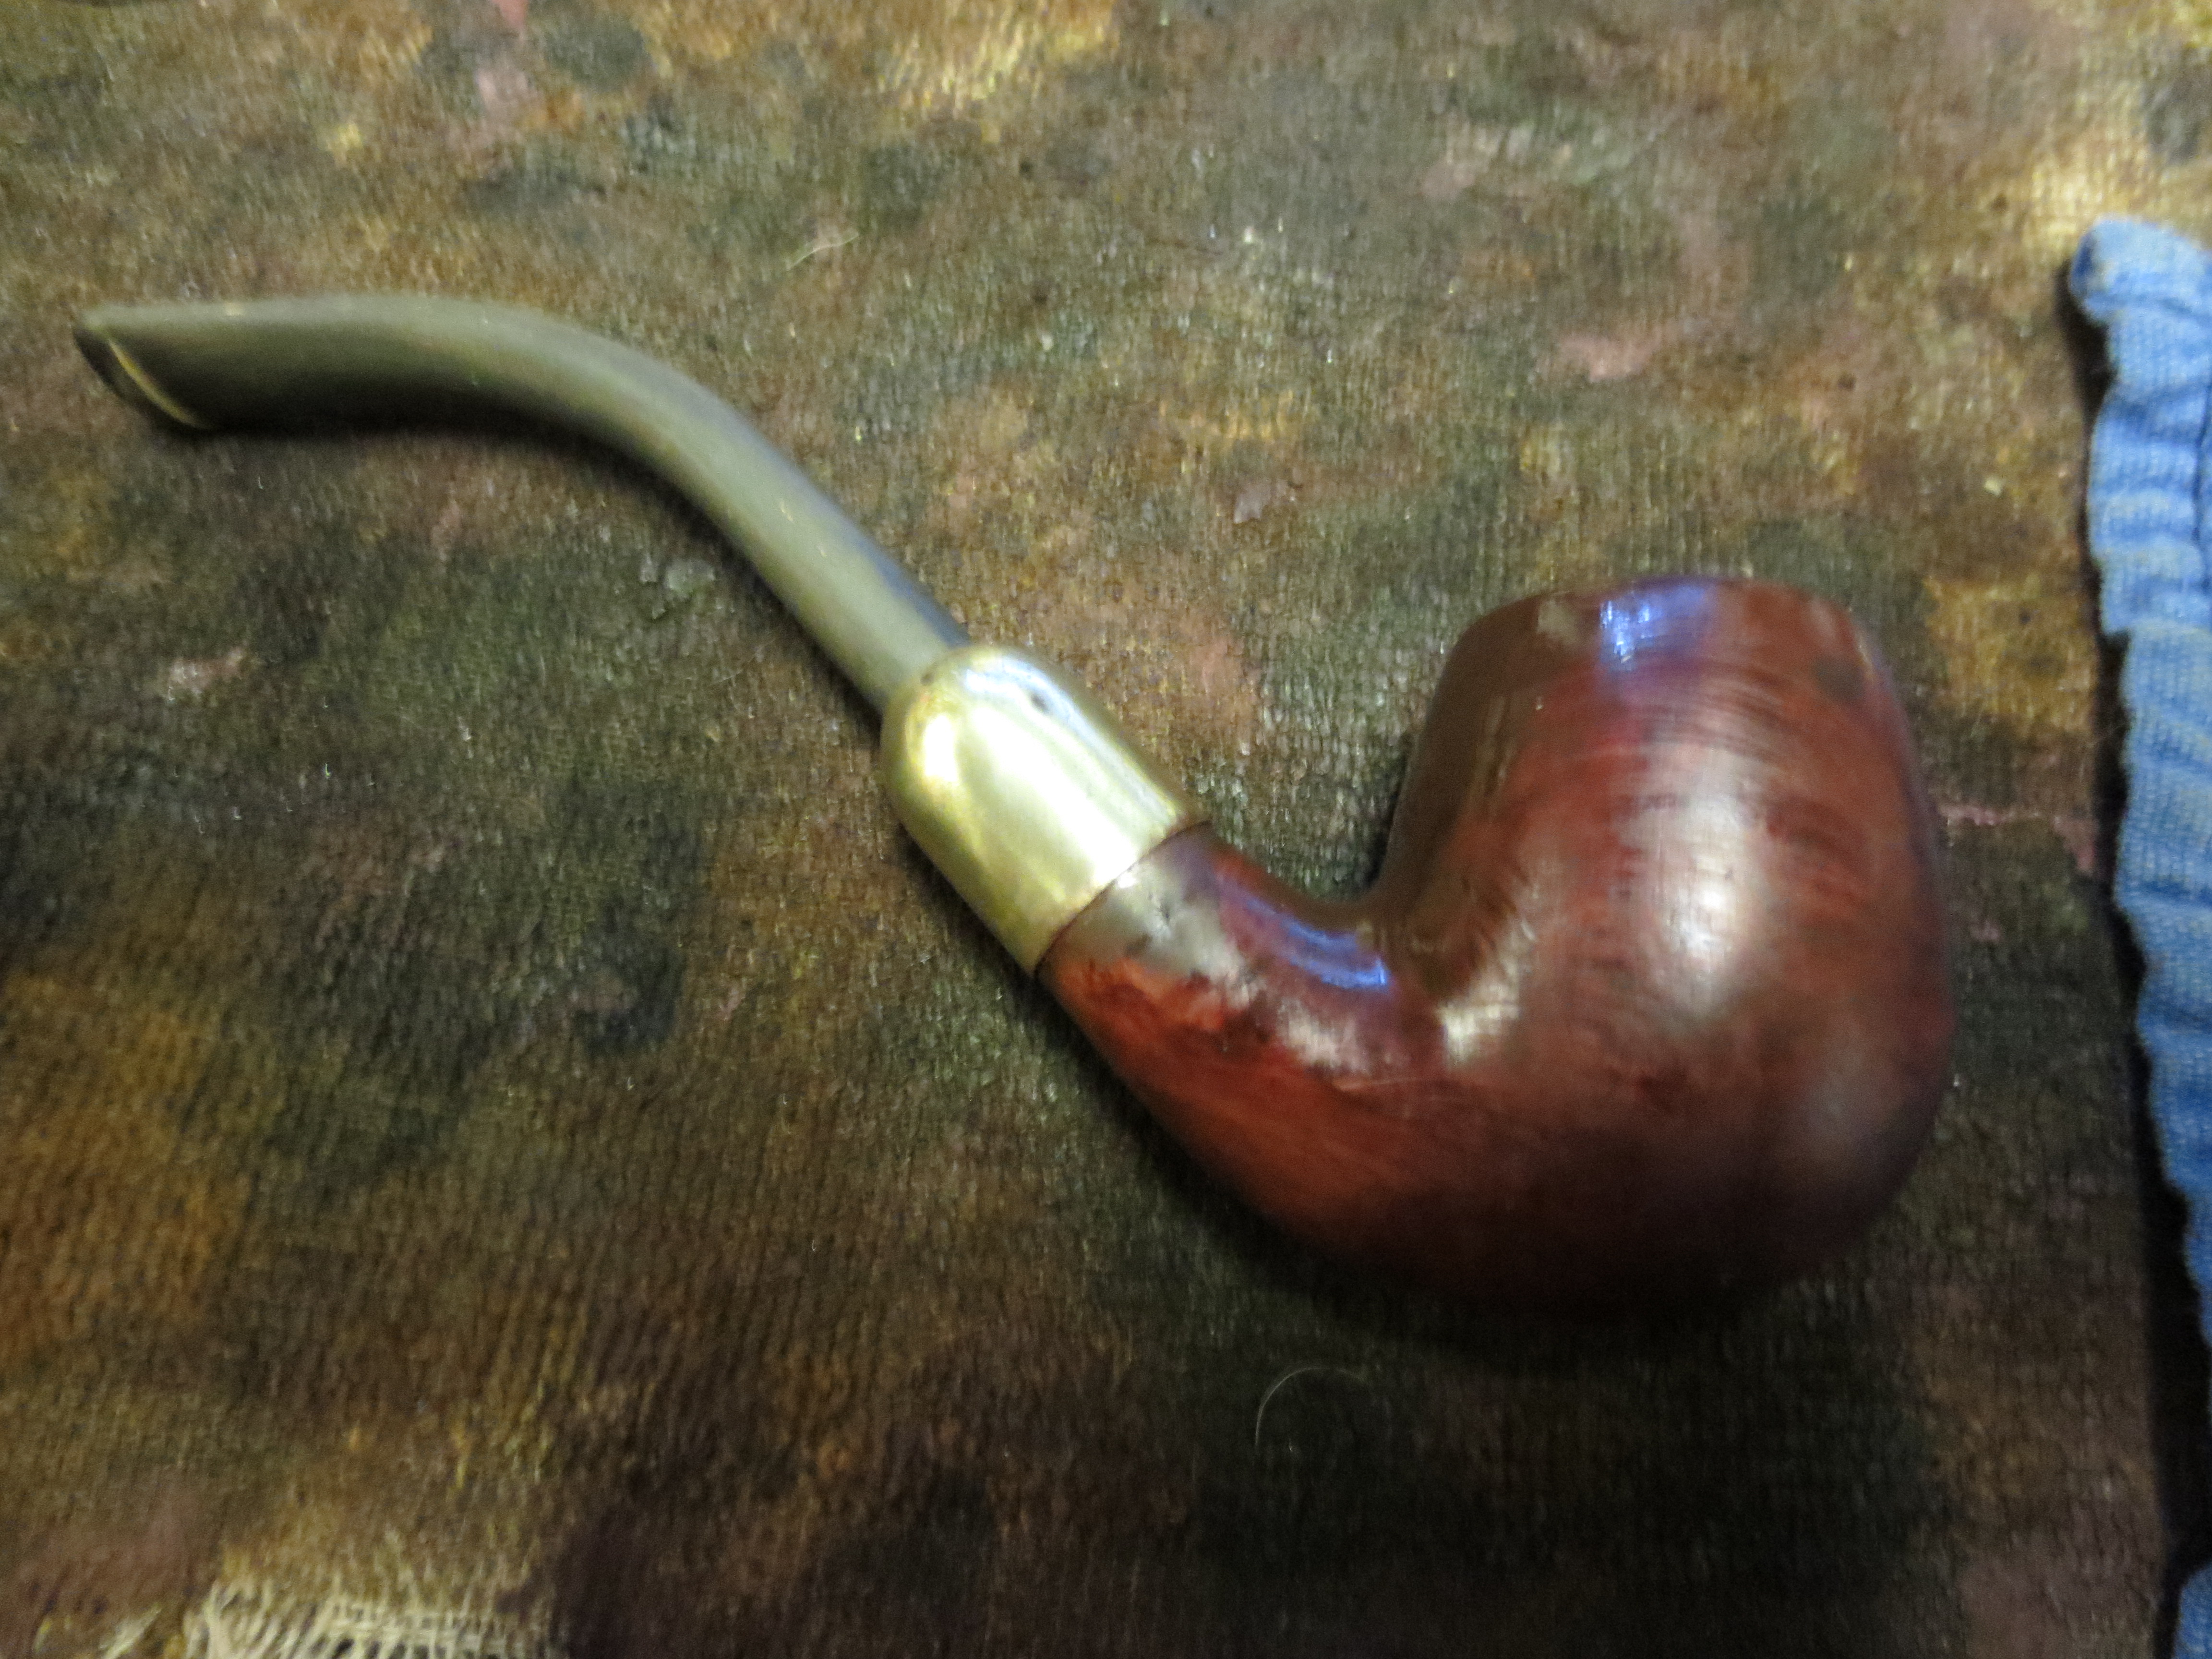
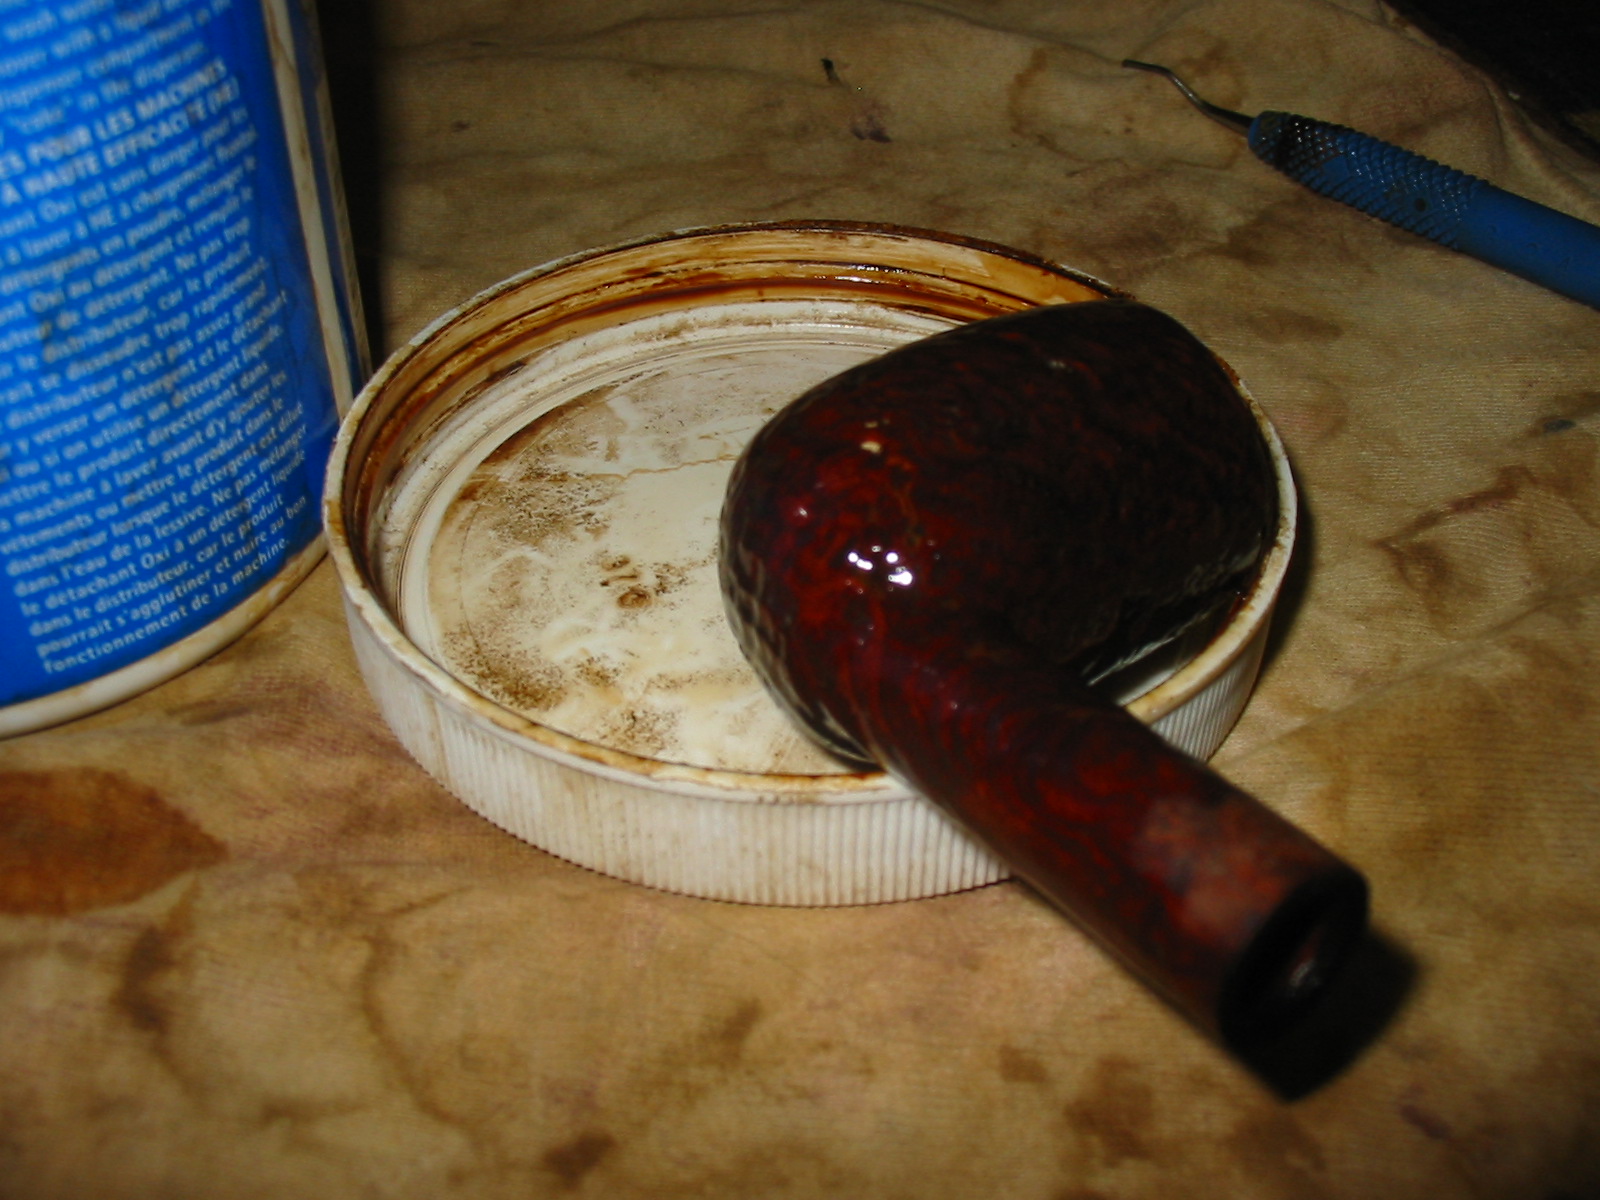
I removed the stem from the bowl and dipped the bowl in an alcohol bath and scrubbed it with a brass tire brush to remove the grit and grime in the blast. I then dropped it into the bath to soak overnight. In the morning I removed it from the bath and gave it another quick scrub with the tire brush. I flamed the alcohol in the bowl to dry it before I cleaned it. This is a simple process of lighting the alcohol on fire with a lighter. It burns blue and burns fast. No harm is done to the briar. I then cleaned the bowl and shank with pipe cleaners to remove as much of the tars and oils as I could before I used the retort to give it a final cleaning.

IMG_0782

IMG_0783

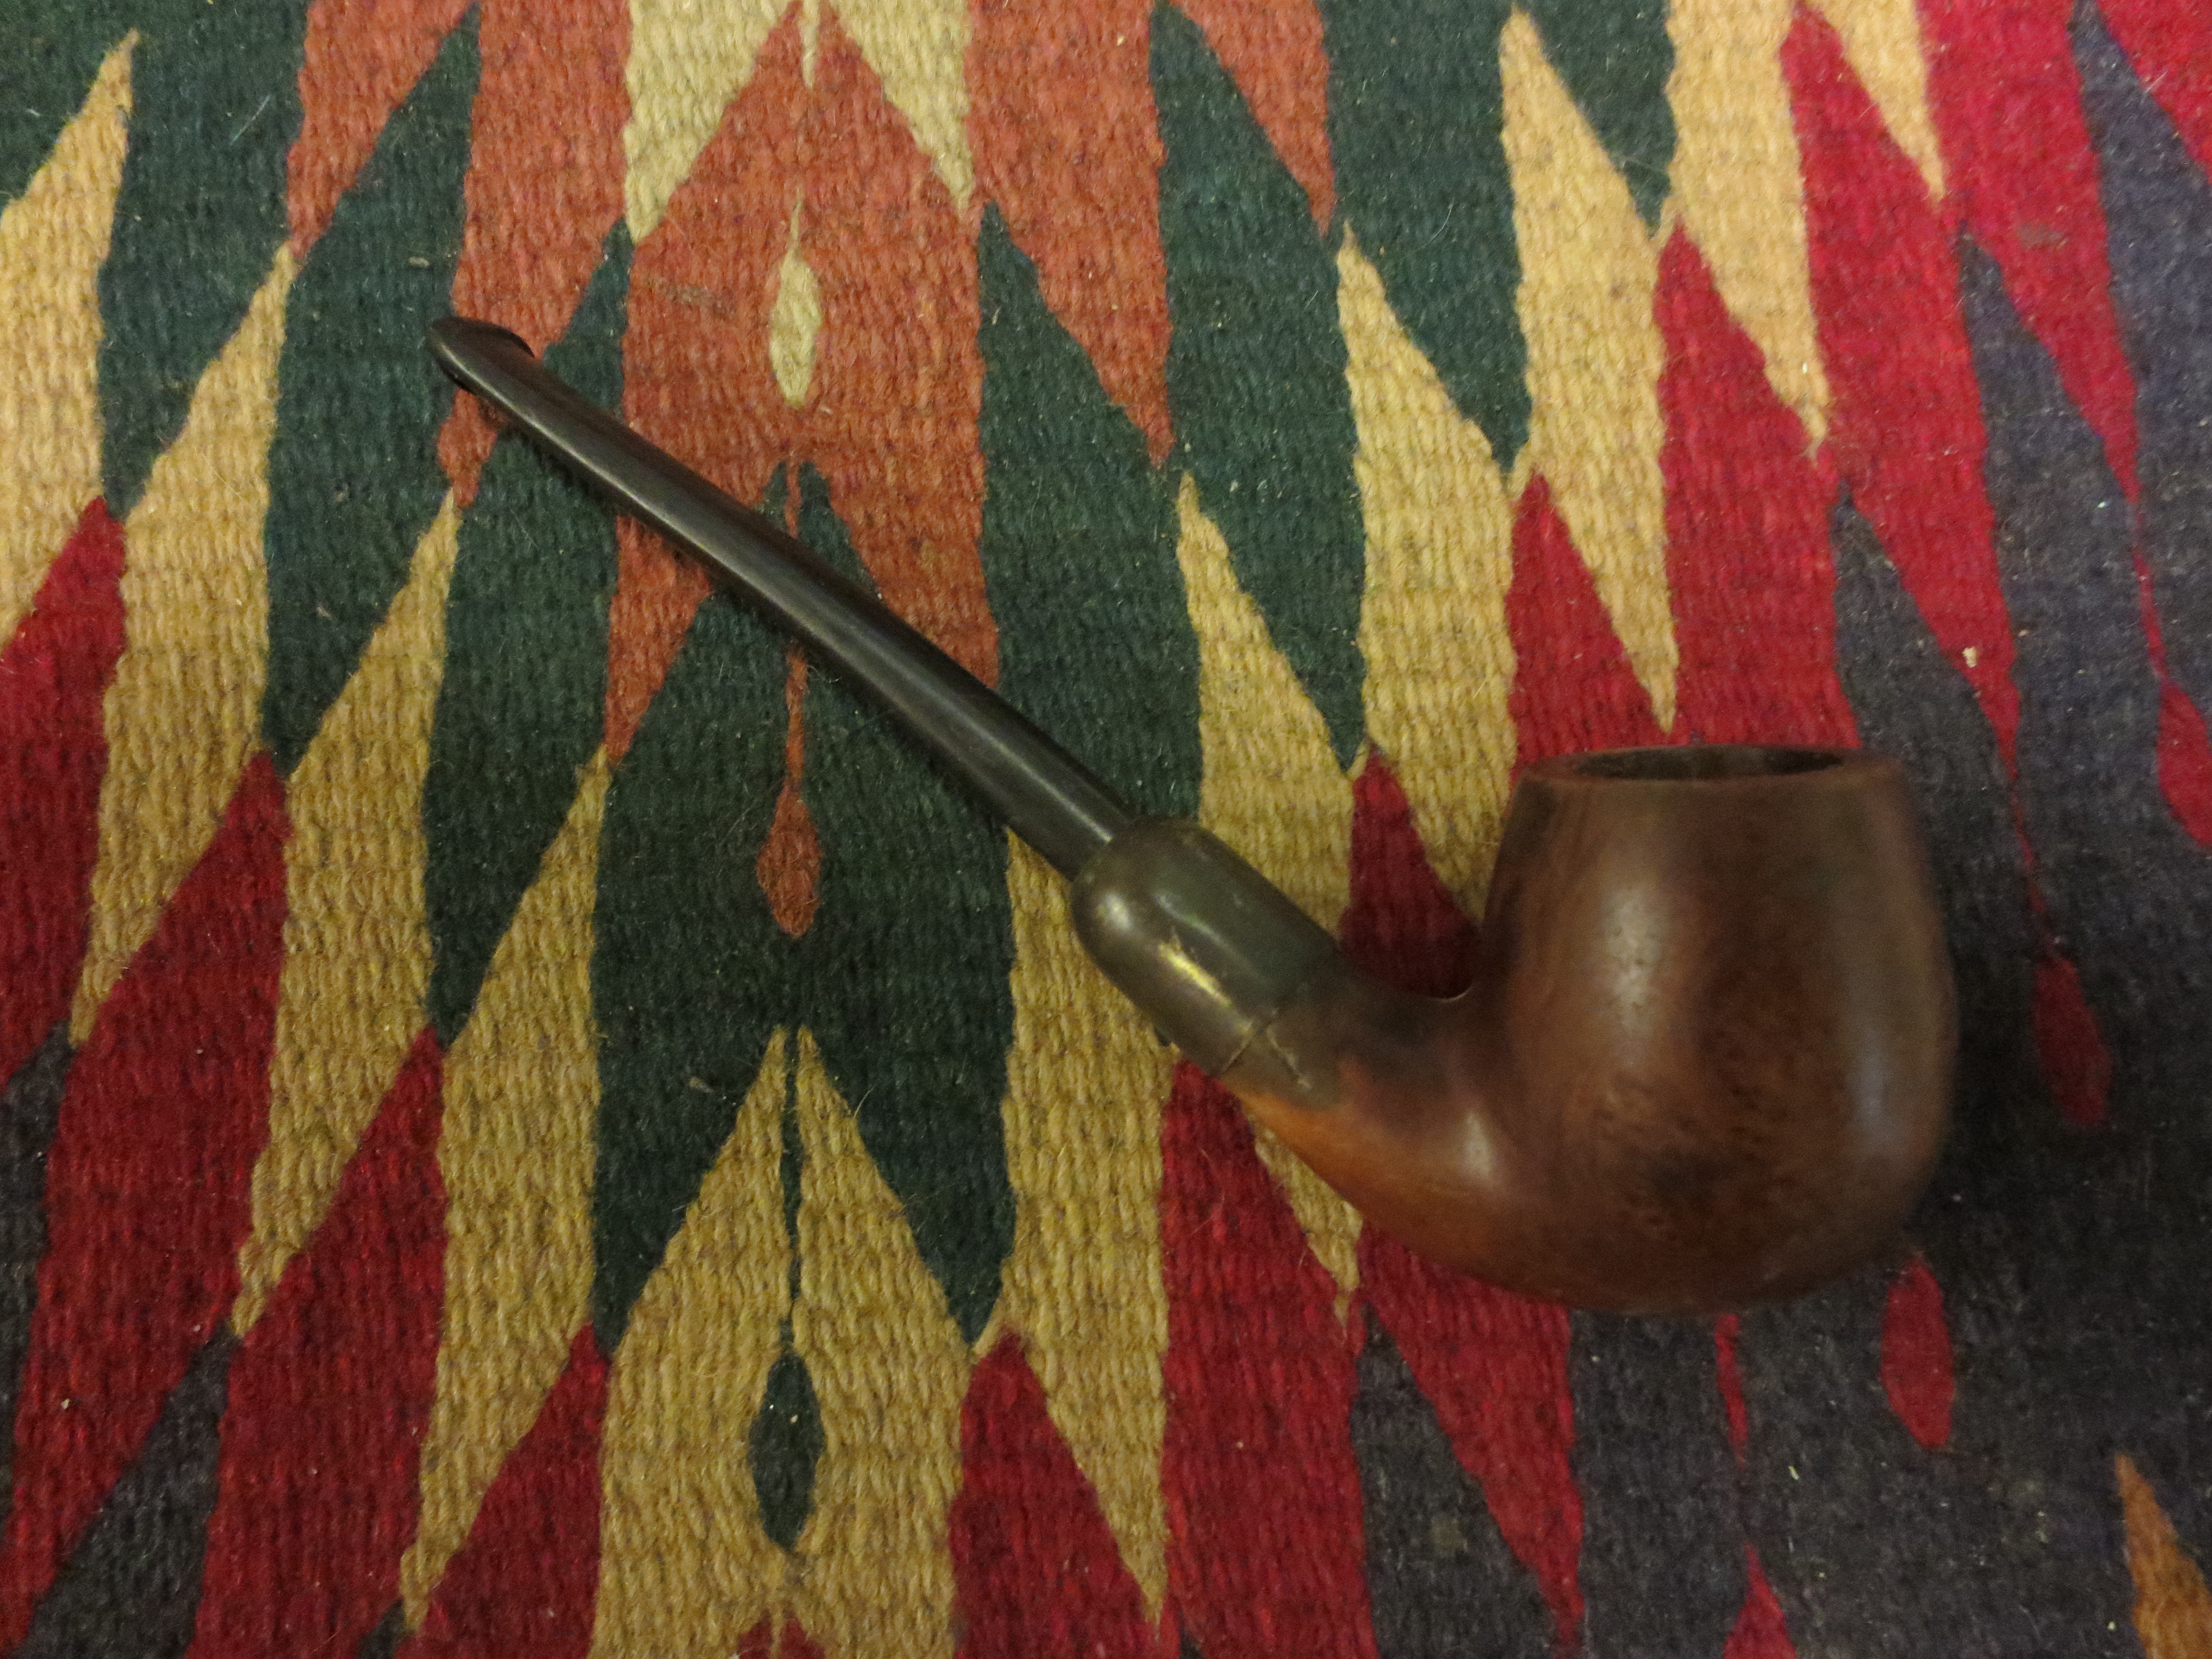
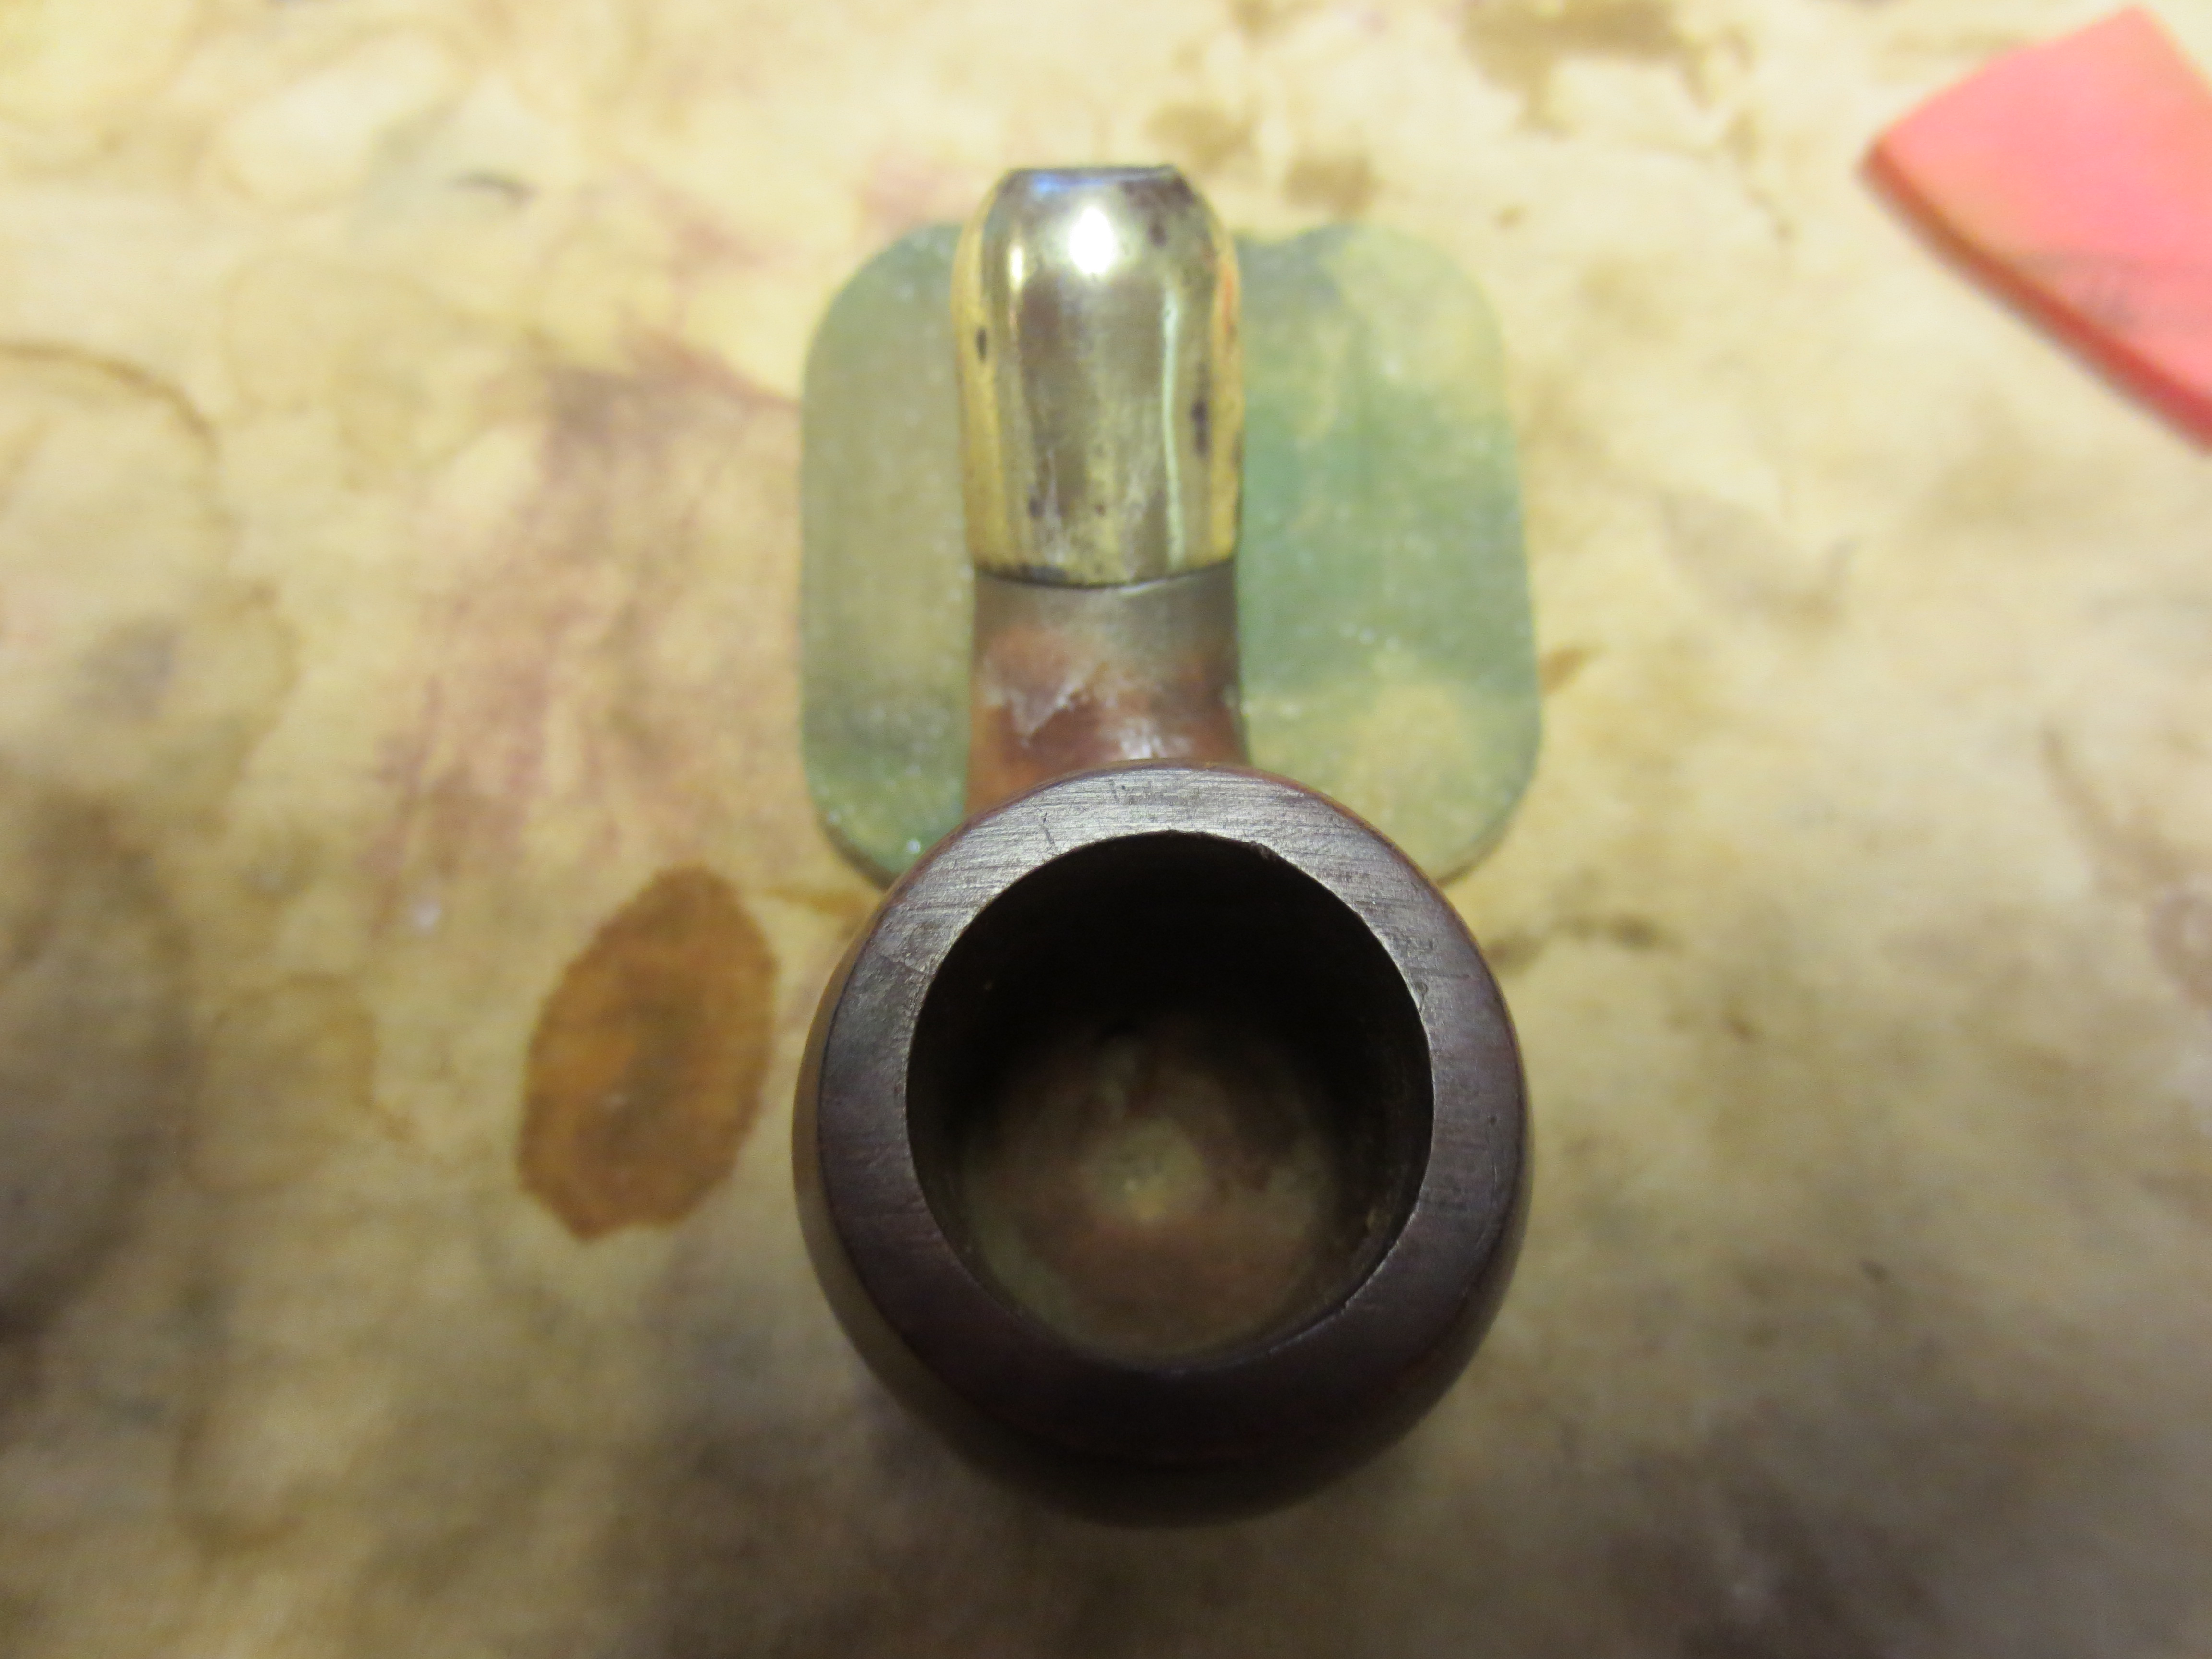
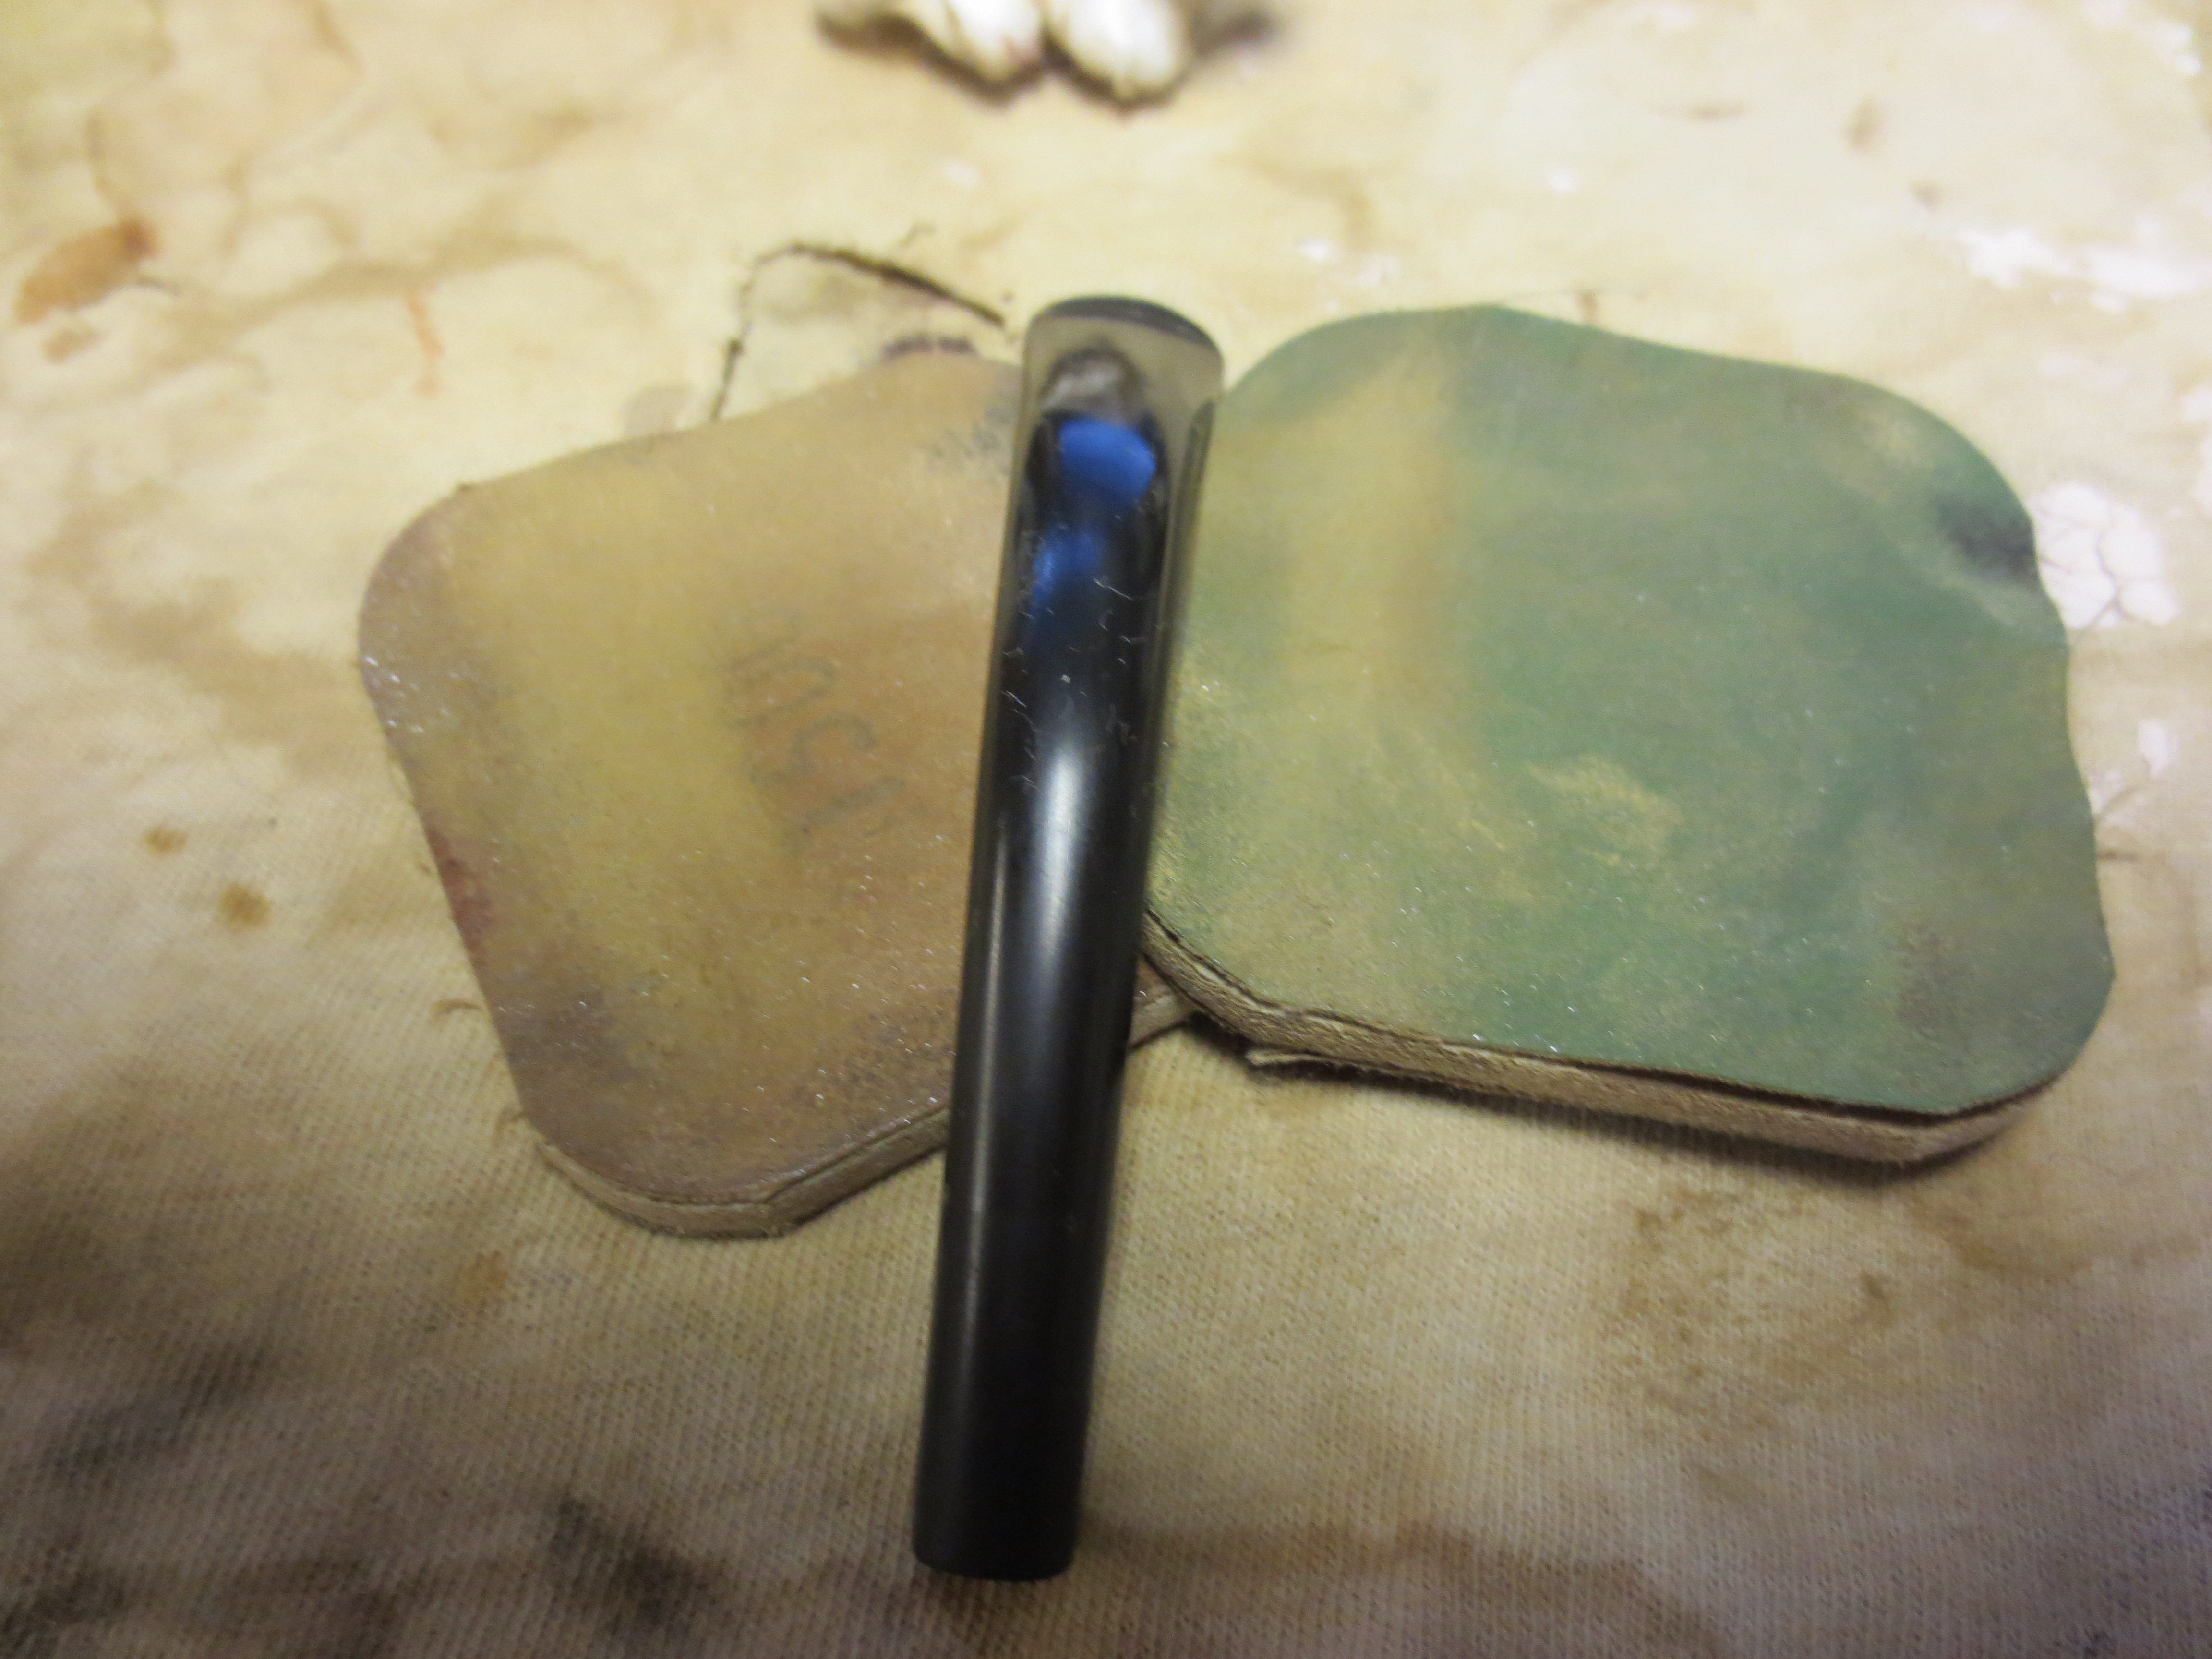
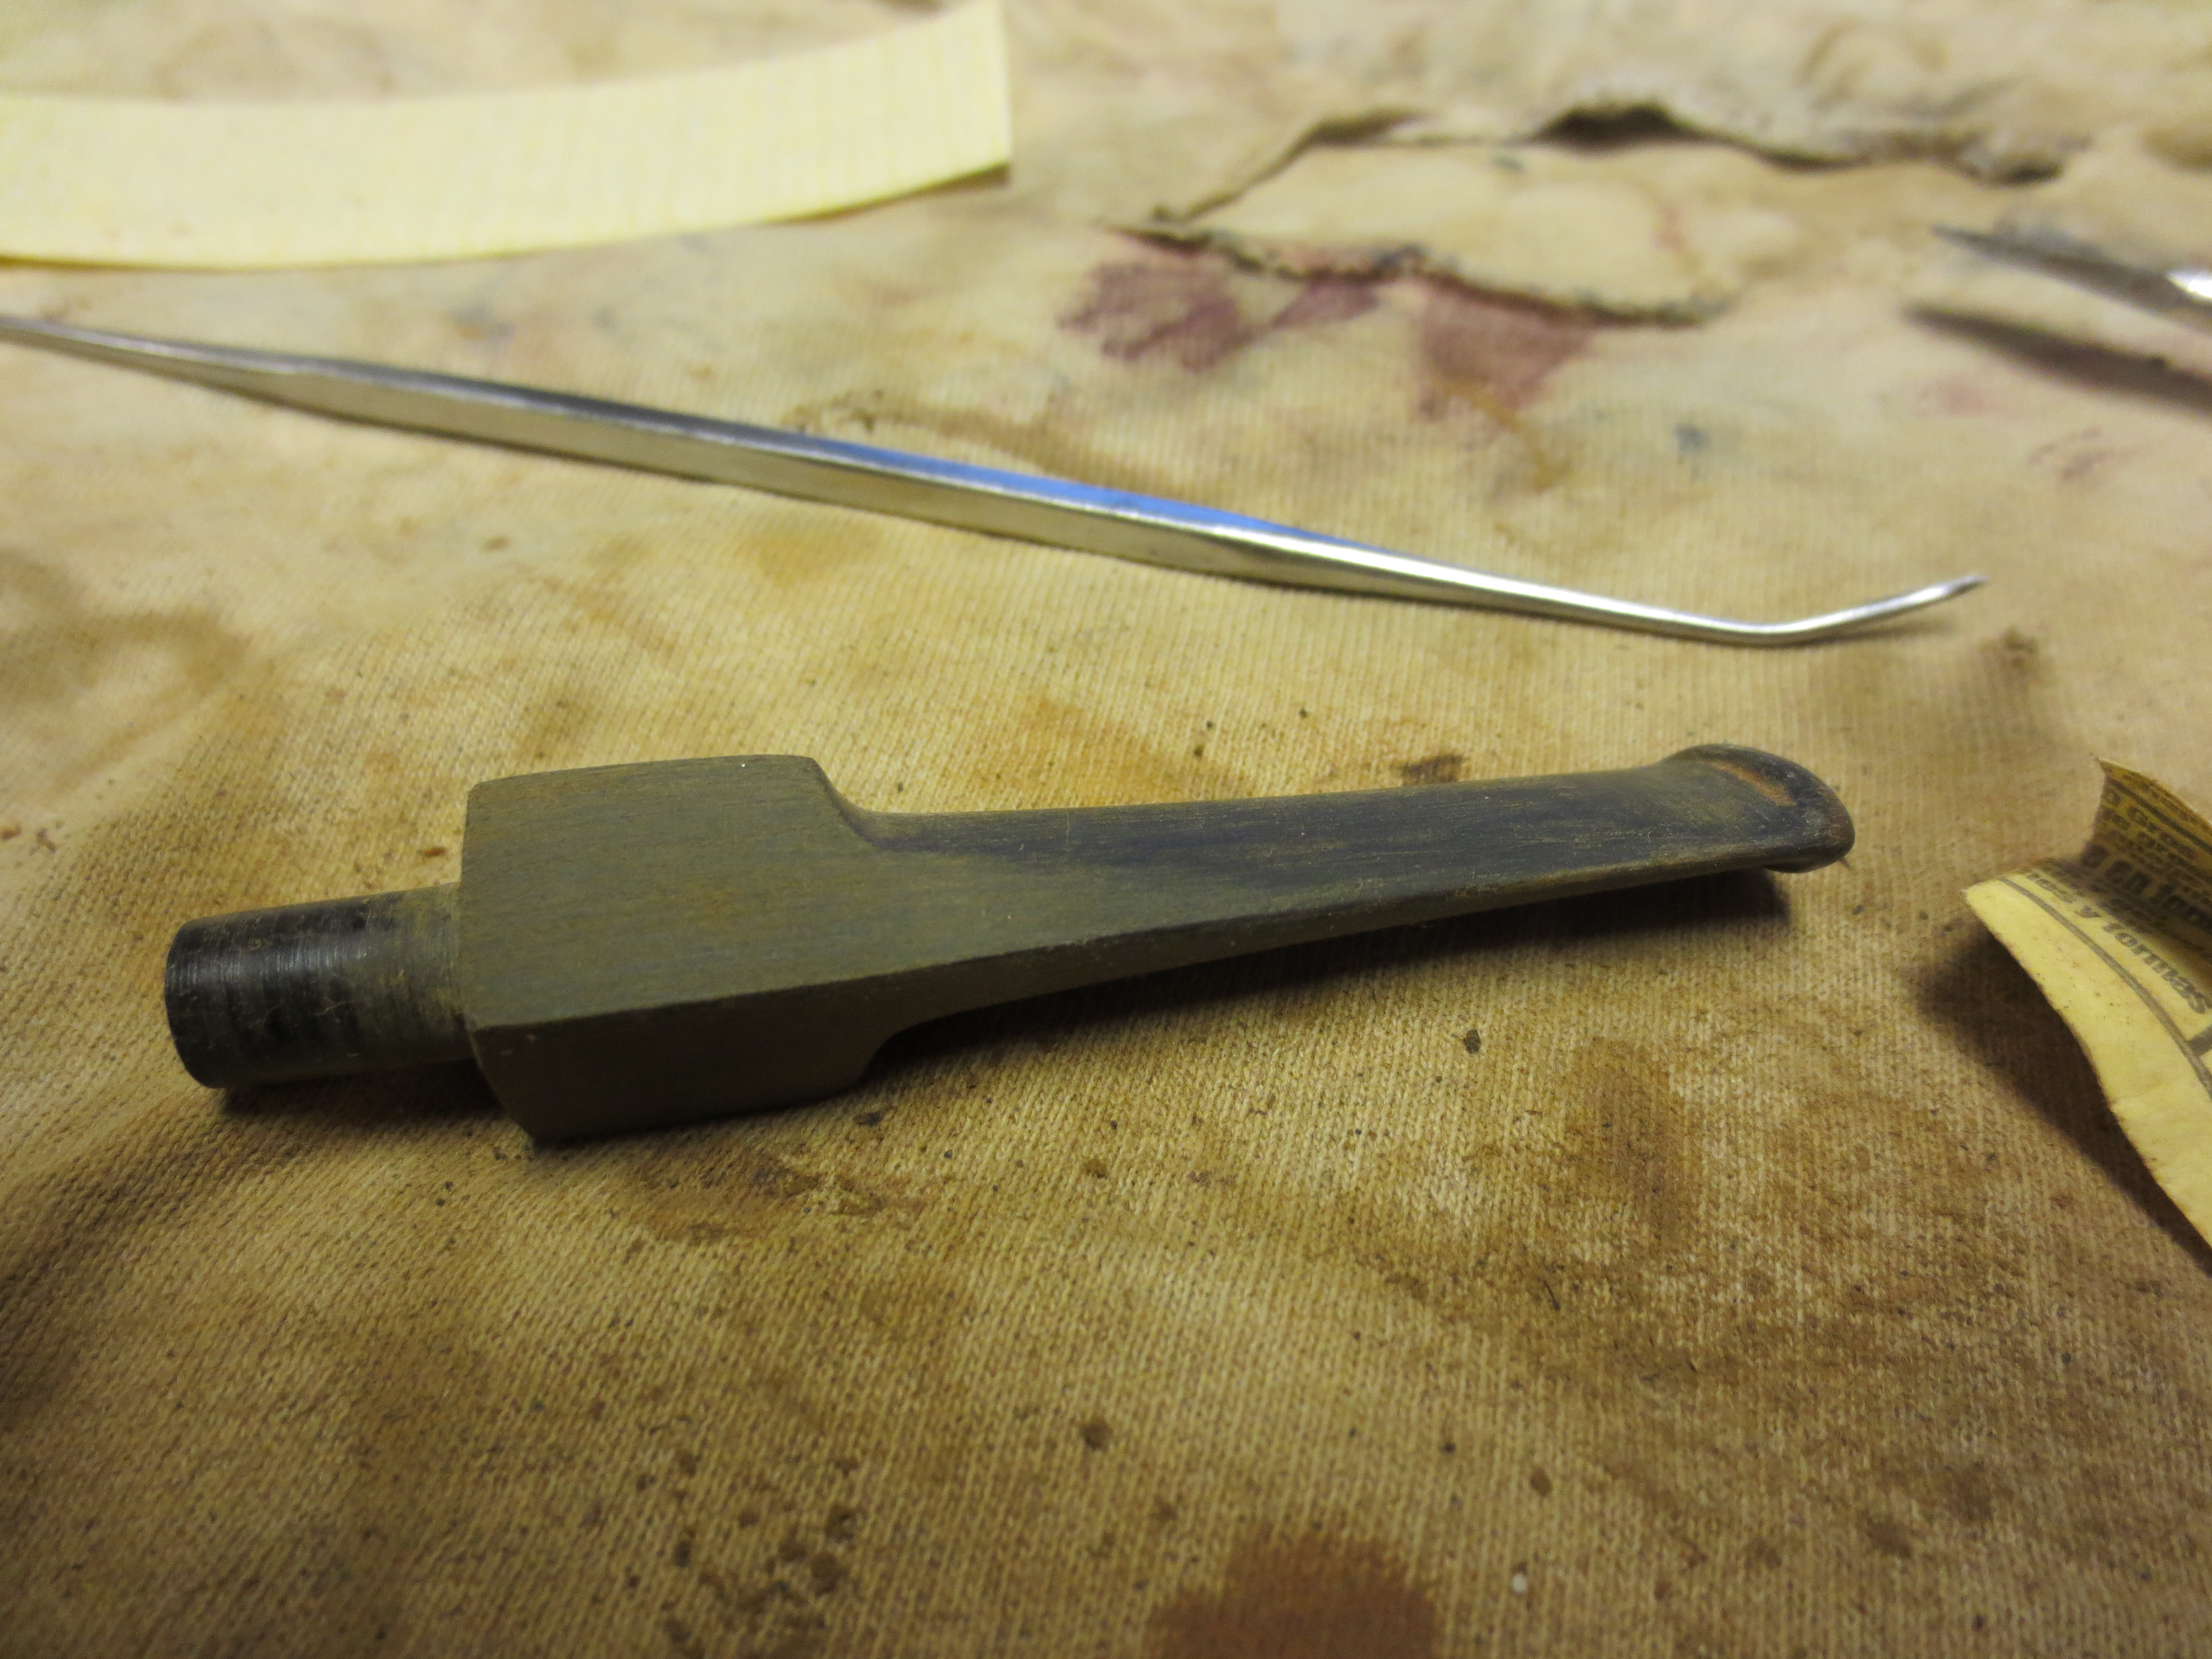
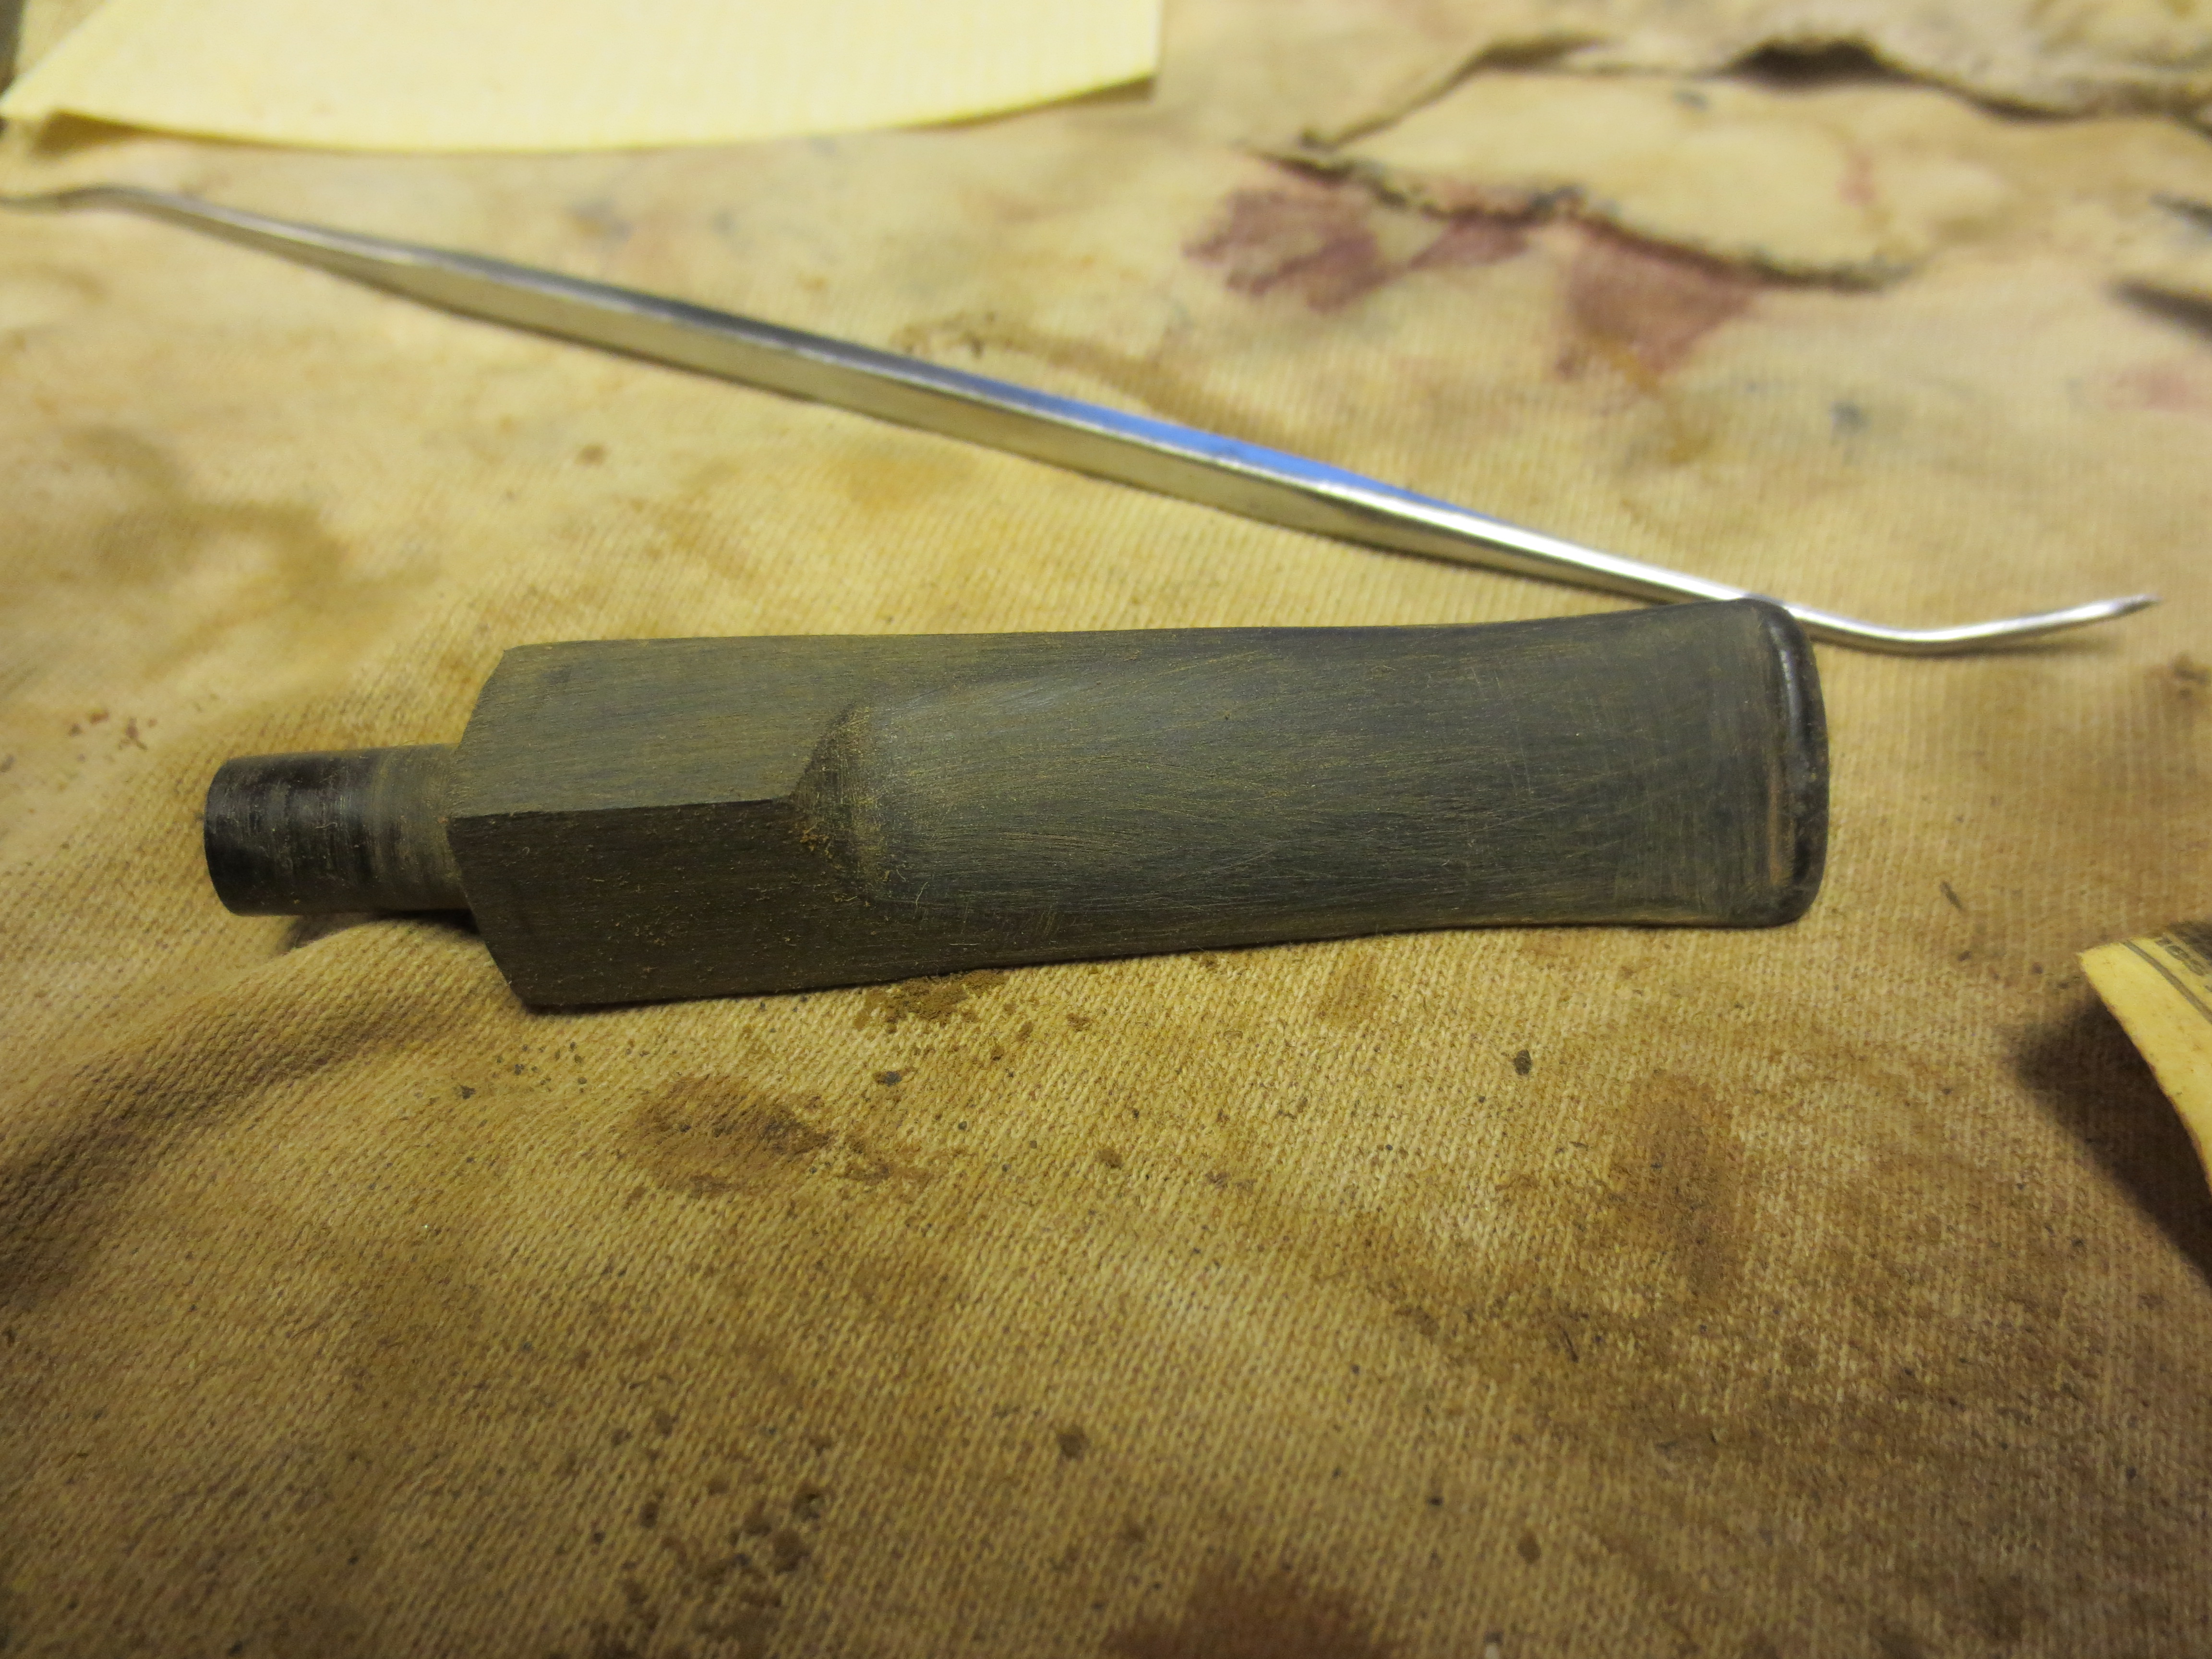
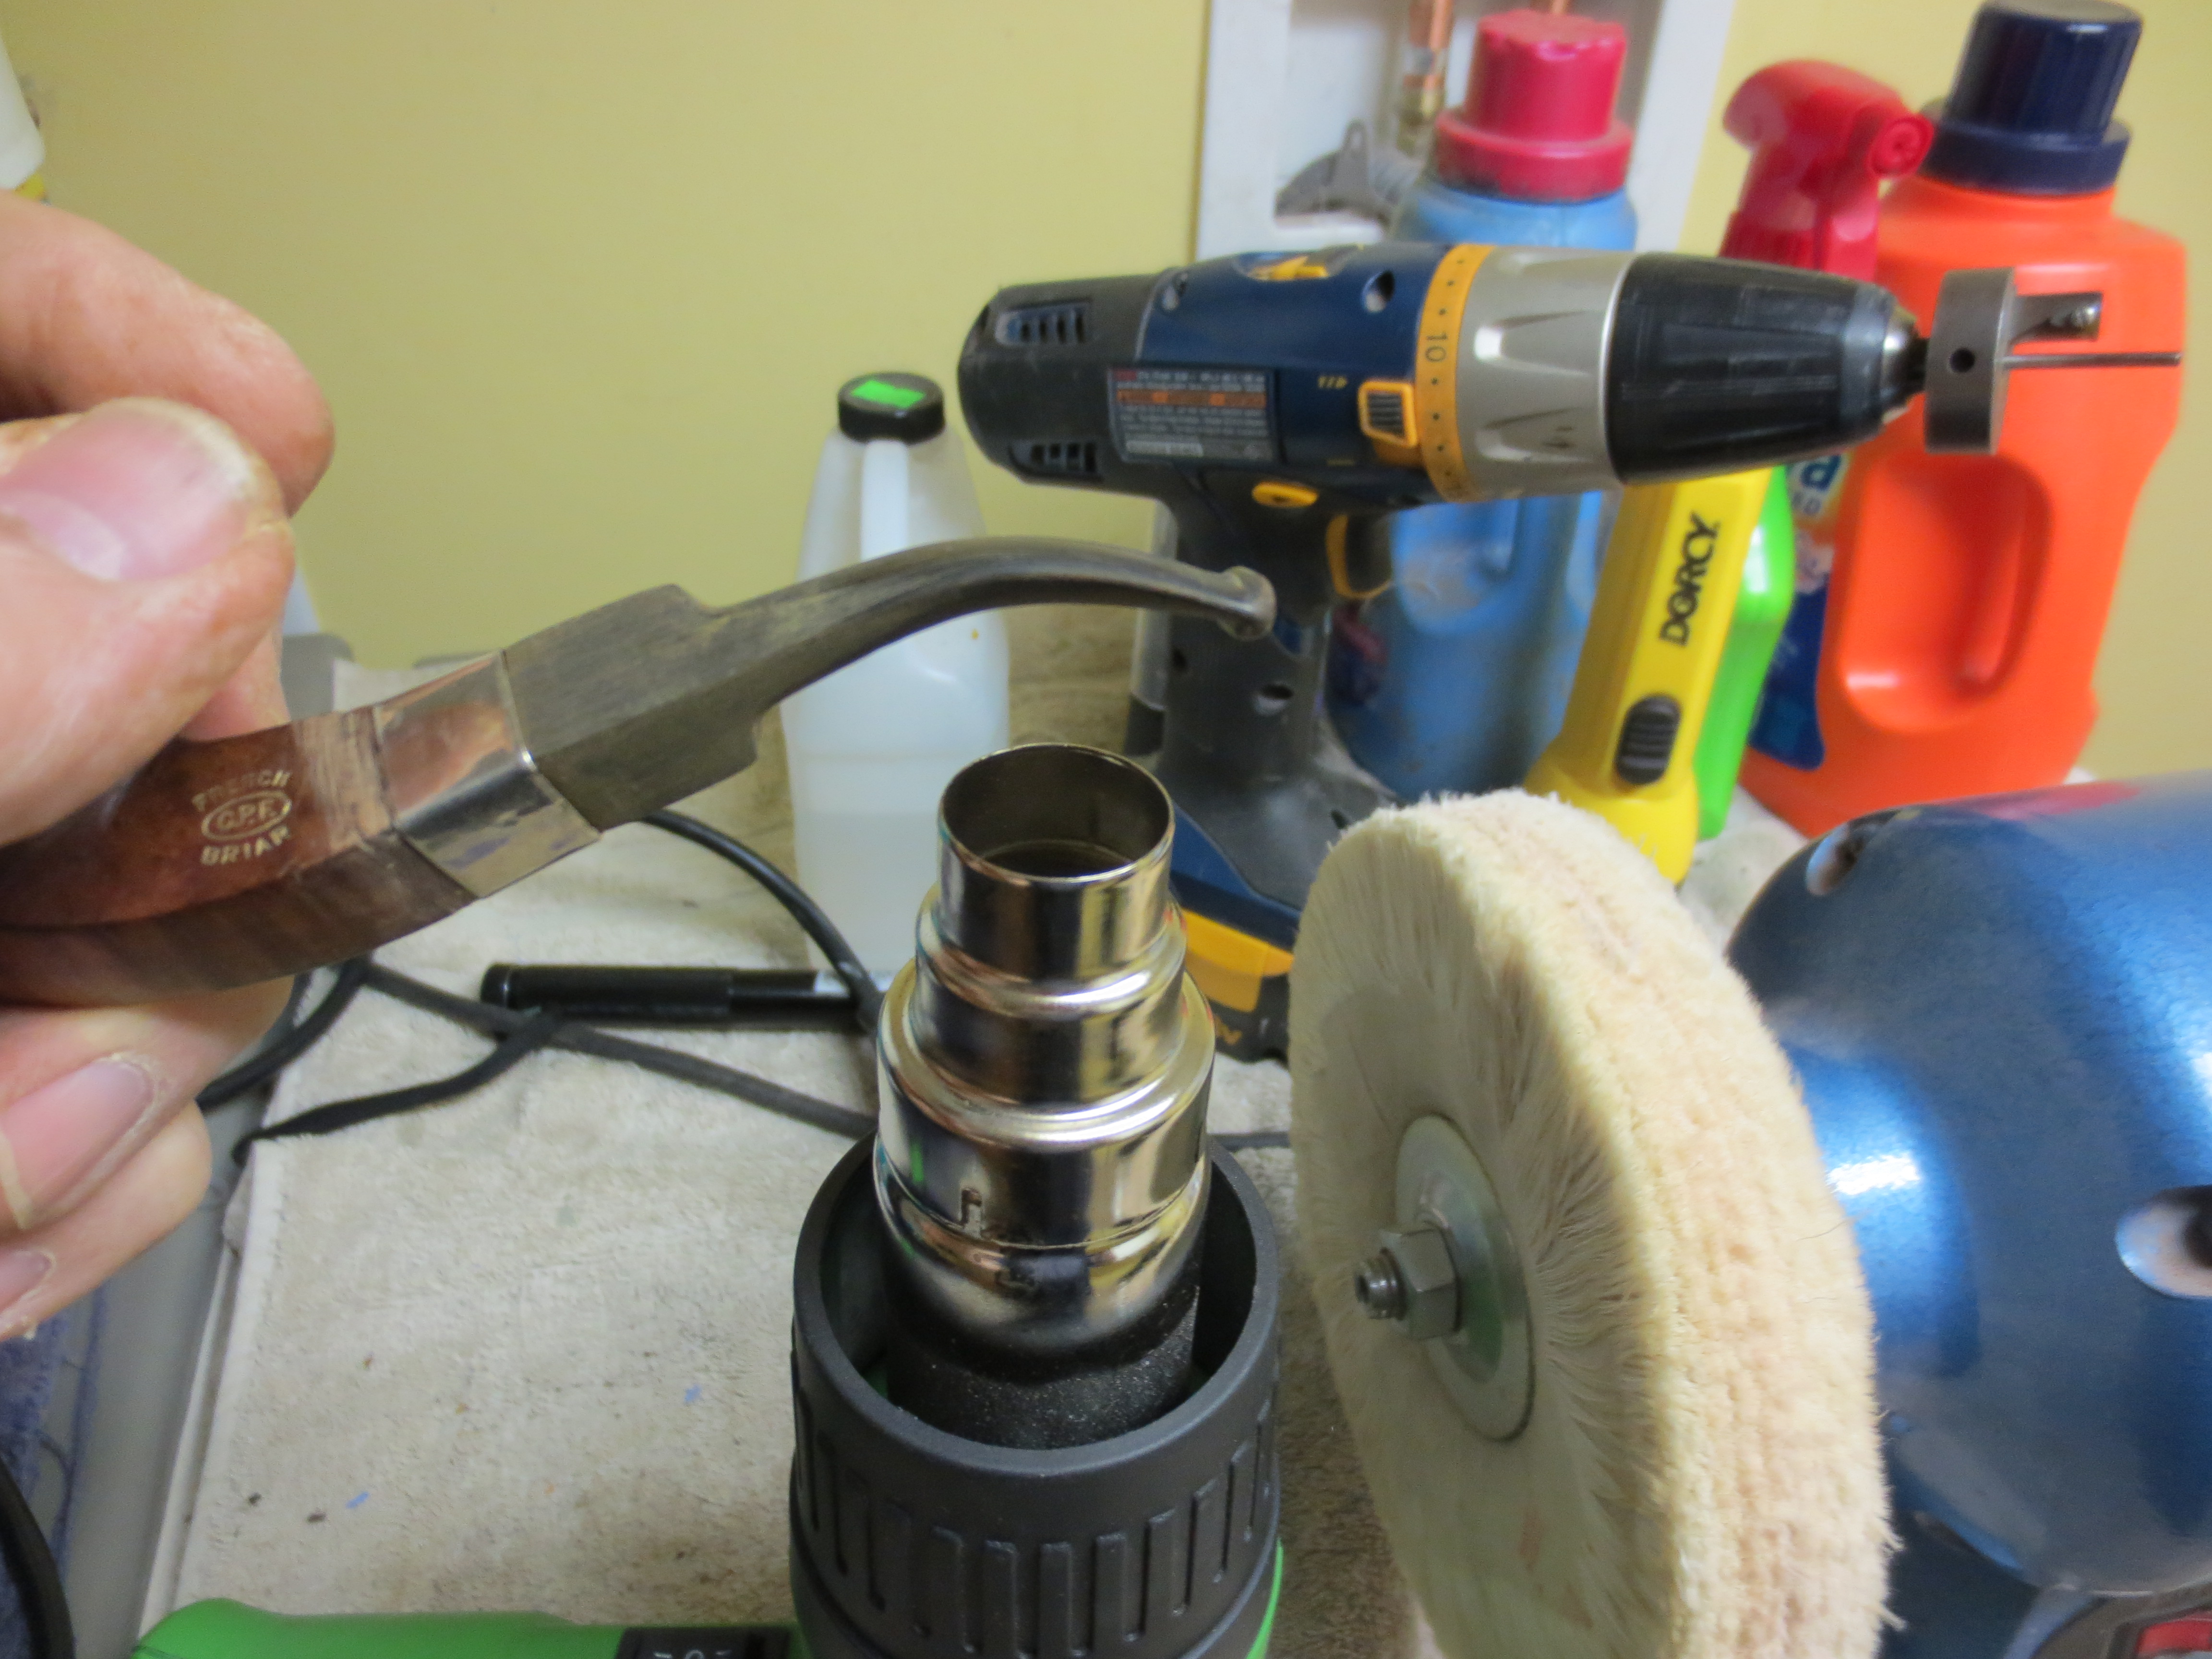
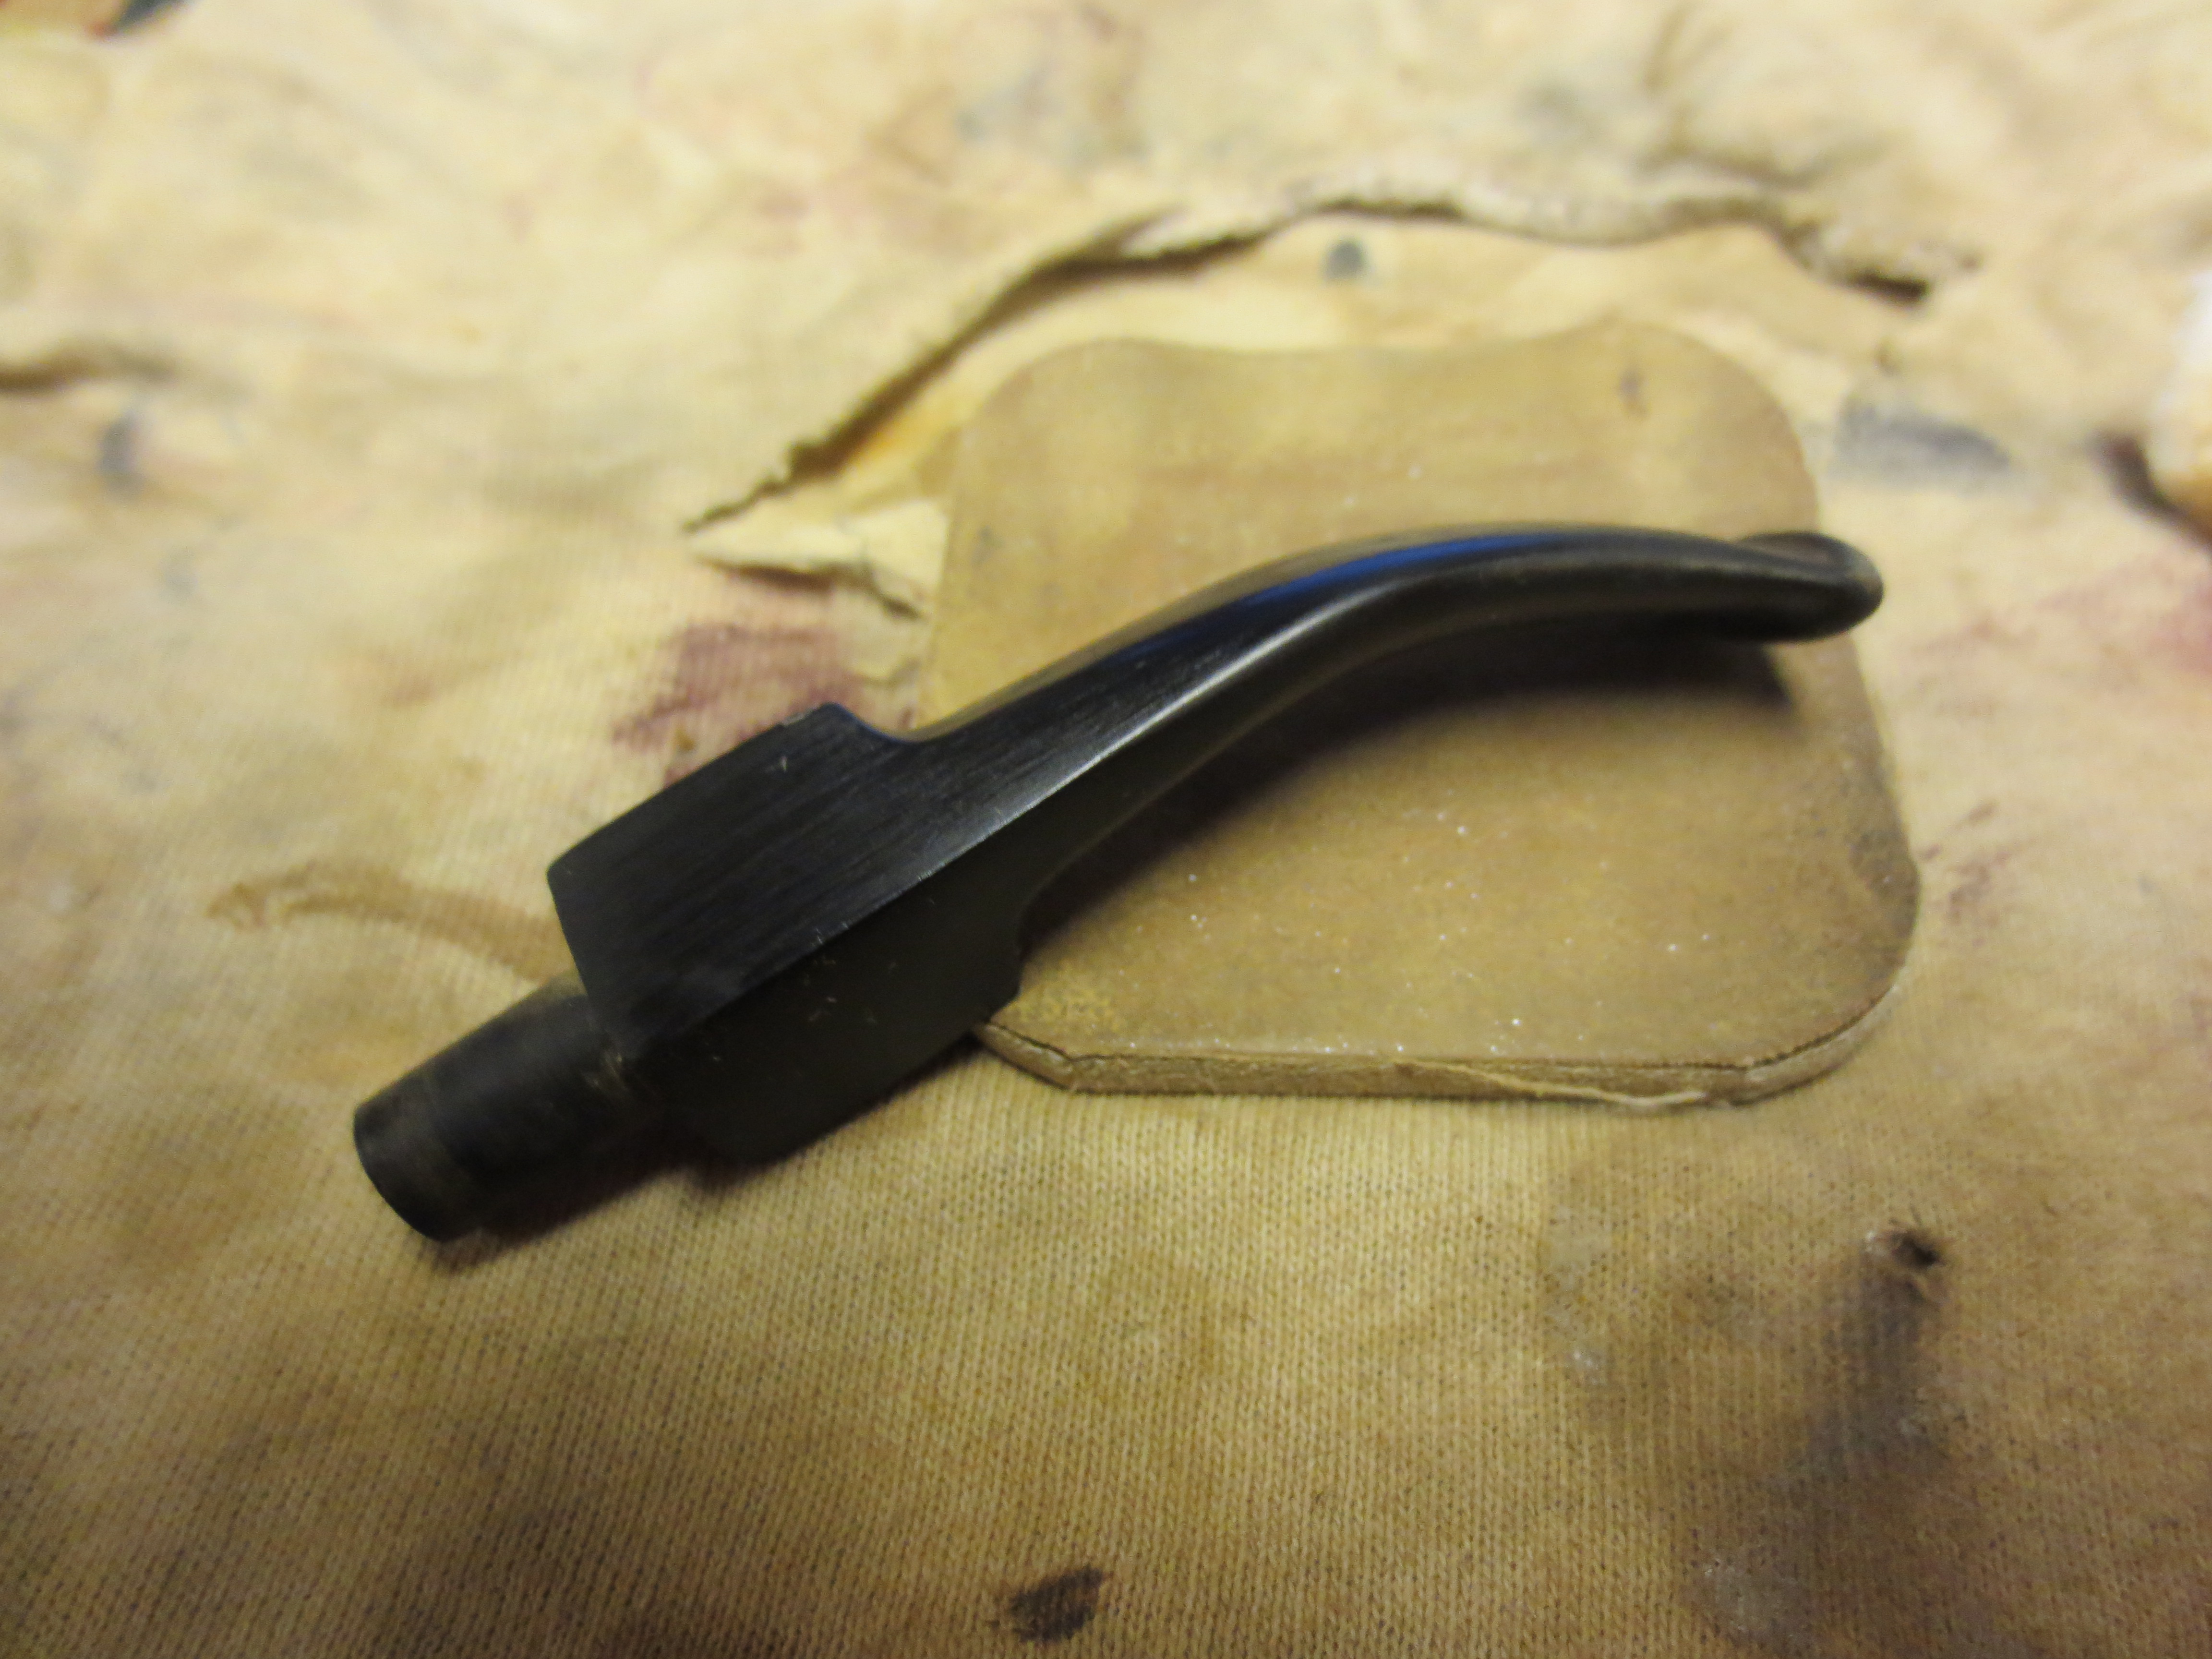
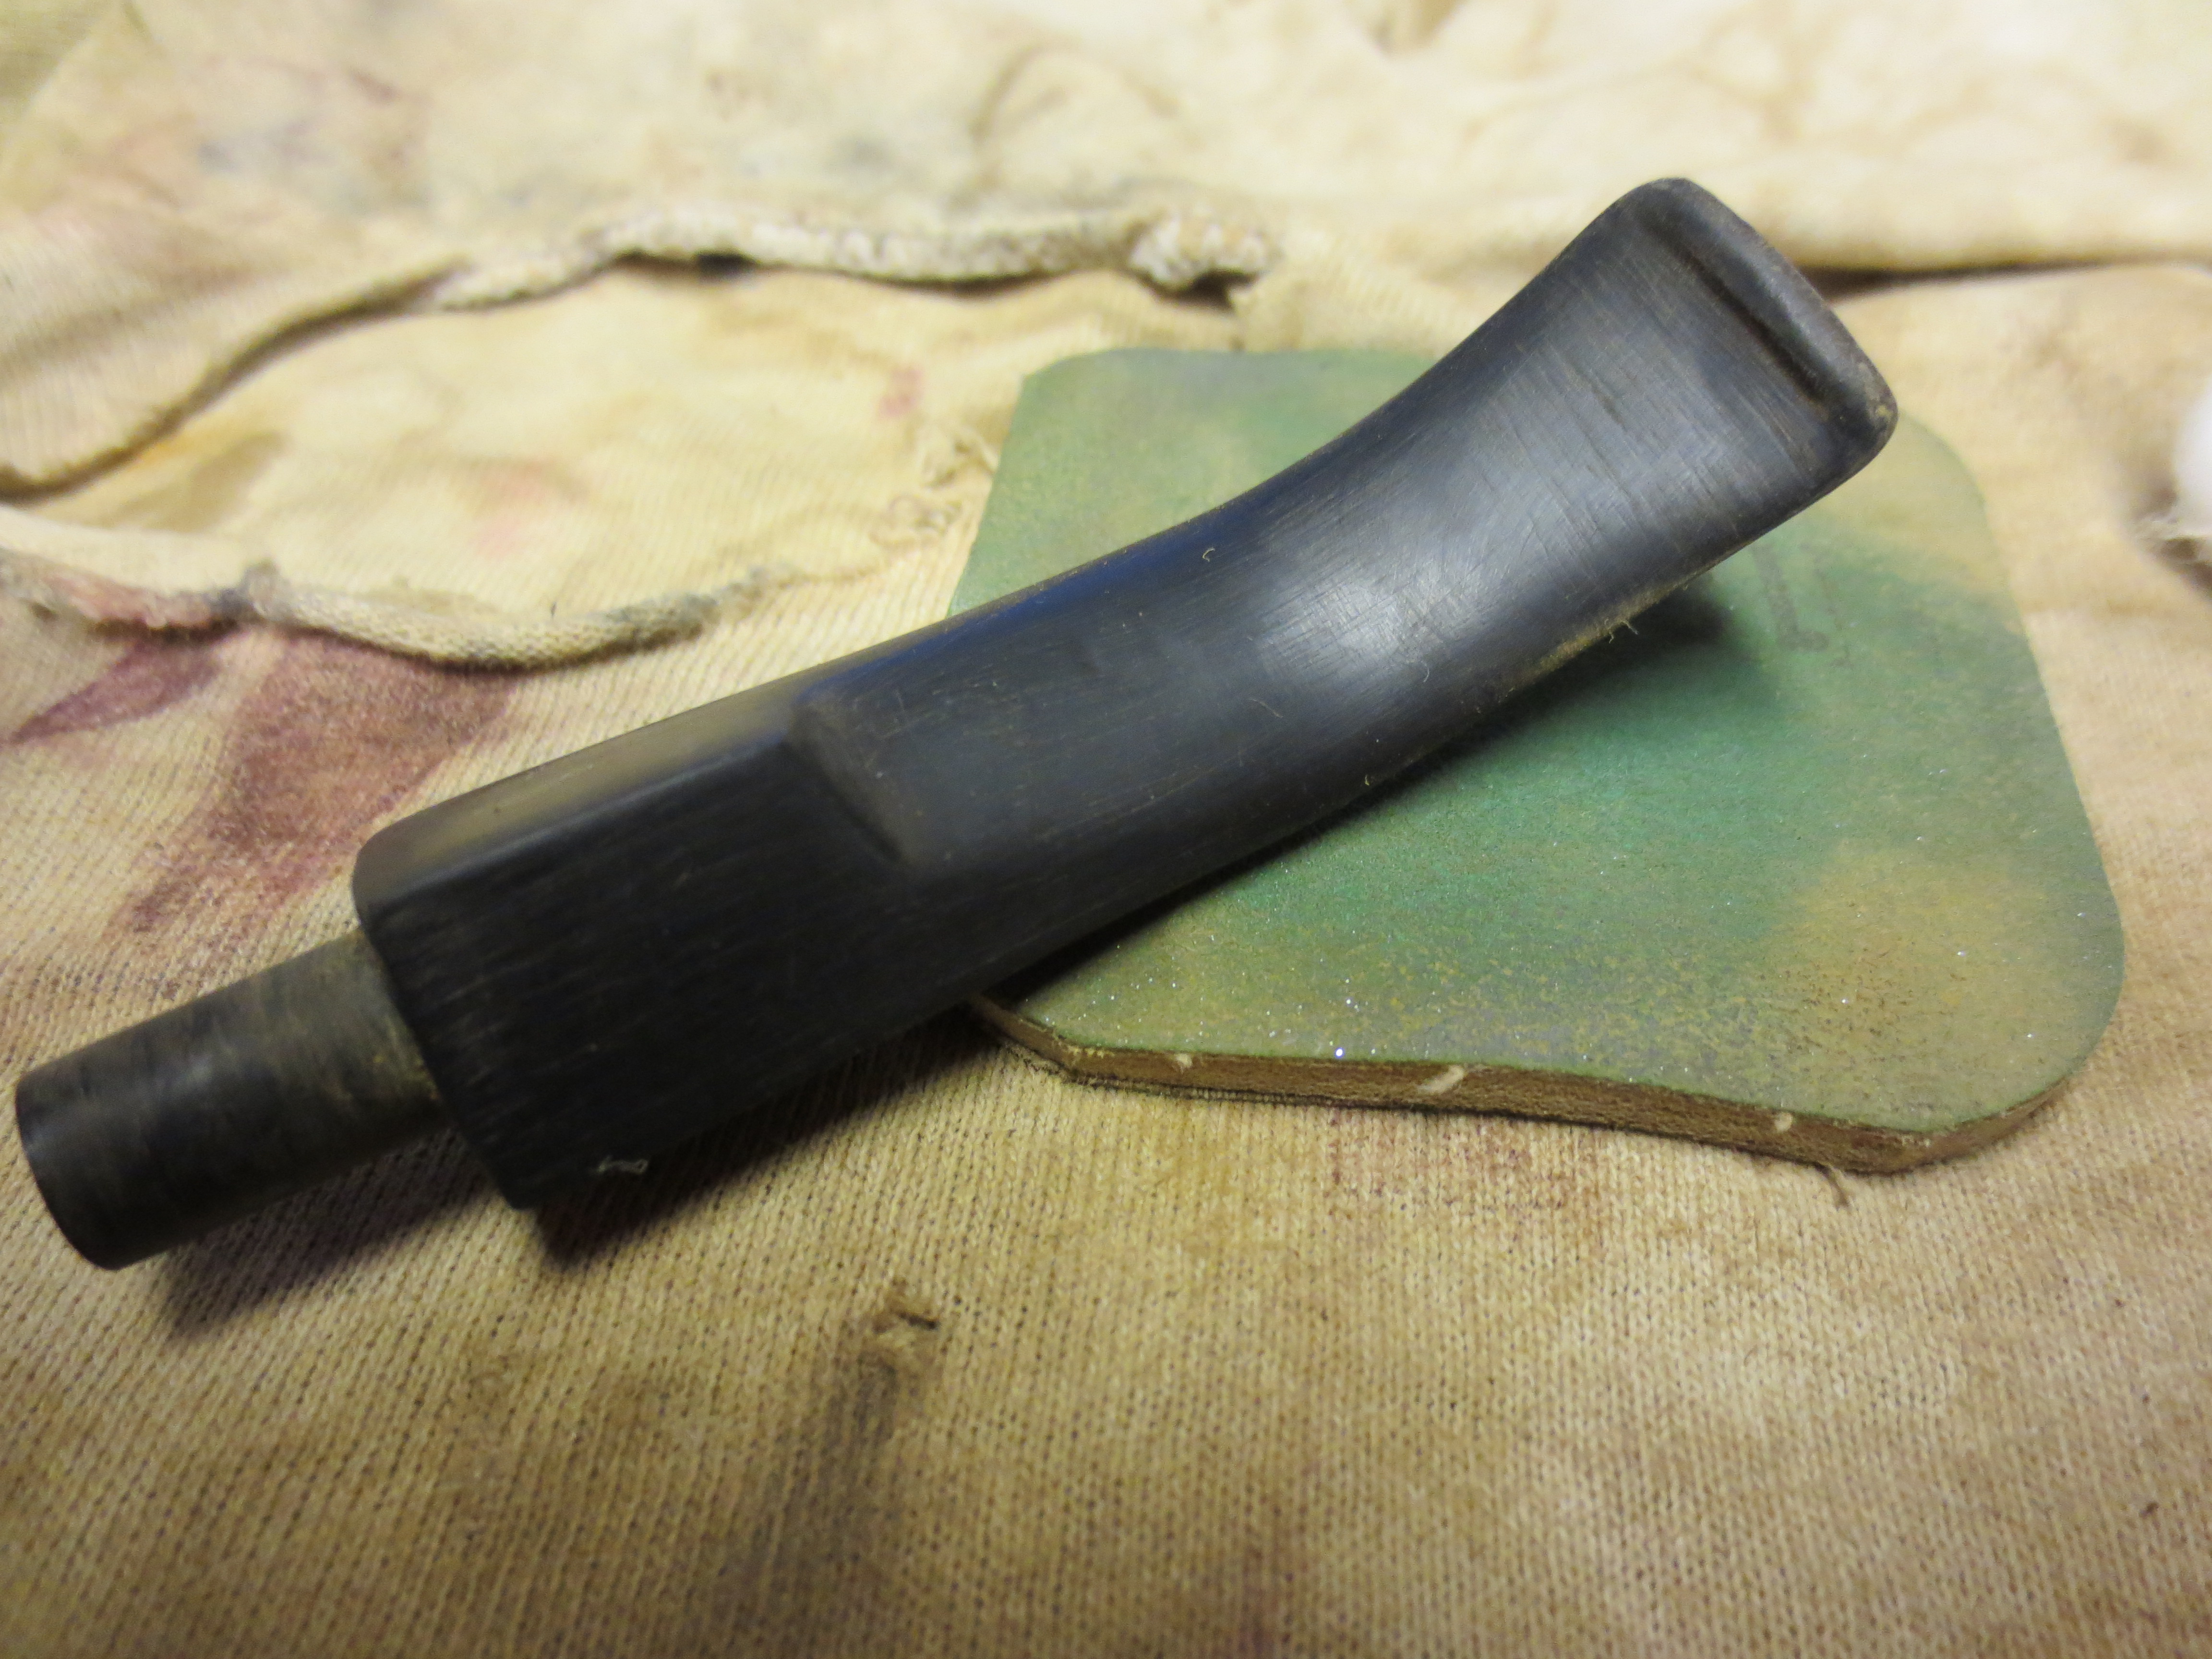
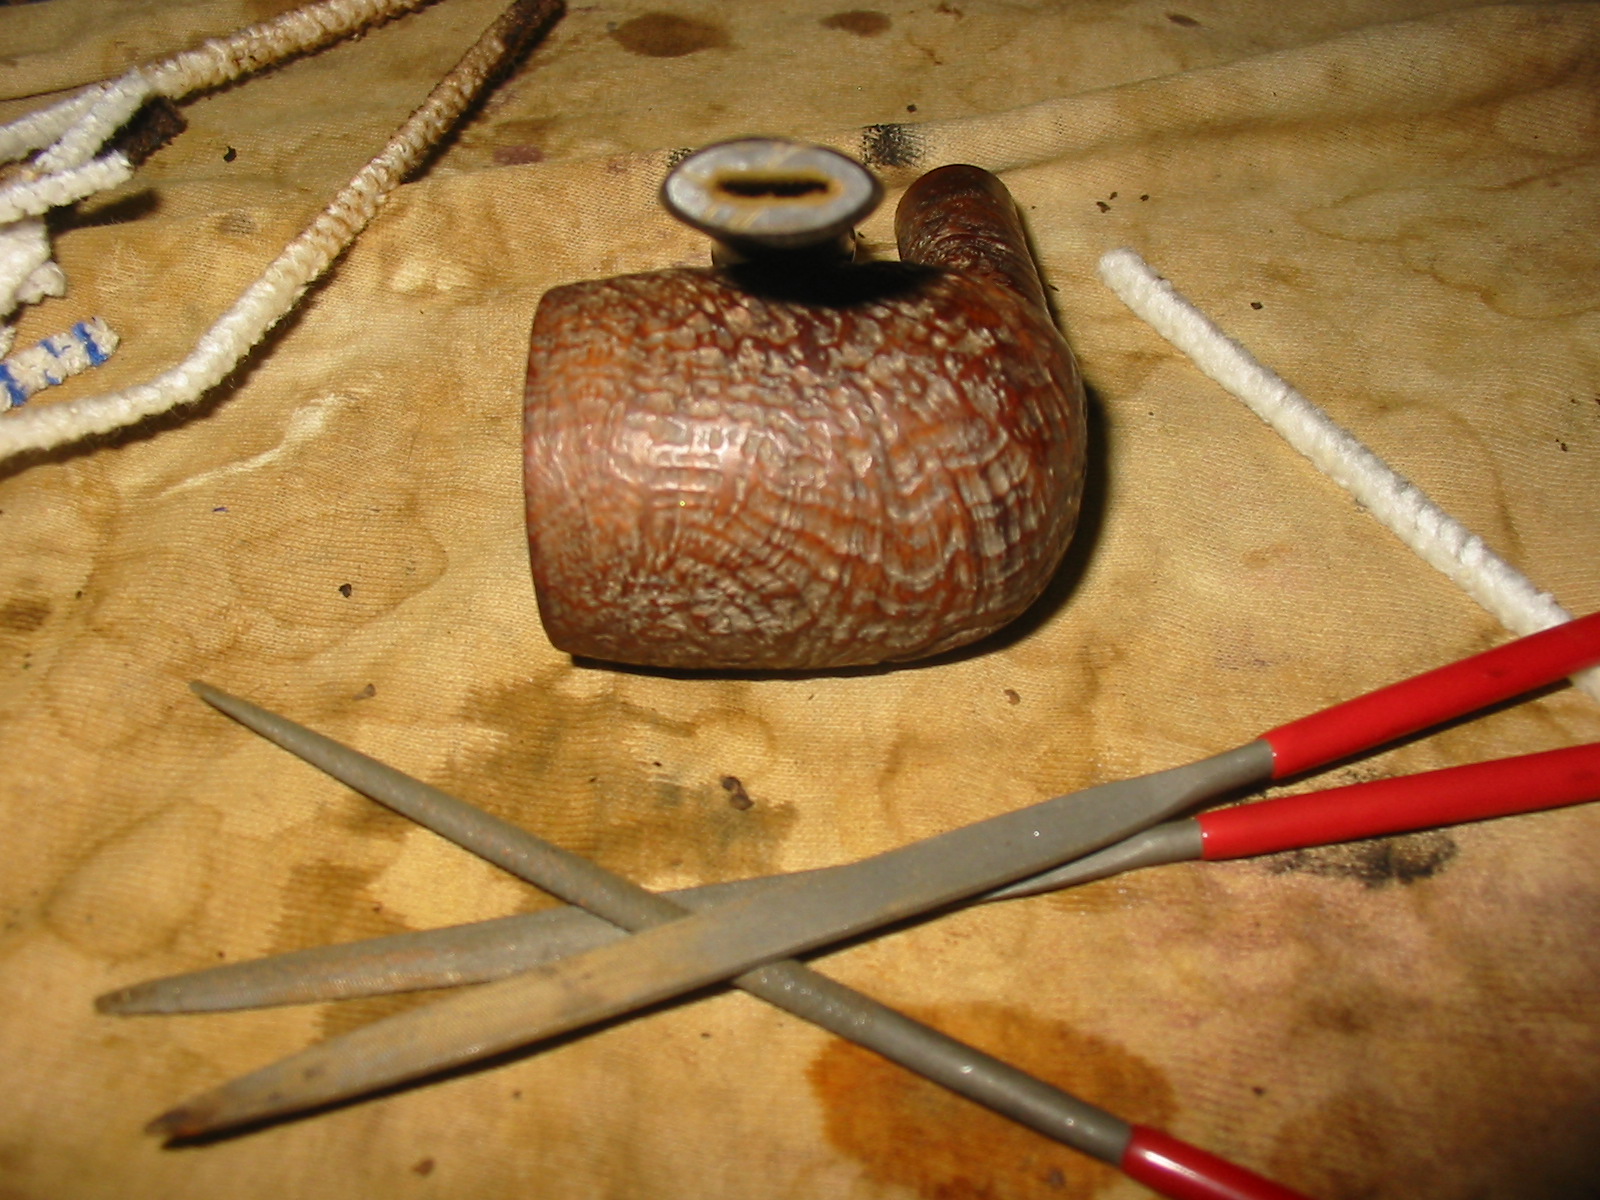
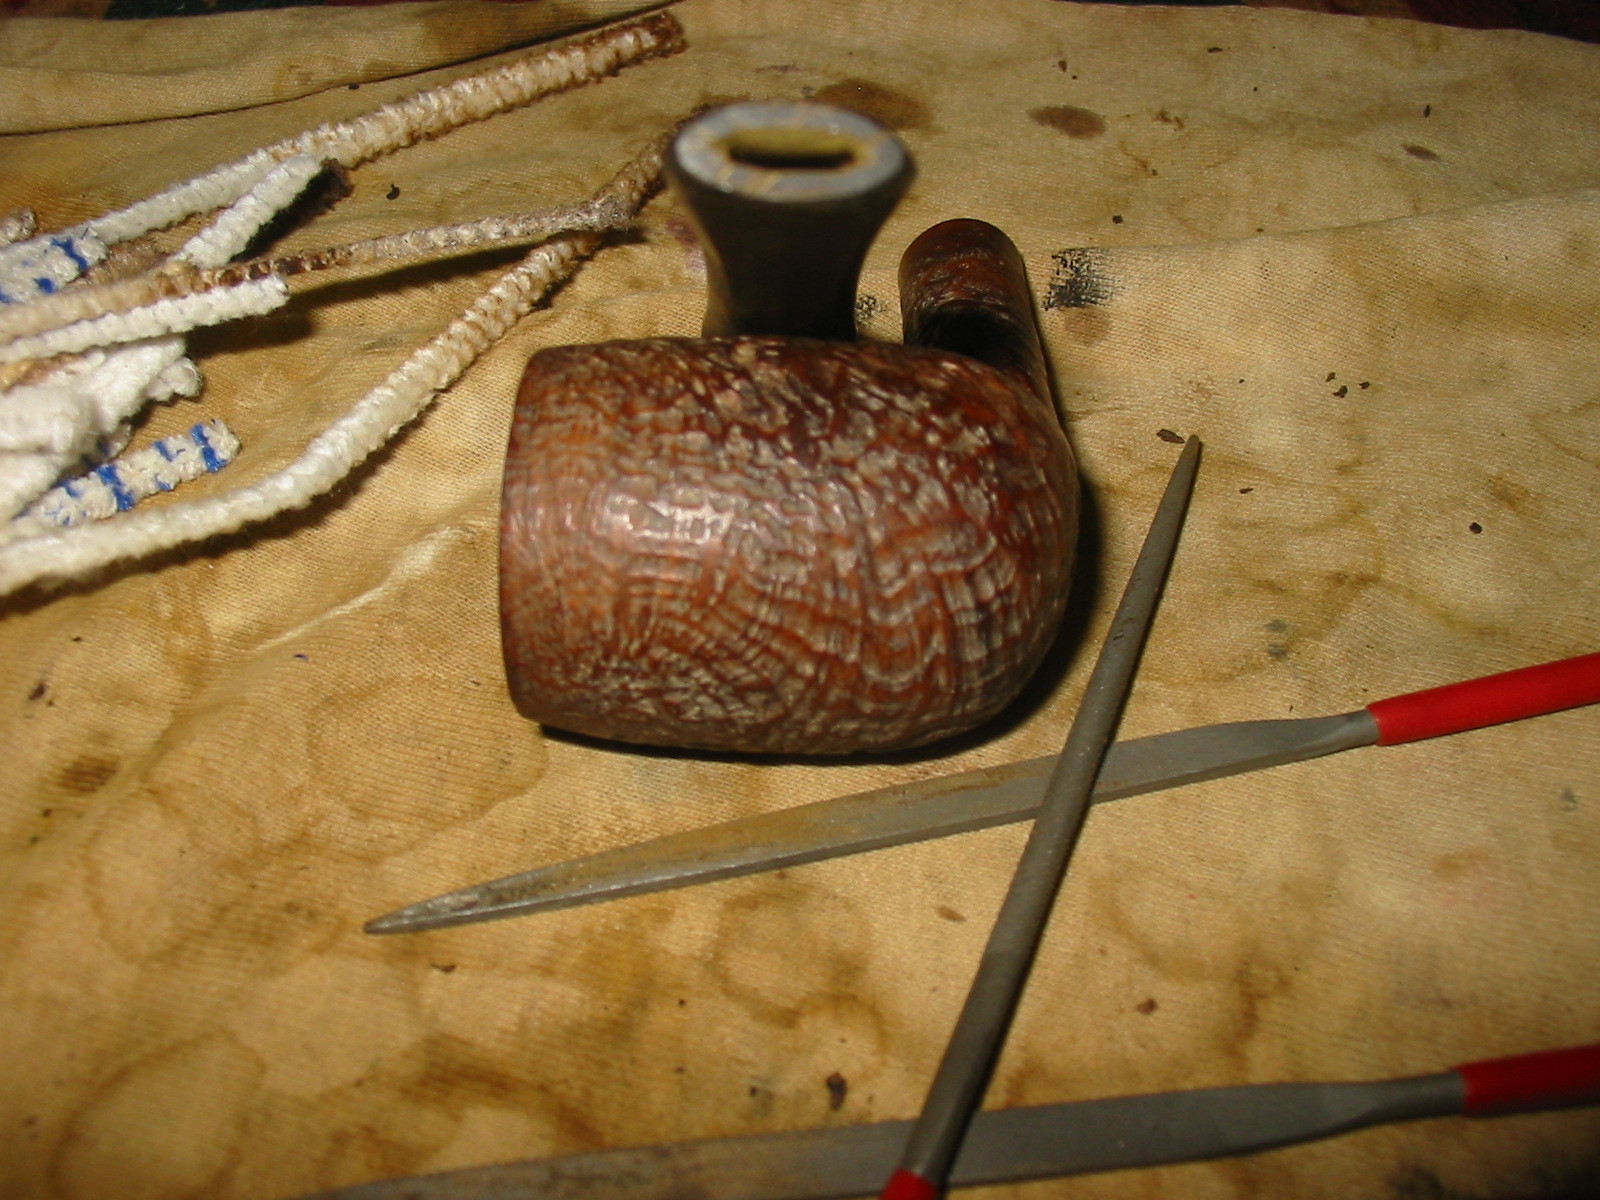
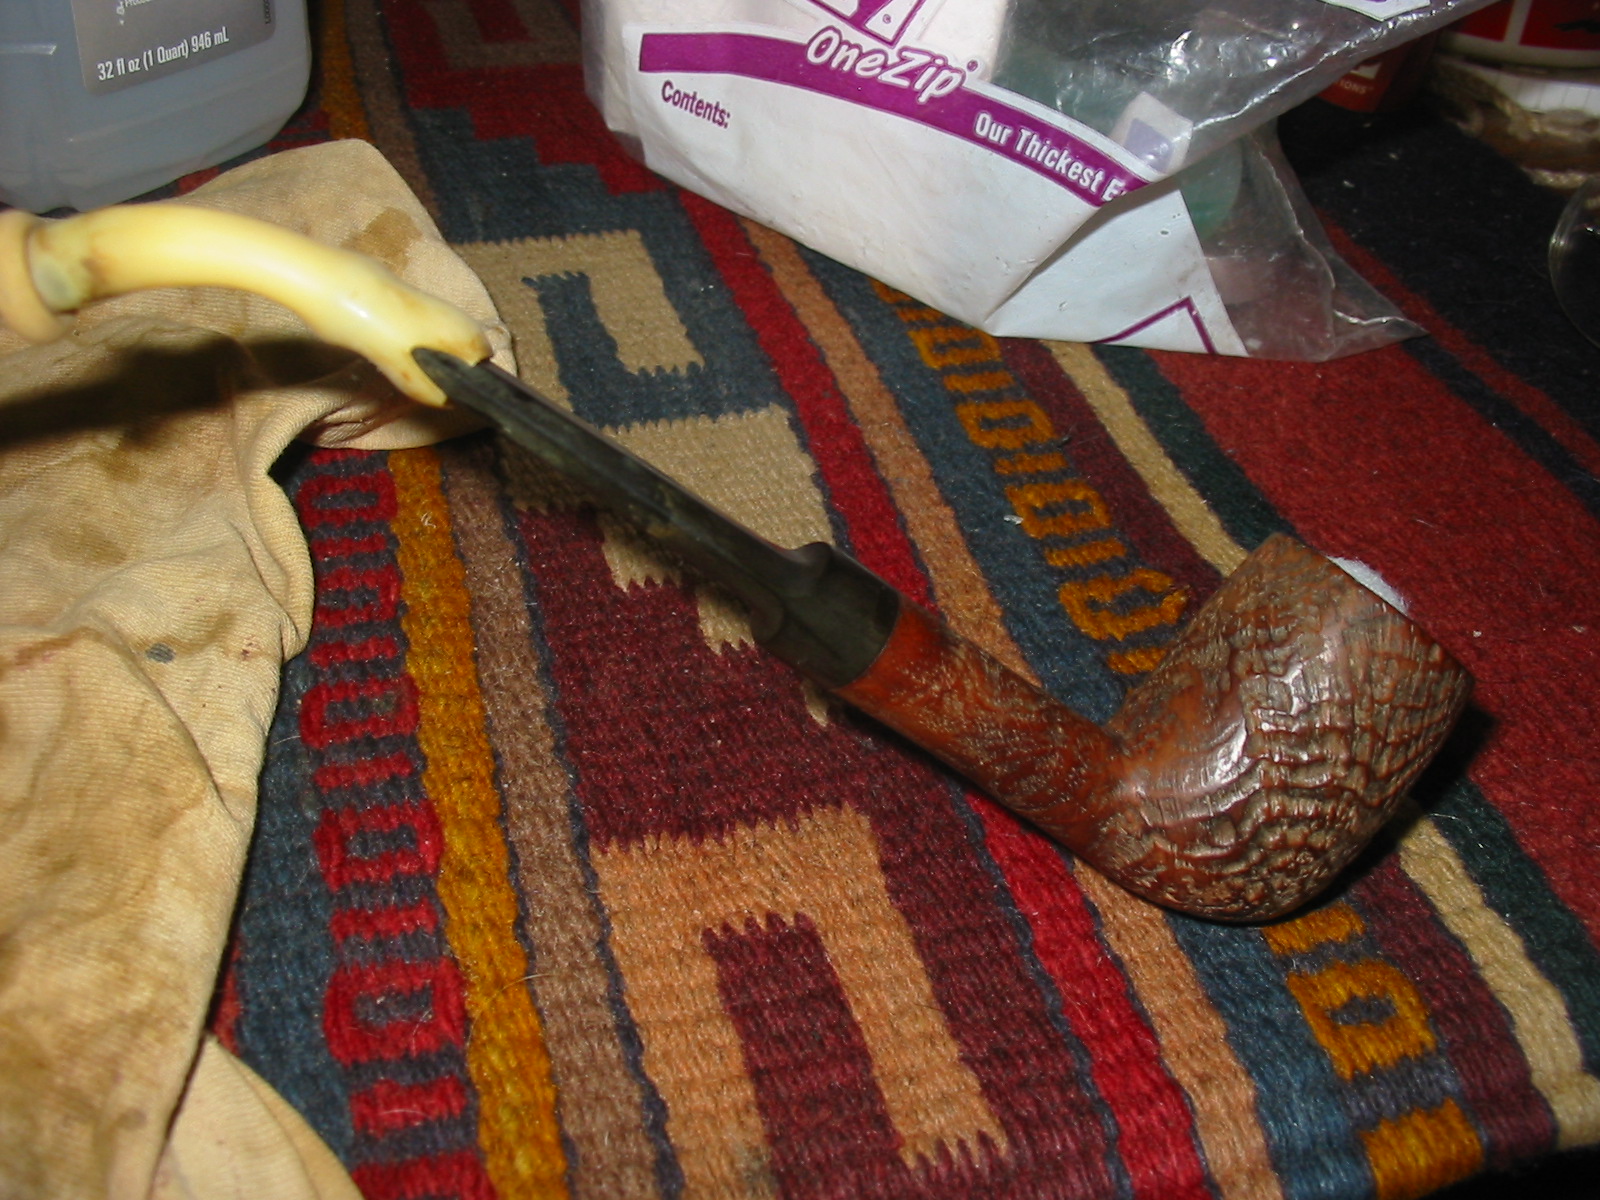
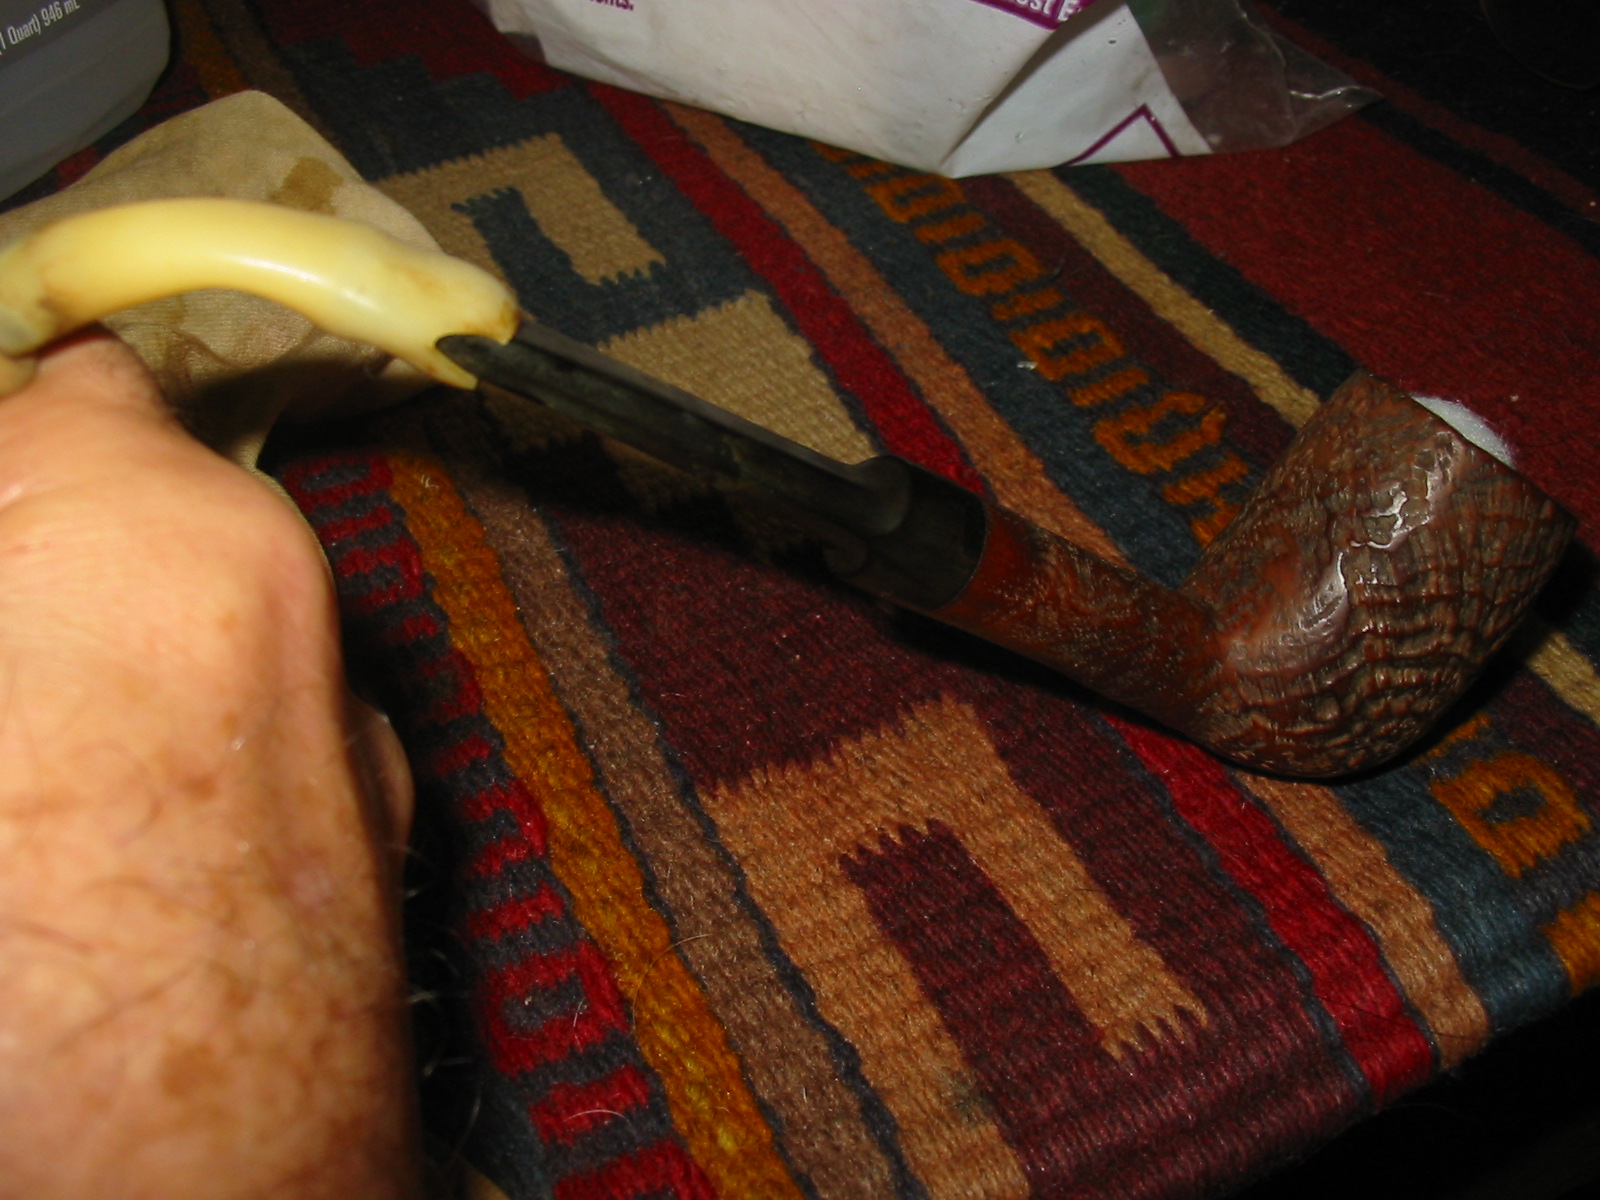
I decided to open up the button with needle files before I used the retort on the pipe. I was unable to run a pipe cleaner through the stem so I wanted to be able to remove some of the grit before I hooked up the retort. I used three different needle files to open the slot. The next four photos show the opening of the slot from start to finish. When I was done a pipe cleaner went through very easily and I was able to remove much of the tars and oils from the stem.

IMG_0791

IMG_0792

IMG_0793

IMG_0794

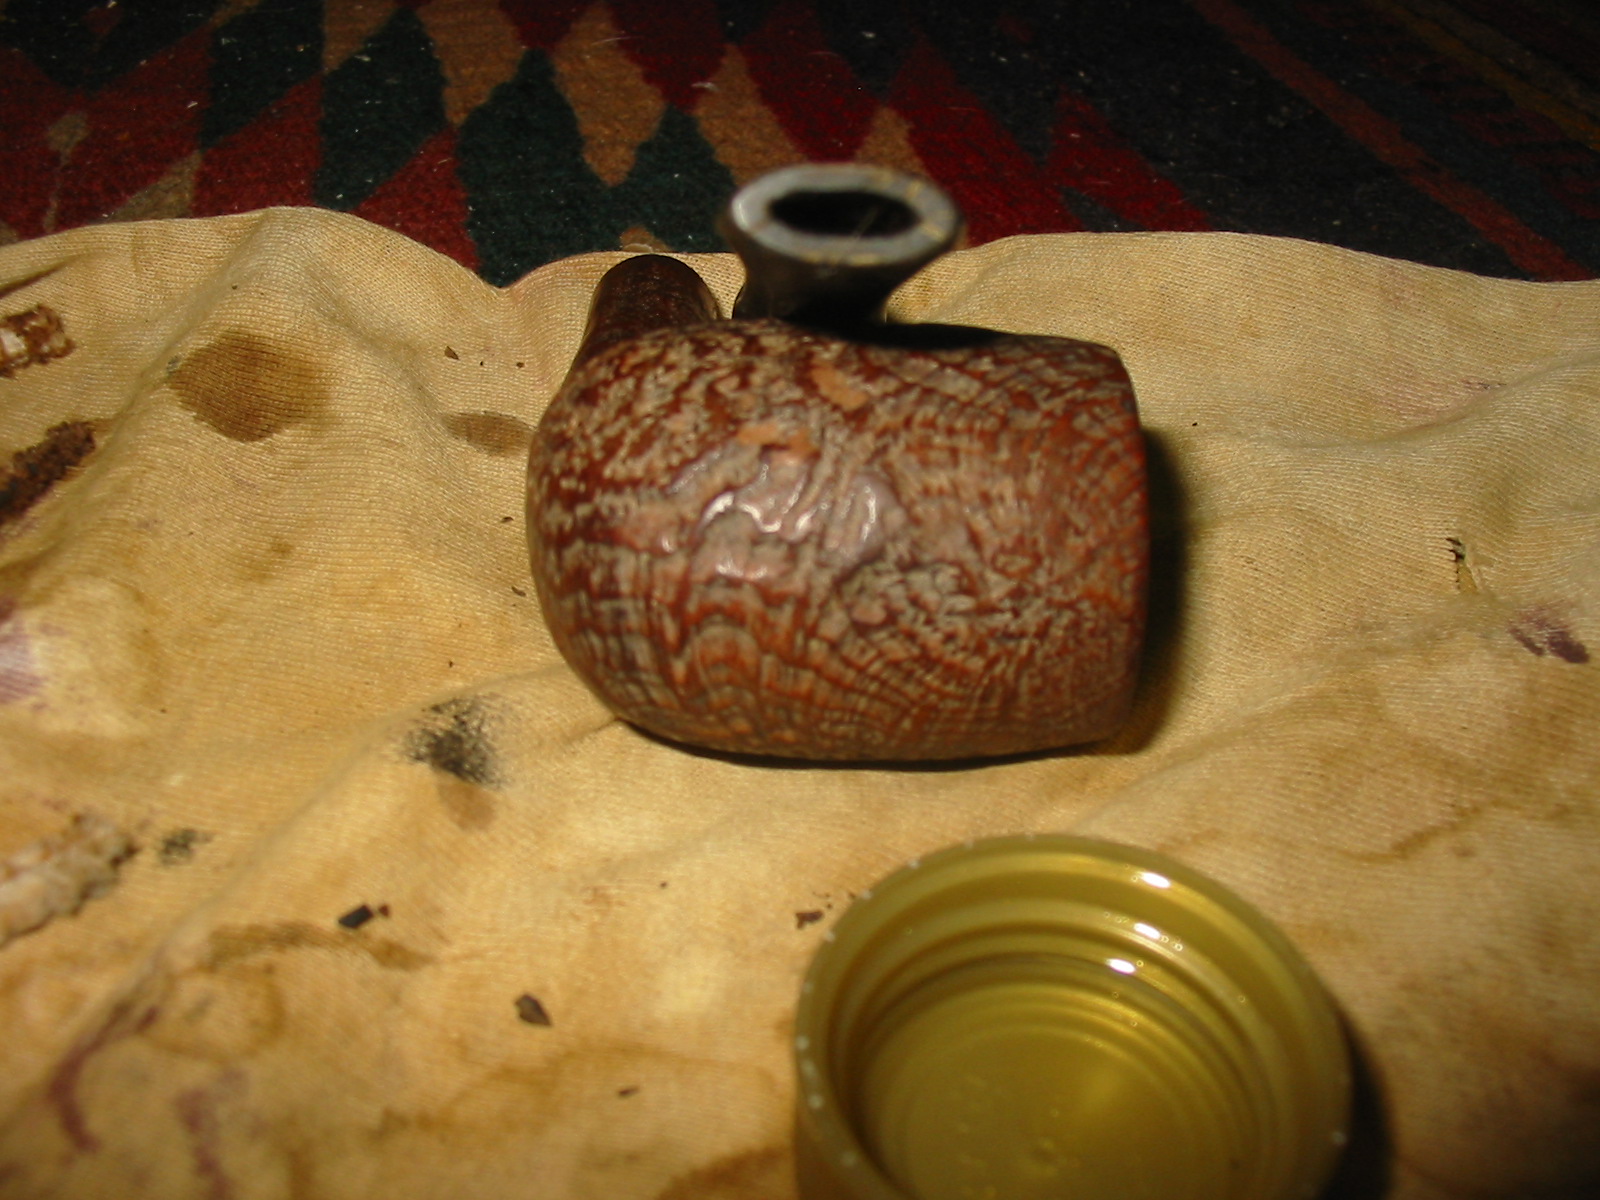
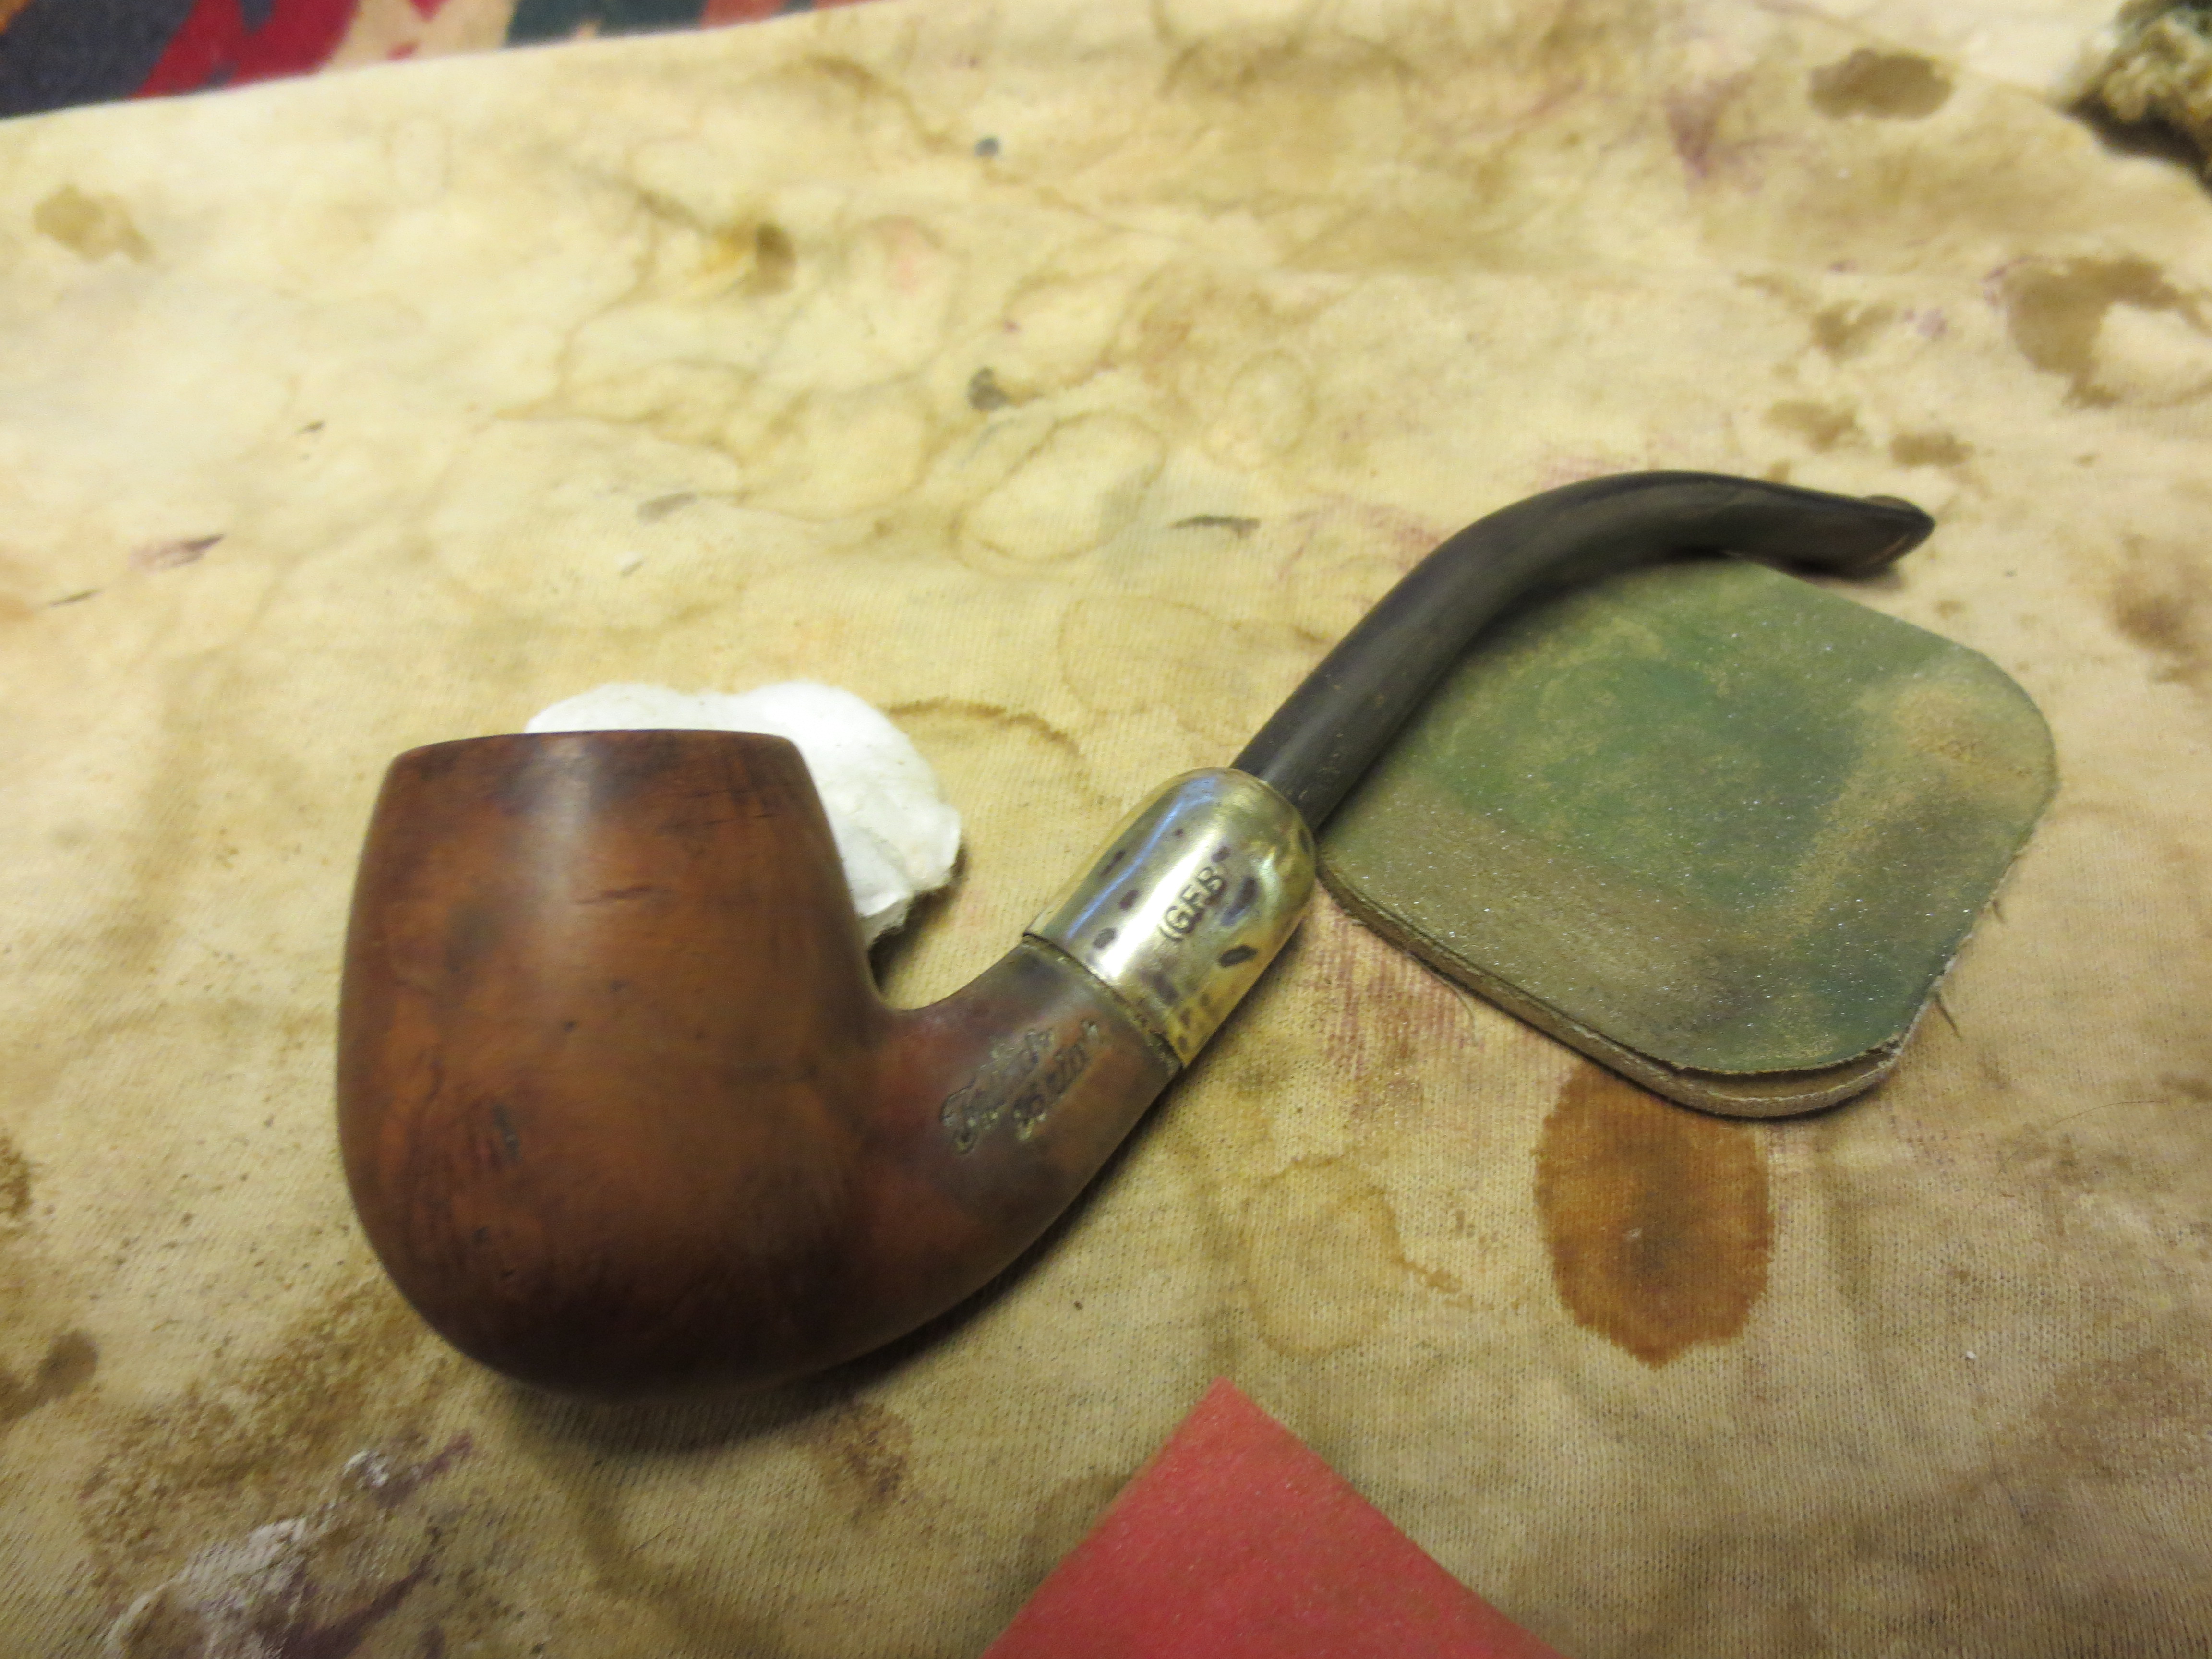
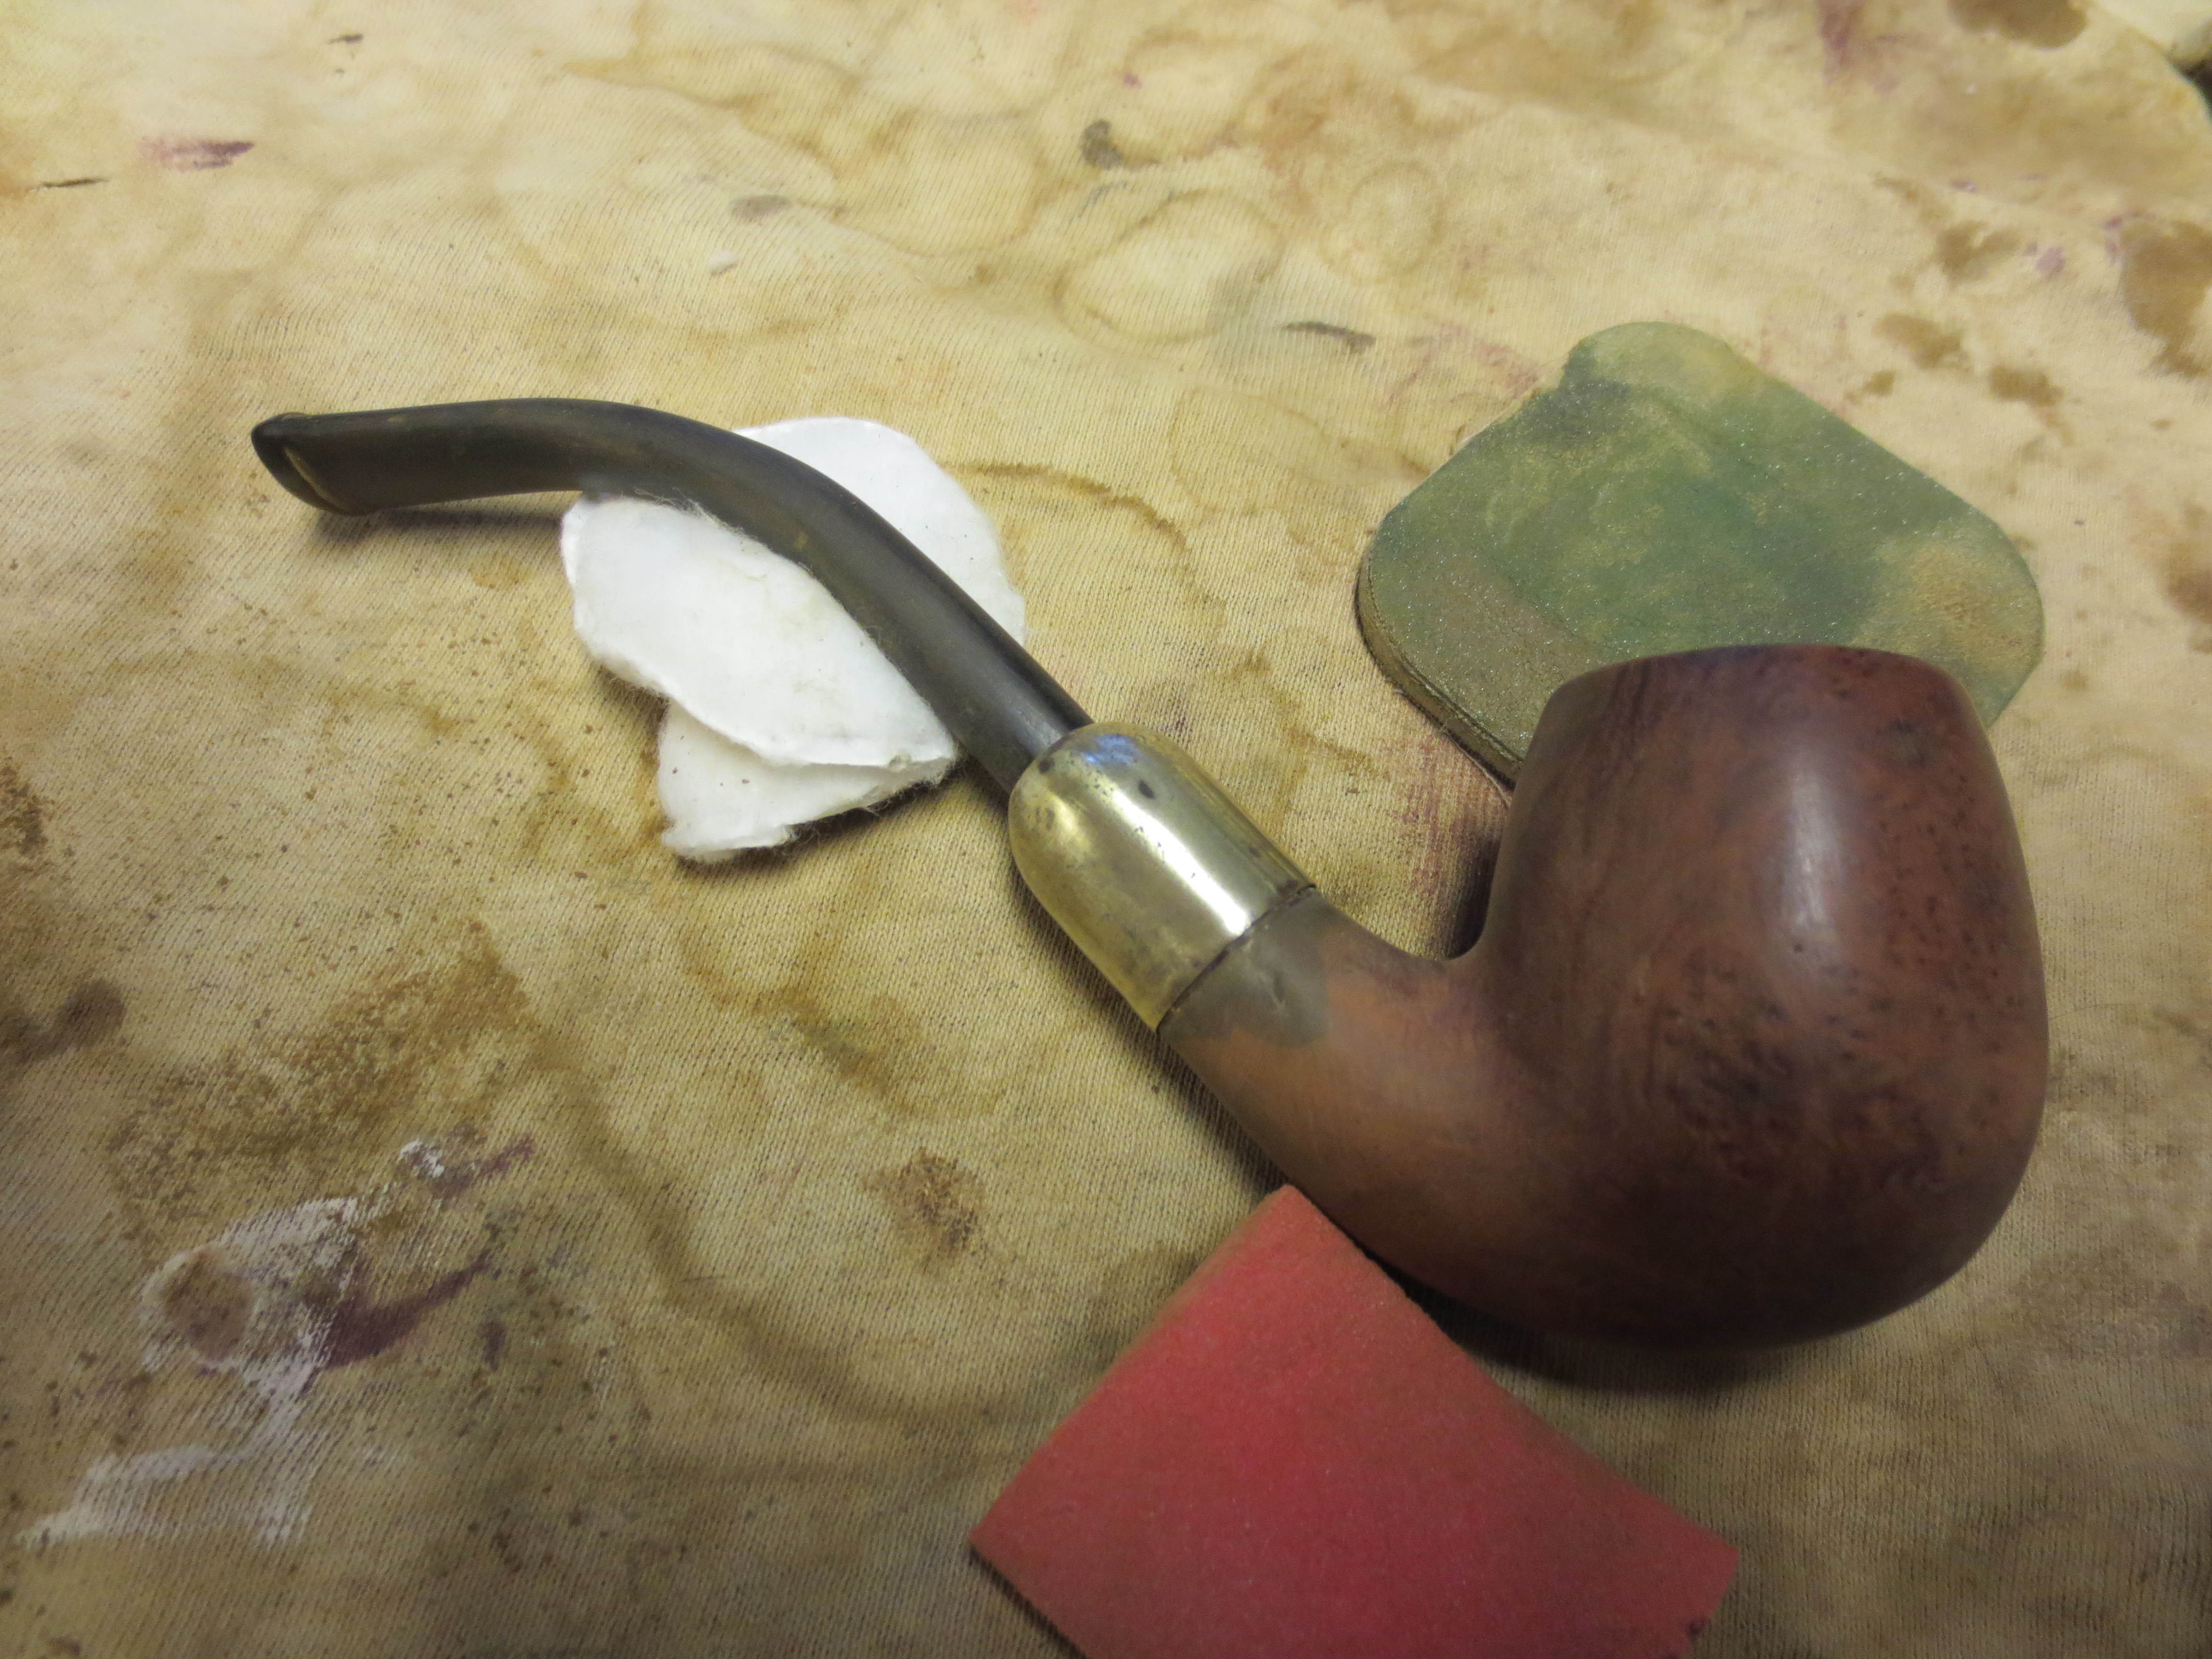
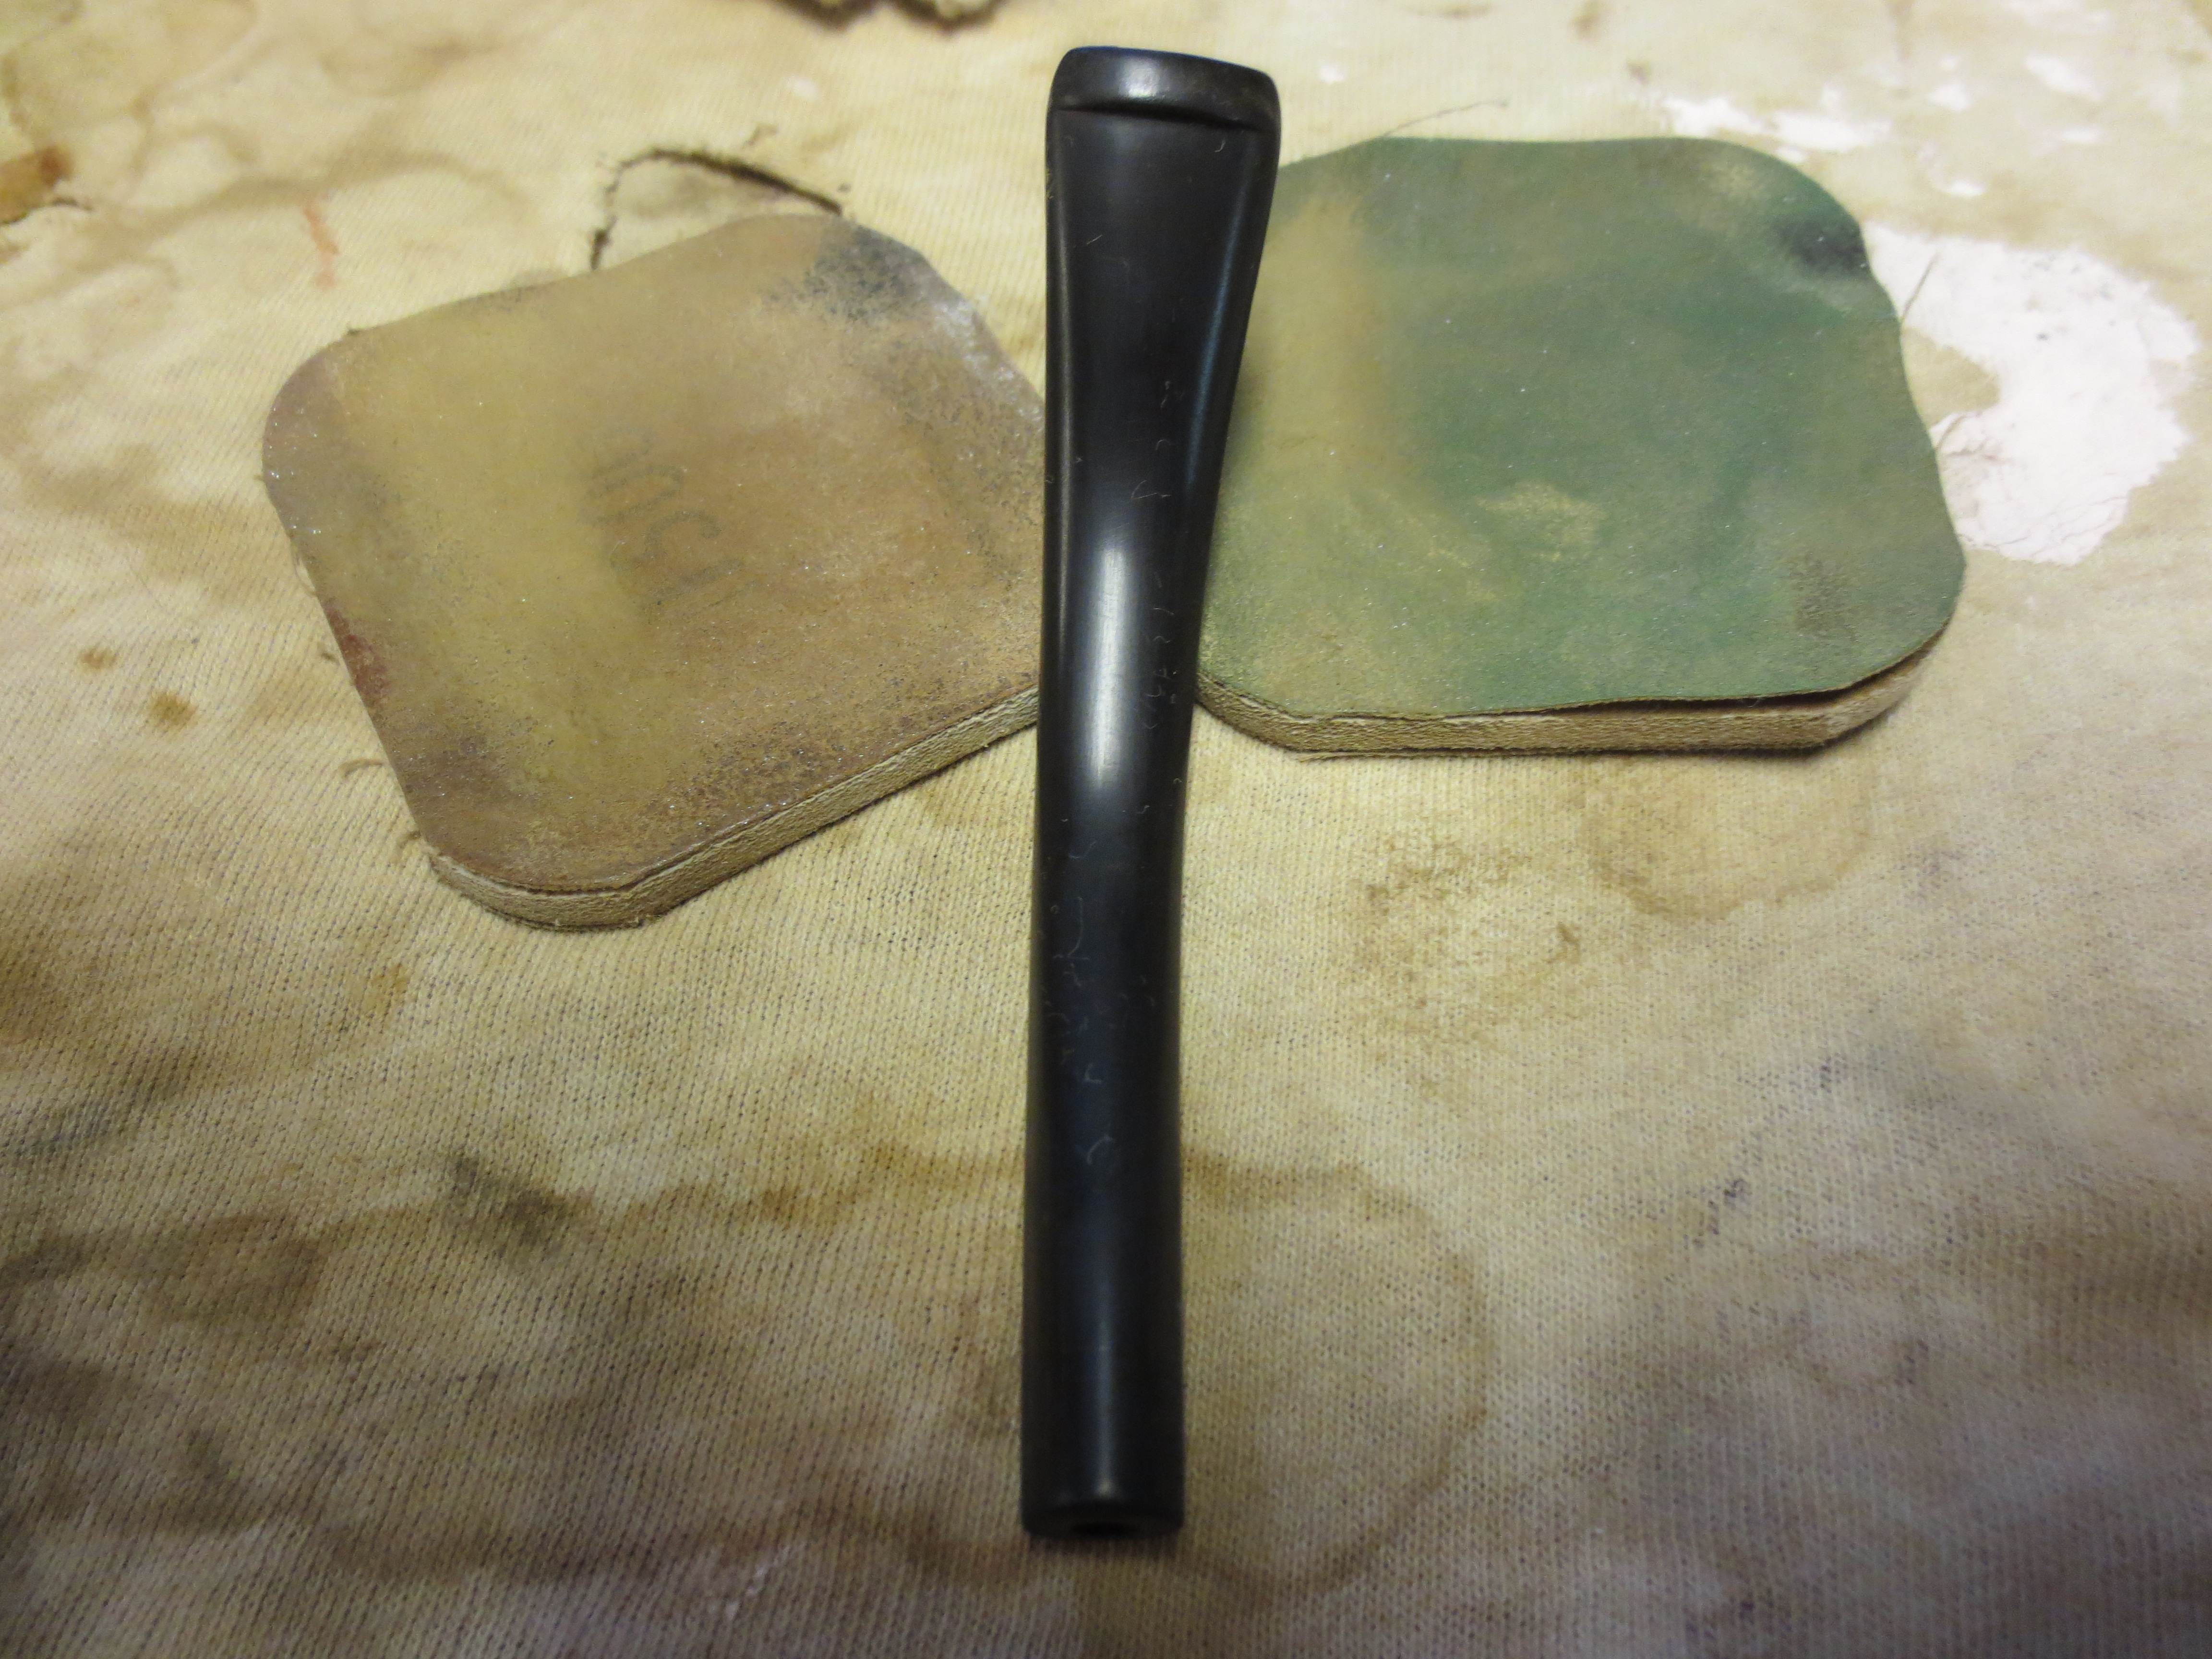
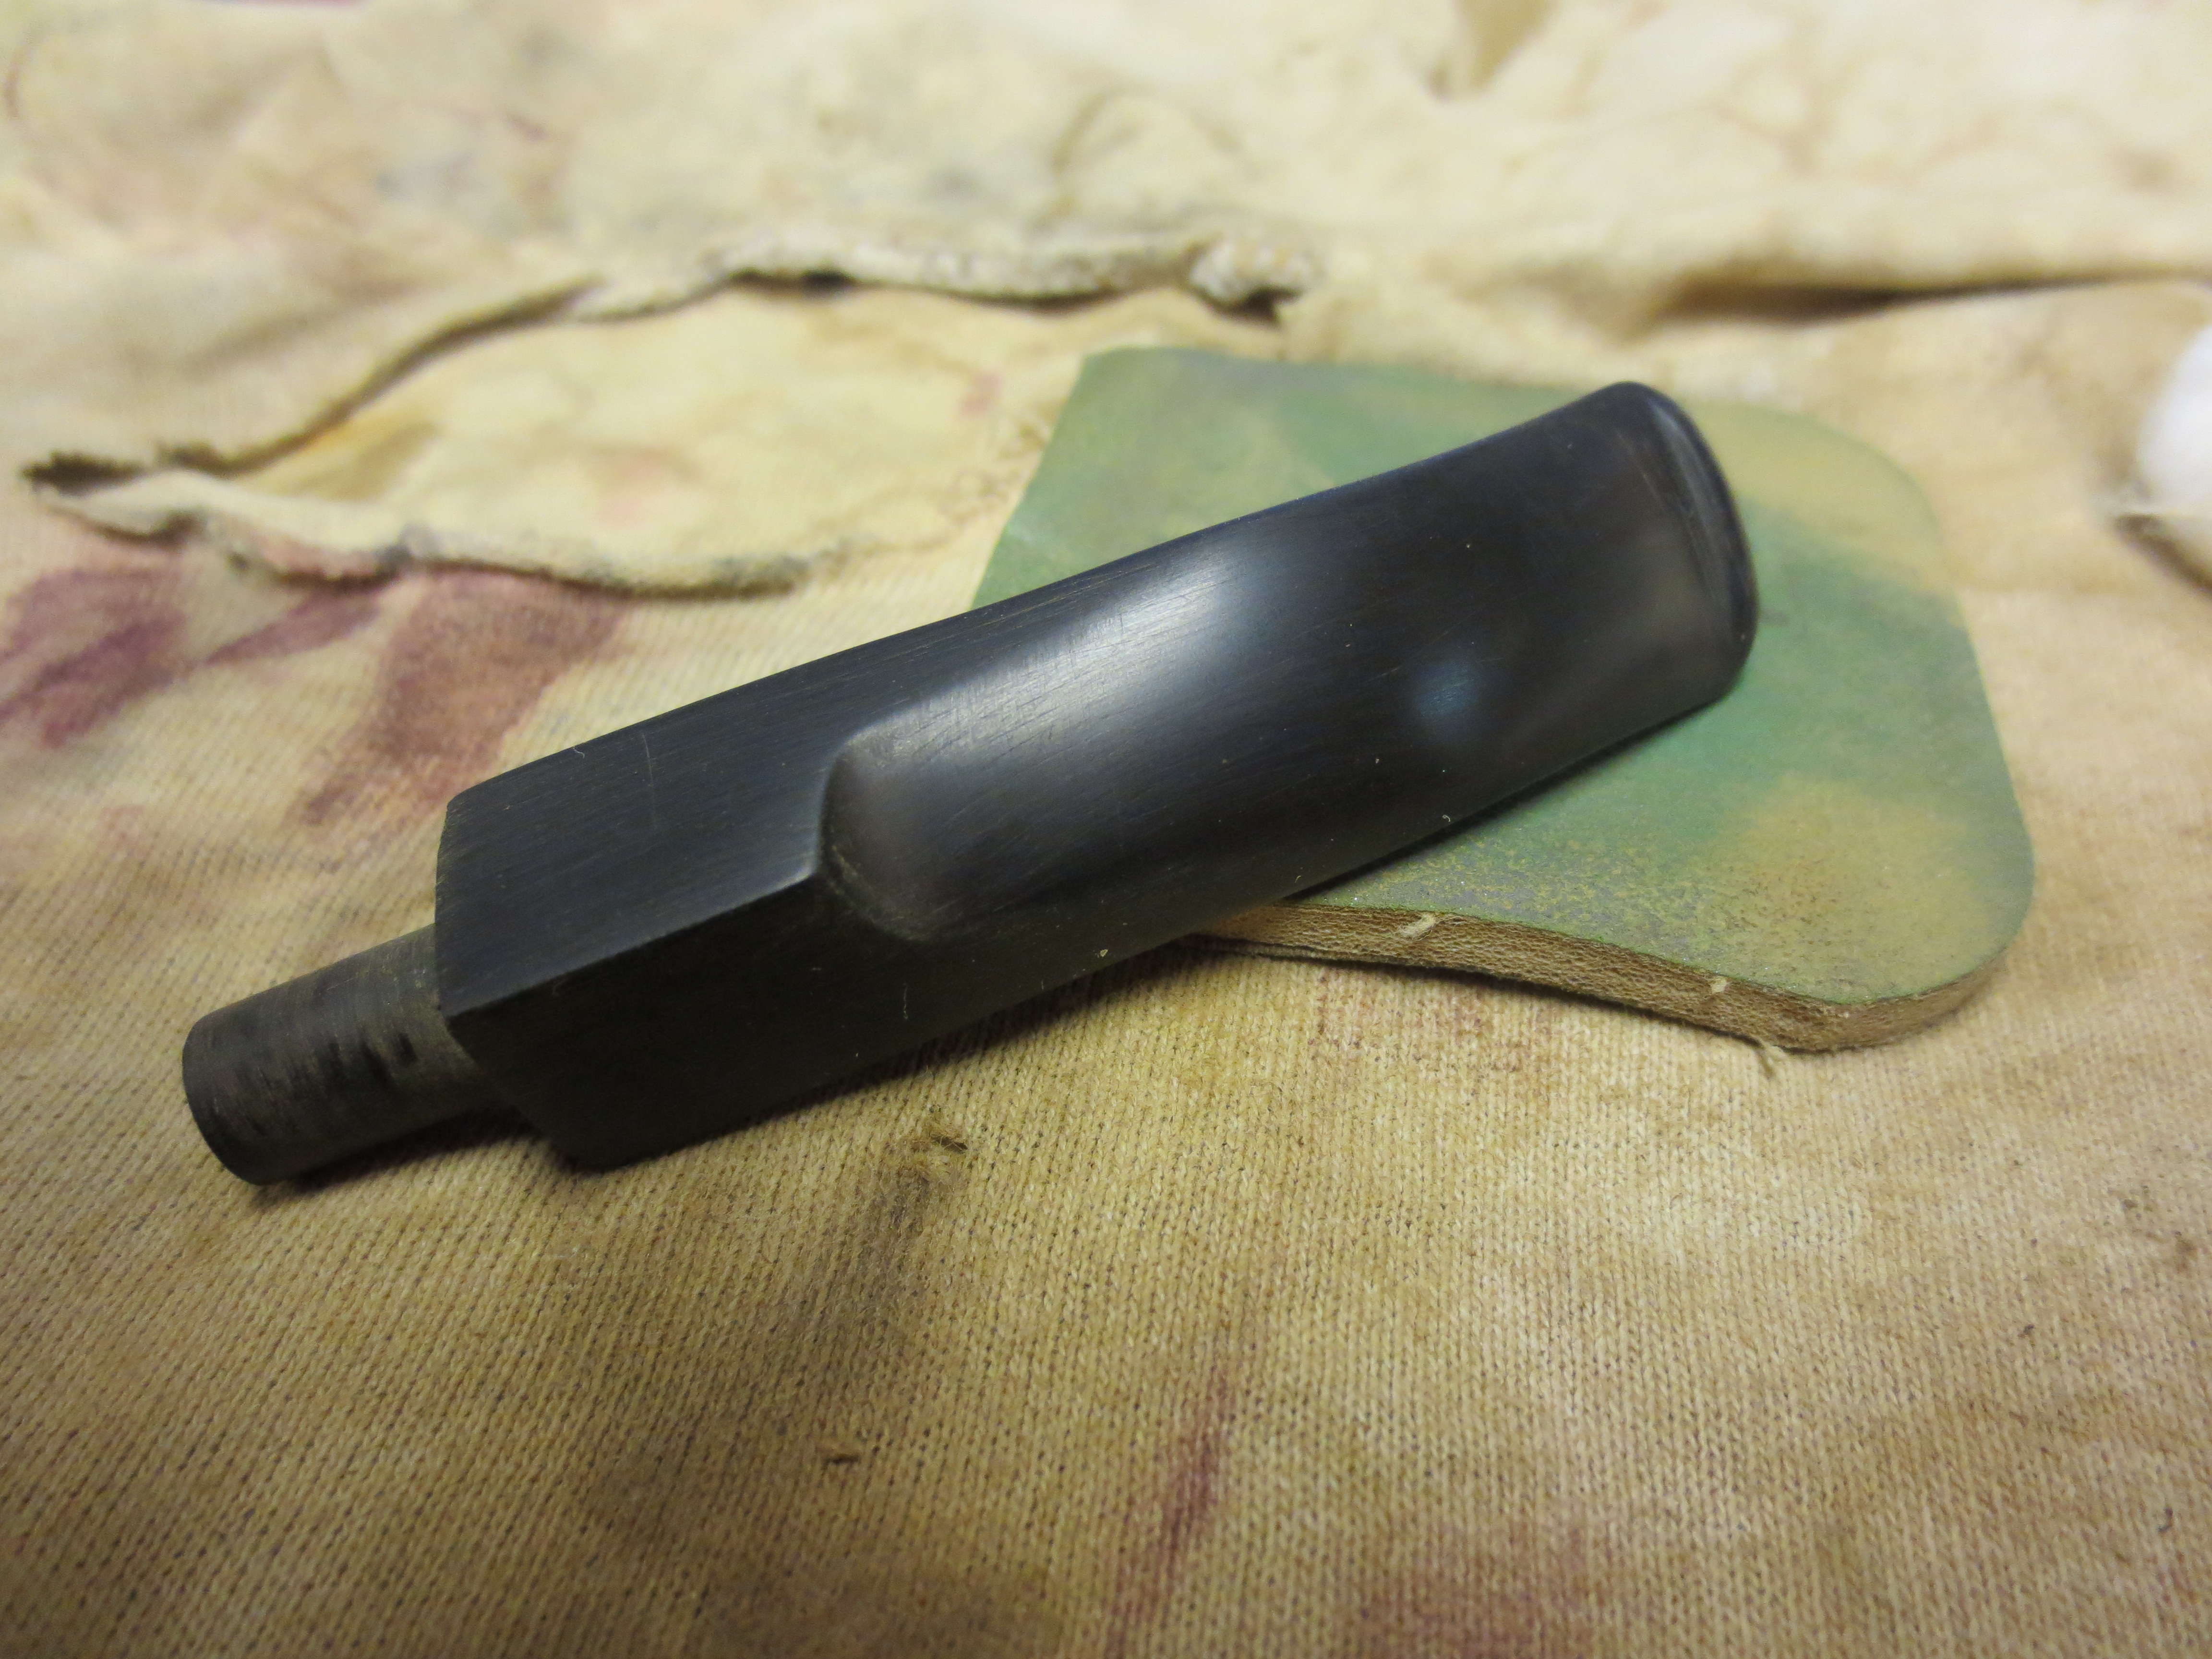
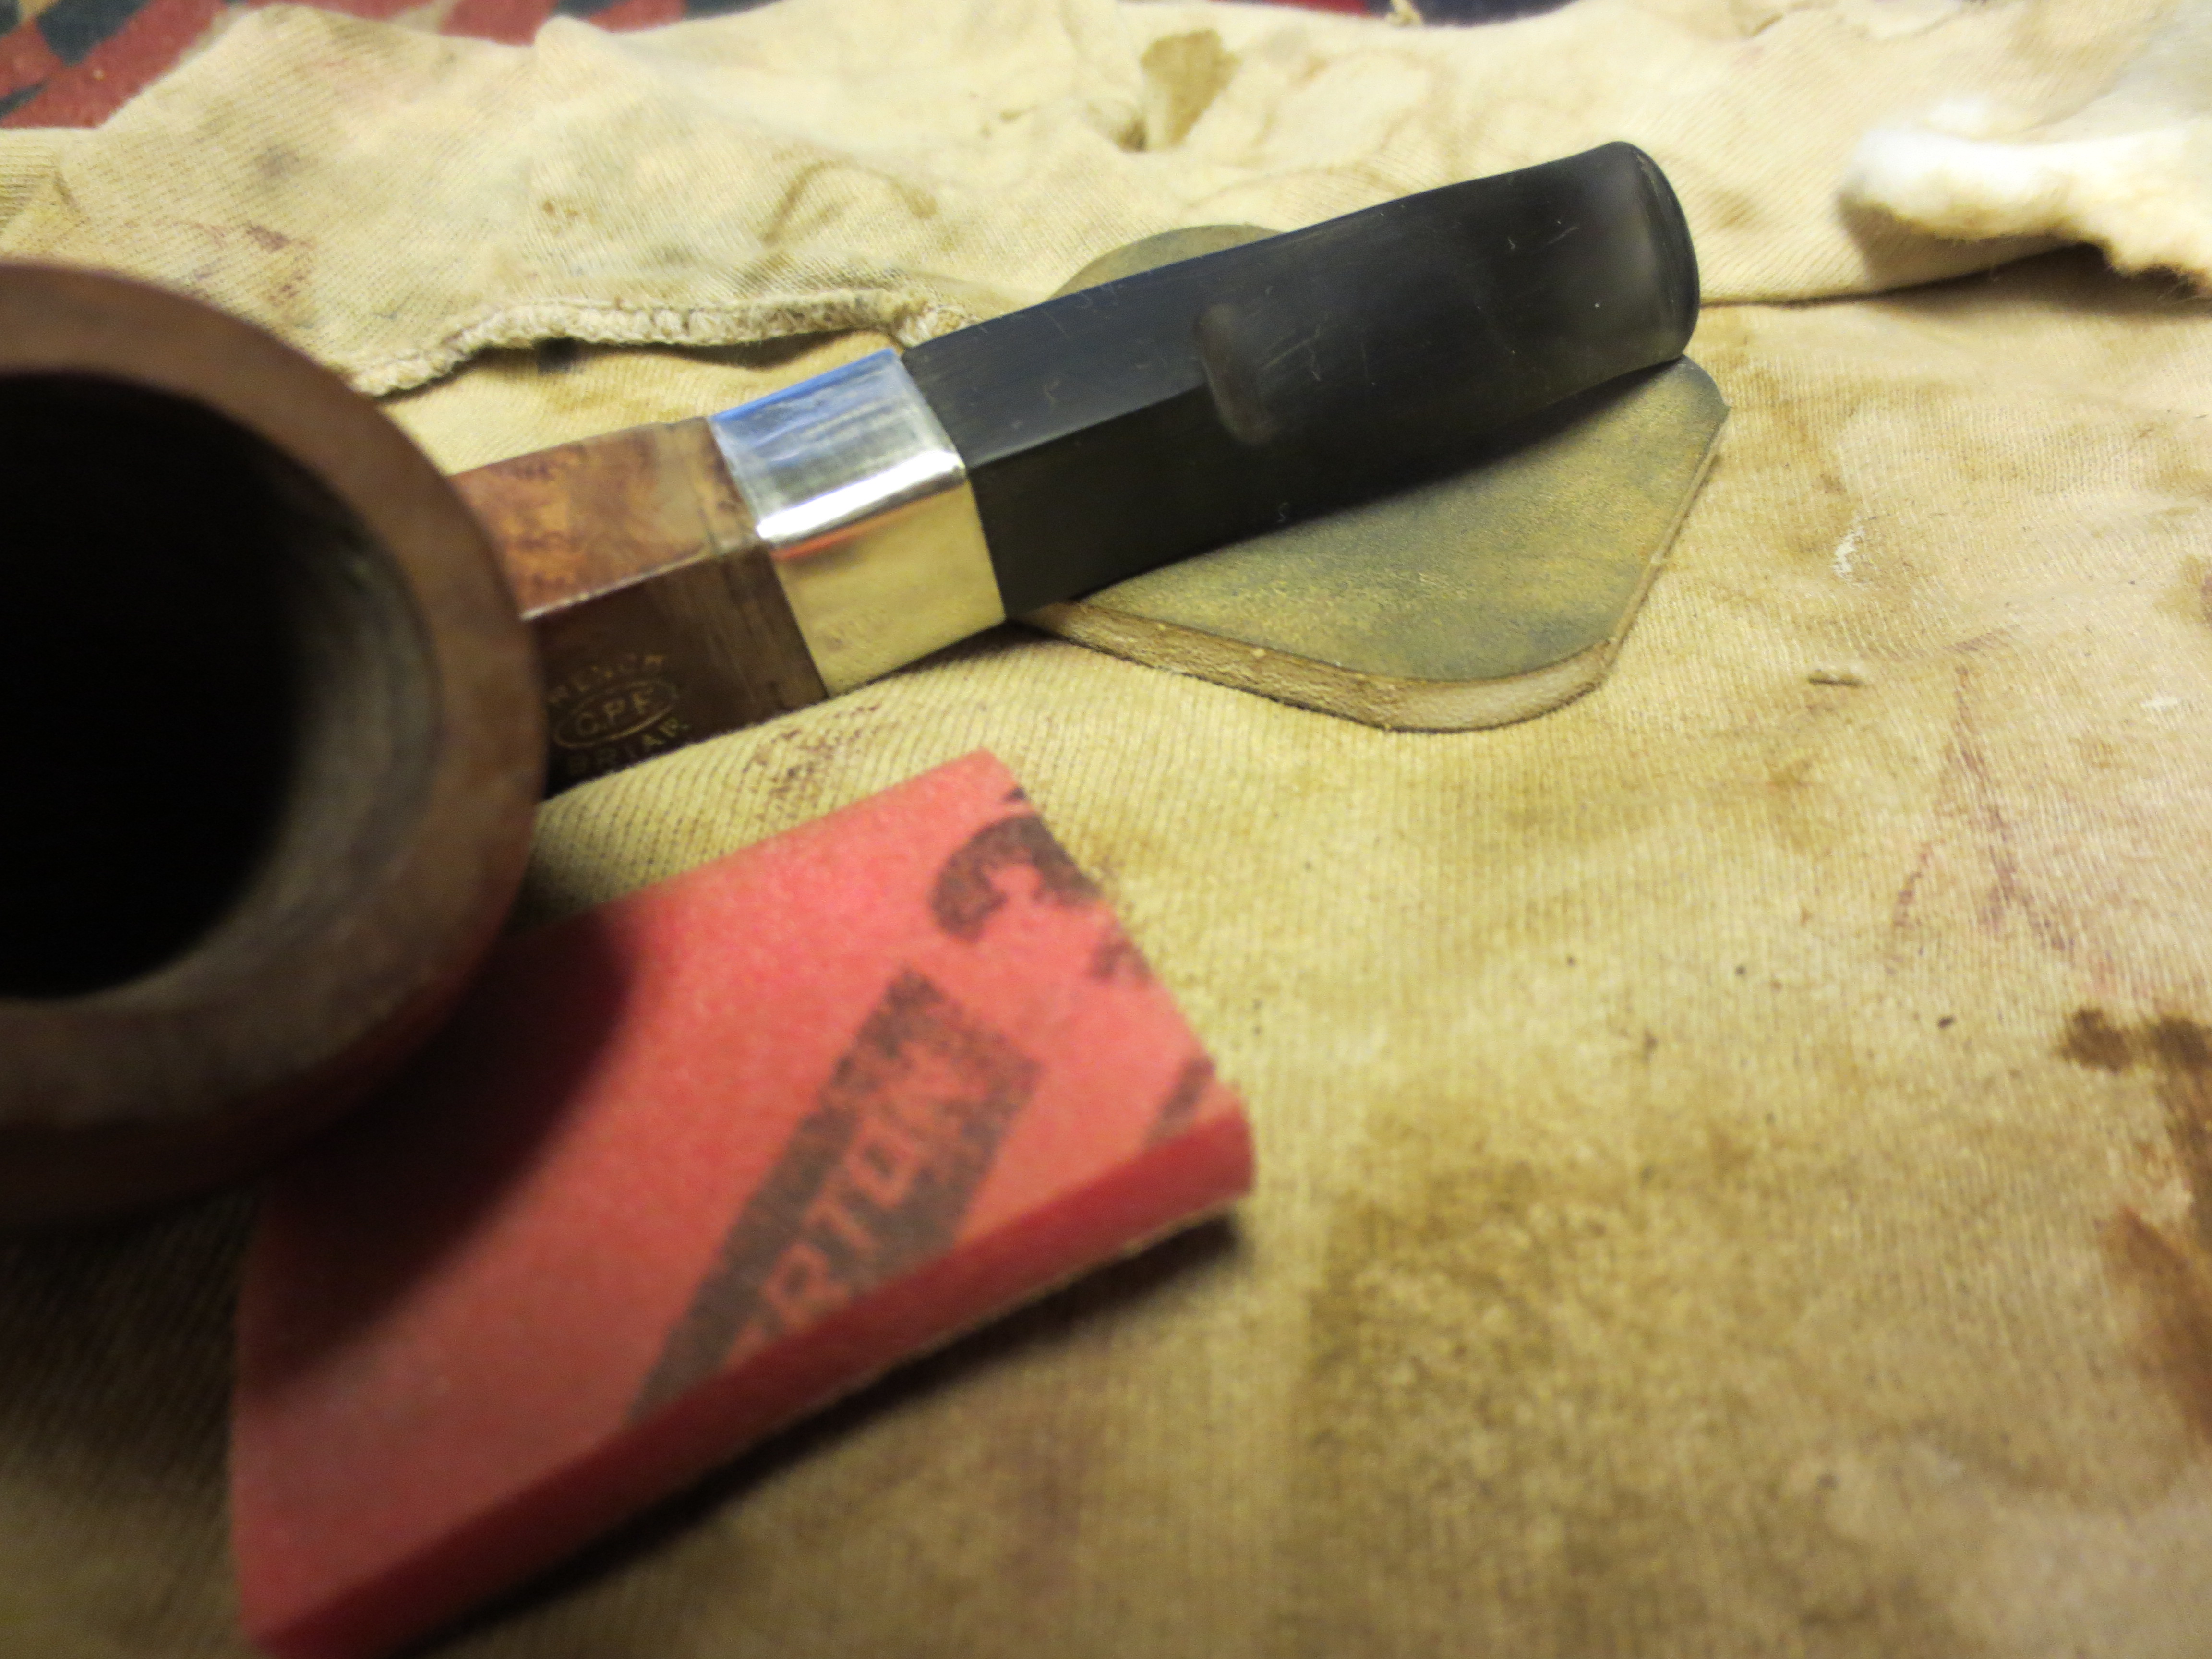
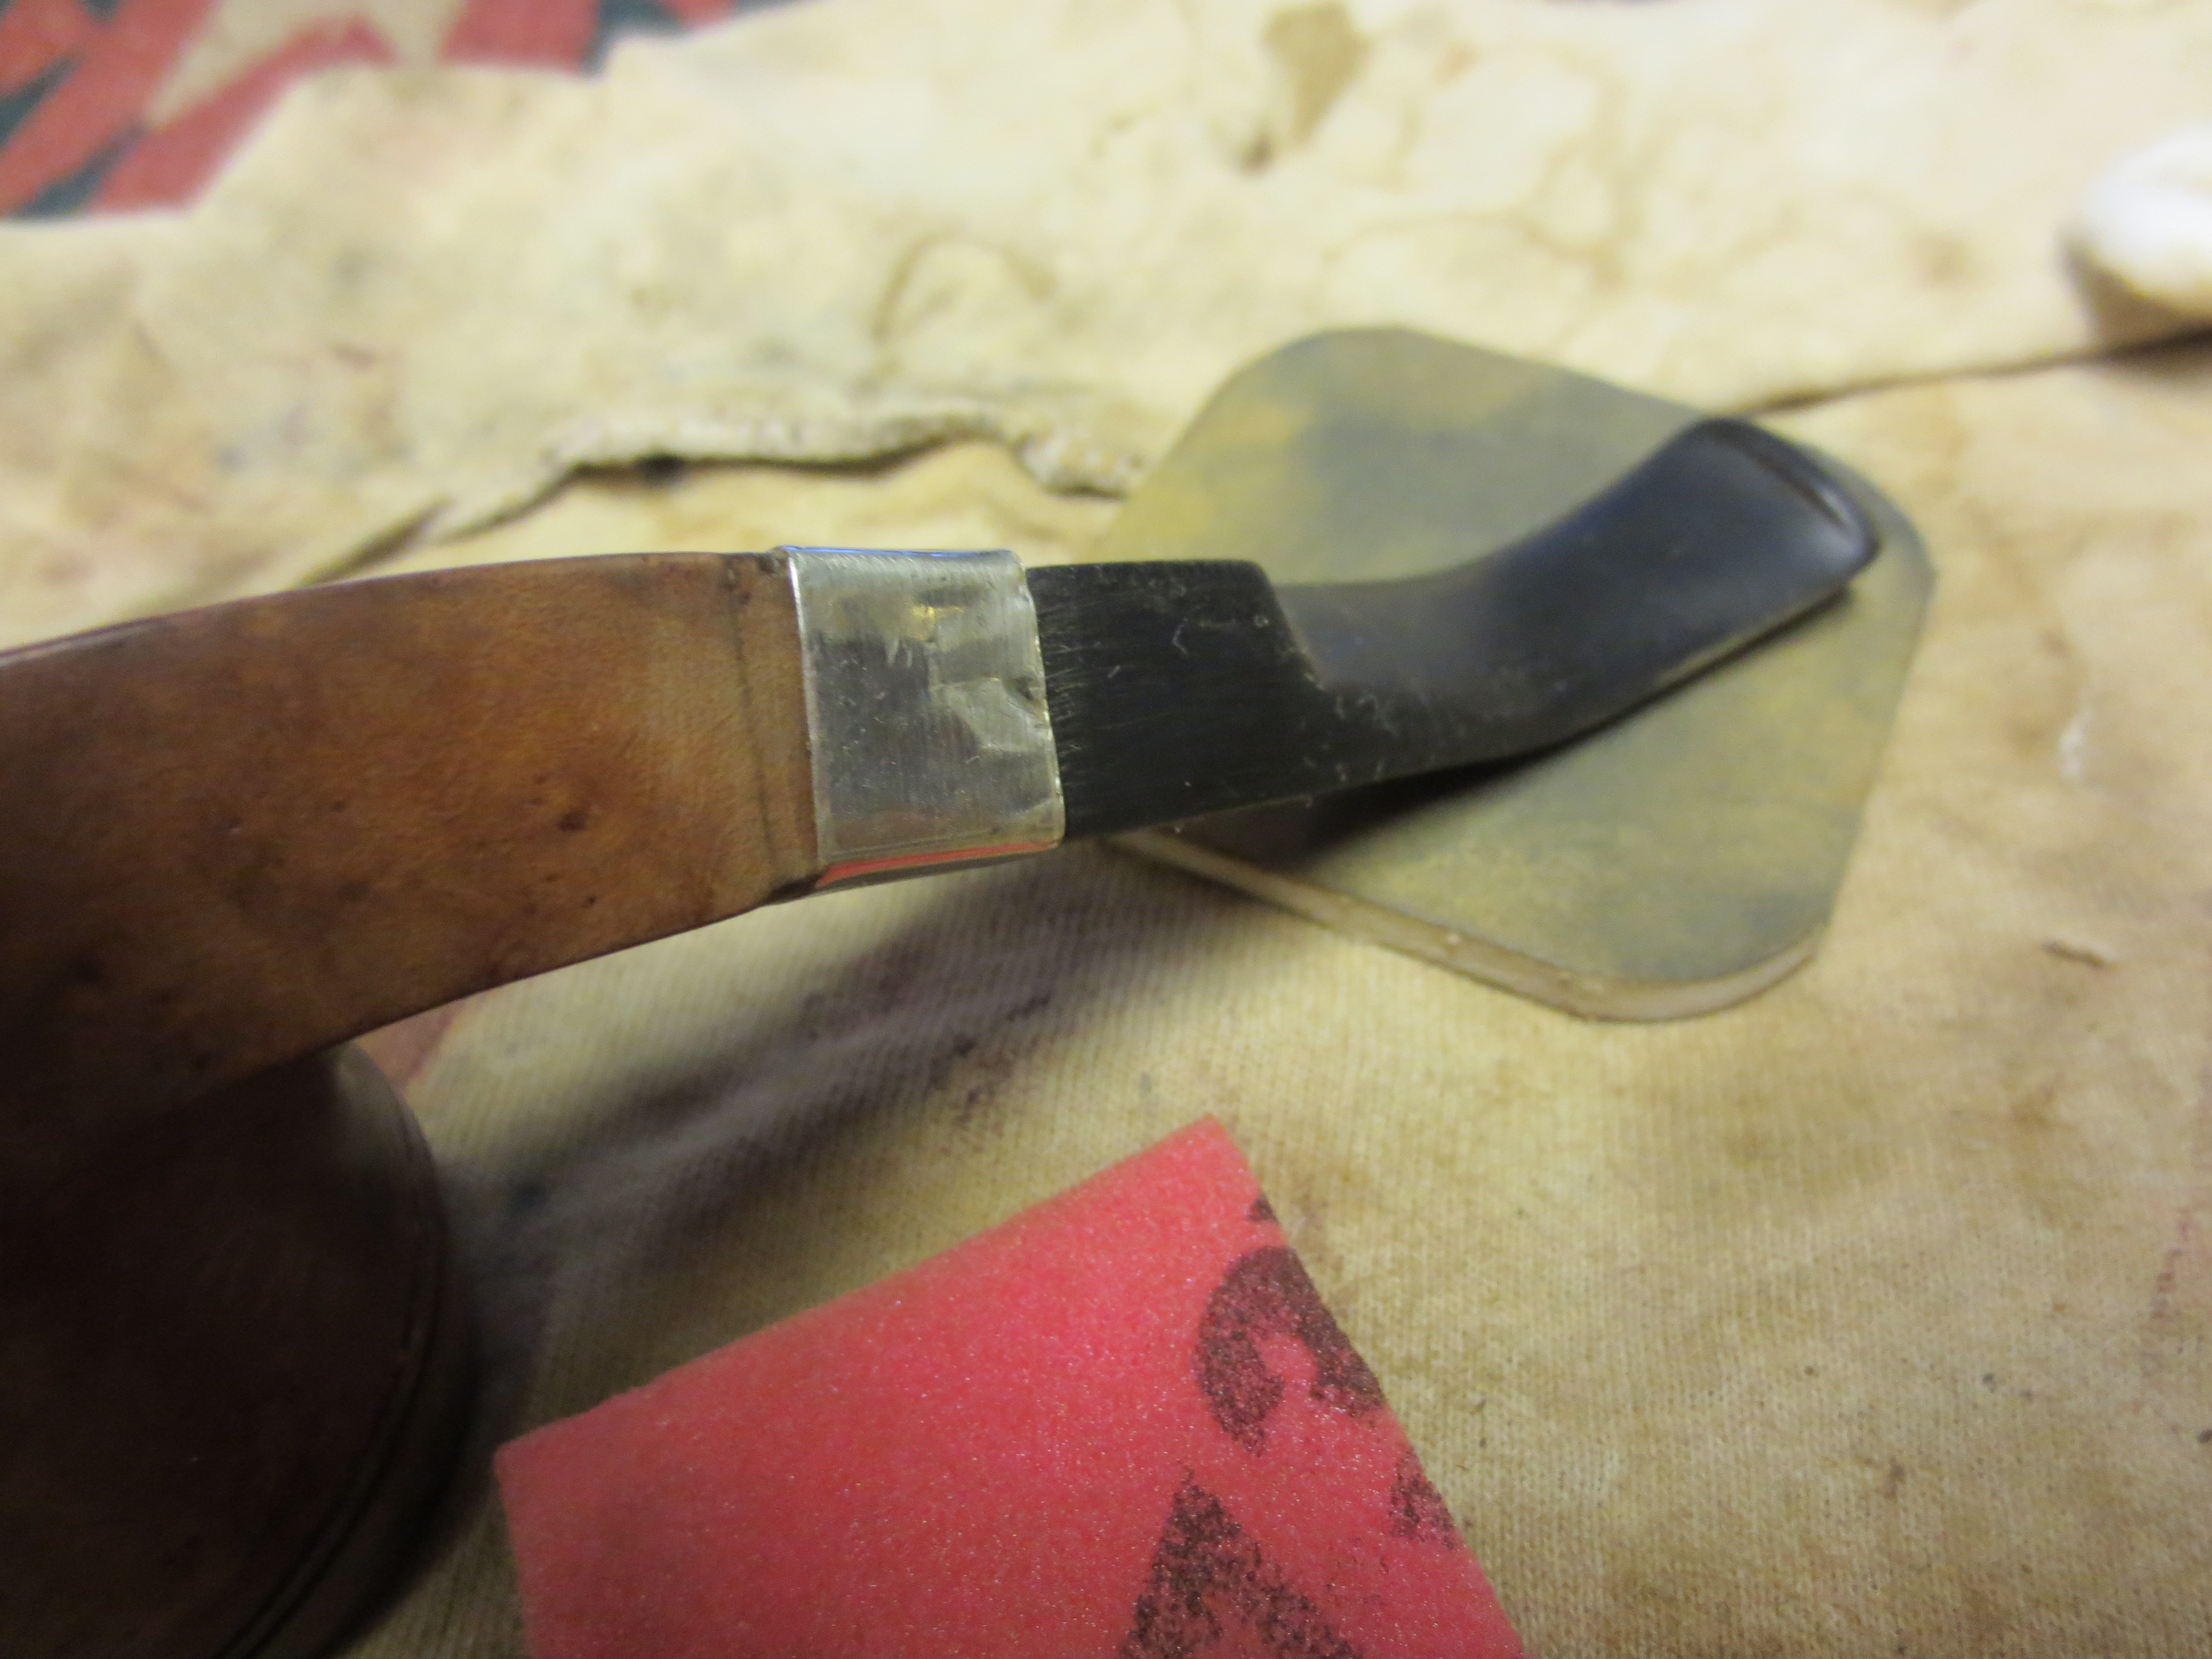
To finish the reformed slot I used some folded medium grit emery paper and then 340 grit sandpaper to smooth out the new edges and give it a finished look. I also sanded the surface of the button to remove the scratches from the files. Once that was done put the stem back on the pipe and ran a few more pipe cleaners dipped in Everclear through to clean out the airway. The next two photos show the pipe at this stage in the cleanup.

IMG_0784

IMG_0785

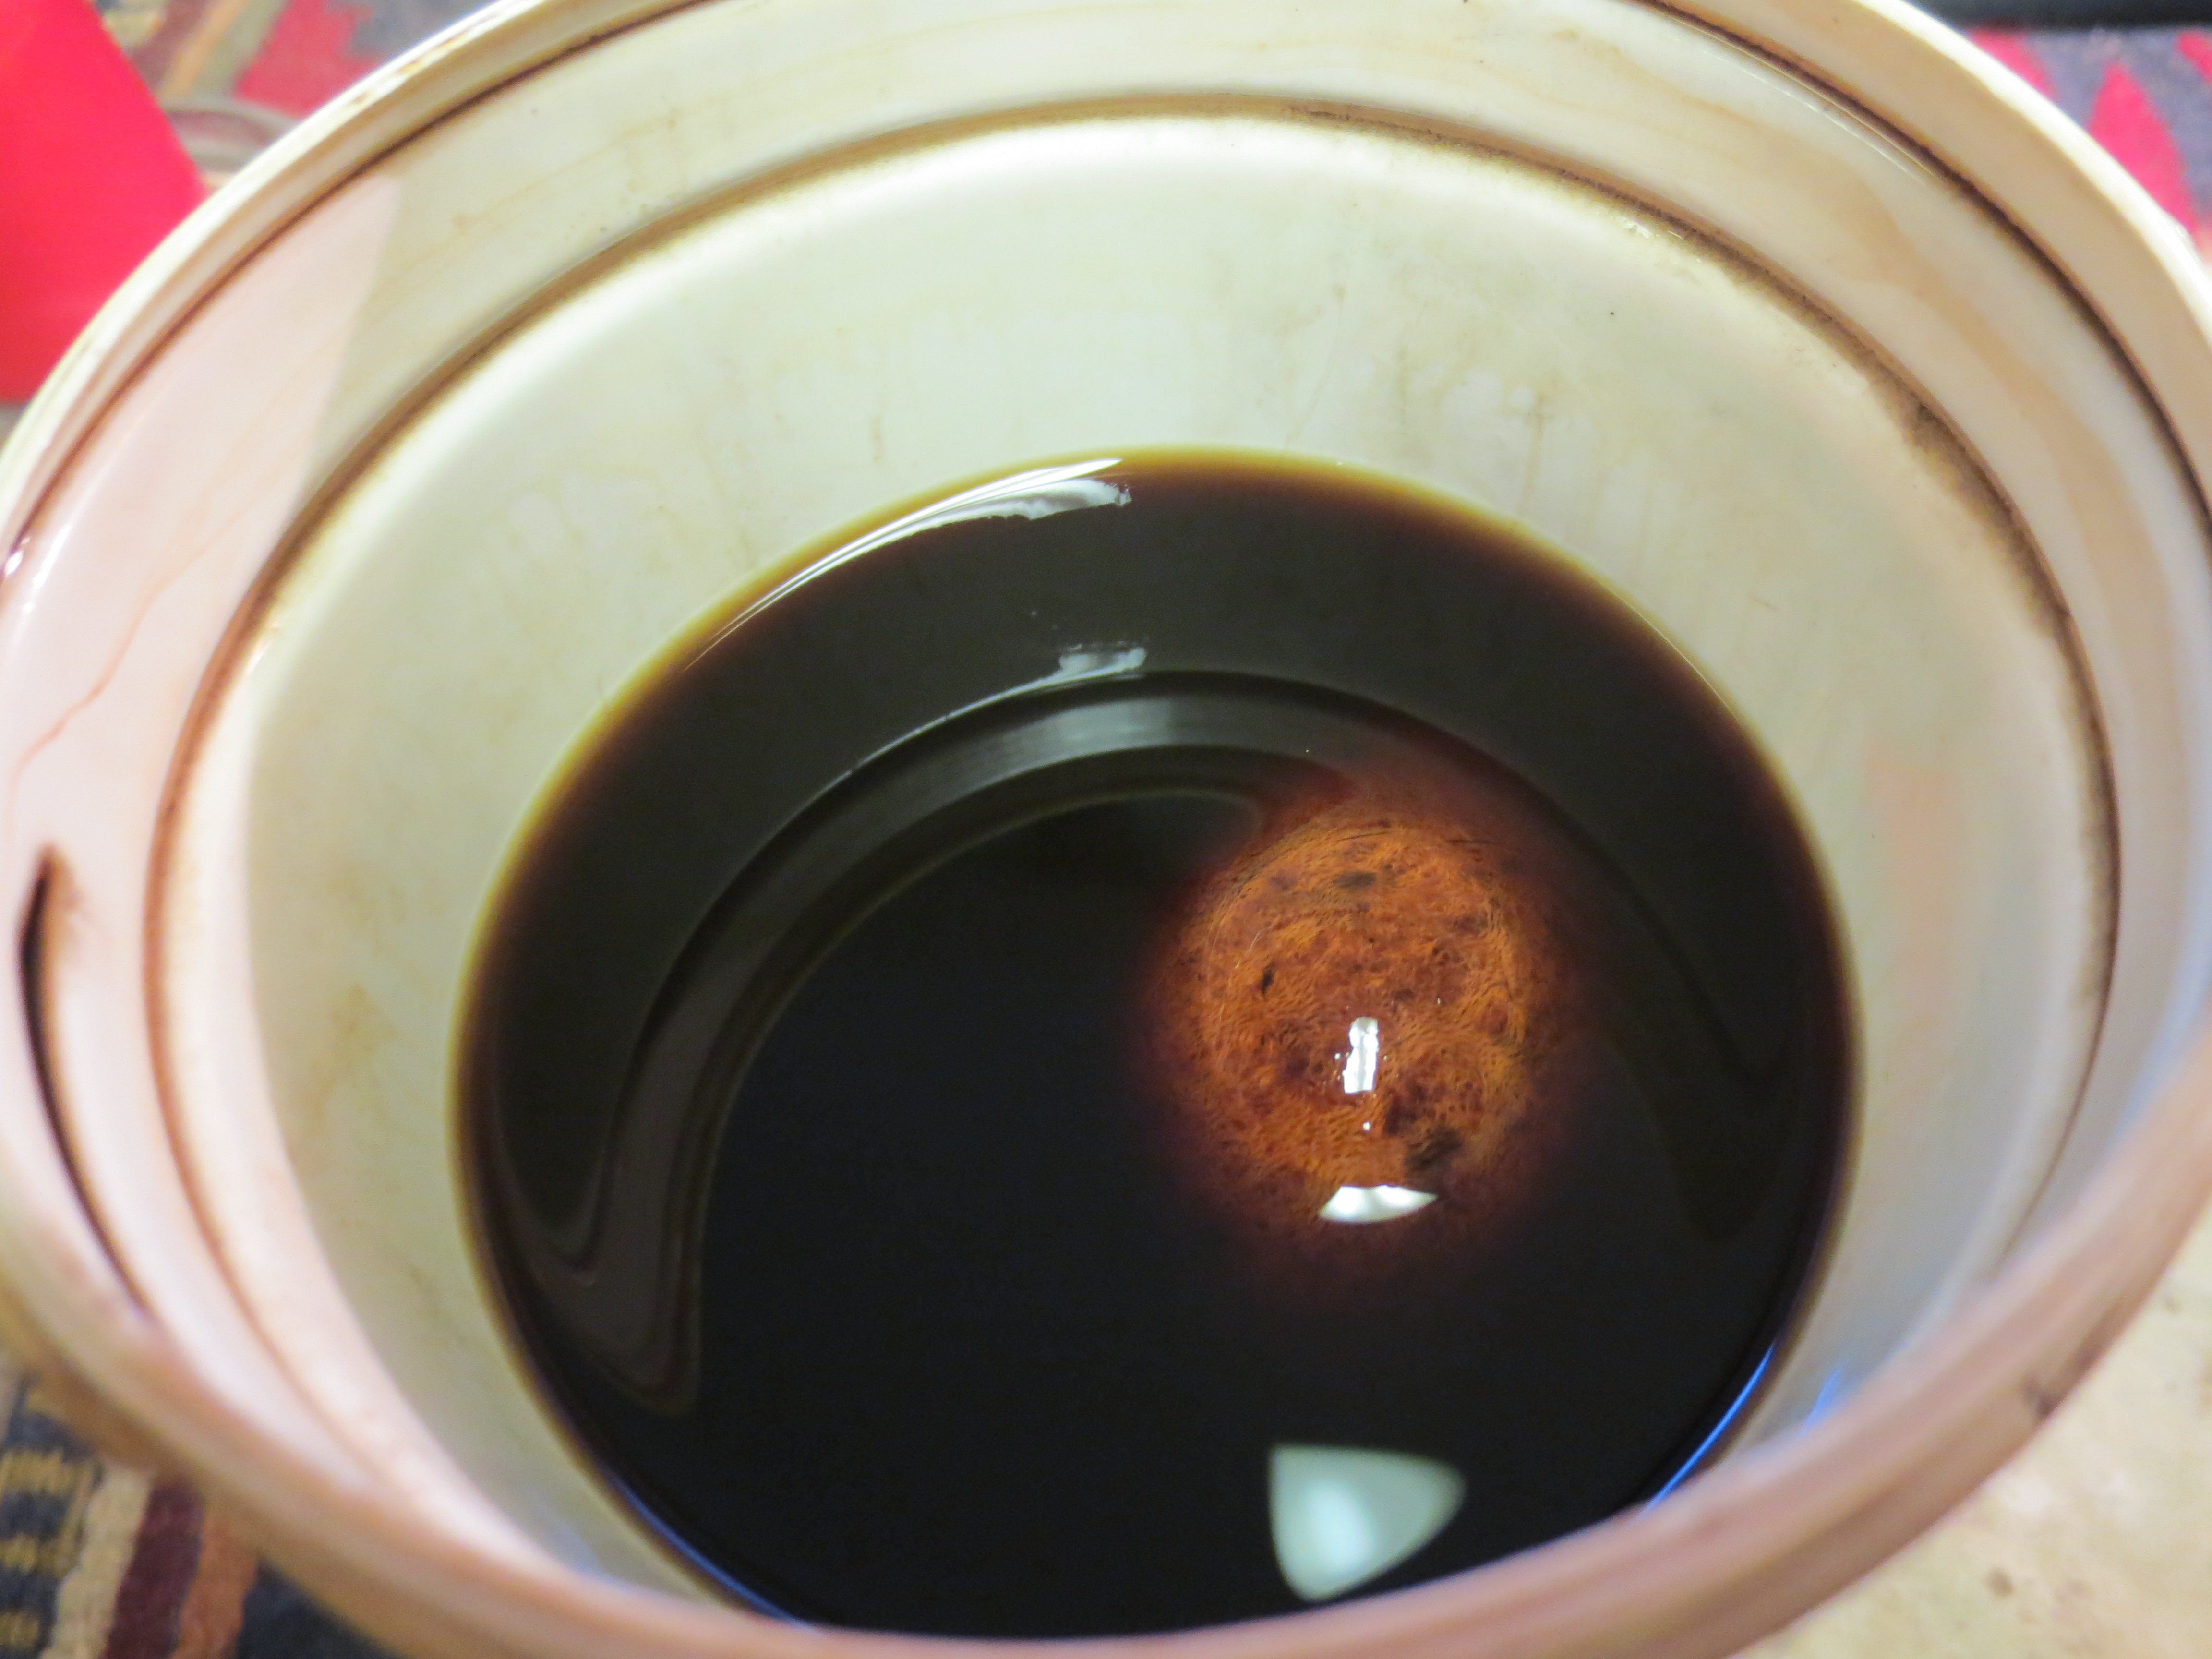
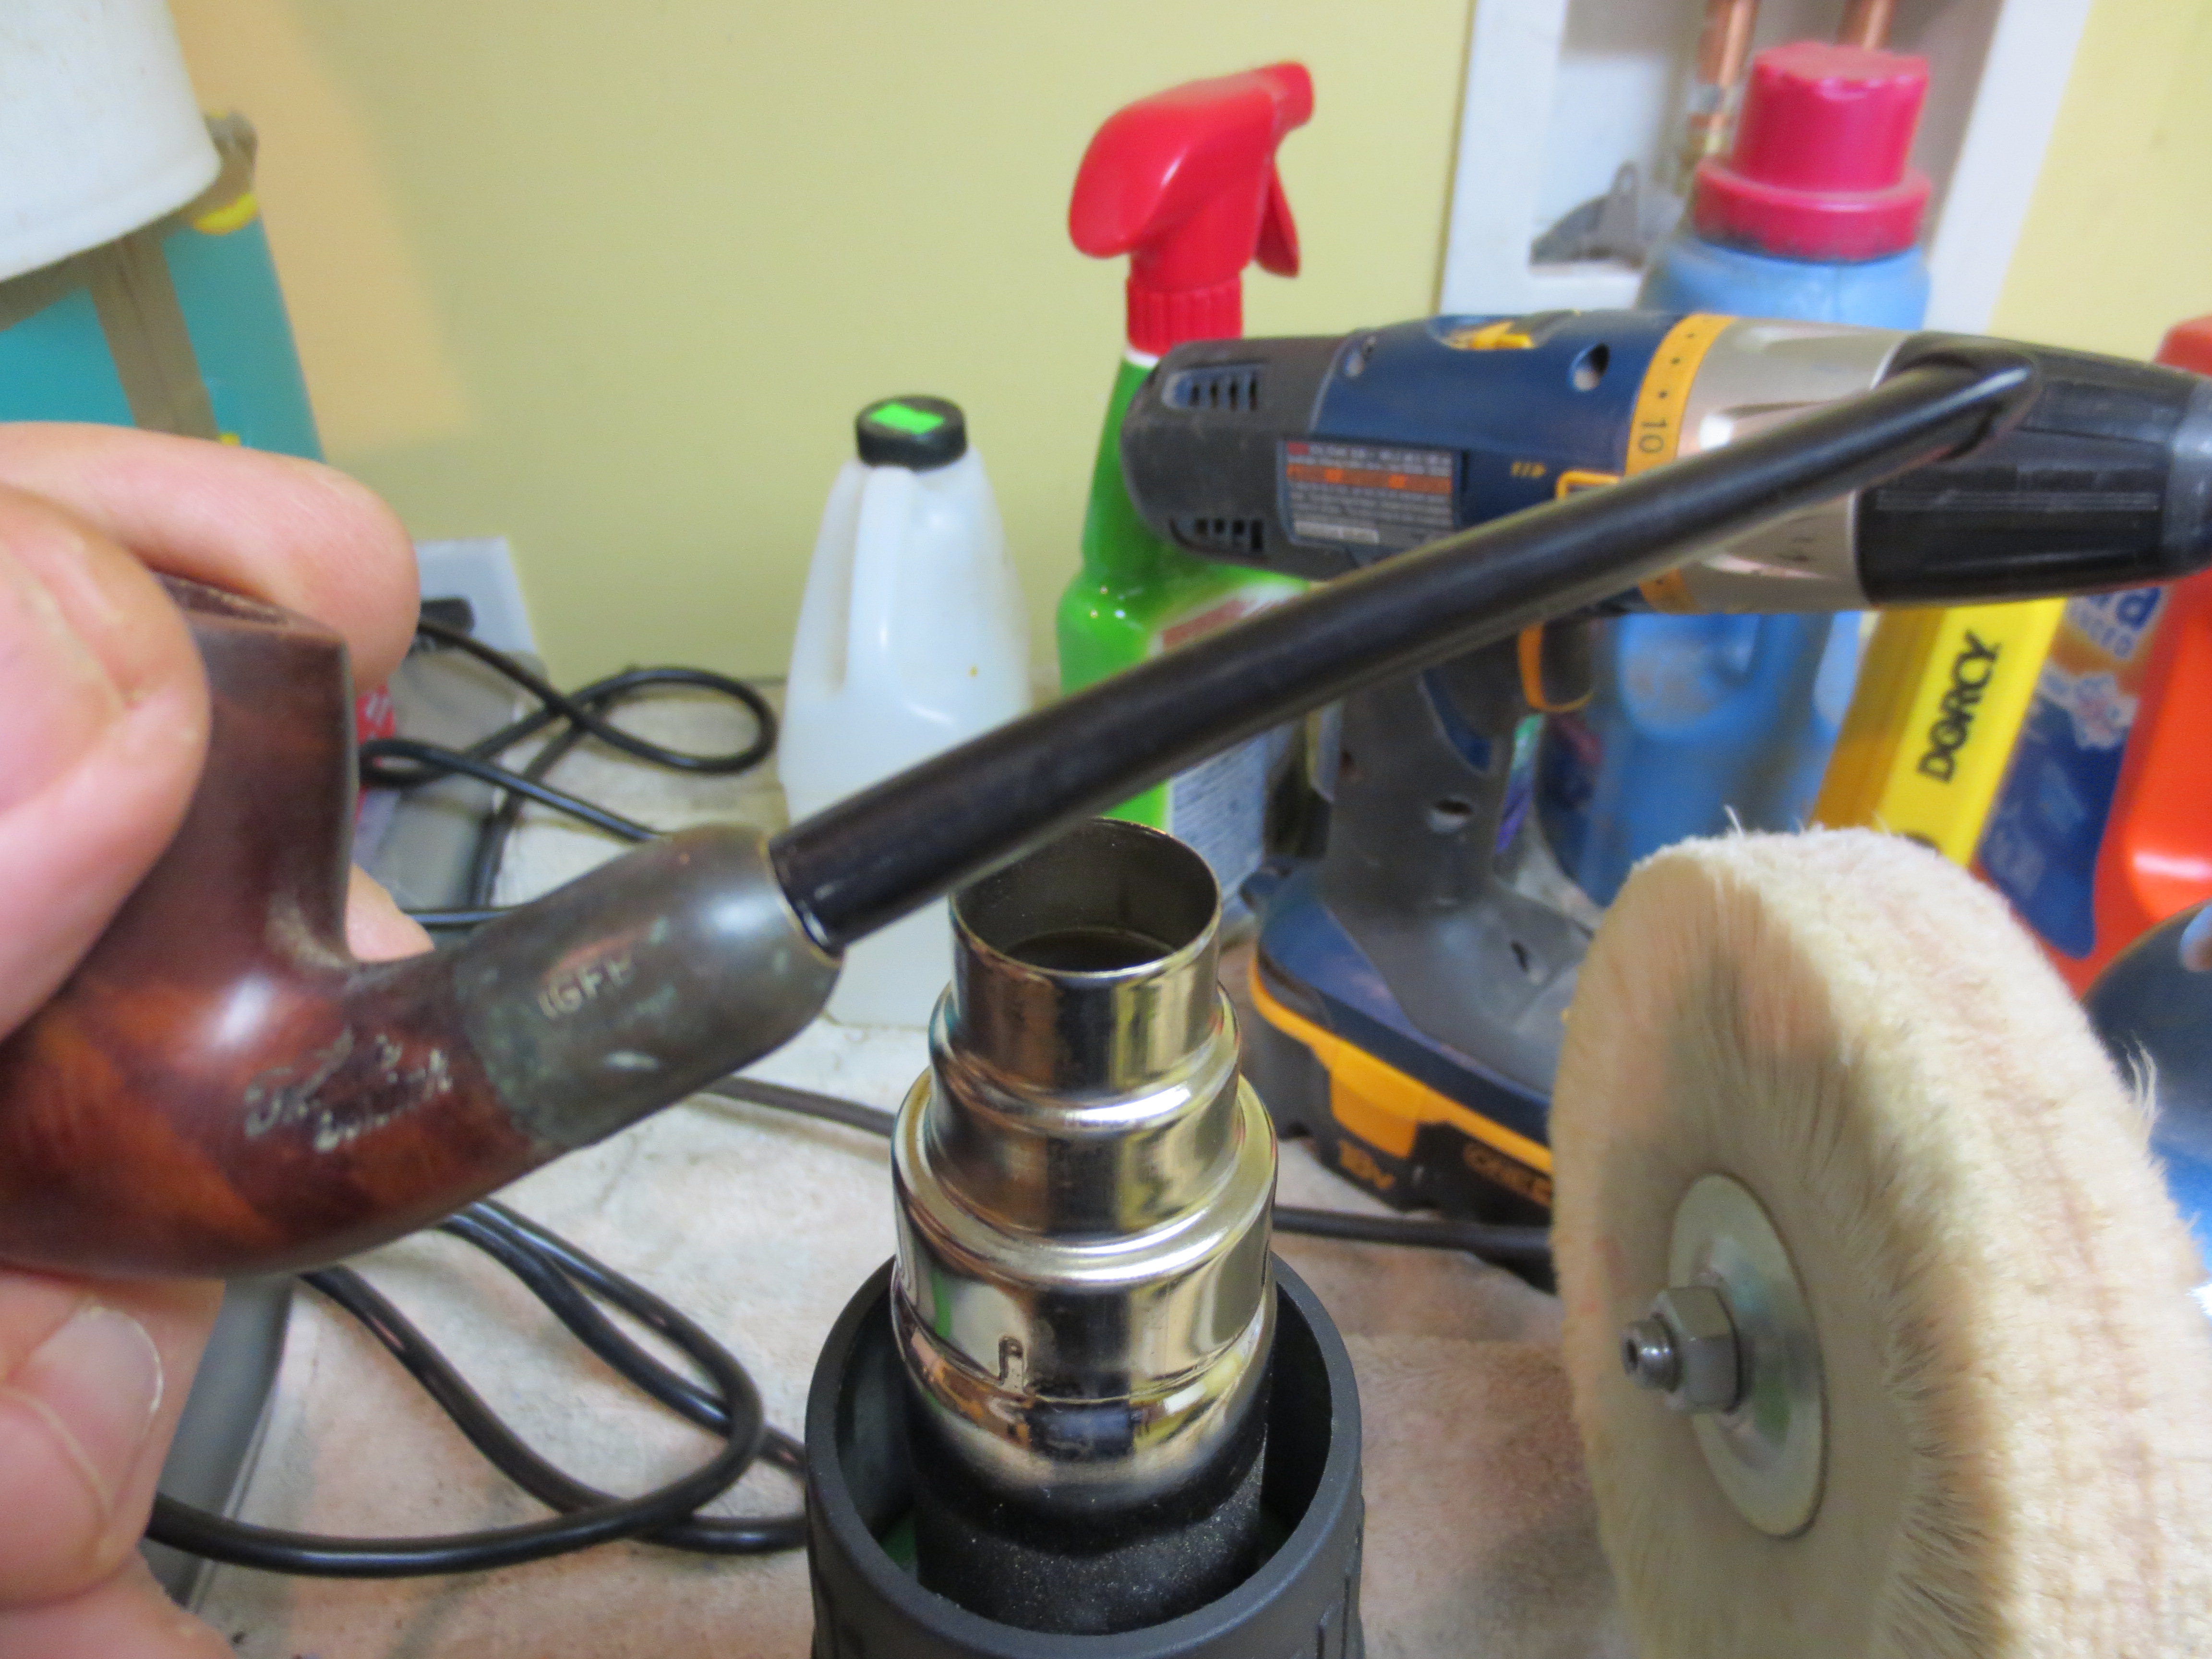
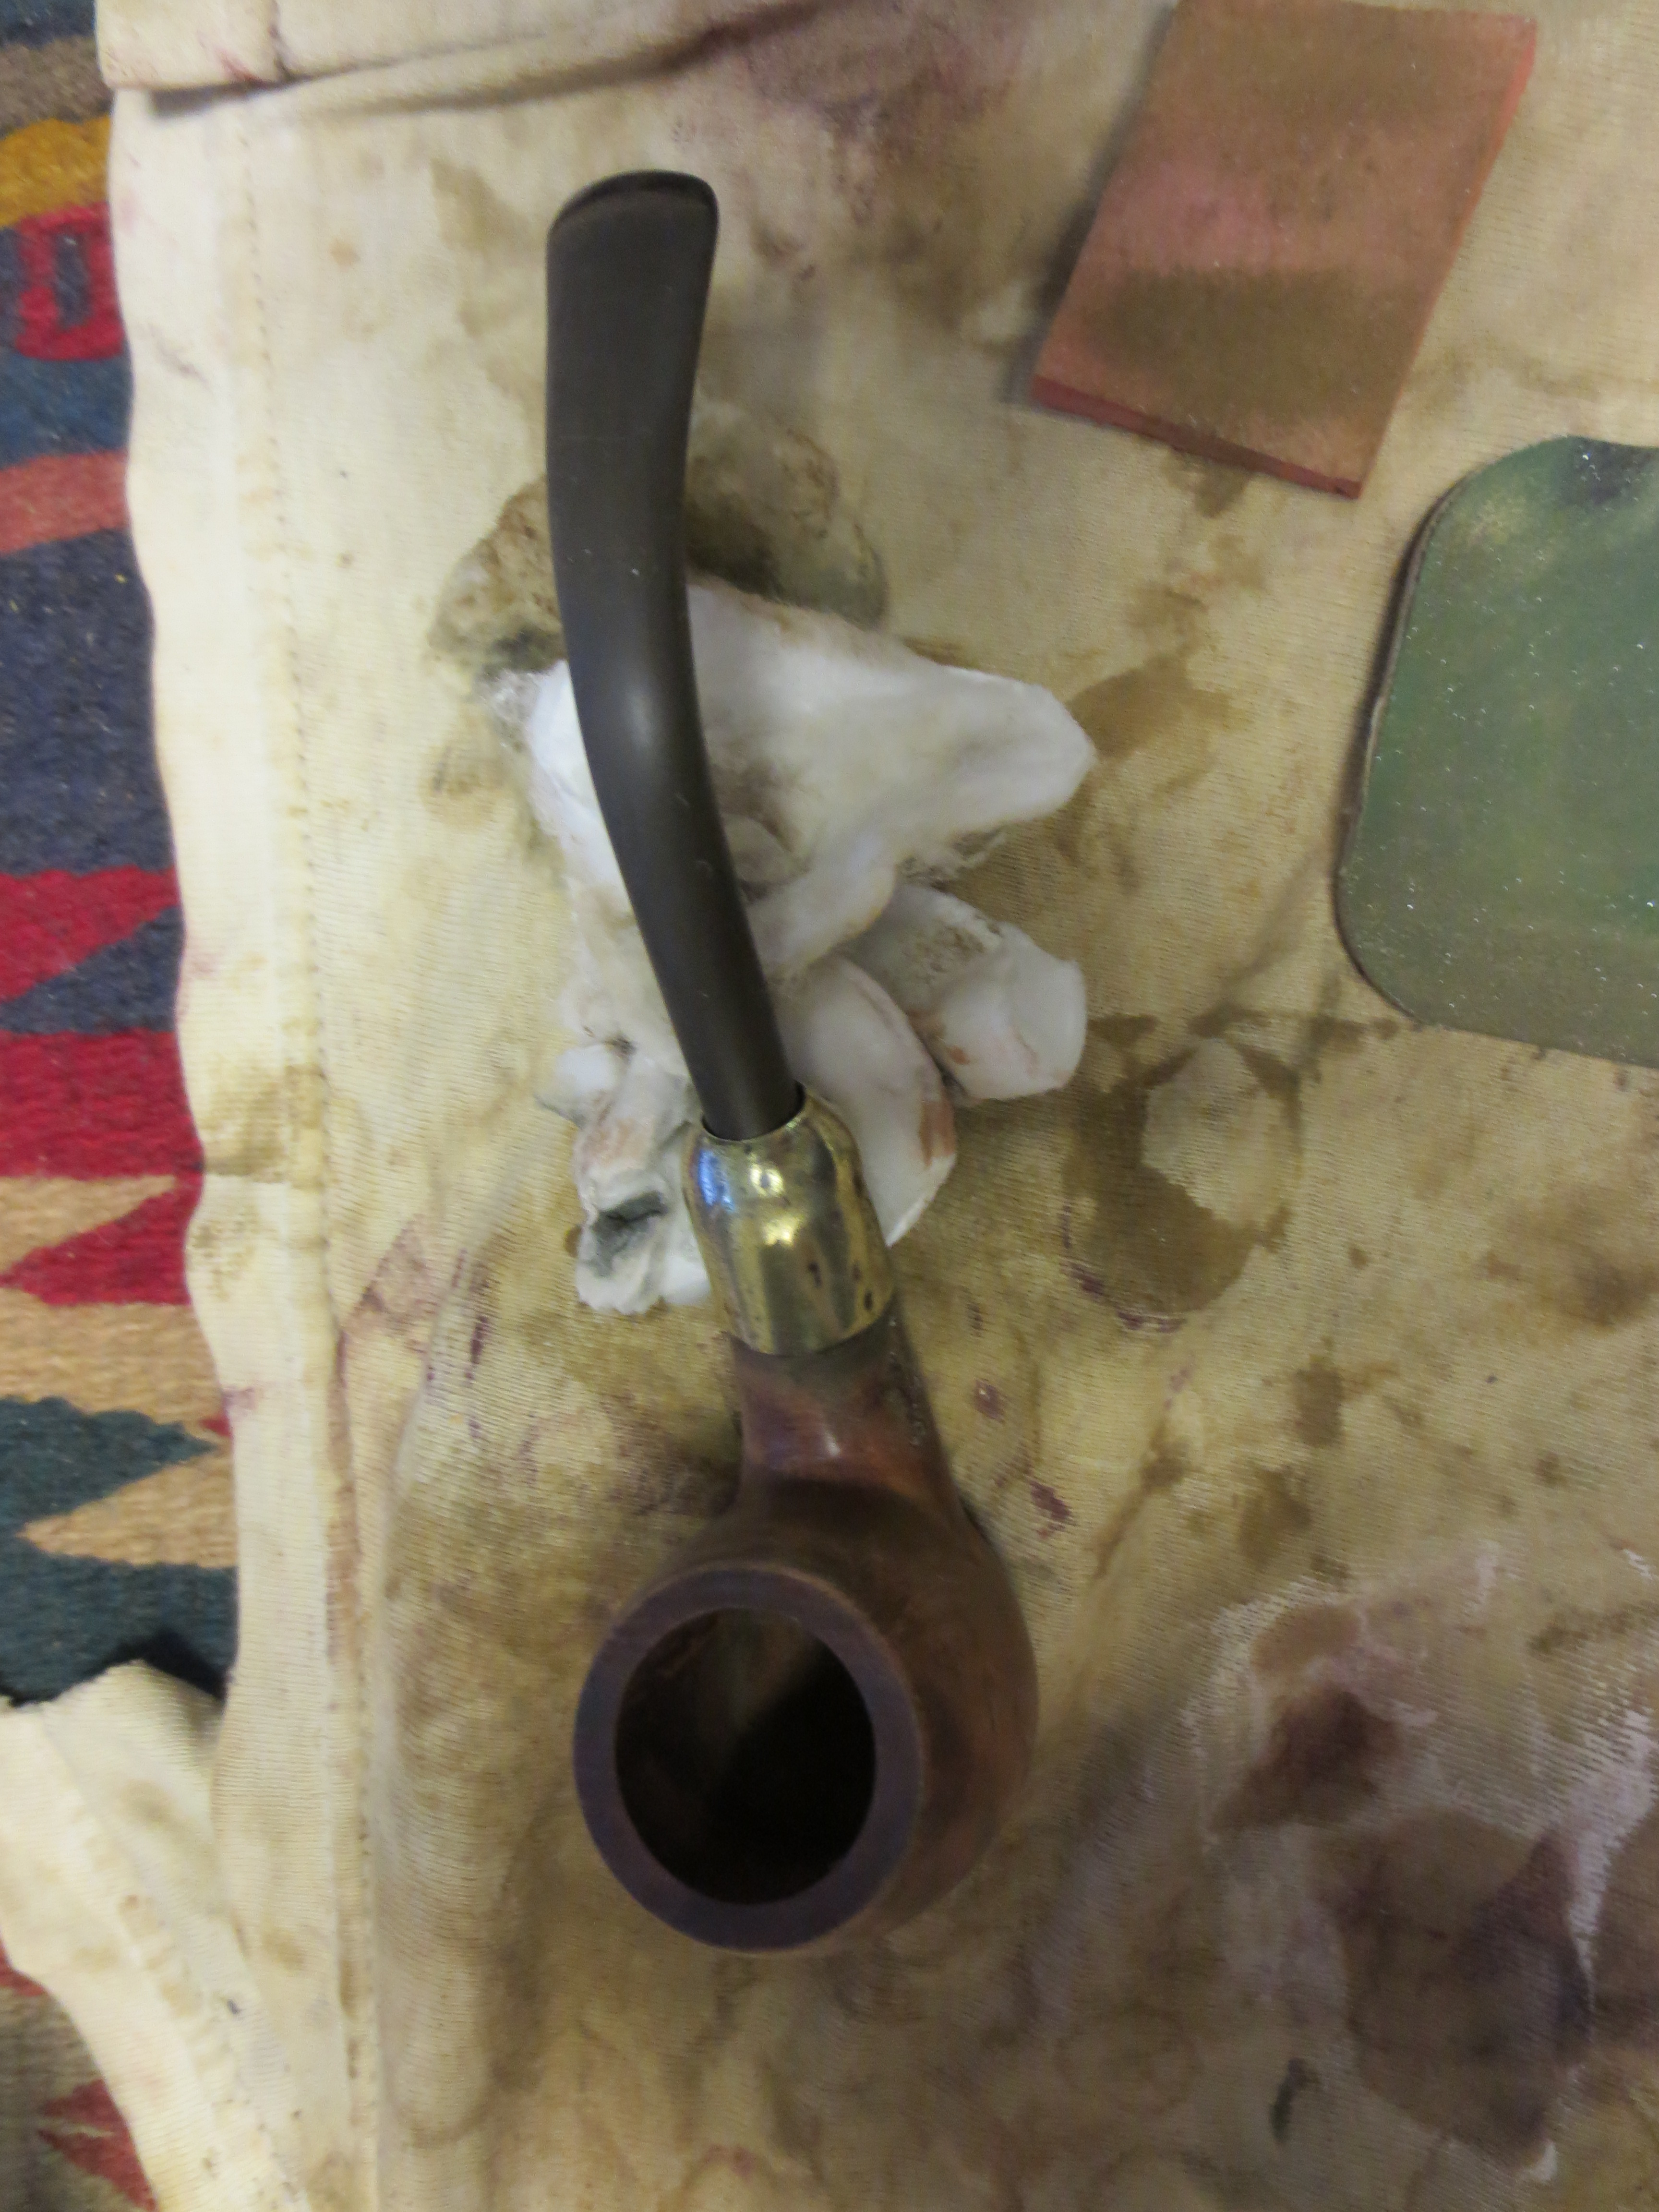
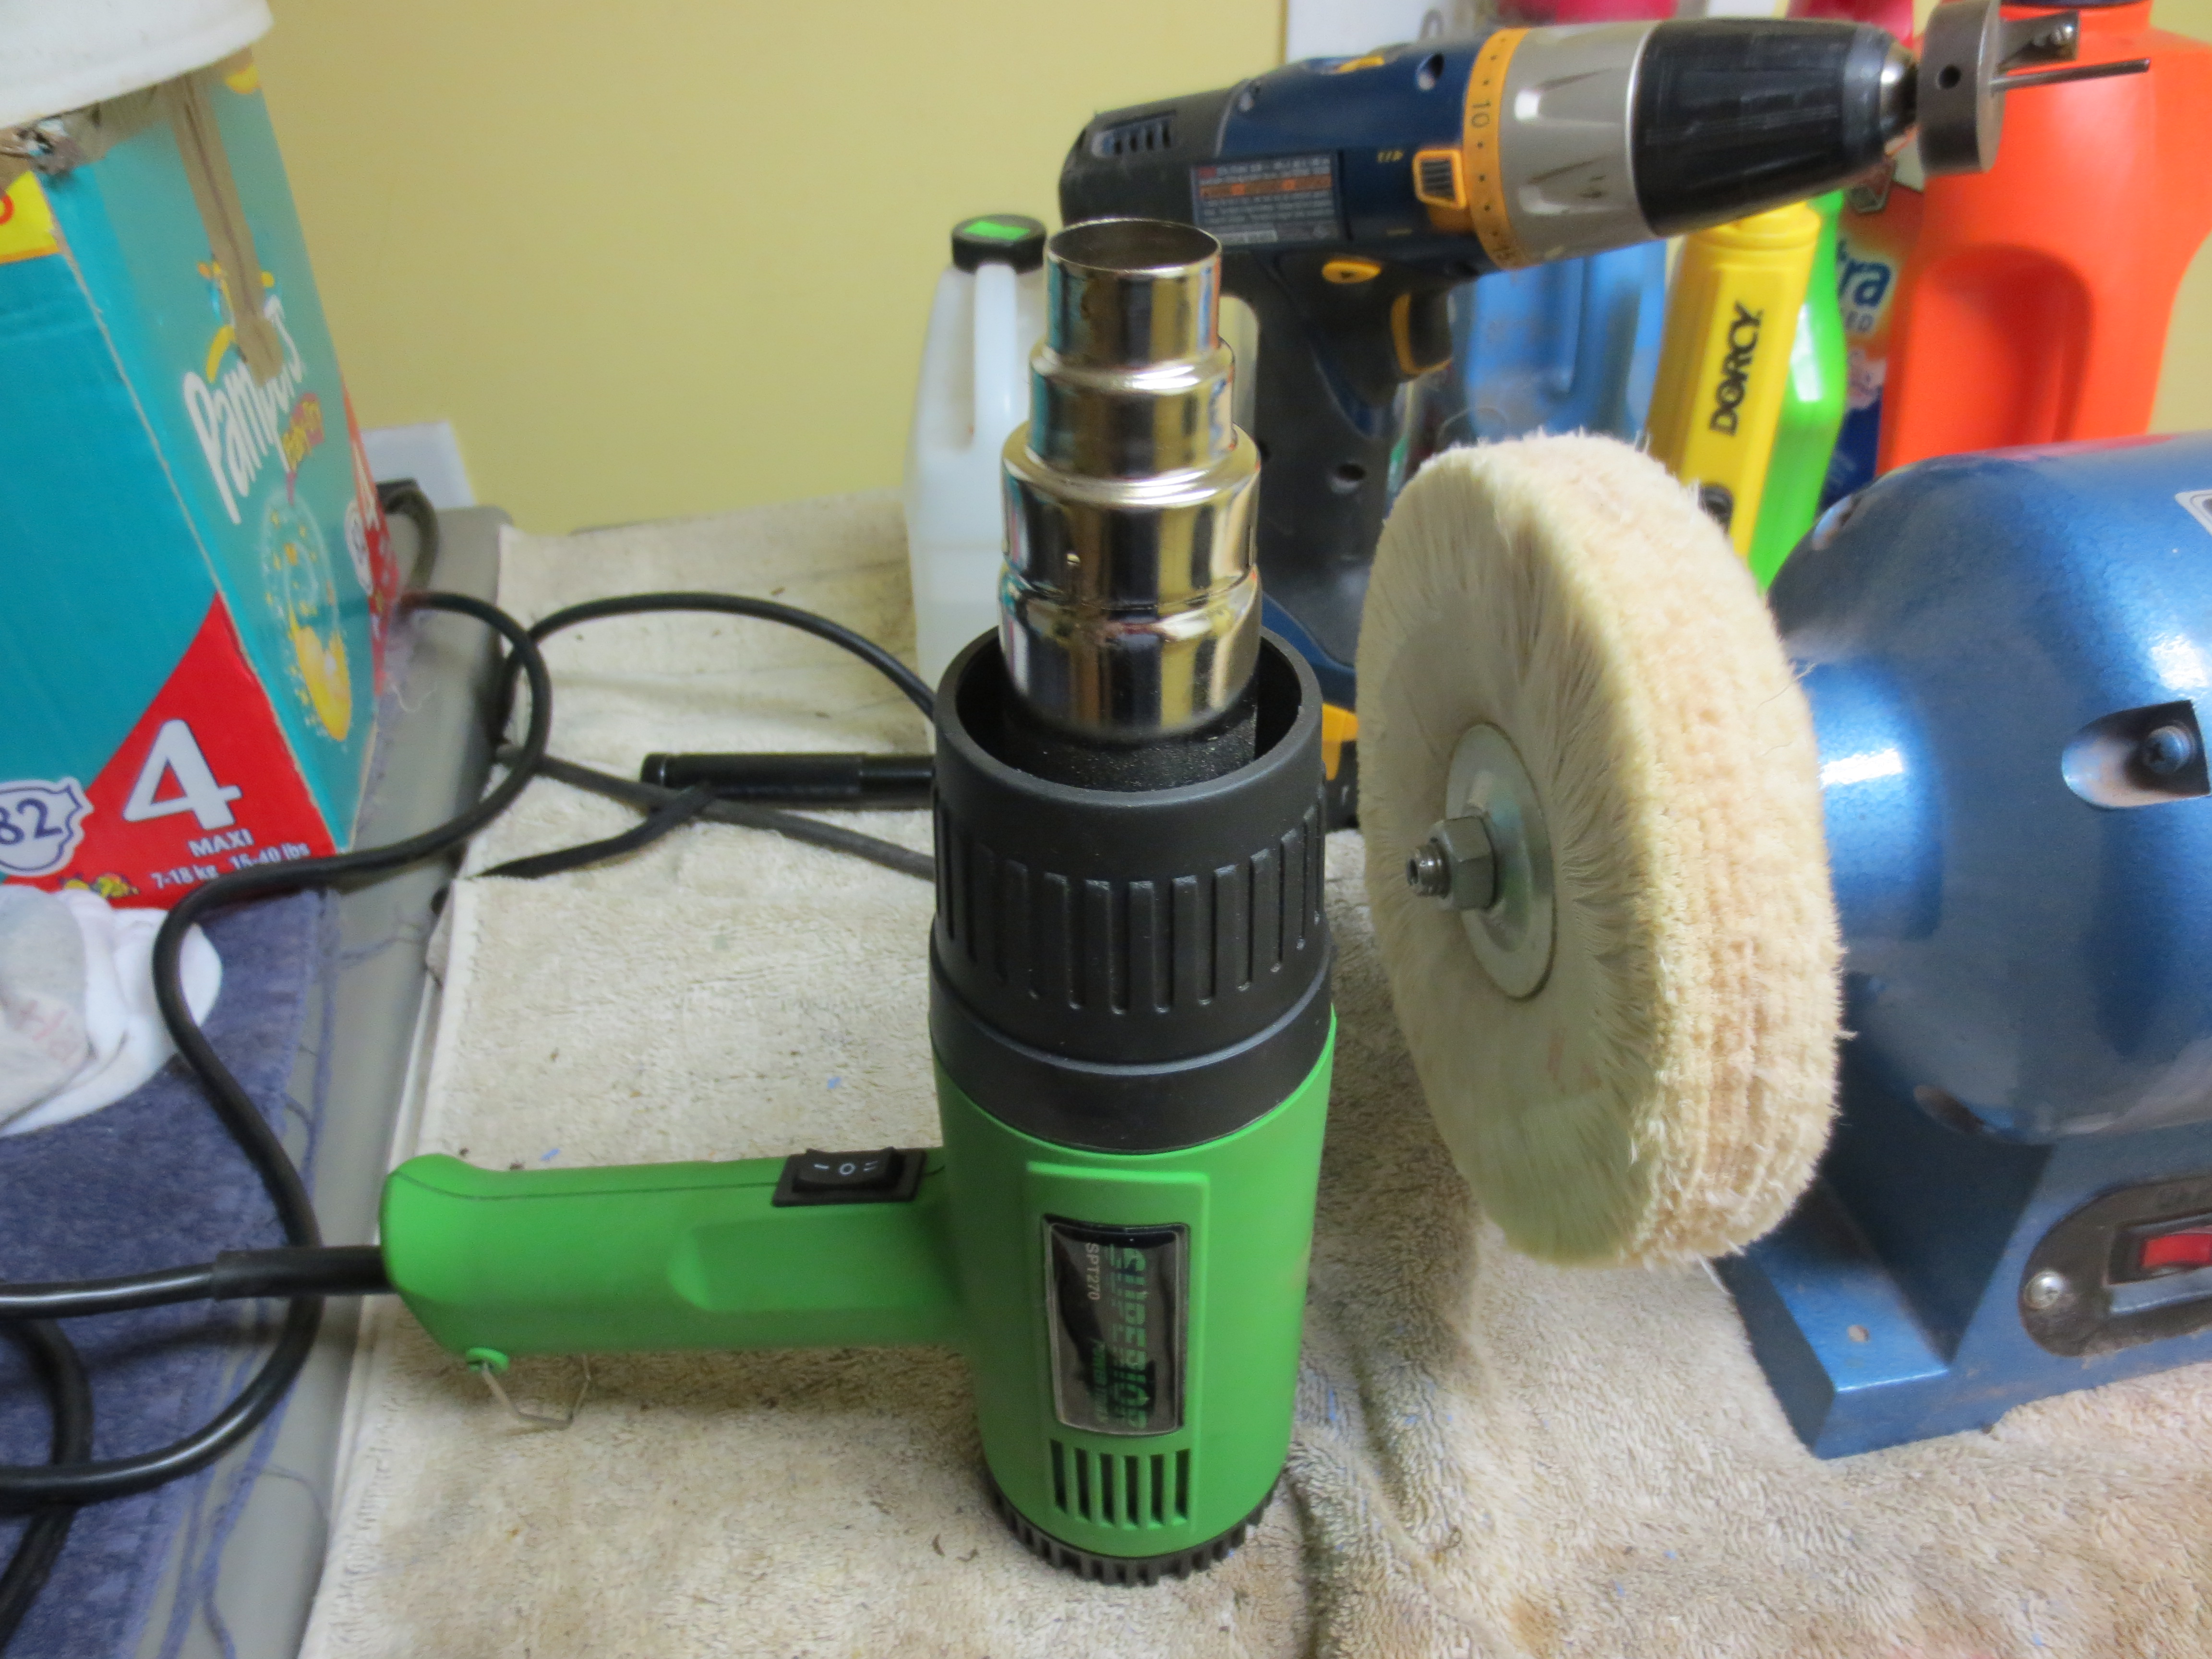
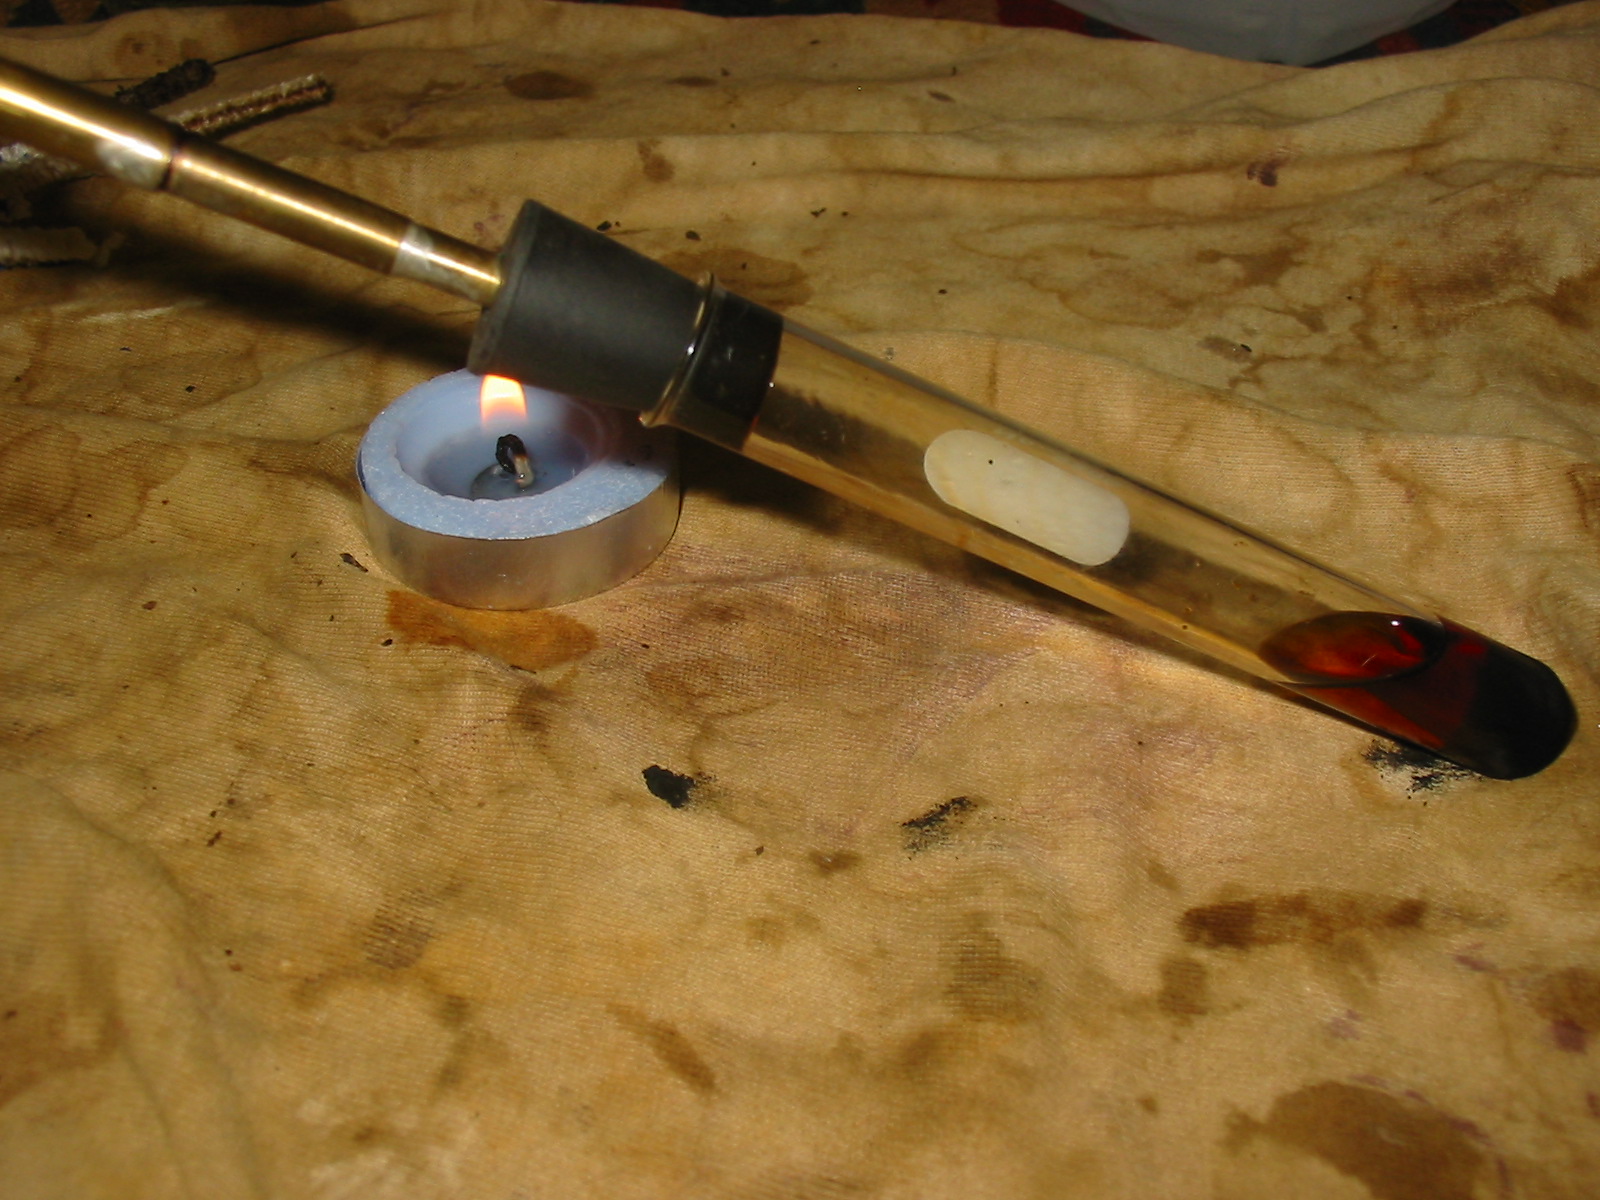
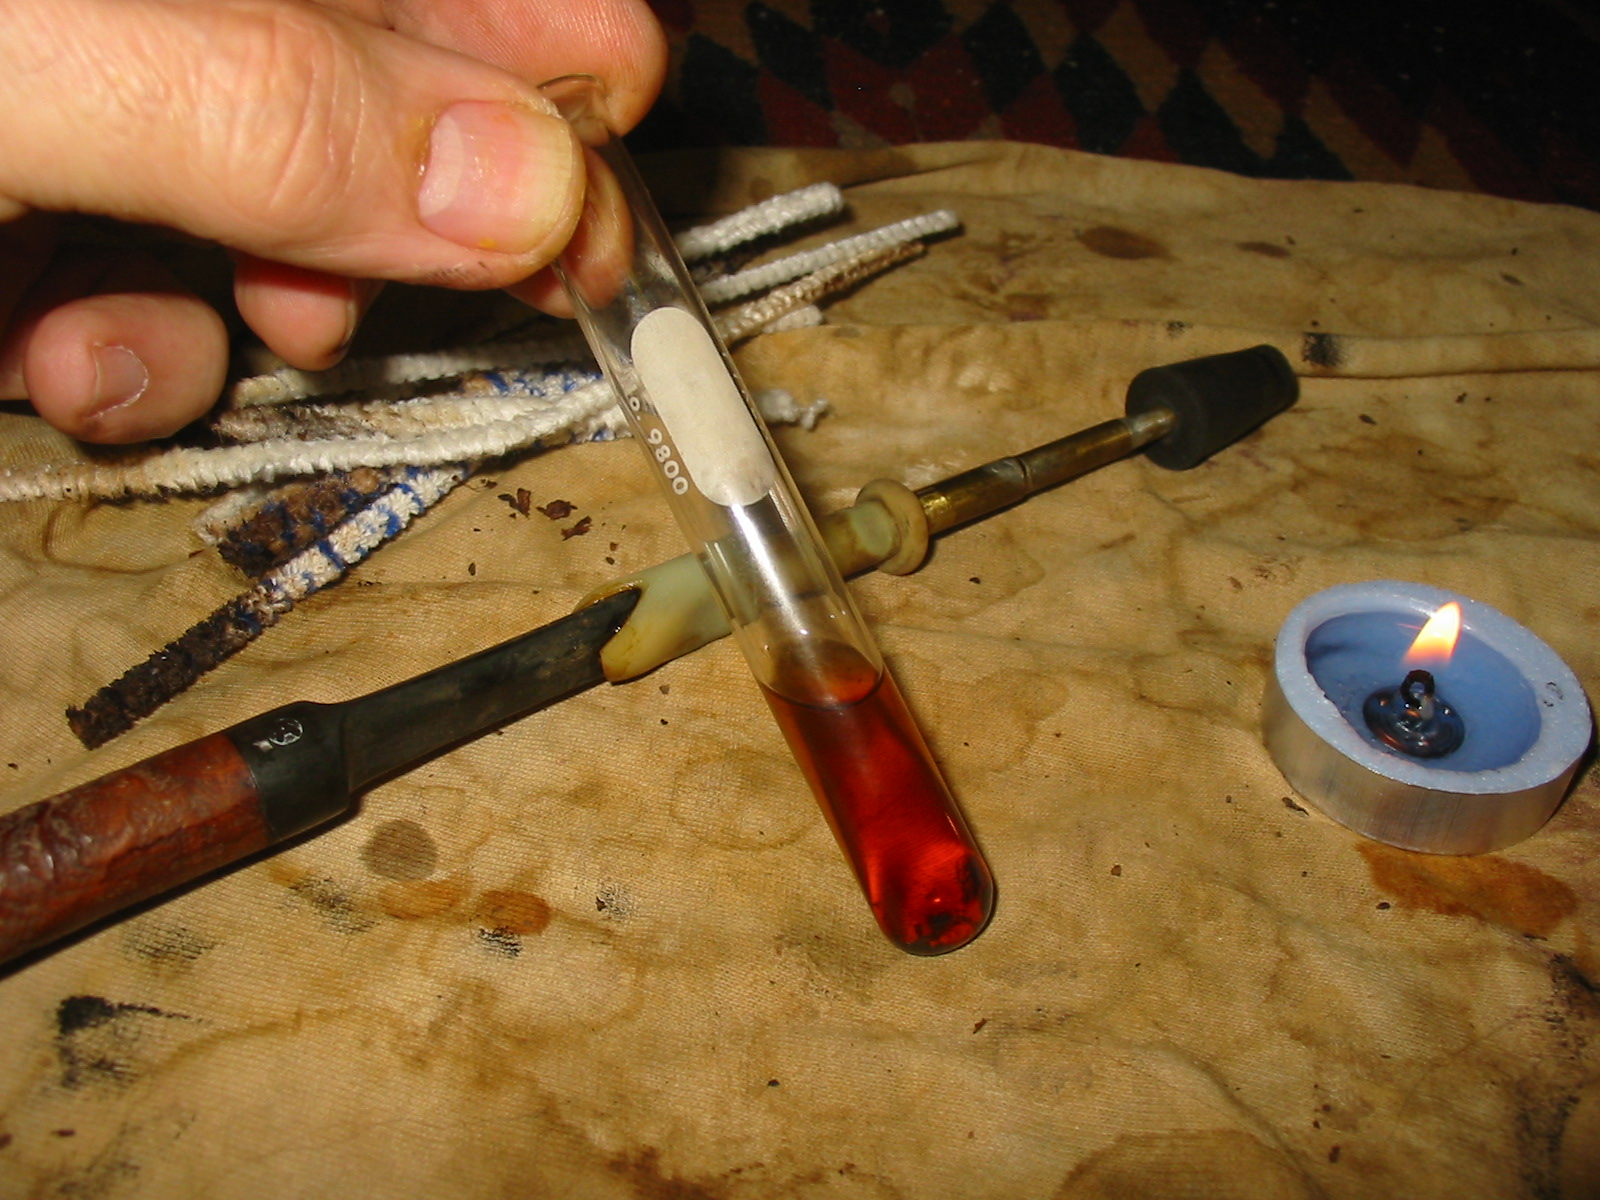
With the slot opened and the interior surface cleaned it was time to set up the retort. I placed a cotton boll in the bowl to keep the boiling alcohol from coming out the top of the bowl. I slid the rubber surgical tubing over the end of the stem and slid it on about ½ an inch. I want a good tight seal at this point because as the alcohol boils it can bubble out the sides of the stem and give a good burn while you are holding the stem. I put about 1 inch of 99% isopropyl in the test tube and put the rubber stopper in place in the mouth of the tube. I lit a small tea light and held the bottom of the test tube over the flame. The alcohol has a low boiling point so it does not take long for it to boil and the gaseous alcohol migrates up the surgical tubing and into the stem, shank and bowl. It is great to feel the shank warm up as the alcohol moves into the shank. I remove it from the flame after several minutes and let it cool off. As the alcohol cools it runs back into the test tube and cools. The next series of three photos show the heating and boiling process.

IMG_0786

IMG_0787

IMG_0788

As it cools the alcohol migrates back into the tube. It is generally a very dark amber colour – like nice amber ale! In the first photo below show the tube removed from the flame and the alcohol beginning to refill the tube. The flame is actually behind the stopper not under it – lest anyone wonder about that. I blew out the candle at this point and continued to let the alcohol cool and drain. I then poured out the dirty alcohol, rinsed the tube with warm water, dried it out and refilled it. I reattached the apparatus and used the retort a second and third time until the alcohol came out as clean as when I started using it.

IMG_0789

IMG_0790

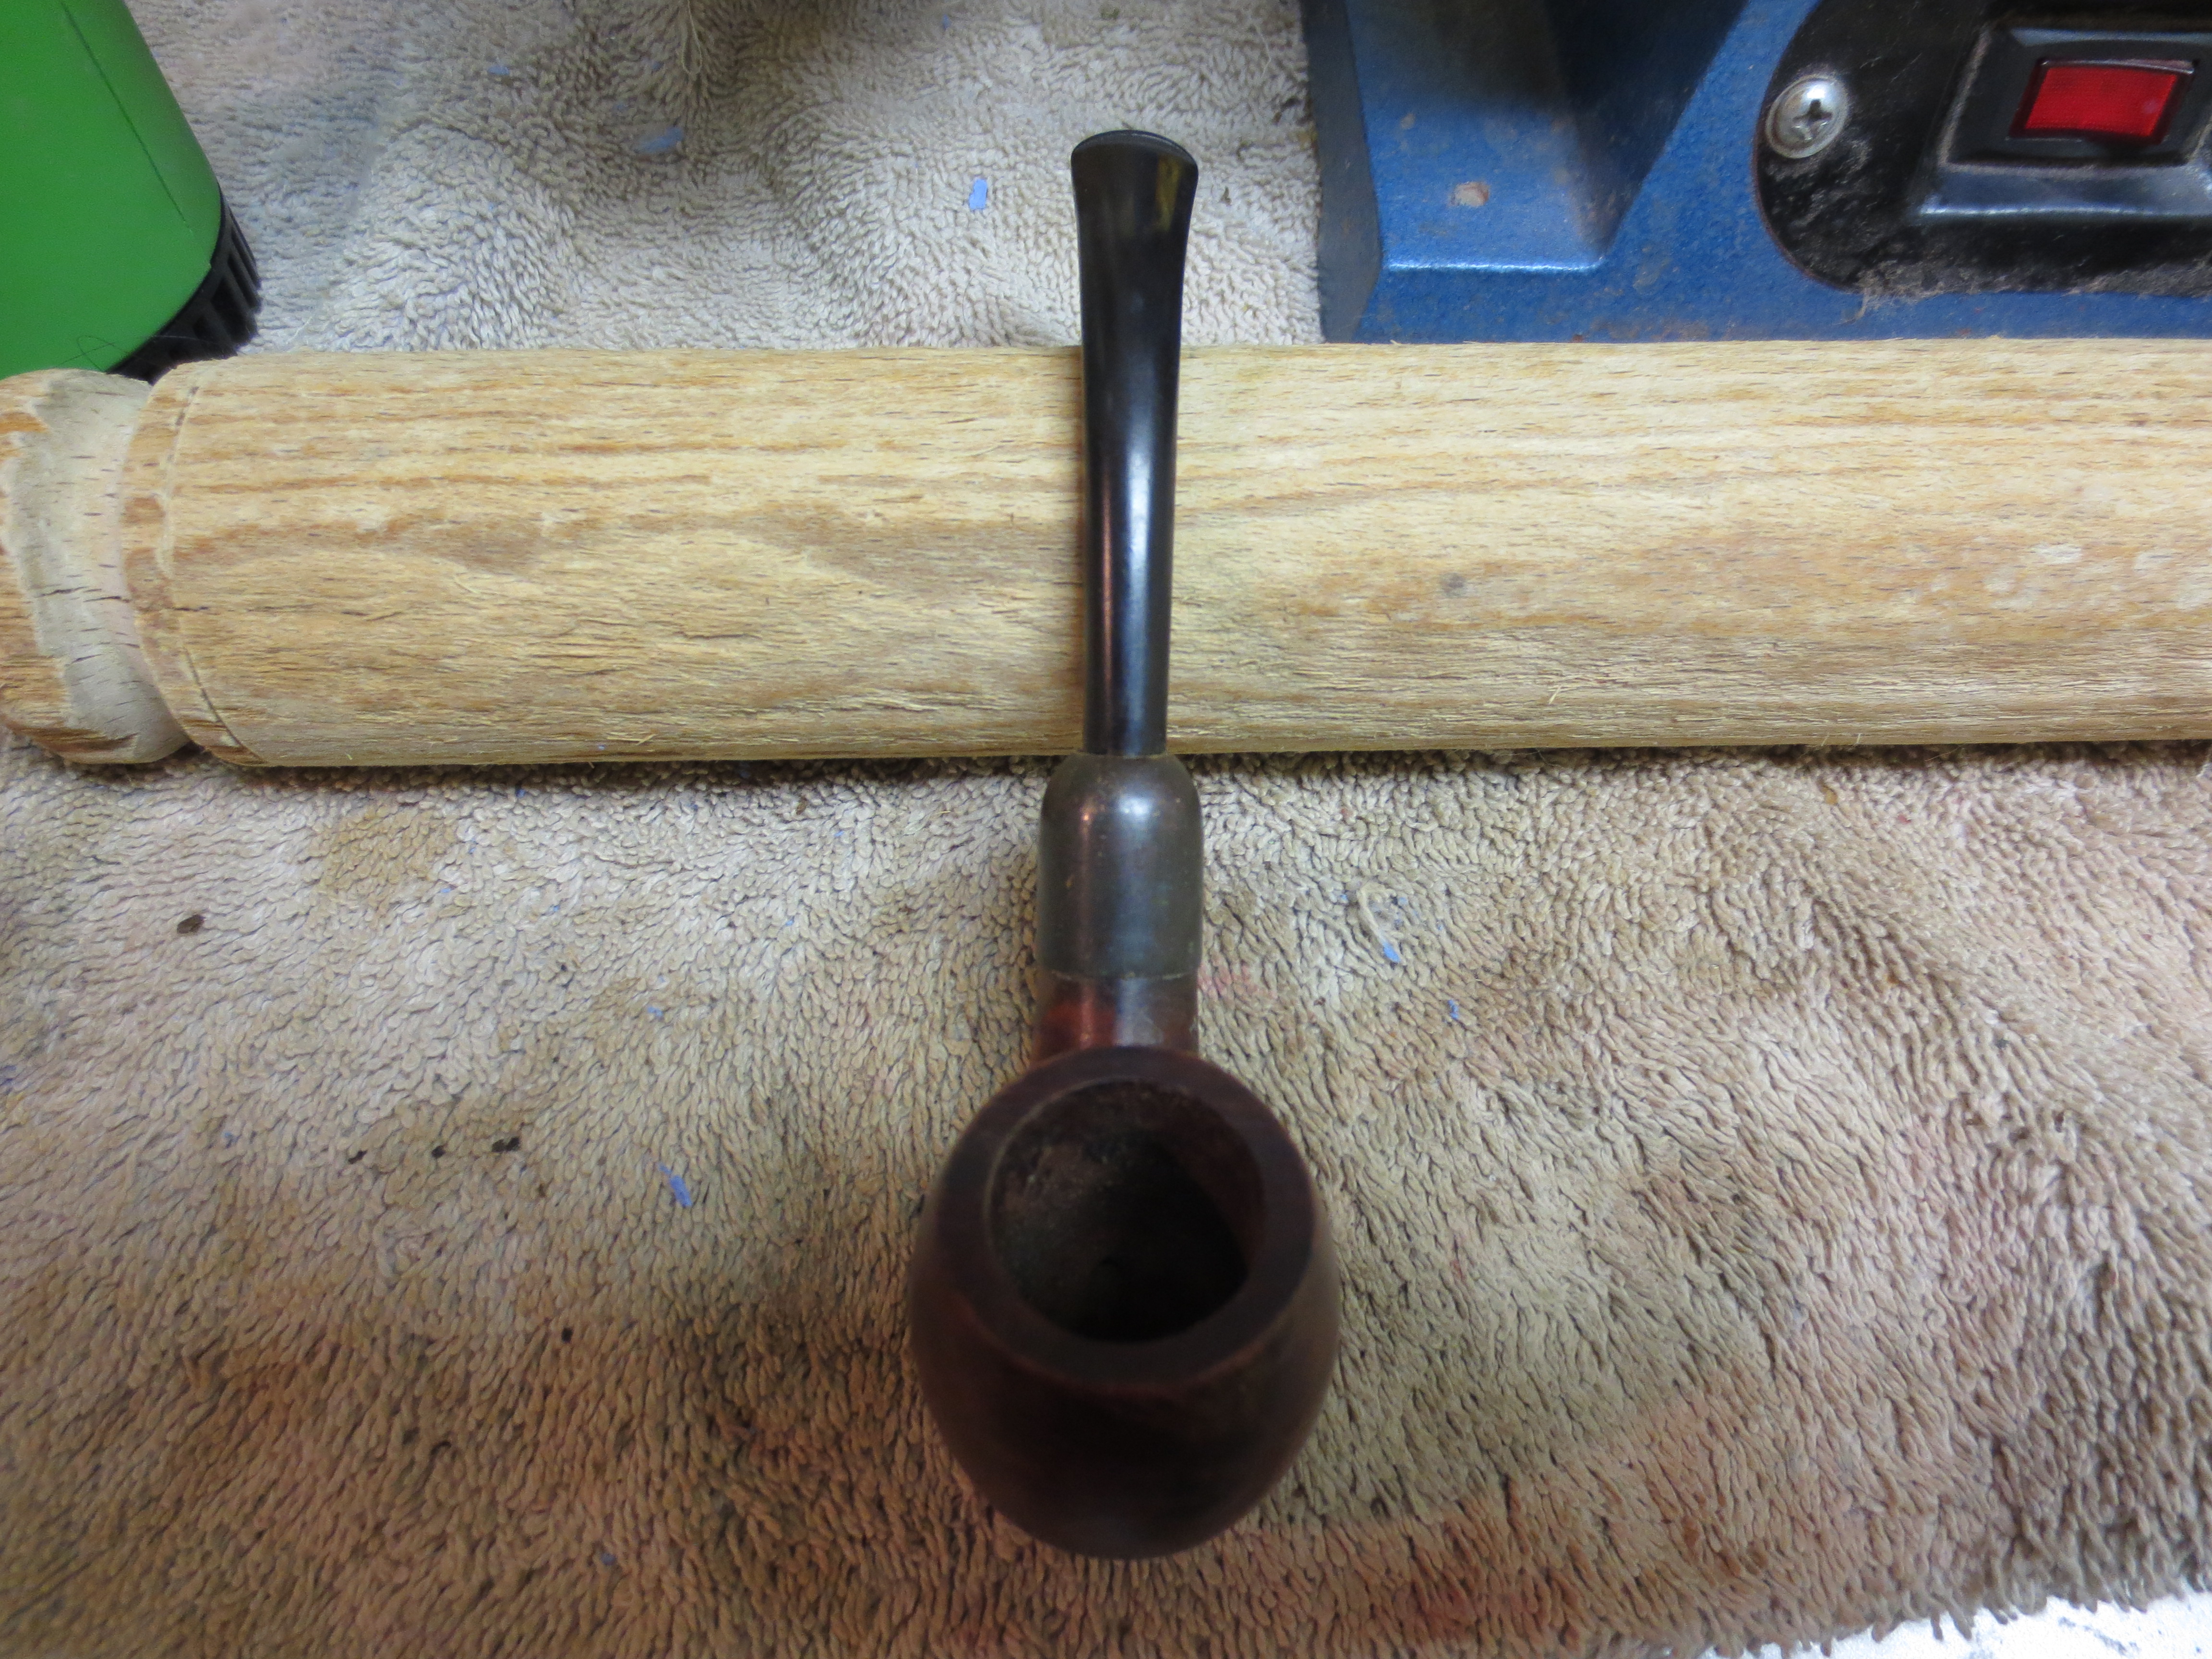
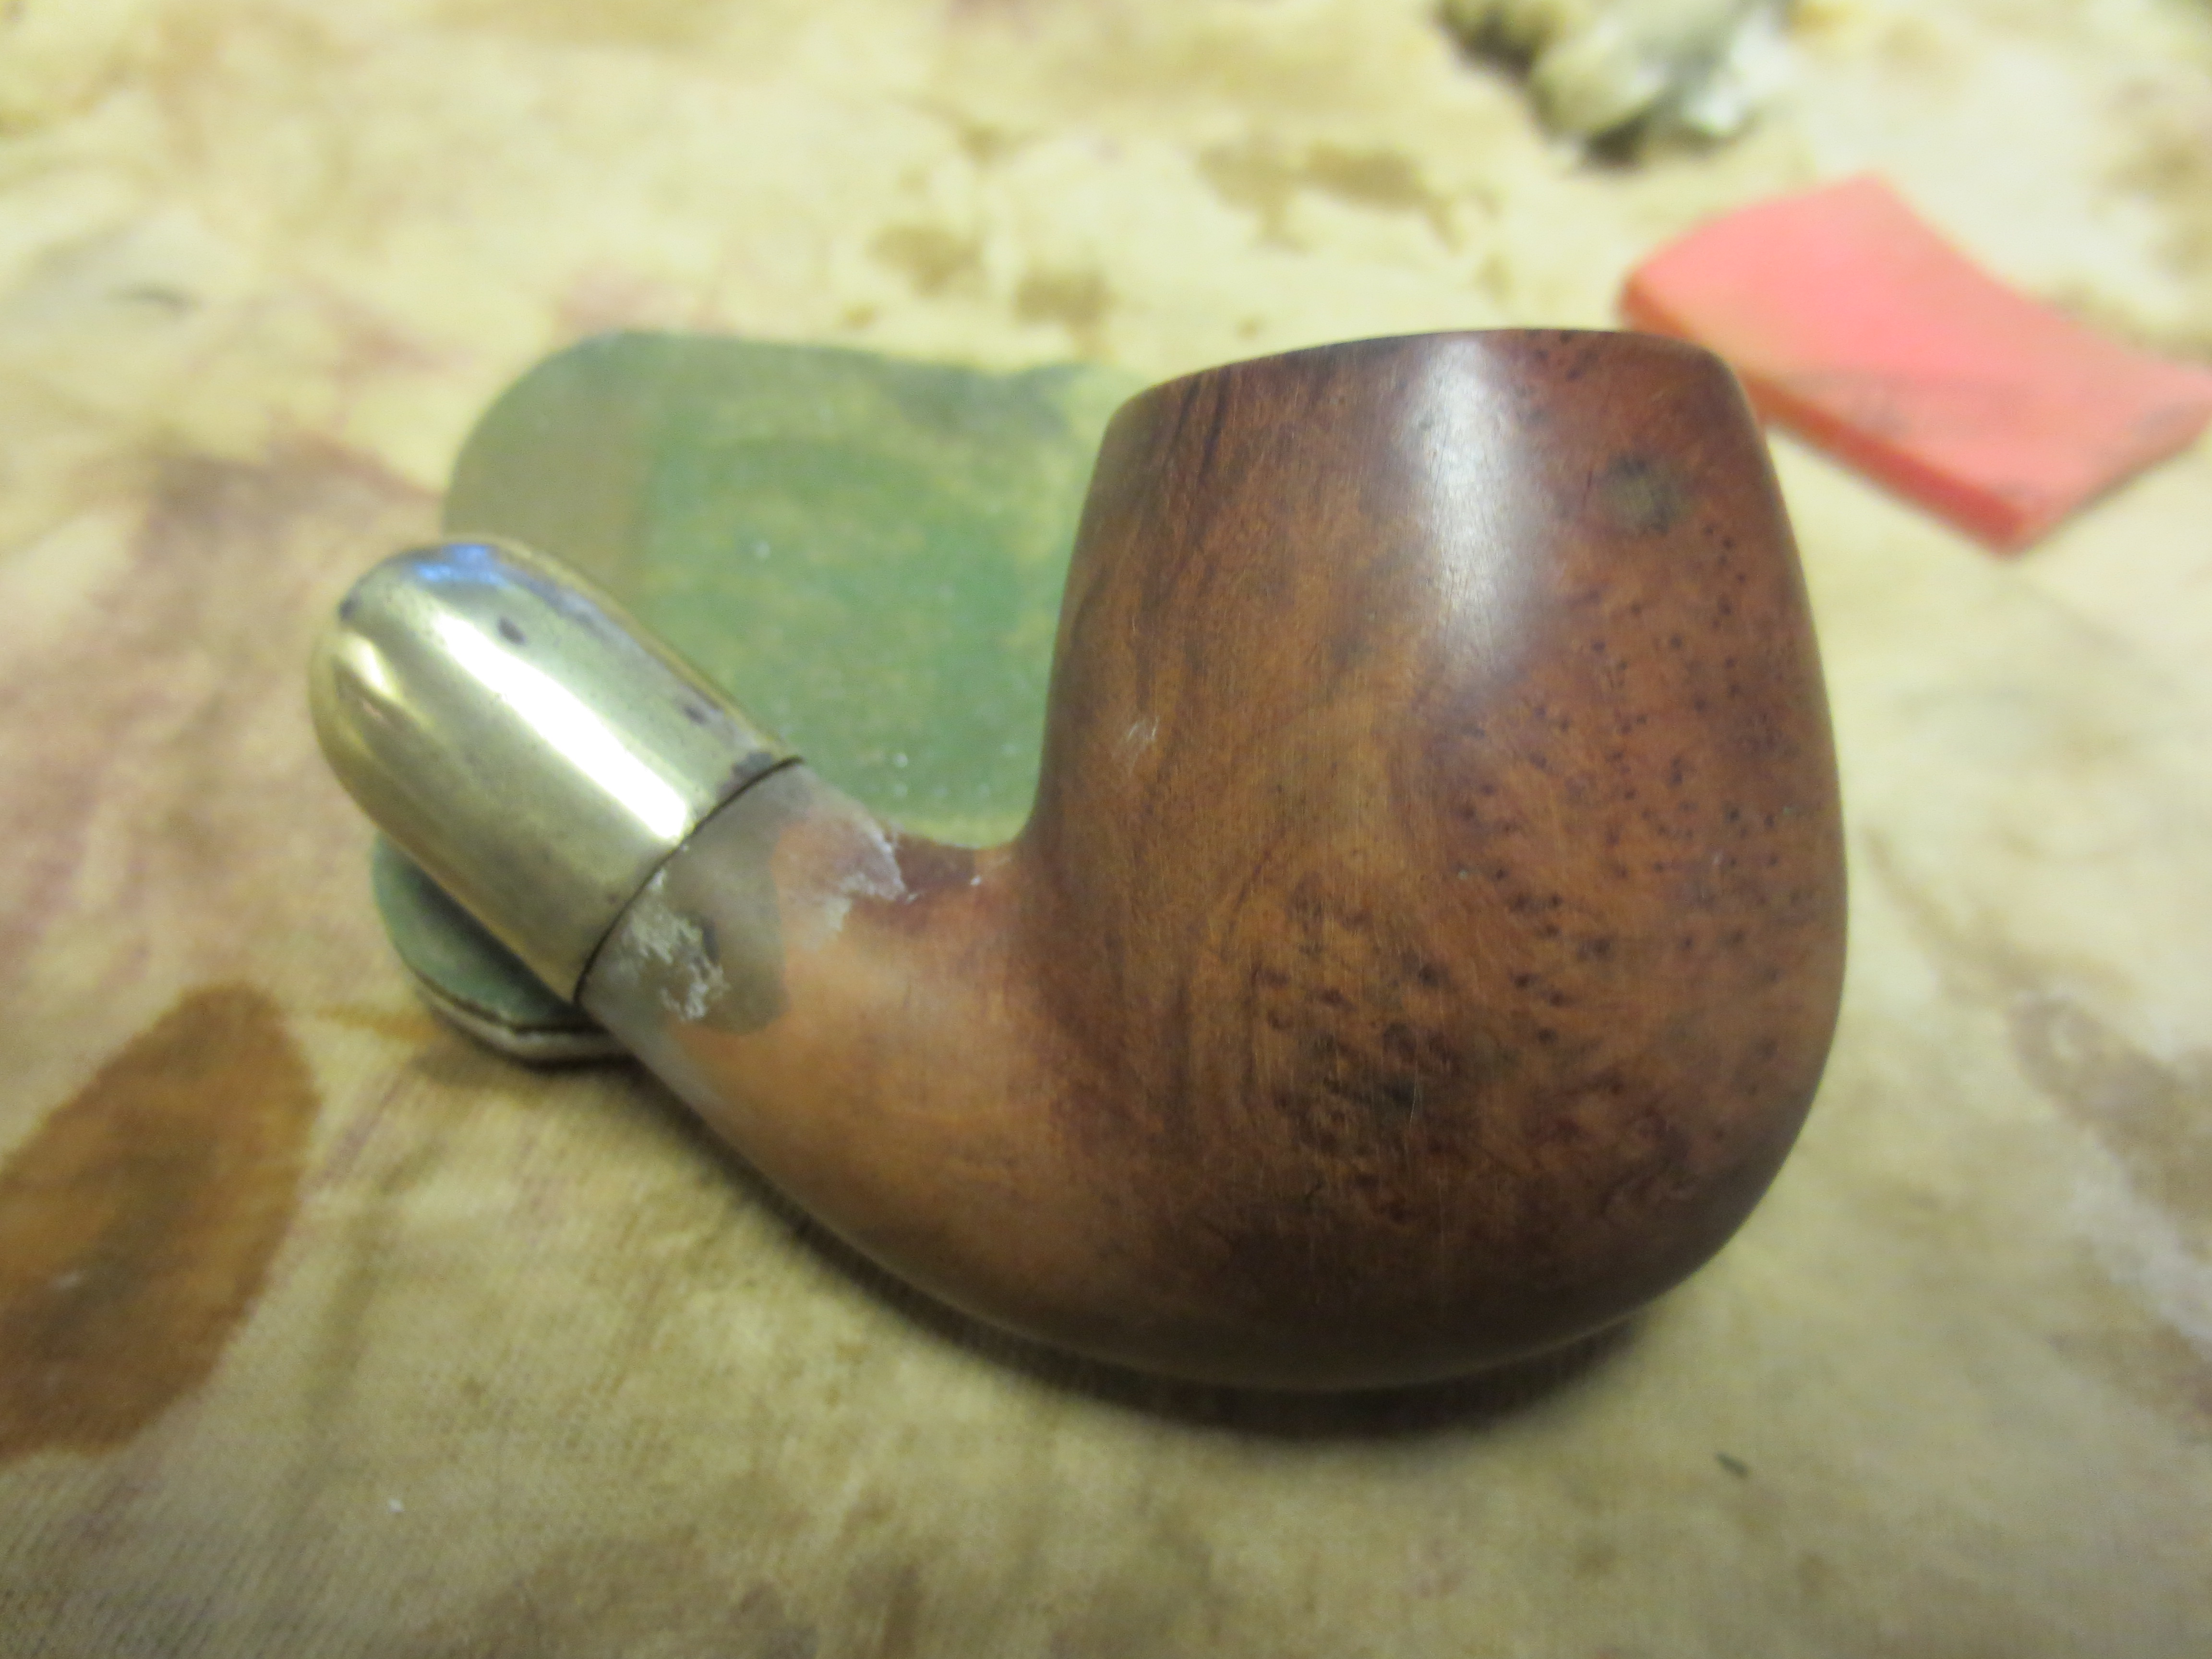
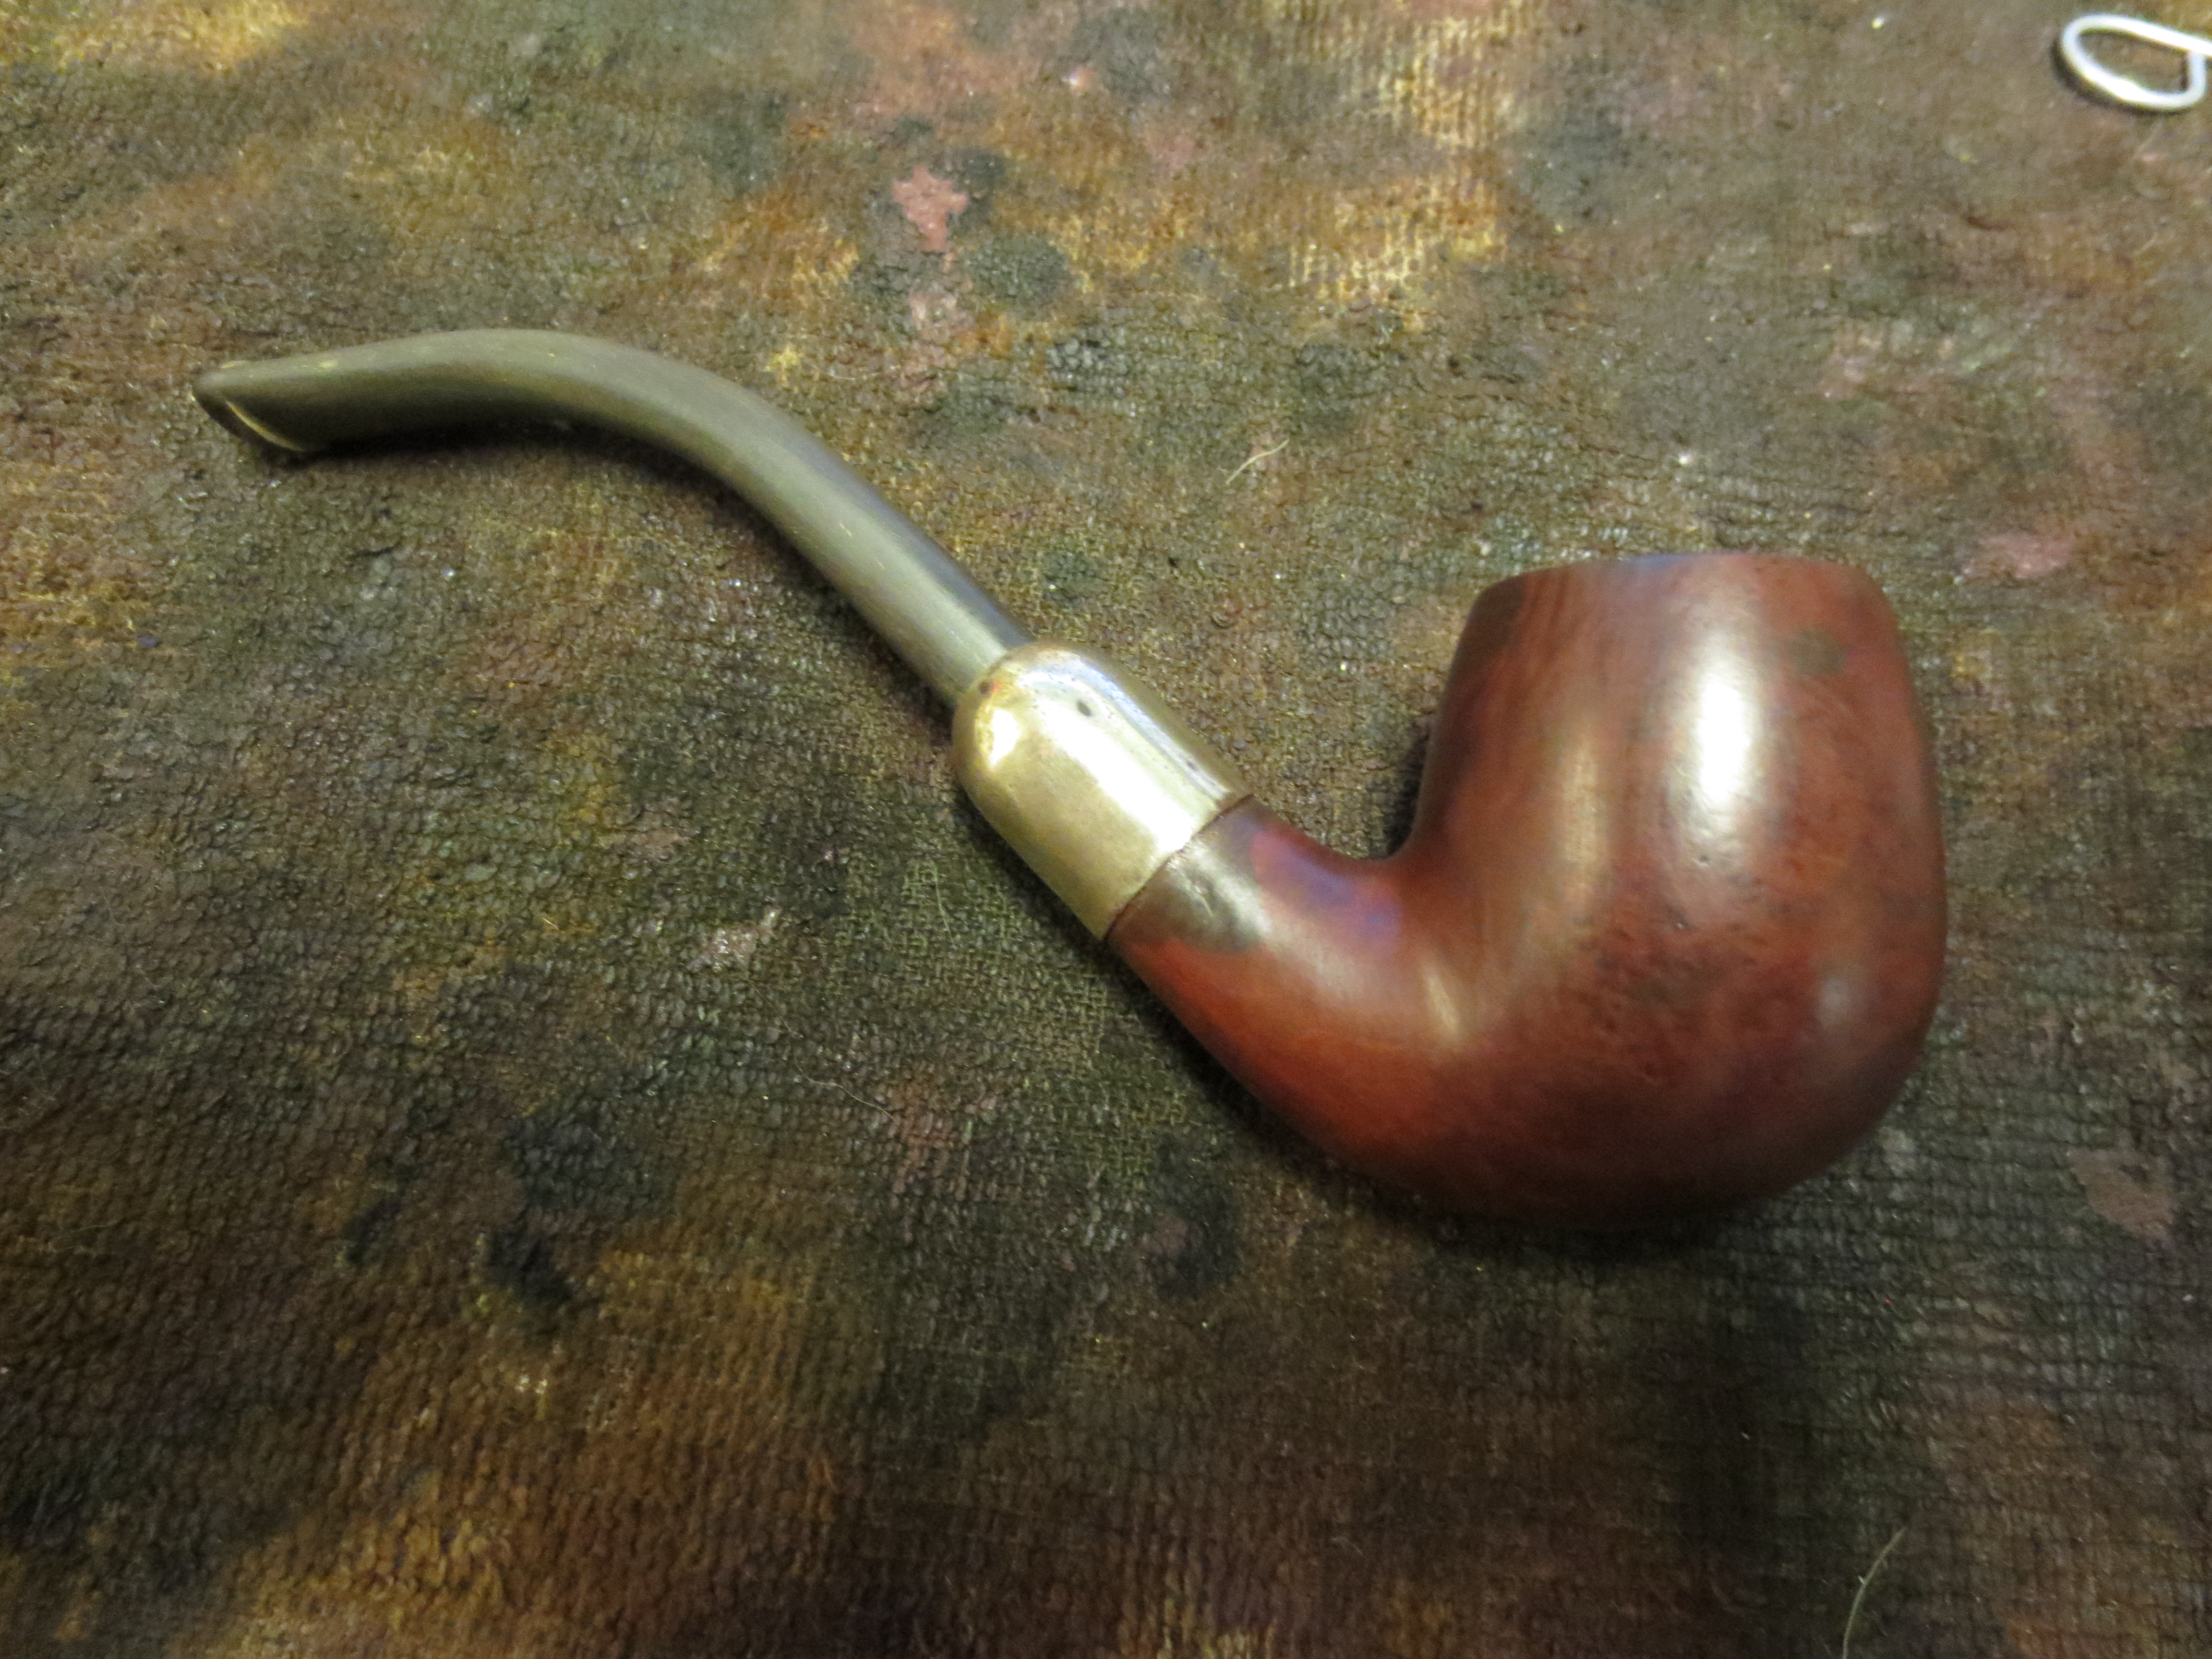
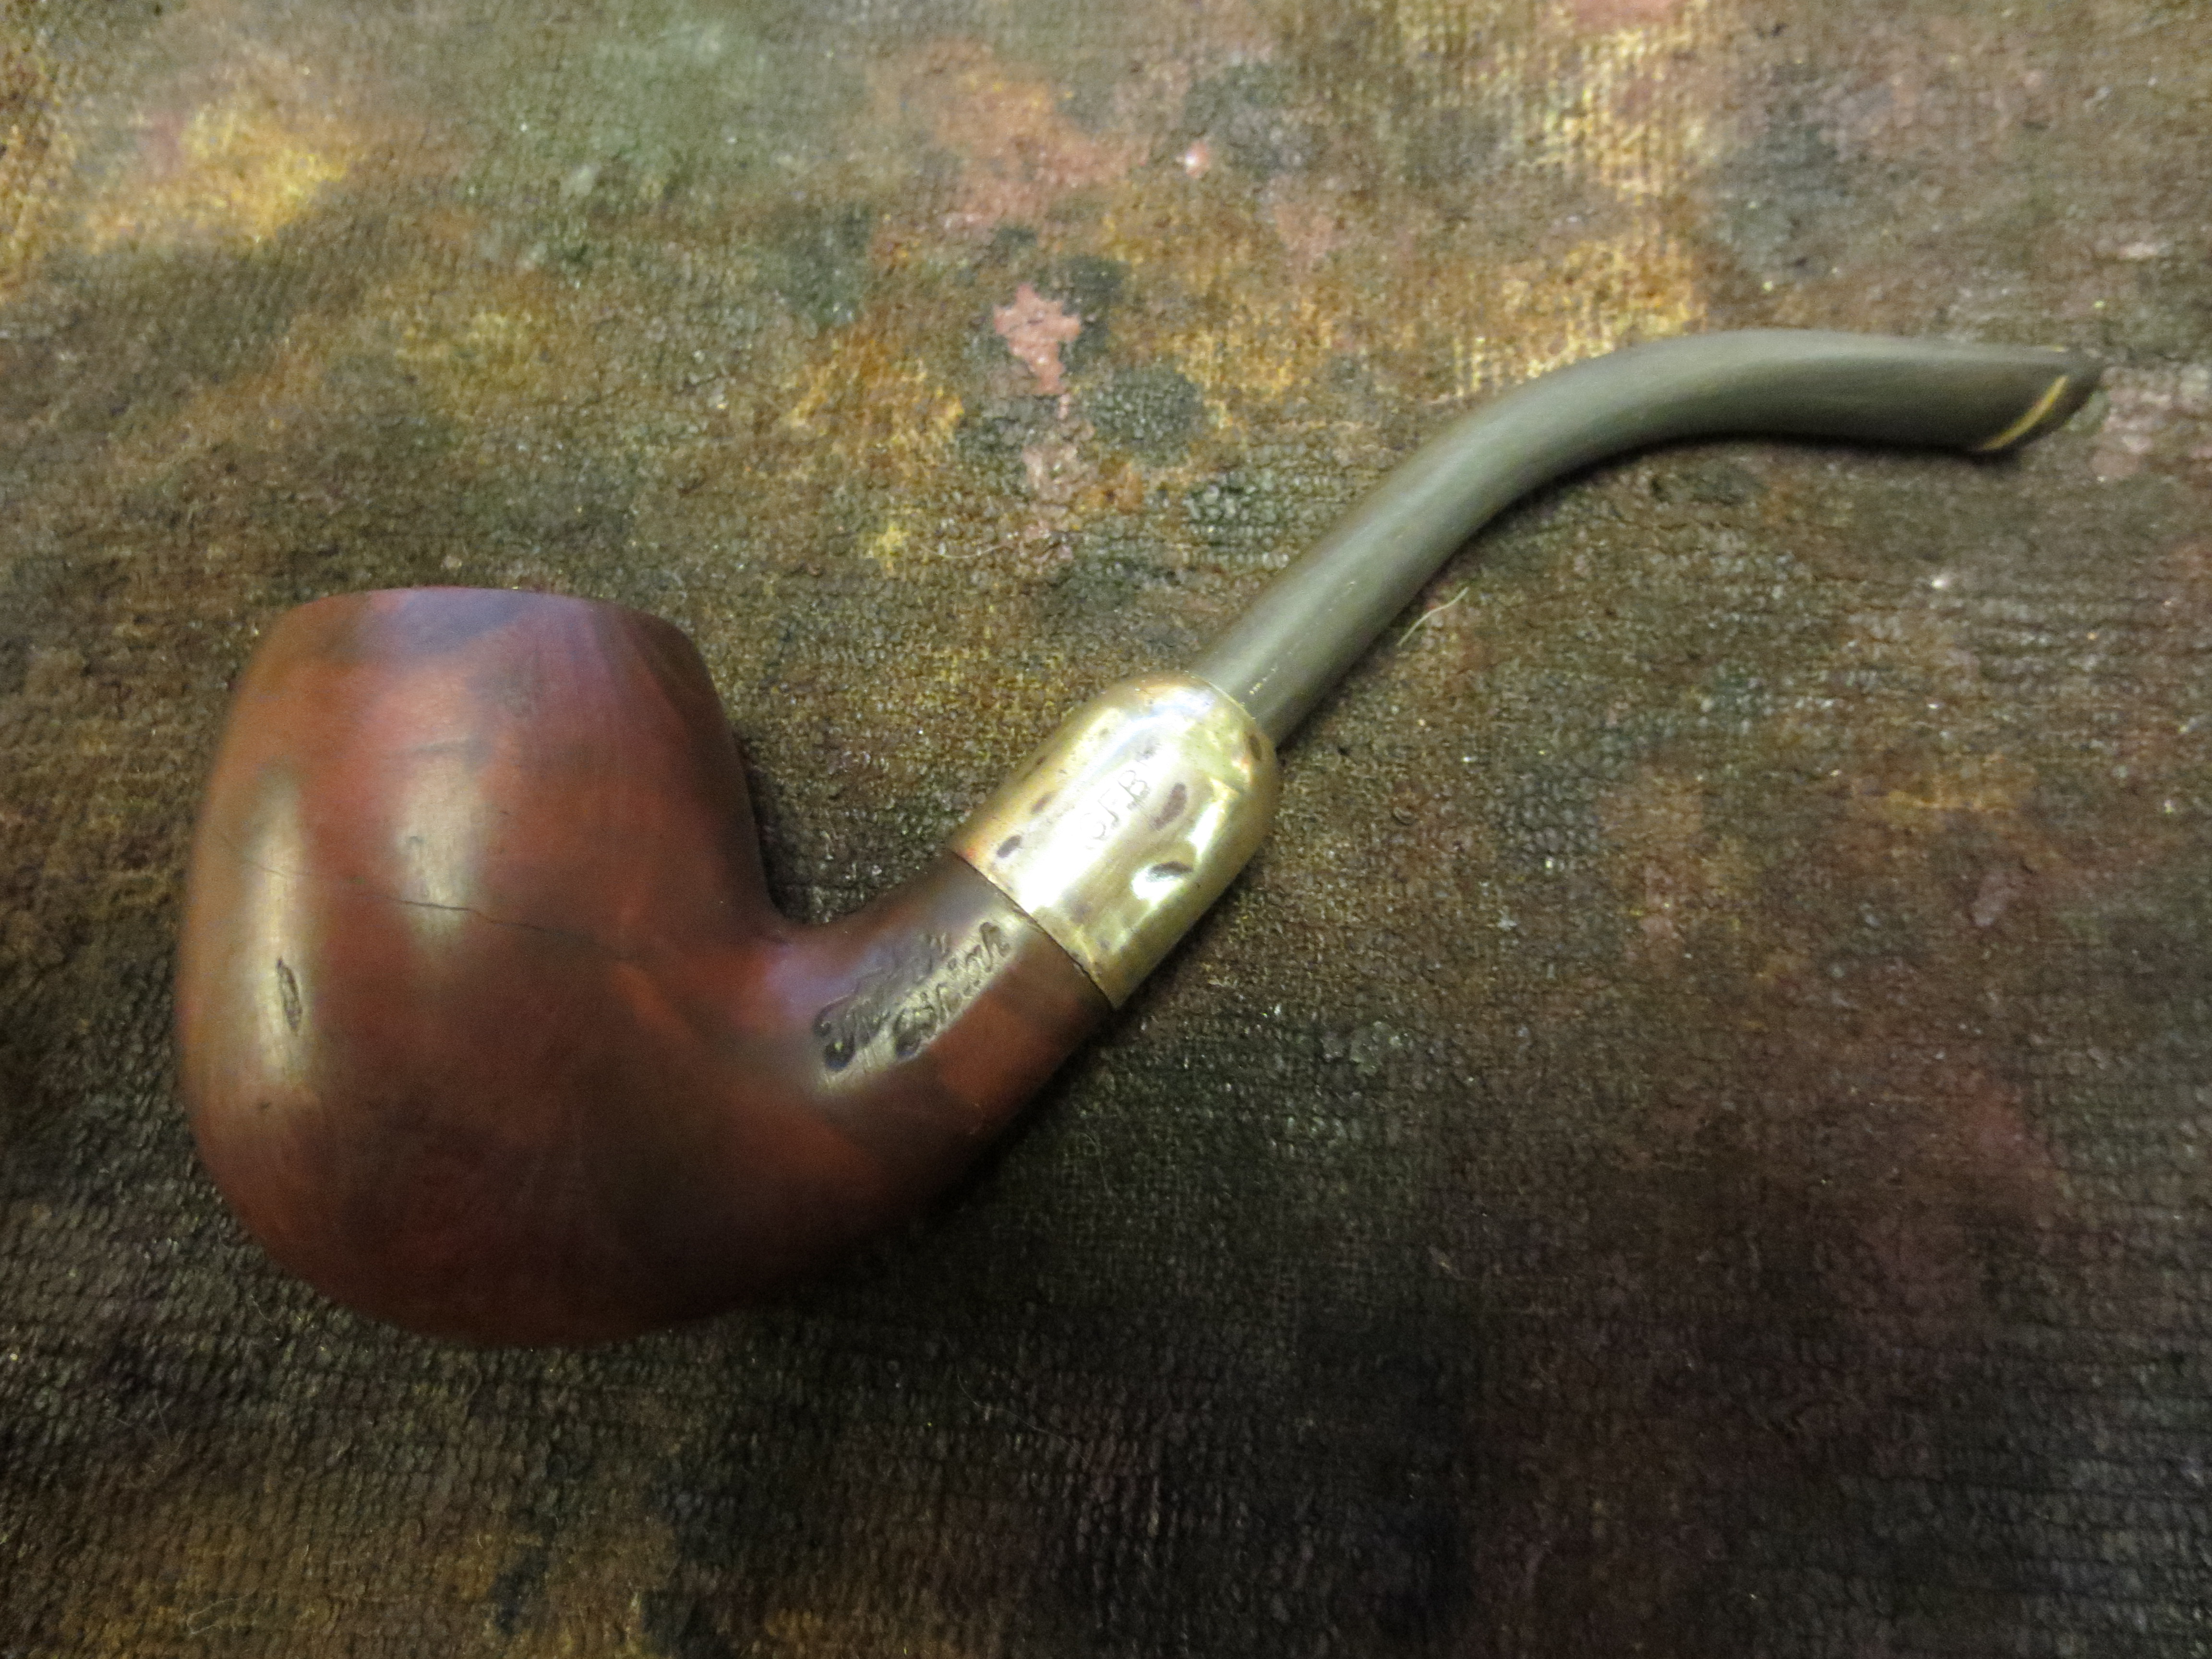
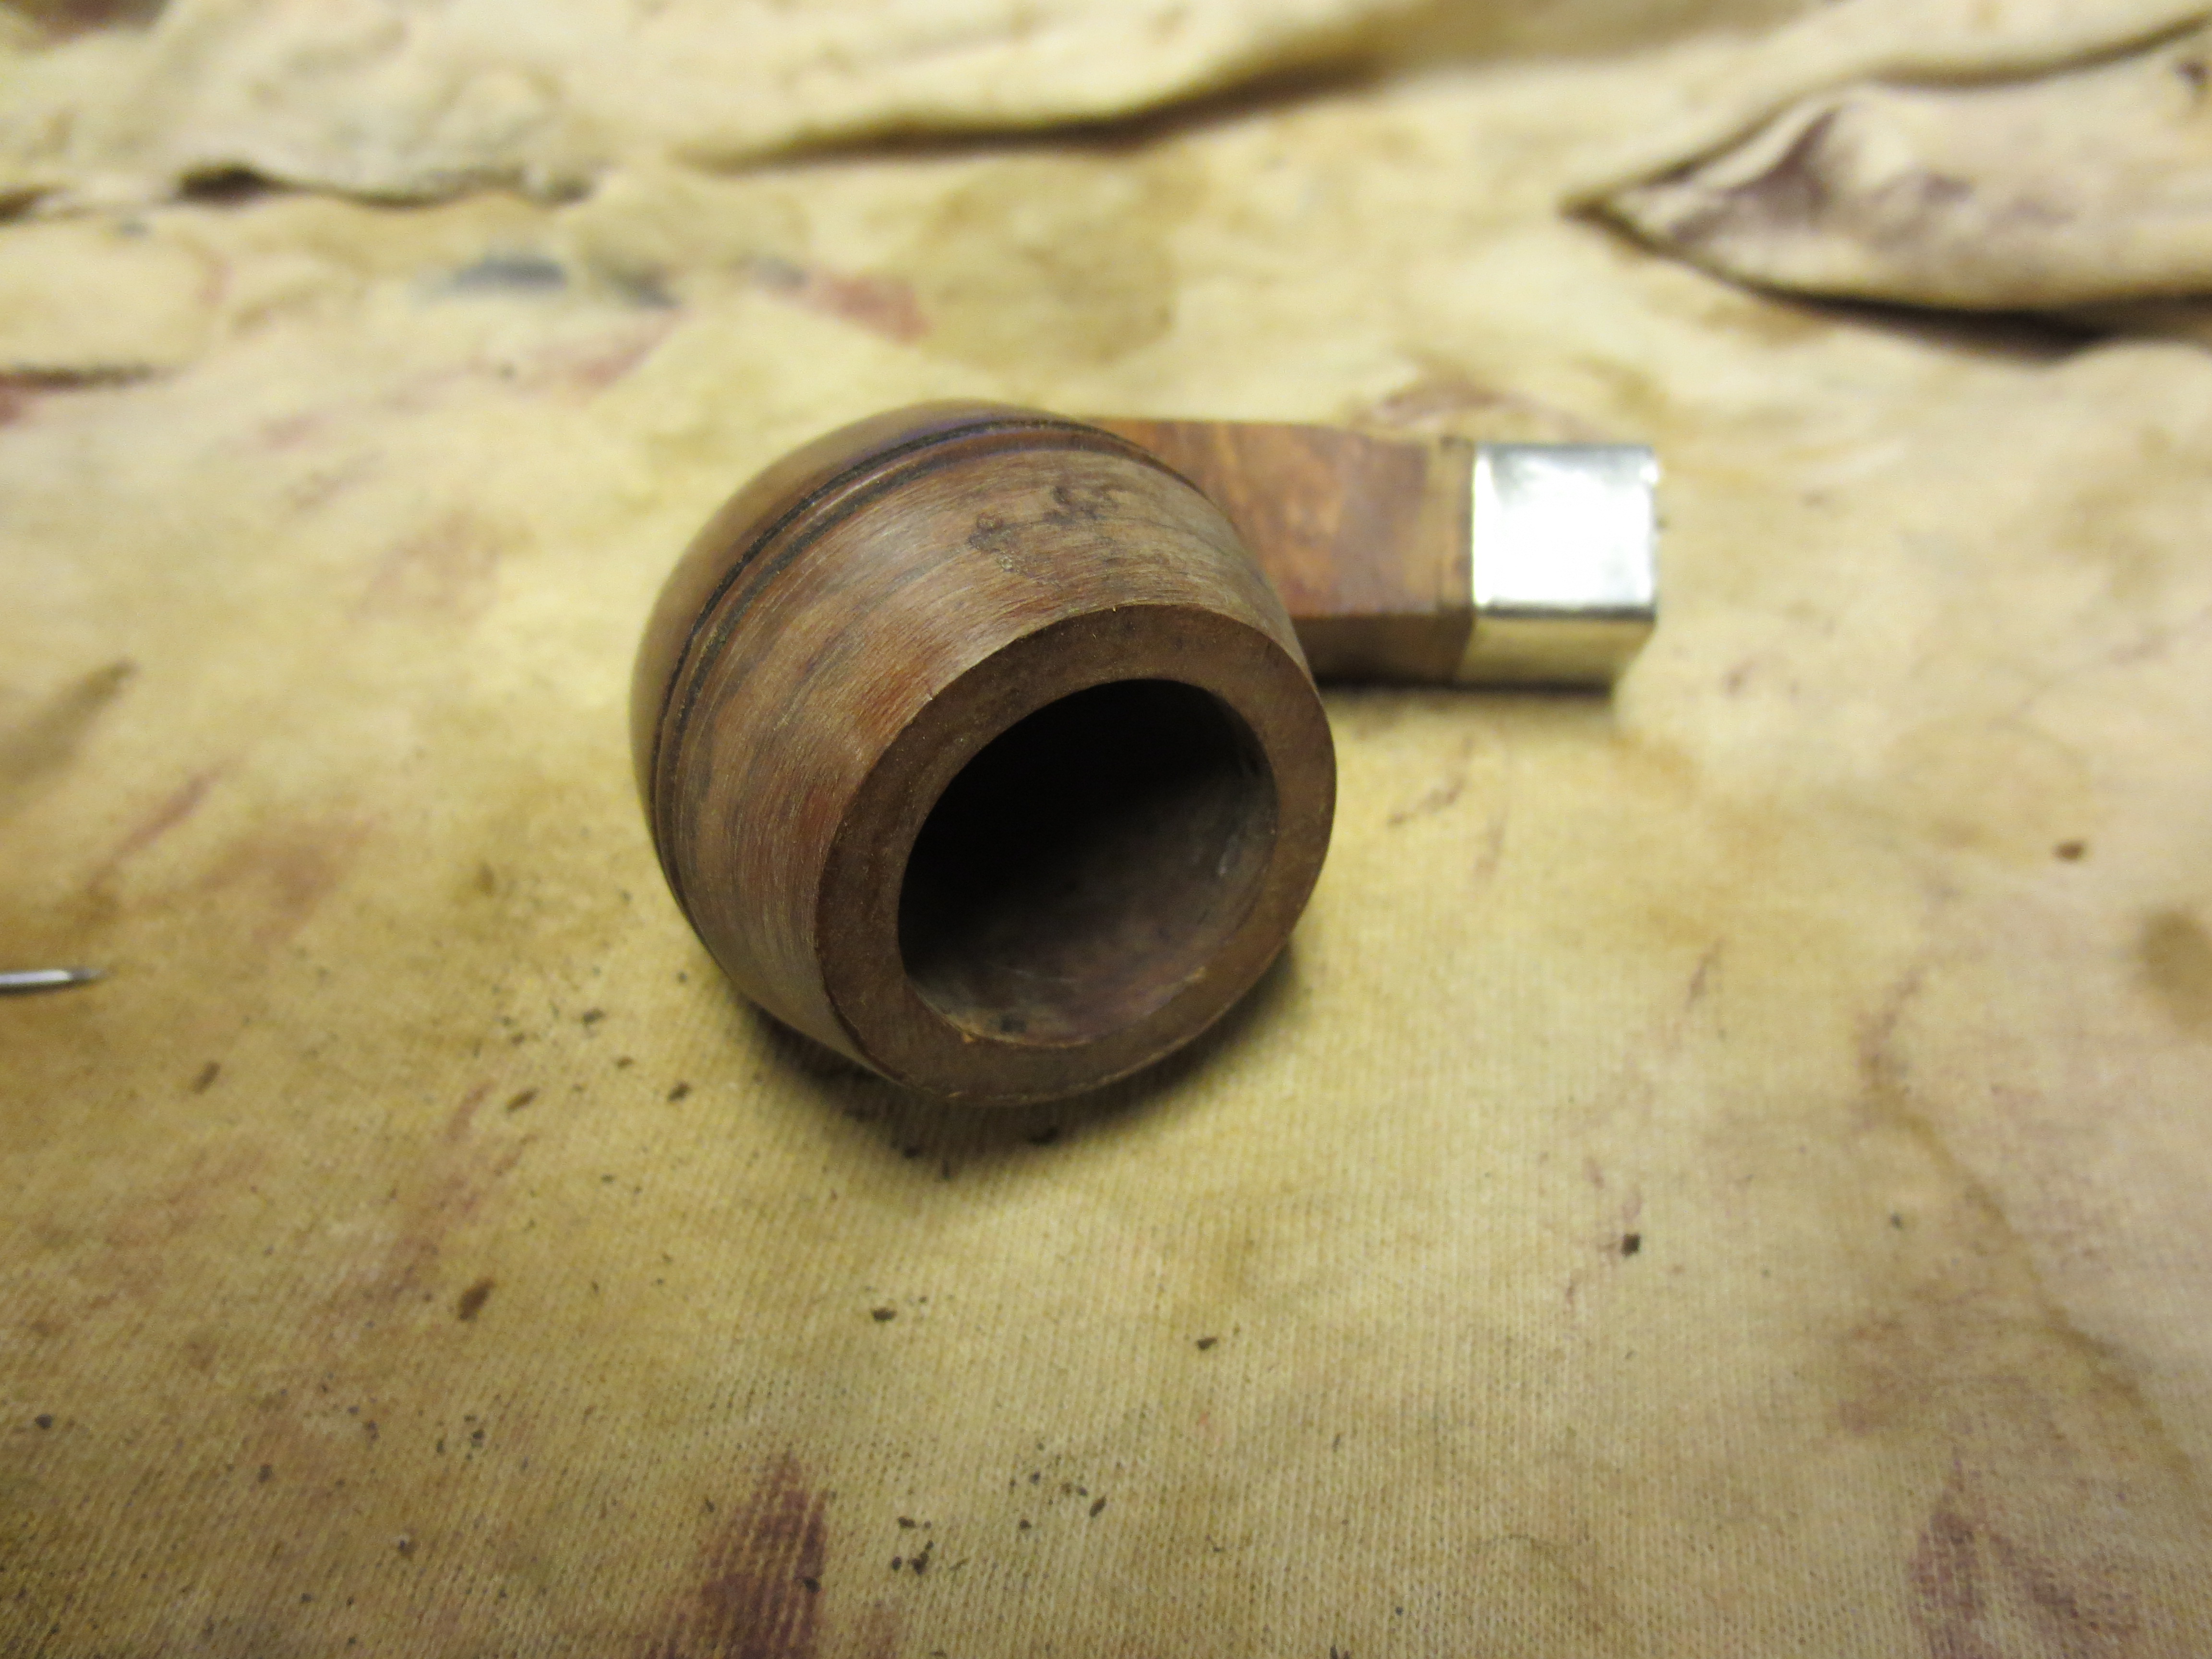
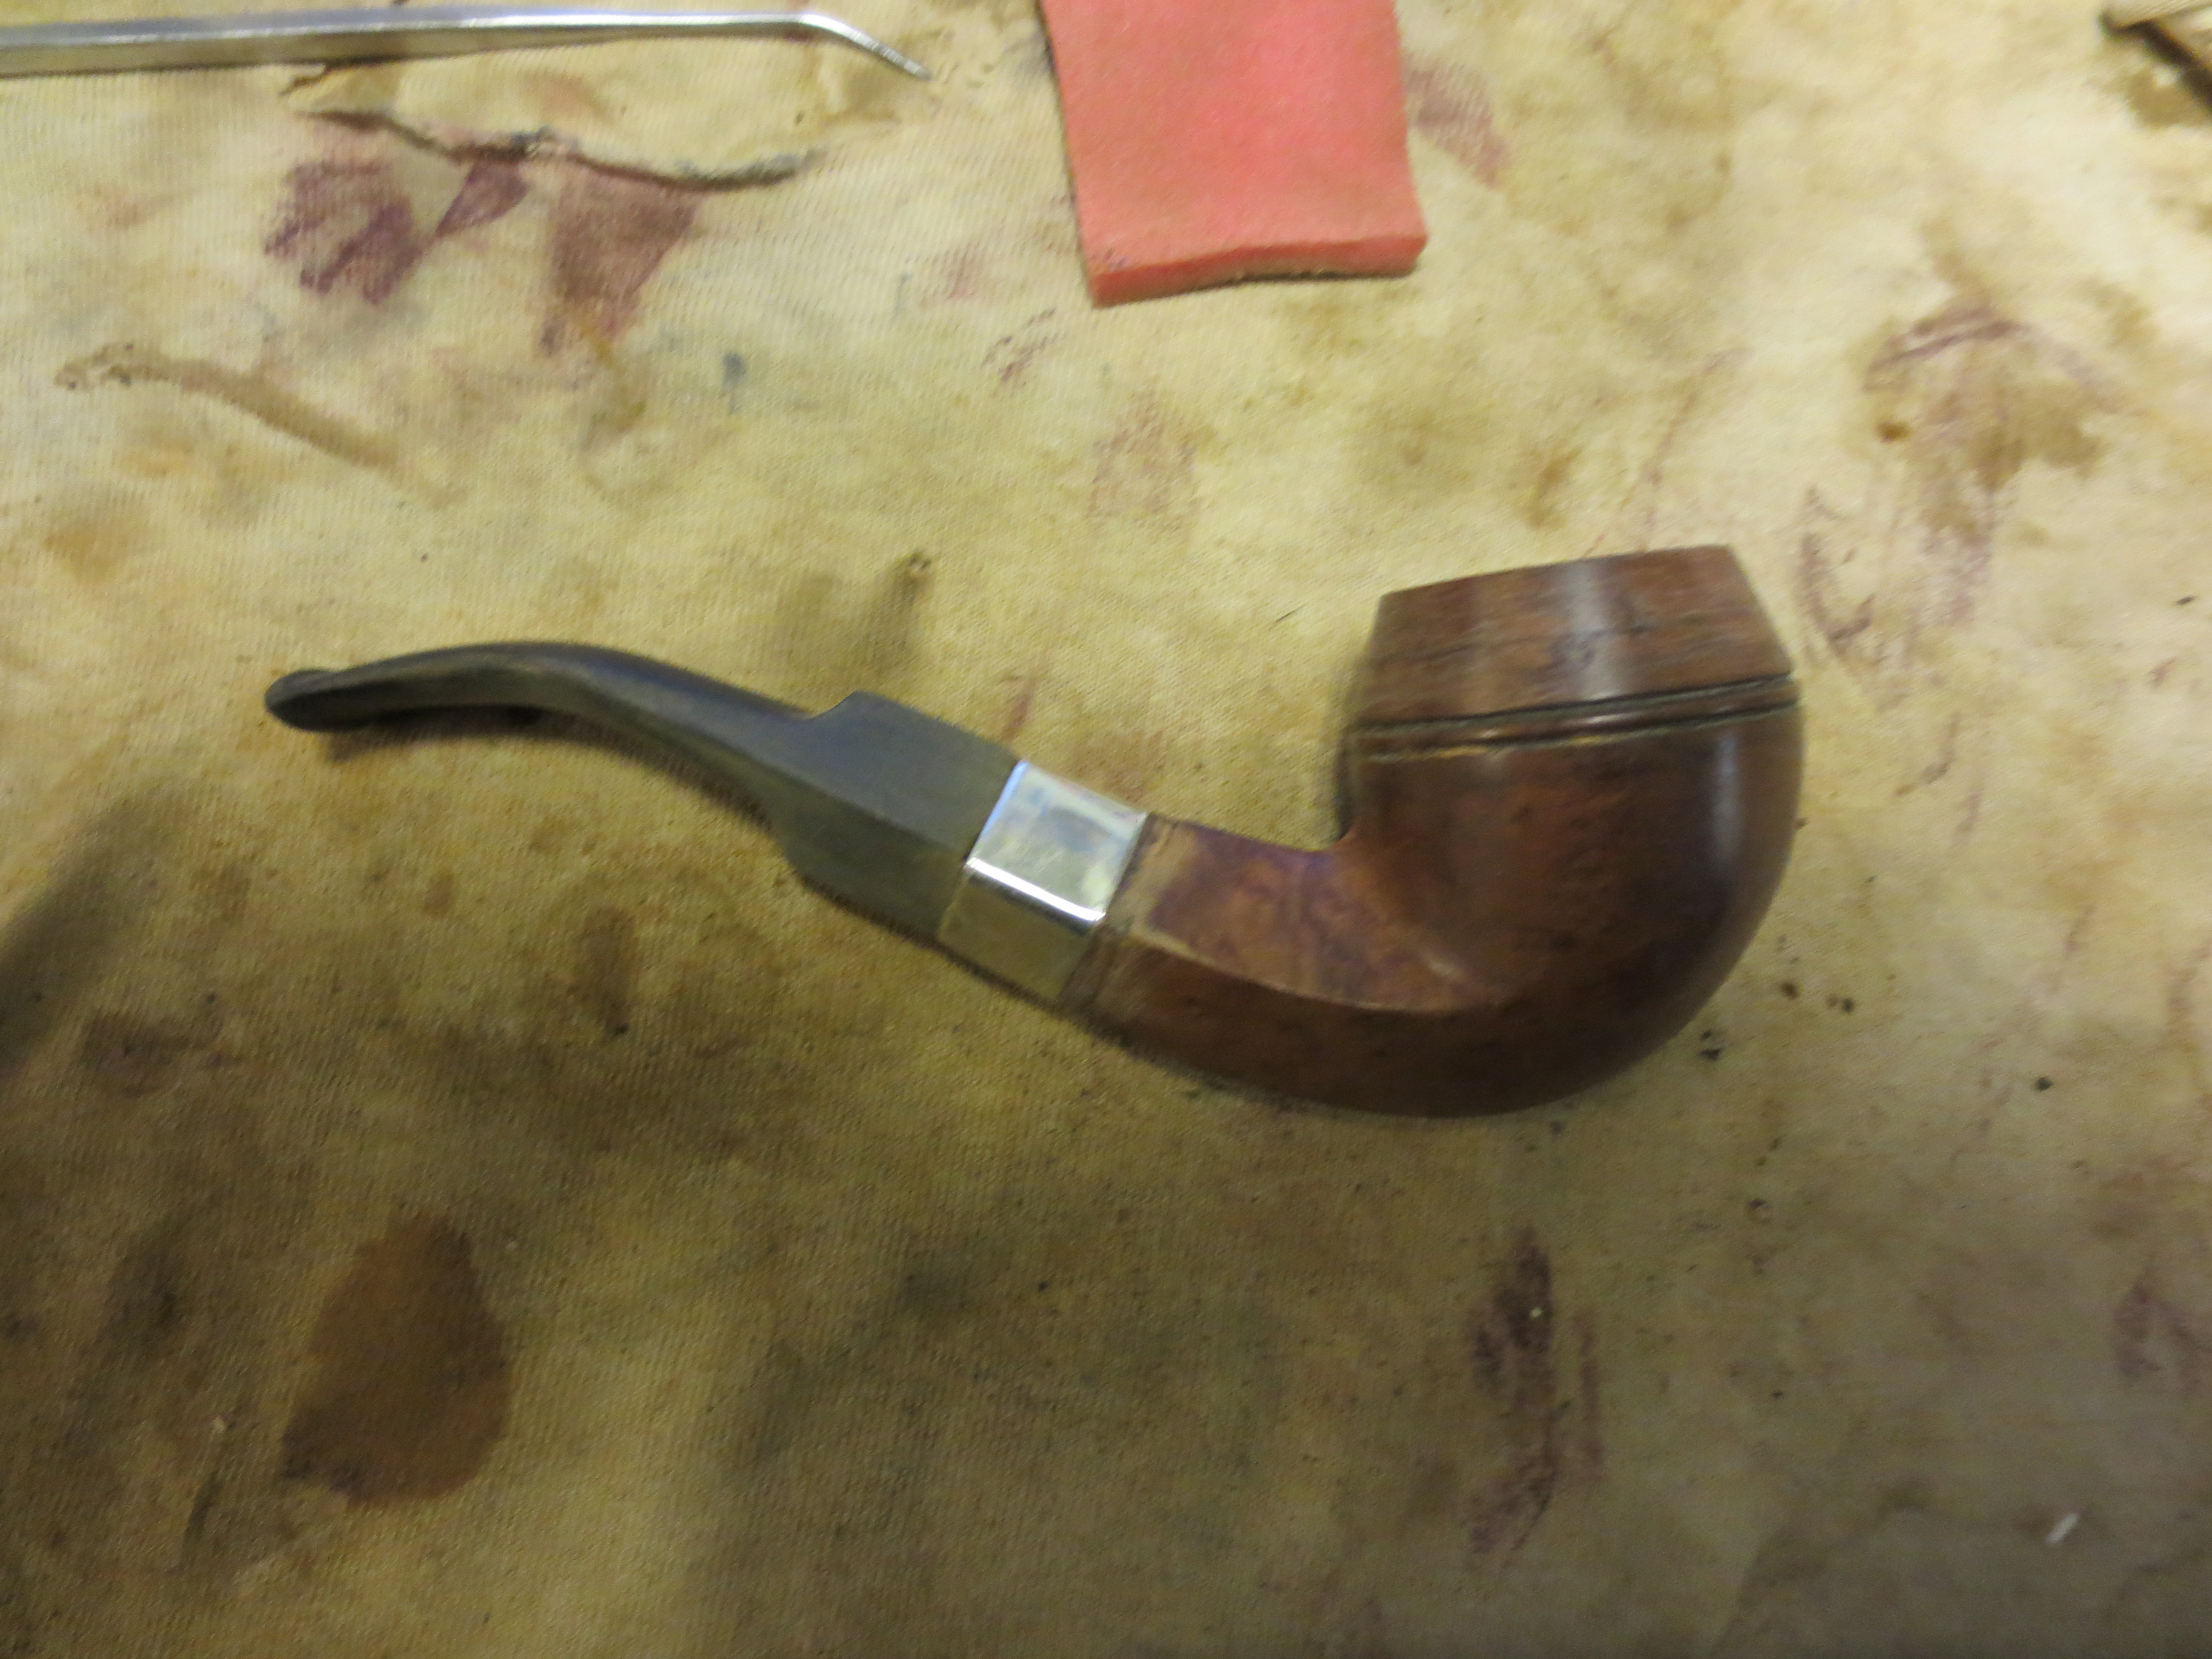
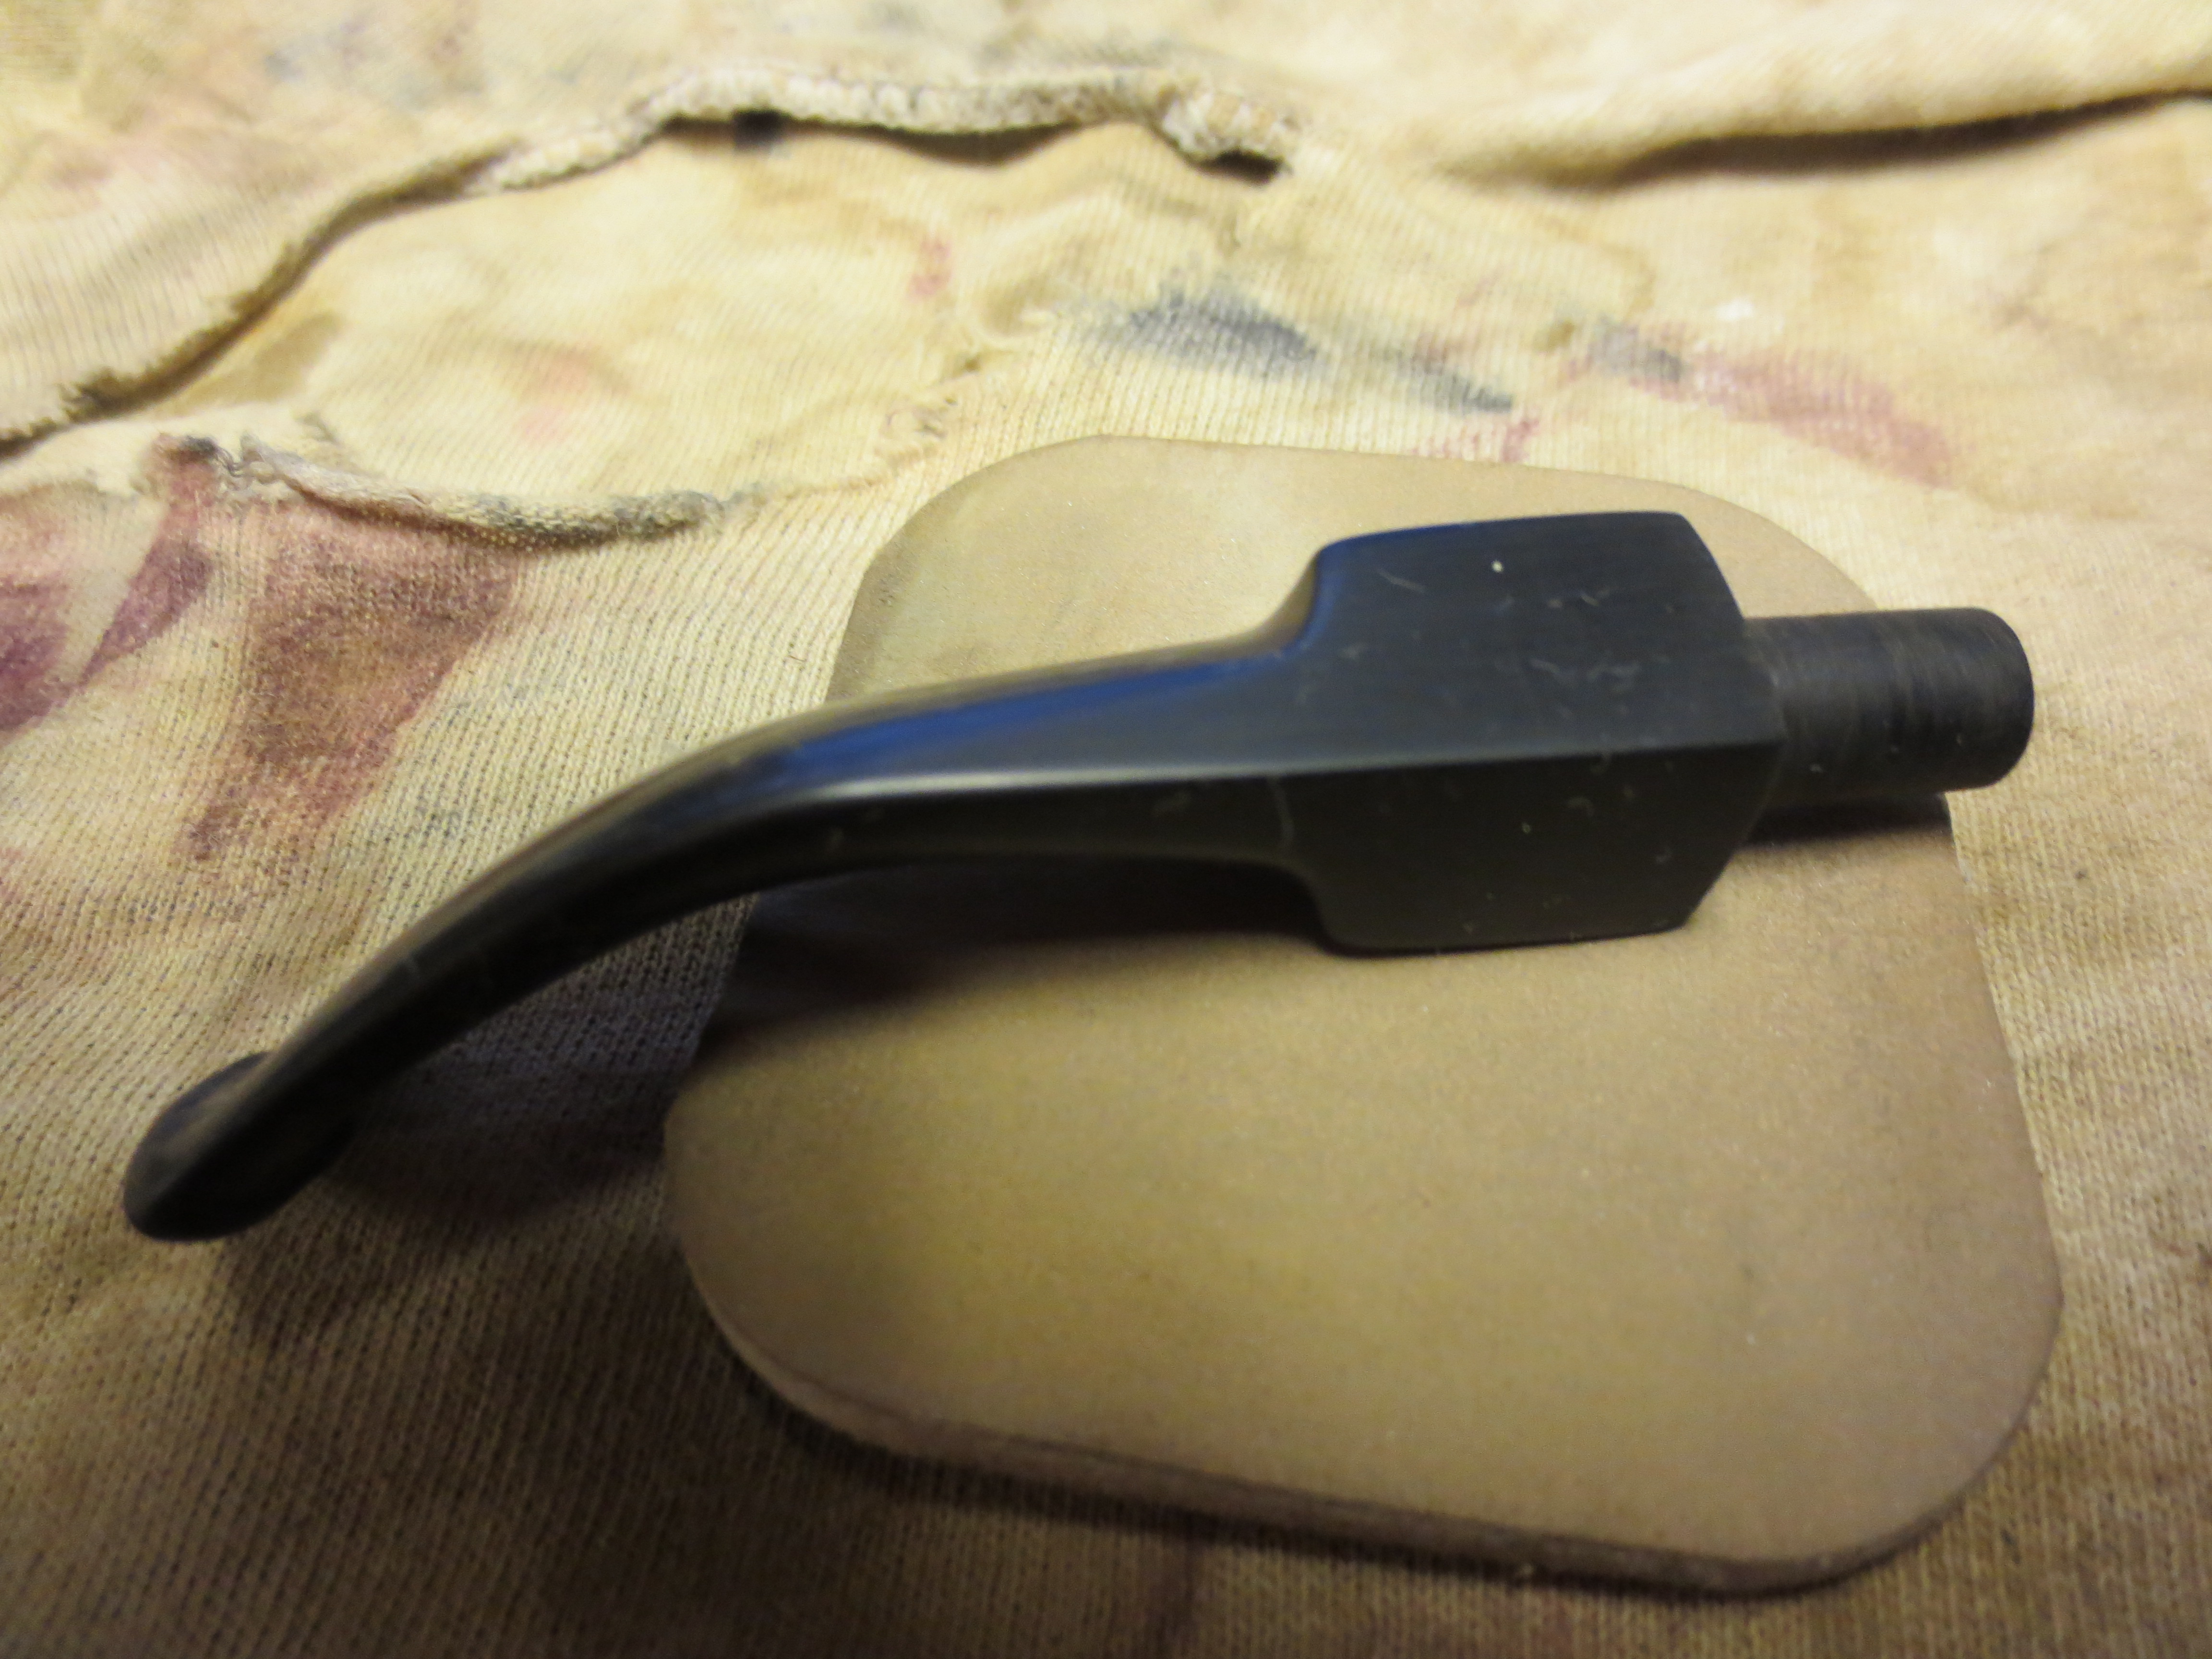
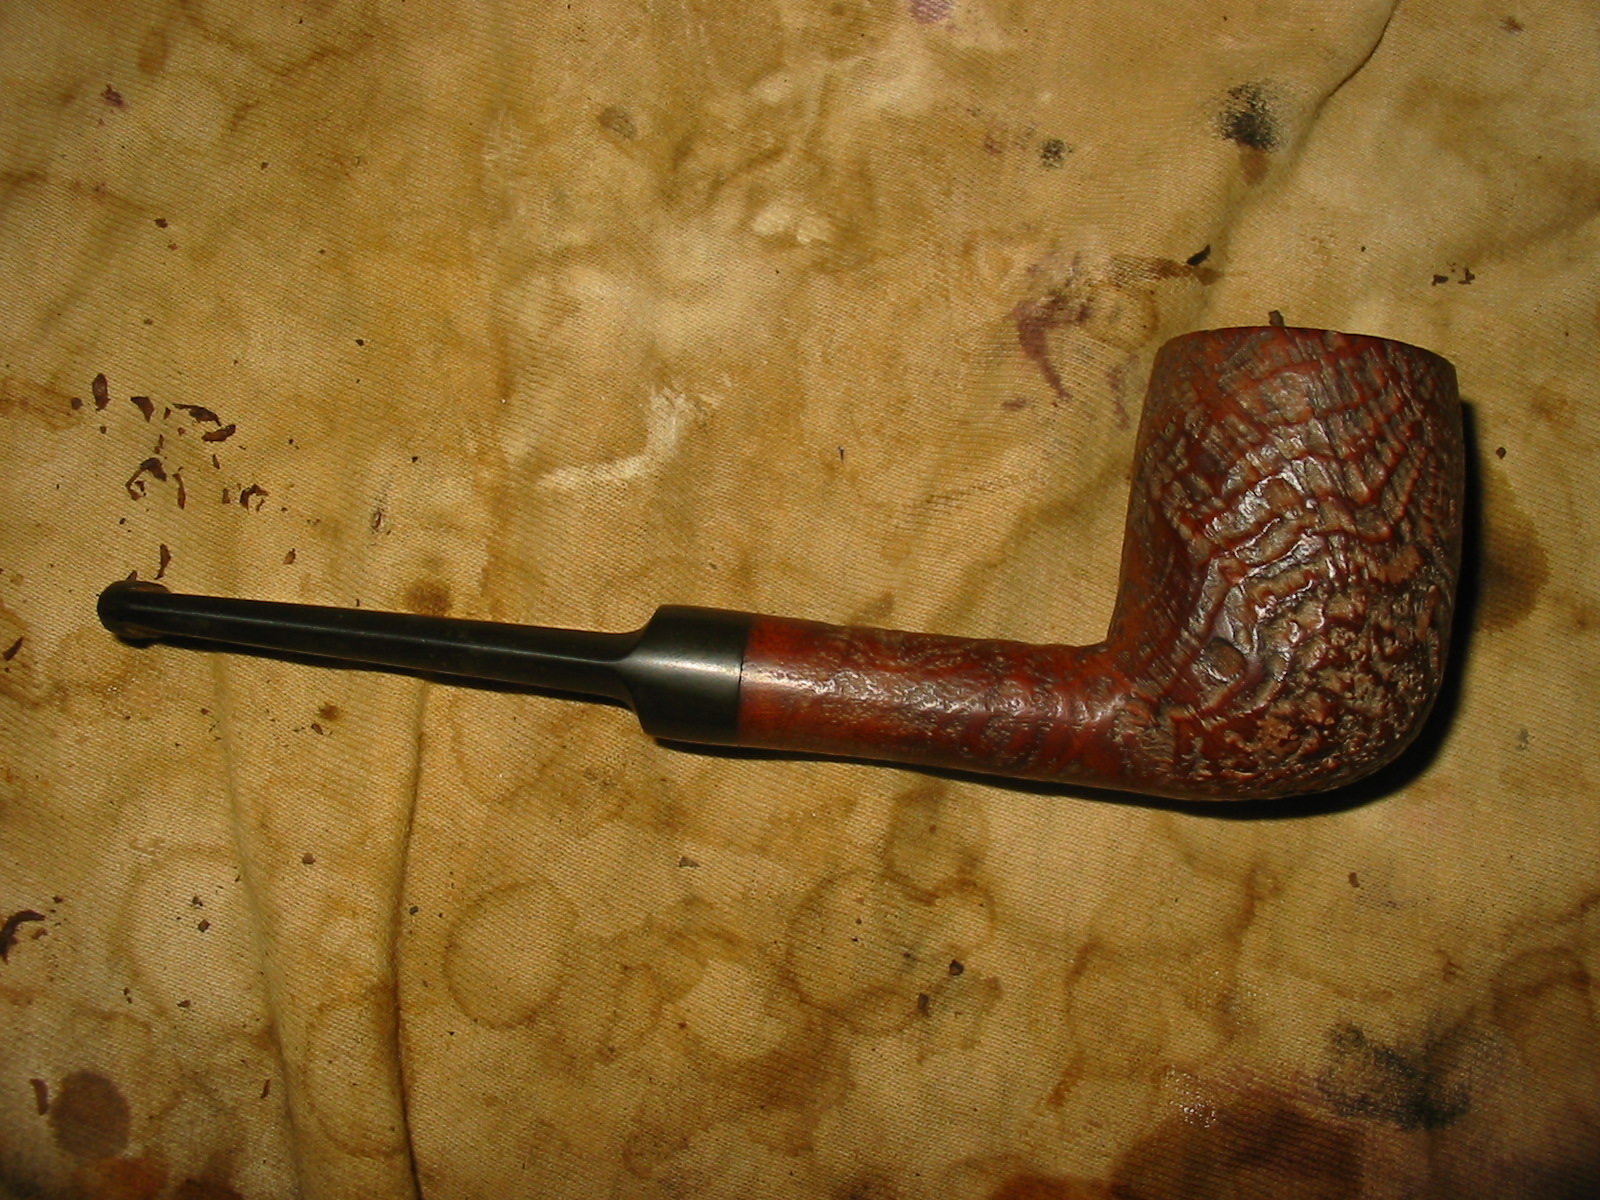
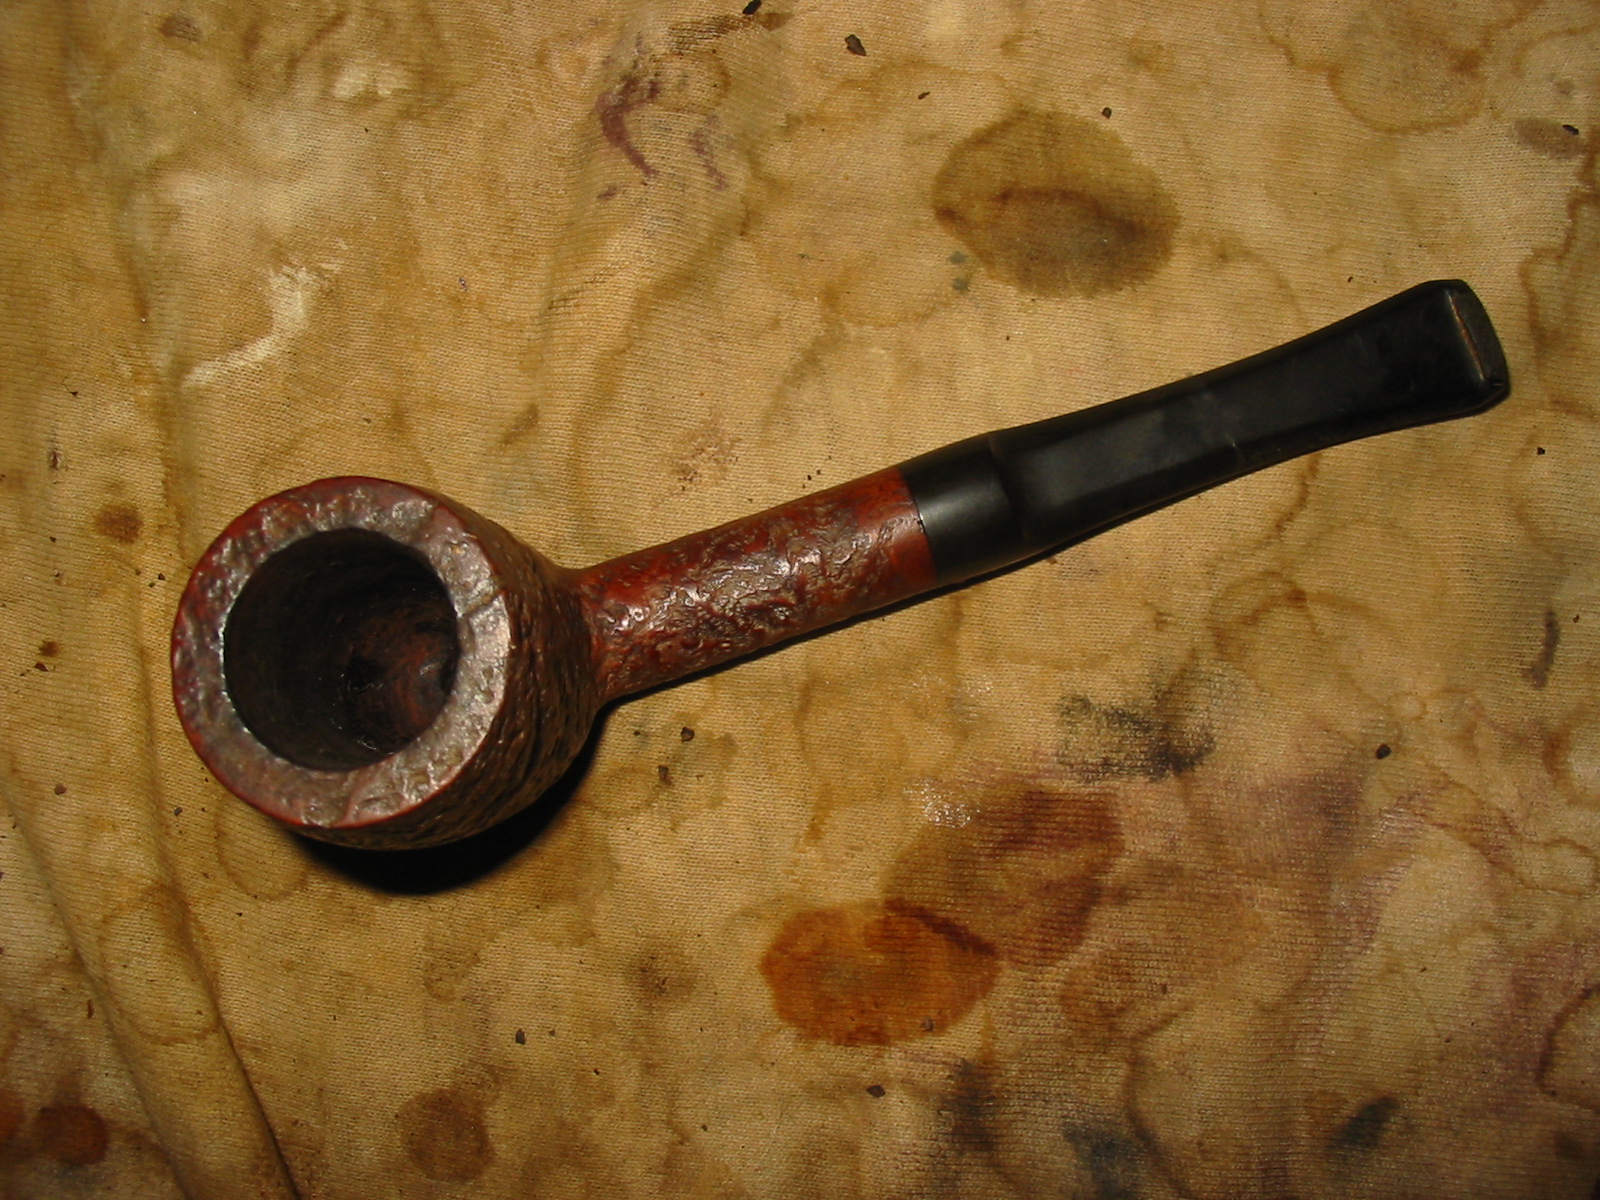
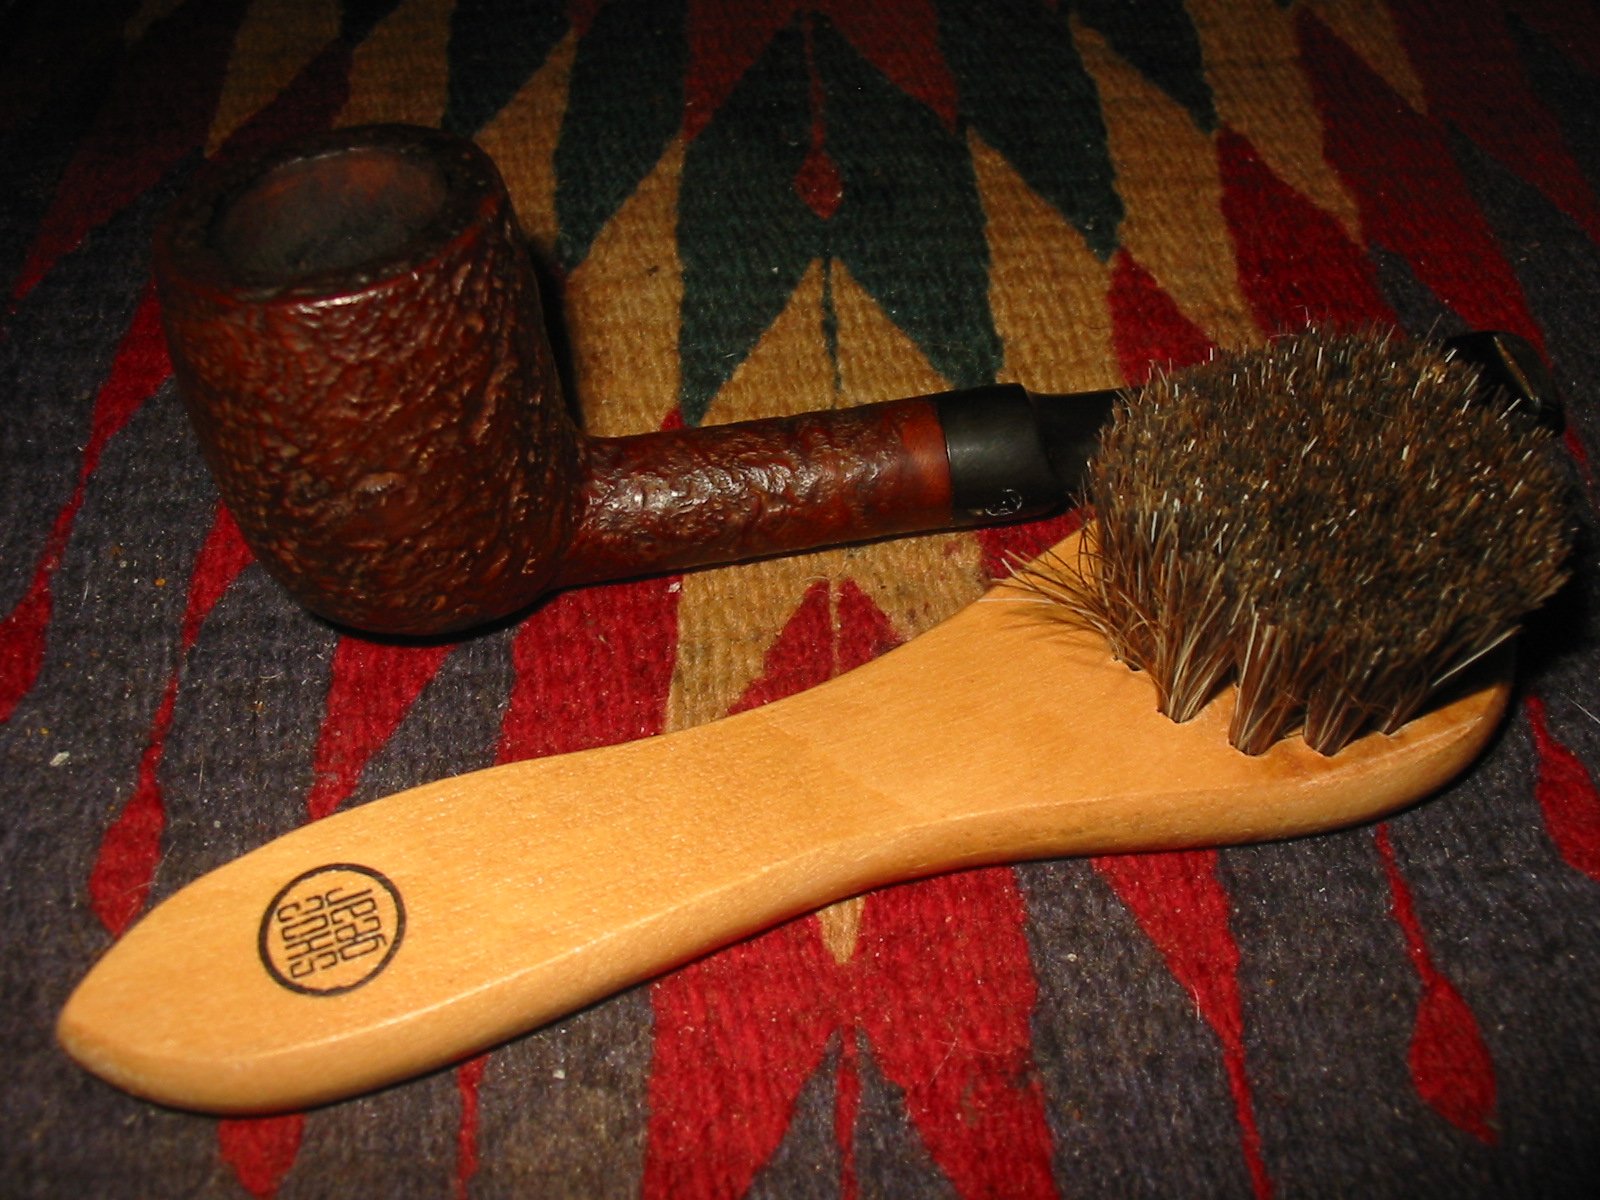
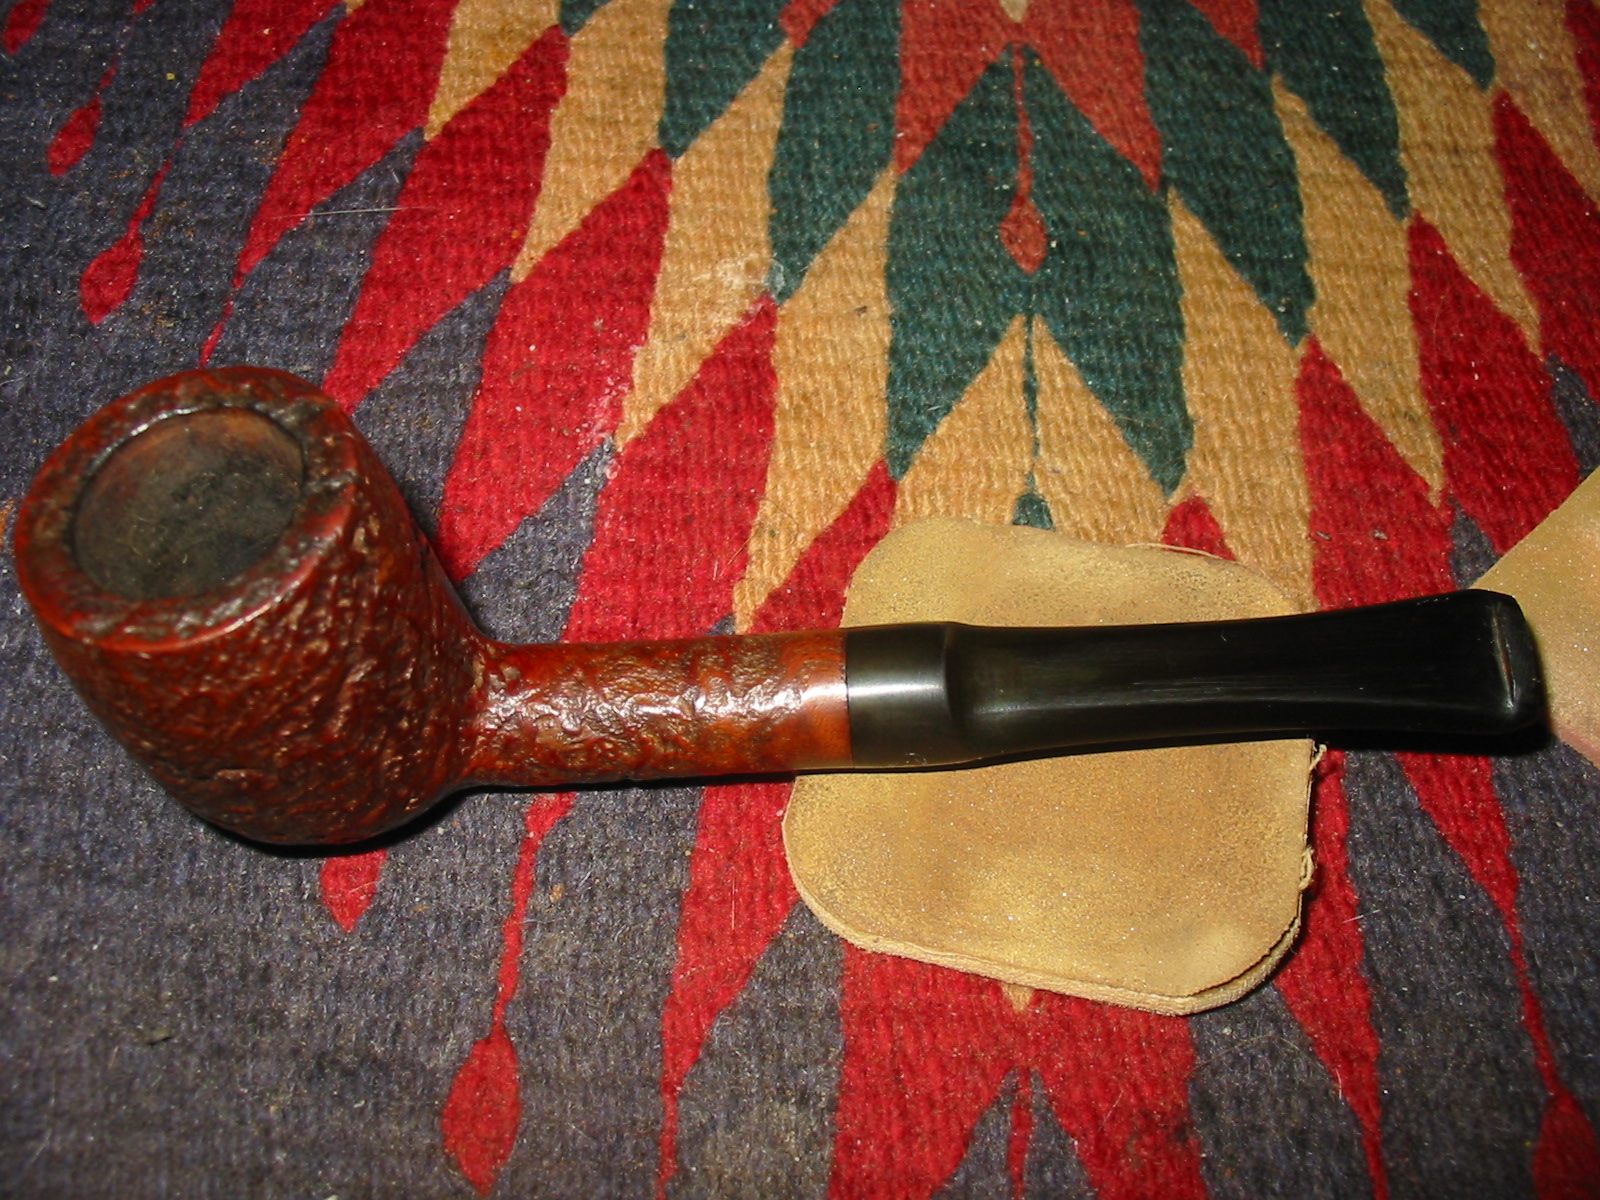
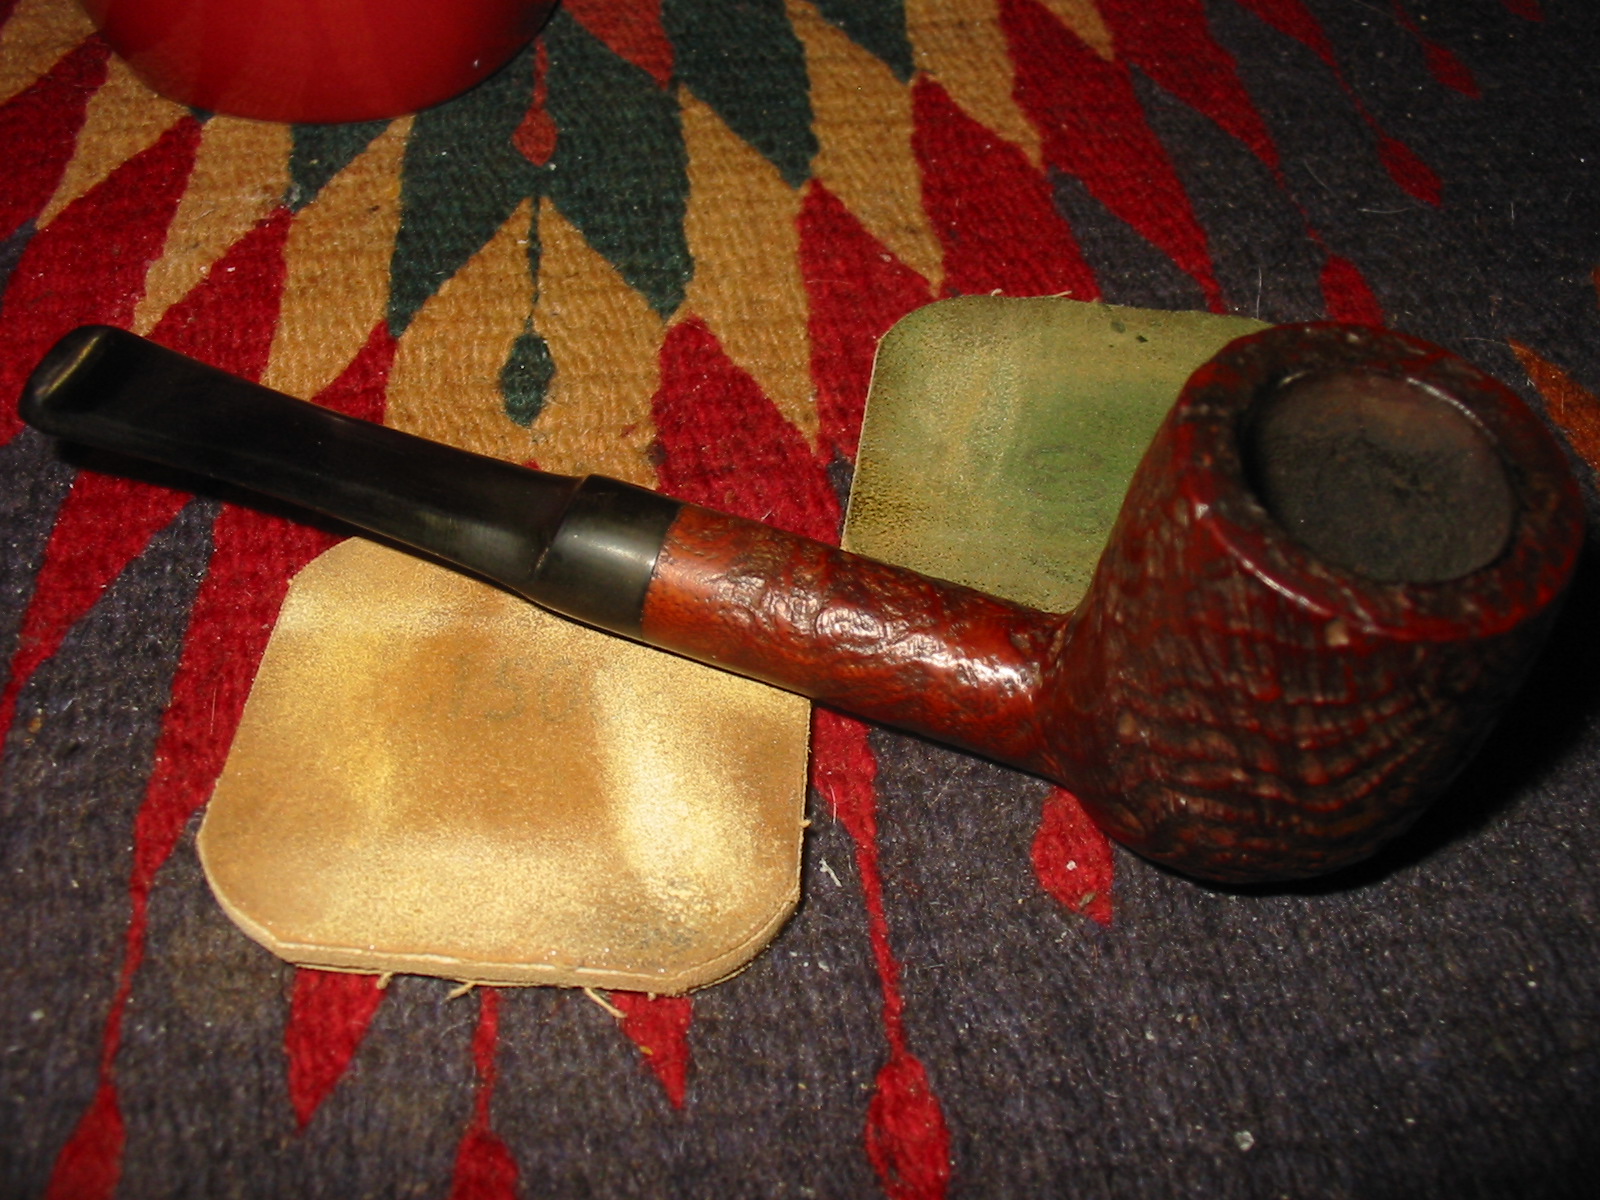
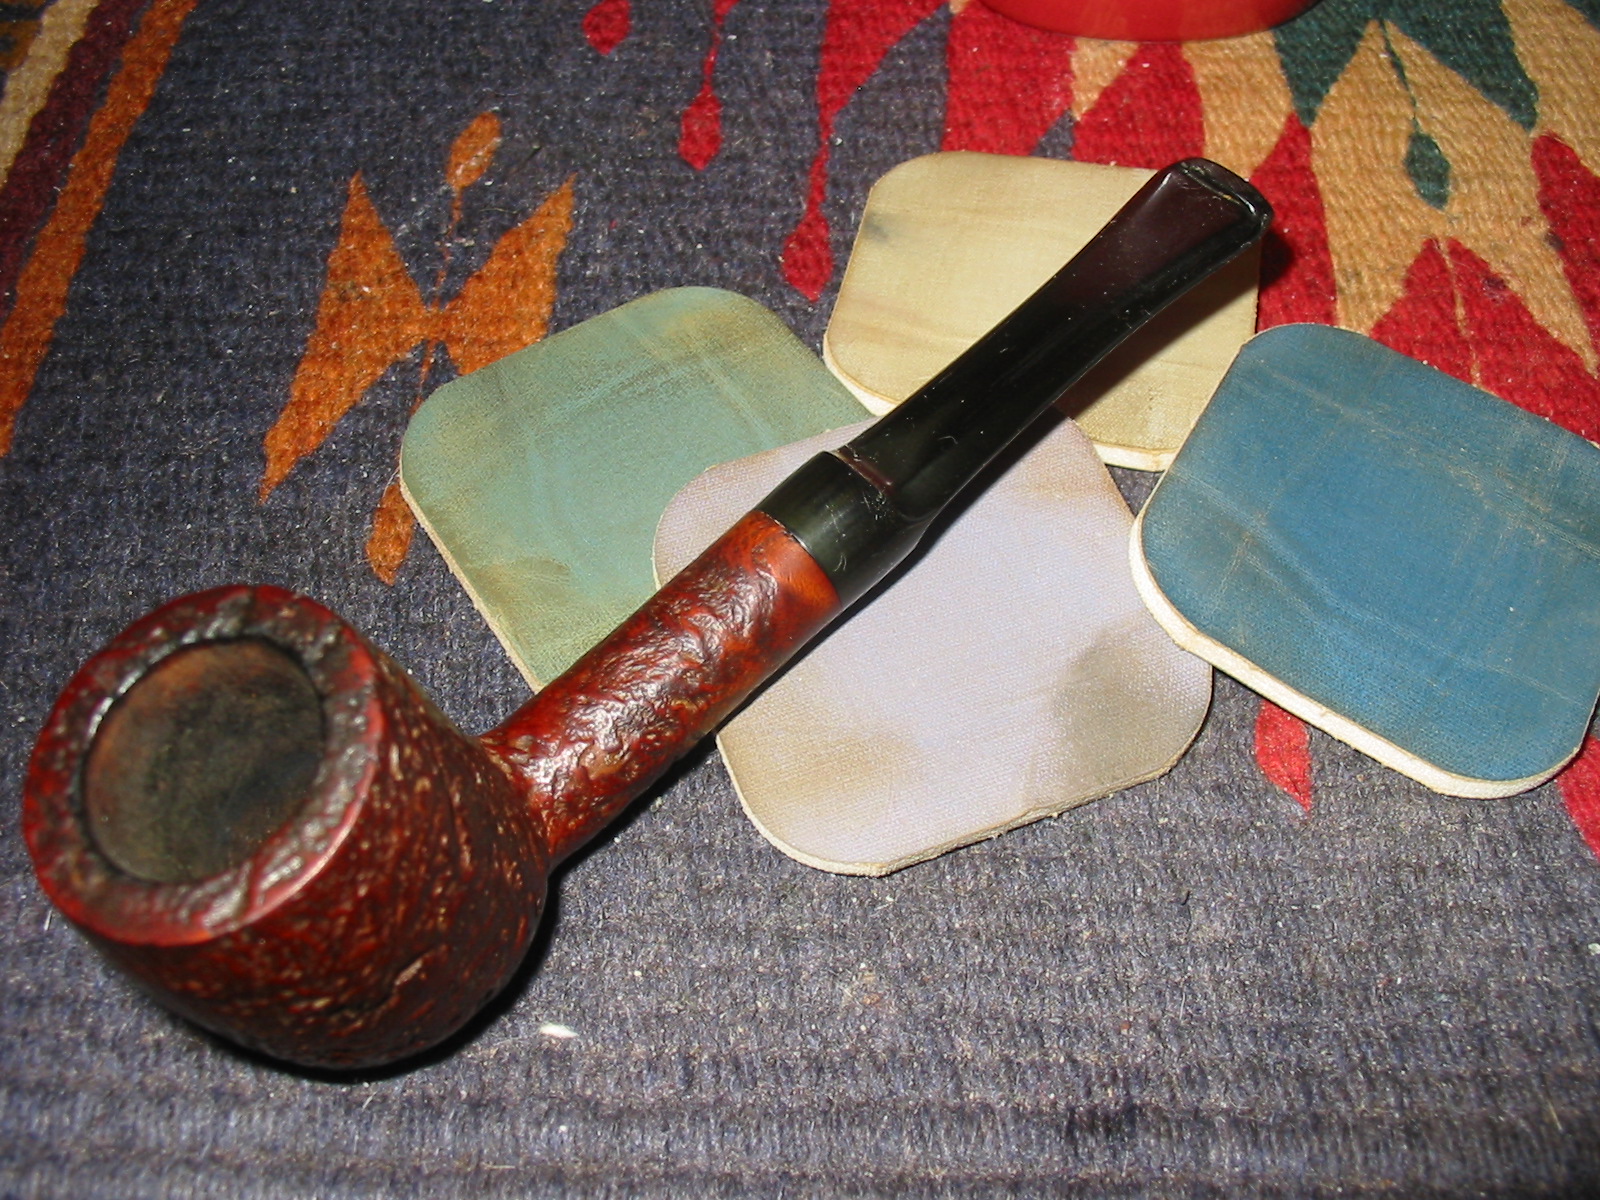
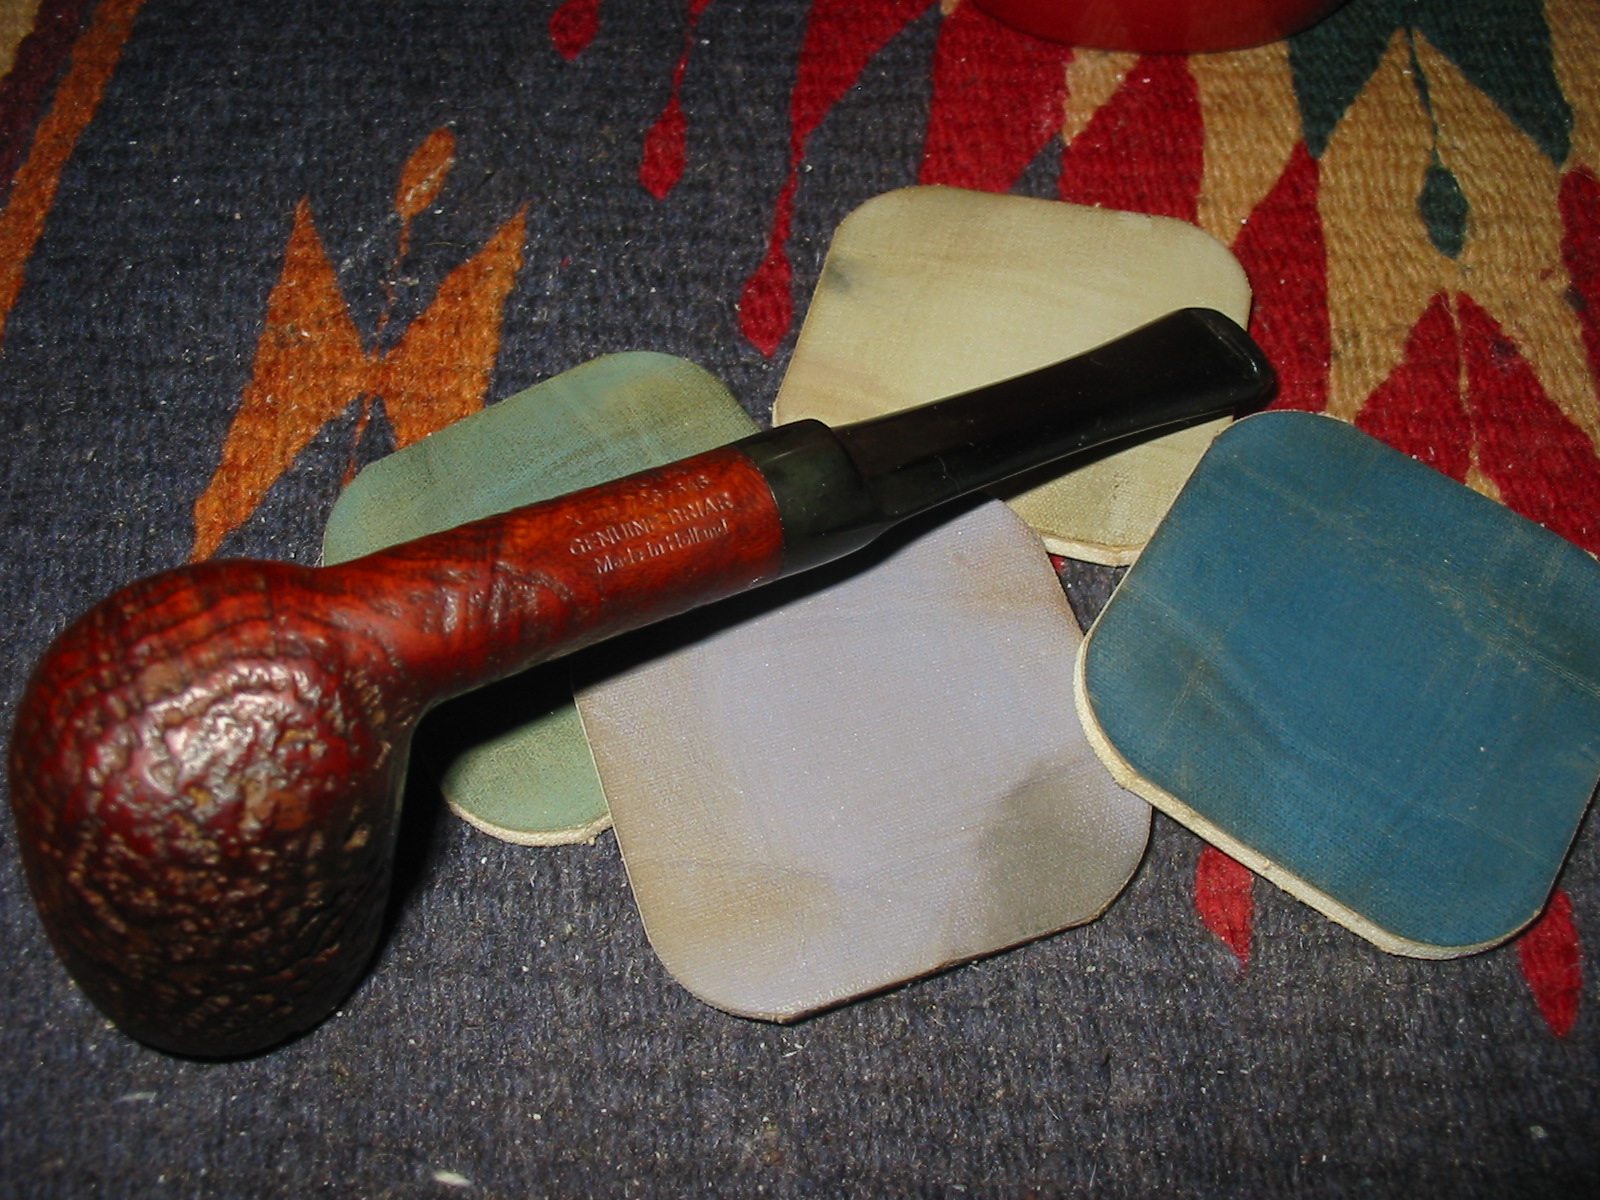
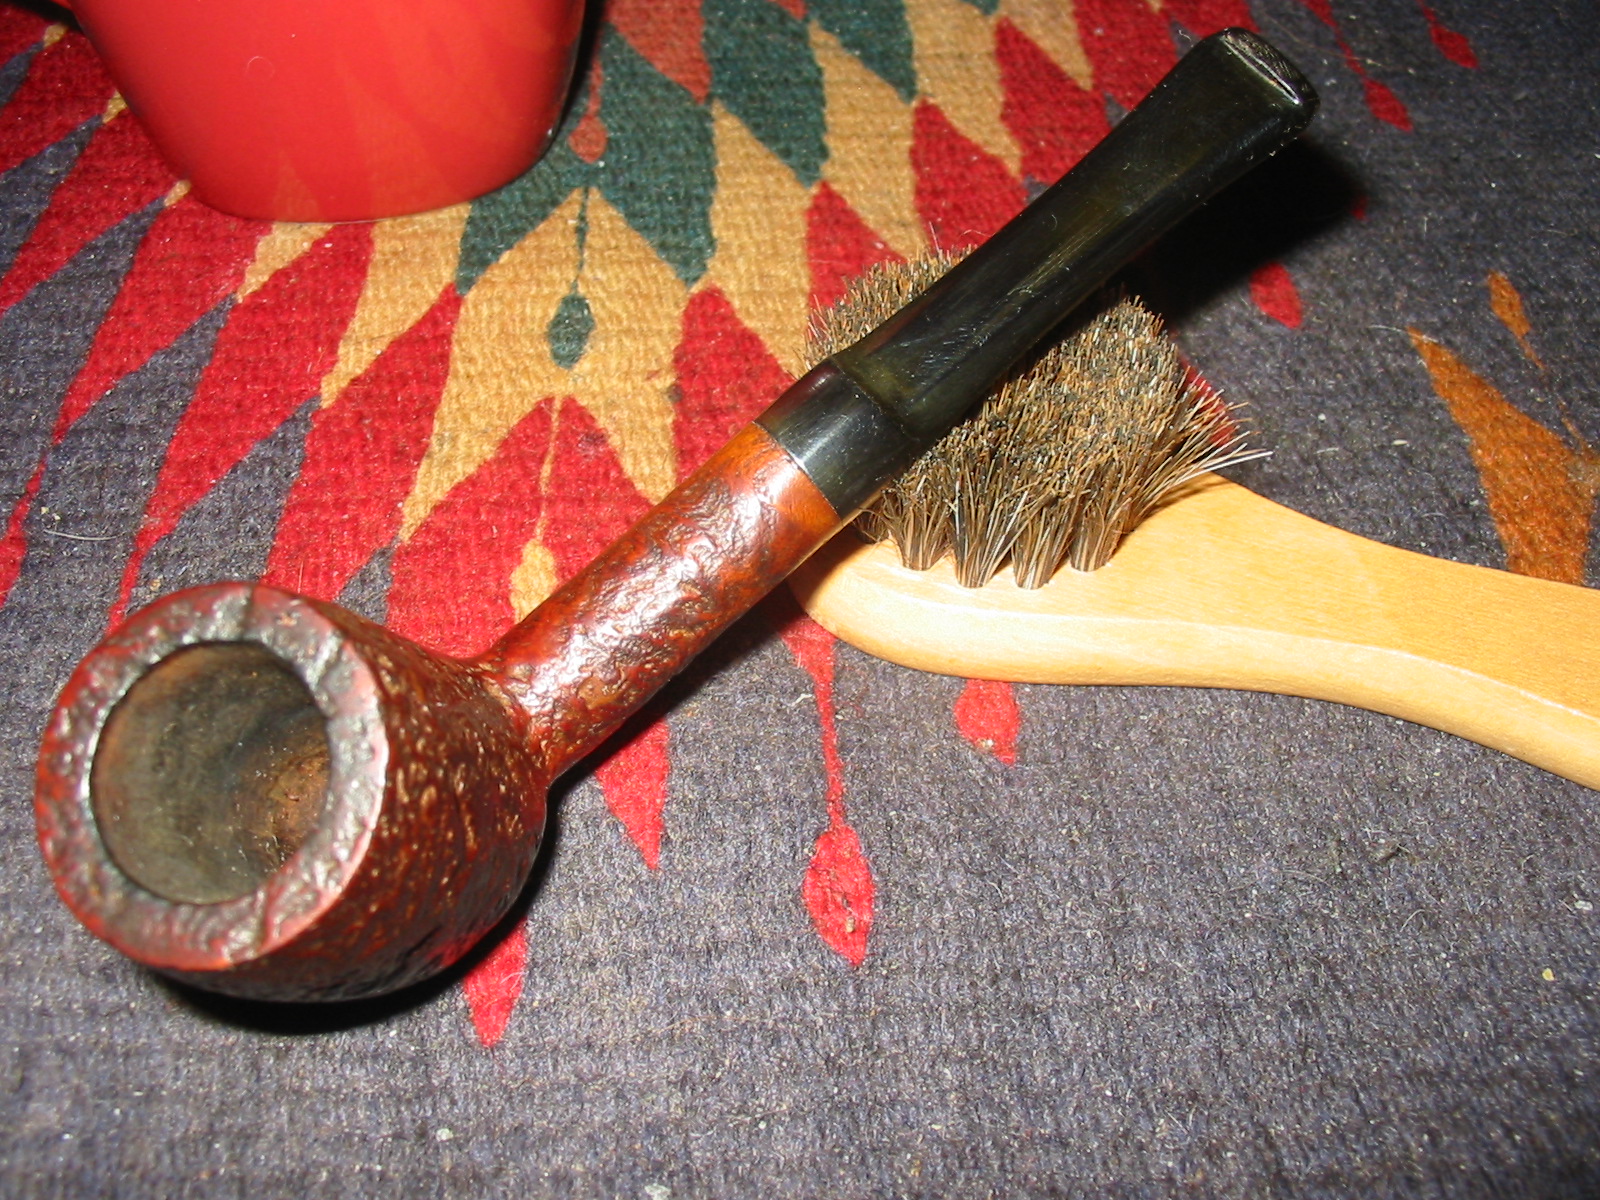
Once the insides were clean I used a soft bristle tooth brush and some isopropyl to scrub down the exterior of the bowl to prepare it for restaining. The next four photos show the scrubbed and prepared bowl.

IMG_0795

IMG_0796

IMG_0797

IMG_0798

I chose to restain the bowl with a dark brown aniline stain that I thinned 2:1 with isopropyl alcohol. I applied the stain heavily to the pipe with a folded pipe cleaner to make sure I got it into the nooks and crannies of the sandblasted surface. Once it was covered I flamed it with a lighter to set the stain. I gave it a second coat of stain and flamed it a second time. Once it was dry I buffed it with a shoe brush to get a soft shine on it. The next series of four photos show the restained bowl after the buffing with the show brush. I find that the bristles on the shoe brush work really well to buff sand blasted and rusticated pipes. I used to use my buffer and keep a light touch on the wheel because I did not want to soften the ridges of the blast. I have since resorted to using the shoe shine brush instead.

IMG_0799

IMG_0800

IMG_0801

IMG_0802

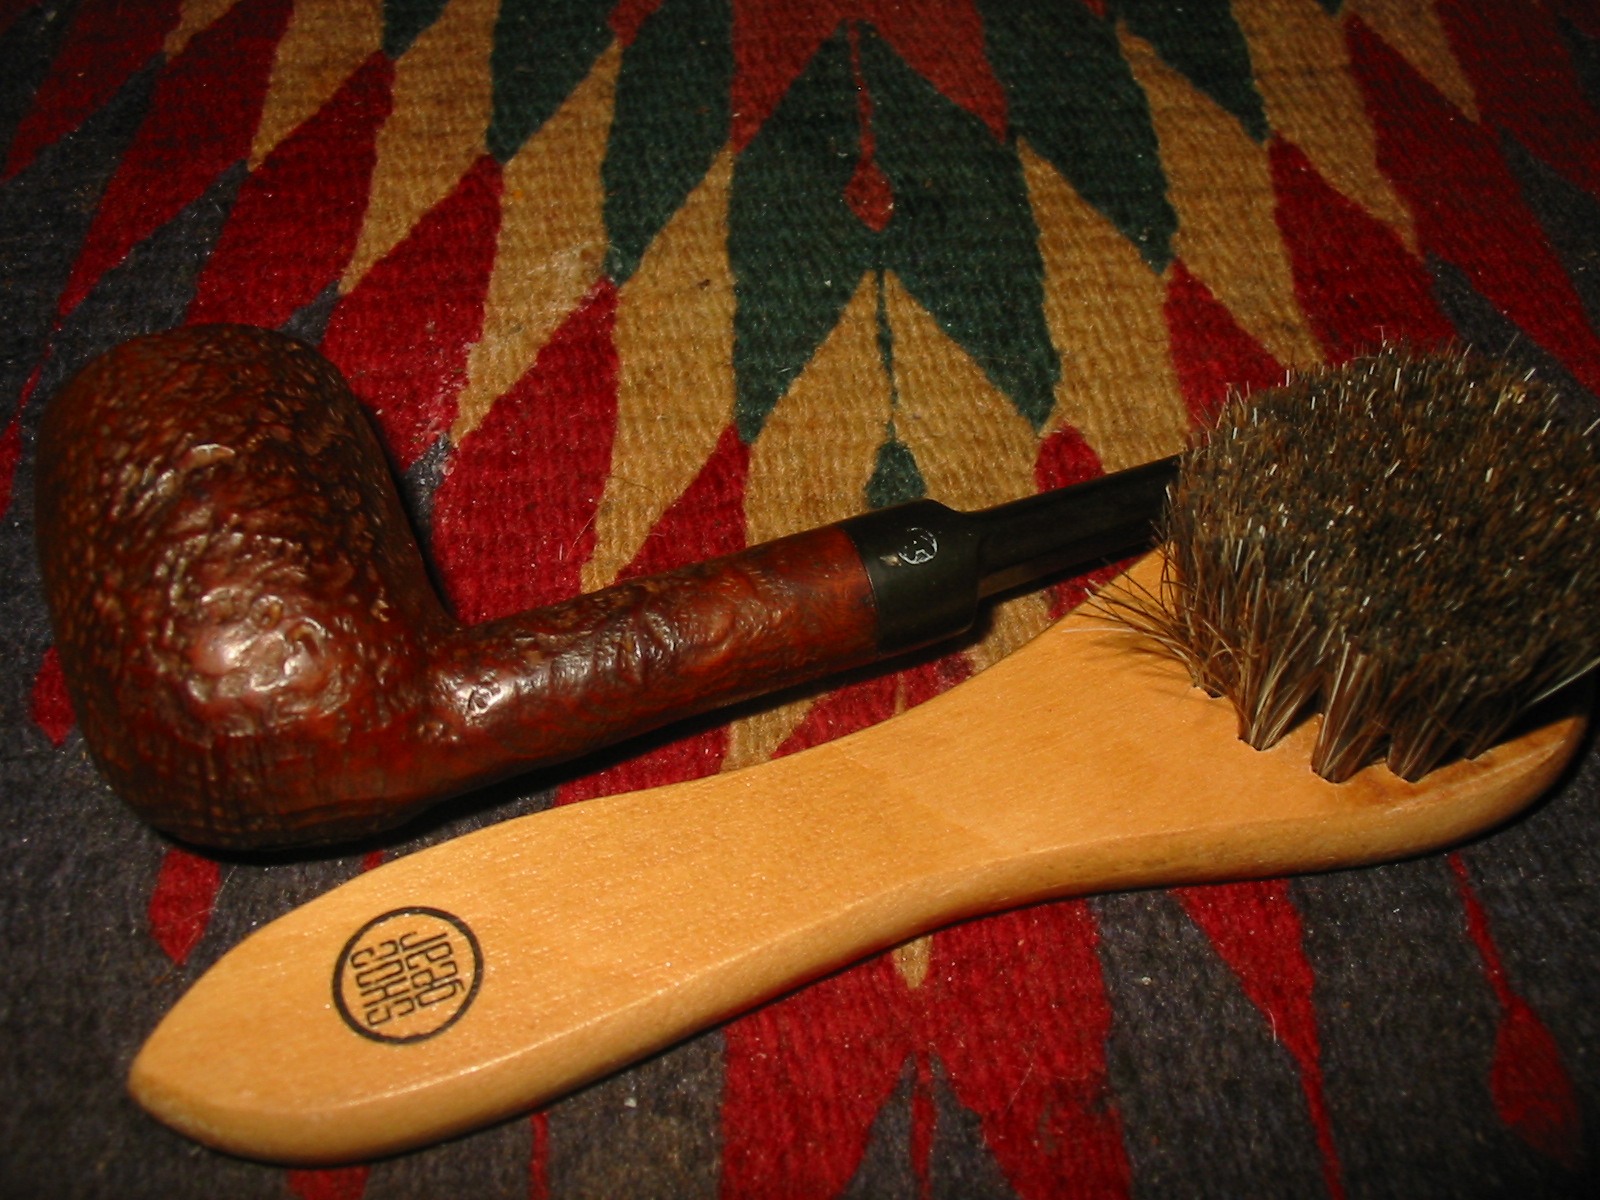
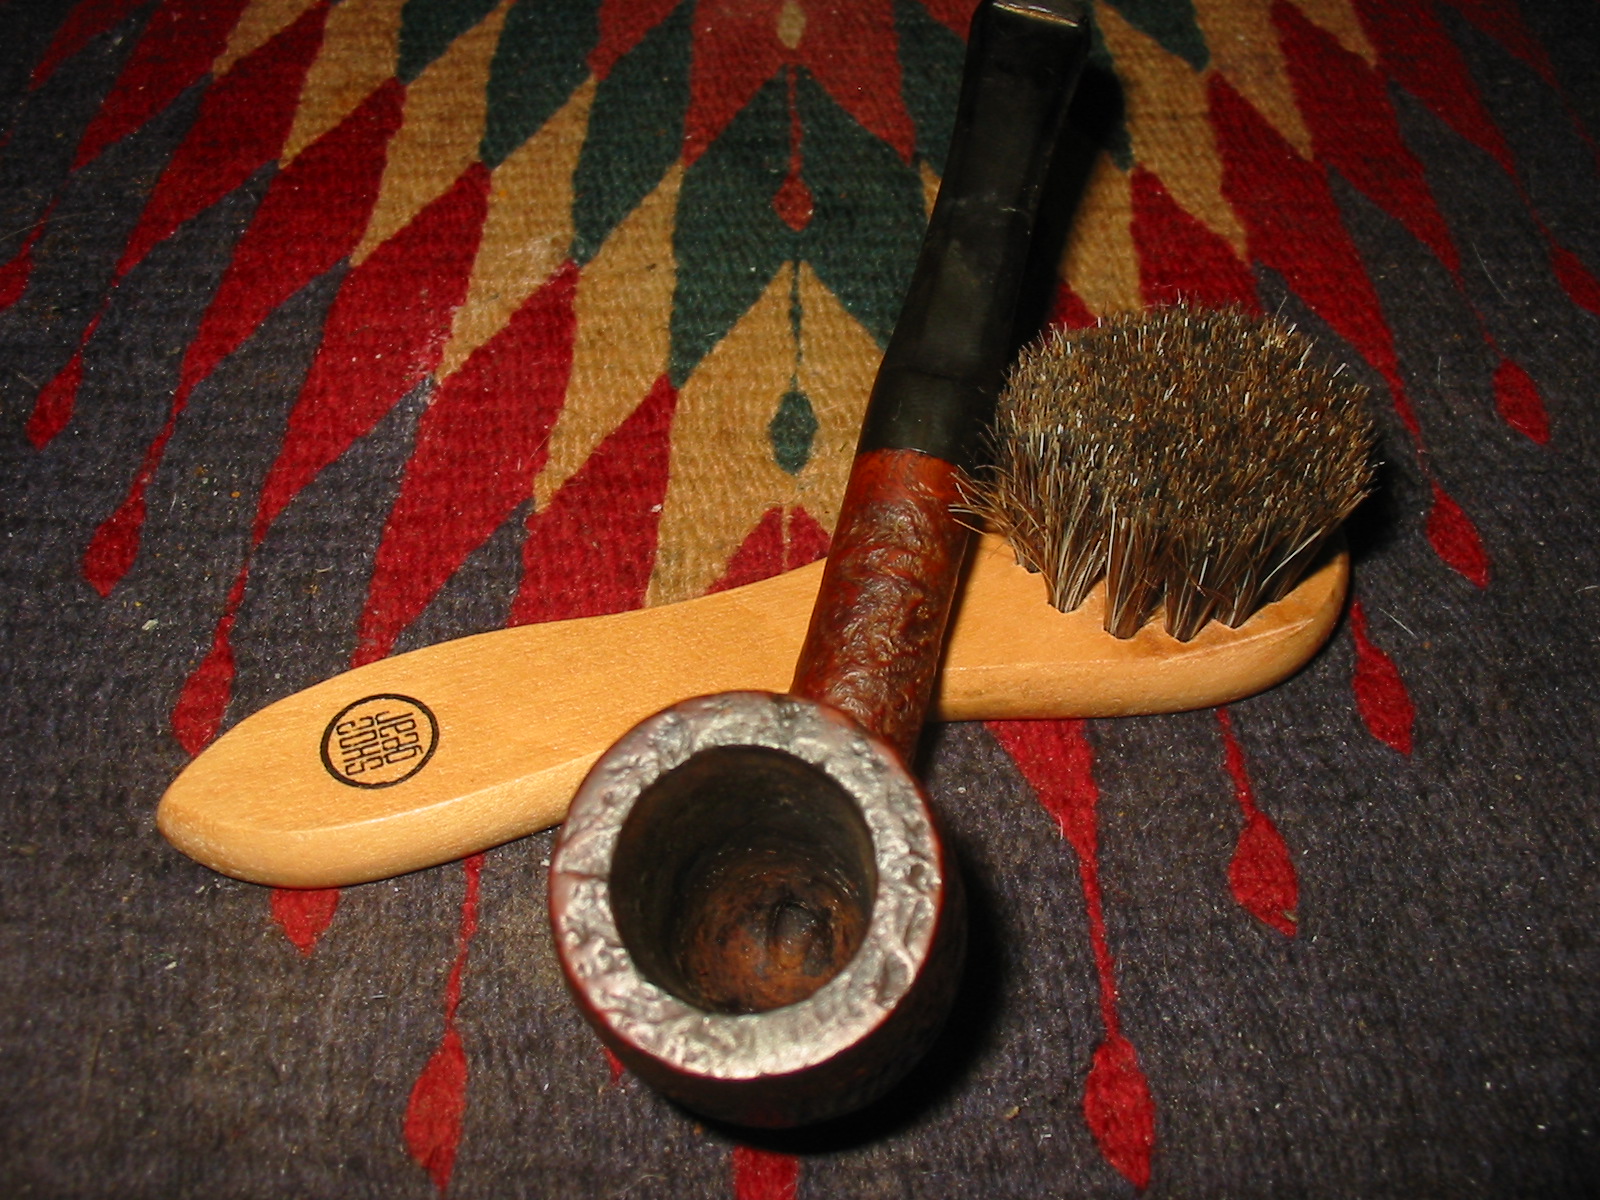
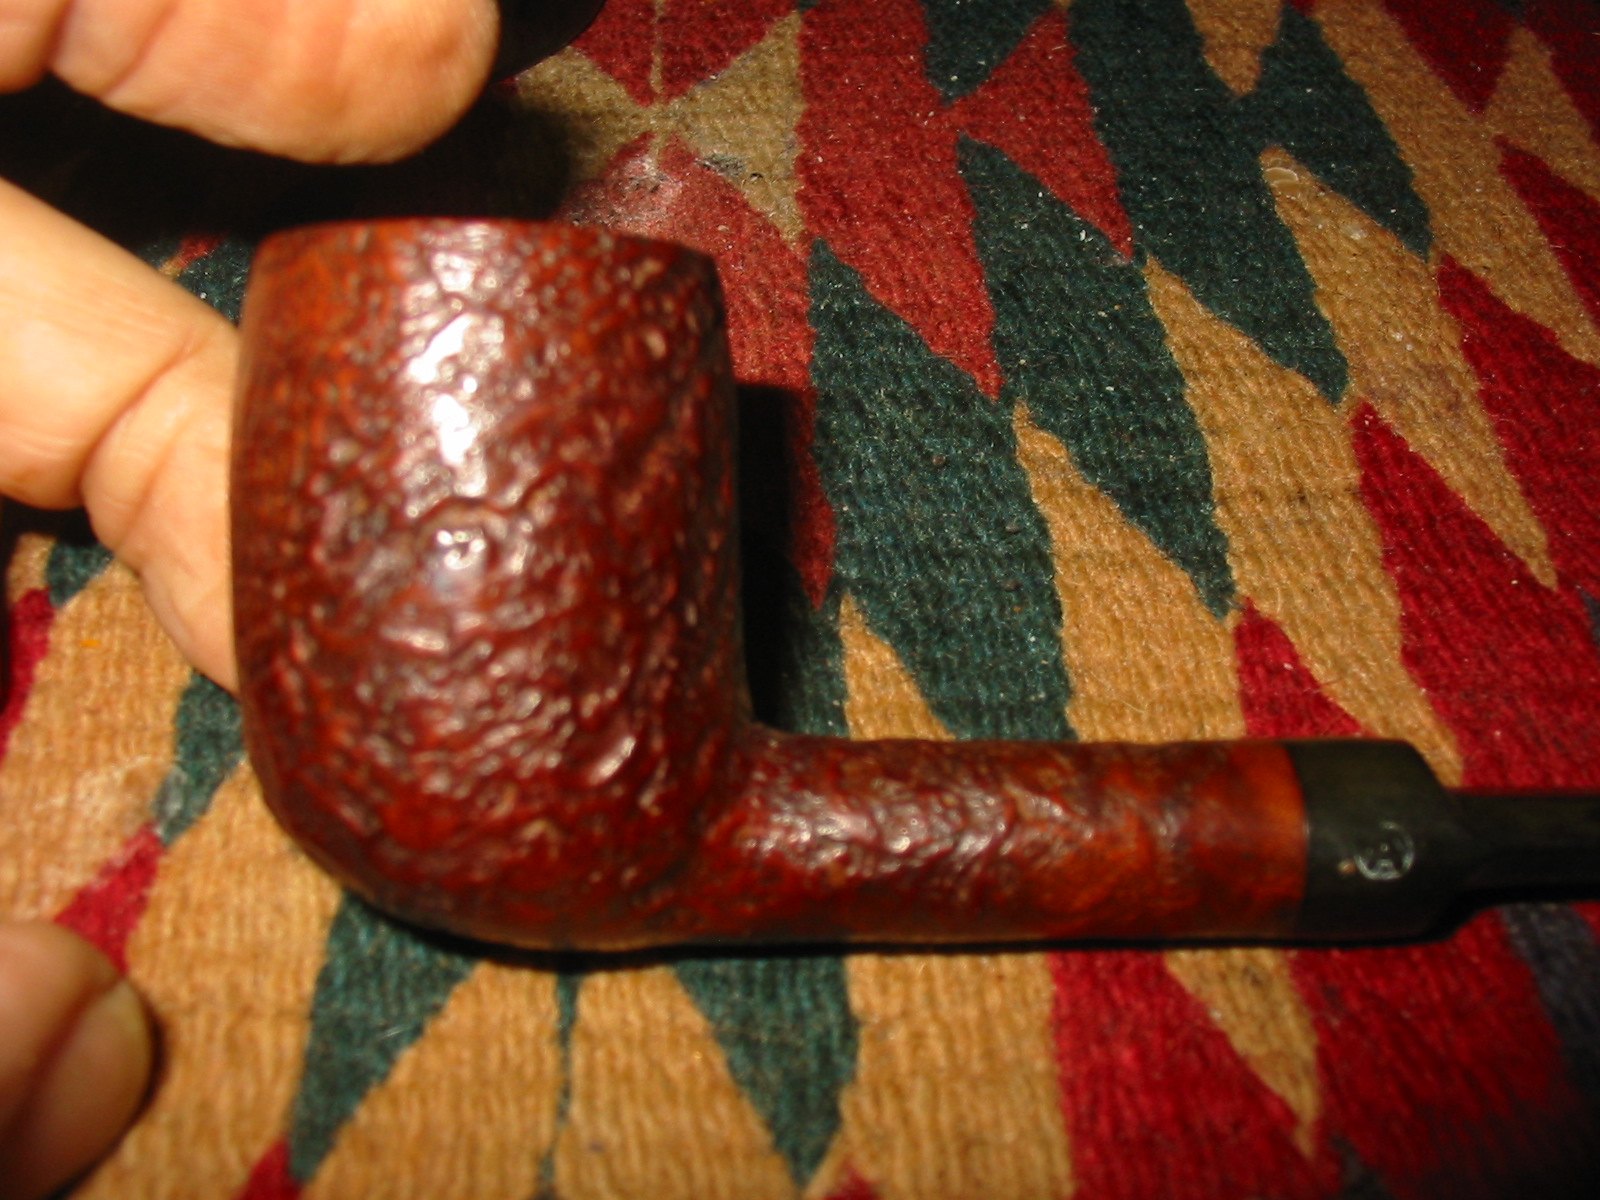
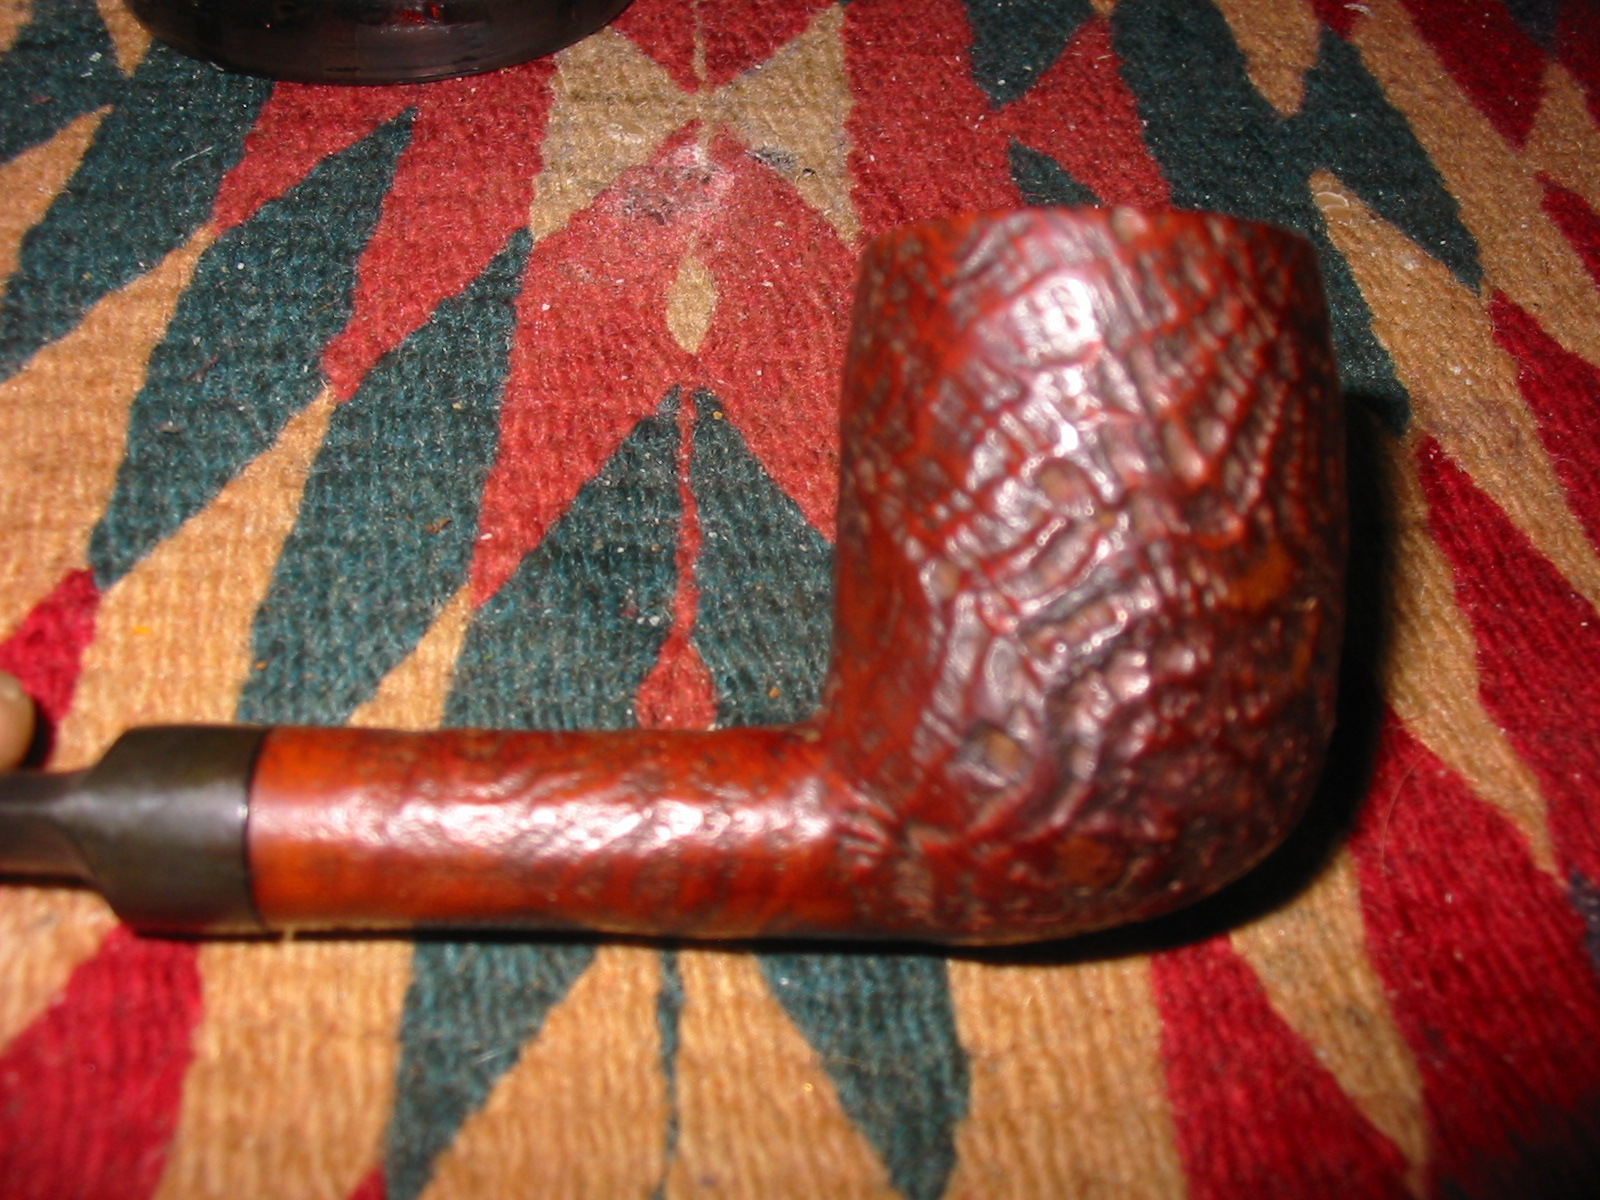
I hand applied some Halcyon II wax to the bowl and shank and buffed it a second time with the shoe brush to give it a shine. The next series of six photos show the bowl and shank during and after the shine with Halcyon II and the shoe brush buffing.

IMG_0803

IMG_0804

IMG_0805

IMG_0806

IMG_0807

IMG_0808

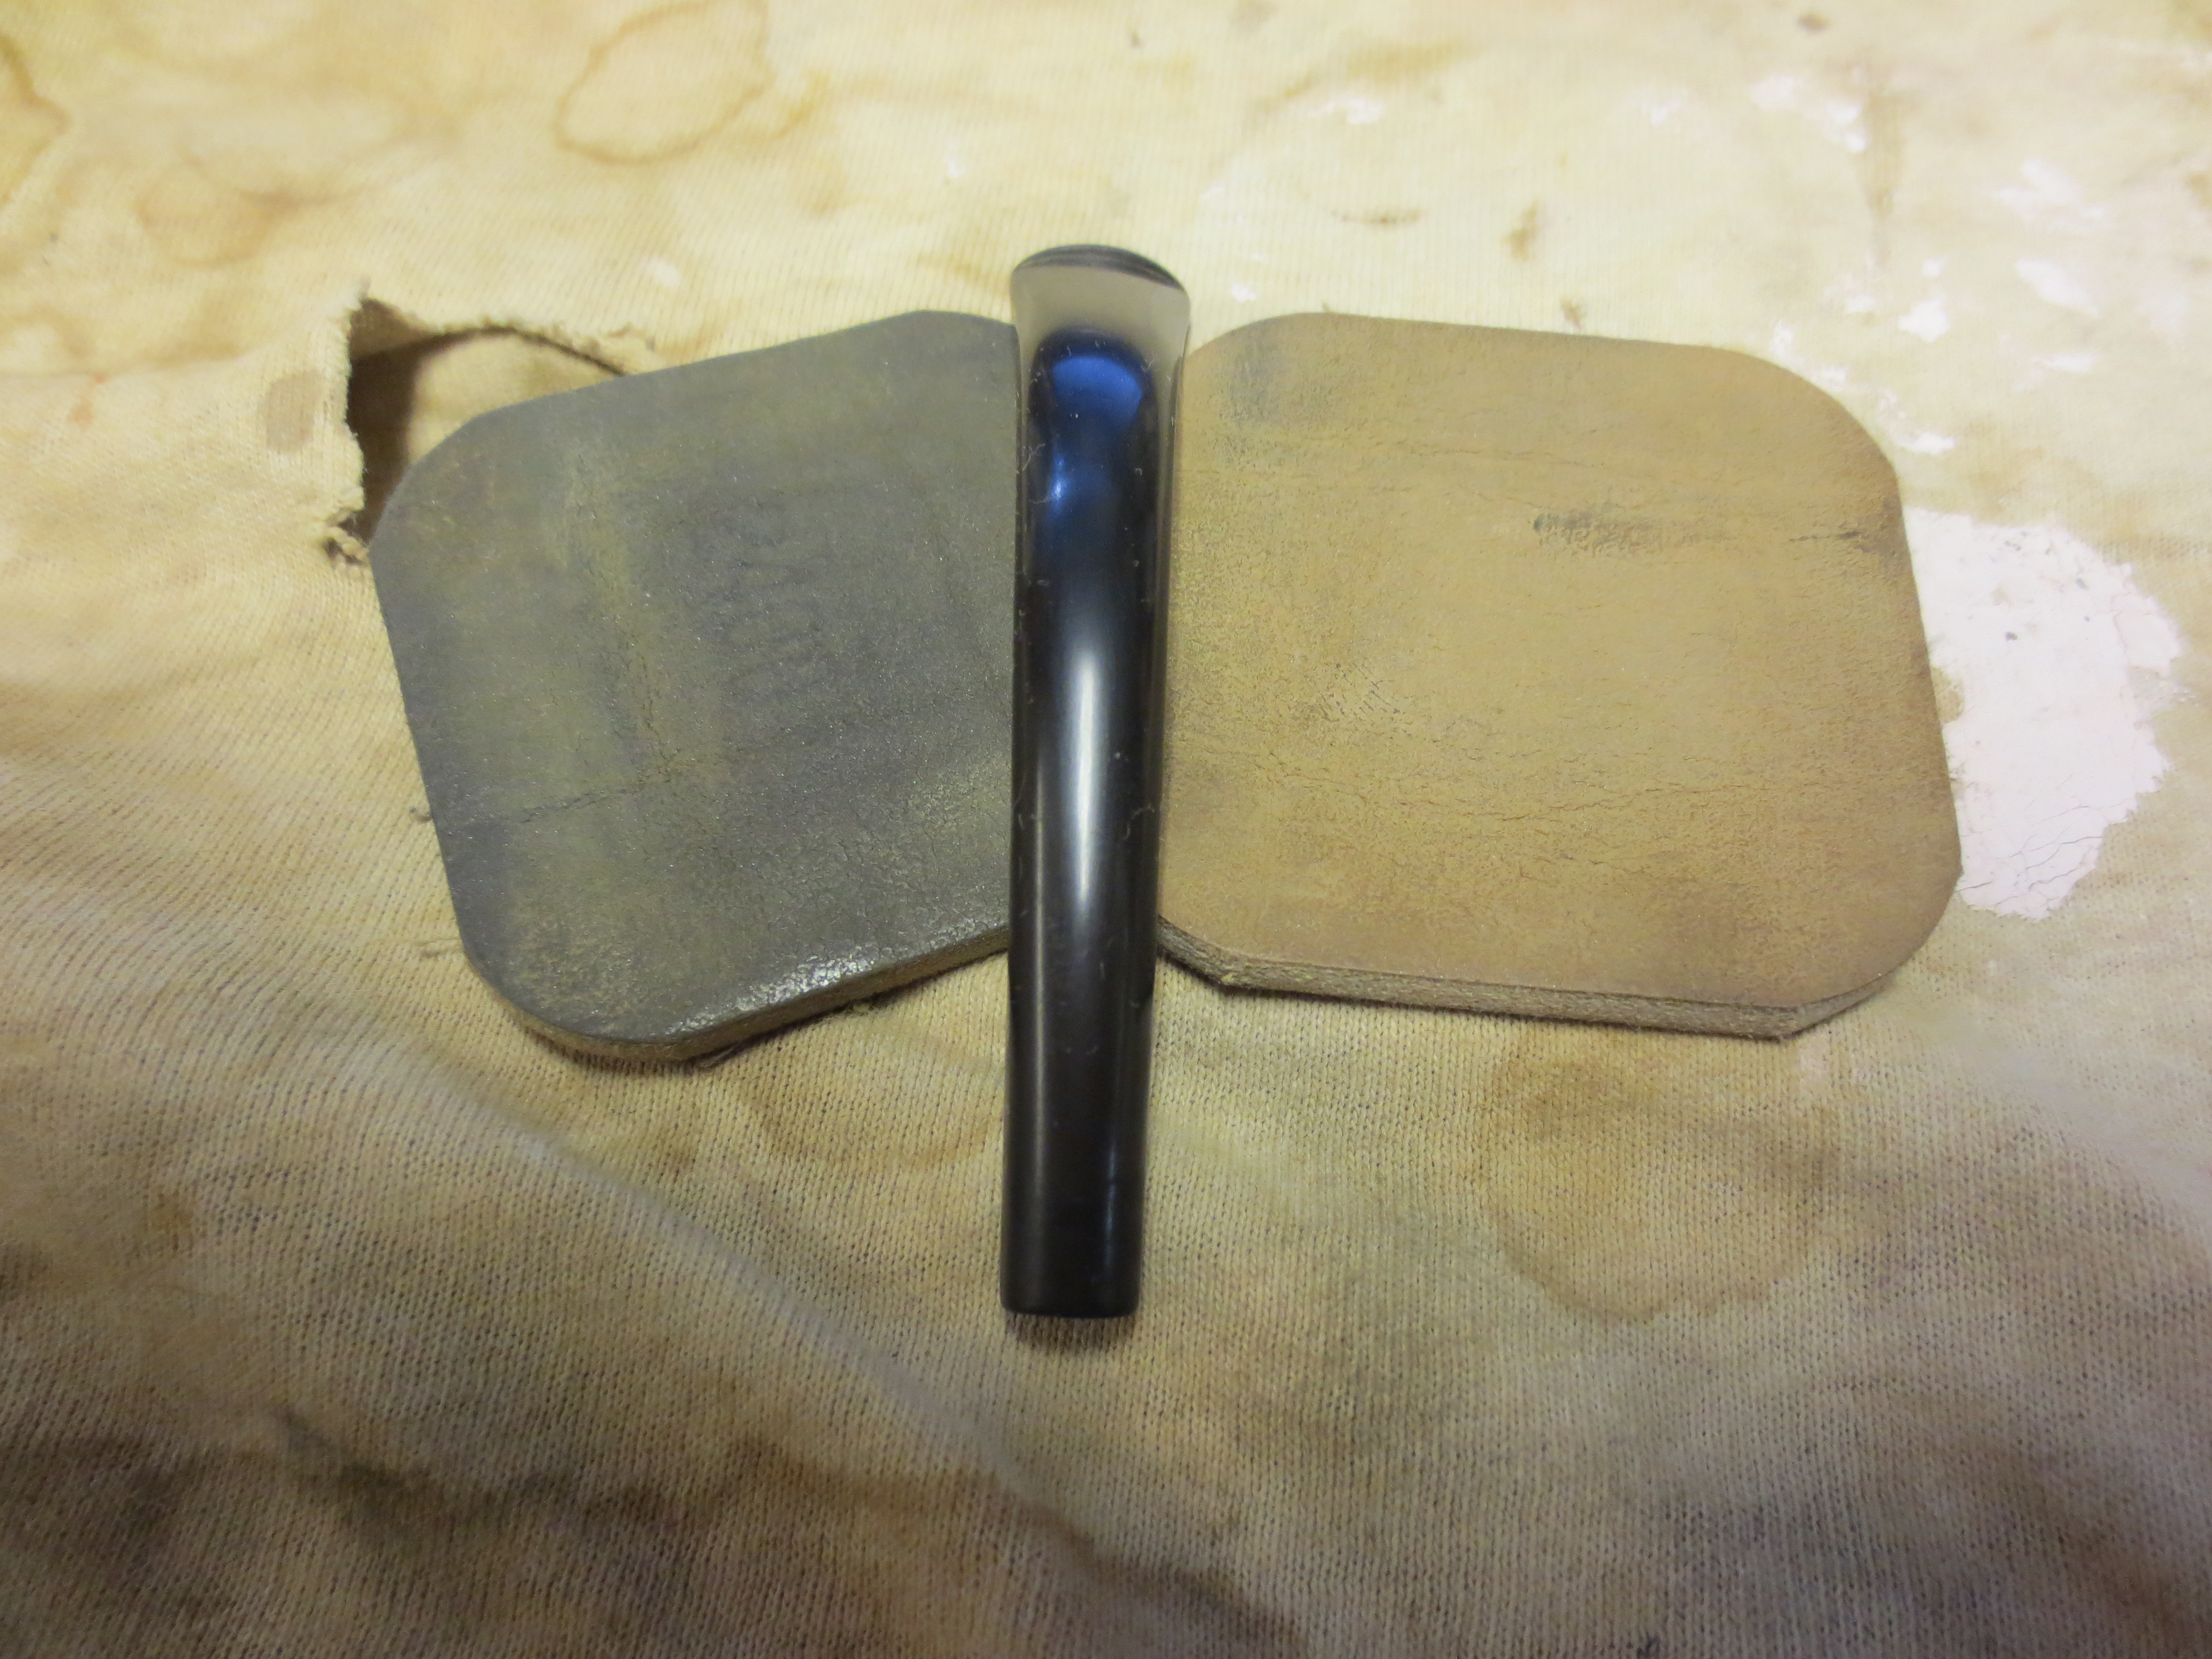
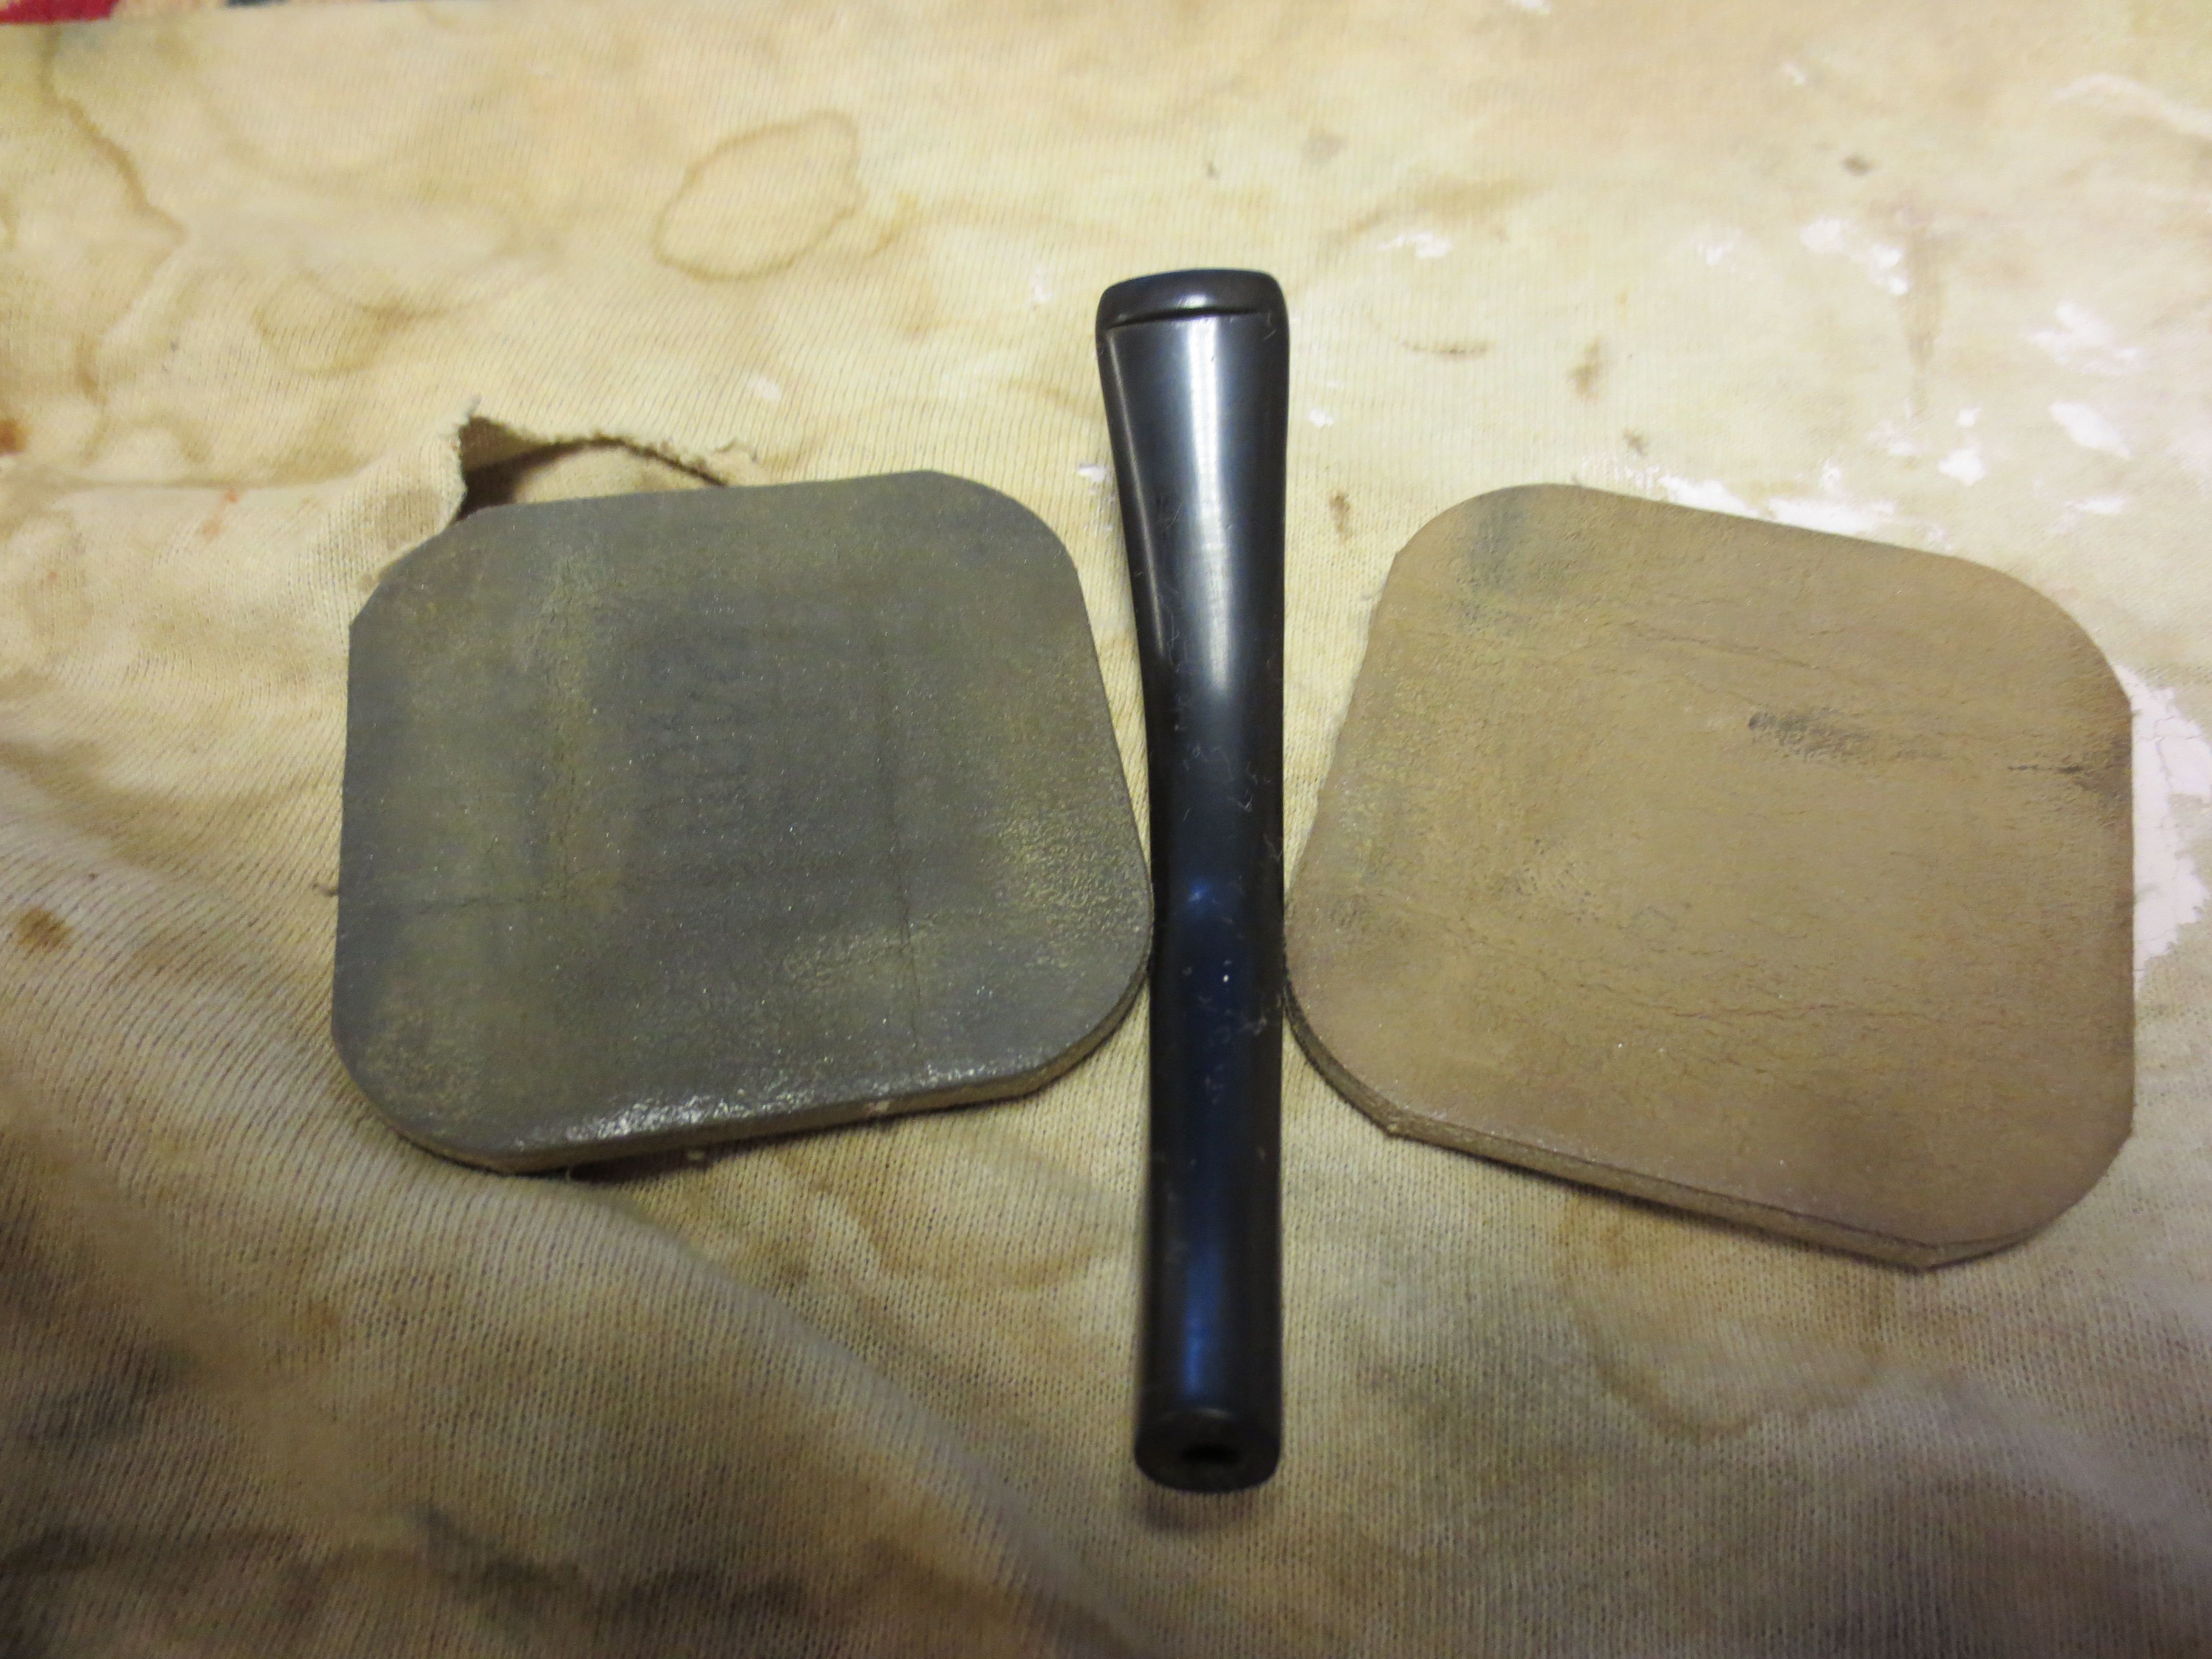
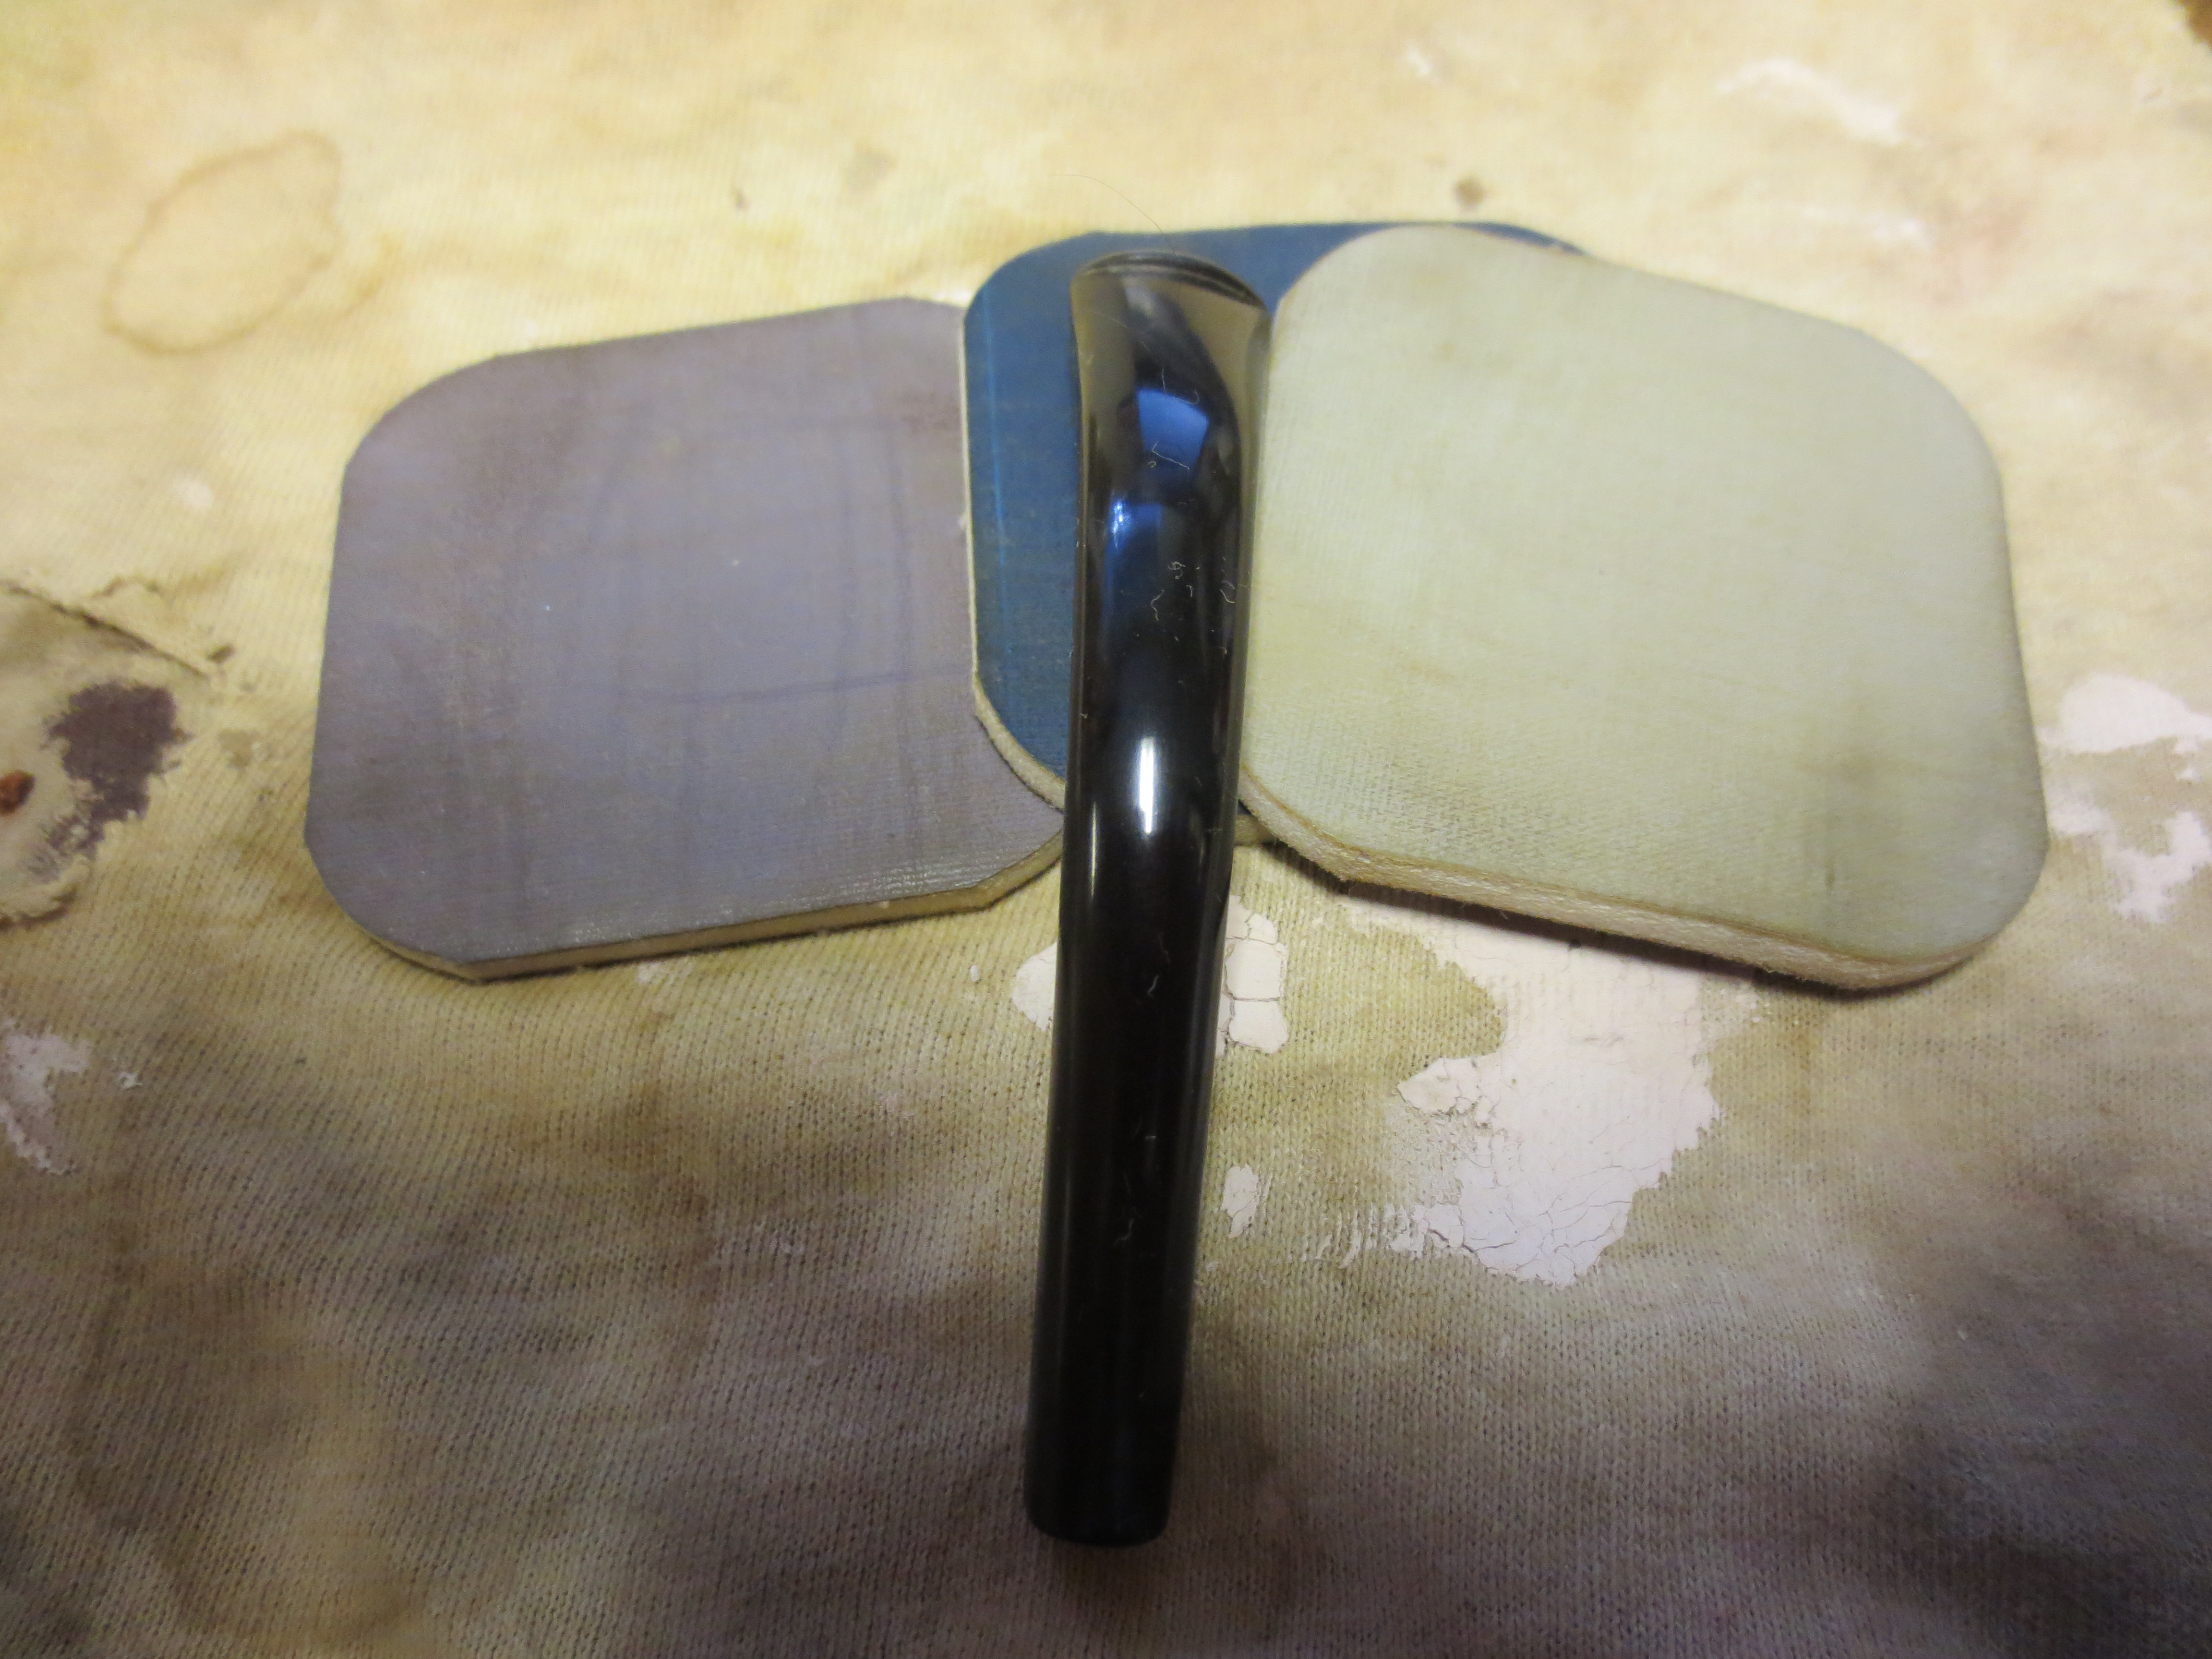
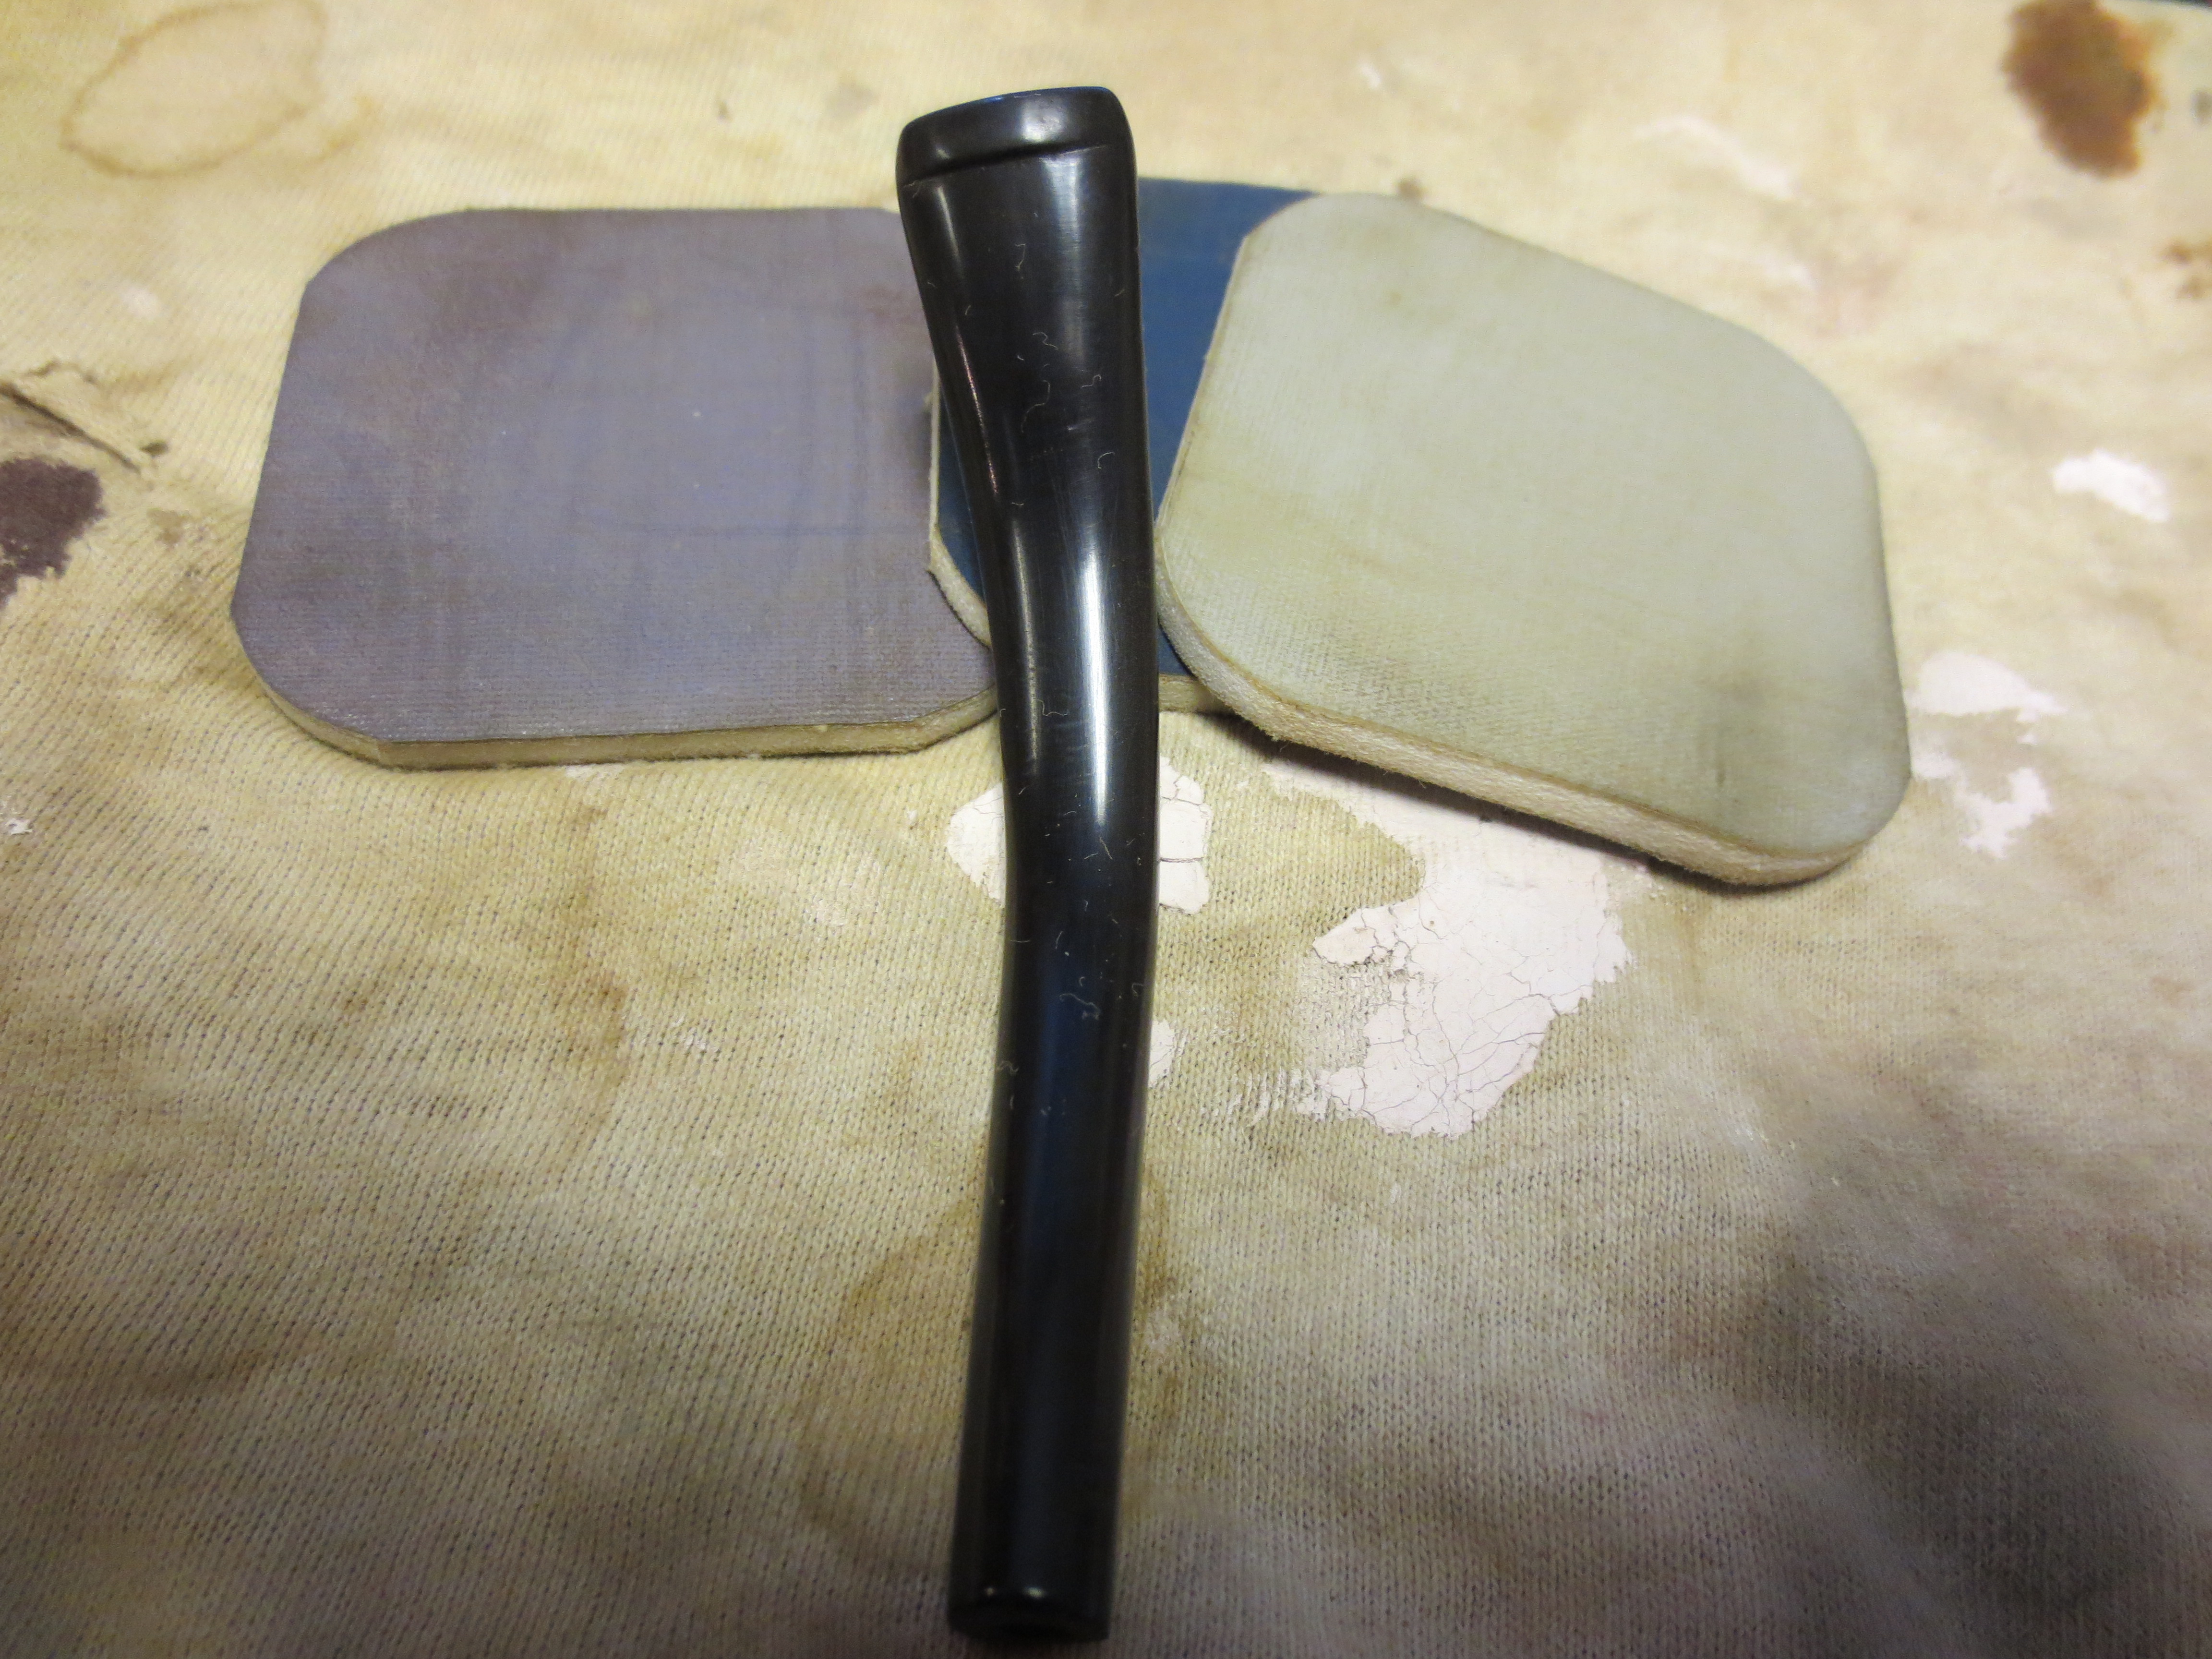
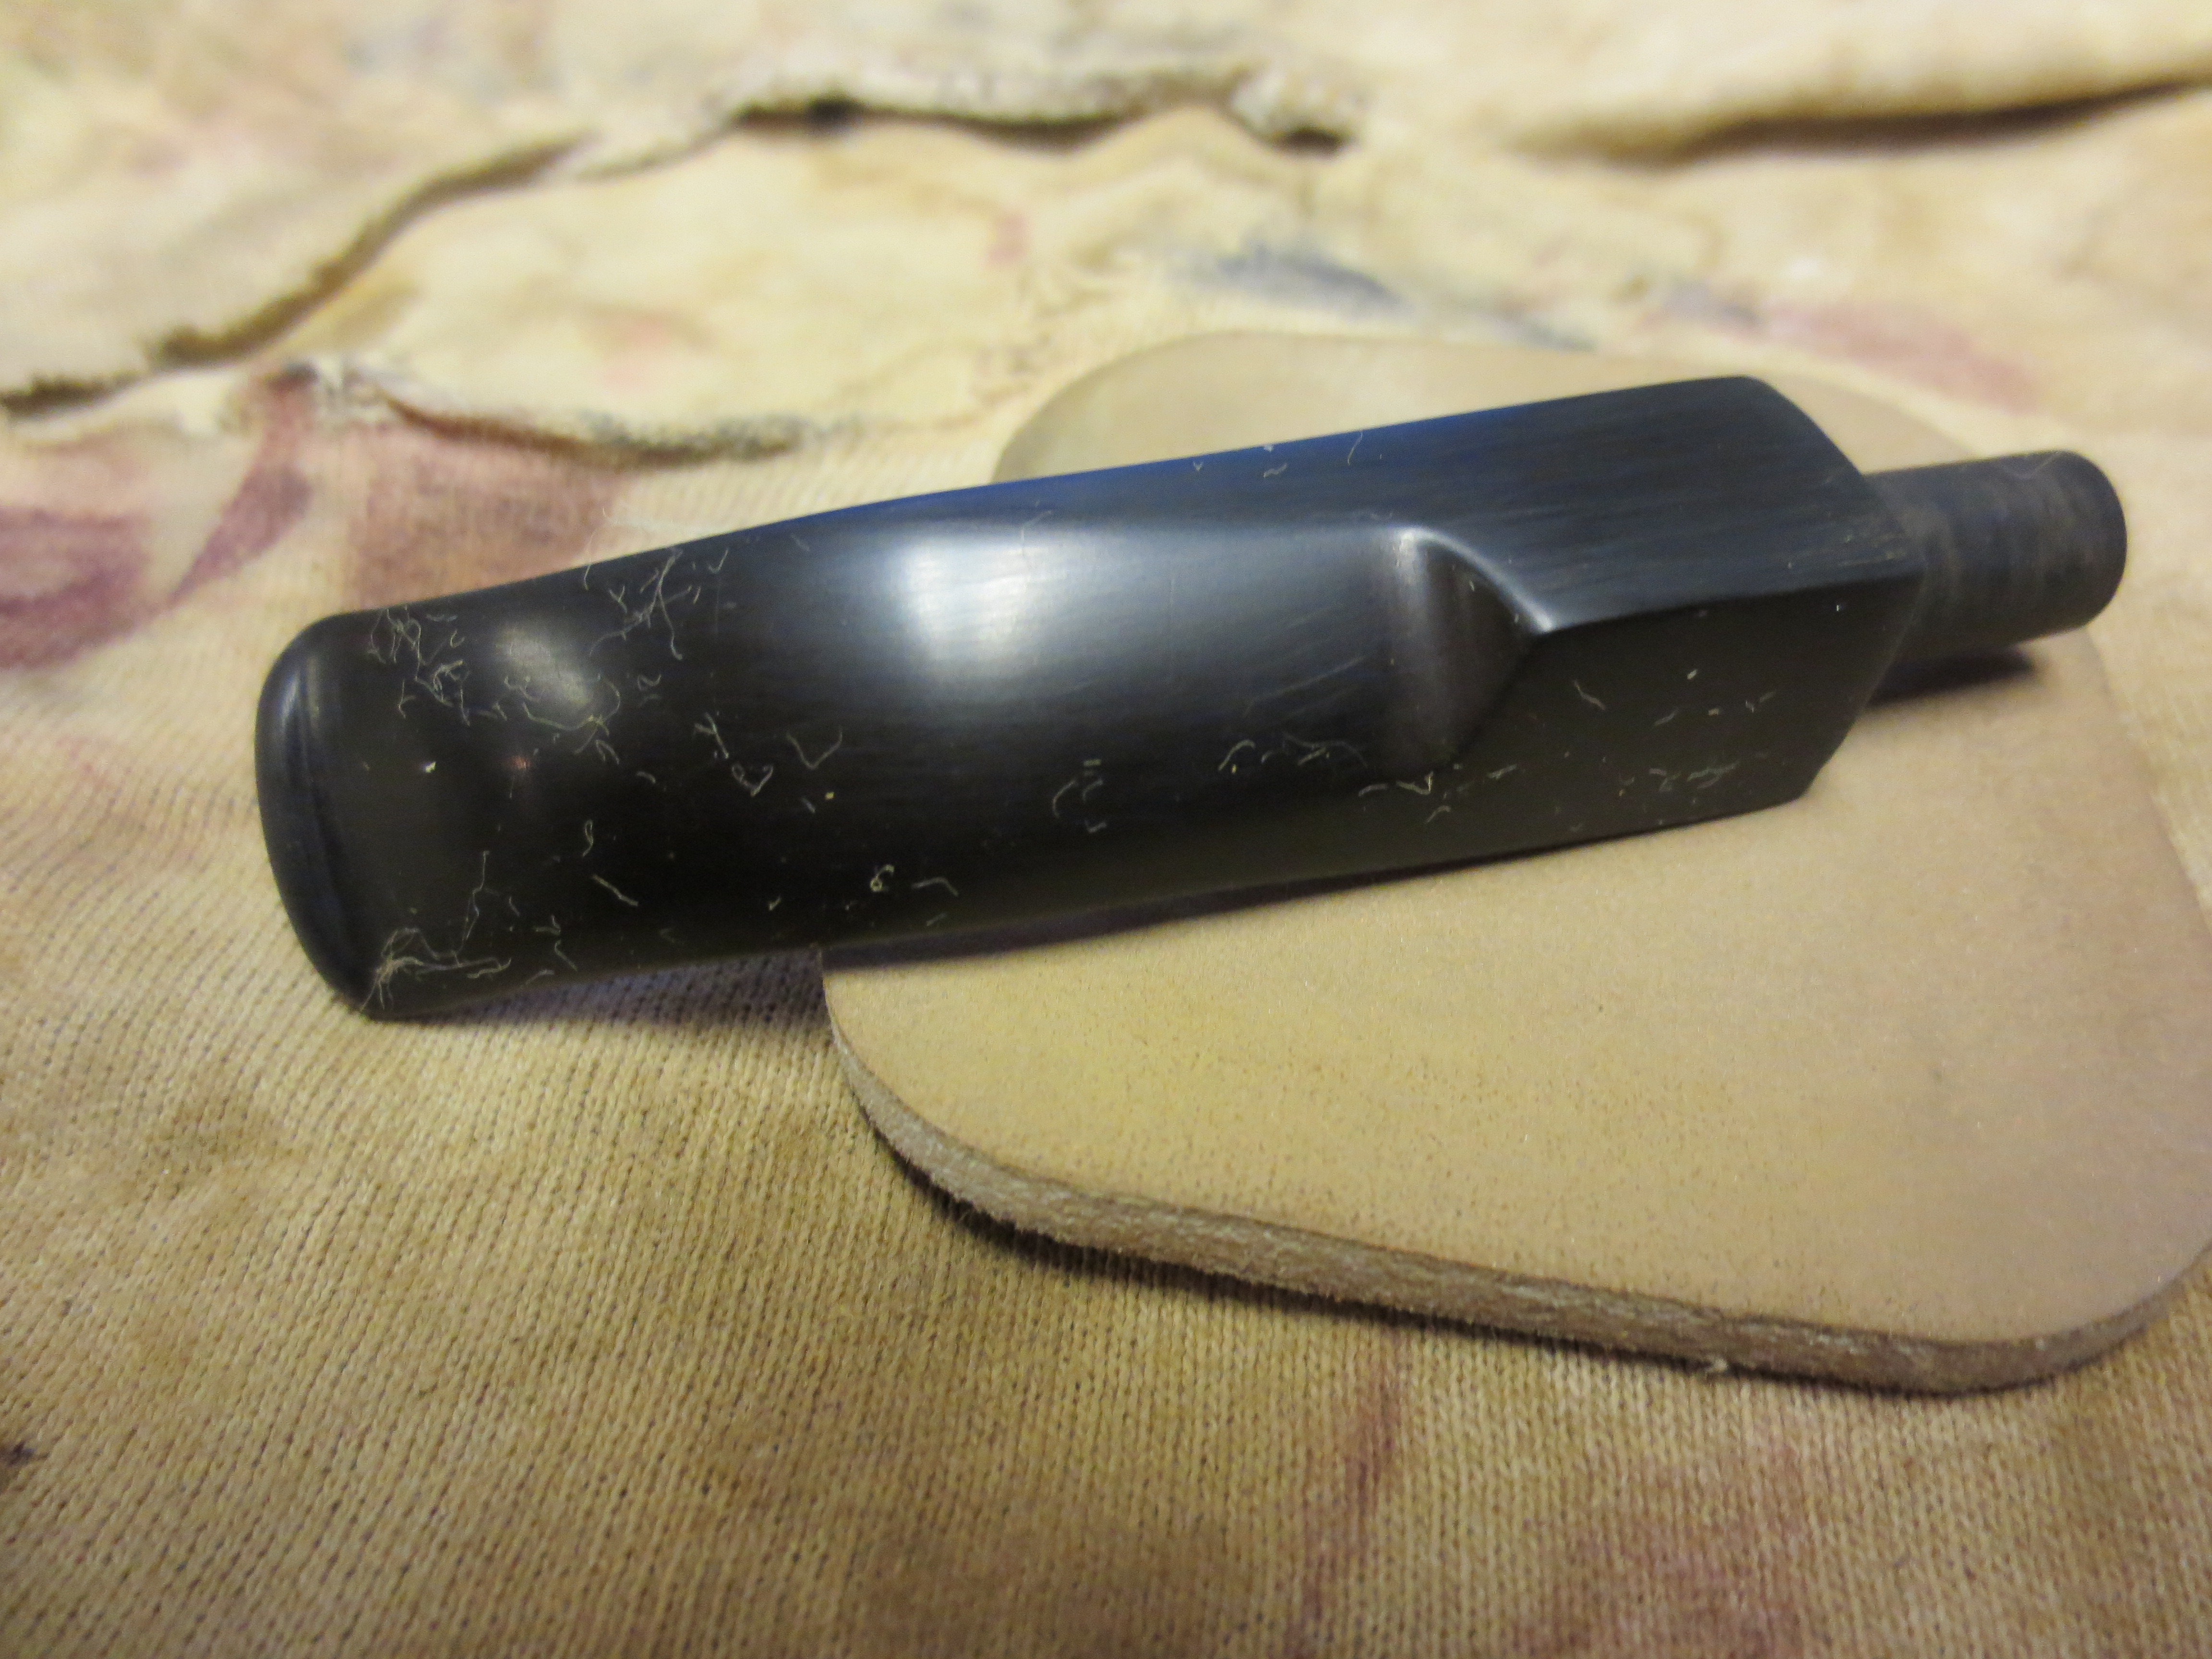
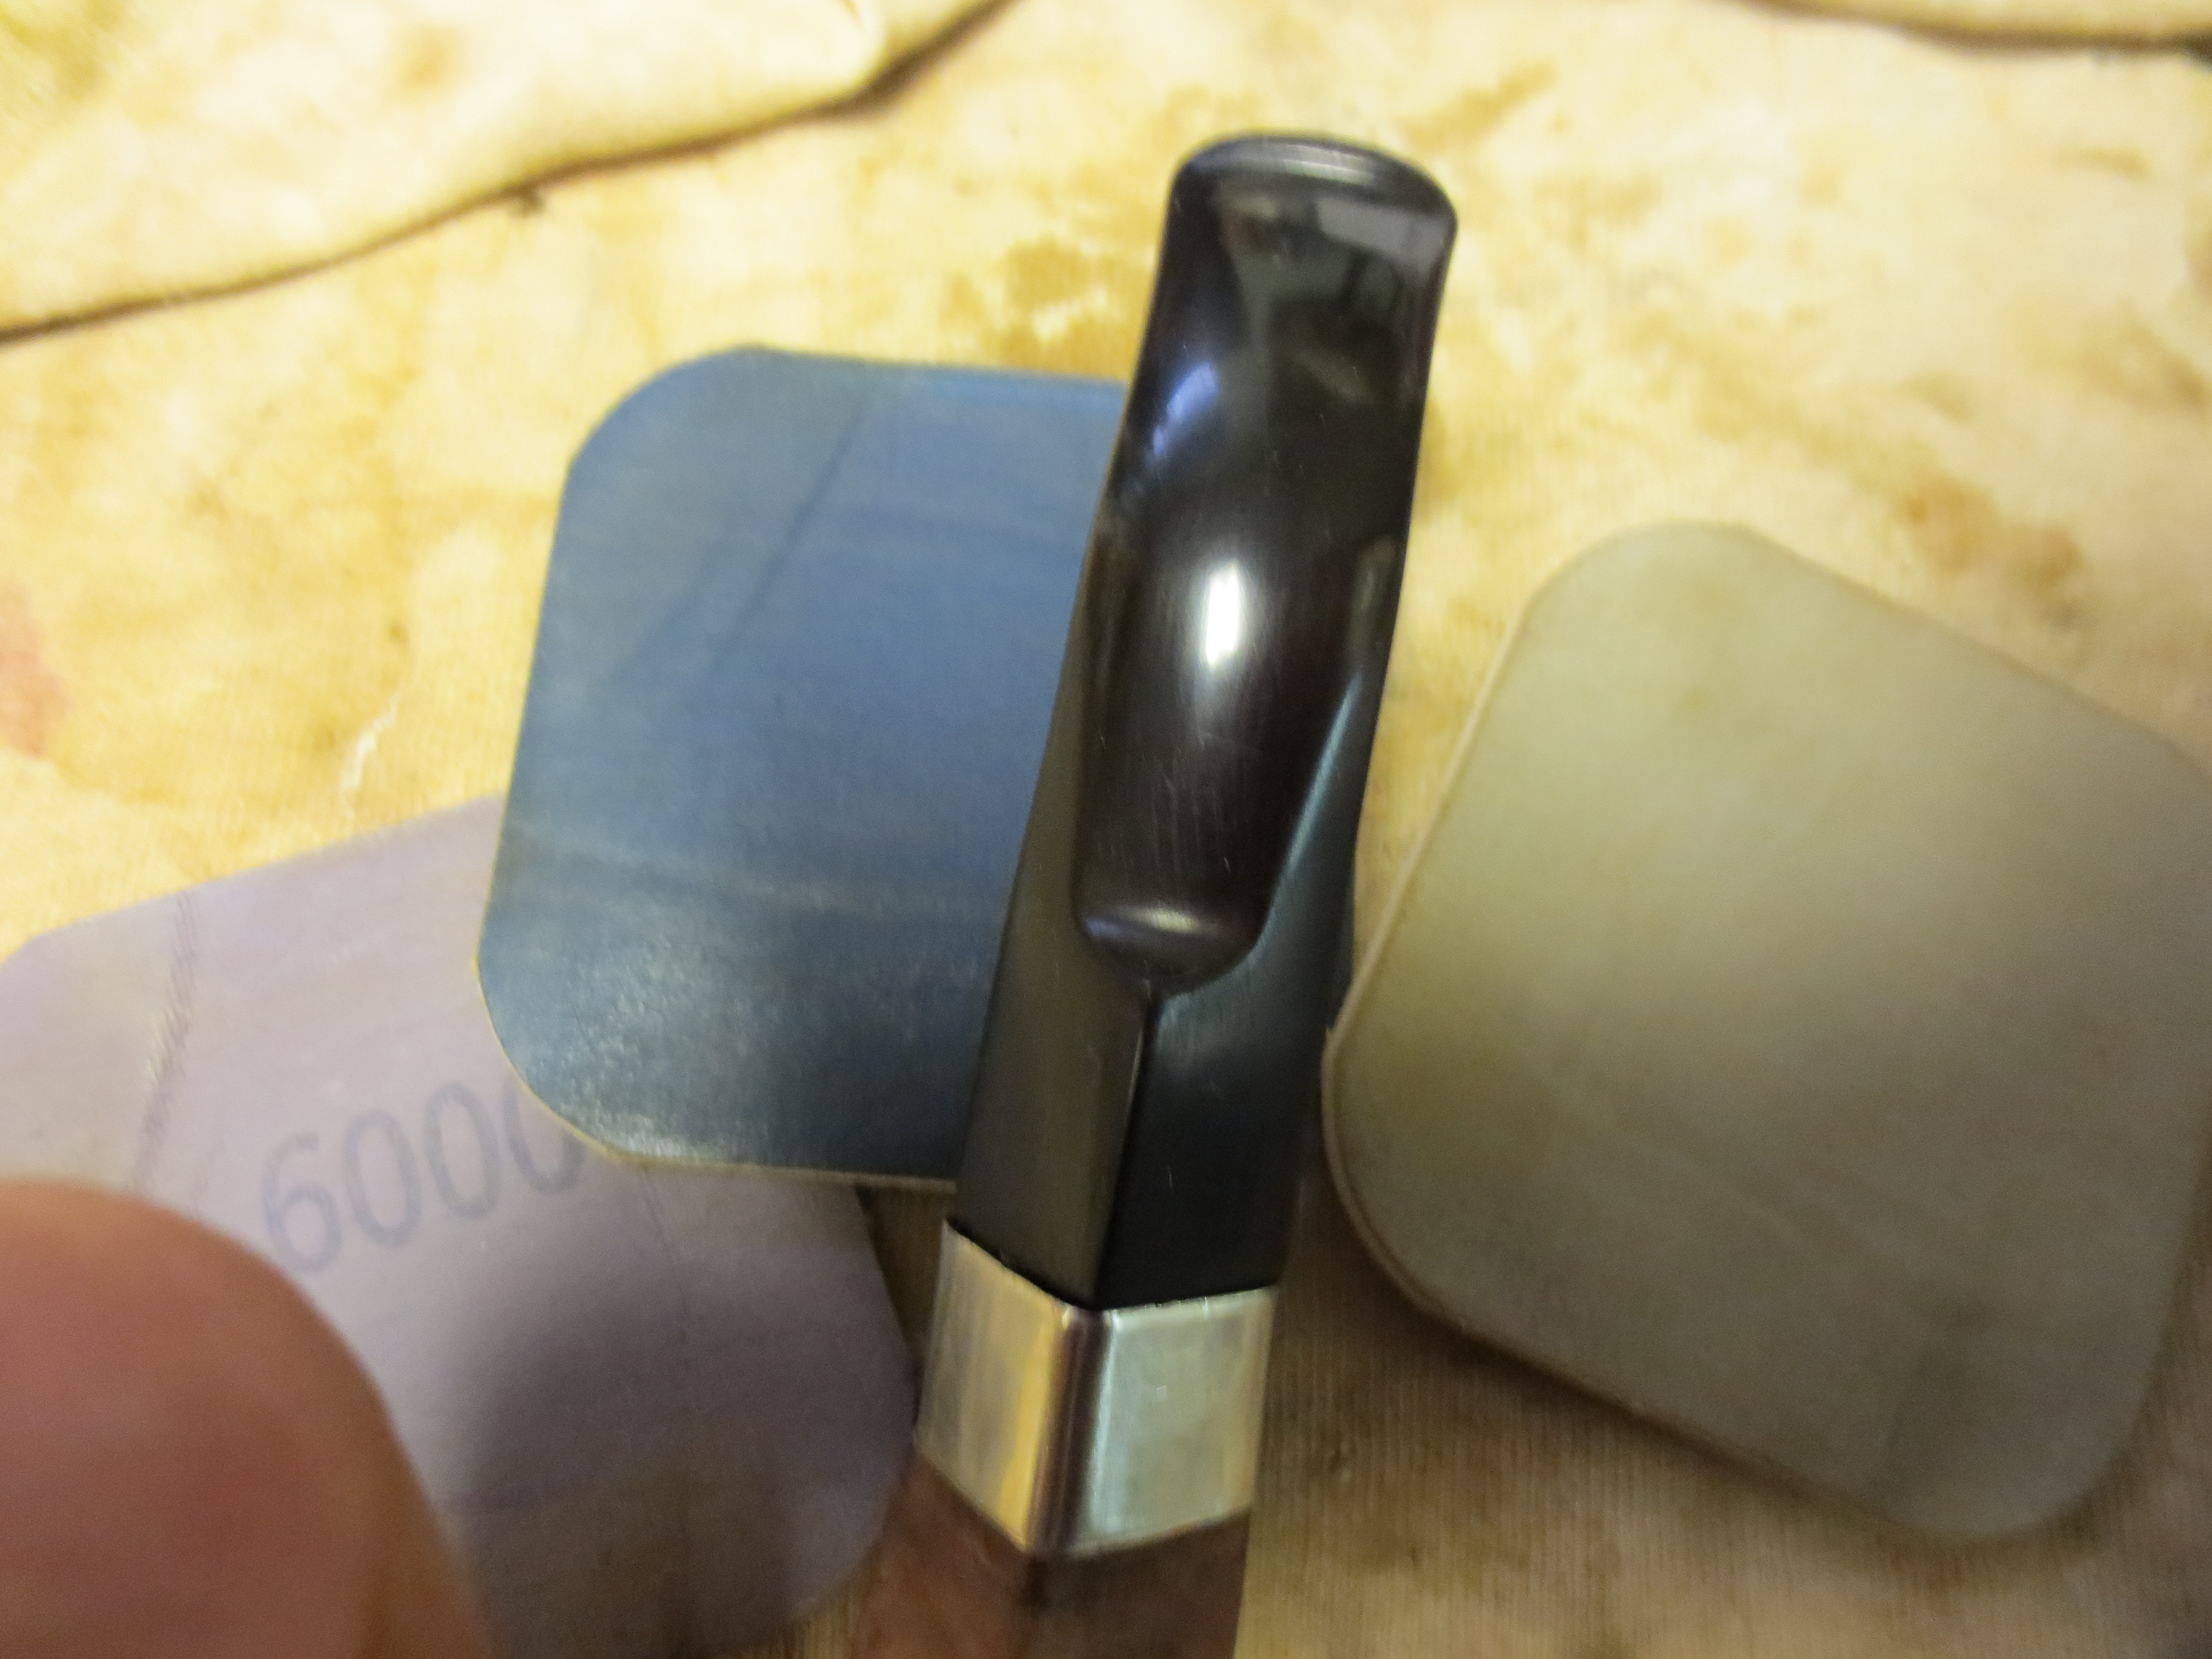
After finishing the bowl it was time to work on the stem. I sanded the blade area where the tooth marks were to cause them to stand out a bit more clearly. I used a fine grit sanding sponge first. I then heated the slight tooth dents with a Bic lighter to lift them. I find that this works very well for light dents in vulcanite. I do not leave the flame in one place but move it quickly across the surface of the dent and it literally lifts with the heat. I then wet sanded the stem with 1500-2400 grit micromesh sanding pads and followed that by dry sanding with 3200 and 3600 grit micromesh pads. The next series of eight photos gives you a look at the progress of the sanding.

IMG_0811

IMG_0816

IMG_0812

IMG_0813

IMG_0809

IMG_0814

IMG_0810

IMG_0815

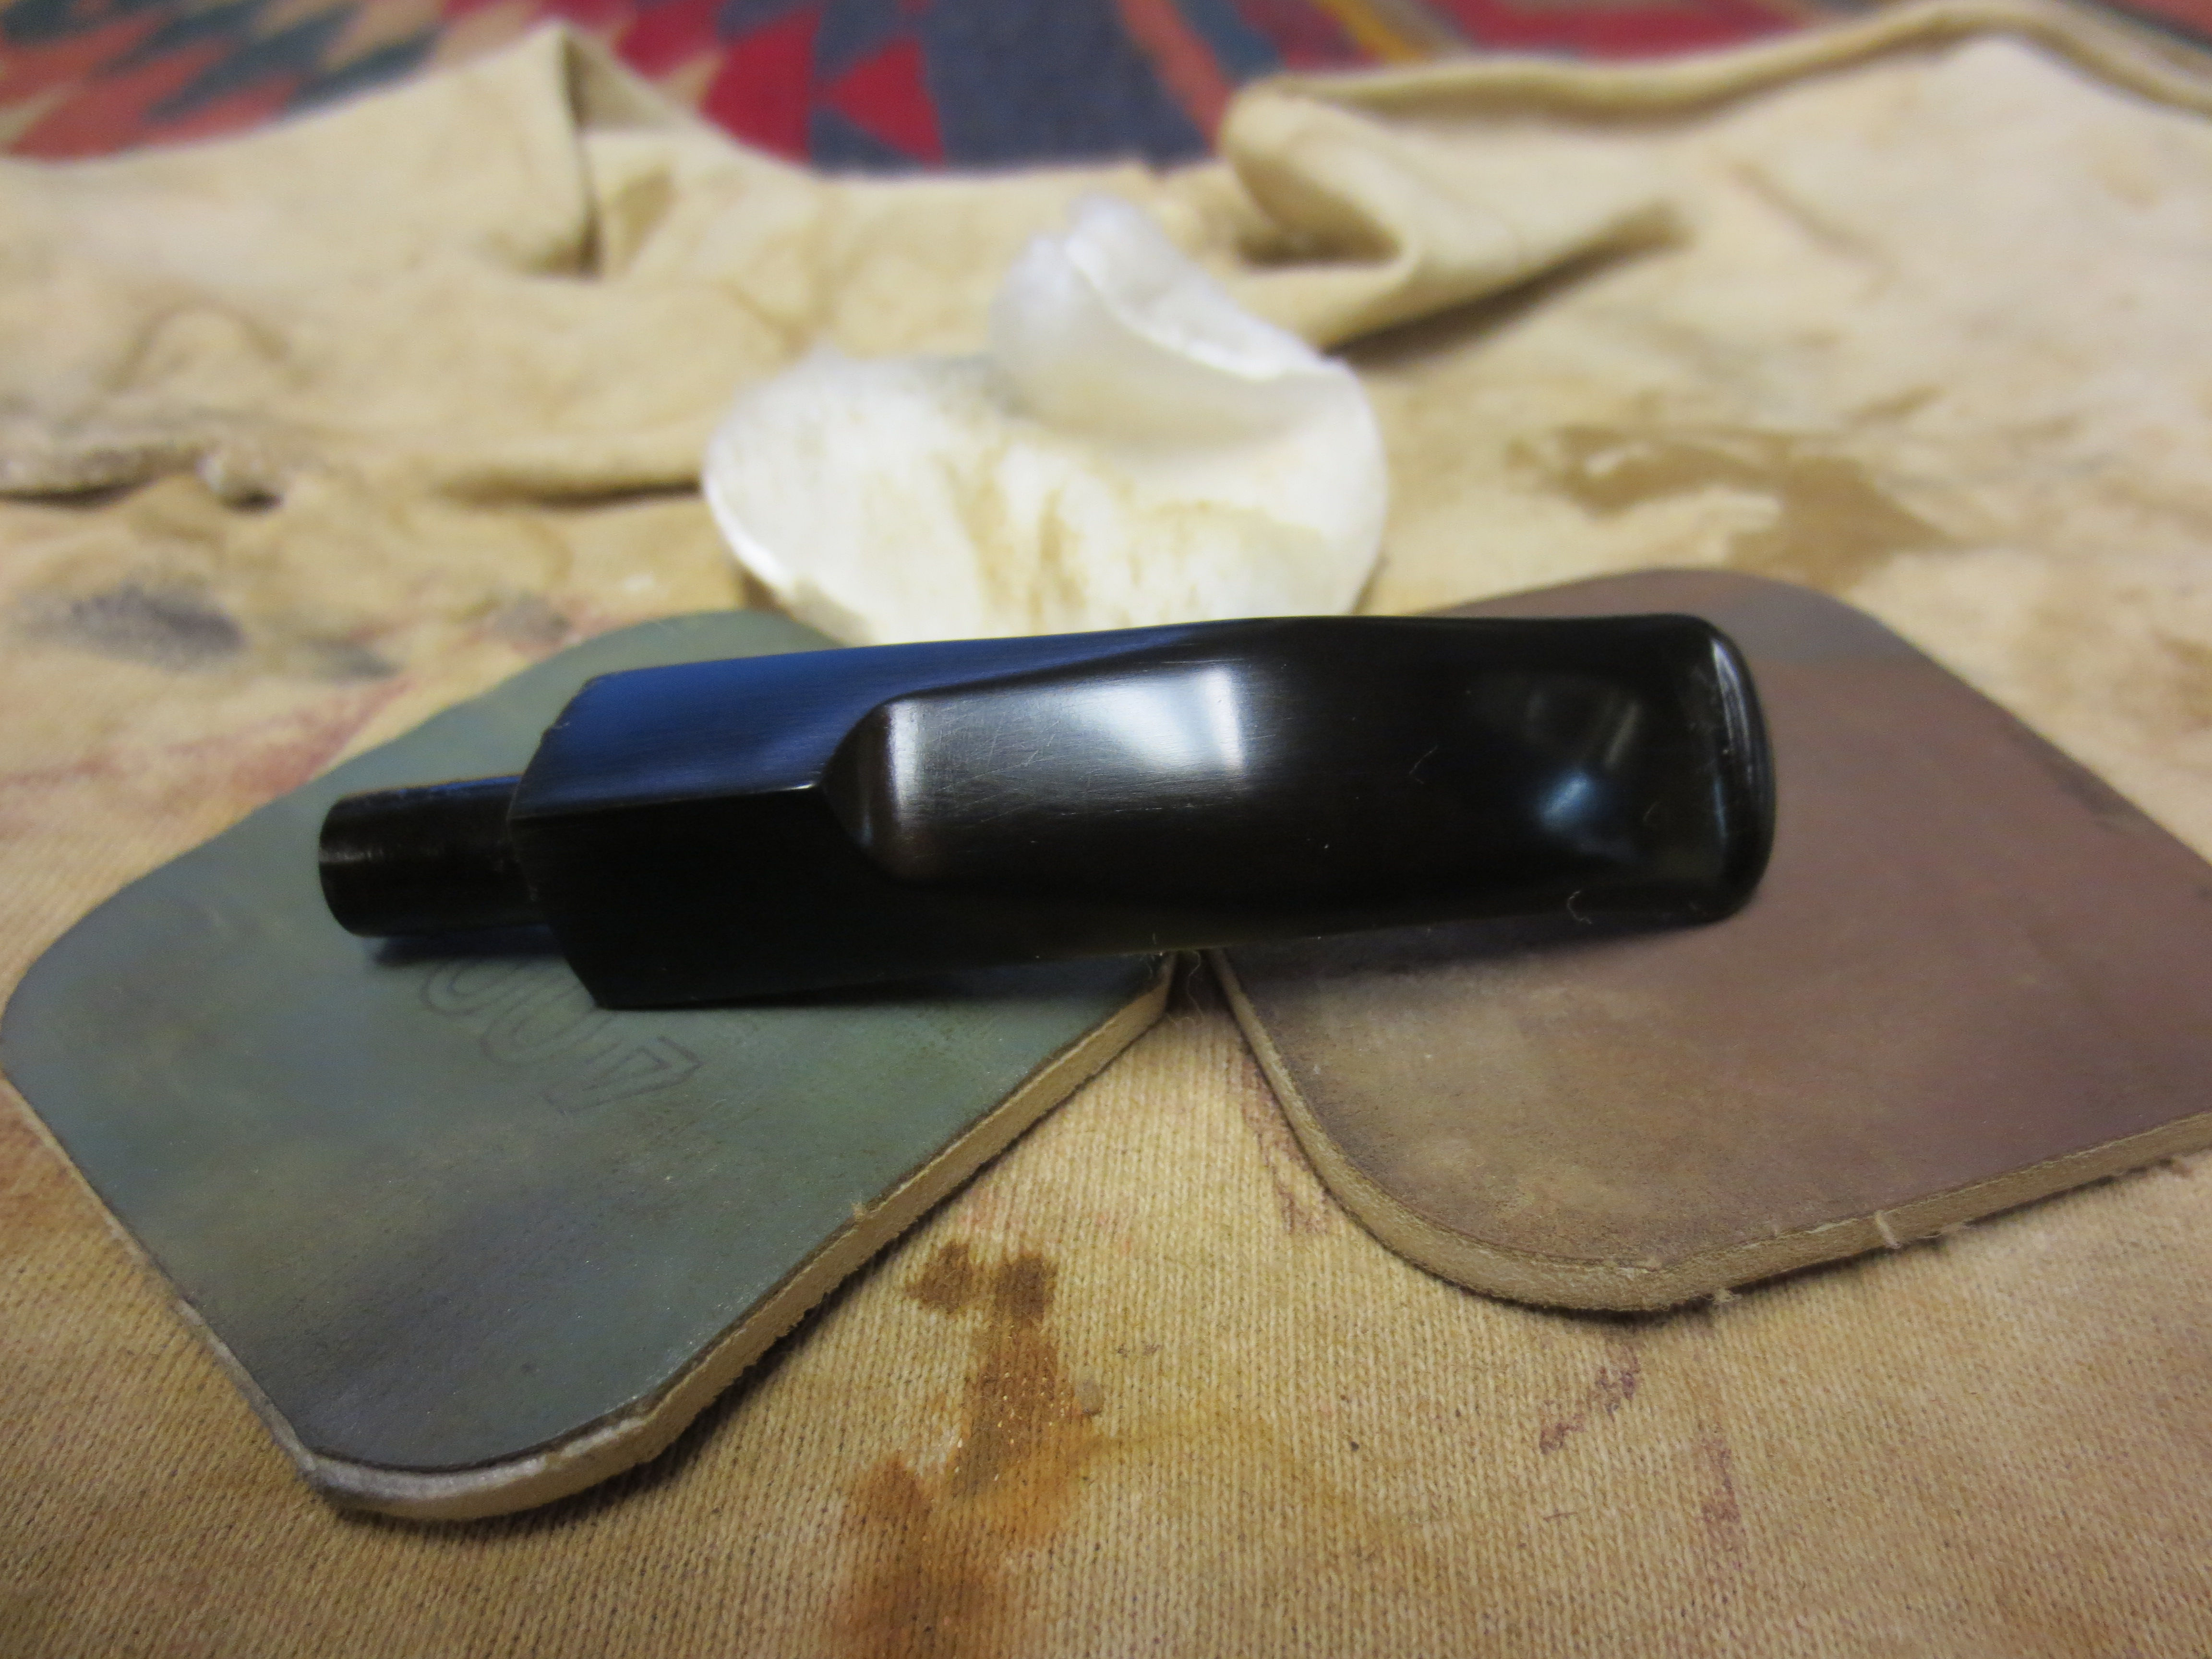
At this point in the process I wiped down the stem with Obsidian Oil and rubbed it into the vulcanite. I wanted to see where the remaining oxidation was so that I could do some more work on those areas.

IMG_0817

I continued sanding the stem with 4000, 6000, 8000 and 12,000 grit micromesh sanding pads. The next three photos show the progress of the shine on the stem. There was still some deep seated oxidation on the stem. I used a Bic lighter and went over the surface of the stem to burn off the oxidation. I wiped it down with a soft cloth and repeat the process until the stem was a shiny black and the oxidation was gone.

IMG_0818

IMG_0819

IMG_0820

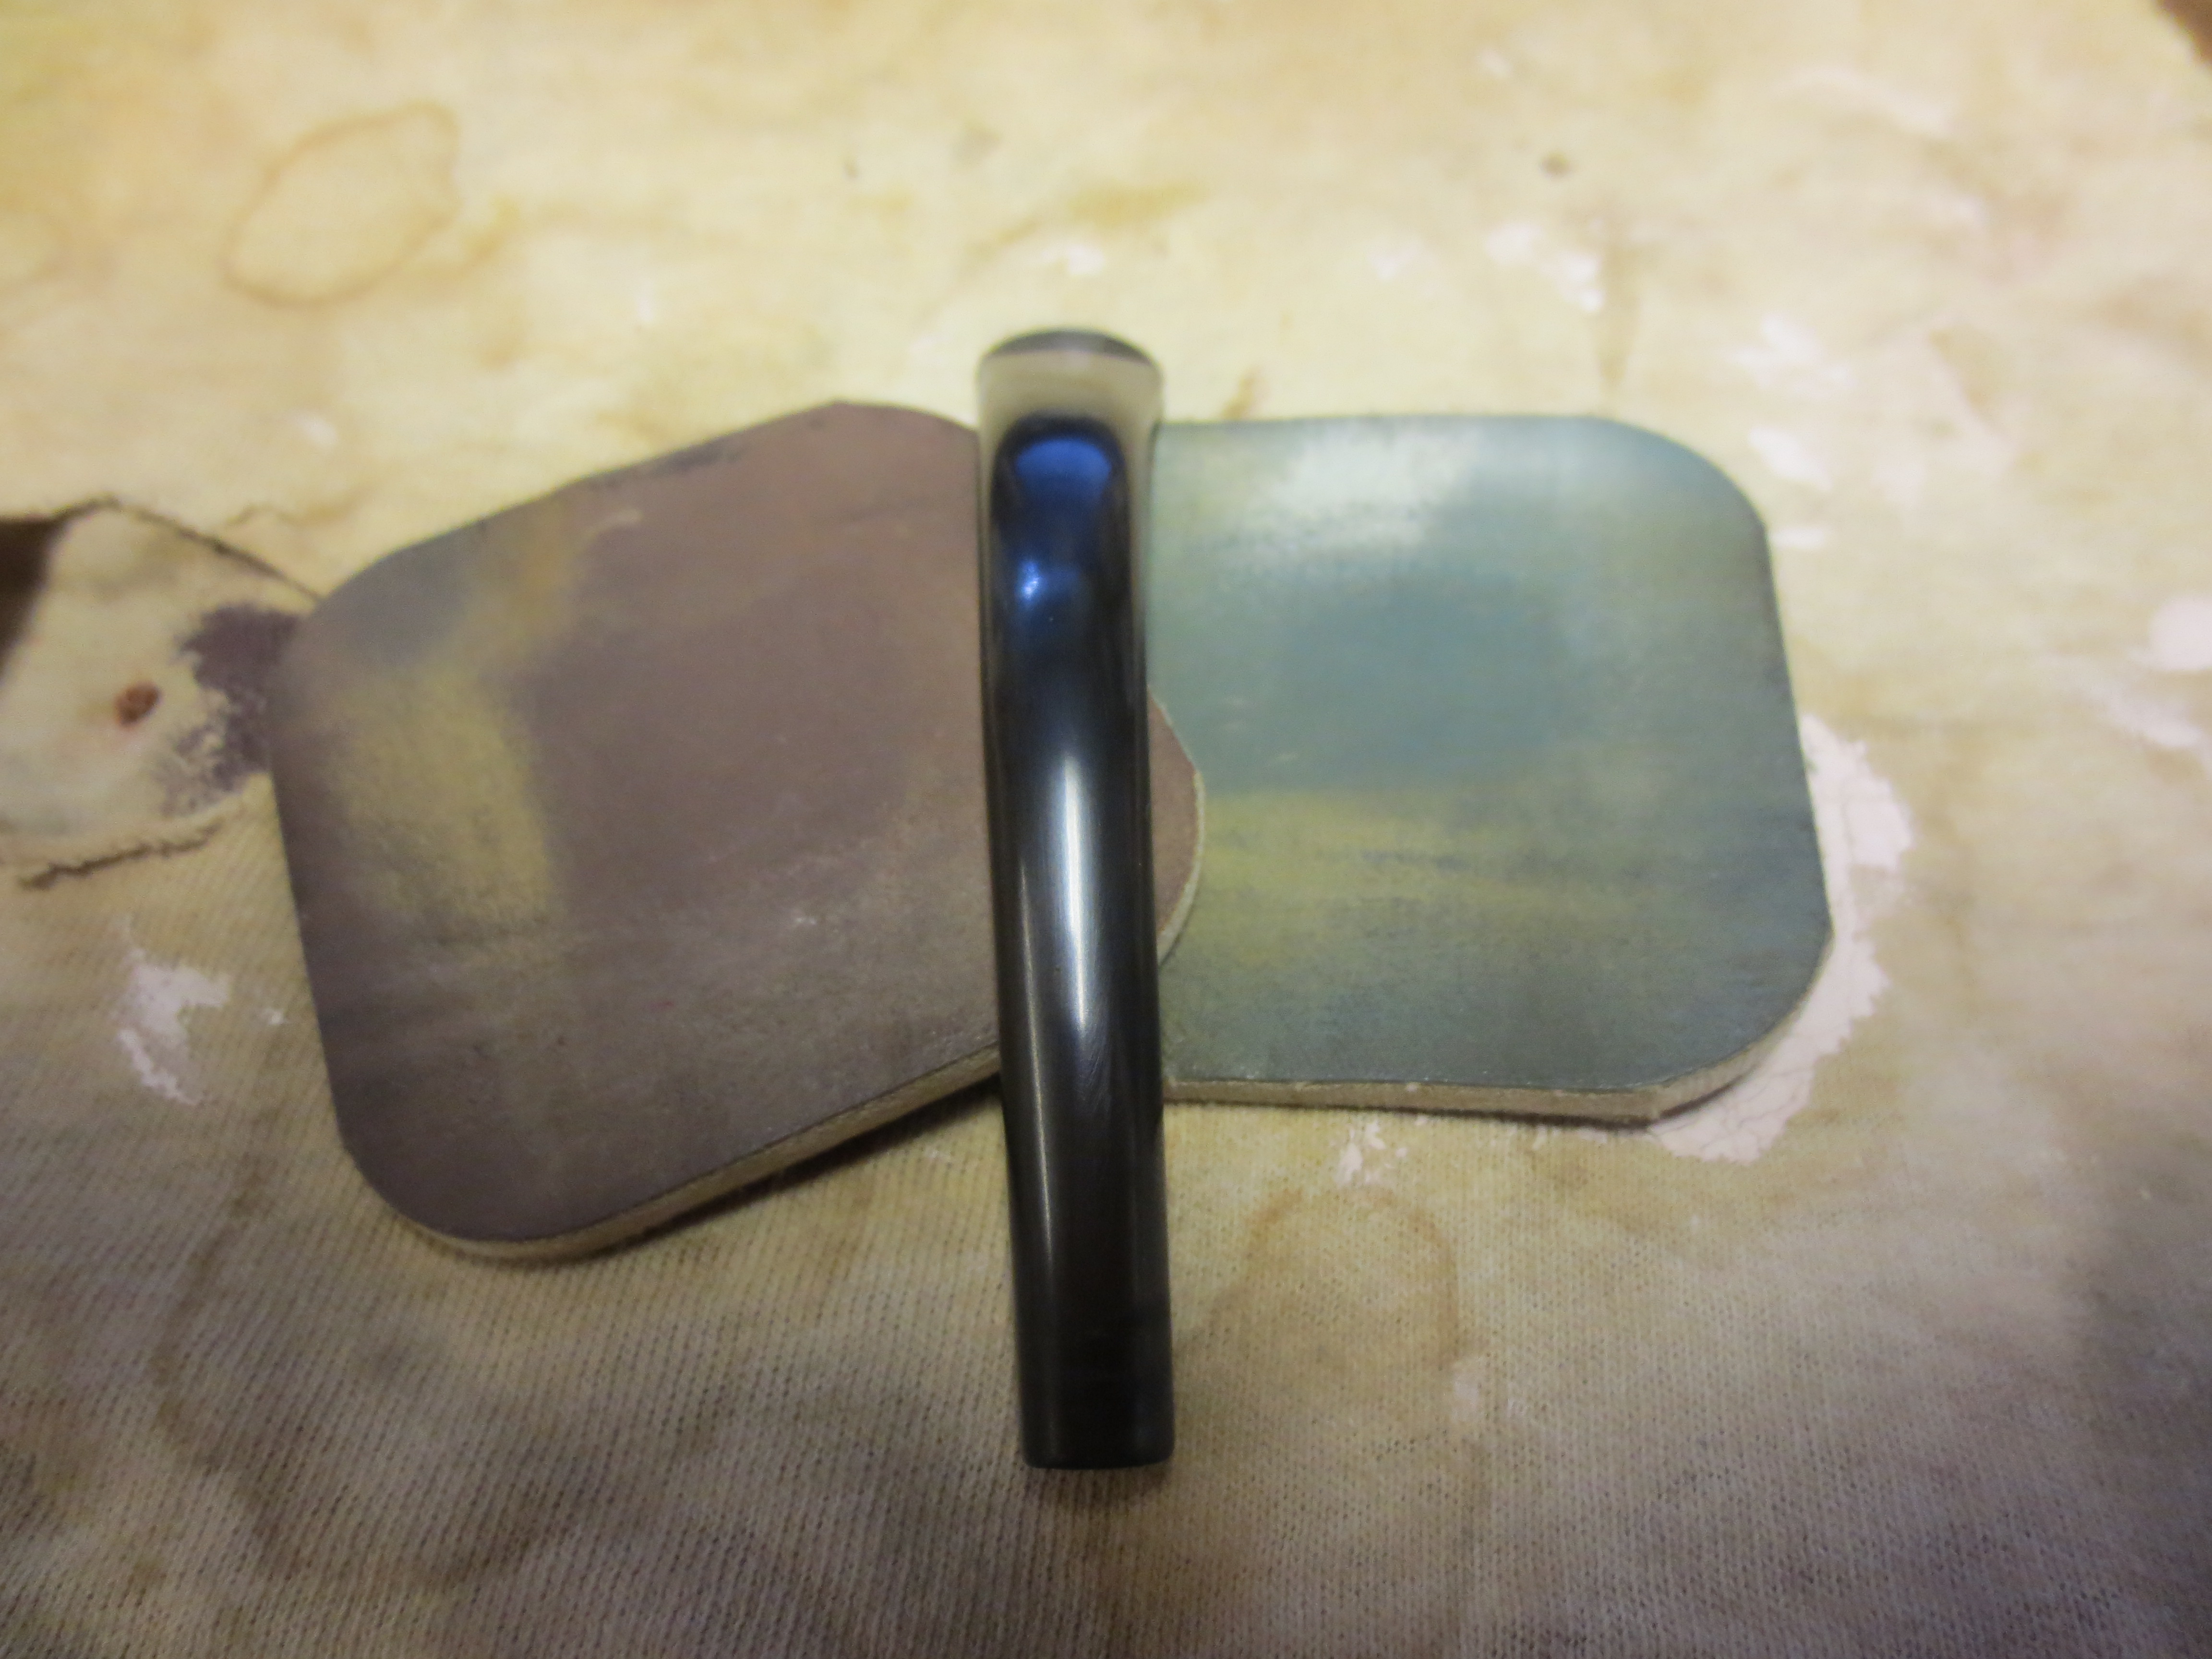
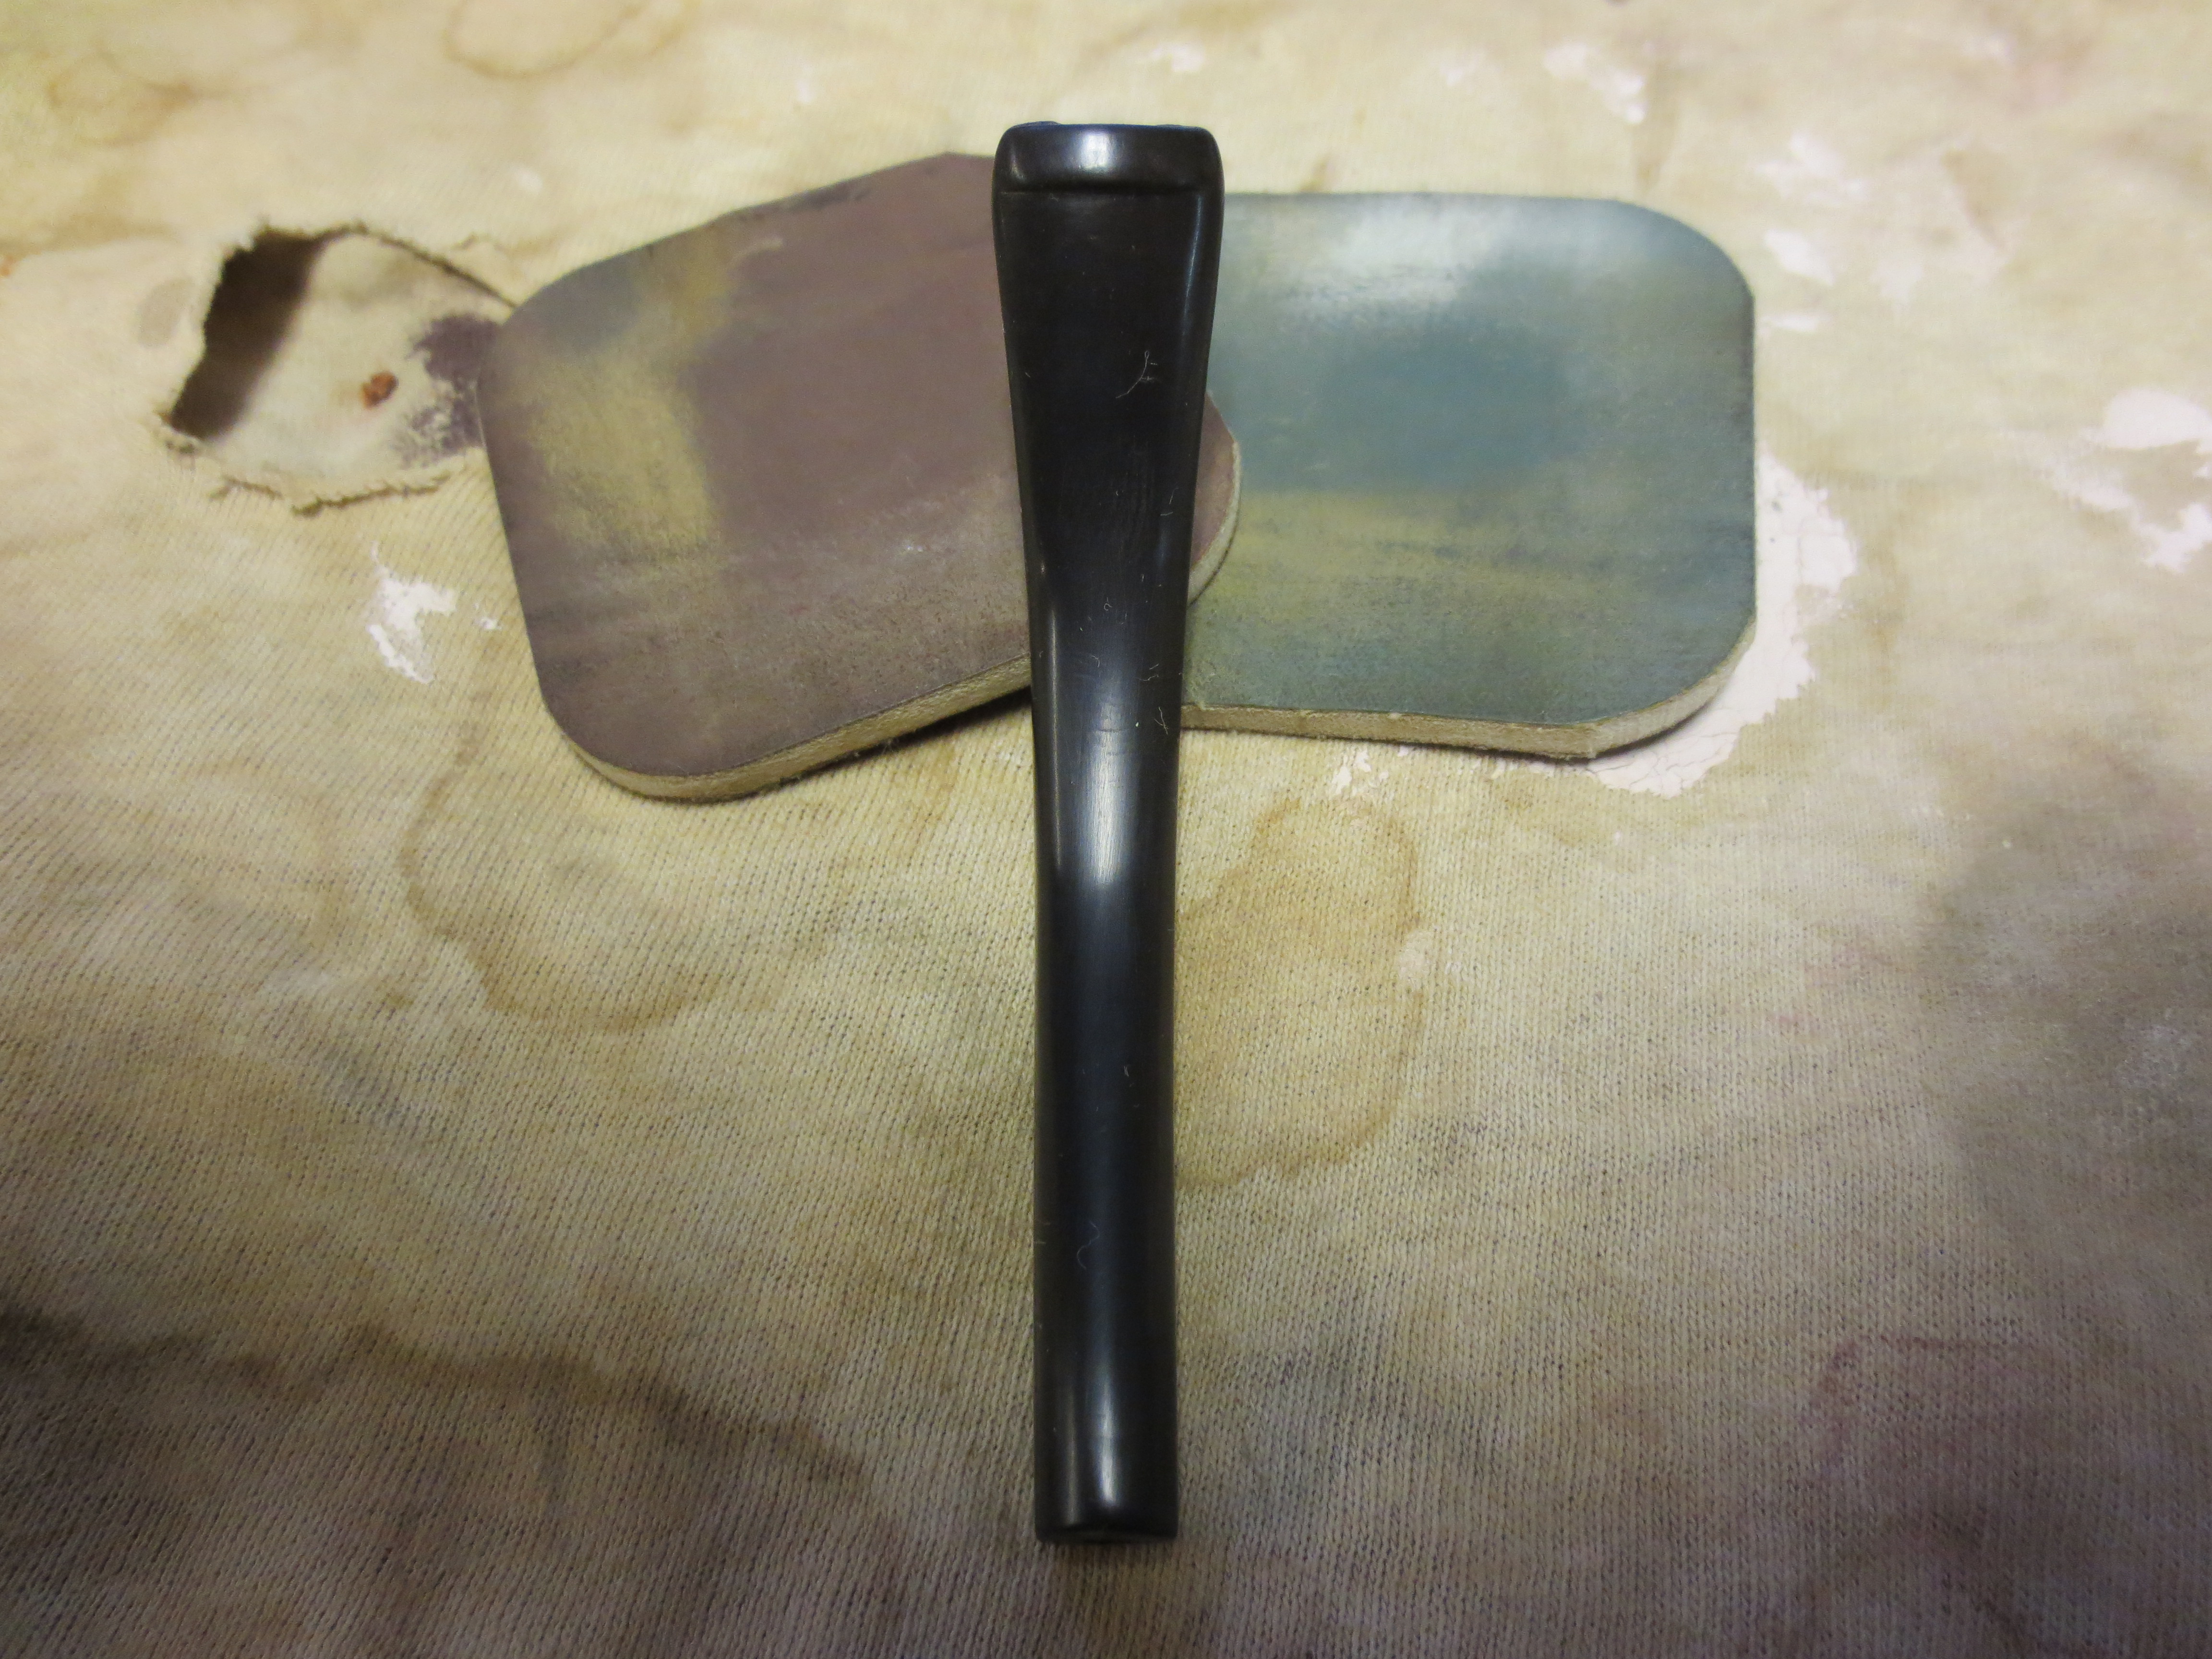
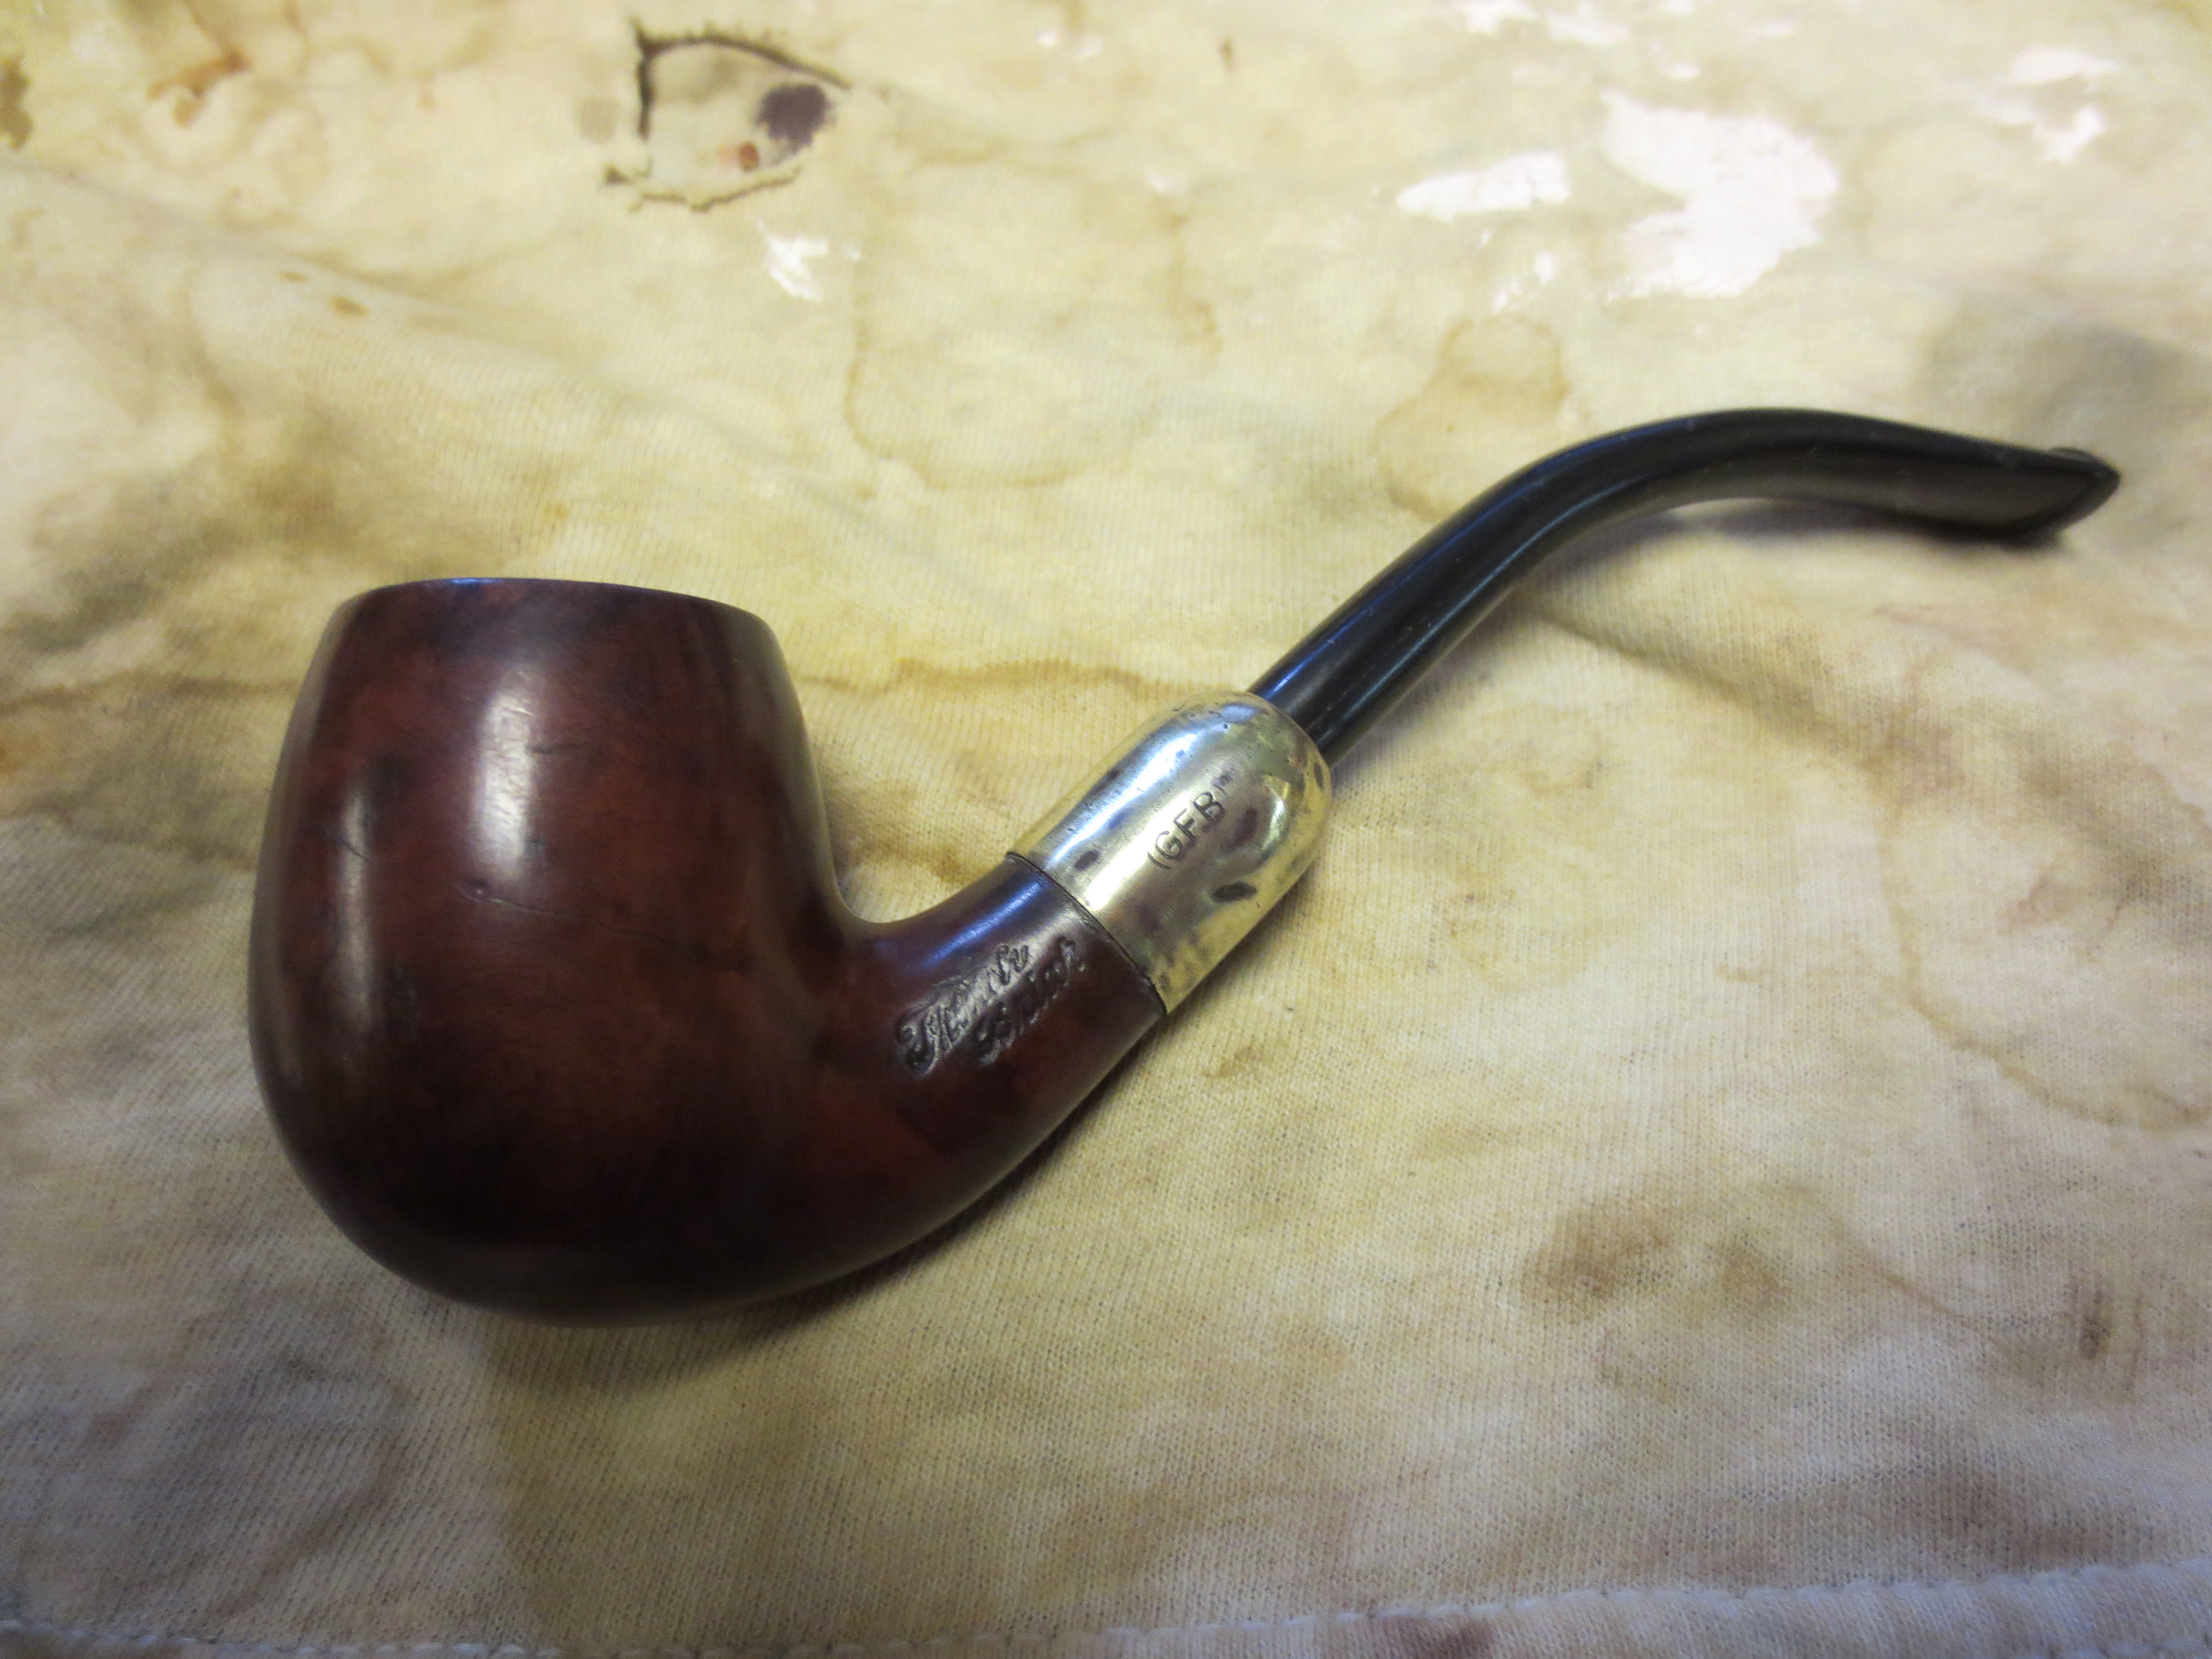
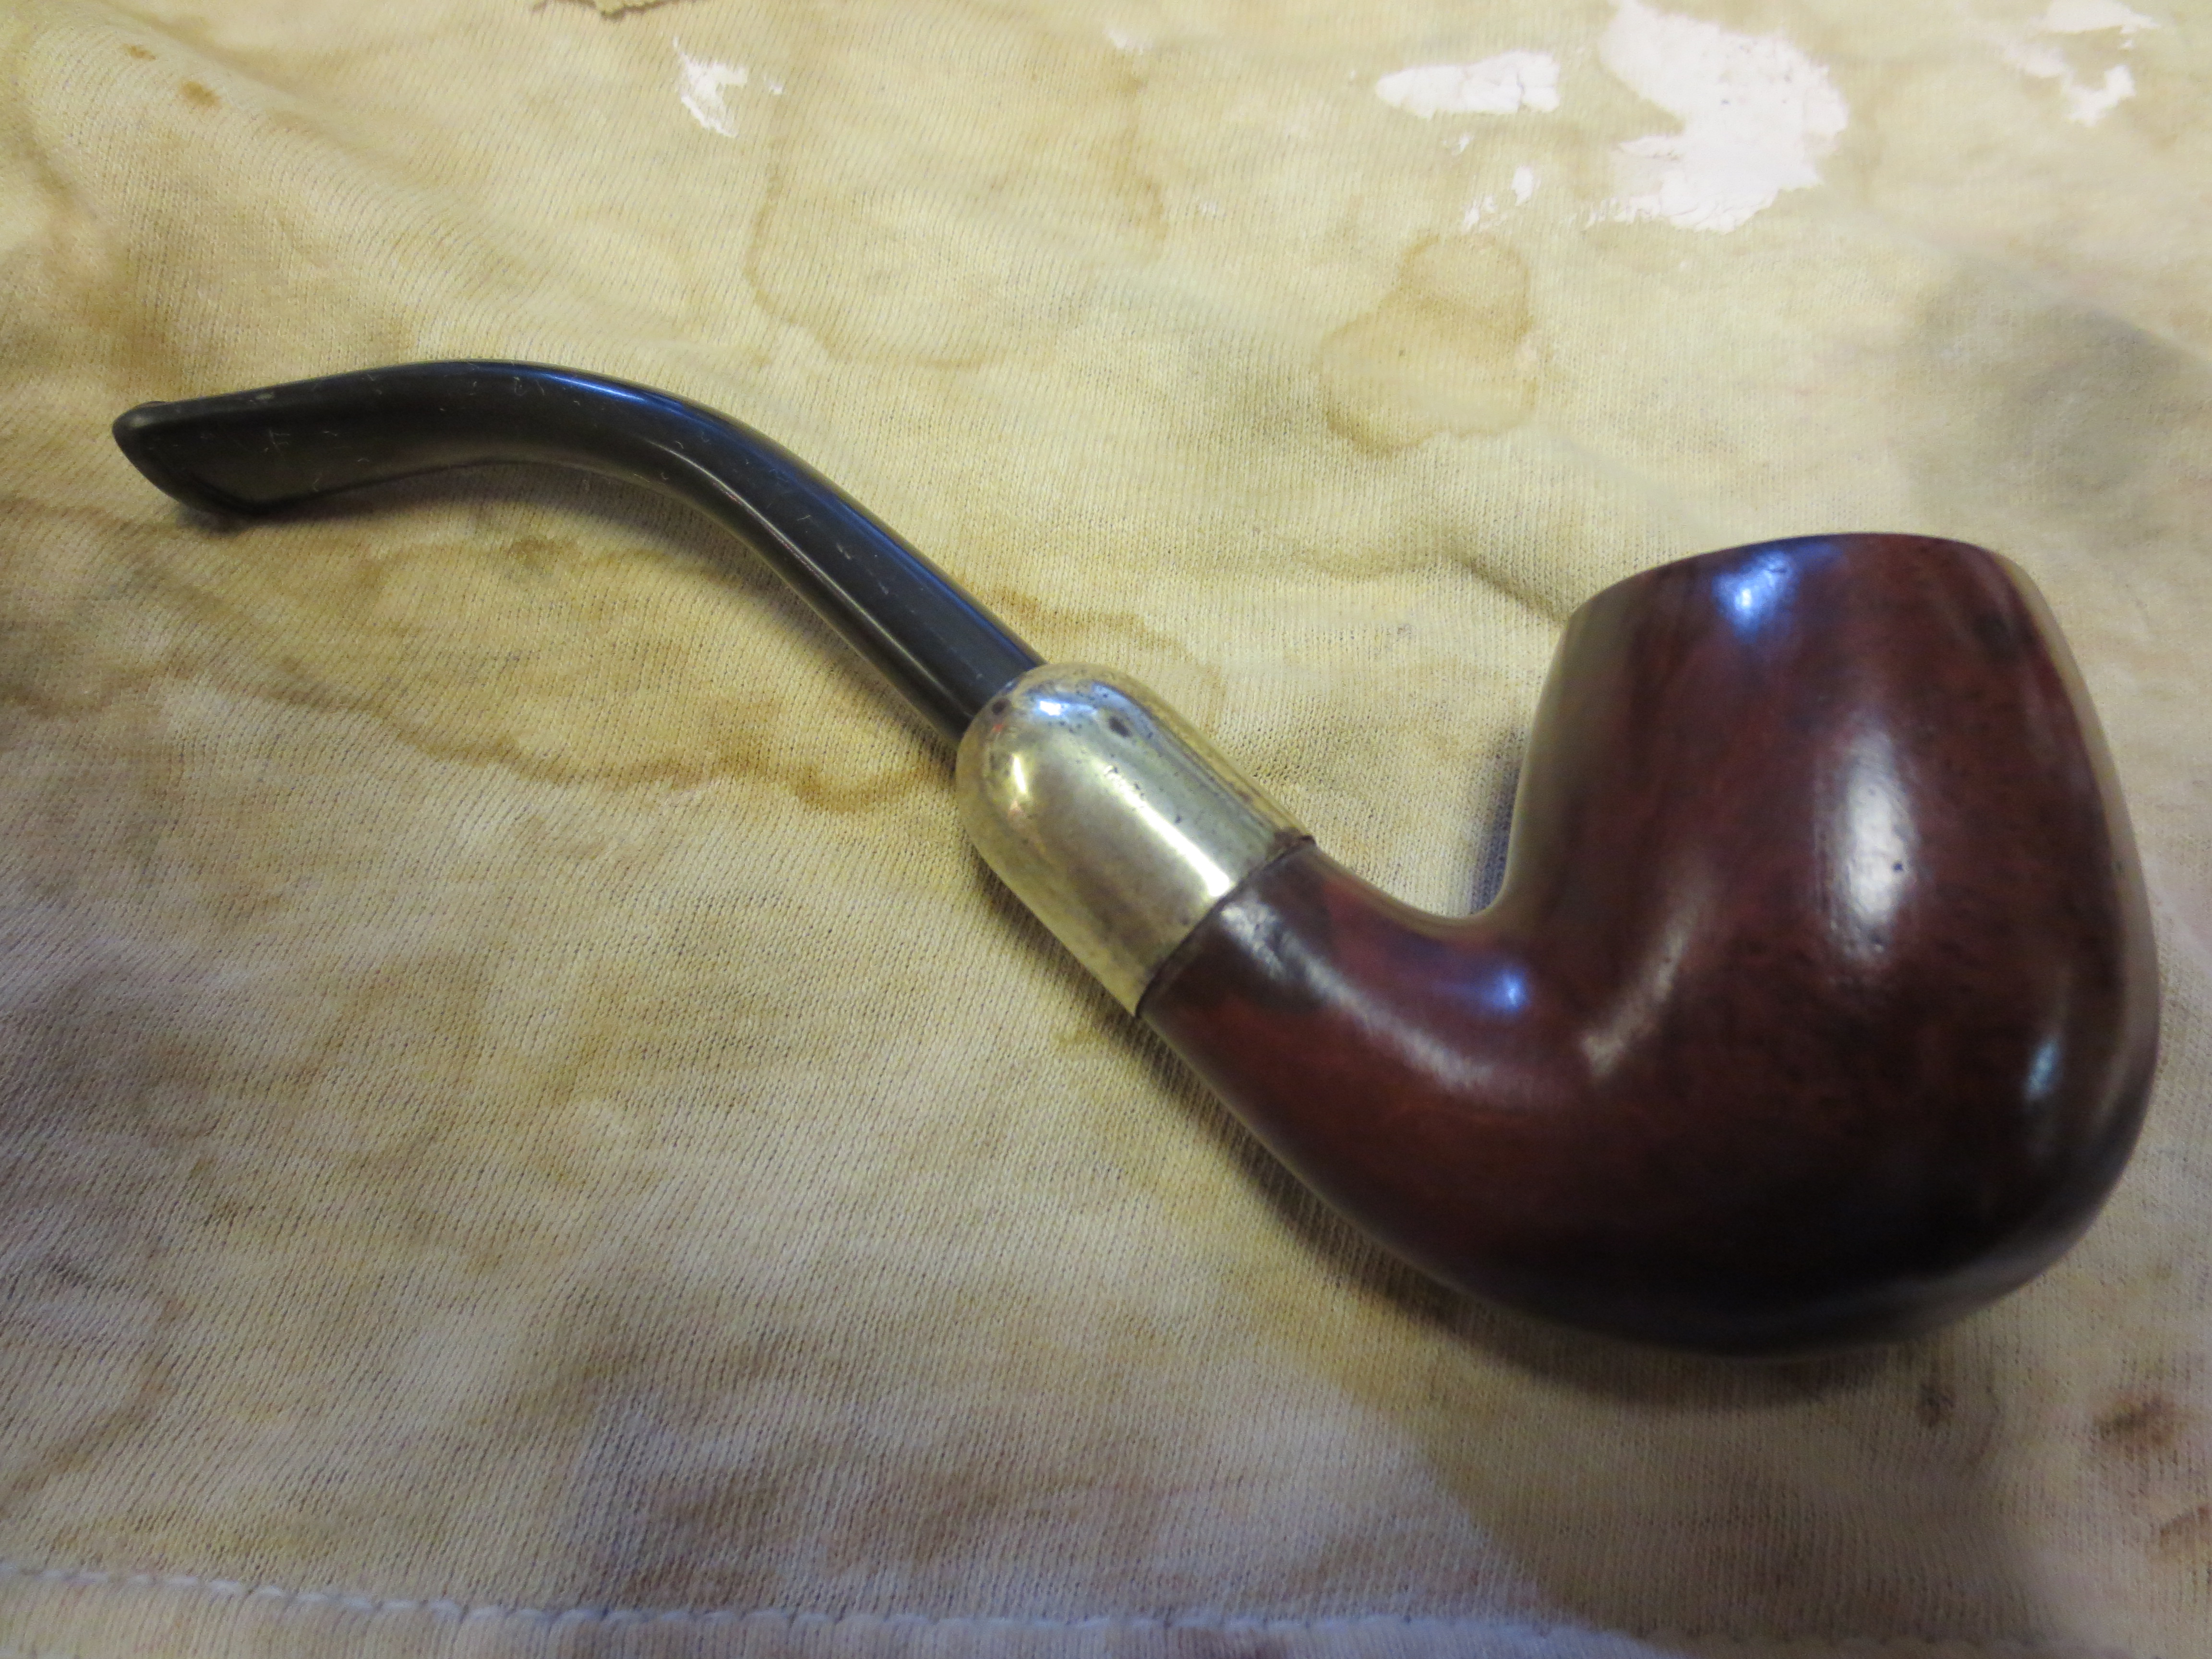
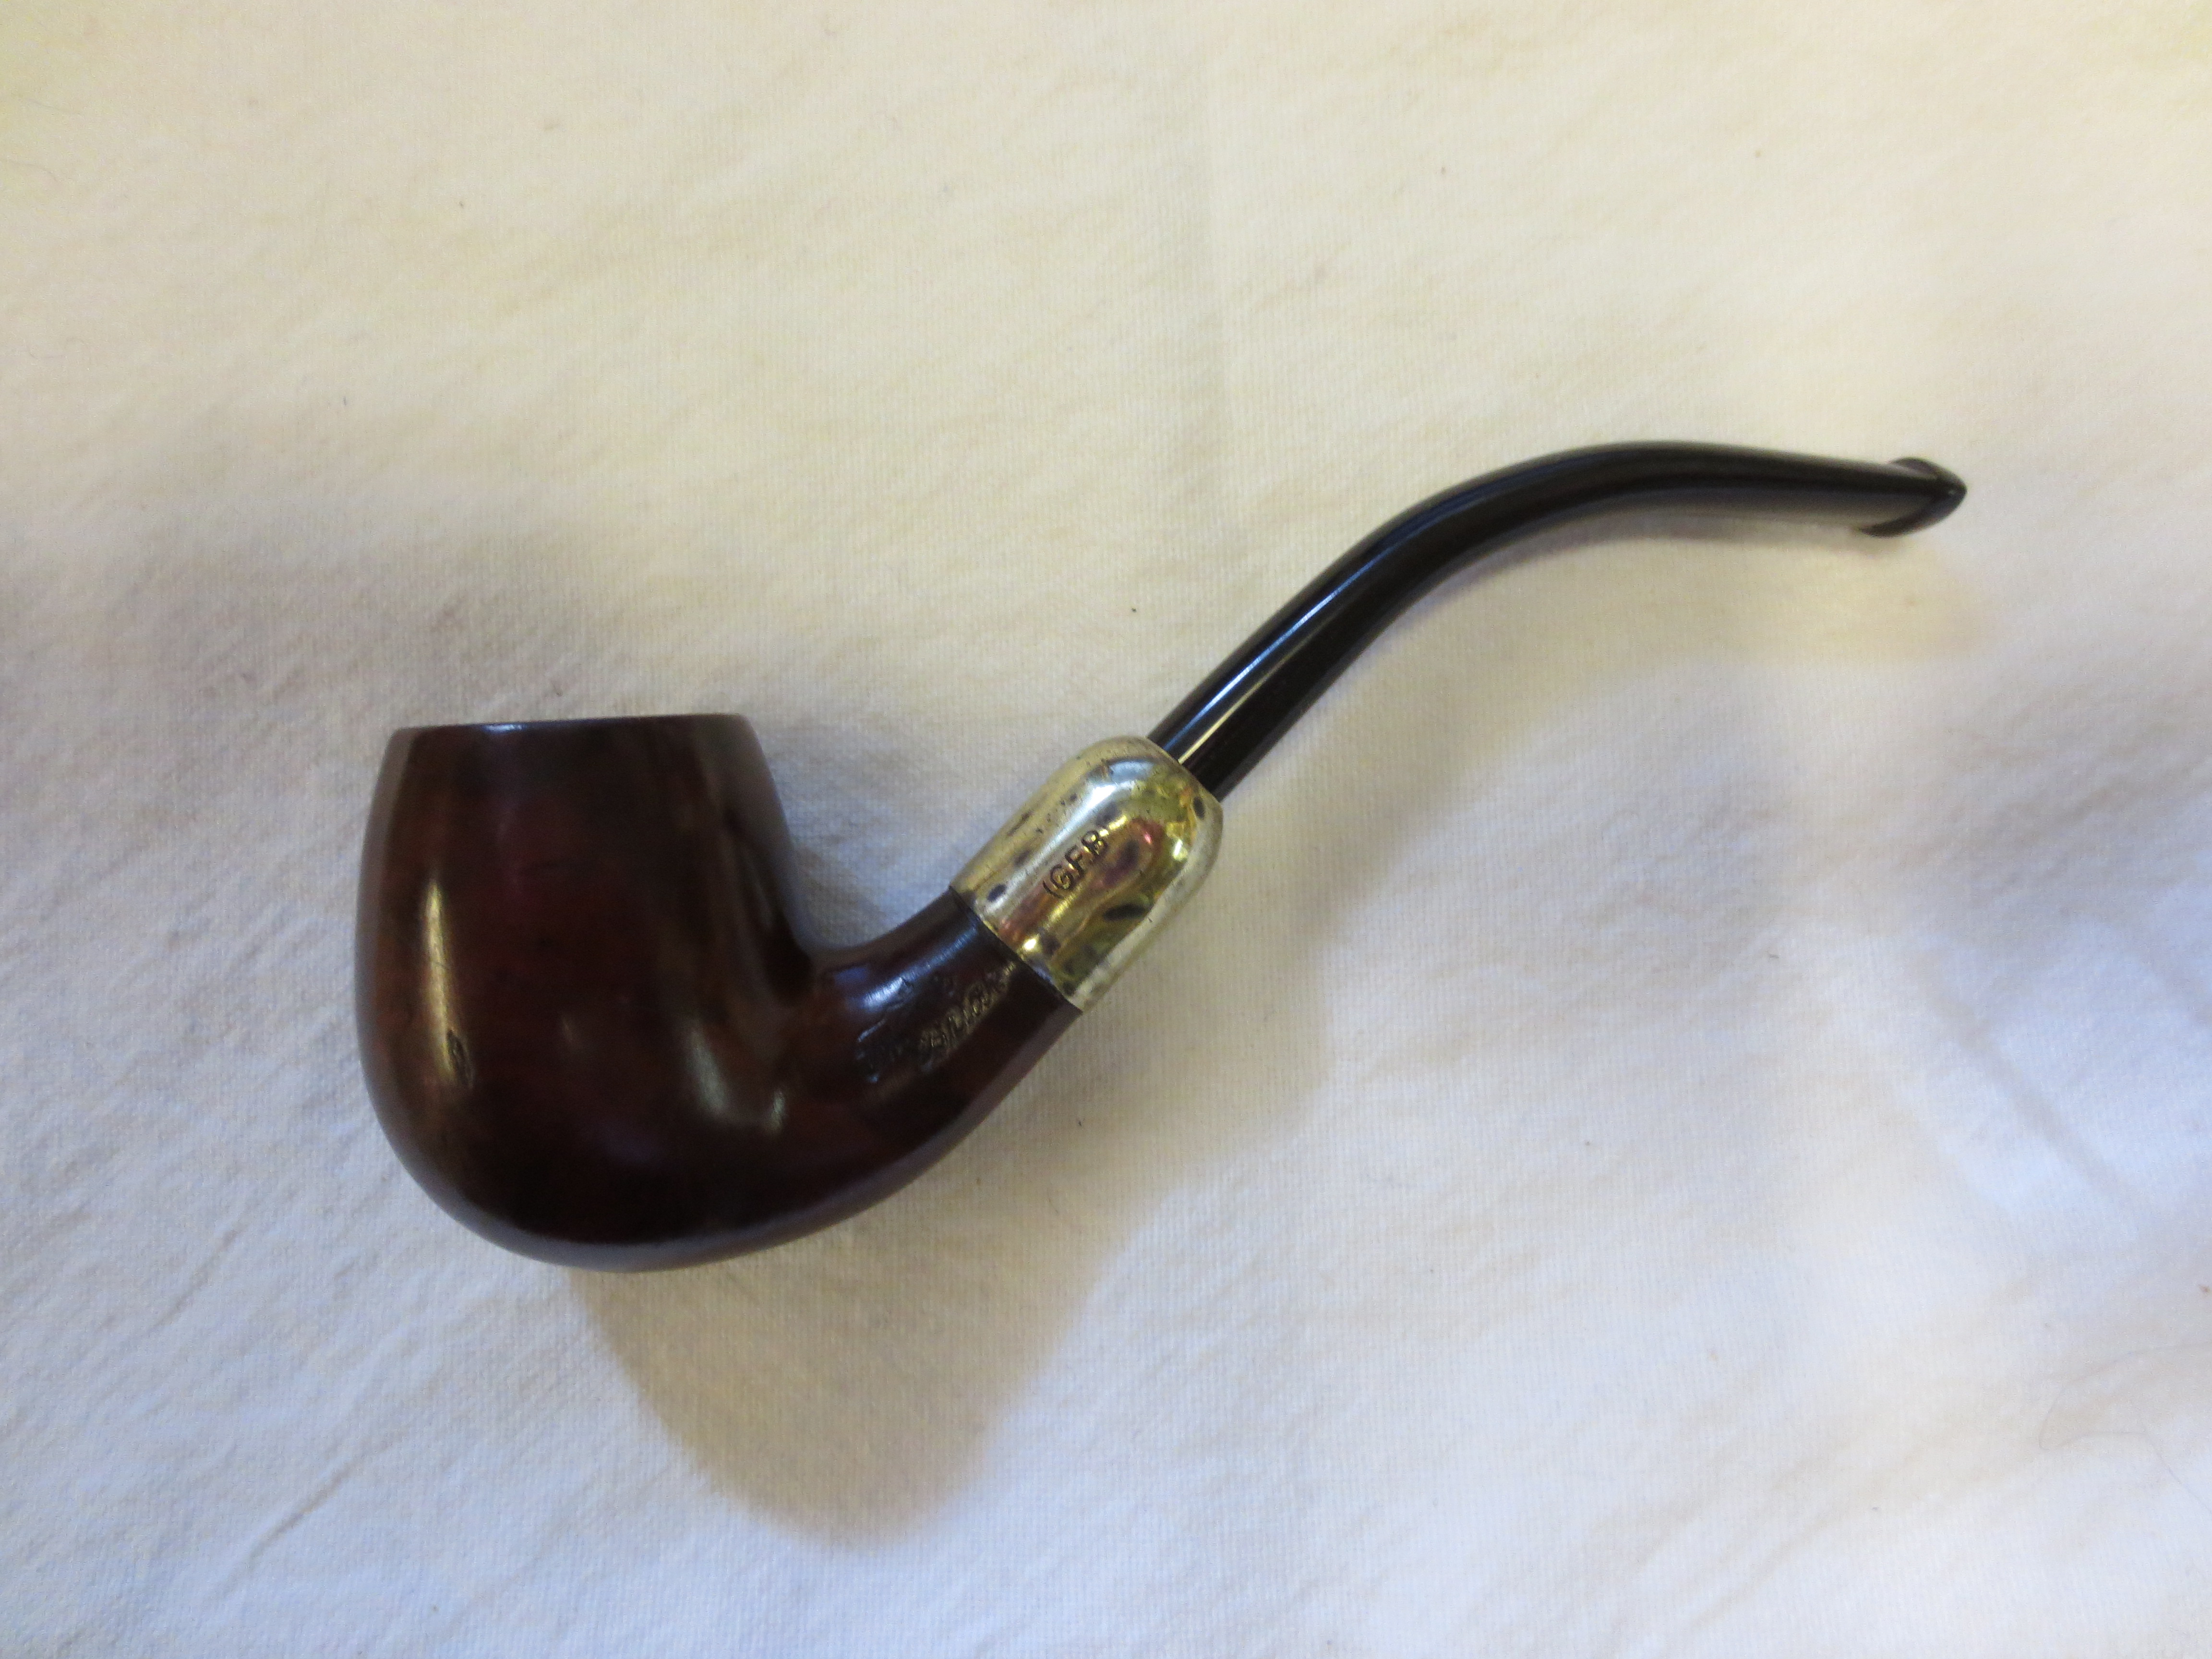
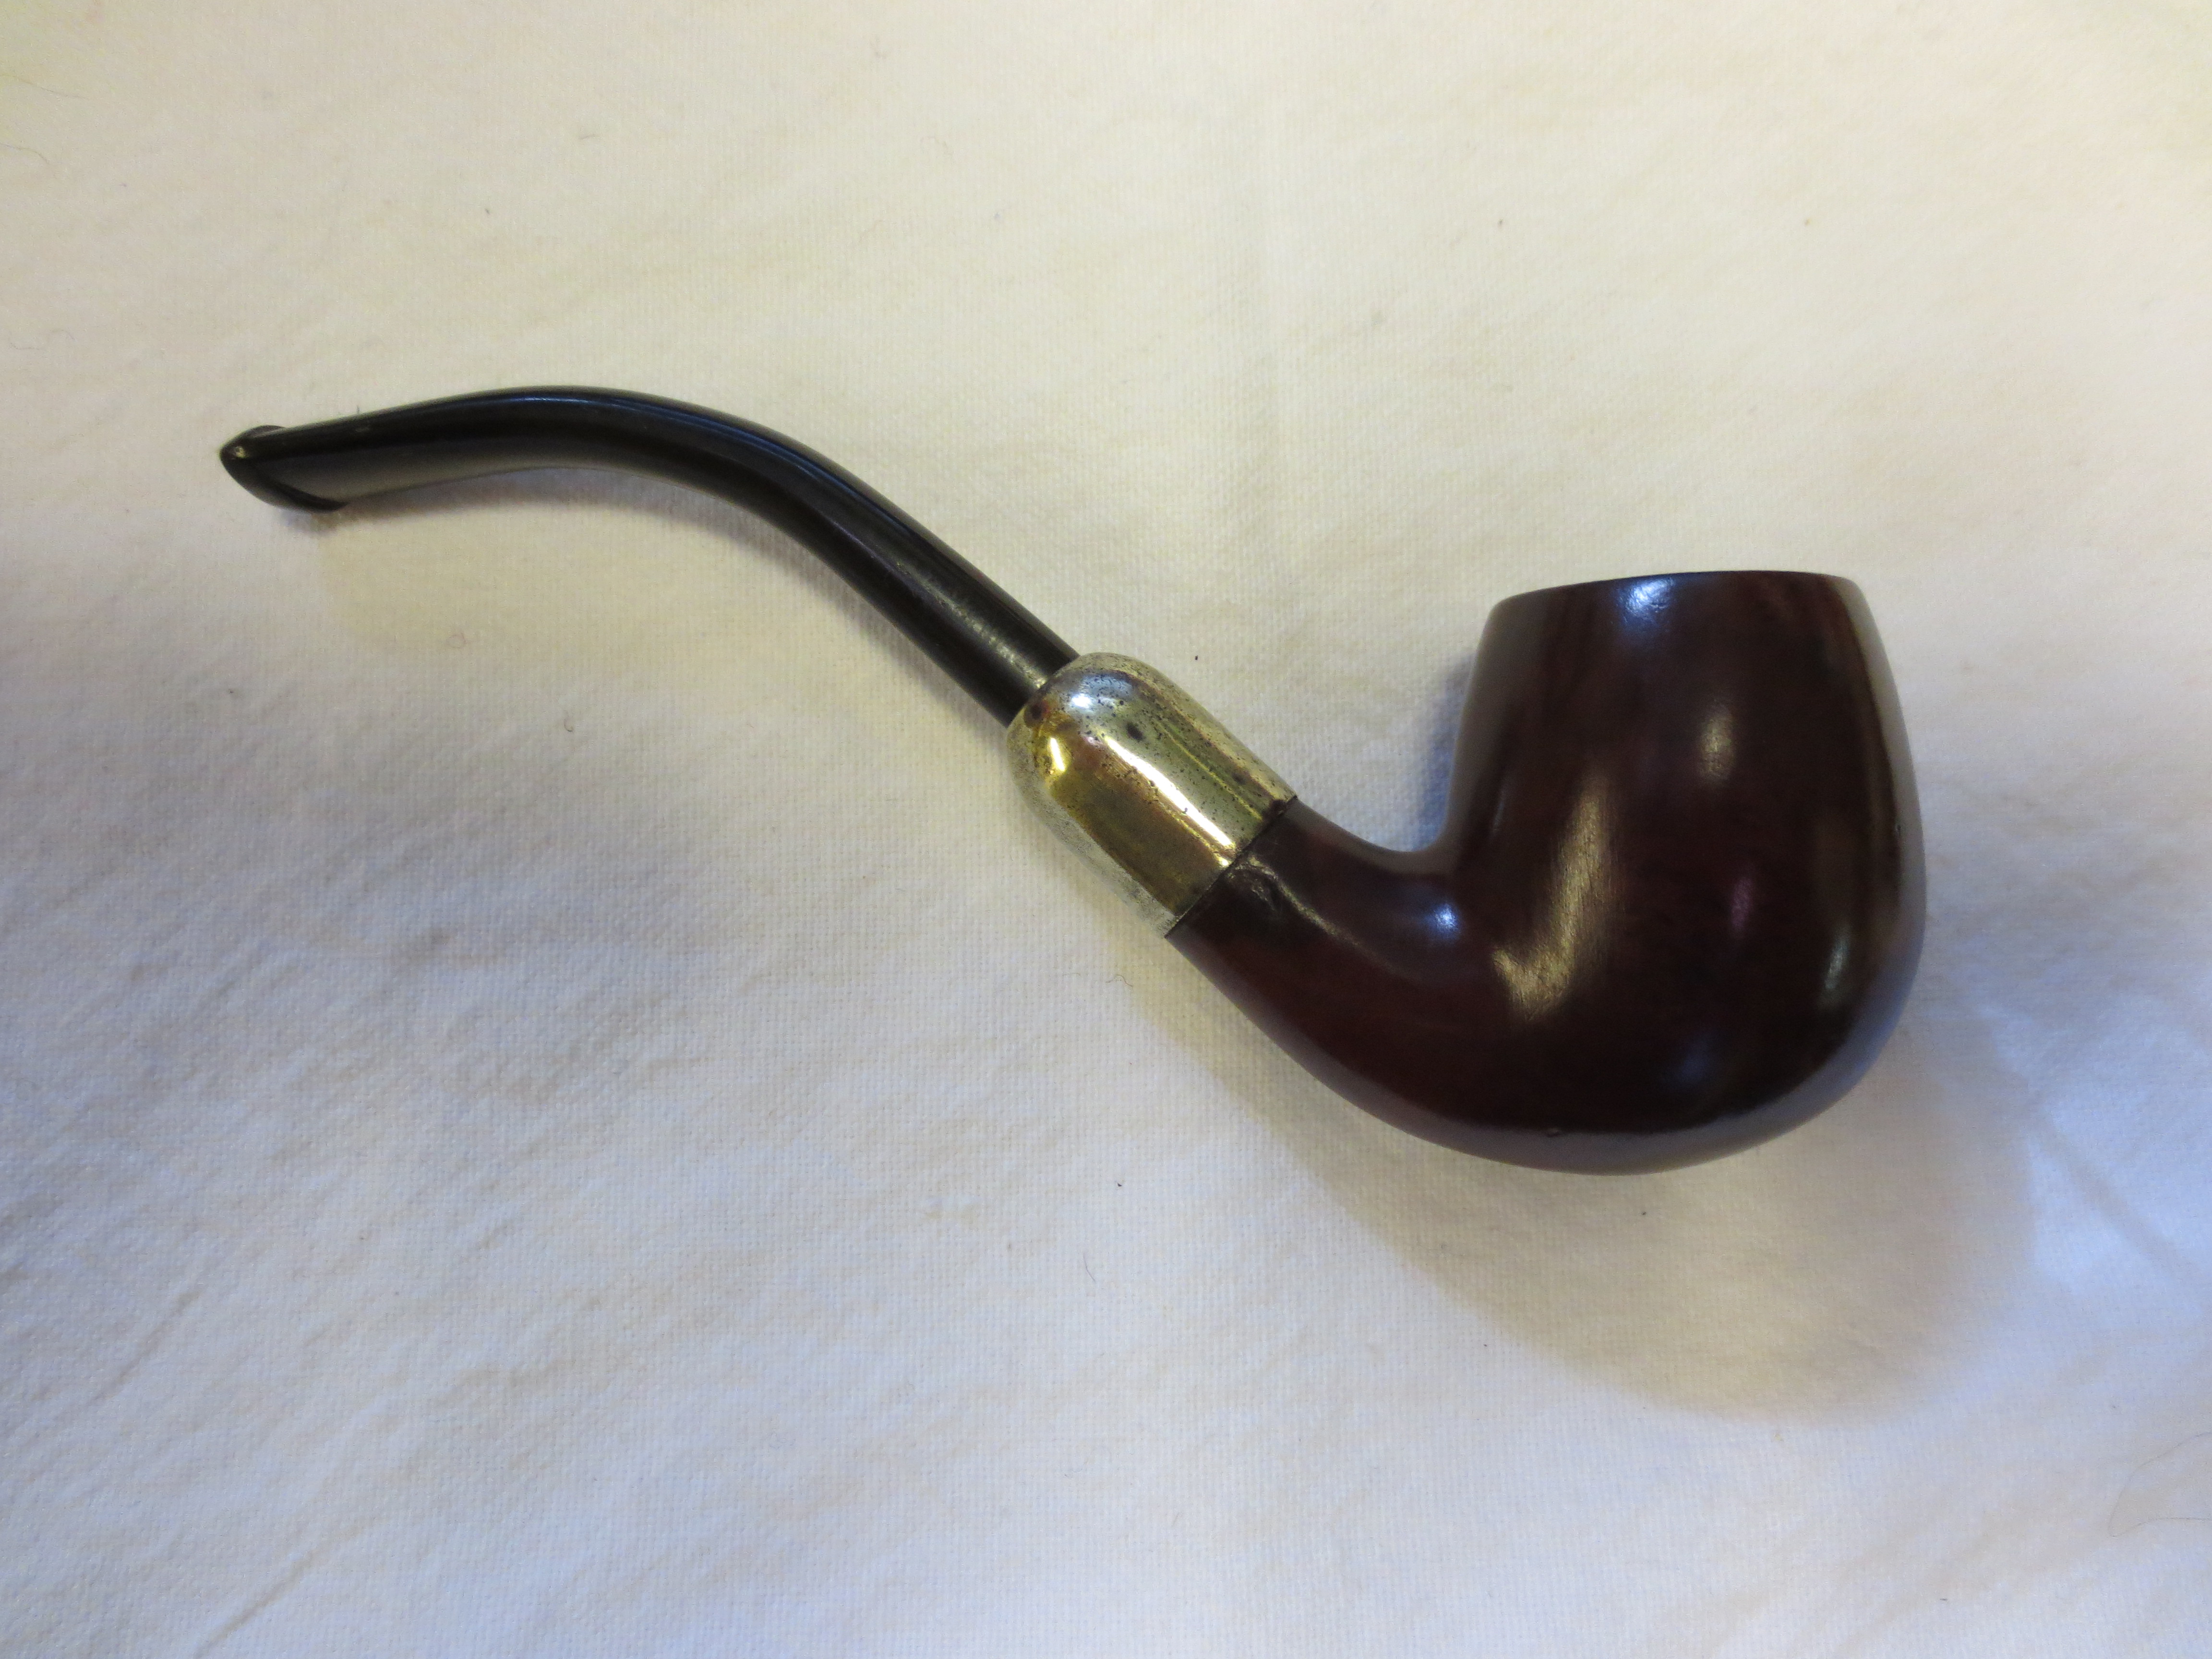
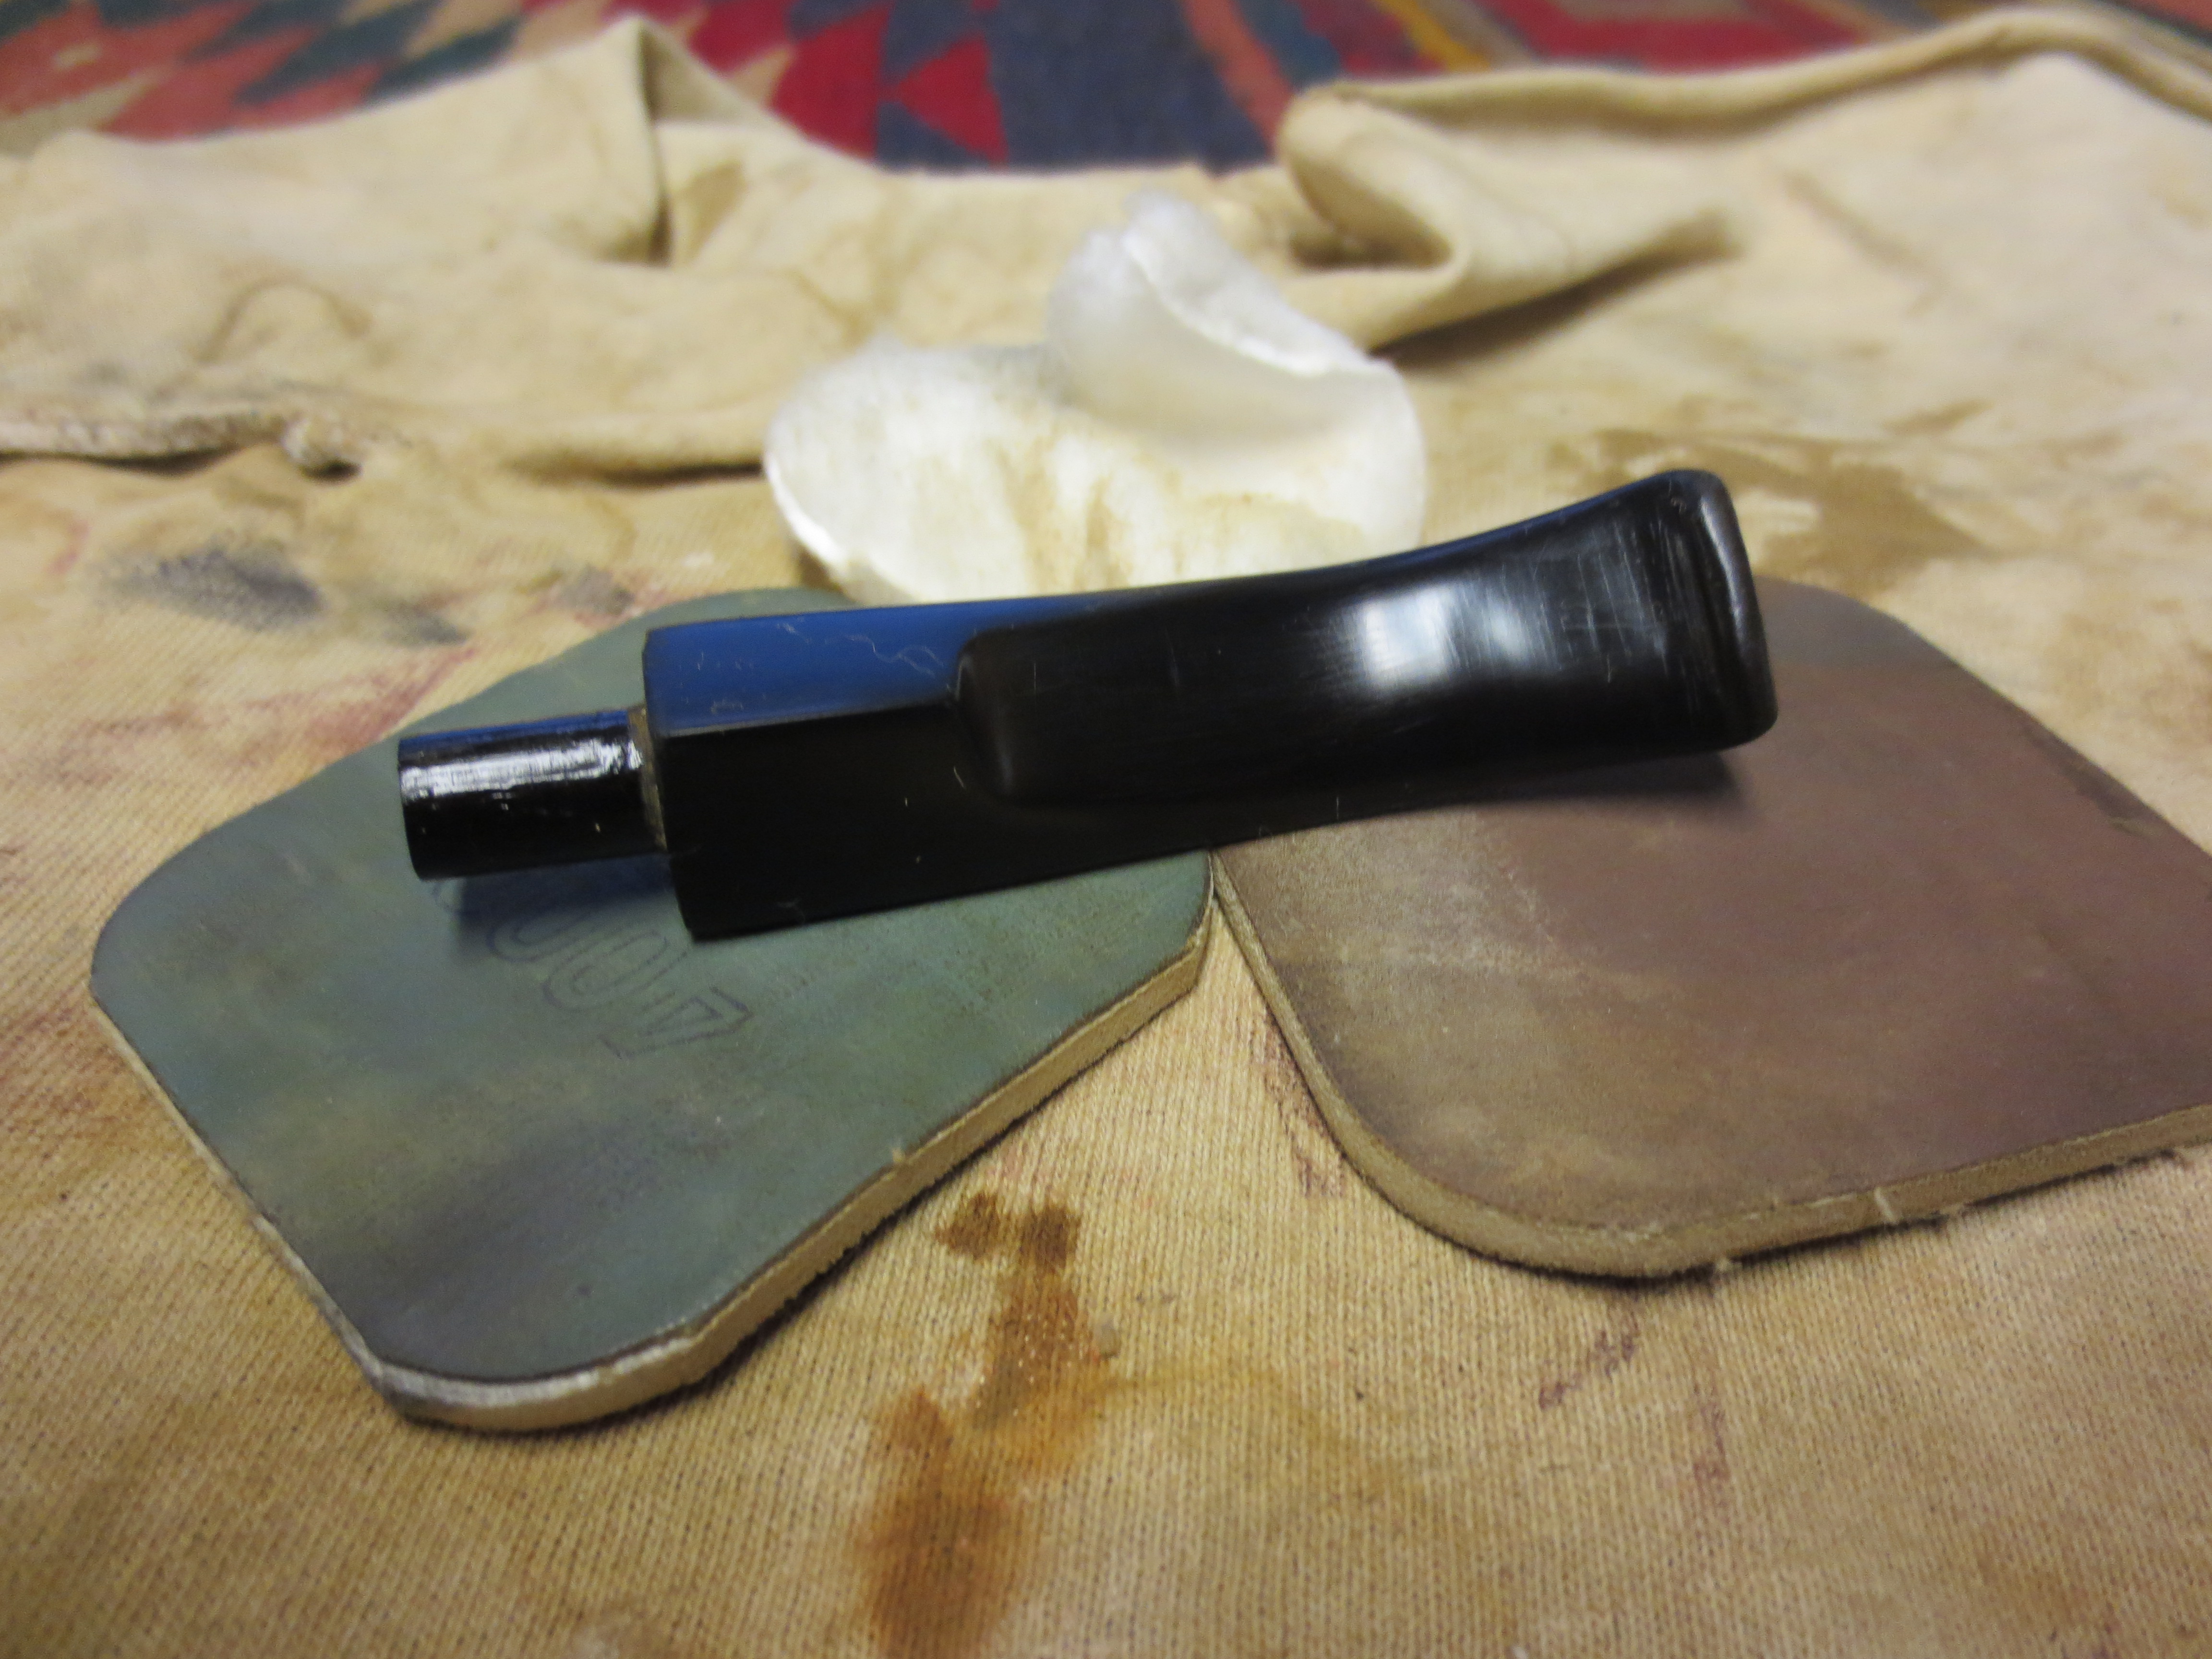
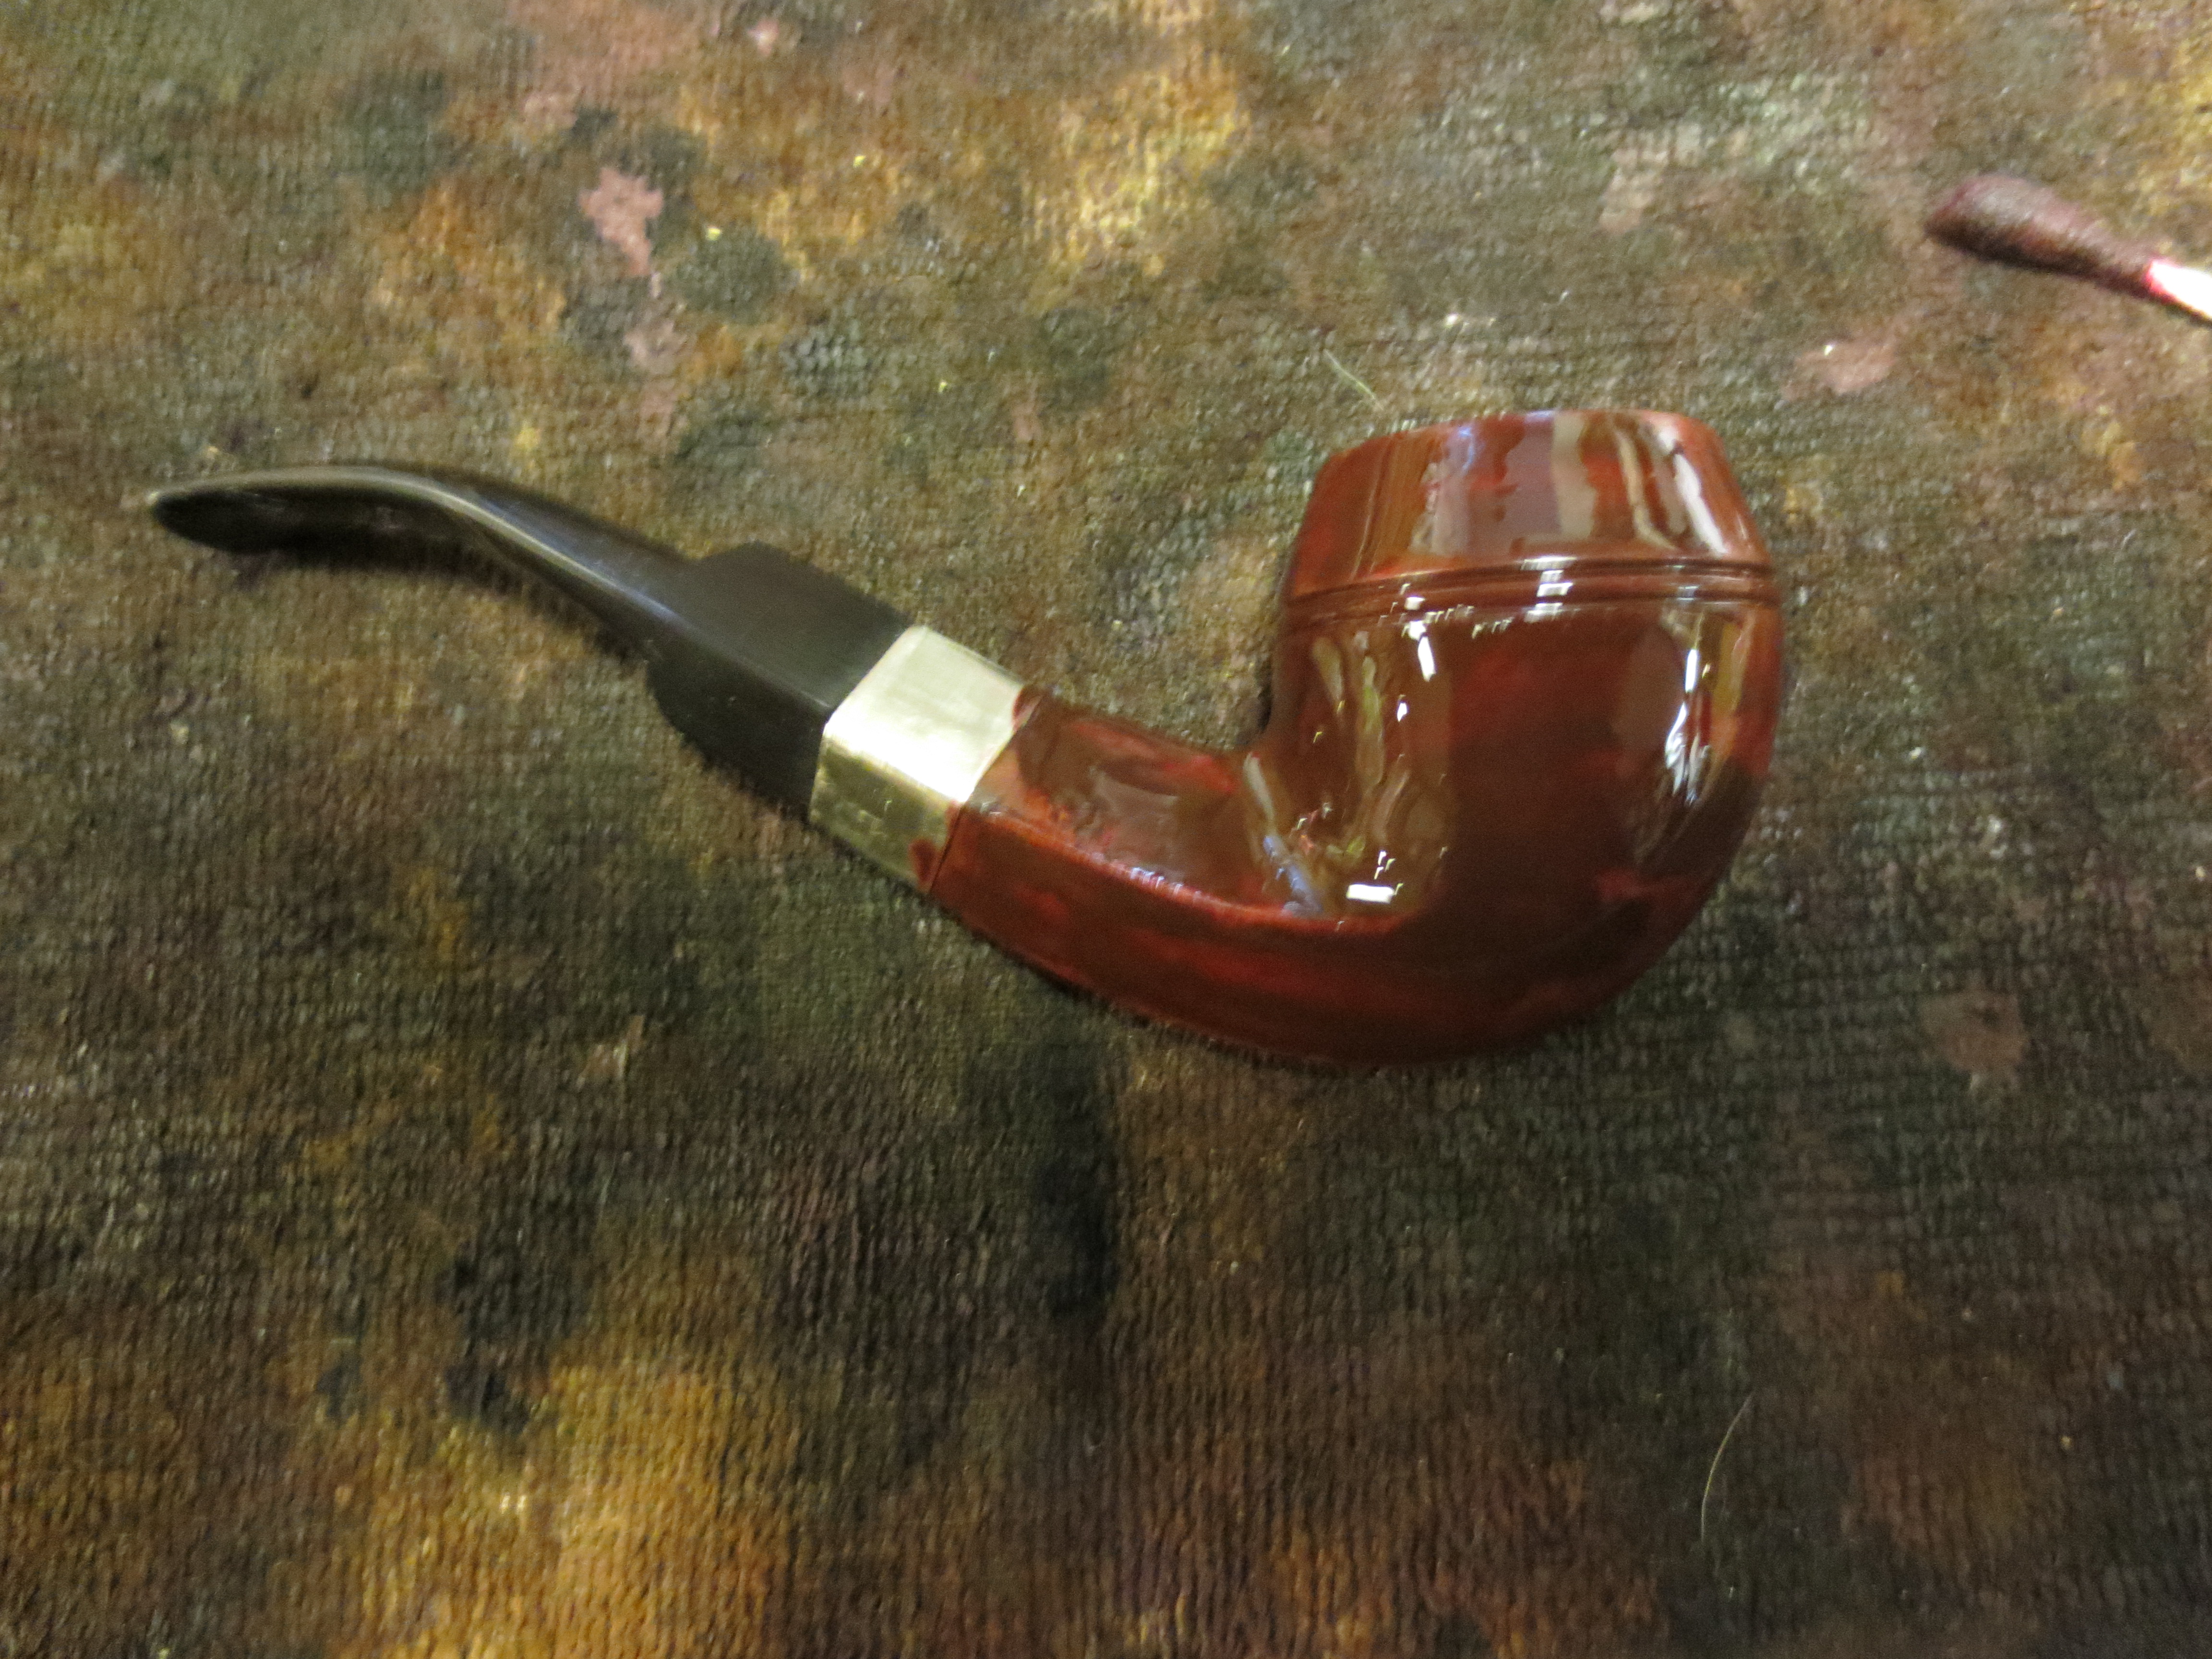
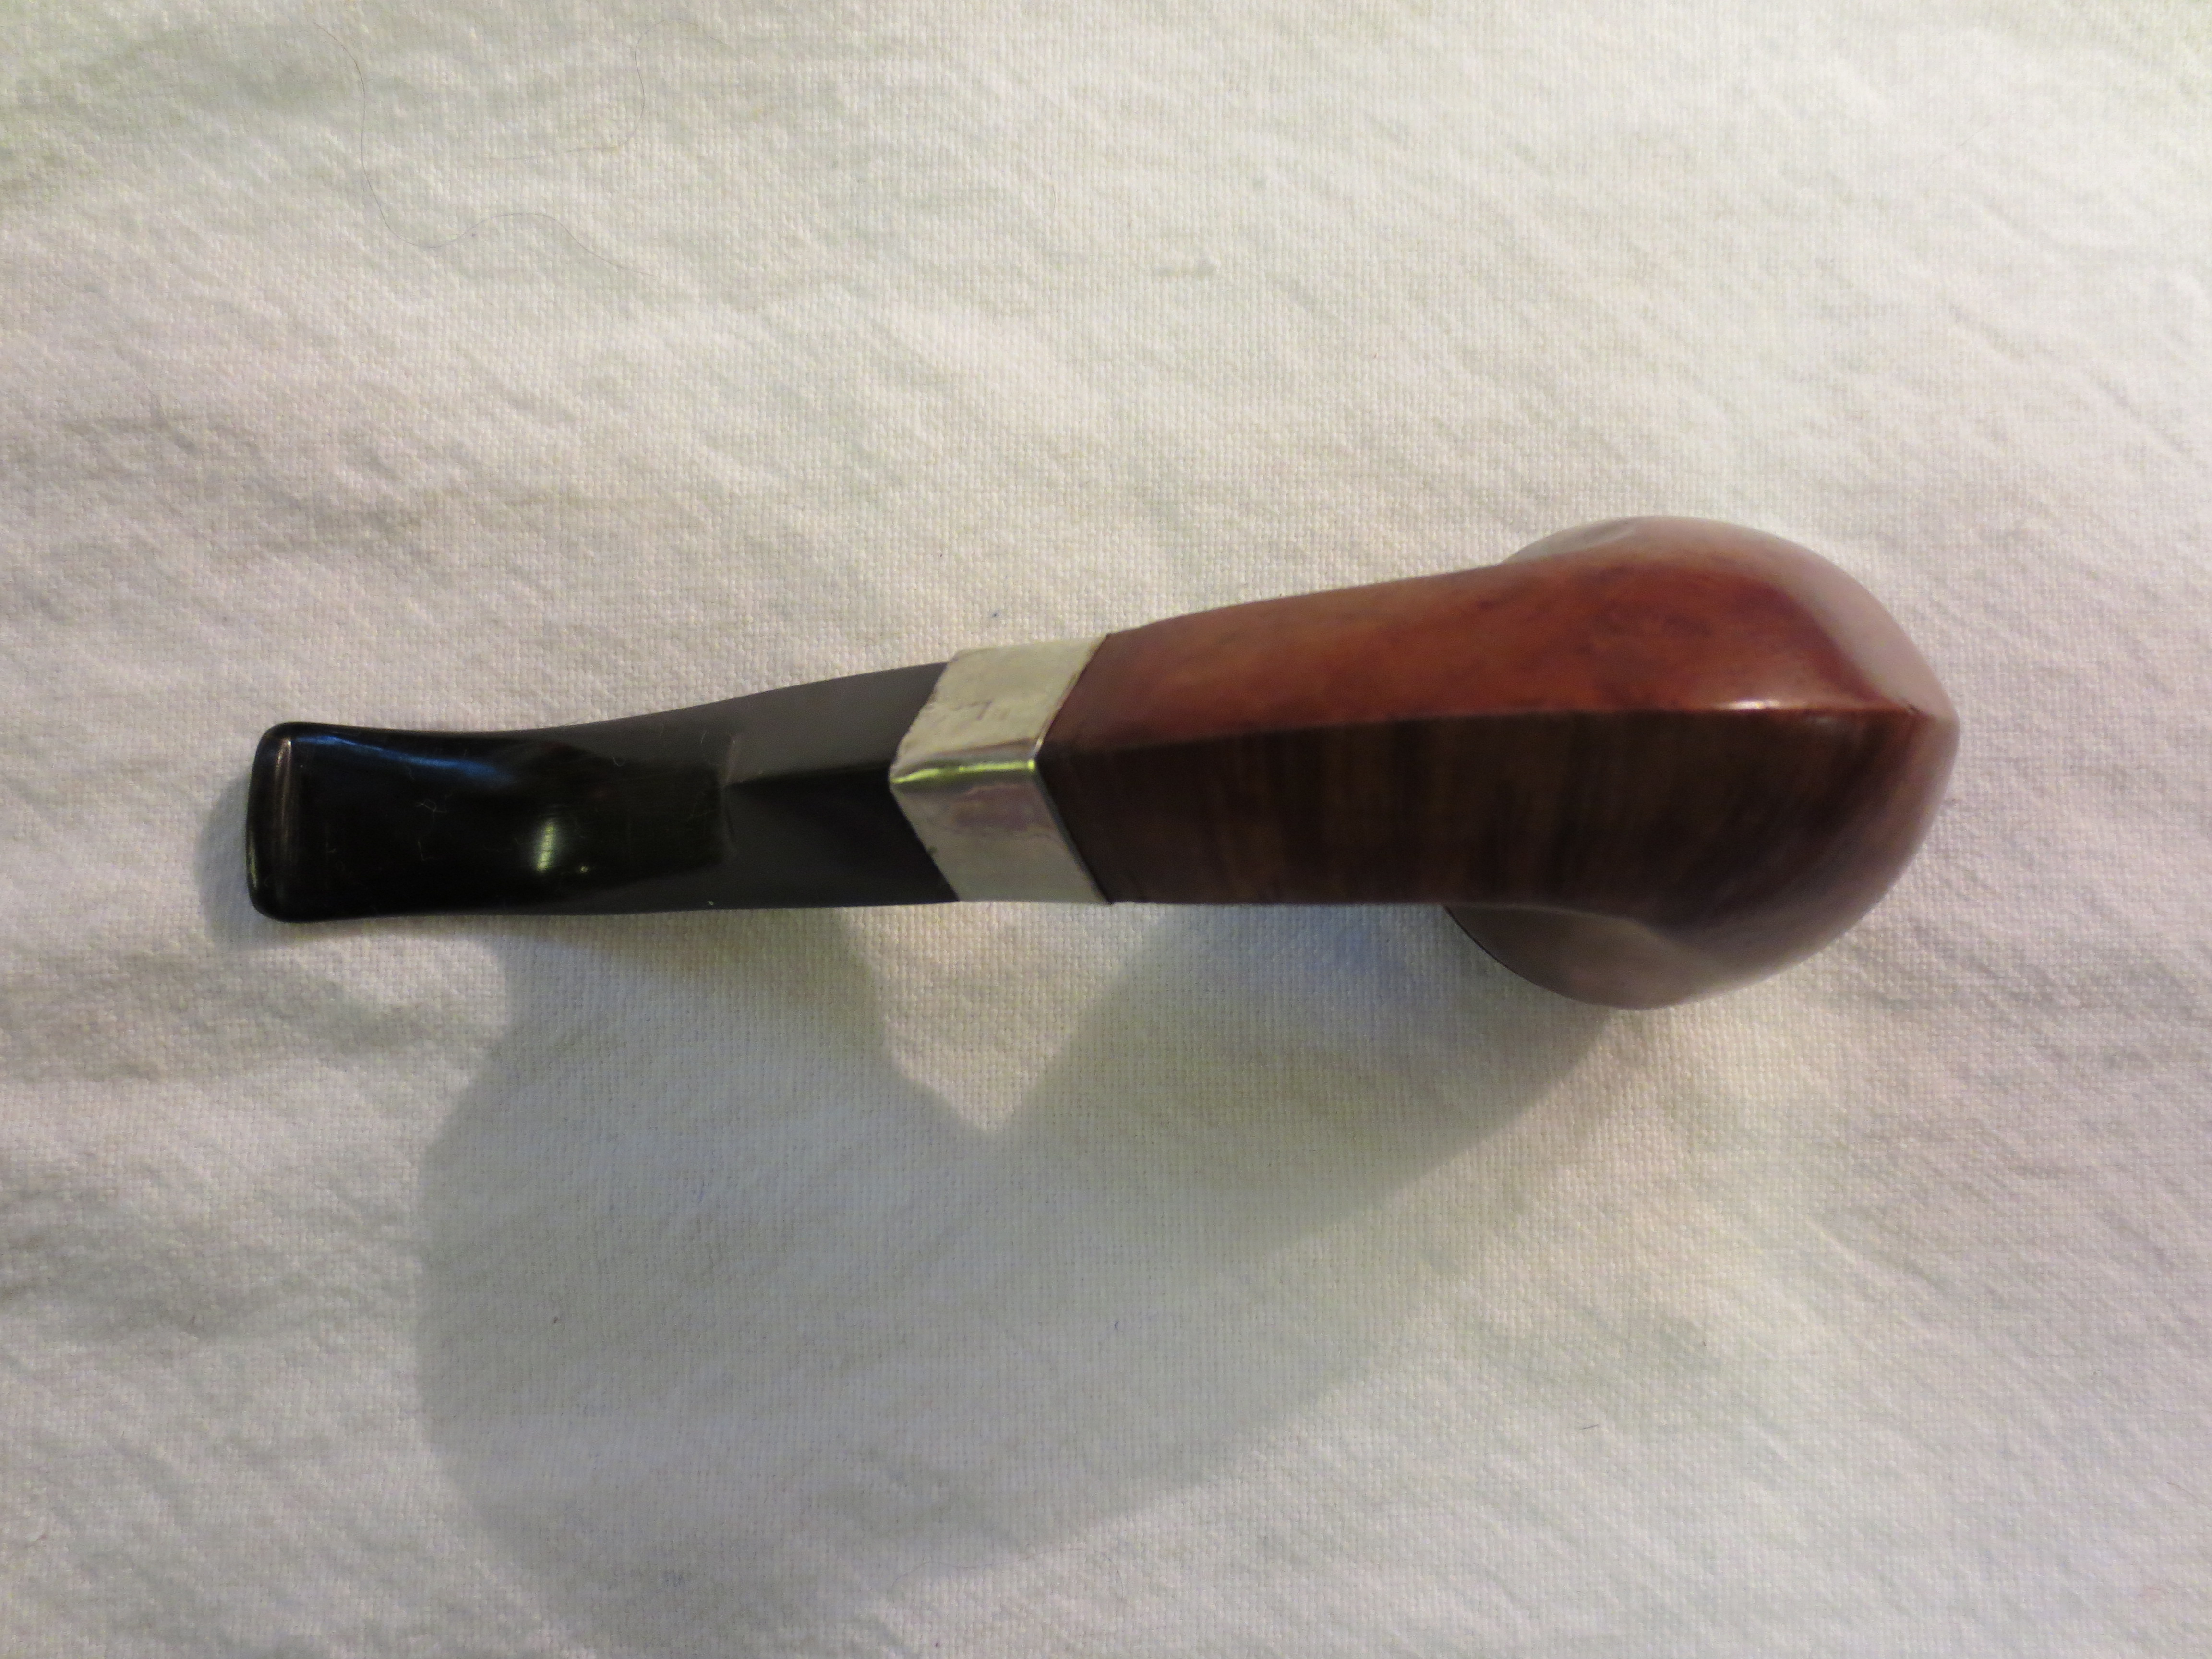
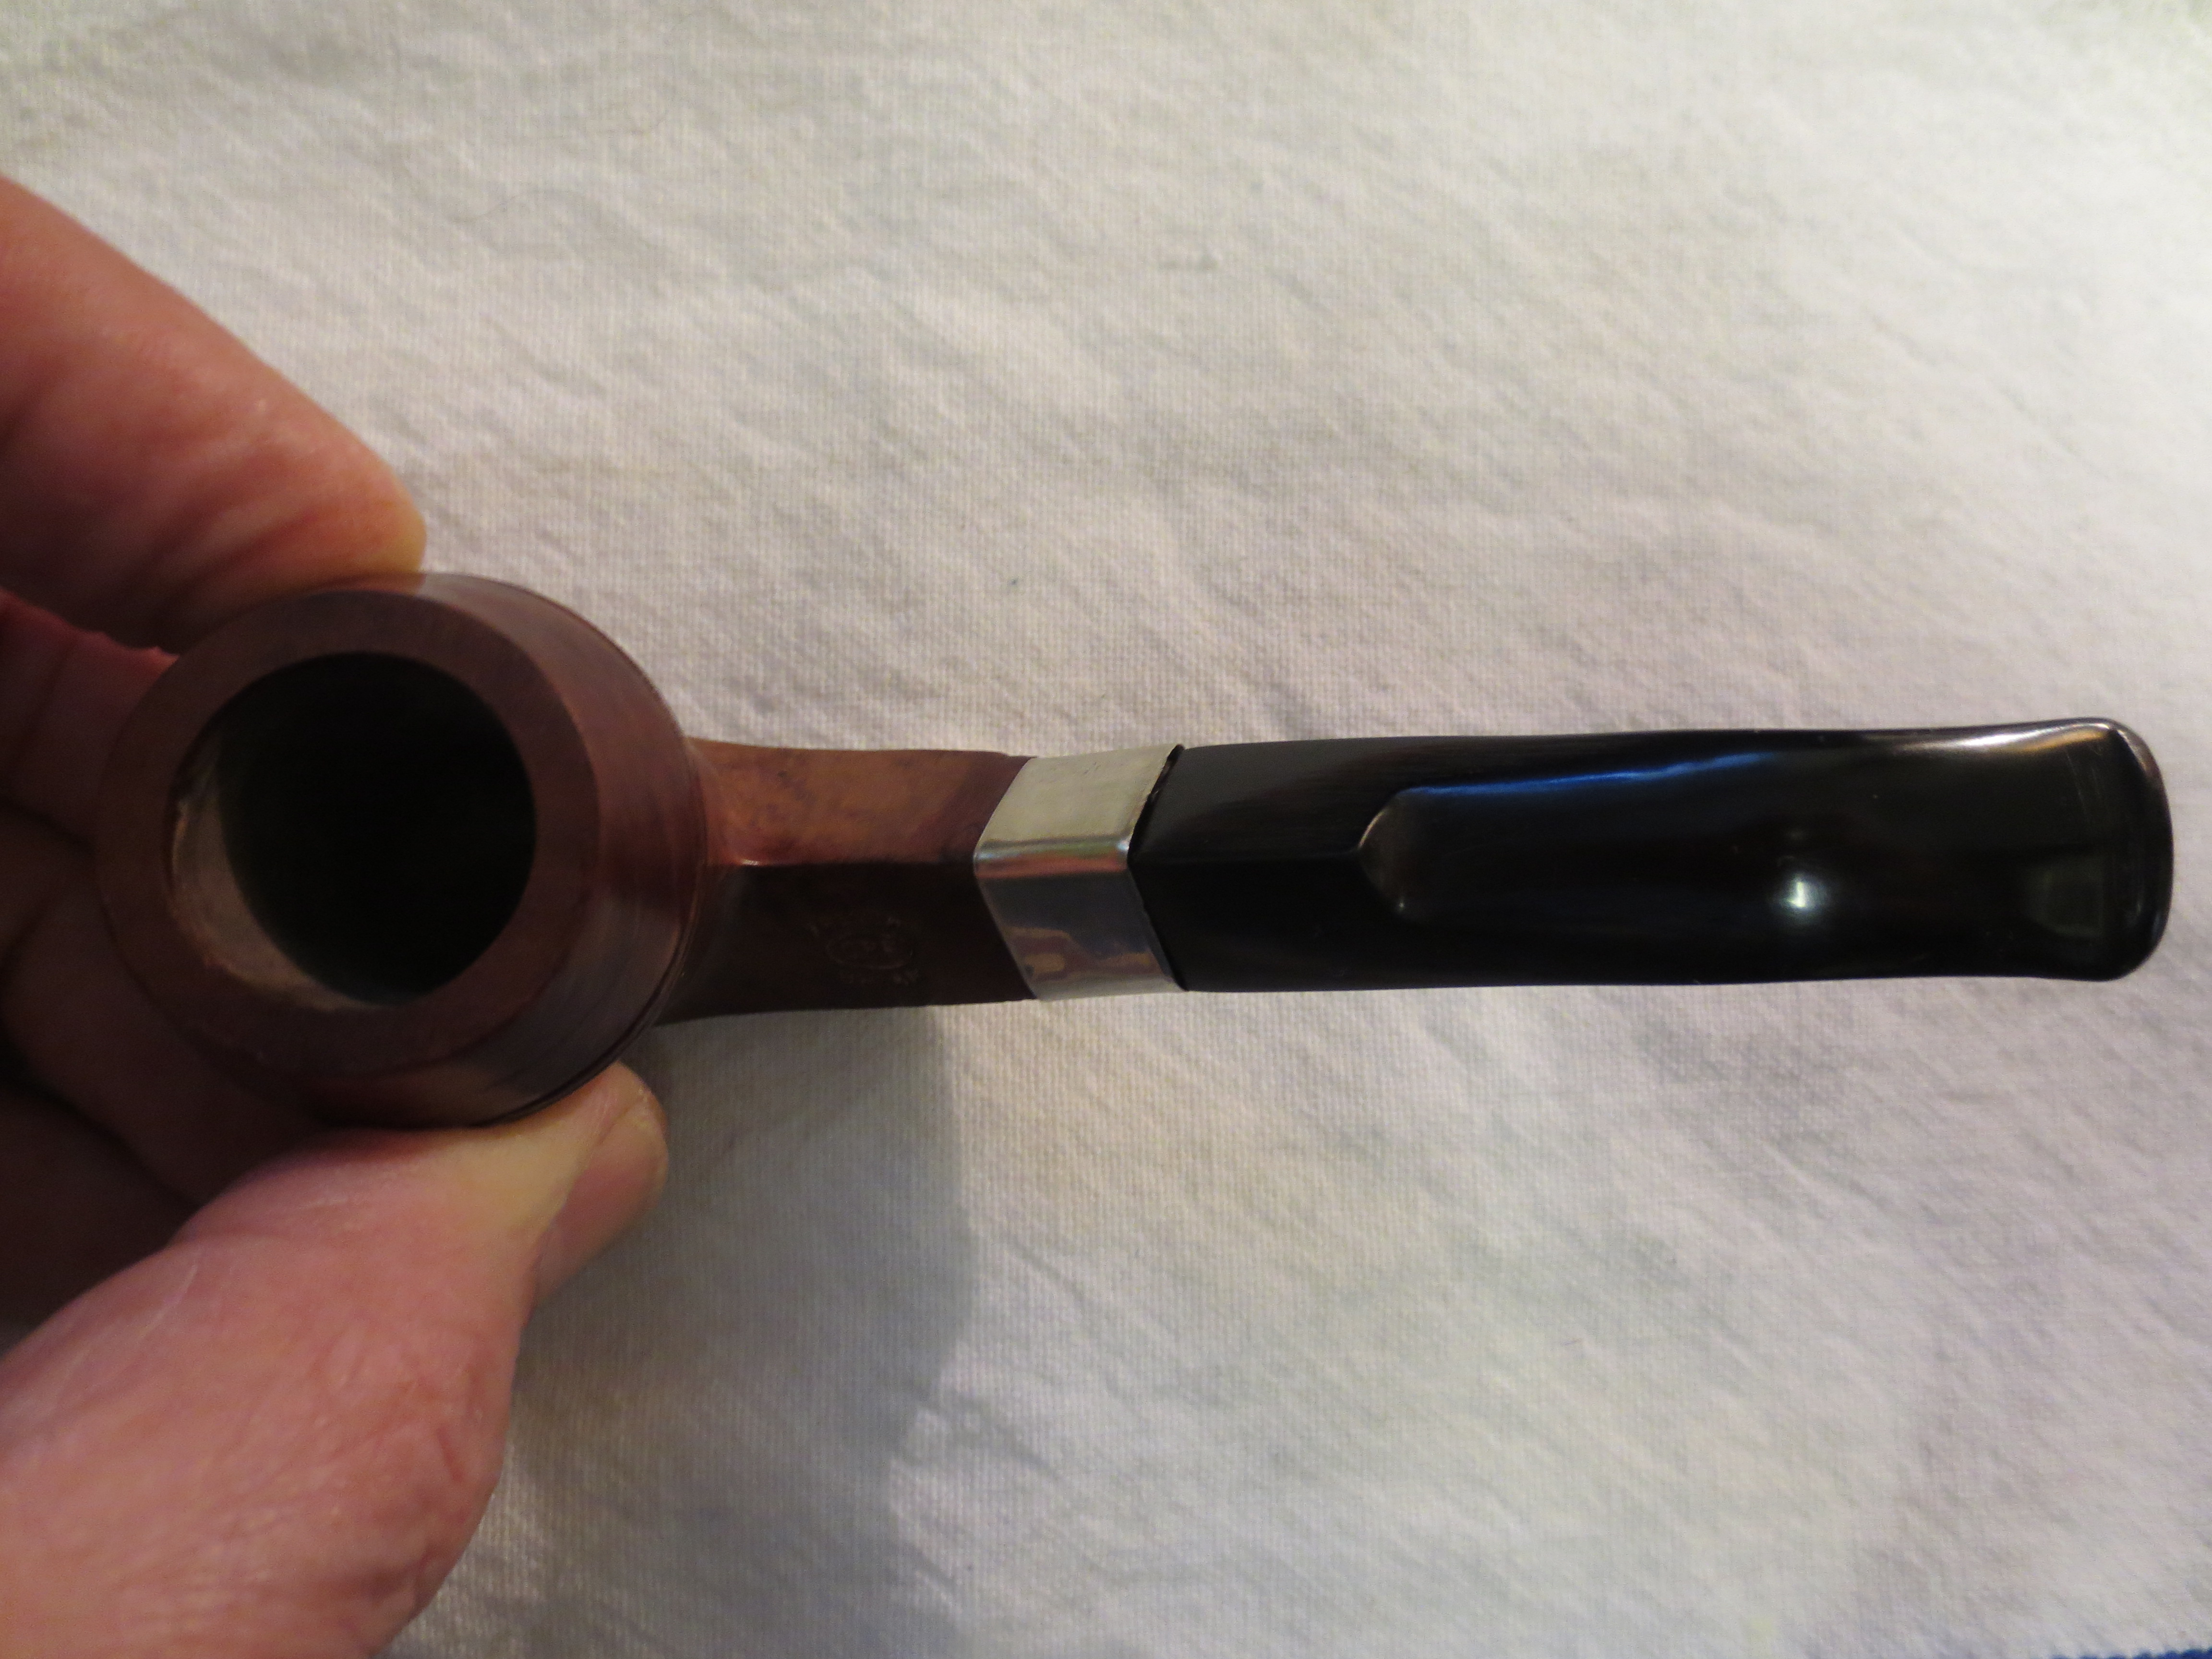
The final series of four photos show the finished pipe. I gave the stem a final rub down with Obsidian Oil and I buffed the stem on my buffing wheel (attached to the bowl) using White Diamond. I did not buff the bowl. I gave the stem several coats of carnauba wax and then buffed it with soft flannel buffs. I also rebuffed the bowl by hand with the shoe brush. The pipe smells fresh and clean. It is ready to smoke.

IMG_0821

IMG_0822

IMG_0823

IMG_0824

Restoring a GFB Bent Billiard – Another Reclamation Project


Blog by Steve Laug

This project was another pipe bowl that was in the lot from EBay. It is a billiard stamped French Briar in script on the left side of the shank and it too was in very rough shape at first glance. It is an old timer. The band on this one was also as badly oxidized as the CPF billiard I wrote of before. It was to the point of being crusty with oxidation and a greenish hue. They were also rough to the touch which led me to believe that they were pitted underneath all of the oxidation. It came stemless but I found a stem of the proper age in my can of stems. The finish was rough, a reddish hue in terms of stain, but there were no deep dings or dents. There was one spot on the right side of the shank near the shank cap where there was a sandpit that had darkened from some bleed off the oxidized shank cap. This one did not have any darkening around the bowl or shank other than the one spot near the sandpit. The shank cap on this one was also loose and when I touched it, it came off (I am glad they stayed on the pipe long enough to arrive here. One of the lot is missing the end cap so that will prove a later challenge. Again after the initial examination I came to see that underneath the grime there was a pretty nice piece of briar. The first series of two photos shows the state of the pipe when I took it to my work bench to begin working on it early this morning.

ImageImage

I cleaned the shank cap the same time I worked on the CPF billiard. I applied the Hagerty Tarnish Remover and scrubbed the cap with a cotton pad. I was able to remove some of the heavy oxidation and darkening but not a significant amount. The next two photos show the process of cleaning the shank cap with the Hagertys.

ImageImage

I dropped the bowl in the alcohol bath with the CPF billiard and let it soak while I work on the CPF pipe. Once it had been sitting in the bath for about an hour I removed it and dried it off.

Image

The next series of four pictures show the pipe after it had been sitting overnight and dried from the alcohol bath. Most of the grime is gone from the outside of the bowl of the pipe and the oxidation on the stem was not fairly smooth – just black and needed to be cleaned. The shank cap also had quite a few dents that would make it a challenge to remove the oxidation.

ImageImageImageImage

At this point in the process I decided to bend the stem. It was pretty clean and did not have any oxidation on it. It merely needed to be polished and shined. So I set up my heat gun and the old rolling pin to bend the stem over and went to work on it. The next three photos show the bending process and the finished bend in the stem.

ImageImageImage

At this point in the process I took the pipe back to the work table and took two more pictures before taking the end cap off the shank and working on the pipe bowl and end cap.

ImageImage

I scrubbed down the shank cap with the Hagertys Tarnish Remover while I had it off of the shank. I also sanded it with my fine grit sanding sponge to remove the heavy buildup of oxidation. It took a lot of elbow grease to clean it off and to avoid damage to the stamping that became apparent in the cleaning of the cap. Once I had it relatively clean I sanded the bowl with the sanding sponge, wiped it down with an acetone wet cotton pad and prepared to reglue the shank cap. I used white glue to reglue the cap. I applied the glue to the shank of the pipe quite heavily as I wanted to close the gap between the cap and the shank. I pushed the cap into place and wipe away the excess glue. The next three photos show that process.

ImageImageImage

While the glue was drying I picked out the grit from the sandpit on the right side of the shank and repaired it with briar dust and superglue. The photo below shows the filled and repaired sandpit just next to the shank cap. The second photo below shows the newly place end cap and the work that still remained on the nickel/silver (?) shank cap.

ImageImage

I worked on the shank cap once it was dry with micromesh sanding pads. I used 1500 – 2400 to wet sand the cap. It took much elbow grease to get it to the point is at in the four photos shown below.

ImageImageImageImage

The GFB stamp on the cap shows up clearly in the photo above and the ones below. There were many small dents in the cap that I was not able to remove. However, I continued to polish the cap with some Neverdull Wool – a cotton product that is impregnated with a tarnish remover. It is soft enough to get into the dents on the cap. I then went on to sand the bowl with the fine grit sanding sponge to clean up the finish. The next six photos show the sanding progress. Once it was finished I wiped the bowl down with some Everclear on a cotton pad to remove the sanding dust and prepare the surface of the wood for restaining.

ImageImageImageImageImageImage

I decided to restain the pipe bowl with an oxblood stain to maximize the stain that remained in the briar. I believe the original stain was oxblood coloured so the look would approximate the original finish of the pipe. I applied the stain, flamed it, reapplied it and flamed it a second time. The first two photos below show the pipe after the application of the stain. The next four photos show the pipe after it has been hand buffed with a soft cotton cloth to remove excess stain on the briar. The filled area near the shank cap on the right side is visible and the darkening of the area is also clear.

ImageImageImageImageImageImage

At this point in the process I set the bowl aside and worked on polishing the stem. I quickly gave it a once over with the fine grit sanding sponge and then worked my way through the micromesh sanding pads from 1500 – 12,000 grit. The next series of eight photos shows the shine that comes to the surface of the vulcanite with each successive grit of micromesh.

ImageImageImageImageImageImageImageImage

I wiped the stem down with Obsidian Oil and then hand waxed it with some carnauba paste wax that I have in the shop. It is the wax available from Walker Briar Works and I will often hand apply it to the stems at this point in the process and hand buff a shine. I then reassembled the pipe, polished the bowl with a little of the carnauba as well. I hand buffed the pipe with a soft cotton cloth I use for that purpose. The next four photos show the pipe after this process. I purposely did this on this pipe to see if the wax would cause the area on the right side of the shank that is darker to blend in a bit and be less visible. It seemed to work very well.

ImageImageImageImage

Once I was finished with the hand buff and had checked out the dark spot I took the pipe to my buffer. I lightly buffed the pipe and stem with White Diamond and then gave it multiple coats of carnauba wax and a final buff with a soft, clean flannel buffing pad. The next four photos show the finished pipe. It has been brought back to life and should well serve a new generation of pipe smokers. I do believe it will live longer than I do!

ImageImageImageImage

As I finished this piece on the GFB pipe I thought I would take some photos of the CPF and the GFB old timers posed together. The next two photos show the pair in their newly found glory. I can’t help but think that this is how they looked when they were purchased by the original owner. I believe that both came from the same pipe smoker so now they are returned to the look that must have caught his eye when he purchased them. The pair look enough alike I wanted you to see them in this pose! A noble pair of old pipes, don’t you agree?

ImageImage

CPF French Briar Bulldog Restemmed and Refurbished


This morning I decided to start working on one of the pipes that came in the lot of bowls I picked up off of EBay. I chose one of the CPF Bulldogs. It looks to be an old timer. It also looked like it had quite a different look in times past as there were signs of a band on the shank and something around the rim as well. It could well have been the gold/brass filigree that is often seen on these old timers but there is no way of telling for sure. The bowl rim was clean as if once the decoration was removed the briar underneath was raw stain. The bowl itself was also absolutely clean on the inside – taken back to bare briar. Around the inside of the rim there were several small nail holes that looked like they held the rim cap in place. These holes were also on the outside as well though they had all been patched. The shank was cracked and repaired. The repair looks to be old and may well have been under the band that had disappeared. The mortise was originally threaded but that had been drilled almost smooth. I had a stem in my box of stem that would fit with a little work. It was the right size and the angles on the diamond matched those on the stem – a rare feat to be sure. I would not have to do much sanding to bring it fit well. The finish was clean but there were lines on the bowl and the shank from the cap and band. The stamping was clear – CPF in an oval with French above and Briar below. It had a gold paint that had been applied to the stamping and it was very clean. The series of three photos below show the condition of the pipe and the new stem when I began this morning.

ImageImageImage

I asked Robert Boughton about the CPF brand stamp as he is currently refurbishing an old CPF Meerschaum and had done work on the brand. He sent me the following information:
“Chuck (Richards) assigned to me the challenge of finding out what CPF stood for and anything else I could learn… I found conclusive evidence that despite several other names associated with CPF, it indeed stands for Colossus Pipe Factory…Below are the links I sent to Chuck at the time and a few more. But again, it’s nothing Chuck didn’t already know. He also knew it would be good experience for me and that I would enjoy the task! Indeed, I was proud of my findings!”

http://pipedia.org/index.php?title=C…s_Pipe_Factory Bottom of center row of newspaper clip
http://www.google.com/search?q=colos…w=1600&bih=658
http://pipephil.eu/logos/en/logo-c1.html See CPF — includes briars
http://pipesmokersforum.com/communit…ing-one.10858/
http://www.worthpoint.com/worthopedi…pipe-287735110
http://www.smokingpipes.com/pipes/es…oduct_id=74274

With that information in hand, thanks to Robert, I went to work on this older American bulldog to bring it back to life. I had an old nickel band that fit pretty well to the shank. It was shorter than the original band but it covered the repair in the shank. I heated it and pressure fit it to the shank. It was a bit dented and would need to be straightened once it was in place. I then worked on the stem to get it fit the shank and band connection. I used medium grit emery paper to remove some of the vulcanite to get the sides and angles of the stem to match the shank. This had to be done carefully so as not to change the angles. Each side had to have the same amount of material removed to keep the diamond angles even. The next series of four photos show the stem after it has been shaped and sanded to match the shank and the band.

ImageImageImageImage

I cleaned out the inside of the stem as it was very dirty. I had sanded down most of the oxidation and the calcification on the stem earlier but needed to work on that some more. I also used a dental pick to clean out the slot as it was packed tightly on both sides of a small centre hole what was left. I finished sanding with medium grit emery cloth and move on to 320 grit sandpaper to begin to work on the scratches in the stem. The next three photos show the stem after sanding with the emery paper (photo 1) and then the 320 grit sandpaper (photo 2-3).

ImageImageImage

At this point in the process I decided to bend the stem to get the flow of the pipe correct. In retrospect I could have waited until I had polished the stem to do the bend. But I was curious to see the look of the bent stem on the pipe bowl so I set up my heat gun and carried the stem to the gun. I have been using a hardwood rolling pin that my wife discarded as the curves to bend the stem over. I find that using this keeps the bend straight and also gives me the degree of curve I wanted. I adjust the curve by where I put the stem on the pin to bend it. I use low heat on my heat gun and move the stem quickly over the heat about 3 inches above the tip. It does not take long to heat it to the point it is ready to bend and then I lay it over the pin and bend it. I hold it in place until it cools enough to set the bend. The next series of three photos show my set up for bending the stem.

ImageImageImage

I then decided to work on the bowl of the pipe. I wiped it down with acetone on a cotton pad being careful to avoid the gold stamping in the shank. I also sanded the line around the rim and the shank with 320 grit sandpaper and then with 1500-2400 grit micromesh sanding pads to try to minimize the line around both points. I used a flat tip screw driver blade as a smooth surface to hammer out the dents and rough spots on the band. I also laid the shank flat on a board and used the screw driver tip to smooth the inside edge of the band and square up the corners of the diamond. The next series of six photos show that process. I finished by inserting the stem and continuing to smooth out the band.

ImageImageImageImageImageImage

I wiped the bowl down with another acetone wetted cotton pad to remove the sanding dust from the bowl and the rings around the bowl. I used a dental pick and retraced the rings to clean them out as well of previous wax and dirt that catches in those spots. The photo below shows the pipe bowl ready to restain.

Image

Before staining I worked on the stem some more to smooth out the remaining scratches and bring it to a shine. I used micromesh sanding pads from 1500-12,000 grit to bring the stem to a glossy finish. The next twelve photos show the progress shine developing after each successive grit of micromesh sanding pad was used.

ImageImageImageImageImageImageImageImageImageImageImageImage

Once the stem was done I was ready to stain the pipe. I used an oxblood aniline stain to restain the pipe. I applied it with a cotton swab, flamed it, restained and flamed it a second time. The next two photos show the bowl with the oxblood stain applied just before I flamed it. Once I had flamed it I took it to the buffer and buffed it with White Diamond.

ImageImage

After I buffed it with White Diamond I gave it repeated buffing with carnauba wax to protect the stem and the bowl. The next four photos show the finished pipe.

ImageImageImageImage