by Steve Laug
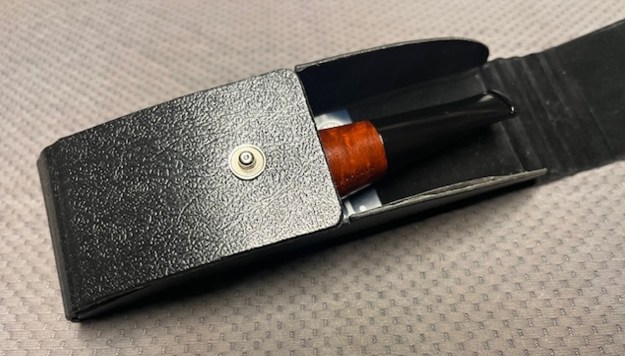
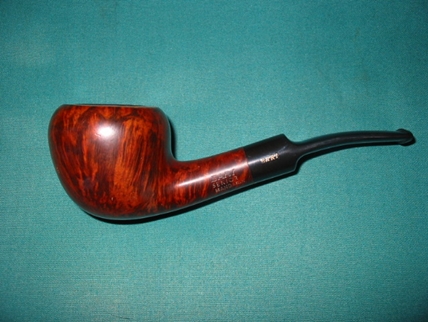
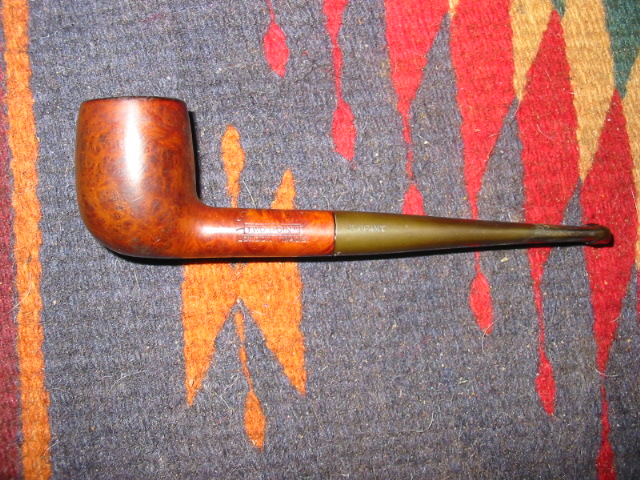
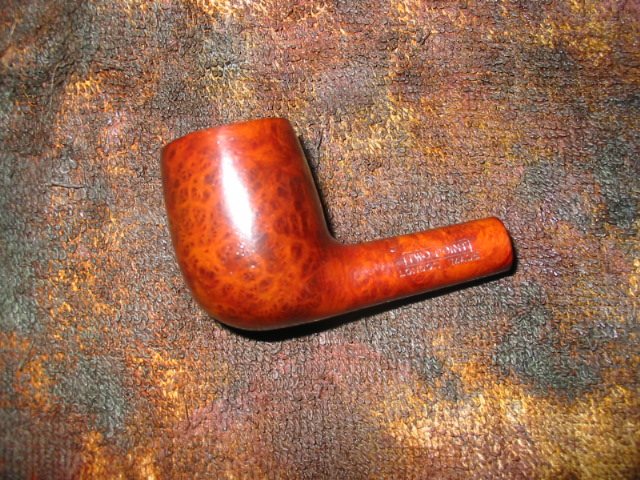
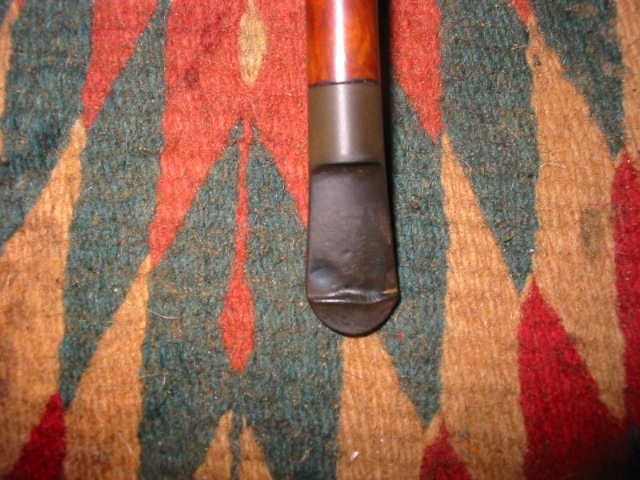
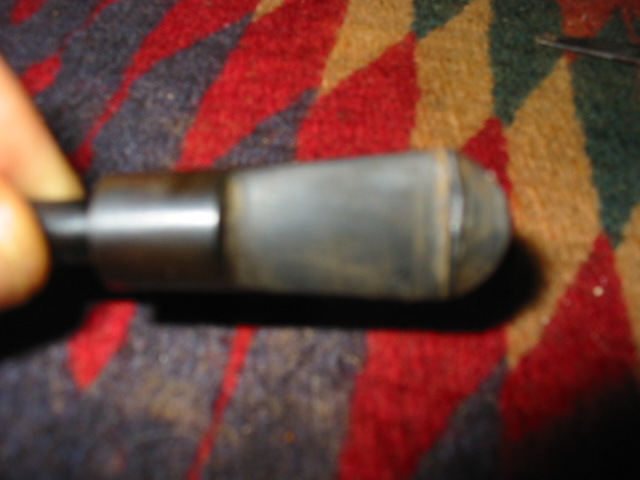
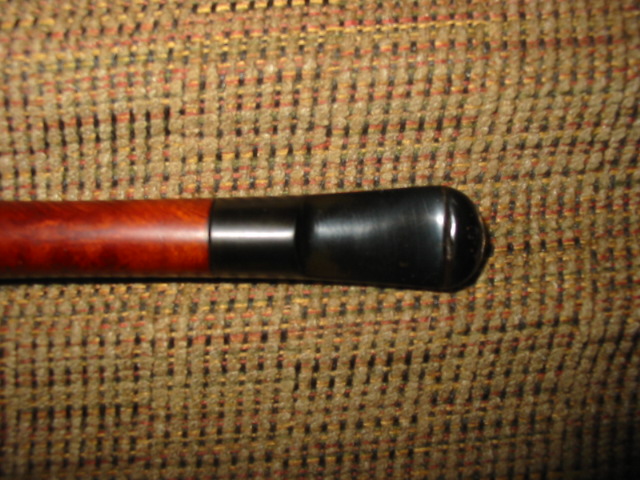
This afternoon the local pipe shop I do repairs for dropped off a few pipes for repair. The first of the pipes was marked Zeppelin [over] Vauen on the left side of the middle portion of the pipe. It is made up of an acrylic stem that fits over a Delrin 9MM style inserted tenon. The middle section is in essence a reverse calabash cooling chamber. The front section, or nose cone is the bowl that holds the tobacco. It presses onto the middle part which has another tenon – briar with a rubber grommet. It a moderate cake on the walls of this part of the pipe. The exterior of the pipe was very clean and the finish looked very good. While it is a replica pipe it is different from the original Zeppelin. The original had turned wooden threads that connected the parts. The tenon was vulcanite and it was a push stem rather than a 9MM tenon. Also, the older ones were perfectly aligned so that the parts fit together smoothly in any configuration. This newer replica was not perfectly symmetrical so it only fit perfectly in one alignment. It is also significantly larger than the older style Zeppelin. Vauen had done a good job crafting this one but it was uniquely different. It came in its own vinyl case with a paper brochure. The stem no longer fit the tenon as it seems to be larger than the inside of the stem.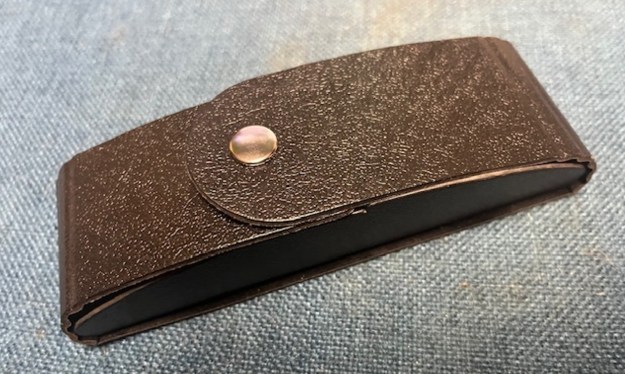
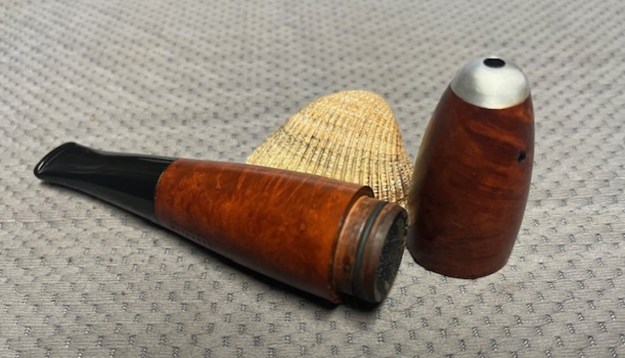
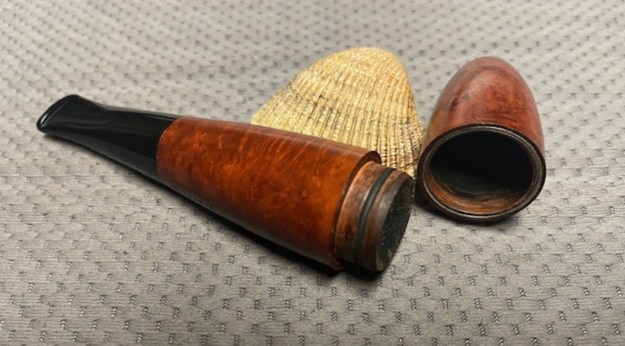
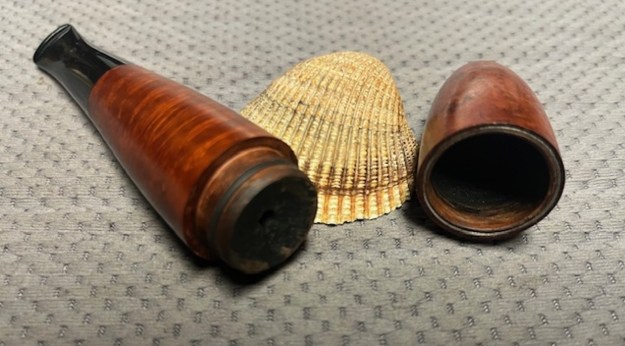
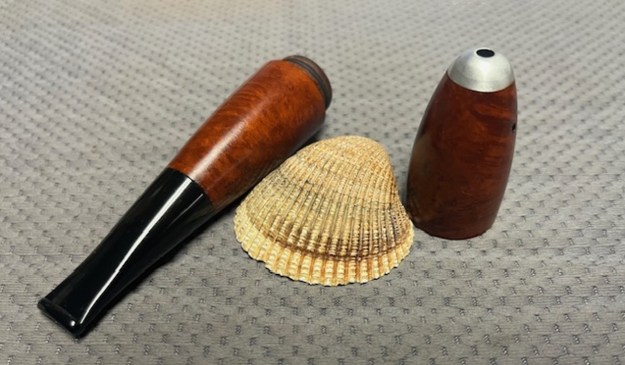
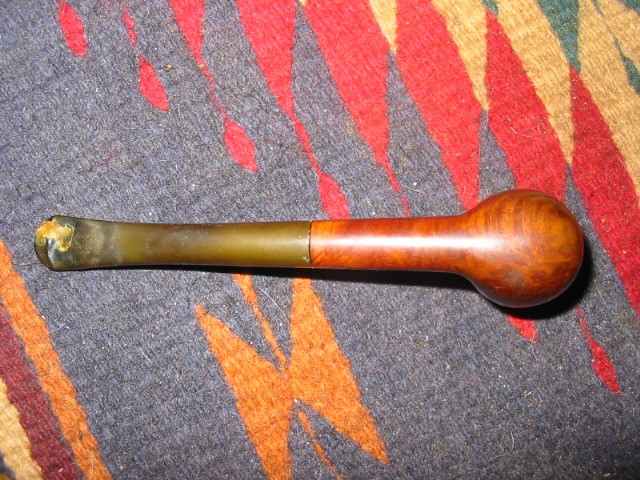
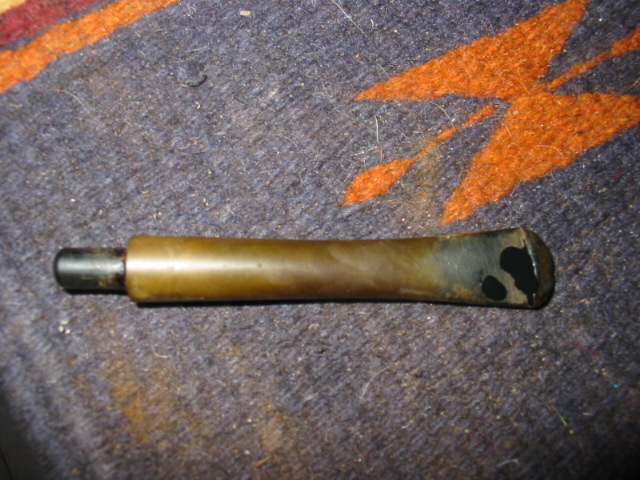
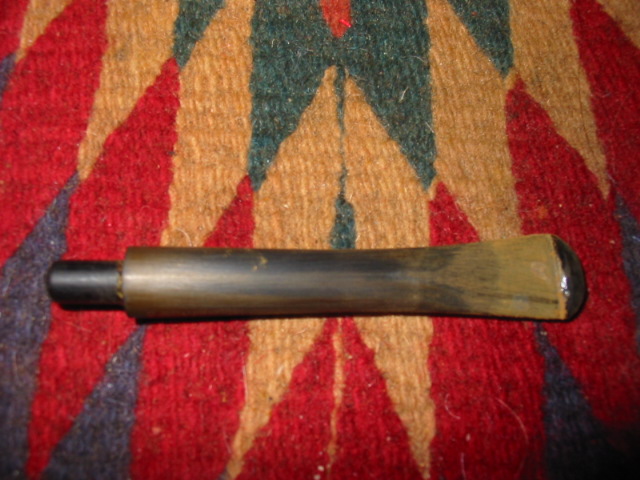
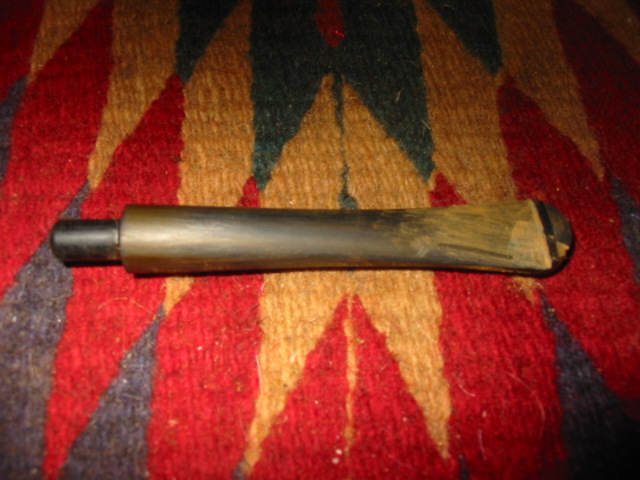
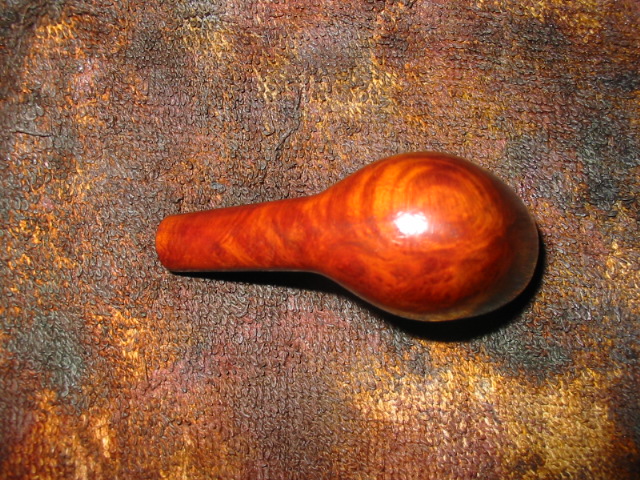
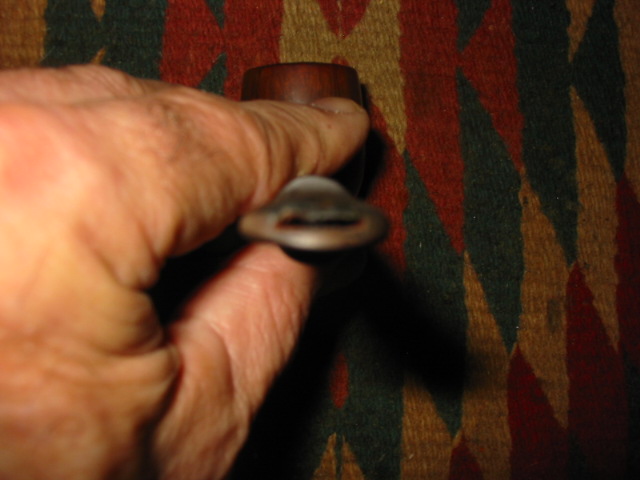
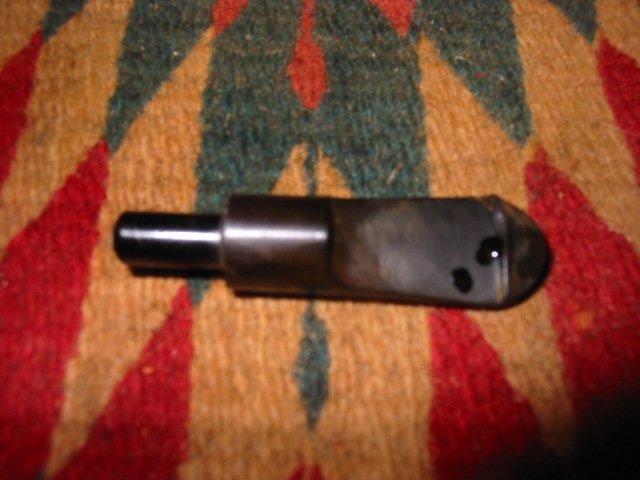
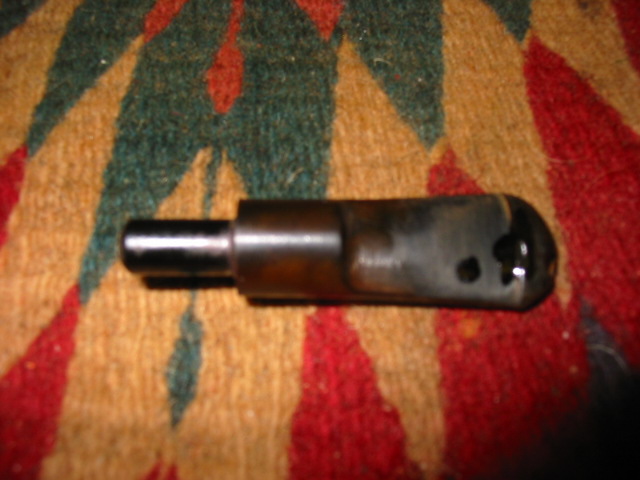
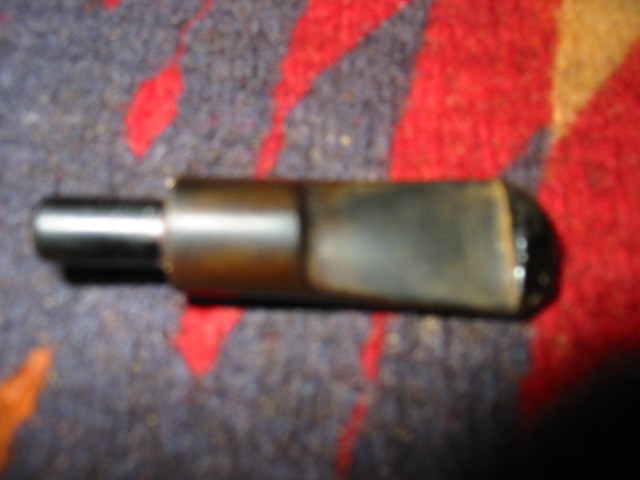
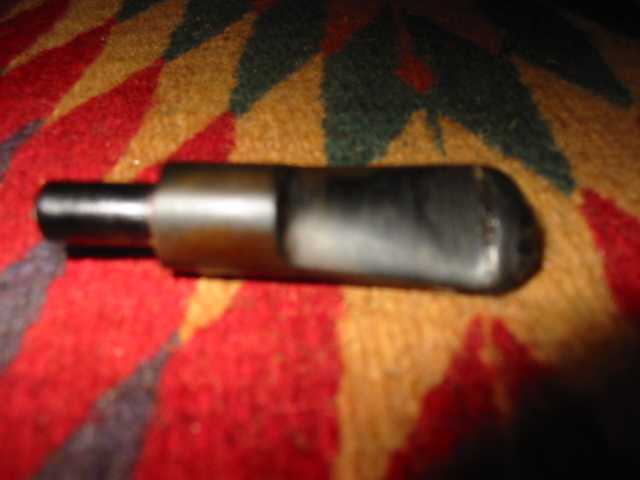
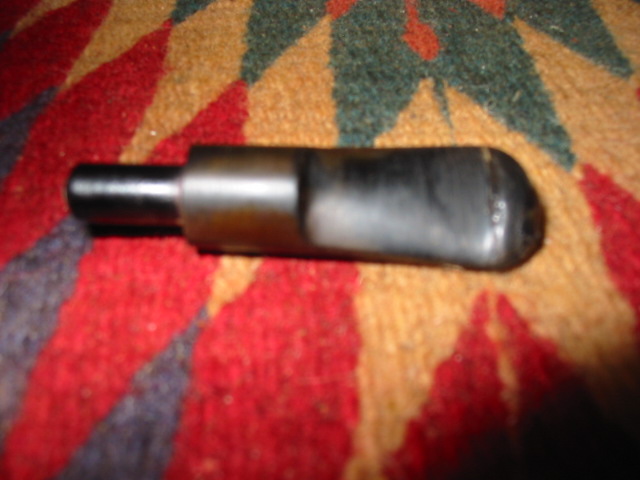
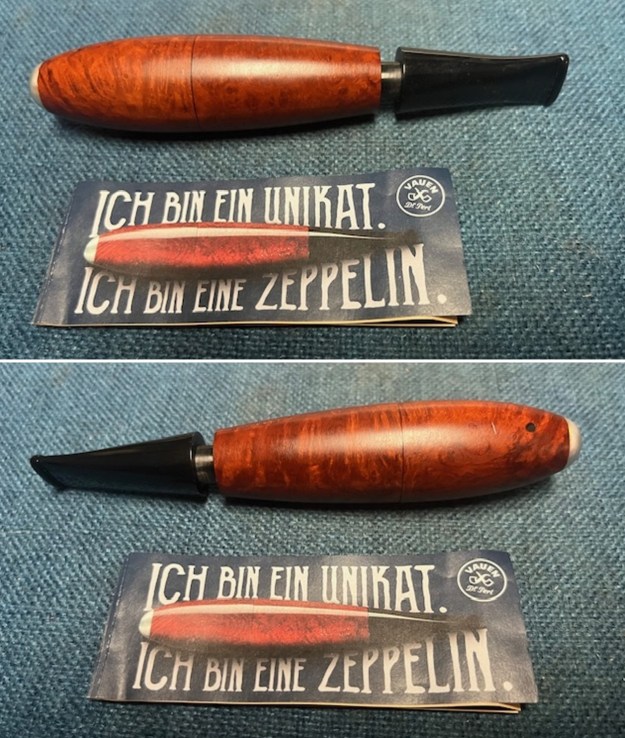 It took a little work to remove the stem but I was able to remove it. I took a photo of the two parts at this point in the process. I took the nosecone off as well and took a photo of the three sections of the pipe.
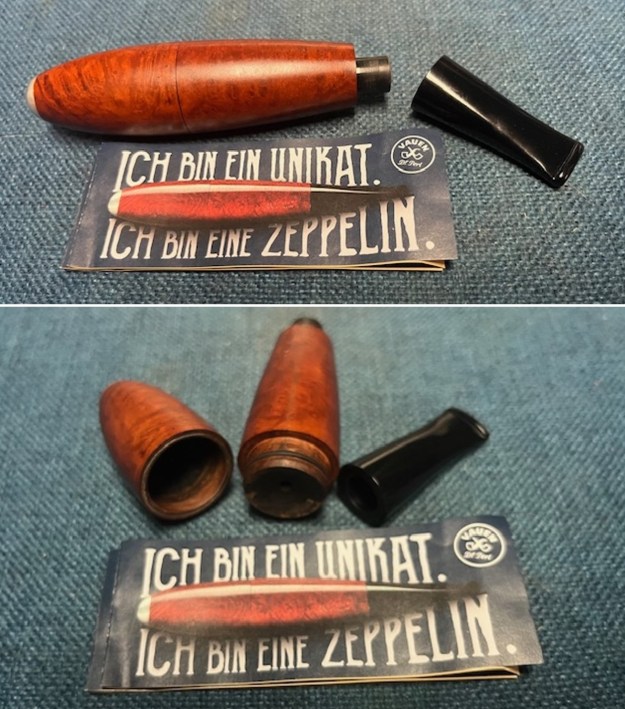 Before I started to work on it I did a quick Google search on the Vauen Zeppelin pipe and found a link to City Cigar’s website where I found the pipe that I was working on for them. I have included the link (https://citycigarcompany.com/products/vauen-zeppelin-pipe) as well as the description of the item that is for sale on the site. It includes the measurements of the pipe as well as a photo of the pipe. I included all of the info below.
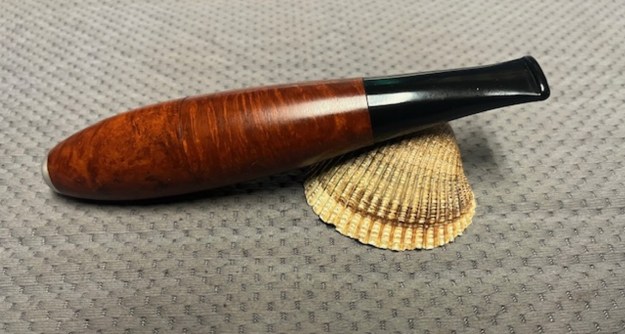
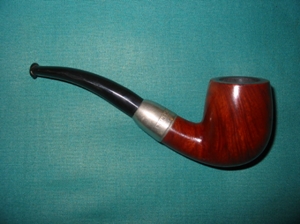
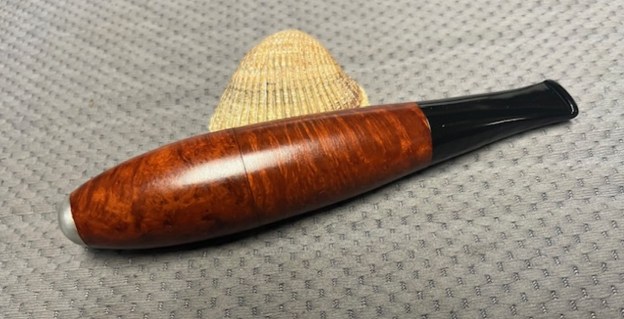
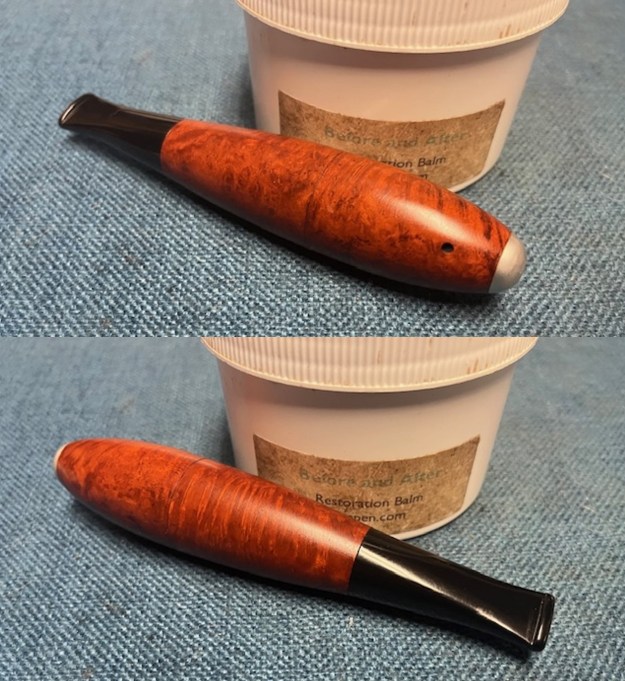
Vauen Zeppelin Pipe – The Vauen Zeppelin Pipe is a bold departure from traditional pipe shapes, modeled after the iconic airship with its sleek, torpedo-like silhouette. Designed to smoke more like a cigar than a classic briar, it features a smooth, streamlined body with a removable front cap for easy loading and wind protection. The bowl is located toward the rear, while the draw is taken through a narrow front air hole—creating a direct, focused airflow.
Crafted from high-quality briar and fitted with a 9 mm charcoal filter, the Zeppelin delivers a surprisingly cool and clean smoke despite its compact build. It’s ideal for short, efficient sessions and particularly well-suited for outdoor use thanks to its wind-resistant design.
Length: 143 mm | Weight: 38 g | Bowl Height: 48.4 mm | Chamber Depth: 33.1 mm | Chamber Diameter: 22.4 mm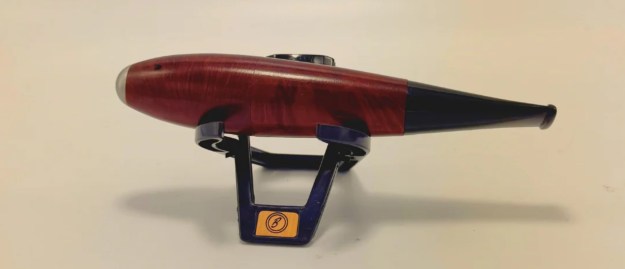 From there I turned to the Vauen site to see if there was any information on the Zeppelin pipes (https://www.vauen.com/pipes/detail/collection/zeppelin/current-range.html). I have included Vauen’s information and the photo from the site.
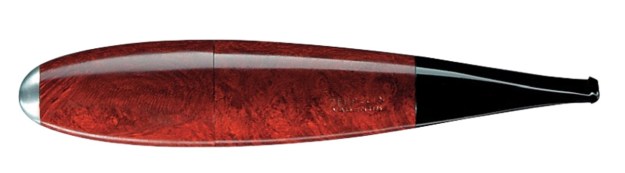 Something truly unique. The Zeppelin is handcrafted replica of a pipe from the roaring twenties, when the airships that roamed the sky were the pinnacle of modernity. The pipe comes in a handy leather case and tips for usage. Mouthpiece: acrylic black. Bitetype: Fishtail mouthpiece
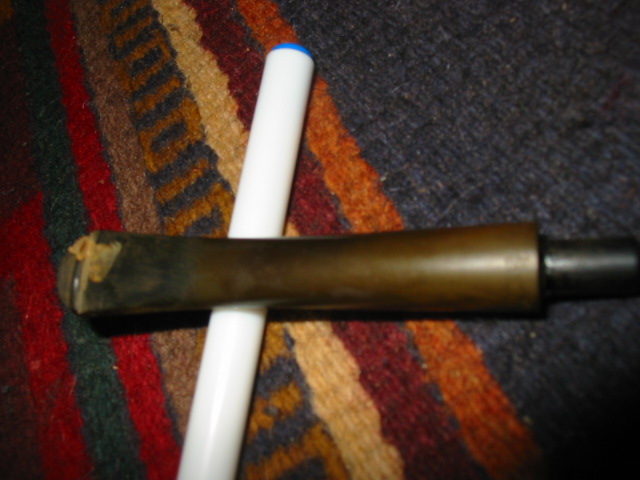
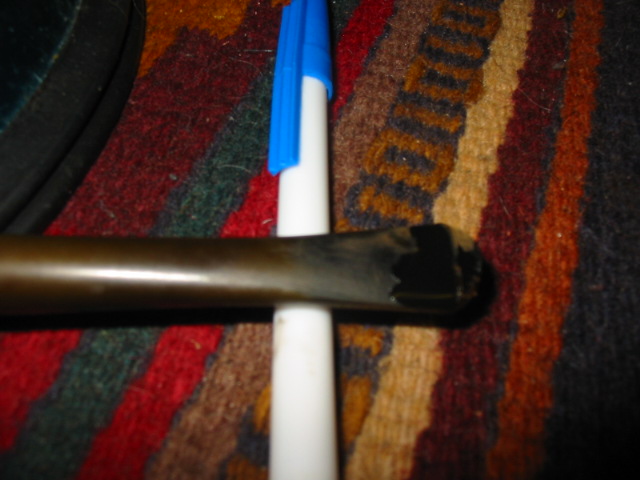
Now it was time to work on the pipe itself. I worked over the Delrin 9MM tenon with 320-3500 grit 2×2 sanding pads to try to reduce the size of the tenon so the stem fit better.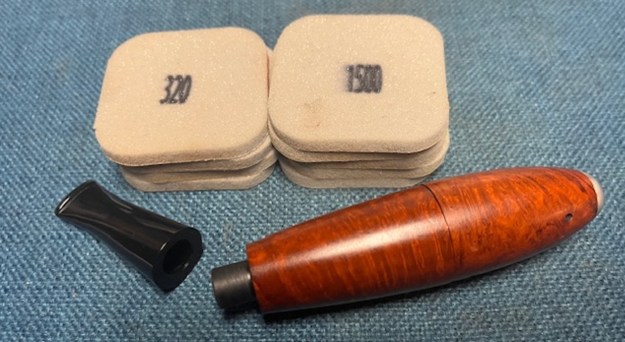 I polished the tenon with 1500-12000 grit micromesh sanding pads to raise a shine on the tenon. Once it I had it polished It fit very well.
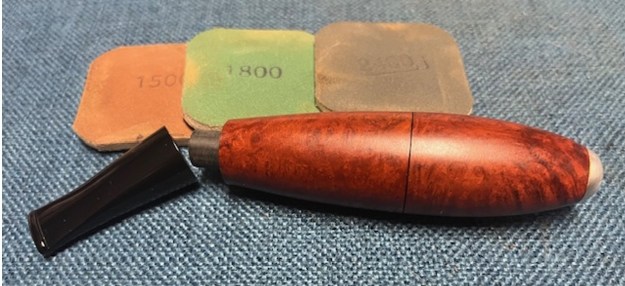
 I wiped the tenon end of the Zeppelin with some Vaseline and slipped the stem in place on the pipe. It worked easily and fit snug in the shank.
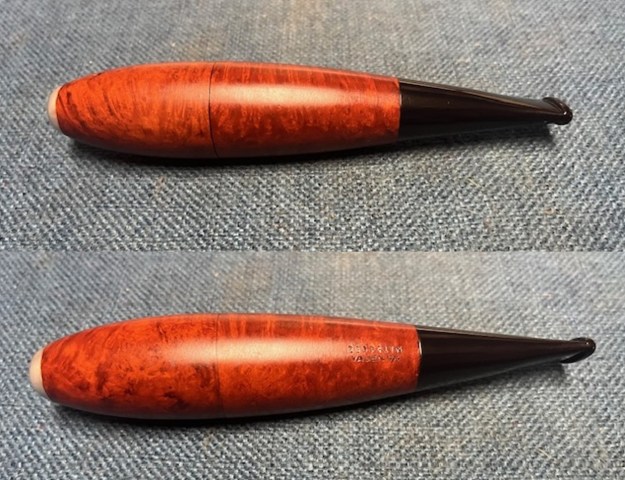
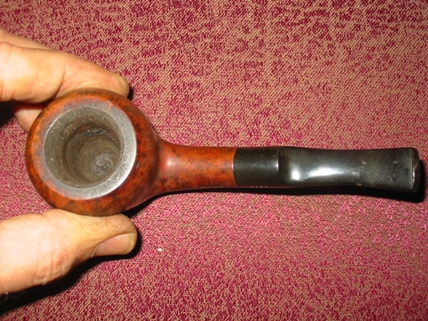
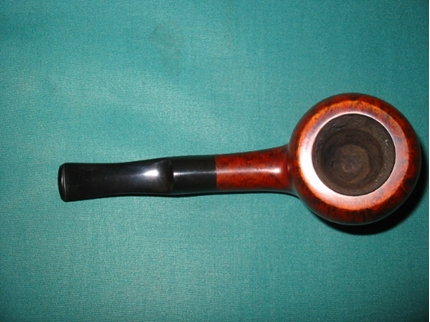
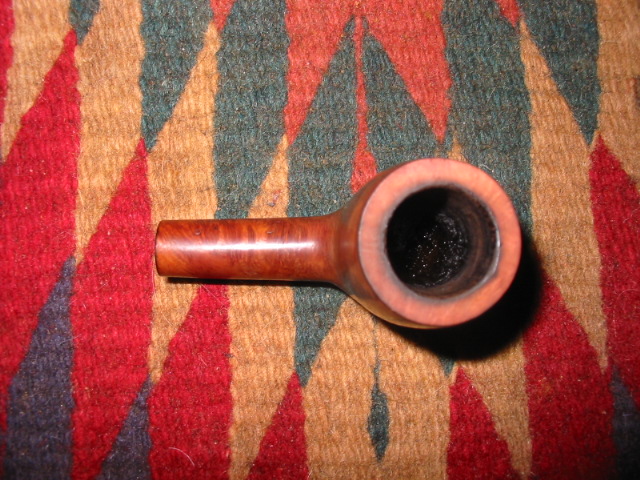
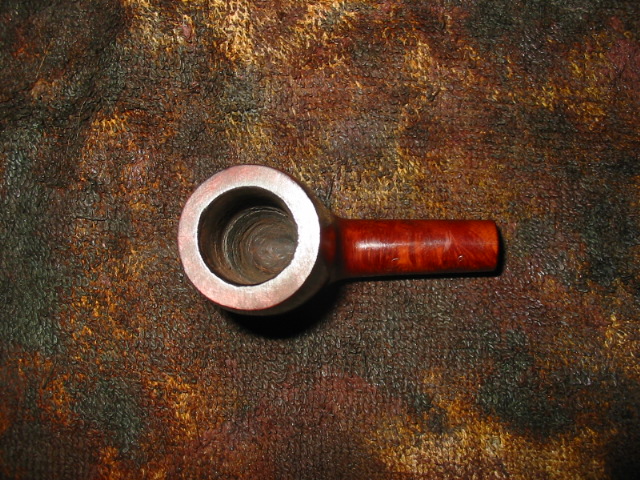
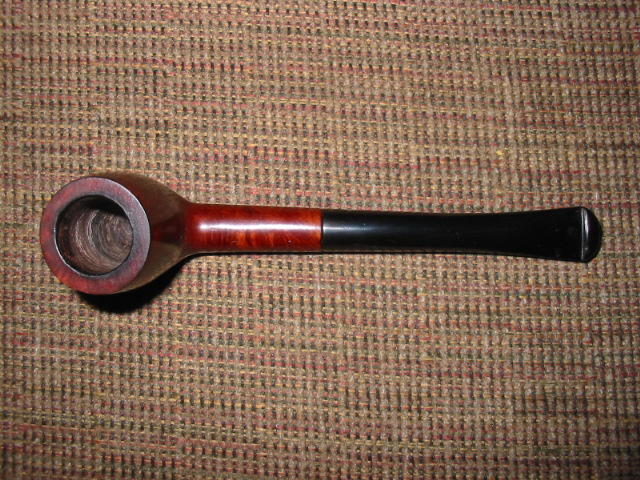
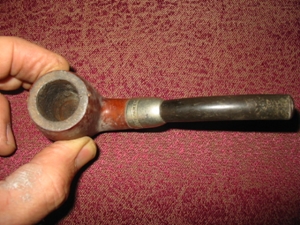
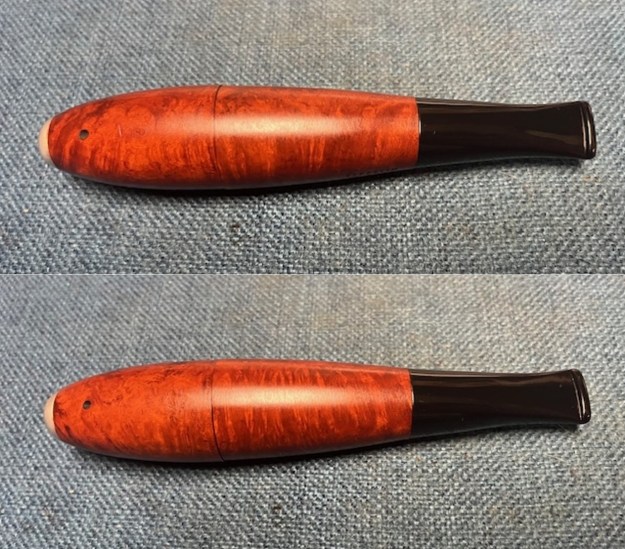 I reamed the cap with a Savinelli Fitsall Pipe Knife to scrape out the cake on the cap walls. It was smooth when I finished. Previous to scraping it the surface was very rough to the touch. I cleaned out the three parts of the Vauen with pipe cleaners – both smooth and bristle. I was able to remove a lot of the tars and oils in the airways. It was better when I finished.
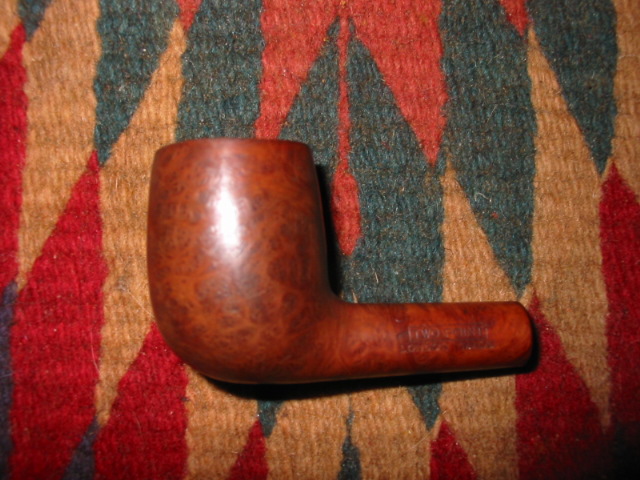
 I rubbed the bowl down with some Before & After Restoration Balm. I worked it into the briar with my fingertips and into the rugged rim top with a shoe brush. The product works to clean, renew and protect briar. I let it do its work for 15 minutes then buffed it off with a soft cloth. The pipe is really quite a beauty.
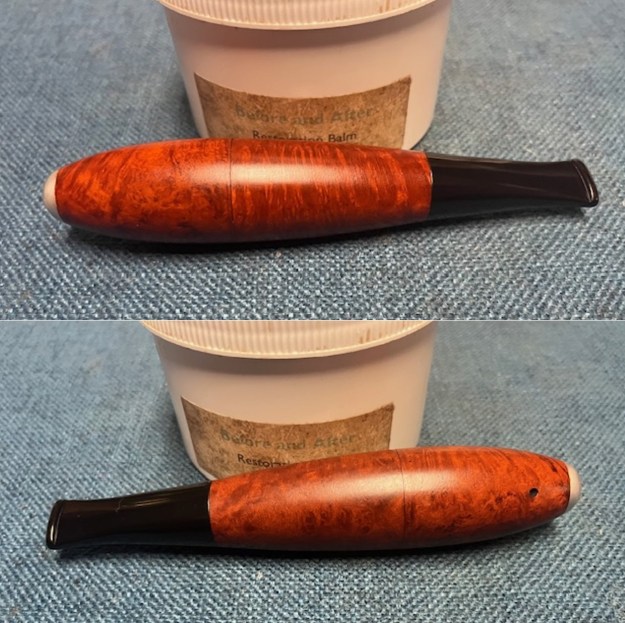
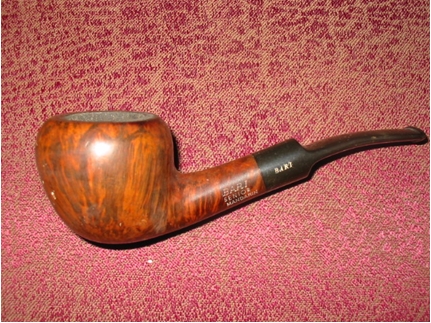
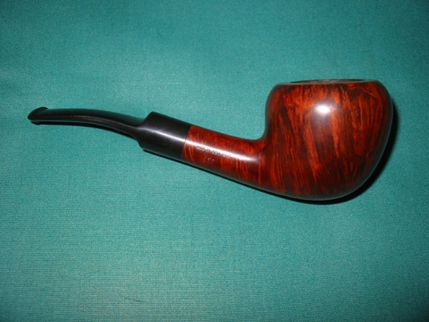
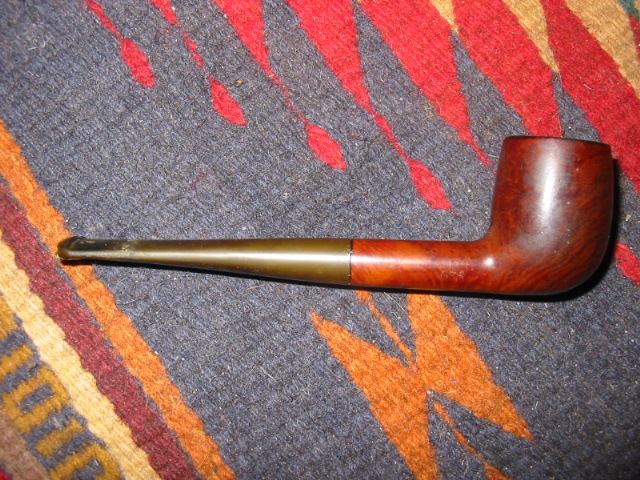
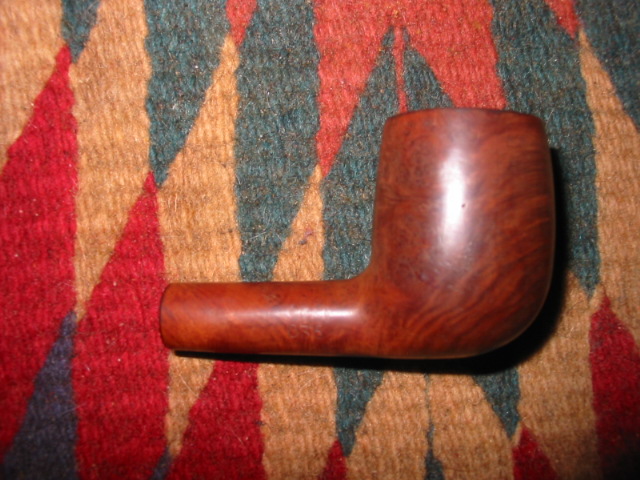
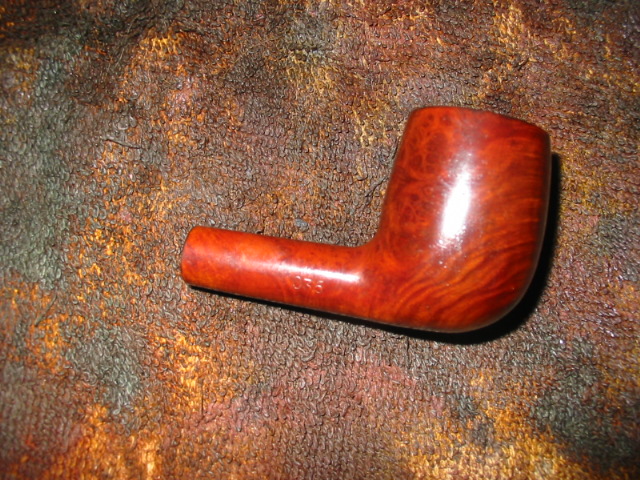
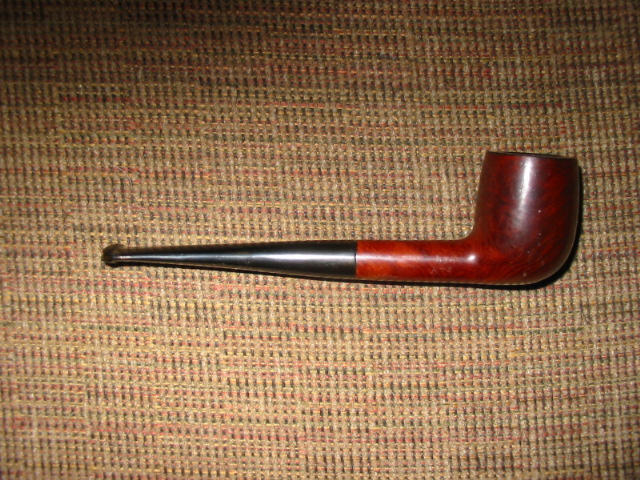
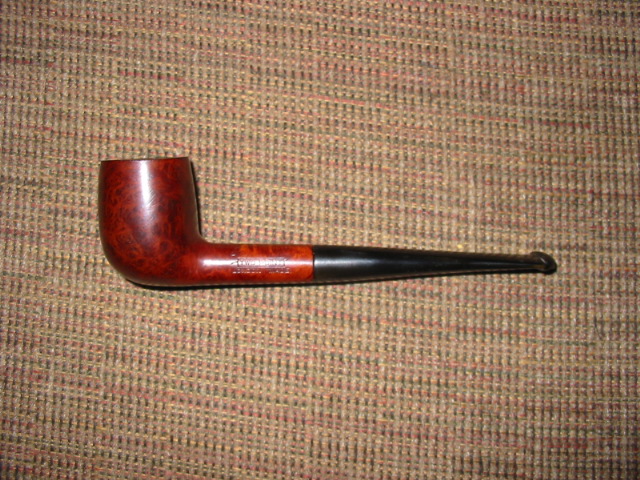
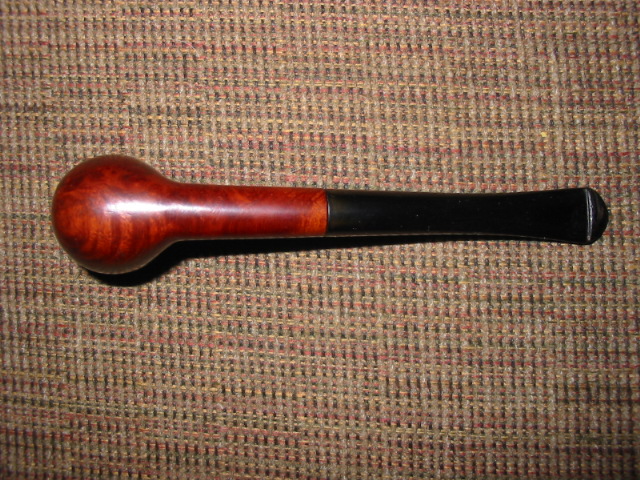
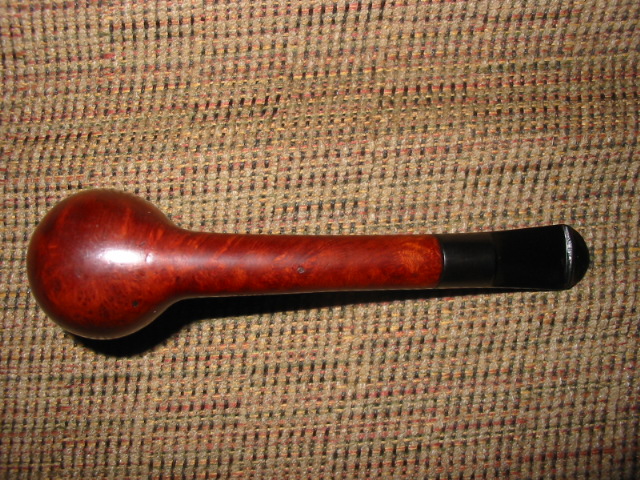
 It is great to be finished with this Vauen Zeppelin pipe. I put the pipe back together and buffed it with Blue Diamond on the buffing wheel. I gave the bowl and the stem multiple coats of carnauba wax. I buffed the pipe with a clean buffing pad to raise the shine and hand buffed it with microfiber cloth to deepen the shine. It is fun to see what the polished bowl looks like with the rustic finish. Added to that the polished black vulcanite stem with the shining brass pins was beautiful. This mixed grain on the Vauen Zeppelin is nice looking and the pipe feels great in my hand. It is light and well balanced. Have a look at it with the photos below. The dimensions are Length: 5 ½ inches, Height: 1 inch, Outside diameter of the bowl: 1 inch, Chamber diameter: 7/8 of an inch. The weight of the pipe is 1.34 ounces/39 grams. It is a beautiful pipe that will soon be heading back to its own through the pipe shop. I look forward to what he thinks.
Thanks to each of you who are reading this blog. Remember we are not pipe owners; we are pipemen and women who hold our pipes in trust until they pass on into the trust of those who follow us.