Blog by Steve Laug
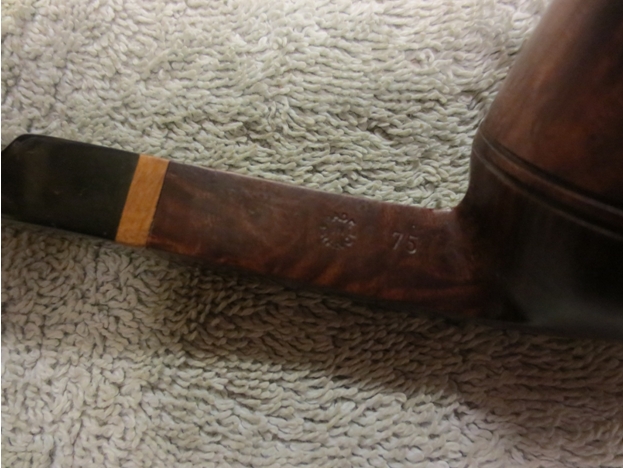
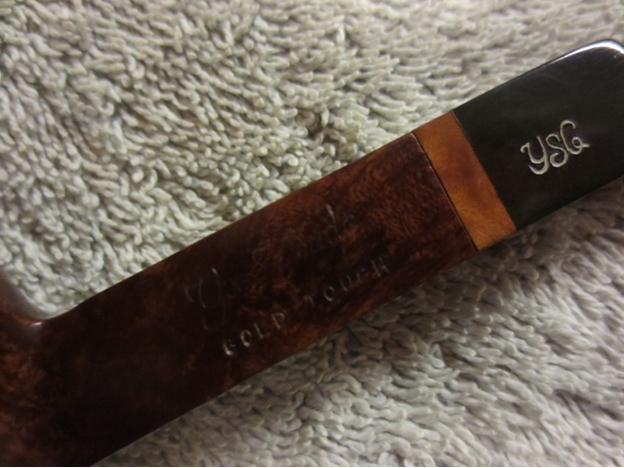
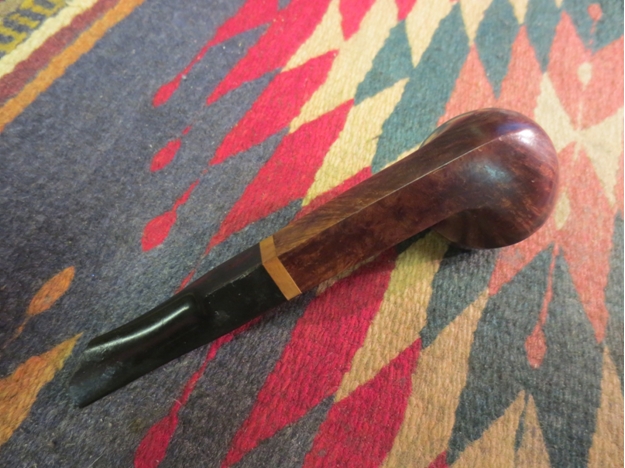
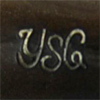 In the gift box of pipes I received (shown below) there was one pipe that kept calling out to me to have a look and see what I could do with it. It is shown in the photo below – it is the bulldog in the bottom right corner. It is stamped Yves St.Claude GOLD TOUCH on the left side of the shank and on the right side it has the shape stamp 75 and Made in France in a circle similar to the Comoy’s Made in England Stamp. “Made” and “France” make up the outside of the circle and “in” is in the centre. On the stem it bore a script stamp of YSC and also a light golden coloured wooden stem adornment. I think this is the “Gold Touch”. I have done a bit of research on the net and have found several other examples of the Gold Touch and all have had this wooden stem adornment. The stem was broken off at an angle from the button forward about one inch.
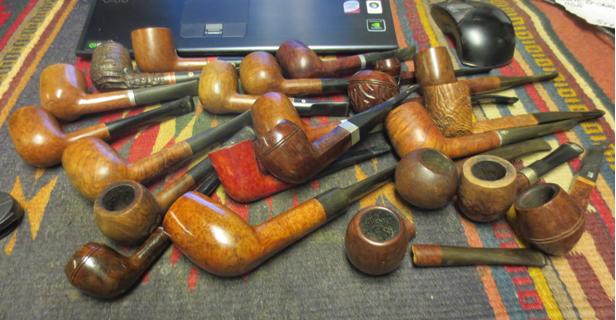 In searching the web I found several references to Yves Grenard, trained in Comoy’s England purchasing the Chacom plant in St. Claude. He managed the factory and it passed on to his son afterward. I am pretty certain that this Yves St. Claude pipes was made by Chacom in France with the stamping bearing Yves name.
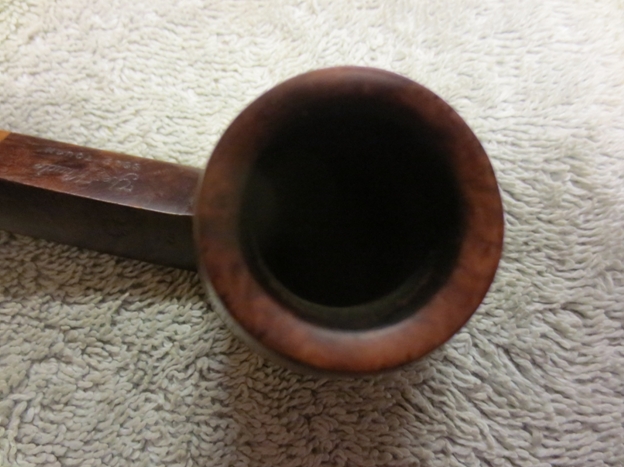
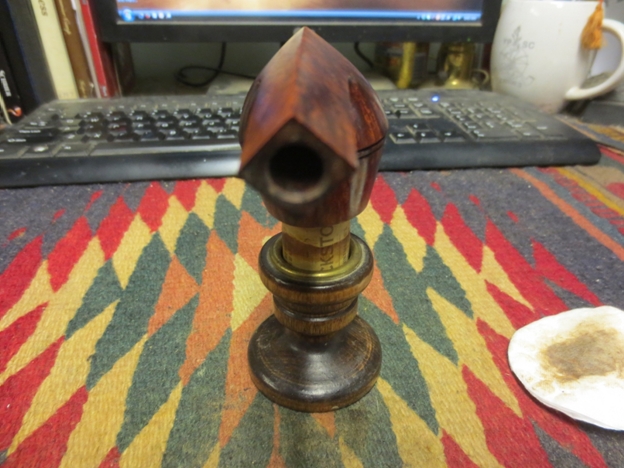
I took the pipe to my worktable and took the following photos. They are a little dark but give a pretty clear picture of the condition of the pipe. The finish was clean but had a lot of damage. There were dings and scratches that cut deeply into the sides of bowl on both sides. On the right side there were vertical scratches on the bowl. The centre of the two rings had several places where it was chipped and damaged. The outer edge of the rim had dents on it from tapping the pipe out on hard surfaces. The top of the beveled rim had a build up of tars and oils. The inner edge was clean and undamaged. The bowl was quite clean and did not need reaming. The stem had light oxidation but the major problem with the stem was that it was broken. The bottom edge of the diamond stem had several cuts and dents in the vulcanite that would be a challenge. I would need to decide what to do with it – should I cut it back and reshape it or replace it with another saddle stem. The problem with replacing it would be that I would lose the stamping on the saddle and the nice wood stem adornment. Shortening it would not be hard to do but I was not sure what it would look like. So I was faced with a decision.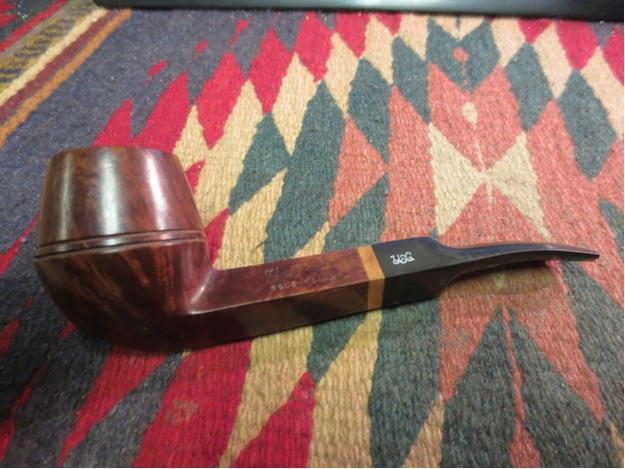
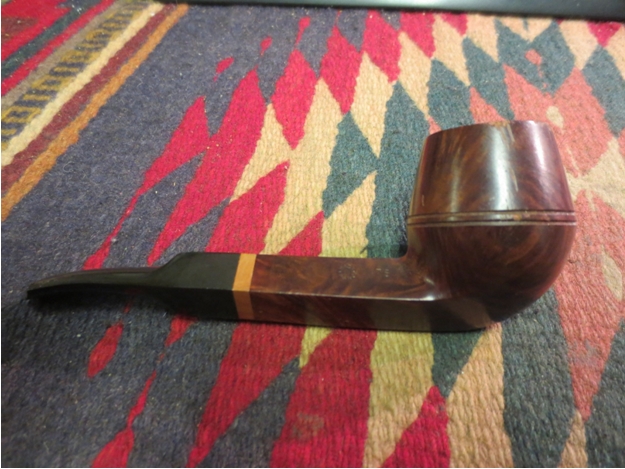
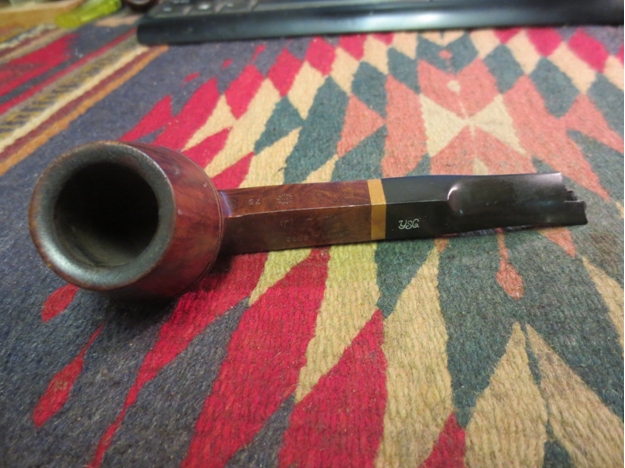
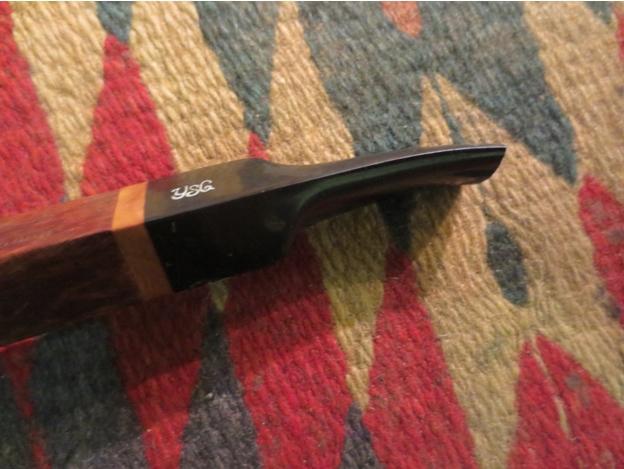
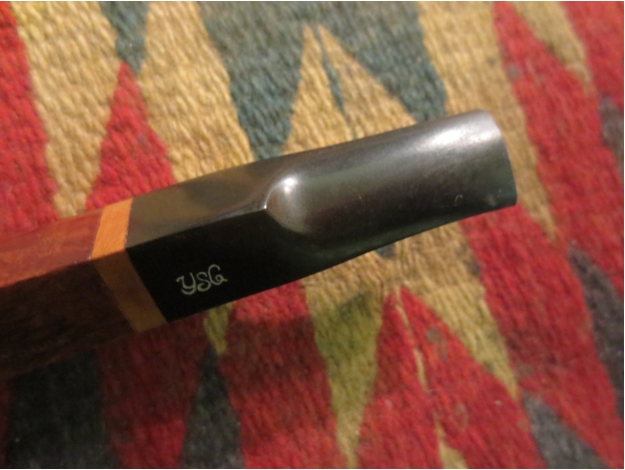
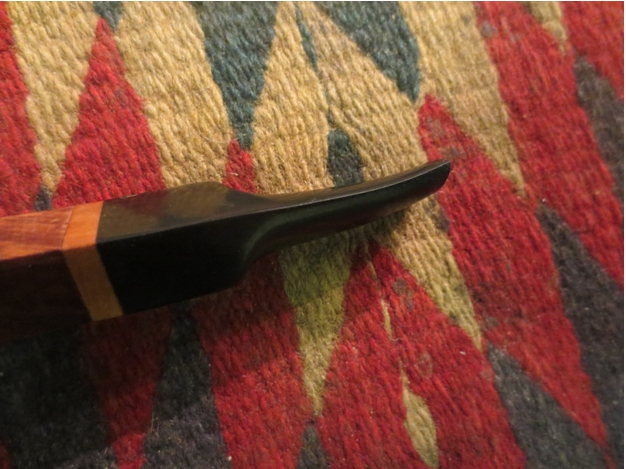
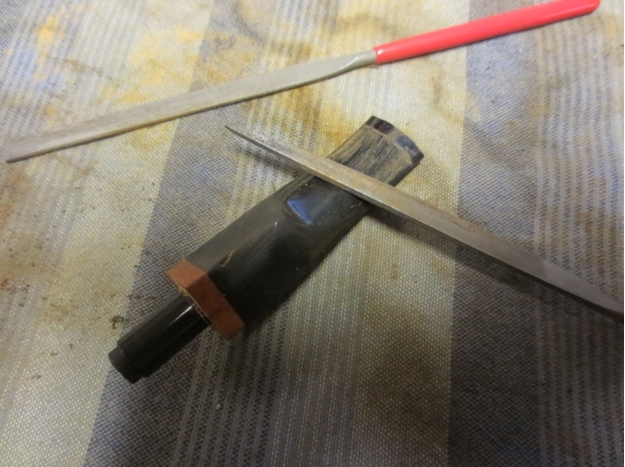
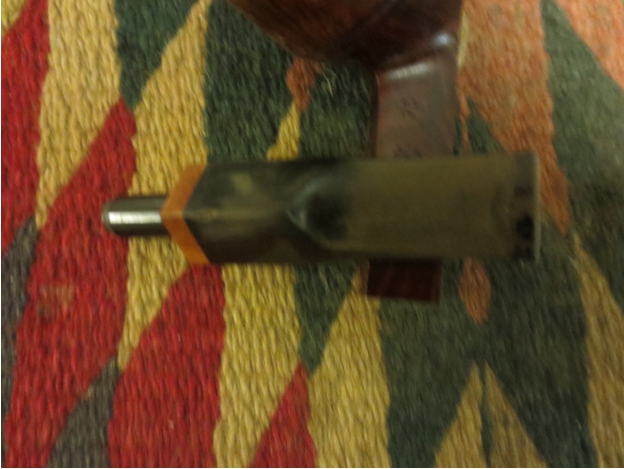
 The next two photos are close up shots of the stem to show the damage. The first photo is the underside of the broken stem and the second is the top side.
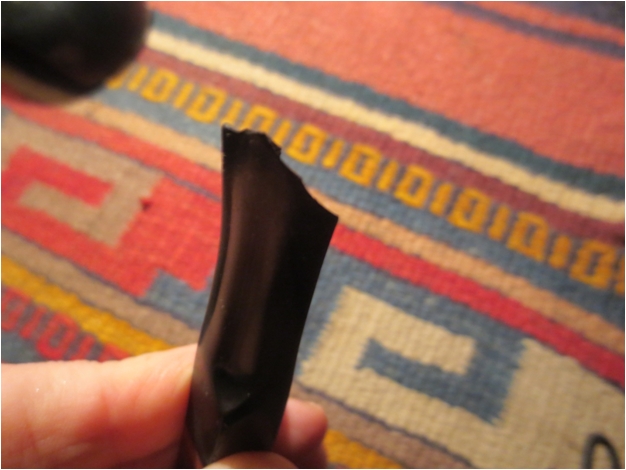
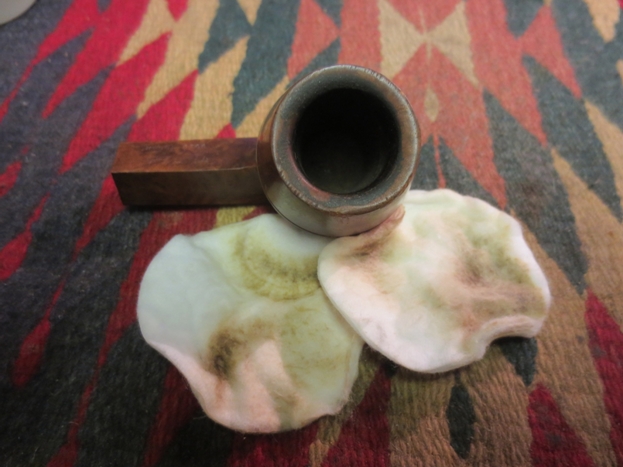
 I scrubbed the bowl with acetone on cotton pads to remove the finish and grime from the surface of the bowl. I wanted to have a clean surface to work with when I repaired the deep scratches on the sides of the bowl and also the damaged ring around the bowl.
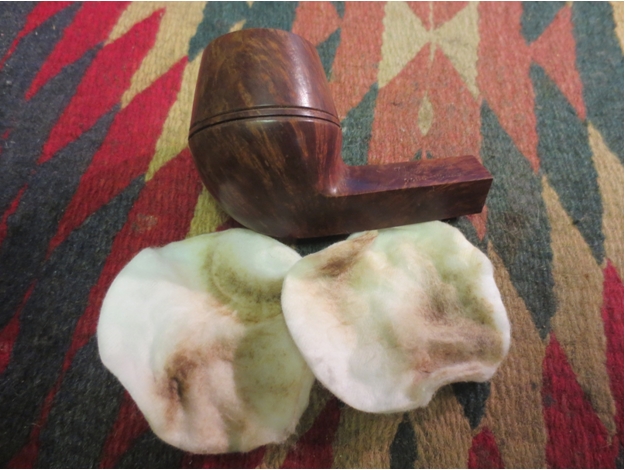
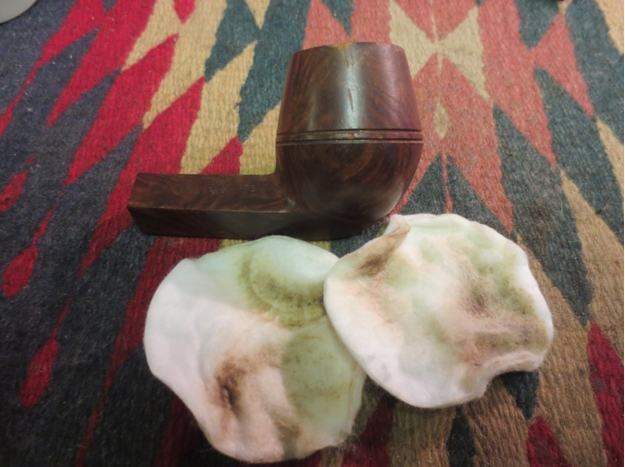
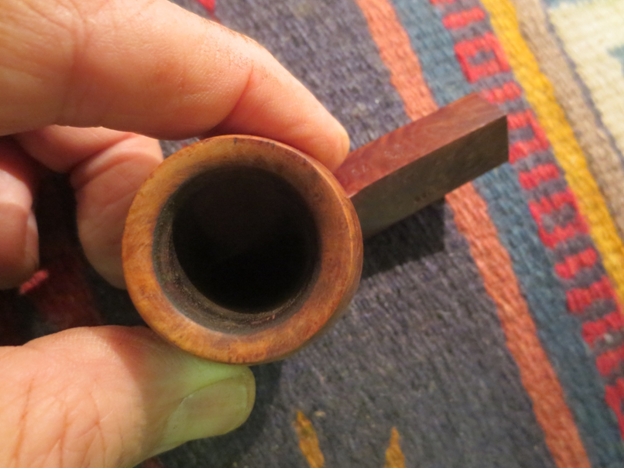
 I scrubbed it until the bowl and rim were clean. I filled the deep scratches and sharp edged dents with clear super glue and then sanded them until they blended into the surface of the bowl. Once I had sanded them down they virtually disappeared into the grain. This was one of those times that the patches literally disappeared into the briar. The next photos show the bowl stripped of its finish and cleaned and repaired.
 I decided to cut back the stem and reshape it. I figured that if it did not look right I could make a new stem. I used my Dremel with a sanding drum to cut away the damaged portion of the stem. I took it back until the remaining stem was solid and the damage was gone. Fortunately the airway was absolutely centered in the stem. Once I had it cut off I kind of liked the look of the shorter stem and I thought that I could reshape it so that it would look natural. It reminded me of some of my older WDC bulldogs that had an elongated shank with a short stem. I think that it works because of the wooden stem adornment which gives the shank a longer look.
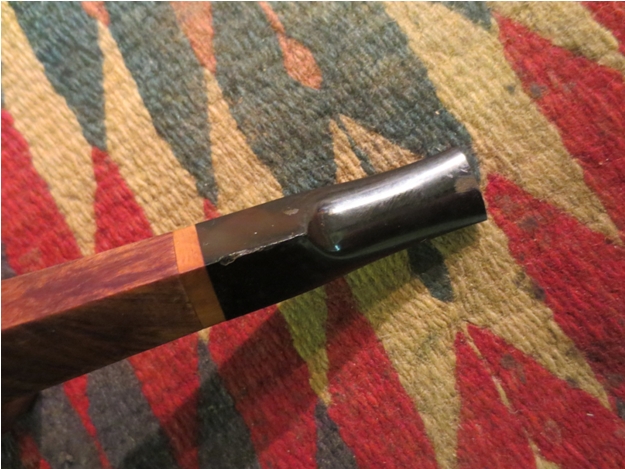
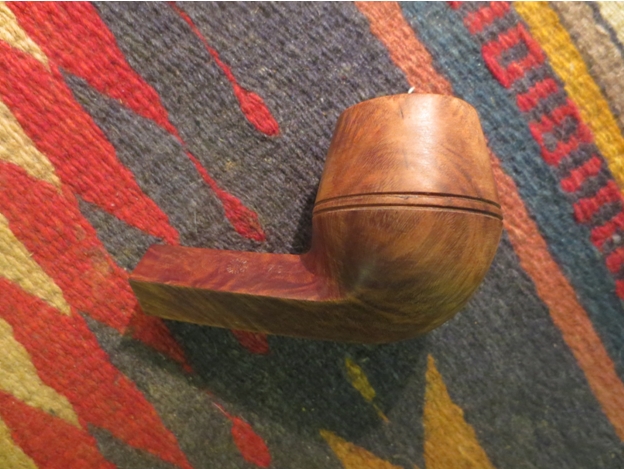
 Below I have included a photo of the entire pipe with the shorter stem to show the new look. I like it!
 I decided to stain the pipe bowl and set it aside to dry while I worked on the stem. I use an old candle stand with a wine cork that fits into the bowl of the pipe as a drying stand for the bowl. It works very well to keep all surfaces exposed to the air. I used a walnut aniline based stain to bring out the grain on the bowl.
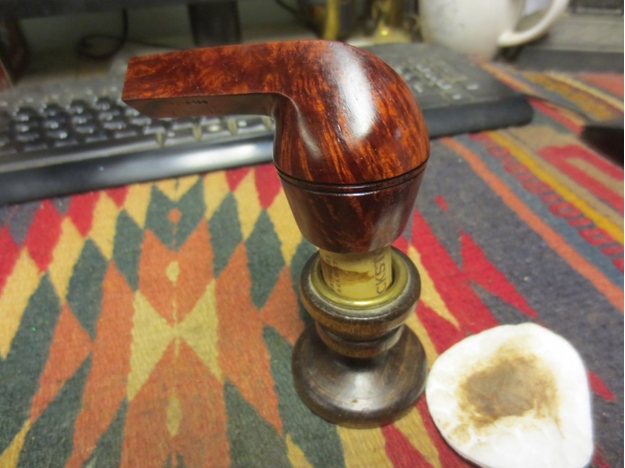


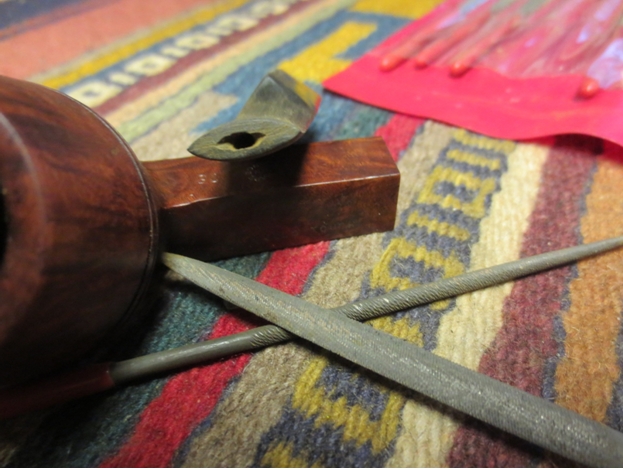
 While the bowl was drying I turned my attention to cutting a new button on the stem. I use several needle files in the process followed by a folded piece of 220 grit sandpaper to work the new sharp edge. I start with a knife blade needle file and use the straight edge to define the line of the button. Once that is done I use the curved edge to carve away the surface of the stem ahead of the new button line. I continually refine the sharp edge in the process with a flat rectangular blade needle file that has a straight edge. It does not have the teeth to cut the edge at the beginning like the first file.
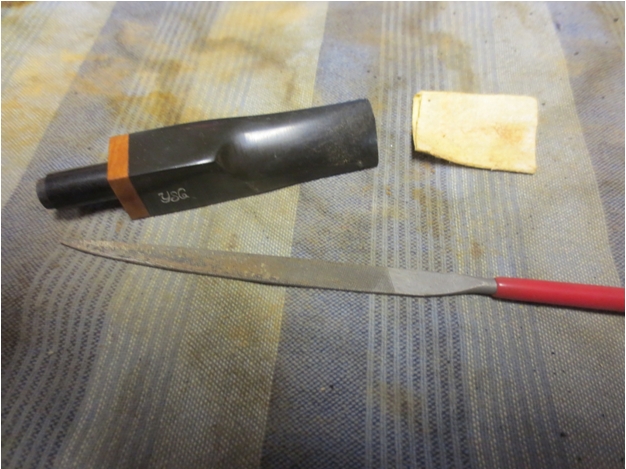

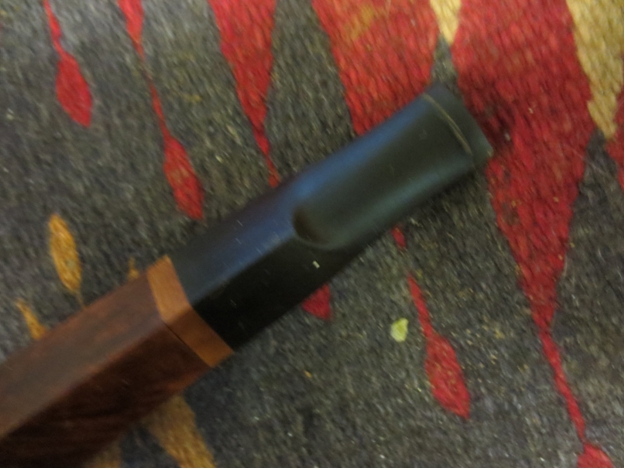
 Once I have the general button cut I sand the stem surface with the 220 grit sandpaper folded. I use the folded edge to get right up against the new button. I work the sandpaper to get rid of the file marks. The next two photos show the newly shaped button and the smoothed out stem surface.
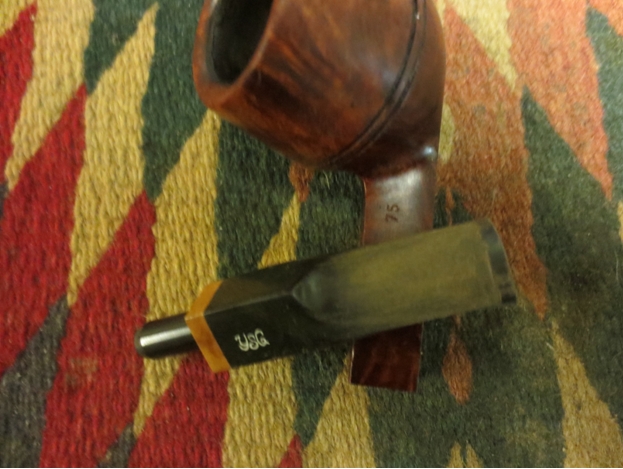
 I then worked on the slot in the button. For this I use three different needle files – a flat oval, an oval and a round file. I work them interchangeably as I open and flair the airway. I start with the flat oval to spread out the opening and the other two to widen the gap.
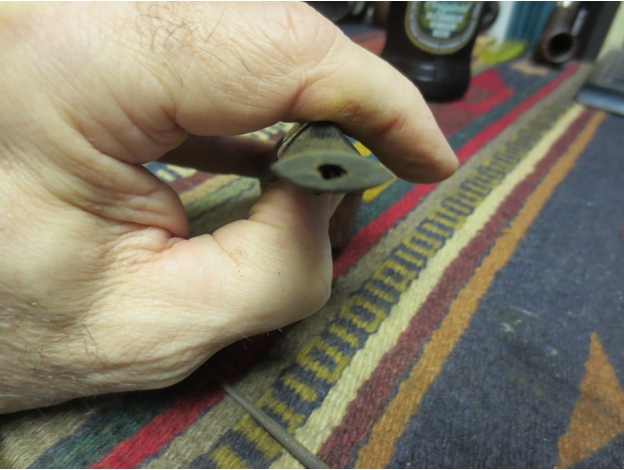
 Once the slot was opened I used a folded piece of 220 grit sandpaper to shape the edges and to smooth out the opening of the oval slot.
 Once the slot is opened and smooth I sand the stem with a medium and a fine grit sanding sponge to further shape the stem and also to remove the scratches.
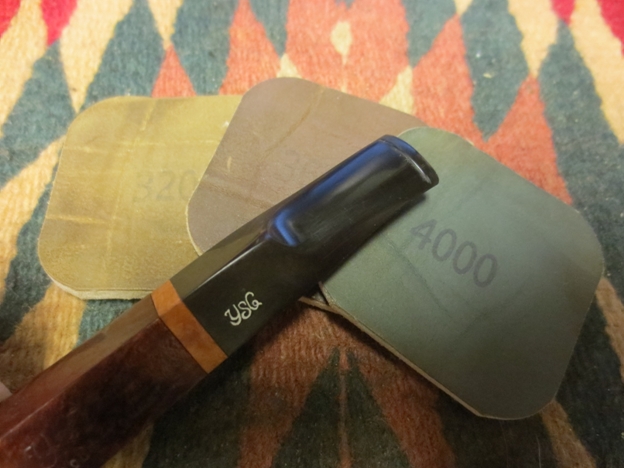
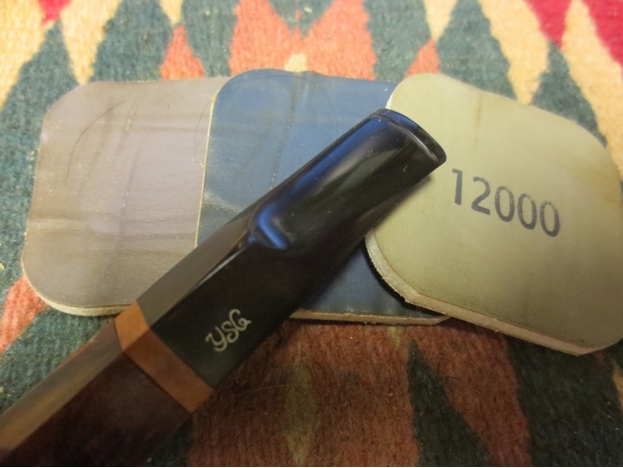
 I then used my usual array of micromesh to sand and polish the stem. I wet sanded with 1500-2400 grit sanding pads and dry sanded with 3200-12,000 grit pads. I rubbed the stem down with Obsidian Oil between each set of three pads. After the 12,000 grit pad I rubbed it down a final time and let the oil soak into the vulcanite.
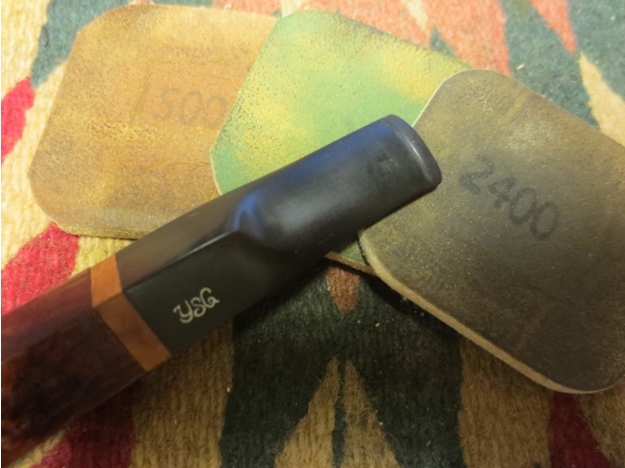
 I buffed the stem with White Diamond and then gave the bowl and stem multiple coats of carnauba wax. I buffed it with a soft flannel buff to raise the shine.
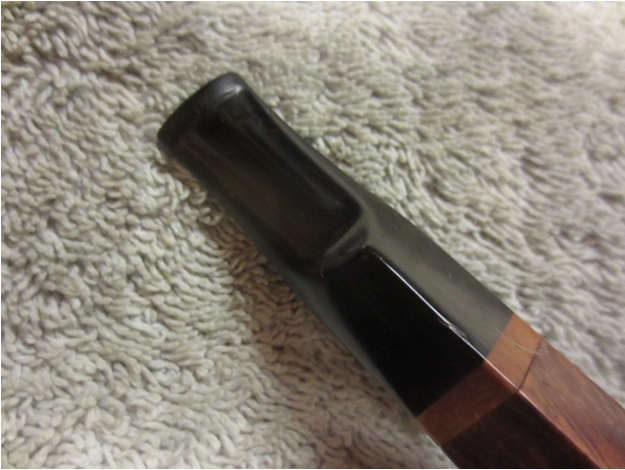
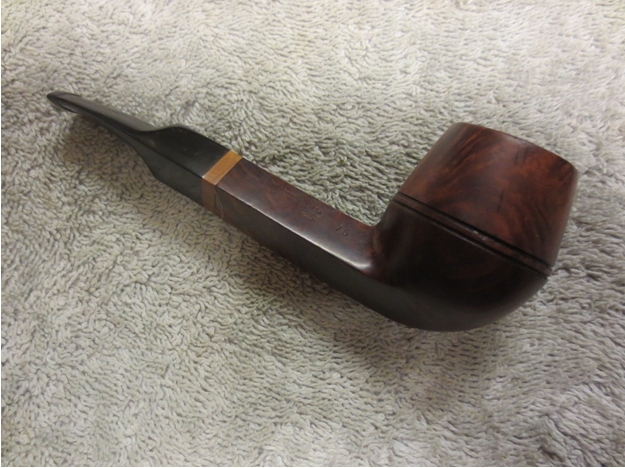
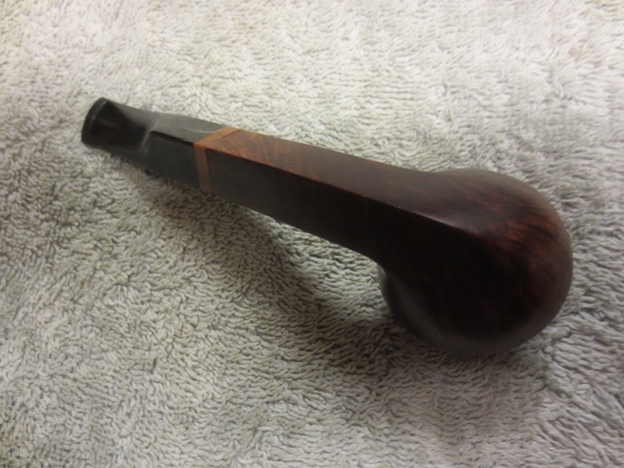
 The finished pipe is shown in the photos below. I like the shortened stem and how it looks on the pipe. The overall look of the pipe with the newly shaped stem has both a Danish flair and a look of days gone by. I think I will be enjoying some good smokes in this one.
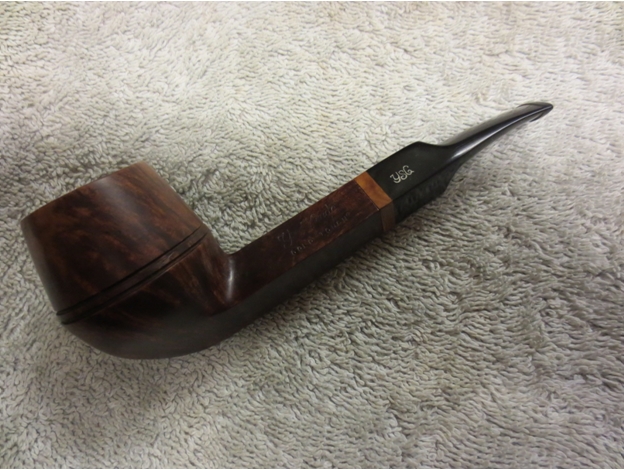
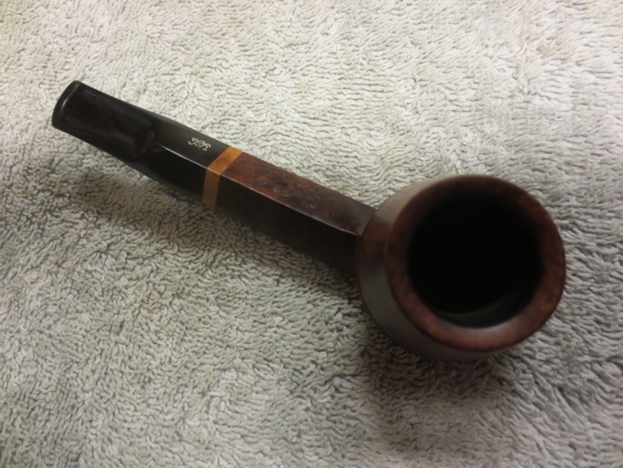
 I have also included a few close up photos of the rim and the stampings on the shank and stem. It is truly a beautiful pipe.