Blog by Aaron Henson
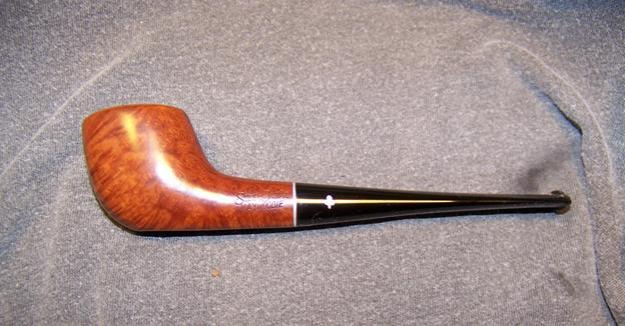
In June of 2016, Steve posted a great restoration of a Kaywoodie 61 by Lance Leslie. Lance referred to the 61 as “the circus pipe”, a name his Grandfather had given it, no doubt because of the unique shape and the oval bowl. At the time, I thought Lance had done a great restoration but I was not moved by the shape of the pipe. Little did I know that in about a month’s time I would stumble upon its cousin, the 66, in a second hand store in Dallas.
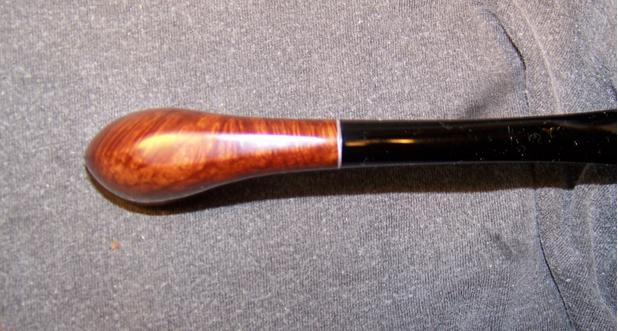
The Kaywoodie shapes 61, 64 and 66 are EZ-set pipes (flat bottom) that are known as “Streamliner” shapes (pipedia). I assume that the ‘streamline’ name comes from the oval shaped bowl that gives the pipe a slim profile and made it easy to fit into a vest pocket. Although Kaywoodie had several other shapes that were “vest pocket” shapes, only the 61, 64 and 66 were called Streamliner shapes.
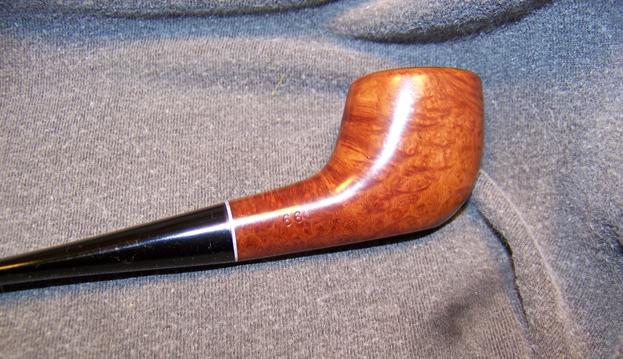
The Kaywoodie shape list further describes the 66 as a “forward leaning apple” and indicates that this shape was manufactured during the following two periods: 1935-1937, 1952-1960. I was not able to pin down the manufacturer date any closer but based on its condition, I suspect it to be in the latter, post war, time period.
Once I had the pipe in hand I was drawn to it unique shape; kind of a boat shape with a curved prow. Although a little odd feeling in the hand, I found it appealing. Additionally, I could see that the quality of the briar under the grime was fantastic. Of course, the pipe came home with me.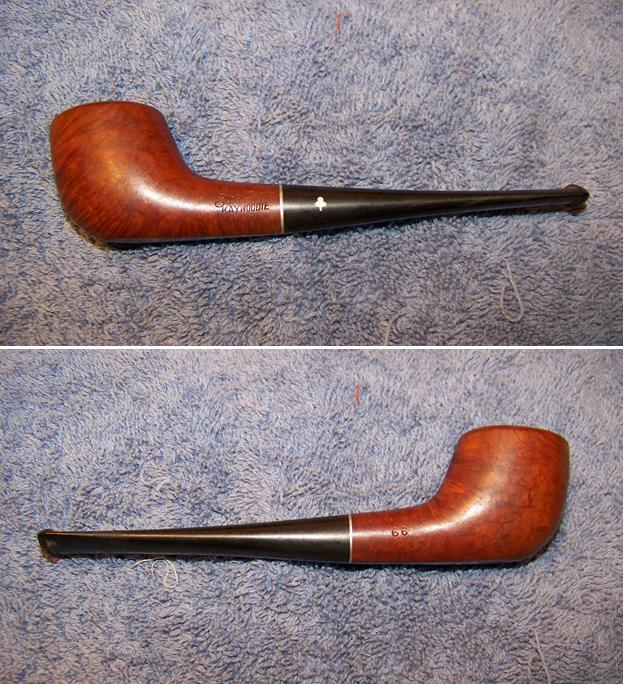
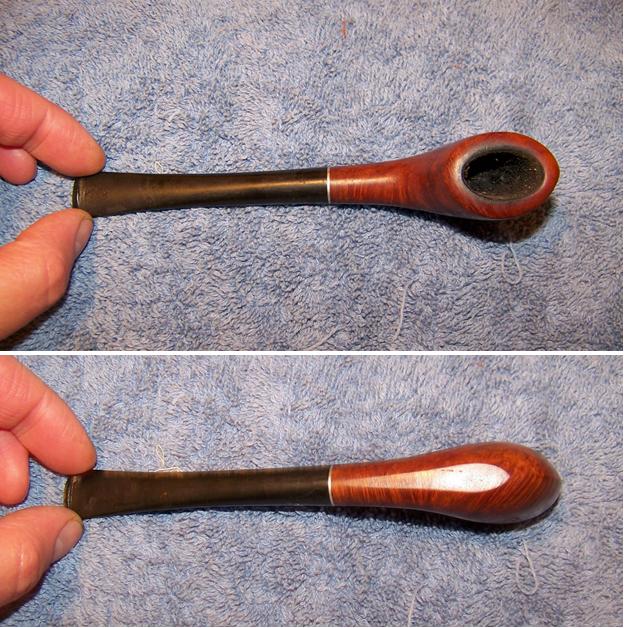 Inspecting the pipe at the workbench, there was a light build up on the rim with some under laying burn marks. There was a medium cake formed in the bowl but it was not overly hard. The stummel had some handling dings and scratches but none were very deep. I looked for fills but found none and confirmed that the grain was superb.
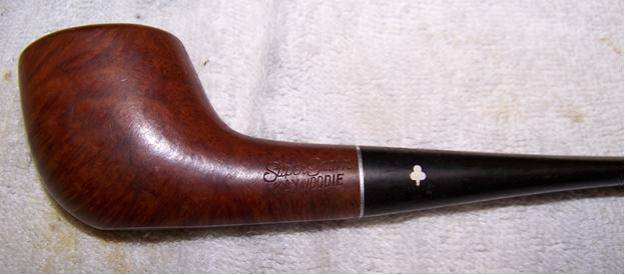 The stem had a light amount of oxidation and a deep scratch about halfway down in the underside. There was a little chatter around the button and a moderate tooth dent in the bottom side of the stem. Removing the stem revealed the threads and the aluminum stinger to be in good condition, albeit covered in dried tars.
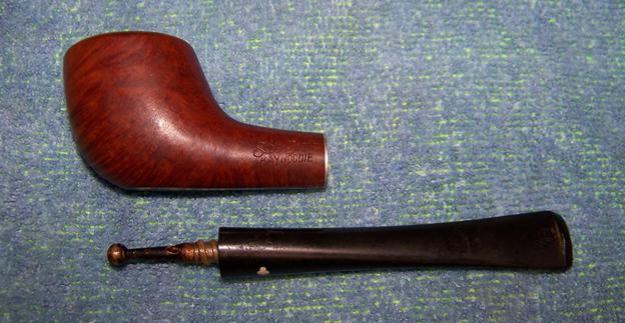 I began working on the stem by applying heat from a lighter to raise dent and even out the tooth chatter. This was very effective but had the added effect of bring out some oxidation around the bit. I set the stem to soak in a mild Oxi-clean bath and turned my attention to the stummel.
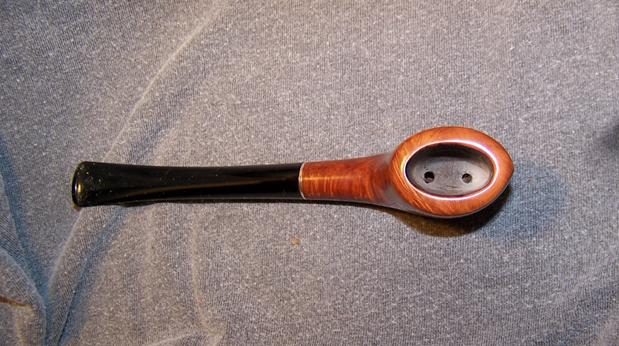
The first thing I like to do is clean out the bowl. This gives me a good feel for the true condition of the briar. Because of the narrow oval shape, I could not get any of the Castleford reamer heads to fit. So I resorted to carefully scraping out the cake with a dull jackknife and finishing with a rolled piece of 80-grit sand paper.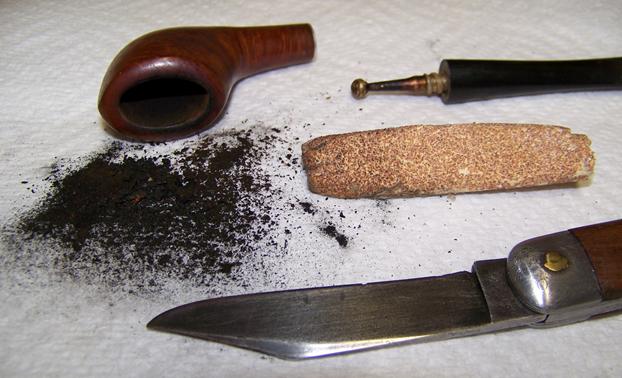 With the cake gone, I discovered something that I was not expecting. There were two air holes in the bottom of the bowl; one at either narrow end of the oval. Inserting a pipe cleaner into the shank I could see that the airway extended straight under the bowl and both holes opened down into it.
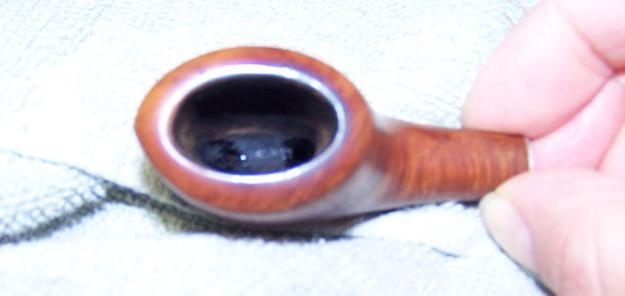 Using a cotton pad and alcohol, I scrubbed the rim and was able to remove most of the tar. I was happy to see that the much of what I thought was burn came off with the alcohol pad. The burn marks that remained were on the inside of the rim and not very deep.
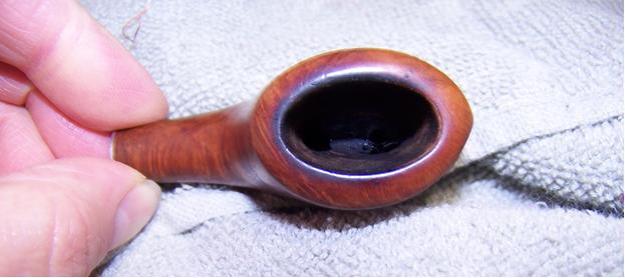 Before doing any other work on the stummel I wanted to try to lift any handling damage with steam. I laid a clean, damp terry cloth rag over the wood then applied at clothes iron on high to the damp cloth. The resulting steam will often lift the dents and shallow scratches that comes with handling or rattling around in a box or drawer. It will also lift and remove the manufacturer’s stamps so be careful around those.
After steaming I used 320 grit paper I carefully sanded the rim trying to keep the original rounded shape while removing the burn marks. Then I scrubbed the internals of the shank with cotton swabs until the swabs came out clean. I wanted to sweeten the bowl and remove any ghosts of the former owner’s tobacco so I decided to do a bowl soak. I plugged the shank with a cotton swab and packed the bowl with a cotton ball. Then I filled the bowl with Isopropyl alcohol. The alcohol draws out the old tobacco oils trapped in the briar from the briar and they in turn get trapped in the cotton. While the bowl soaking, it was time to work on the stem.
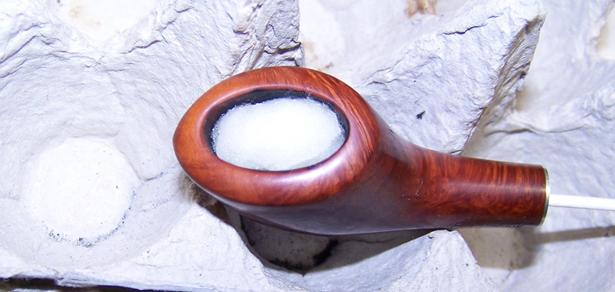 Taking the stem out of the Oxi-clean bath I lightly sanded the stem with 500 then 1000 grit paper to remove the remaining oxidation and to smooth out the remaining tooth marks. I cleaned the stinger with some 0000 steel wool and ran pipe cleaners through the internals until all was cleaned. I polished the stem with the full range of micro mesh pads. I apply a bit of mineral oil to the stem every few pads. This seems to help in the polishing process.
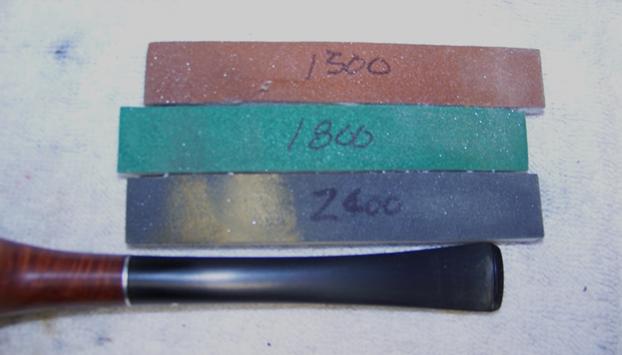

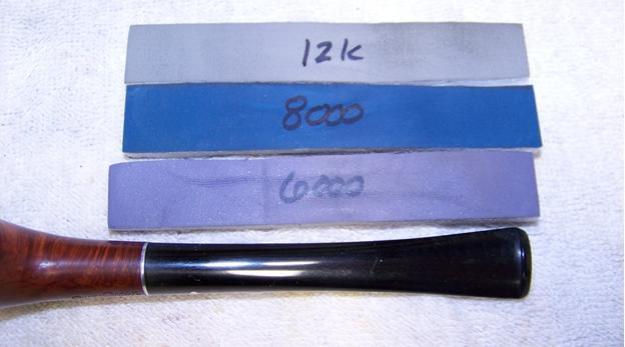 I finished the stummel by sanding with 1500 – 4000 micro mesh pads then wiped everything down with a light coat of mineral oil and let it set over night. The next day, after work, I took the pipe to the buffing station and finished the polishing with red diamond compound. Wiping off the excess rouge with a cotton cloth I changed buffing pads and sealed the pipe with three coats of carnauba wax.
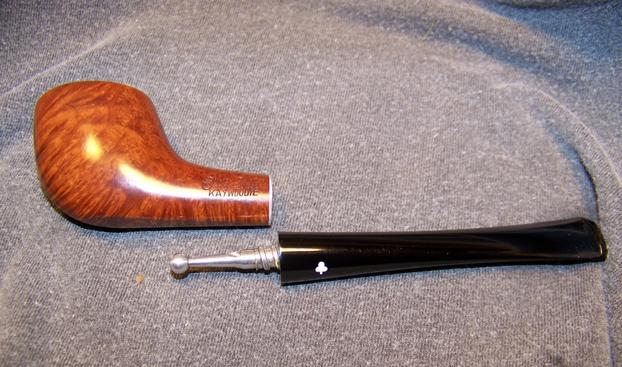
Overall this was another easy cleanup, but I am very happy with the results. The more I worked on the 66 the more I came to like the shape. Thank you for taking a look!