Tag Archives: banding cracked shanks

Restemming a Custombilt Look Alike


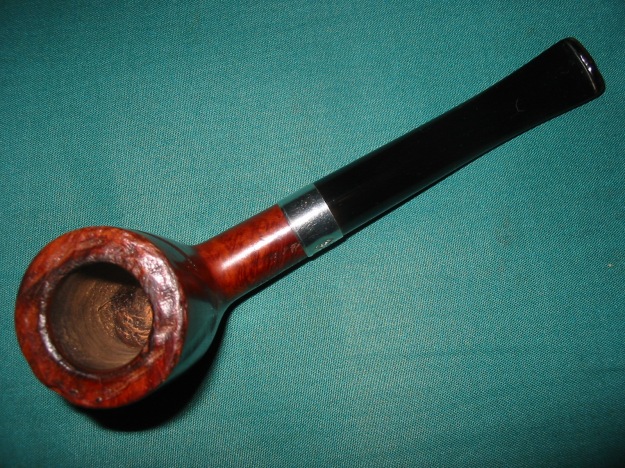
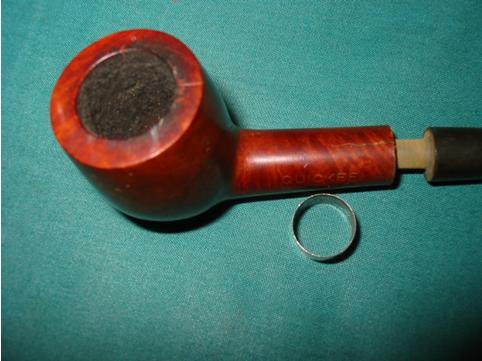
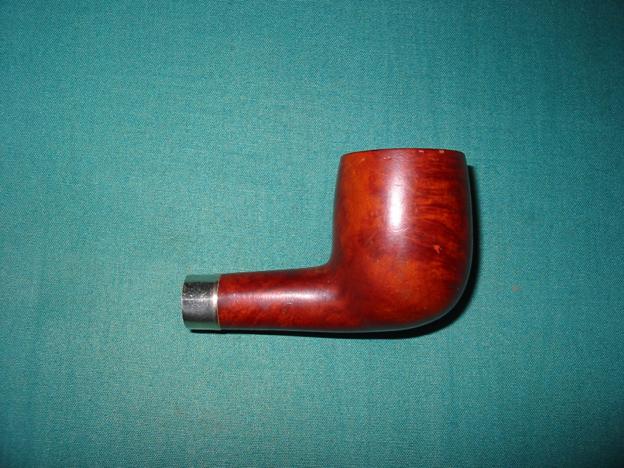
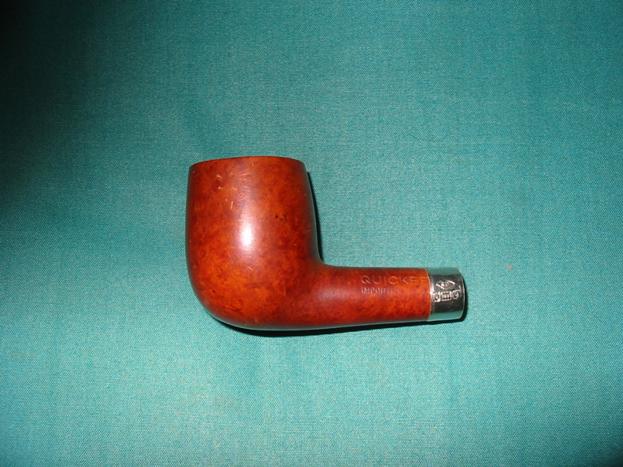
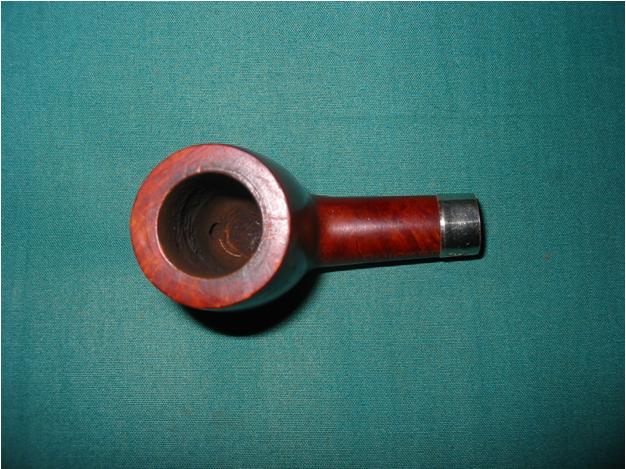
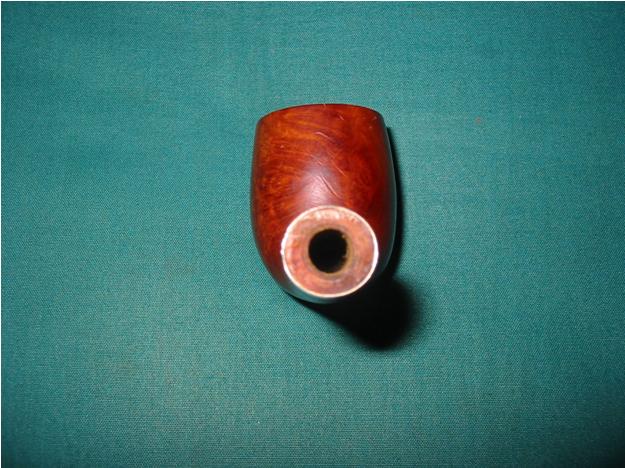
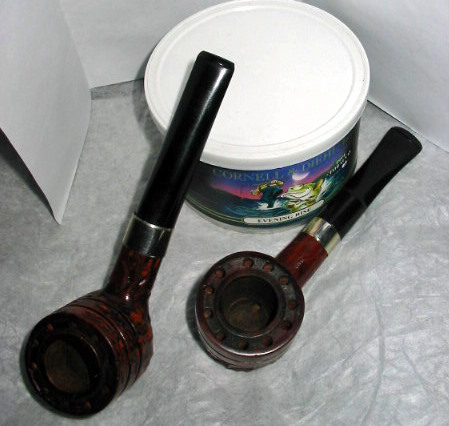
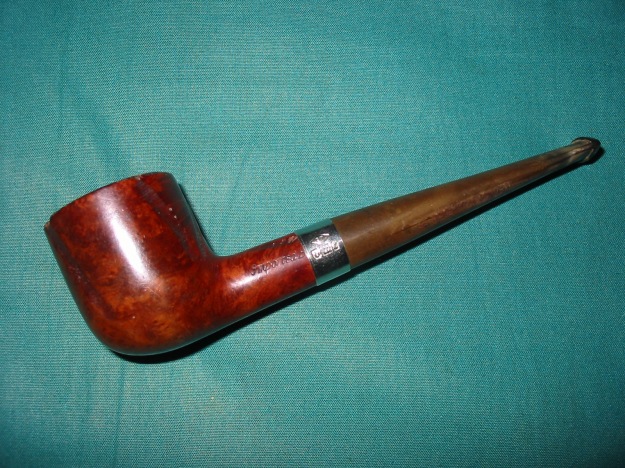
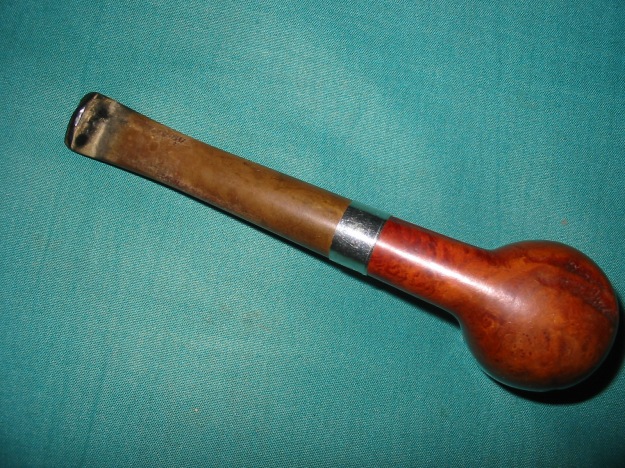
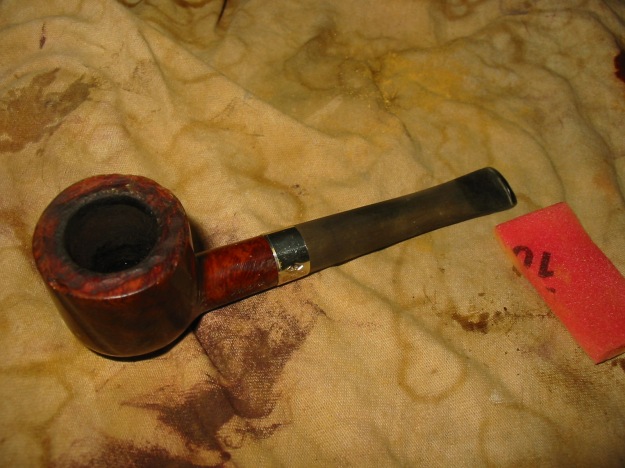
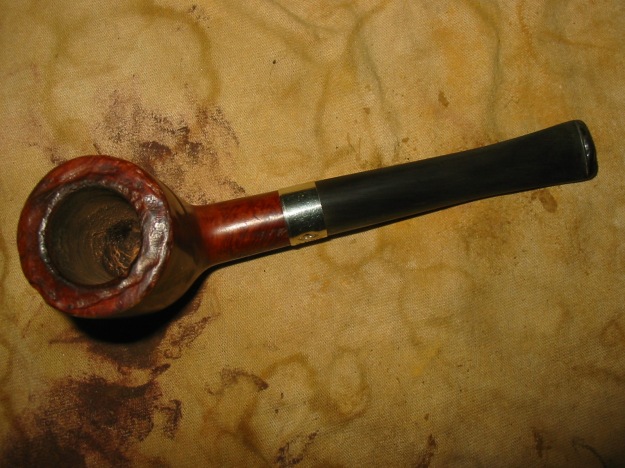
This morning I decided to restem an old Custombilt look alike pot that I had in my box of pipes for repair. I am getting down to only twenty or so pipes left so it is the pipes I have left until the end. Some of these I left because they had no charm to me and others because I just was not ready to work on them. This old no name pot was one of the ones that held no charm for me. The rim was pretty covered with grit and grime. The finish was not in too bad a shape. There was a small crack in the shank which would need to be banded and then the matter of matching a stem to the pipe hung in the air. This morning I went through my can of pipe stems and found an old cast off taper stem that was the right diameter to match the shank. The tenon would need to be sanded to fit the mortise. I set it aside and reamed the pipe and cleaned the shank before fitting the stem. I opened the crack in the shank a bit with some pressure from a dental pick and dripped some super glue into the crack and held it tight until it set. I then heated a nickel band and pressure fit it to the shank. I sanded the tenon by hand with 240 grit sandpaper until the fit was snug.

IMG_9311 IMG_9312 IMG_9313IMG_9314

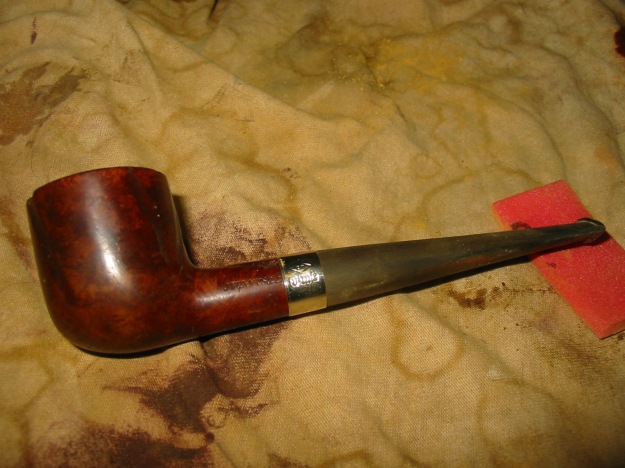
Once the stem was a good snug fit I went to work on the bowl. I cleaned the bowl with Murphy’s Oil Soap and a soft bristle tooth brush. I wanted to remove as much of the grim from the rim as possible and clean up the rustication on the rim surface without damaging the finish. I repeated the process by applying the soap, scrubbing and wiping it off with a cloth.

IMG_9315

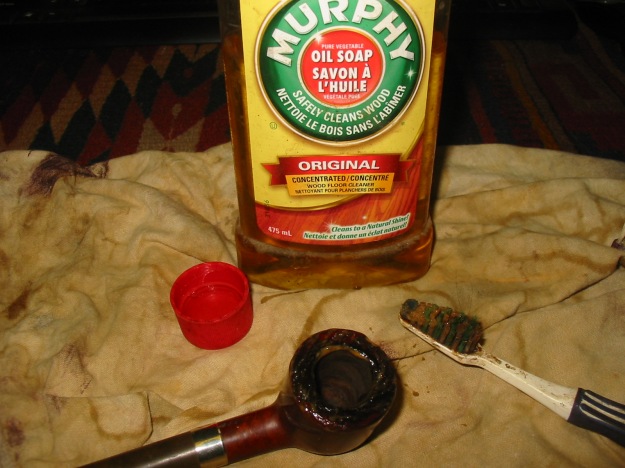
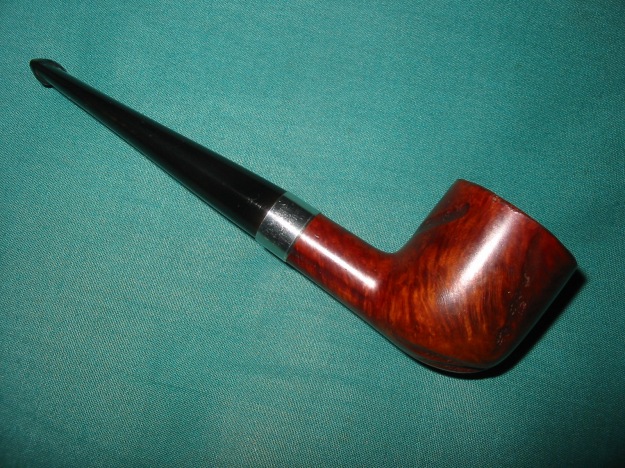
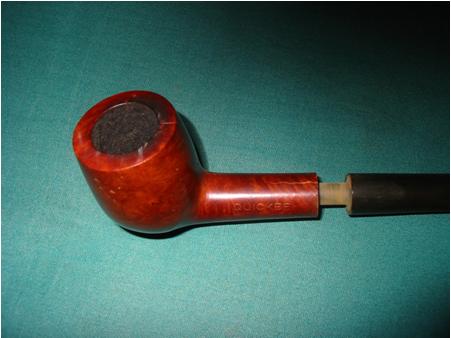
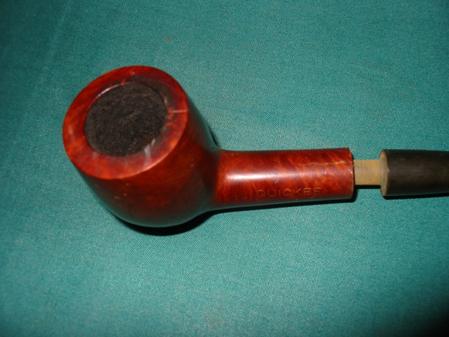
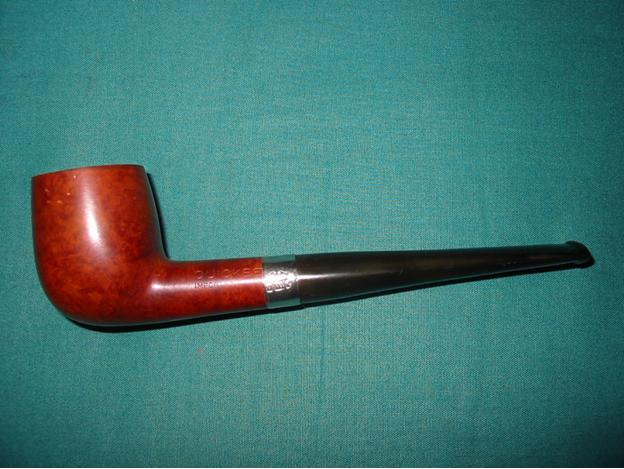
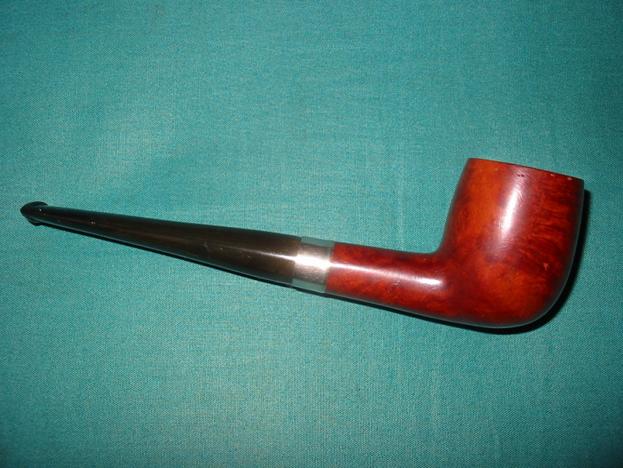
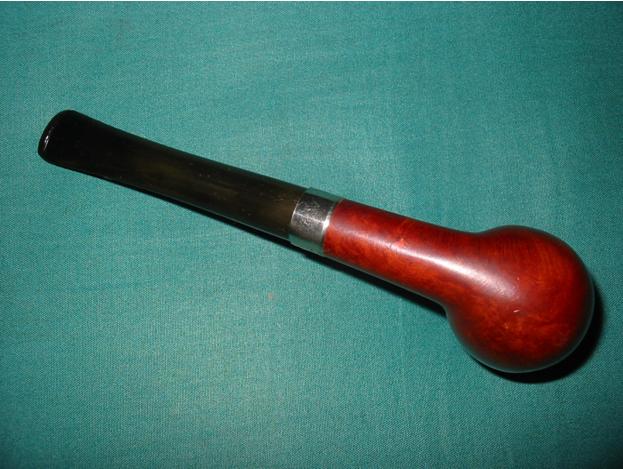
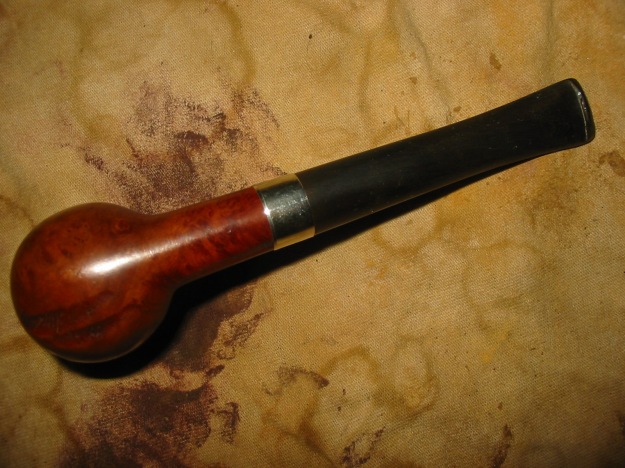
When the rim was clean I wiped down the outside of the bowl with the Oil soap as well and removed the grime that remained on the surface. I then wiped the entire bowl down with some acetone on a cotton pad to even out the stain colouring. Once it was dry I took the pipe to the buffer and buffed the pipe and stem with Tripoli and White Diamond.

IMG_9316IMG_9317 IMG_9318

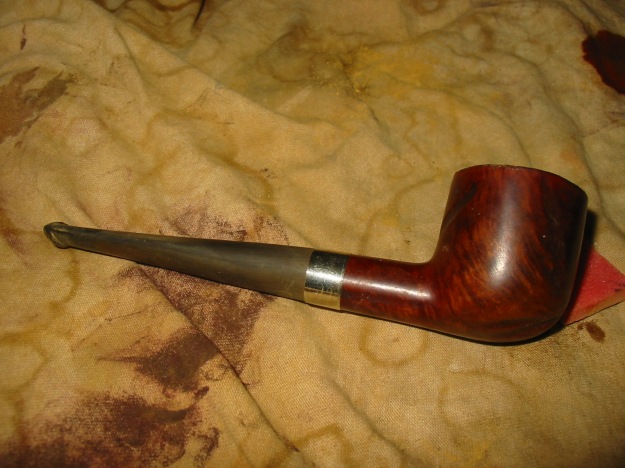
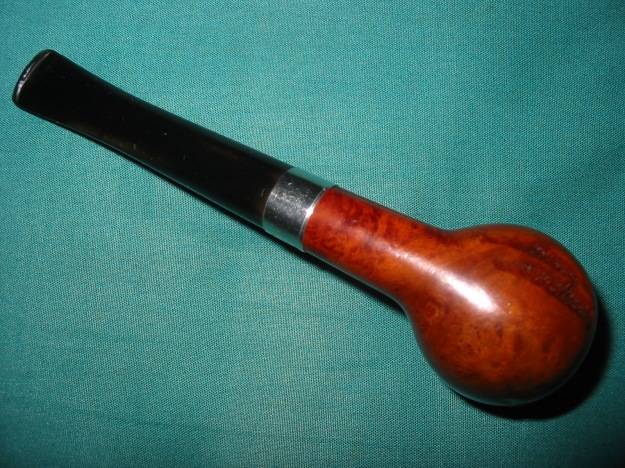
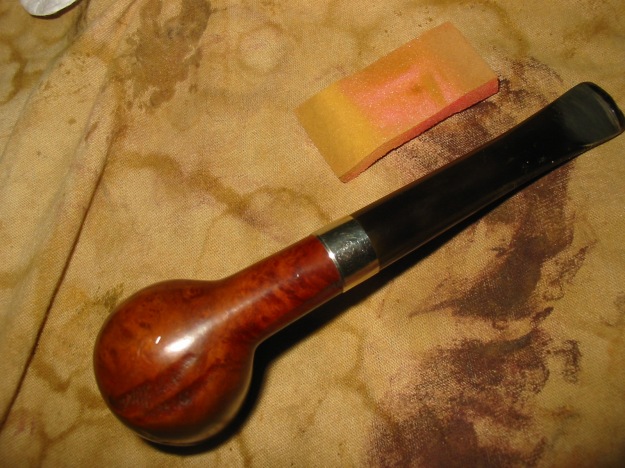
I sanded the stem with a sponge backed medium grit sandpaper. I find that this allows me to get into the crevices on the button and to follow the shape and taper of the stem well. At this point the two photos below show the stem after the buffing and sanding. I spent a bit of time working on some tooth marks along the edge of the button on both the top and the bottom of the stem. You can see the work that has been done near the button in the photos below.

IMG_9319 IMG_9320

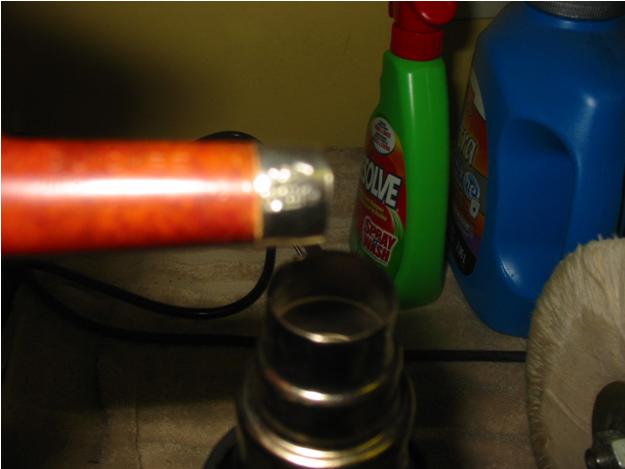
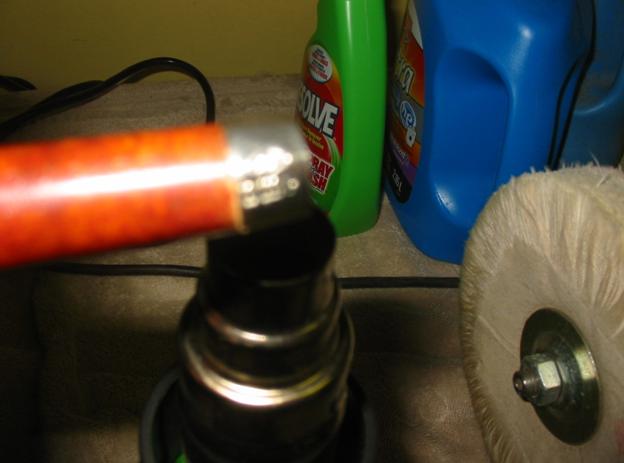
I worked on the stem with the micromesh sanding pads using the 1500, 1800 and the 2400 grit with water to sand out the scratches and the remaining oxidation. At the conclusion of this process the stem was a nice matte black and the oxidation was basically history as can be seen in the photos below.

IMG_9321 IMG_9322 IMG_9323 IMG_9324

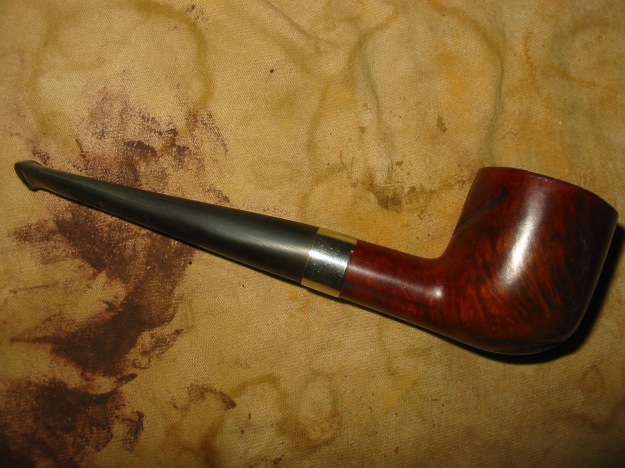
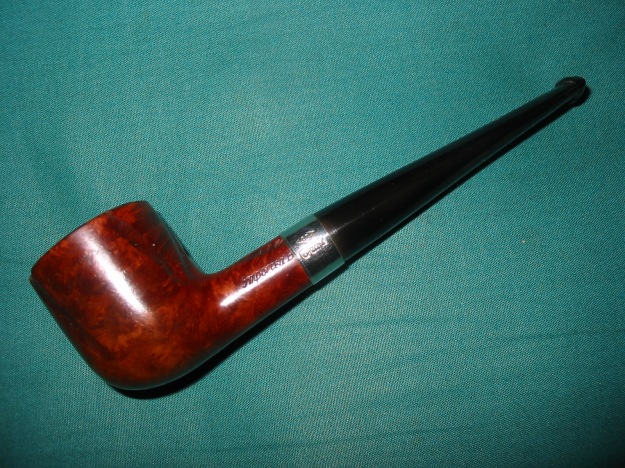
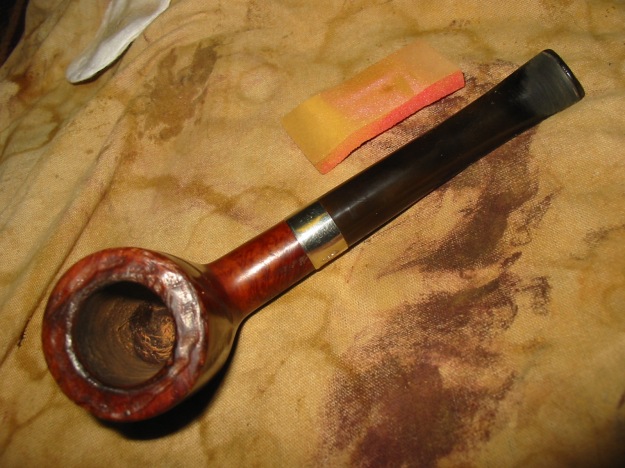
At this point in my stem rejuvenating process I rub the stem down with Maguiar’s Scratch X 2.0 a fine scratch and blemish remover intended for cleaning and polishing plastic headlight lenses. I rub it on by hand and then scrub it off with a cotton pad until the stem is clean. When I finish with the polish I move on to the next grits of micromesh 3200-12,000 grit and sand until the finish is a polished black with a depth to it. I dry sand with these grits of micromesh. Between the 4000 and 6000 grit pads I took it to the buffer and gave it a buff with White Diamond. I found that the oxidation at the shank end of the stem was still present after the buffing and would require some more work with the earlier grits of micromesh. I buffed that end with some Tripoli and then decided to try the Bic Lighter method to address the remaining oxidation. Once that was finished I sanded the stem with the higher grits of micromesh 4000-12,000 and then coated the stem with Obsidian Oil. I buffed the stem with White Diamond and then reinserted it in the pipe and gave the entire pipe a final buffing with multiple coats of carnauba wax. Here is the finished pipe.

IMG_9325 IMG_9326 IMG_9327 IMG_9328

Banding a cracked shank – Pressure fitting a metal band on a pipe shank


Blog by Steve Laug

There are many options in terms of the bands that can be used to repair a cracked shank or to give a cosmetic facelift to a pipe shank. Pipe Makers Emporium carries nickel, silver and gold bands in both short and long lengths. They also carry end caps should you want to use an end cap on a pipe or do a repair on a Peterson pipe. I have included pictures of the options that you can choose with regard to bands. I personally purchased the nickel banding assortment that is in the first photograph. It gives you a wide range of diameter bands that can be used. From this I then replenished the areas that I needed more and also added some silver, gold and end caps to the lot. This set up has worked for me for many years and I just add as necessary.
Bands1

Bands2

Bands3

Bands4

Pipe Makers Emporium also sells a banding tool that they advertise as making banding more simple. I have not used the tool as I find that my method works well for me. I will detail my procedure below and include photos of the process.
Bands5

My process for banding a pipe will be seen in the following photos and the accompanying description of the work.

The pipe that I needed to band had a crack in the shank at the top. You can see the length of the crack. I always clean it out with a dental pick and drip some superglue into the crack and squeeze it together with a clamp that has rubber on the teeth. Once the glue is dry – which is actually very quick – I choose a proper band (in the case of the pipe that I picture below it is a 13.5mm nickel band). The ideal choice is a band that is approximately the same size as the diameter of the shank. You do not want it too large as it will slide when the pipe is disassembled or heated. You also want one that will bind together the crack in the shank. The 13.5mm was perfect and matched the size of the shank.
Bands6

Bands7

Bands8

I place the band on the end of the shank – in this case it only fit minimally along ¾ of the band. One edge was too tight to fit. I heat the band with a heat gun, being careful not to burn wood – this generally only takes a few moments.
Bands9

Bands10

I then pressed the shank into the band on a piece of soft carpet that is on a solid table top. Do not force the fit as a heated band will tear. Reheat it until it is pliable enough to fit the shank well. When you are satisfied as to the fit and placement of the band, cool the band slowly before proceeding to work on the edges. I use room temperature water and dip the end of the shank with the band into the water. If you use the tool here you can press the end into the bowl at the end of the tool to round the edges and make for a nice fit. I use a piece of tightly woven wool carpet and twist the end of the banded shank into the carpet. In my opinion this does the same thing as the shank tool.
Bands13

When the band is in place the pipe is ready for the stem to be refitted. Often the tenon will need to be reduced in diameter to fit the tightened shank. In the case of this pipe I needed to fit a stem as the bowl did not come to me with its stem. I used sandpaper to turn the tenon down to size on an older stem that I had in my jar of stems. The next series of photos show the band in place on the shank. It is pressure fit and it is tight and immovable. The third photo shows the top view of the shank and you will notice that the crack that was very visible before is now no longer visible. The fourth and fifth photos show an end view of the fit of the band. It is flush with the end of the shank so that the new stem will fit snugly in place.
Bands14

Bands15

Bands16

Bands17

The next series of four photos show the new stem that is fitted to the pipe. There is still some oxidation that needs to be removed from it but you can see the fit and finish of the stem and the banded shank.
Bands18

Bands19

Bands20

Bands21

A Pair of Doodlers Restemmed


I picked up these two Doodler bowls that needed stemming. They were made by Tracy Mincer of Custom Bilt fame. They are unique in the pipe world, and often have been copied by others. The basic design involves deep grooves cut into the bowl and then holes drill from the rim to the bottom of the pipe. These tubes around the bowl and the open grooves are designed to cool the bowl as the pipe is smoked and deliver a cool dry smoke. These two were a mess when they arrived and need quite a bit of work. The shanks on both bowls were crack with hairlines crack in several places. They required gluing with super glue and then a pressure fit nickel band on each one. The bowls were reamed and cleaned and then restained with a medium brown aniline stain. I buffed them both with Tripoli and White Diamond to polish them.

I took two stems out of my can of stems – one a saddle and one a taper stem. I used the PIMO tool to turn the tenons to fit the shank. Then I used my Dremel to fit the stem to the shank. I took off the extra material until it was the same diameter as the shank. I used a variety of sandpapers to bring the stem down to the perfect fit. I used 400 and 600 grit wet dry sandpaper and water to remove all of the scratches. I used Micromesh from 1500-6000 grit to polish and smooth the stem. Both pipes and stems were polished with carnauba wax and a soft flannel buff. ImageImage