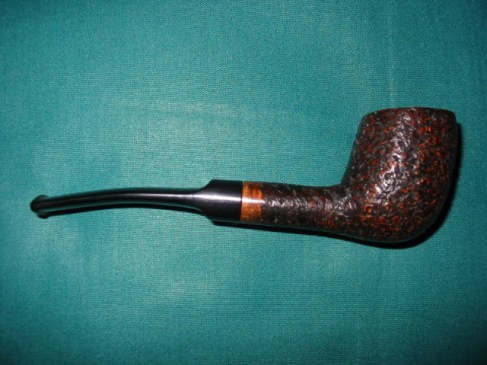
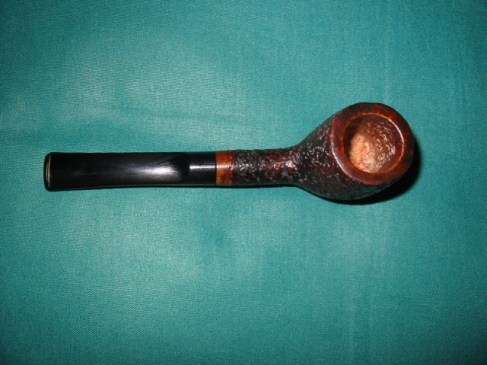
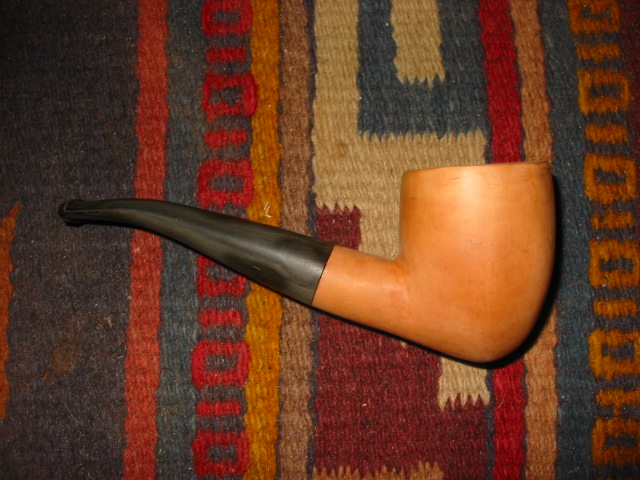
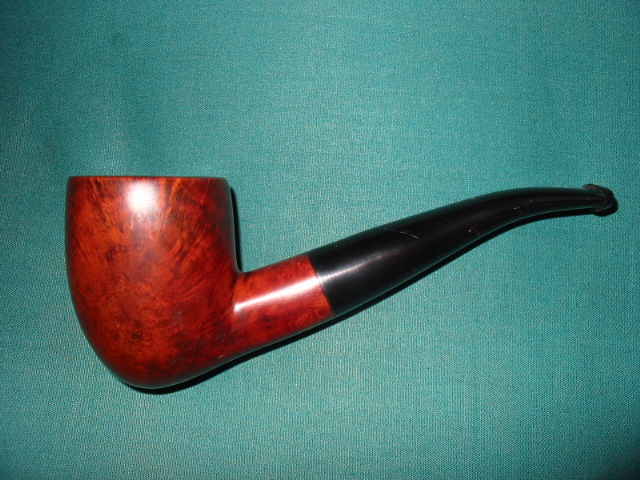
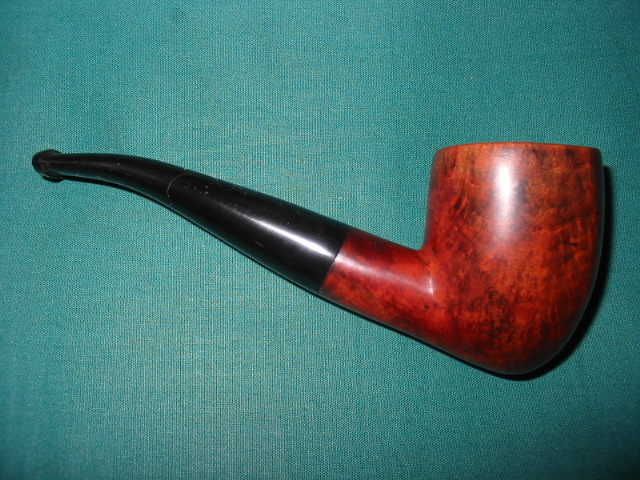
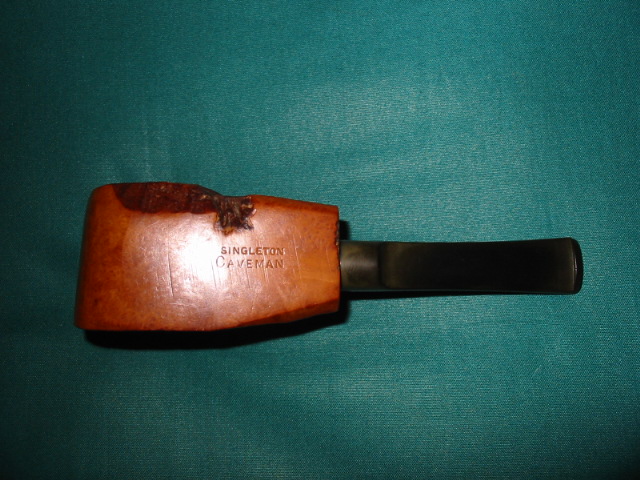
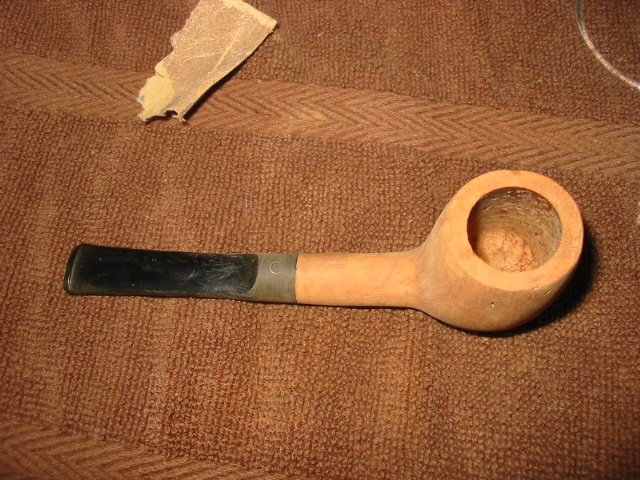
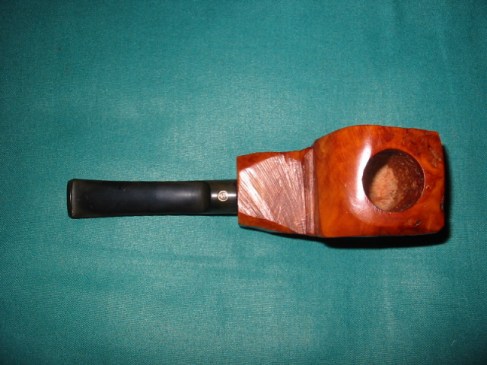
Every so often I get the urge to carve a pipe of my own. I have done it from scratch, drilling the airway and bowl but often it is just as much fun for me to buy a pre-drilled block with its own stem and rework it into something I like. The pictures and essay below will take you through my process with a pipe I picked up off EBay for almost nothing. When you look at it some of you will recognize that for awhile in the 80’s and maybe earlier Singleton sold these pipes as Caveman Pipes. They were rough and were stained and waxed, stamped Singleton Caveman pipes and sold as is. I have always thought that they were ugly and looked unfinished. This one just begged to be reshaped – at least that is the excuse I gave when the package arrived and my wife commented on “yet another pipe”.
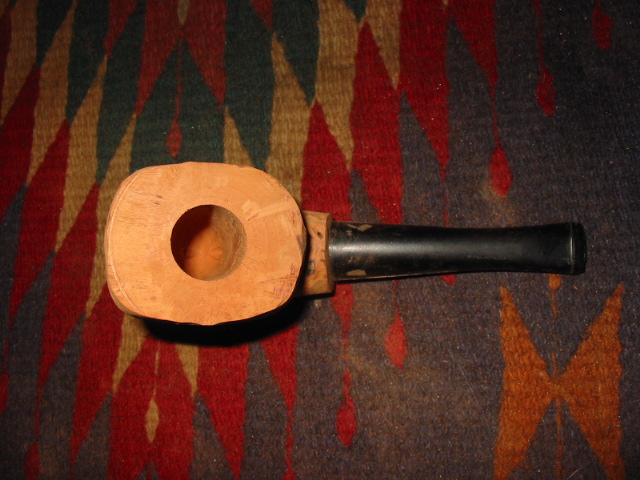
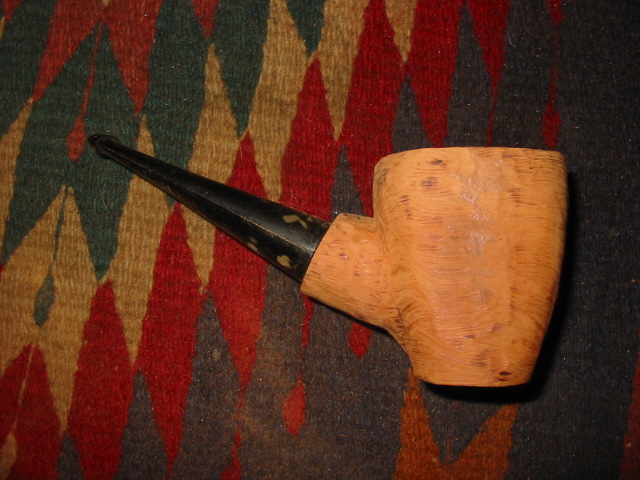
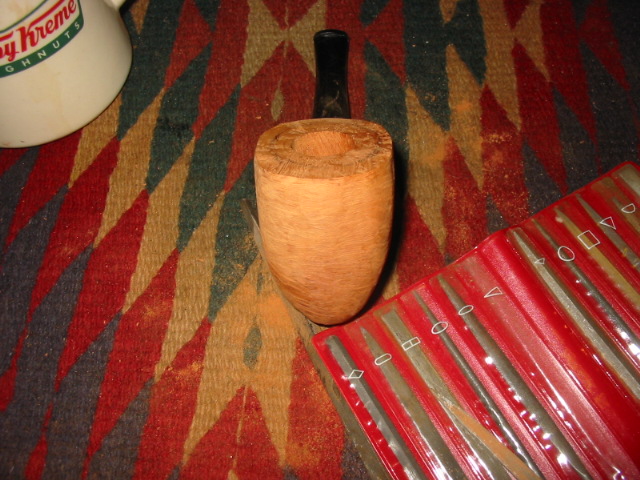
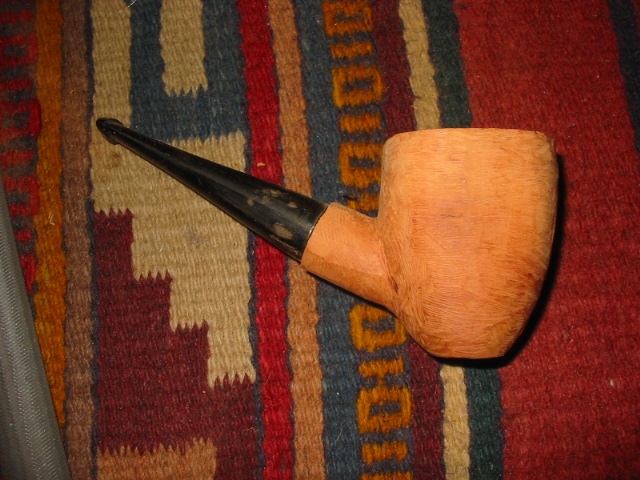
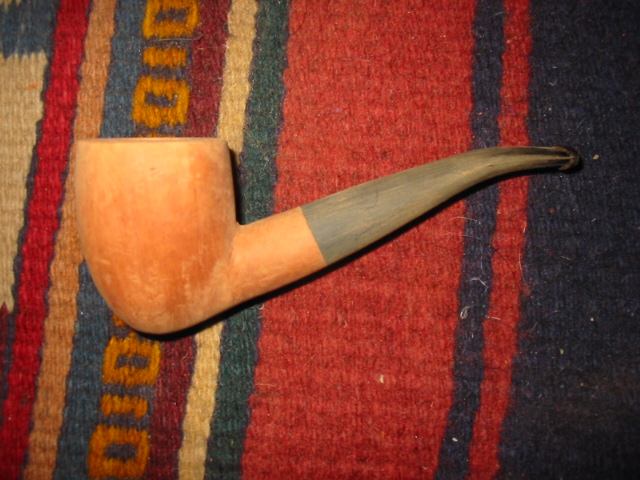
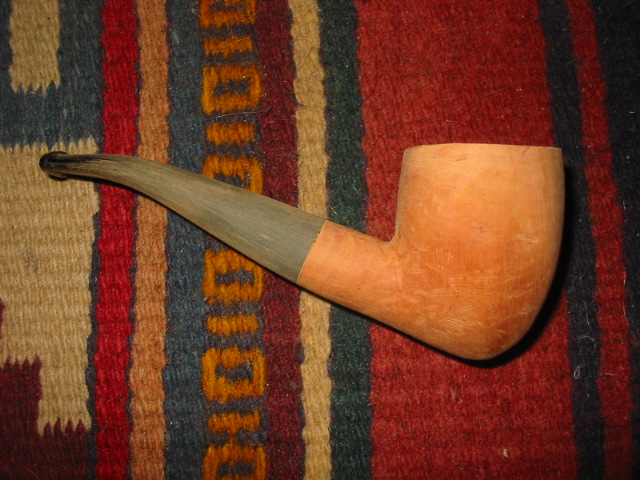
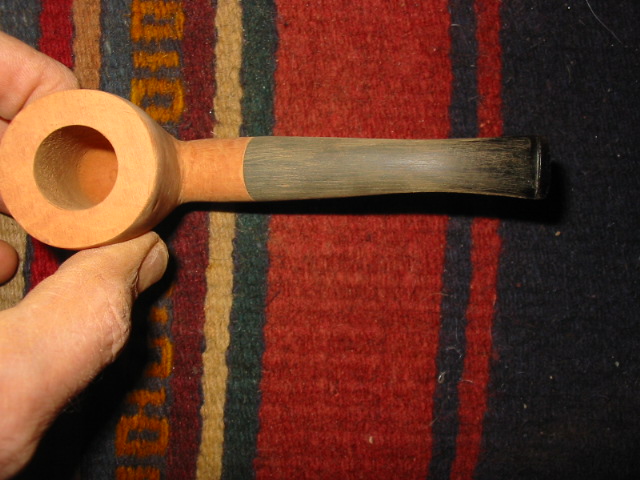
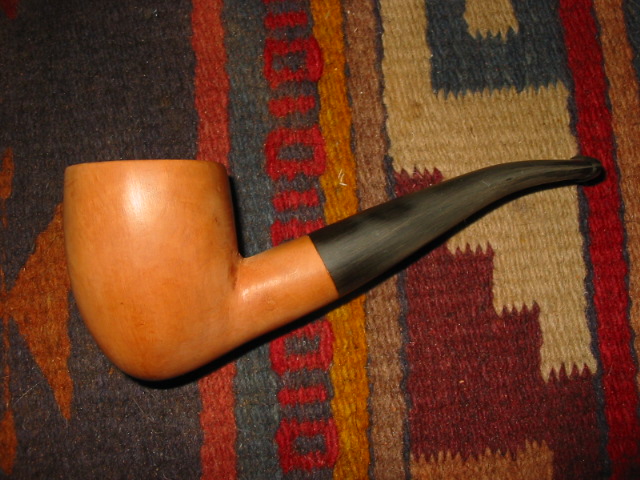
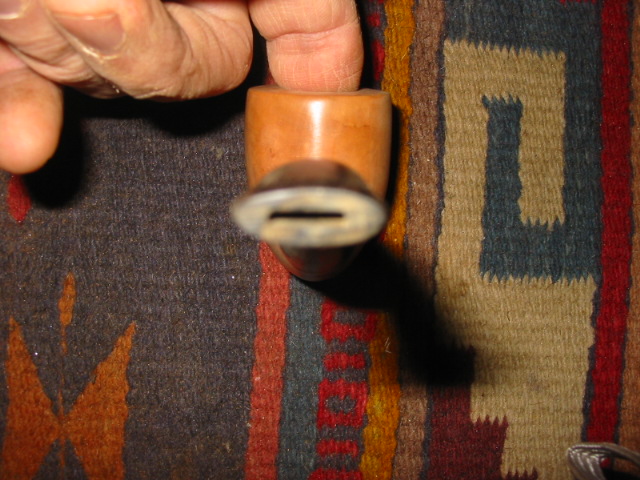
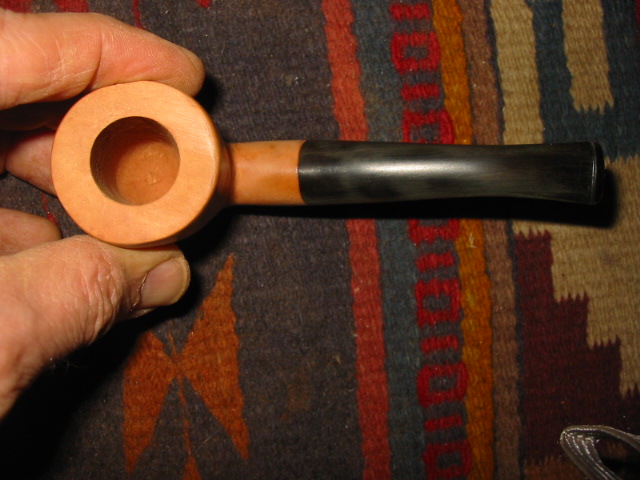
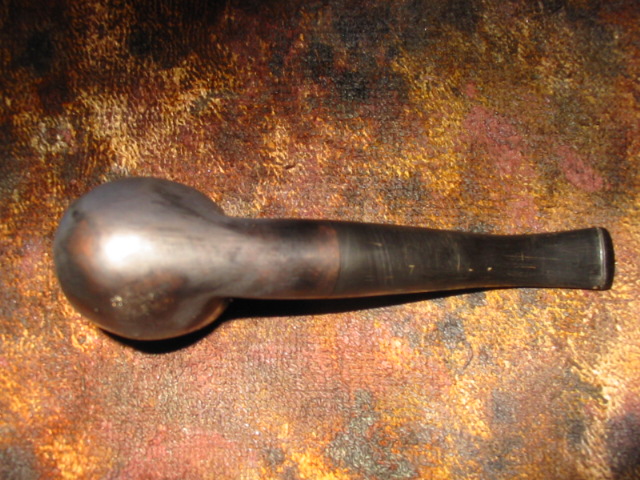
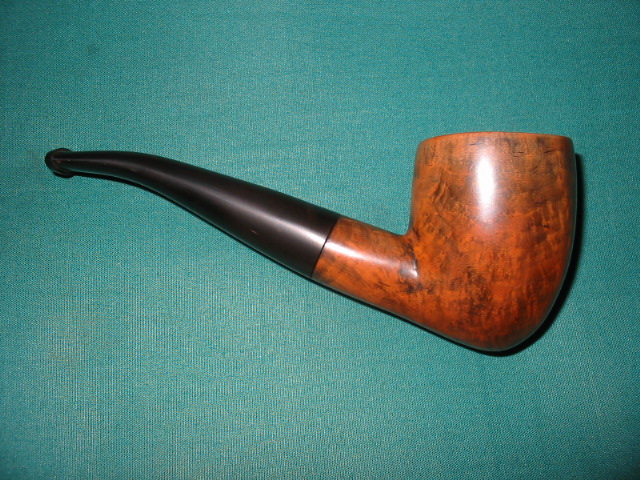
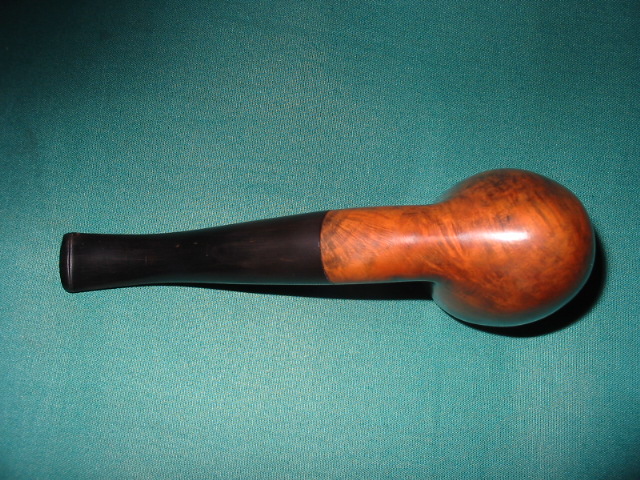
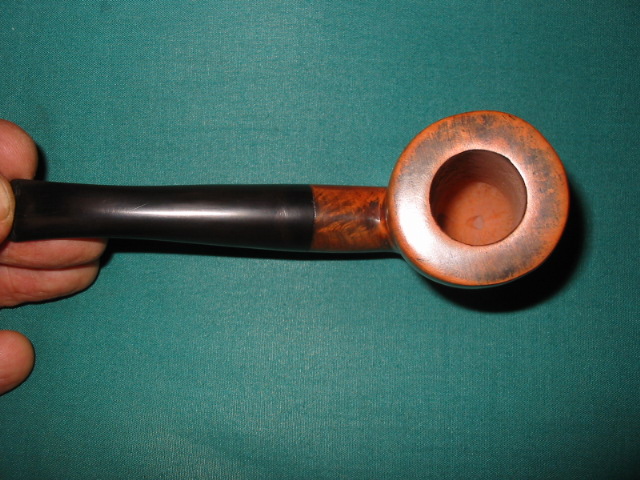
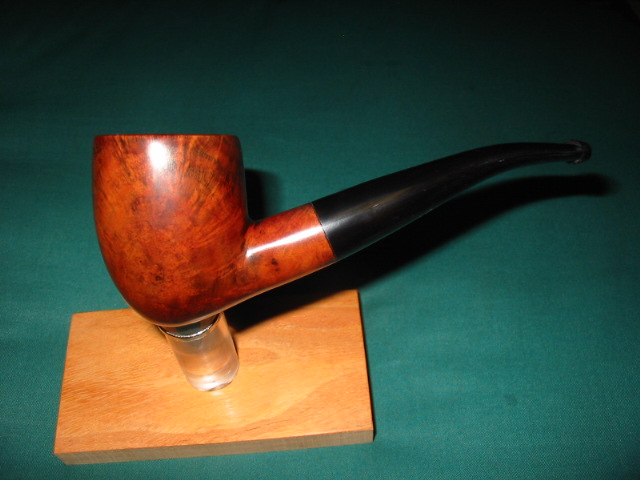
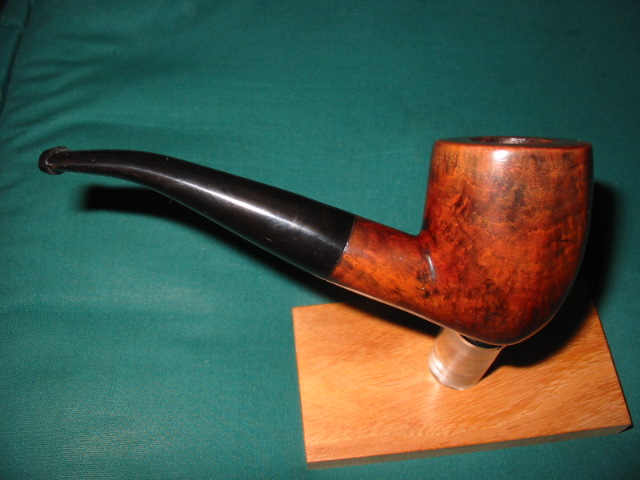
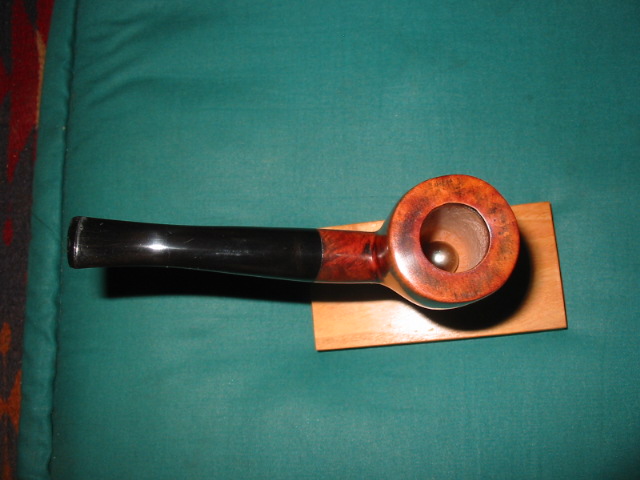
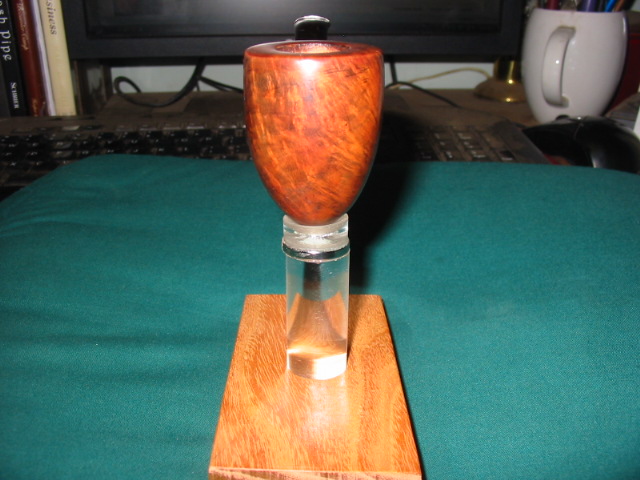
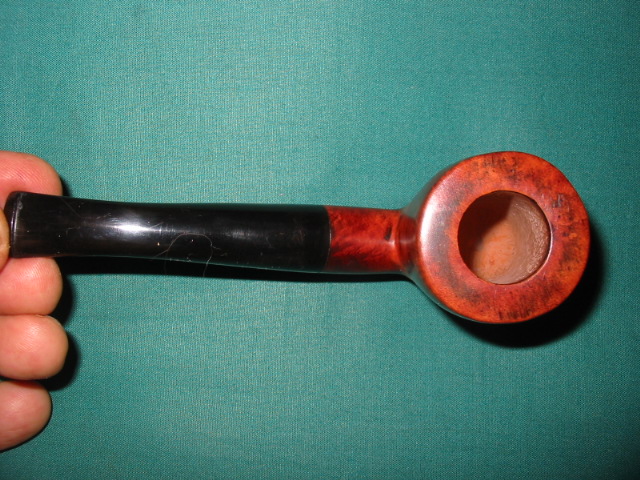
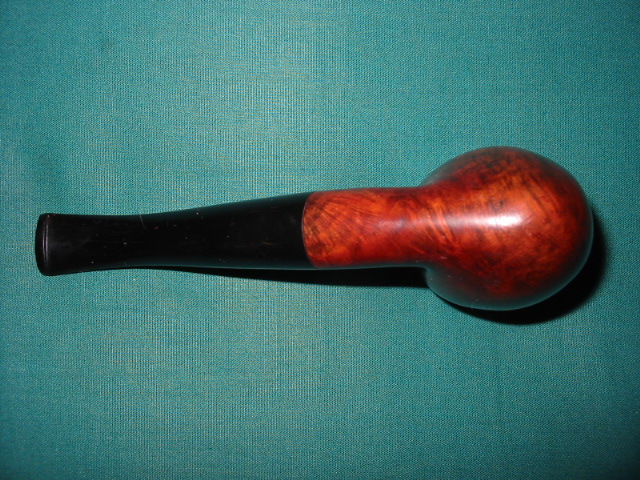
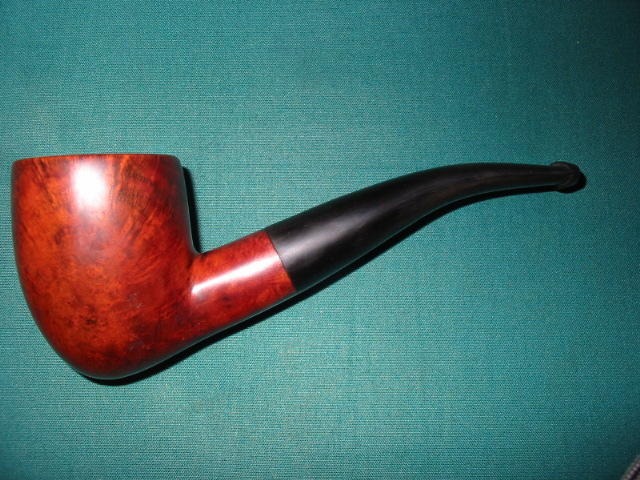
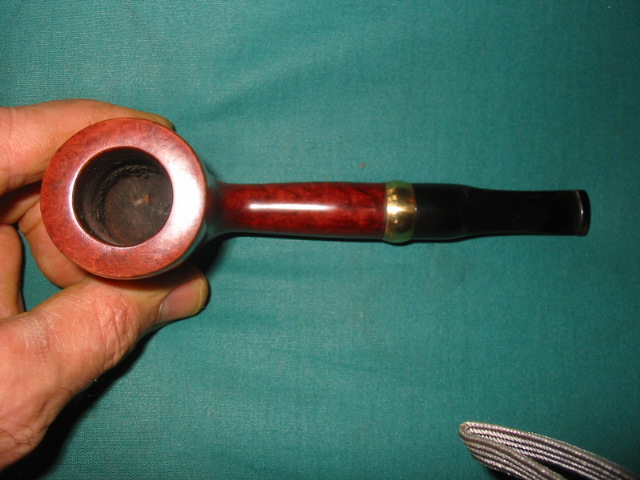
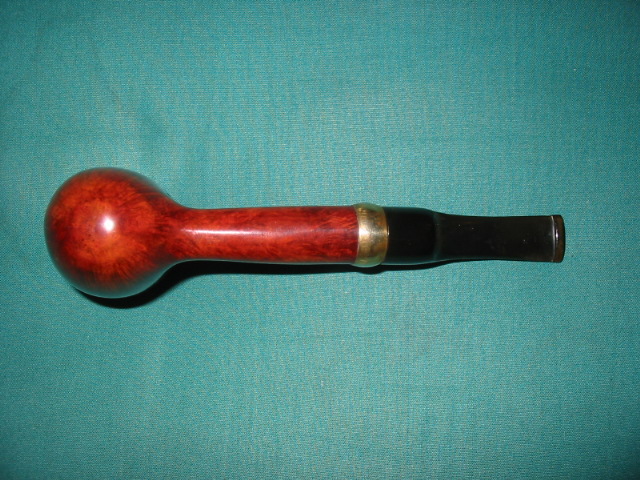
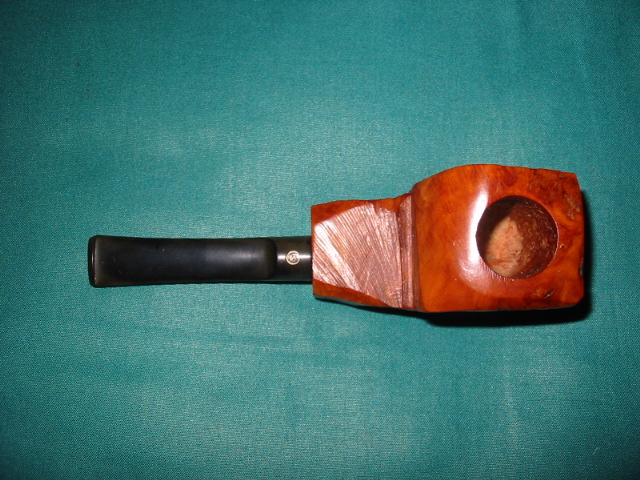
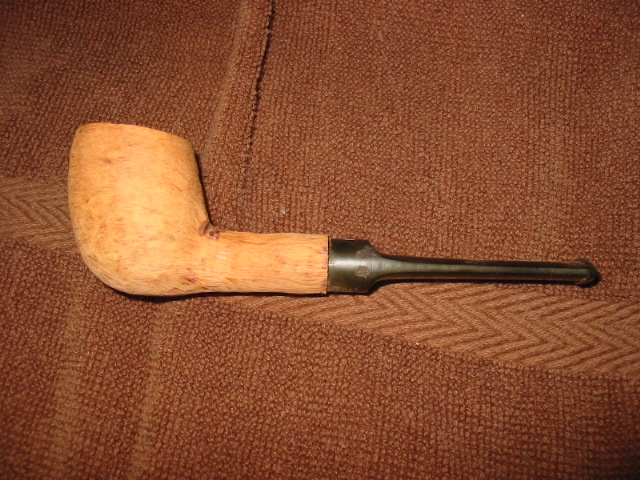
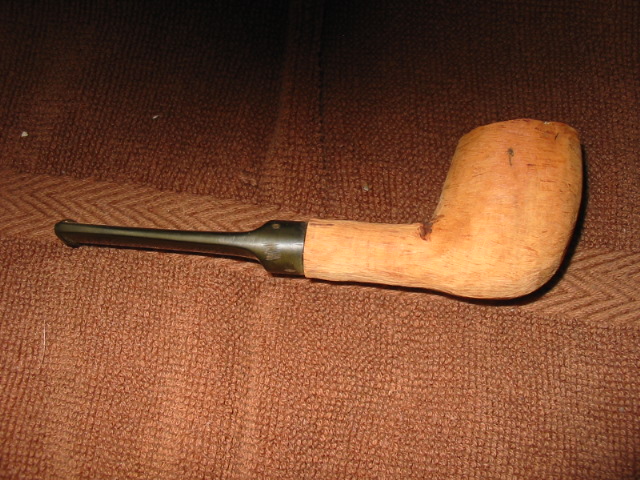
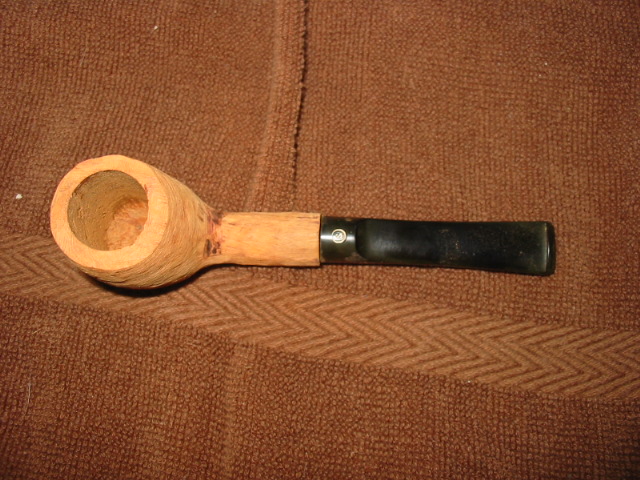
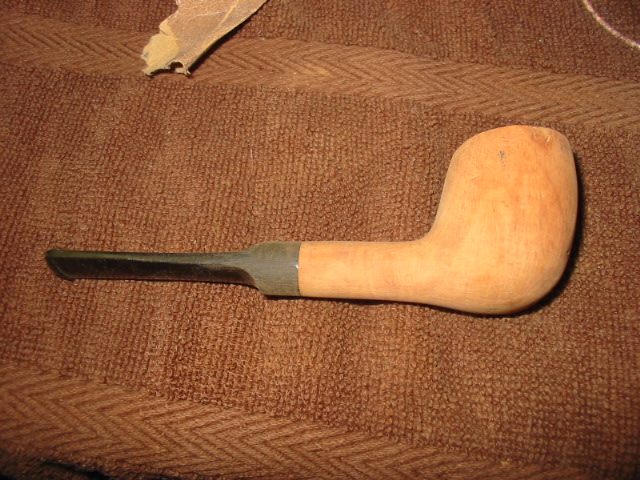
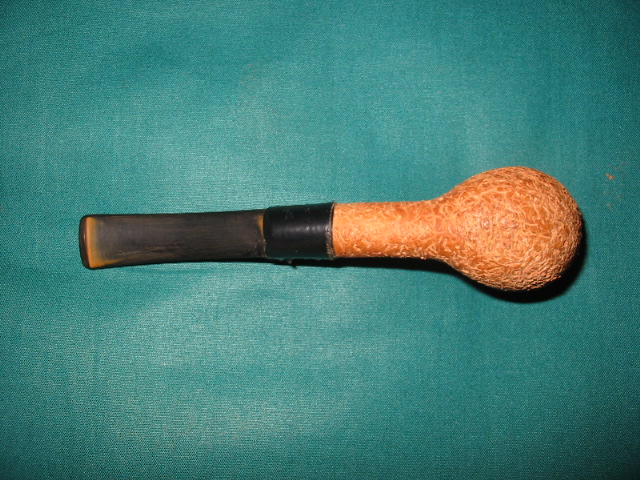
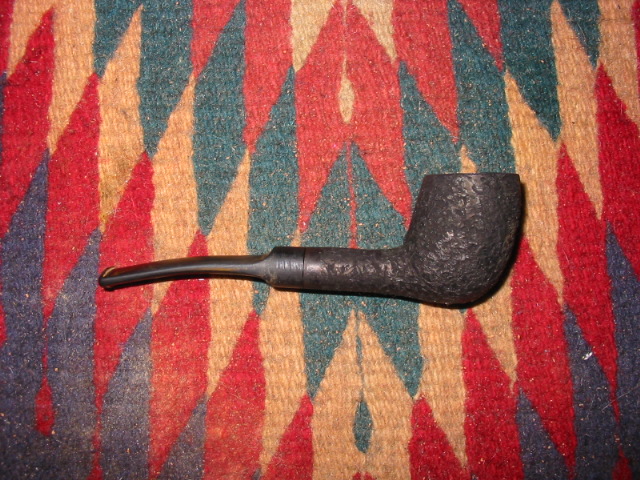
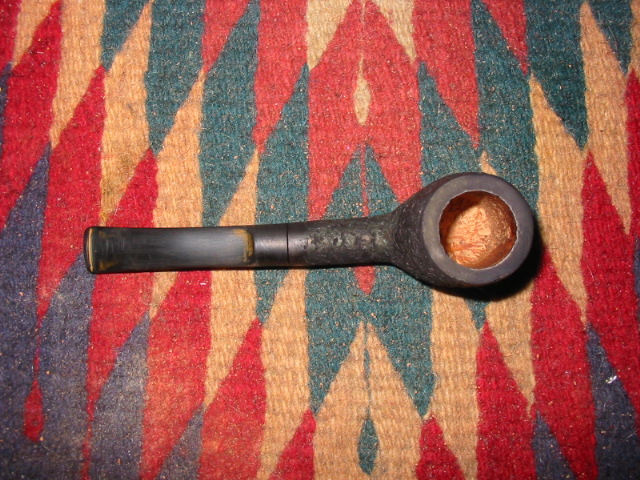
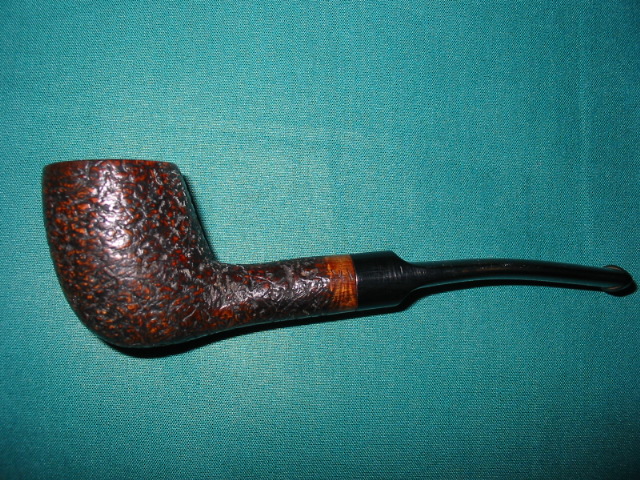
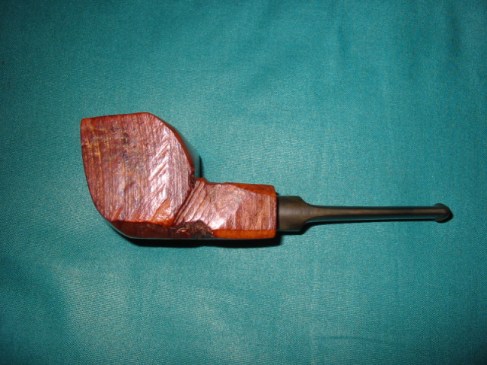
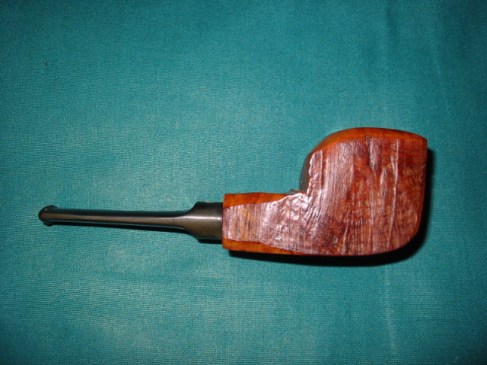
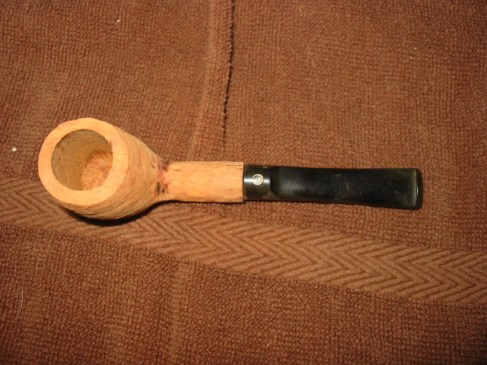
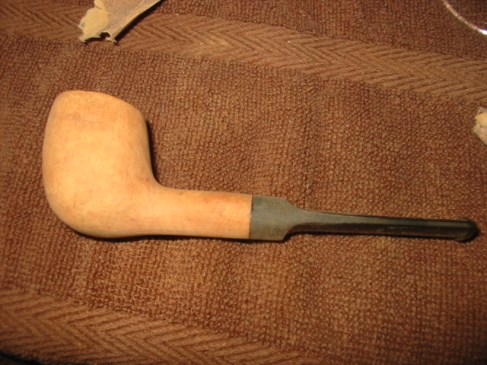
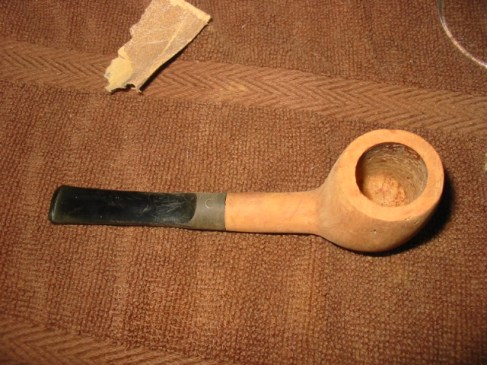
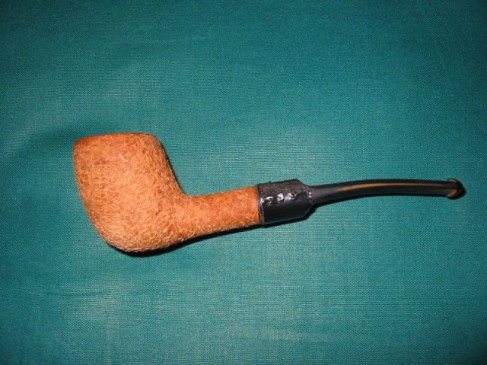
The first four photos give a good sense of what it looked like when it arrived at my house. It was a fairly small piece of briar and there was no way of knowing what lay beneath the surface of the block. It was stained and waxed. The stem was oxidized a bit but it did not matter as I was going to reshape it and make it my own. The last photo of the four shows the Caveman stamping I was referring to earlier.

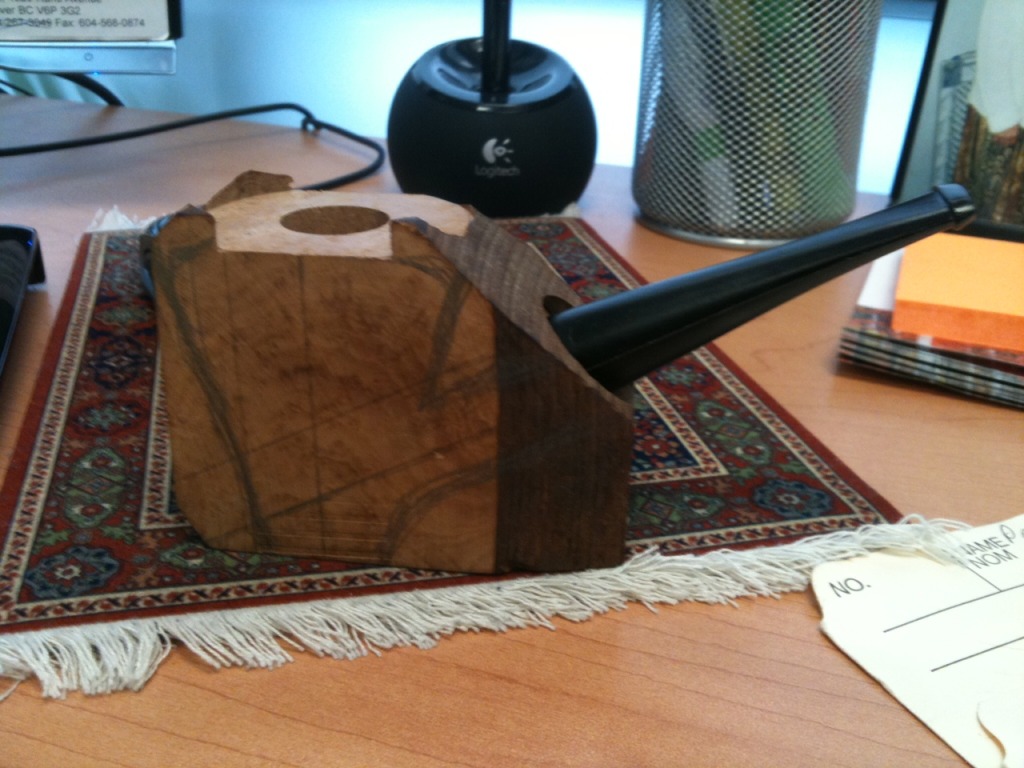
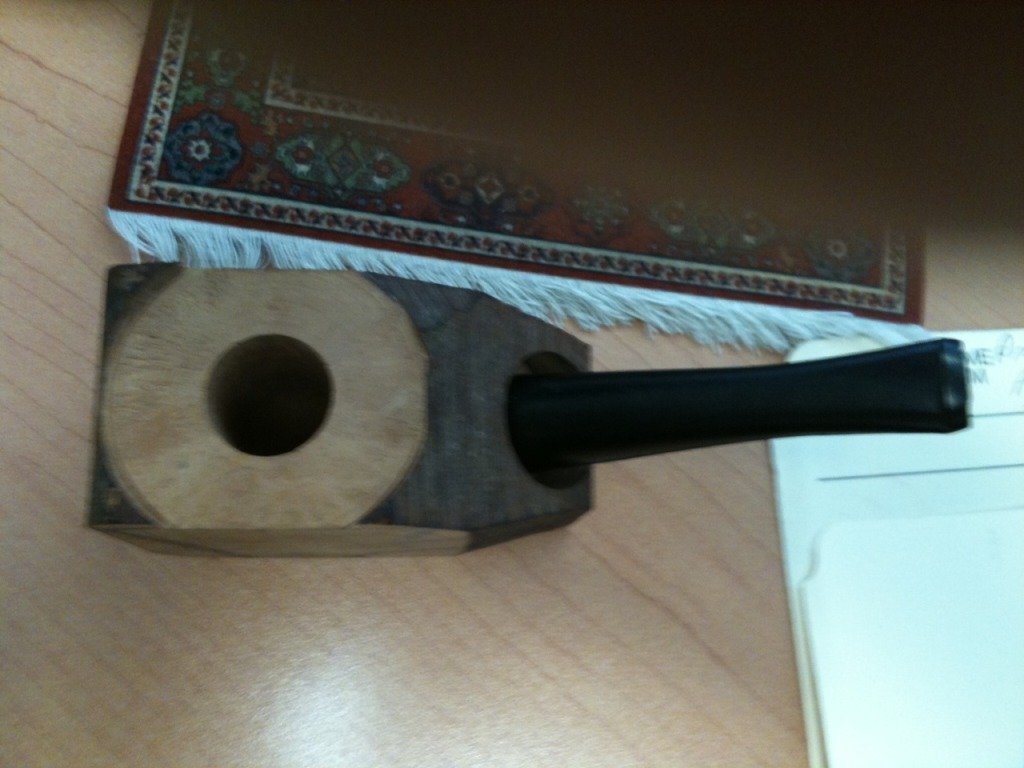
I took out my Dremel with the larger sanding drum, replaced the sandpaper cylinder with a new one and began the process of removing the briar and making a shape that I liked and that I felt the briar held inside. The next three photos show the block with much of the briar removed and a shape is beginning to come out. I bring it to this point in the shaping process with the Dremel and the sanding drum. It works great for me. Some of you may notice the nicks from the Dremel on the saddle of the stem. Those are a pain but I was not worrying too much about it as I planned to shape the stem a bit more as well and those would disappear in the process. Also note, the shank is still not the diameter of the saddle on the stem at this point. From this stage one I do the shaping by hand with 100 grit sandpaper. It makes short work of the remaining excess briar. You will also see some burn marks at the bowl shank junction from the sanding drum – nothing that will not sand off. There are also sand pits and flaws beginning to show up in the surface of the briar.

Much sanding went on before I took the next series of three photos. I used the 100 grit sandpaper to remove much of the excess and then progressed to 220 and 240 grit sandpaper to bring the shape to the stage in these photos. I also sanded the saddle of the stem and the edges of the blade to match the line of the shank. I wanted the flow to be uninterrupted by the juncture of the two materials and I wanted the transition to be smooth. There were many sand pits visible at this time on the sides, top and bottom of the bowl and the shank. It is always a bit of pain to get to this point in the shaping and sanding and not be able to get rid of them. This left me with a bit of a quandary. What should I do to get the best finish on this pipe? I dislike fills and did not want to use putty in any form on this pipe. I figured the next bet would be to rusticate the pipe and give it an interesting texture for the prestained finish.

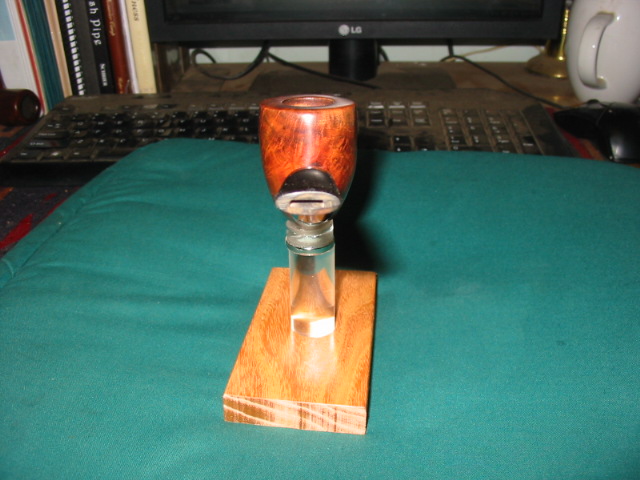
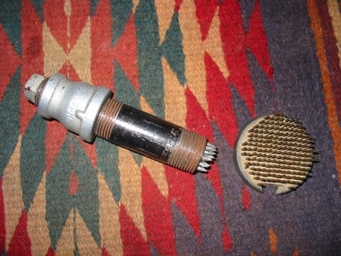
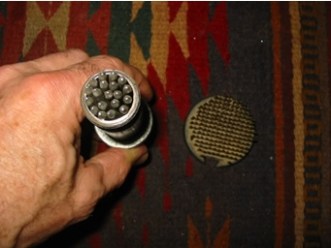
I used a tool that I fashioned out of a fistful of galvanized nails, a piece of steel pipe, a cap and nipple coupling. It looks like the photos below. It is the tool on the left. I also used a florist’s frog (pictured on the right) to give the finished surface a different touch.

Before I used the tool on the surface of the briar, I wrapped the saddle of the stem and a 1/8th inch band with black electrical tape. I wanted to protect the saddle and the small band of briar from being rusticated with the tool. It is a work horse but is not subtle in its deep cuts. I wrap the cap end with a thick towel to protect my hand when I pushed the points of the nails into the briar. I pushed the head into the briar and twisted the tool back and forth to cut the surface of the briar and roughen it. The next series of four photos show the rusticated surface of the pipe after I finished with the nails and also after I rubbed the florist’s frog across the surface to knock off high points. I was aiming for a finish that has the look of aged leather so I wanted no roughness left but I wanted a crinkled, wrinkled look to the briar.


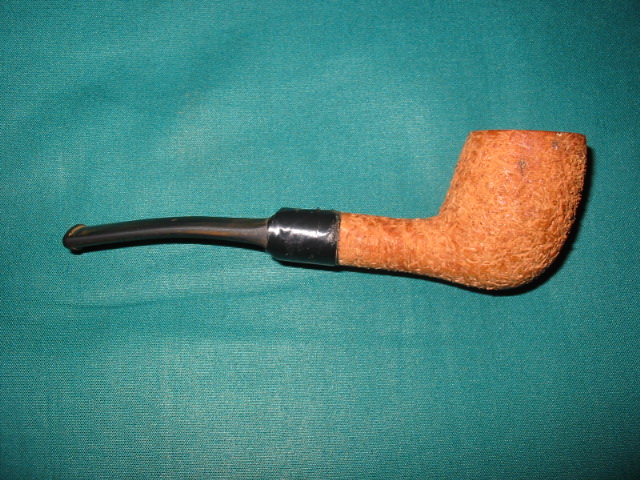
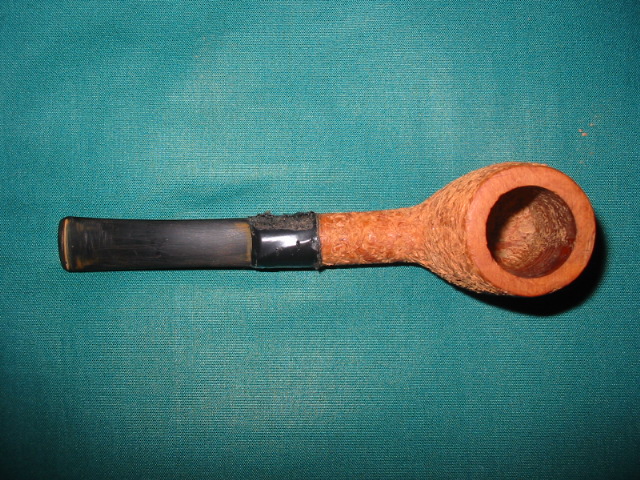
The next two photos show the pipe after I gave it a black understain. I used black aniline stain and applied it with a dauber. Once the pipe was covered I used a lighter to flame the stain to set it deeply in the briar. My goal was to have the black stain set deeply into the crevices of the rustication once I had buffed it. (I have learned that when I am staining to always start with the darkest stain and work toward the final lighter coat.) Once the stain was dry I took it to my buffer and buffed it with Tripoli. The buffer removed all of the black stain from the smoother, higher surfaces and the band next to the stem and the rim. The only black stain remaining was in the crevices and pits in the briar. At that point I restained the pipe with a medium brown aniline stain and flamed it as well. I took it to the buffer and this time buffed with Tripoli and White Diamond. I wanted the brown to give a top coat and allow the black to show through. I also wanted to smooth the surface a little to make it smooth in the hand.


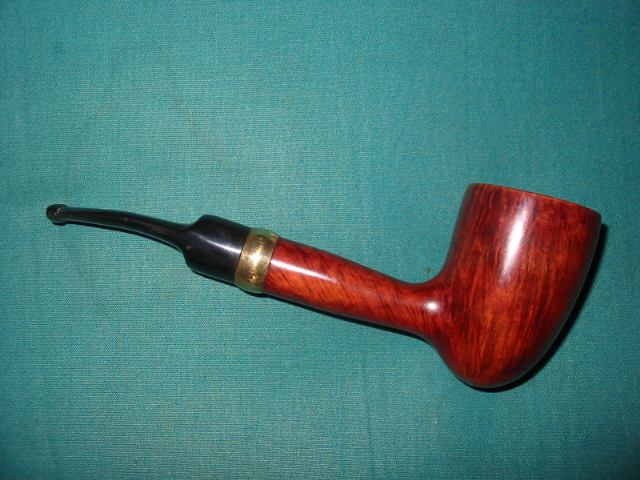
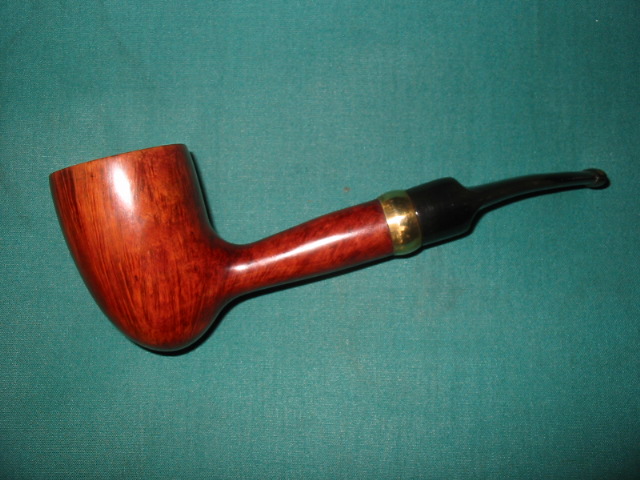
The final series of photos show the finished pipe. I think I achieved the look of old worn leather I was aiming for with this rustication and staining. I worked on the stem and smoothed it out with 400 and 600 grit wet dry sandpaper and water. Once the scratches were gone I worked through the usual regimen of micromesh pads from 1500 to 6000 grit. These gave the stem a good polished look. I finished it on the buffer with White Diamond and multiple coats of carnauba. The bowl was waxed with Halcyon 2 wax so that I could avoid the wax build up from carnauba in the crevices of the rustication. I gave the entirety a final buff with a clean flannel buffing pad. This one has become a favourite smoker of mine. It is perfect size to fit in my jacket pocket and it is a veritable furnace for good Virginia Flake tobacco.