by Steve Laug
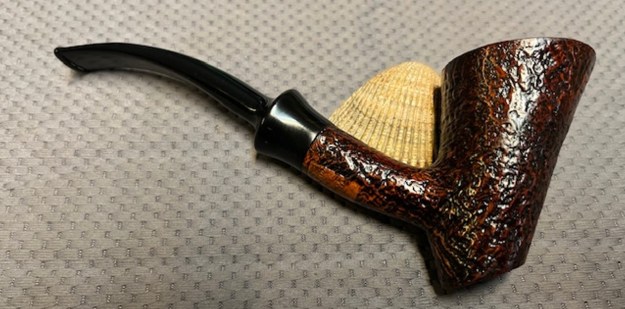
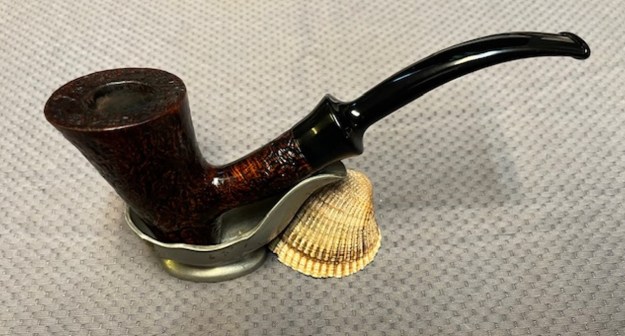
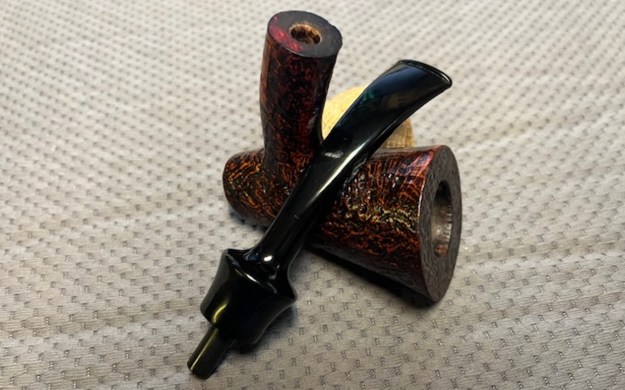
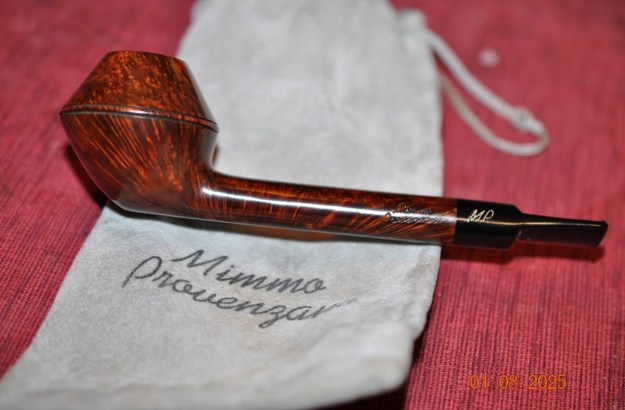
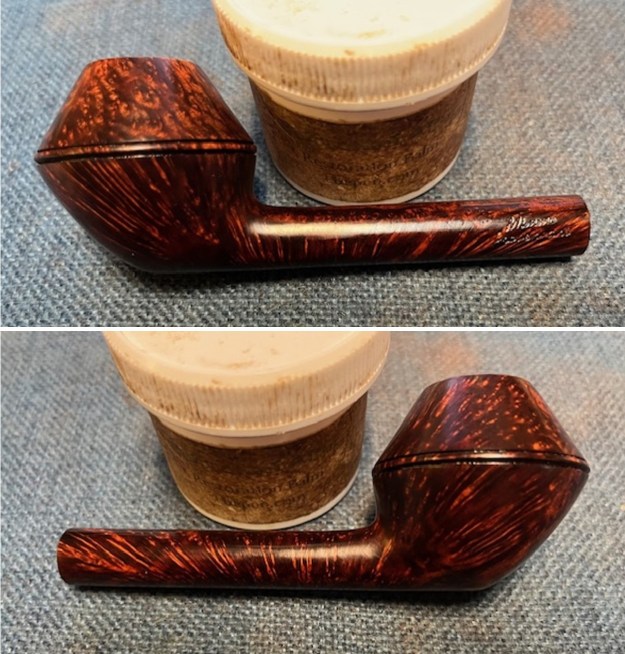
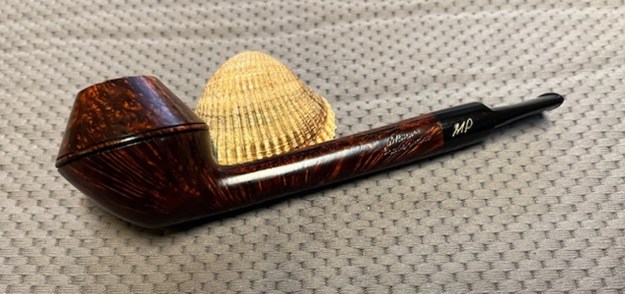
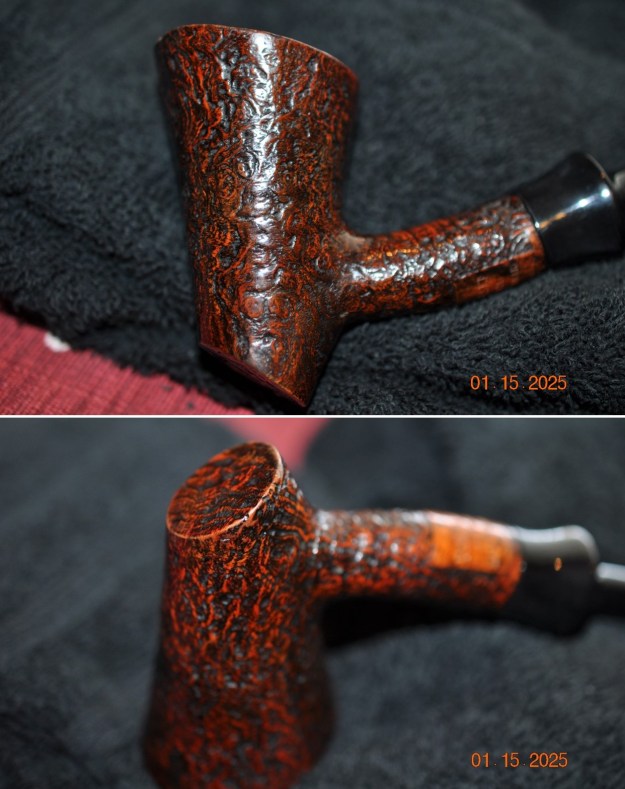
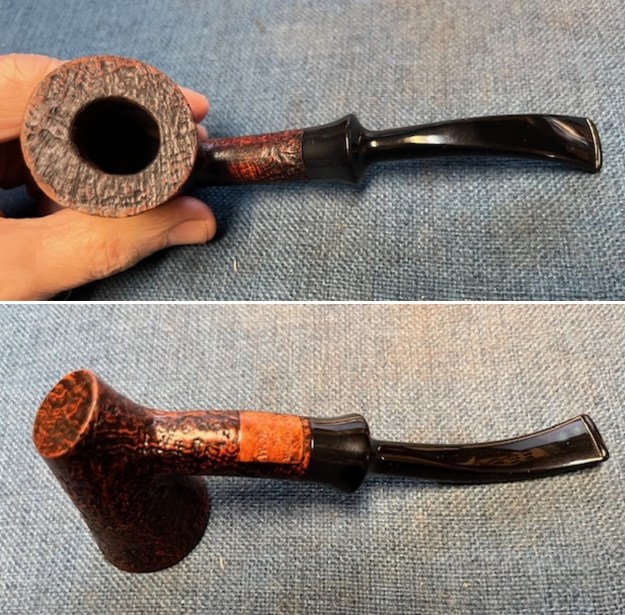
It may seem I have endless choices of pipes to work on. While we do have a lot of pipes that are in the queue to be restored it is far from endless. This next pipe I chose to work on was one that we purchased a few years ago on 10/17/2022 from our contact in Copenhagen, Denmark. The pipe is stamped on the underside of the shank and reads W.O. Larsen [over] Handmade [over] Made in Denmark. This one is a unique beauty with a shallow sandblast on a stylized bent Dublin shape flowing up a curved shank and fancy saddle stem. The briar bowl and shank were sandblasted as was the rim top. The exterior of the pipe had a shiny coat of varnish that covered some of the dust and debris in the blast. There was a moderate cake in the bowl and some lava and darkening on blast of the rim top. The acrylic stem is a fancy turned saddle stem that is comfortable. There is no logo on the stem. As it is acrylic there is no oxidation and had minimal tooth marks and chatter on both sides ahead of the button. Jeff took photos of the pipe before he started his clean up work.
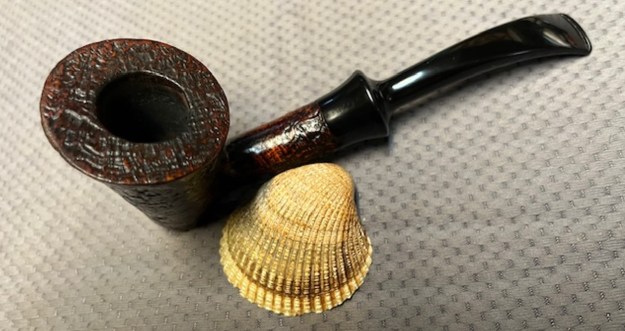
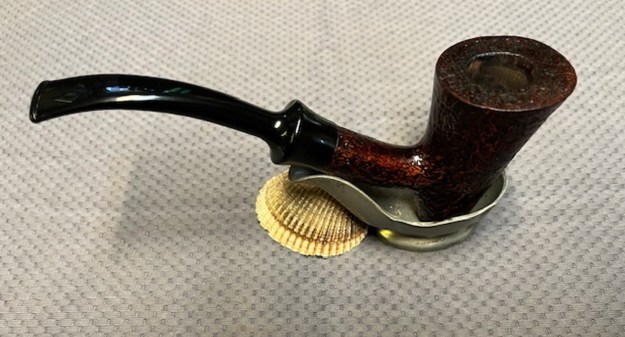
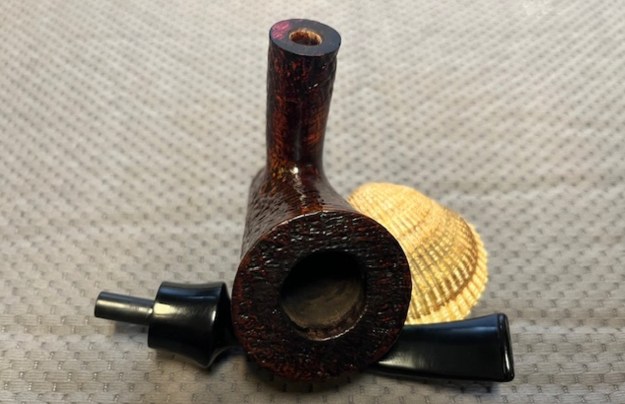
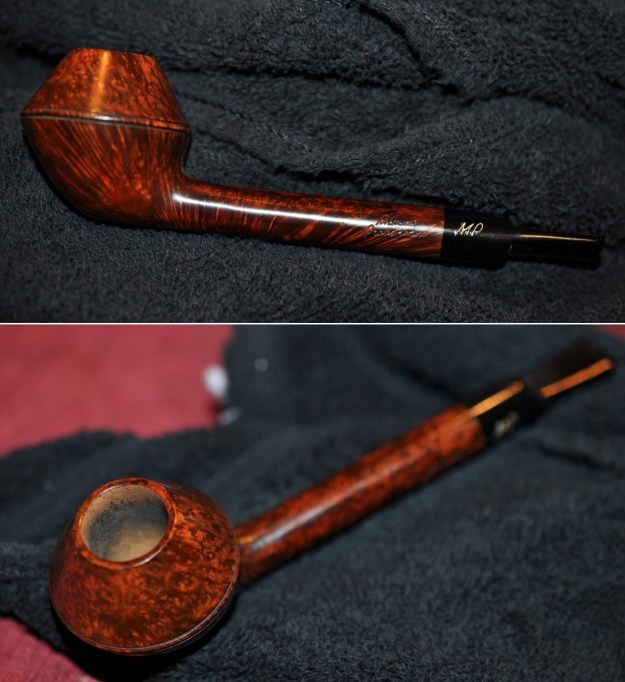
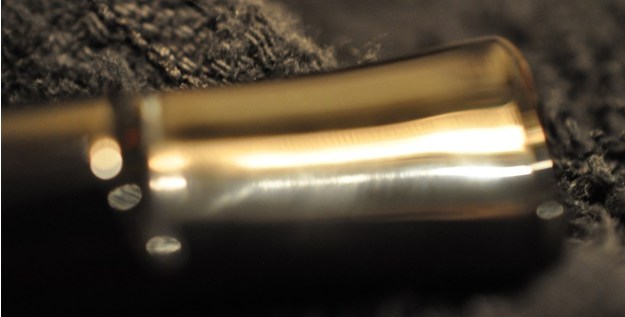
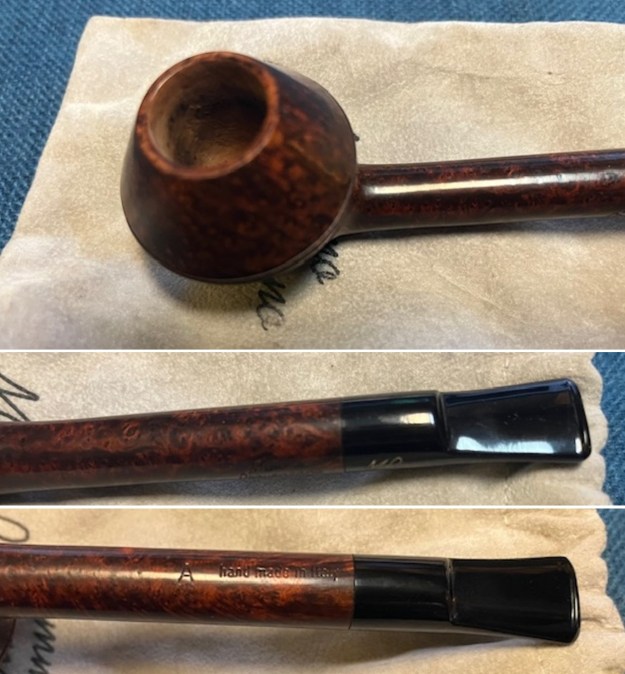
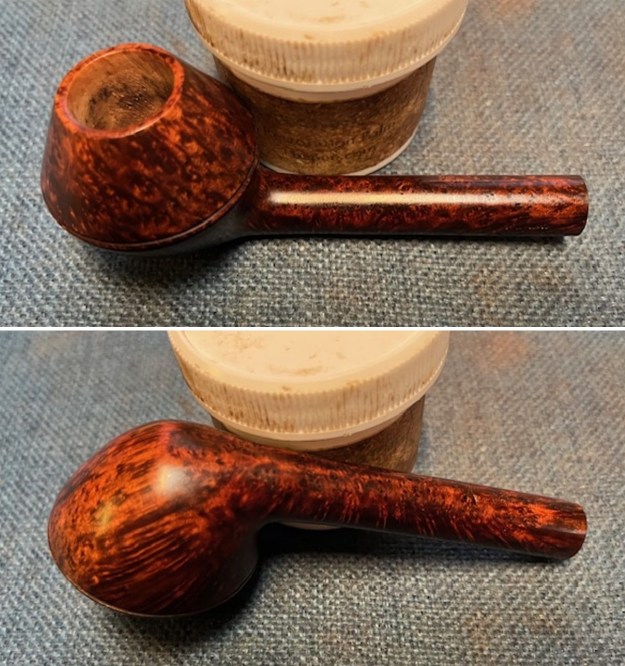
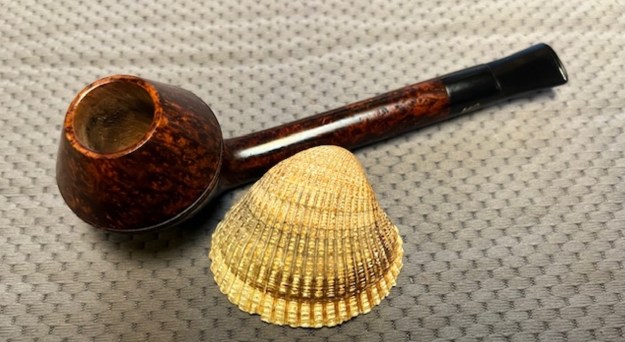
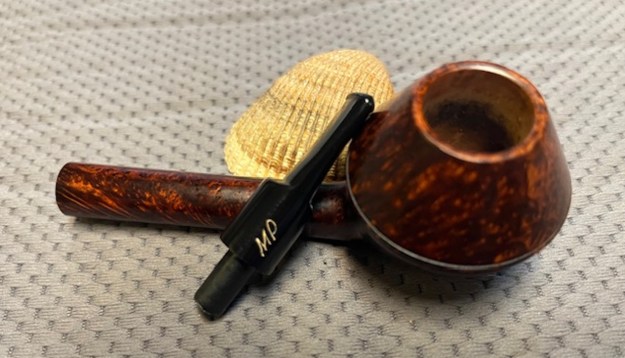
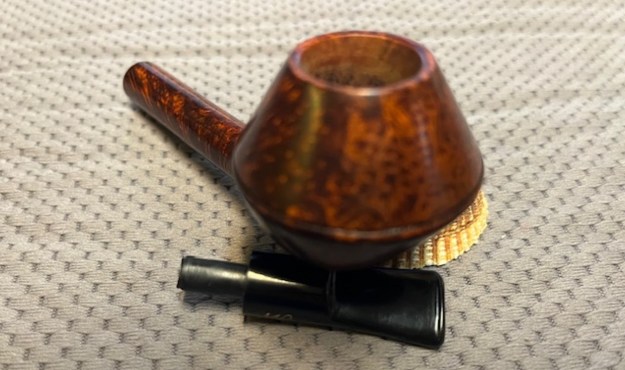
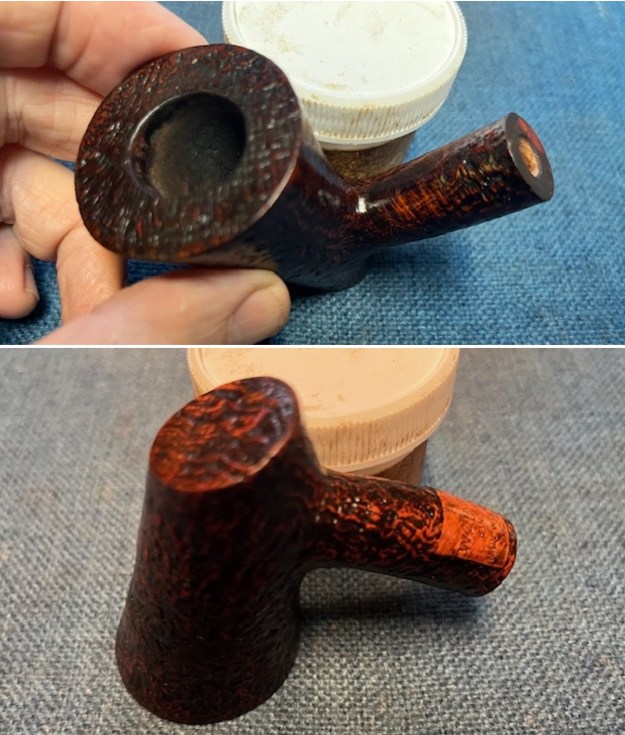
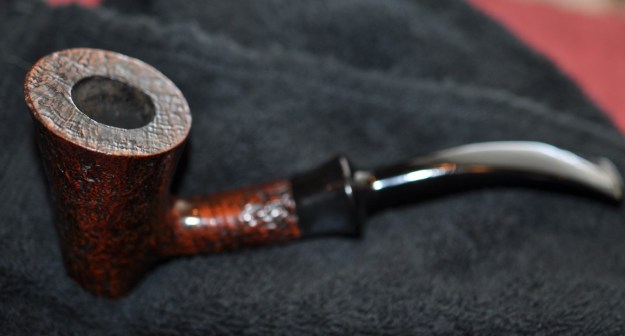 Jeff took photos of the rim top and stem to show the general condition of the pipe. The bowl is moderately caked and there was some light lava on the sandblasted rim top. The stem looked good under the dirt and grime. There was light tooth marks and chatter. It should cleanup very well.
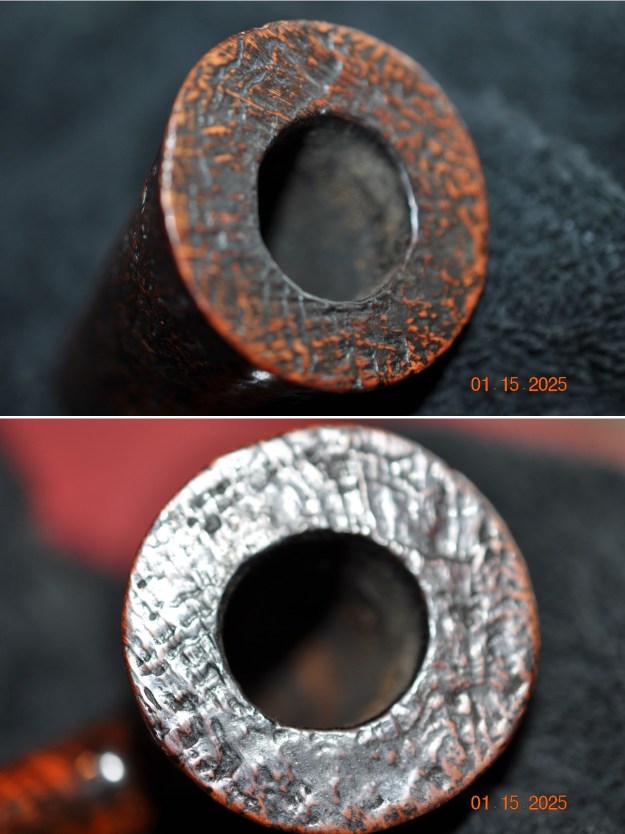
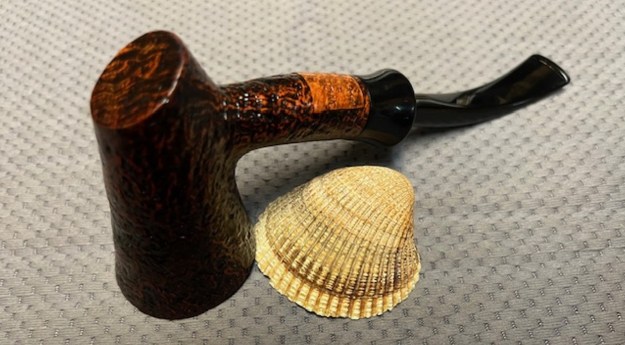
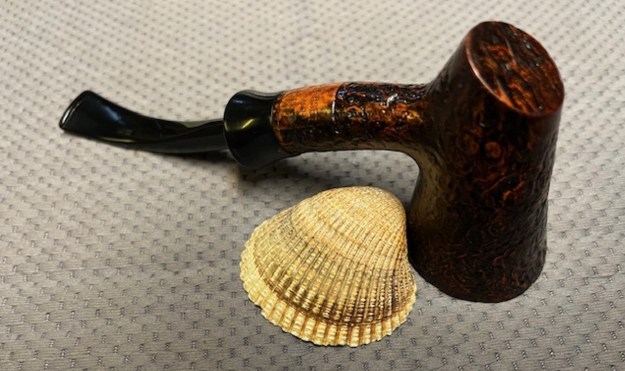
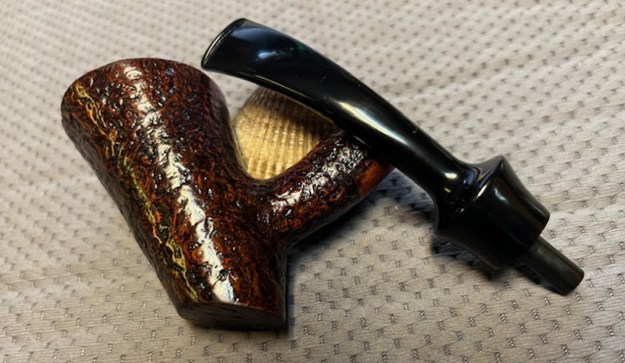
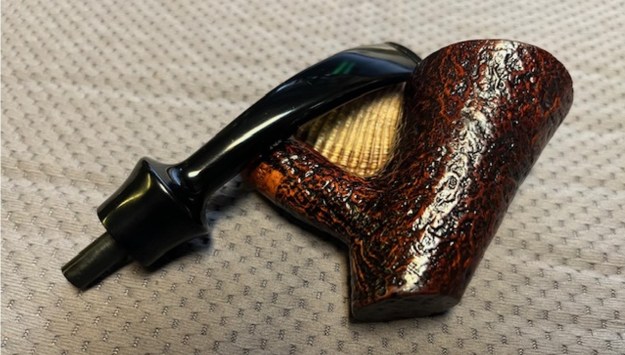
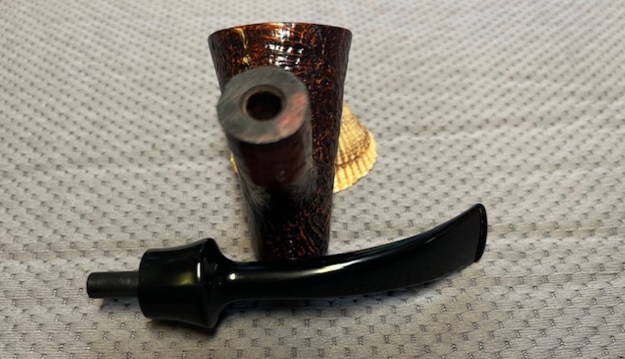
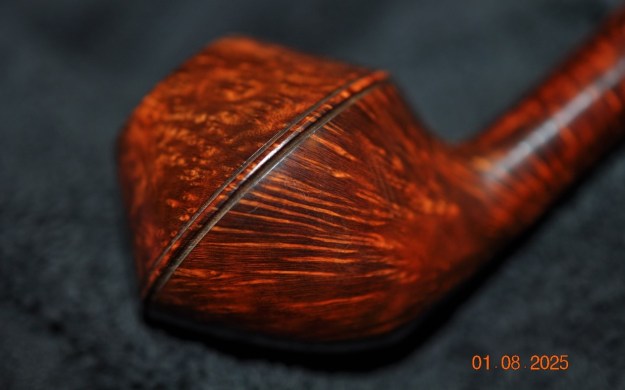
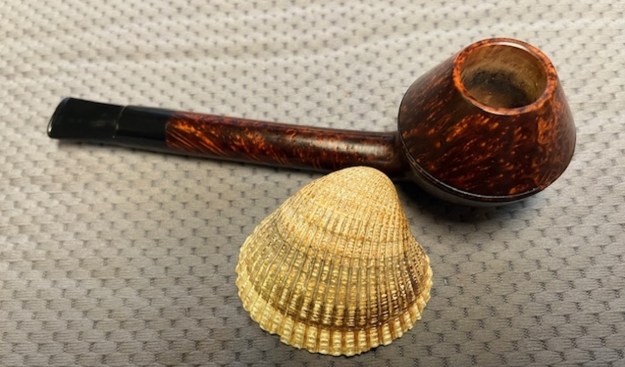
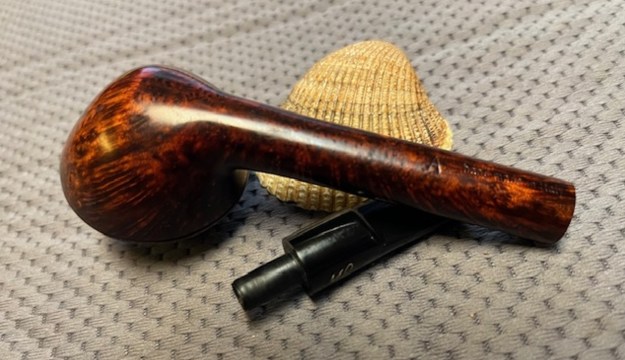
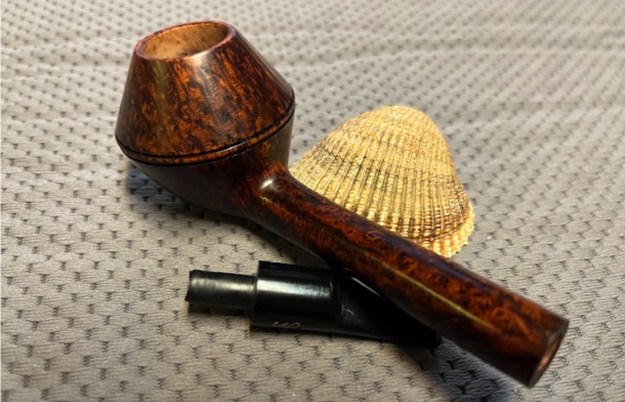
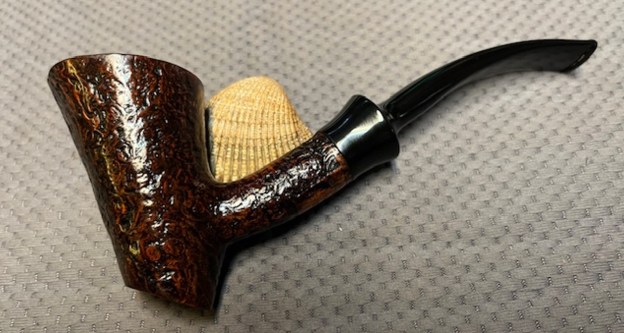
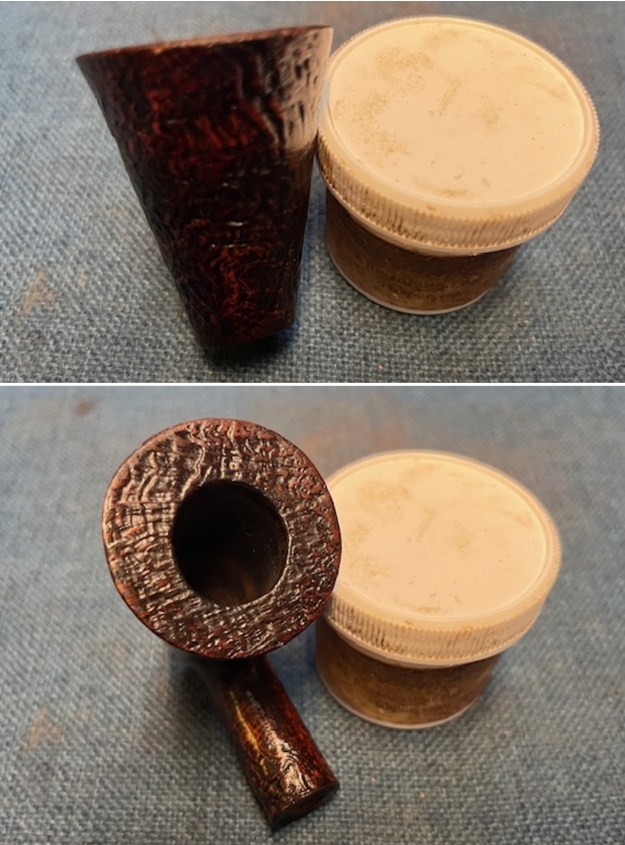
 Jeff took photos of the bowl sides and heel to show the beautiful blast that was around this bowl even though the grime on the finish hides it some. The pipe had obviously been well loved and cared for by the previous pipeman.
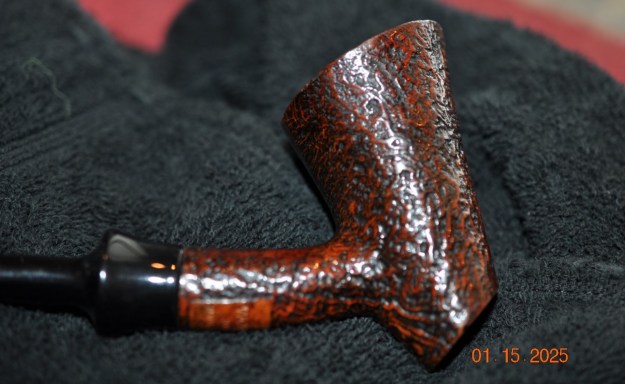
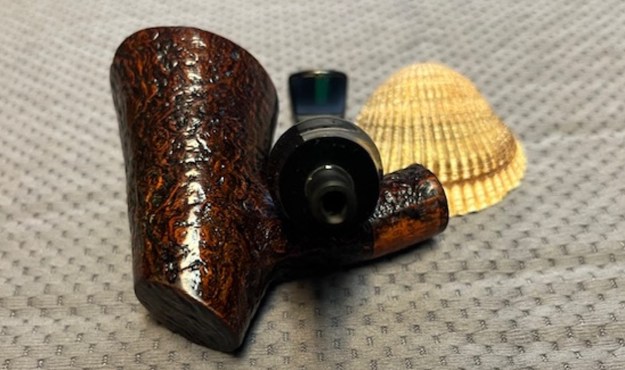
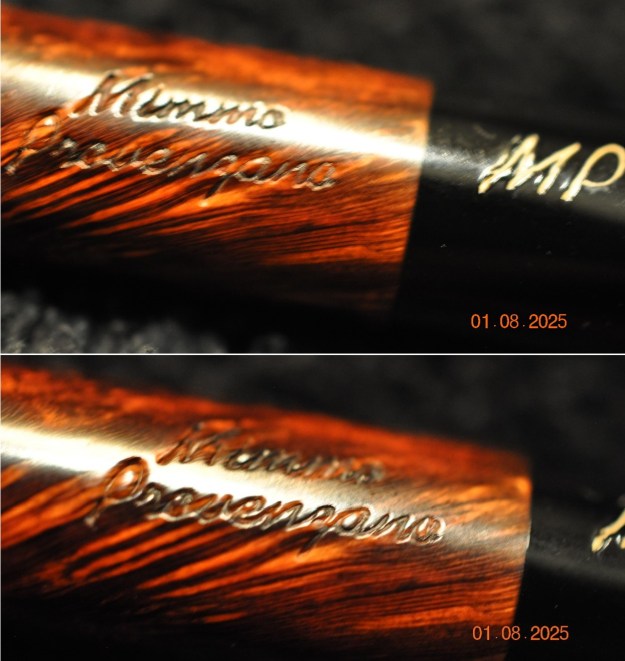
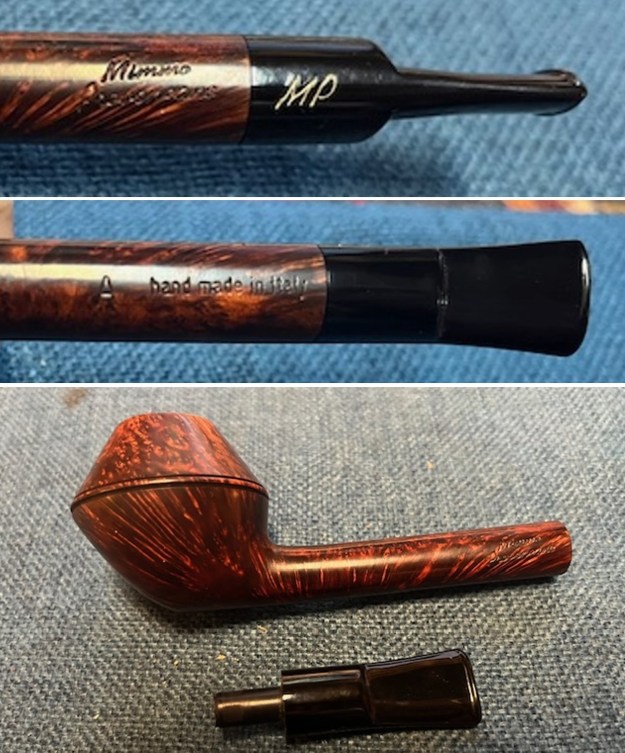
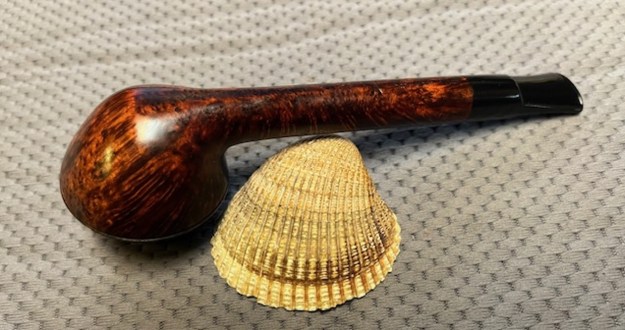
 He took a photo of the underside of the shank to show the stamping. The stamping is clear and readable in the photos below as noted above.
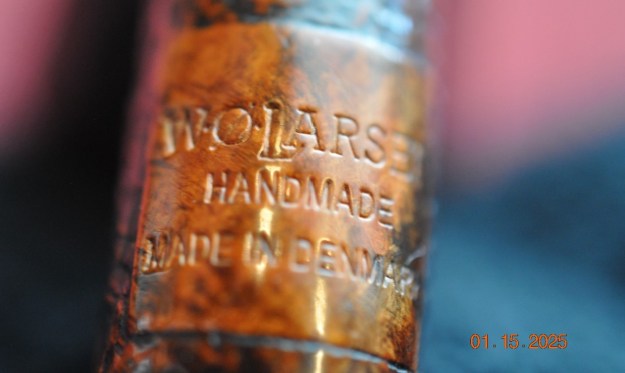 I have worked on quite a few W.O. Larsen pipes that are well made Danish takes on classic shapes. Several of them have been Brandy shaped pipes. This sandblast Canadian has a bowl that is almost a Brandy shape. Here is a link to the blog describing the background and history of the brand (https://rebornpipes.com/2021/10/25/restoring-a-sandblast-canadian-hand-made-designed-by-w-o-larsen-super-tan-65/). I quote from that blog in information that follows.
I turned to Pipephil (http://www.pipephil.eu/logos/en/logo-l2.html) to get a quick view of the brand once again. I did a screen capture of the site’s information and have included that below. The pipe I am working on is a W.O. Larsen as it is stamped similarly to the ones in the photos. 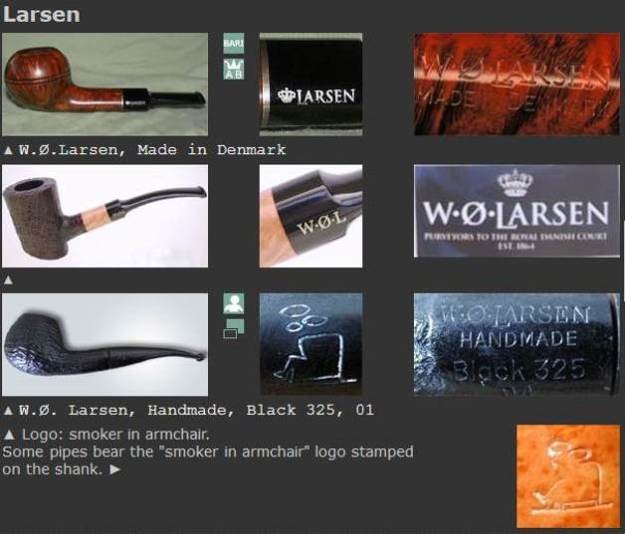 I quote from the sidebar below:
In the 1960s Ole Larsen, owner of the Copenhagen tobacco store, retails pipes carved by Sixten Ivarsson, Poul Rasmussen, Sven Knudsen or Peter Brakner. Faced with the success and urged by Sven Bang (store manager), Sven Knudsen and Former (Hans Nielsen) are successively hired to carve pipes in the basement of the shop at the beginning and in the old Larsen cigar factory afterwards. Carver like Teddy Knudsen, Tonni Nielsen, Jess Chonowitch, Peter Hedegaard work a while in this context. When Nils, son of Ole Larsen, succeeds his father he acquires the Georg Jensen pipe factory to focus on less expensive pipes. This turns out to be an error ending with the sale of W.O. Larsen trademark to Stanwell. The famous tobacco shop at Strøget, Amagertorv 9 closed down for good on Dec 31, 2004. Do not confuse W.O. Larsen with: Jorgen Larsen
I turned to Pipedia (https://pipedia.org/wiki/W.%C3%98._Larsen) for a quick read. The site is worth reading the history of the shop and the brand and its influence on Danish pipe carving. I quote a portion of the article below:
The workshop of W.Ø.Larsen
W.Ø.Larsen is Denmark’s oldest and probably most famous pipes and tobacco store, placed in the center of Copenhagen on the main pedestrian street, Stroget. If you visit Copenhagen and do a “pipe crawl” this store is a must. In the beginning of the 1960’s the store began to sell Danish hand-made pipes, especially those of Poul Rasmussen. This went very well and Poul Rasmussen could not keep up with the demand. W.Ø.Larsen, with their dynamic business manager Svend Bang (who later started his own pipe business), decided to establish their own workshop in rooms next to the store.
The first manager of the pipe workshop was Sven Knudsen, but he soon left to make pipes under his own name. The next manager was Hans Nielsen, also known as “Former” (named after the late British actor George Formby, whom he was said to resemble. Coincidentally, in Danish, “Former” means “shapes”). Under the management of Former the workshop grew and W.Ø.Larsen pipes became a prominent name abroad. Among the prominent pipemakers educated here were Else Larsen (Denmark’s first female pipemaker),Poul Ilsted, Ph. Vigen, Teddy Knudsen, Tonni Nielsen, and Peter Hedegaard.
Typical for the W.Ø.Larsen School were semi-classic shapes, meaning classic shapes, but with slight differences, often bring a little more full or round. The pipes often had lower center of gravity. A typical billard would have a bowl shaped more like a pear and the connection between the bowl and the shank would be clearly distinguished. Yellow and orange were colors more widely used for the finishes.
What I learned from the research is that the pipe is a W.O. Larsen pipe made by one of the famous carvers who worked in the shop. It is a beautiful pipe in both shape and finish.
Jeff did a great job cleaning up the pipe. He reamed the bowl with a PipNet pipe reamer and cleaned up the cake with a Savinelli Fitsall Pipe Knife. He scrubbed out the mortise and the airway in the shank and the stem with alcohol, shanks brushes, cotton swabs and pipe cleaners. He scrubbed the exterior of the bowl, rim and shank with a tooth brush and Murphy’s Oil Soap to the oils and tars on the bowl, rim and shank. He removed the light lava coat on the top of the rim. He rinsed the bowl under running water. He dried it off with a soft cloth. Once the grime was removed the finish underneath was in good condition. The stain and the look of the finish was very well done. He scrubbed the exterior of the stem with Soft Scrub and rinsed it with warm water. He wiped the bowl and stem down with a light coat of olive oil and buffed it with a soft cloth. The pipe really was quite stunning. I took photos of the pipe to show its condition before I started my work on it.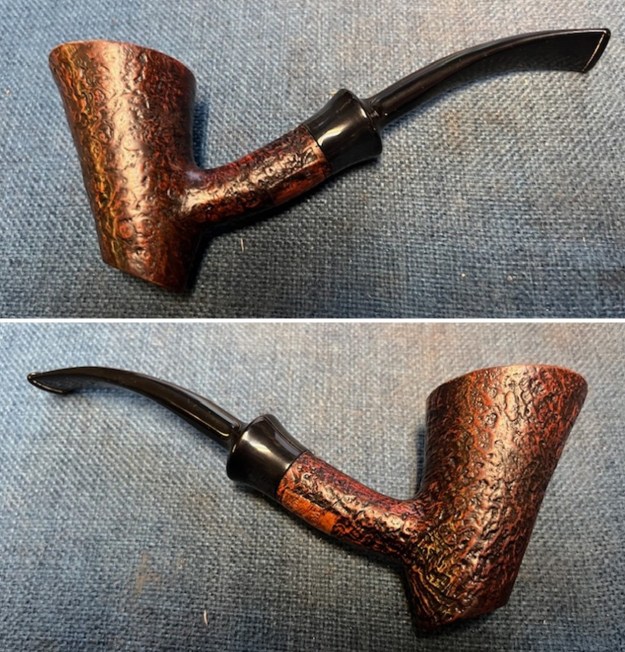
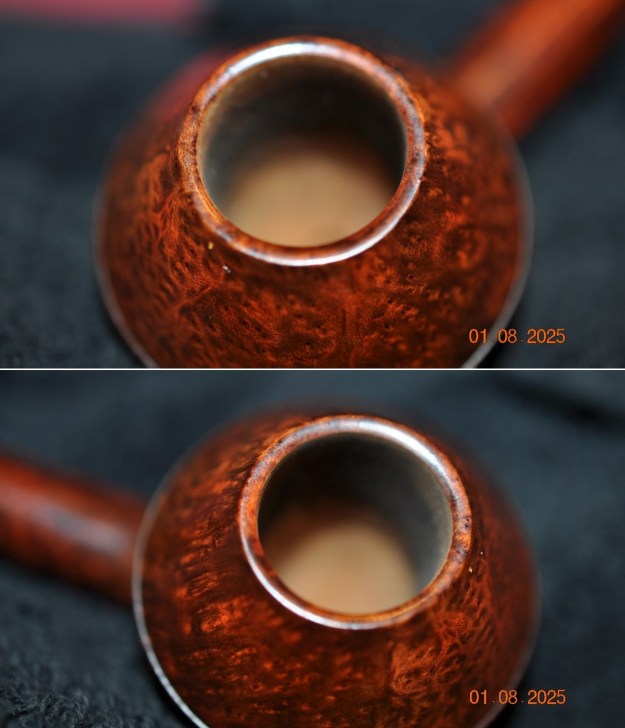
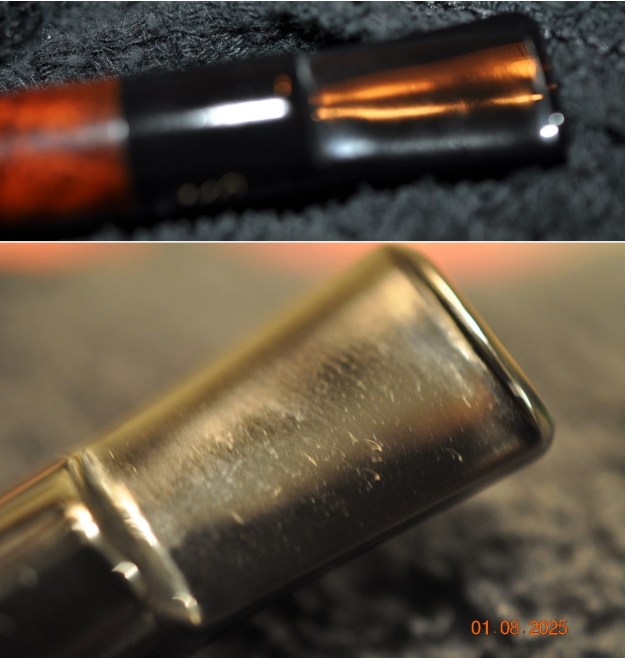
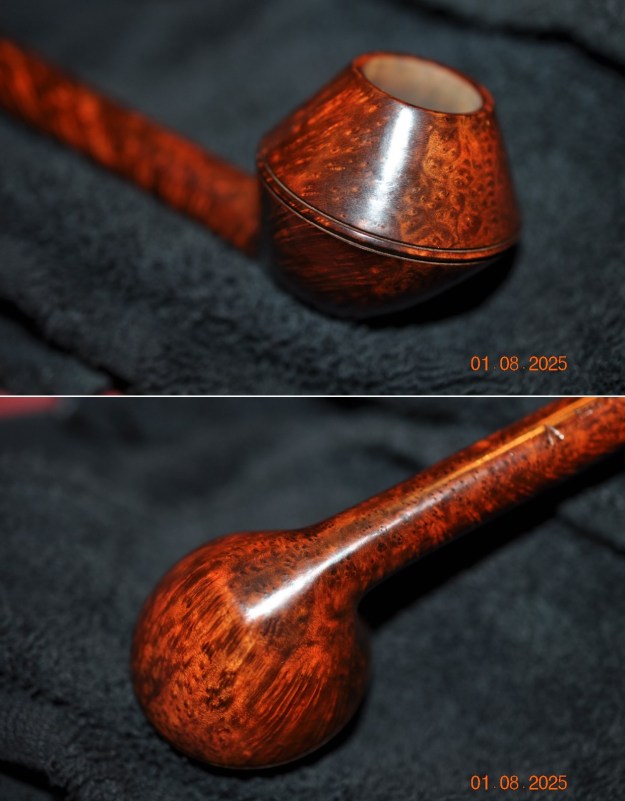
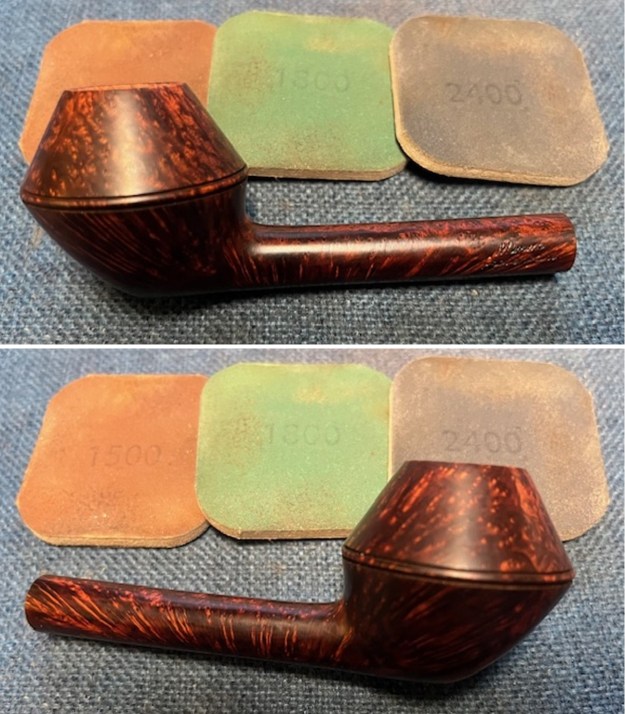
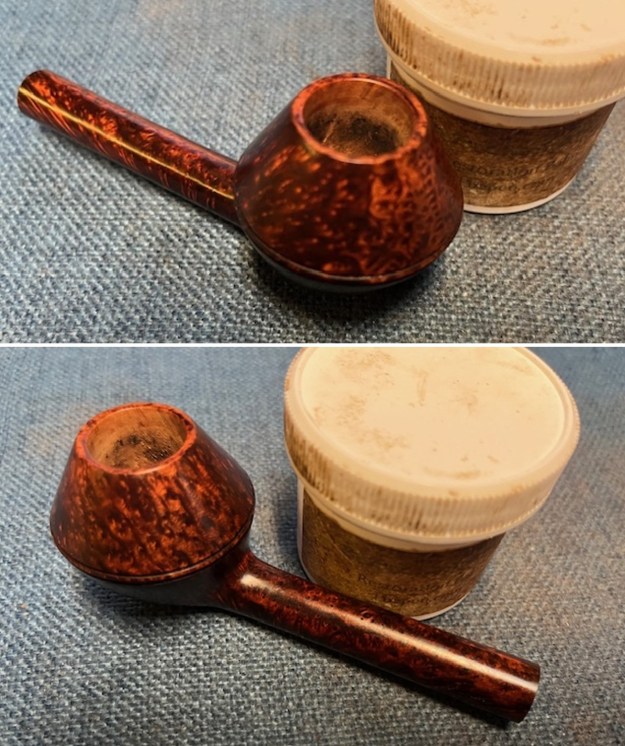
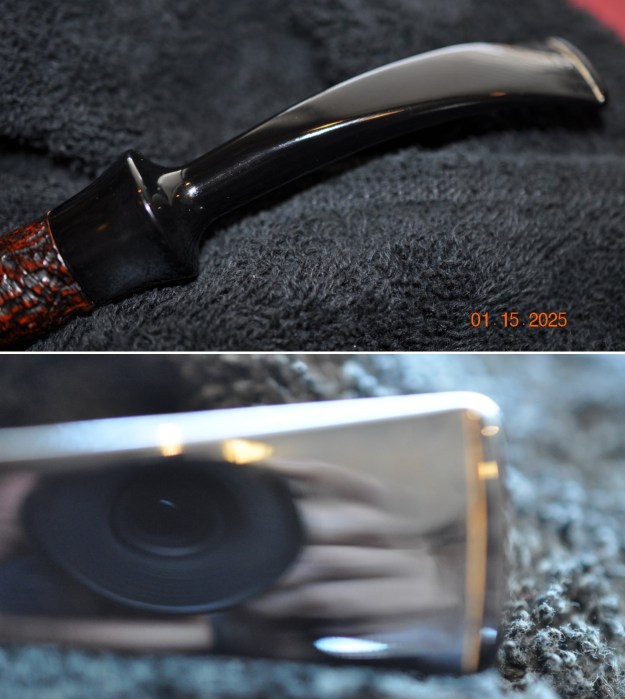
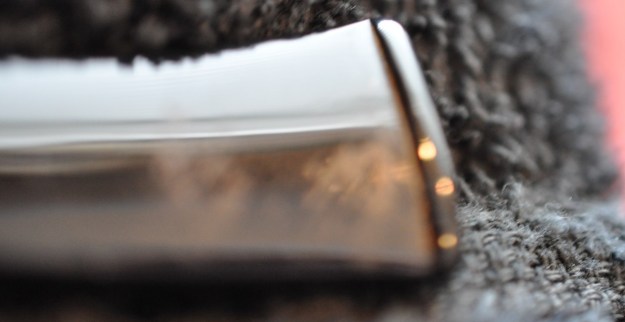
 I took a close up photo of the rim top and edges to show how well it had cleaned up and the edges around the bowl. I also took close up photos of the stem to show the light tooth chatter on the surface ahead of the button on both sides.
 I took a photo of the stamping on the underside of the shank. It is clear and readable as noted above. I removed the stem and took a photo of the pipe to show the proportions of the pipe. It is a beauty.
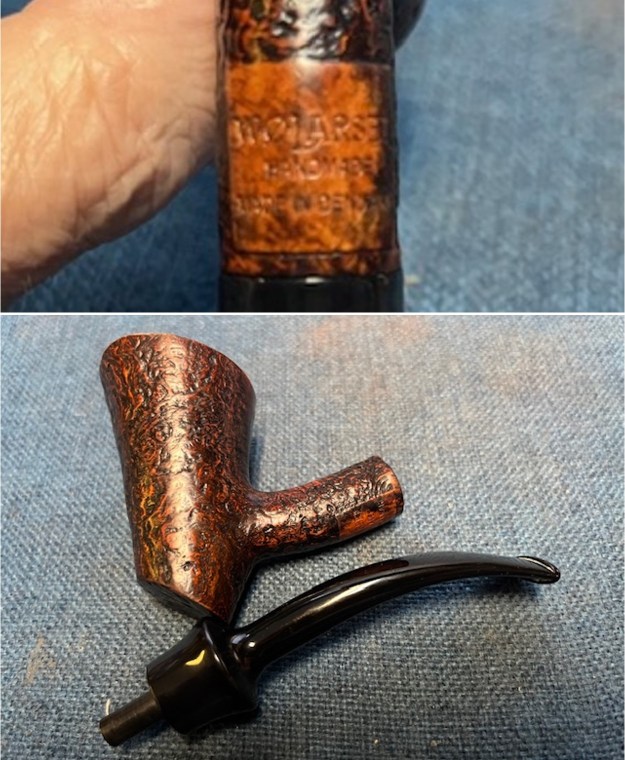 I used a brass bristle wire brush to go over the rim top and knock off the remaining lava and debris in the sandblast. It looked much better.
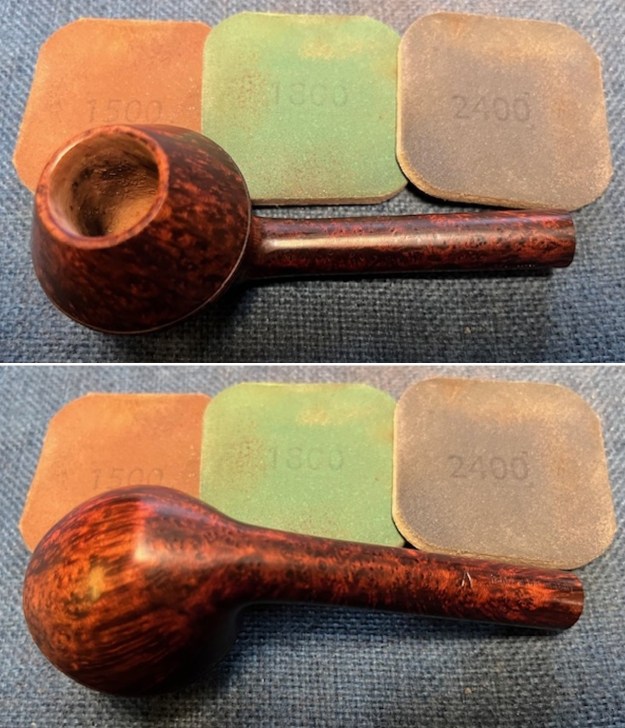
 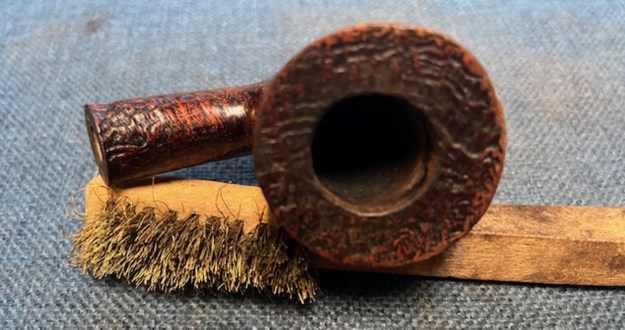 I worked some Before & After Restoration Balm into the surface of the briar with my fingertips and a shoe brush to clean, enliven and protect the briar. I let the balm sit for 15 minutes and then buffed with a cotton cloth to raise the shine. The photos show the bowl at this point in the restoration process.
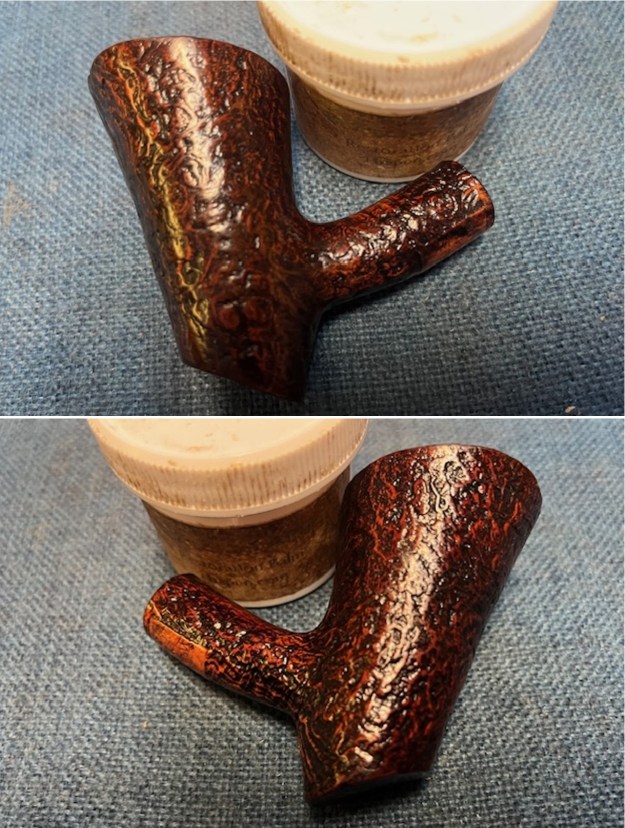
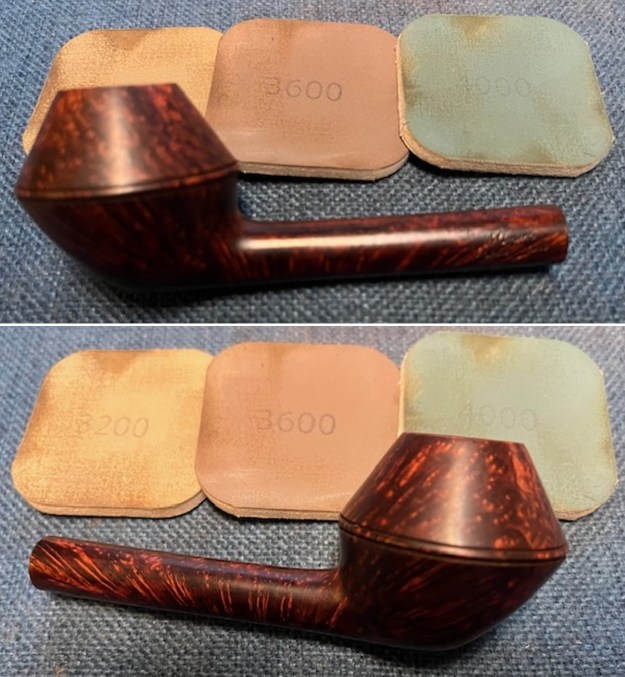
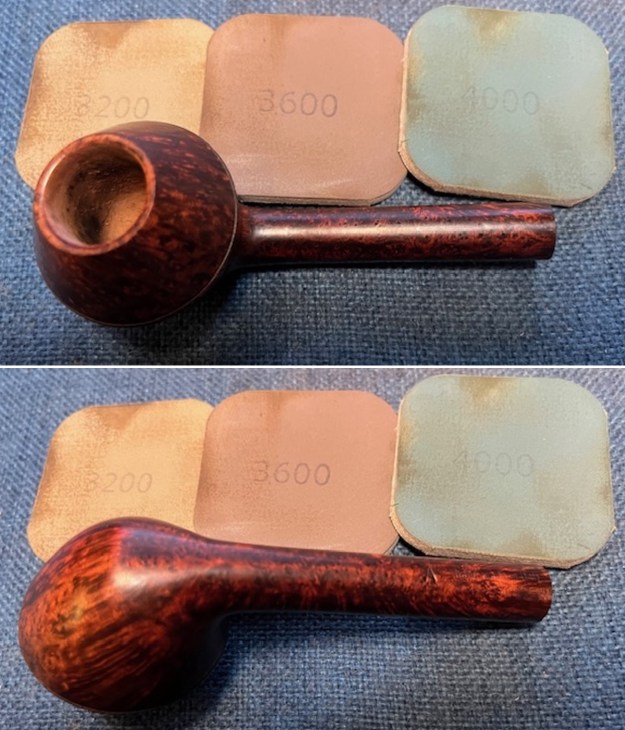
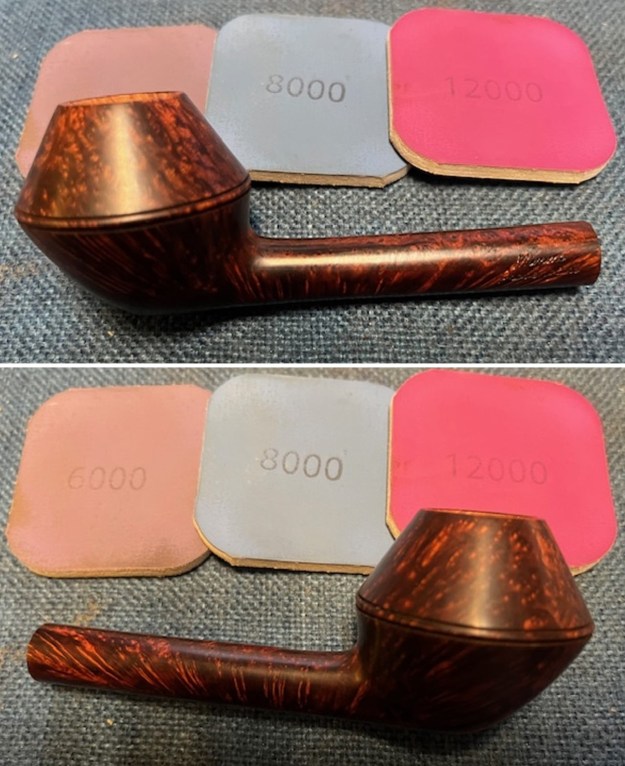
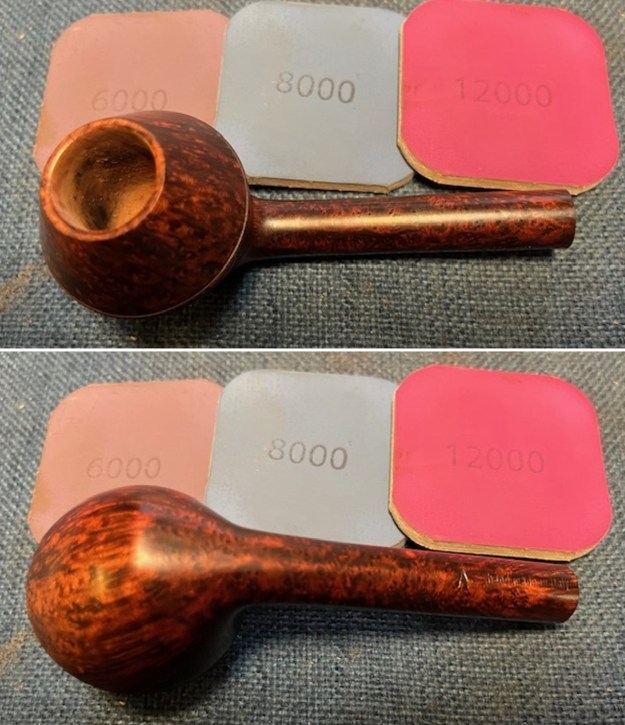
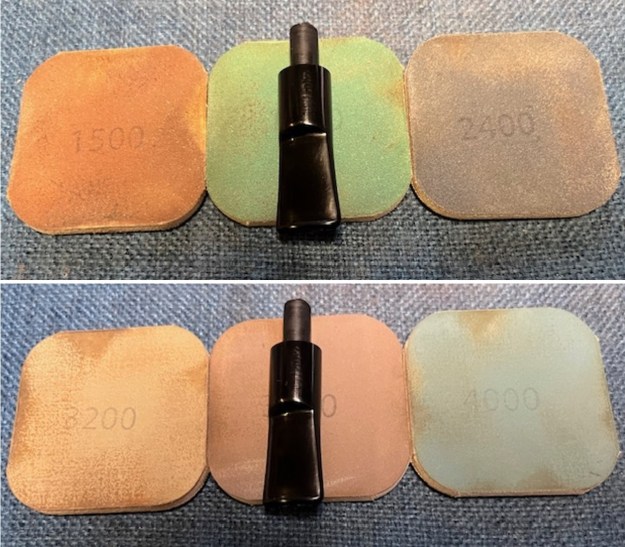
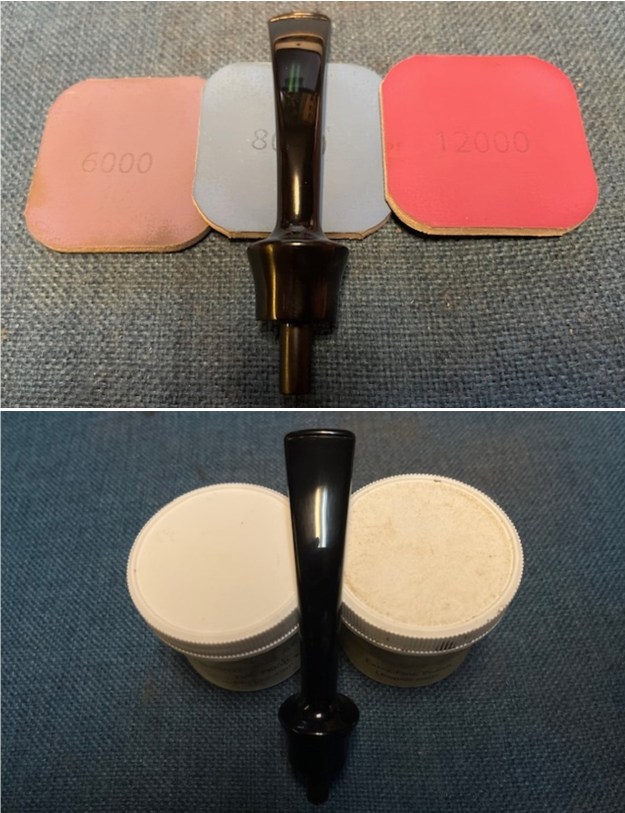
 I polished the stem with micromesh sanding pads – dry sanding with 1500-12000 grit sanding pads. I wiped it down after each sanding pad with Obsidian Oil. I polished it with Before & After Pipe Stem Polish – both Fine and Extra Fine. I gave it another coat of Obsidian Oil.
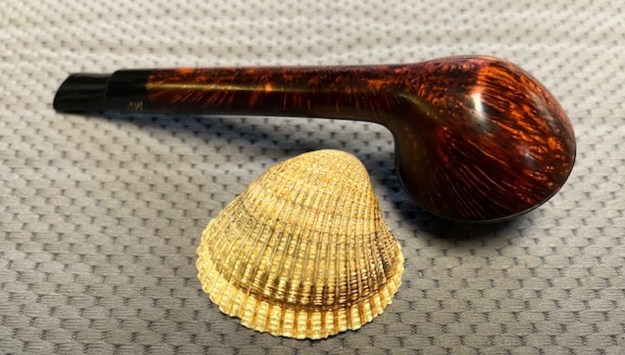
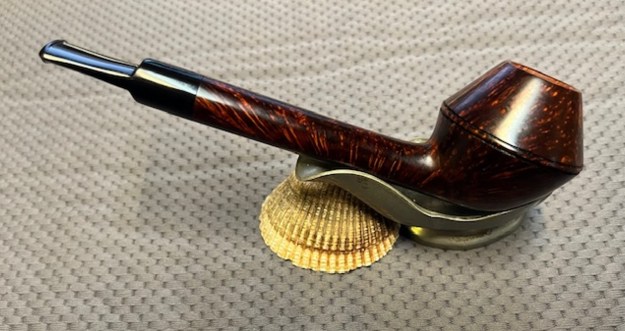
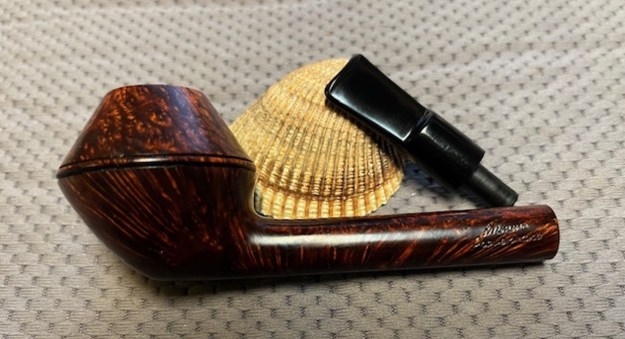
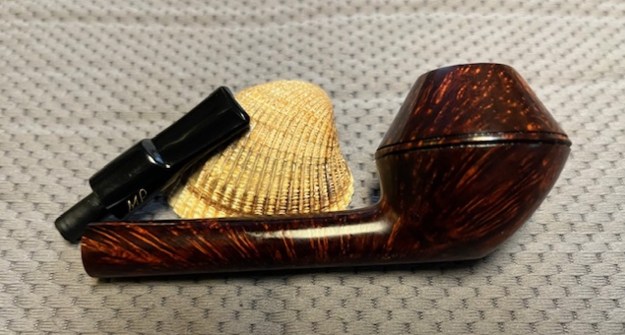
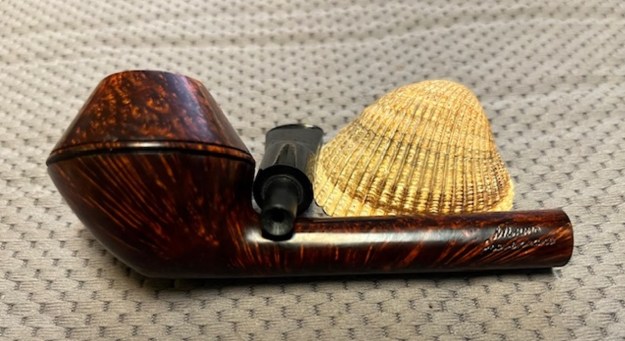
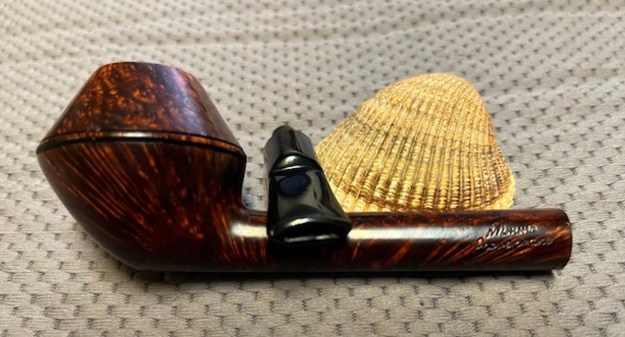
 I am really happy with the way that this W.O. Larsen Handmade Freehand Dublin turned out. It really is a beautiful looking pipe with a unique shape and shallow sandblast finish. The fancy acrylic saddle stem is really nice. The briar really came alive with the buffing. The rich brown and black stains of the finish gave the pipe a sense of depth with the polishing and waxing. I put the stem back on the bowl and carefully buffed the pipe with Blue Diamond on the buffing wheel using a light touch on the briar. I gave the bowl and the stem multiple coats of carnauba wax on the buffing wheel. I buffed the pipe with a clean buffing pad to raise the shine. I hand buffed the pipe with a microfiber cloth to deepen the shine. The finished W.O. Larsen Handmade Dublin really is a beauty and feels great in the hand and looks very good. Give the finished pipe a look in the photos below. The dimensions of the pipe are Length: 6 ½ inches, Height: 2 ½ inches, Outside diameter of the bowl: 1 ¾ inch, Chamber diameter: ¾ of an inch. The weight of the pipe is 51 grams/1.80 ounces. The pipe will be going on the rebornpipes store in the Danish Pipe Makers Section if you would like to add it to your collection. Thanks for reading this blog and my reflections on the pipe while I worked on it. It was a fun one to work on!