Blog by Steve Laug
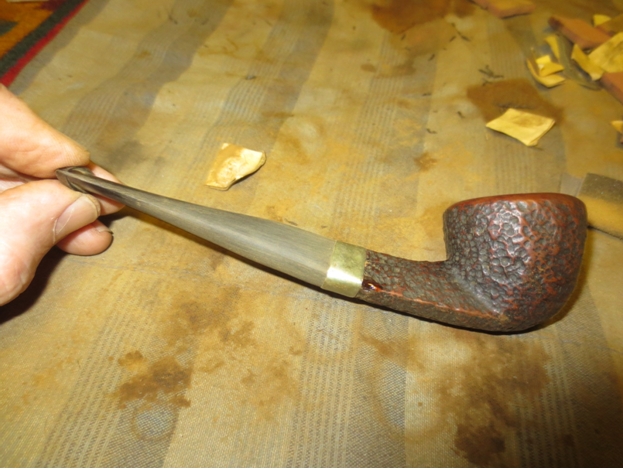
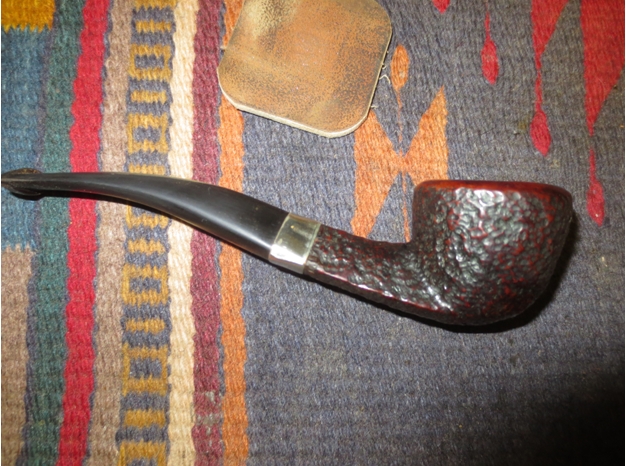
When I saw this old Savinelli Roma on eBay I decided to bid on it and see what I could do with it. It had a triangular shank without a stem. The bowl had a cake build-up and the rim was covered with tars that were flaking off. The finish was dirty and worn as these pipes usually have a contrast dark stain on the bowl and a lighter stain on the rim. The rim is chamfered or bevelled inward toward the bowl. The edges of the rim – both inner and outer – were in great shape. The bowl was still in round.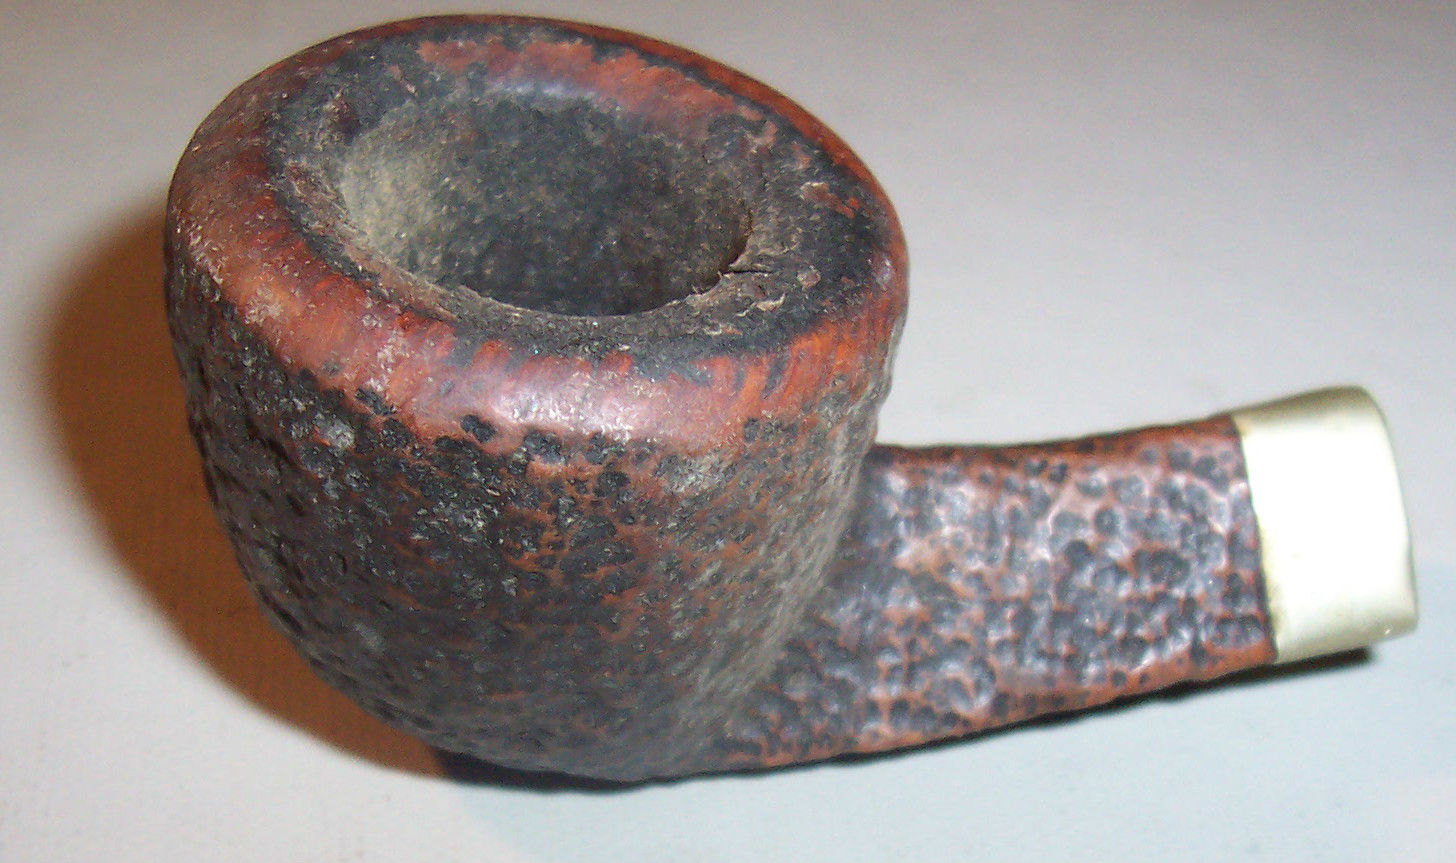 The band was an aftermarket addition and from the looks of it covered a cracked shank. In the photo below you can see the band has been pressed into place and damaged the shape of the shank on the bottom right side. Notice the step down from the band to the bottom edge of the shank and you will see what I mean.
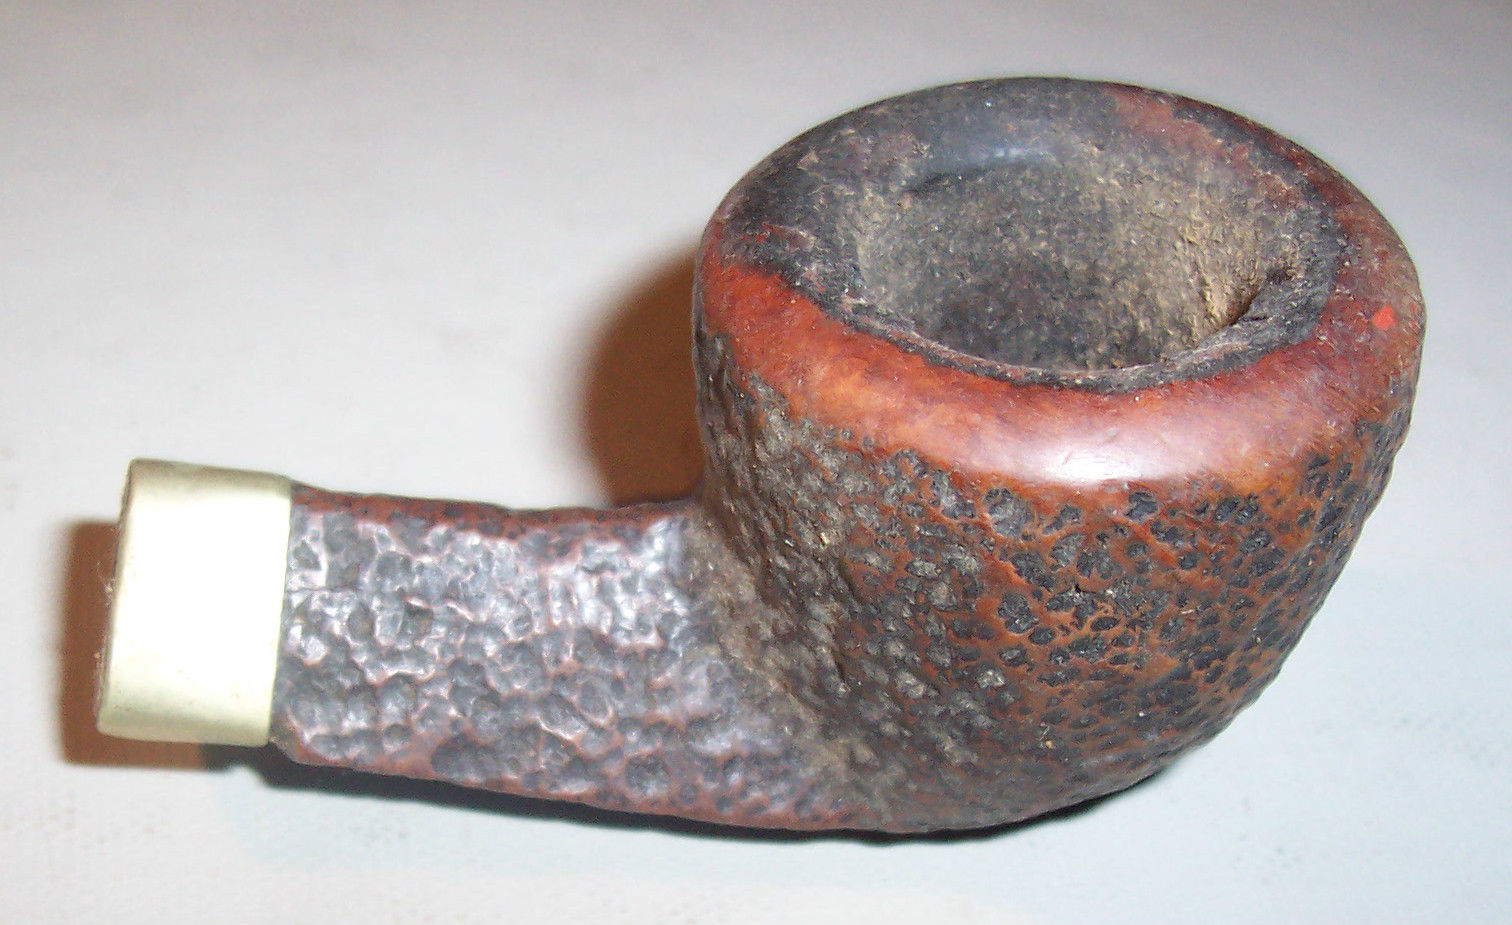
 I have included the next photo of the Savinelli Roma 305 to show what the pipe originally looked like. The triangular shank and matching stem are attractive. This should be interesting to duplicate on a replacement stem! The round rim and the contrast colour of the bowl and rim look very good. The thin metal spacer between the stem and shank would have been connected to the stem and with the cracked shank on the one I picked up will not be possible to duplicate.
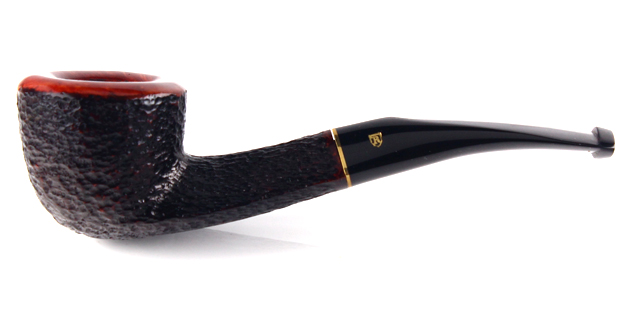 I have also included a picture I found on the web of a badly oxidized stem. I saved this because it gives a good close up of the angles on the stem that I will need to duplicate.
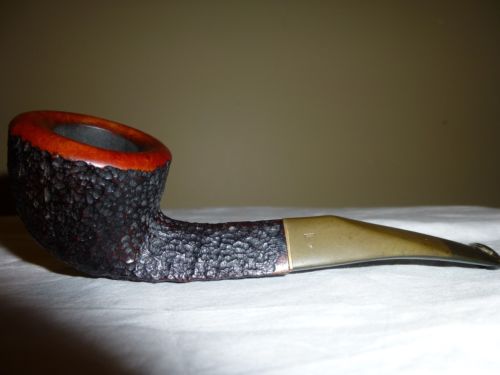 When the pipe arrived I took it out of the package and gave it a thorough inspection. As I suspected the band was an added feature. It was pressed loosely in place to deal with a crack in the right side of the shank and also on the bottom edge. It was poorly fit and would need shaping before I put it permanently in place. I would also need to address the cracks in the shank and the missing notch on the right side of the shank.
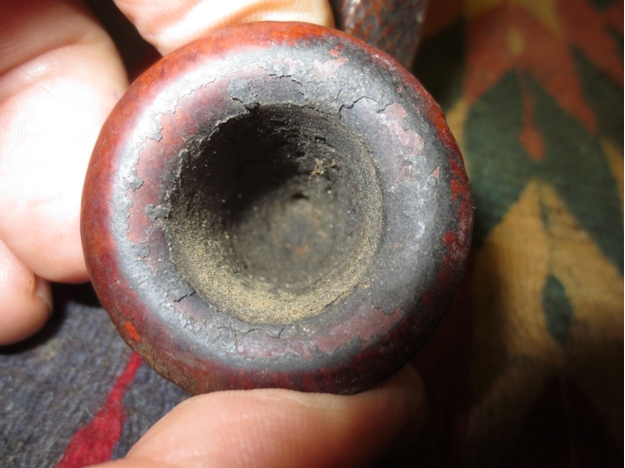
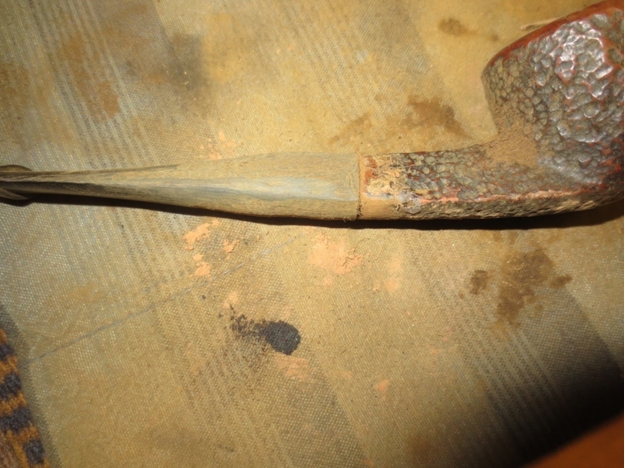
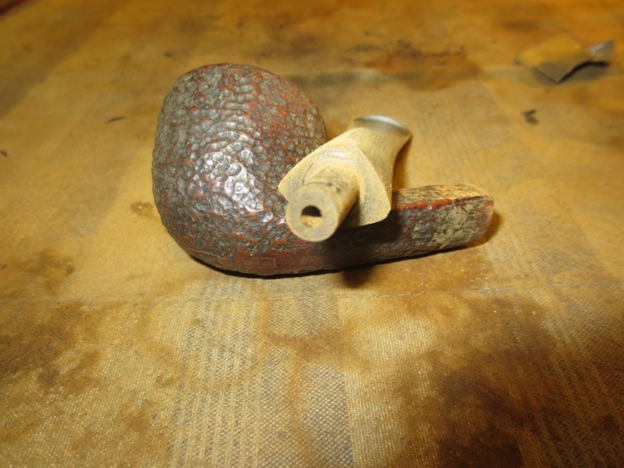
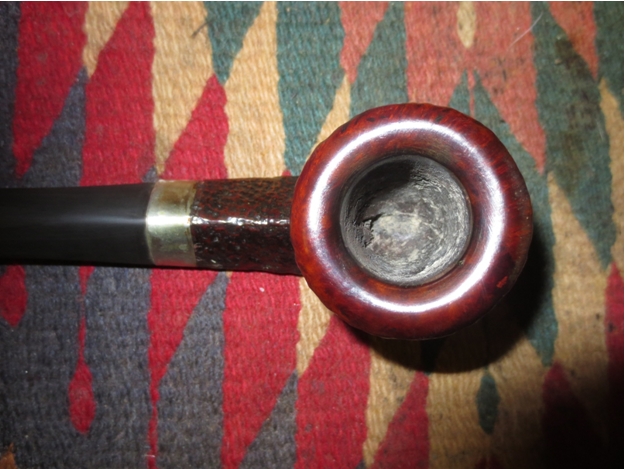
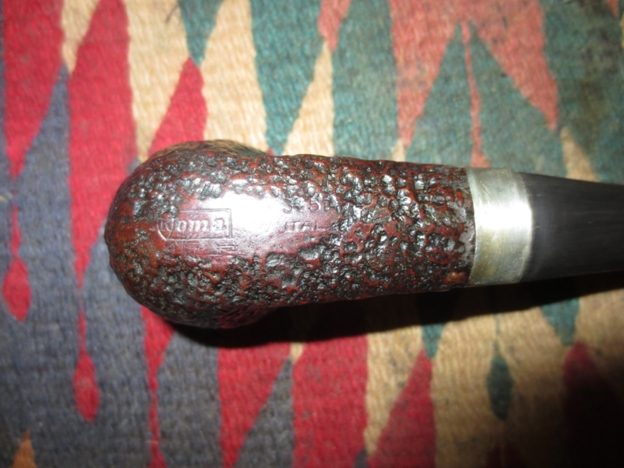
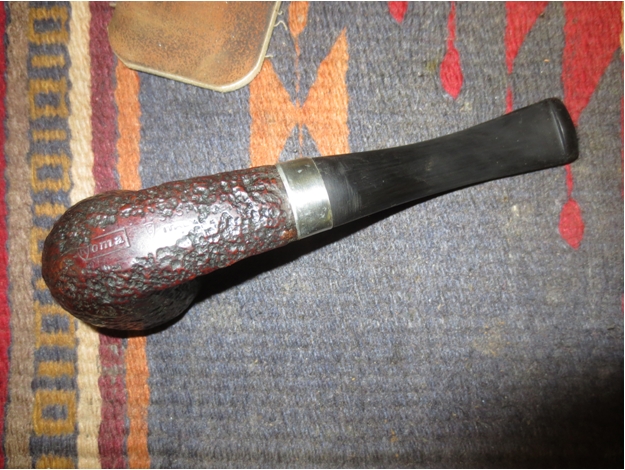
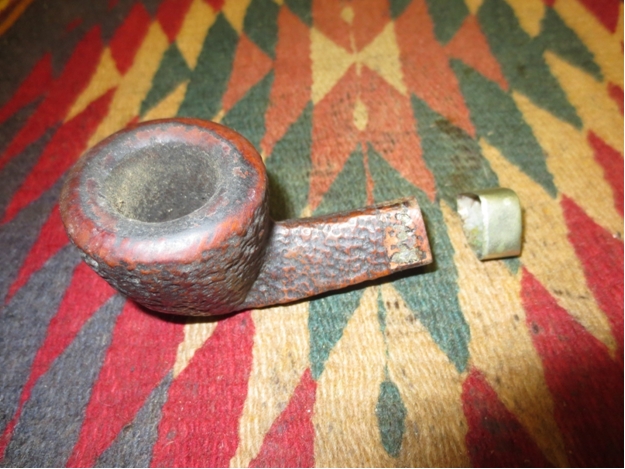 The next group of three photos shows the damaged areas on the bowl and shank. The crack is visible in the first photo and the missing notch is visible in the second photo. The third photo gives a close up of the bowl and rim.
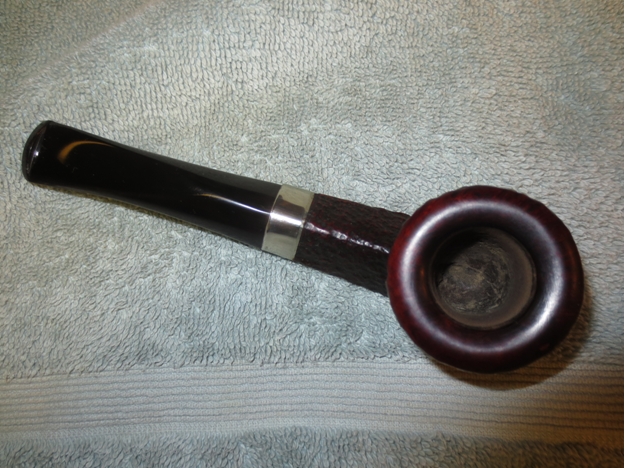
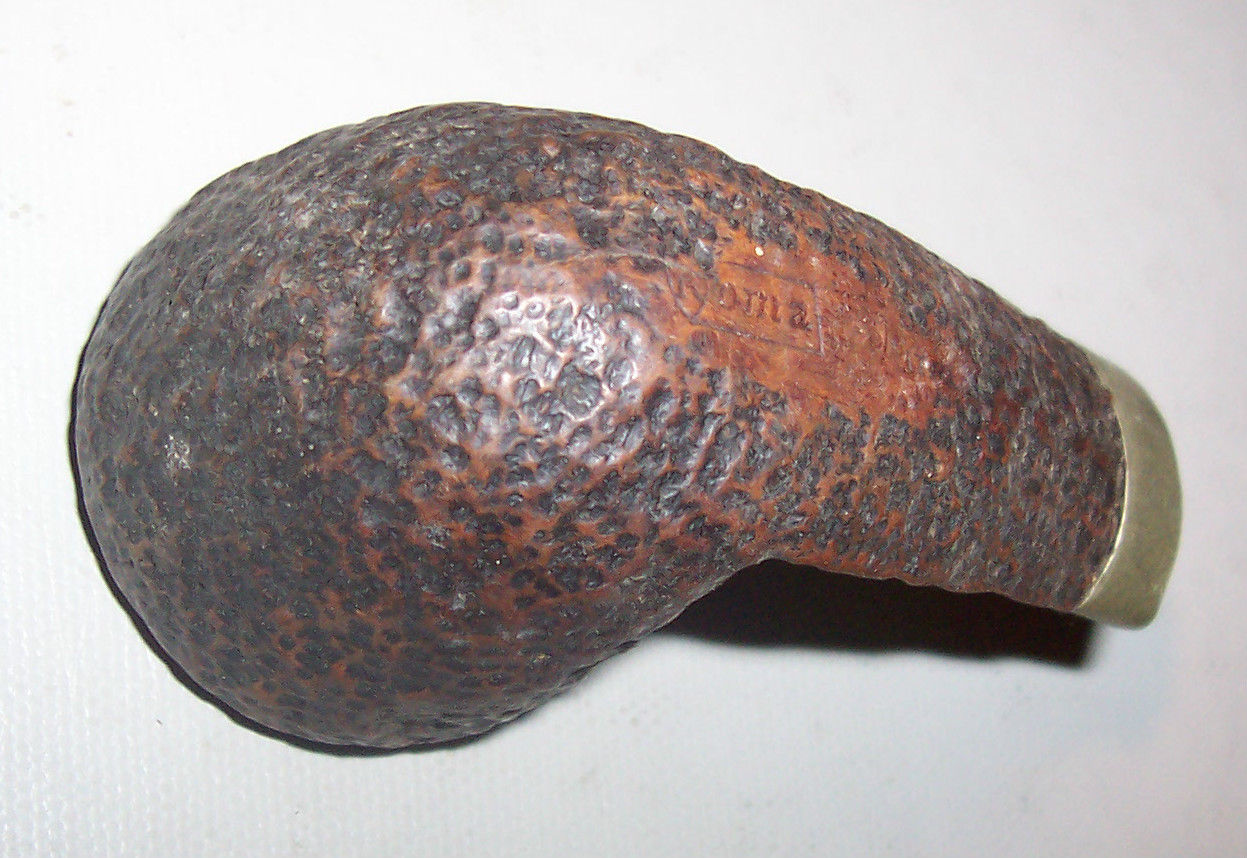
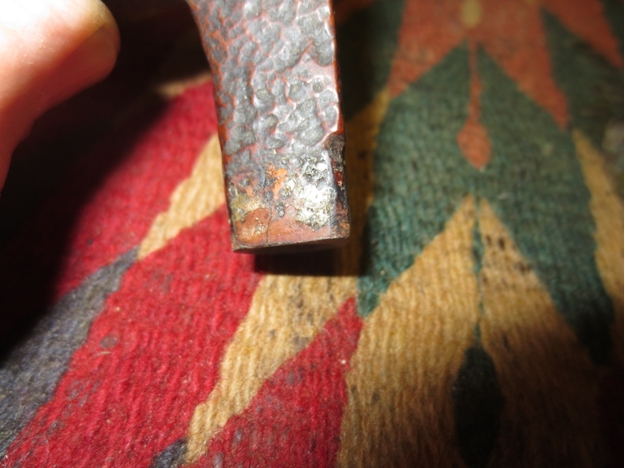
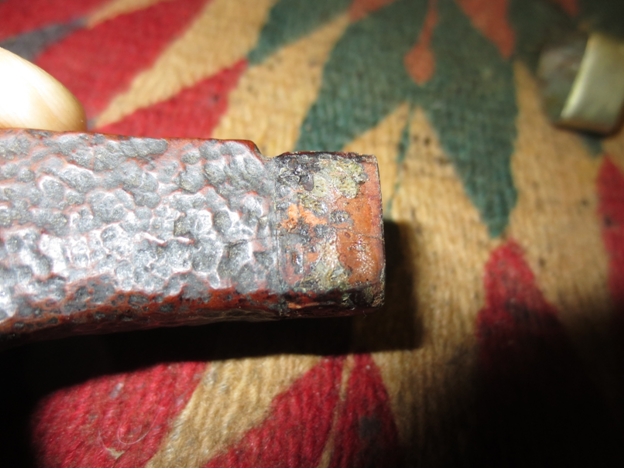
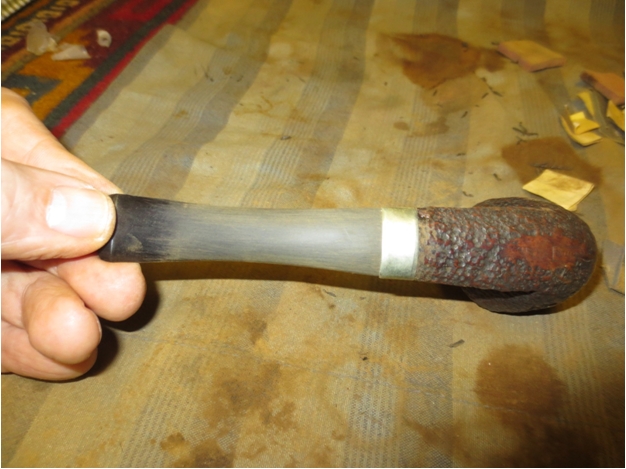
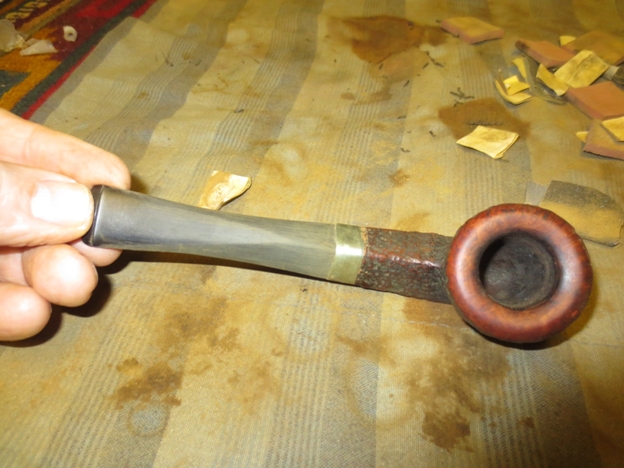
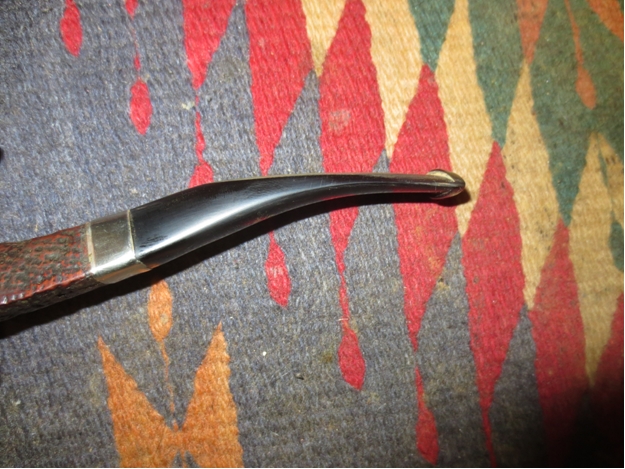
 I slipped the band in place and took a photo of the end of the shank to give an idea of what the shape of the stem will need to be when I worked on it. You can see the poor fit of the band at this point as well.
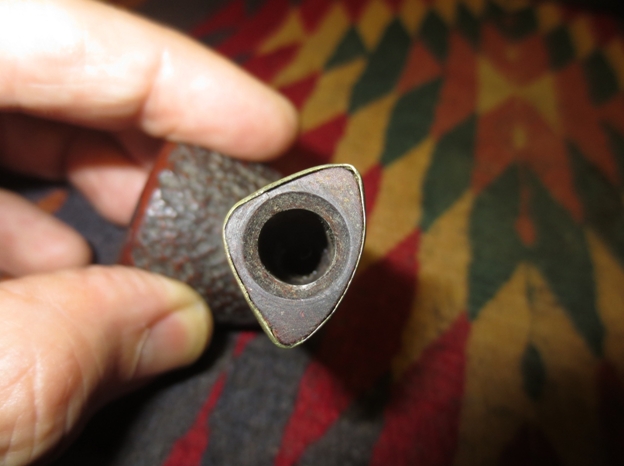 I went through my can of stems to find one that fit. I tried diamond shaped stems and none had a wide enough diameter to match the width of the shank without being too long to look right. I finally settled on a round stem blank that had the correct diameter. I turned the tenon down with a PIMO Tenon turning tool until it fit the shank. In the photo below you can see the stem and the stem before I corrected the tenon.
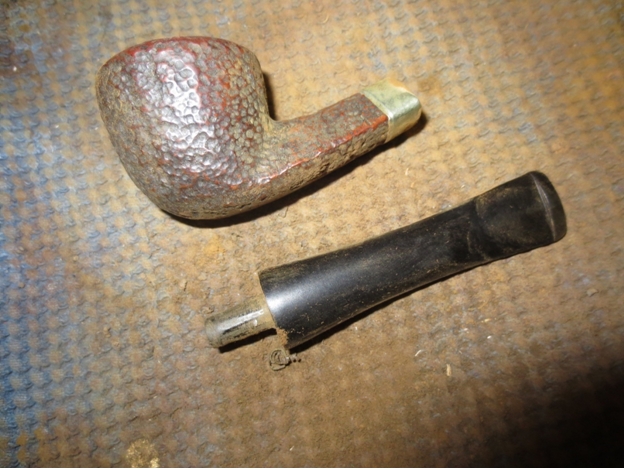 With the tenon turned to fit I pushed it into the shank of the pipe.
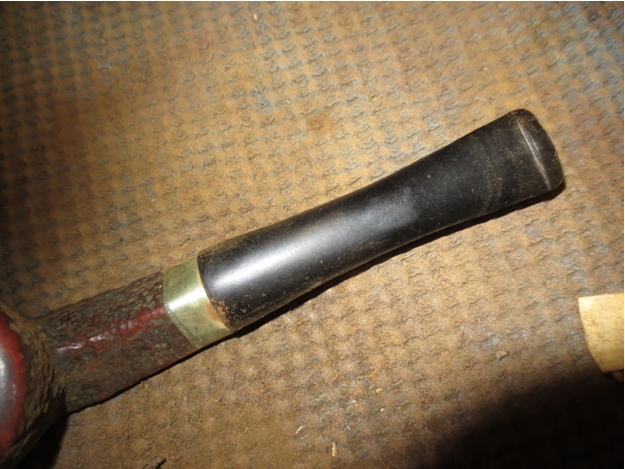
 Using a rasp and files I roughed in the shape of the new stem. I used a Dremel and sanding drum to take it down as close as possible to the finished shape and then brought it back to the work table to use the files again. The photo below shows the roughly shaped stem. Much more sanding will be necessary before this stem is finished.
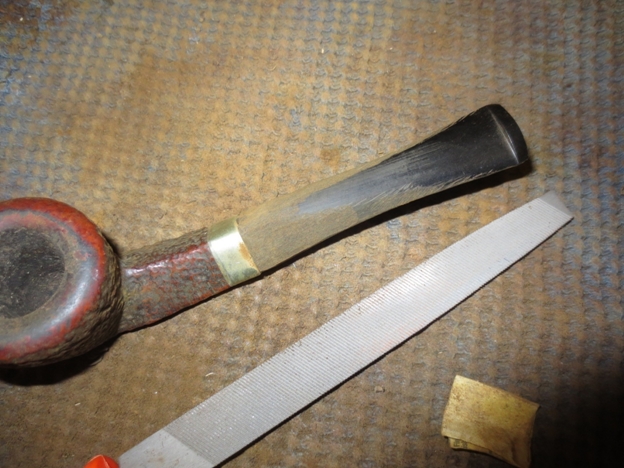 I slipped off the band from the shank and worked on the area on the right side of the shank where there was a large divot in the shank. I also cleaned the cracks on that side of the shank and the underside of the shank with alcohol. I picked out the loose briar with a dental pick and then filled in the divot with briar dust and superglue. I built it up to match the current level of the shank and carved it with the dental pick and needle files to match the finish around the repair. I put super glue in the cracked areas on the shank as well and pressed them until the glue set.
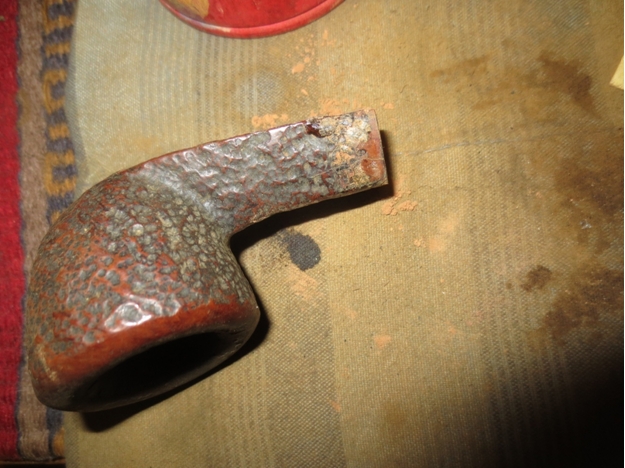
 The next photo shows the repaired edge of the shank. The shiny area on the right side of the photo is the glue and briar dust repair.
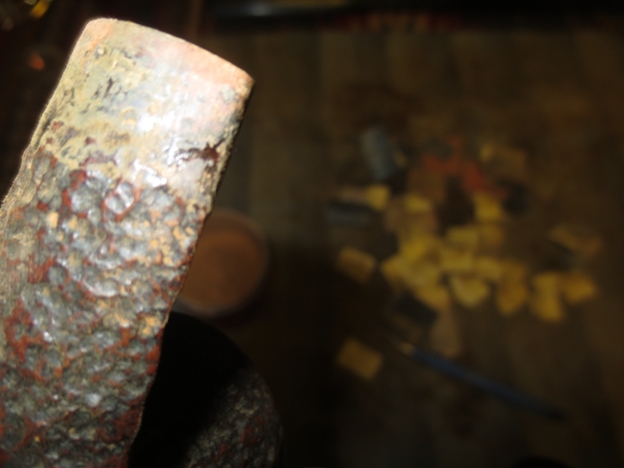 With the band off and the repairs made I inserted the stem and used the files to further shape the angles on the stem. I sanded it with 100 grit emery cloth to smooth out the file marks and further shape it.
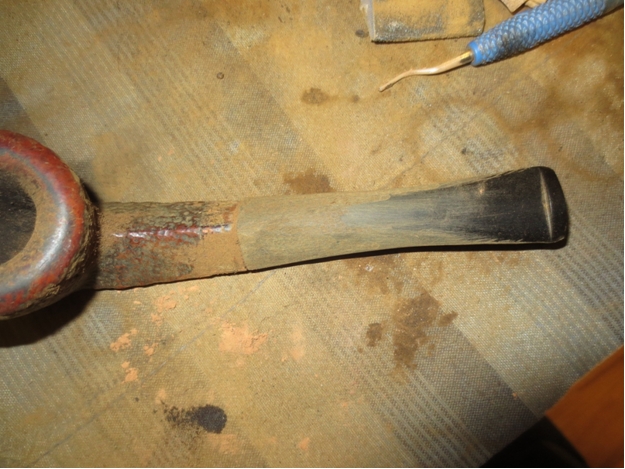

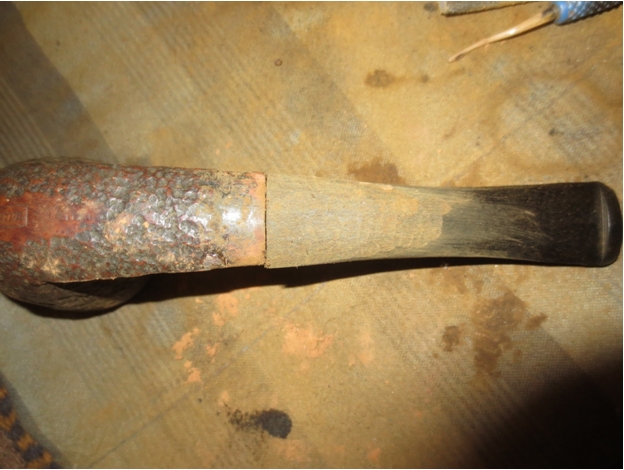 After more sanding with 180 grit sandpaper the stem is finally beginning to take shape. You can see the shape in the photos below.
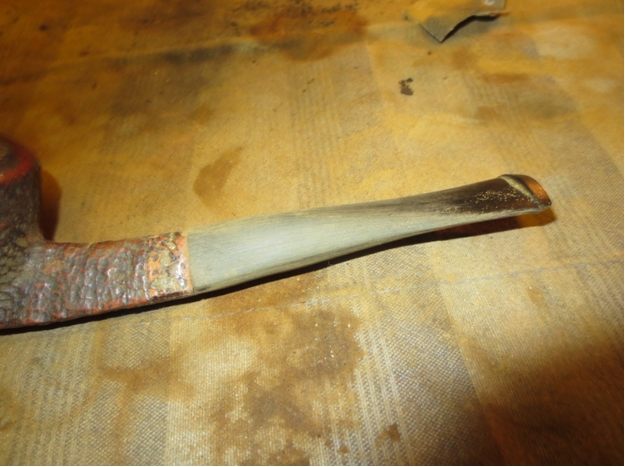

 I decided to clean up the bowl before continuing further on the stem. I reamed it with a PipNet reamer and took it back to a thin cake. I would sand it smooth later in the process.
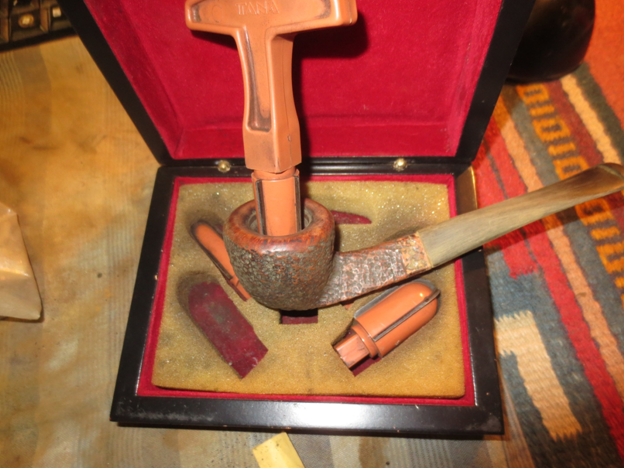 With hard sanding work done on the stem I worked on the bowl. I scrubbed down the bowl and shank with acetone to remove the remaining finish and scrubbed and scraped the buildup of tars on the rim. I used a small piece of folded 220 grit sandpaper to clean up the rim further.
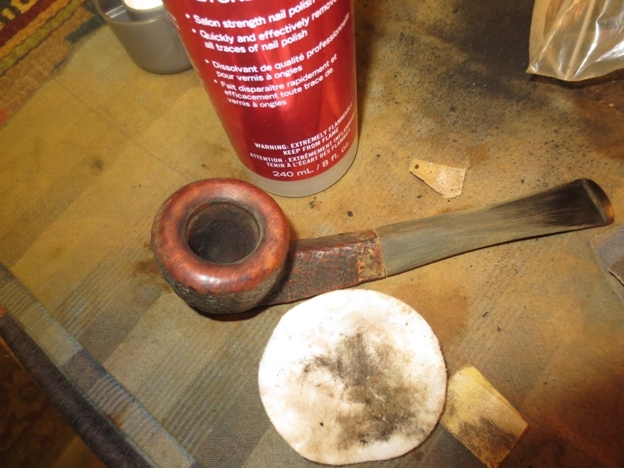
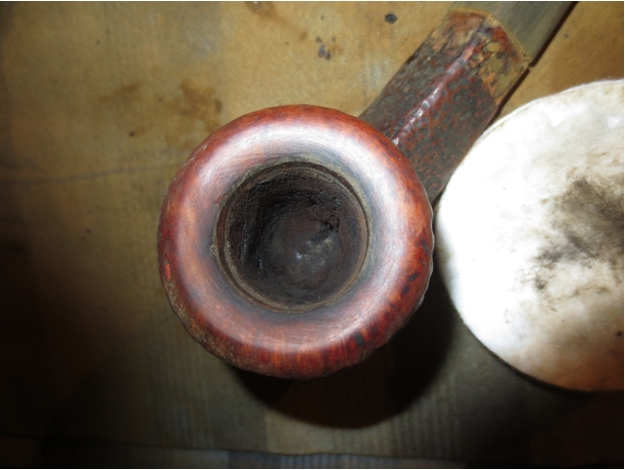 I scrubbed the rim with acetone and elbow grease and was able to remove all of the tars on the rim.
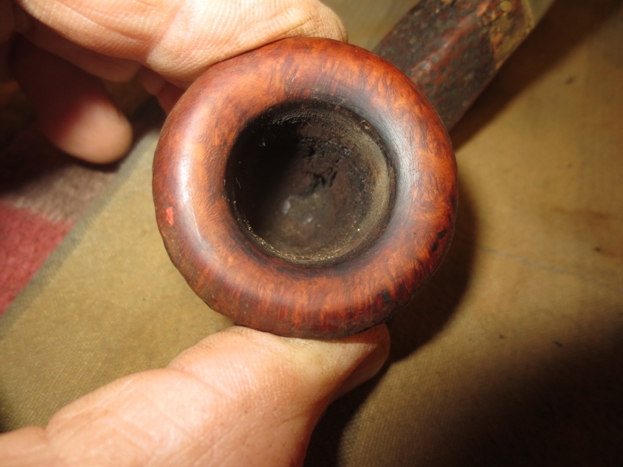 I put some wood glue on the shank and pressed the band into place. I wiped off the excess glue with a little alcohol on a cotton pad. I sanded the stem with 220 grit sandpaper to continue shaping and fitting it against the shank. I would need to clean up the straight edges on the sides of the stem and the flattened top portion before I was finished but I wanted to get the shank fit done first.
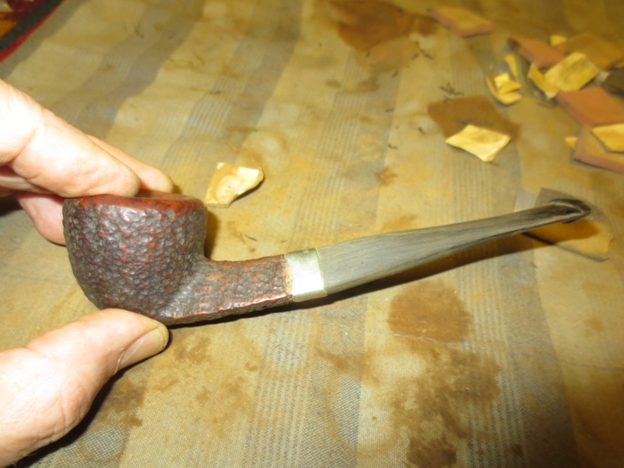
 I sanded the stem (particularly working on the shank stem junction) with 600 grit wet dry sandpaper. I also sanded the bottom and the sides of the stems at the same time.
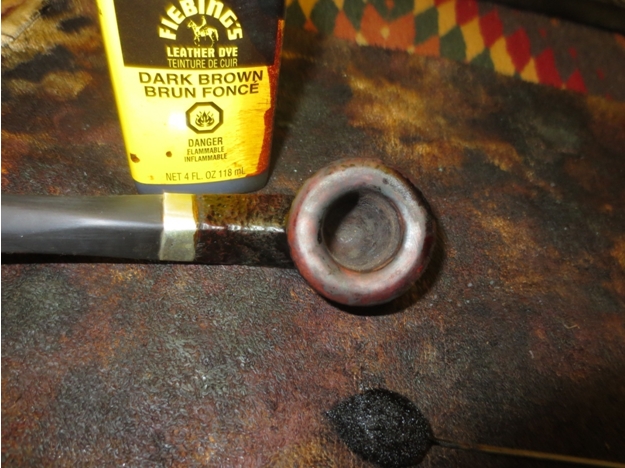
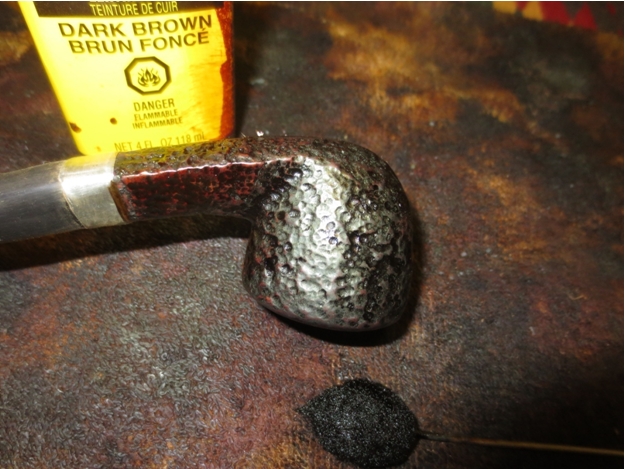
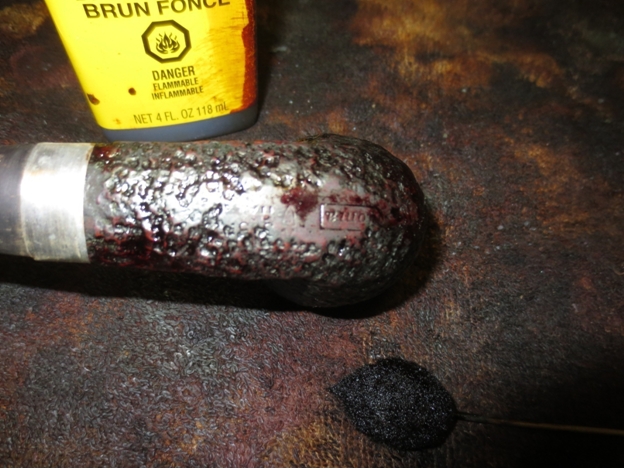
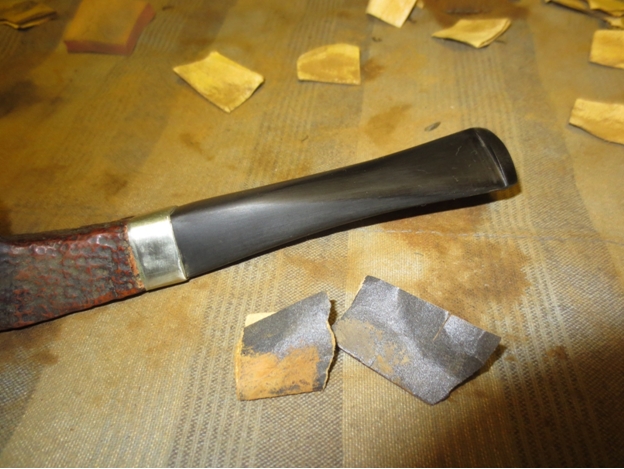 I stained the bowl with a dark brown aniline stain, flamed it and repeated the process.
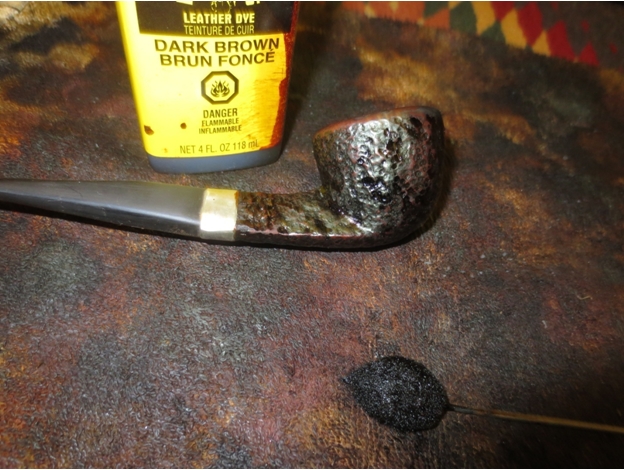
 I buffed the pipe with White Diamond to even out the stain and bring some shine to it.
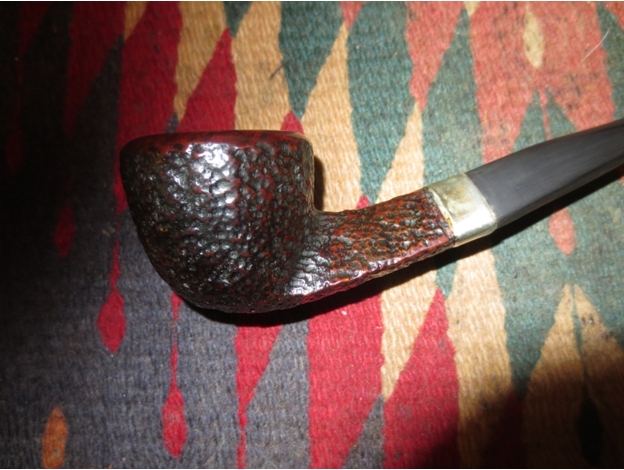
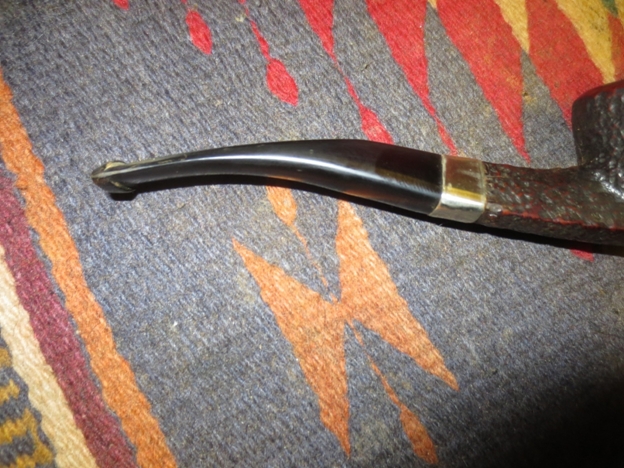
 Then it was time to bend the stem to match the original in the photo that I had. I heated it with a heat gun until it was flexible and then bent it over a rolling pin that I use to get an even and straight bend.
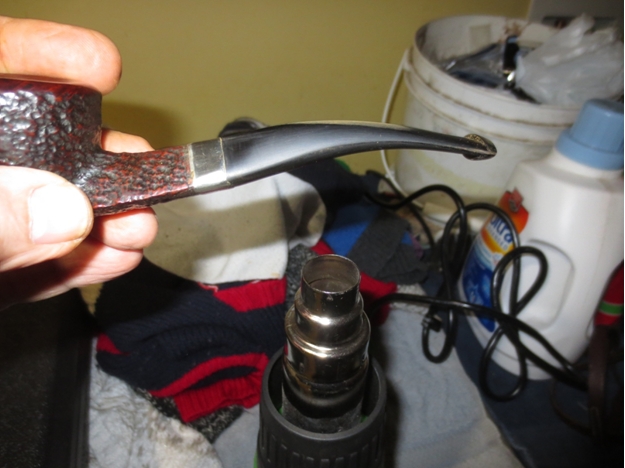 I took the pipe back to the worktable and took the following photos so I could compare the stem with the original photo. The bend looked correct.
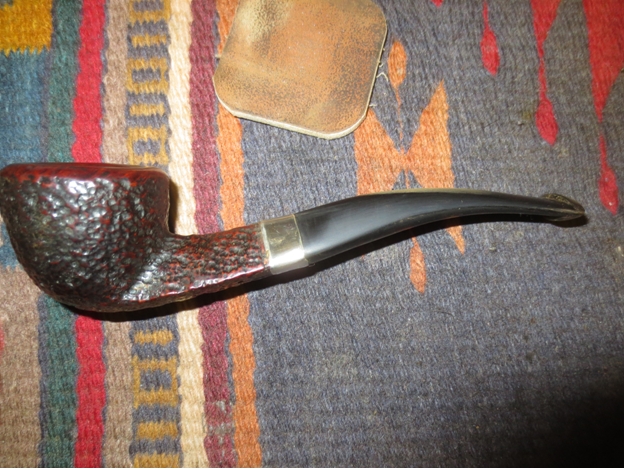
 However, the top of the stem needed to be flattened more and lose the arched look. I used a flat file that I have and worked on the top of the stem to flatten it.
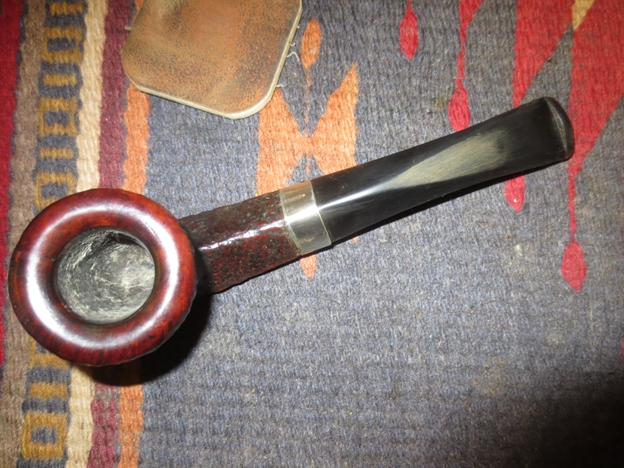
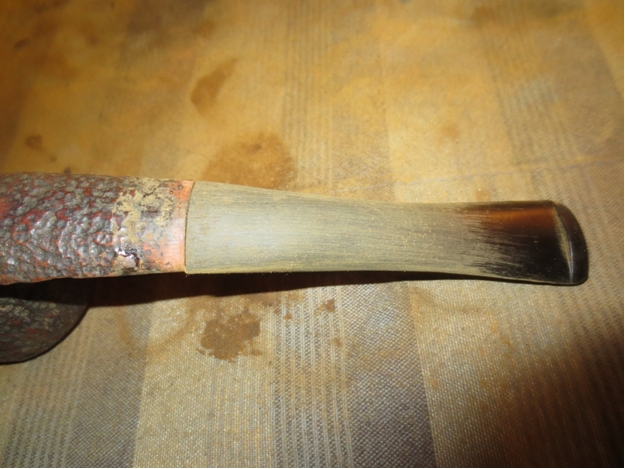
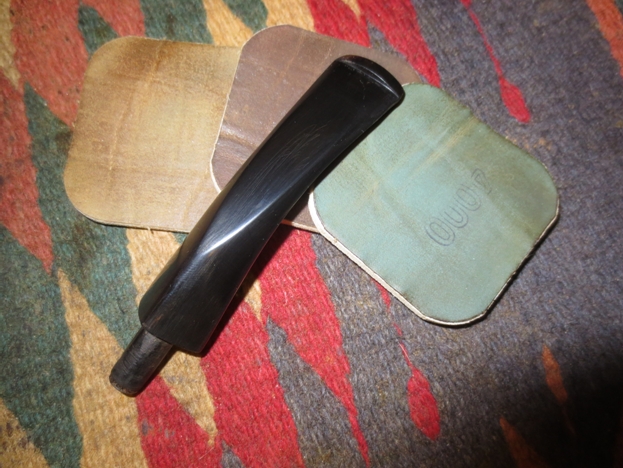
 The next three photos show the stem after I had filed and flattened the top of the stem to get the angles correct.
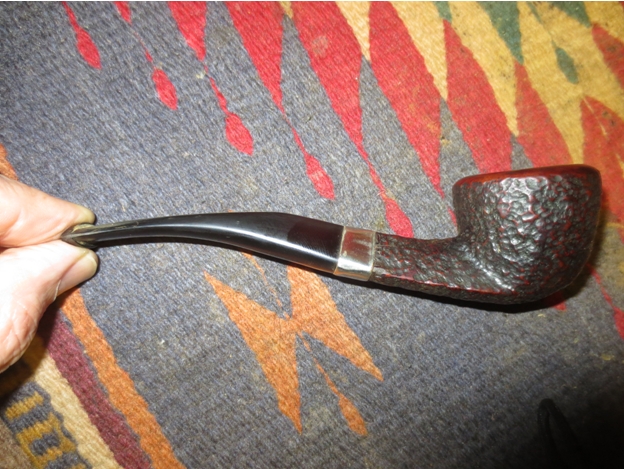
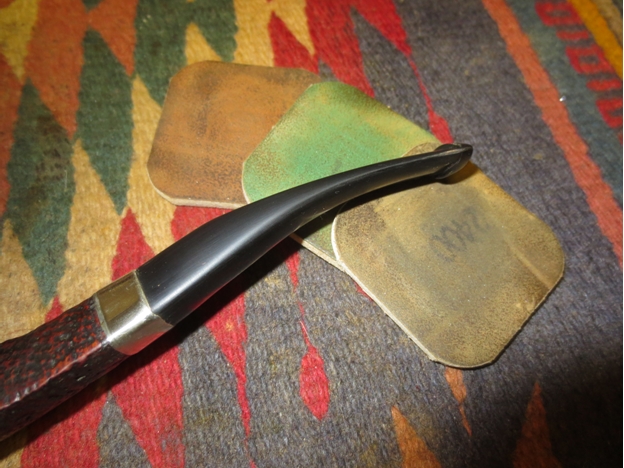
 I sanded the stem with 220 grit sandpaper, medium and fine grit sanding sponges and with 600 grit wet dry sandpaper. I moved on to polishing it with the micromesh sanding pads – wet sanding with 1500-2400 grit pads and dry sanding with 3600-12,000 grit pads.
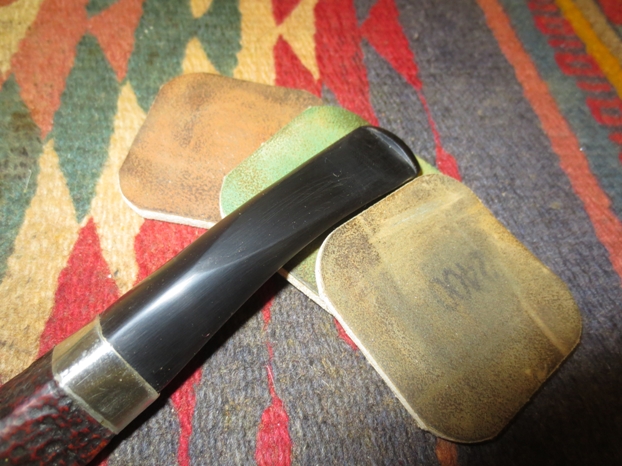
 I buffed the stem with White Diamond and Blue Diamond plastic polish to further shine the stem.
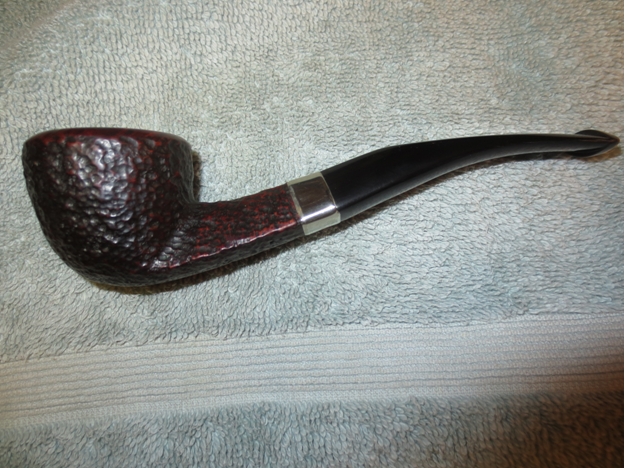
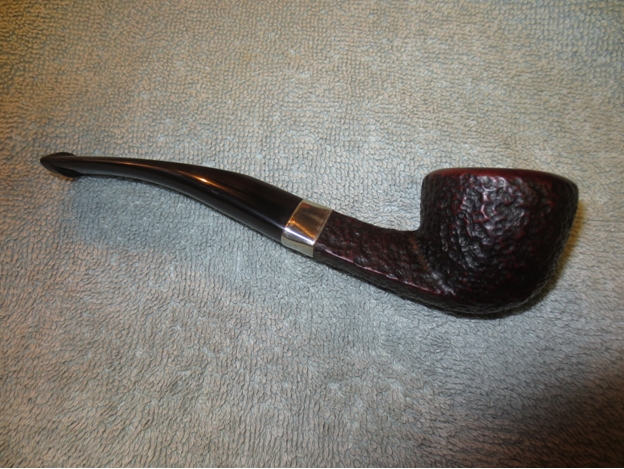
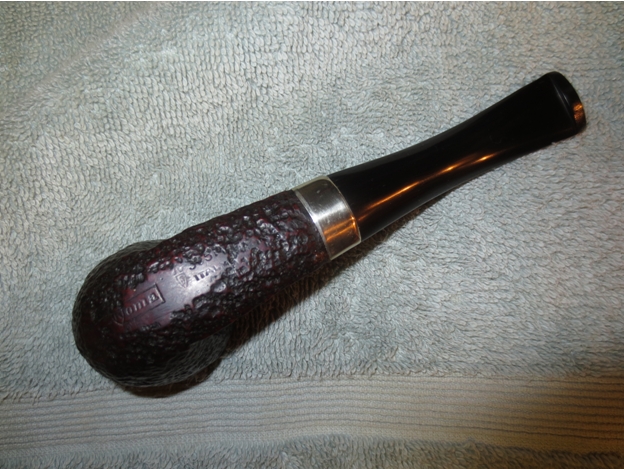
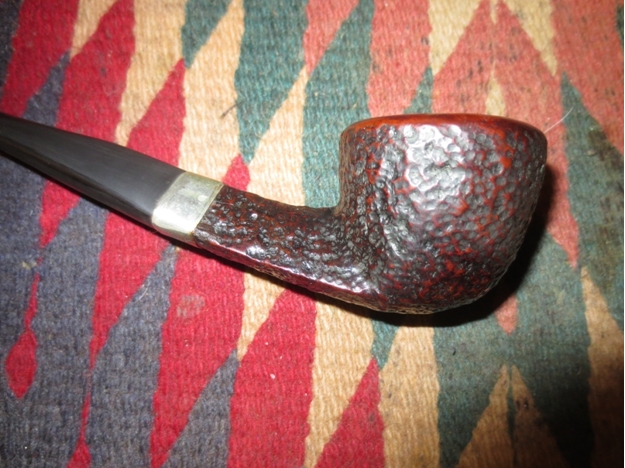
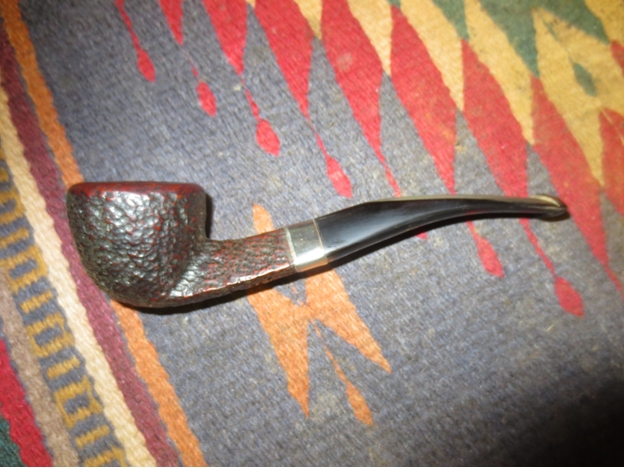
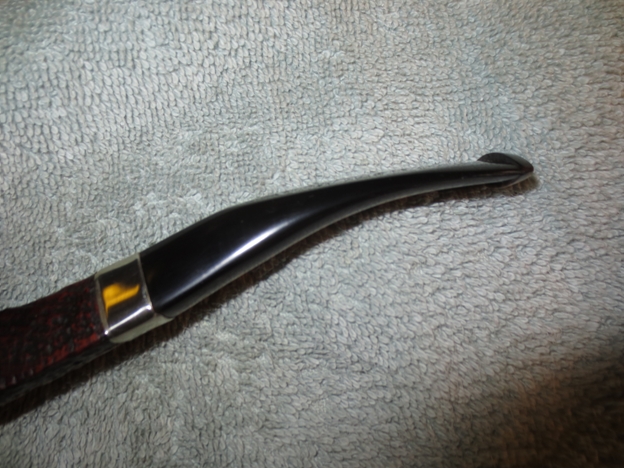 I polished the band with micromesh sanding pads and then buffed the pipe with Blue Diamond to bring out a shine. I then gave it multiple coats of carnauba wax and buffed it with a soft flannel buff to lift the shine even higher. The finished pipe is shown in the photos below.