Blog by Steve Laug
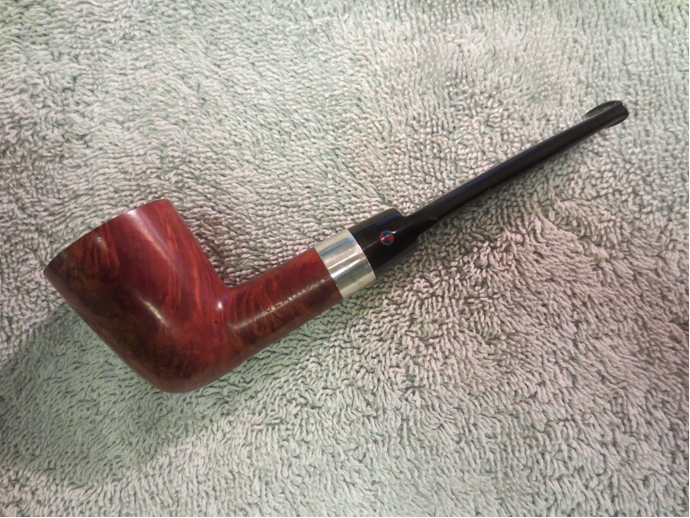
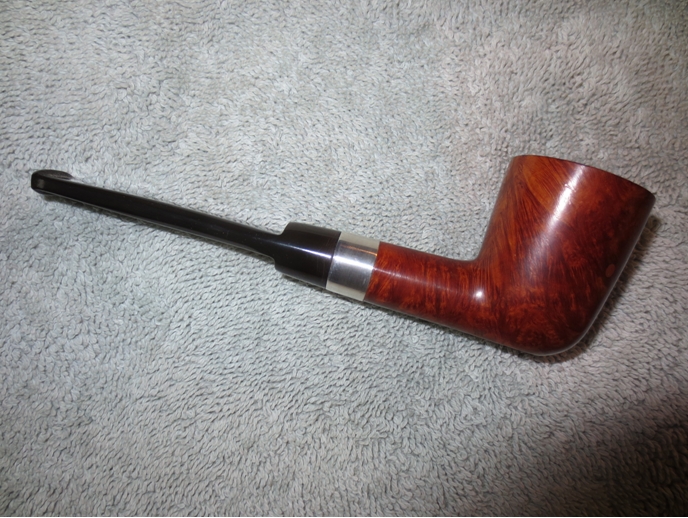
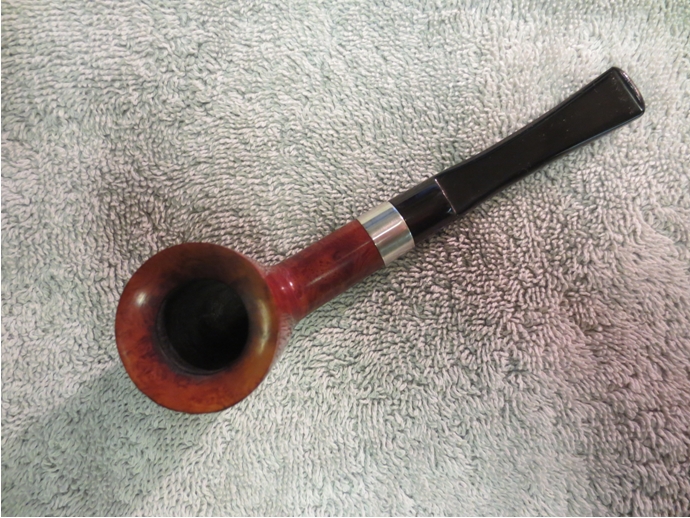
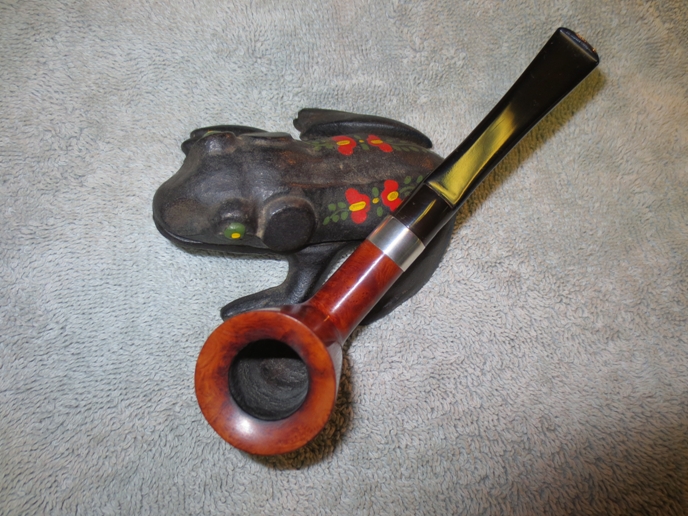
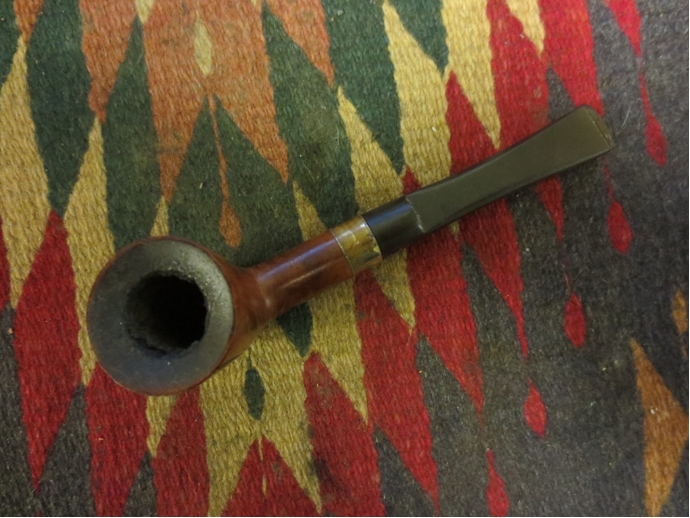
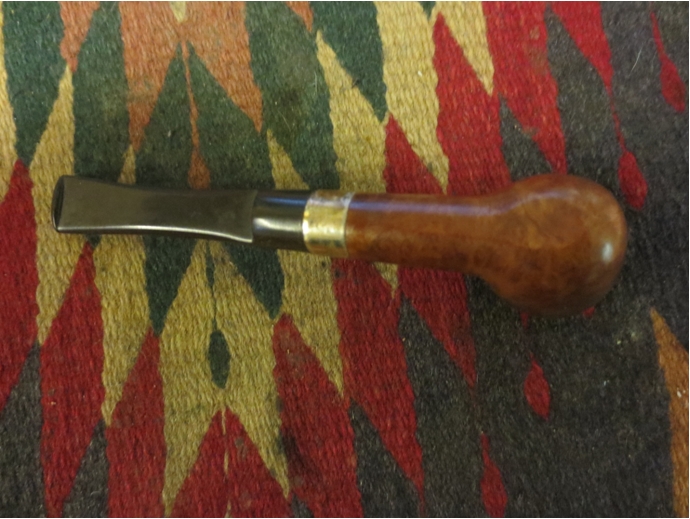
Several times over the past few years I have run across Claridge pipes. The last two I had were the same shape as the one in this post. They were a nicely shaped Dublin with a chamfered rim and fairly decent grain with one or two fills. This one was no different it was a nice piece of briar with a large round fill on the right side of the bowl. It was the last pipe I worked on from the Ebay foursome shown in the picture below. It is the bottom pipe in the photograph. You can see from the photo that it had a thick cake that was uneven in the bowl with a lot of overflow onto the rim. The coat of tars and grime on the rim made the rim almost flat. The varnish coat on the bowl was in rough shape and the sterling silver mortise fitting was oxidized and yellowed with tarnish. The stem had the characteristic Claridge logo – a circle divided into four wedges – two blue and two red. It was badly oxidized and almost brown in colour. Inside the shank the metal mortise was threaded to house the threaded tenon. There was an odd stinger apparatus that was removable in the end of the tenon. Inside the shank was heavily built up with tars and oils as was the stinger and the airway in the stem. 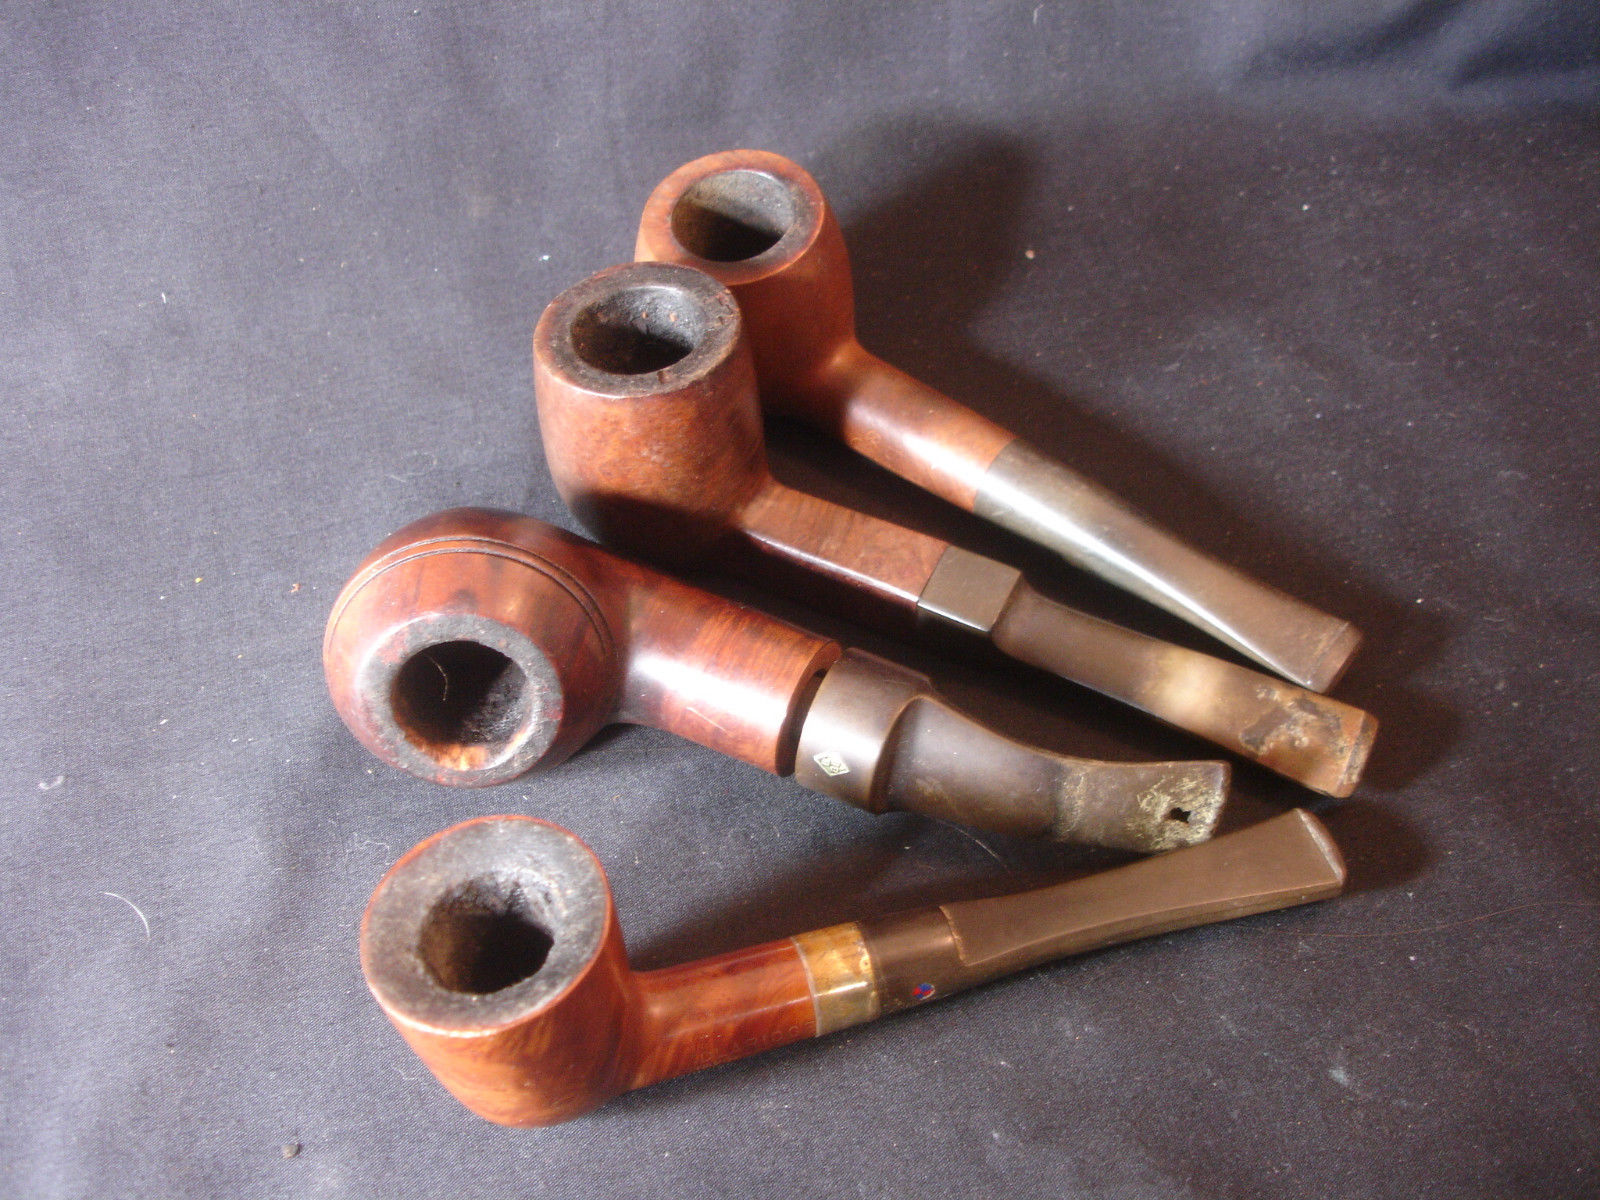 I took the next four photos of the pipe before I started to work on it. I wanted several close-up photos to show the state of affairs at the beginning of the process. I know that I generally include these in the blog I write about pipes I refurbish but I have to let you know that I do that more for me than you. I must have some encouragement when I get to the midway point that the pipe is actually looking better than when I started. I take these for a documentation of the progress of an estate pipe from grime to shine.
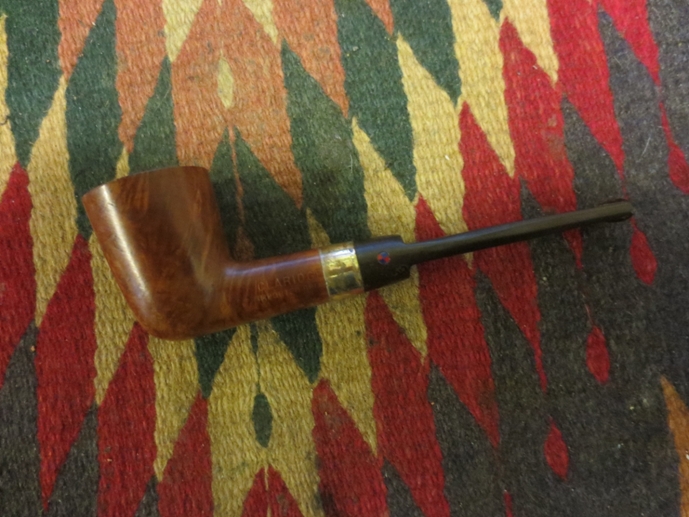
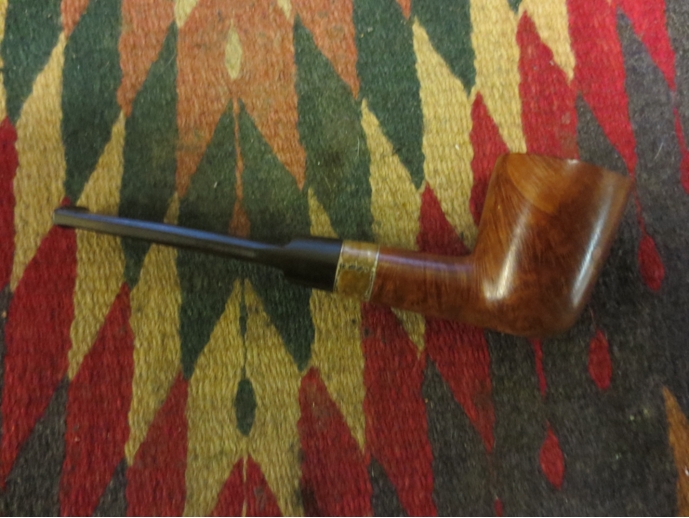
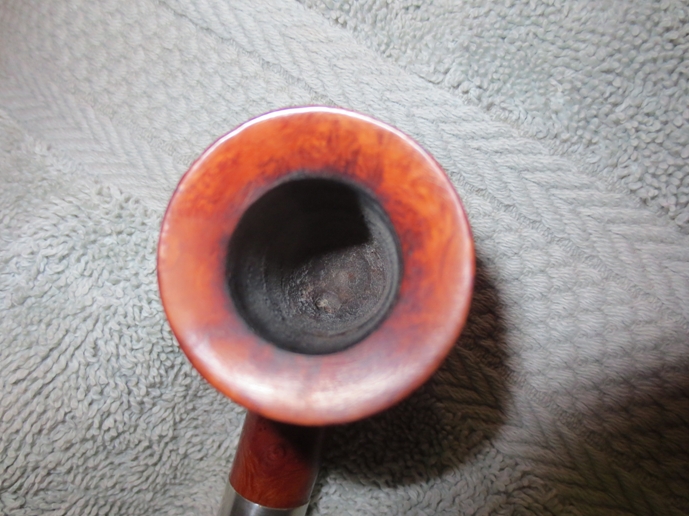
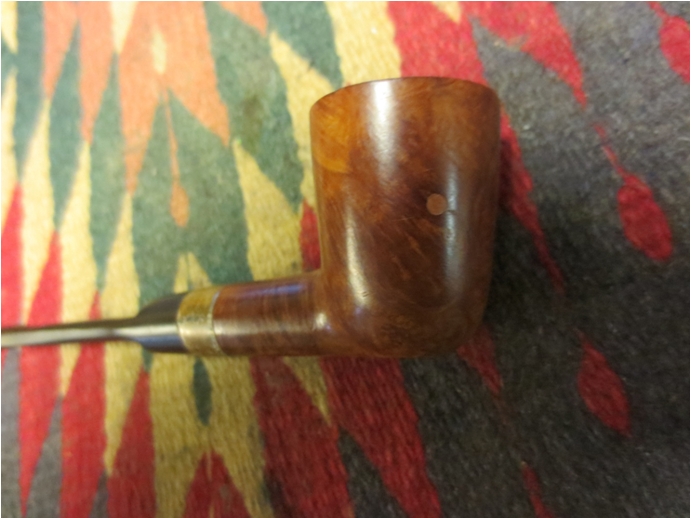
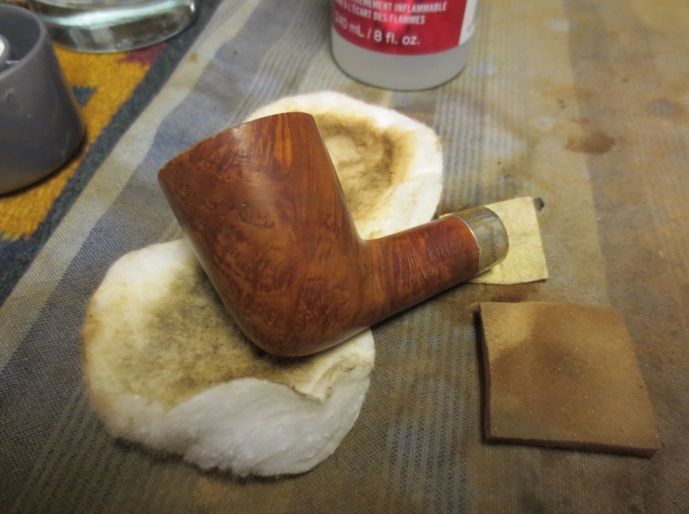
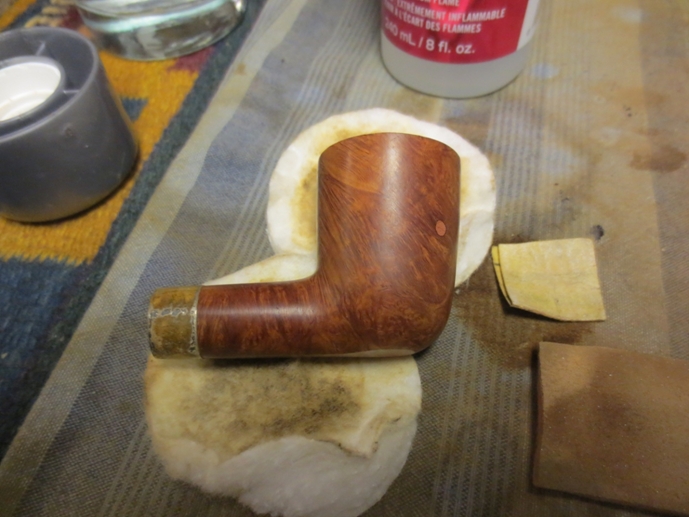
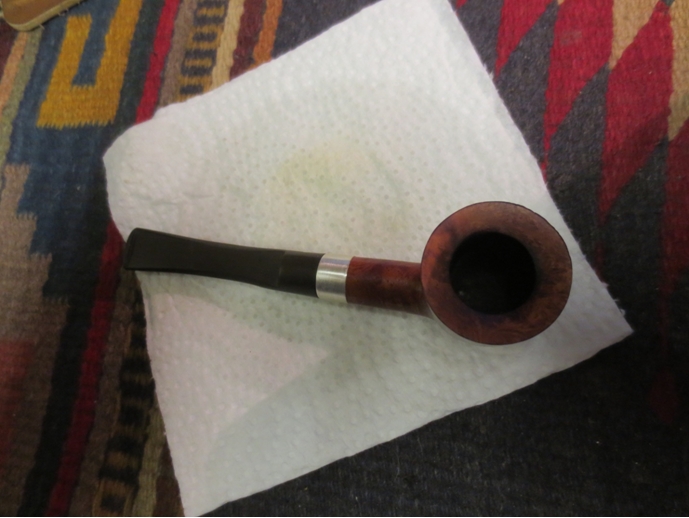
 I took two close-up photos of the bowl. The first was to show the thick build-up on the rim that would need to be removed in the cleanup process. It is hard to tell from the first photo below but the rim is actually chamfered inward at a significant angle. The tars/lava that has overflowed onto the rim has virtually filled the cup of the rim to the point where the rim is flat. The cake in the photo is also visibly thick and hard. The second photo shows the one fill on the bowl. It is on the right side toward the front of the bowl. It is almost perfectly round and is a tan coloured putty material. It stood out to me every time I looked at the pipe. The rest of the grain on the bowl was decent. It is also the only fill on the bowl.
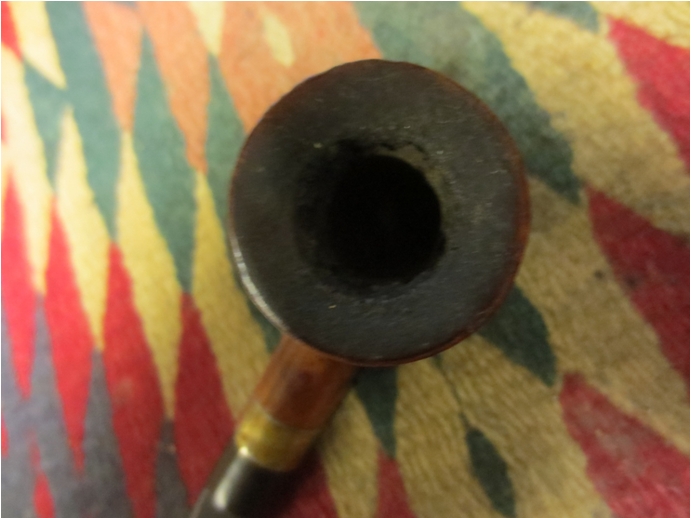
 In the back of my mind I remembered something about the Claridge brand be made by Comoy’s as a seconds line. It was only a dim memory so I looked it up on Pipephil’s site and on Pipedia and found that indeed it was one of many sub-brands of Comoy’s. The picture below shows the logo and stamping on the Claridge. It came from the PipePhil site. My pipe is stamped like the second one in the photo – Claridge over Imported Briar and bears the same stem logo.
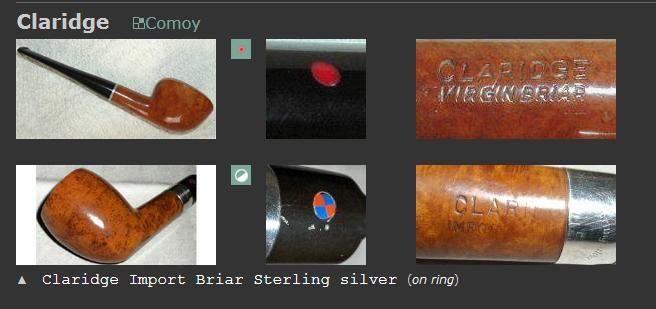 The list below was the one found on Pipedia and includes quite a few of the older pipes that I have refurbished over the years. I have highlighted the Claridge brand in the list by making the text bold and upper case.
Ace of spades, Ancestor, Astor, Ayres, Britannia, Carlyle, Charles Cross, CLARIDGE, Cromwell, Dorchester, Dunbar, Drury Lane, Emerson, Everyman, Festival of Britain, Grand Master, Gresham, Guildhall, Kingsway, Lion’s Head, Lord Clive, Hyde Park, Lloyds, Mc Gahey, Moorgate, Newcastle, Oxford, O’Gorman, Royal Falcon, Royal Lane, Scotland Yard, St James, Sunrise, Sussex, The Academy Award, The Golden Arrow, The Mansion House, The Exmoor Pipe, Throgmorton, Tinder Box Royal Coachman, Townhall, Trident, Westminster, Wilshire.
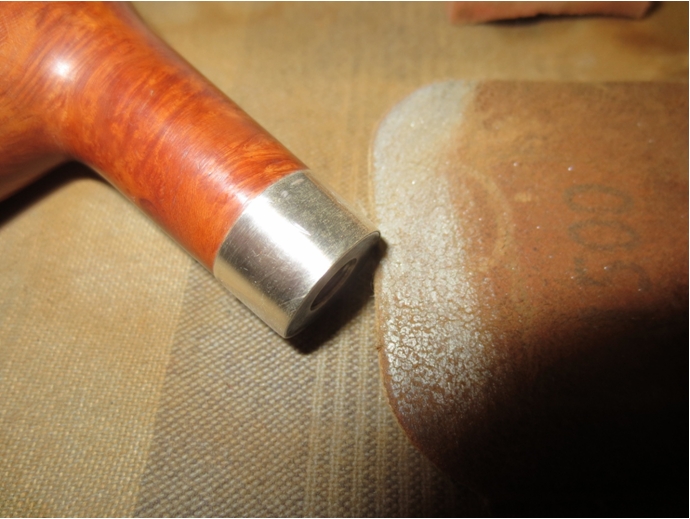
I reamed the cake out of the bowl with a PipNet reamer using the smallest cutting head first and then working up to the cutting head closest in diameter to the bowl. I took the cake back to bare wood in order to be able to work on the rim and to check out the interior of the bowl for checkering or cracks. In the second photo below you can see that some of the cake on the rim fell away as I reamed it and the chamfering is becoming visible.
 The challenge with a chamfered rim is that you cannot top the bowl without seriously damaging the inward cant of the rim toward the bowl. I scrubbed the rim with acetone on cotton pads and then sanded it lightly with 220 grit sandpaper and then a medium and fine grit sanding sponge to remove the tars. When I had finished removing the build-up on the rim I also scrubbed the bowl with acetone to remove the varnish coat.
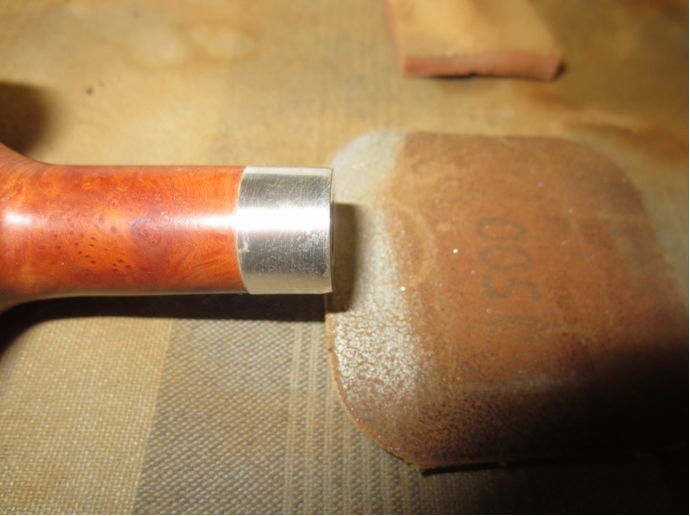
 The yellow tinge to the silver band seemed like it also was varnish that had peeled and bubbled. I scrubbed it with the acetone as well to soften it and then used a 1500 grit micromesh sanding pad to polish the silver and remove the varnish and build-up. I then used silver polish to further polish the silver and remove the small scratches left behind by the micromesh. On the top side of the band/mortise insert it is stamped Sterling Silver in script at an angle across the surface of the band.
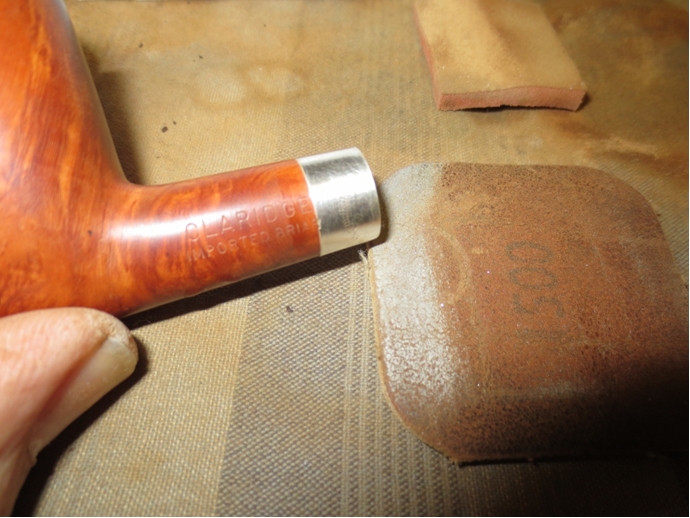
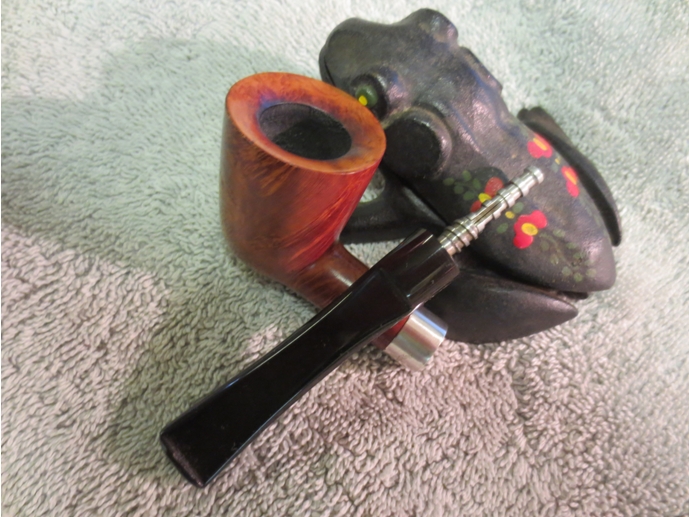
 I scrubbed the stinger with alcohol on cotton pads to remove the grime and then 0000 steel wool to polish it. The stinger end was pressure fit into the tenon so it was easy to remove to clean out the airway in the stem.
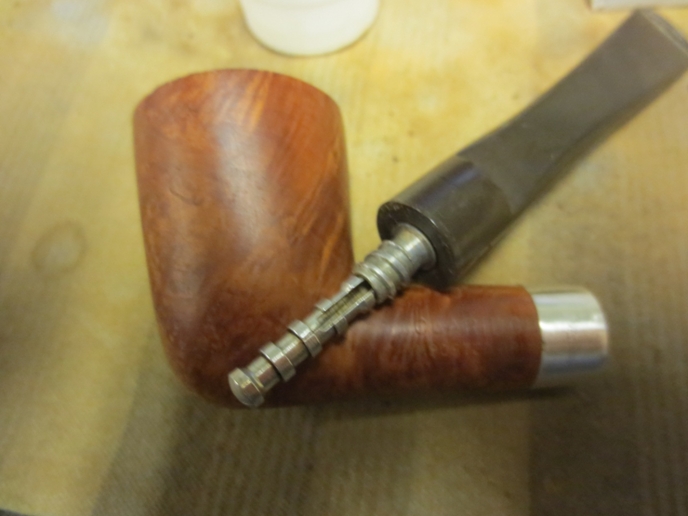 The stem was overturned or over-clocked to the right. I heated the tenon with a Bic lighter until the glue softened and then turned the stem all the way around until it lined up. I cooled the tenon with water to reset the glue.
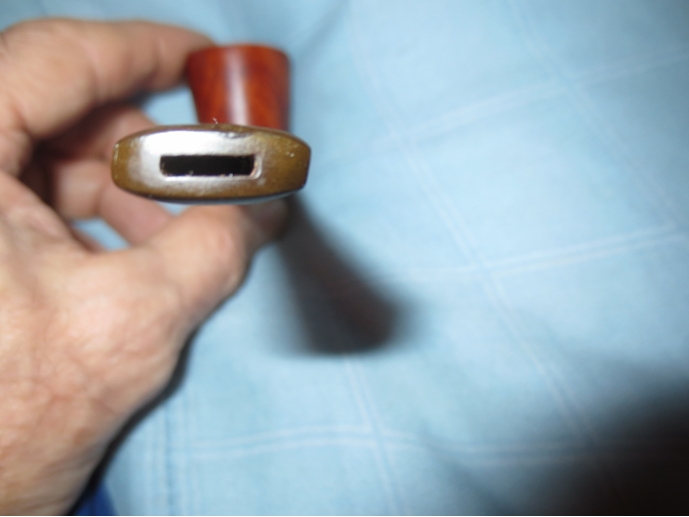 I really starting to like the natural finish on these older bowls and decided that rather than staining this one I would give it a light coat of olive oil and rub it in with my hand. The beauty of the oil is that it helped to blend the fill into the natural colour of the briar. It is still present but does not stand out as blatantly to me.
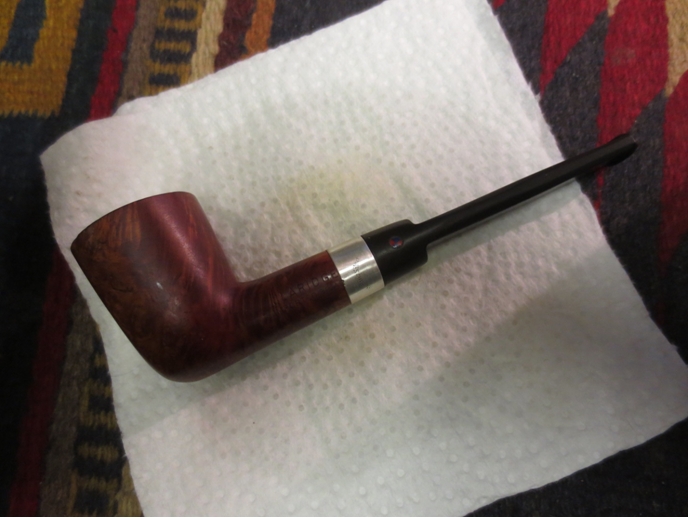
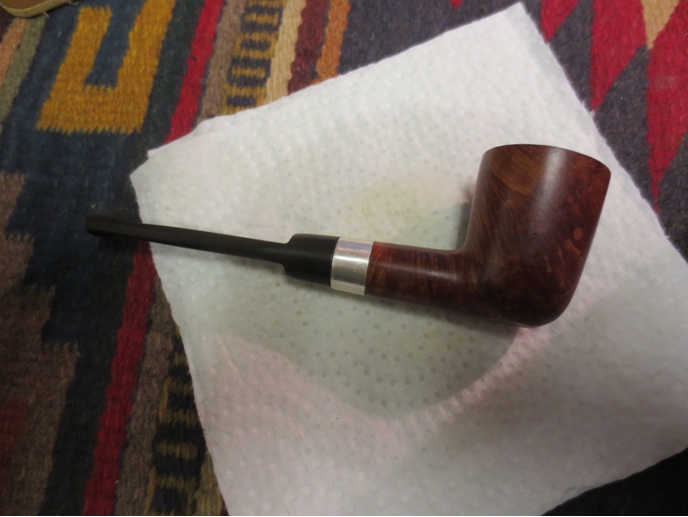
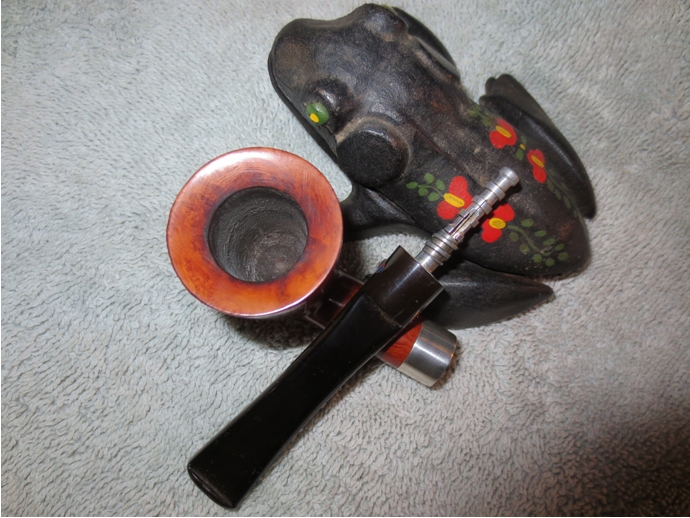
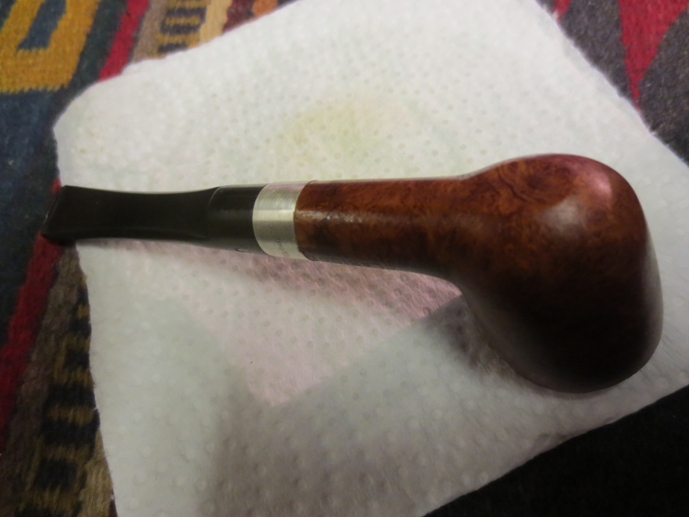 I let the oil sit over night and in the morning while I had a cup of coffee I sat and rubbed down the bowl by turning it over in my hand. I finished the coffee and then took a picture of the pipe where it stood after the rub down. You can see the chamfer on and the nice birdseye that is on the surface of the rim.
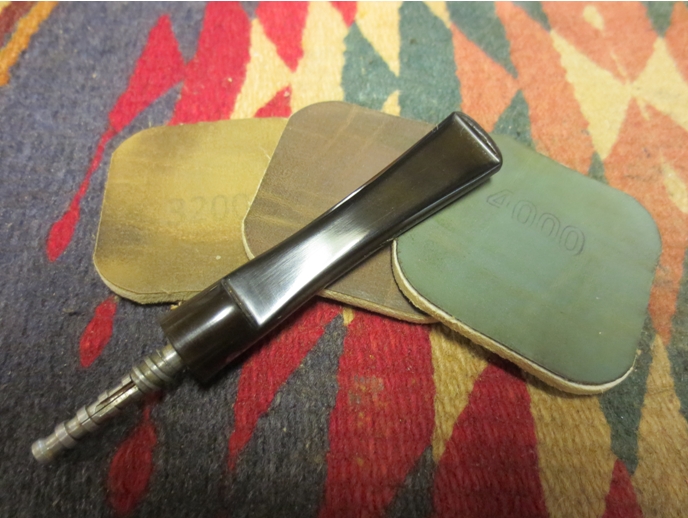
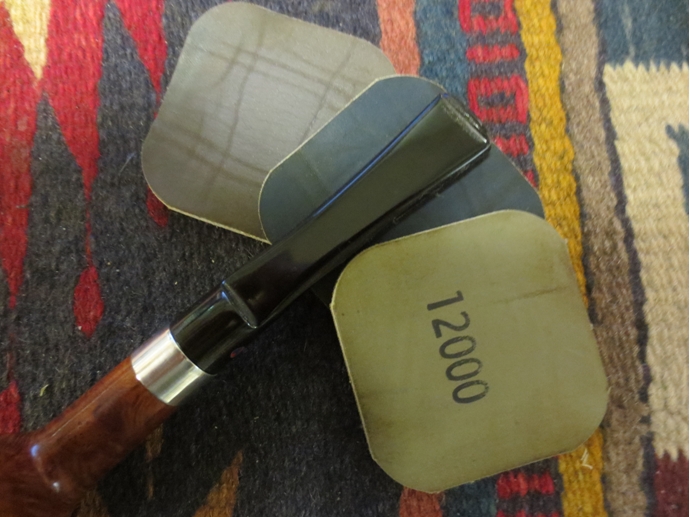
 With the bowl finished to this point I turned to work on the stem. I used a Bic lighter to paint the flame over the surface of the vulcanite to lift out some of the tooth chatter and to raise the oxidation to the surface. I then sanded it with a medium and a fine grit sanding sponge, wiped it down with a cotton pad and painted it with the flame yet again. When I had finished that the majority of the oxidation was gone. I polished the stem with micromesh sanding pads. I wet sanded with 1500-2400 grit sanding pads and then dry sanded with 3200-12,000 grit pads. I rubbed the stem down with Obsidian Oil between each set of three pads. After the sanding with the 6000 grit pad I buffed the stem with White Diamond and then brought it back to the work table and sanded it with the 8000 and 12,000 grit pads.
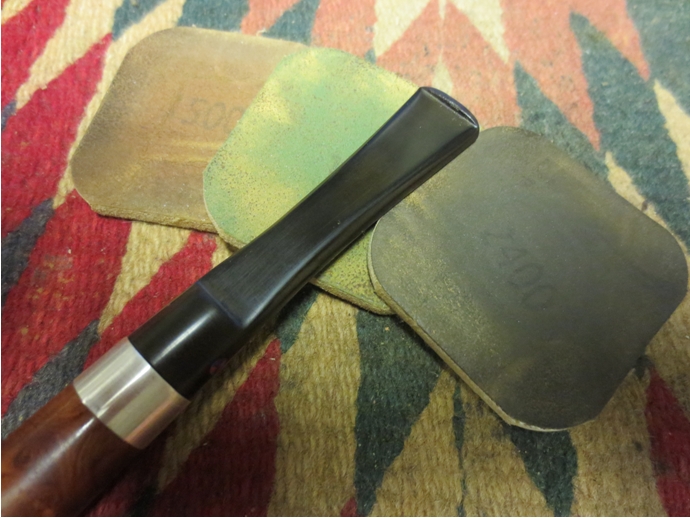

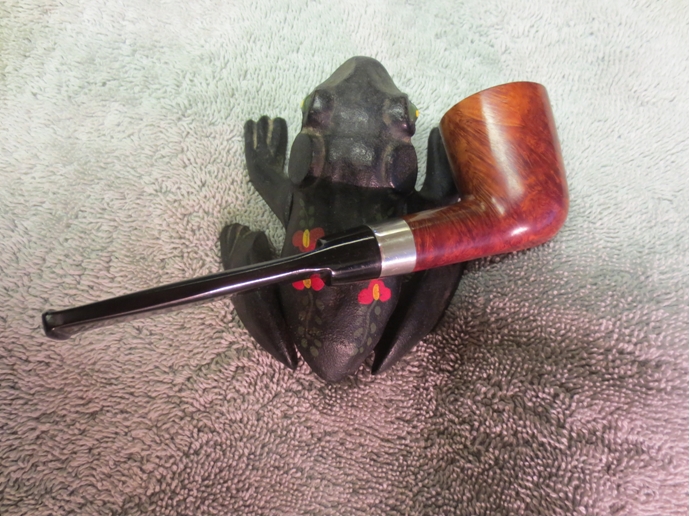
 I buffed the stem and bowl with Blue Diamond polish on the buffing wheel and then hand buffed it with a soft flannel cloth. The final buff with the Blue Diamond removed many of the light scratches in the briar. I gave the stem and bowl multiple coats of carnauba wax and a final buff with a soft flannel buffing pad to raise the shine. The finished pipe is shown below.