Blog by Andrew Selking
“He’s not dead, just mostly dead.” Miracle Max The Princes Bride
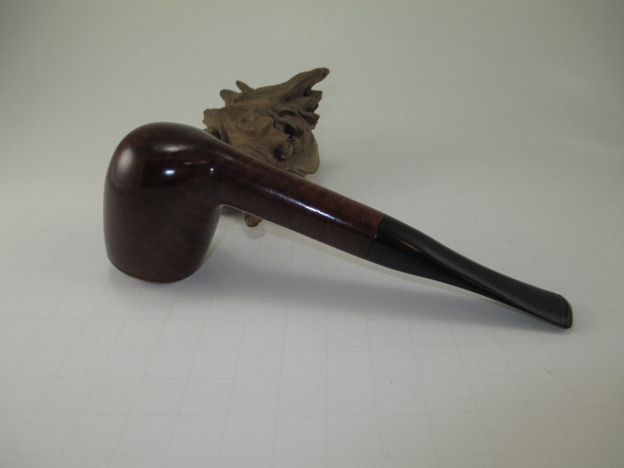
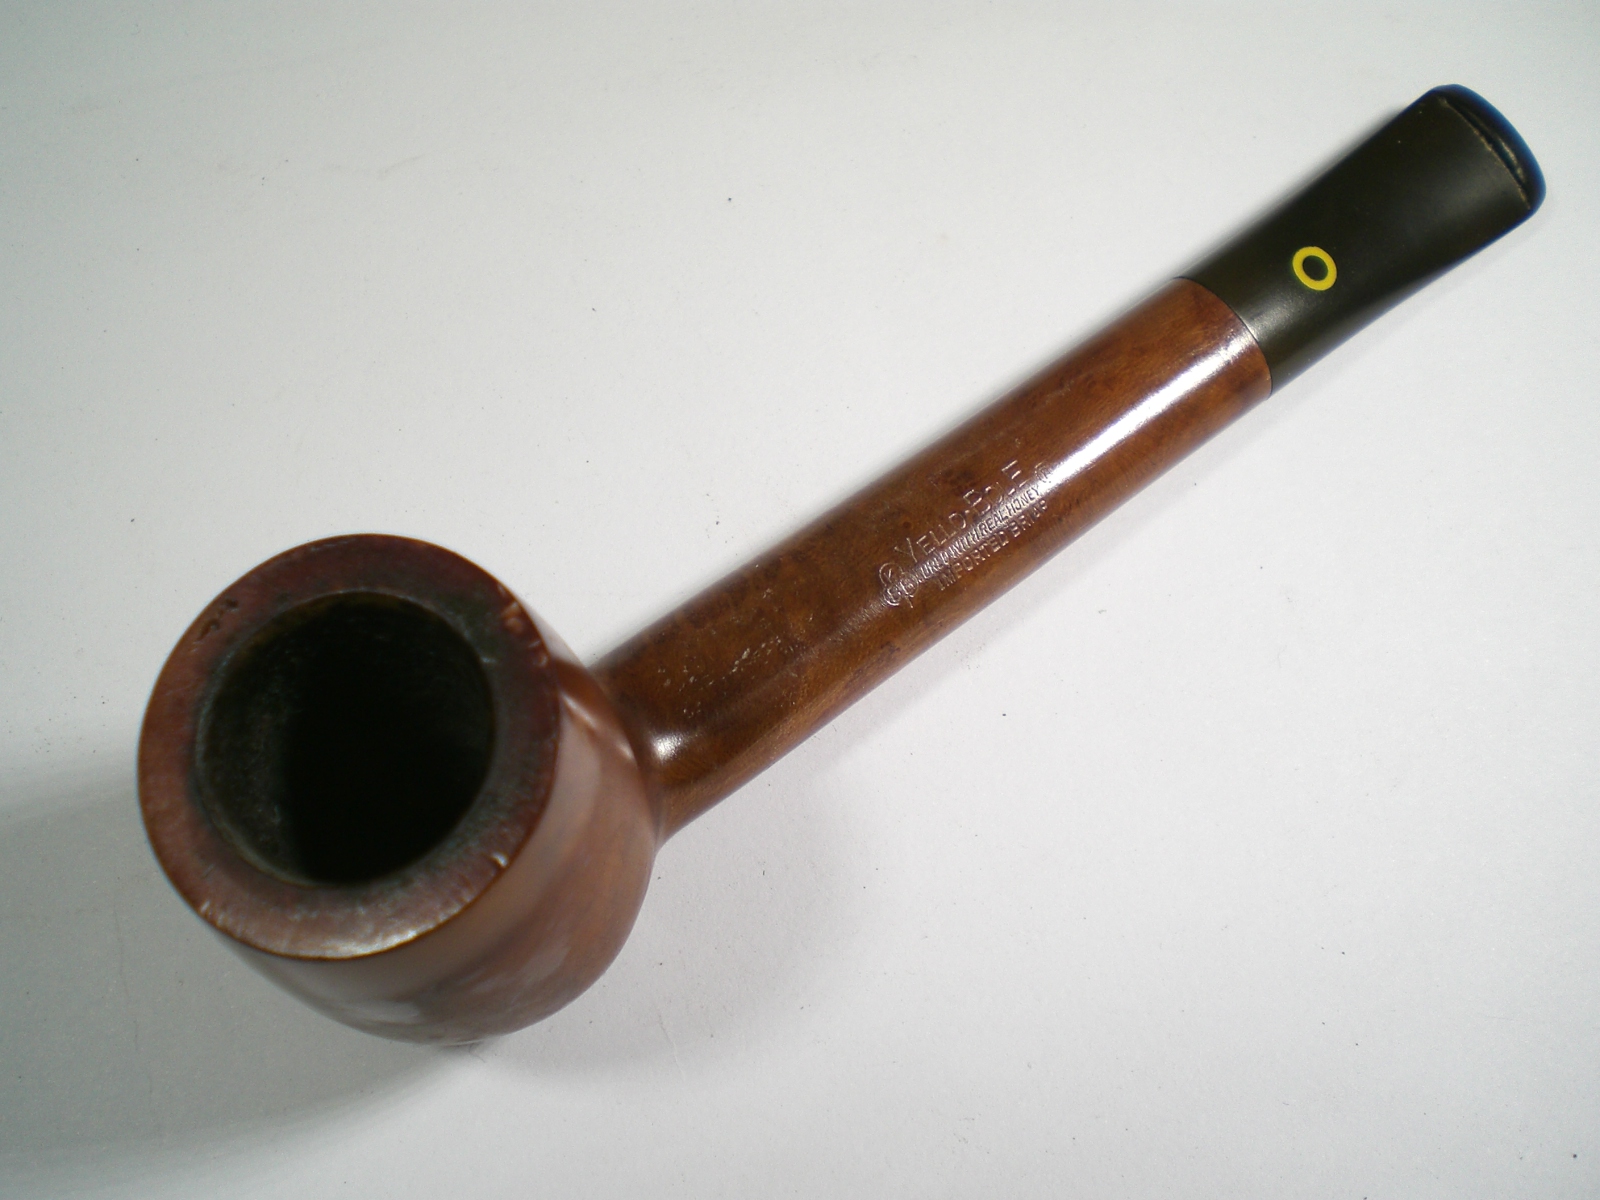
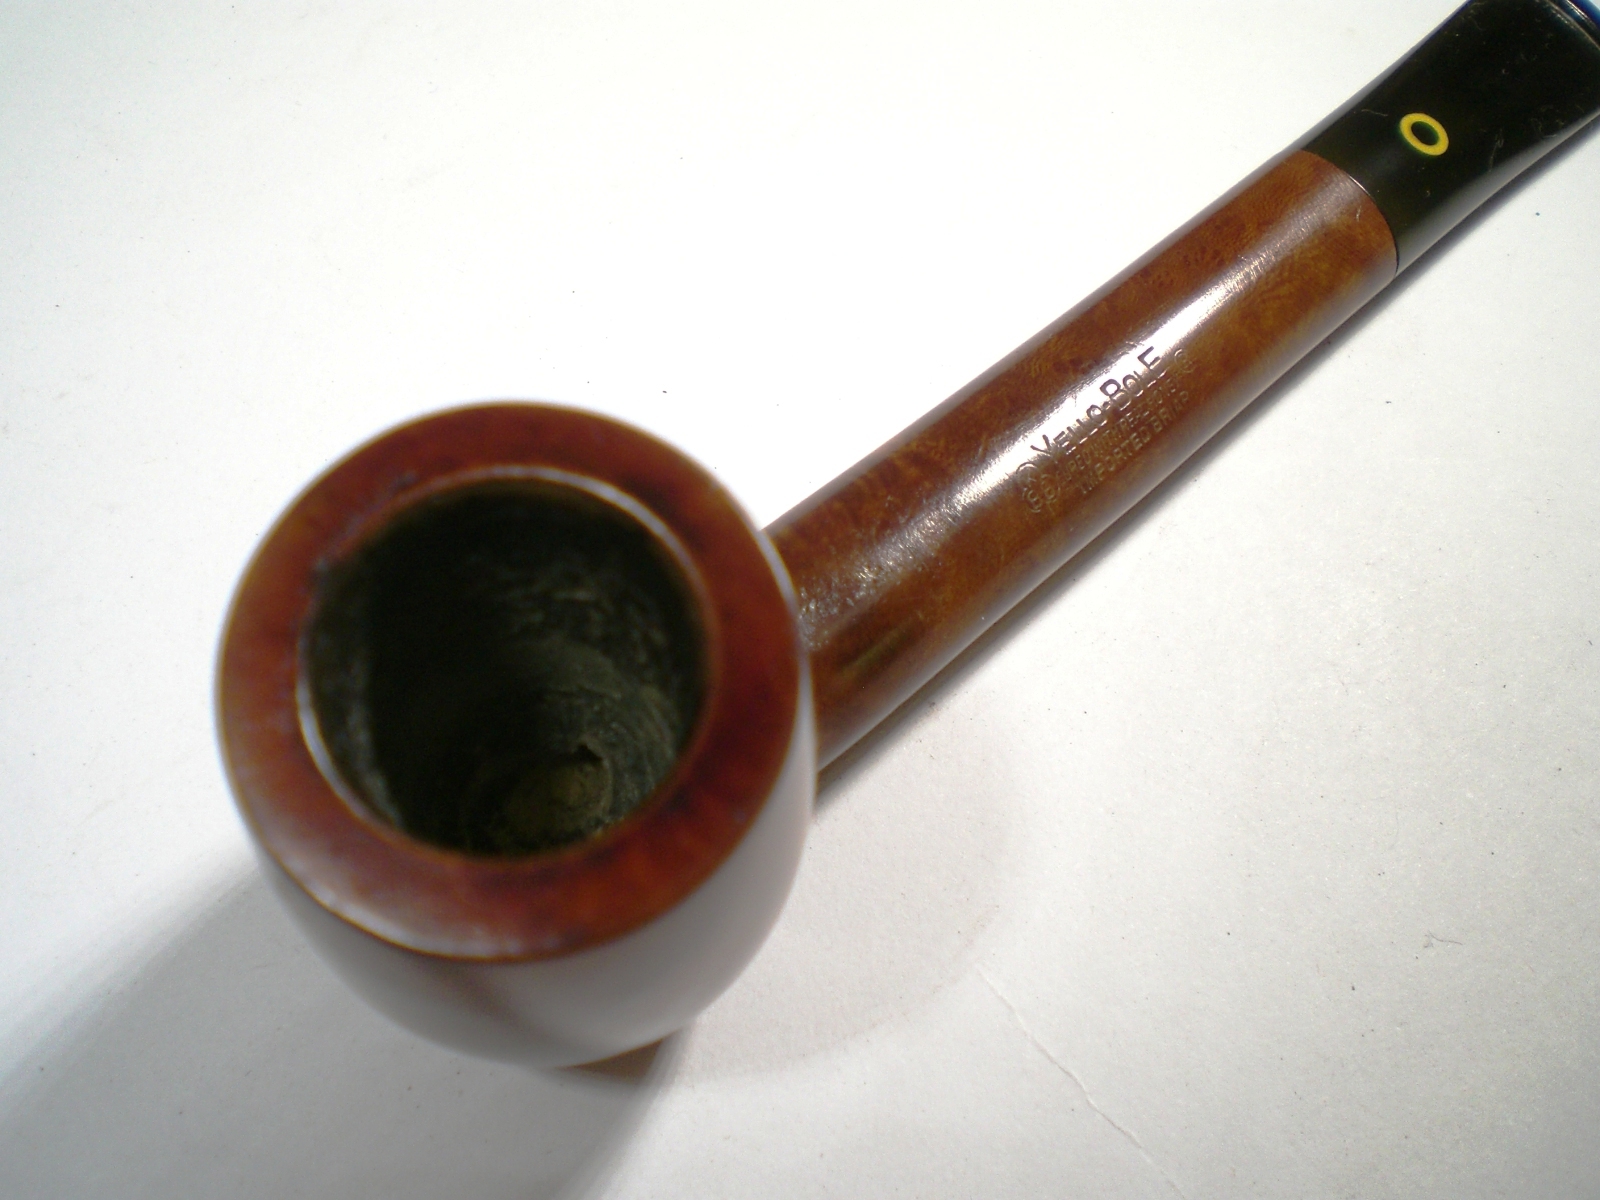
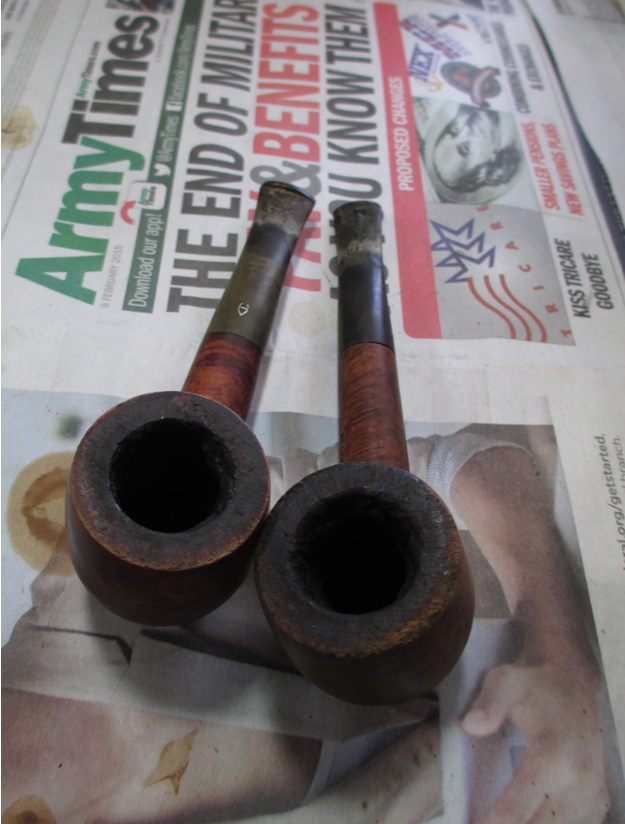
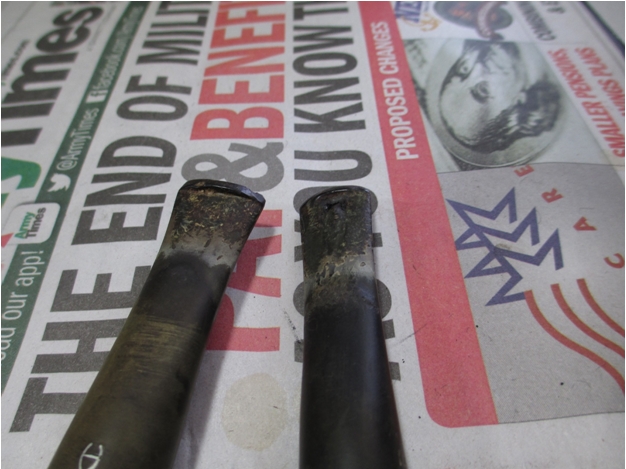
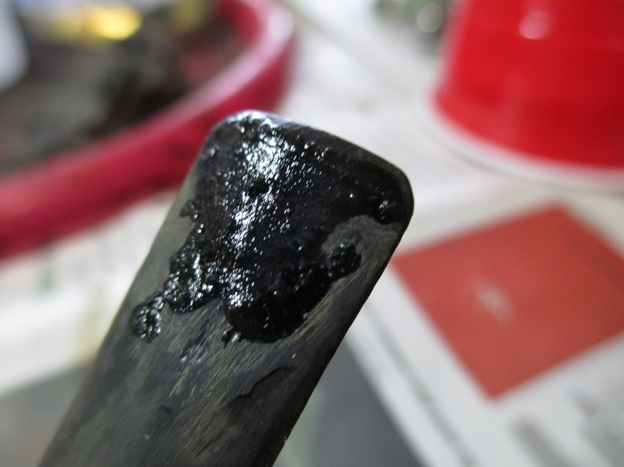
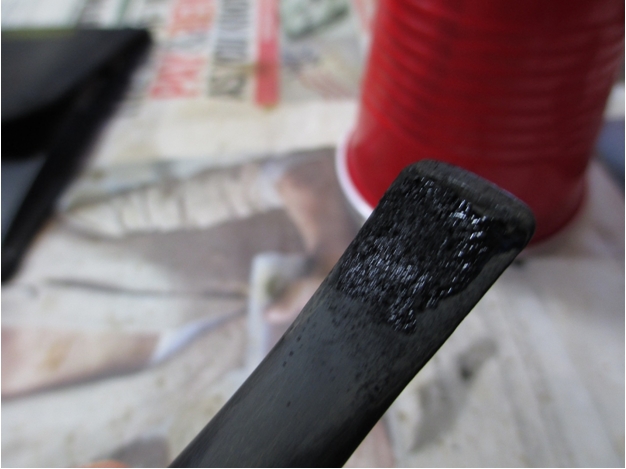
I like the way the pipe looked in the auction pictures, but when I first examined it I thought the stem was beyond help. This is not a little pipe, but the previous owner was obviously a clencher. The top and bottom of the stem had a hole, as you can see by these pictures.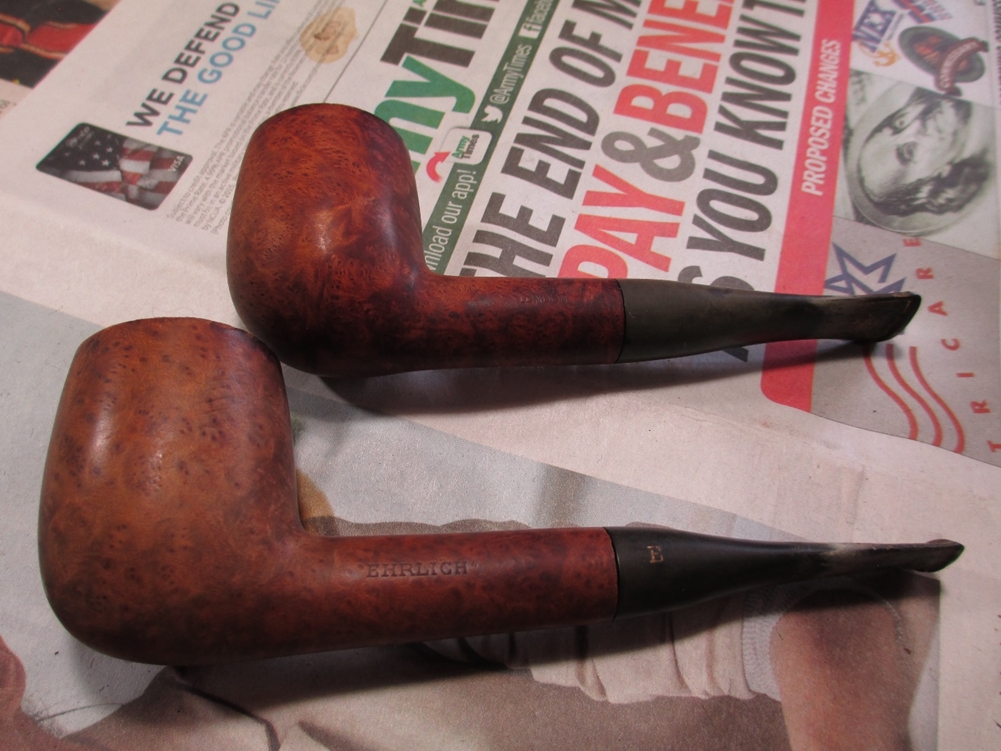
 Before getting into the stem repair, I soaked the bowl in alcohol.
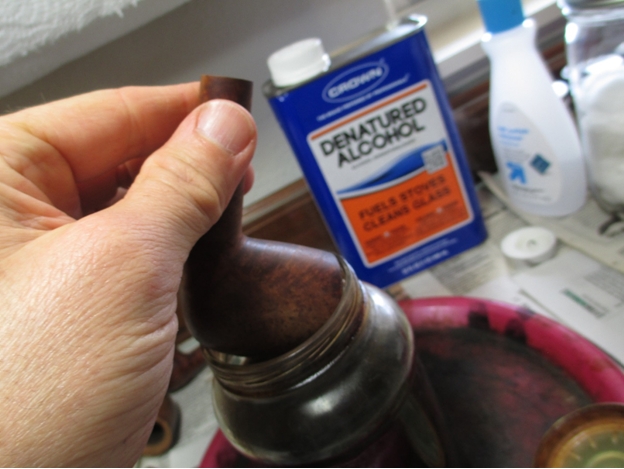 Although I have done simple repairs on tooth marks, I had never tackled anything this complicated. The holes were far enough down that it wouldn’t be practical to cut a new button. The stem is fat enough that finding a replacement was also out of the question. The one thing the stem had going for it was the edges were still in good shape. I decided to do a complete reconstruction of the stem.
I don’t claim to be an expert on these things, so I turned to one of the how-to articles on Pipe Smoker’s Unlimited. The one gentleman used activated charcoal with super glue, so I decided to try it. I found a large container of activated carbon, which is the same thing, in the pet department of my local Walmart. It came in small pellets, which needed to be ground into a fine powder.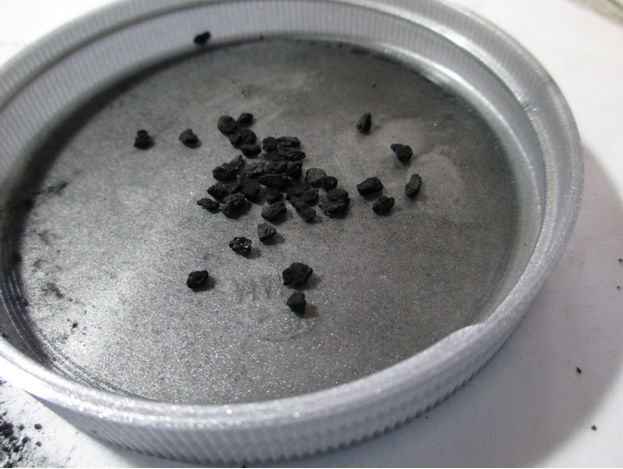 This is what it looked like after grinding.
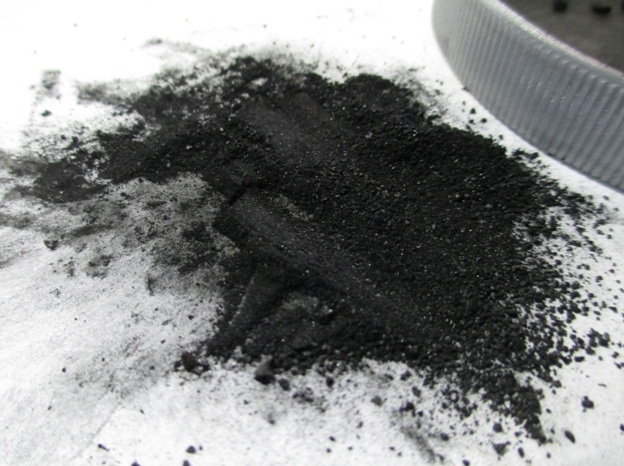 I took some wax paper and folded it to fit inside the stem. Once I got the fit I wanted, I sprayed the wax paper with cooking spray and put it back inside the stem.
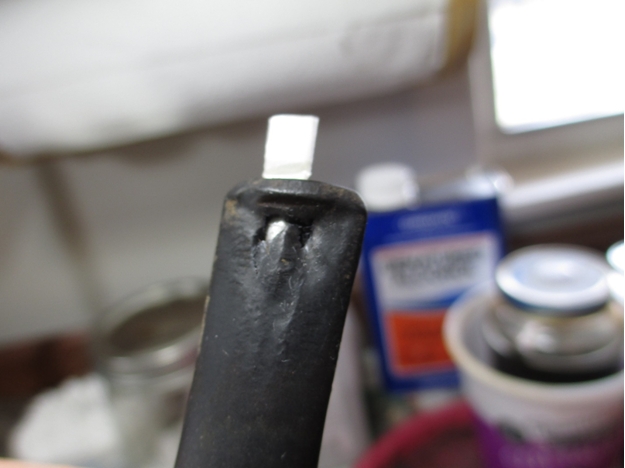 I used a couple drops of clear super glue on the bottom of a plastic cup, mixed in some charcoal dust, and applied it to the hole. I added a couple of drops of glue accelerator and set it aside to cure.
 I did the same thing with the other side. I’ve found that even with accelerator, it’s a good idea to let the glue cure for at least 24 hours. You can work it sooner than that, but it has a tendency to come out when you’re sanding it.
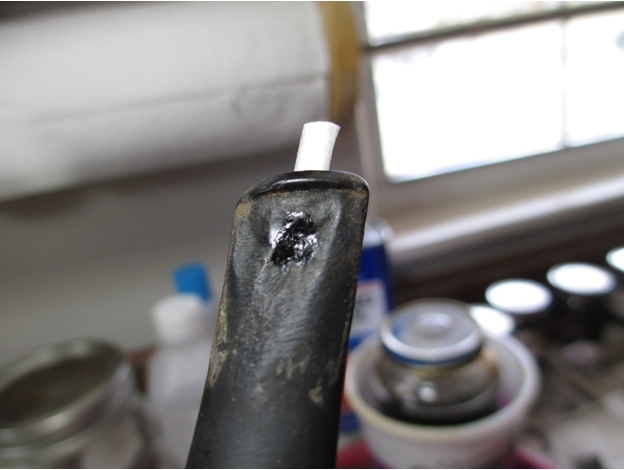 I used several applications of the glue and charcoal paste.
 Once the hole was filled in I sanded it down.
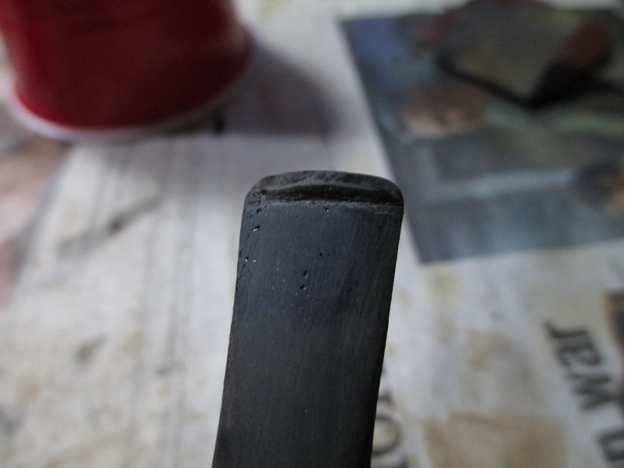
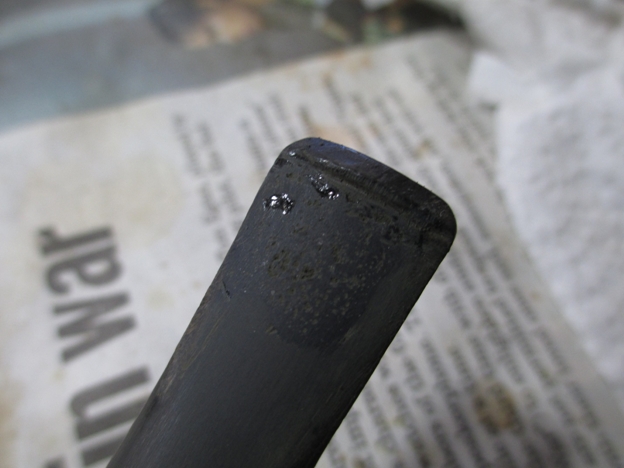 As you can see the charcoal left a few pits. To fill them in I applied a thin layer of super glue over the pits and sprinkled charcoal dust directly on top of it.
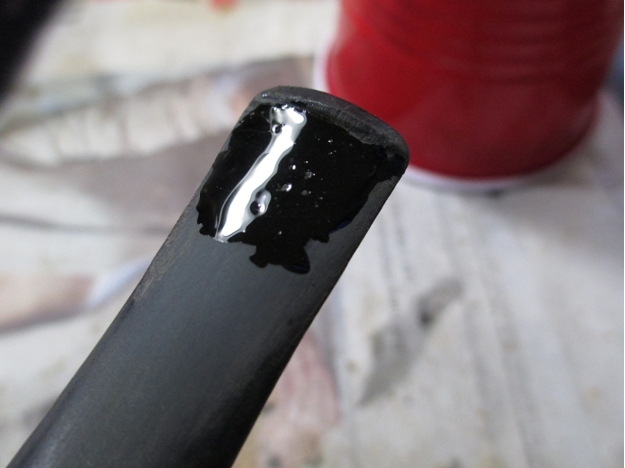
 This is what it looked like after sanding.
 The stem was still far from finished, but it was good enough to start cleaning the insides.
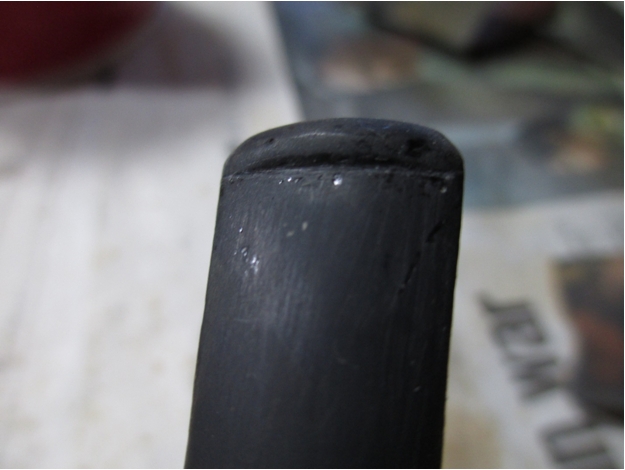 I went ahead and retorted the bowl first.
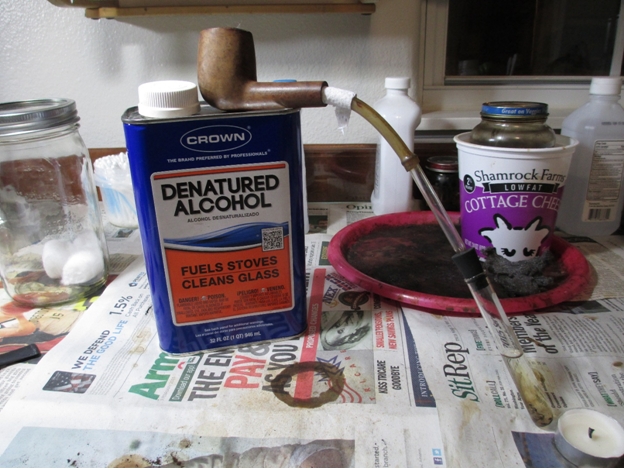 The brush came out fairly clean.
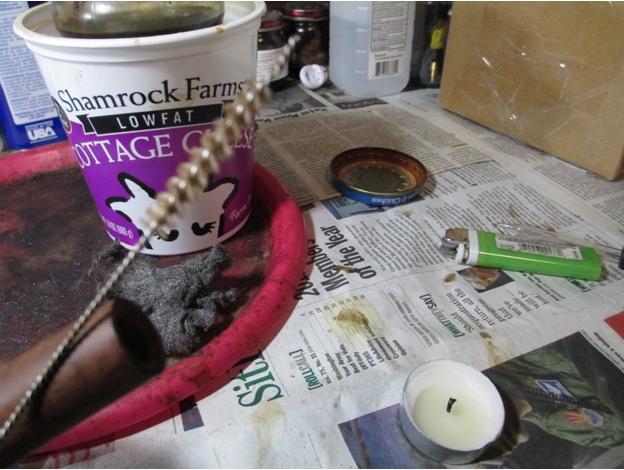 I learned a hard lesson while cleaning this shank. In spite of the large diameter, the inner hole was smaller than the q-tip I tried to stick inside it. The end came off and it took a lot of effort to get it out. The moral of the story is, if it doesn’t fit don’t try to make it fit.
In spite of the minor set-back, the shank was pretty clean.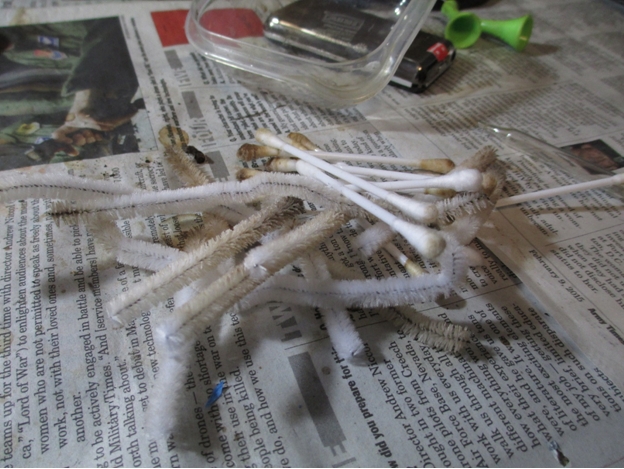 Next I retorted the stem.
 It had a lot of tar inside it, so repeated the process an additional two times. It was easy to clean after that.
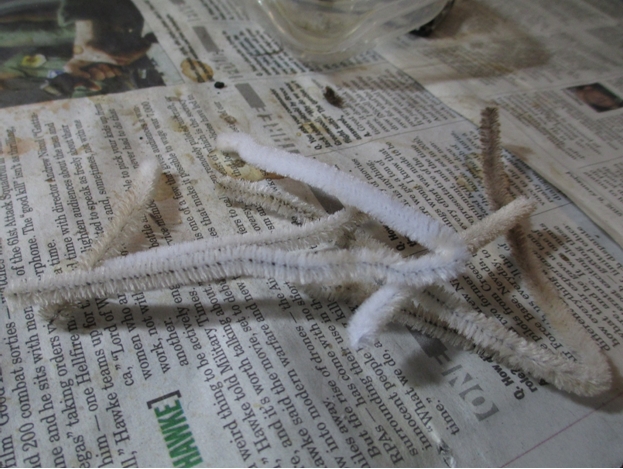 With the inside cleaned, it was time to finish smoothing out the stem. I used 400 grit wet/dry with water, followed by 1500-2400 grit micro mesh pads with water. To prevent rounding the edges of the stem I held a rubber washer over the end of the tenon.
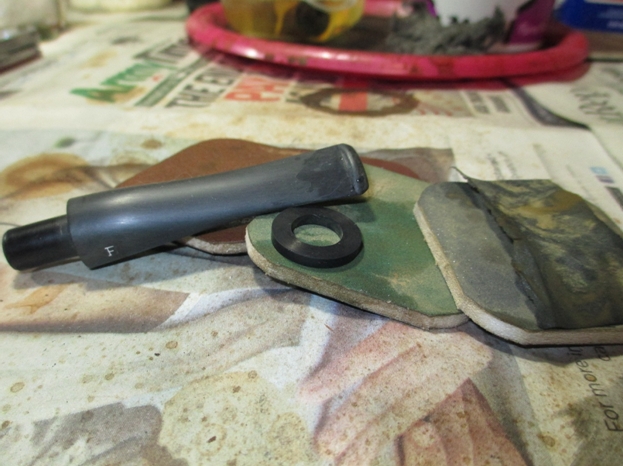 While the stem dried I turned to repairing the rim damage.
 I used 150 grit sand paper on a piece of glass to remove the worst of the damage.
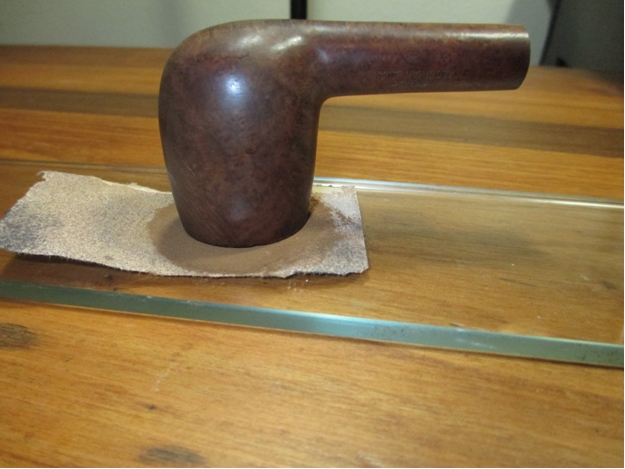 Once I had the edge almost where I wanted it, I switched to 400 grit sand paper. This is what it looked like after sanding.
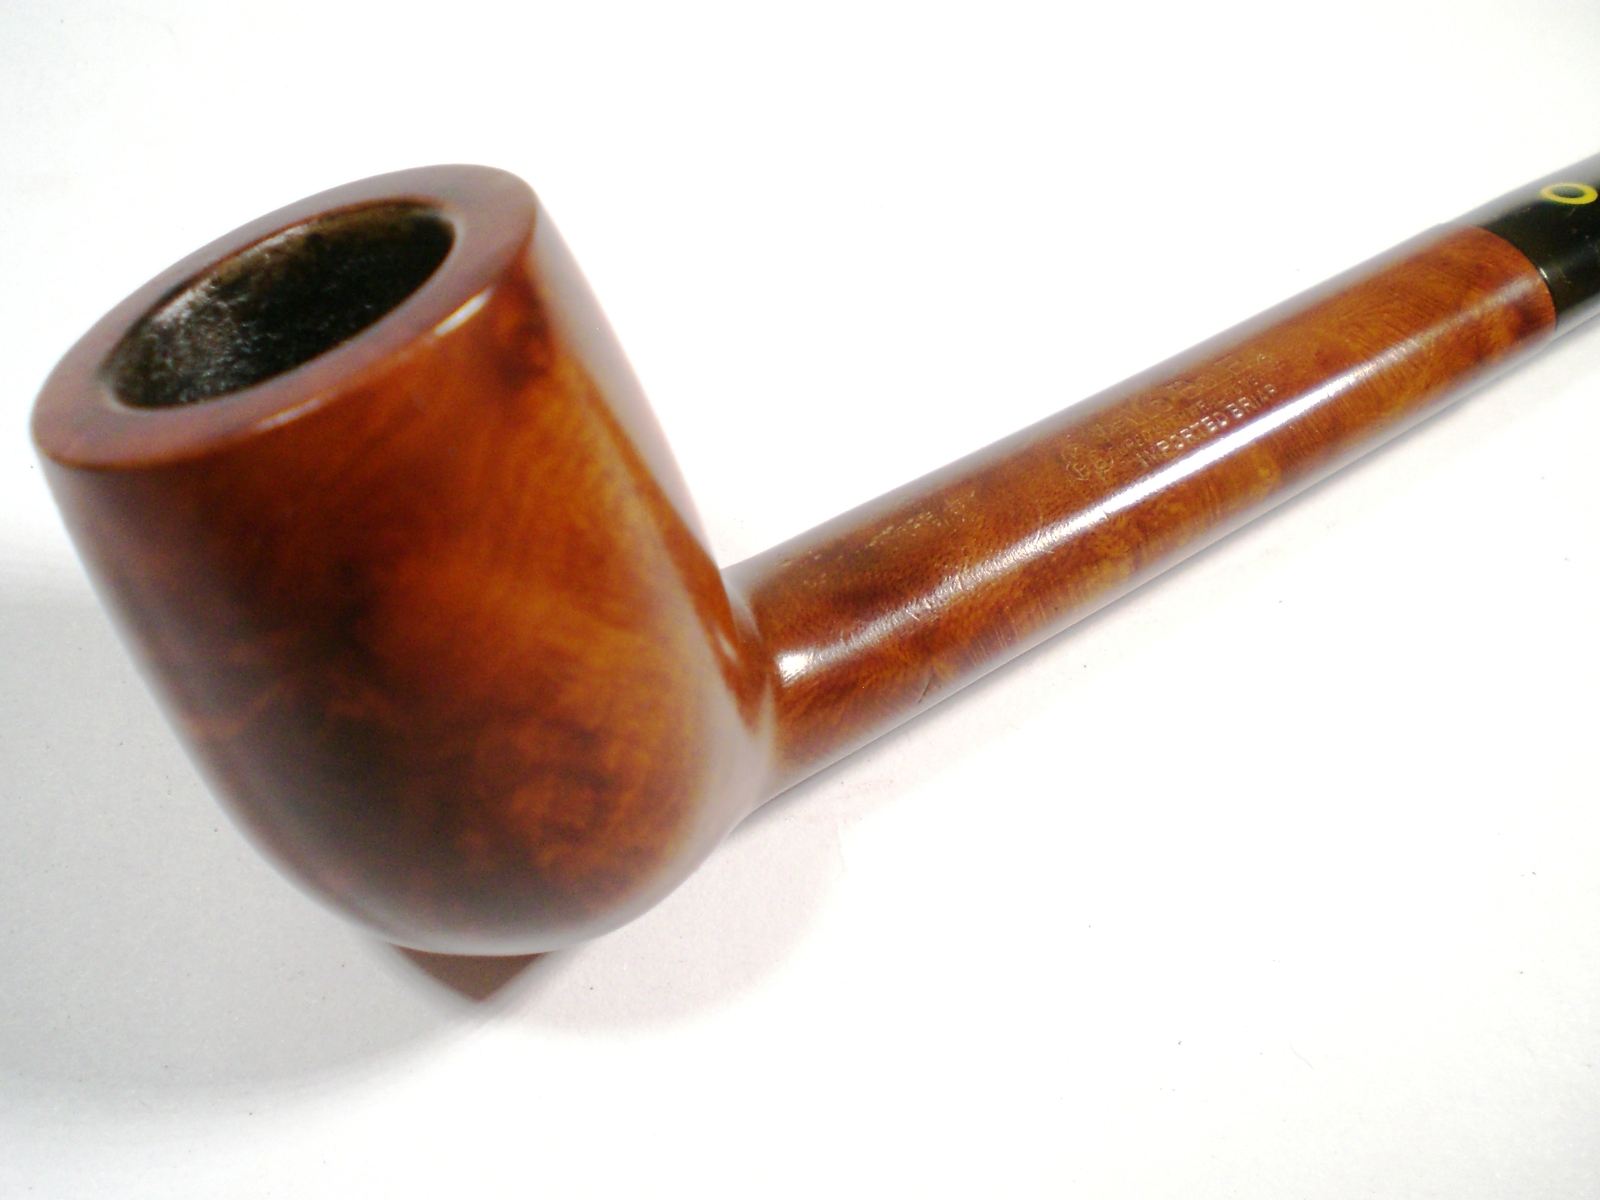
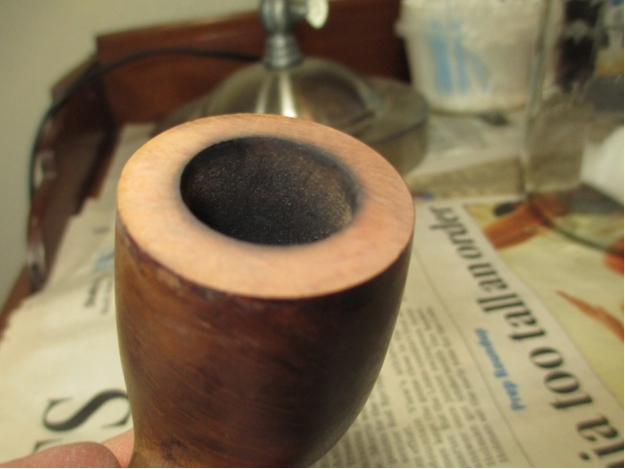 I have become a big fan of natural finished pipes, especially when they have nice grain like this one does, so I used acetone and 0000 grit steel wool to clean the bowl.
 After cleaning the finish, I noticed a couple of dents on the front of the bowl.
 I used my wife’s iron and a wet cloth to steam out the dents.
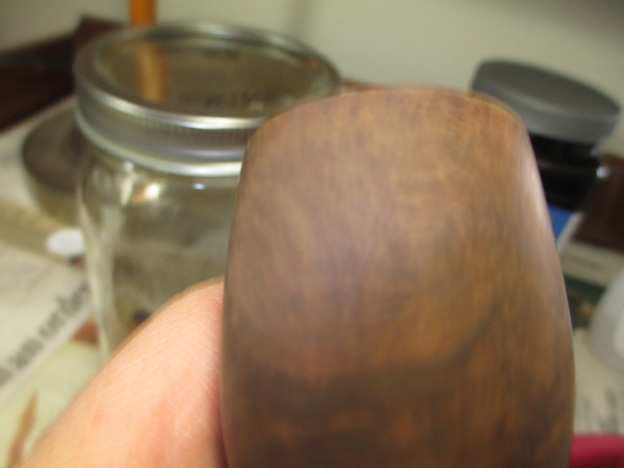 After allowing the wood to dry out overnight, I polished the bowl and stem with a progression of 3200-12,000 grit micro mesh pads.
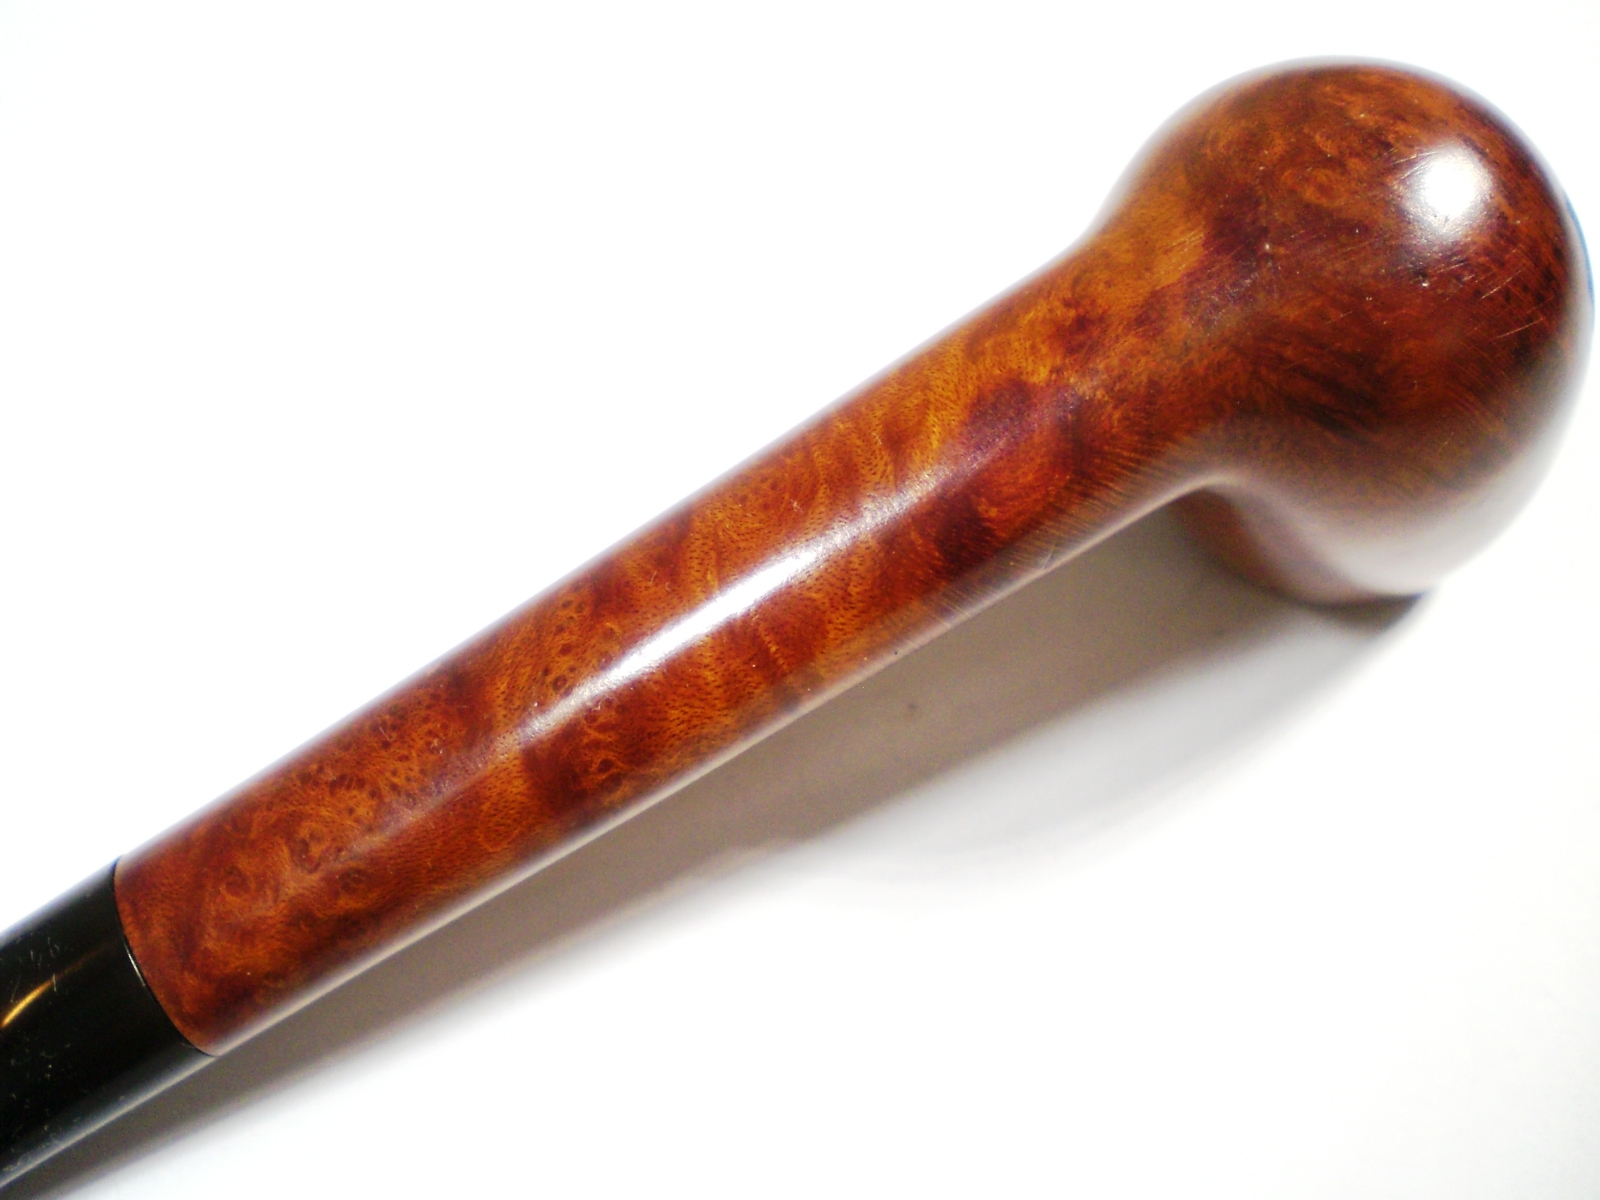
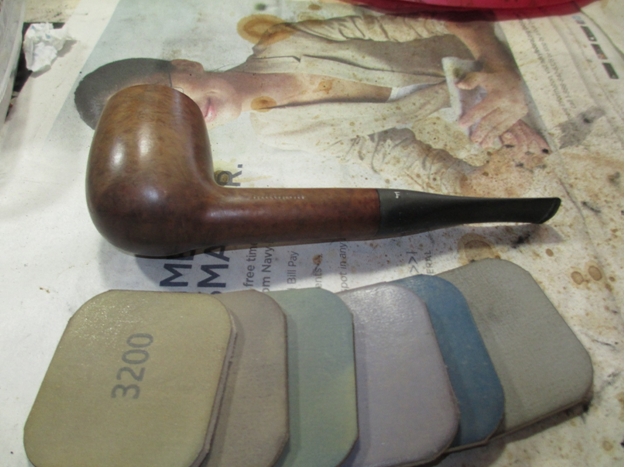 I know Steve uses Obsidian oil on his stems during this step and also uses olive oil to bring out the grain of the bowl. I’ve been experimenting with mineral oil for the same purpose. It doesn’t take much, just a little bit on the tip of your finger. I used one coat after the first three pads on both the bowl and the stem. After the final pad, I repeated the process. I really worked the bowl in my hand to bring out a beautiful reddish brown color.
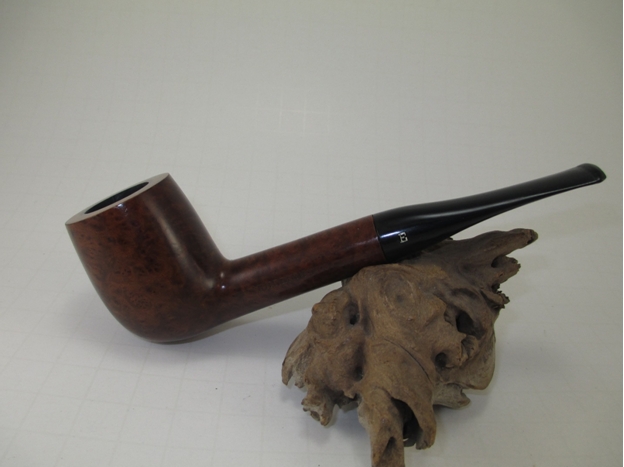
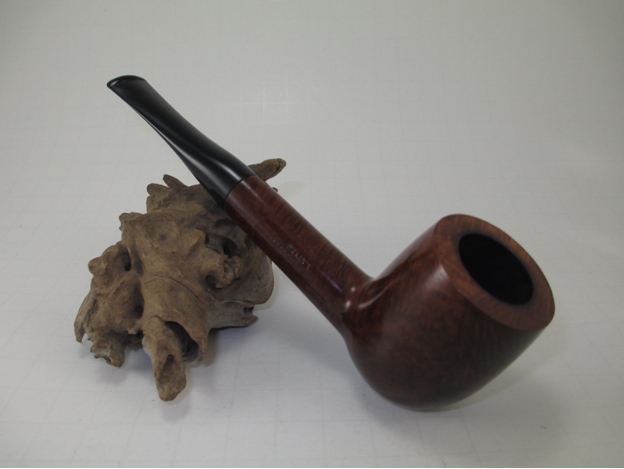
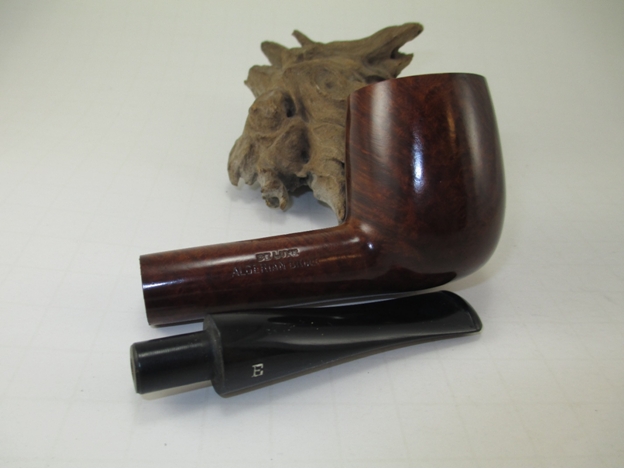
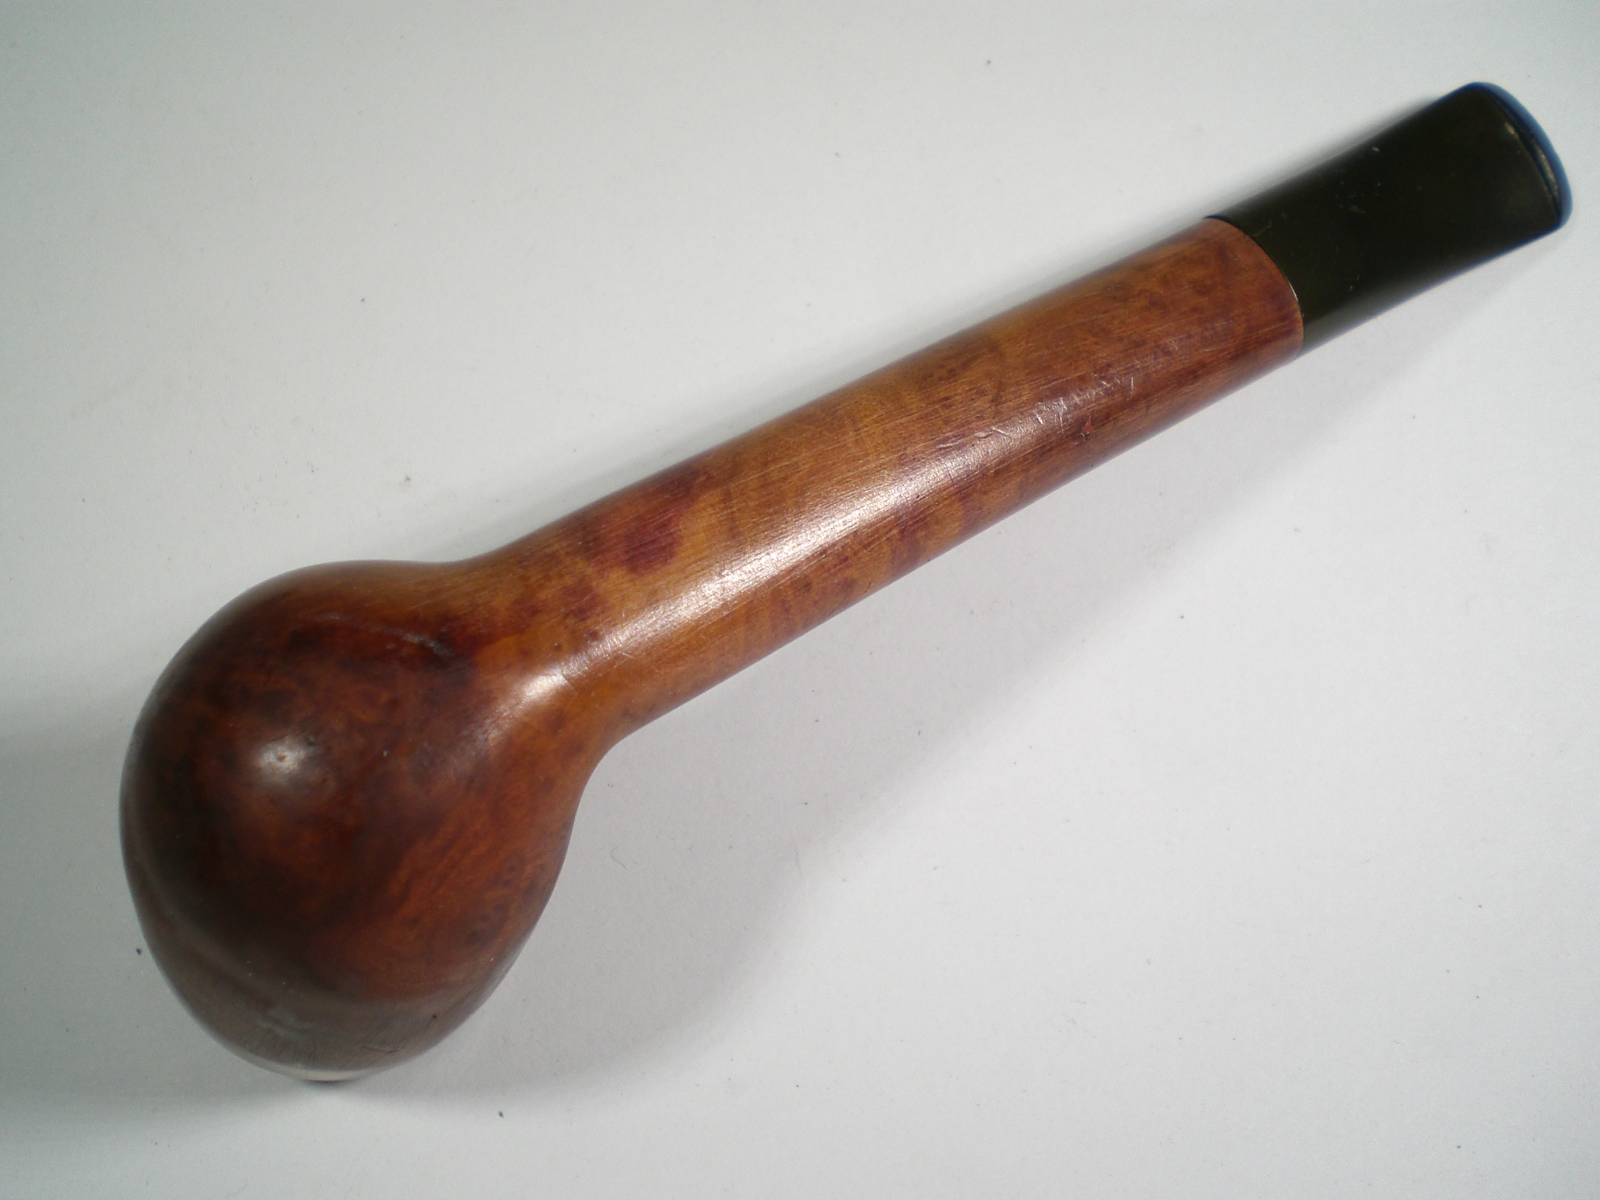
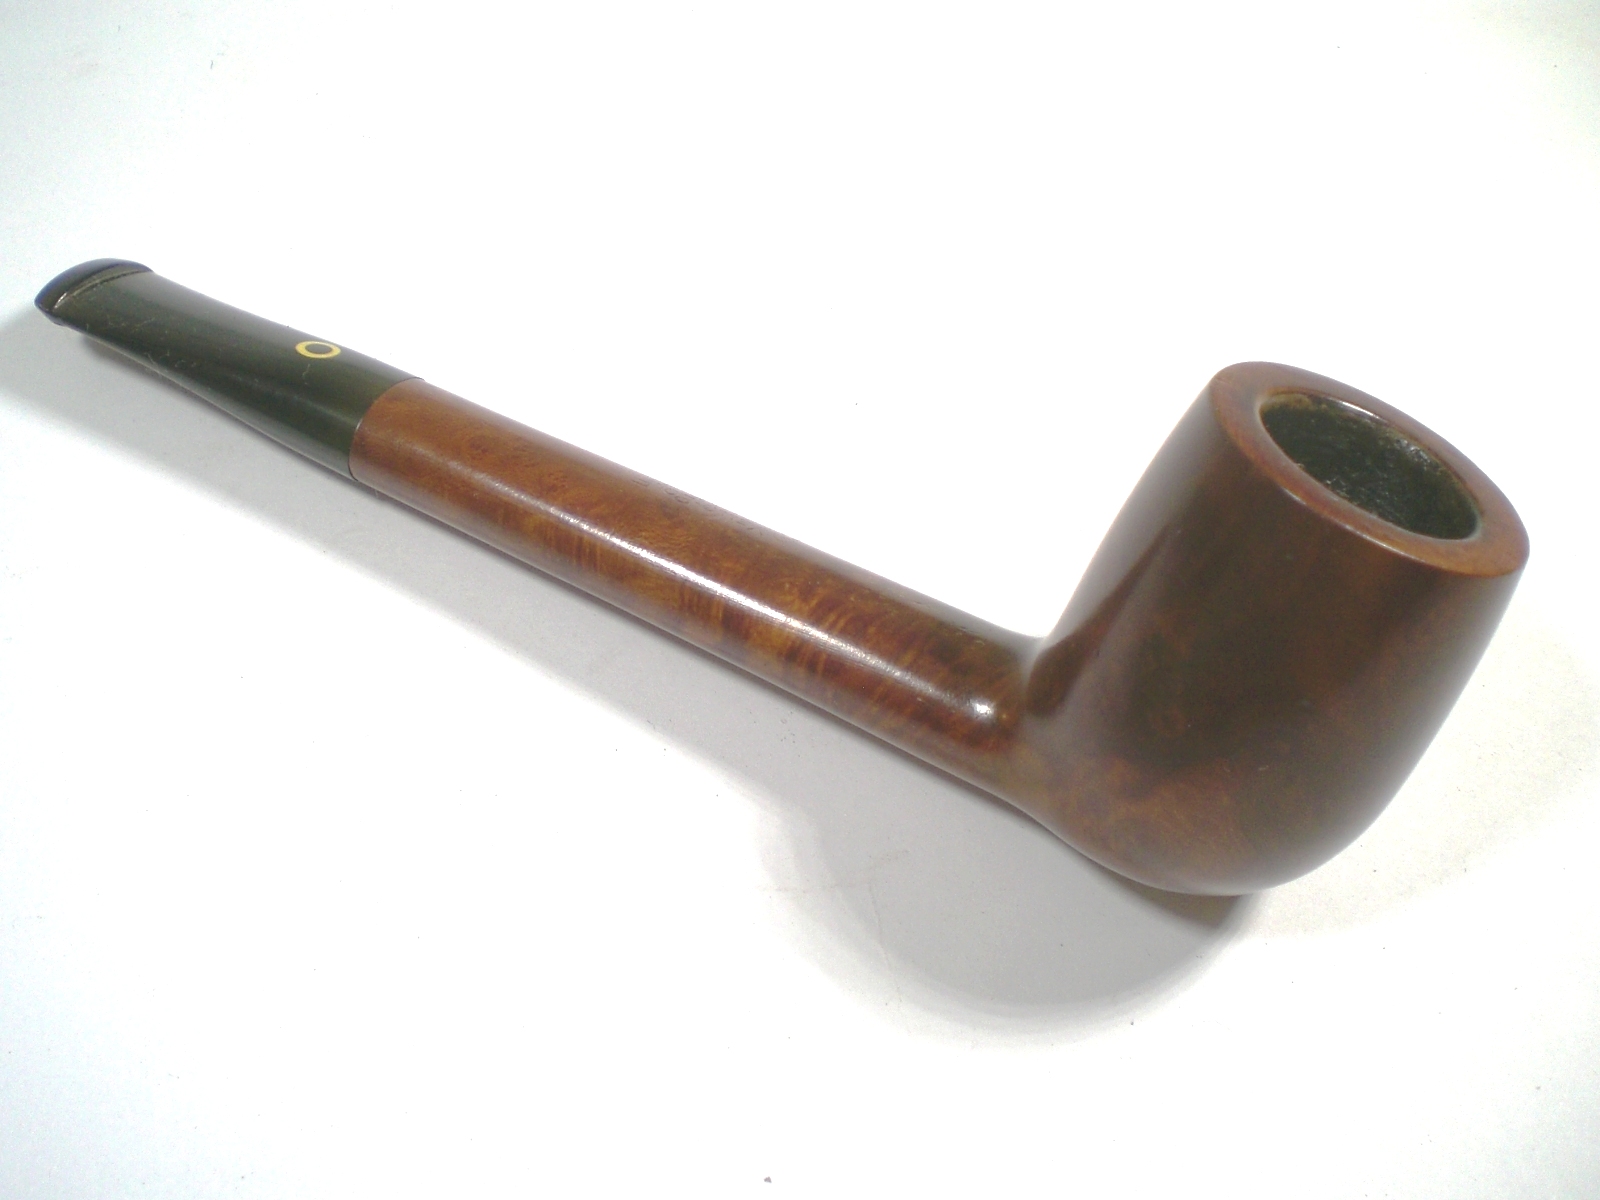
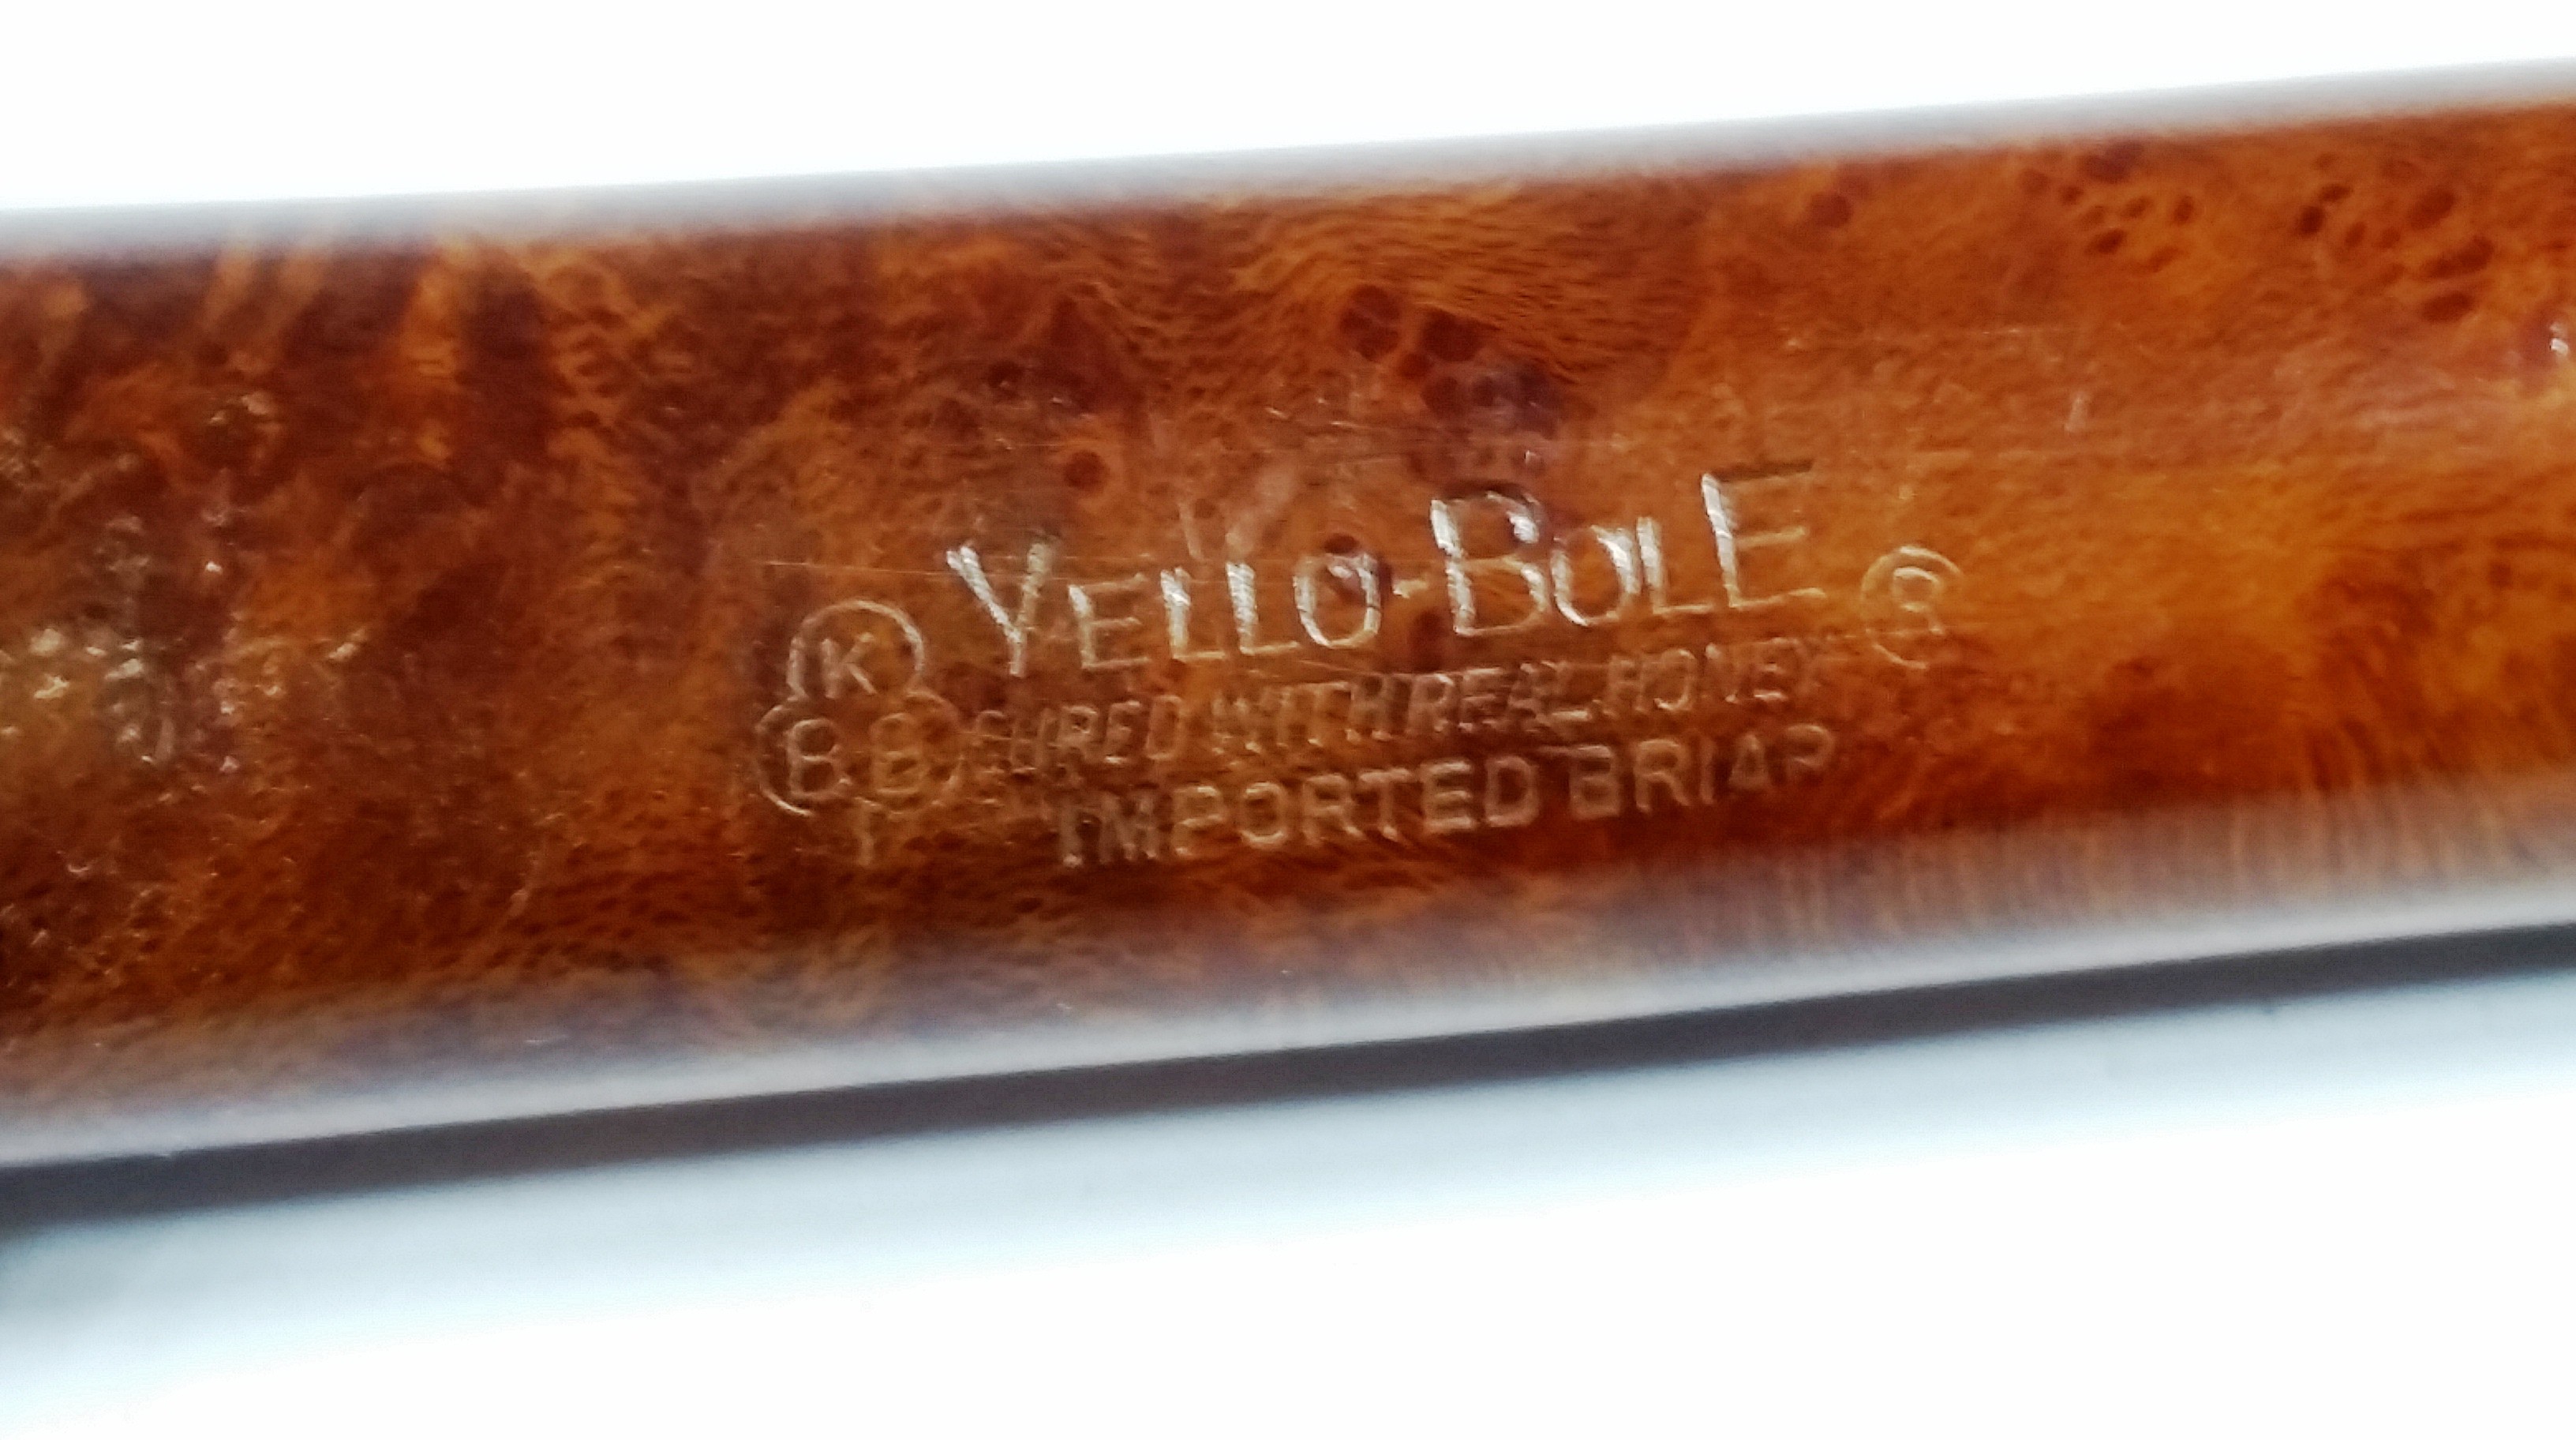
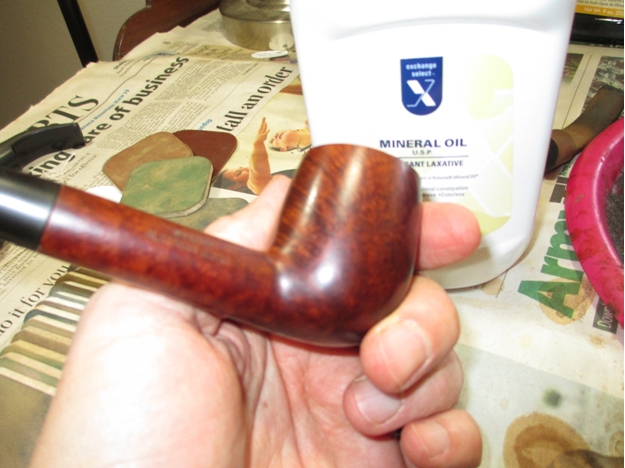 I used a soft cloth to buff the pipe and remove any excess oil before the final buffing stage. I buffed the bowl on my buffing wheel with white diamond and carnauba wax. I used my rotatory tool with white diamond and carnauba wax on the stem. I gave the whole pipe a final coat of Halcyon II wax and filled the E on the stem with a white out pen. This is the result.