Blog by Steve Laug
This old Dr. Grabow Silver Duke Bulldog is a bit of a variation on a restoration for me. Someone earlier had replaced the Adjustomatic stem with a push stem. Whoever made the stem did an amazing job cutting it to fit perfectly with the angles of the shank. I say it is amazing because on these old pipes none of the angles are the same and matching all the points of the diamond shank is a lot of tedious hard work (at least for me and I have done a few of them). Add to that the stem was converted to a push stem instead of the normal threaded stem. It is a high quality vulcanite also as it did not have any oxidation.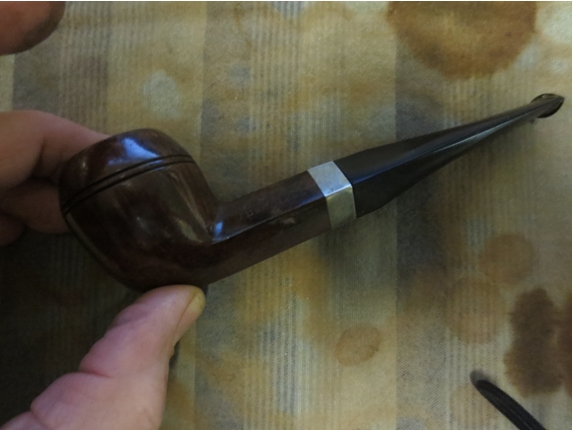
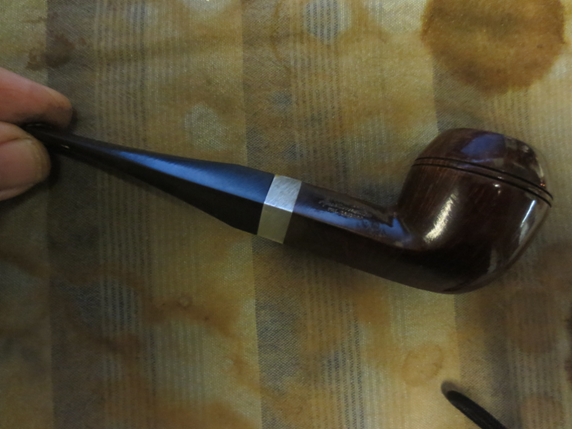 All I would have to do was sand out the blade or file marks on the stem and the metal mortise cap. The finish was very shiny and had some bubbles on the rim along with a tar build up. It was like a thick varnish. I always remove these top coats and wax and oil the bowl to make the grain stand out. The briar was pretty clean with only two recognizable fills that I could see, though well blended into the stain coat on the pipe. The bowl had a thin uneven coat of cake that would need to be reamed.
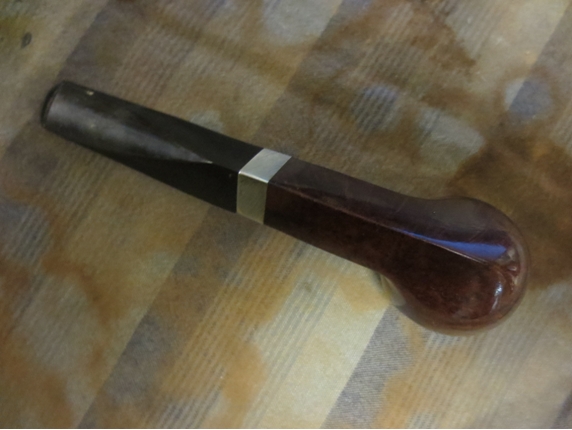
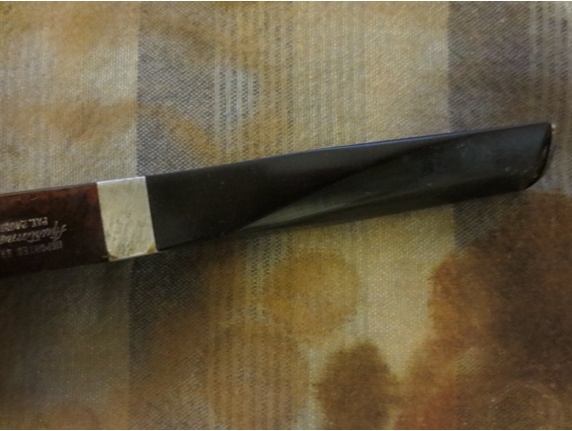
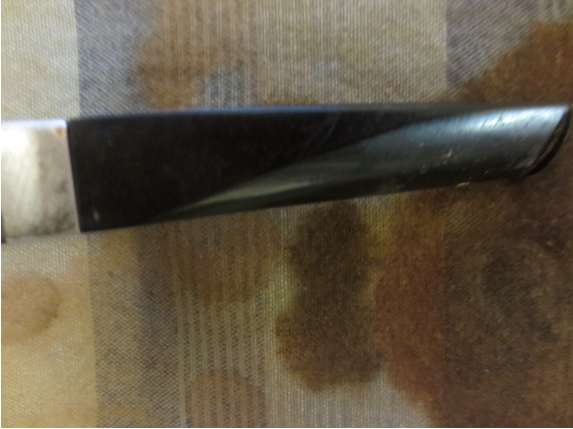
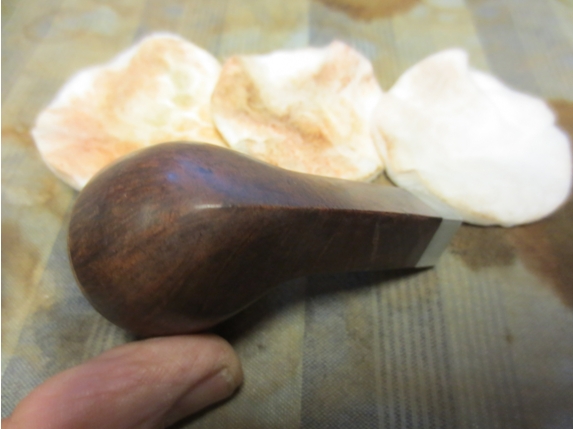
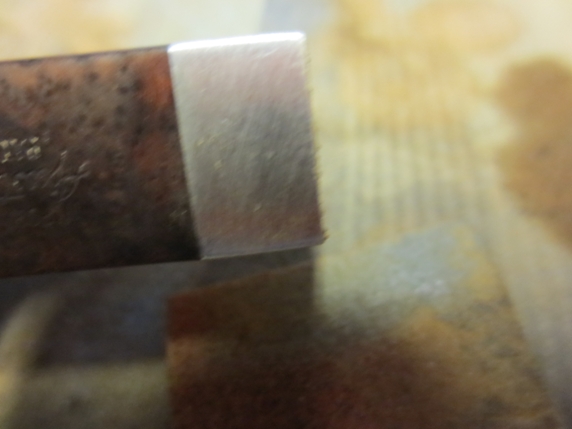
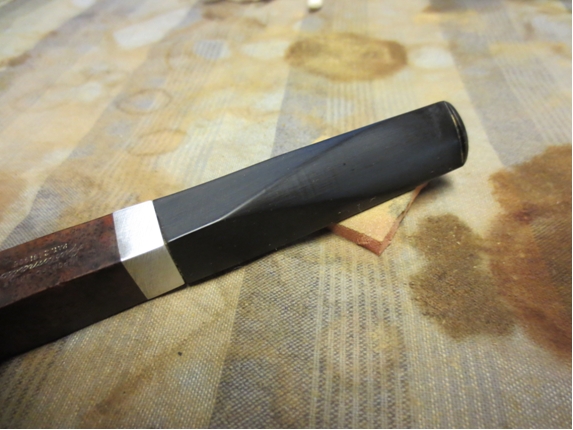
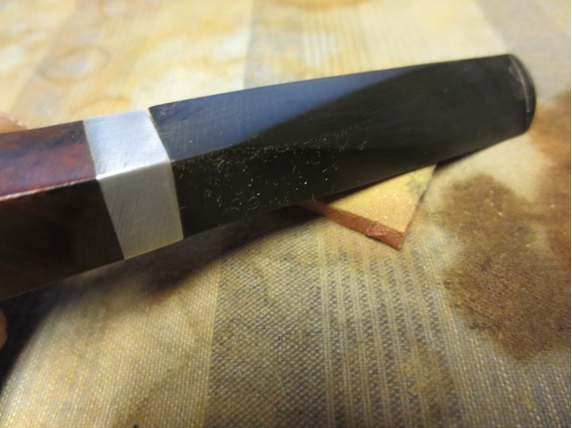
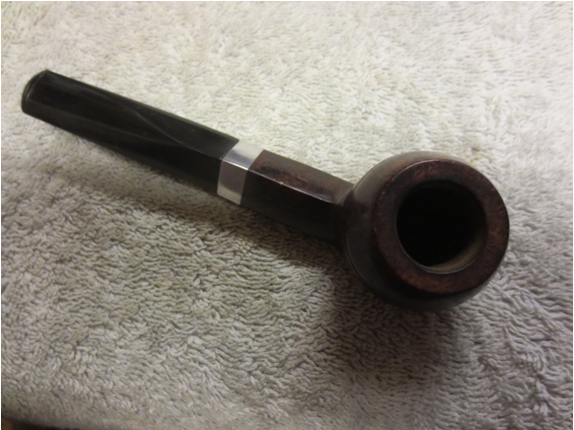
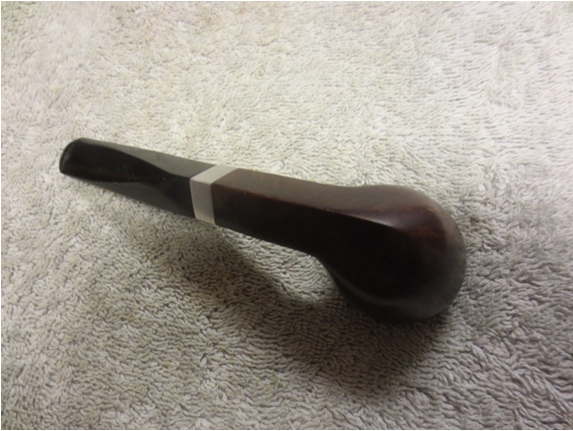
 The pipe was stamped Silver Duke over Dr. Grabow on the left side of the shank and Imported Briar over Adjustomatic in script over Pat. 2461905. That confirmed the replacement stem. The only thing wrong with the stem was that it had lots of marks in the surface left from either a saw that was used to cut the angles or the files. The stem was not smooth and shiny like the bowl but was rough to touch with small ridges on the surface from the cut marks. The metal mortise insert had matching marks so it looks to me that the stem was cut on the shank. The thin button is perfect. A taper stem on a bulldog is something I have always liked better than a saddle so this one looked great to me.
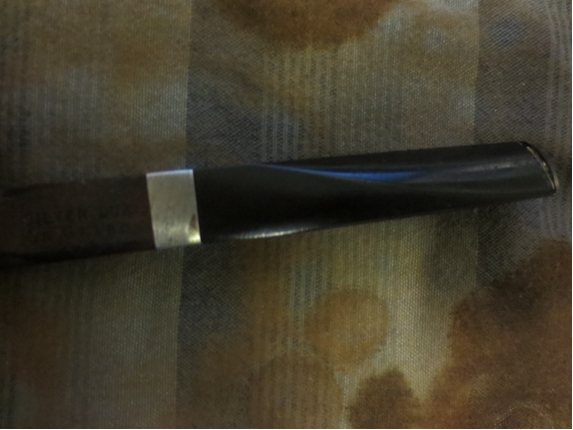

 The tenon was also ridged. I have found that when the adjusting screw is loose on my tenon turning tool I get a tenon that looks like this one. It also has a slightly deeper groove next to the bottom of the tenon where it joins the stem. These issues would need to be addressed. It would take a little bit of finessing to clean up the ridges and keep the fit of the stem snug in the metal mortise but it could be done.
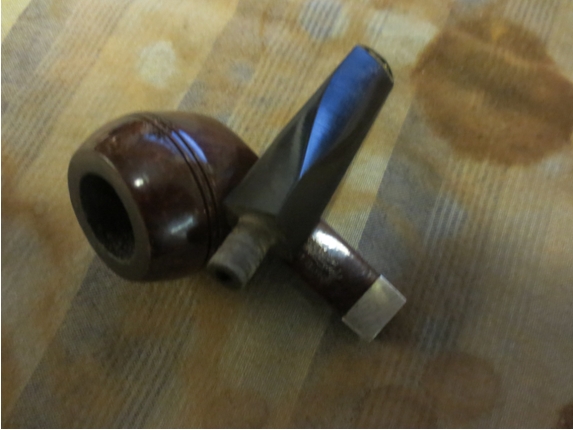
 I could see some nice grain under the shiny varnish coat. It was cloudy and the rim had a slight build up of tars and oils. I wiped the bowl down with acetone on cotton pads. The varnish came off and left the pad orange. I had to keep the acetone pads wet otherwise the varnish gummed up on the surface and the pads stuck to the briar. After a lot of scrubbing (three pads and much acetone to keep a wet edge) the finish was gone and the grain stood out in its beauty.
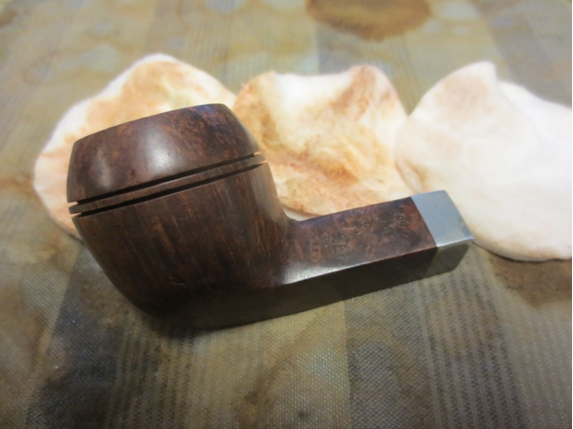


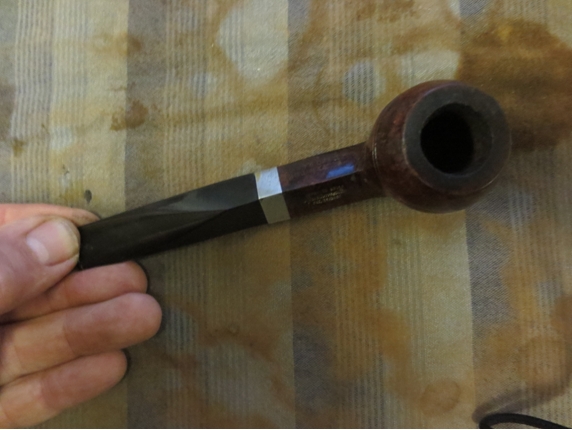
 I reamed the bowl with a PipNet reamer and took the cake back to the bare briar in order to provide a smooth surface for a new cake to be developed.
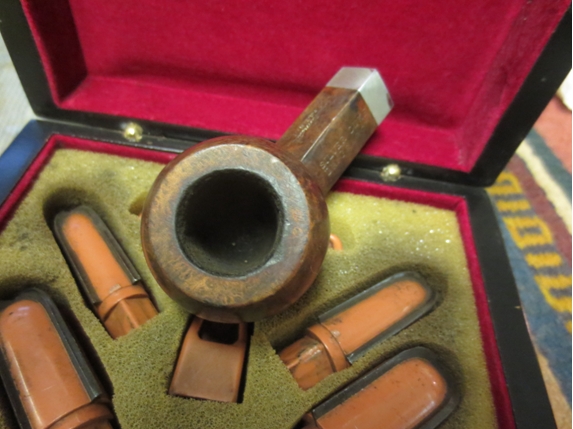 I scrubbed out the shank and airway with cotton swabs, pipe cleaners and isopropyl alcohol. I scrubbed until it was clean. In this case the deepest part of the mortise was clean quickly. Most of the oils and tars came out of the metal threads of the Adjustomatic tenon insert. Even cleaning that did not take too many pipe cleaners before it was shiny. I also scrubbed the end of the shank insert to remove the varnish and tars left on the end.
 I sanded the scratched aluminum mortise insert/cap with a fine grit sanding block to minimize some of the scratches and remove the cut marks left behind from the manufacture of the stem. It took a bit of sanding but I was able to remove the deepest ones. The rest would polish out with sanding sponges and micromesh sanding pads.
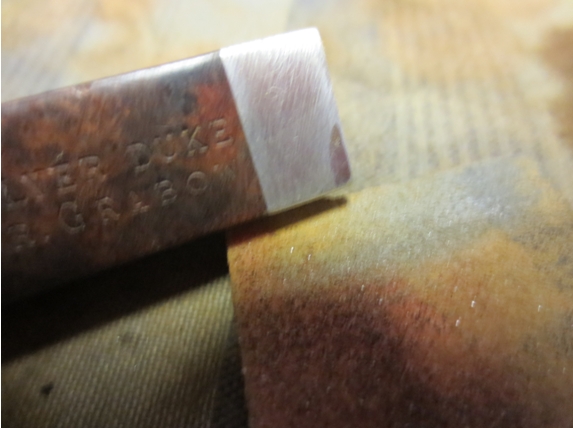
 I sanded the stem with the sanding block and then with a medium and fine grit sanding sponge. I sanded until the deeper scratches were minimized and the surface was free of the earlier ridges. I also sanded the area around the top and bottom surfaces next to the button to remove the tooth chatter that was there.

 I rubbed the briar down with a folded paper towel lightly coated with olive oil. I wanted to highlight the grain and give some life to the finish before waxing it so I used the oil. Once it is wiped on and absorbs it has a glow that I like. I cover that with carnauba in the end and the finish shines and has warmth that was lacking in the previous varnish coat.
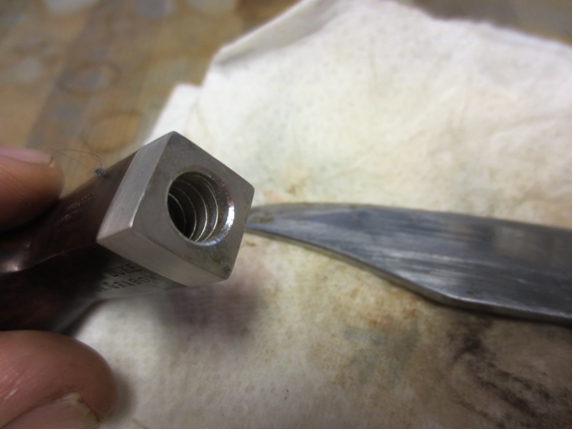
 The stem did not seat well in the mortise. The flat surface of the aluminum insert needed to be beveled to let the tenon sit right in the mortise. I used a sharp knife to bevel the inner edge of the mortise to accept the tenon correctly and close up the gap between the stem and shank.
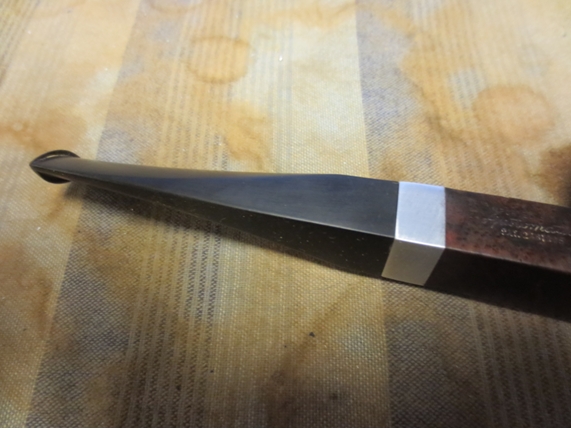
 I put the stem back on the bowl and the fit against the shank was now snug with no gap. The beveling of the inside of the mortise achieved what I was hoping and the fit was perfect.
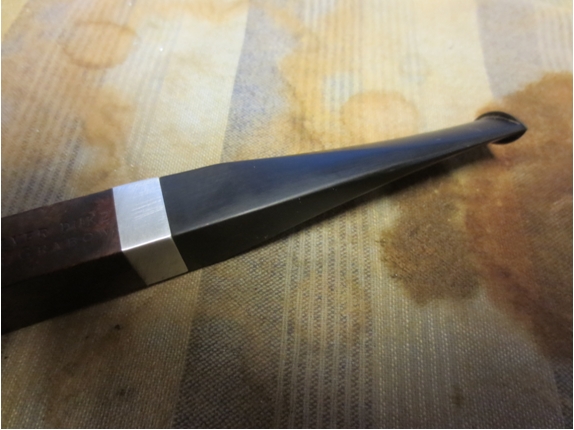
 When the shaping of the replacement stem had originally been done the blade or file had rubbed against the shank in two places on the bottom sides of the diamond. It looked to me that it had rubbed off the varnish coat and also some of the stain so that the spots looked lighter than the rest of the shank and bowl. I used a dark stain pen to touch up these areas on the shank and blend them into the finish of the rest of the pipe.
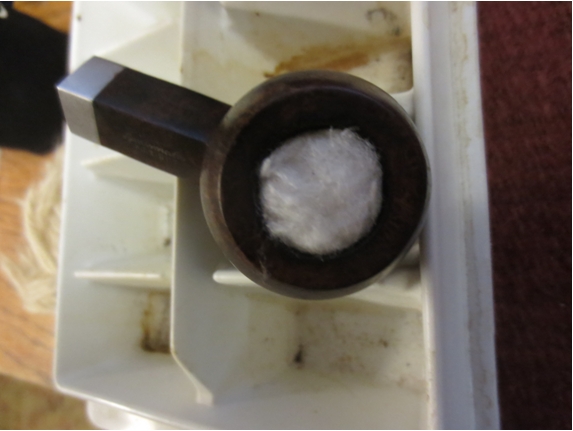
 With the first steps in refinishing the bowl done I wanted to remove the ghosts that were in the bowl. There was an aromatic smell that I wanted to remove. I stuffed cotton balls into the bowl and set the bowl upright in an old ice cube tray. I use an ear syringe to fill the bowl with isopropyl alcohol. The bowl would sit for the day absorbing the oils from the briar into the cotton and alcohol. As the alcohol evaporated the tars would remain in the cotton.
 I let the bowl sit and while the cotton and alcohol did its magic I worked on the stem with micromesh sanding pads. I wet sanded with 1500-2400 grit pads to remove the remaining surface scratches and begin to polish the vulcanite.
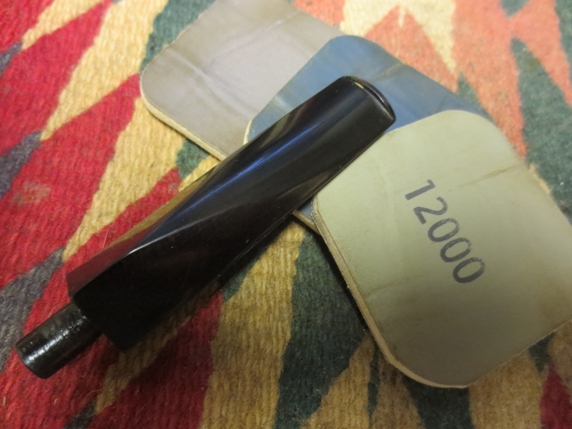
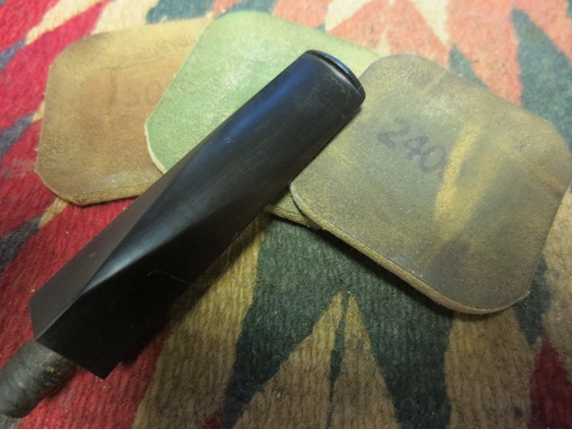 I used some clear super glue to fill the ridges on the tenon and smooth it out before going on to sand the stem with the remaining grits of micromesh sanding pads. I rubbed the stem down with Obsidian Oil after the first set of three pads and then again after the second set. I find that the oil helps the higher grit pads to really cut into the surface and help polish the vulcanite.
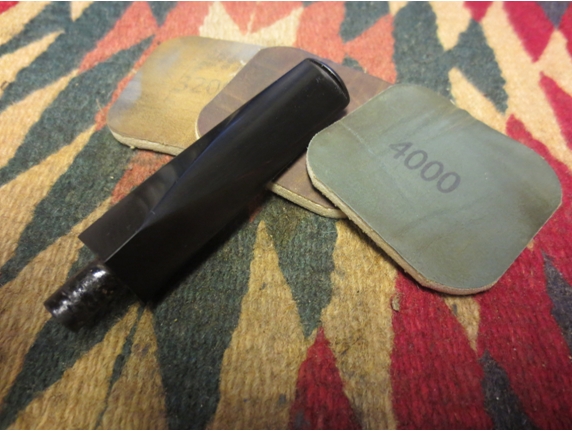
 The bowl had been sitting for about three hours so far. I took a picture of the cotton to show the colour that was beginning to leach into it from the bowl.
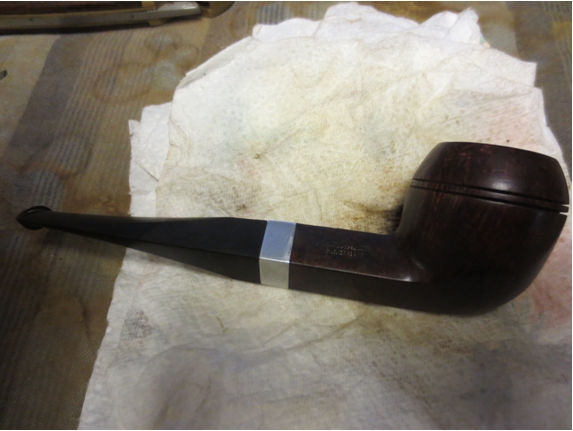
 I let the bowl soak for another hour and very little more came to the cotton. I pulled the cotton pads out of the bowl and ran a cotton swab through the bowl and shank to clean up the remaining alcohol there. I ran a pipe cleaner through the airway into the bowl to dry it out. I put the stem on the bowl and took it to the buffer. I buffed the pipe with White Diamond and then gave the bowl and stem multiple coats of carnauba wax. I finished by buffing it with a soft flannel buff. The finished pipe is shown below.
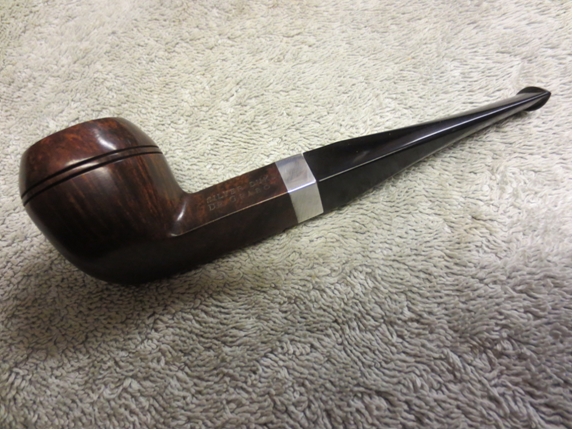


 While I worked on this pipe I have been posting updates and asking for information on the Dr. Grabow Collectors Forum (http://drgrabows.myfreeforum.org/index.php) and gotten a lot of information from the folks there. I found out that I can order an original stem for this pipe by sending them the bowl and some money for the stem and shipping. I may well do that one day. I raise a bowl to them and dedicate this blog post to the members of that site. Thanks for the help.

Nice pipe Steve! I have an old Grabow adjustomatic that is one of my favorite smokers. I love the way the stem turned out.
LikeLike
Thanks Andrew. I have several of the older Grabows and like them. I am looking forward to giving this a go.
LikeLike
Thanks for posting this, Steve! Your simple tools combined with great skill produce excellent results! Great job! -bw
LikeLike
Very nice Steve .Looks excellent and should be a dandy smoker .
I love my Older Grabows and think they are fine pipes that dont get the respect they deserve from the majority of the pipe smoking community . i got at least 30 of them and not a bad smoker in the lot .
LikeLike
Troy, this one has two small fills that are almost unnoticeable. It is a beautiful old pipe. The past repair person who made the taper stem really did a wonderful job fitting it to the shank… I raise my pipe to him.
LikeLike