Blog by Steve Laug
In my gift box of pipes to refurbish there was a small Kaywoodie pipe that I would have called a Lovat but as I learned in looking up the line and shape number I would find that Kaywoodie called it something different. The red arrow points to the KW shape 40. 
It is stamped on the left side of the shank Kaywoodie over Prime Grain over Imported Briar. On the right side of the shank it is stamped with the shape number. The stem was a short saddle stem. The pipe is in decent shape – certainly restorable. The finish was gone but there was some great grain on the back, front and sides of the bowl. The rim was a mess – out of round, scratches and knocked about enough to lose its sharp profile and edges. The bowl looked as if it had been reamed with a pocket knife. There was an oddly formed cake due to the scraping with the knife. The stem was clean but the button was misshapen with a large part of the top edge missing. The inside of the shank was dirty and the threaded tenon was black with a tarry build-up.


 Holding the pipe in hand I would call it a Lovat. Look at the pictures above and see if you would not agree to the shape designation. The problem is I turned to the Kaywoodie shape and line chart below and found that pipe shape #40 is designated as a saddle stem billiard. The first red arrow in the first shape chart below highlights the description on the catalogue picture. The second red arrow points out the line – Prime Grain – a mid-priced pipe in the KW line. So it looks like the pipe is a saddle stem billiard – even though personally I would still call it a Lovat.
 The next photo is a close of the state of the rim. You can see the knife damage on the inner edge of the rim and the scratches, dents, rounding that has been done to the top and outer edge of the bowl. The rim really was the part of this pipe that was in the worst condition.
 The next photo shows the rounded outer edges of the rim and the state of the KW thread stinger apparatus. It is a three hole stinger even though the inlaid black cloverleaf in white seems to point to an early era KW pipe.
 To begin work on repairing the rim edges I needed to ream the bowl. I used a PipNet reamer to take the bowl back to bare wood. I find that doing that gives me a clean surface to work on with the inner rim edge. The second photo below shows the freshly reamed bowl.
 With the bowl reamed it was time to top the bowl. This would be a fairly serious topping job – not a light one. There was a lot of damage to remove and it would take a fair bit of sanding to bring the top back to flat with sharp outer edges. I used my normal topping board and 220 grit sandpaper to top the bowl. I sand it in a clockwise circular motion.
 I checked my progress quite often as I topped the bowl. I sanded until the damage to the top of the rim and outer edge were gone. The process also cleaned up much of the damage to the inner edge of the rim as well.
 I wiped the stinger and the bowl down with acetone on cotton pads to clean up the aluminum stinger and to remove the remaining finish on the bowl and shank.
 The stem was overclocked about a ¼ turn. I used a lighter to heat the stinger until the glue was warm in the stem and then turned it back into the mortise and realigned the stem.
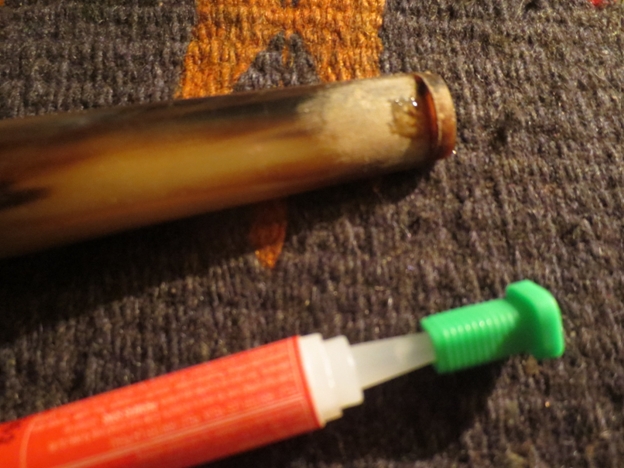
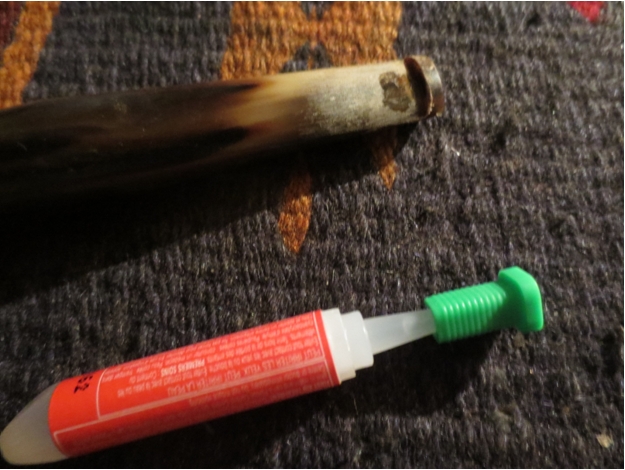
 The bowl had some deep, sharply edged dents in the briar. I cleaned them out and then used clear super glue and briar dust collected from topping the bowl to fill the dents.

 I sanded the patches with 220 grit sandpaper and then with medium and fine grit sanding sponges to remove the excess and blend them into the surface of the briar.

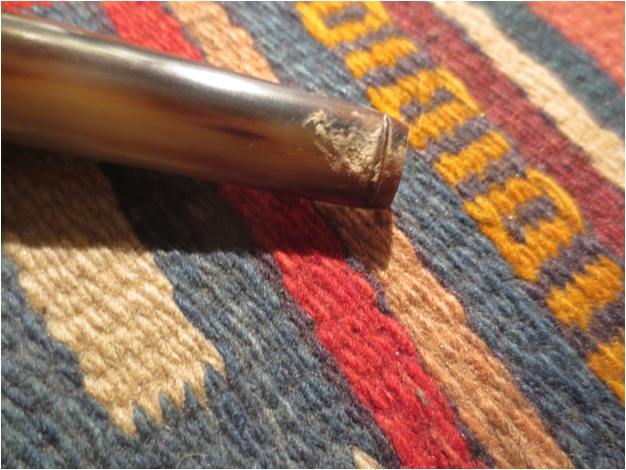
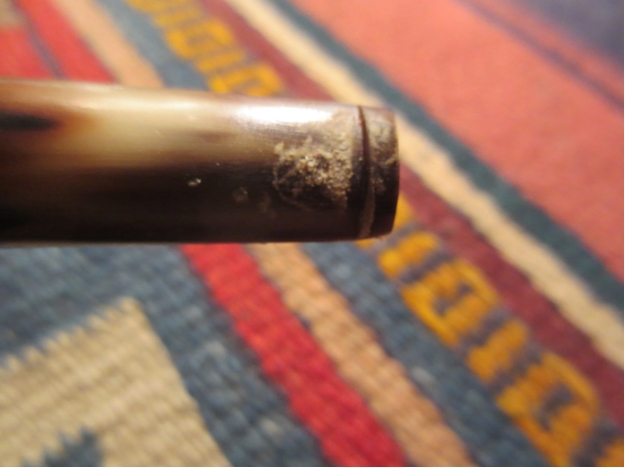
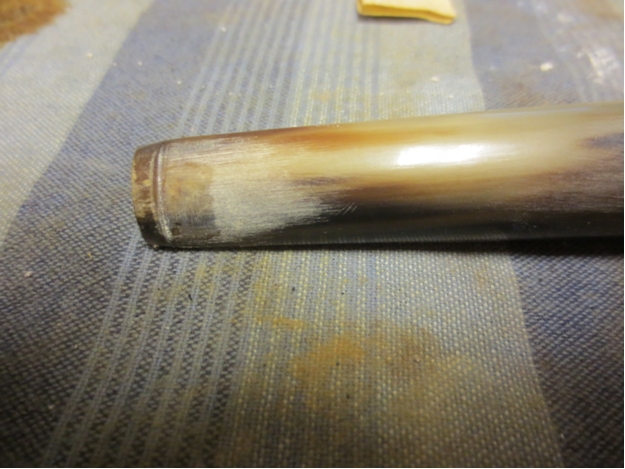
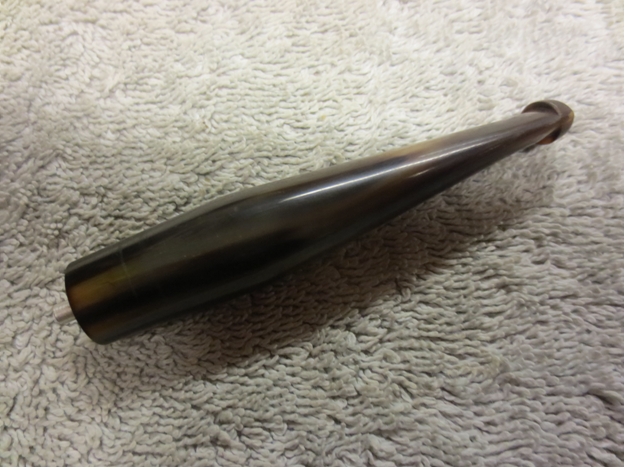
 I built up the top of the button with black super glue until it was close to the original thickness. I would sand and reshape it once it had cured.
 I stained the bowl with a dark brown aniline stain thinned 3 parts to 1 part alcohol. I flamed it and restained until the finish had an even coverage.
 I hand buffed the bowl and shank with a cotton cloth that served to give it a light polish and also smoothed out the stain on the surface of the bowl, rim and shank.


 The stain was still too opaque to my liking and hid the grain on the pipe so I wiped it down with isopropyl alcohol on cotton pads to remove some of it and allow the grain to show through the finish.


 The photo below shows the pipe when I had finished wiping it down with alcohol. The finish is exactly what I was aiming for. I wanted it to be a warm brown that hid the repairs to the dings in the finish. It worked well.
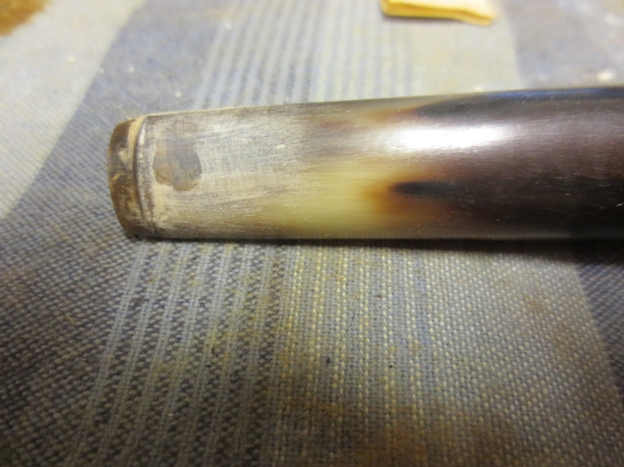
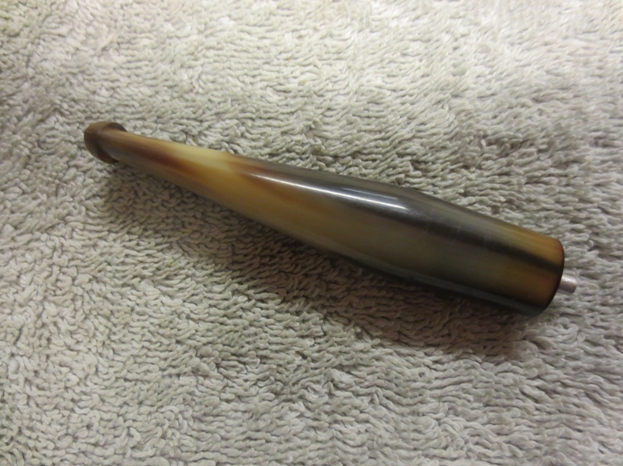
 I sharpened the edge of the button with a needle file and then sanded the stem with 220 grit sandpaper and a medium and fine grit sanding sponge.

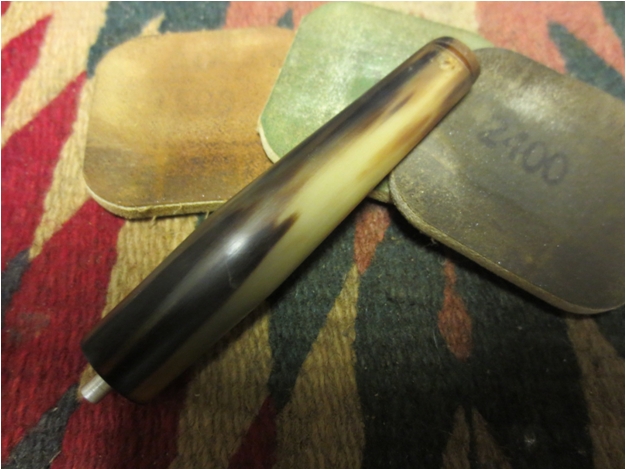
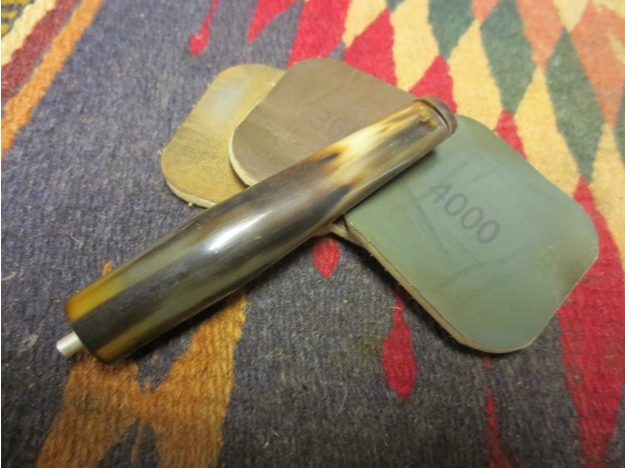
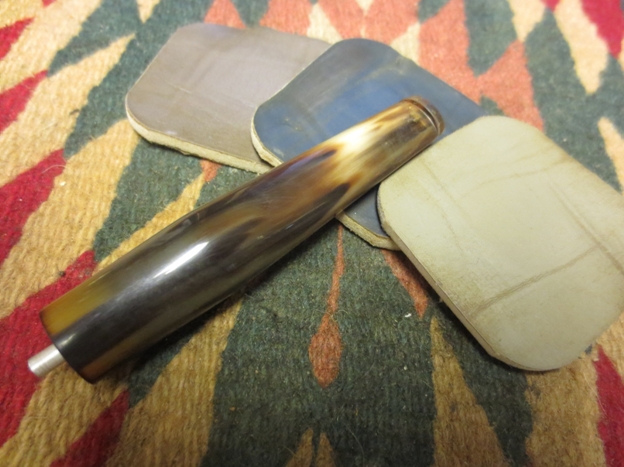
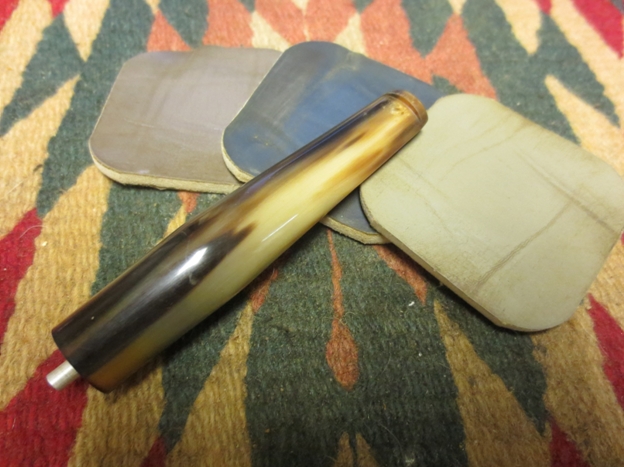
 I continued to sand with micromesh sanding pads – wet sanding with 1500-2400 grit pads and dry sanding with 3200-12,000 grit pads. Between each set of three pads I rubbed the stem down with Obsidian Oil and then continued with the next set. When I had finished sanding with the 12,000 grit pad I rubbed it down a final time and then buffed it with White Diamond on the buffing wheel.


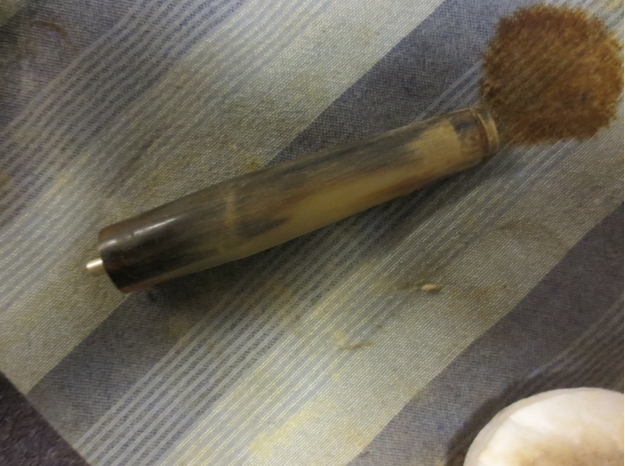
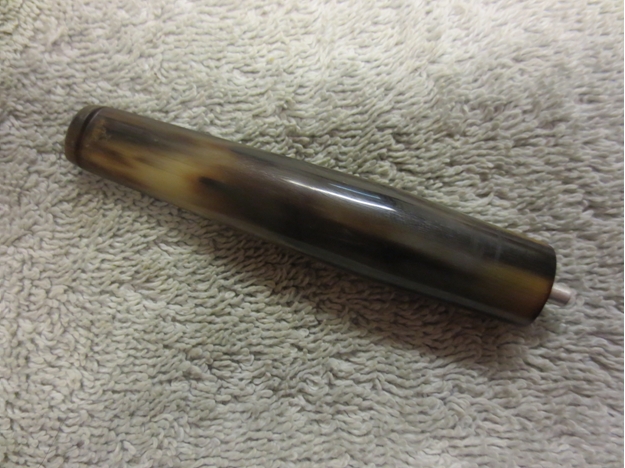
 I buffed the bowl and stem with White Diamond, cautiously around the stamping on the shank. I gave it multiple coats of carnauba wax and lightly buffed the pipe with a soft flannel buff. The finished pipe is shown below.


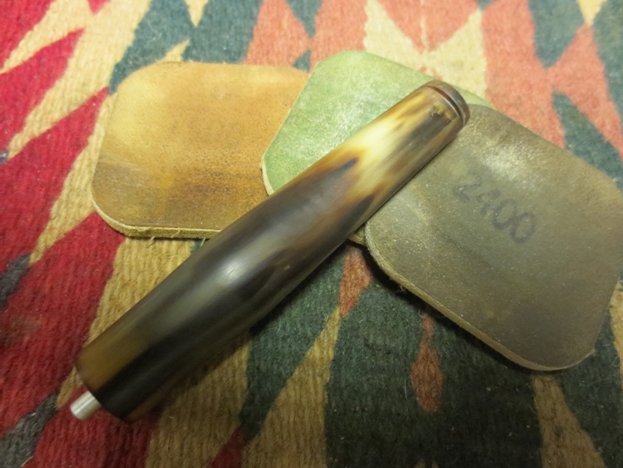
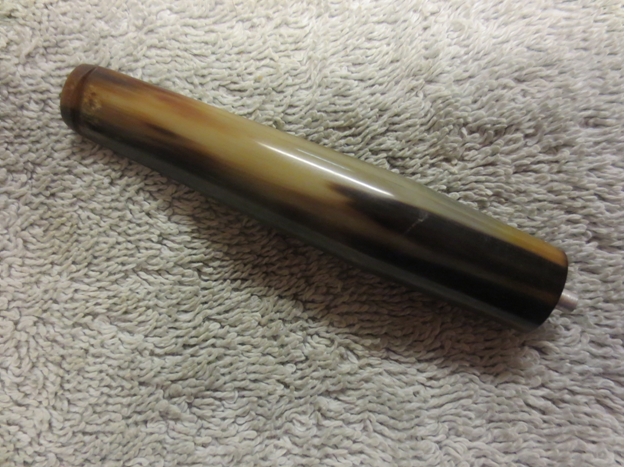
 In the process of repairing the inner edge of the rim I used a folded piece of sandpaper to bevel the inner edge to bring it back to round and to deal with the divot out of the left side of the edge. The finished rim is shown in the close up photo below. The inner edge is better than it was when I started and looks close to round. I have included a variety of photos of the rim and the stem for your viewing. This should be a great smoking old Kaywoodie.