Daily Archives: June 21, 2014

Black Superglue Patches (ring around the collar) – by Joyal Taylor aka holymolar


Blog by Joyal Taylor

This is the third article by Joyal (known online as holymolar). Again it is with pleasure that I put this on the blog. Joyal had emailed me that he was working on this piece for the blog. I was looking forward to reading his thoughts on this. Others have mentioned the problem to me when they used the black super glue. Joyal has done some good experimenting and I am pretty certain he has gotten to the root of the problem. Thanks Joyal for taking time to write-up your experience and tips on this patching process. This is a what rebornpipes is all about – taking ideas and experimenting and improving them. Without further introduction have a read on what Joyal has learned.

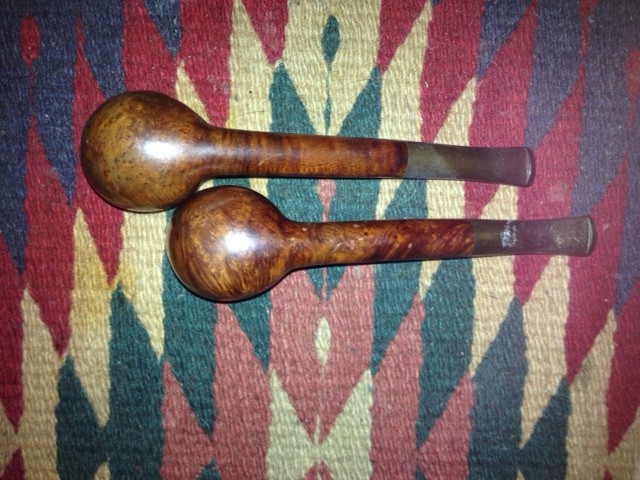
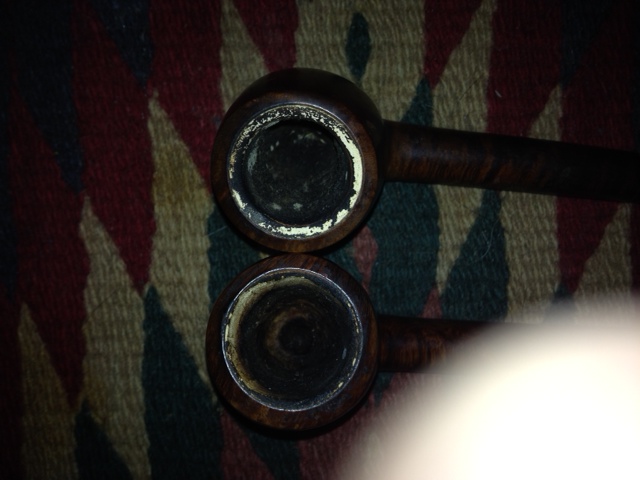
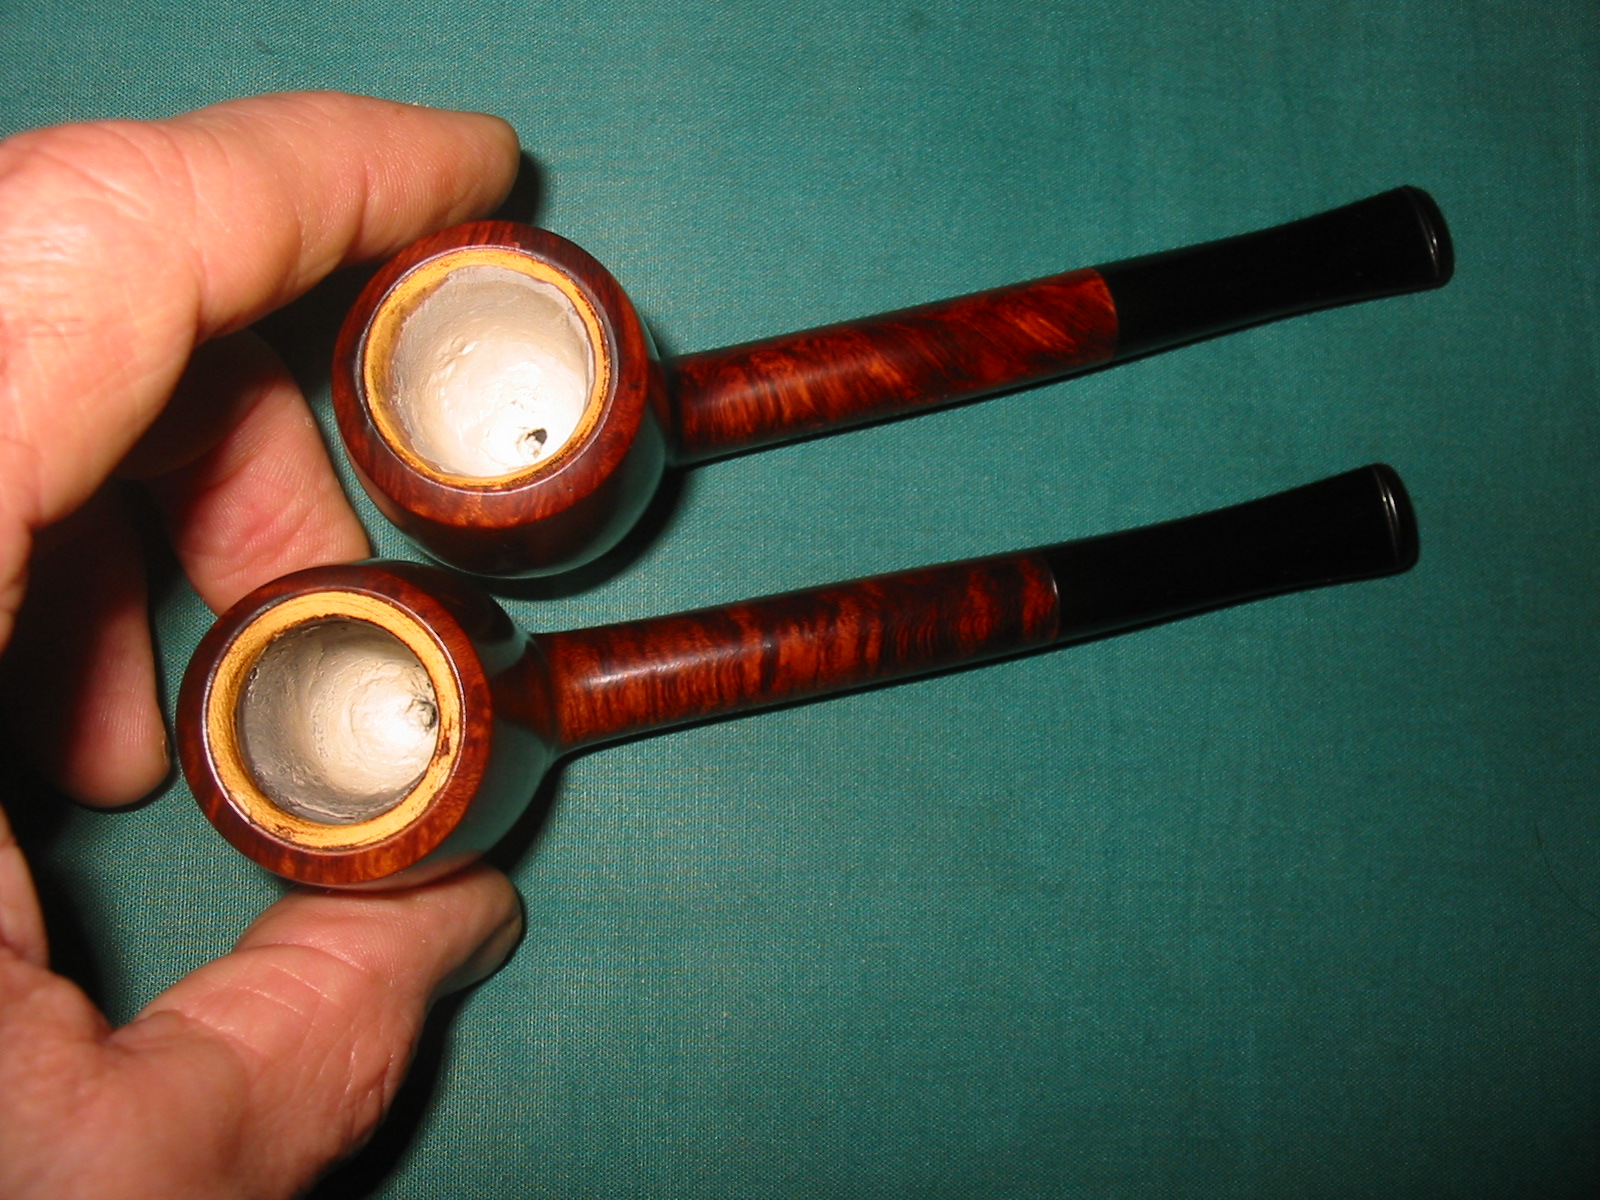
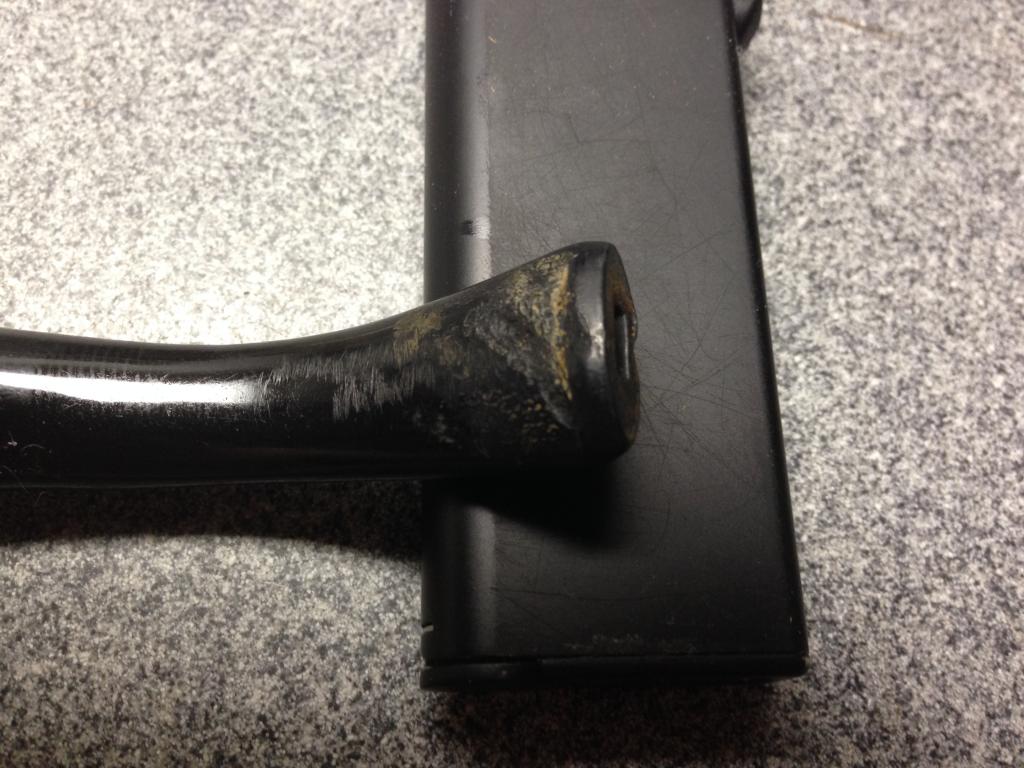
The first few times that I patched stem holes and deep tooth marks with black superglue, I ended up with white margins like these: (very evident when a flashlight is shined on the patch at an angle).
Photo #1

Photo #2
At first, I thought that I must have contaminated it by sanding before the glue had totally set. But now, I’m convinced it was because I didn’t remove all of the oxidation beforehand. I’ve learned a few tricks with black superglue patching.

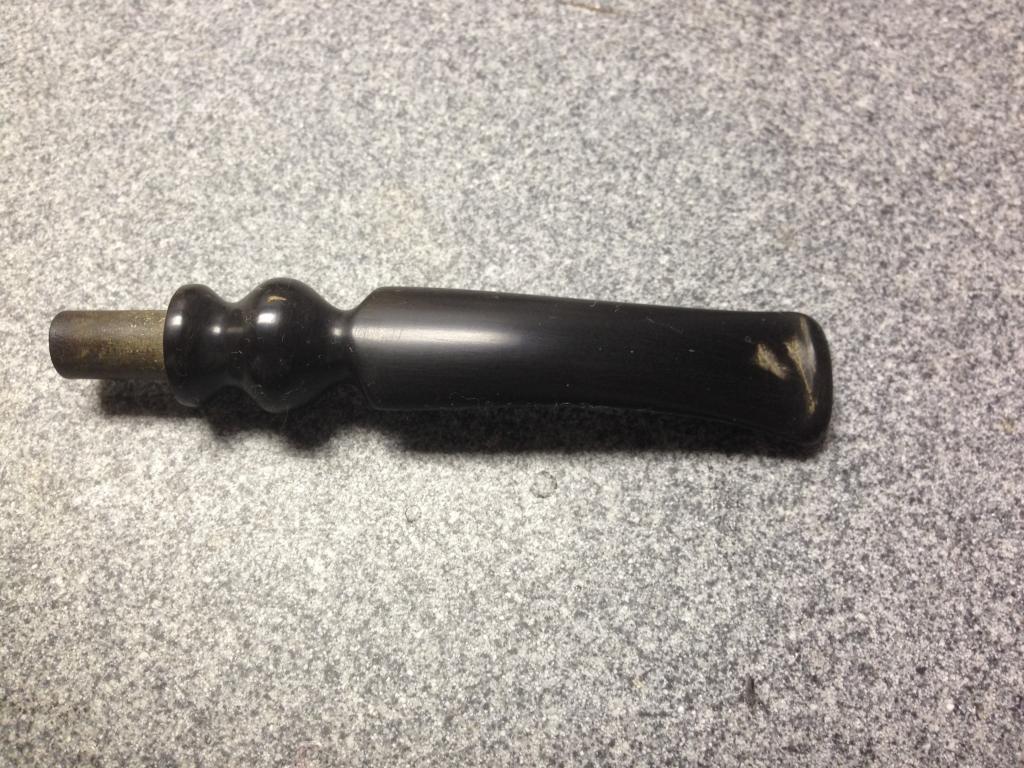
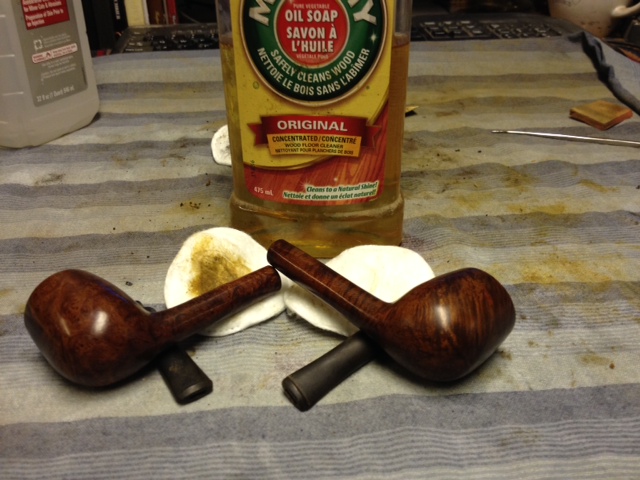
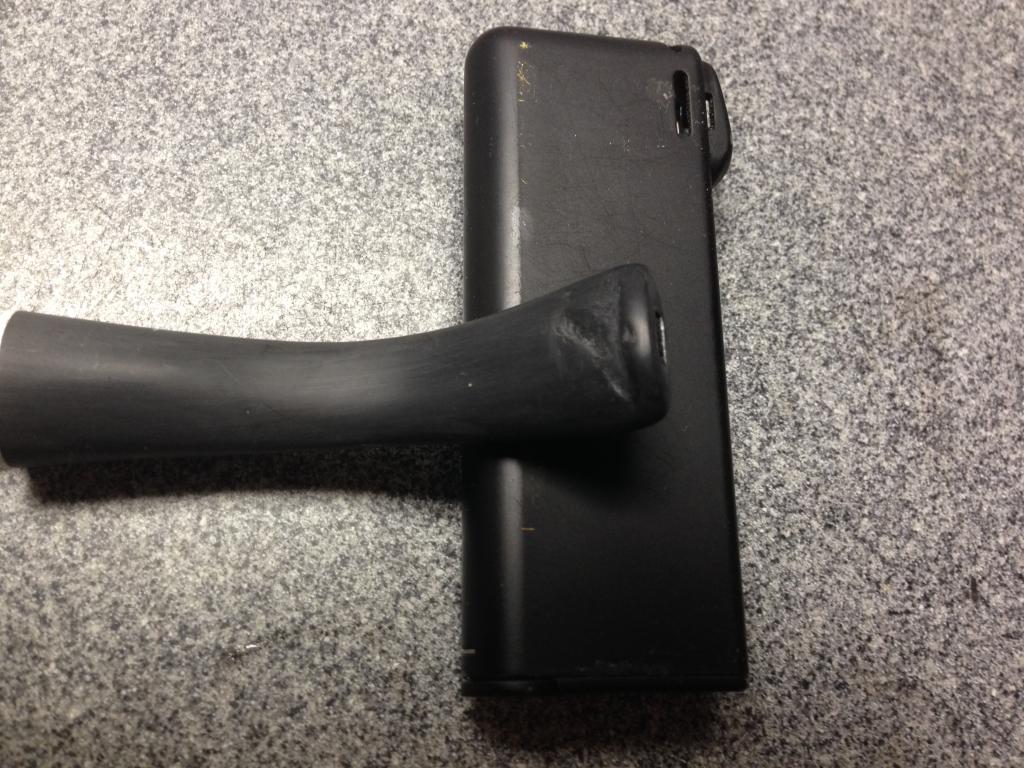
Here’s the before photos of a Dr Grabow stem that I recently patched. It’s not a high quality vulcanite but a relatively soft rubber.
Photo #3

Photo #4
Tip #1 – Absolutely ALL oxidation and oils must be removed before patching. There are many ways to remove oxidation but, for this, I prefer the most aggressive method that I know – A bleach bath for an hour or more. Then a 1 hour alcohol bath to remove the bleach smell and taste. The bleach causes surface pitting but, in my mind, that means it has removed the deepest oxidation. (Sometimes I’ll follow with a Oxyclean bath as well). After the bleach and alcohol, lots and lots of sanding is necessary to smooth down the pitting. I use 220-800 grit with water.
Photo #5

Photo #6
Tip #2 – Clean out the hole with a small round burr in a Dremel. Remove all oxidation and discolorations from inside the hole. “Feather” the edge which makes for better blending of the glue/stem junction and it also removes any microscopic particles of oxidation that may be hiding in the ragged edges.
Photo #7

Photo #8
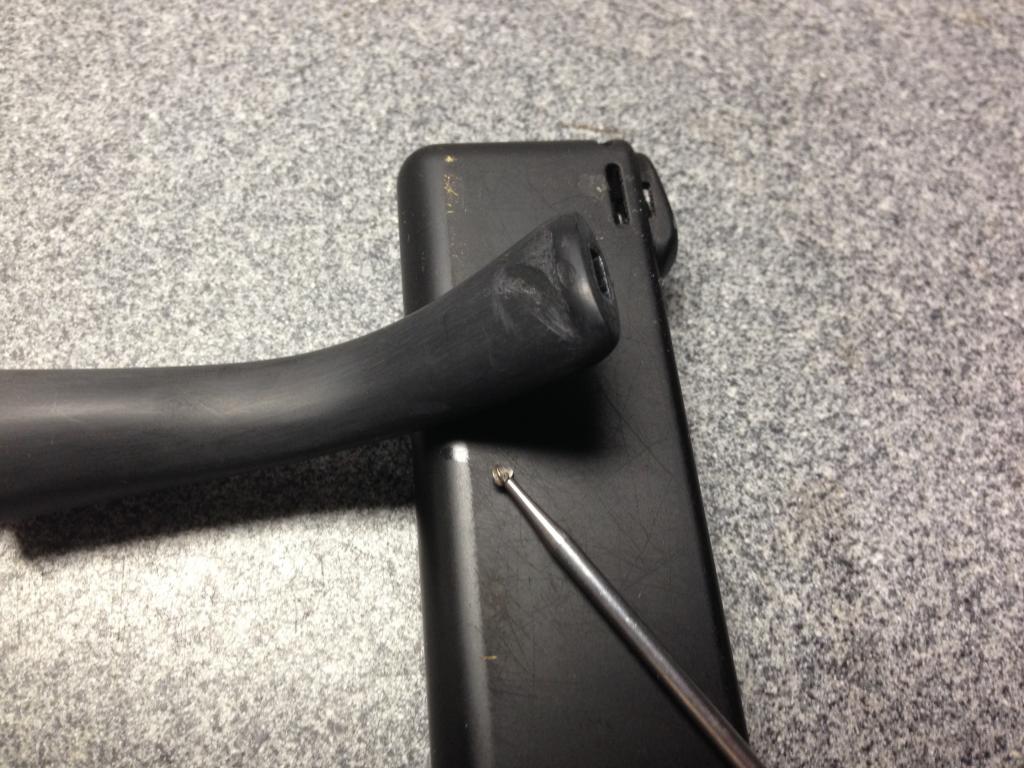
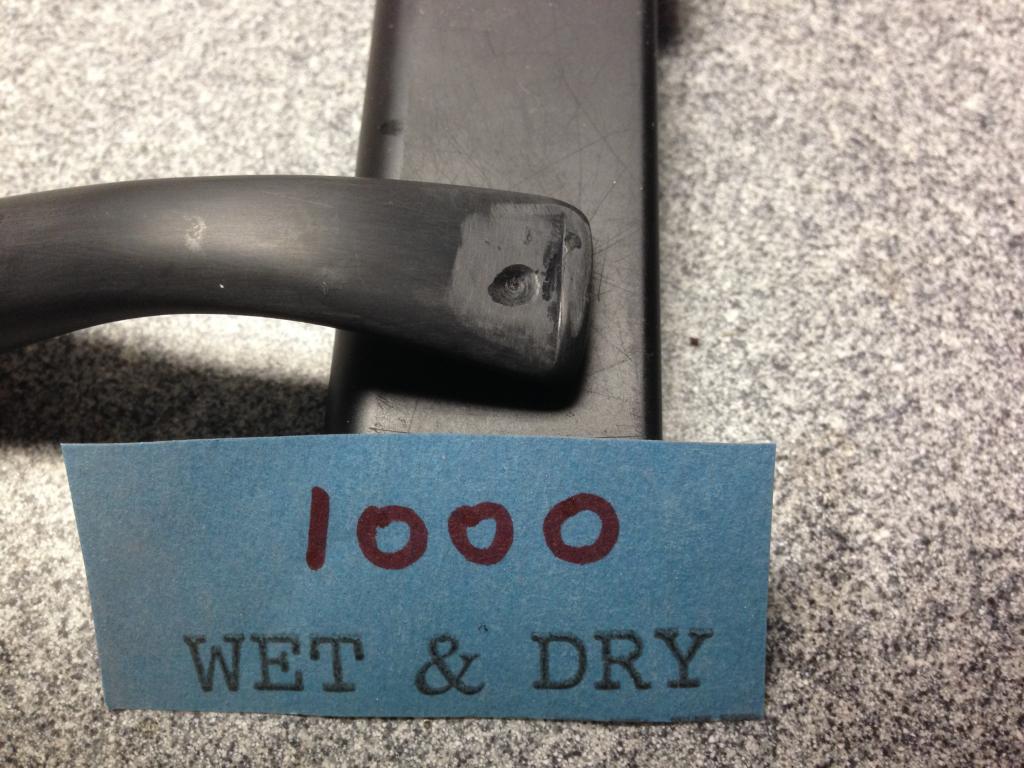
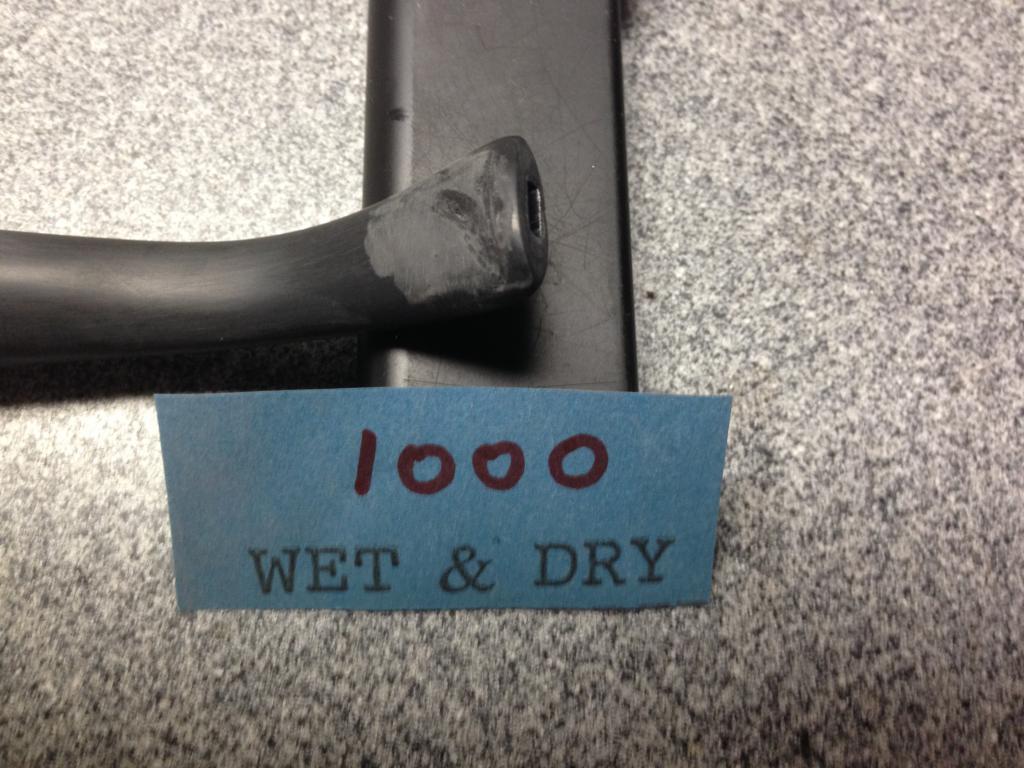
Tip #3 – Now use 1000 grit sandpaper on the edges to smooth it out some more. Remove any dust or oils with an alcohol wipe.
Photo #9

Photo #10
I sand down the overfill (220-2500 grit) until it’s even with the surface. (If necessary, I’ll freshen up the bit with needle files). Then micro mesh (4000 -12000), carnauba, and buff.

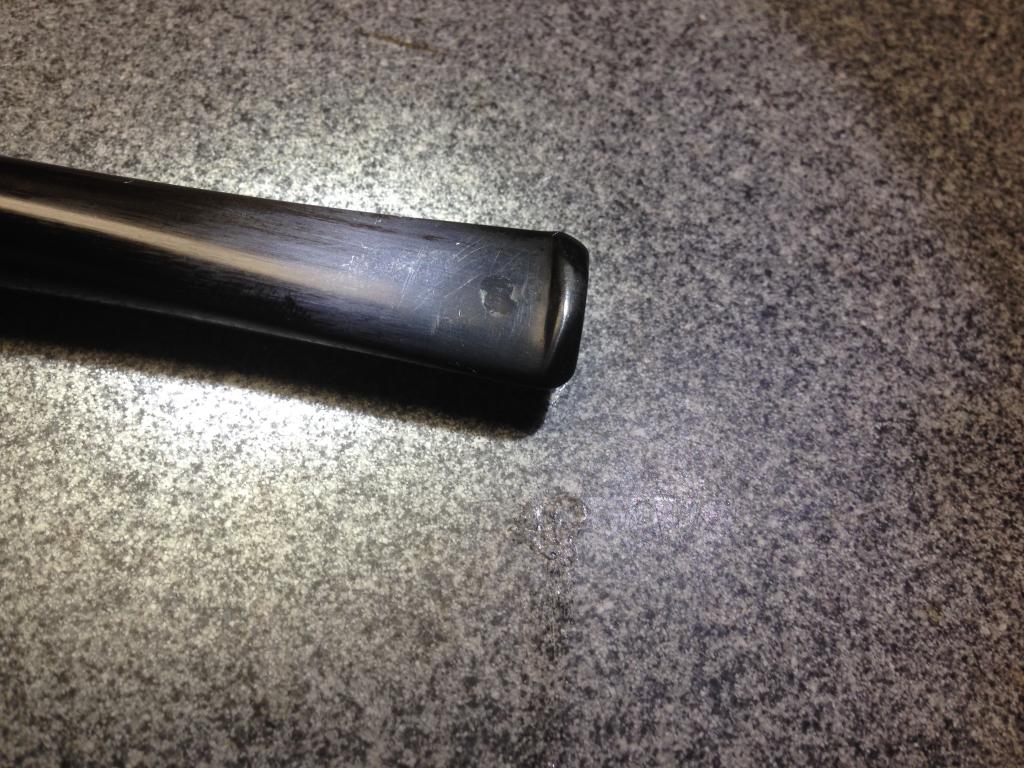
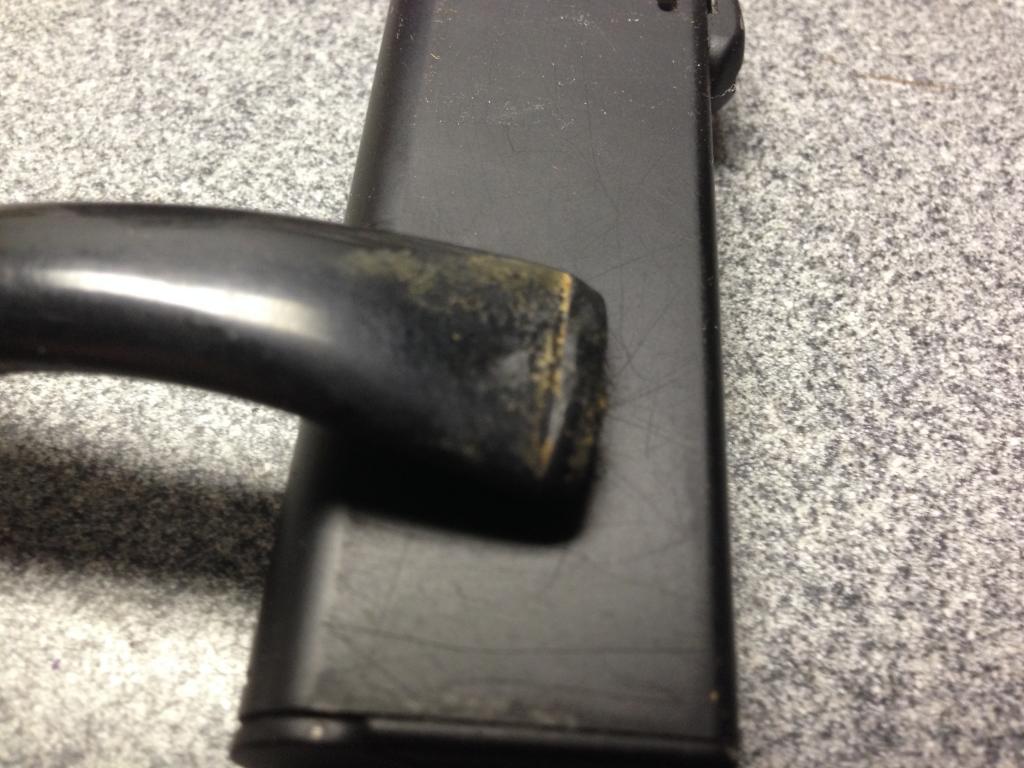
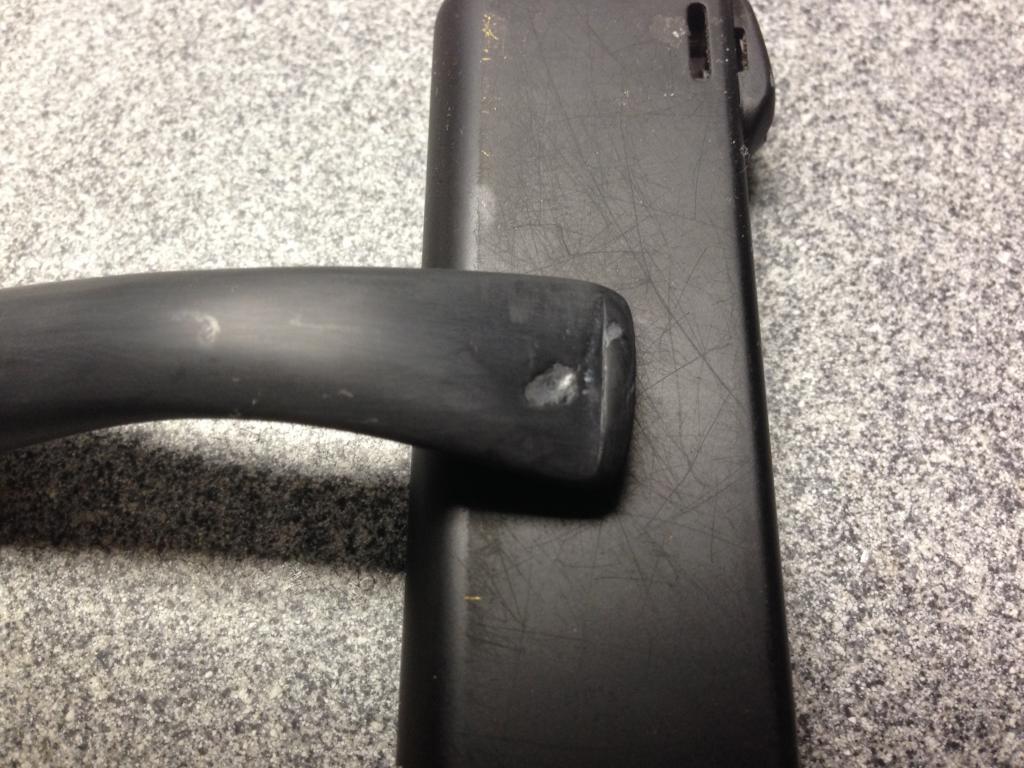
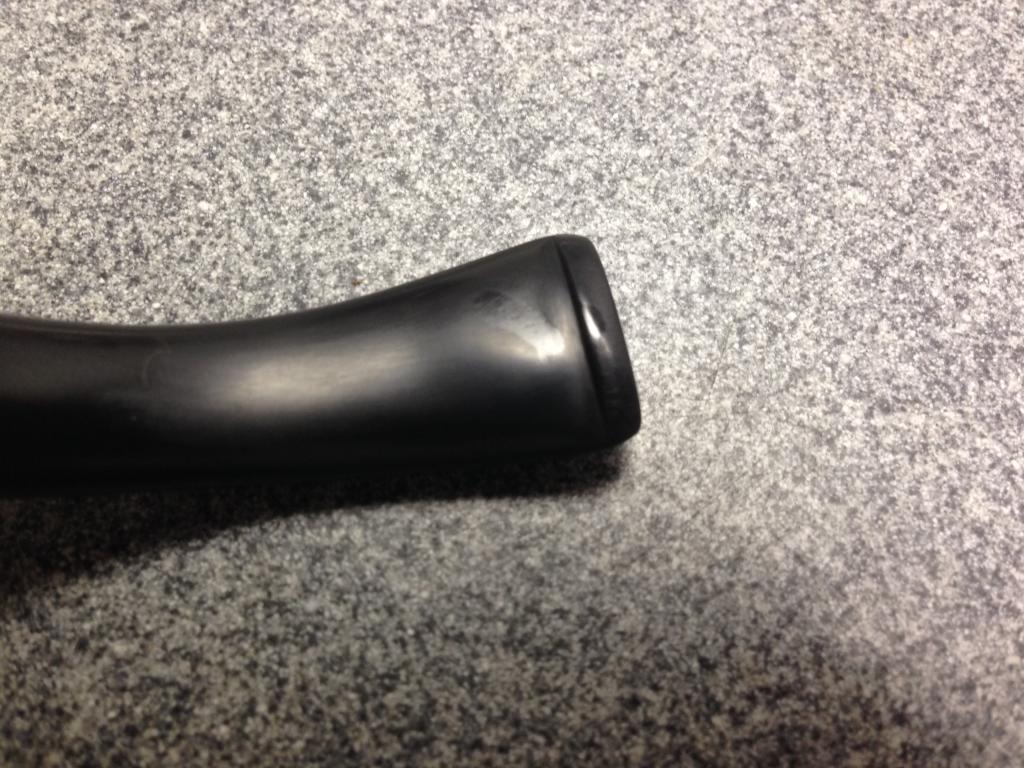
Here’s the after photos on that Dr Grabow stem before final polishing/waxing – .so it can be seen better without the glare of the camera flash on fully polished stems. No more “ring around the collar”.
Photo #11

Photo #12
Sometimes, on good quality vulcanite, I have difficulty seeing where the patches were.
Photo #13

Photo #14

Restoring a Second set of Twins – English Made Tinder Box Liverpools


In a recent pipe hunt I picked up this second set of twin pipes. They came from the same collection as the pair of Royal Coachman bent billiards. These are stamped The Tinder Box over Meerschaum Lined on the left side of the shank and Imported Briar on the right side of the shank. I stated in the title that they are English-made and I came to that conclusion by the shape, size, staining and overall look of the pipe. Though I cannot definitively prove that, they are very similar to an older Orlik pipe of the same shape that I repaired and restored. The staining and finish were in very good shape. There were relatively few dents and dings in the bowl and shank though both were very grimy and greasy. The rims were clean other than the slight tar build up on the meer portion. The briar outer rim was in great shape with no nicks of dents. The stems were oxidized and had calcium build up all over the surface. There were also sticky places on the stem that looked like the residue from a sales label. Since they did not have a label when I bought them I am thinking this maybe the original labels on the pipe stems. Inside the bowl was slightly caked and had tobacco residue stuck to the walls. The inside of the shank and stem were very dirty with tarry buildup. The slot on both mouthpieces had narrowed with the tars.
meer1meer2meer3meer5The meerschaum lining on the two was in great shape except for the bottom of the bowl. The lining on the bowl of the top pipe above and below shows the break through on the lining. It was worn all the way through to the briar. The size of the hole was about the size and shape of a pencil. The lining on the bottom pipe was not as worn but was significantly below the airway and showed damage. It was very thin if my measurements were correct. Both of these bowls would need to be addressed in a restoration.
meer4I cleaned out the inside of the bowl and the shank to prepare for patching the bottom of each bowl. I used cotton swabs, isopropyl alcohol and pipe cleaners to remove the tars and grime from the inside of both. I also used a fine sanding sponge to remove the tars from the top of the rim and the meer lining. All of this was done to prepare for the repairs I was planning for the inside of the bowl.
meer6I scrubbed the outside of the bowl and shank with Murphy’s Oil Soap on cotton pads to remove the grime and sticky substances on them both. I also rubbed down the stem with the oil soap.
meer7I mixed a small batch of Plaster of Paris in a plastic bowl that I use for mixing and cleaning pipes. I generally pour in the dry powder and then use an ear syringe to add water slowly to the mix to get the right consistency for a patch. I learned the hard way to do this. I used to pour in the powder and then pour in water. I had to keep adding back and forth to get the mix right and always ended up with excess material. This way I can actually mix it in very minute batches, and add water as needed to keep it workable.
meer9I inserted a pipe cleaner into the airway and into the bottom of the bowl to keep the airway from clogging with the mixture. I then pressed the mixture into the bottom of each bowl with the spoon end of a pipe nail and a dental pick. The trick is to push into the bottom and use the dental pick to push it into the holes. Once it is tightly packed by the pick I use the spoon to smooth it out on the walls of the bowl and the flat head to press the bottom of the bowl. In this case the bowl was somewhat conical so I used the spoon the entire time.
meer10I cleaned up the bowl and smoothed out the surface of the repair with my finger. I wet the end of it with water and then rubbed it against the walls and bottom. I do this to knock down the ridges left behind by the spoon. I cannot get it absolutely smooth but it is smooth enough that after a few smokes it matches the surface of the meer lining. In the photo below the top pipe shows that it took the largest amount of patching. It was the bowl that was worn through at the bottom. The crack at the airway is actually not a crack but a pipe cleaner end pushed into the bowl. The bottom bowl took far less of the mixture to patch. I set them aside to cure overnight. The last photo of the bowls shown below shows the bowls after the plaster had cured. They were hard and slightly rough to the touch. I wet my finger again and rubbed down the ridges on the sides and bottom of the bowl until the surface was smoother. I sanded the patch with 220 grit sandpaper and with a medium and fine grit sanding sponge. I wiped down the inside of the bowl with a wet cotton swab to remove the dust from the sanding.
meer12IMG_6899I sanded the stems with 220 grit sandpaper and then a medium and a fine grit sanding sponge. I buffed the stems with red Tripoli and then took them back to the work table. I sanded them both with my usual micromesh sanding pads. I wet sanded with 1500-2400 grit pads and then dry sanded with 3200-12,000 grit pads. I had to stop several times and go back to the sandpaper and sponges to get the deep oxidation. I repeated the sanding with the micromesh pads. I wiped the stems down with Obsidian Oil. When it had dried I buffed the stems and bowls with White Diamond and then gave the pipes a buff with carnauba wax. I finished by buffing with a soft flannel buffing pad to polish. The photos below show the finished pipe. I will let them cure for a few days longer before loading them and giving them a first smoke. I have found that as the plaster heats when smoking it becomes harder and even more cured. It makes a durable and lasting repair.
IMG_6895IMG_6896IMG_6897IMG_6898