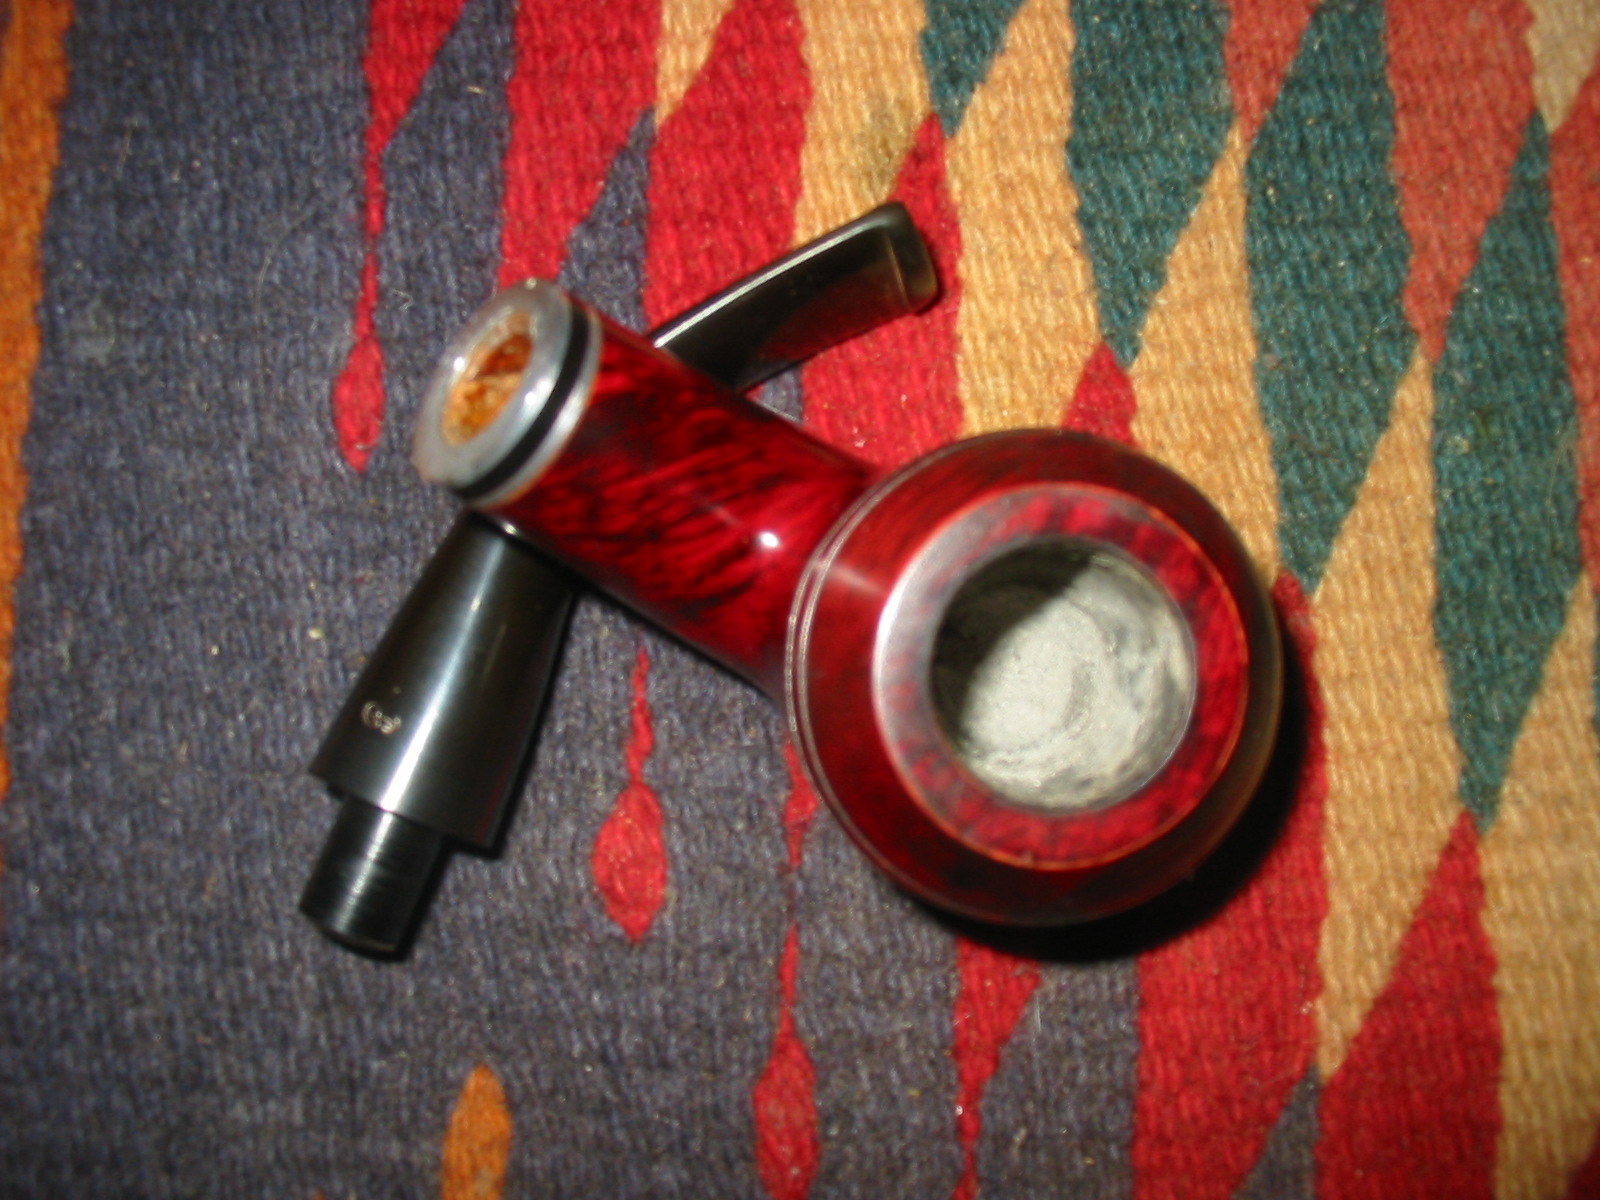
I recently received an email from a friend here in Vancouver about a new Peterson Killarney 999 that he had purchased. He said that though it was a beauty and was quite a good smoking pipe it smoked so hot that he did not enjoy smoking it. He explained to me that when he smoked it the pipe became too hot to hold. He has been a pipeman for many years and never has this issue with his pipes so I knew it was not a technique issue. He explained to me that he had posted about it online seeking advice and everyone told him that it had to be the finish on the pipe. Many suggested that he needed to strip the finish off the bowl, restain it and it would be better. I have learned that there are other causes for a pipe smoking hot. All of them can conspire against a cool smoke. A thick coat of varnish or sealer could possibly be one of those contributing causes but I was just not sure if removing that would cure the issue. We emailed back and forth with questions that I had on the drilling of the pipe, the depth of the bowl, the thickness of the walls etc. He patiently responded to them and finally dropped the pipe by for me to look over. When I got it on the work table and took it apart to have a look I could see that there were multiple issues that would need to be dealt with. Hopefully as each part was addressed the end result would be a cooler smoking pipe.

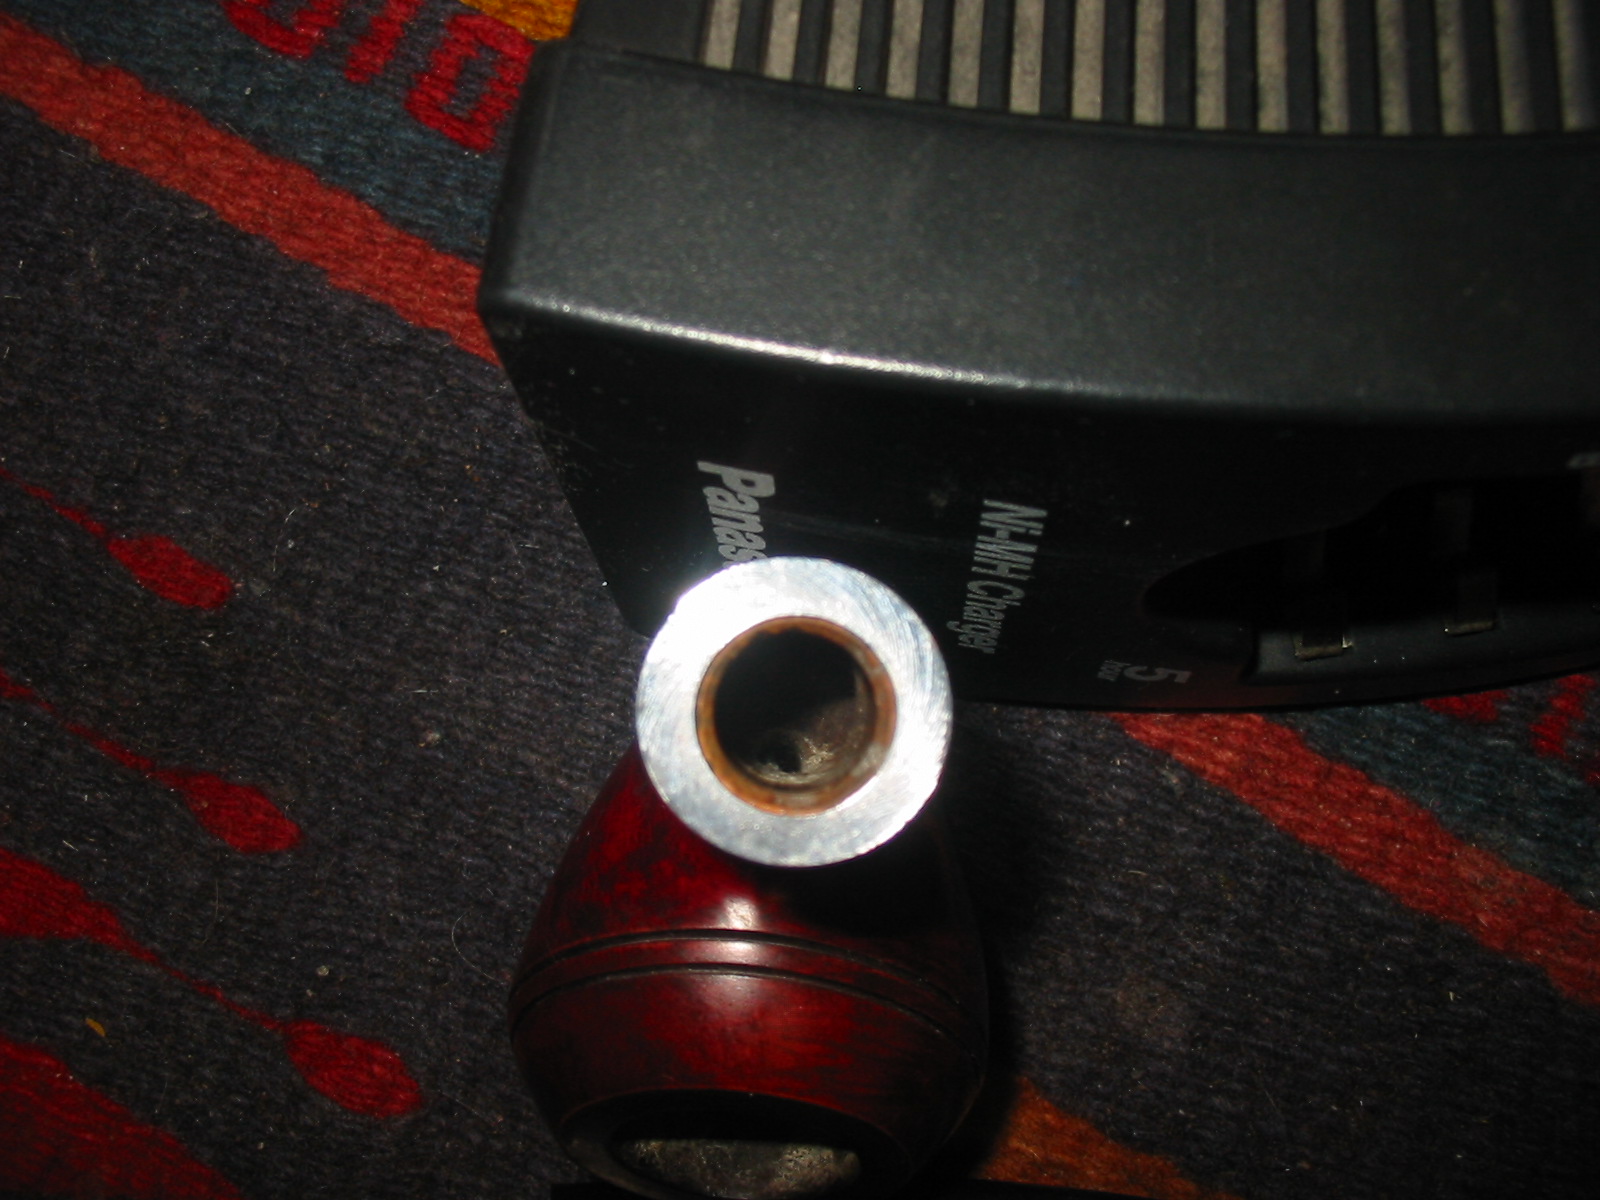
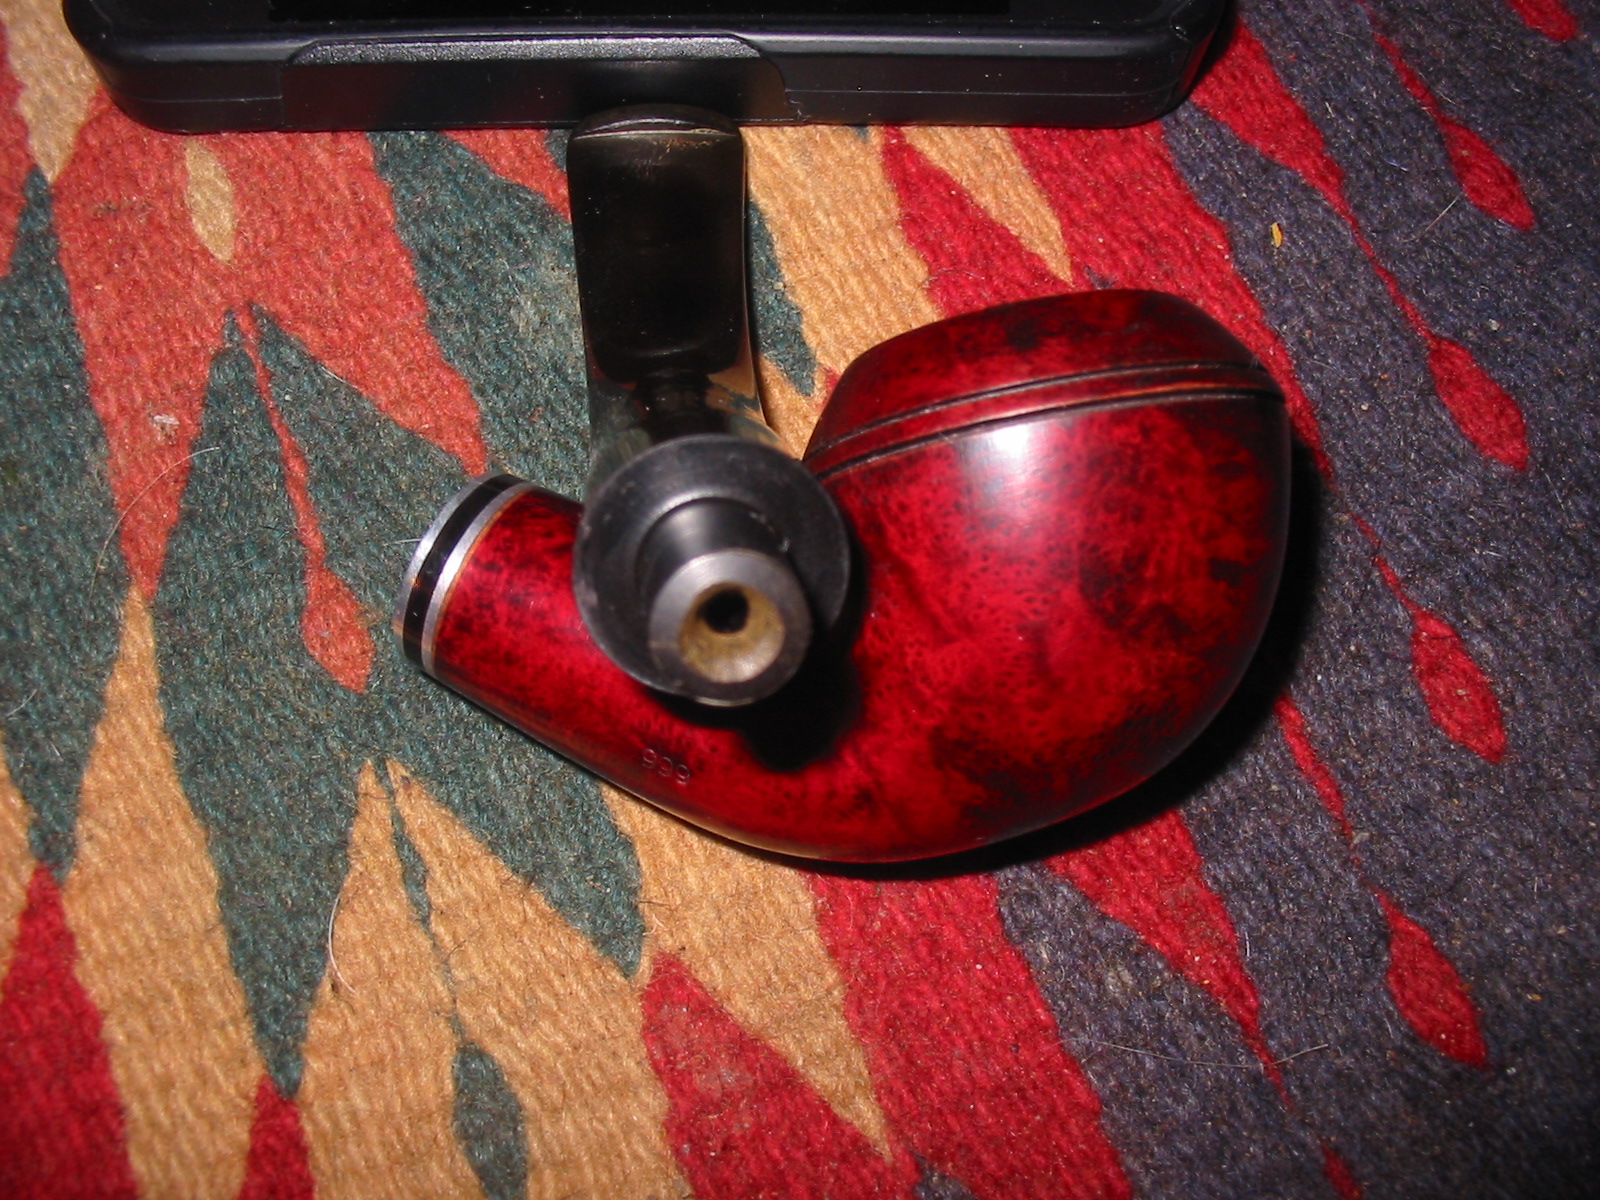
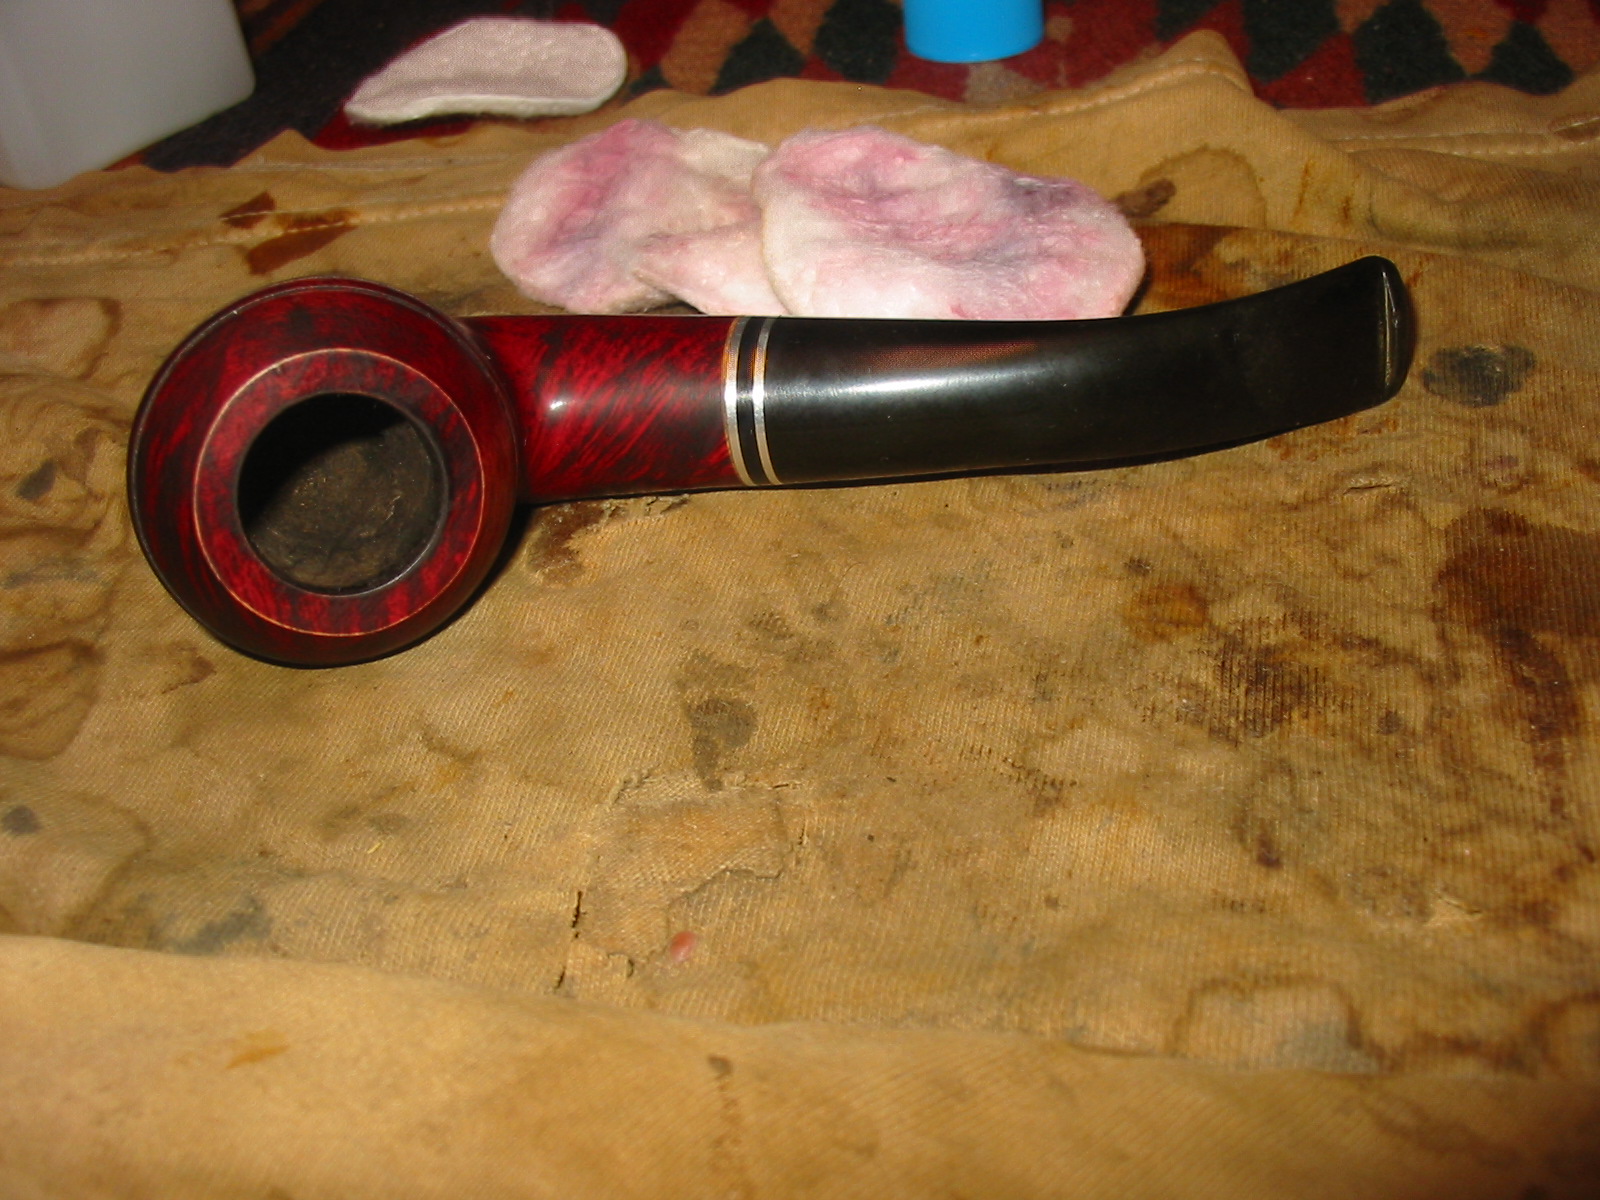
The first thing I saw was that the bowl had been over drilled and the entrance of the airway was high on the side of the bowl. This left the bottom of the bowl and bottom sides quite thin. This would need to be addressed. Then I removed the stem and shone a light down the shank. It too had been drilled very high in the shank and the briar on the top of the shank was also quite thin. I know that on the Peterson pipes there is often a reservoir left for collecting moisture but this was not for that. The end of the mortise was smooth and drilling was very high. I had taken a draw on the pipe and found that it was quite restricted so I was not surprised to see the high drilling. The airway in the tenon was significantly below the airway in the mortise. The way the tenon sat in the shank very little of the airway in the stem contacted the airway in the mortise. Finally I looked at the finish on the pipe. The stain was a dark cherry red. The bowl seemed to have a coat of varnish or something on it. Examining it carefully it became clear that it was more of a plastic coat than just varnish – possibly a urethane finish. To my thinking each of these contributed toward making it a very hot smoking pipe. I was not certain that I could do a lot to change that but I could address each of the issues and see if combined the reworking would make the pipe smoke cooler.
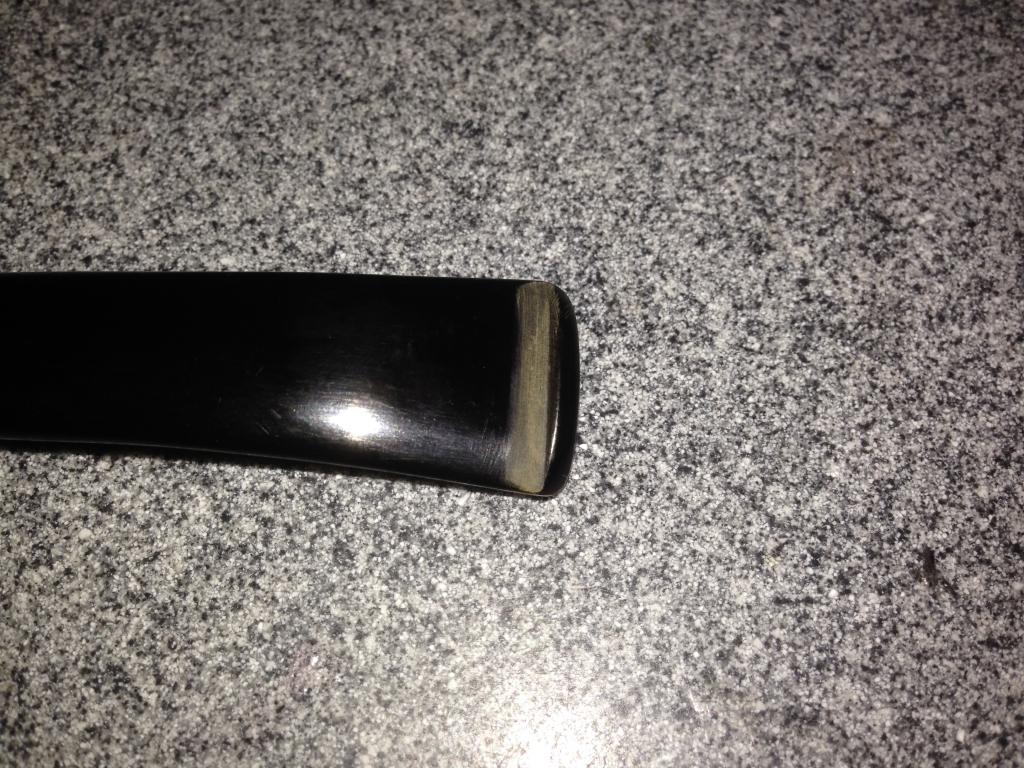
I started with the stem and beveled or chamfered the end of the tenon with a wide funnel. I used a knife to do this rather than a countersink. I wanted to control the angle of the funnel and widen the opening without thinning down the walls of the tenon. I have found in the past that when the airway is high in the mortise, that a funneled end on the tenon can open up the air flow. I believed that in this case the restricted draw could be relieved. Once it was finished I sanded the newly opened funnel to smooth things out and then pushed the stem back in place on the shank. The draw was significantly improved. By opening the airway the flow of air from the bowl would not require as much puffing and pulling by the smoker. The first step in the process was complete.
I then worked on removing the plastic finish on the pipe. This turned out to be far more difficult than I had expected. I wiped the bowl down with alcohol on cotton pads to see if I could break through the top coat. That did absolutely nothing to break the finish. In fact the cotton pad came away clean other than removing the slight oil build up on the bowl. Once the alcohol evaporated the shiny surface still gleamed unscathed. I wiped it down with acetone to see if that would break through. This time I expected the surface to yield to the acetone. If you guessed that this would do nothing in breaking the surface you guessed correctly. The pads came away white –the finish was not even marred by the acetone. It continued to gleam brightly!
With neither of my previously proven ways of removing the finish working I resorted to a more intrusive measure. I sanded the surface with a fine grit sanding sponge to try to break through the shiny surface of the finish. This took time and care, particularly around the stamping on the shank. The sanding dust that came off was a fine white powder – plastic powder not unlike what I get when I sand a Perspex or Lucite stem. I did not want to sand the briar just the topcoat. I sanded until the whole surface was covered with a fine white dust. I wiped it down with the acetone once again. This time the cotton pad came back with a pink wash. Yes! I had finally broken through the finish. I washed the bowl down and then sanded it again and washed it again – repeating the process until the shine was gone. The acetone worked well after that to remove the remaining topcoat. At this point I dropped the bowl in an alcohol bath and left it for the day while I went to work. In the past when I had done this I would return in the evening and find the finish gone and the briar had a nice clean patina to it so I was hoping for the best.
When I got home I took it out of the alcohol bath and dried it off. The finish was gone! The shiny coat had finally given up. The stain had lightened slightly but the grain was nicely visible. I was surprised to find that there were not any highly visible fills under the plastic coat.
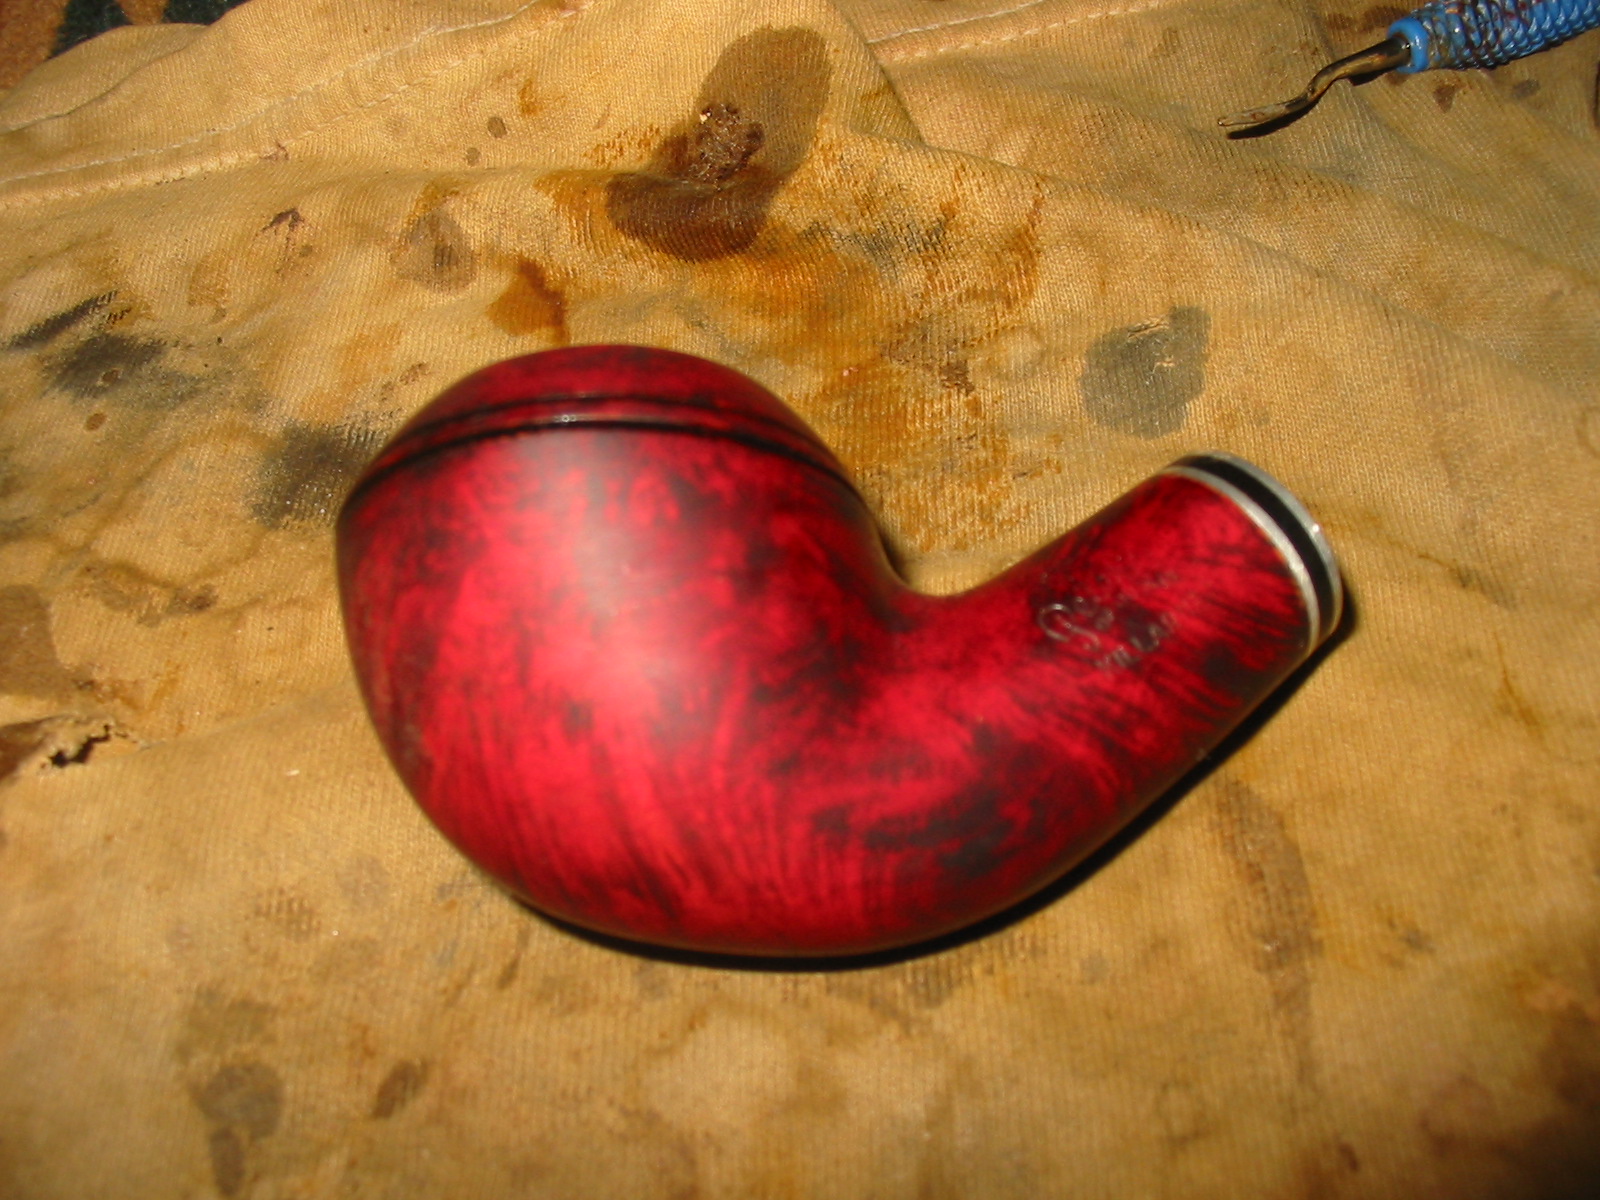
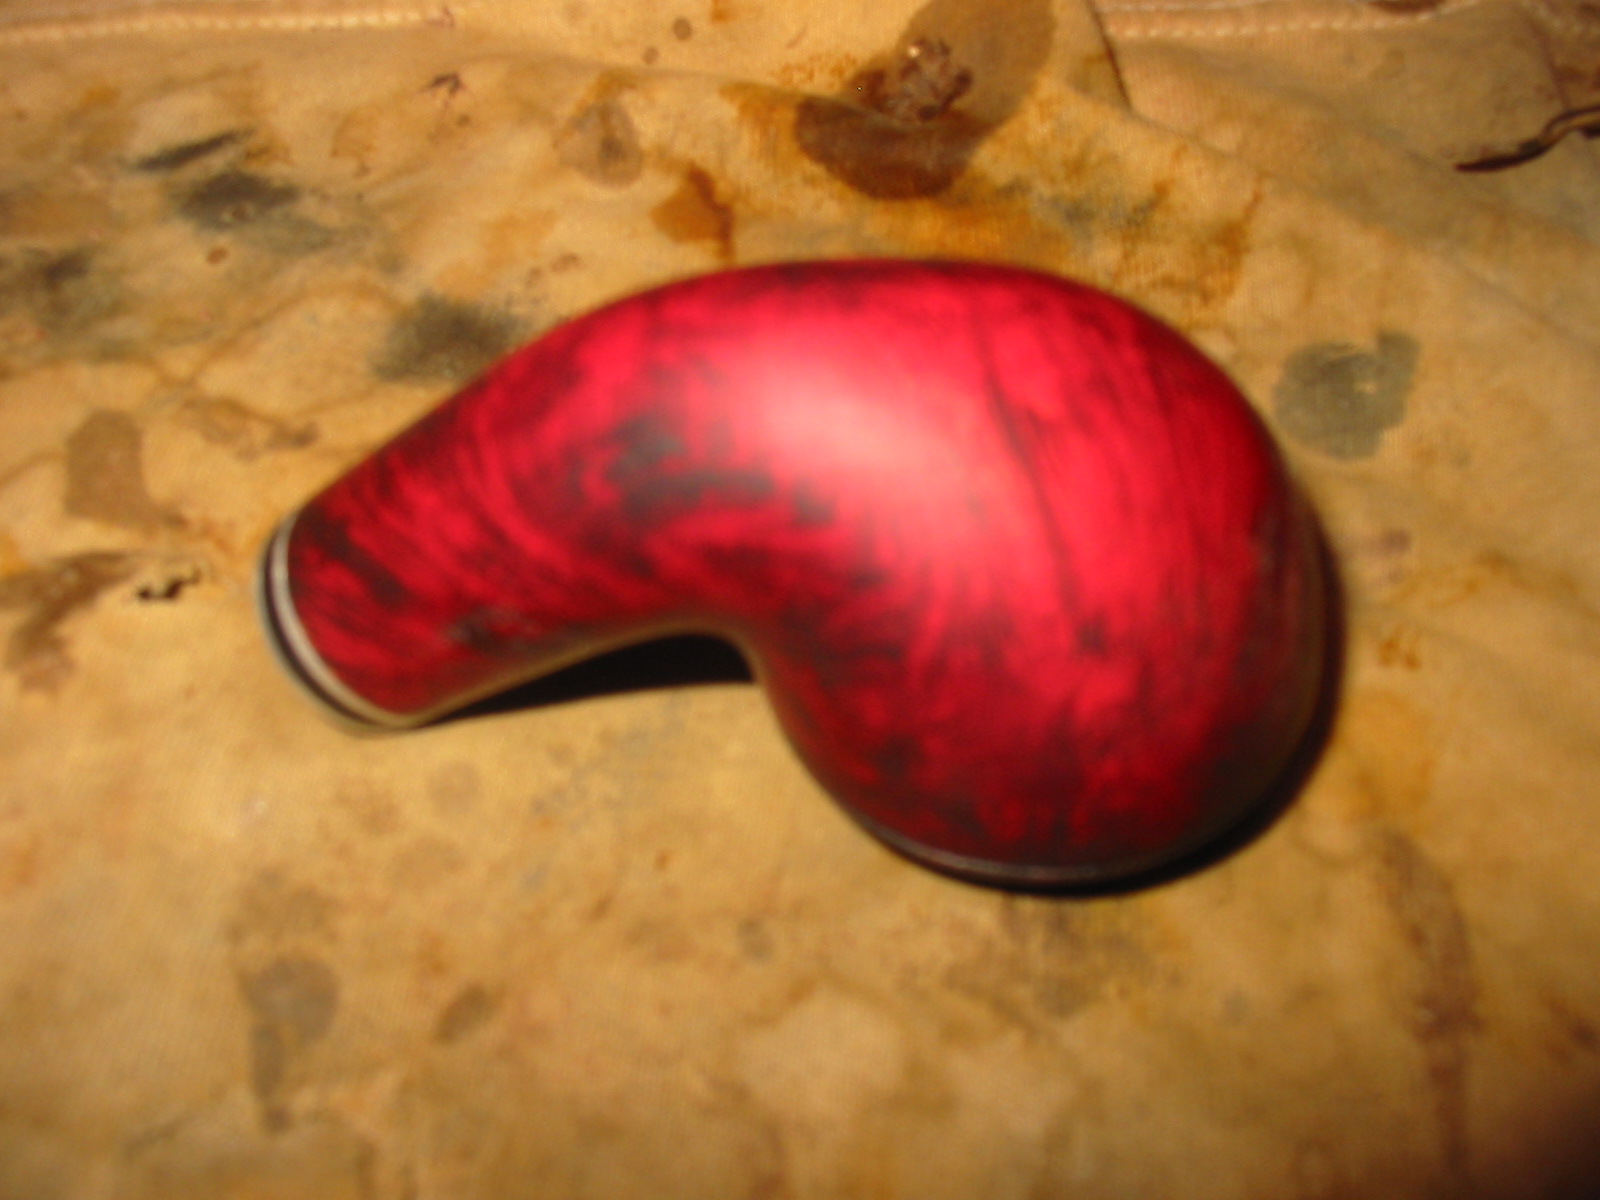
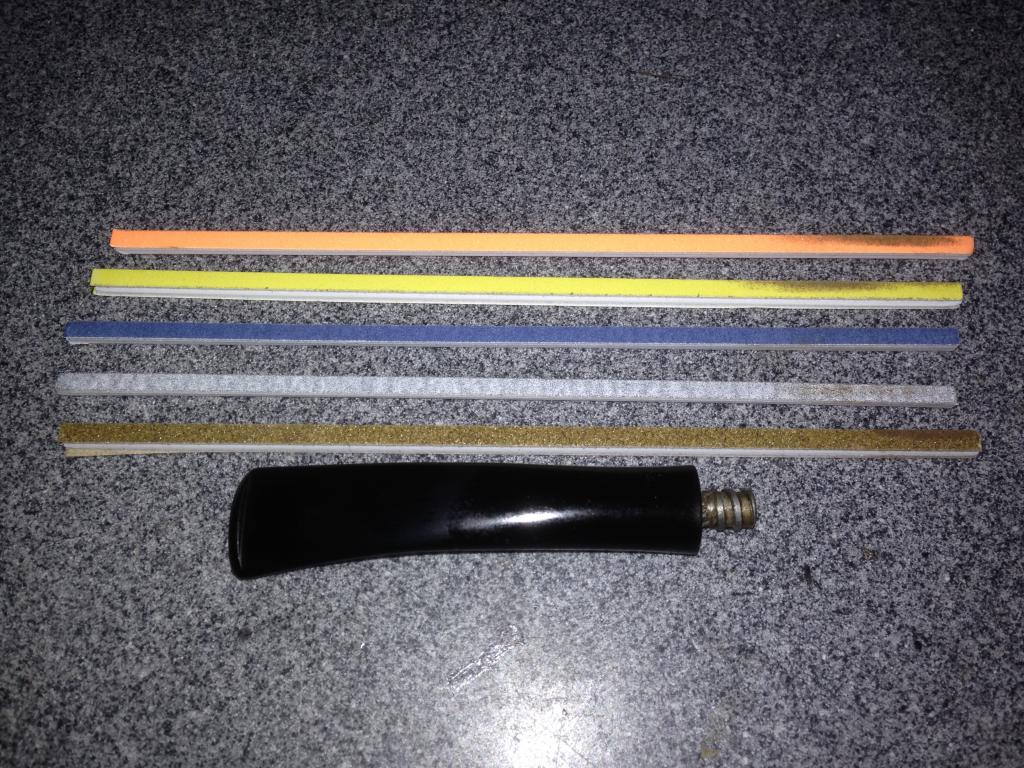
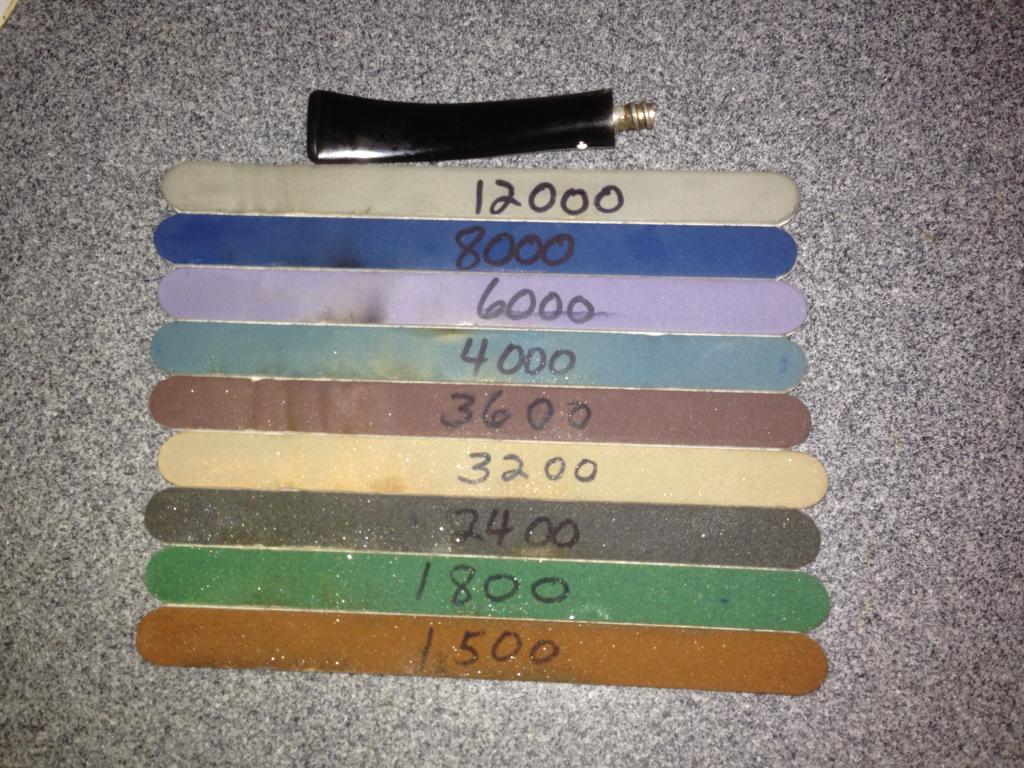
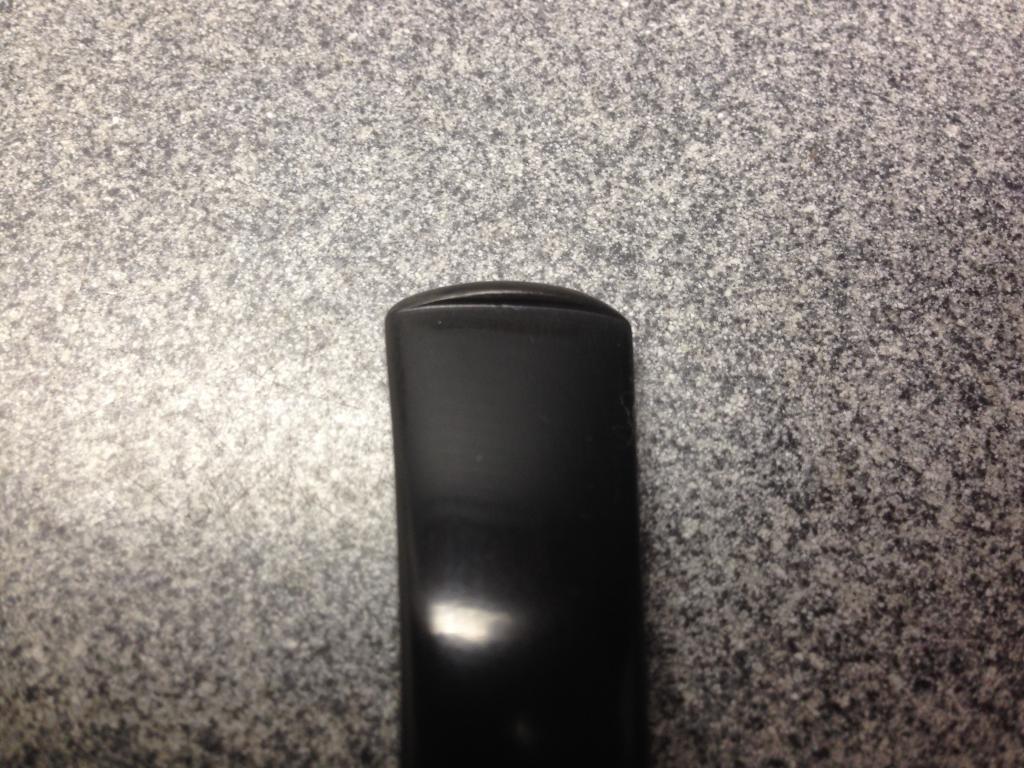
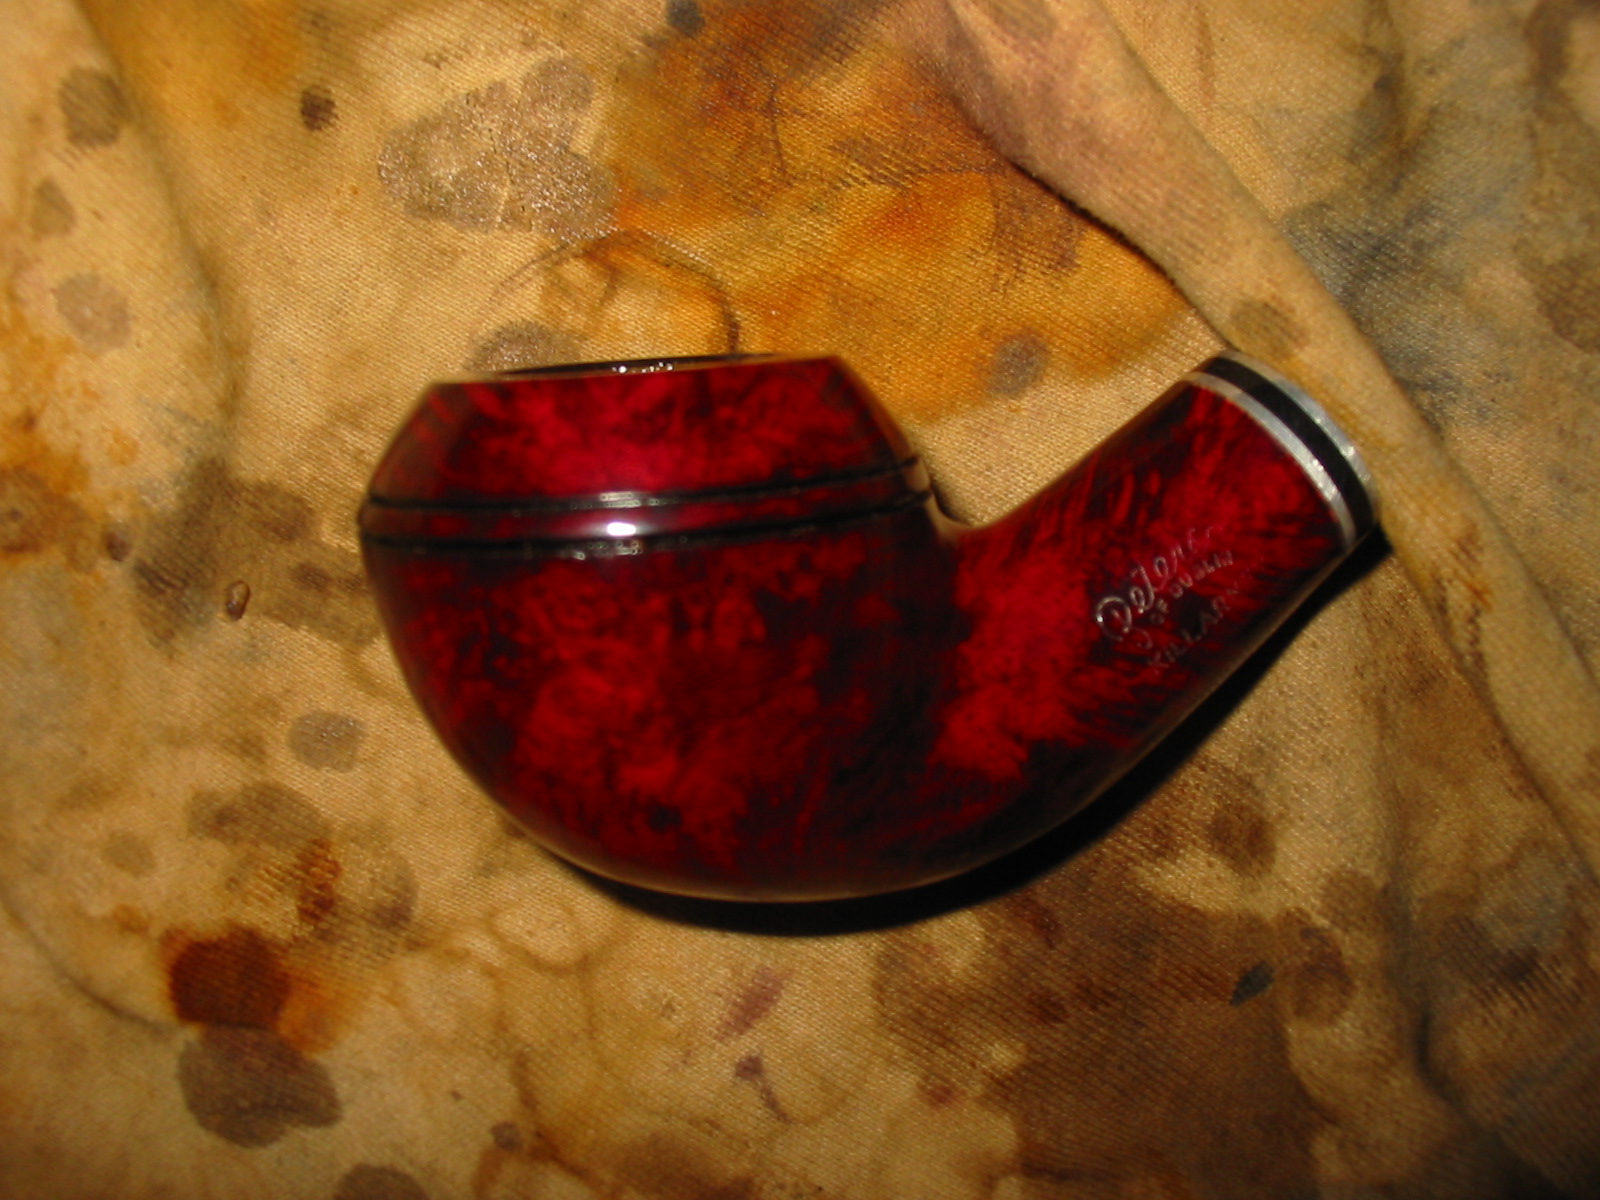
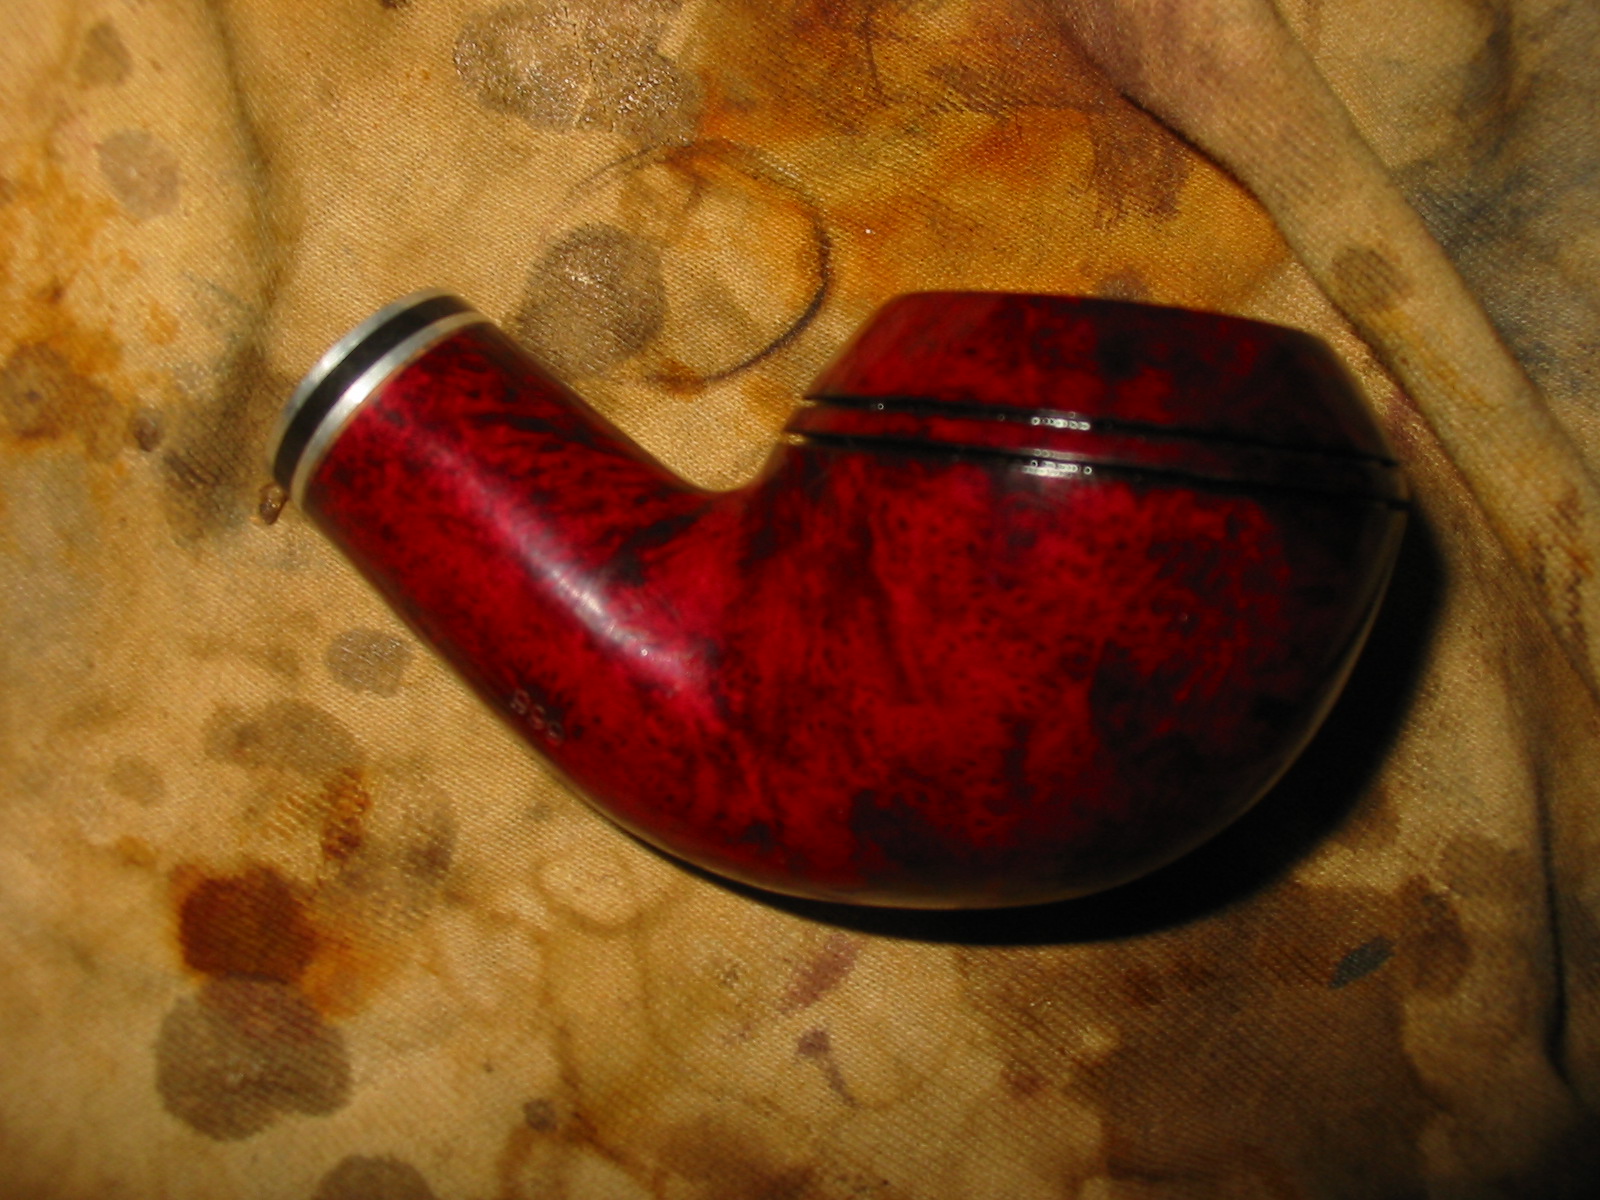
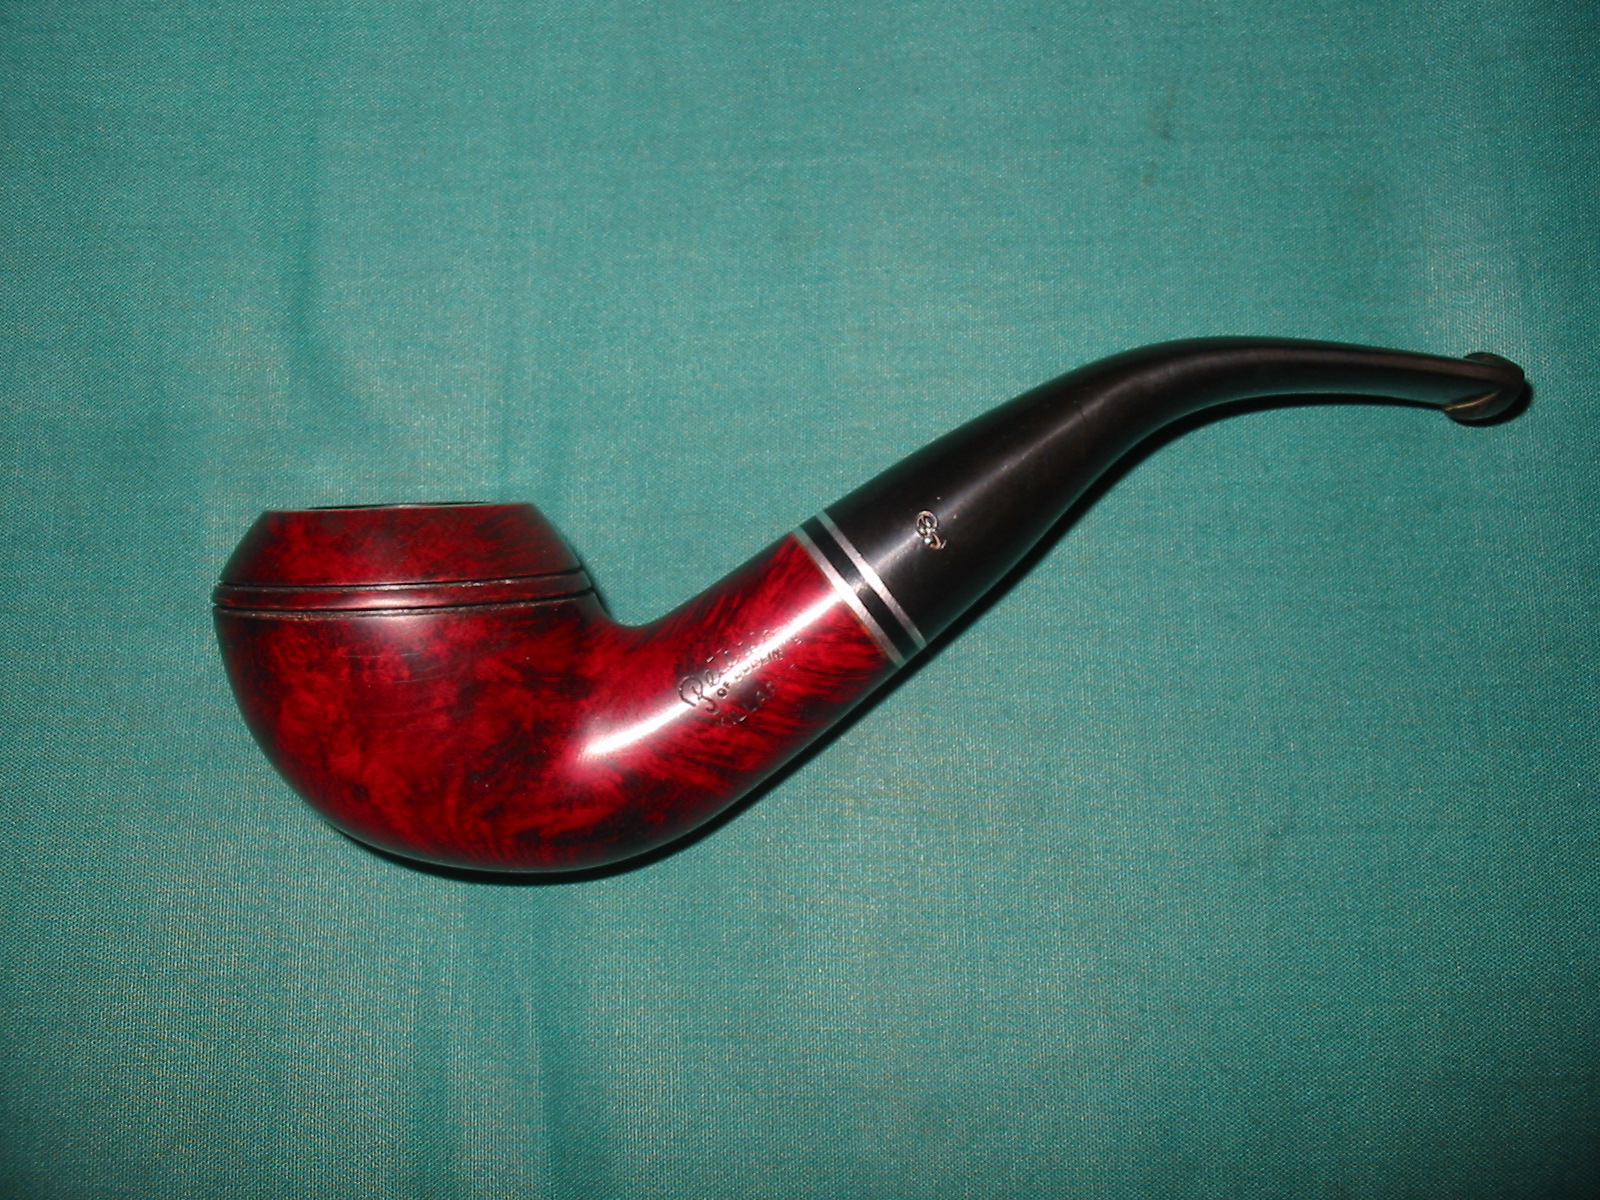
I sanded the bowl with micromesh sanding pads to remove the minute scratches in the briar left behind by the fine grit sanding pads. I had been fairly careful in my sanding to only break through the top coat of plastic so these were not significant. I wiped the bowl down with acetone on cotton pads after sanding to remove the sanding dust and see where the finish was now. I put the stem back in place and took the following photos to get a look at the pipe at this point in the process.
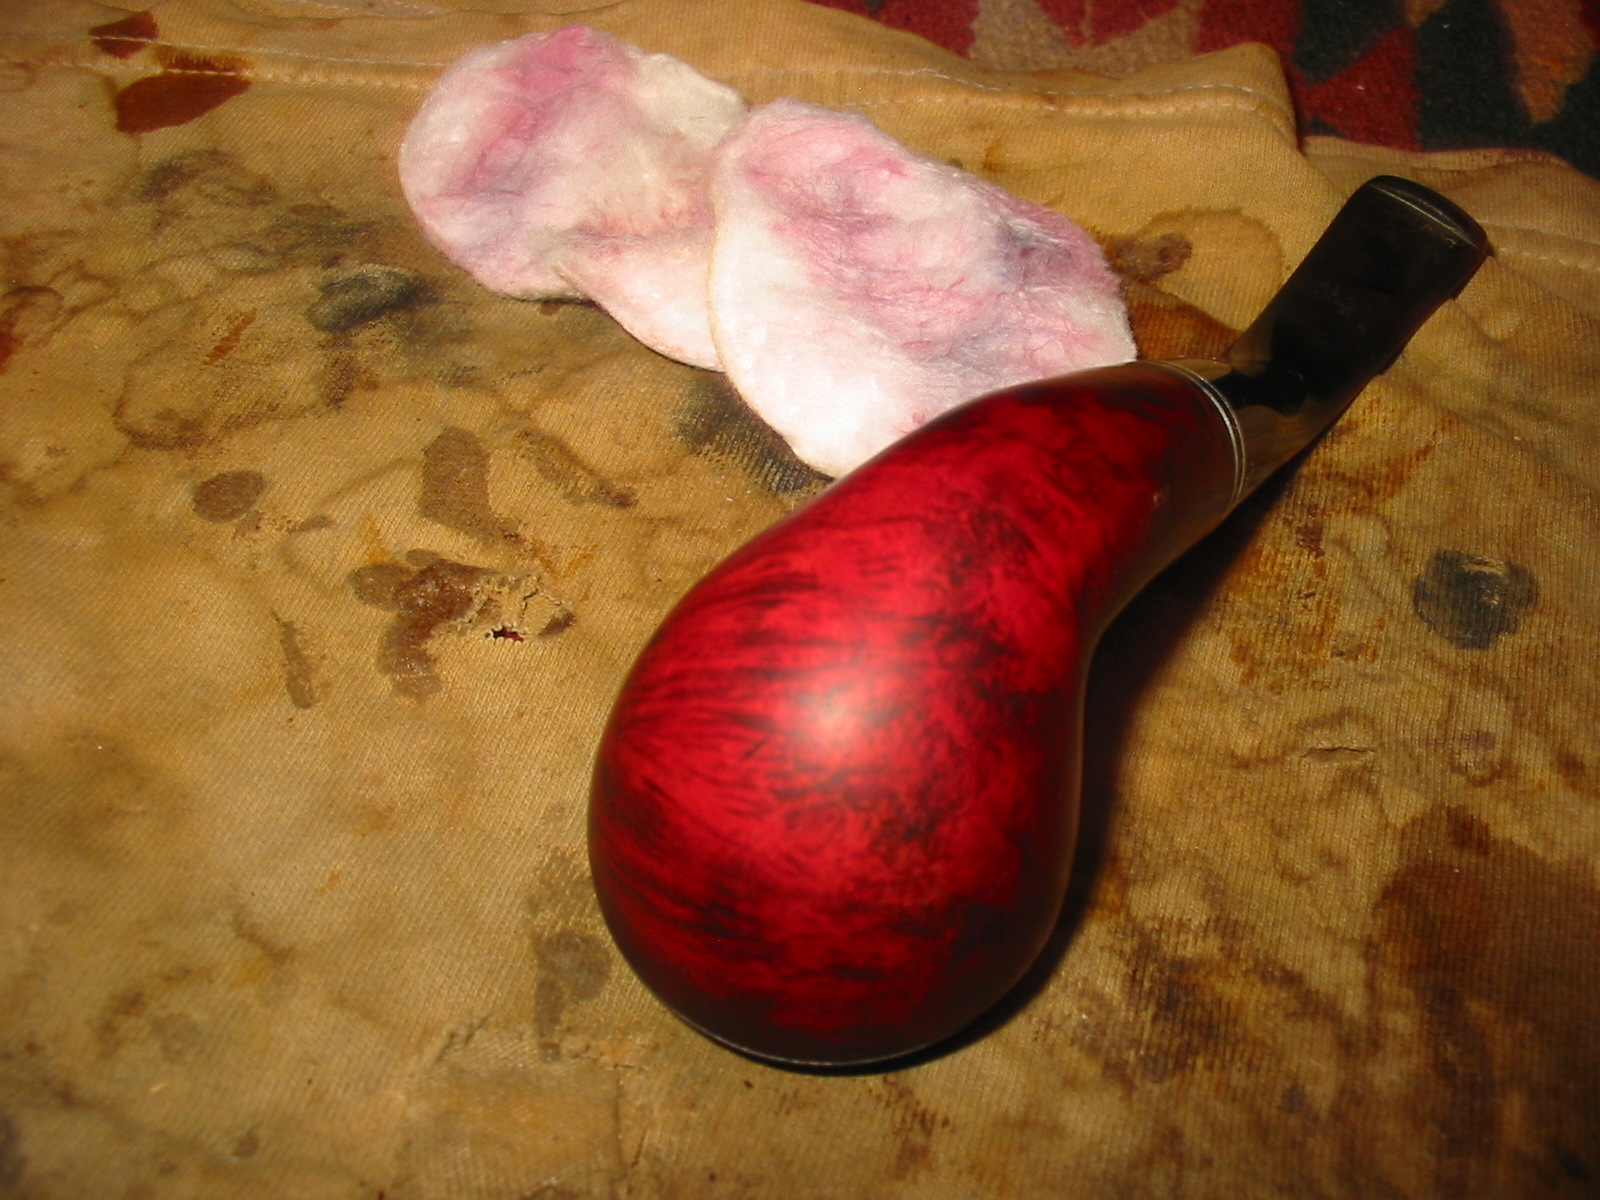
I like the way the grain was beginning to poke through the stain. I wiped it down several more time with the acetone and then buffed the pipe with Tripoli and White Diamond to polish and further remove some of the finish. The pipe was looking very good. I touched up the finish with a dark cherry stain to even out some of the light spots on the finish. I lightly buffed it with White Diamond when the stain was dry. I liked the look of things at this point.

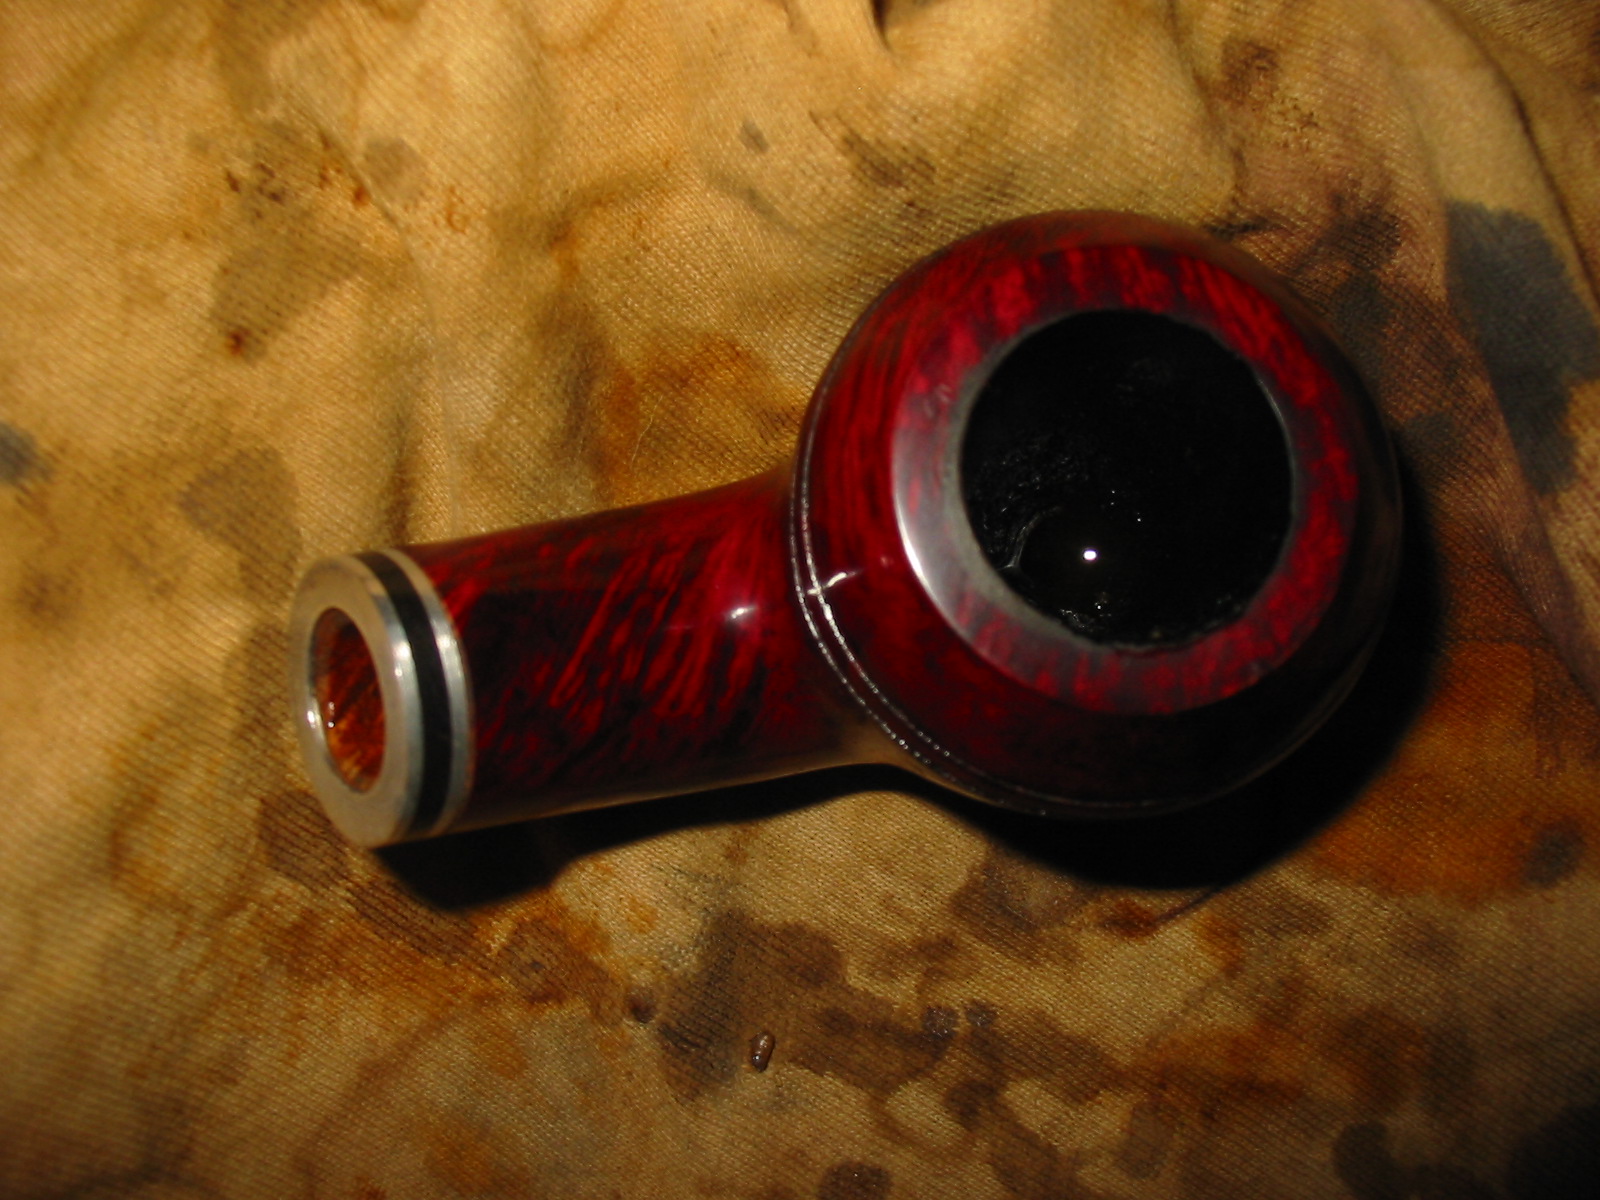
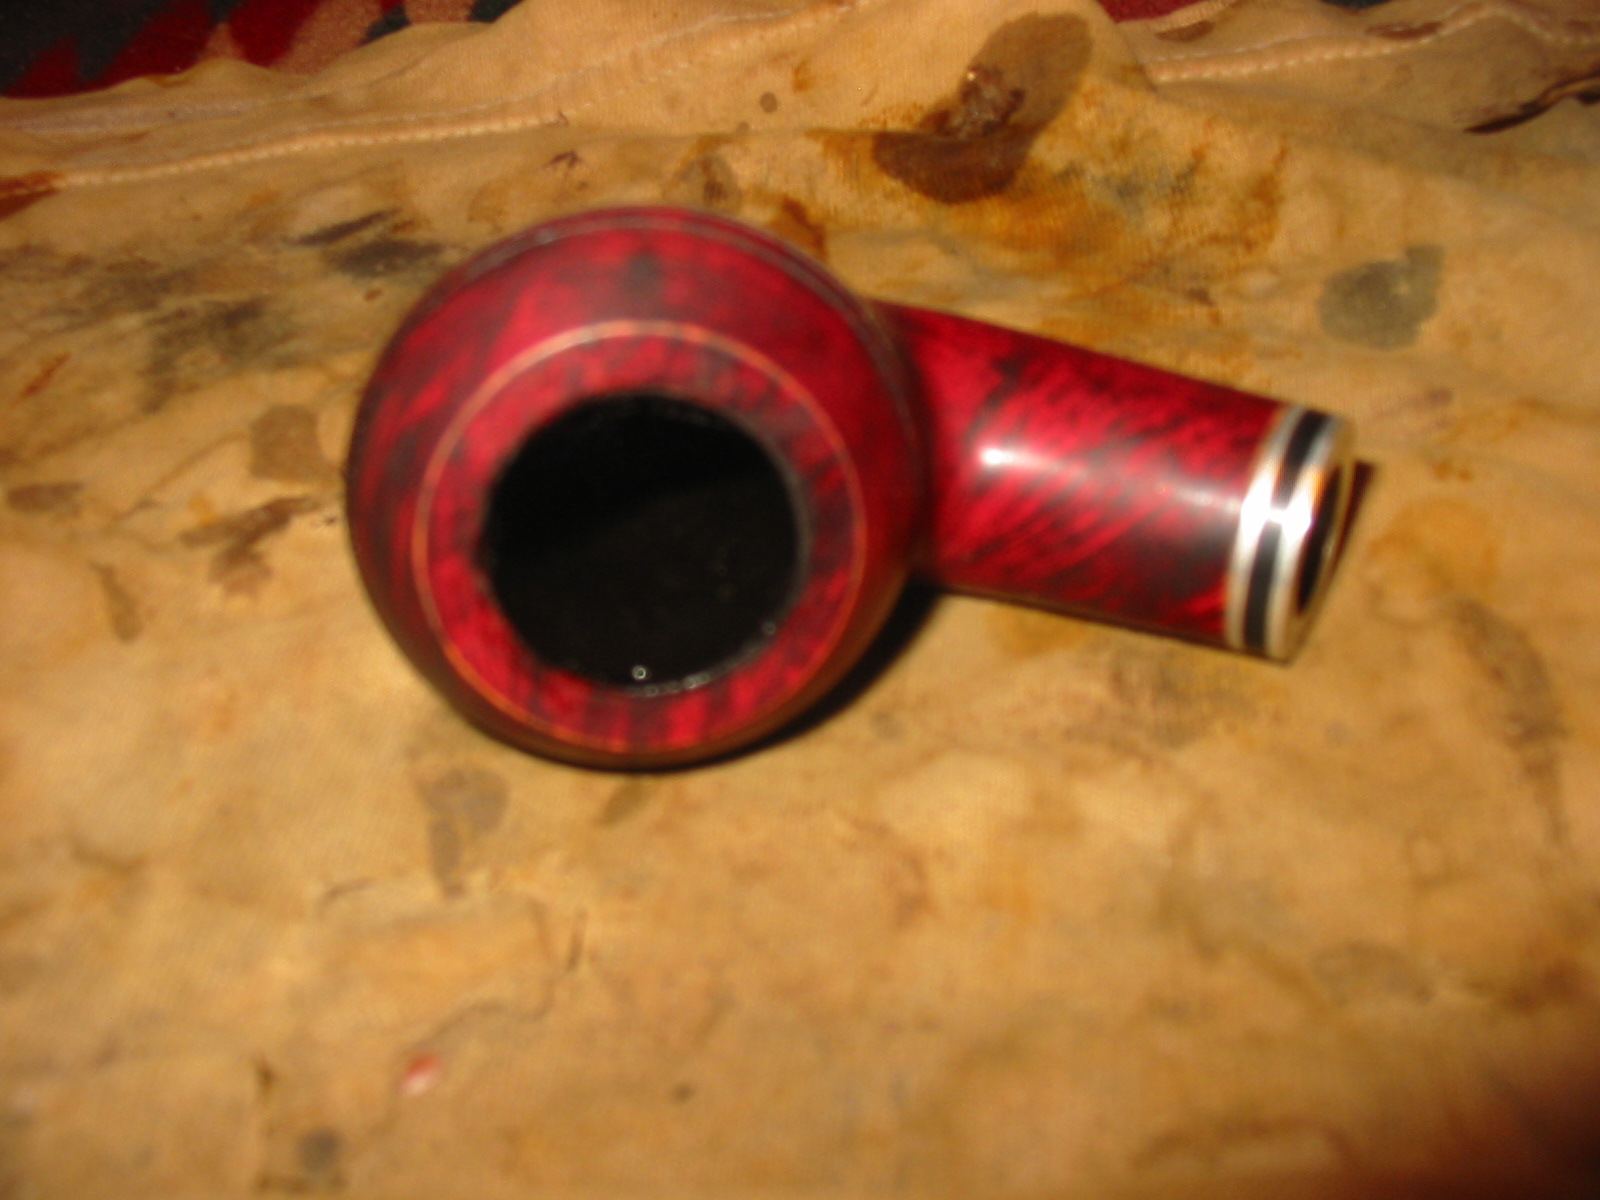
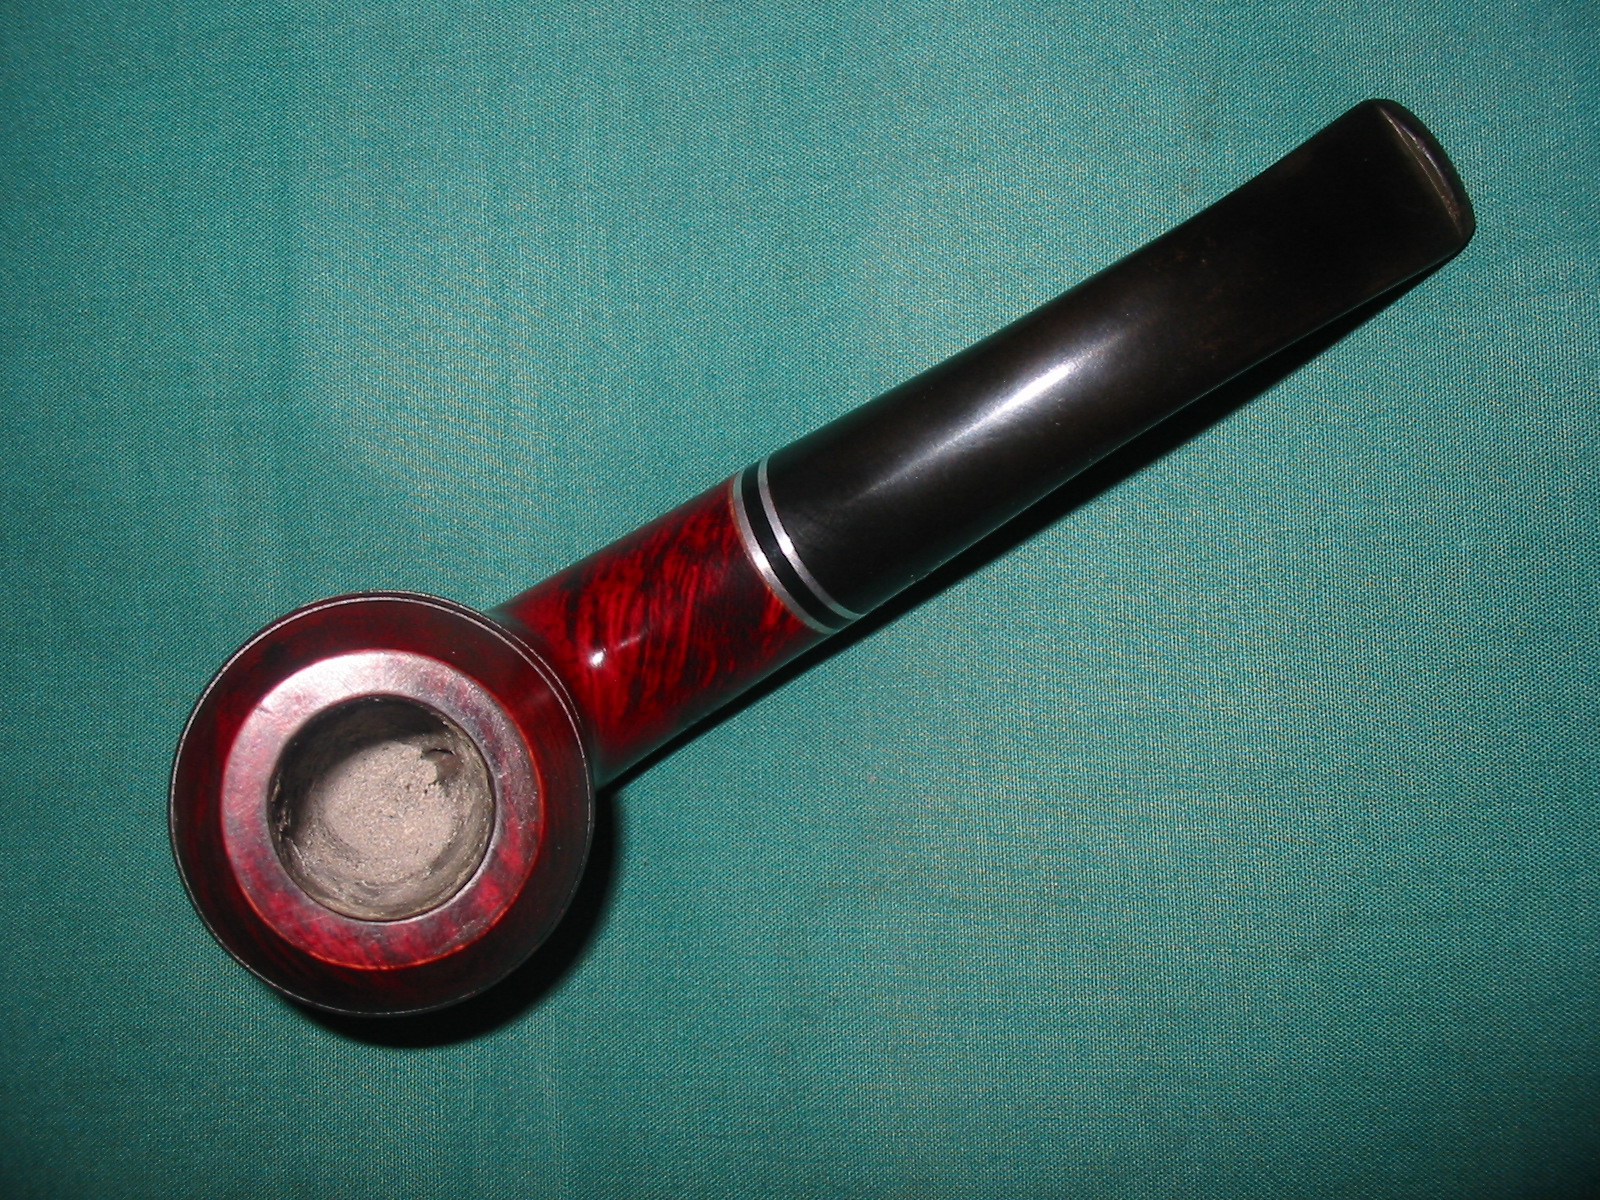
I mixed a batch of pipe mud and packed it into the bottom of the bowl to raise the bottom to meet the entrance of the airway in the bowl. I painted the mud around the bottom portion of the bowl to protect it where it was the thinnest. I set the bowl aside to cure overnight. This morning I took the following photo to show the new look of the inside of the bowl.
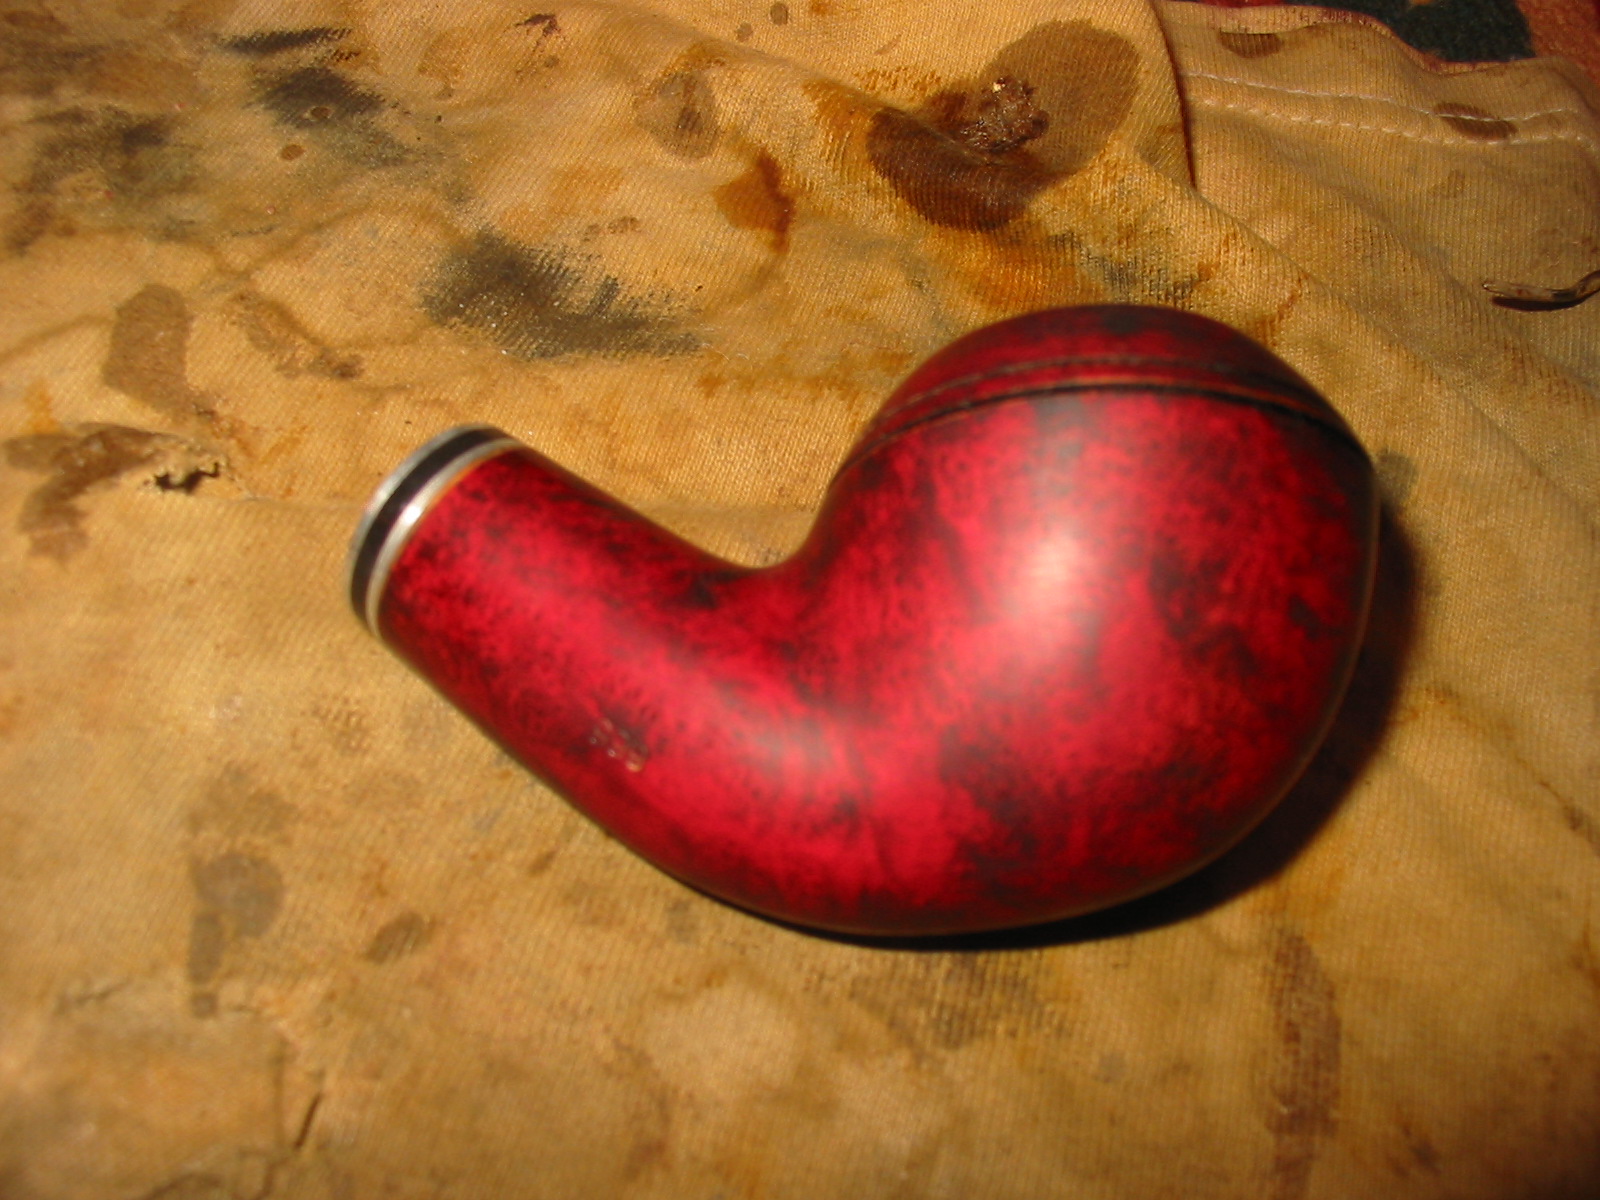
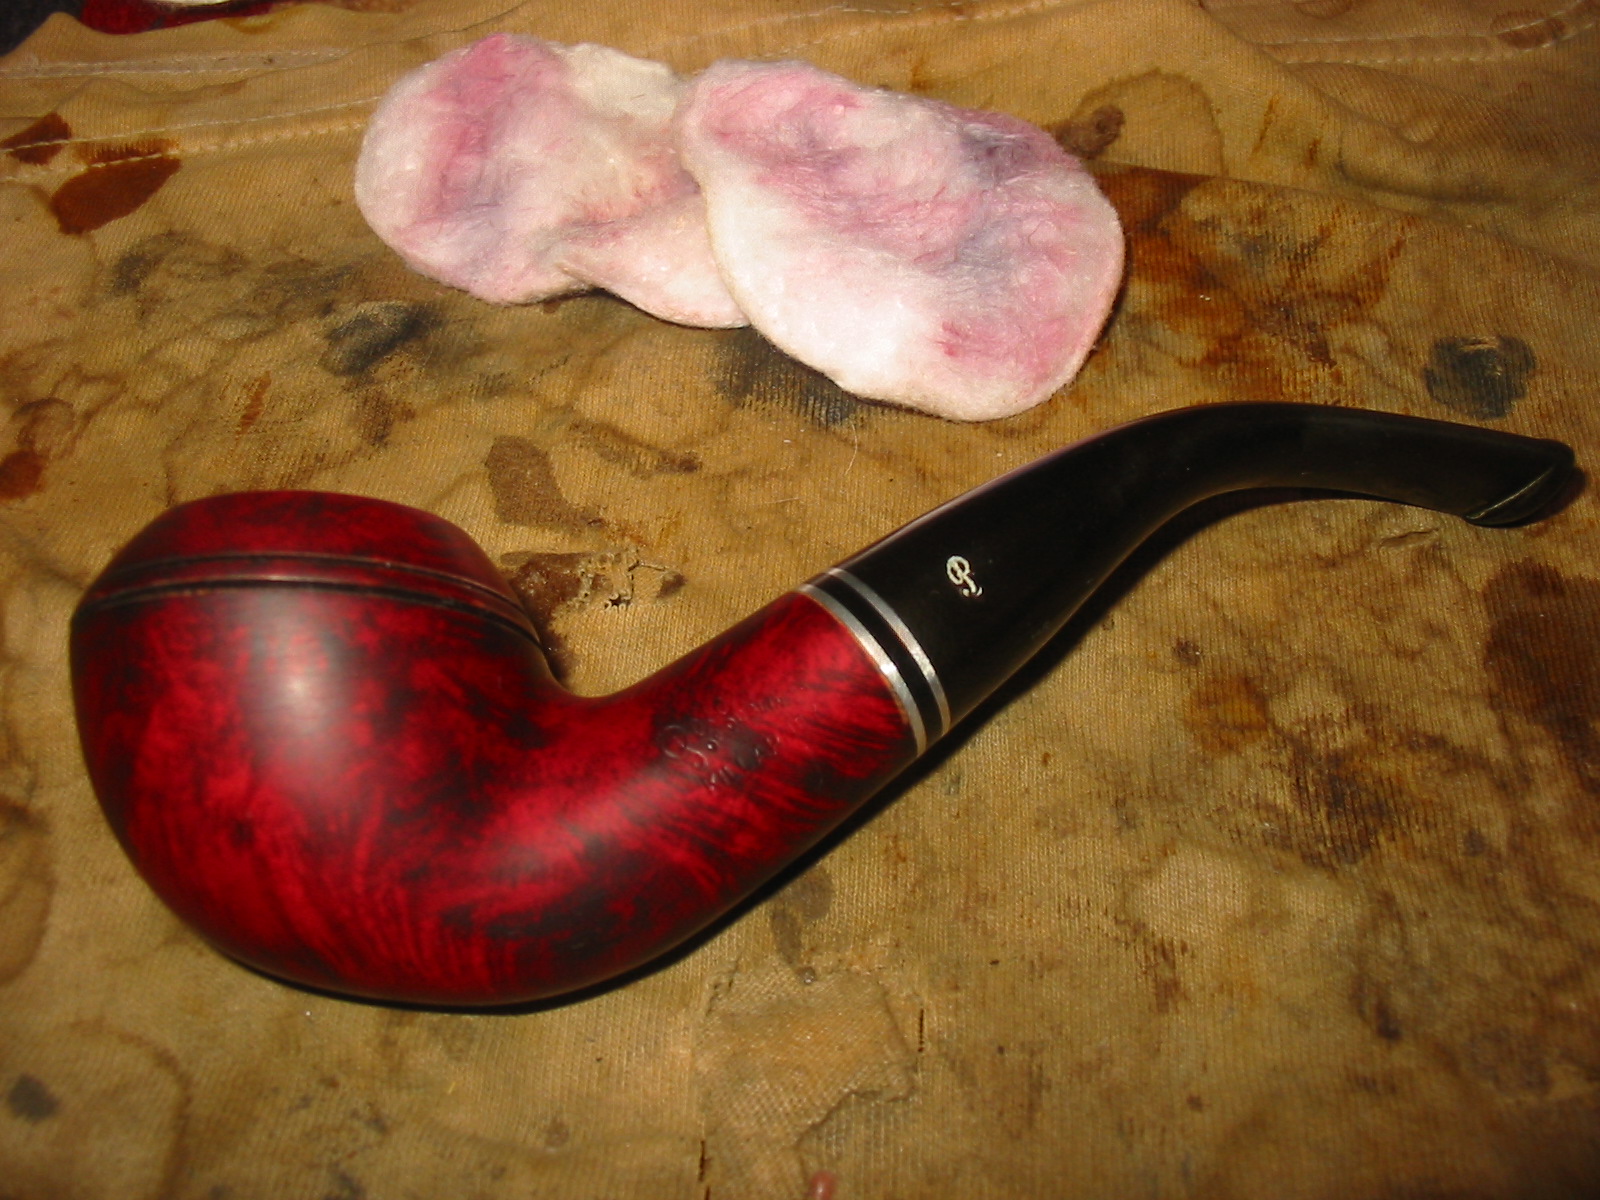
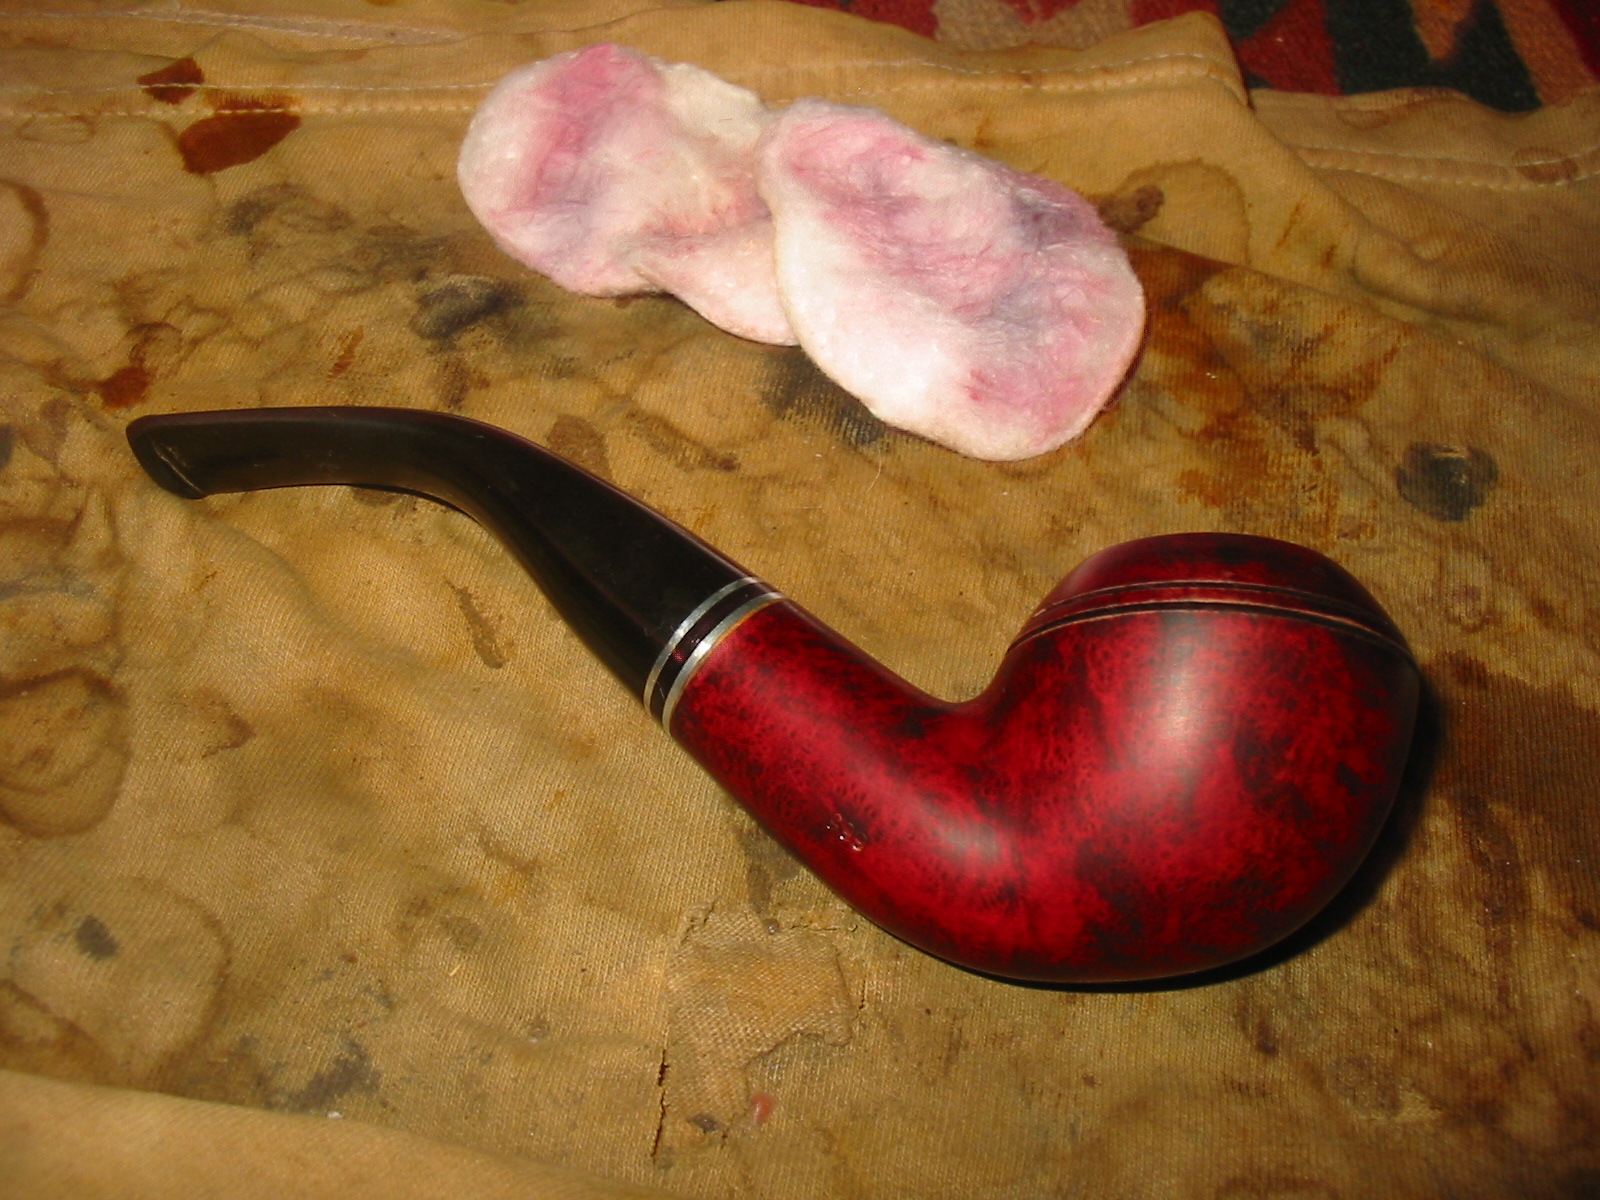
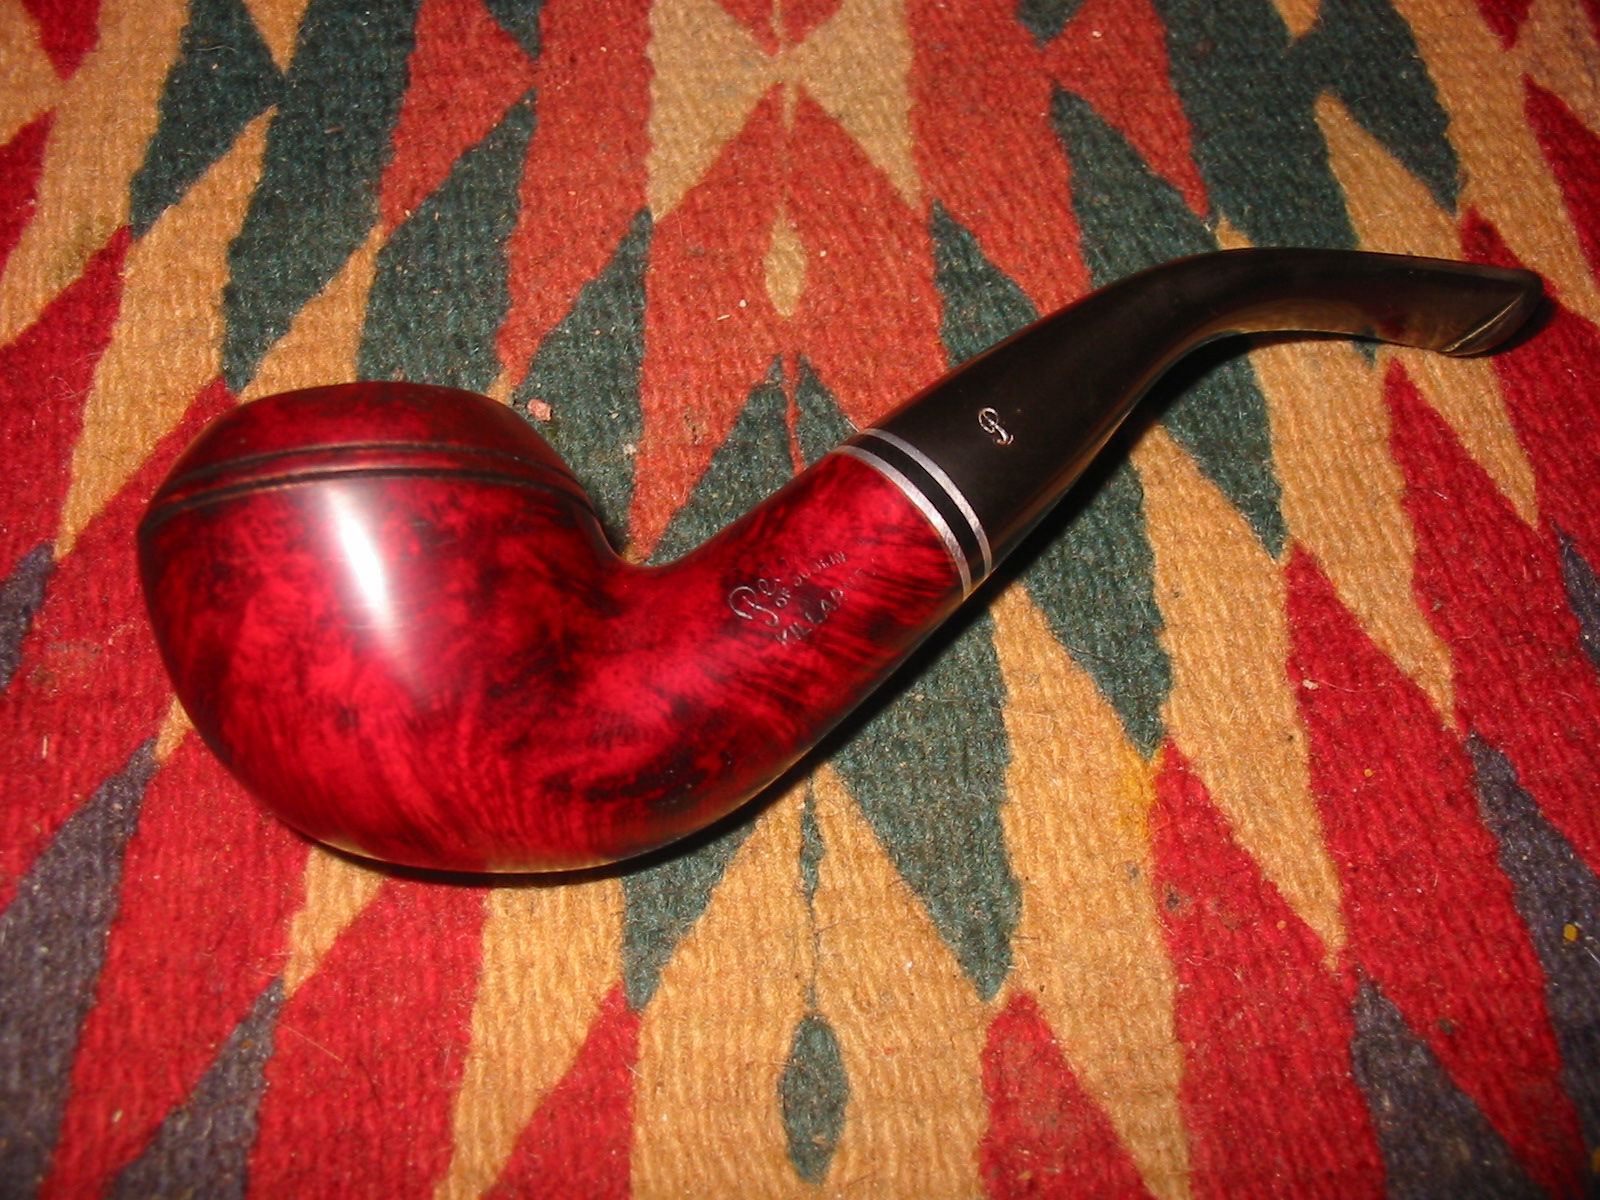
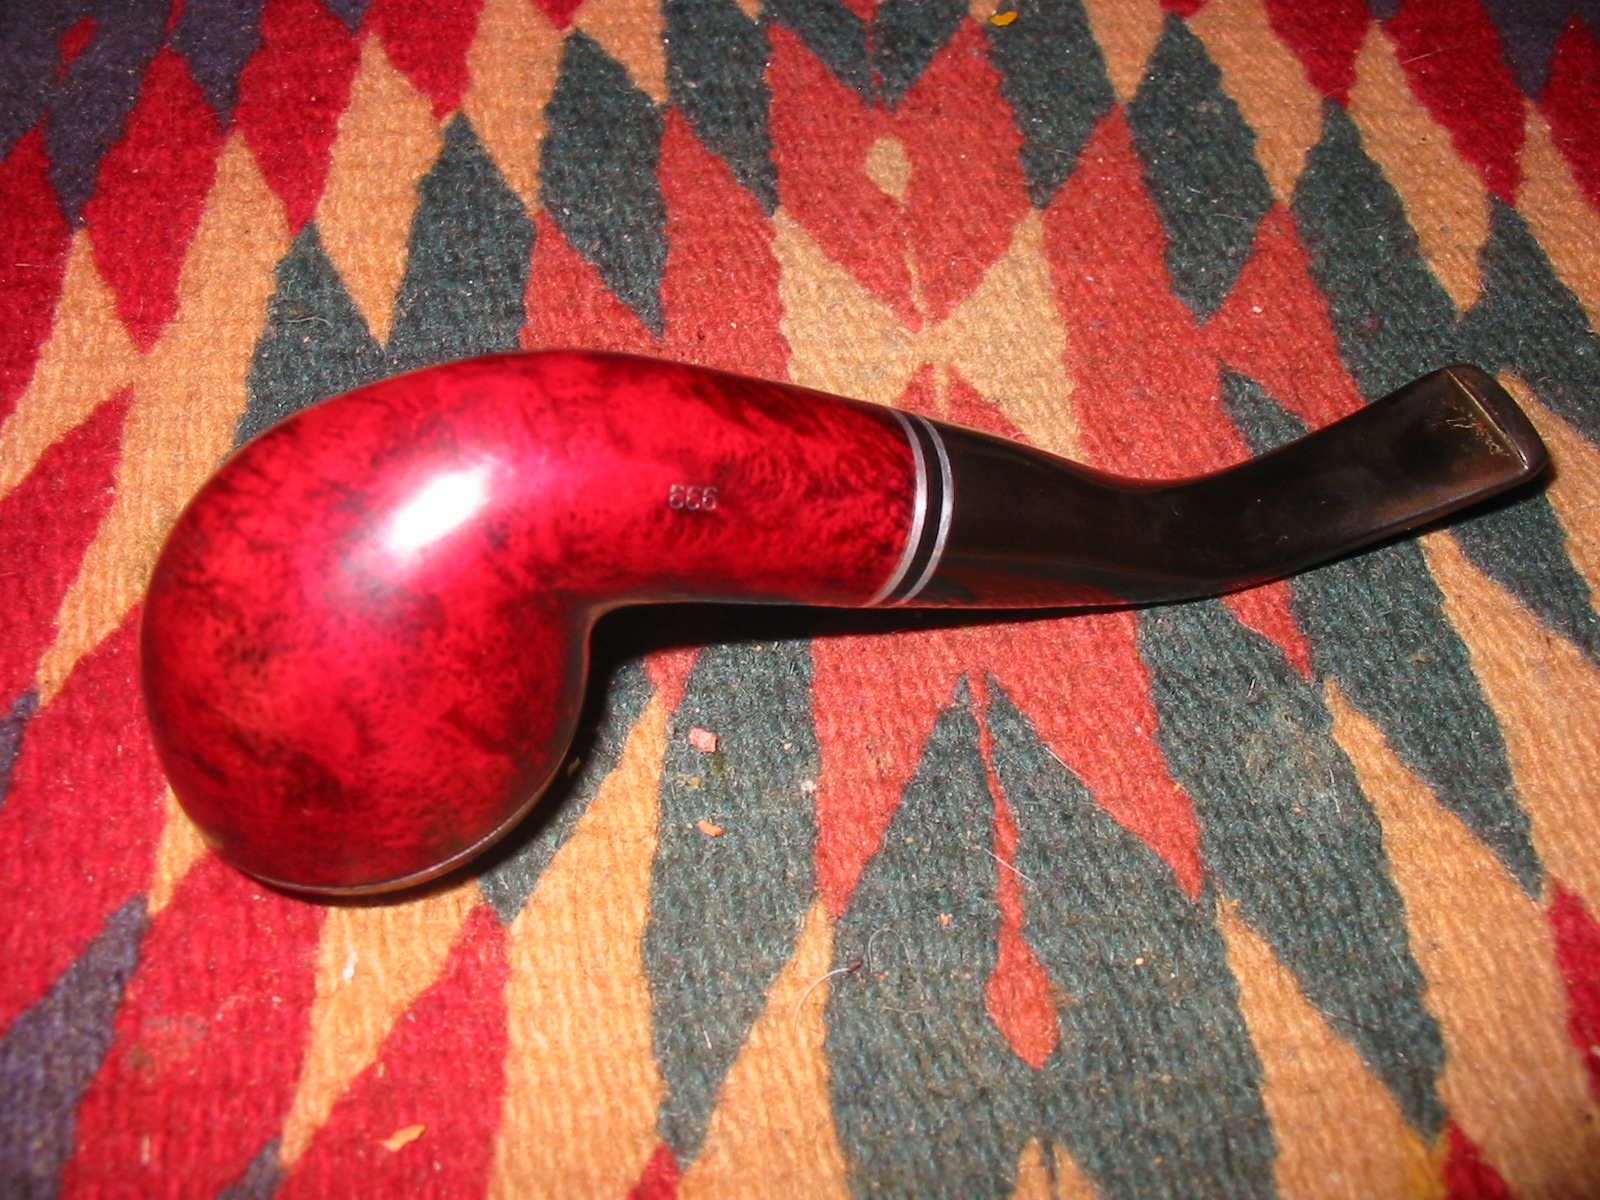
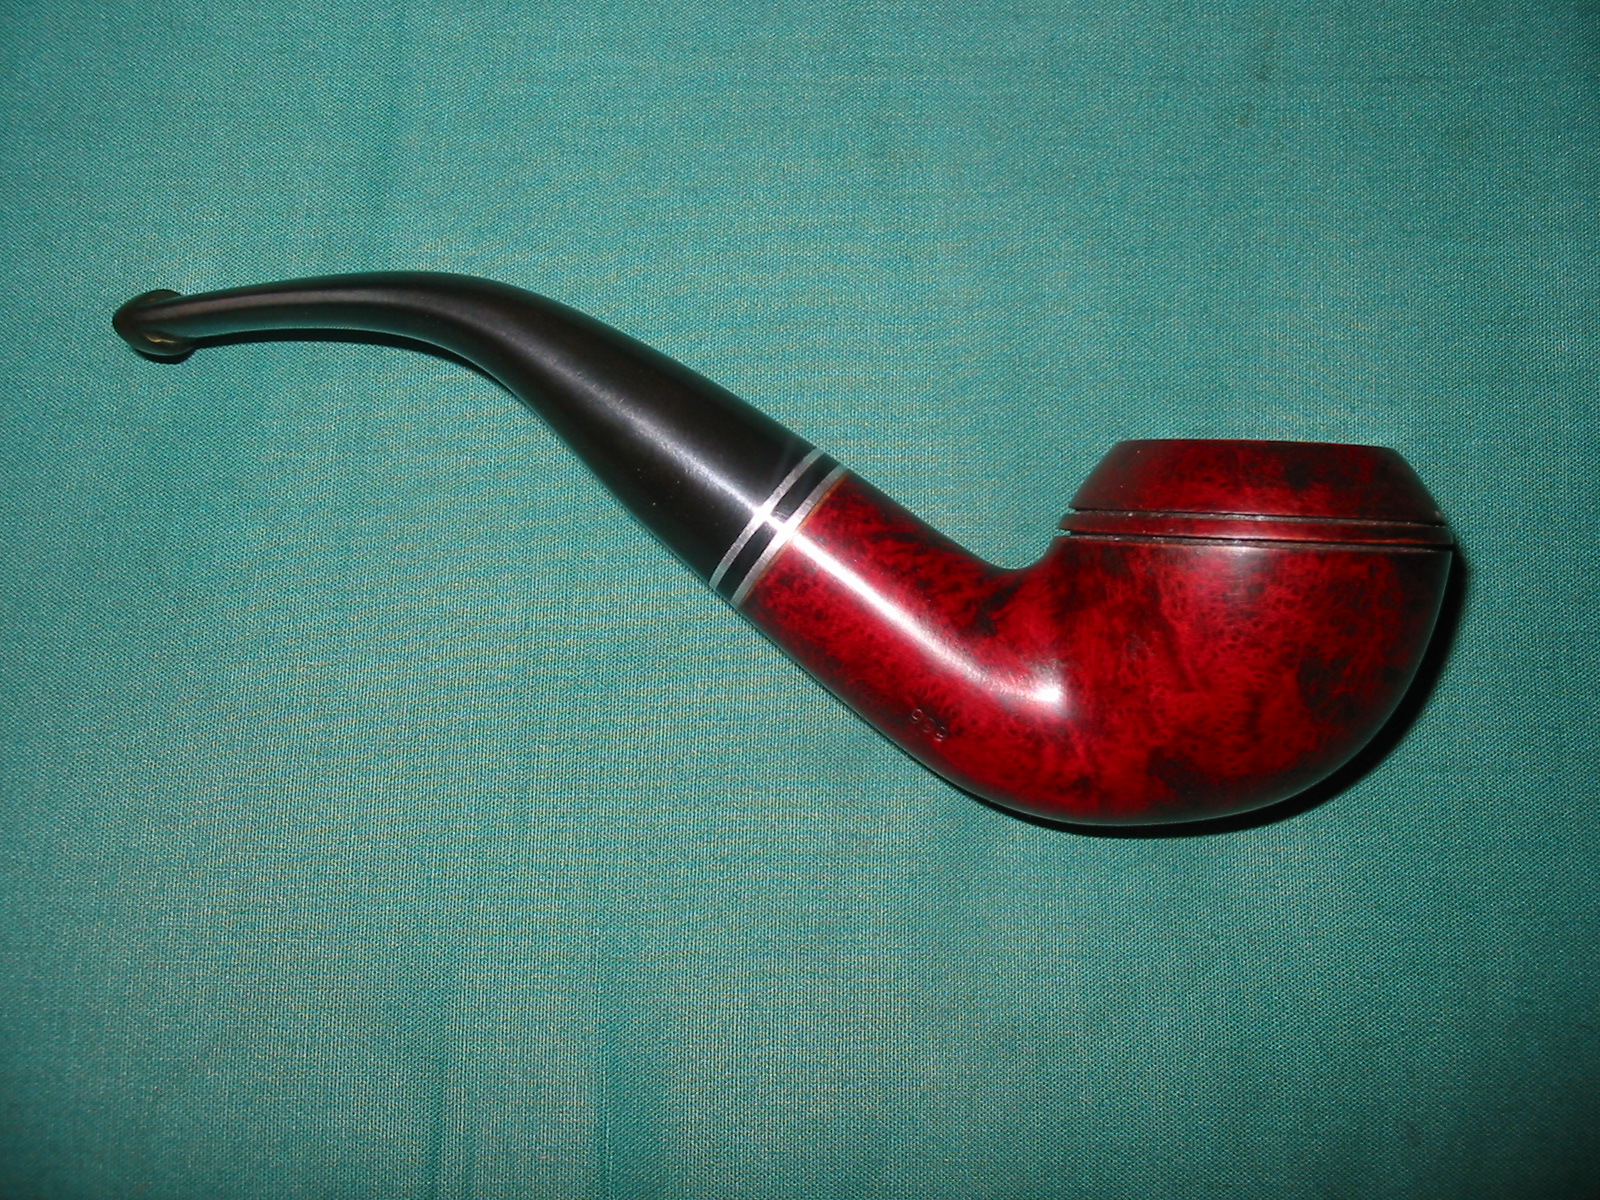
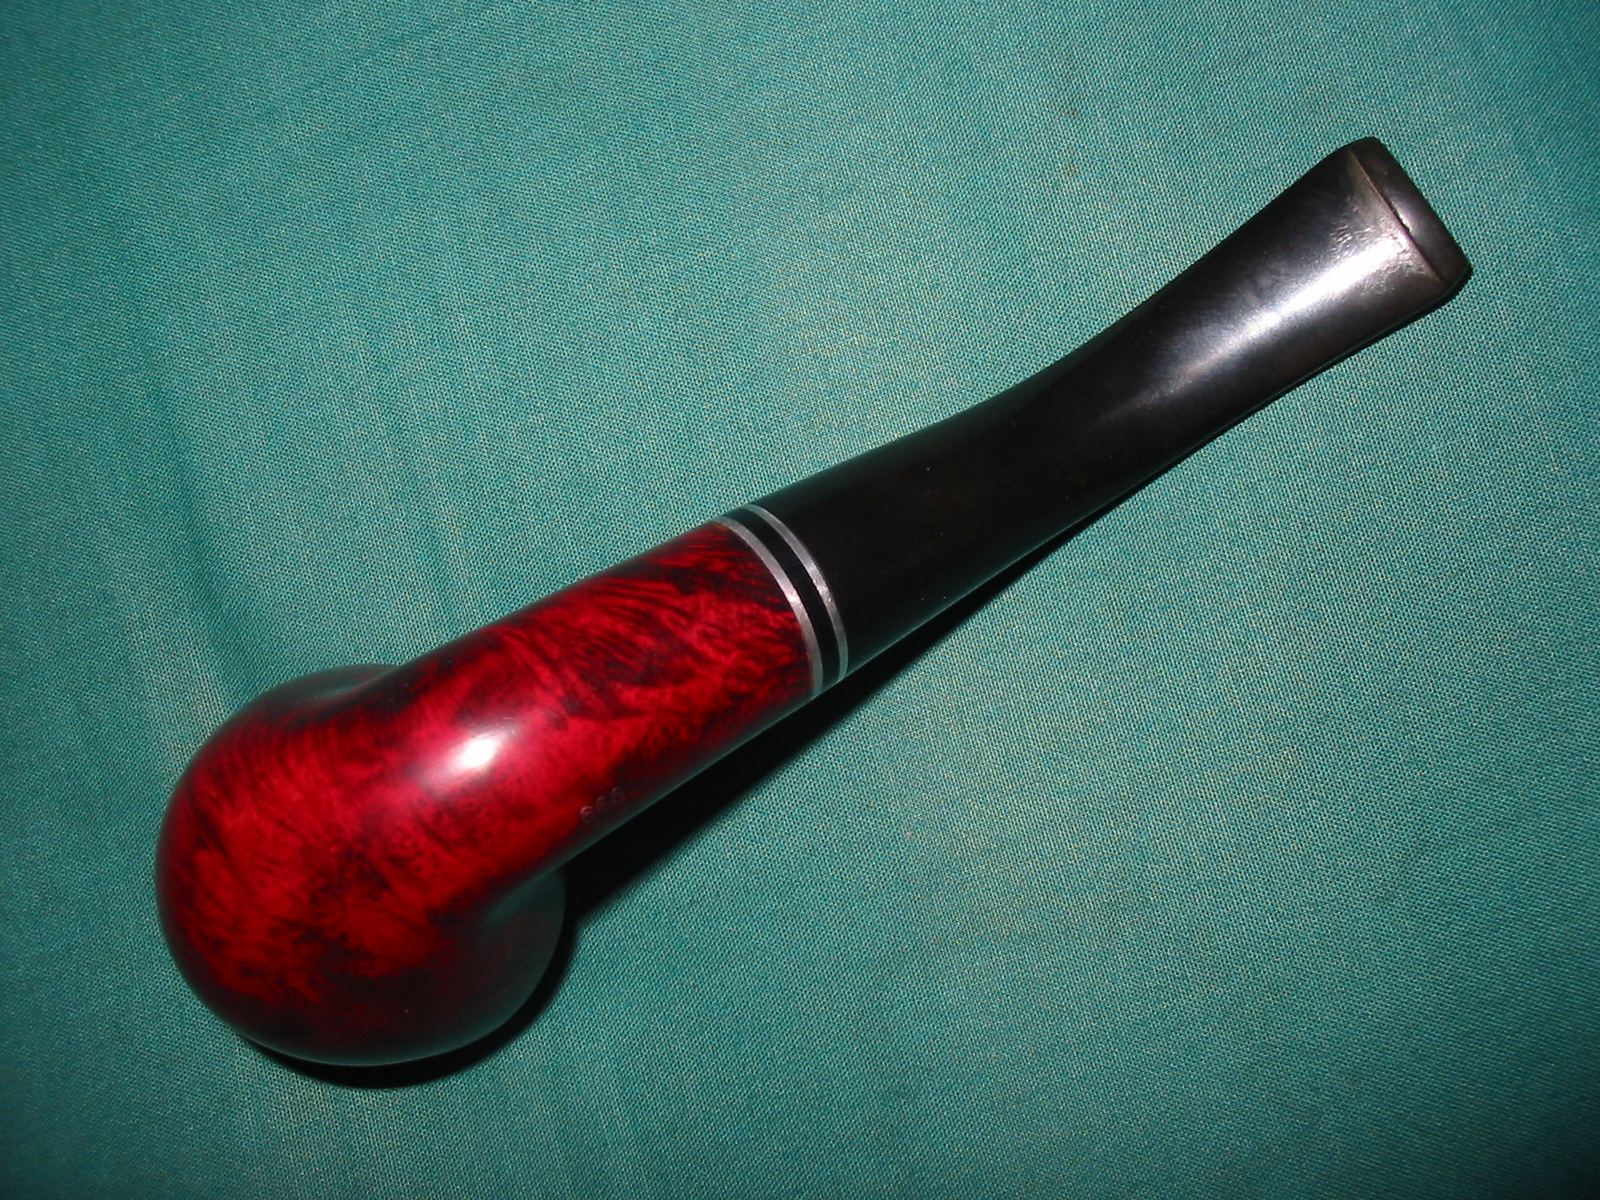
With all of the renovations complete the pipe was ready for a final buff and polish with carnauba wax. I took it to the wheel and put multiple coats of wax on it. I wanted it to shine but not have the high gloss shine that it had previously. I finished by buffing it with a soft flannel buffing pad. The new look was good in my eyes – the grain shone through nicely and the stain was more transparent than before. The contrast between the black that had been used to highlight the grain and the red topcoat was nice. The wax gave it just the right glow. Now I am hoping that when my friend fires it up that it will smoke cooler than it did before. Here are some photos of the finished pipe.
UPDATE:
I returned the Pete to its owner at lunch today. He took it with him to smoke a bit later. I was curious to know if the problem had been solved. I asked that he email me once he had smoked it. I just received and email from him. He reports as follows: “The revision is a HUGE improvement!! It smokes much better — not super cool, but quite acceptable. The draw is definitely better and I think once it breaks in it will be a good smoke! Many thanks again for your work!” So while it is not super cool is not as hot as it was before. Enjoy your “new” pipe.