Blog by Steve Laug
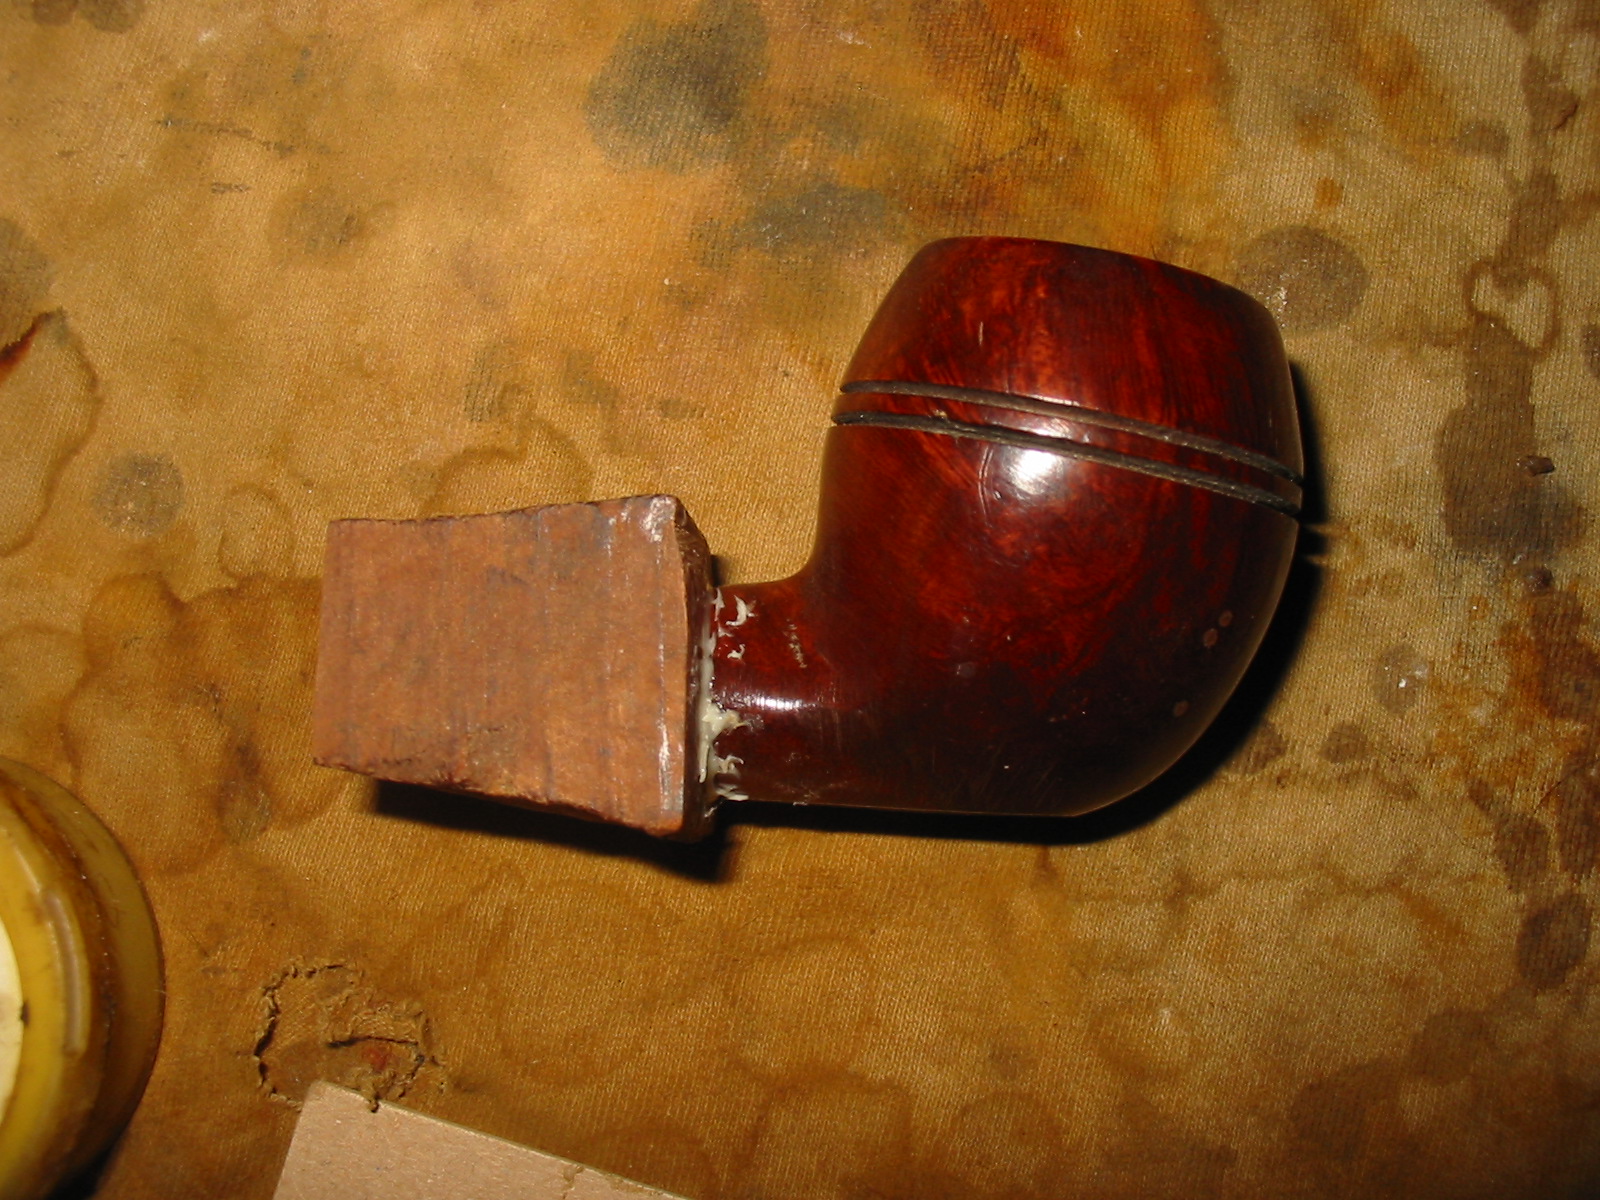
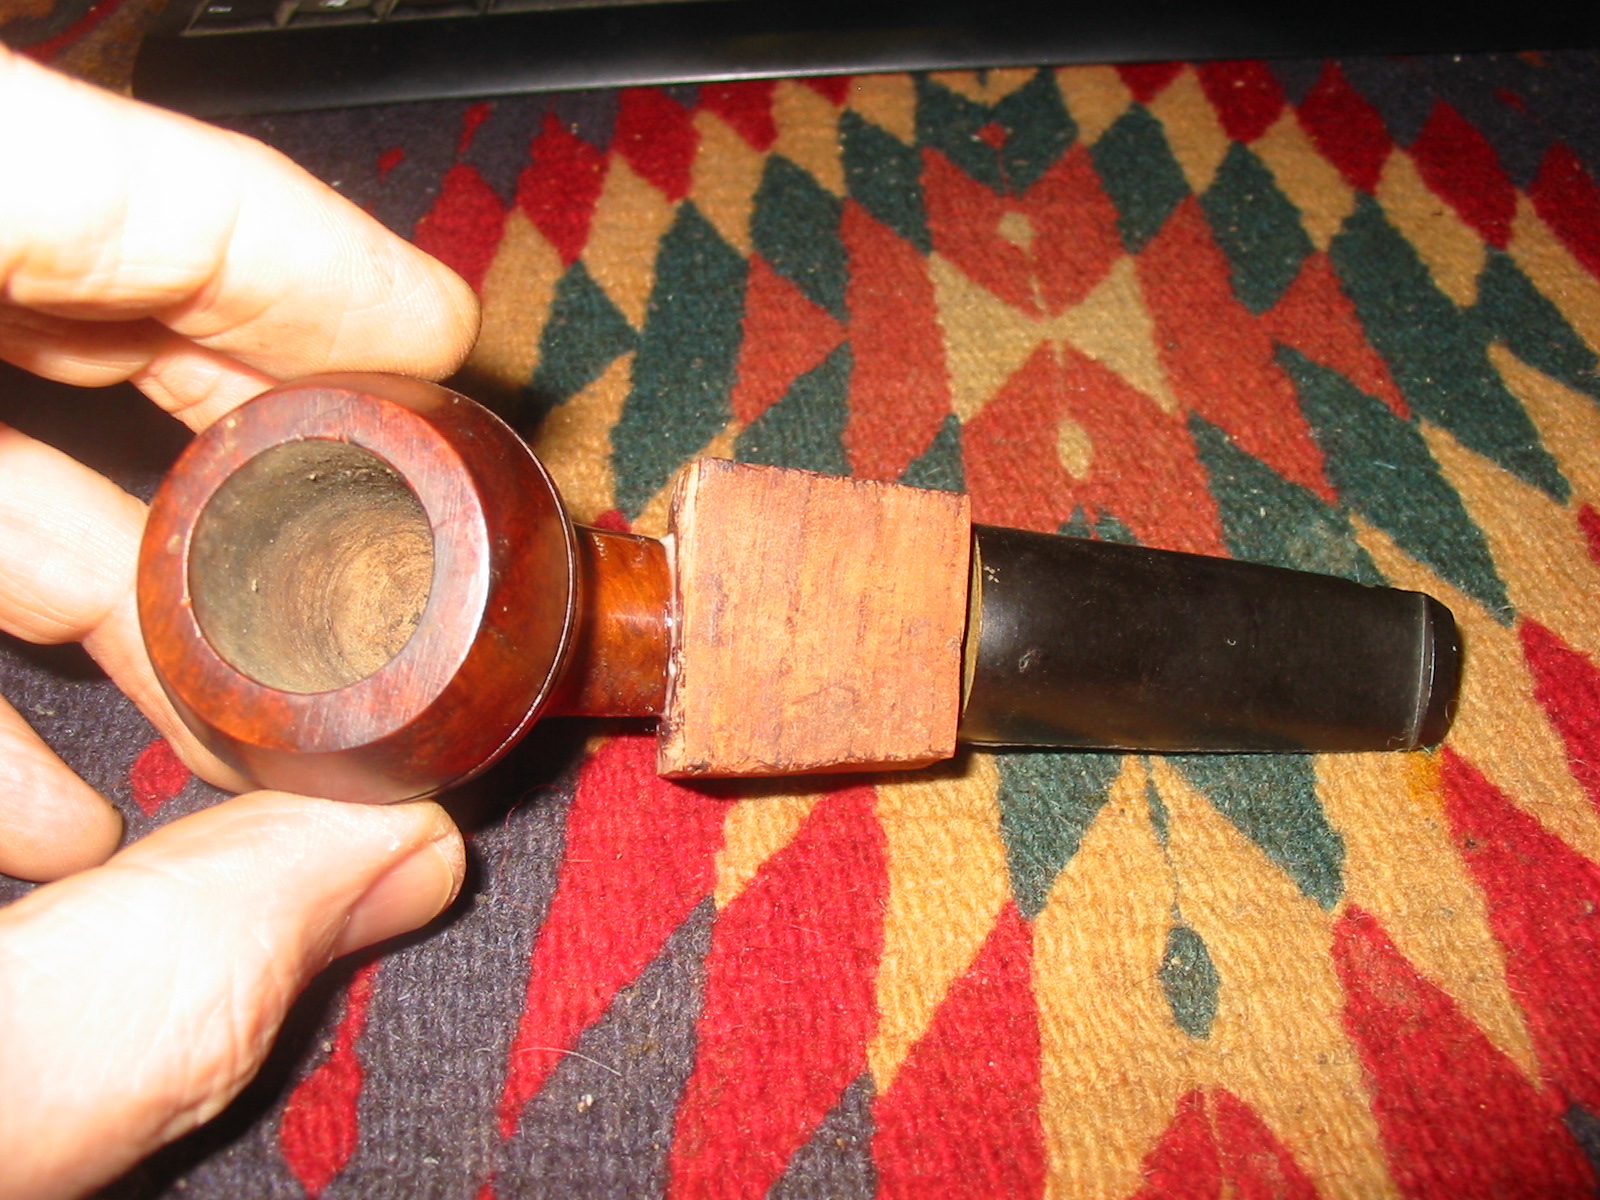
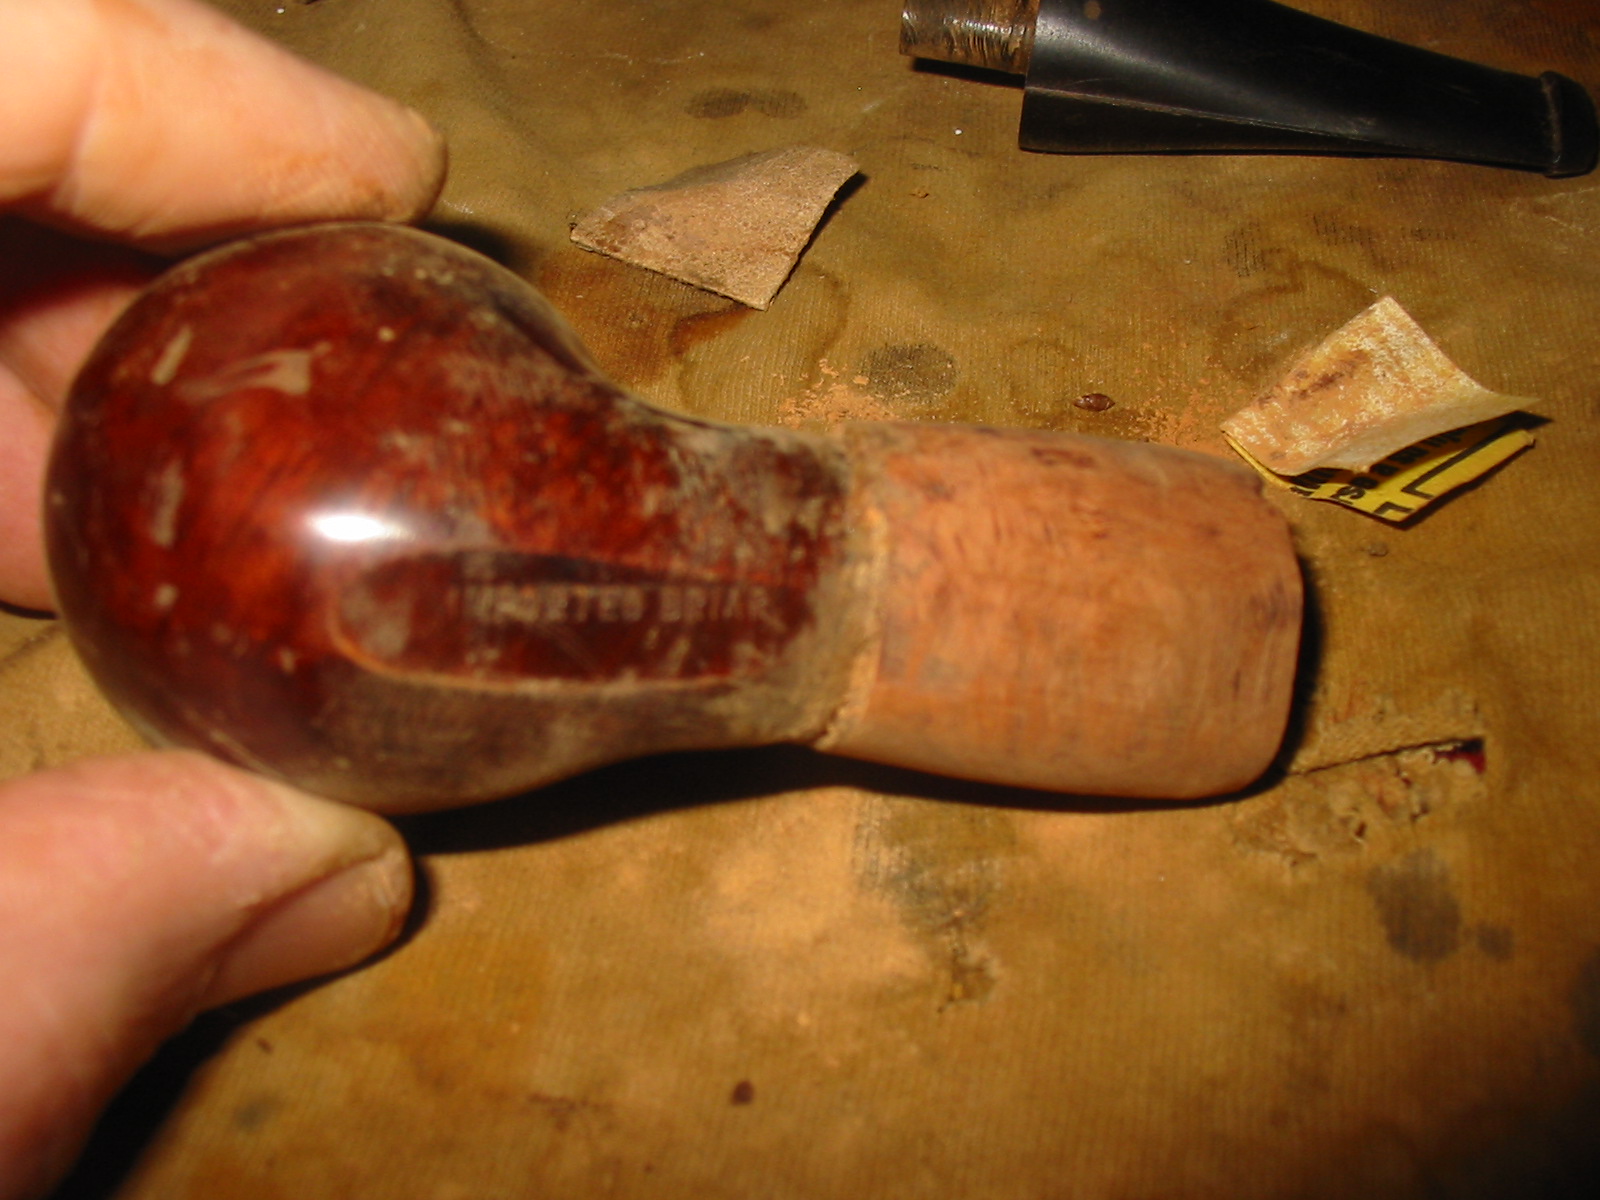
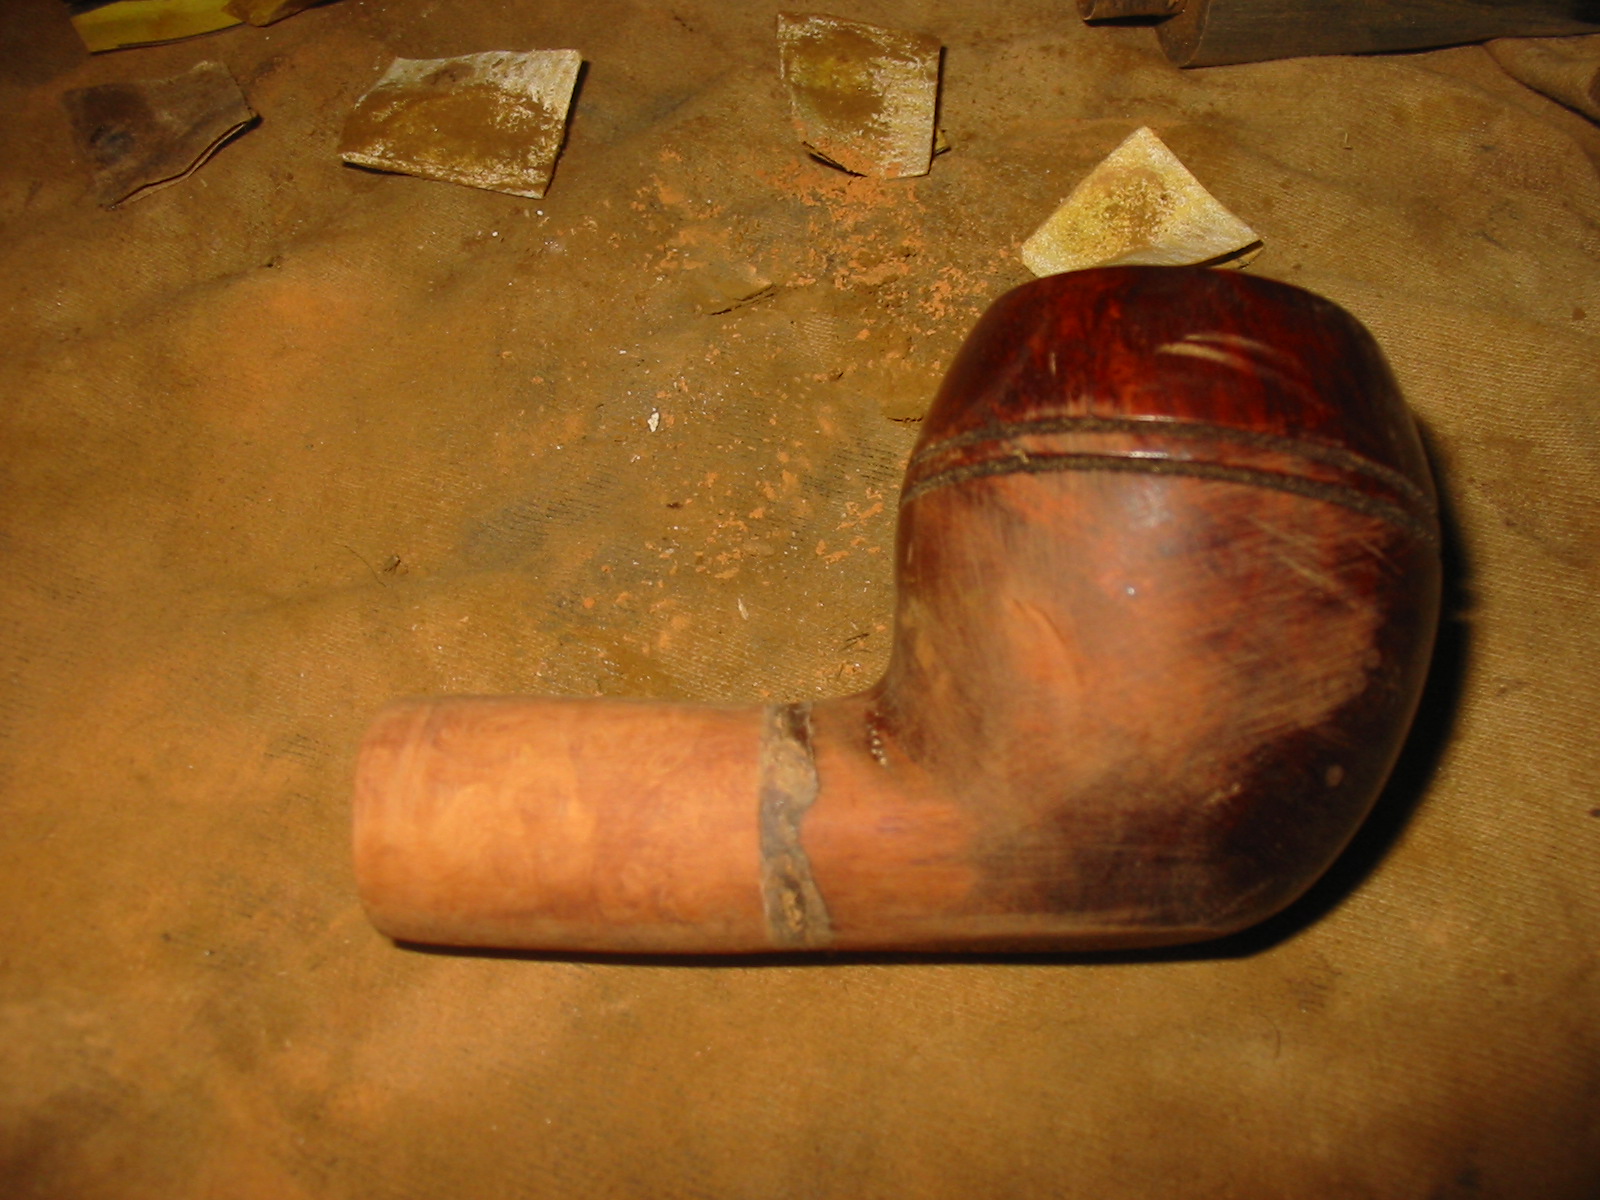
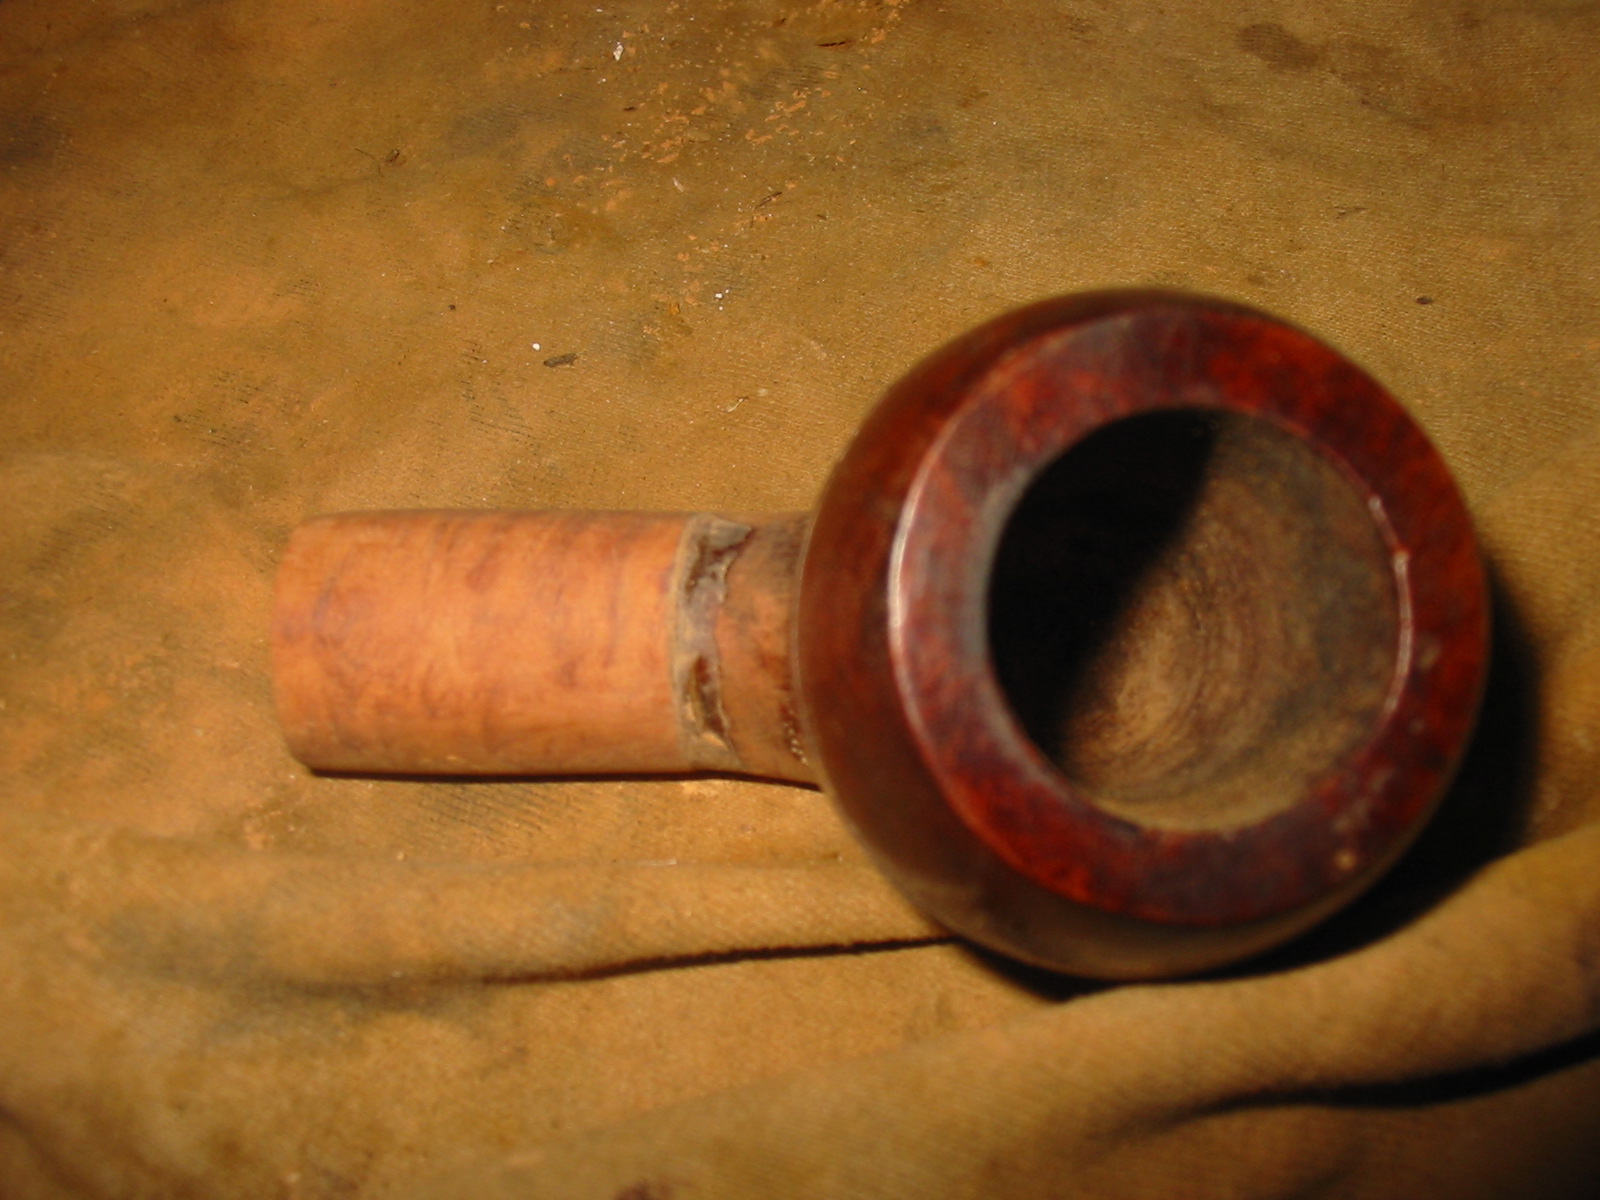
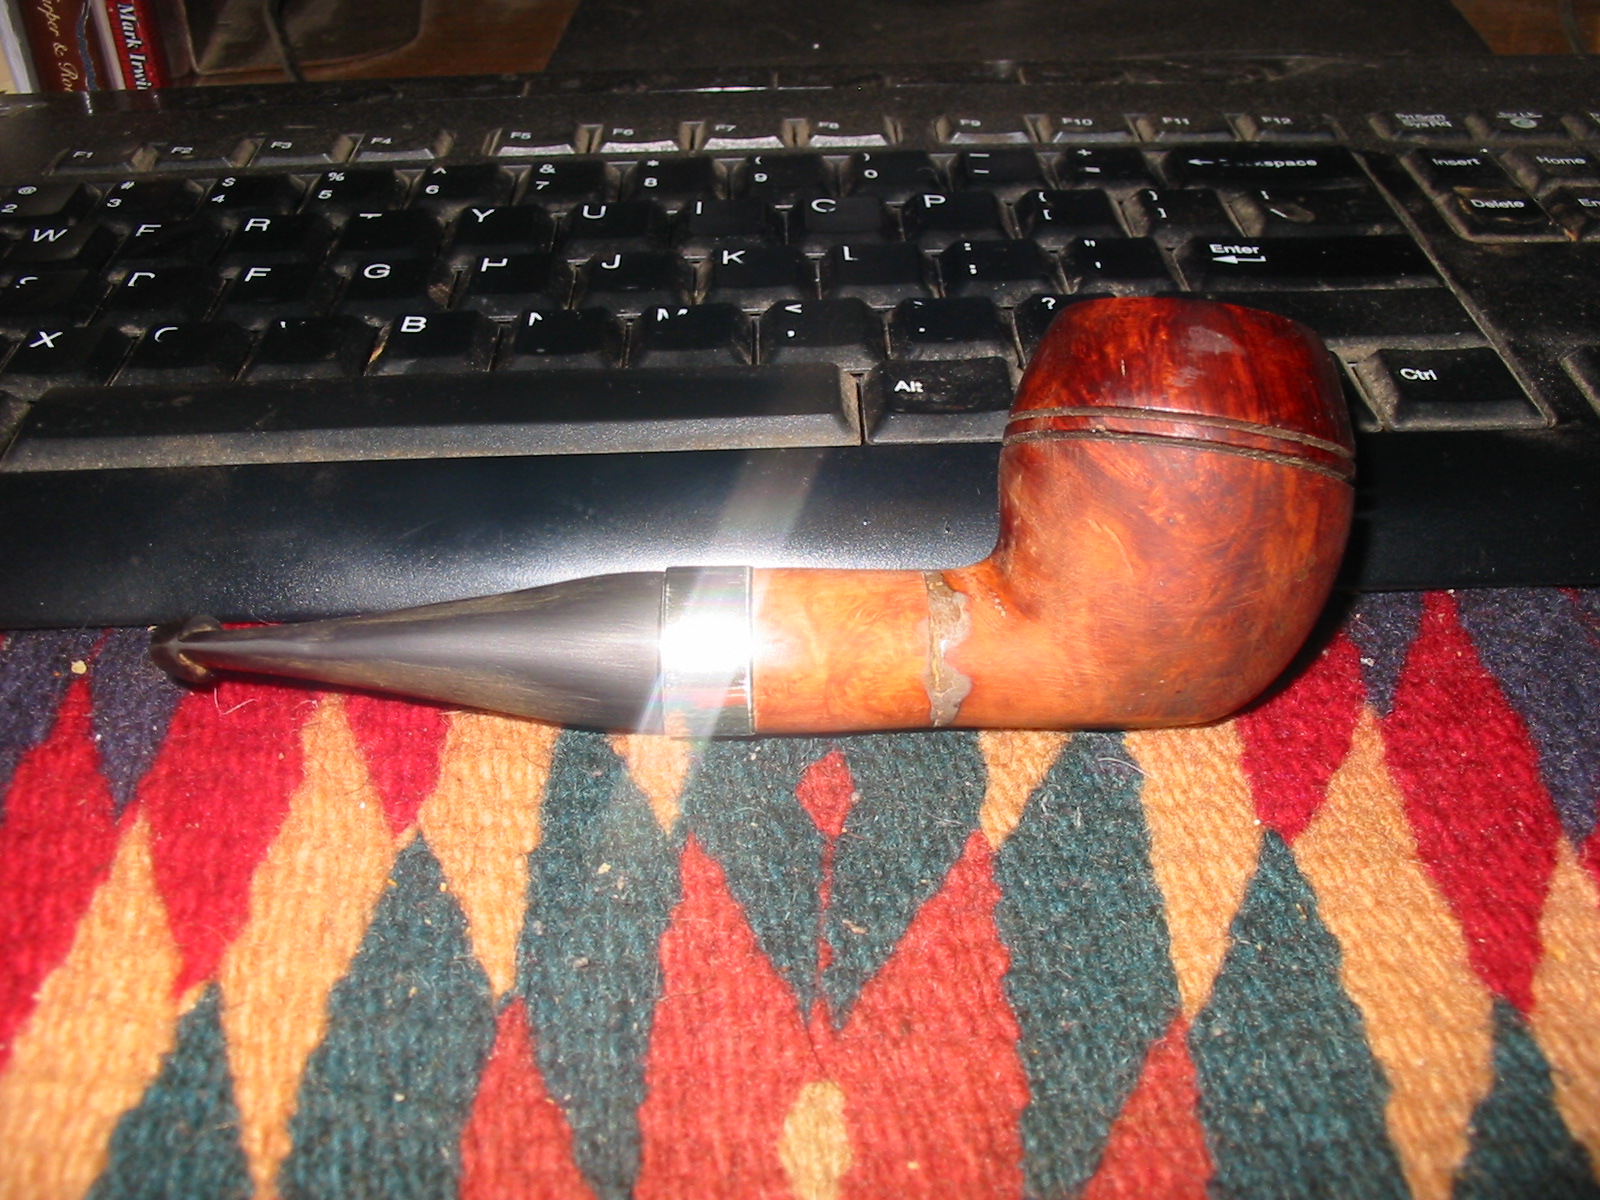
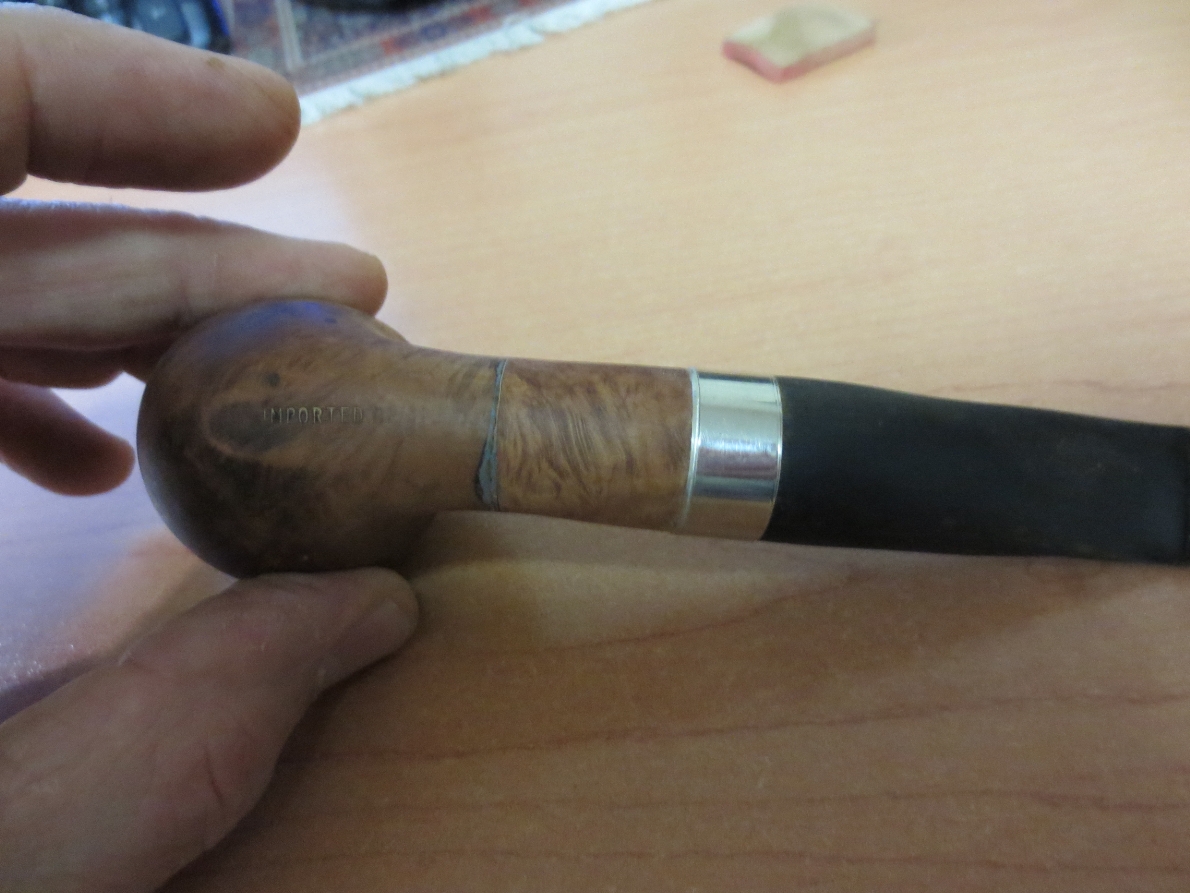
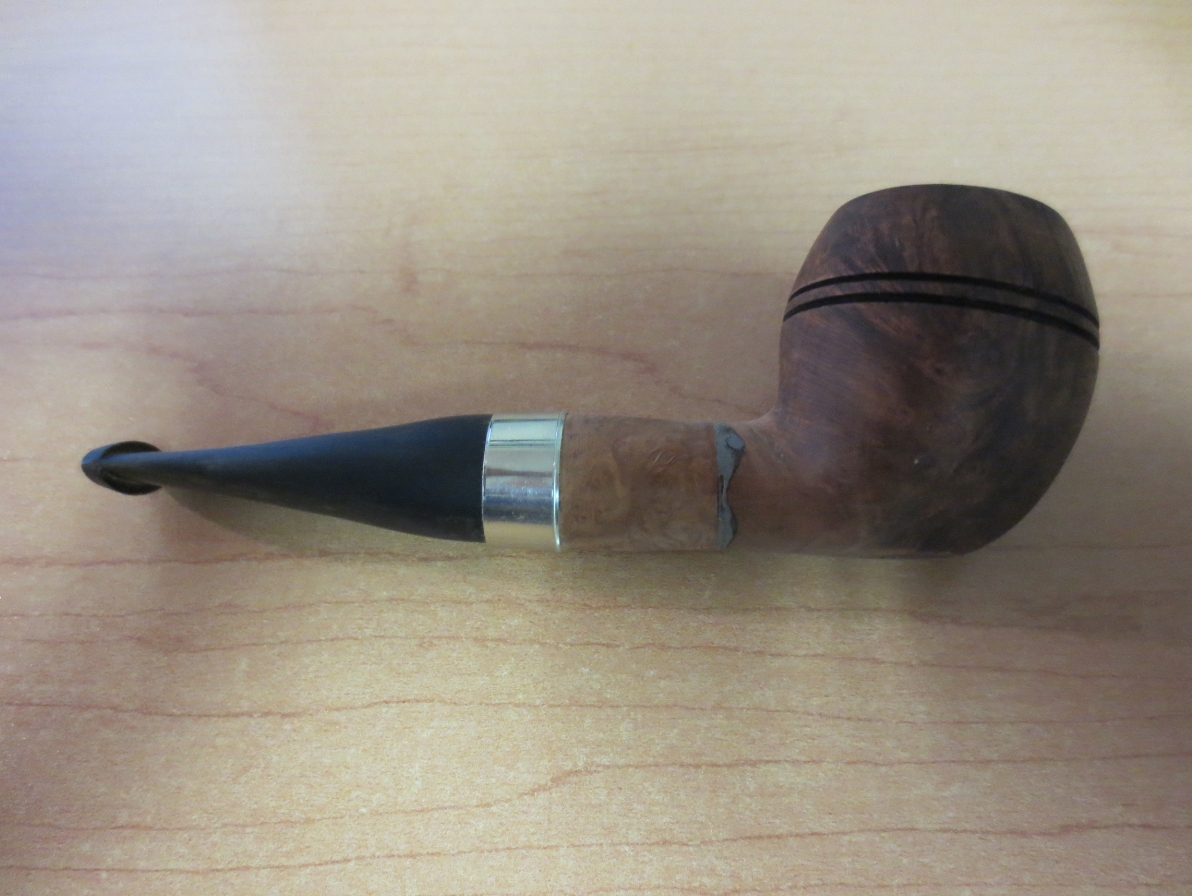
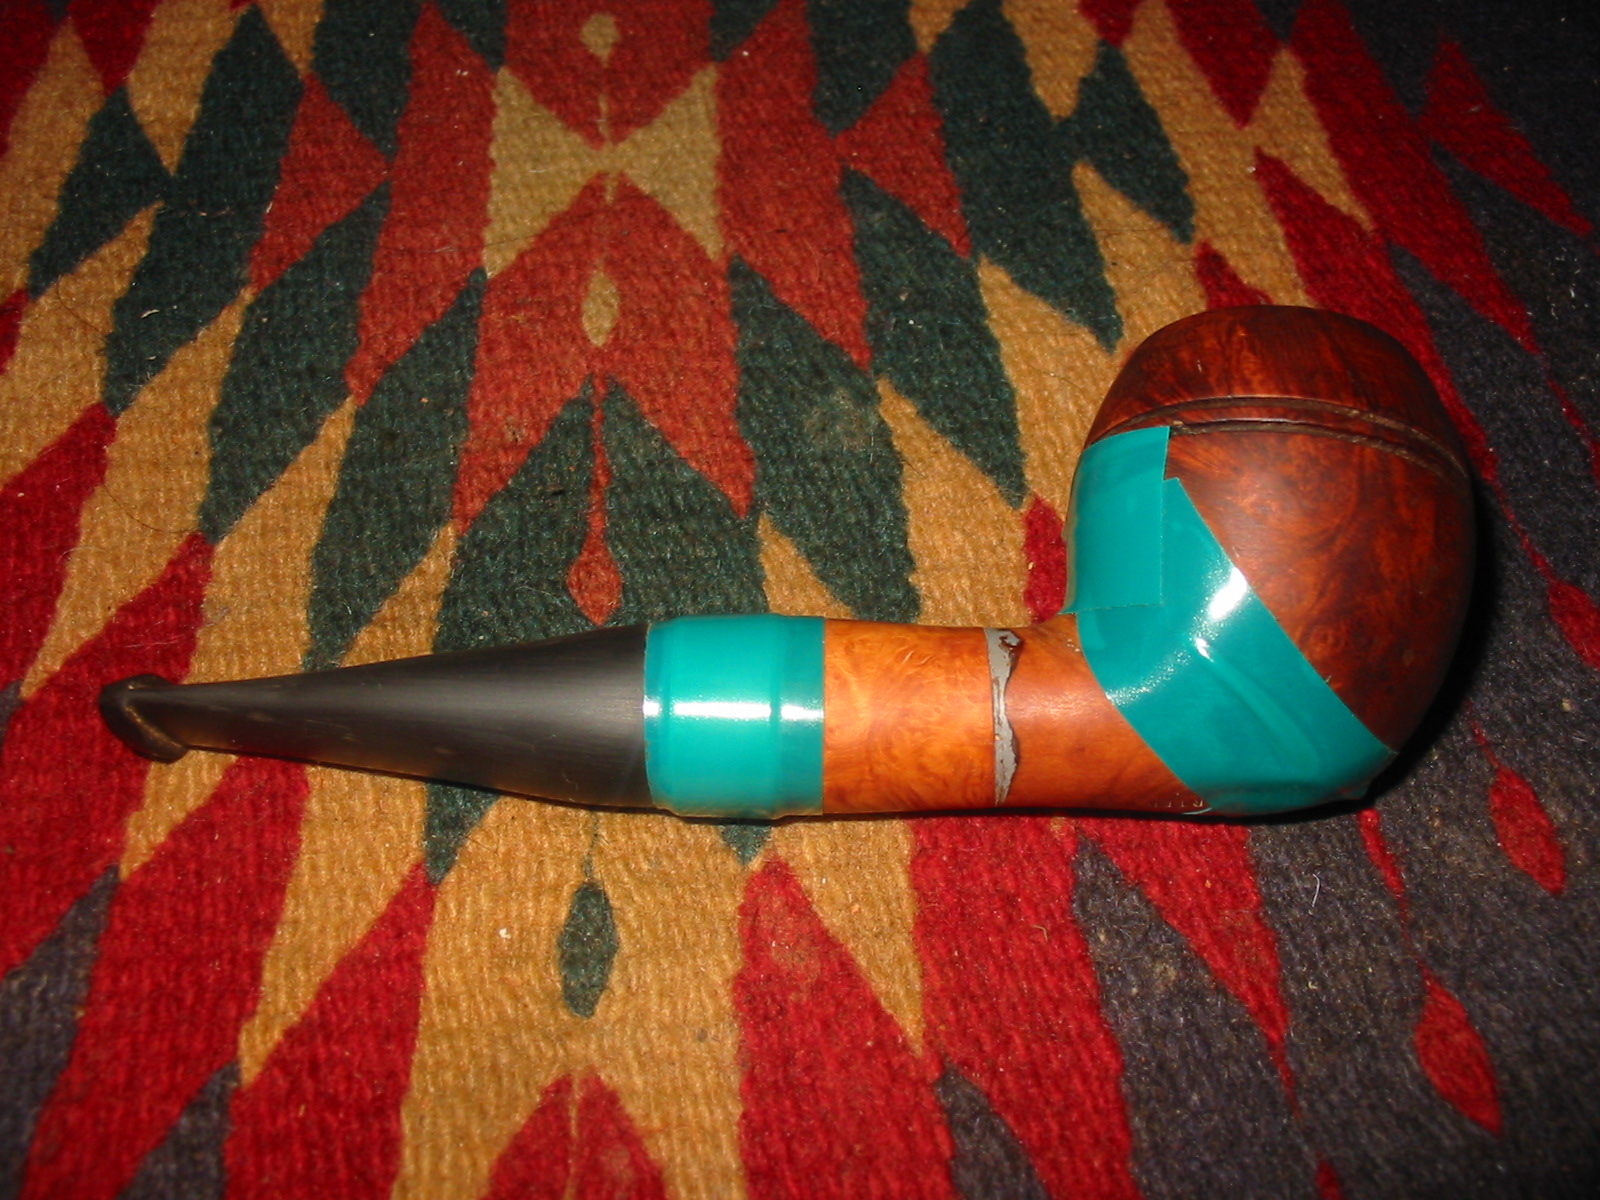
In the grab bag I got from the antique mall on my recent trip was a cutoff bulldog bowl. Whoever had owned the pipe in the past cut off the majority of the shank and had epoxied a metal tenon in place in the short shank. They had then added a churchwarden stem – a delicate round stem that really did not fit at all. In the photo below it is the bulldog just above the cob bowl. The stem was repurposed for the cob stack I wrote about in a previous blog post. The bowl just sat in the box while I figured out what I would do with it. I had thought of turning it back into a bulldog but just was not sure of that being the right direction to go with the pipe.

Then this evening I decided to do another “Frankenpipe” project. I pulled together the parts that might come into play and spread them out on the worktable. I had a chunk of briar from Dogtalker that could work for a shank extension, the cut off bowl from the bulldog and a selection of different stems that could be fit to the new shank once it got to that point. I examined the end of the short shank for a long time trying to decide the way to go with the new shank extension – diamond shank or round shank. The edges of the remaining diamond shank were well-rounded and the diamond had virtually disappeared. It looked like it would probably evolve into a Rhodesian by the time I was done but time would tell. Sooooo…. in the spirit of the tall cob, I decided to put together the parts and see what I could do with them.
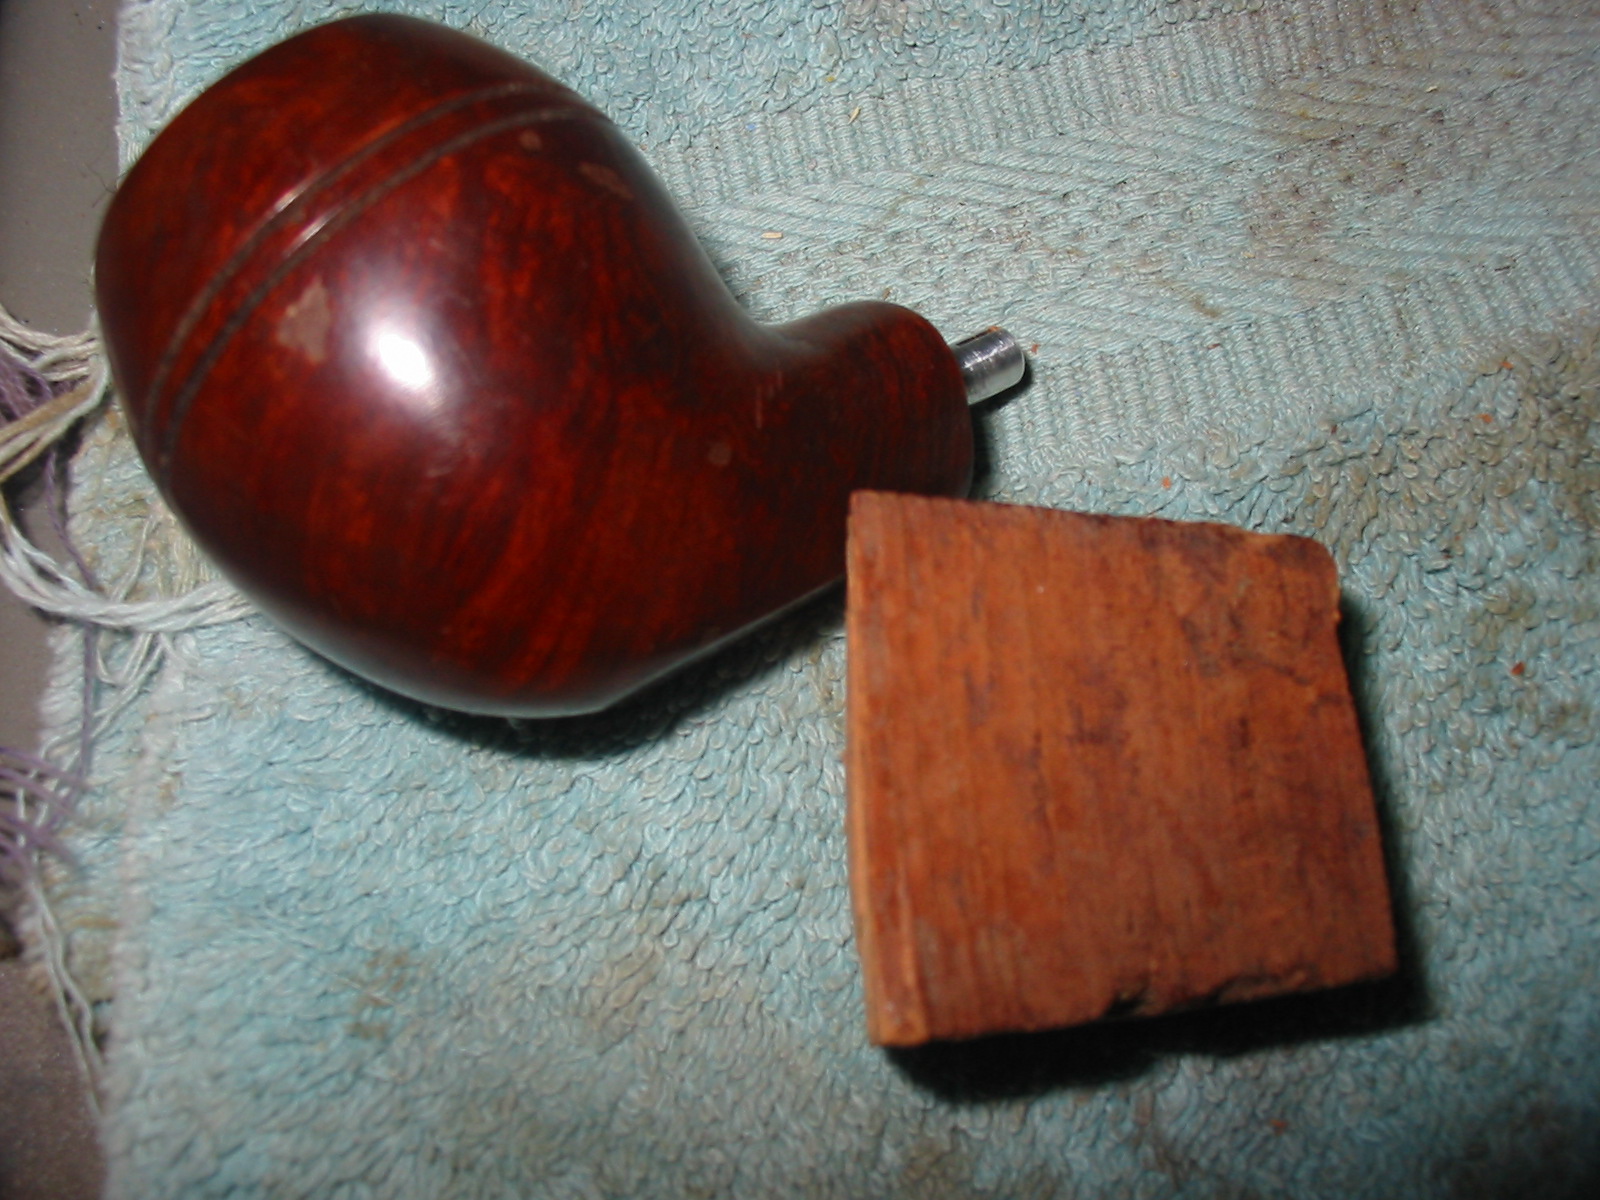

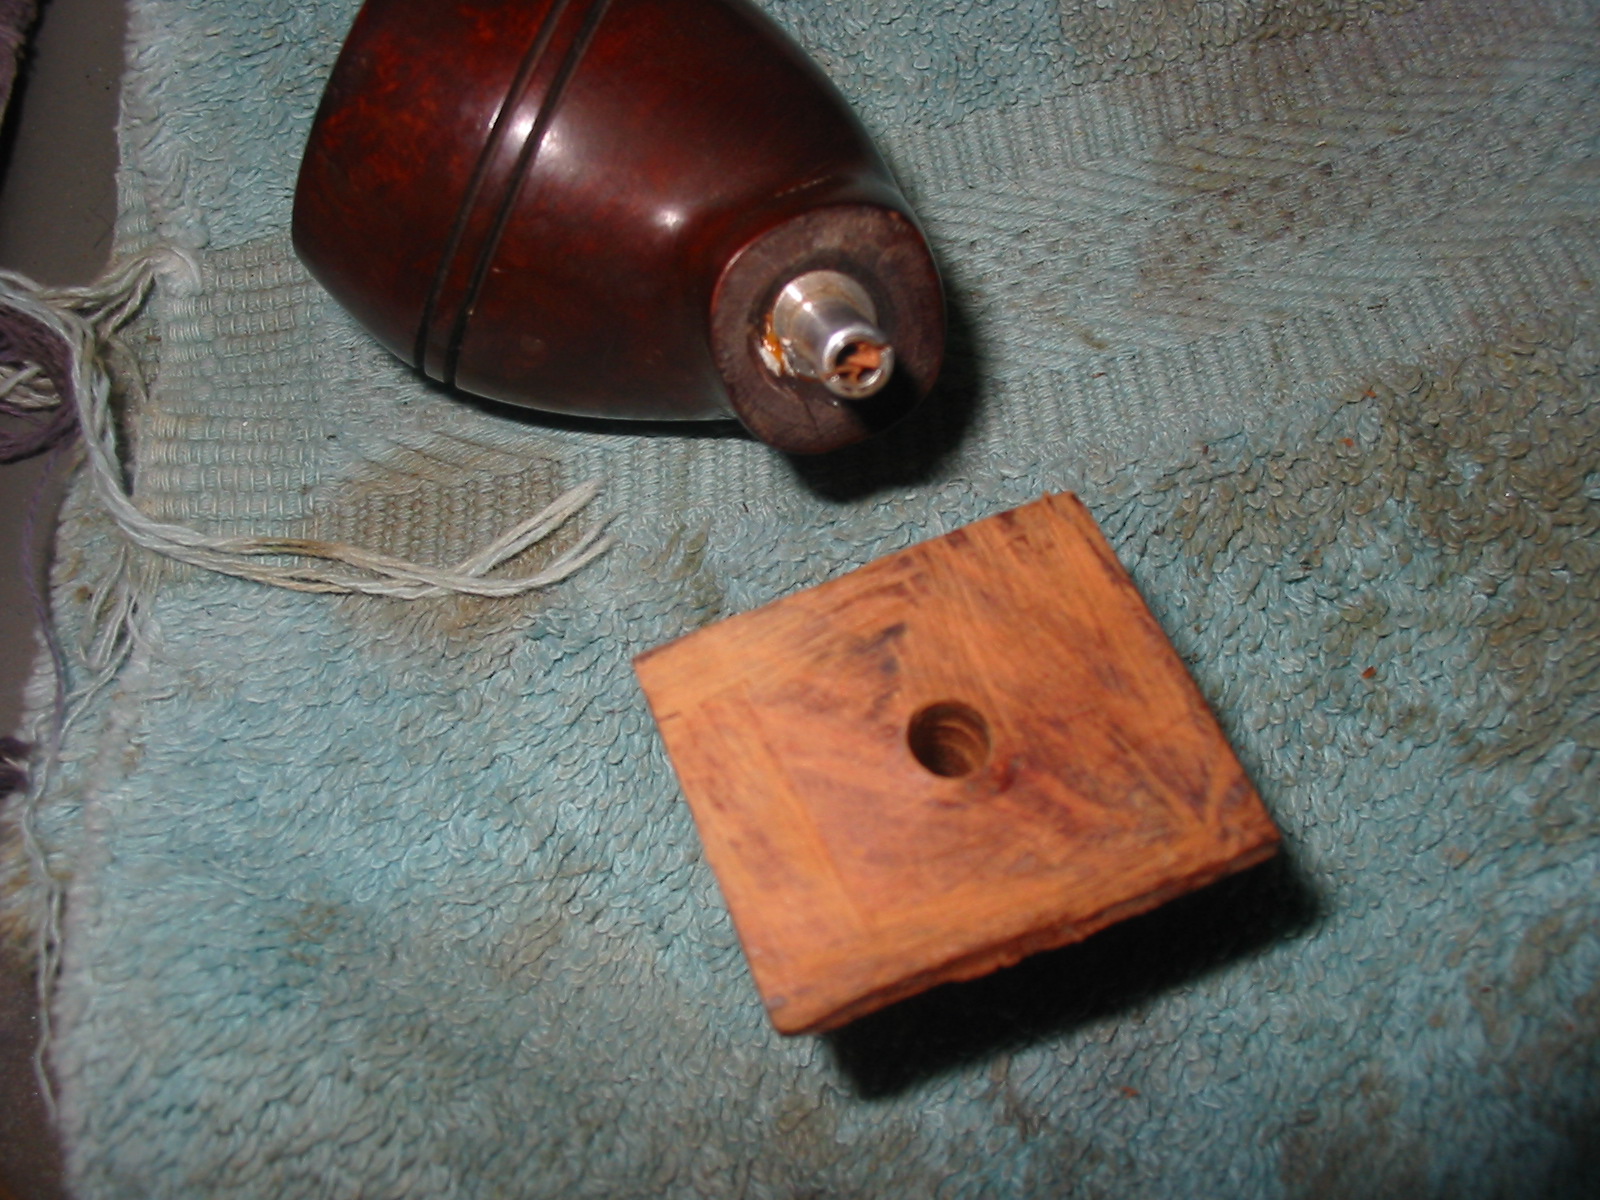
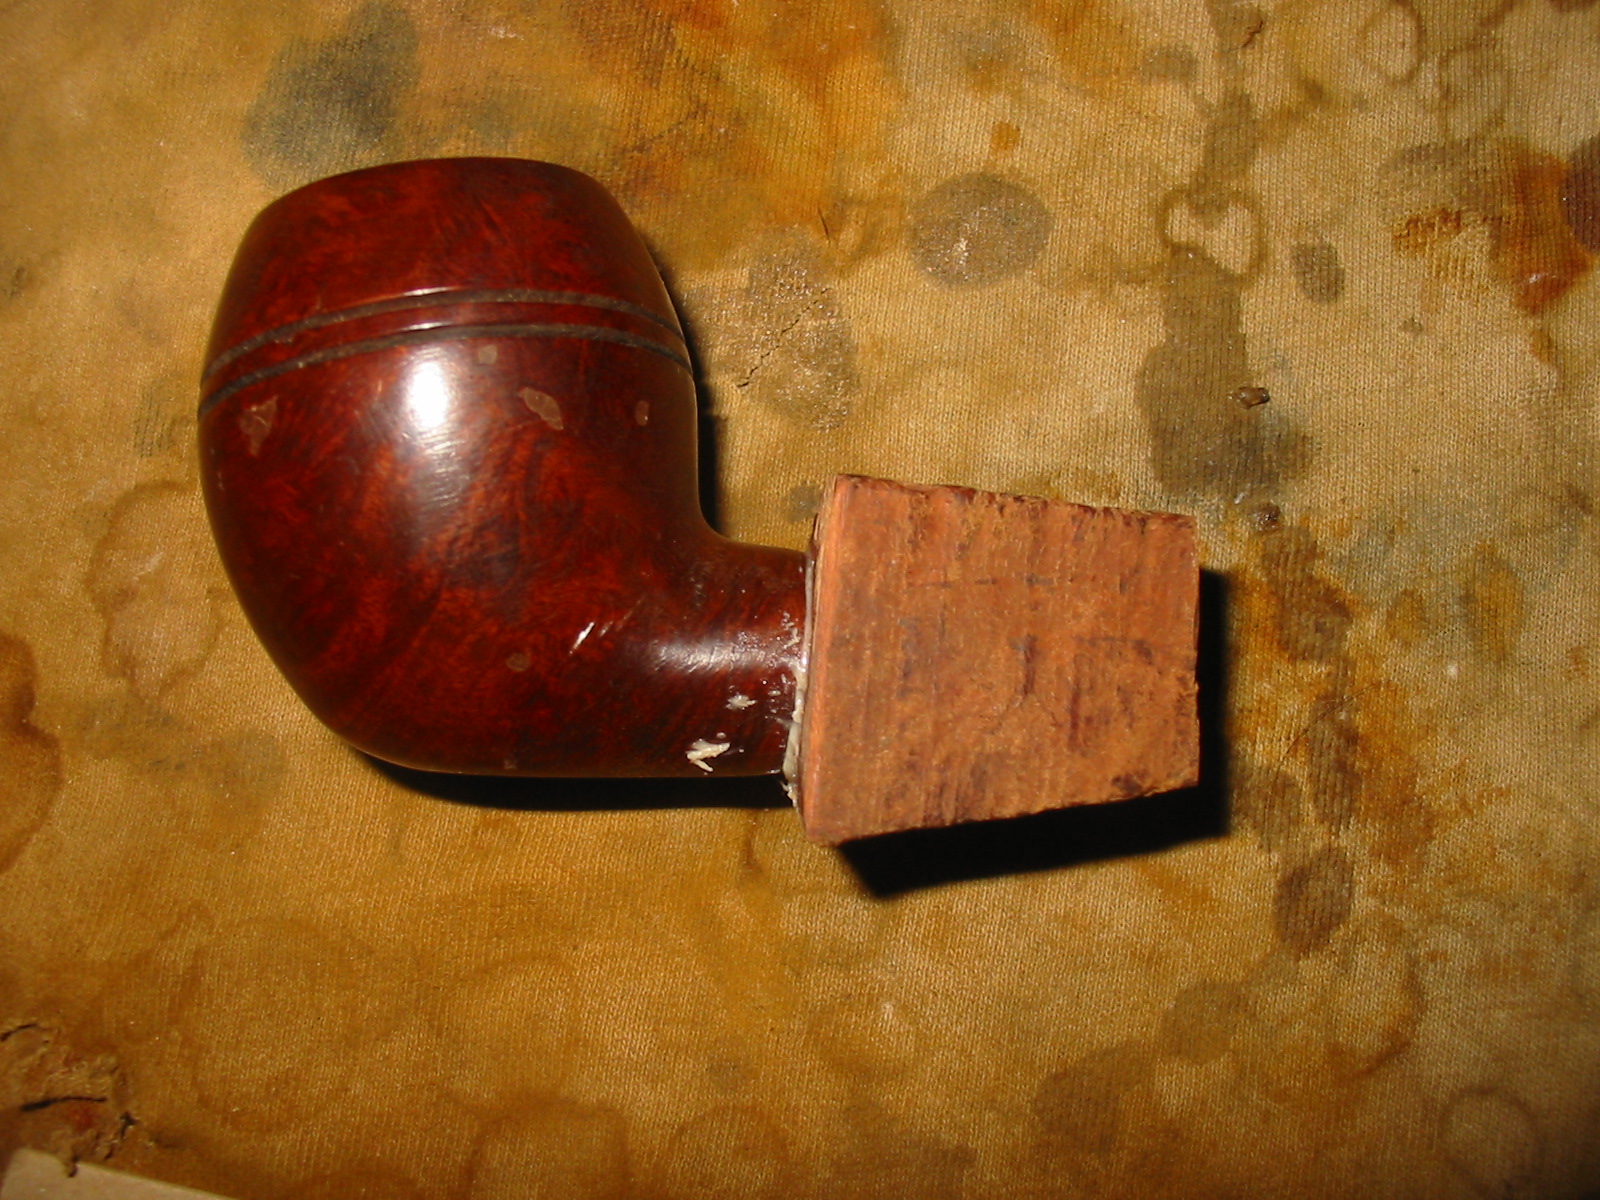
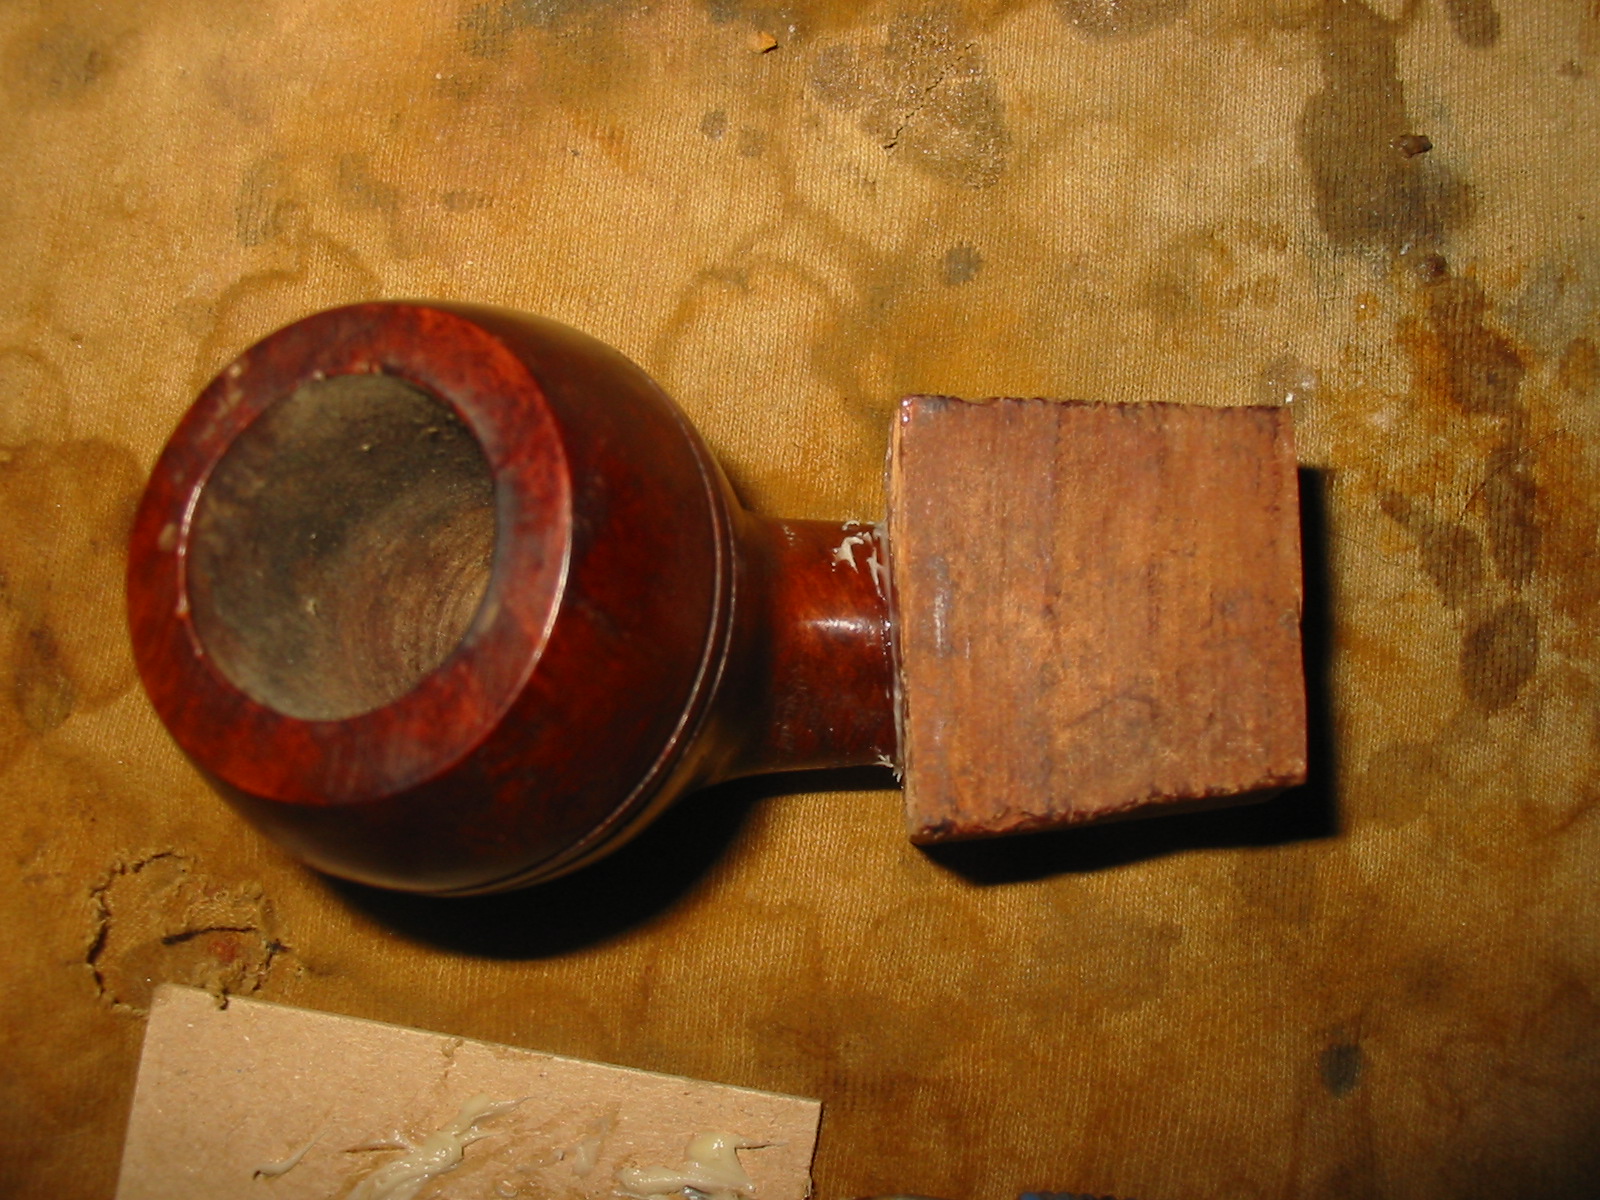
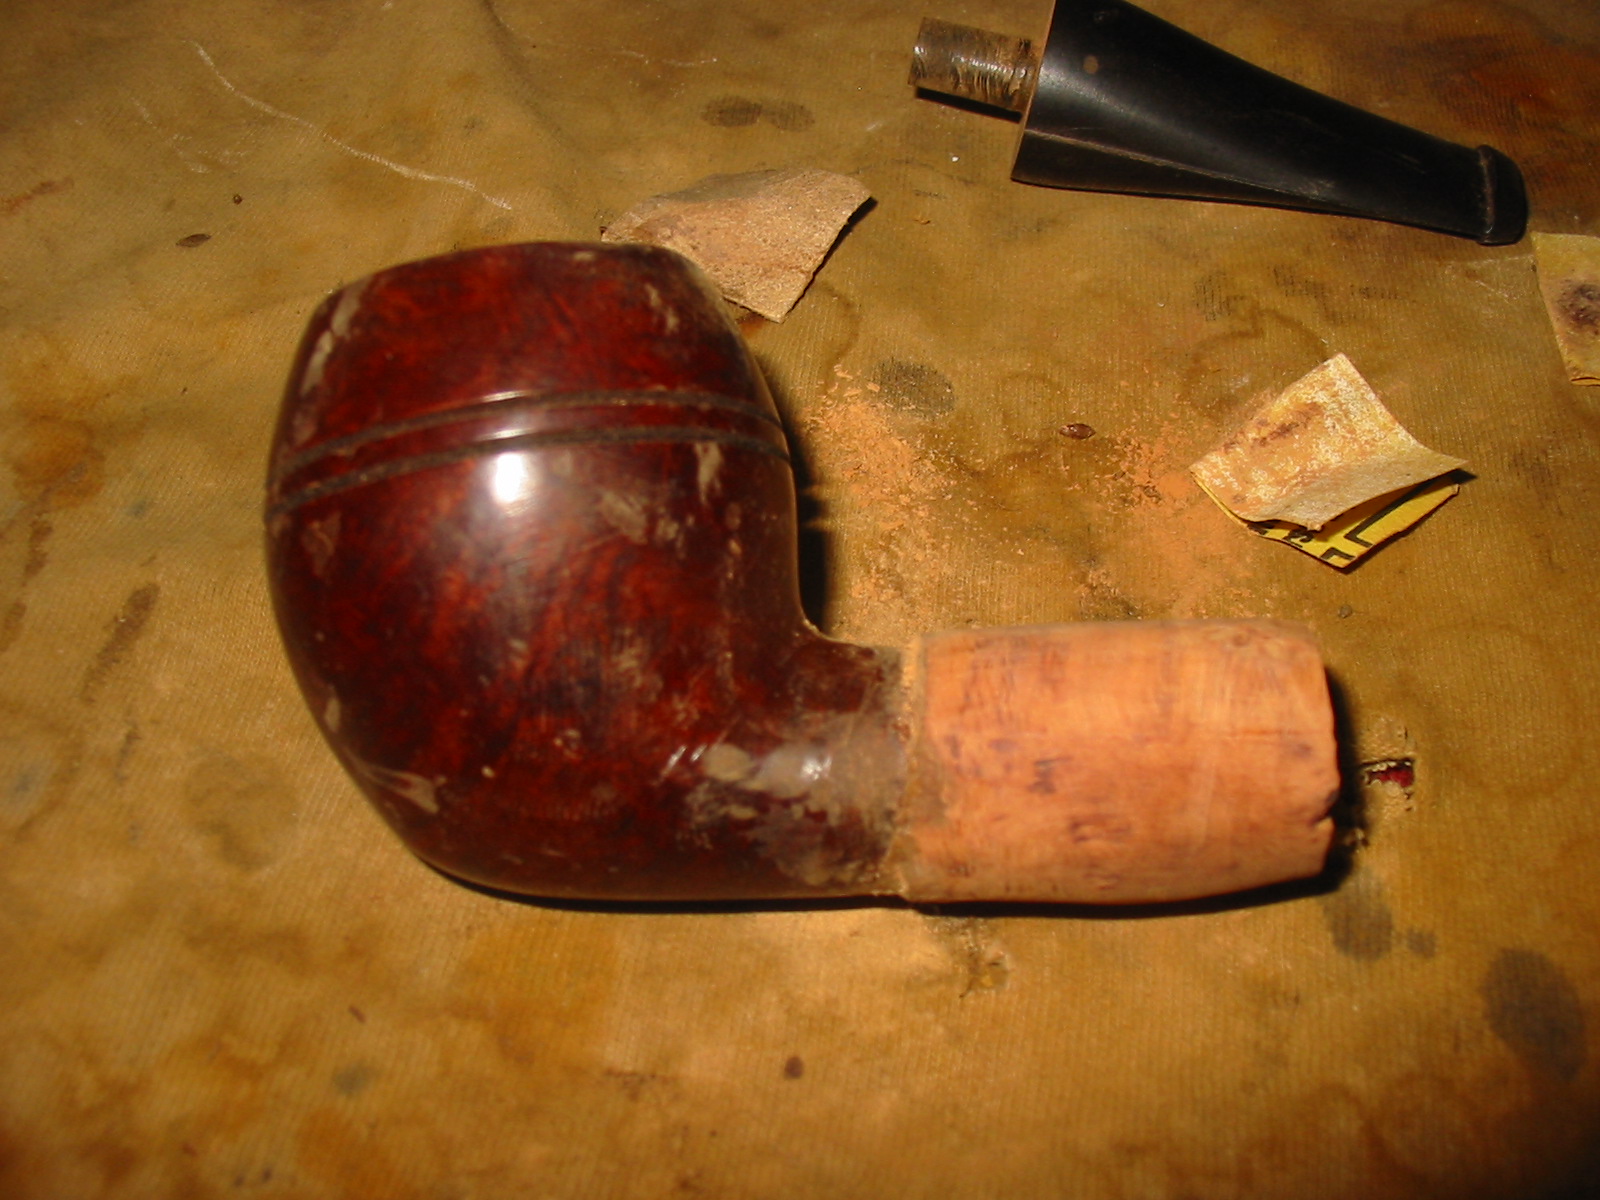
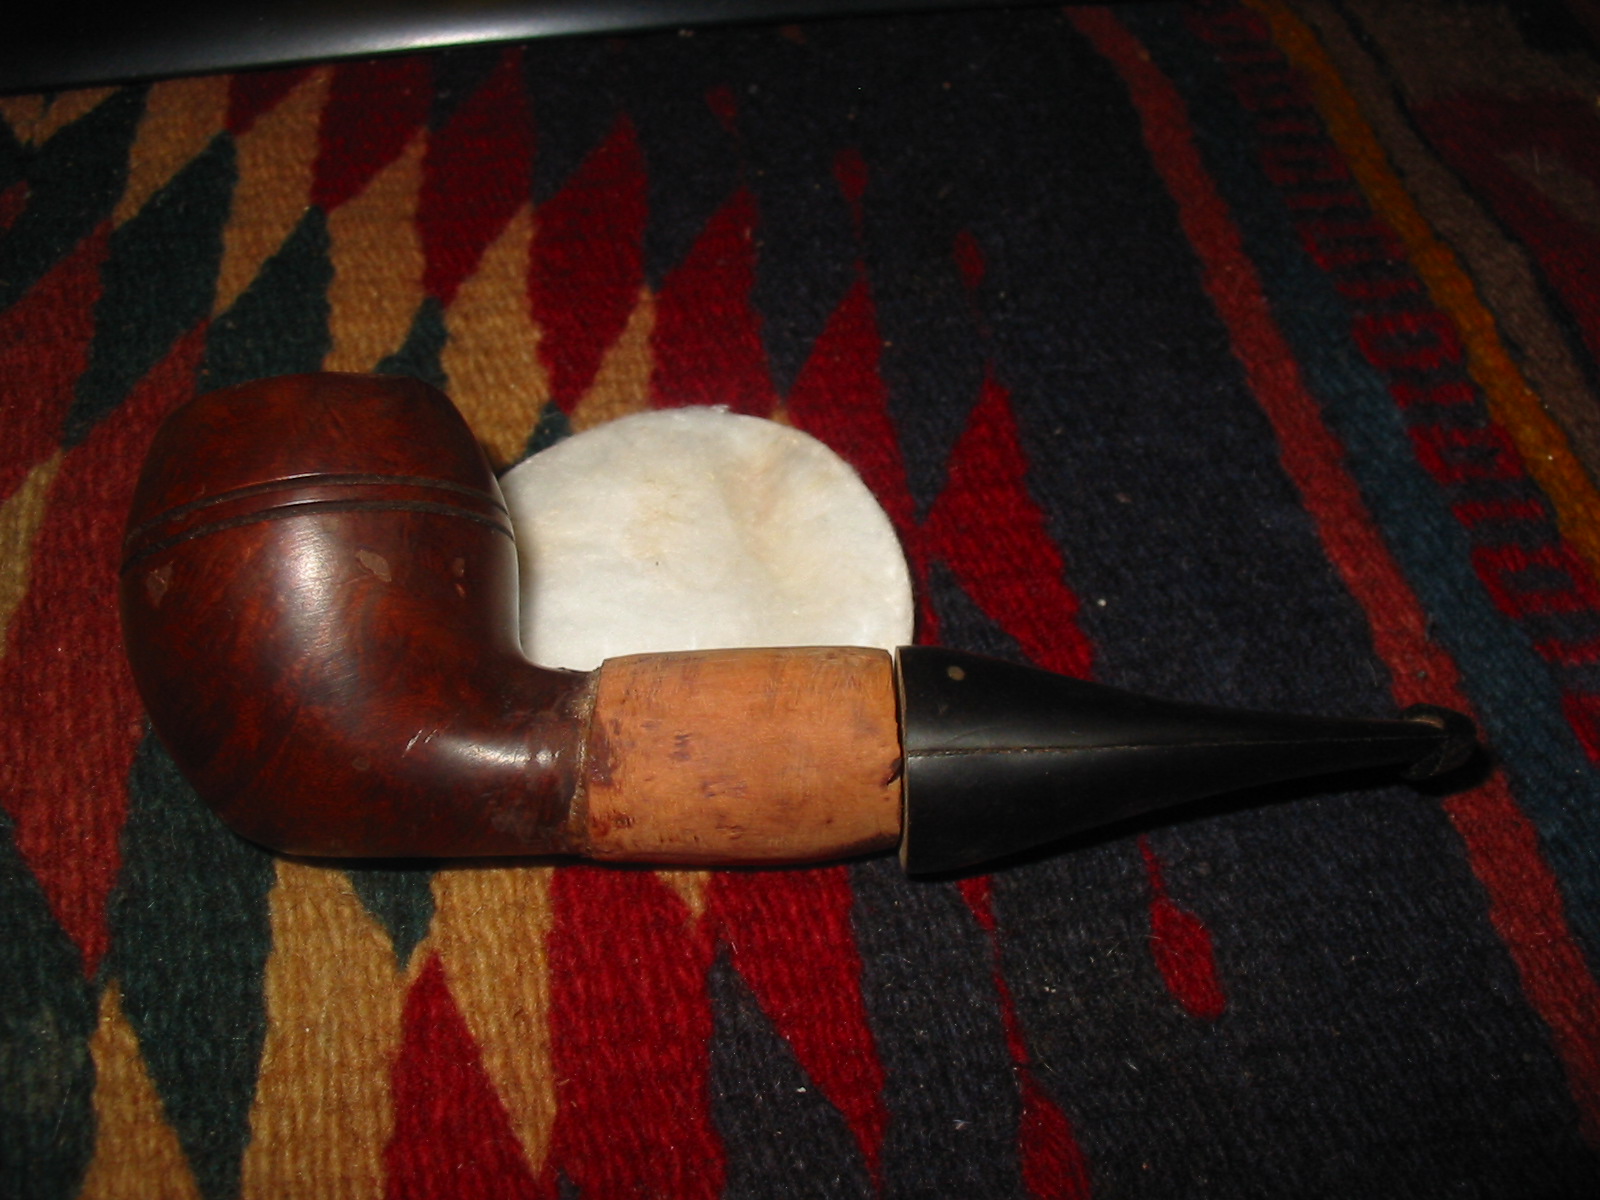
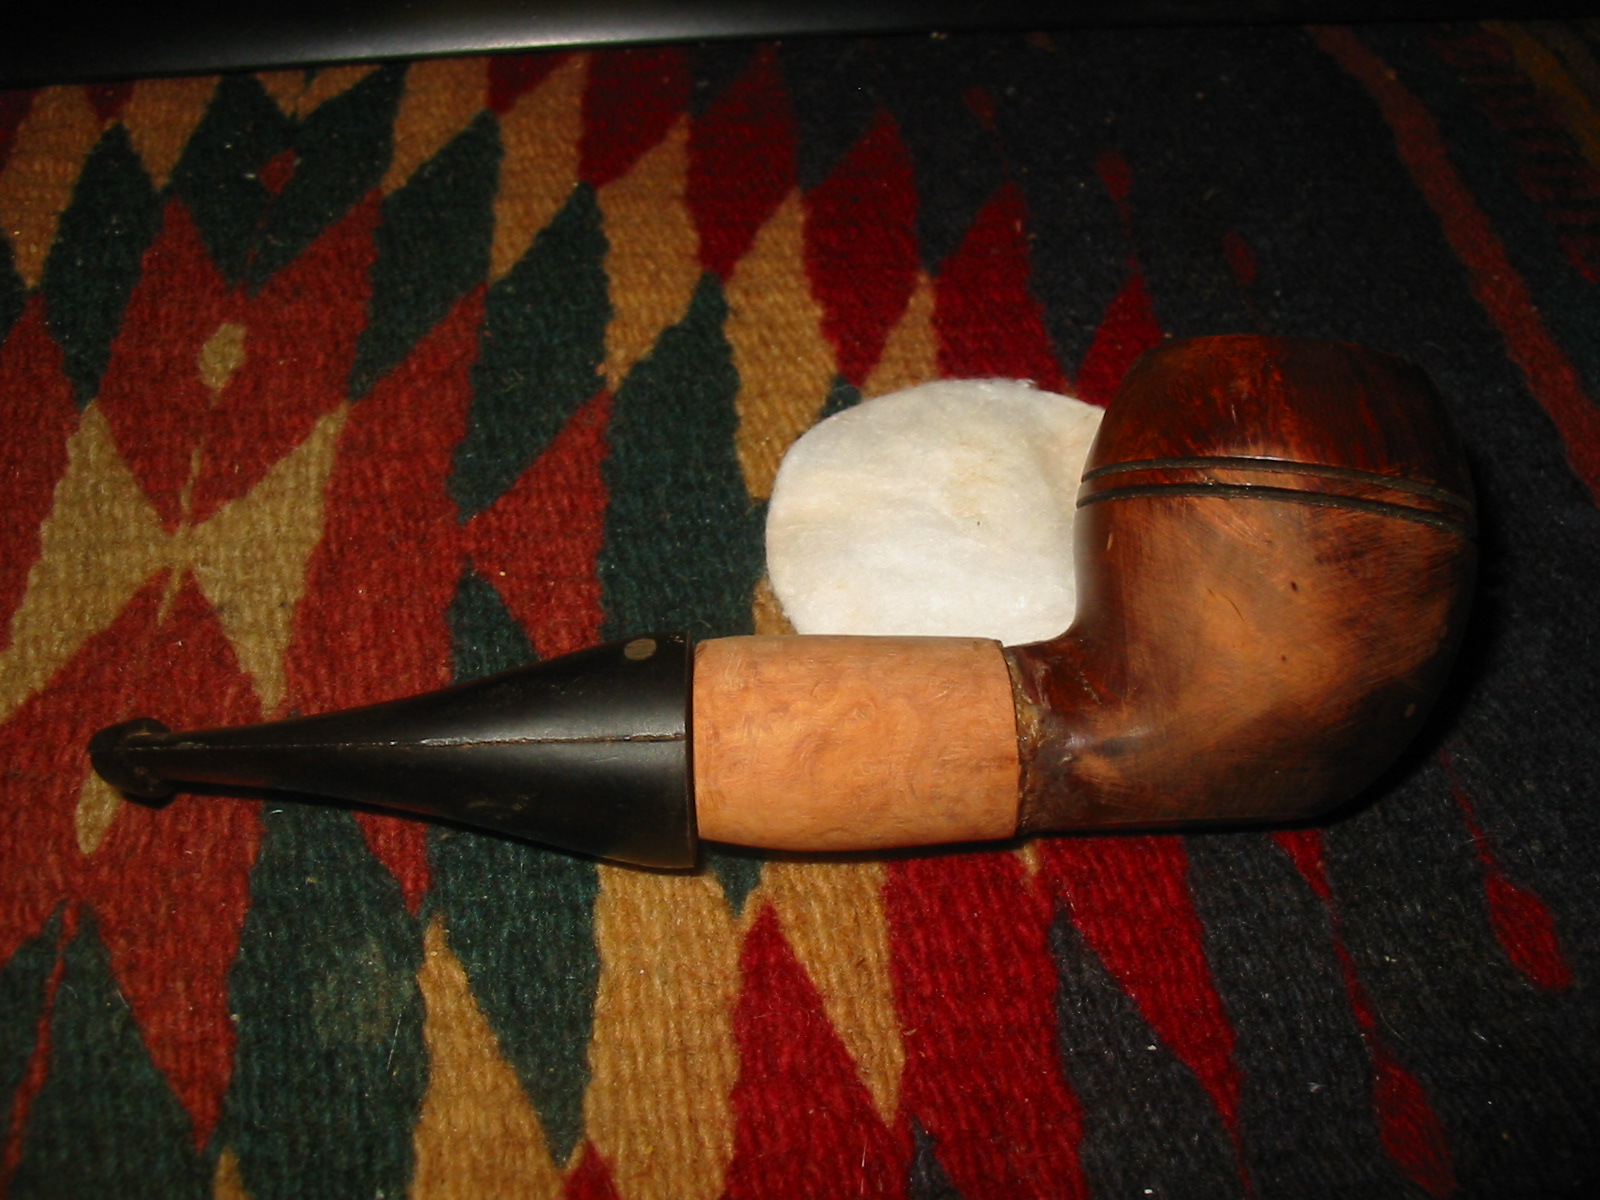
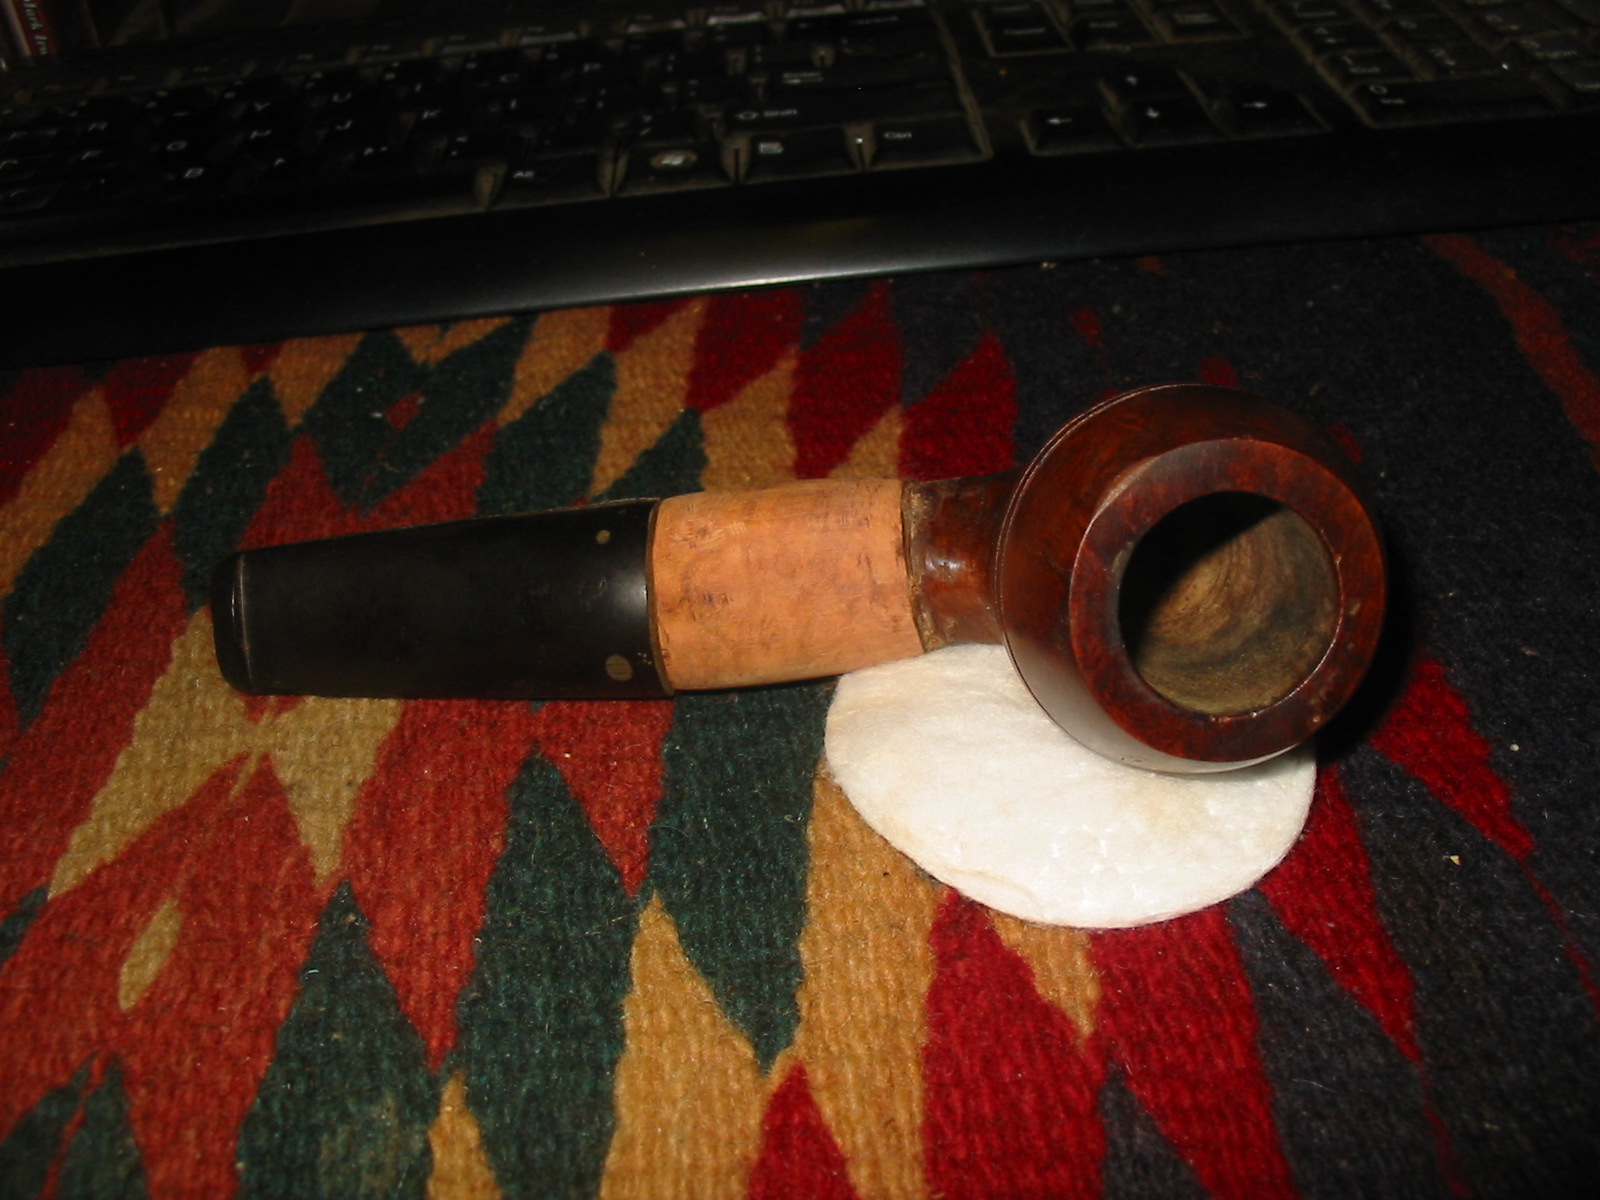
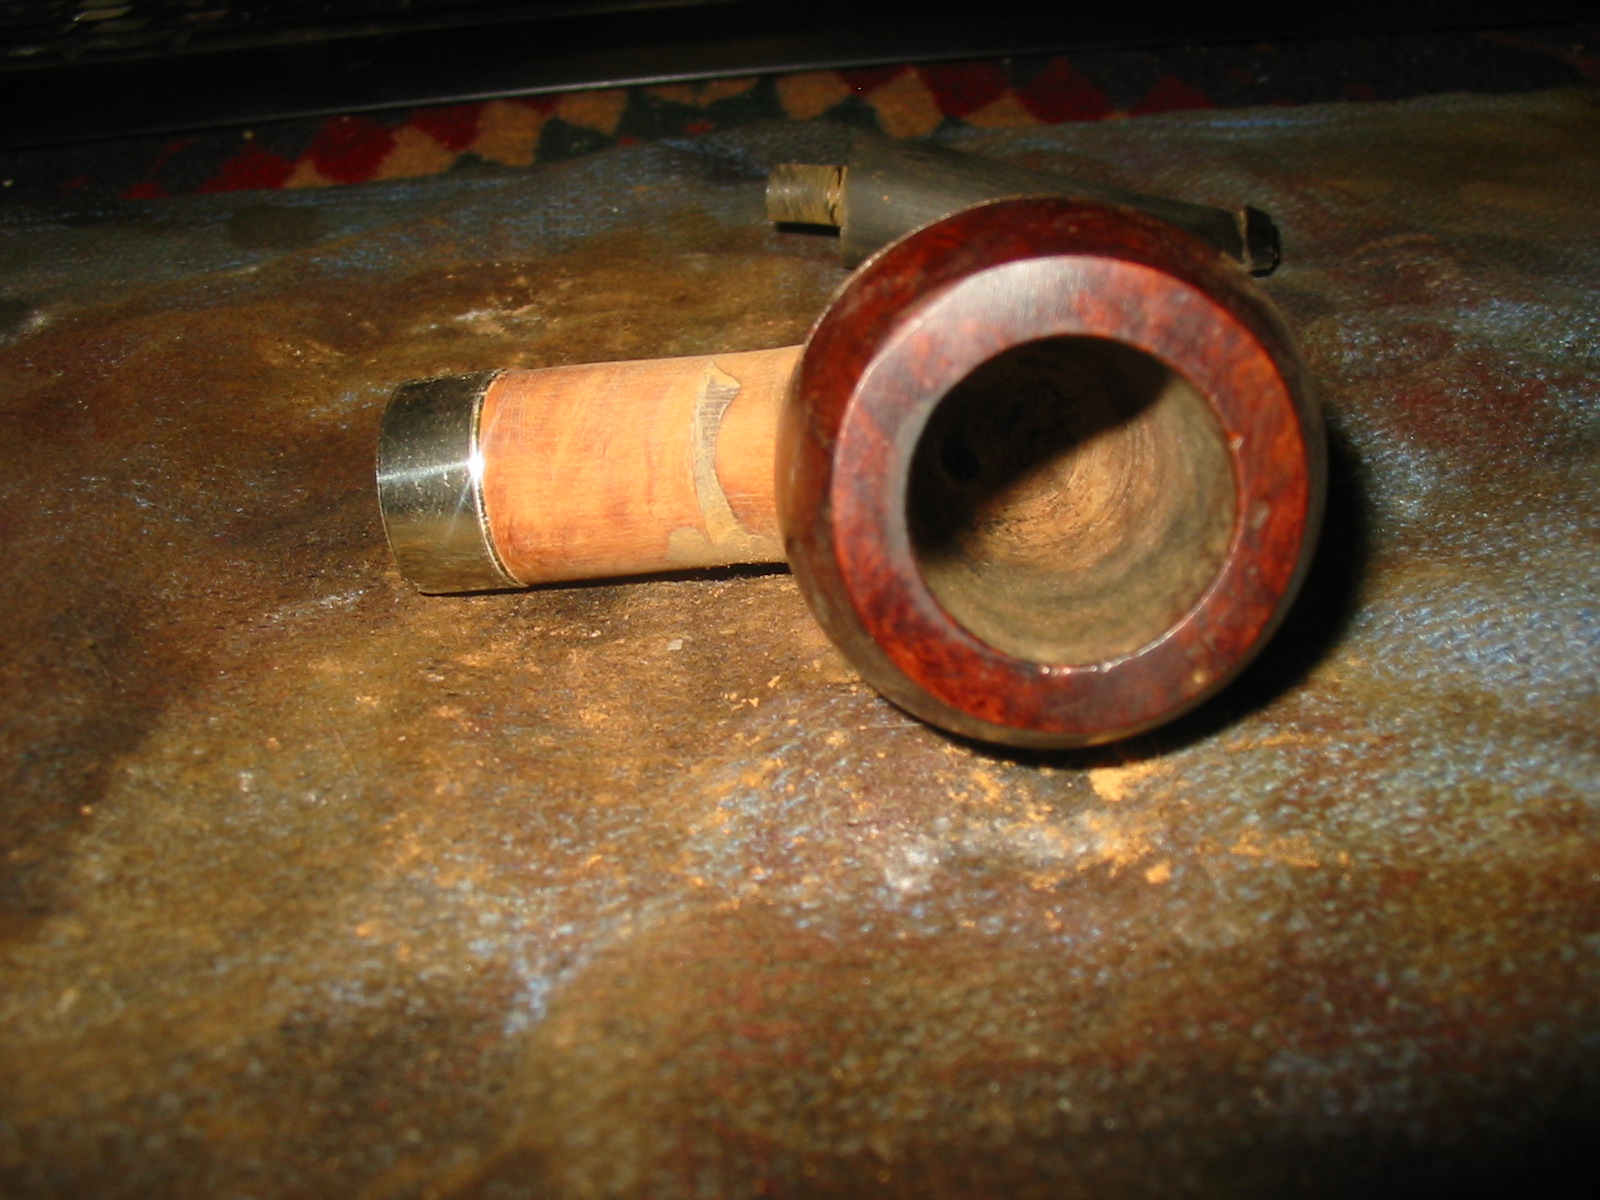
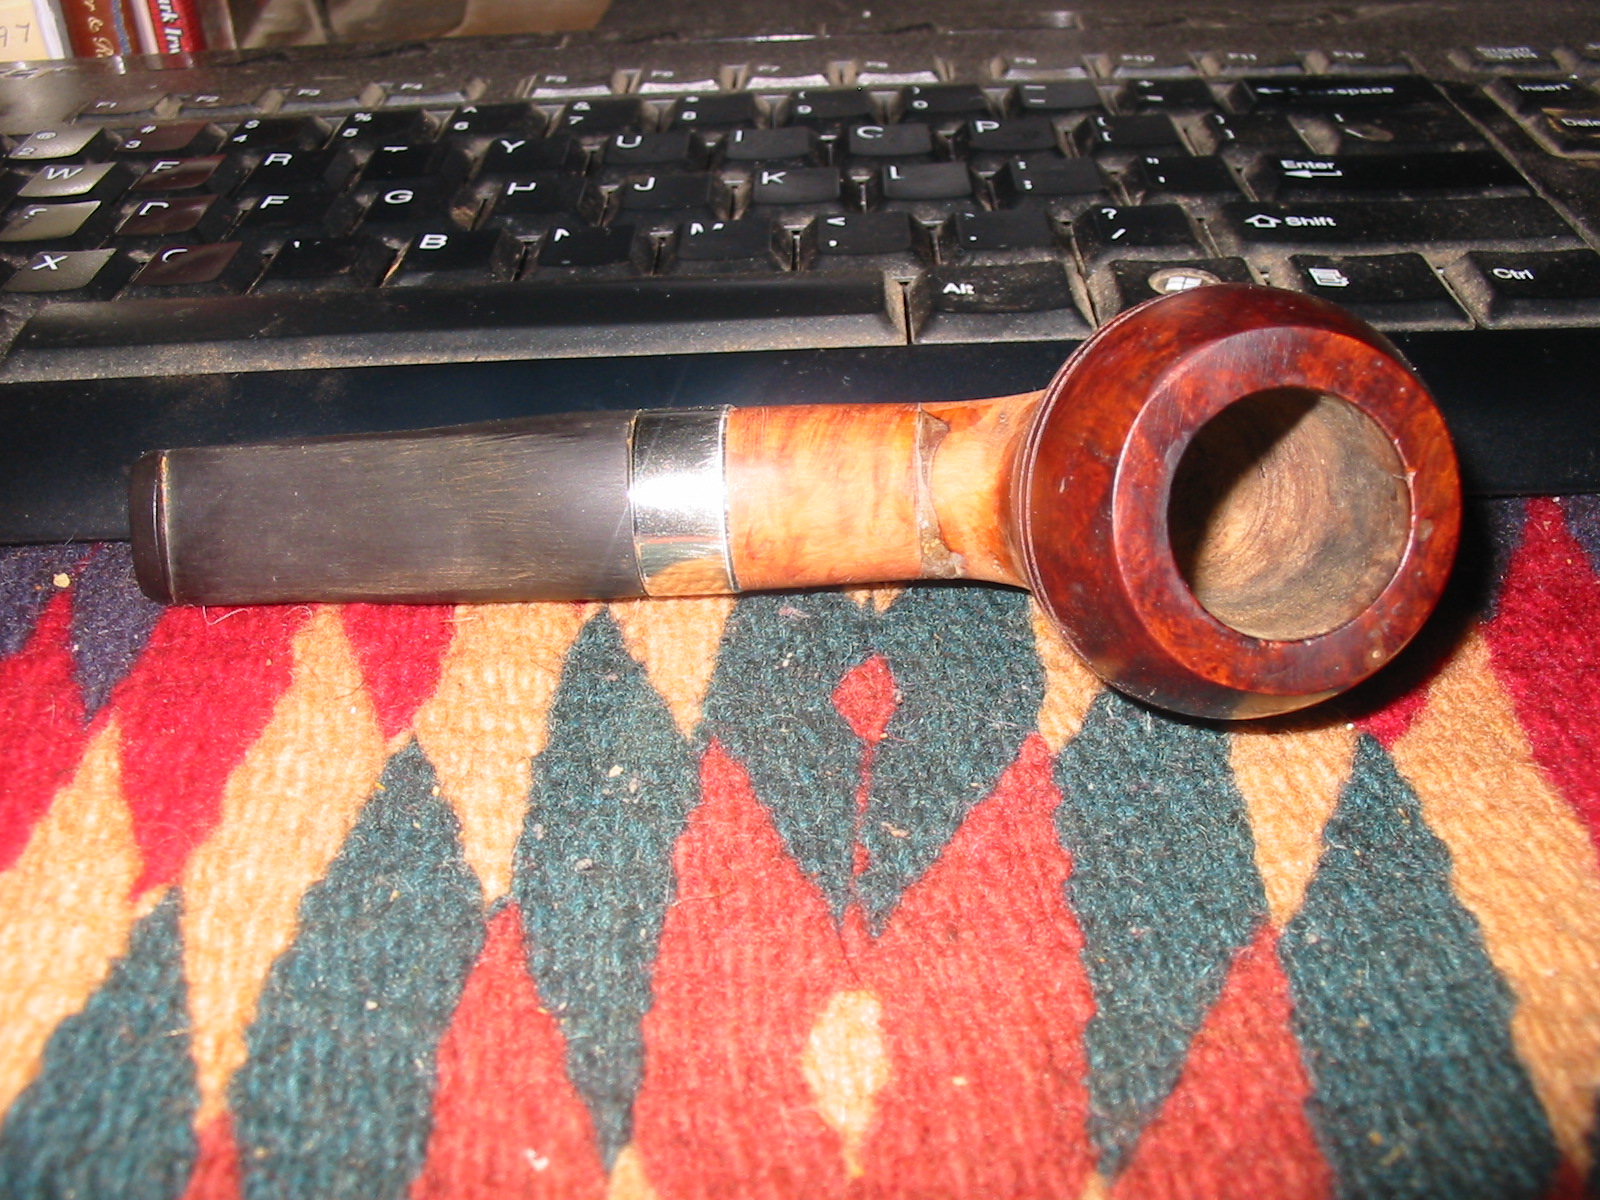
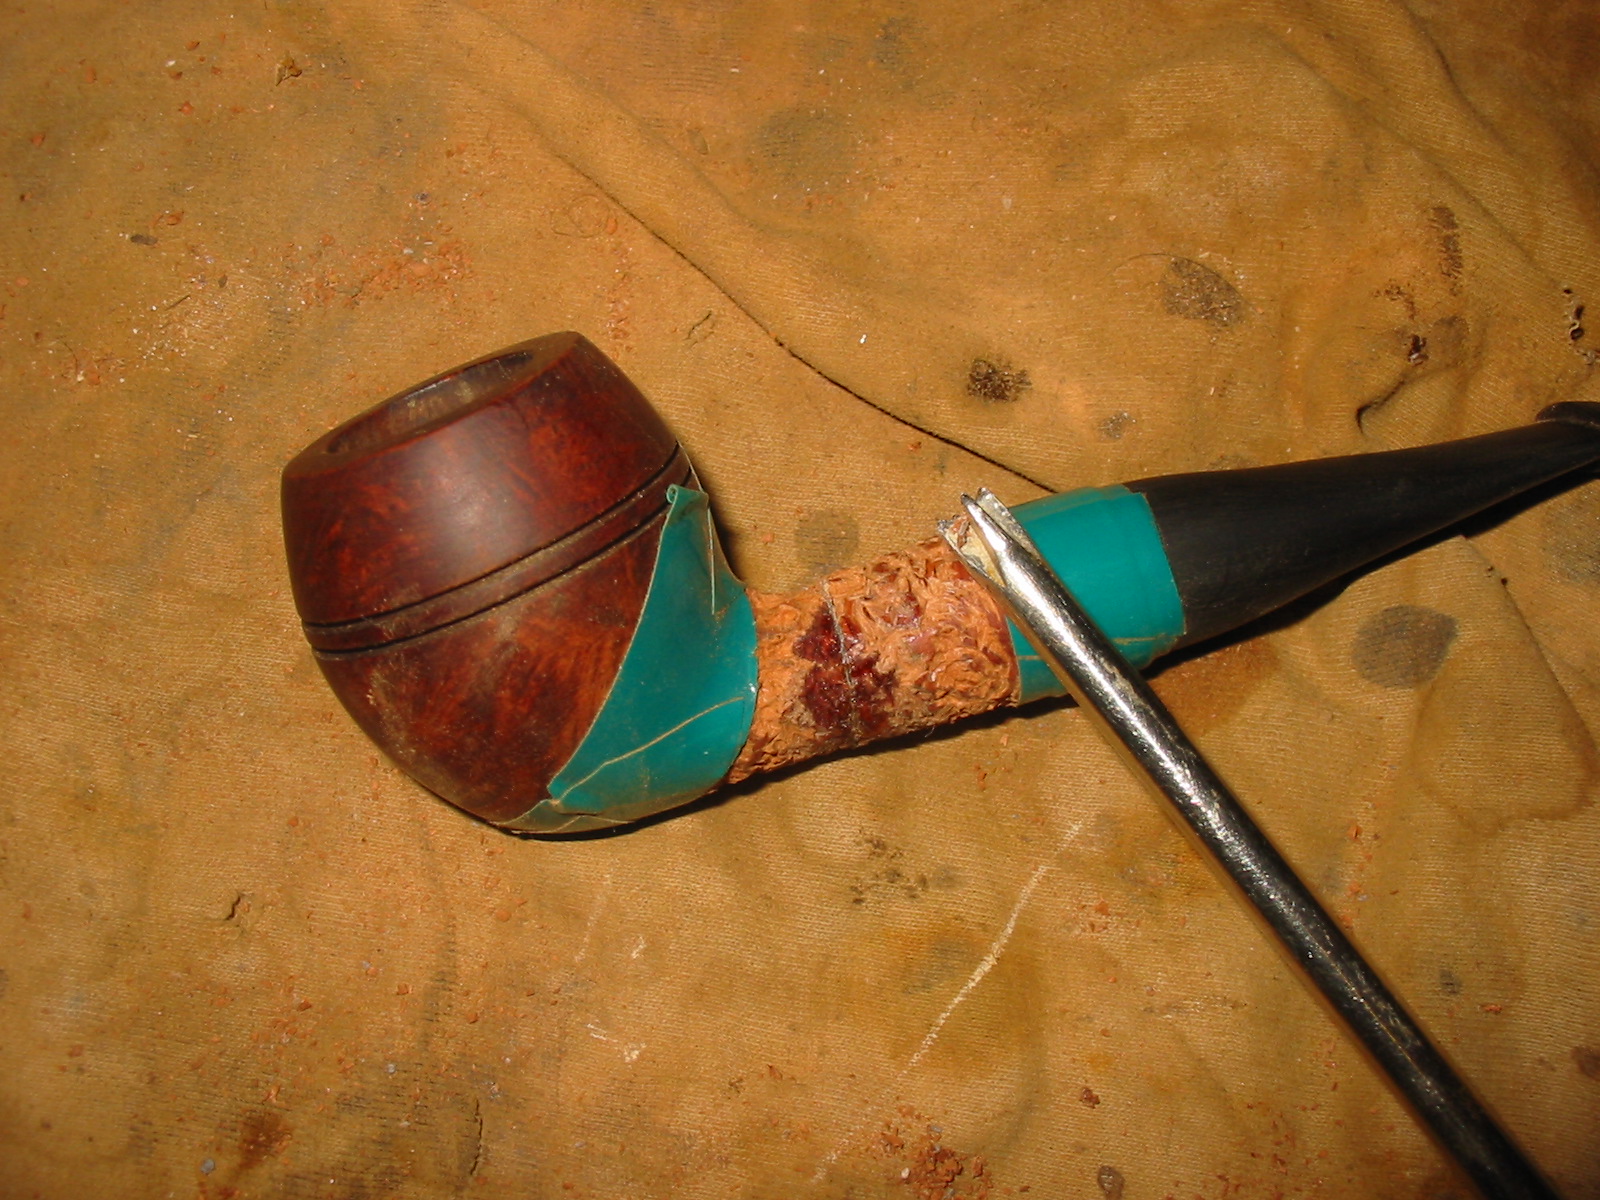
I started the process of joining the briar block and the short shank bowl. I drilled an airway in the briar going straight through. It was slightly larger than the metal tenon so that it the metal tenon and some epoxy would fit. This would give a straight airway from the bowl to the block. Once that was finished I drilled enlarged the airway on other side of the briar block with a larger bit to create a mortise. I put the pieces together to make sure that everything would fit together. For the purpose of having some kind of stem I grabbed an old diamond shank stem from my can of stems to fit the mortise.


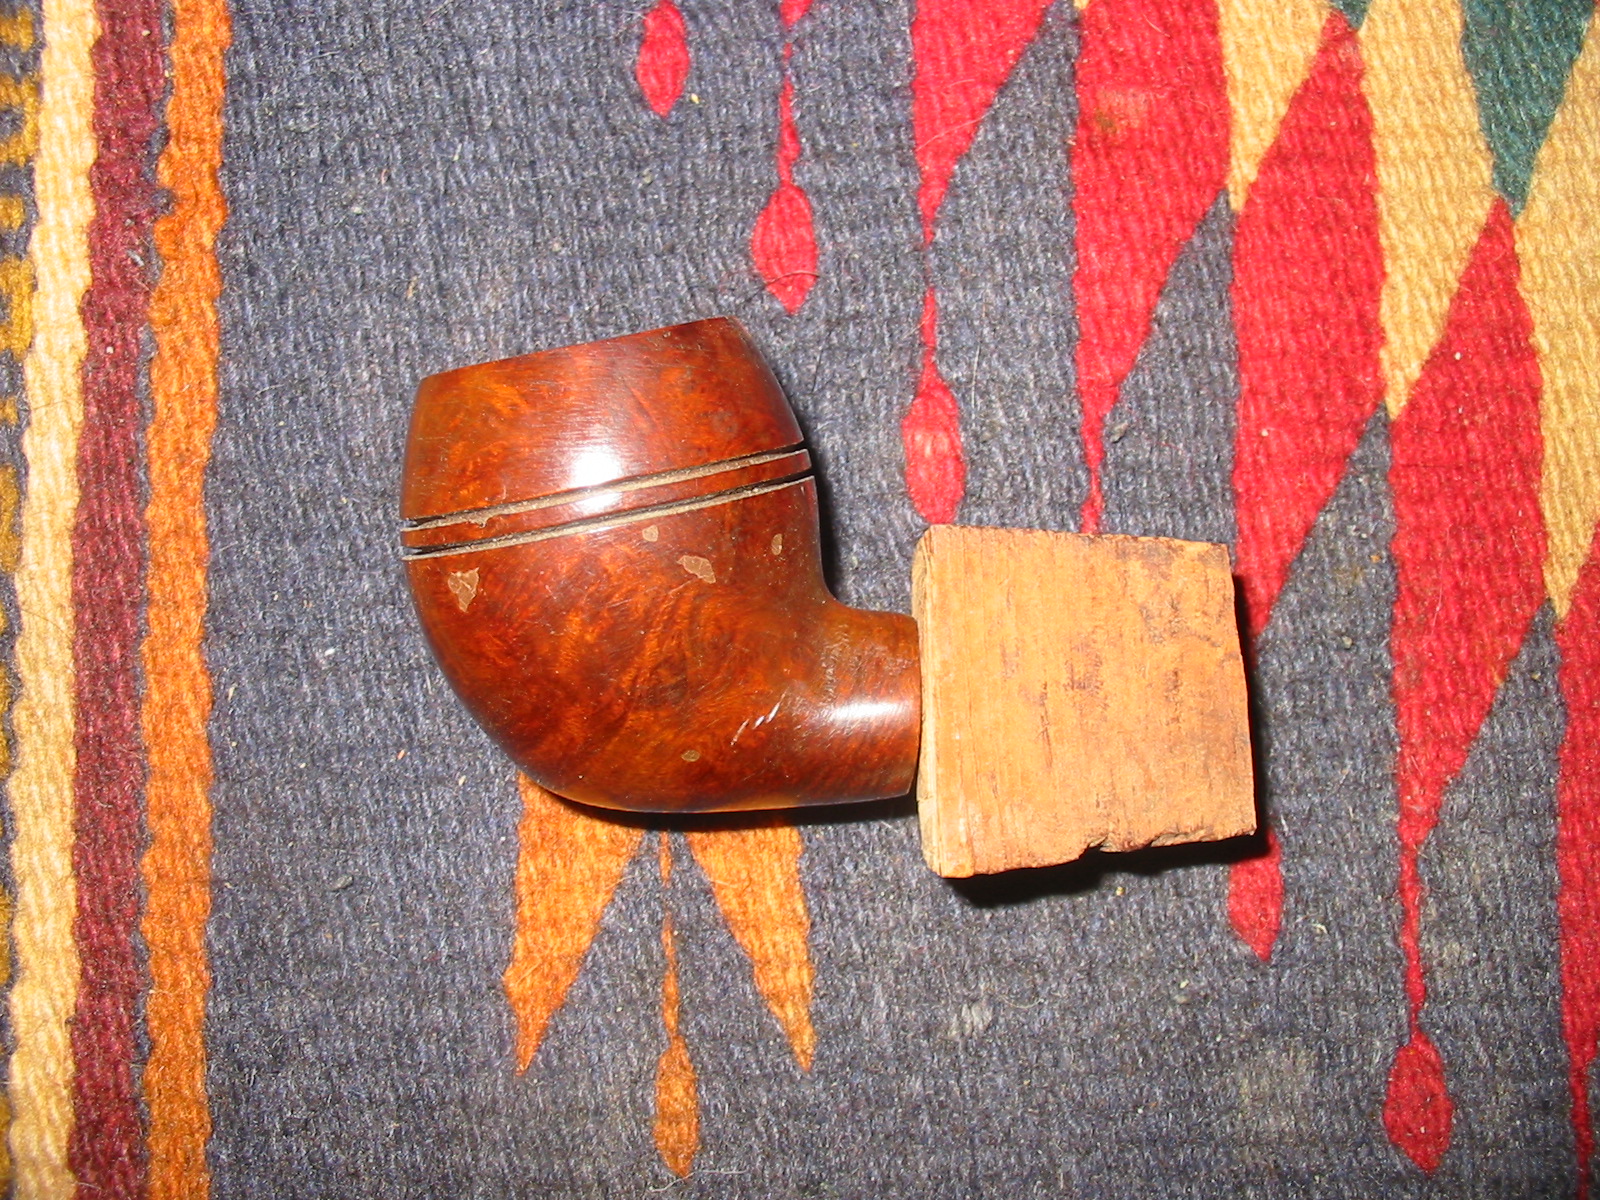
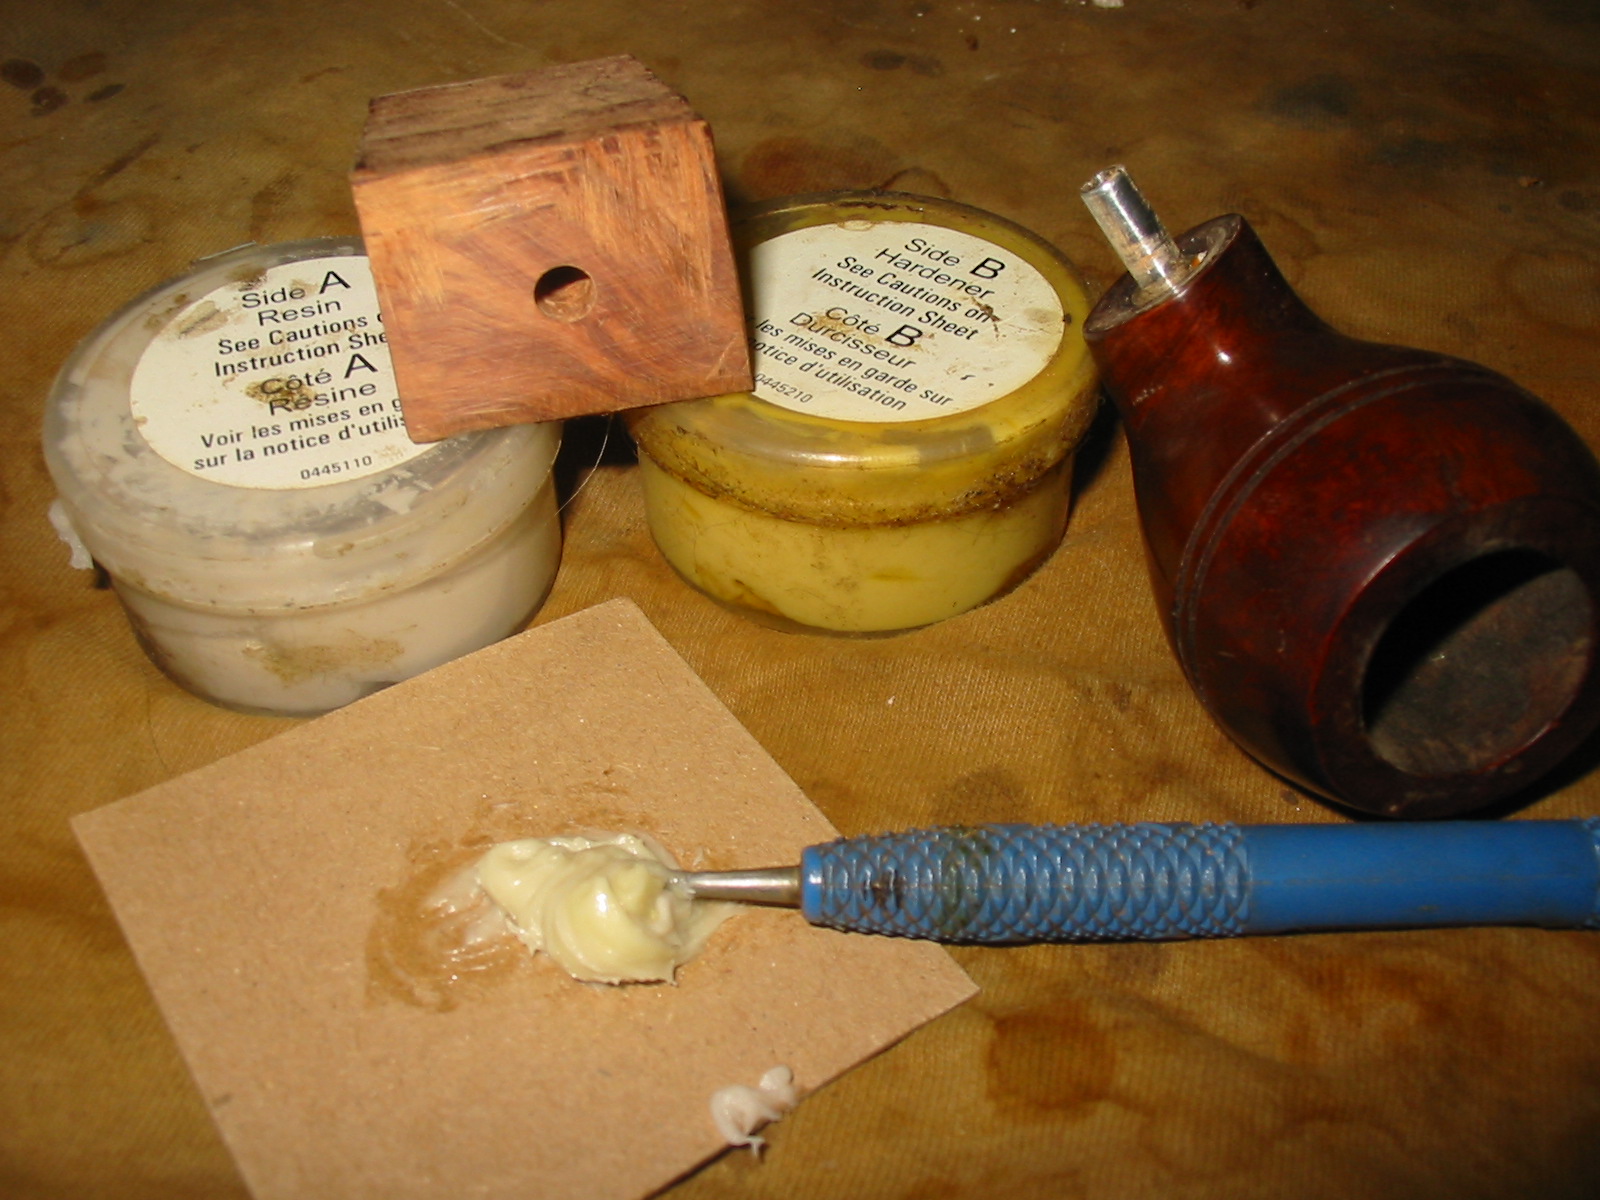
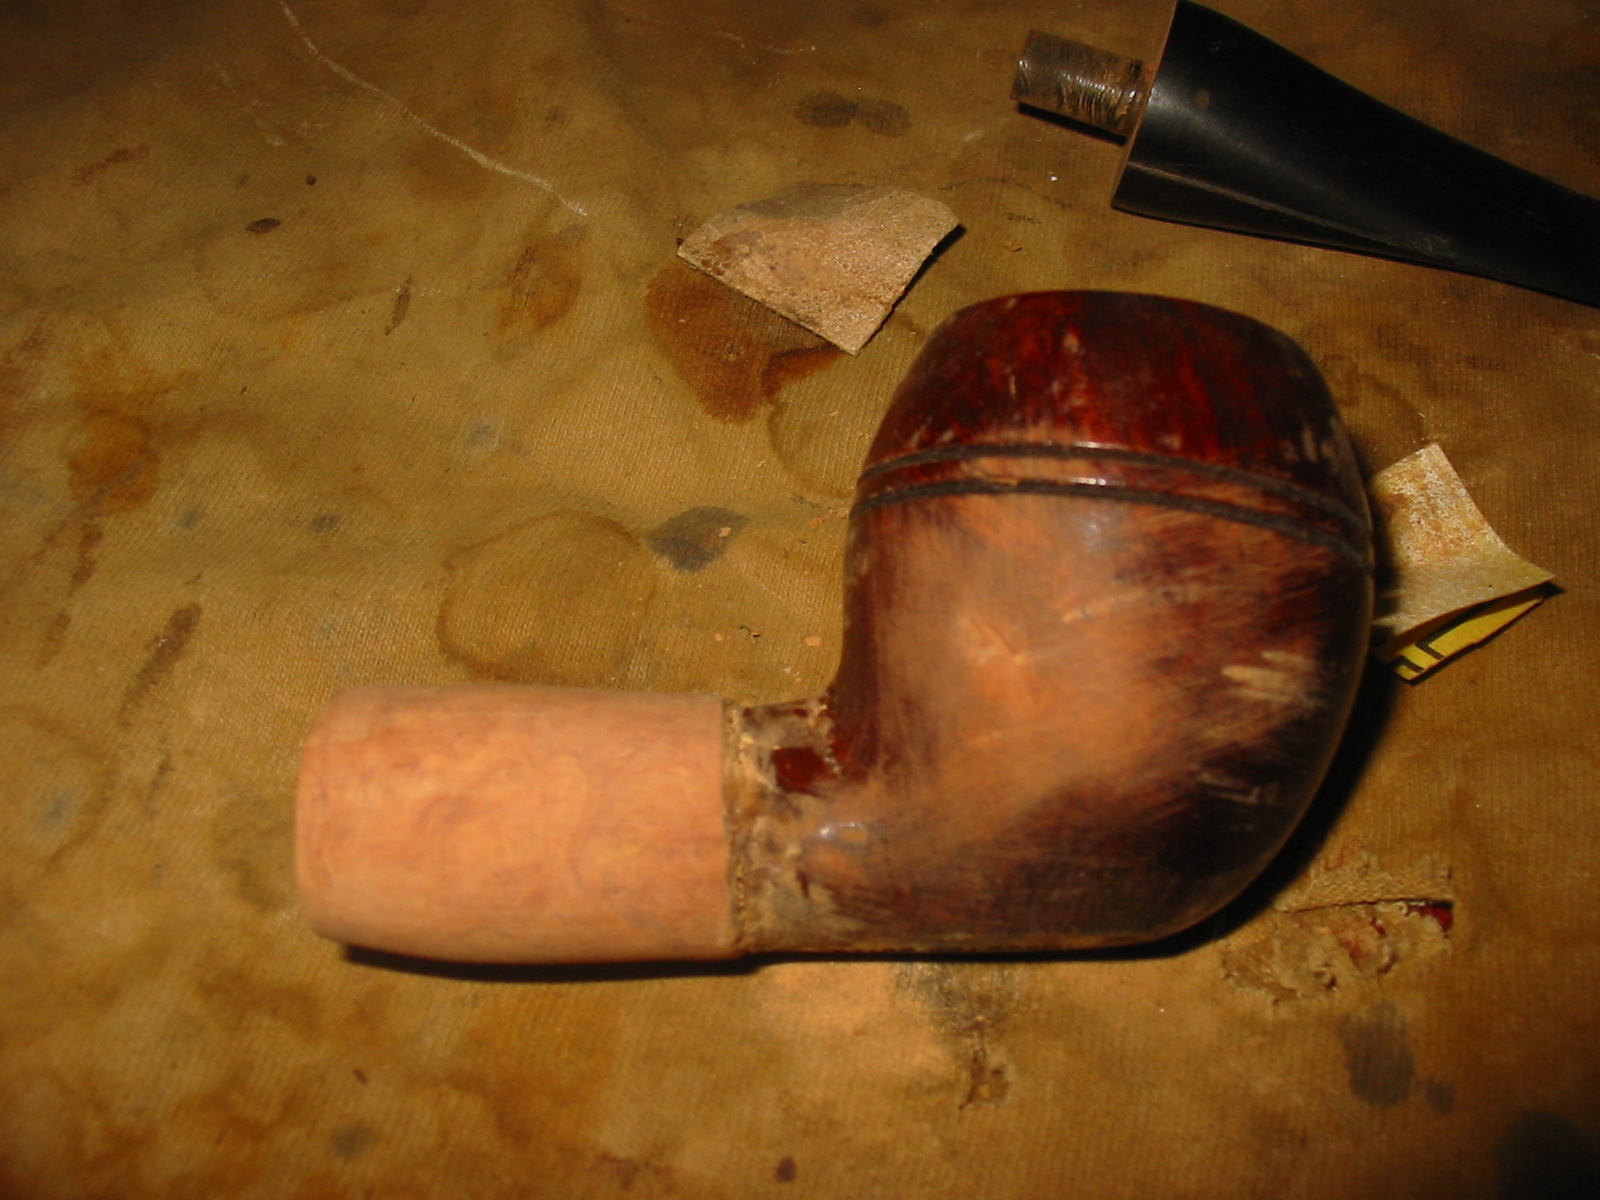
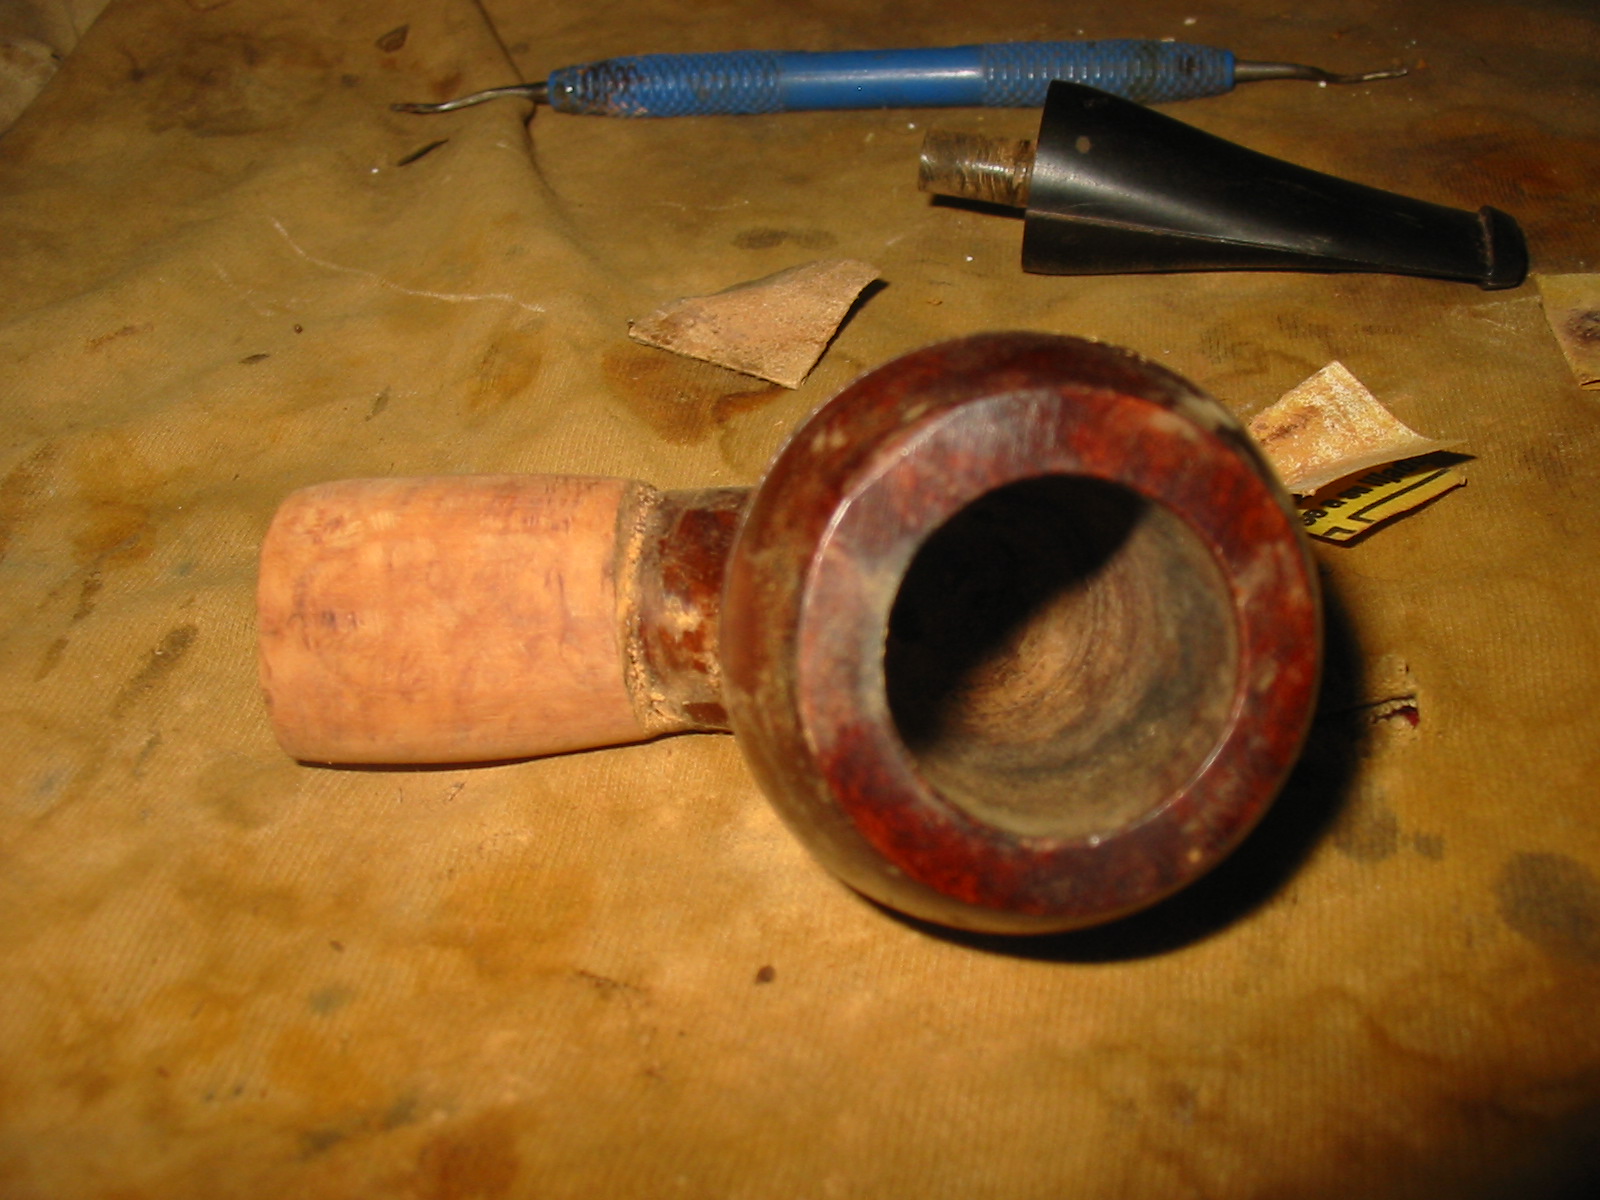
I used my topping board and sandpaper to try to face the short shank and the piece of briar to facilitate a flush fit when the two pieces were joined. The shank on the pipe had been cut at an angle so I took that into consideration when I was working on the briar extension. I mixed up a two-part epoxy and glued the block and the bowl. The photos show the epoxied joint before I cleaned it up. I clamped the pieces together overnight to let it cure.

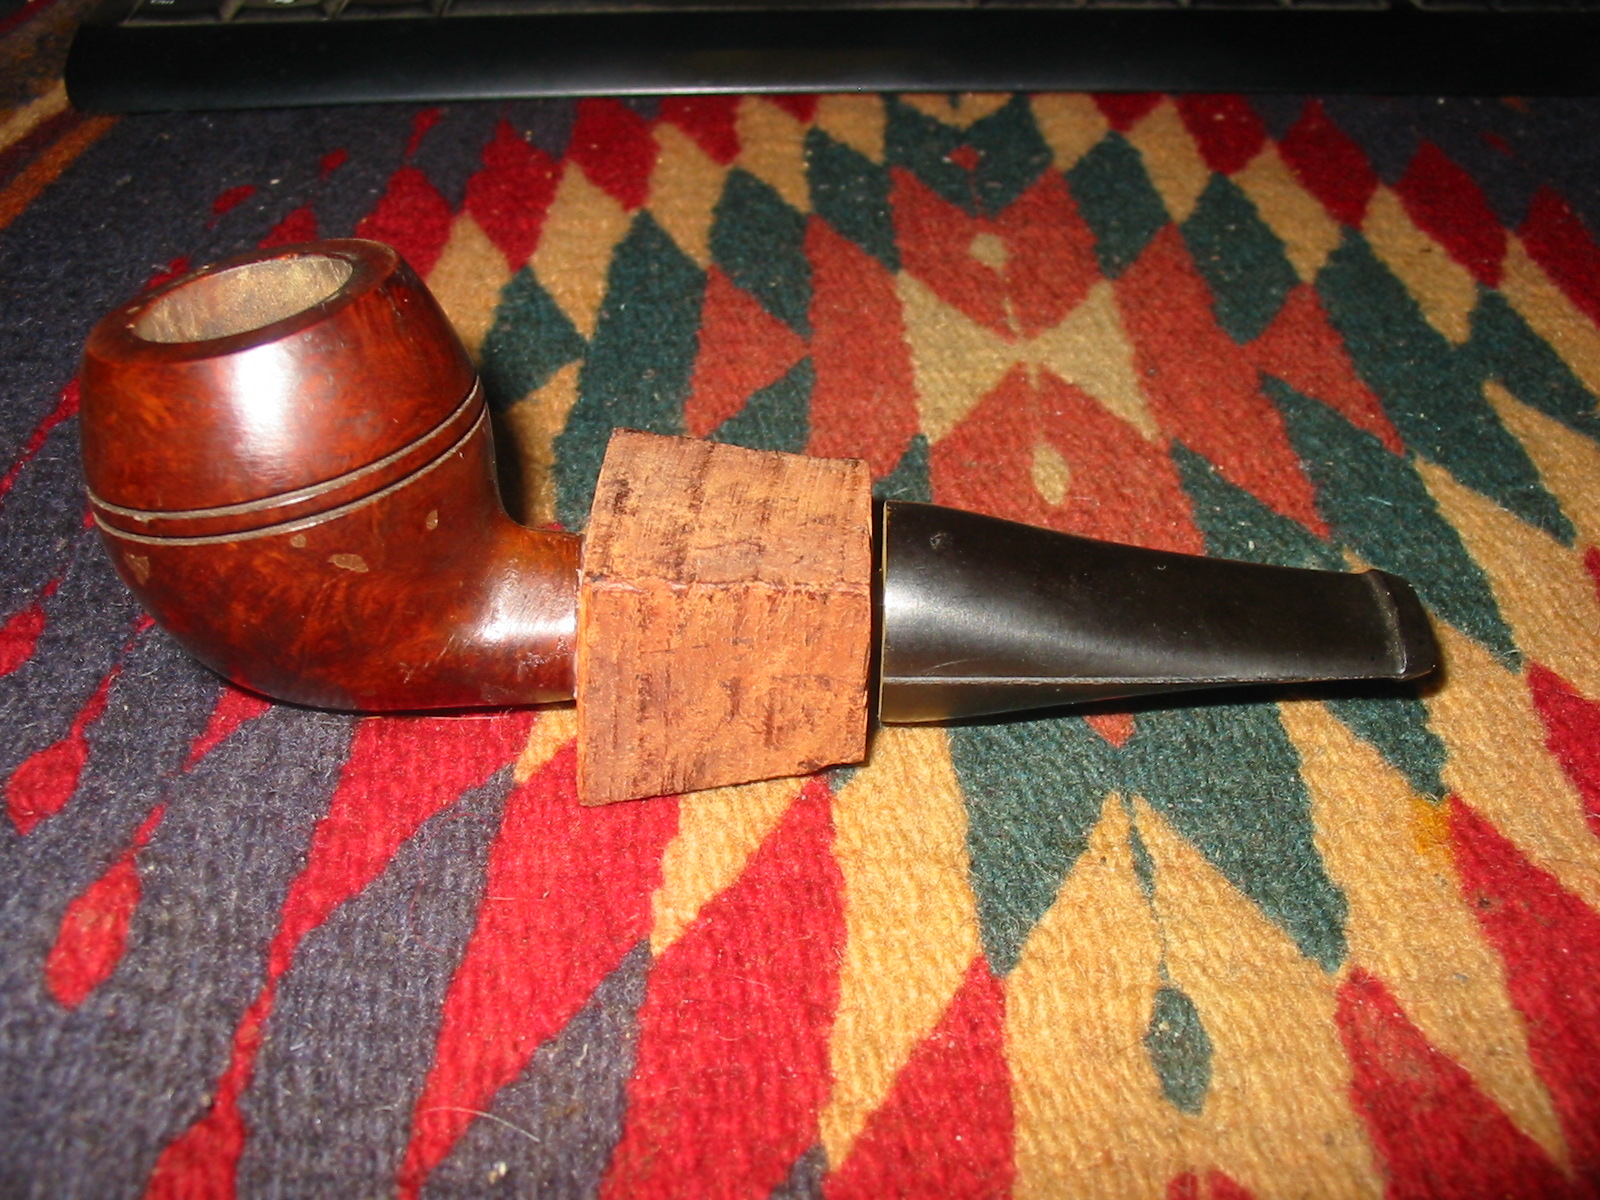
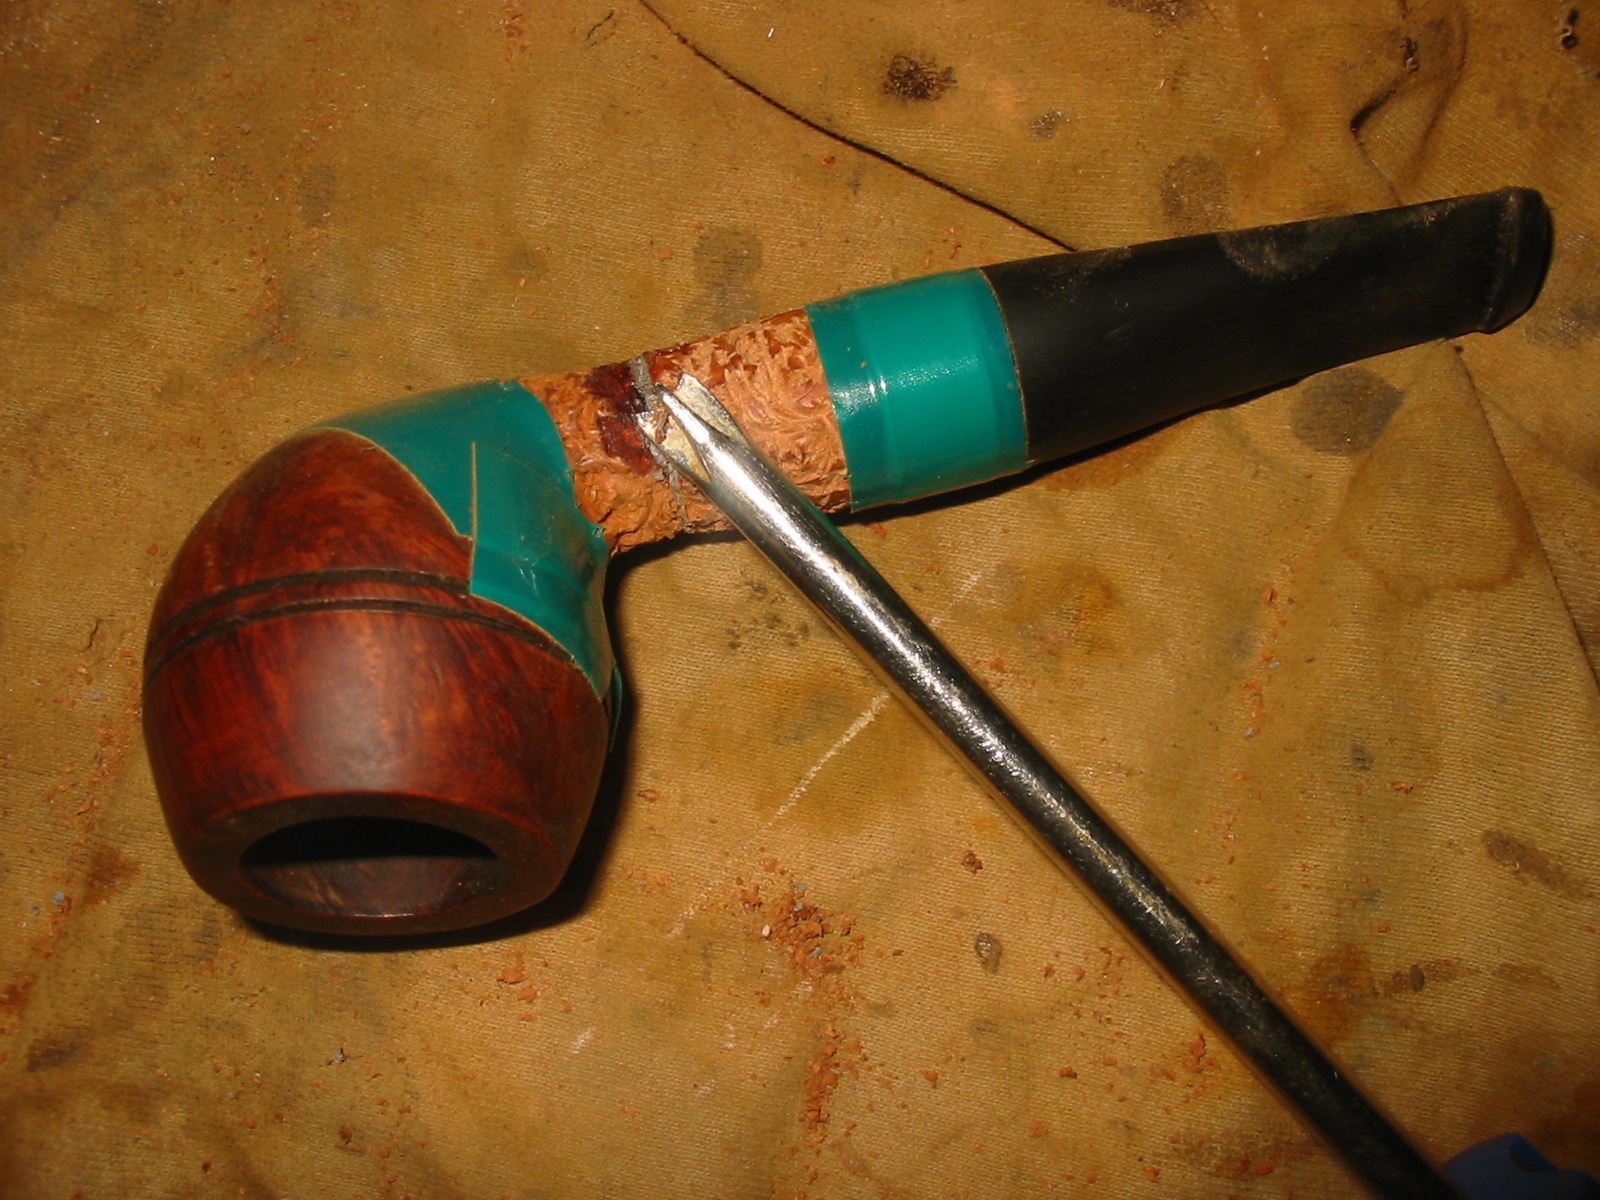
In the morning once the glue had cured I took the clamp off and looked it over more carefully to see if I could redeem the diamond shank. The more I looked at it the more I knew that the diamond shank was gone and I would best work to make a round shank Rhodesian. I turned the tenon on a very chubby round taper stem with the PIMO Tenon Turner to fit in the new mortise. Once the stem fit well in the shank I got a better idea of what the finished pipe would look like. There was still a lot of shaping and fine tuning to do with the stem to shank junction but the “Frankenpipe” had potential.

I used a Dremel with a sanding drum to begin shaping the shank extension. I had to remove a lot of the briar on the extension and round it to make the transition smoother. I did the work in stages, constantly checking the look and flow of the shank extension to make sure I did not take off too much briar.
I put the stem in place in the shank to keep the target in sight as I sanded the shank. At this point in the process I was not worrying about the fit of the stem to the shank I was more concerned with the overall flow from the bowl to the button. When I am shaping a pipe I am constantly putting the pieces back together to see if the flow is beginning to work well.
I continued to sand with the Dremel until I had the majority of excess briar removed. I then took it to the worktable and worked on the bowl and shank with 220 grit sandpaper. I continued to remove the briar and shape the new shank. The Rhodesian shape is beginning to become clear in this “Frankenpipe”. There was still a lot of sanding to do but the finished pipe shape was beginning to emerge from the briar.

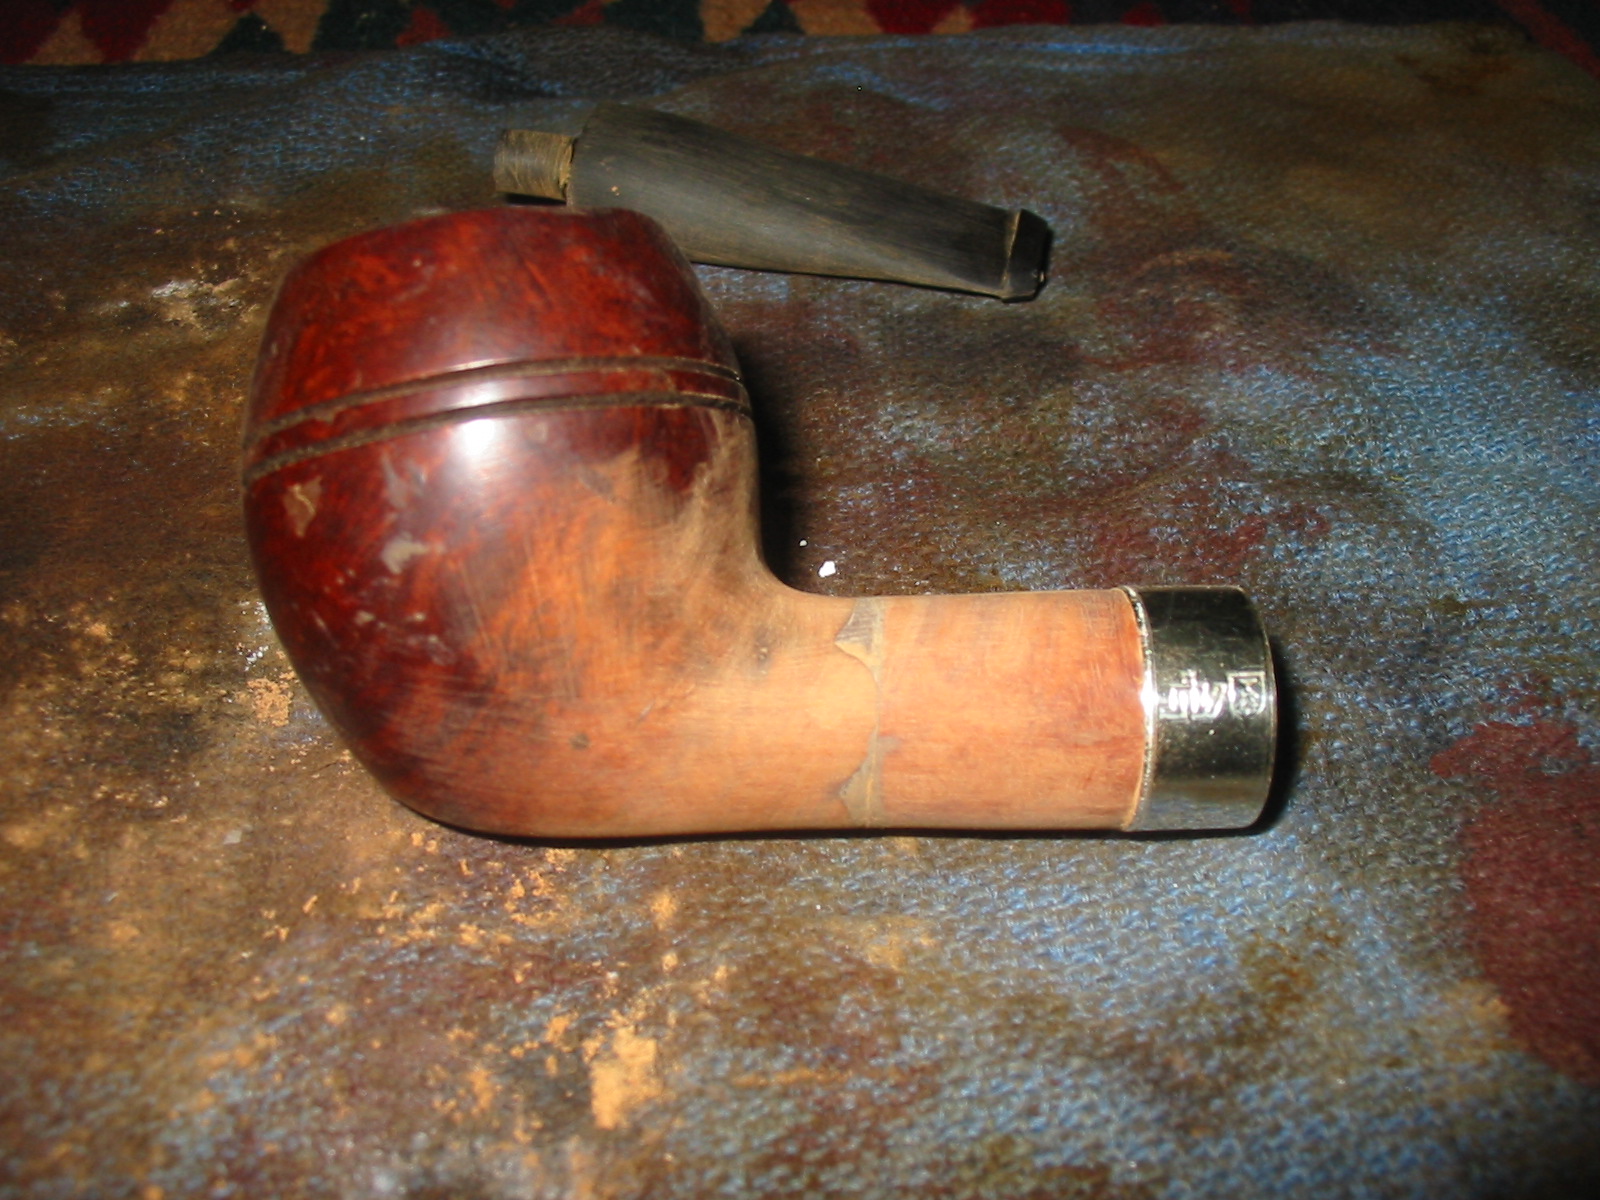
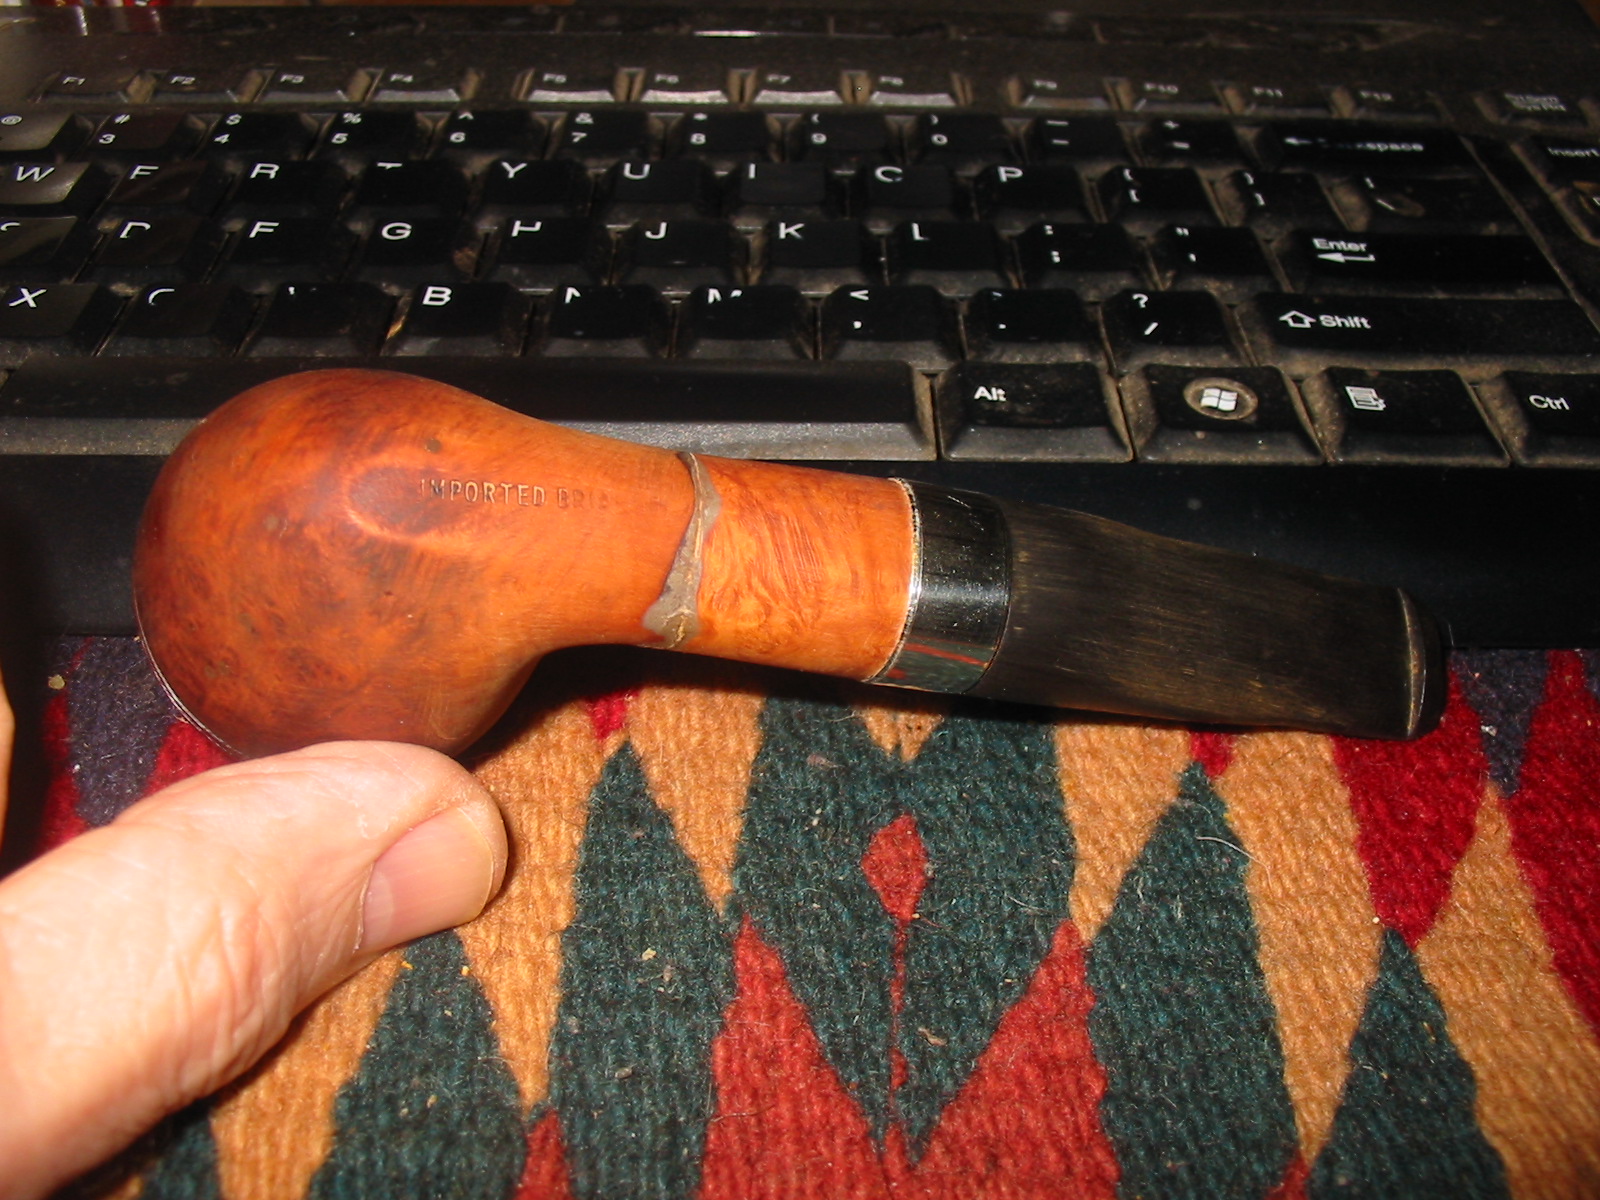
I continued to hand sand the shank to reduce the diameter and shape the flow toward the bowl. The shank and bowl are starting to look like they belong together. I worked on the stem to make the fit of the stem to the shank smoother. I removed the excess vulcanite with the Dremel and shaped the stem by hand to remove the sanding marks and scratches left behind by the Dremel and sanding drum. When I finished sanding for the evening I slid a band on the shank just for kicks. If I leave the band on the shank I will need to work some more on the stem to get a good snug fit. Even so the pipe is starting to appear from the diverse parts – “Frankenpipe” was beginning to come alive.
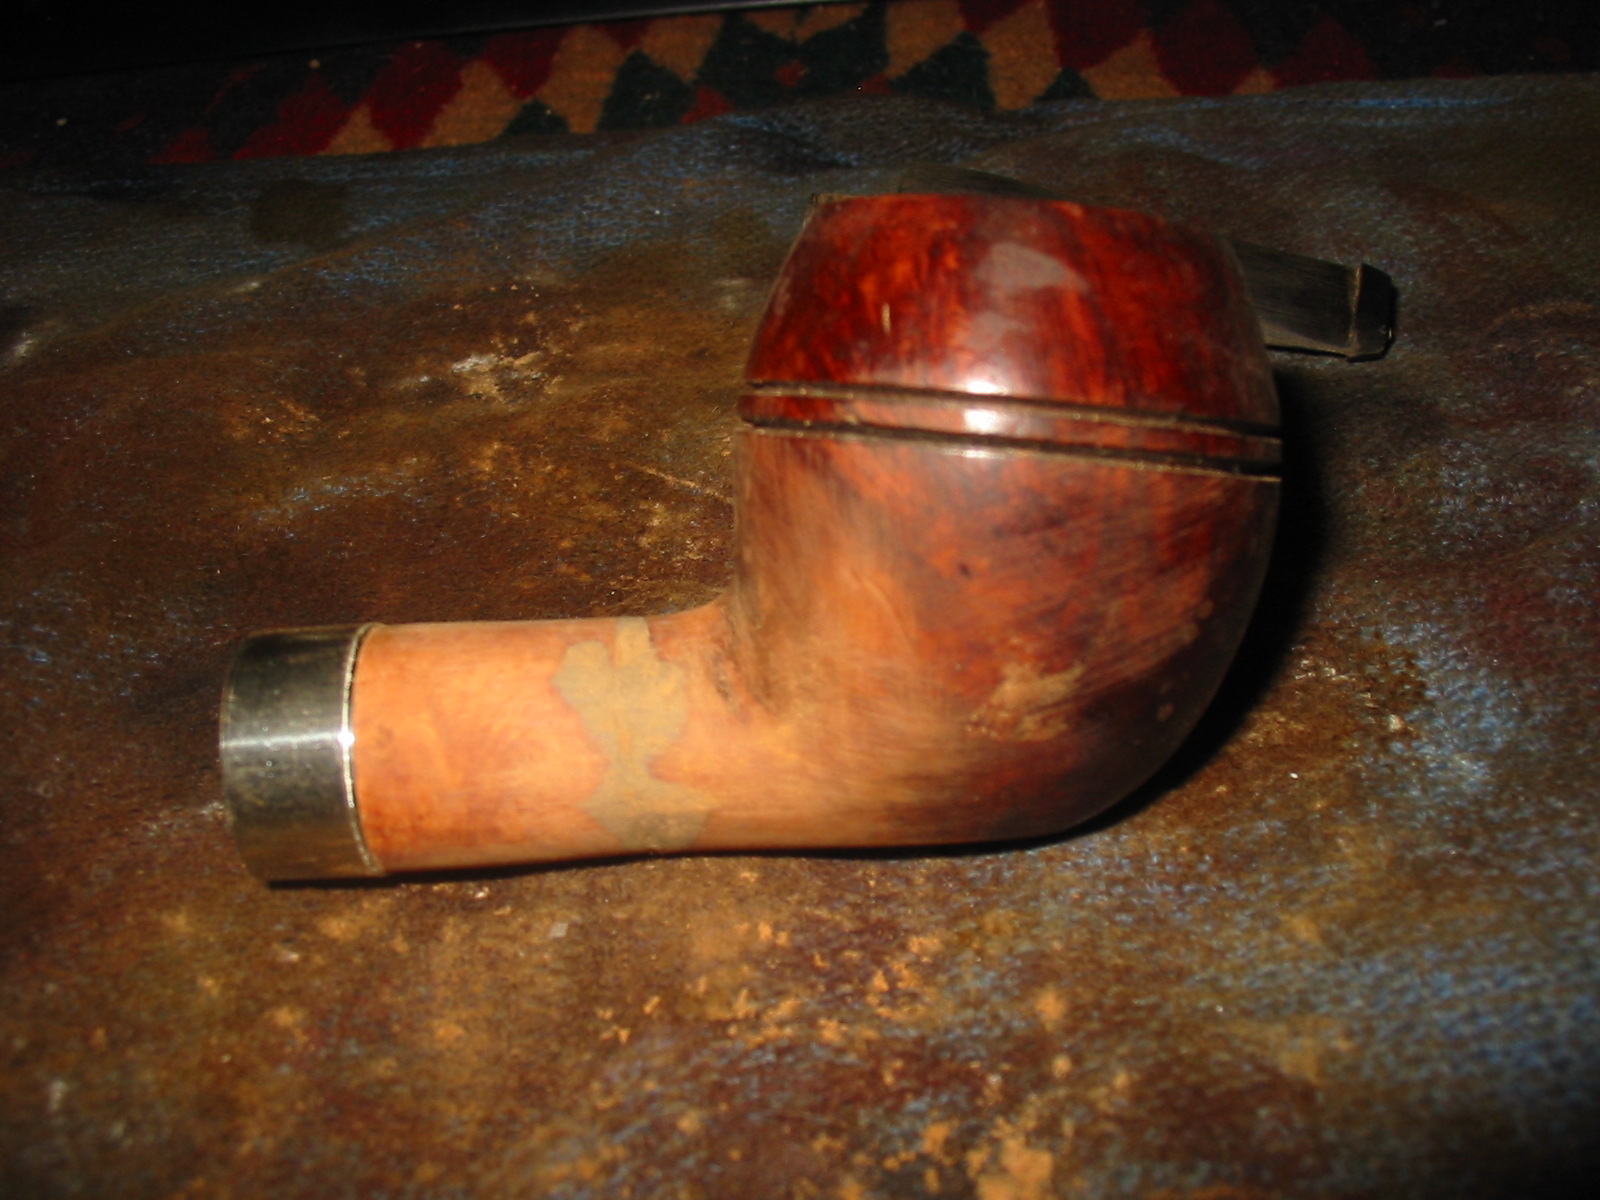
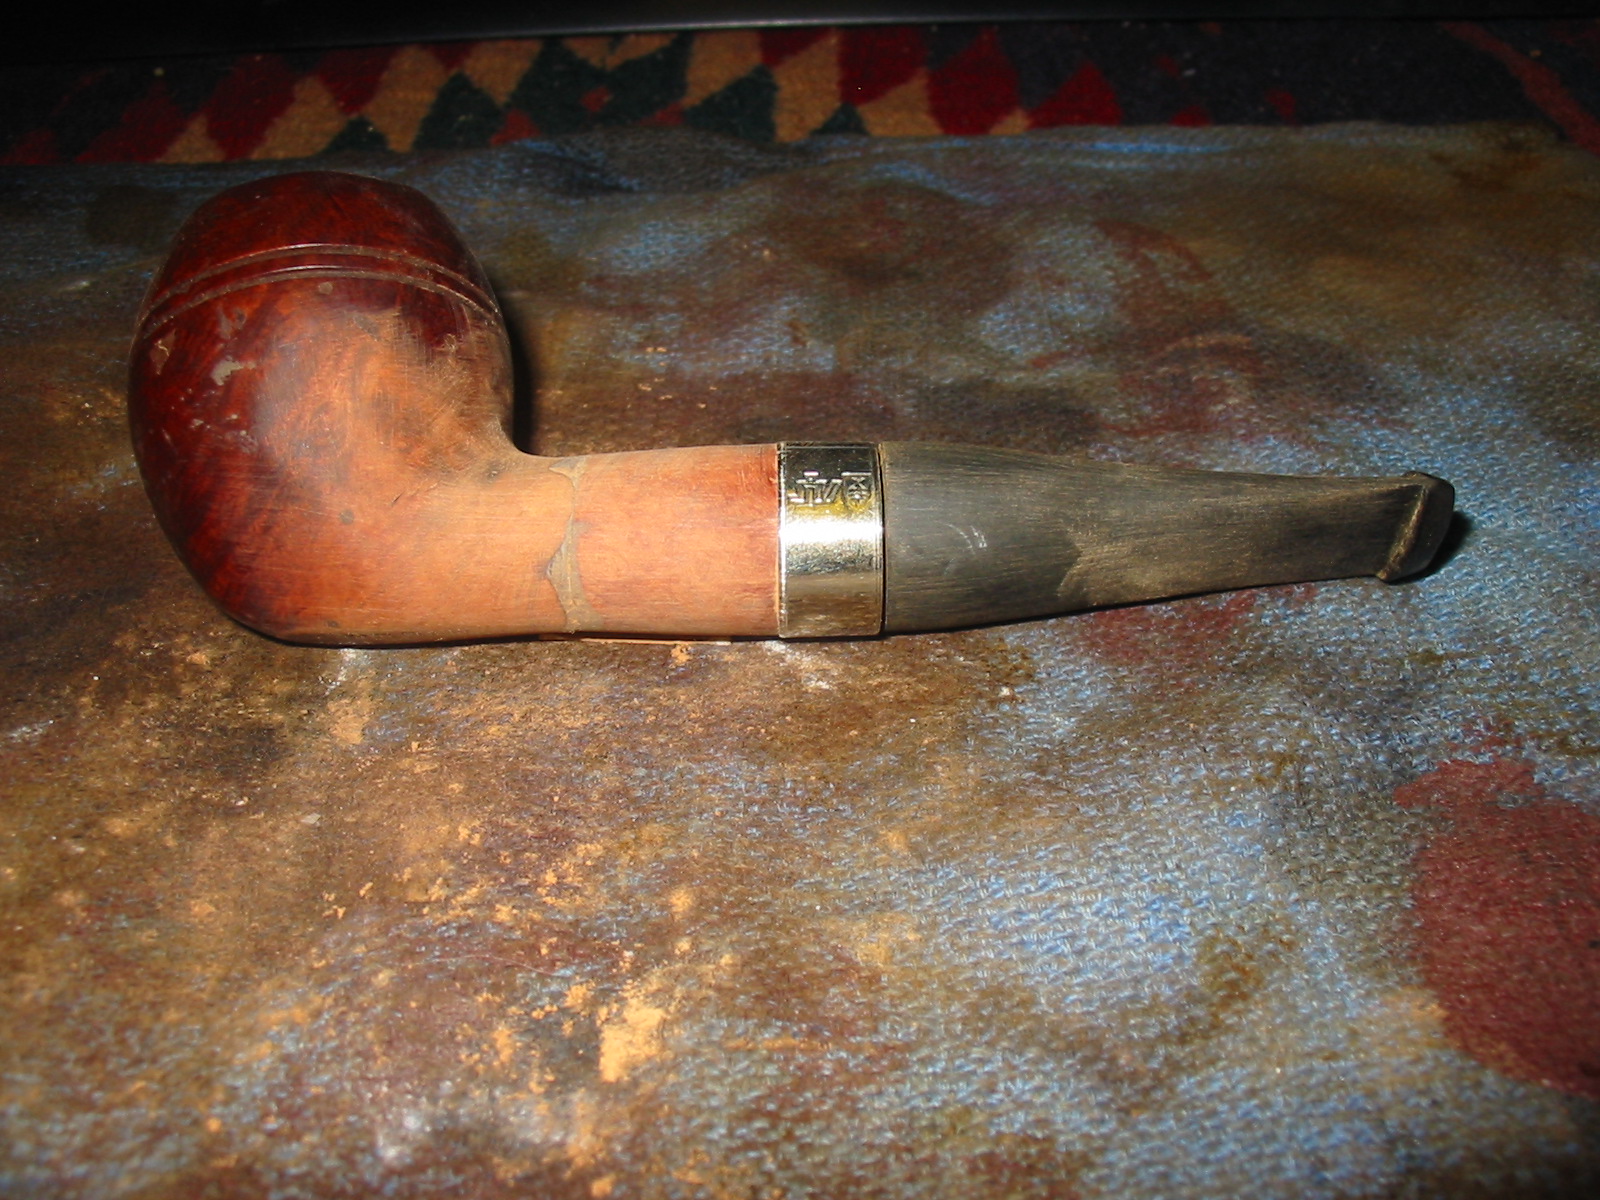
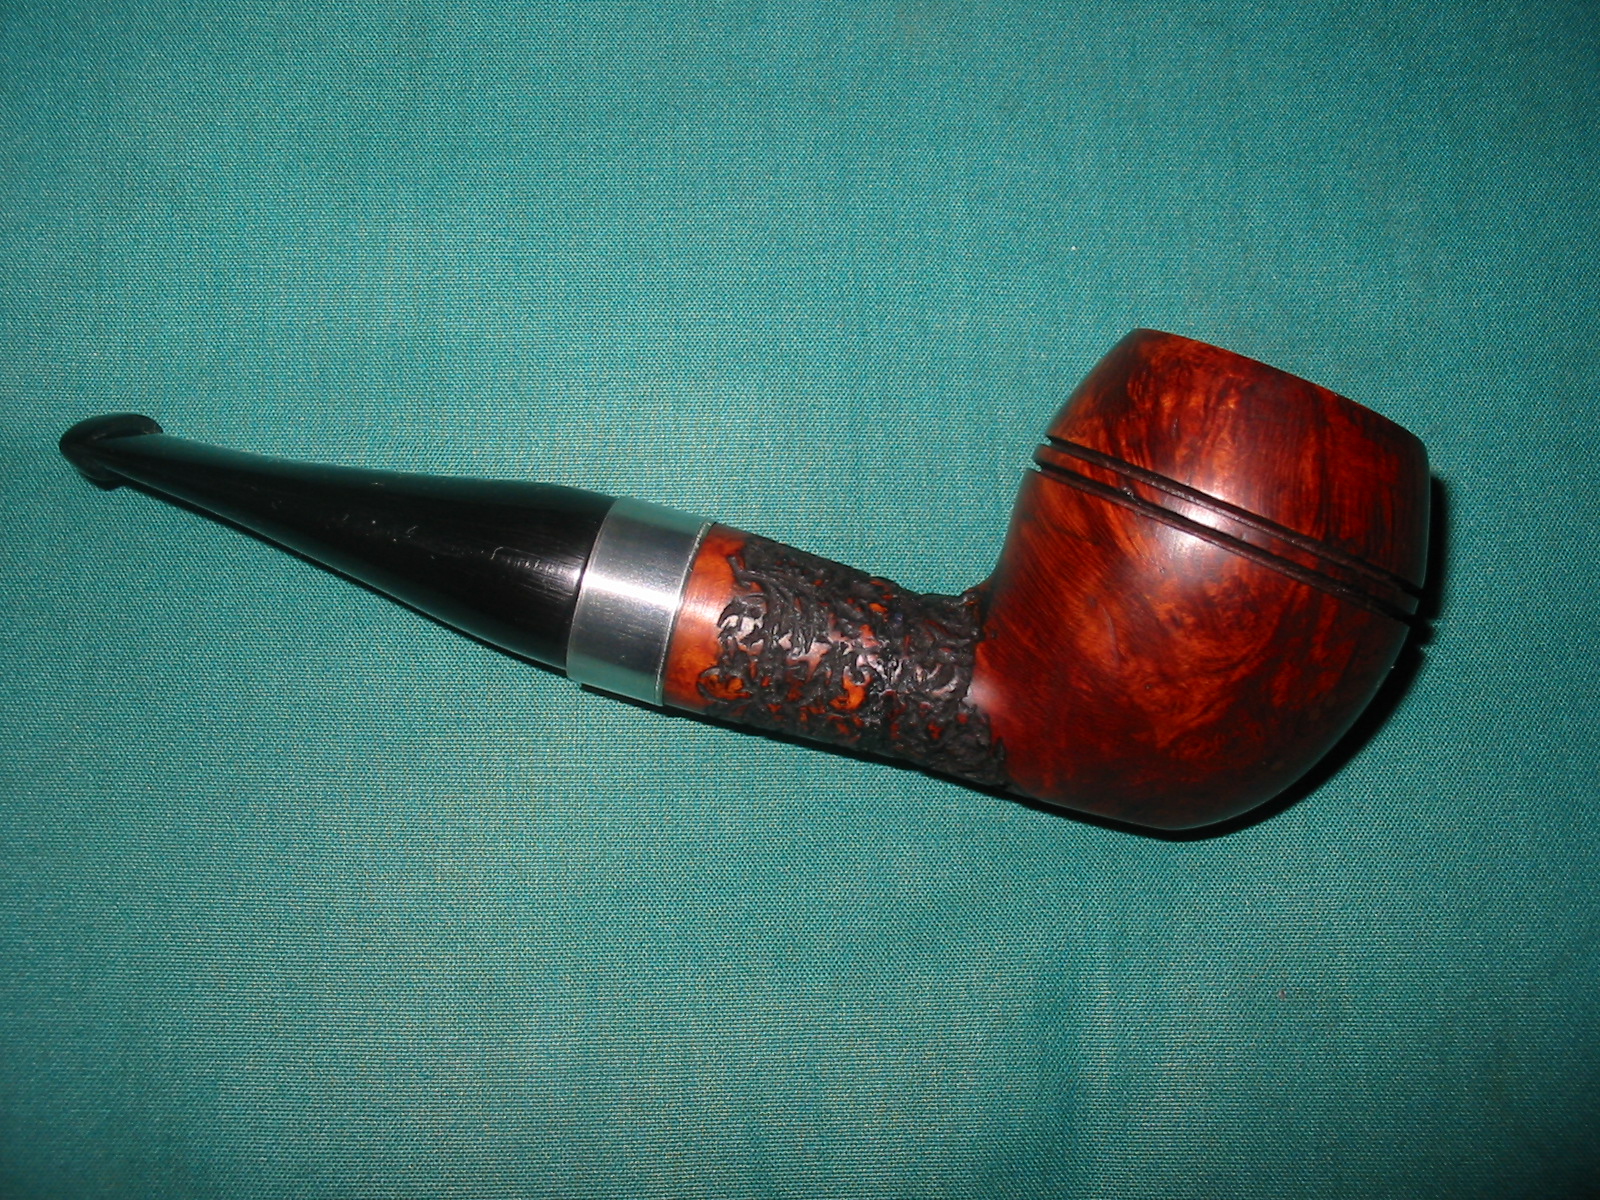
I sanded some more on the shank and bowl junction. I decided to give the shank a cigar-like flow – tapered at the bowl and taper from the stem to the button but with a gradual rise in the middle. The flow would be a gentle bulge that came to its highest point at the band.
I decided to take the pipe to work with me and continue to sand it during breaks. I had a day working in our warehouse scheduled and would need to have a diversion from the work I had on the agenda for the day. I sanded it with a medium grit sanding sponge. I took these photos at the end of the day before I headed home for the day. The pipe was really taking shape now.

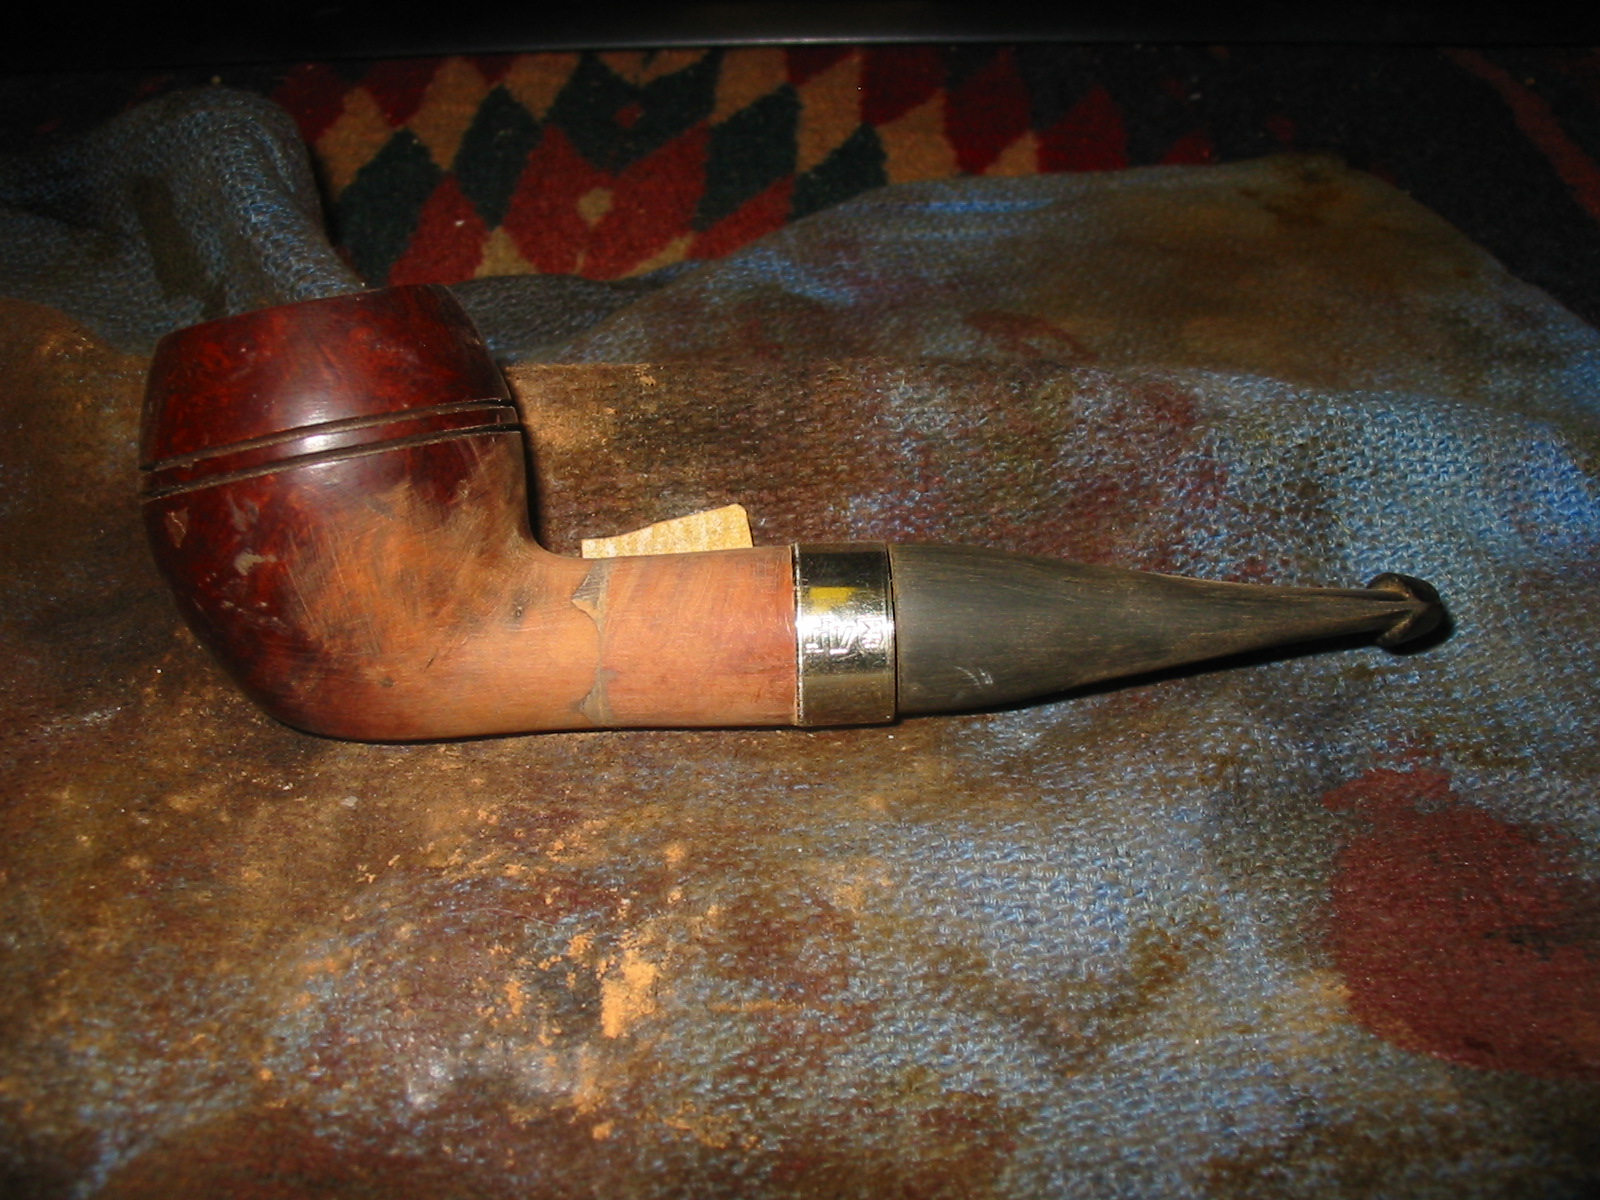
I really liked the flow of the shank from the back of the bowl to the tip of the stem. It formed a nice elongated oval. It would not be possible to sand further on the joint of the bowl and extension so I decided to rusticate the shank. I used some electrical tape to mark off the area that I would rusticate and to protect the places that I did not want to rusticate.
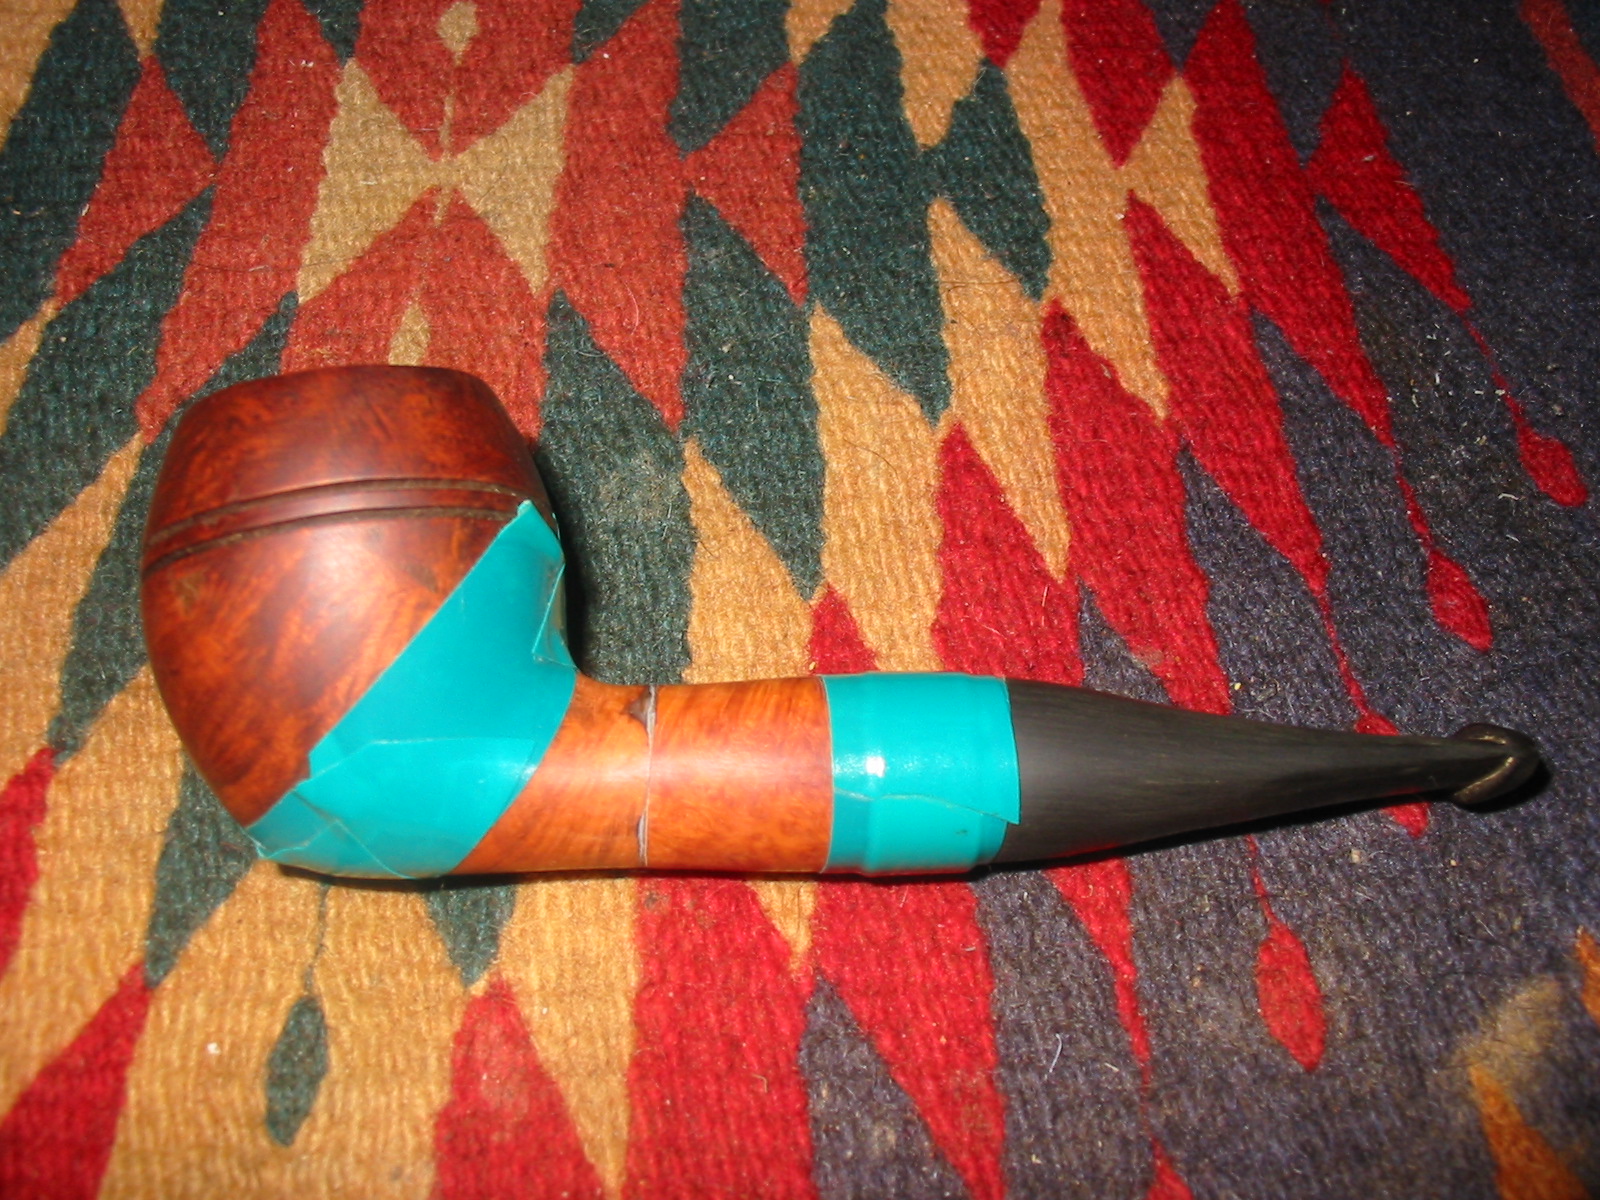
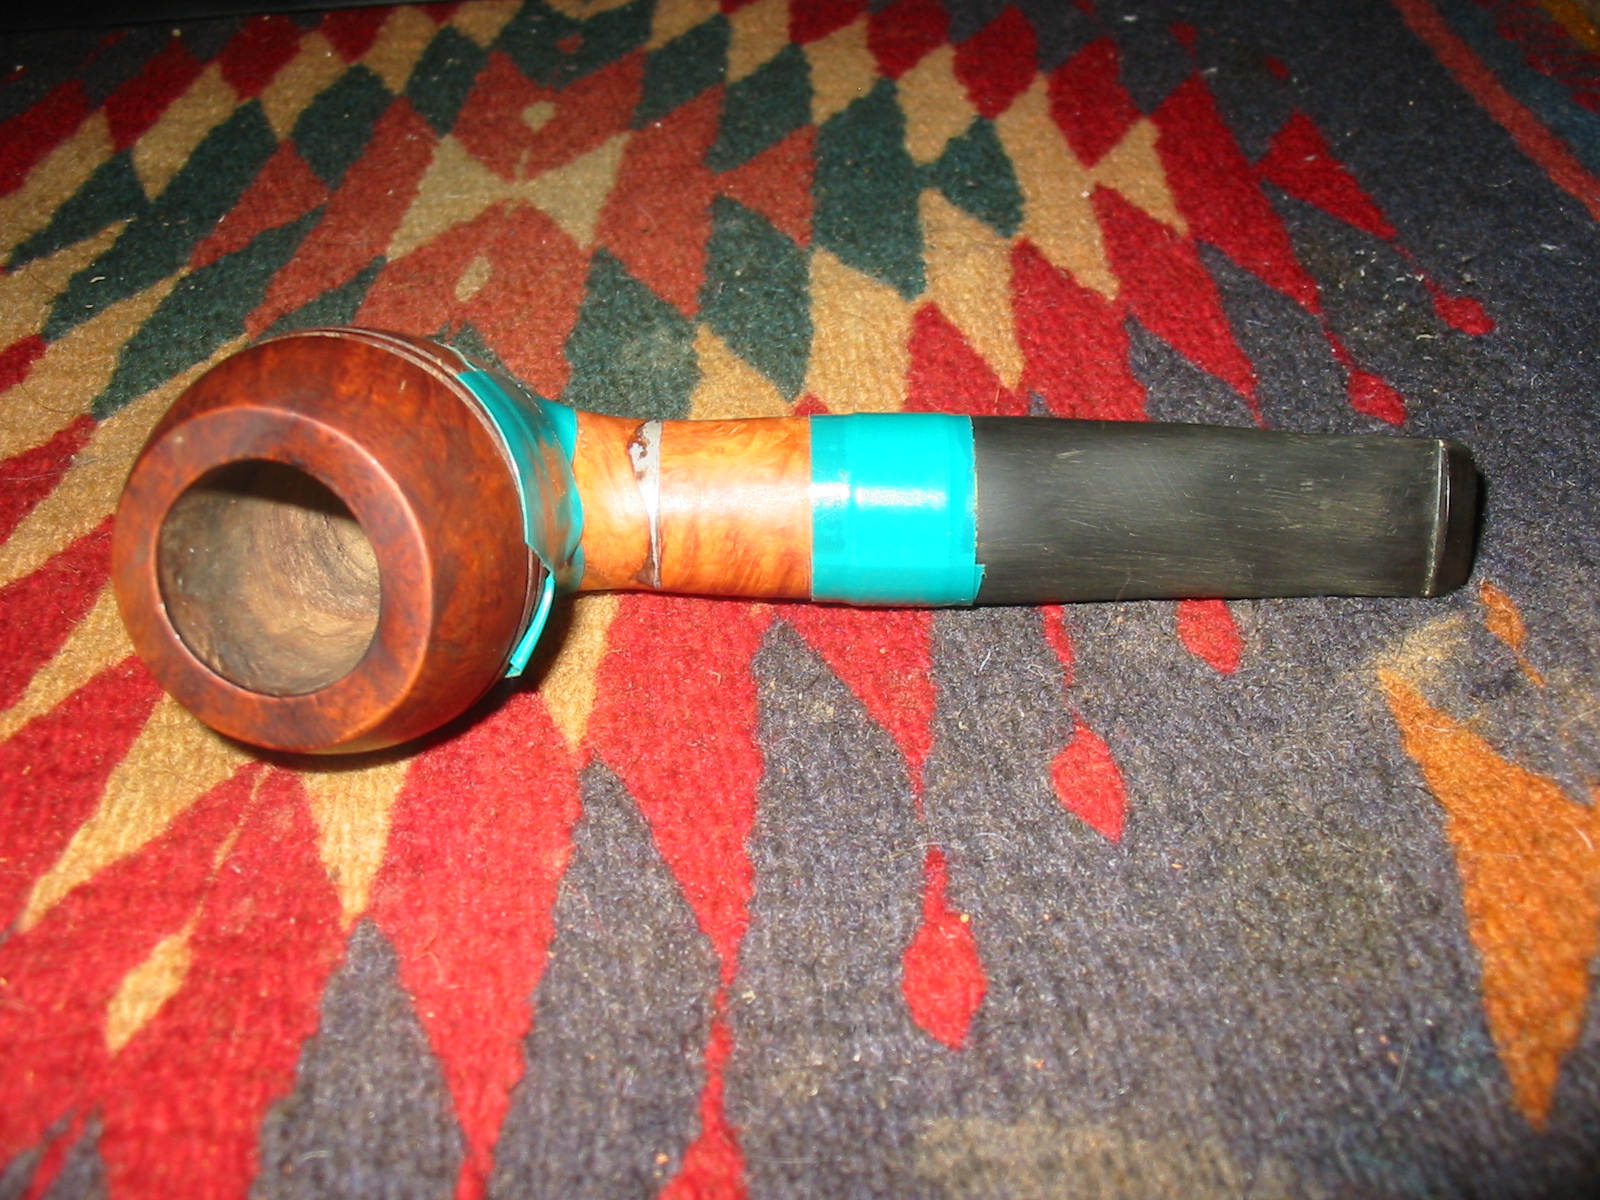

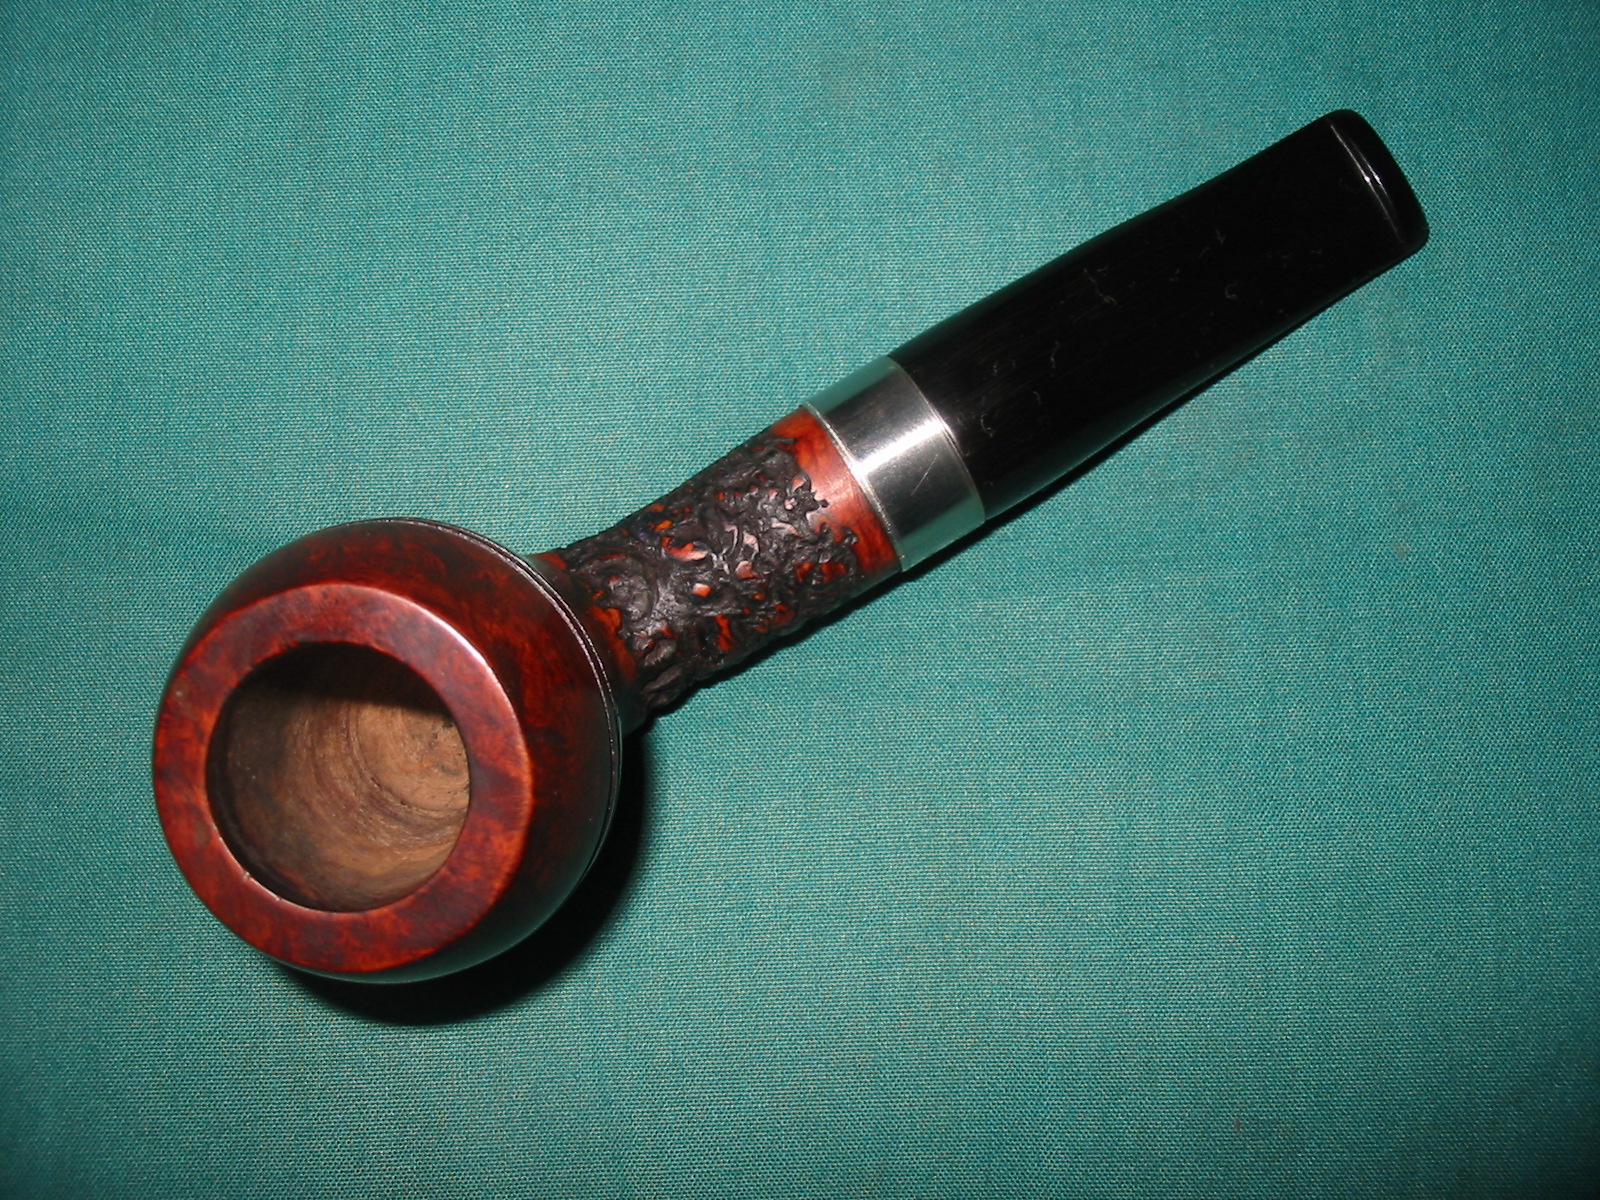
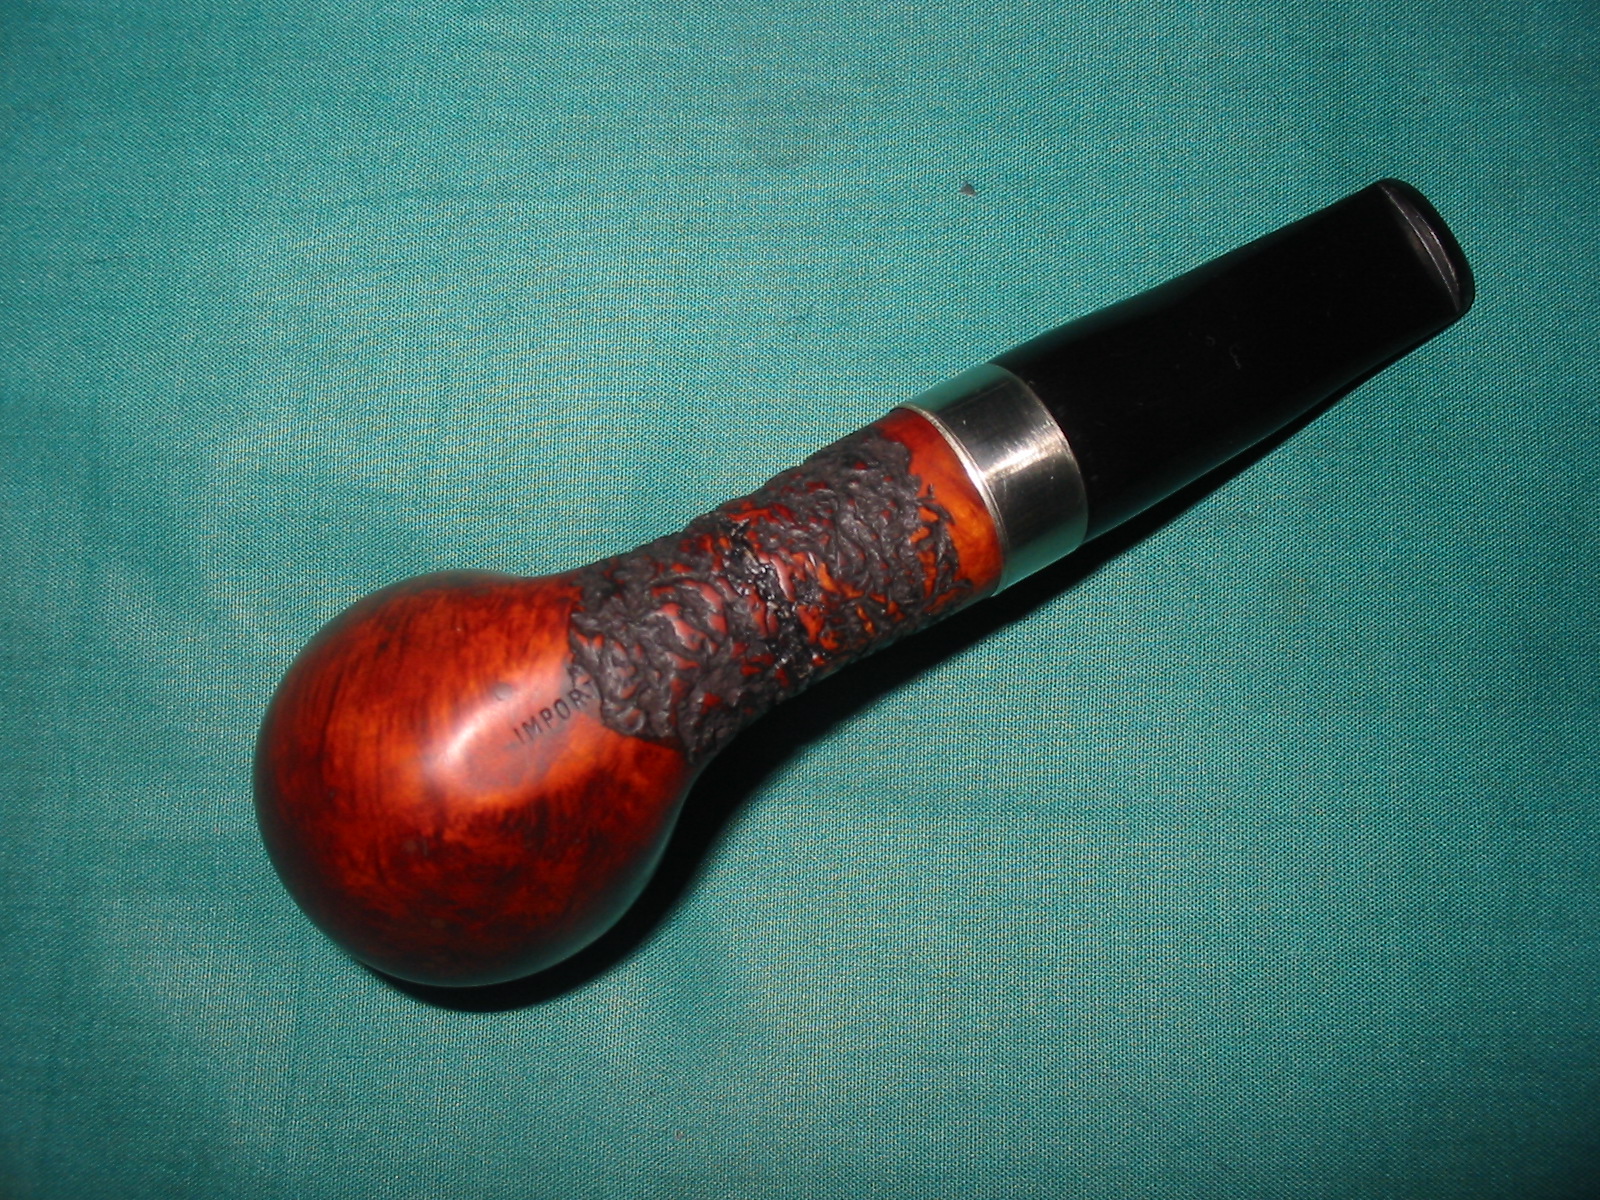
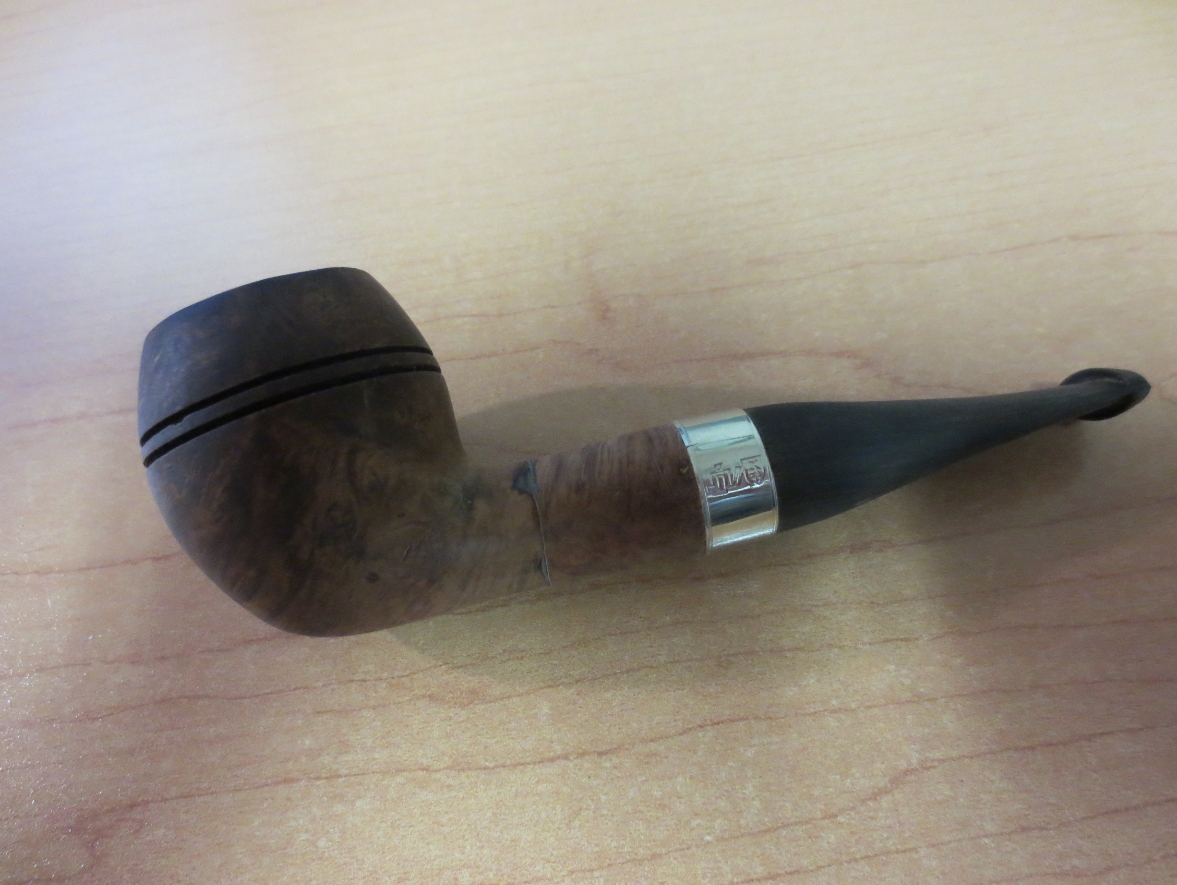
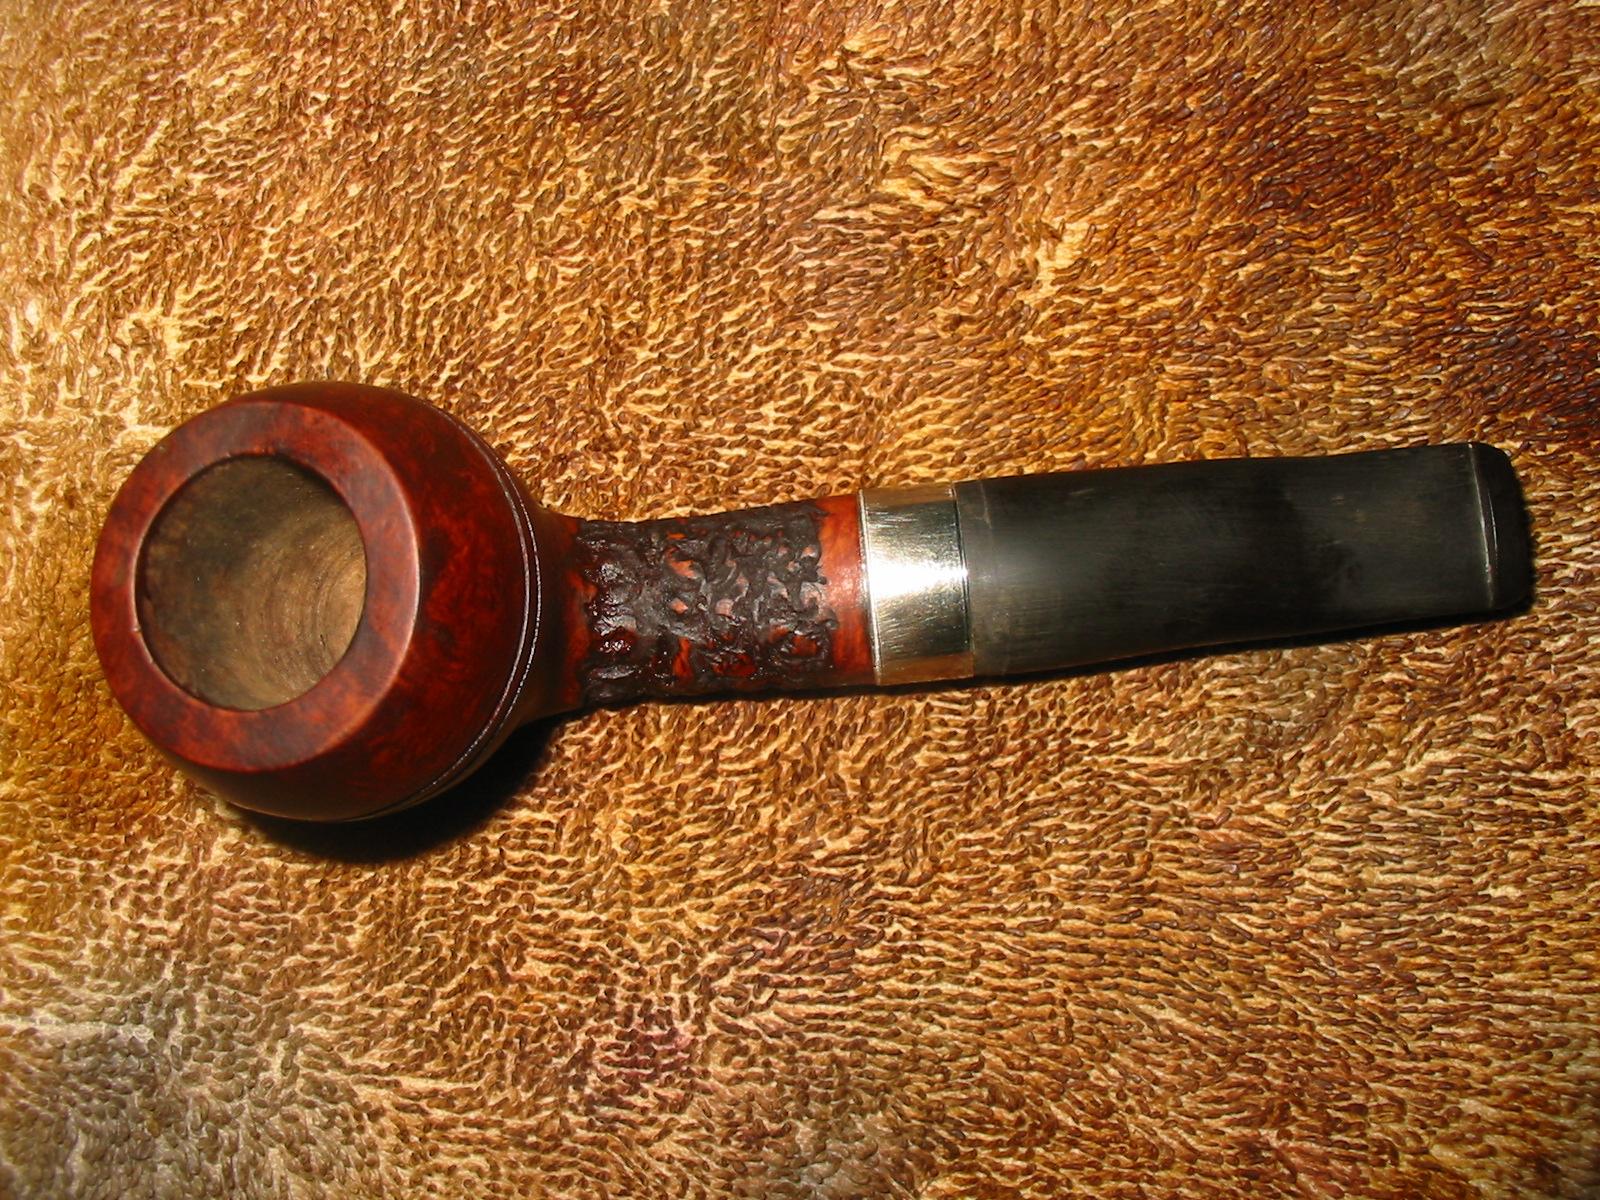
I rusticated the shank, leaving a smooth section of briar next to the nickel band. I formed a point at the bottom of the bowl where the rustication would end. I decided to leave the bowl smooth as it had some nice grain. I rusticated it with the modified Philips screw driver, wire brushed off the loose briar chips and then sanded it with a medium grit sanding sponge to smooth out the high edges. I wanted a patterned rustication but not one that was rough to the touch. My idea was to provide an interesting pattern on the briar of the shank extension that would hide the joint but also add interest to the finished look of the pipe.


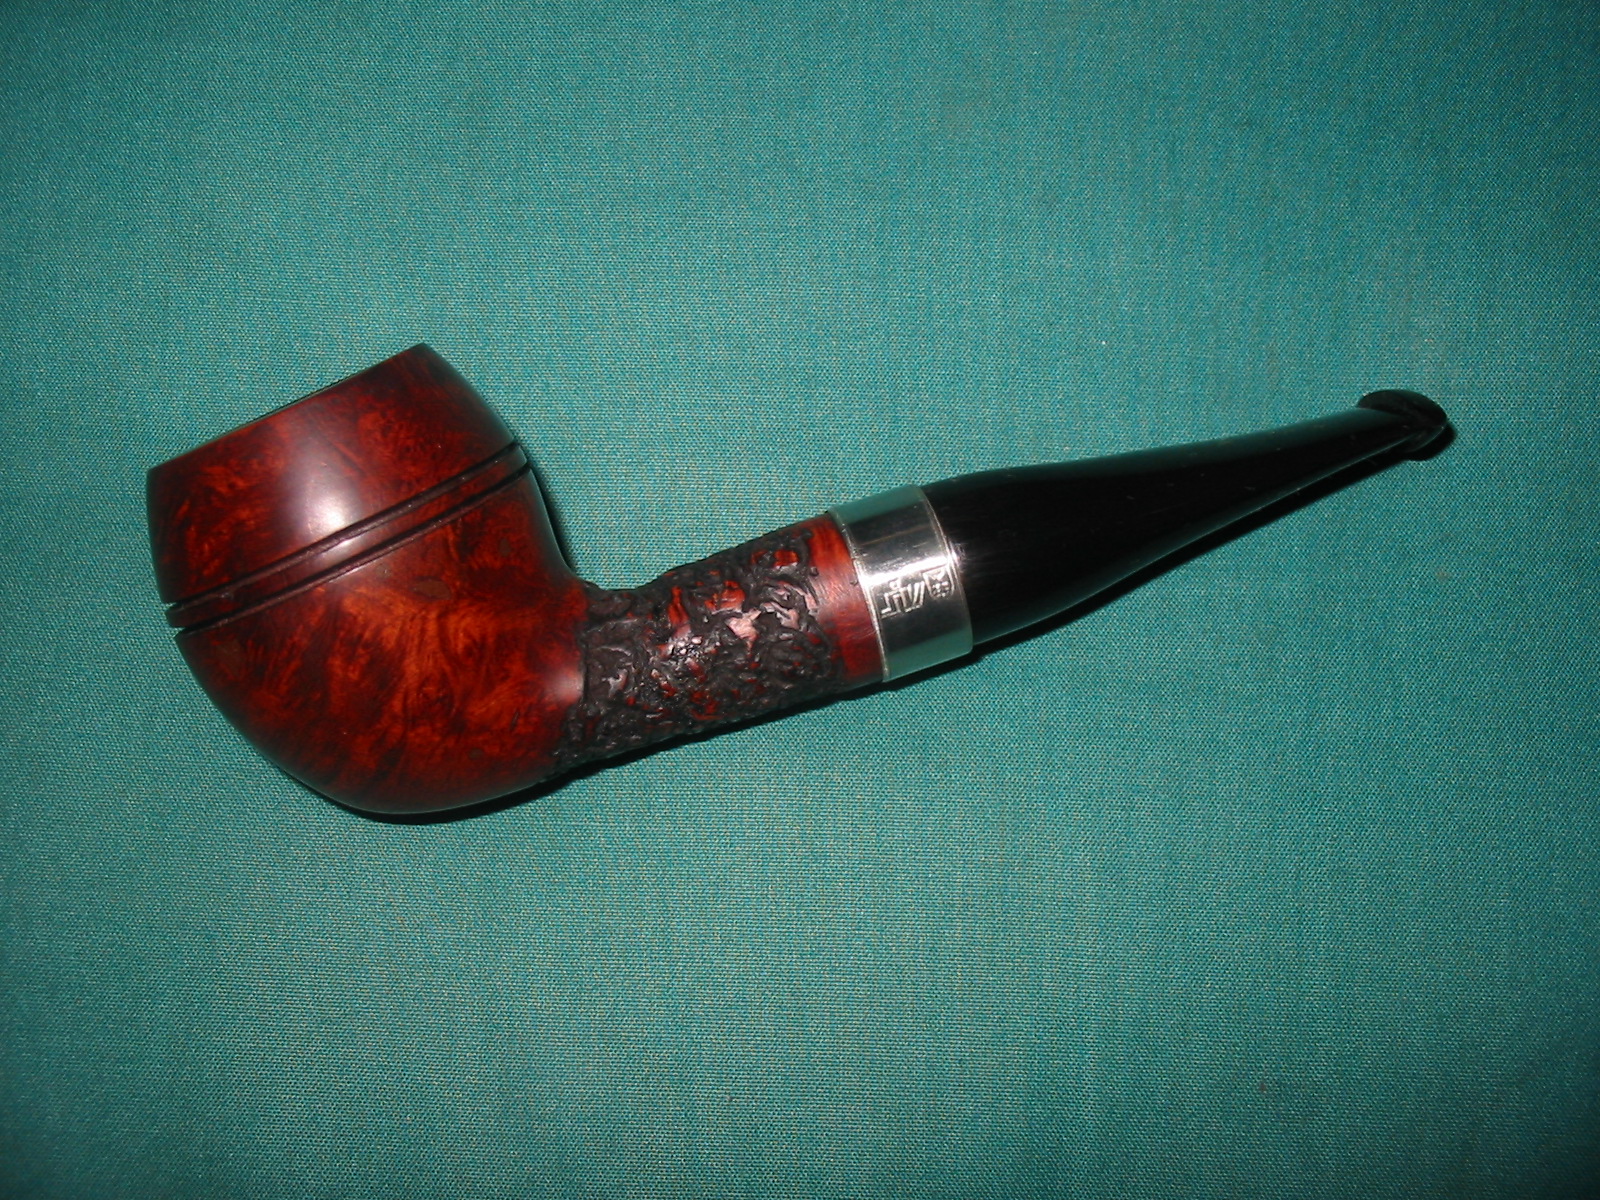
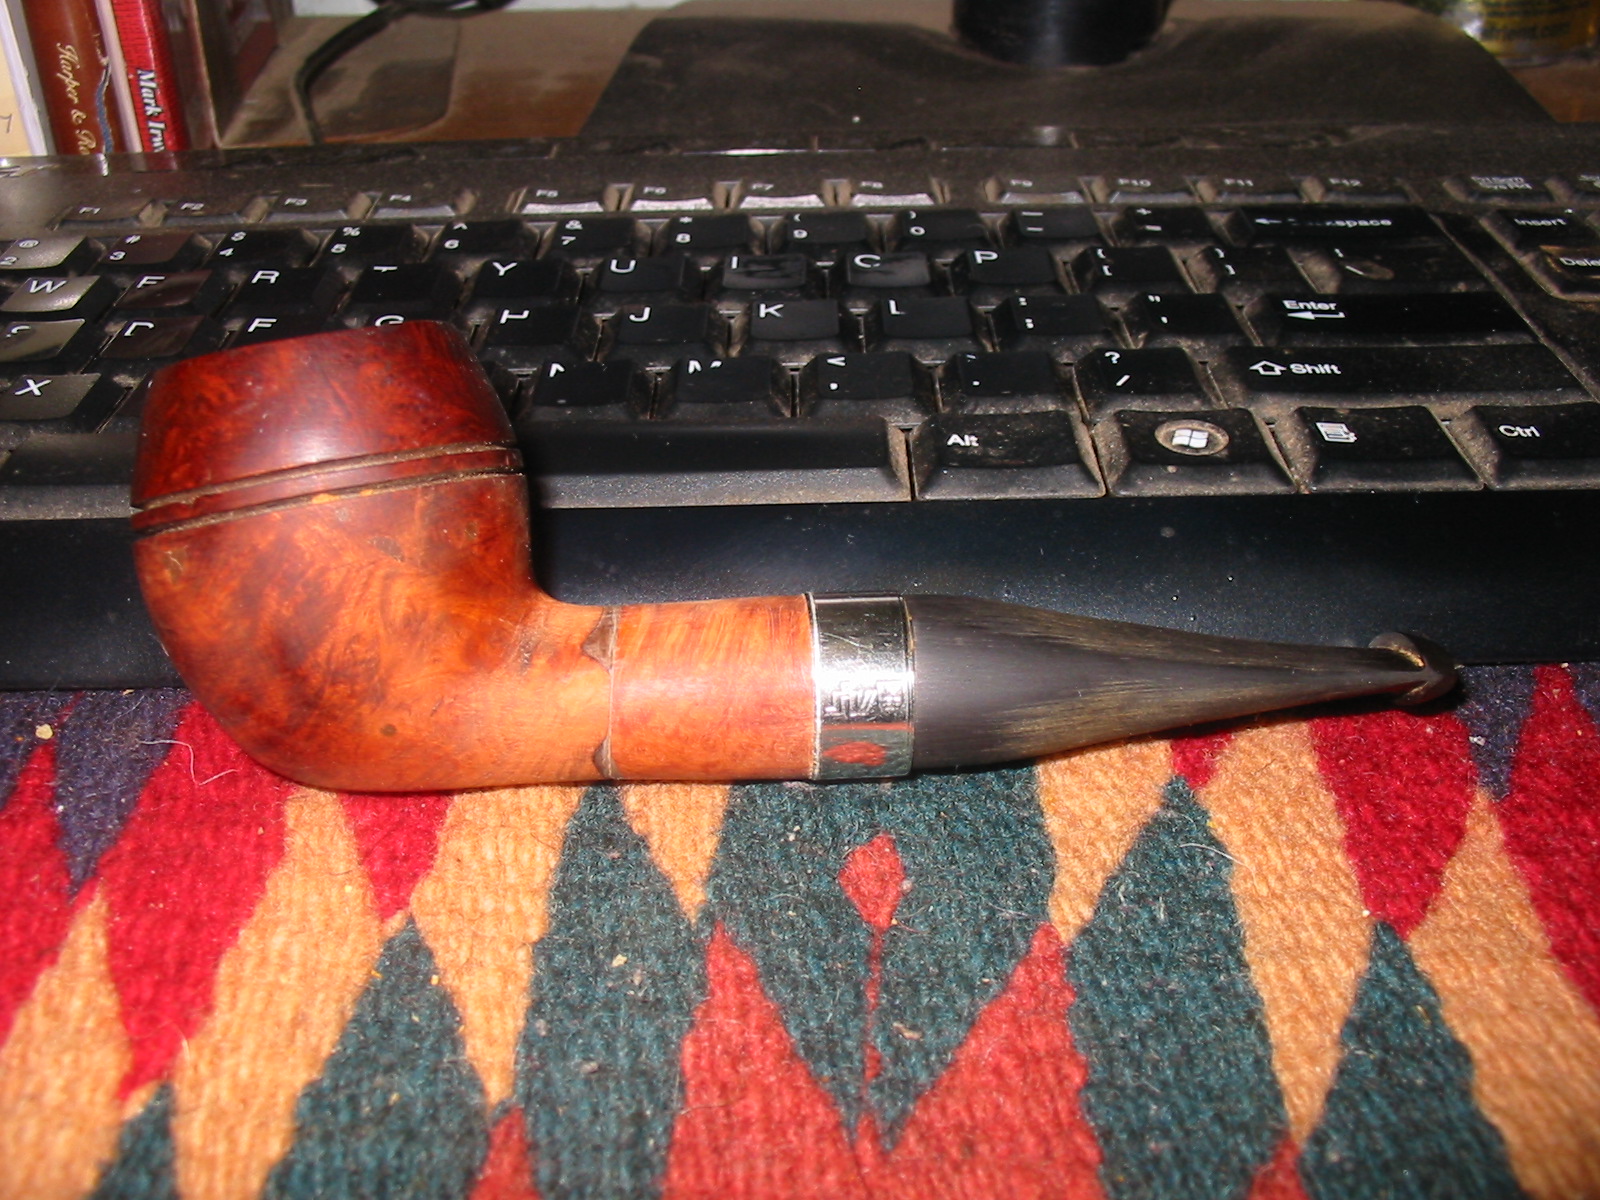
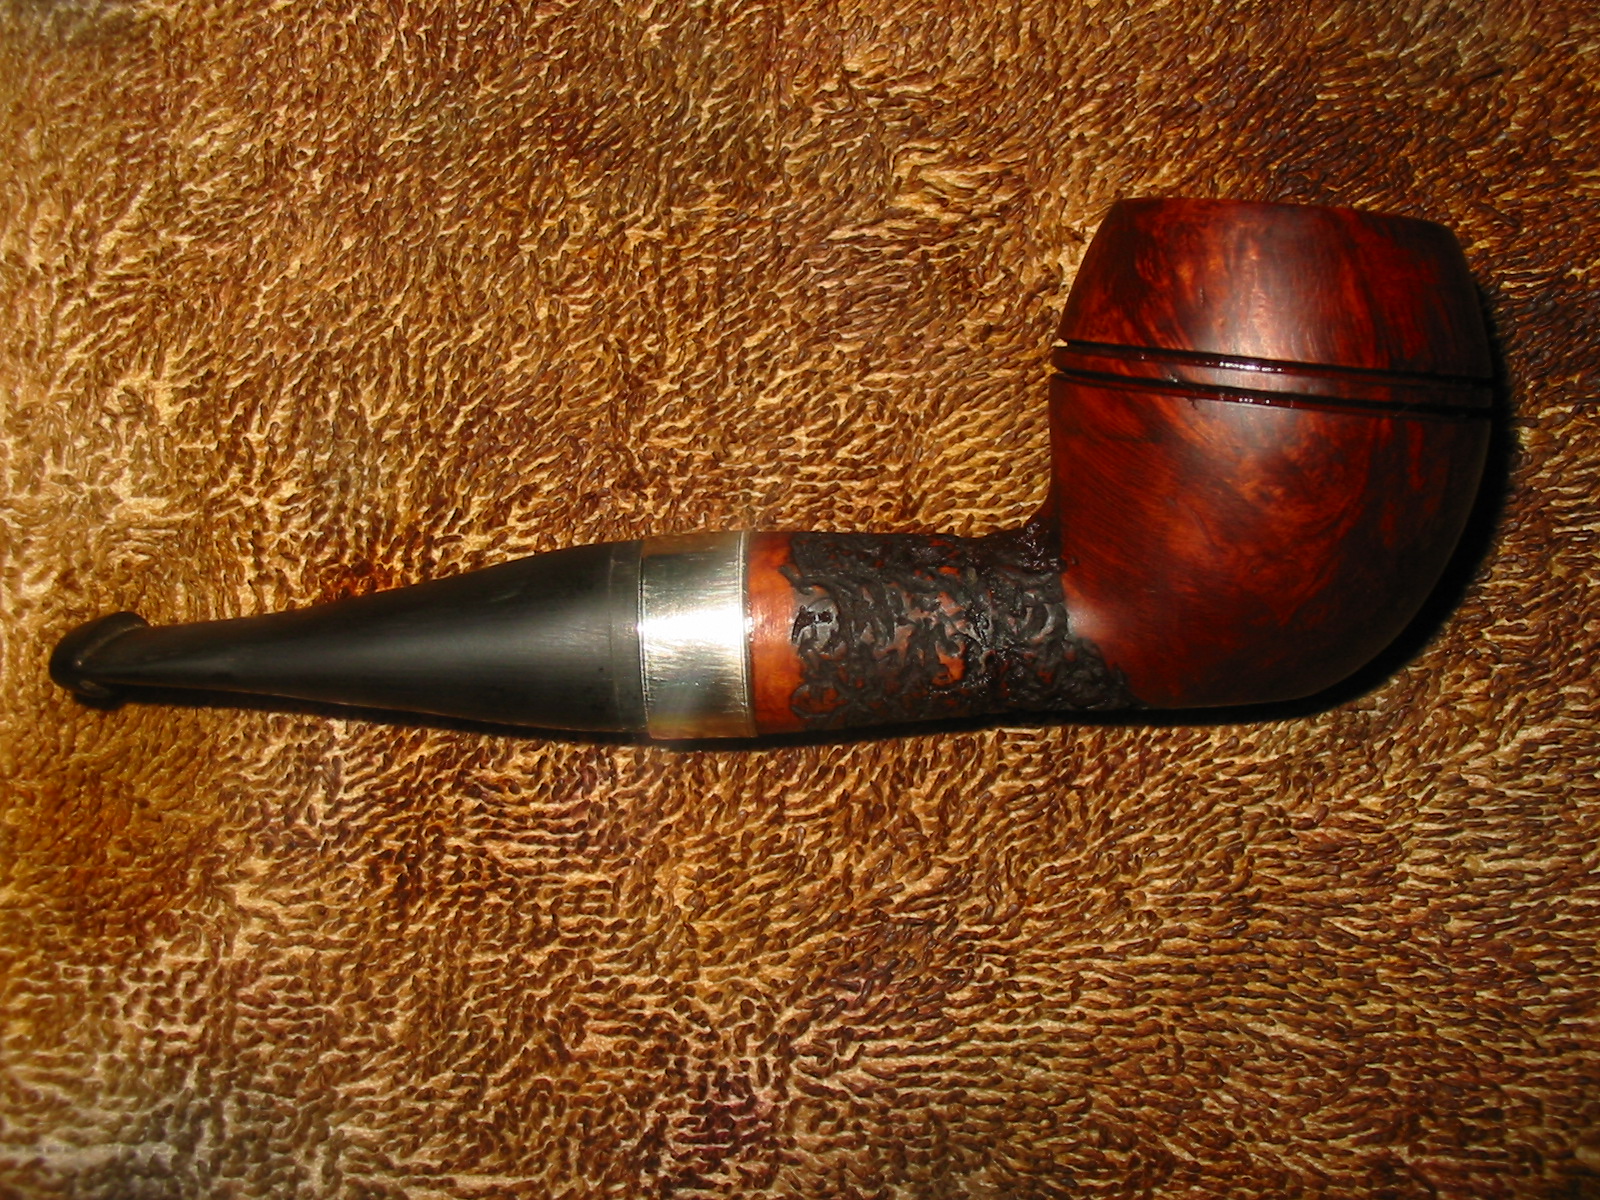
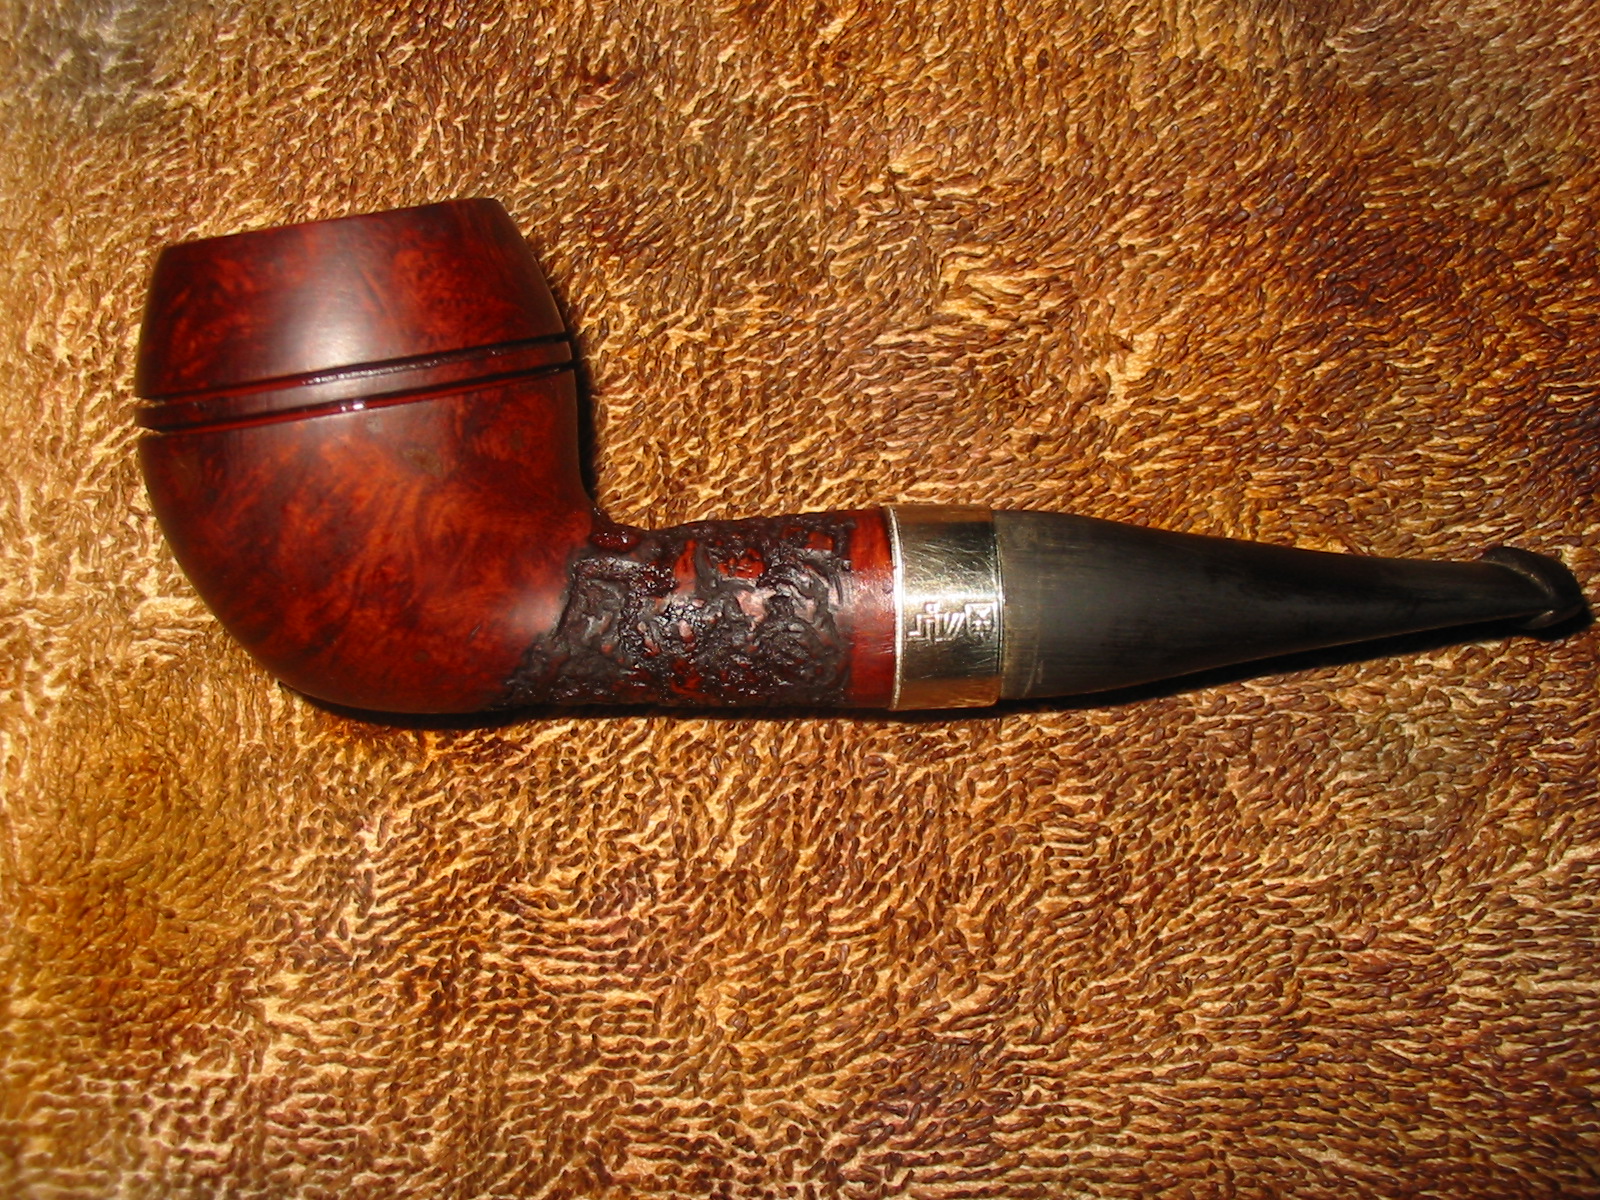
I stained the rustication with a black aniline stain, flamed it and then wire brushed it a second time. I restained and reflamed it and then sanded the high spots on the rustication with a fine grit sanding sponge. Once the rustication was the style I wanted I gave the bowl a top coat of oxblood stain. I wanted a contrast between the deep grooves of the rustication and the rest of the pipe. I always have liked that look on a pipe. This particular “Frankenpipe” was made for this kind of rustication pattern. At this point the major work on the bowl and shank is done other than polishing and waxing. I still had work to do on the stem and band but the pipe was taking definite shape. It had come a long way from the pieces that came together at the beginning.

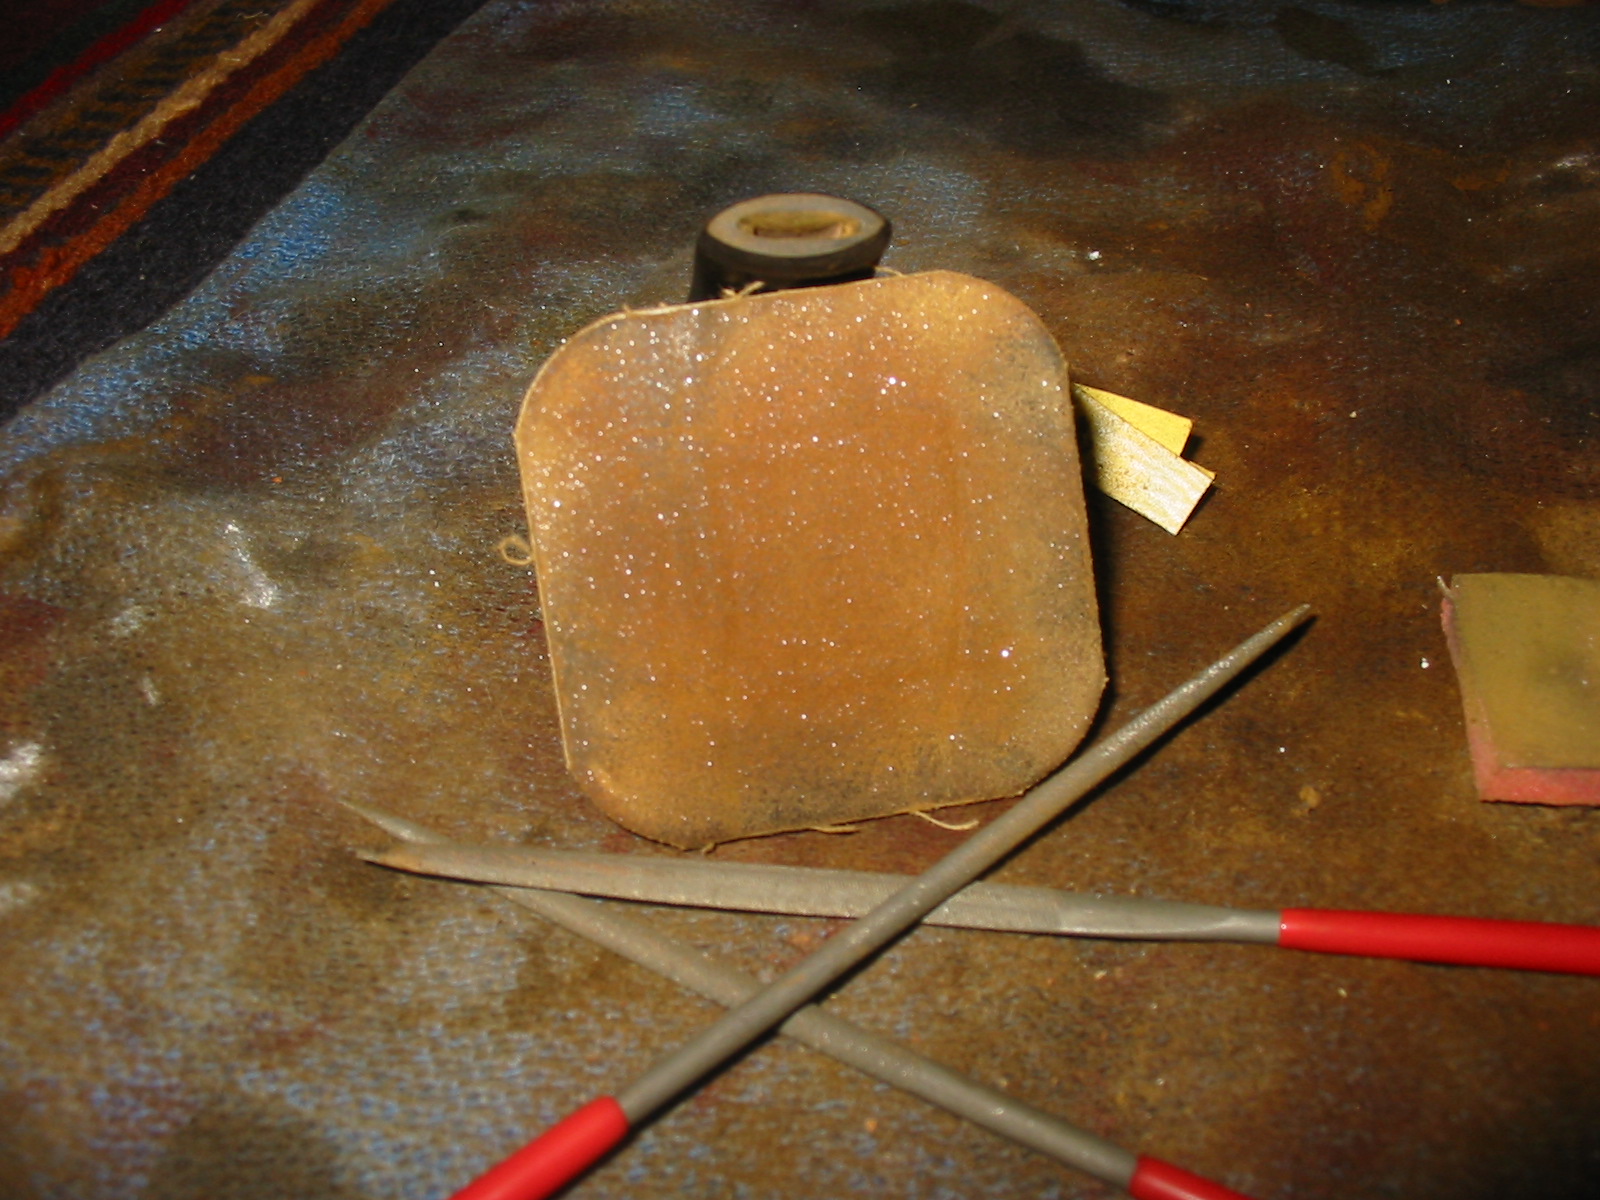
I still had a lot of work to do on the stem. I needed to clean up the angles and taper of the stem, sand out some of the scratches left behind, reshape the button and open up the airway on the stem. Each of these little steps adds to the finished comfortableness of the stem and the flow of the smoke from the bowl to the mouth. I began by reshaping the slot in the airway. I have three needle files that I have come to depend on for this process. Two of them are oval files – one flatter than the other and the third is a round file. The three files work together to give the slot the open shape that makes slipping a pipe cleaner down the stem and shank during a smoke effortless.

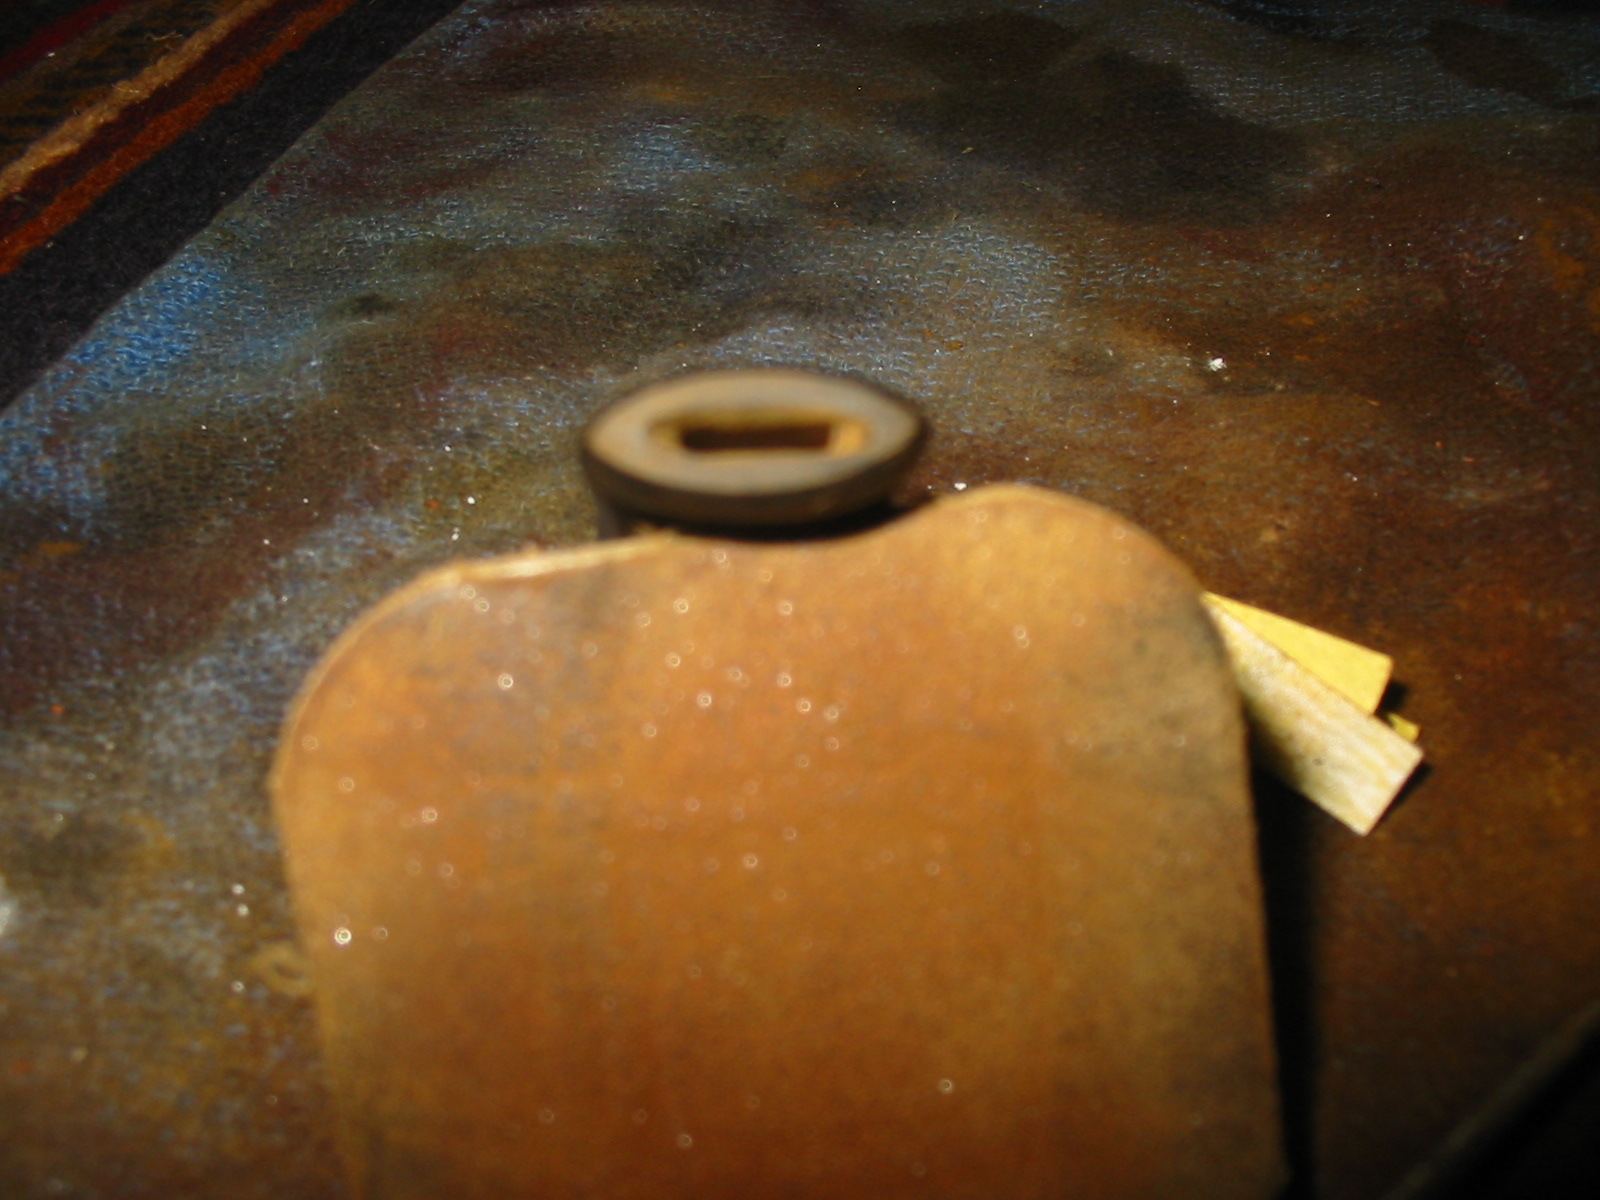
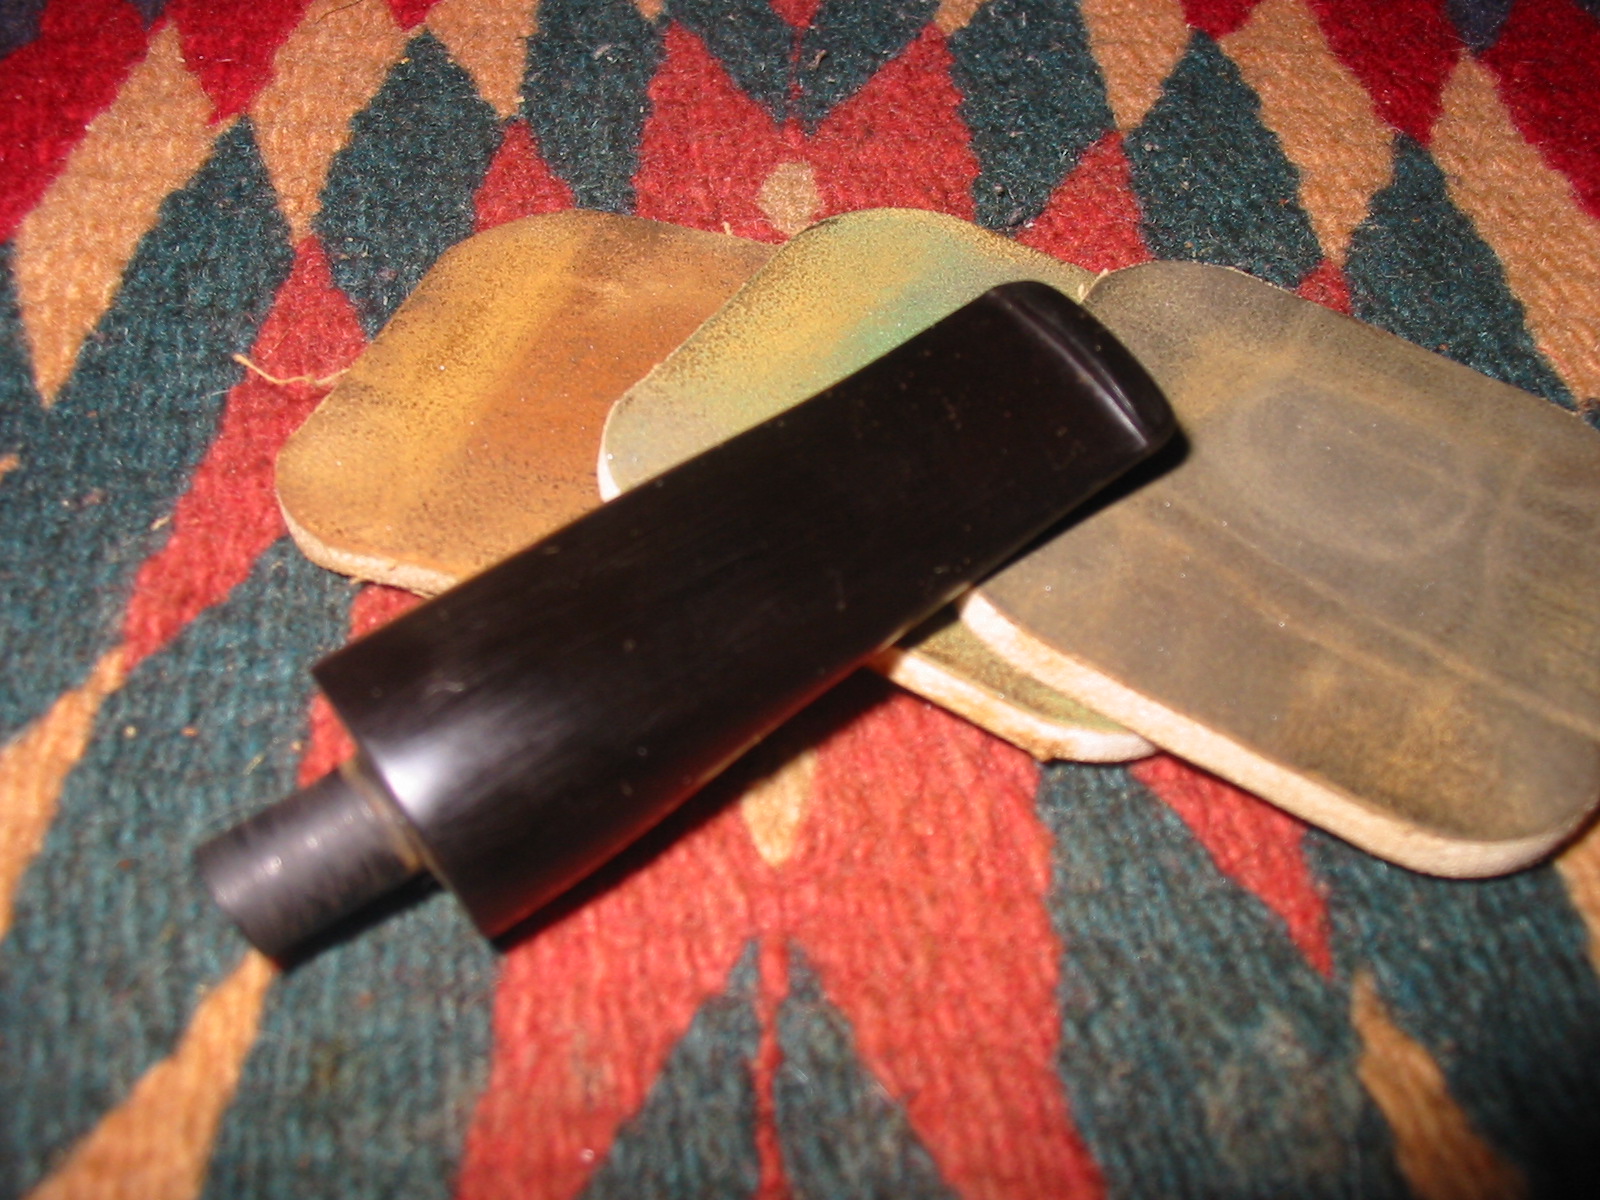
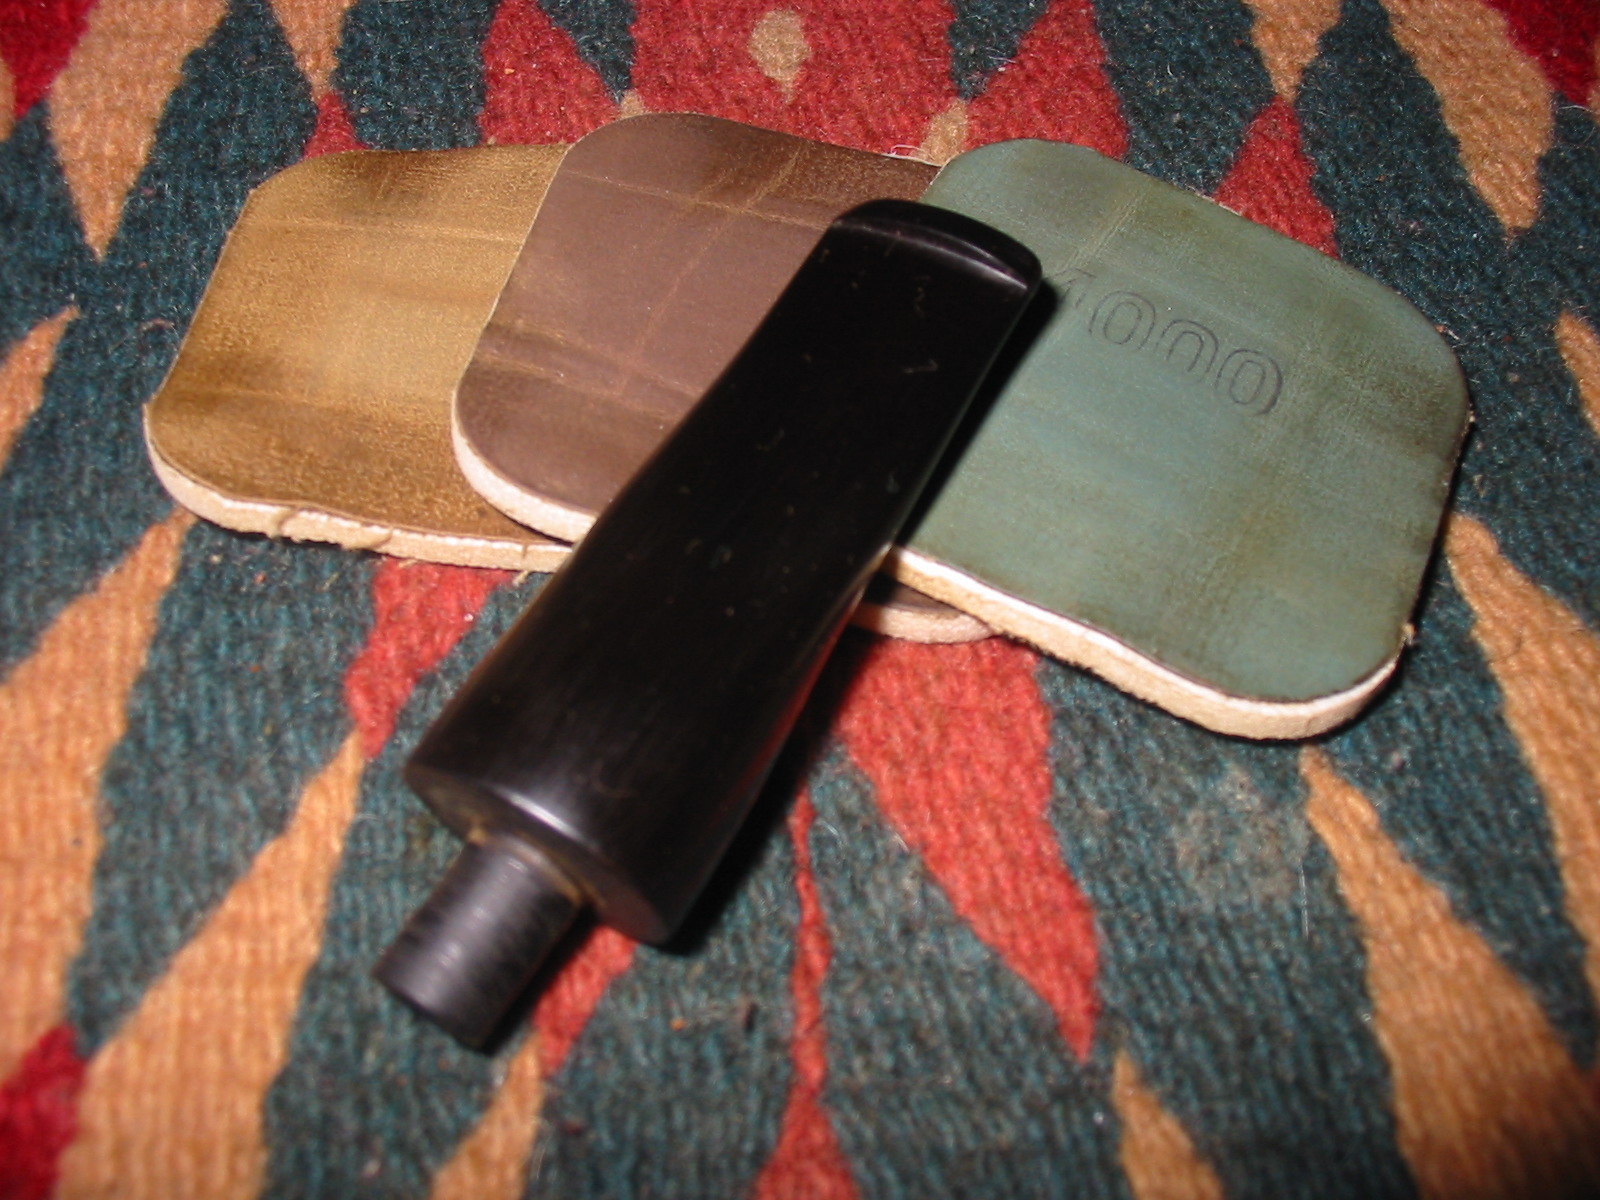
Once the slot was opened I sanded the inside of it with a folded piece of sandpaper to smooth out the inner surface of the slot. I sanded the stem with 220 grit sandpaper to shape and taper the flow from the band and shank toward the button. I wanted a smooth curve that paralleled the curve in the shank on the other side of the band. I used medium and fine grit sanding sponges and then my usual batch of micromesh sanding pads. I wet sanded with 1500-2400 grit pads and dry sanded with 3200-12000 grit pads. I rubbed the stem down with Obsidian Oil.

I put the polished stem back in the shank and took the pipe to the buffer. I buffed it with White Diamond to give a shine to the bowl and shank and lightly buffed the stem again with White Diamond. I gave the pipe multiple coats of carnauba wax – using a light touch on the rusticated part of the shank. I buffed it with a soft flannel buffing pad to raise the shine. The finished pipe is shown below. I noticed in the photos that there are still some fine scratches on the stem and band so I will go back to the micromesh and take care of those. But before I do that it is time to load up a bowl of some aged Balkan Sobranie Virginian No. 10 and give the pipe a smoke. My Cocker Spaniel, Spencer is anxious to go out so it is a good time to load a pipe and give him some attention in the yard.