This is another one that is from the Vancouver Pipe Club lot of donated pipes. The stamping on this one is quite faint. It looks to me to be Valby. Some of the letters in the stamp over lap making it harder to read. The rim had been topped but not finished. There were still burn marks remaining on the outer edge of the rim. As with the others in this lot the finish was coated with varnish making it perpetually shiny. The rim had some as well but it was still in rough shape. The bowl had been coated with the same black bowl coating. I decided to rework the topping job, remove as many of the burn marks on the front edge of the bowl as possible and refinish the pipe. The stem was in great shape and showed no oxidation or tooth marks.
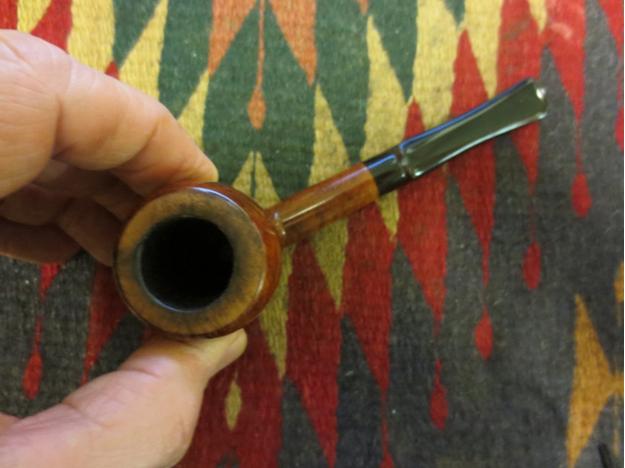
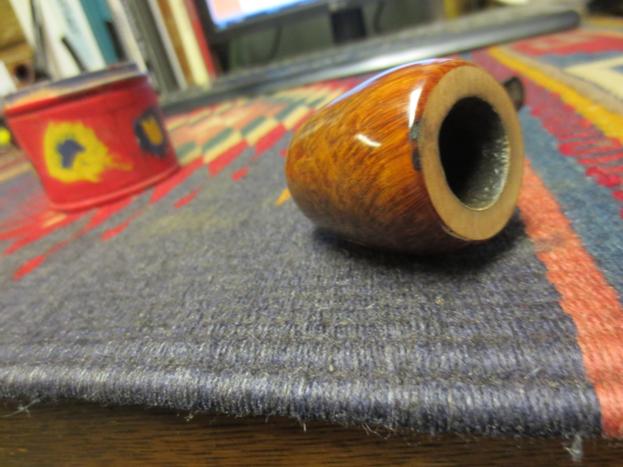
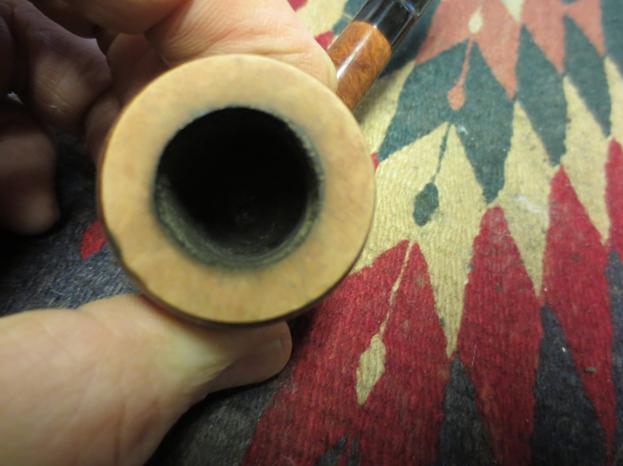
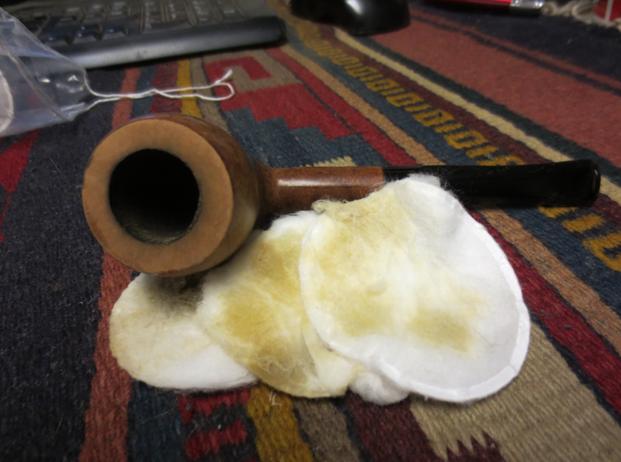
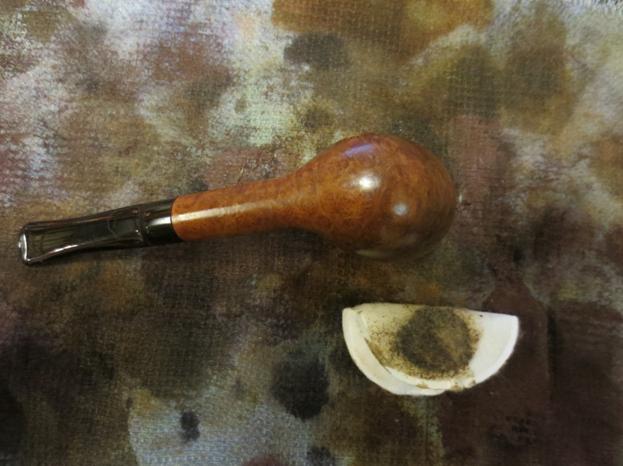
I took the photo below to show the state of the rim. The photo does not do justice to the unfinished nature of the topping. The burn marks are visible in the second photo below on the front edge of the rim both inside and outside. The rest of the rim had scratches from the previous topping and the finish was dull.

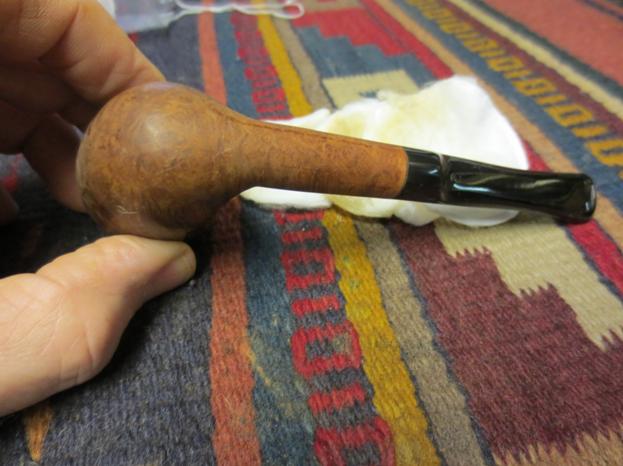
I topped the bowl on the flat board and sandpaper until I had removed the burned portion of the rim and had evened out the top surface. The topping from before had not taken off enough of the damaged portion to be even across the surface.

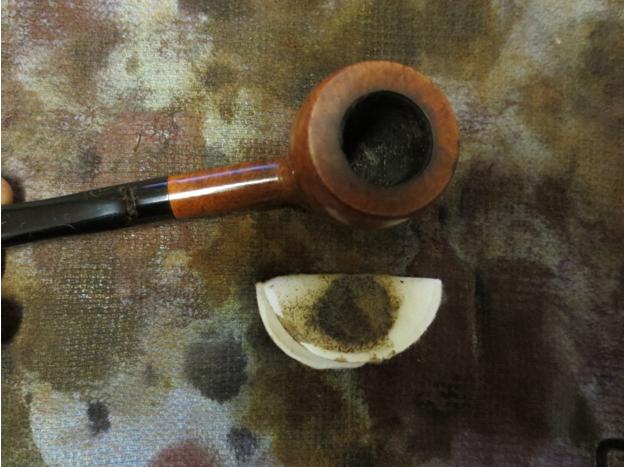
I wiped the bowl and rim down with acetone on a cotton pad to remove the varnish coat and the finish so that I could restain and get a good even coat of stain.
I restained the pipe with MinWax Medium Walnut stain – rubbed it on and off repeatedly until I had a good even coverage on the pipe.

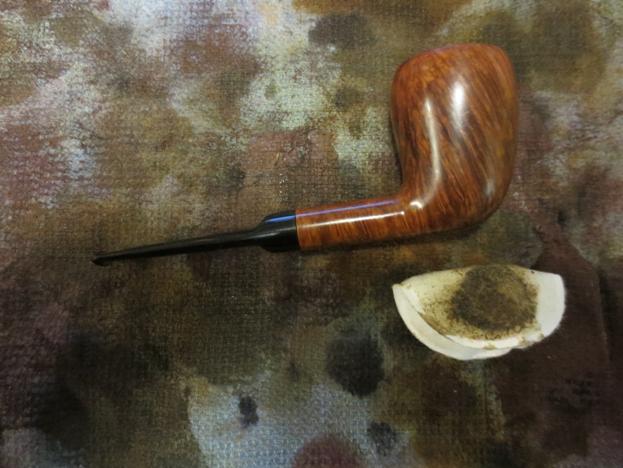
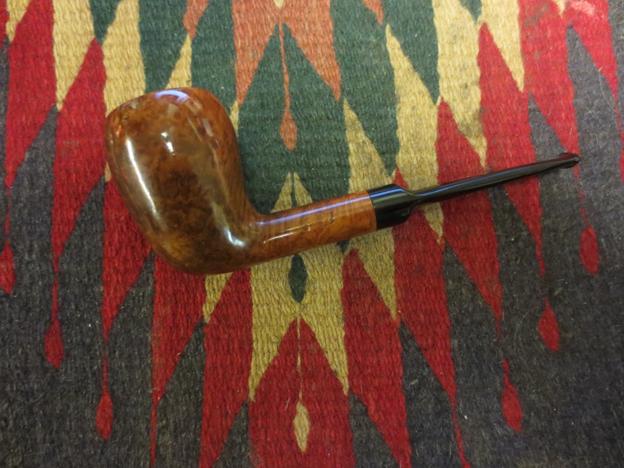
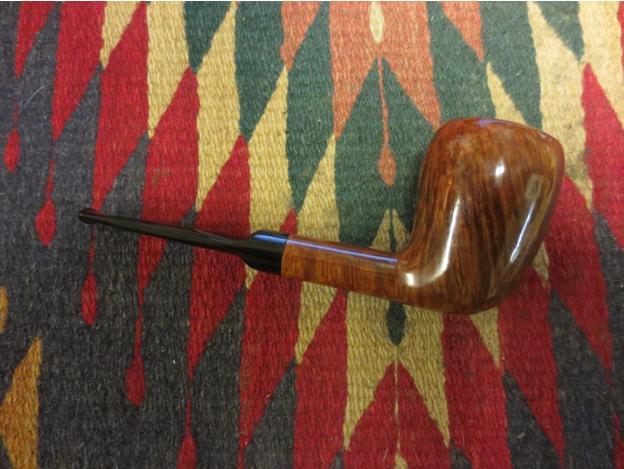
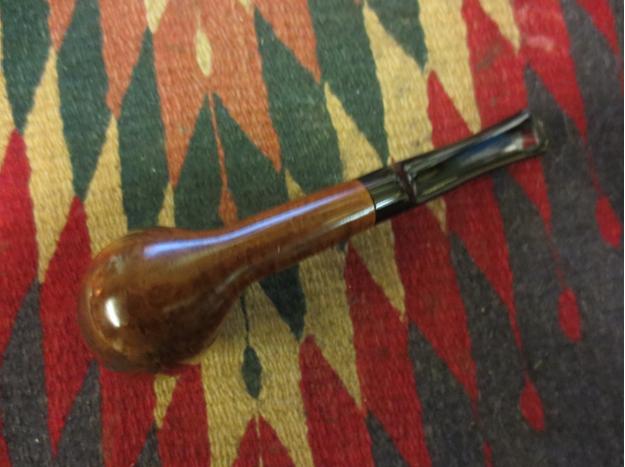
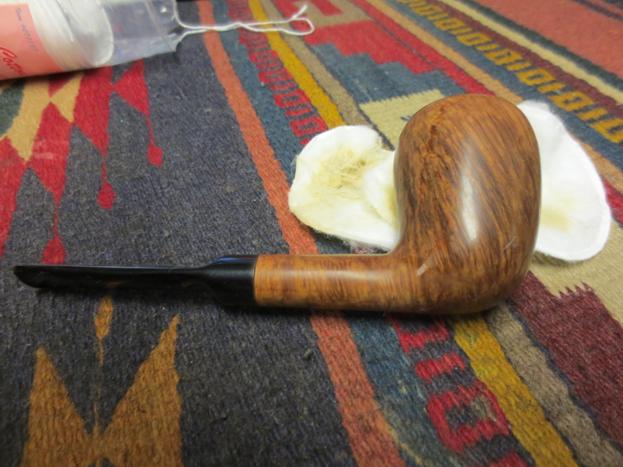
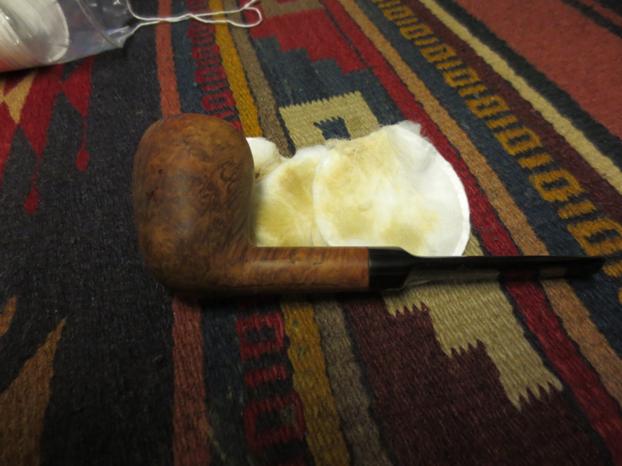
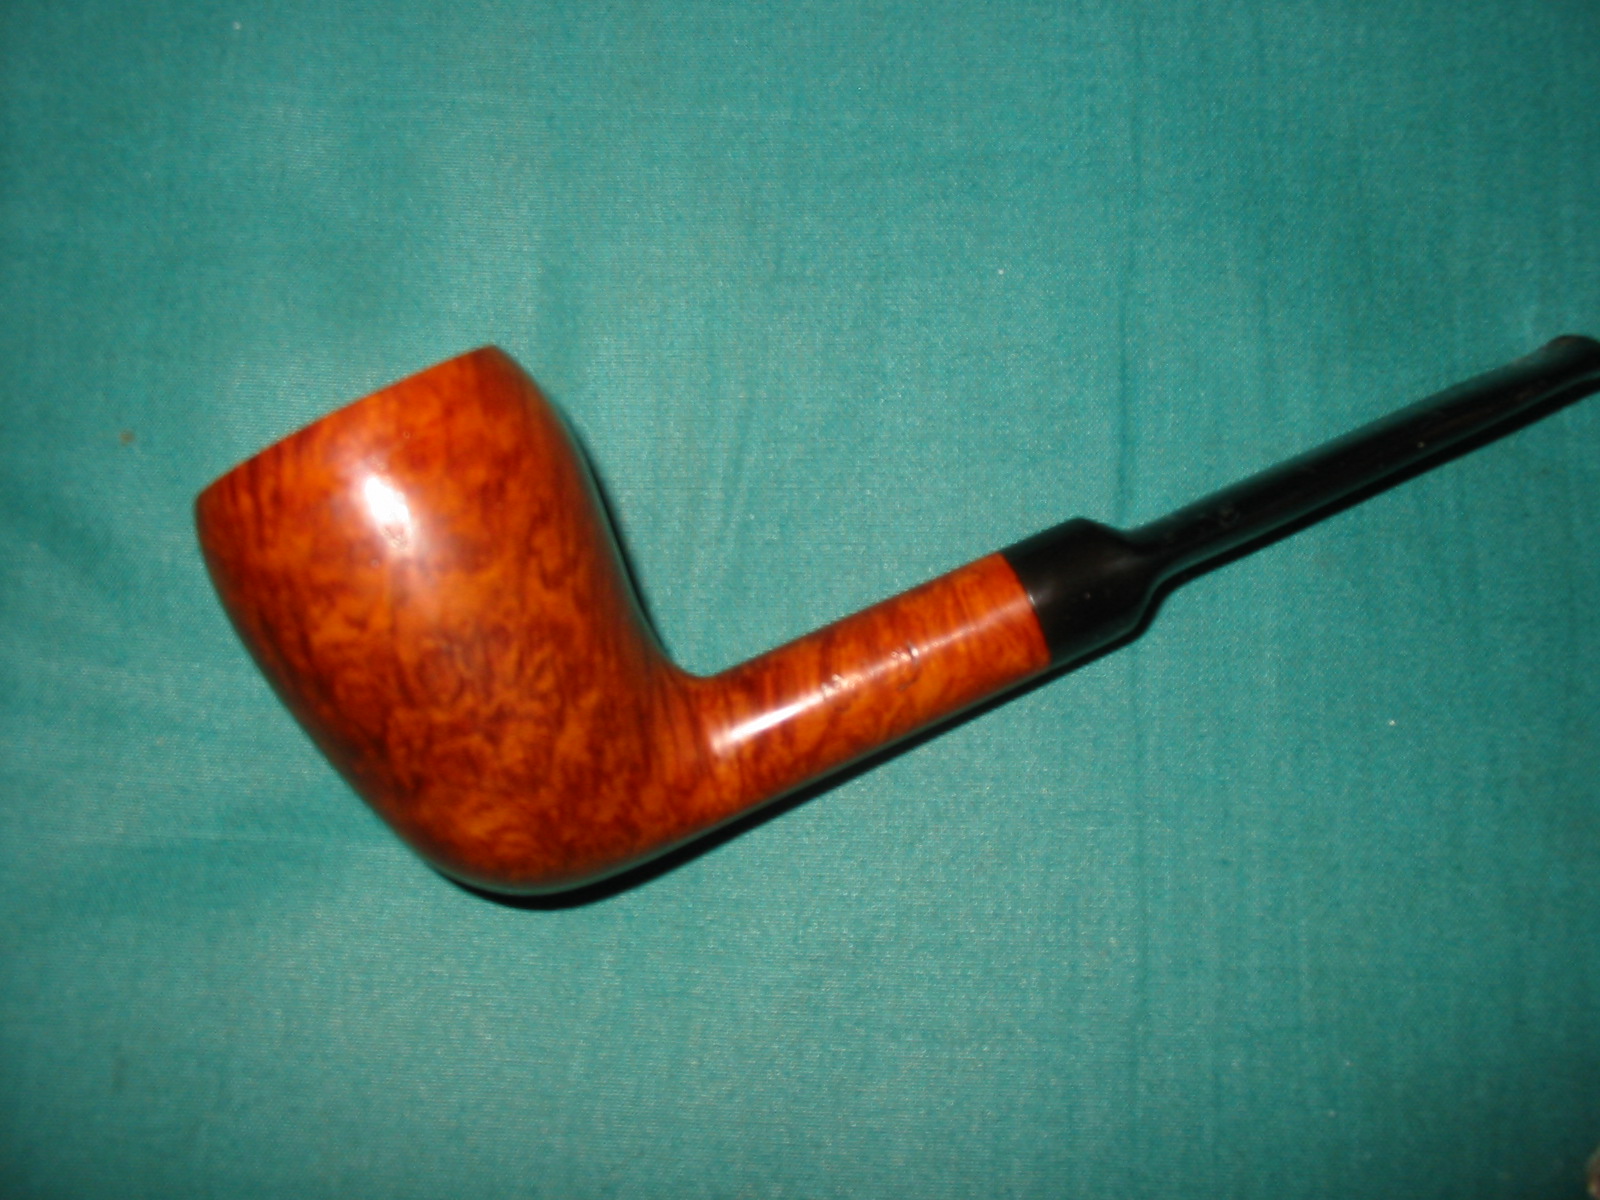
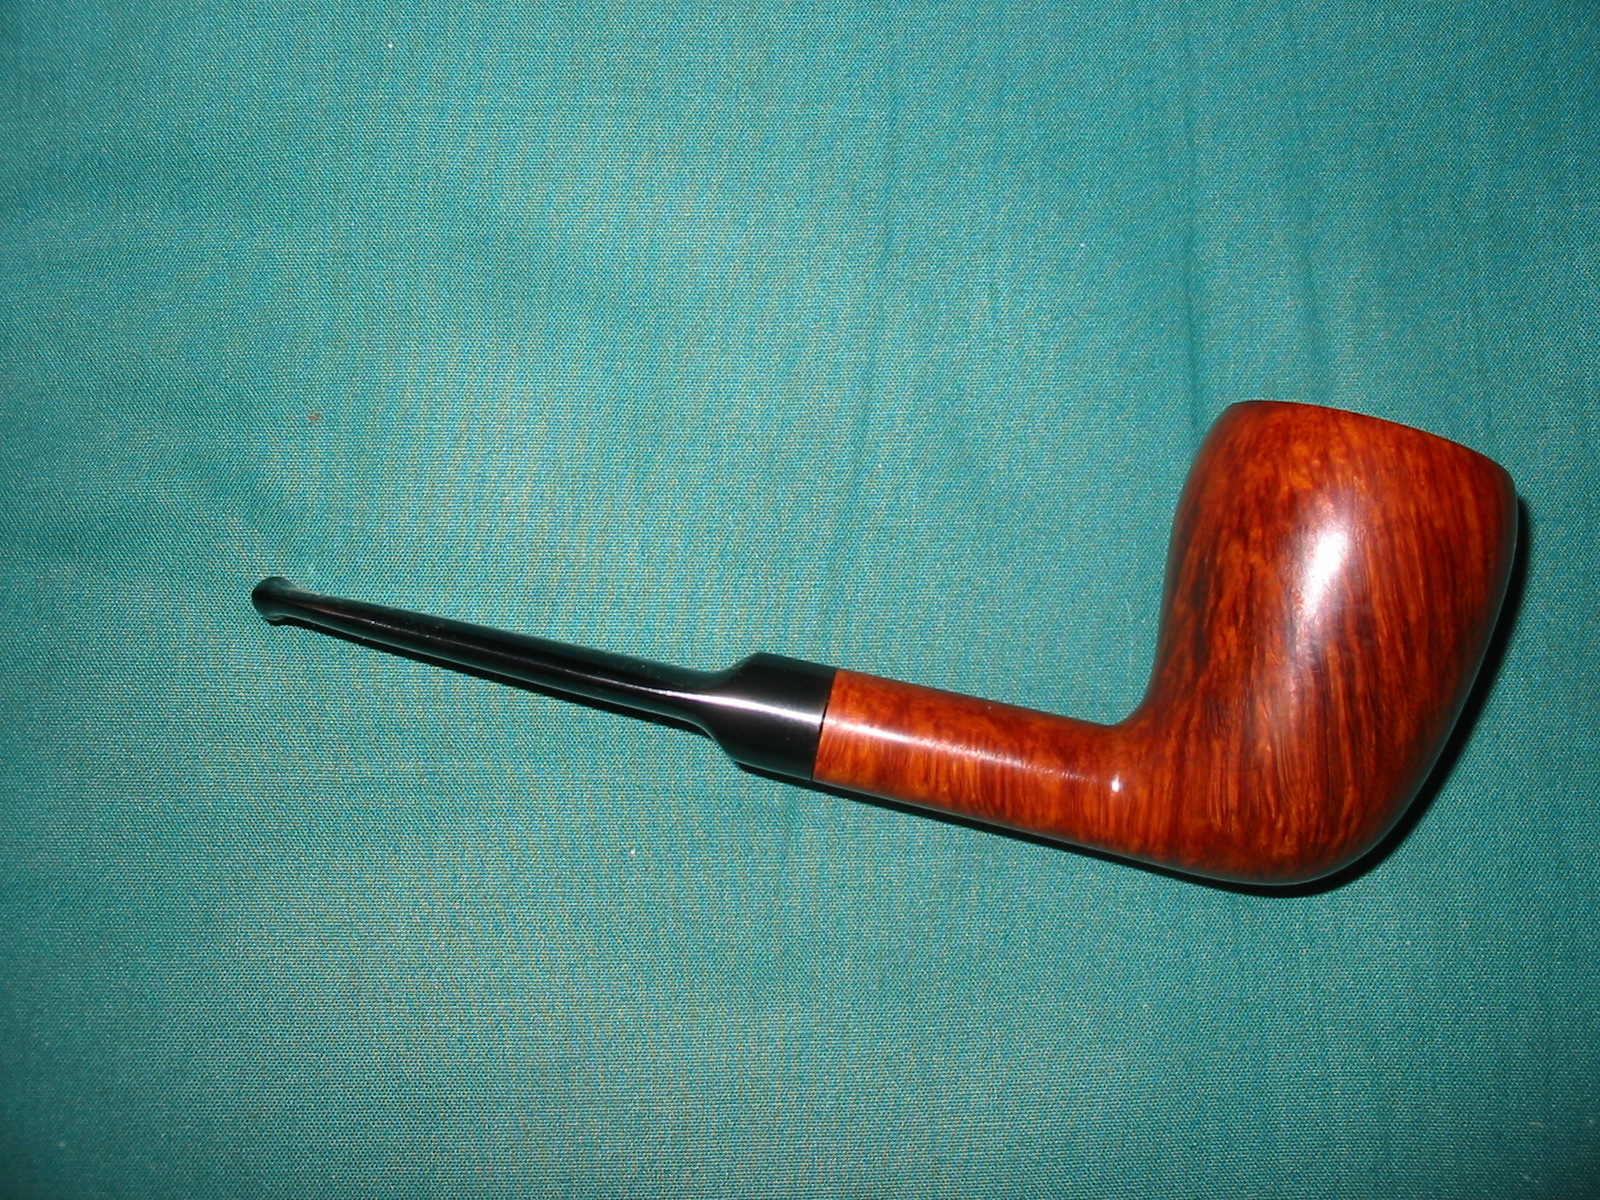
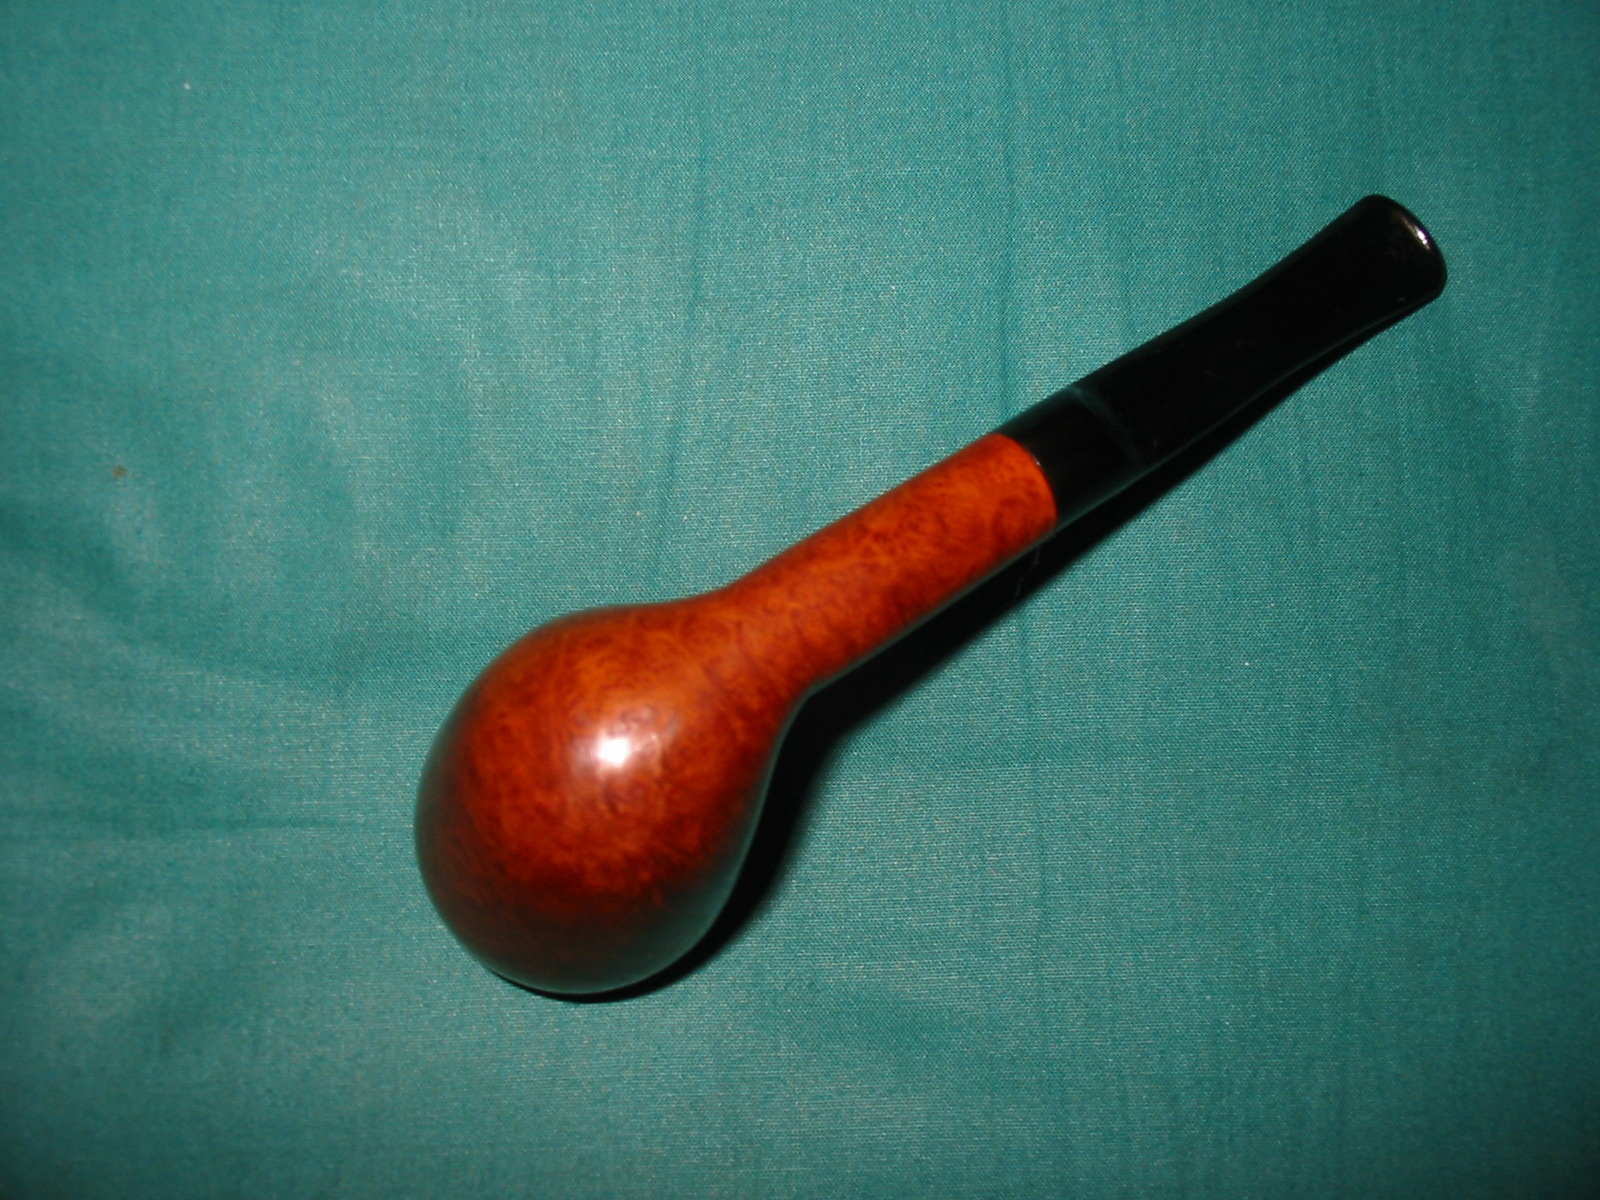
When I had finished with the staining, I took it to the buffer and buffed with White Diamond to smooth out the finish and give it a shine. I chose the stain I did because of the transparency and how well it matched the original stain. I gave the pipe and stem multiple coats of carnauba wax and finish with a soft flannel buff. The finished pipe is shown below and is ready to go back in the box for the Pipe Club to sell.


I’m sure the president, along with the members will be very happy. From what I have seen they should be able to send these pipes to a new home, and pick up some cash. Nice job on topping, and staining this acorn.
LikeLike
Nice job! I see you are using Min Wax stain instead of the Feibings. Is it easier to work since you don’t flame it? How does it work- wipe on and off, does it get darker the longer you leave it? What about accenting the grain where you used to use black dye? I love the walnut finish color, but it looks red in your final shots. Mark
LikeLike
I still use the Feibings but on this lot of pipes for the pipe club that I want to move out of my storage quickly I am using the minwax. It is quicker as I just wipe it on and rub it off and repeat until it is right. The photos in this particular shoot are more red than they are in reality. I think it was the light early this morning that I used combined with the florescents. They really are a nice walnut finish colour and not as red as the last photos show.
LikeLike
I noticed the switch to Minwax as well. My local Lowes has a huge selection of their stains, should I need a unique color, so thanks!
LikeLike
A lot quicker to use and I have a bunch of these to finish up for the club. As of yet they are unaware I have been doing them. When I was the pres I was gifted about three hundred of them to sell. We sold many and raised funds. The ones left were the ones with the damage I am working on. I think that when I gift them to the new pres he will be pretty happy.
LikeLike