Blog by Steve Laug
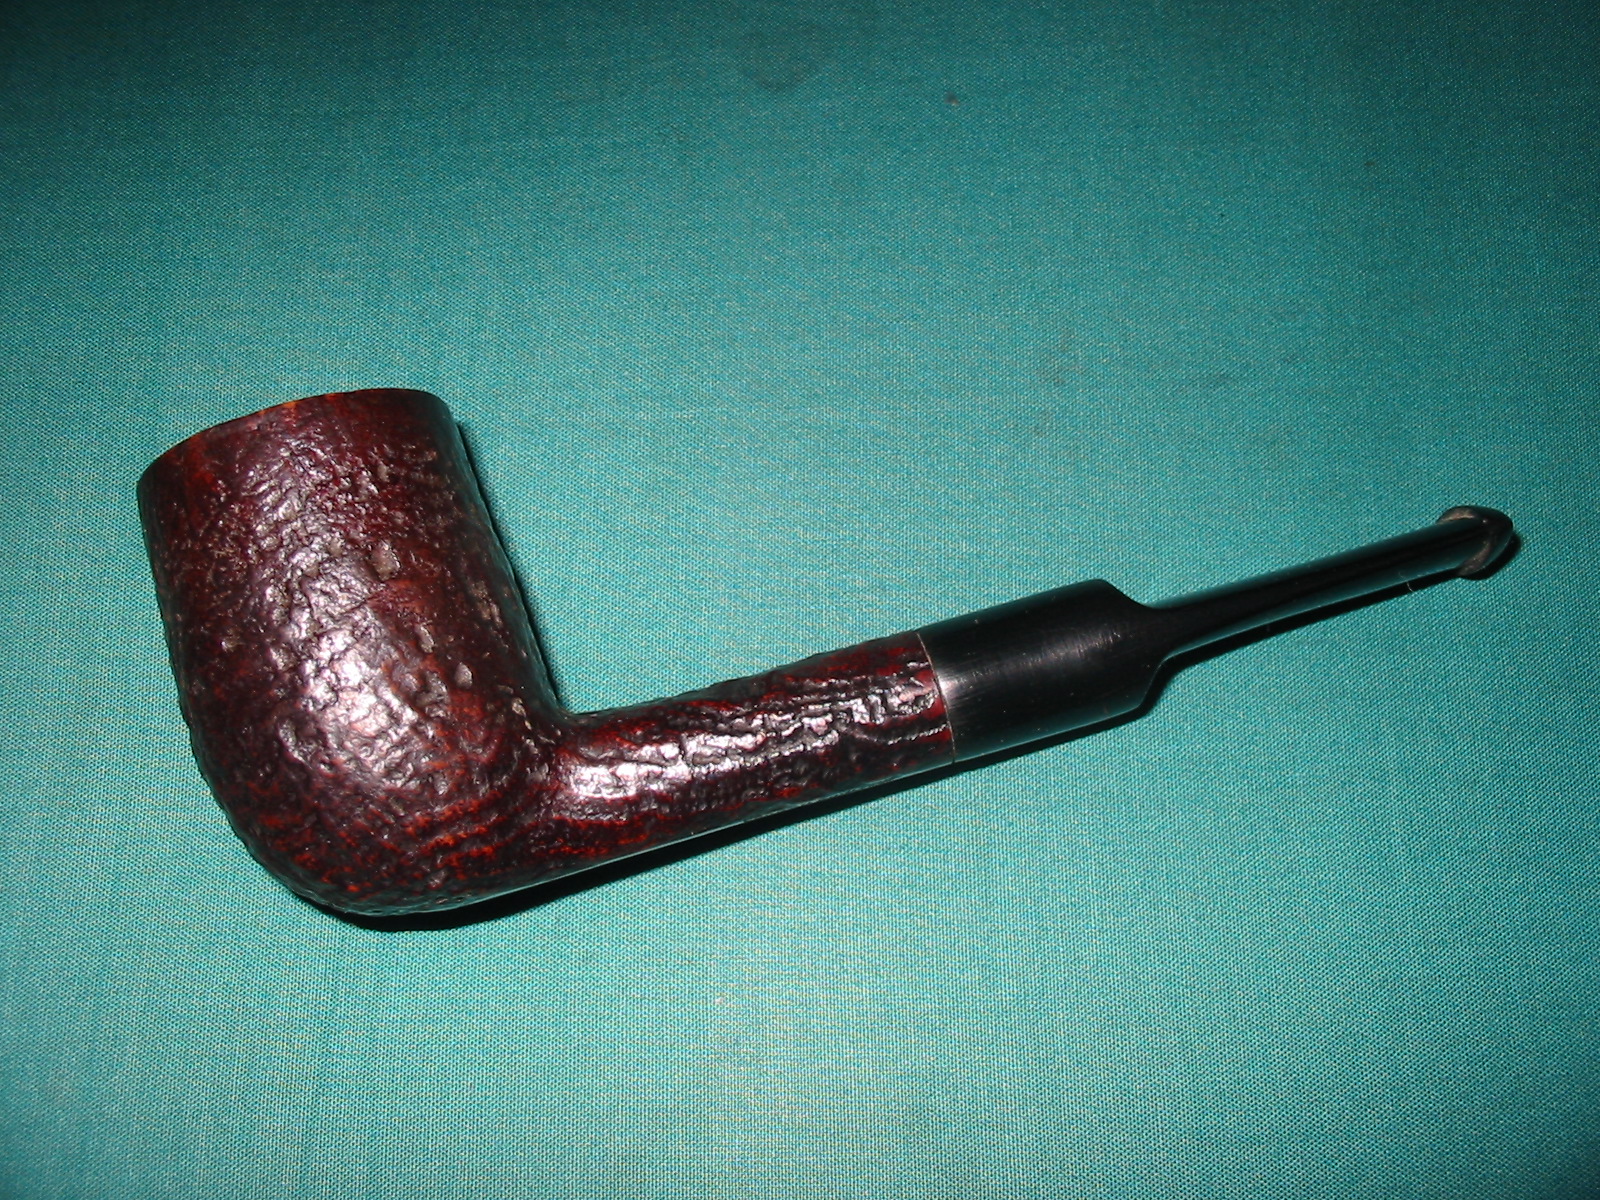
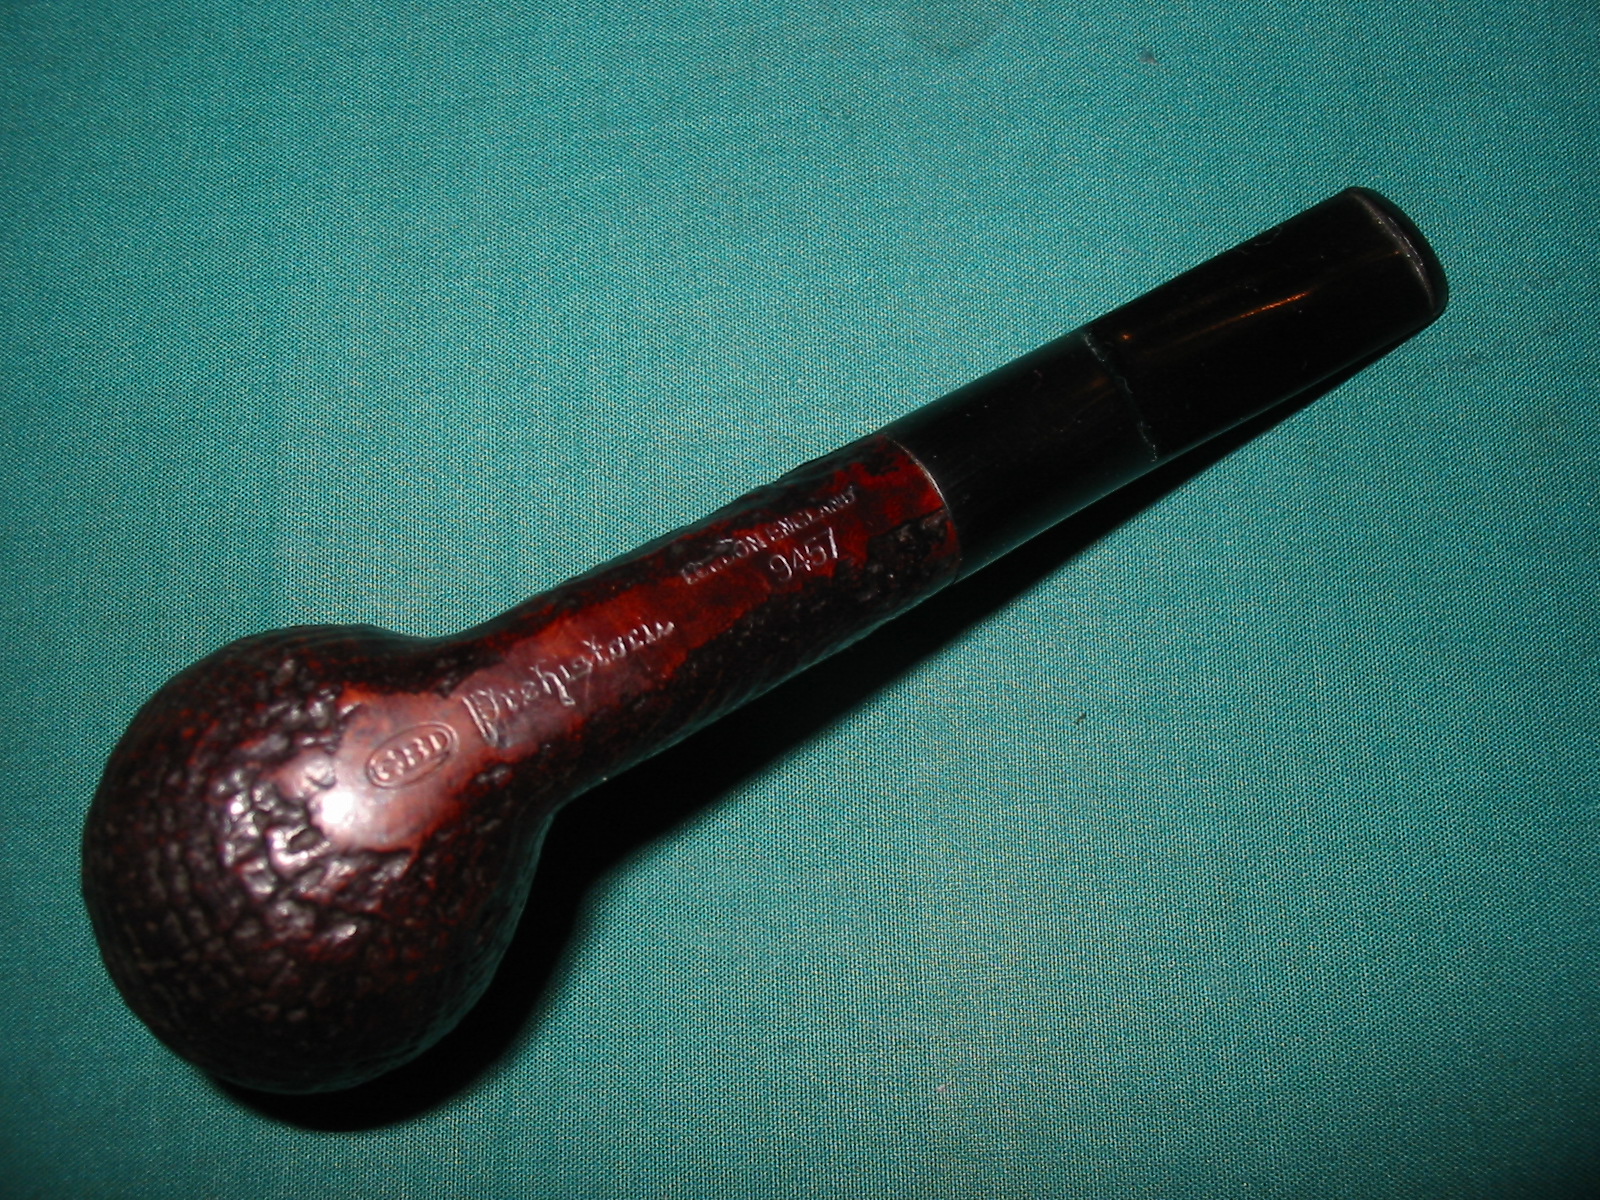
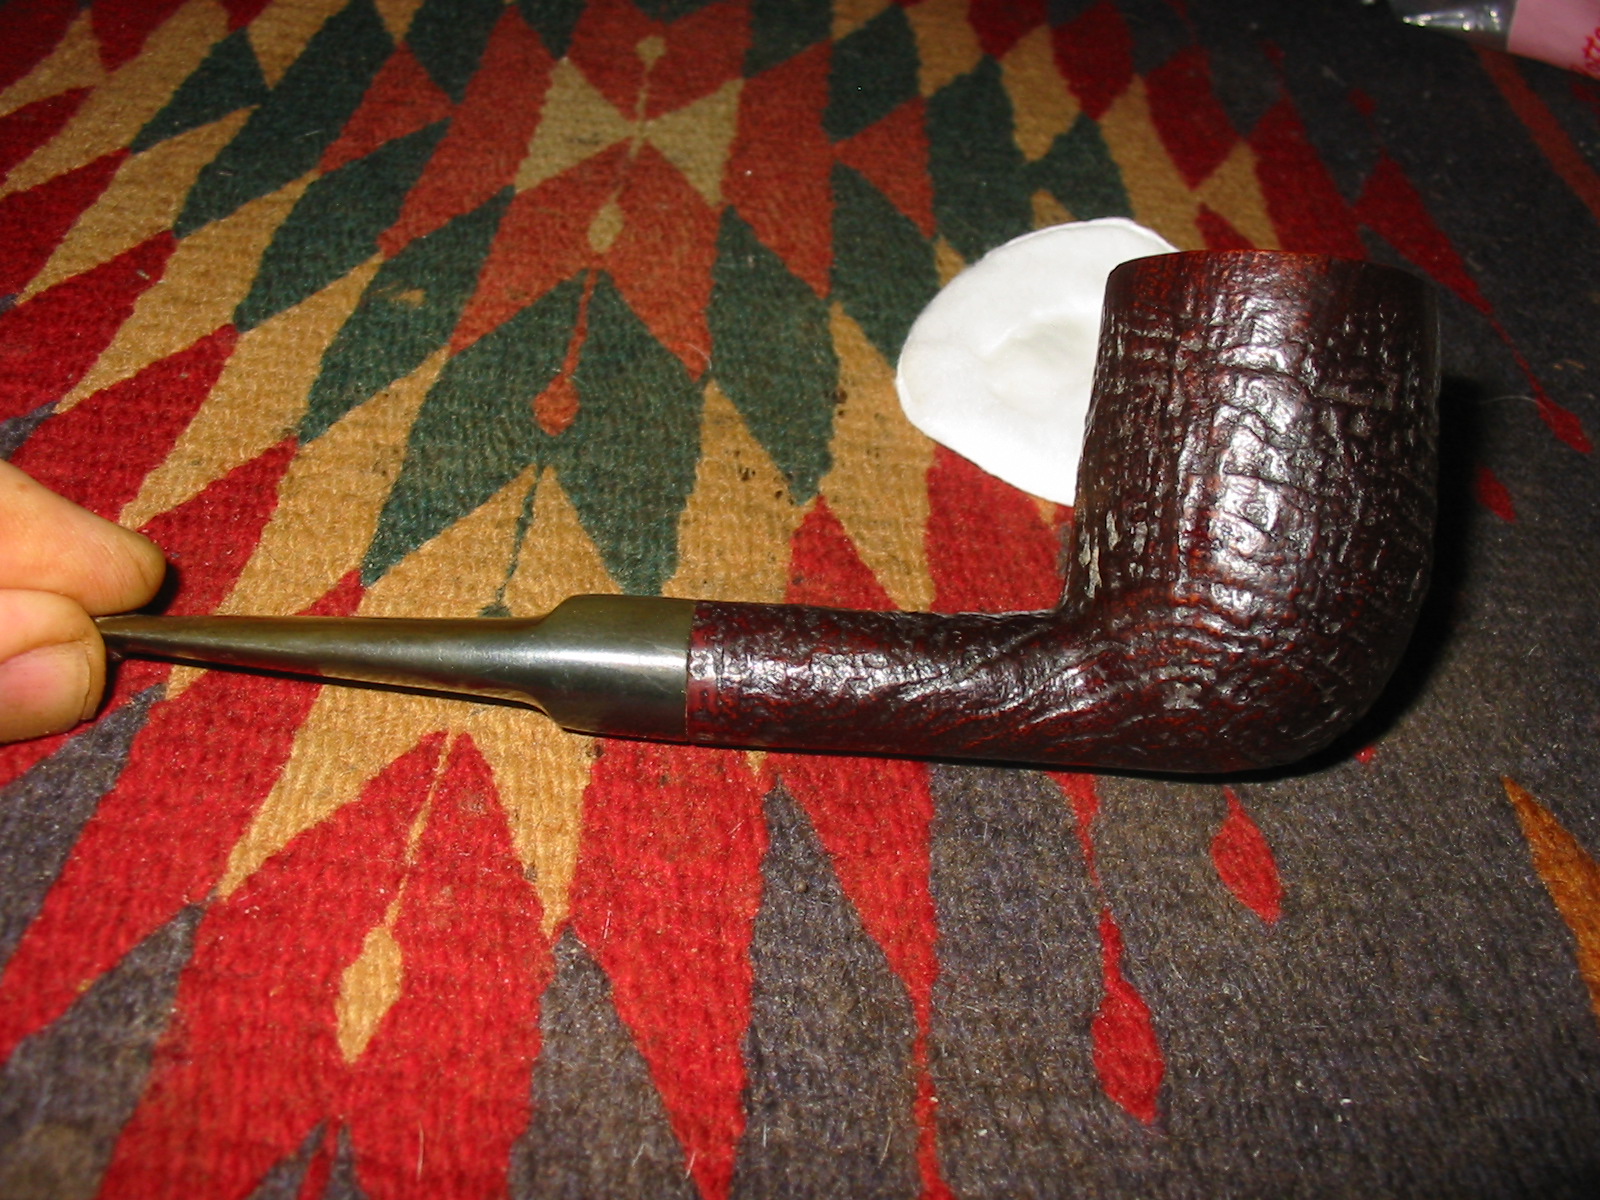
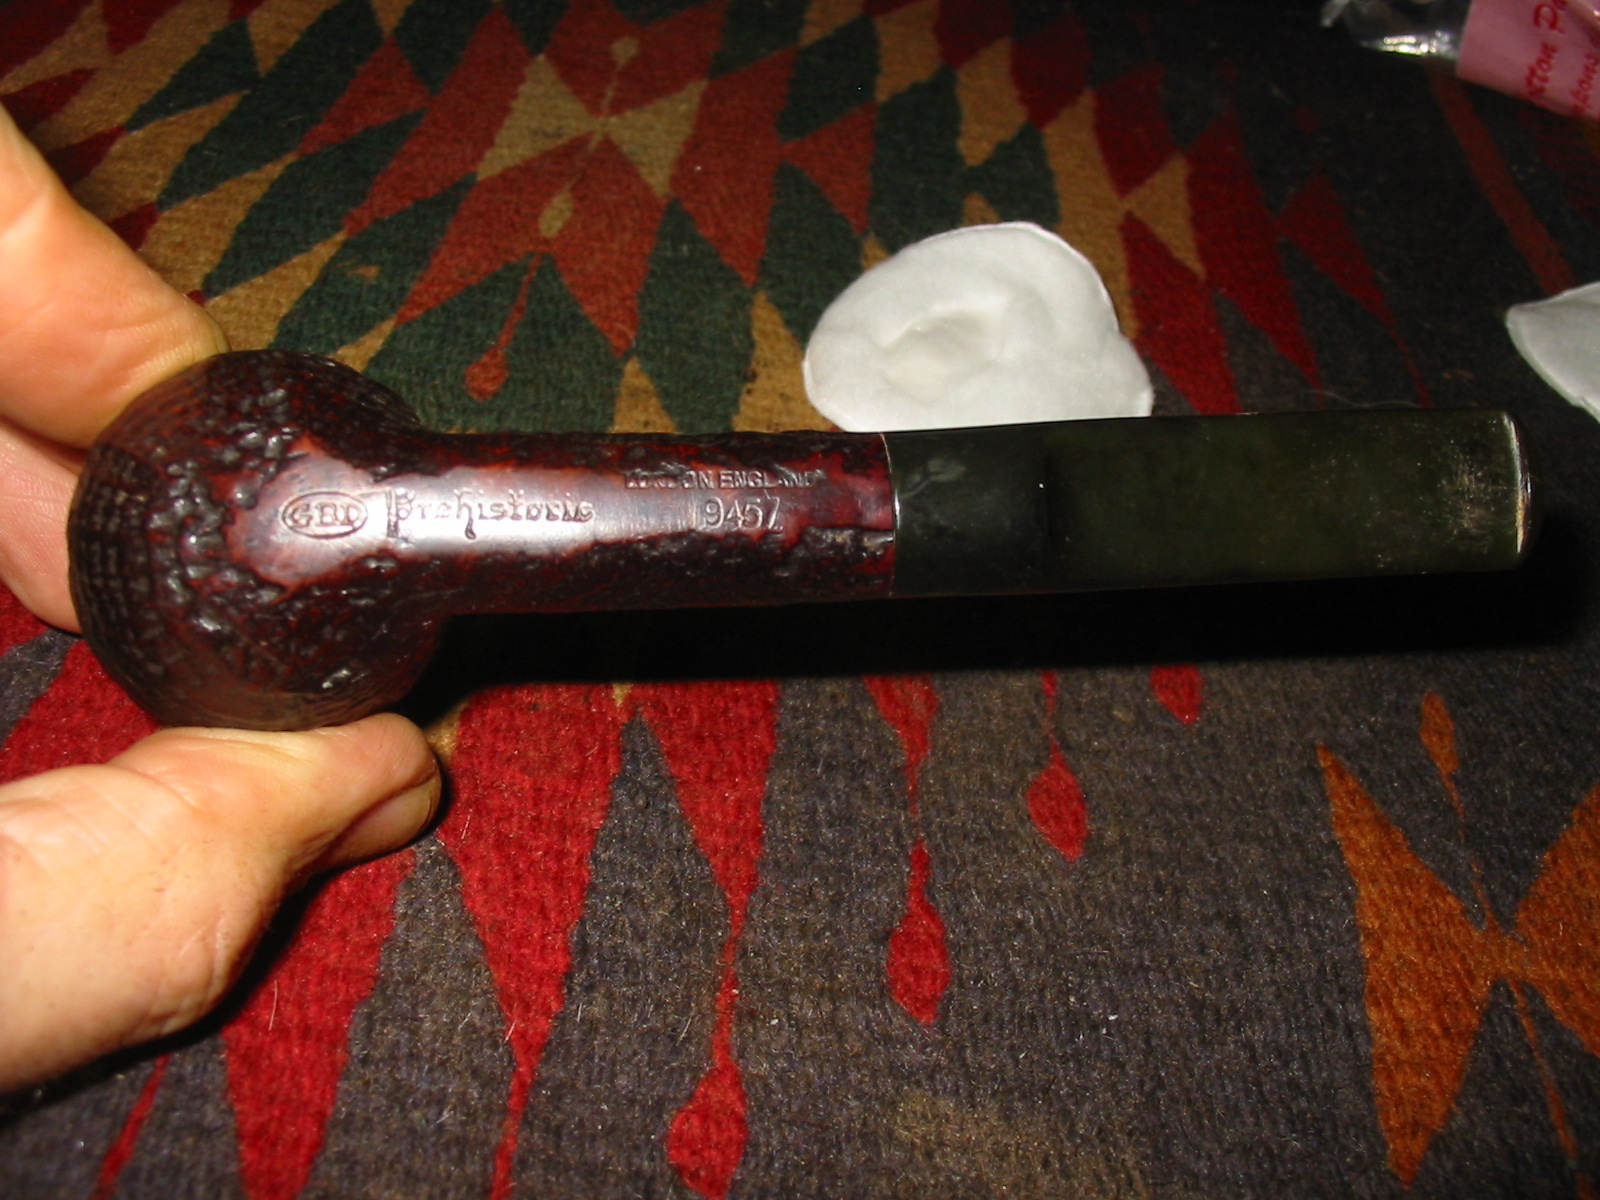
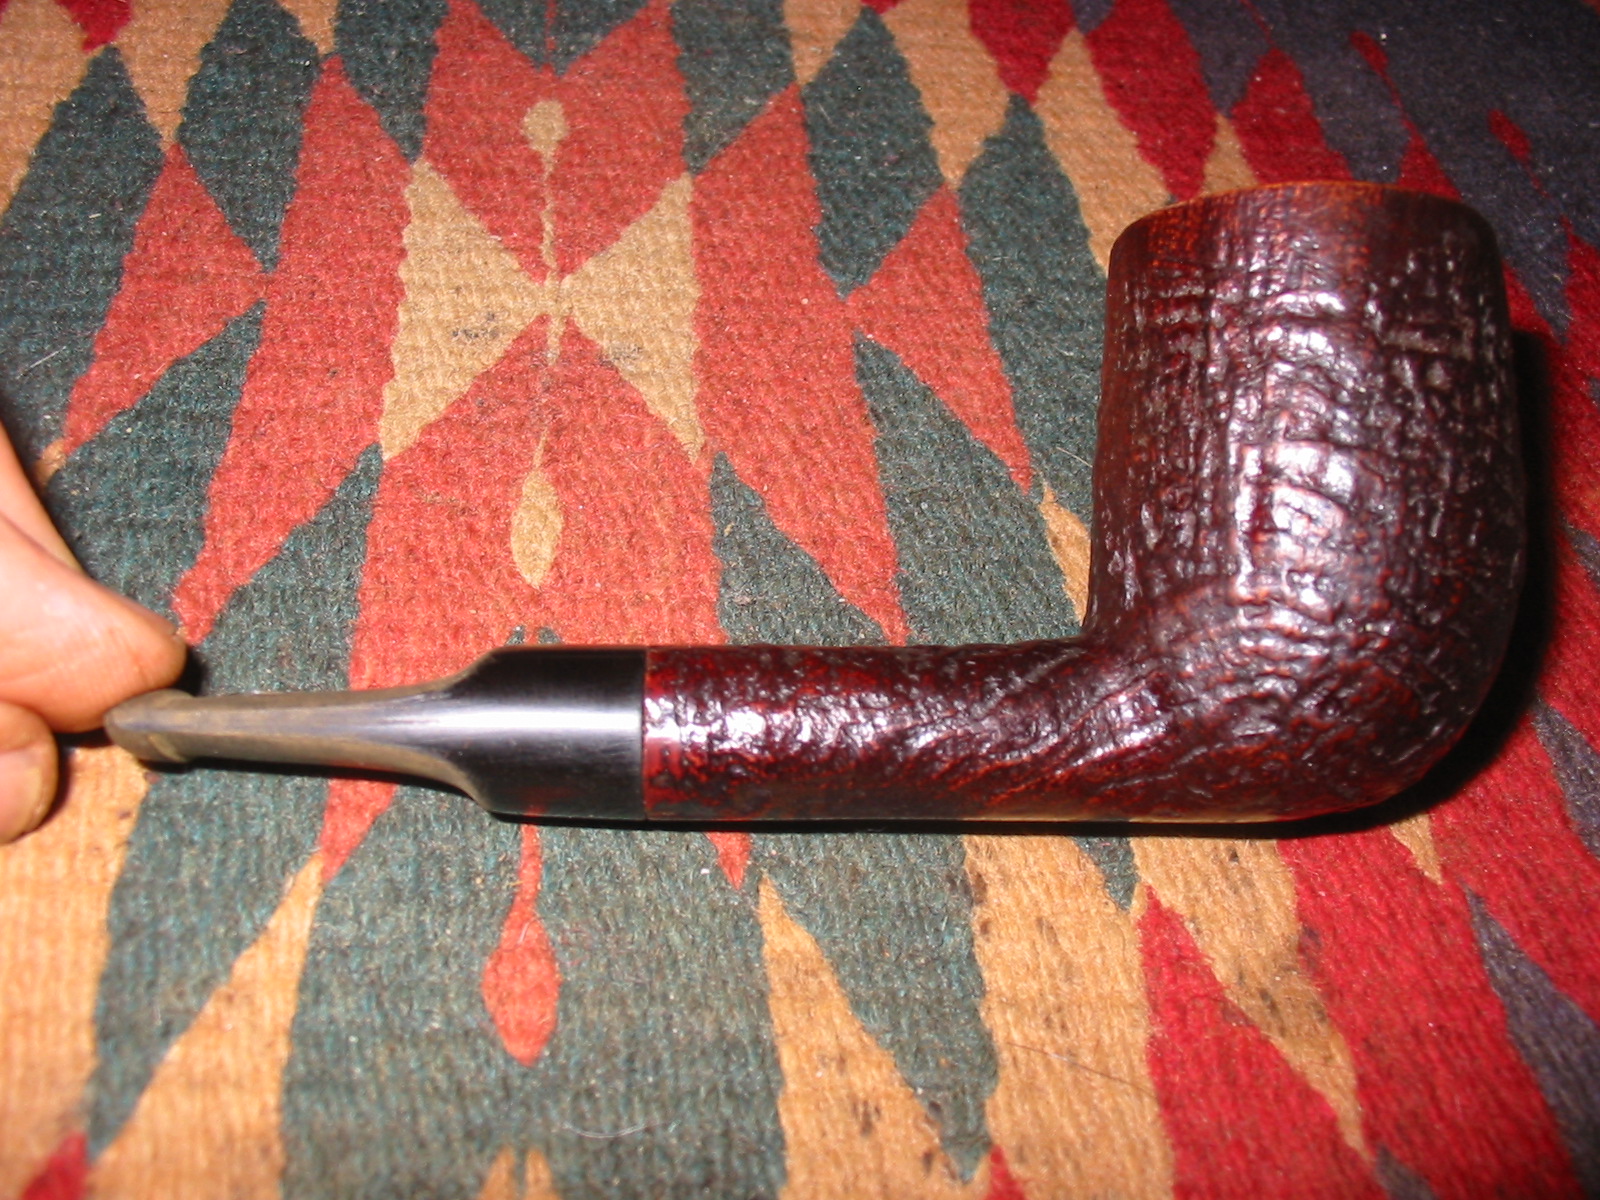
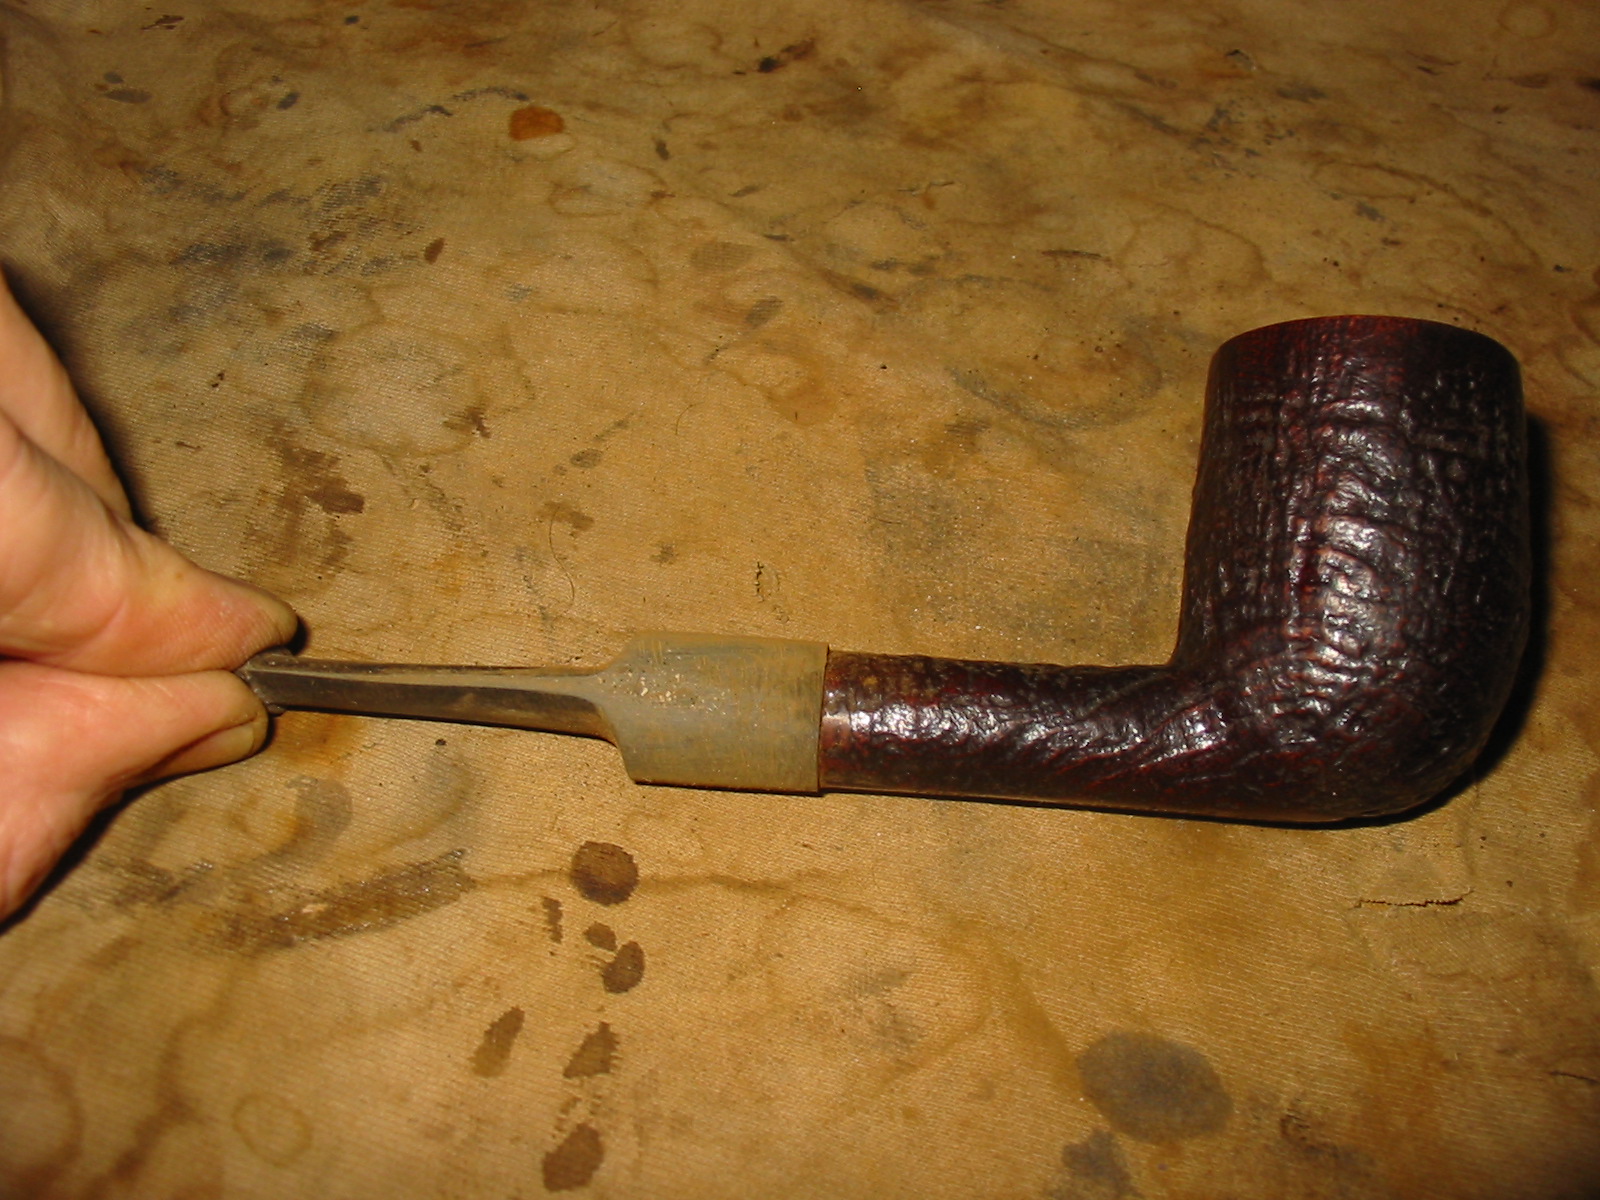
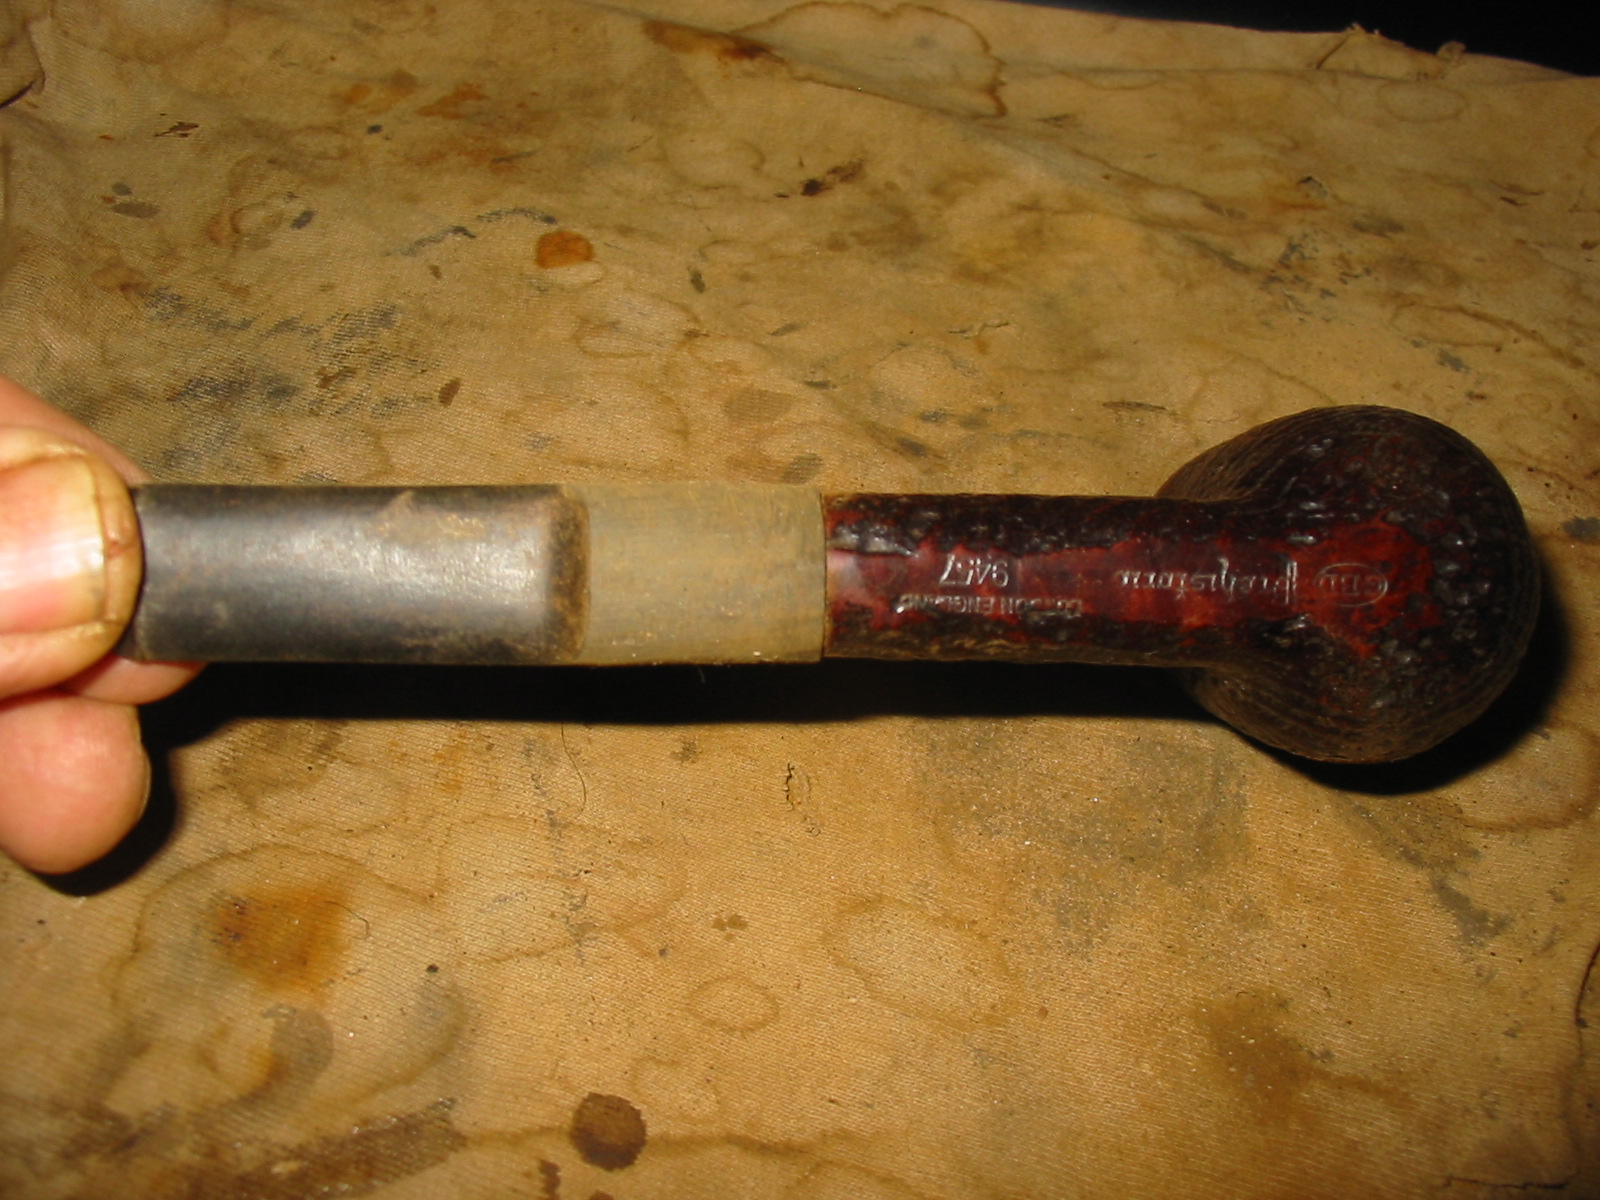
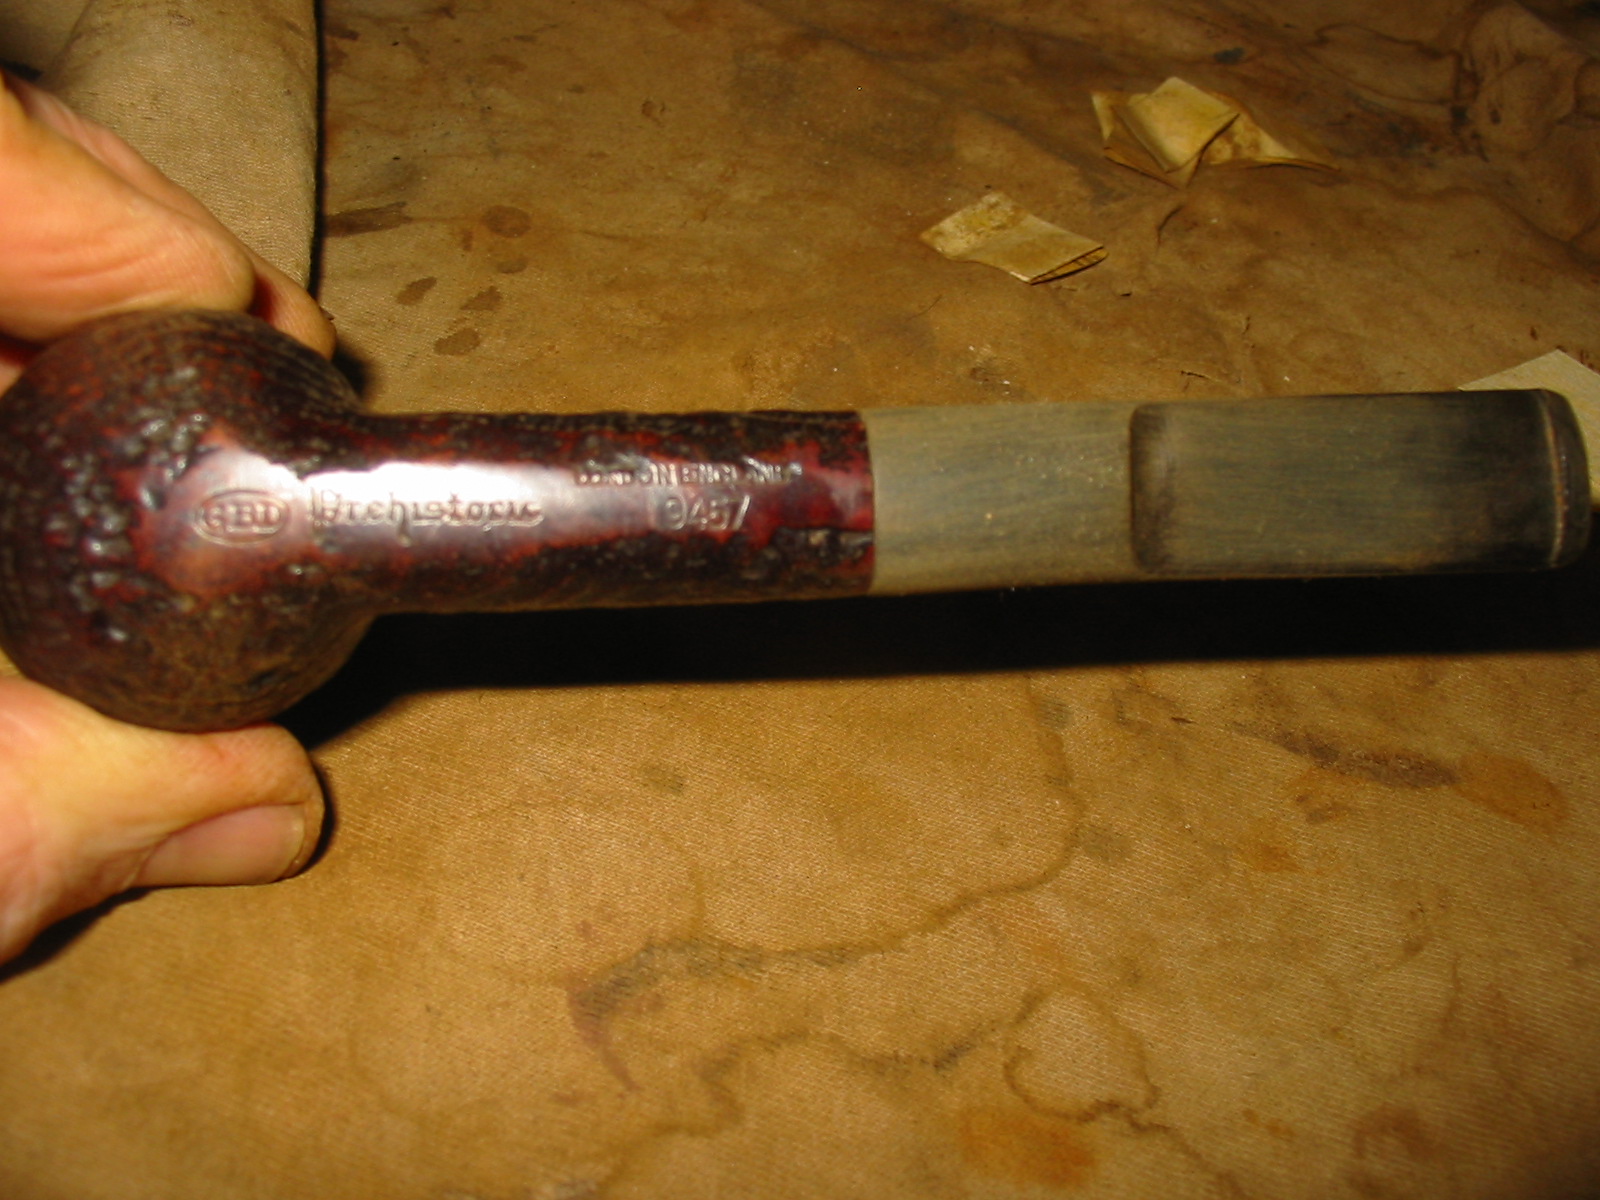
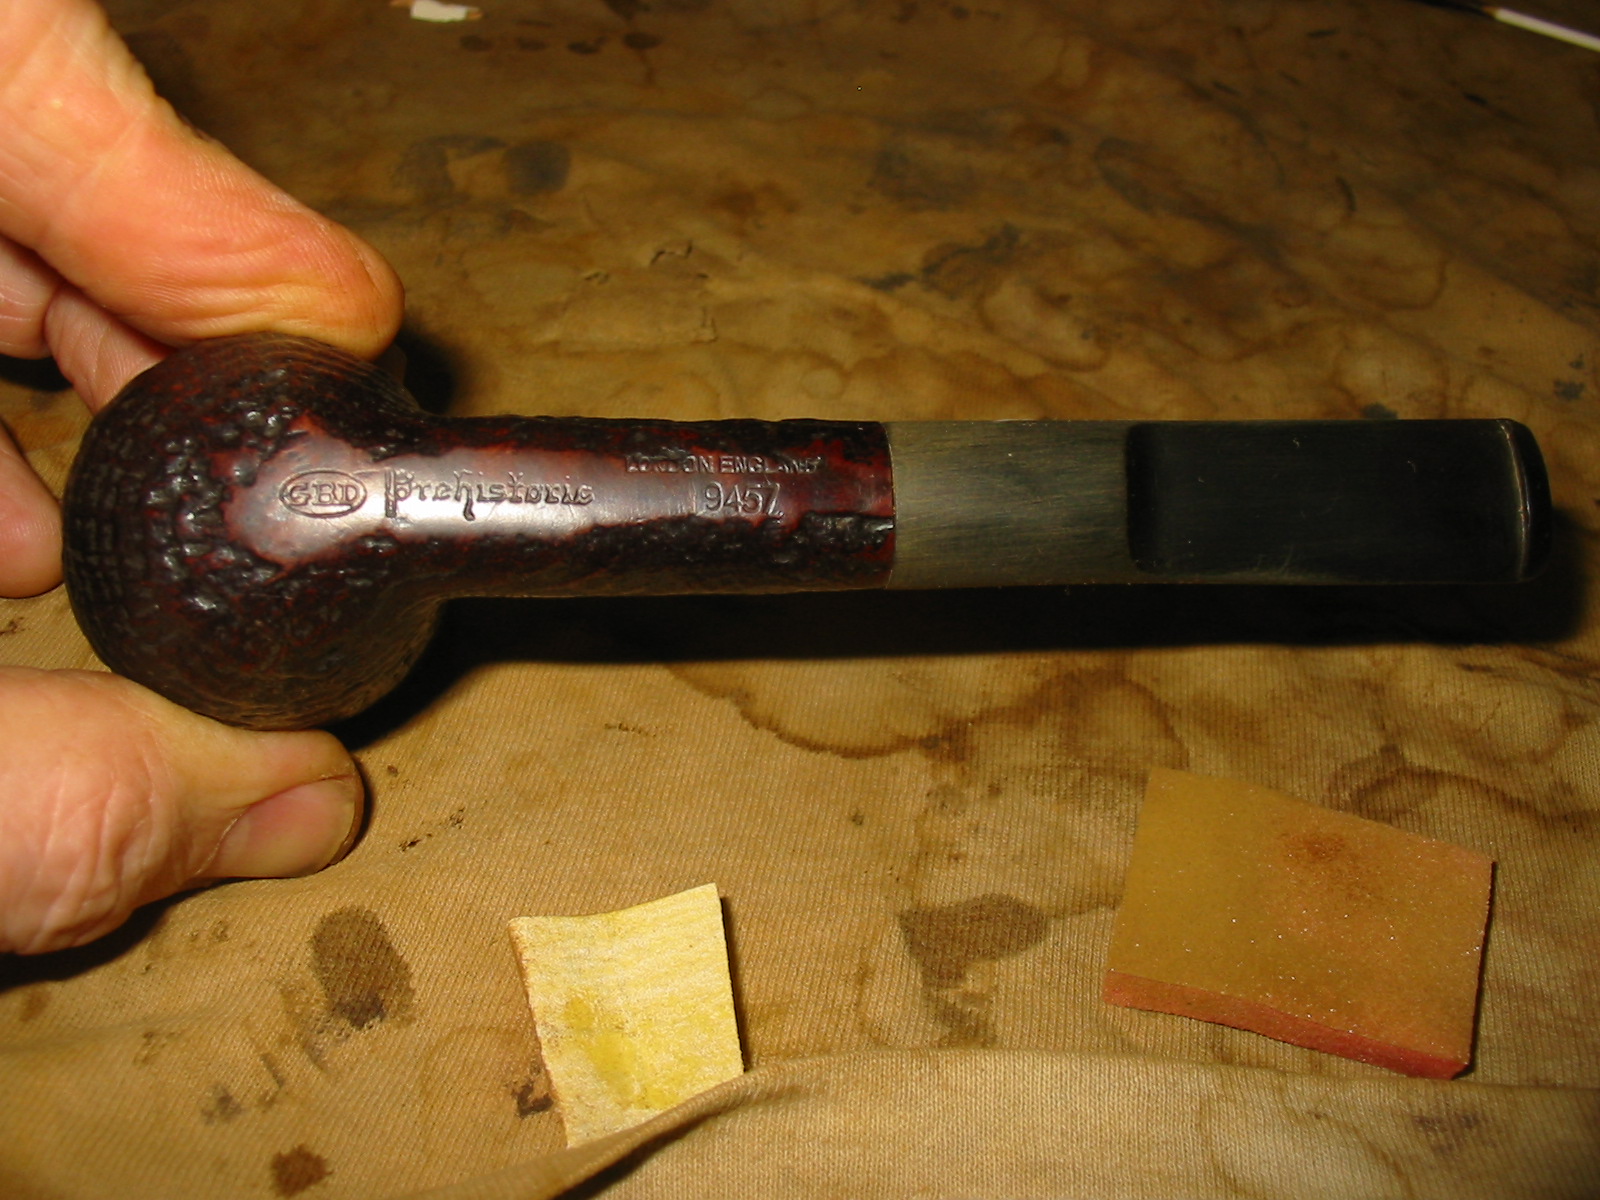
This is the fifth of the six pipes that I picked up recently. It is a GBD Prehistoric that has a great sandblast. The stamping on the pipe is on the underside of the shank and reads as follows: GBD in an oval followed by Prehistoric in Germanic script. Next to that is London England over 9457. While it looked like it was originally a billiard, I have learned that initial looks can be deceiving. I checked out the shape number on the web at http://www.perardua.net/pipes/GBDshape.html and found out that the shape was not a billiard at all but that it is supposed to be a Lovat.
It truly was a quick and easy cleanup. The bowl was slightly caked and needed to be reamed. The beveled rim was dirty and had a thick tarry buildup on it. The finish was good but dusty. The stem was oxidized and had a bit of tooth chatter but was not hard to clean. The catch in this one is that the stem is a replacement. A common theme is coming through on this lot. I am pretty certain they all came from the same pipeman. The stems either have a large bite through on the underside or they have twin bore bite proof replacement stems. Two of the lot had twin bore stems and three had serious bite throughs. This one is a twin bore bite proof stem. I decided to clean it up for now while I am on the hunt for a GBD stem for it. I am also going to look through my stems and see if I can find a Lovat style stem that will work for the pipe.


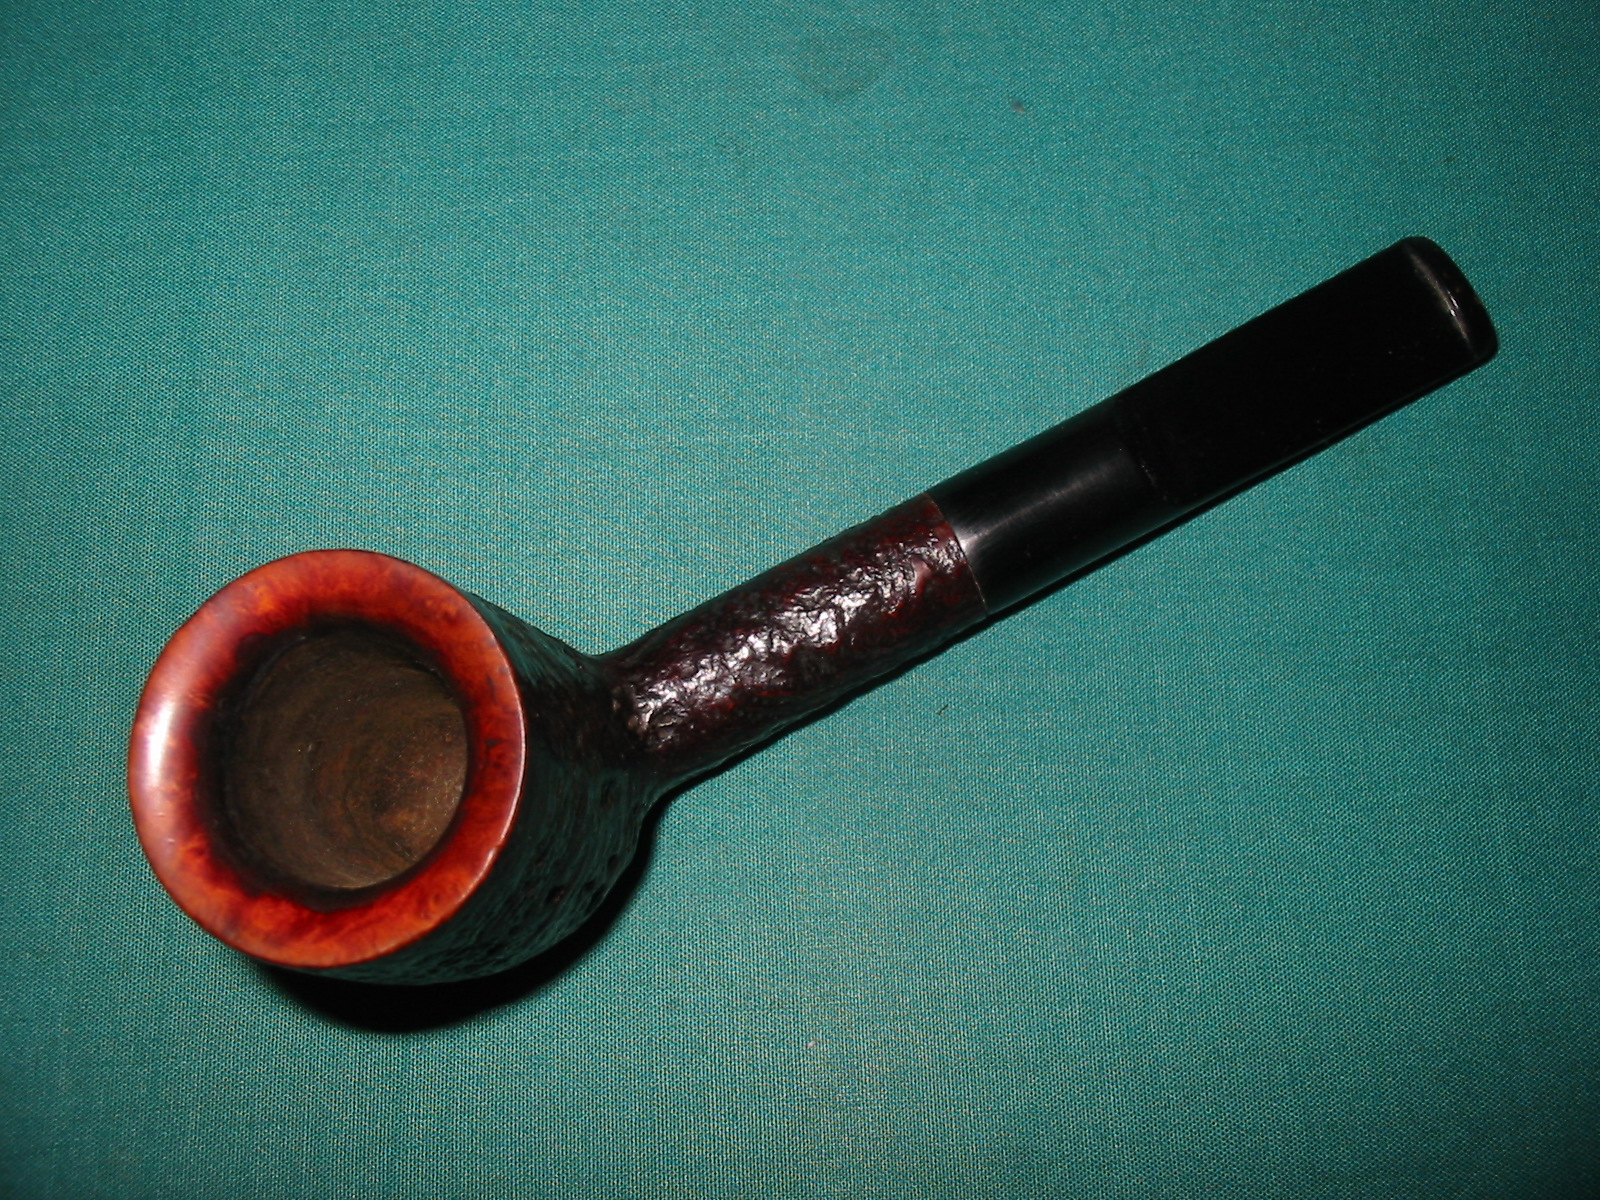
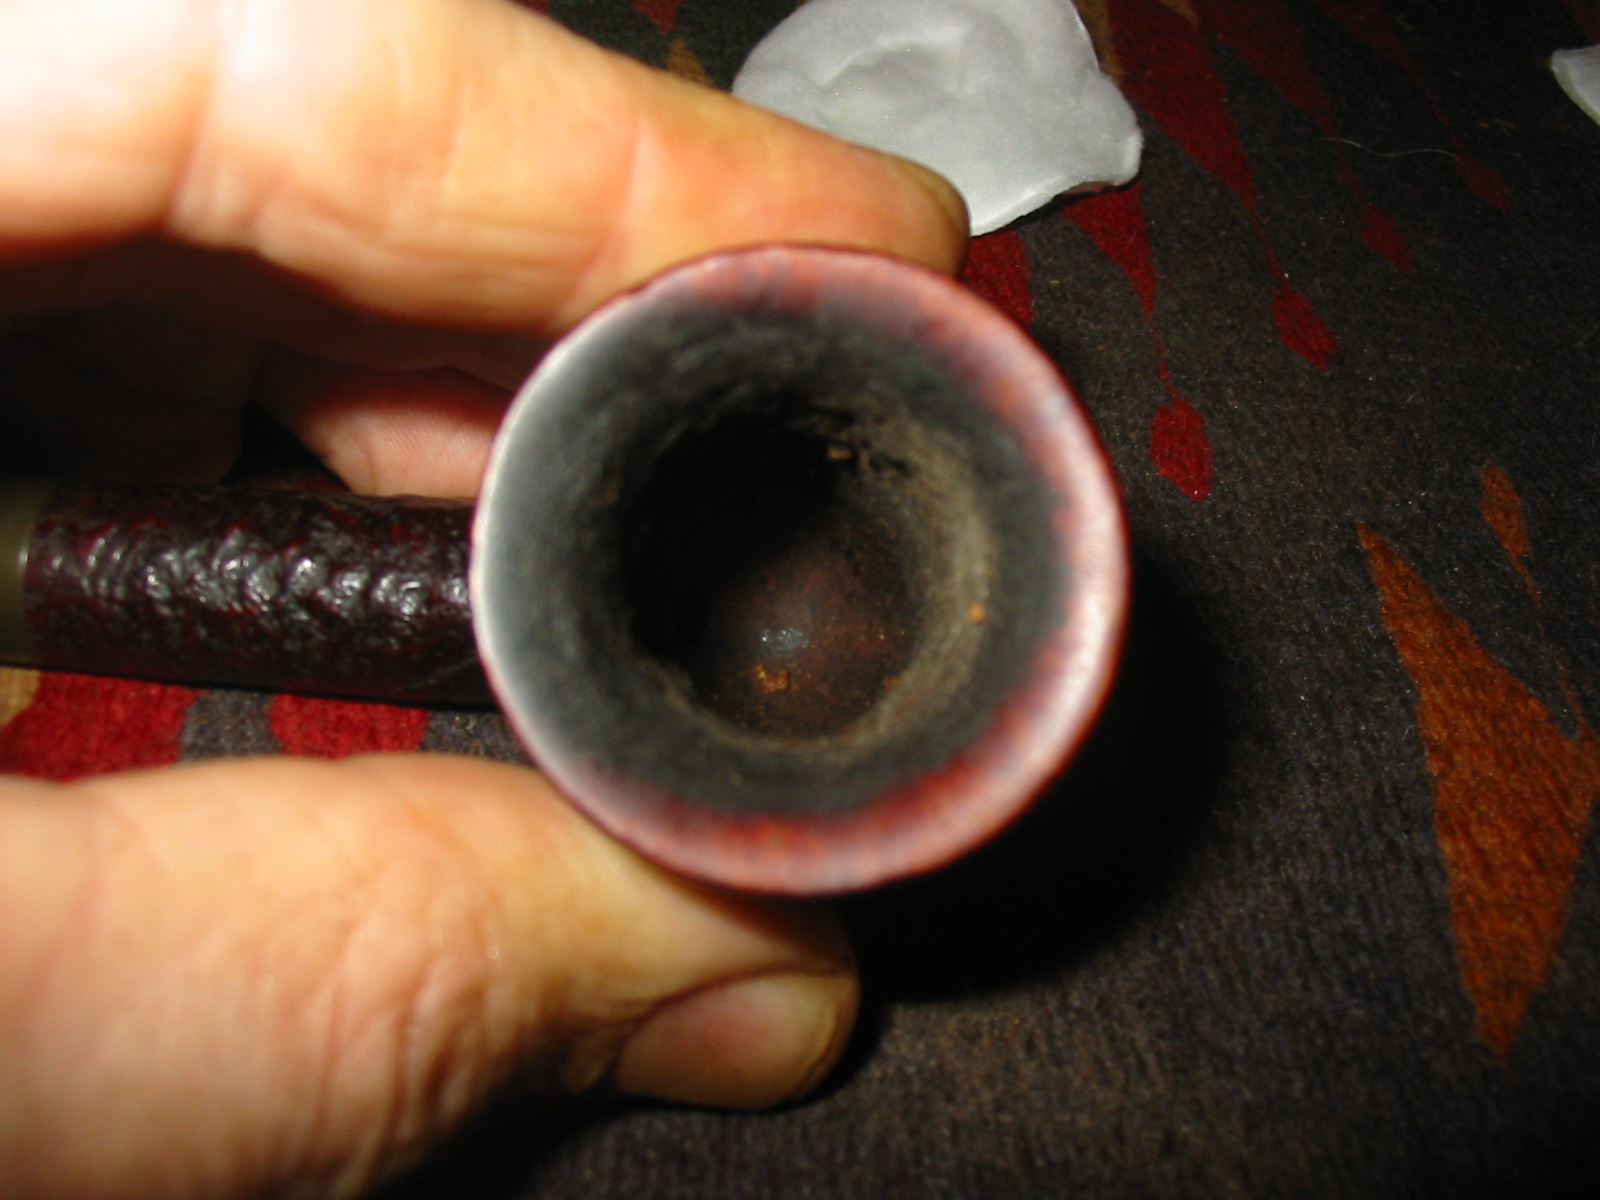
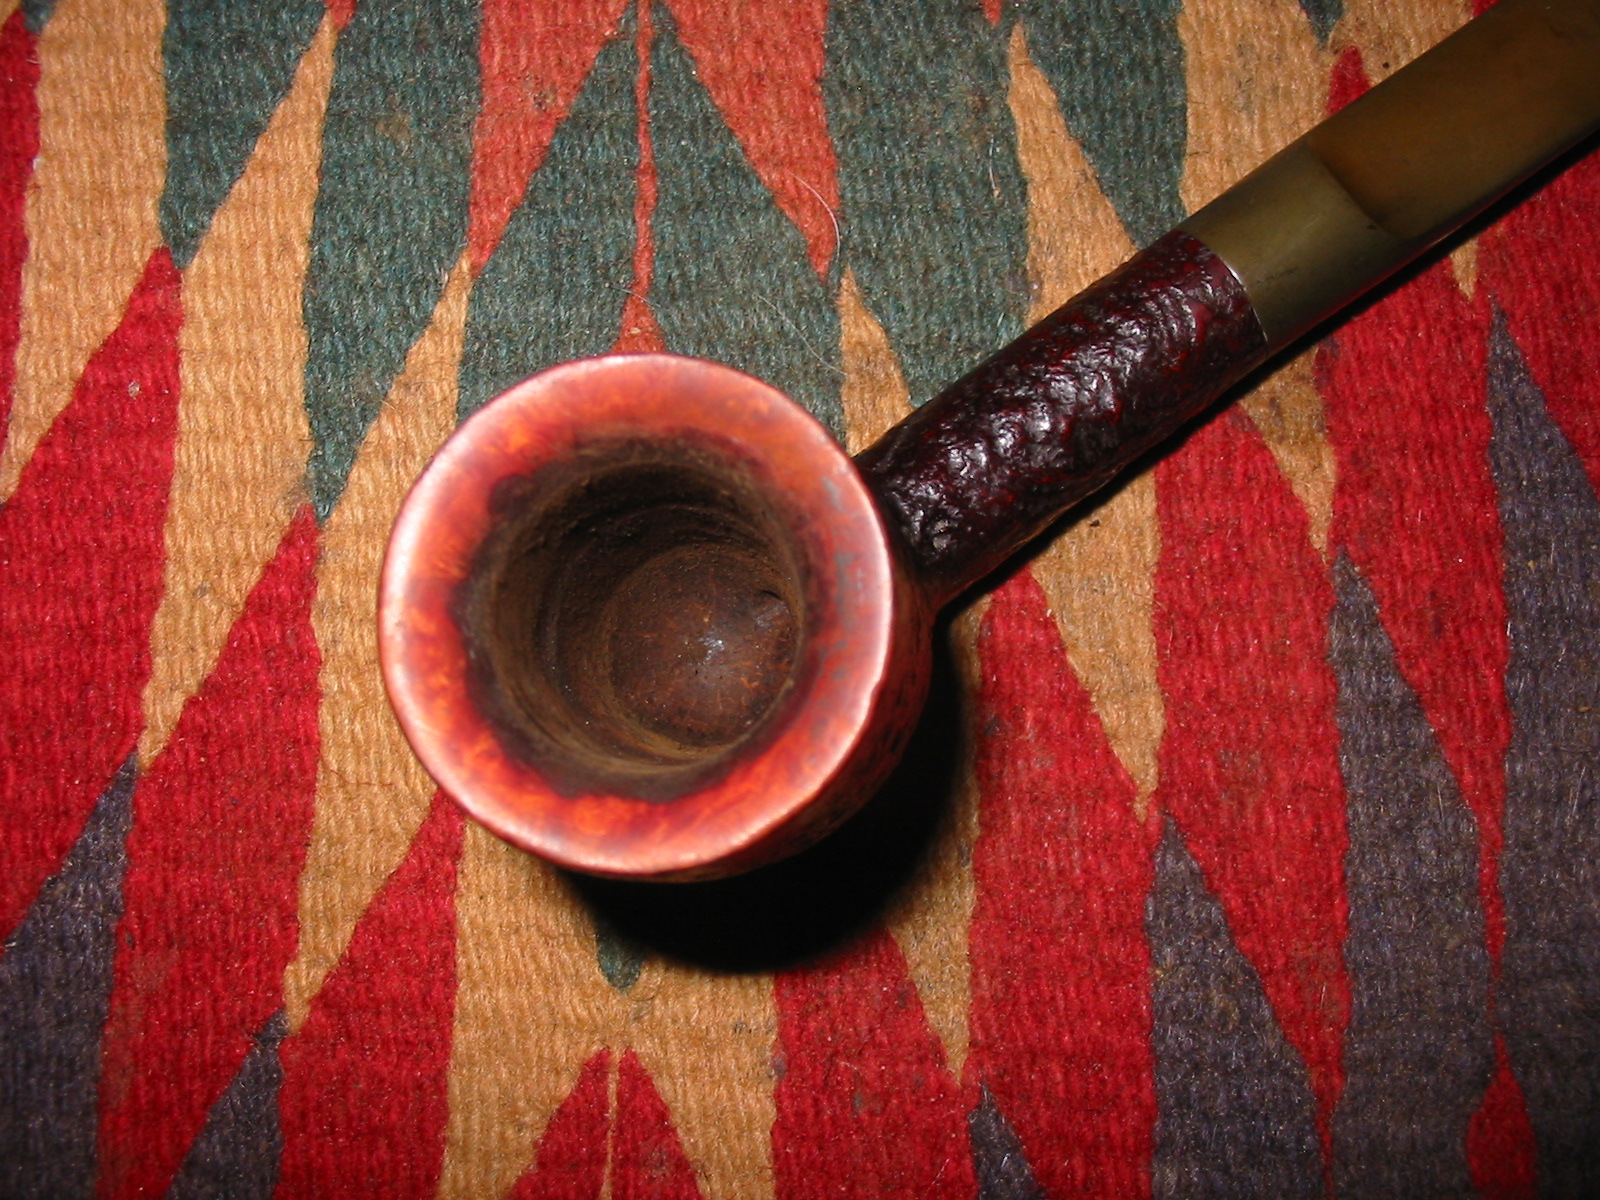
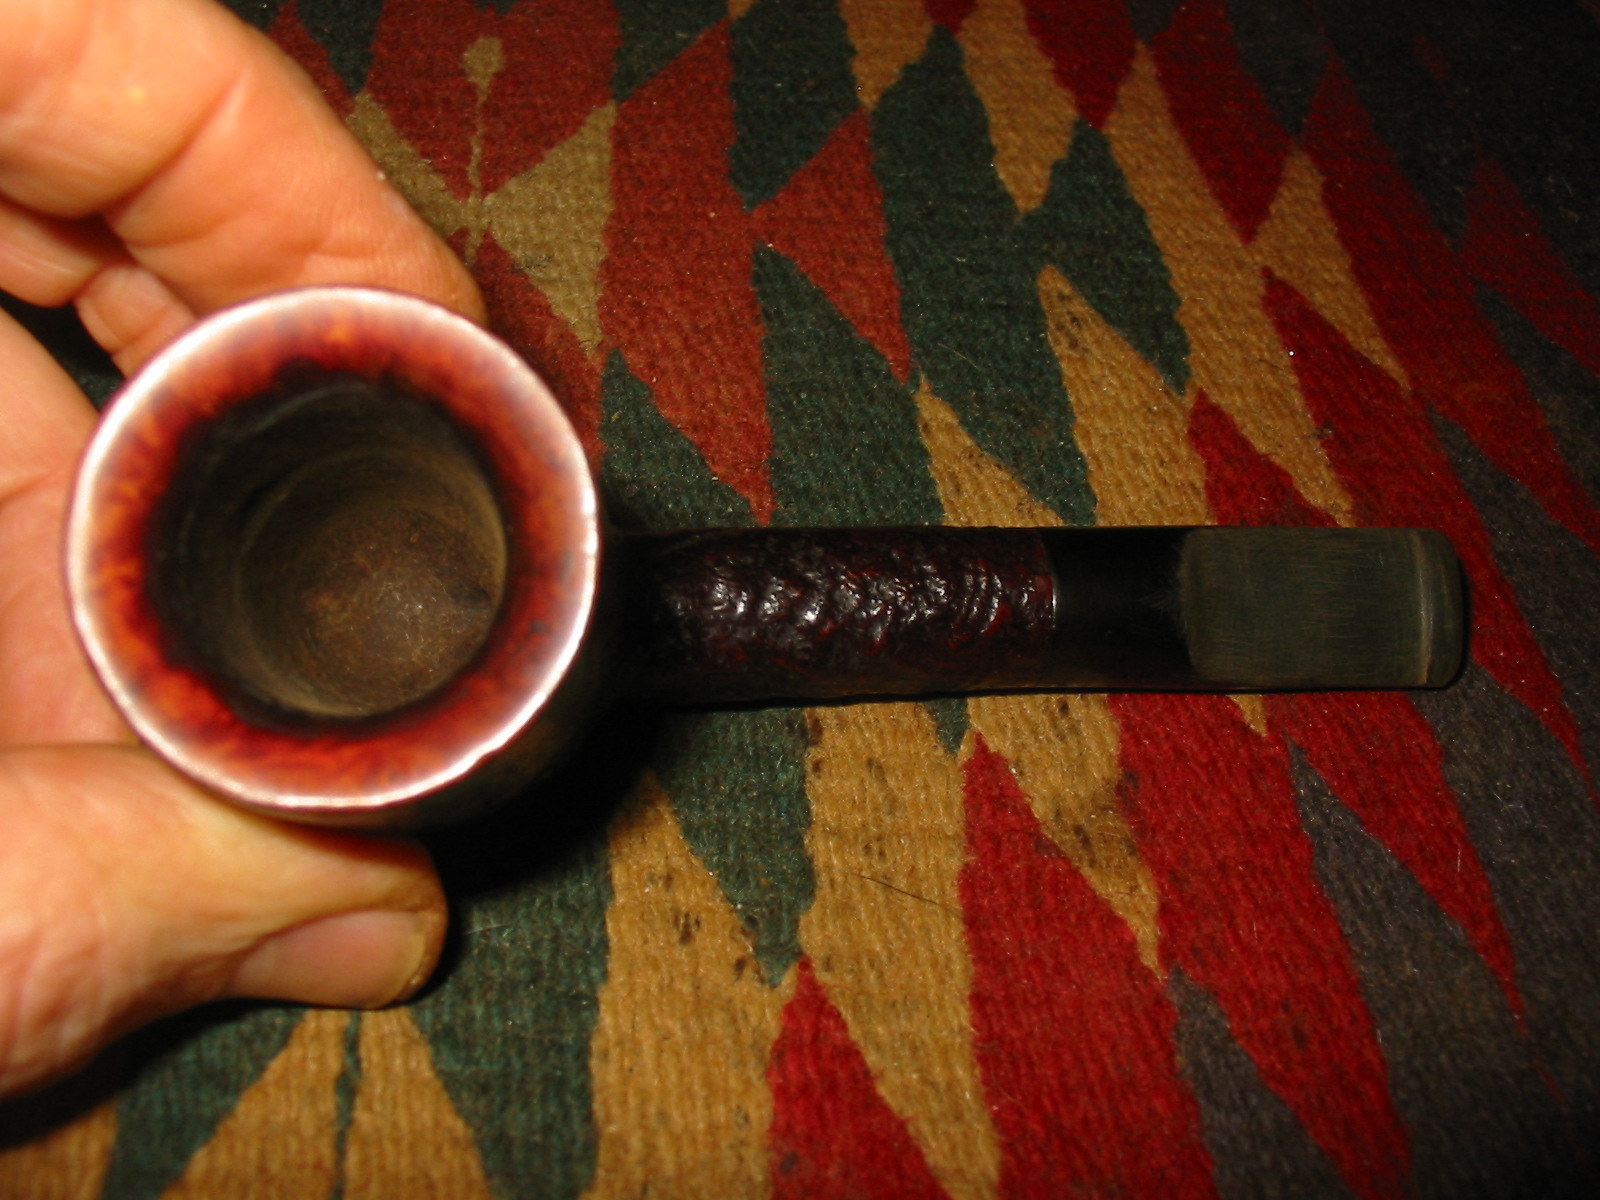
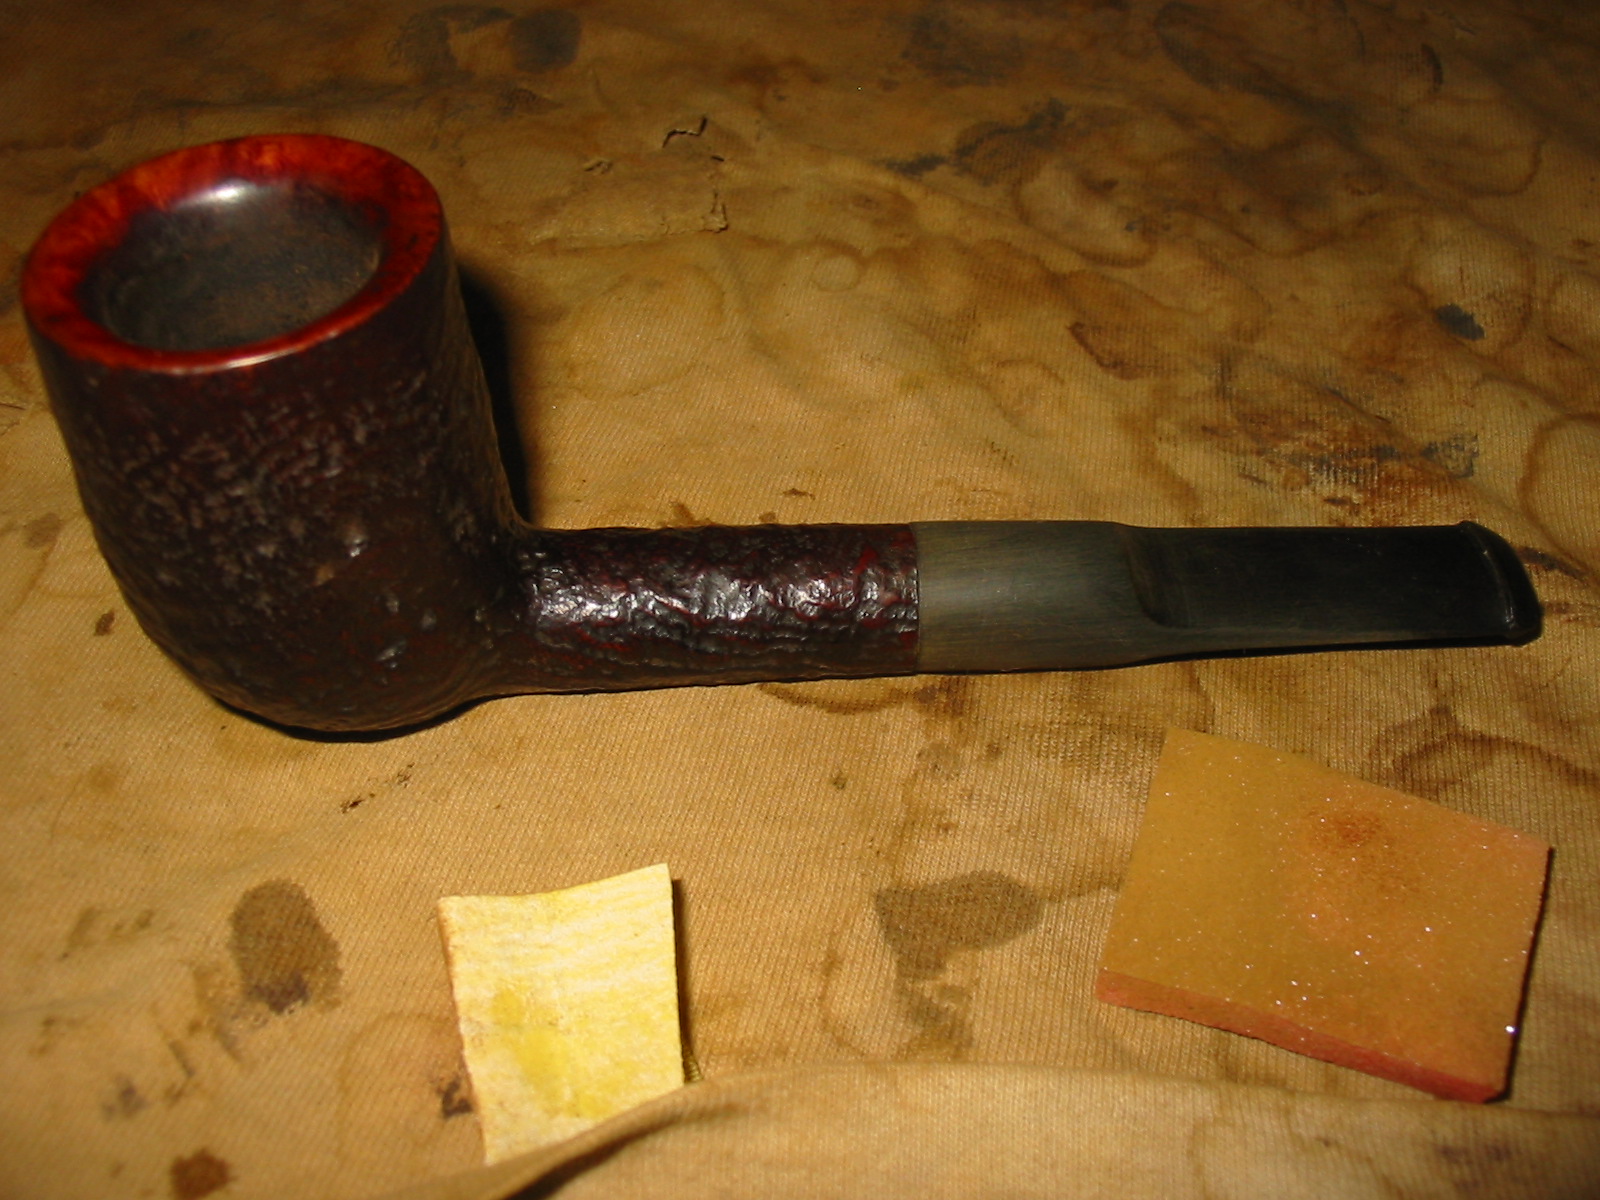
I have included the next photo to show the state of the rim and the bowl before I cleaned it.
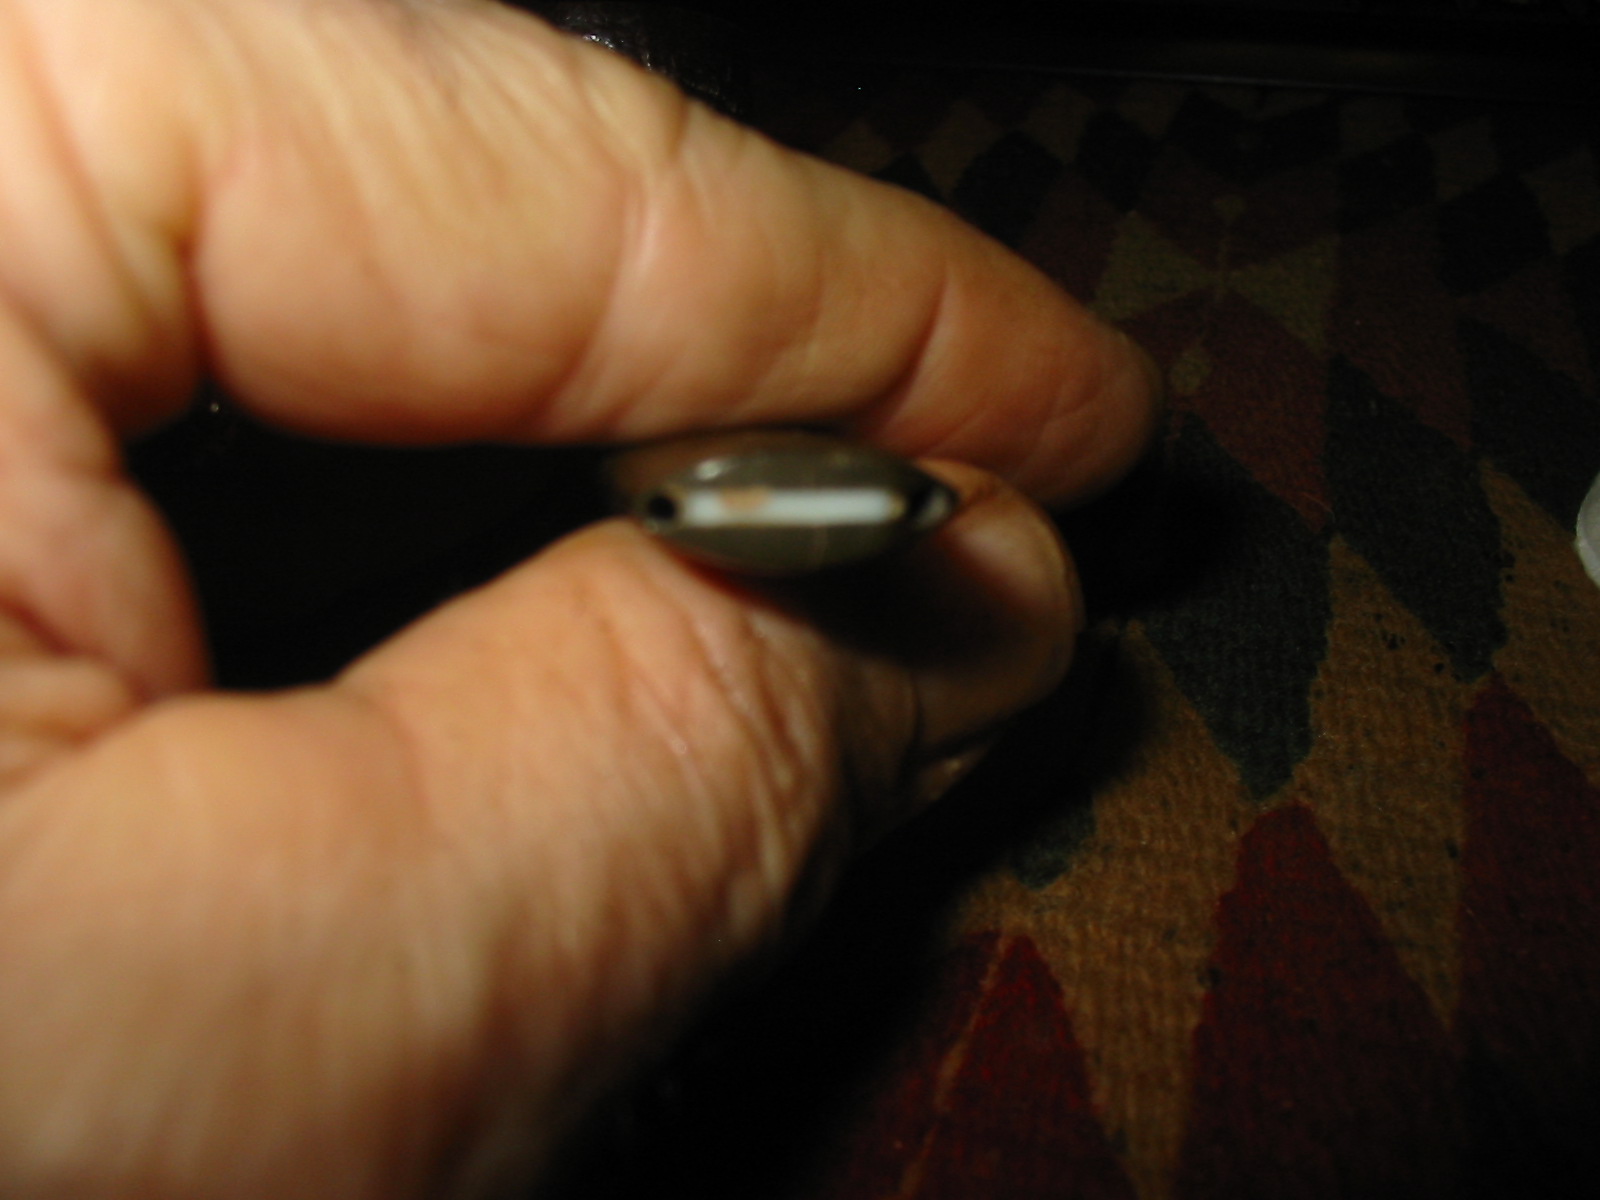
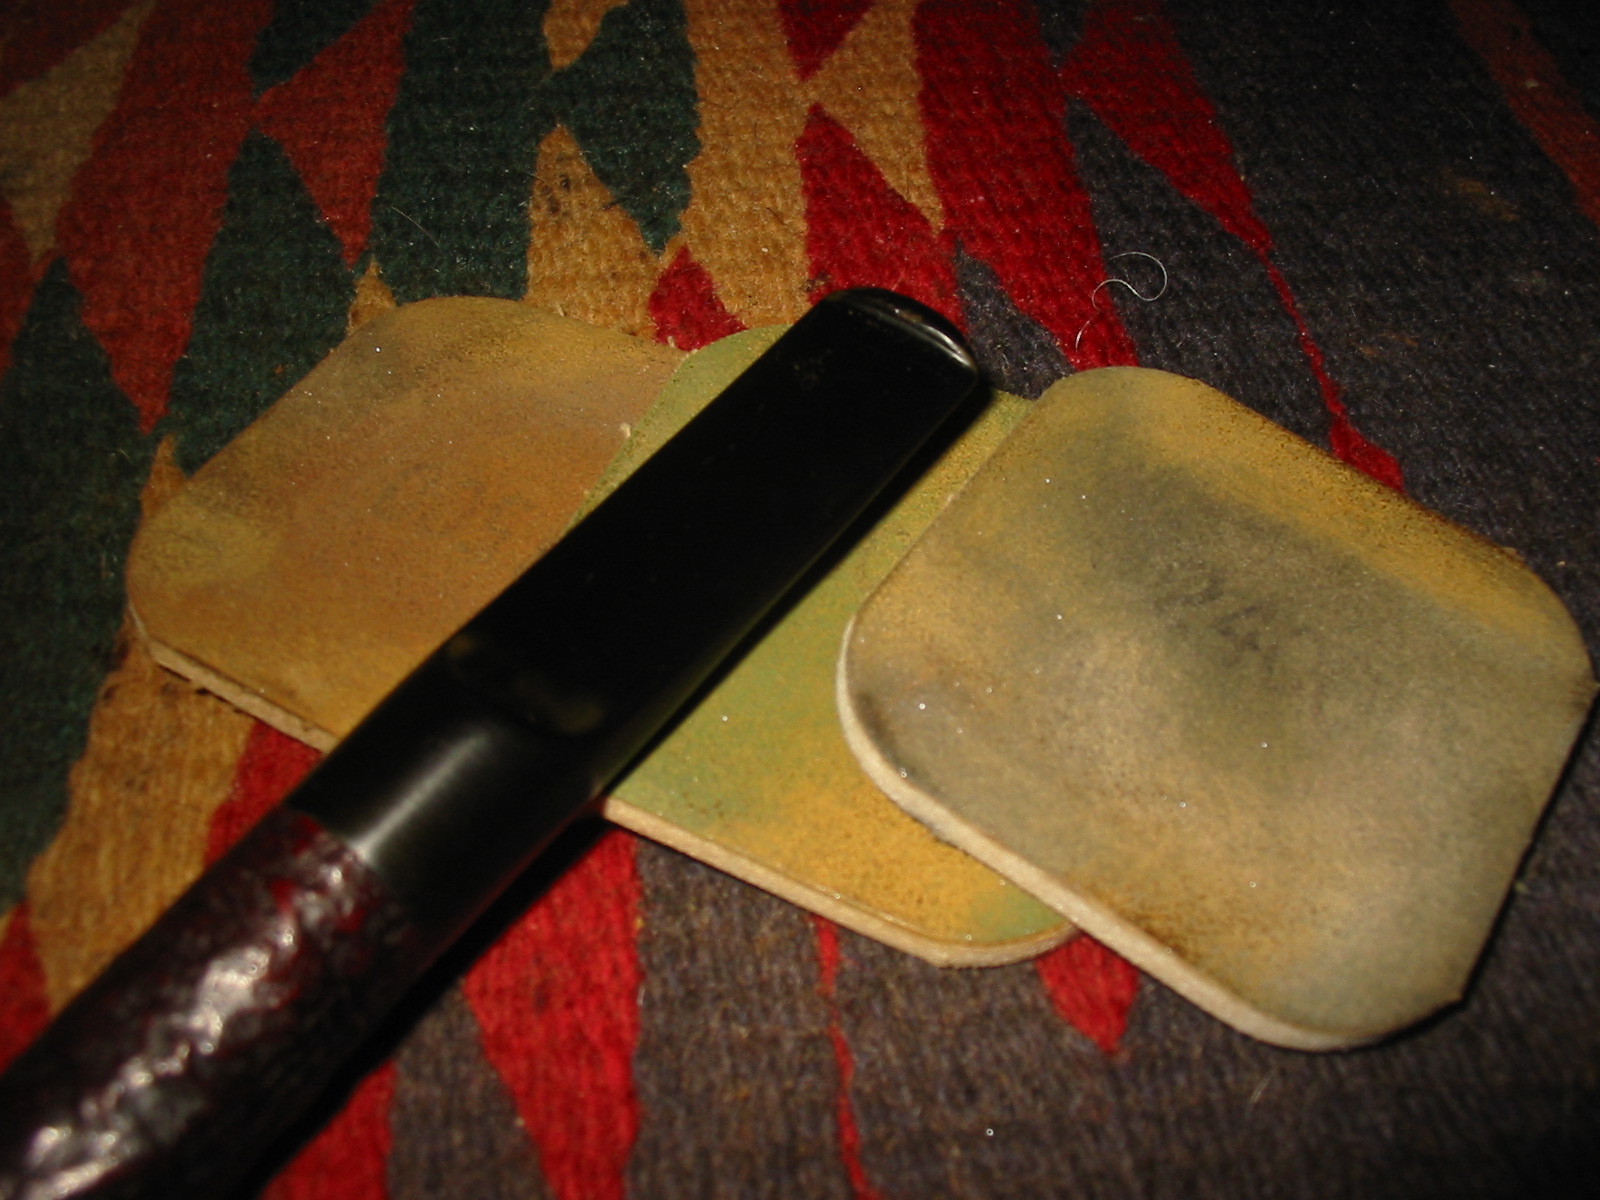
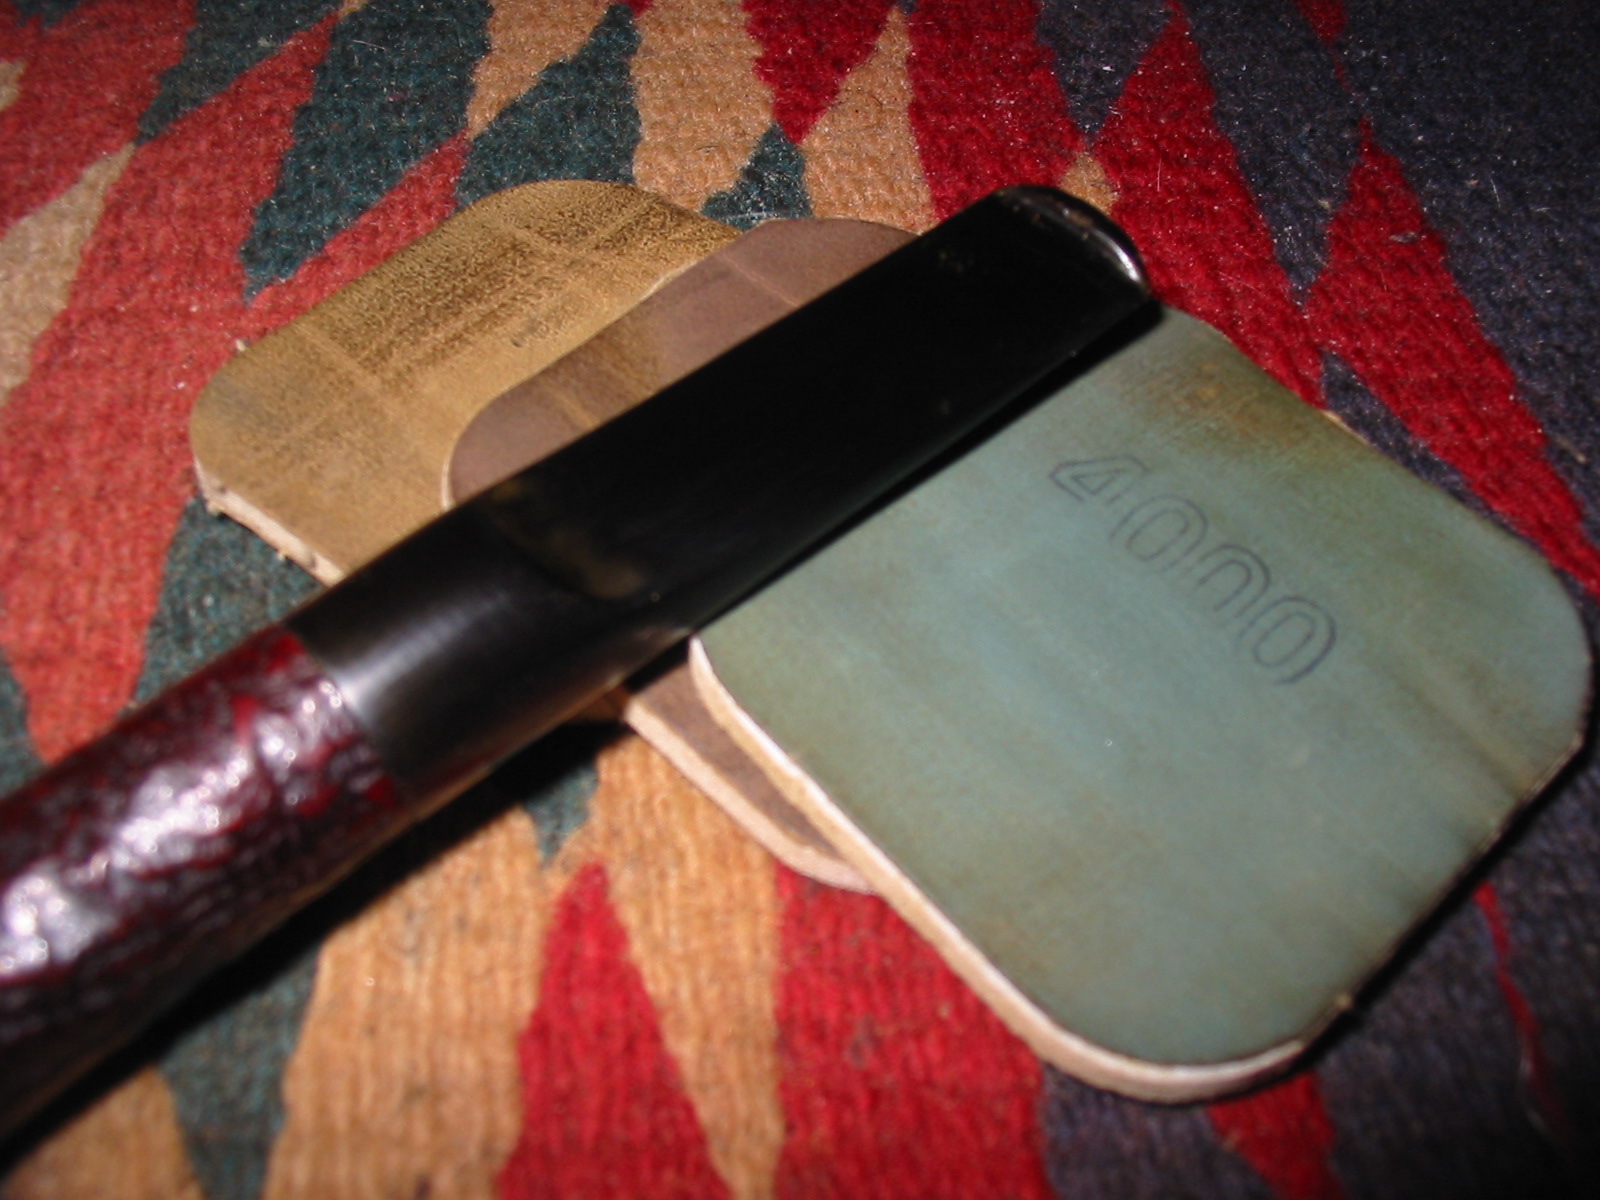
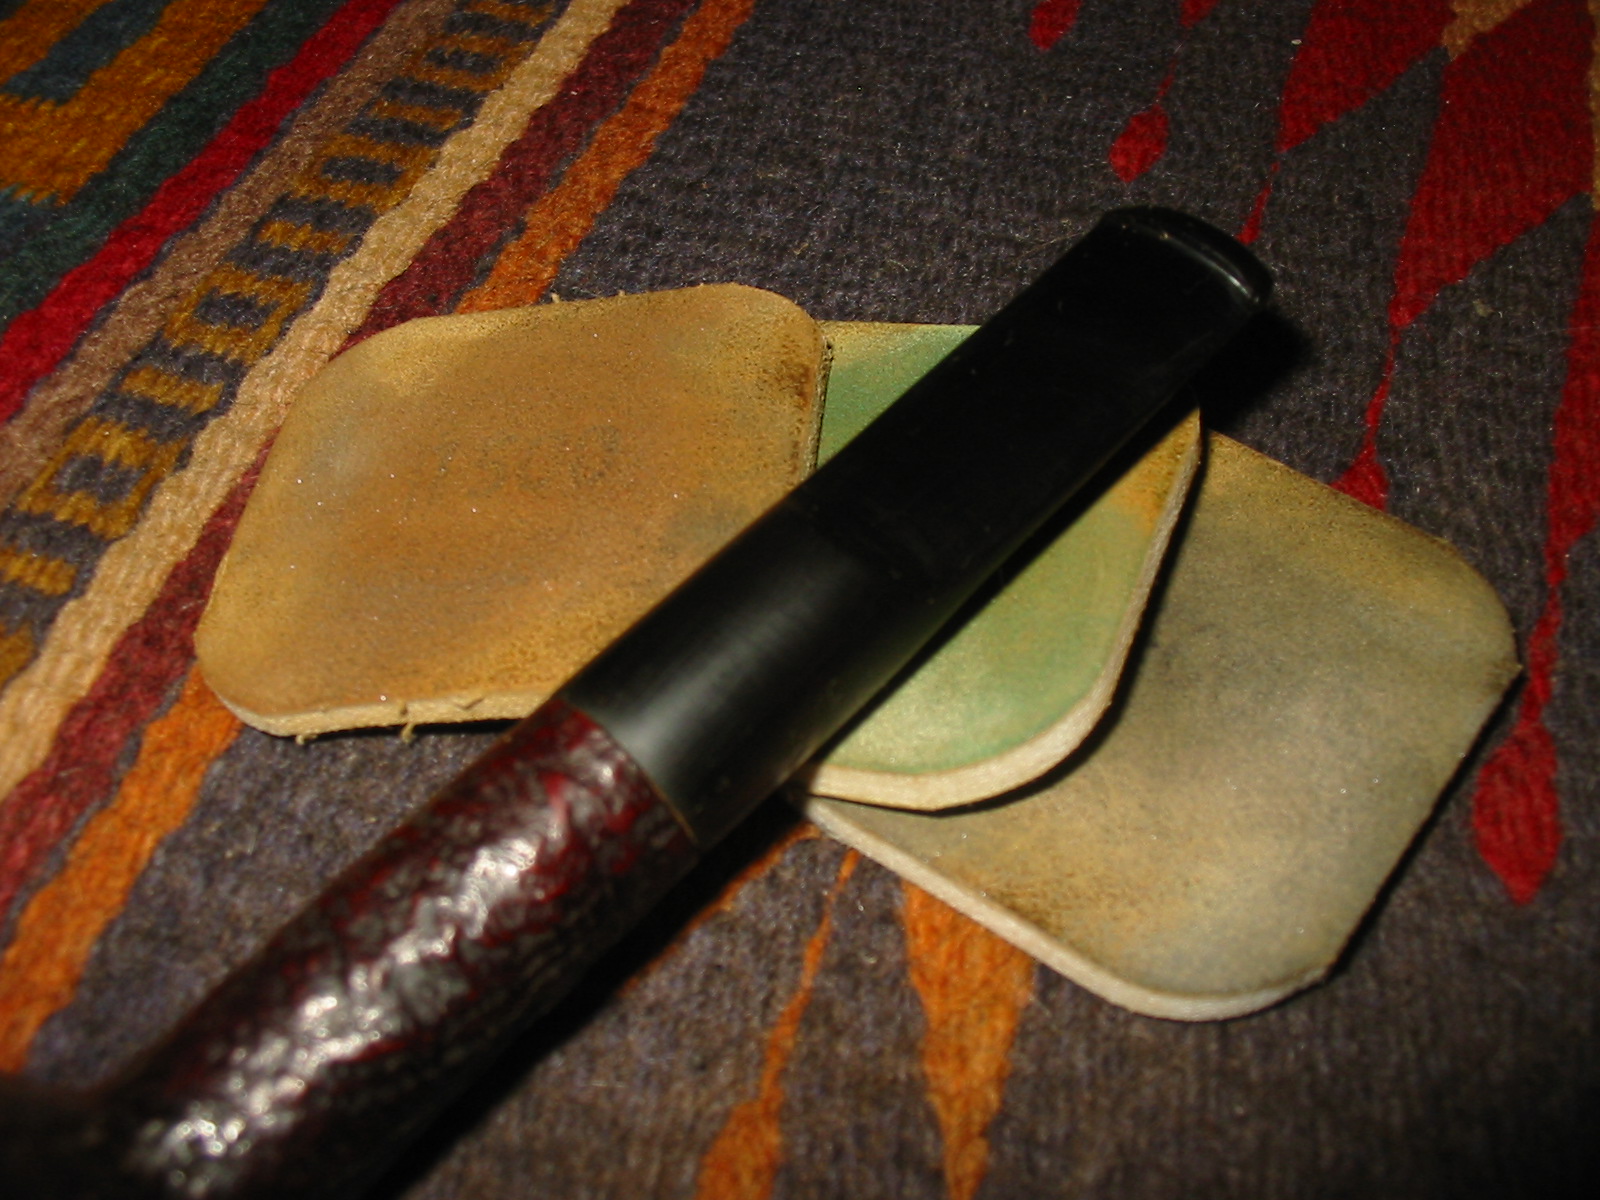
Next is a photo of the bite proof twin bore stem. It is a bit different from others I have seen in that it seems to have a white bar inserted between the two airholes in the button. It give the end view a striped appearance.
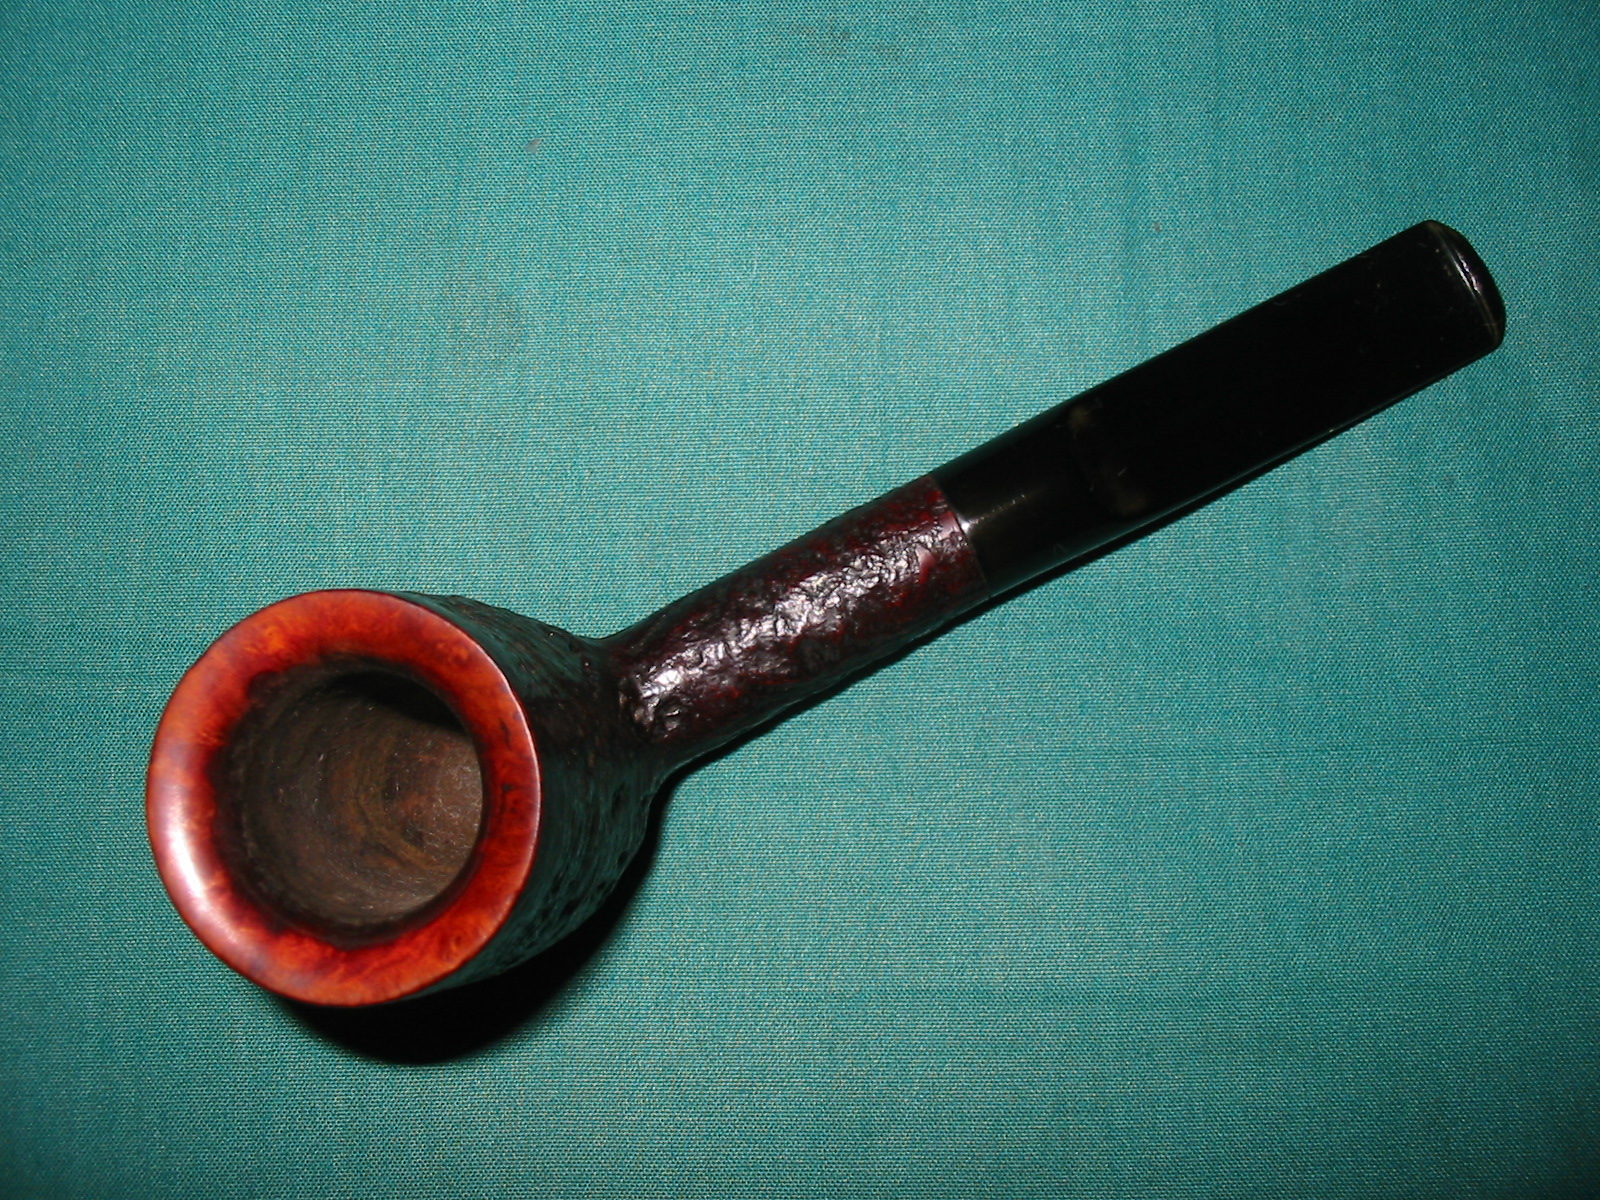
I scrubbed the rim with saliva and cotton pads until it was clean. It took a lot of scrubbing and scraping to remove the tarry buildup but eventually it came off without damaging the finish on the rim. I really like the inward bevel on some of these GBD Prehistoric pipes because of the nice contrast it adds to the dark finish on the blast of the rest of the pipe. Typically the rim and the underside of the shank match in terms of smoothness and colour.

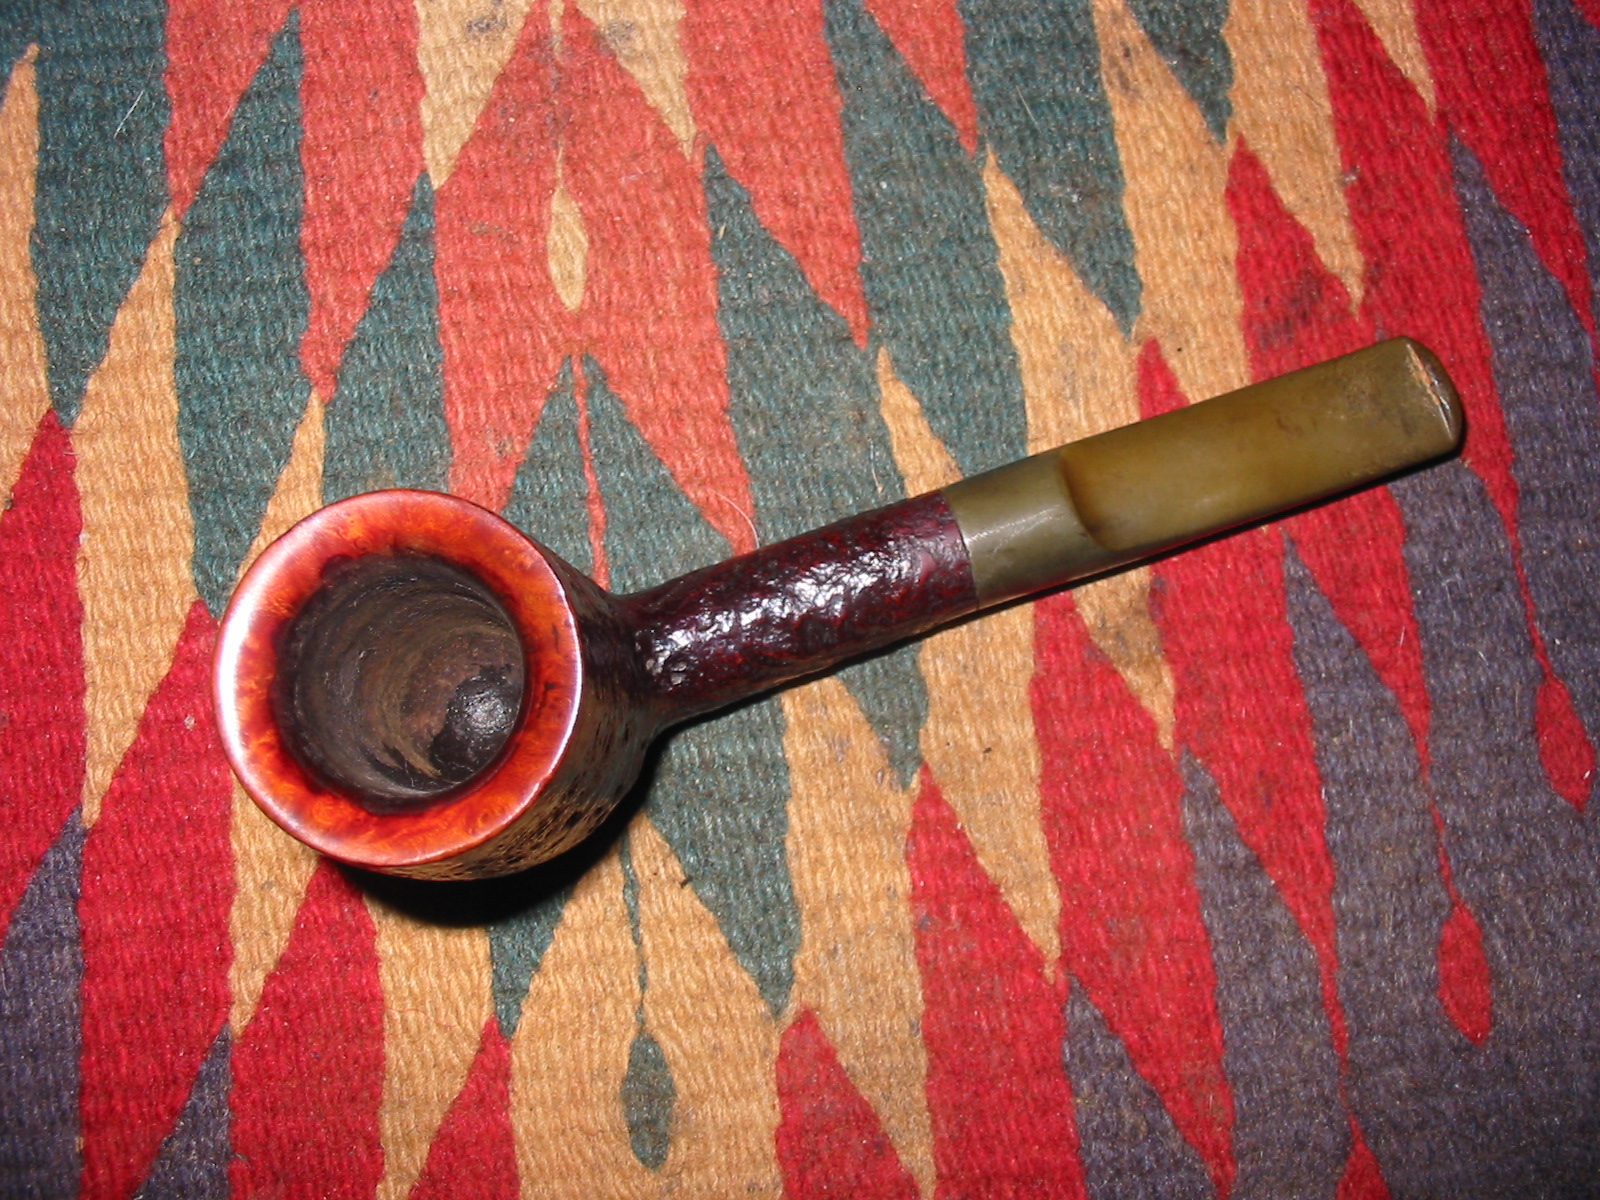
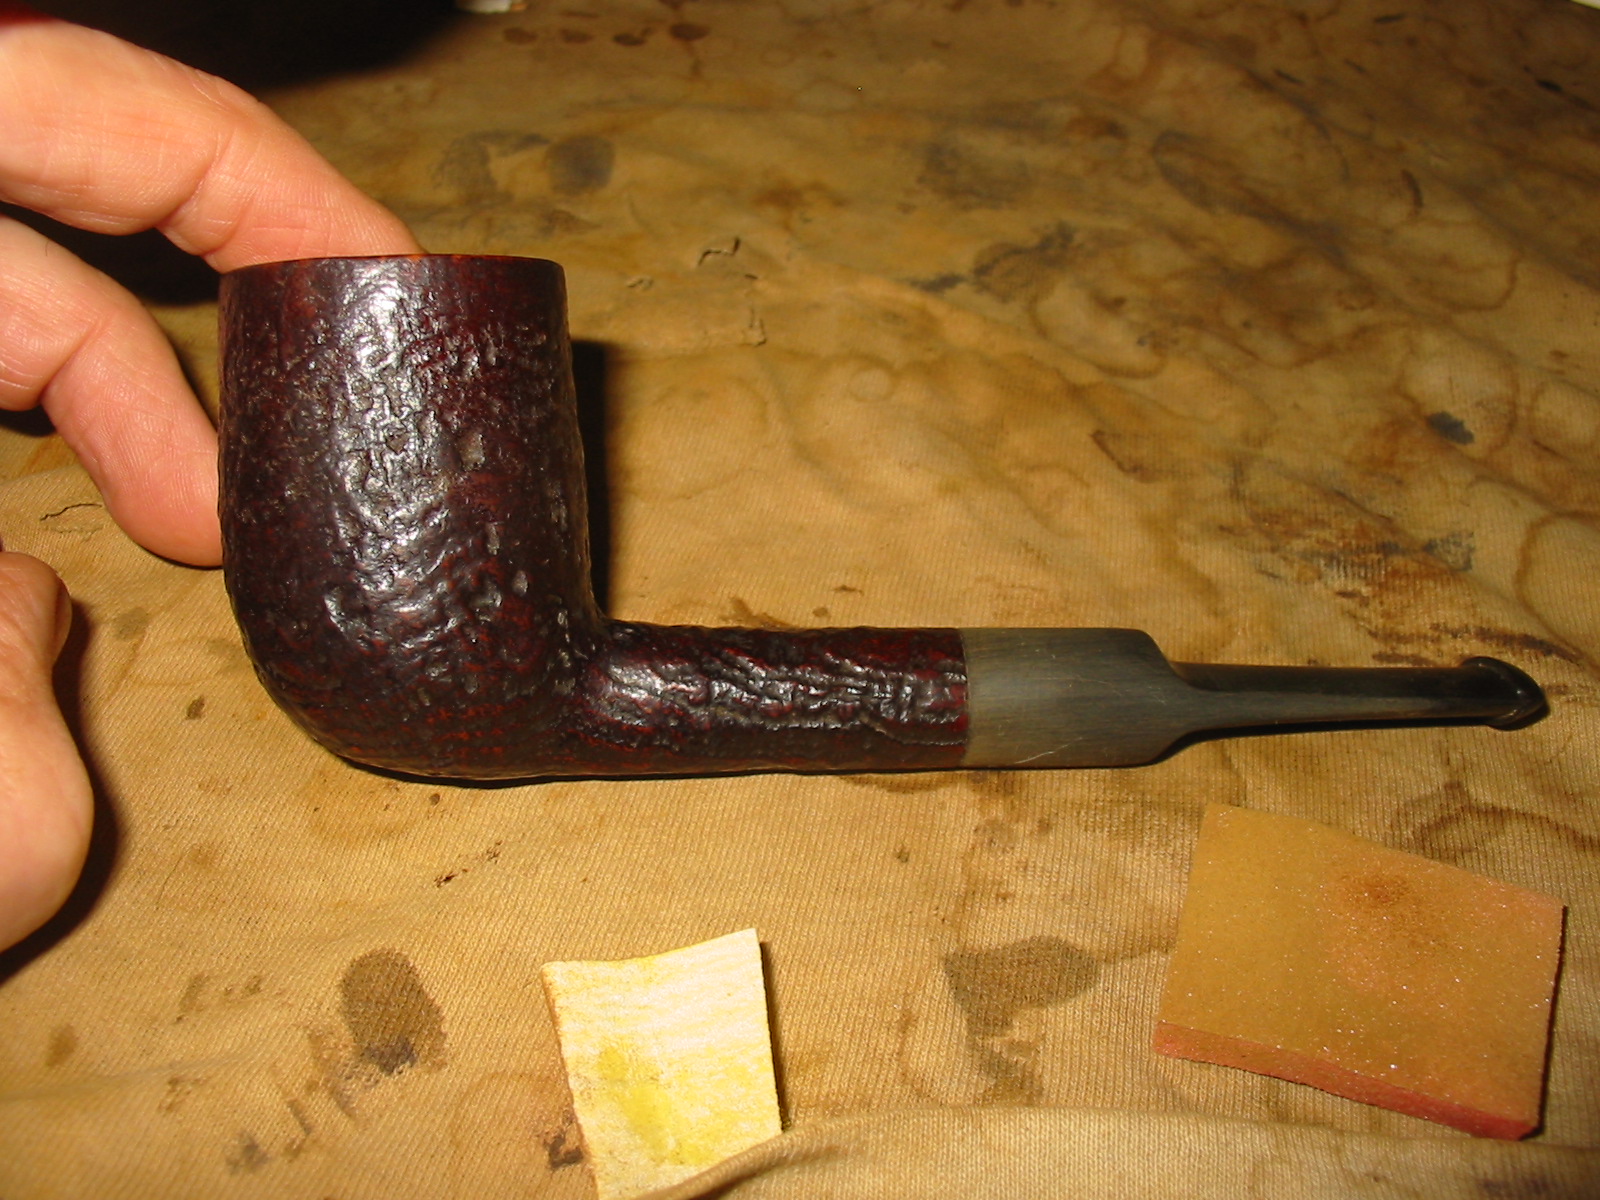
The rim is clean and ready to buff. In the first photo below the rim is shown after the scrubbing. In the second photo it is shown after I took it to the buffer and buffed it with White Diamond.
The stem was oxidized but I found that the oxidation was on the surface and not very deep into the vulcanite. I sanded it with 220 grit sandpaper to remove the oxidation and the tooth chatter on the top and bottom sides of the stem. I then gave it my usual regimen of micromesh sanding pads – wet sanding with 1500-2400 grit pads and dry sanding with 3200-12,000 grit pads. It did not take too long before the stem shone. Once I had finished with the pads I gave it a coat of Obsidian Oil and rubbed it into the stem.
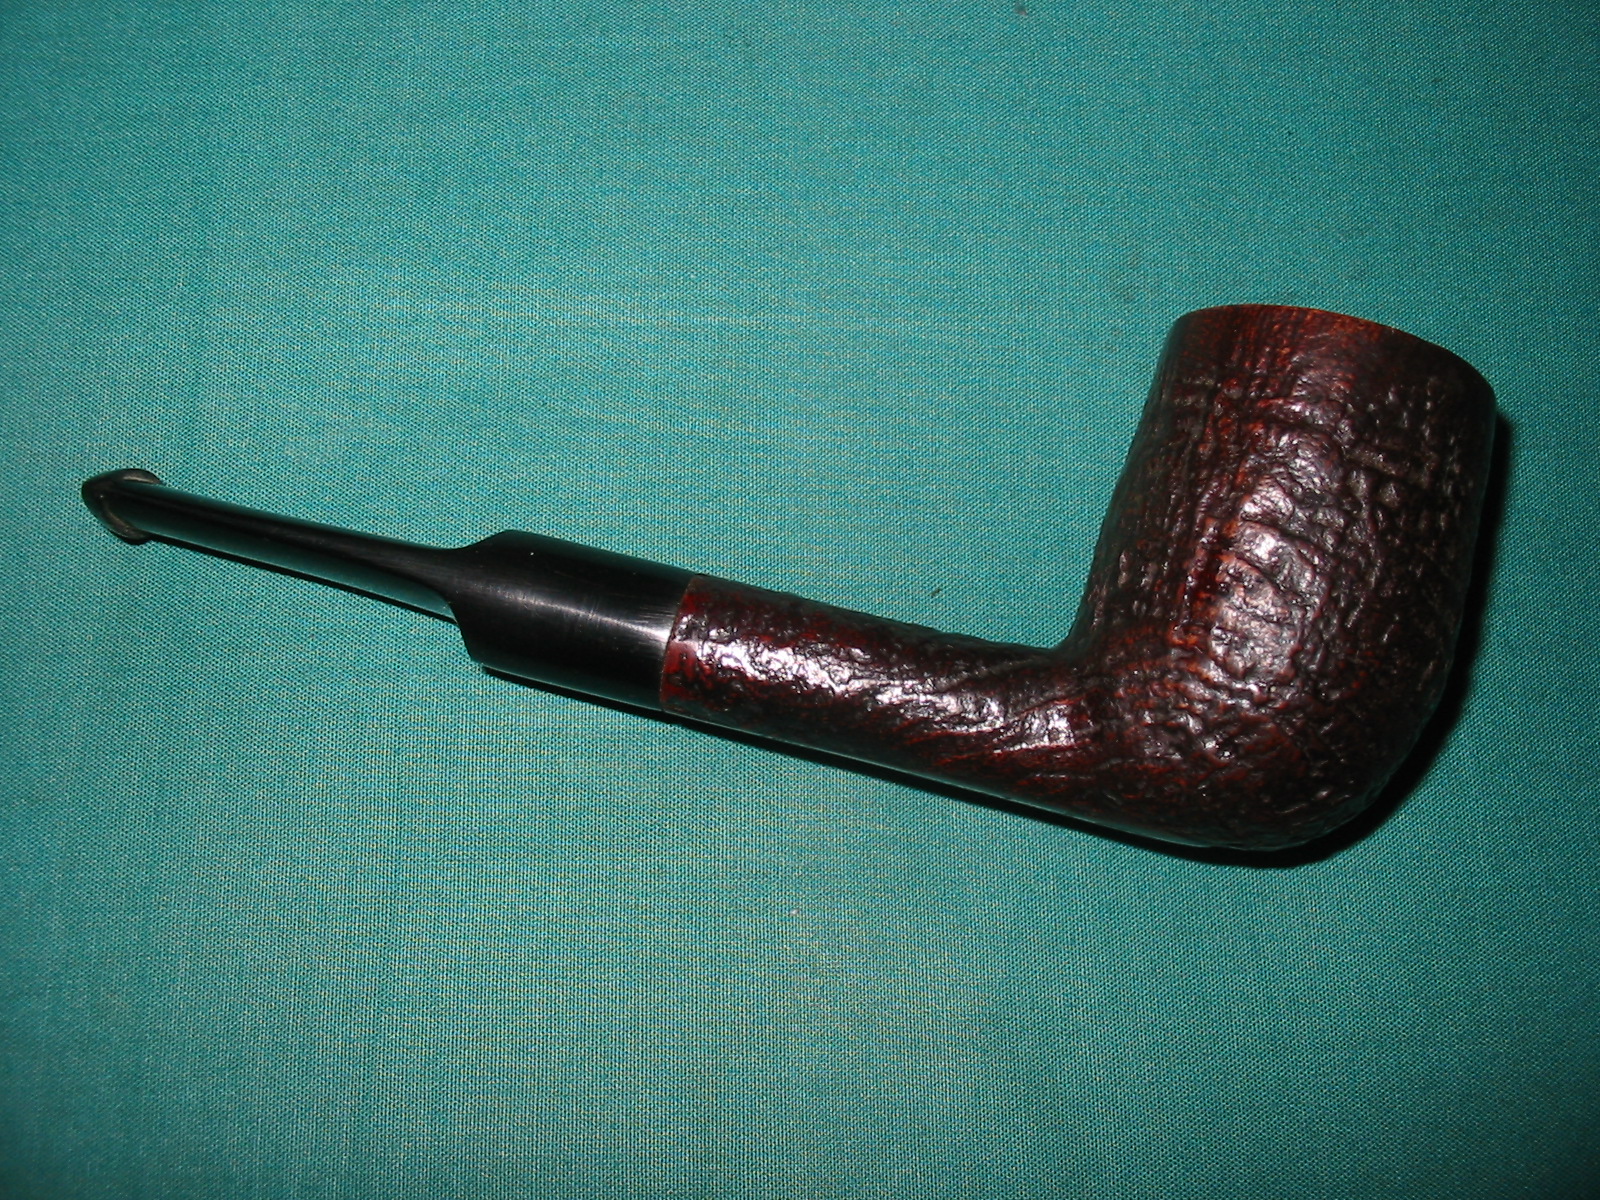
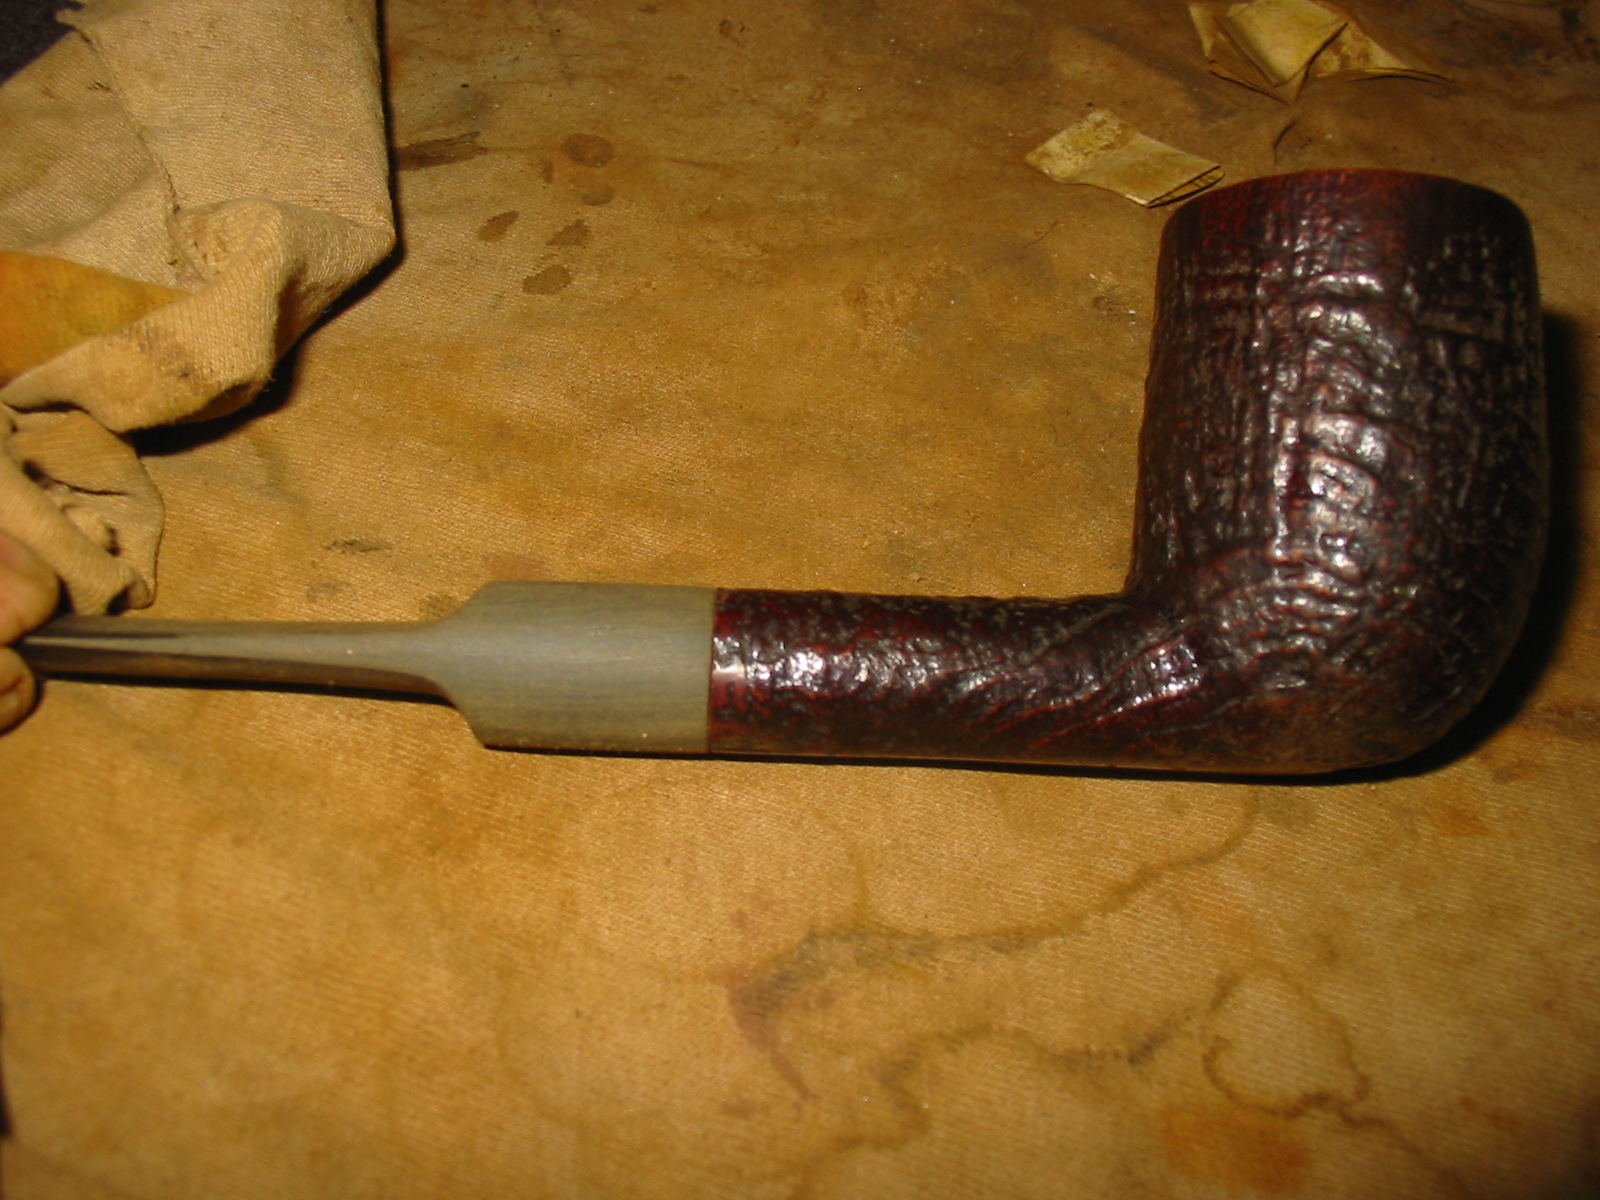
I scrubbed the bowl down with a soft bristle tooth brush and Murphy’s Oil soap and then rinsed it with warm water. I dried it and gave the bowl a coat of Halcyon II wax as I find it works well on these sandblast finishes. I took the pipe to the buffer and buffed the stem with White Diamond once again and gave it multiple coats of carnauba wax. I buffed the bowl and stem with a soft, flannel buff to give it a shine. The finished pipe is pictured below. It was finished by I still was not happy with the stem and the look of the pipe. It just was not quite right. A true GBD stem for a Lovat would be nice but I am going to try a couple of other tricks while I am waiting to find one. I set the pipe aside over night to think it through.
Anyone have an extra GBD stem kicking around? Do you want to sell or trade it? Drop me a note.

This morning when I got up I thought about using a Lovat stem on the pipe and looked through my can of stems for one. While doing that it occurred to me that rather than turn a tenon and refit a stem to the shank that I could just as easily cut back the existing stem – it already fit the shank. The majority of the cleanup work has been done and I could rid myself of the bite proof twin bore stem. I know from past experience that the twin bore is like a Y and when cut back it will end in a single airway in the shortened stem. I can then open that into a slot and cut a new button and I will be in business. I decided to take that tact.
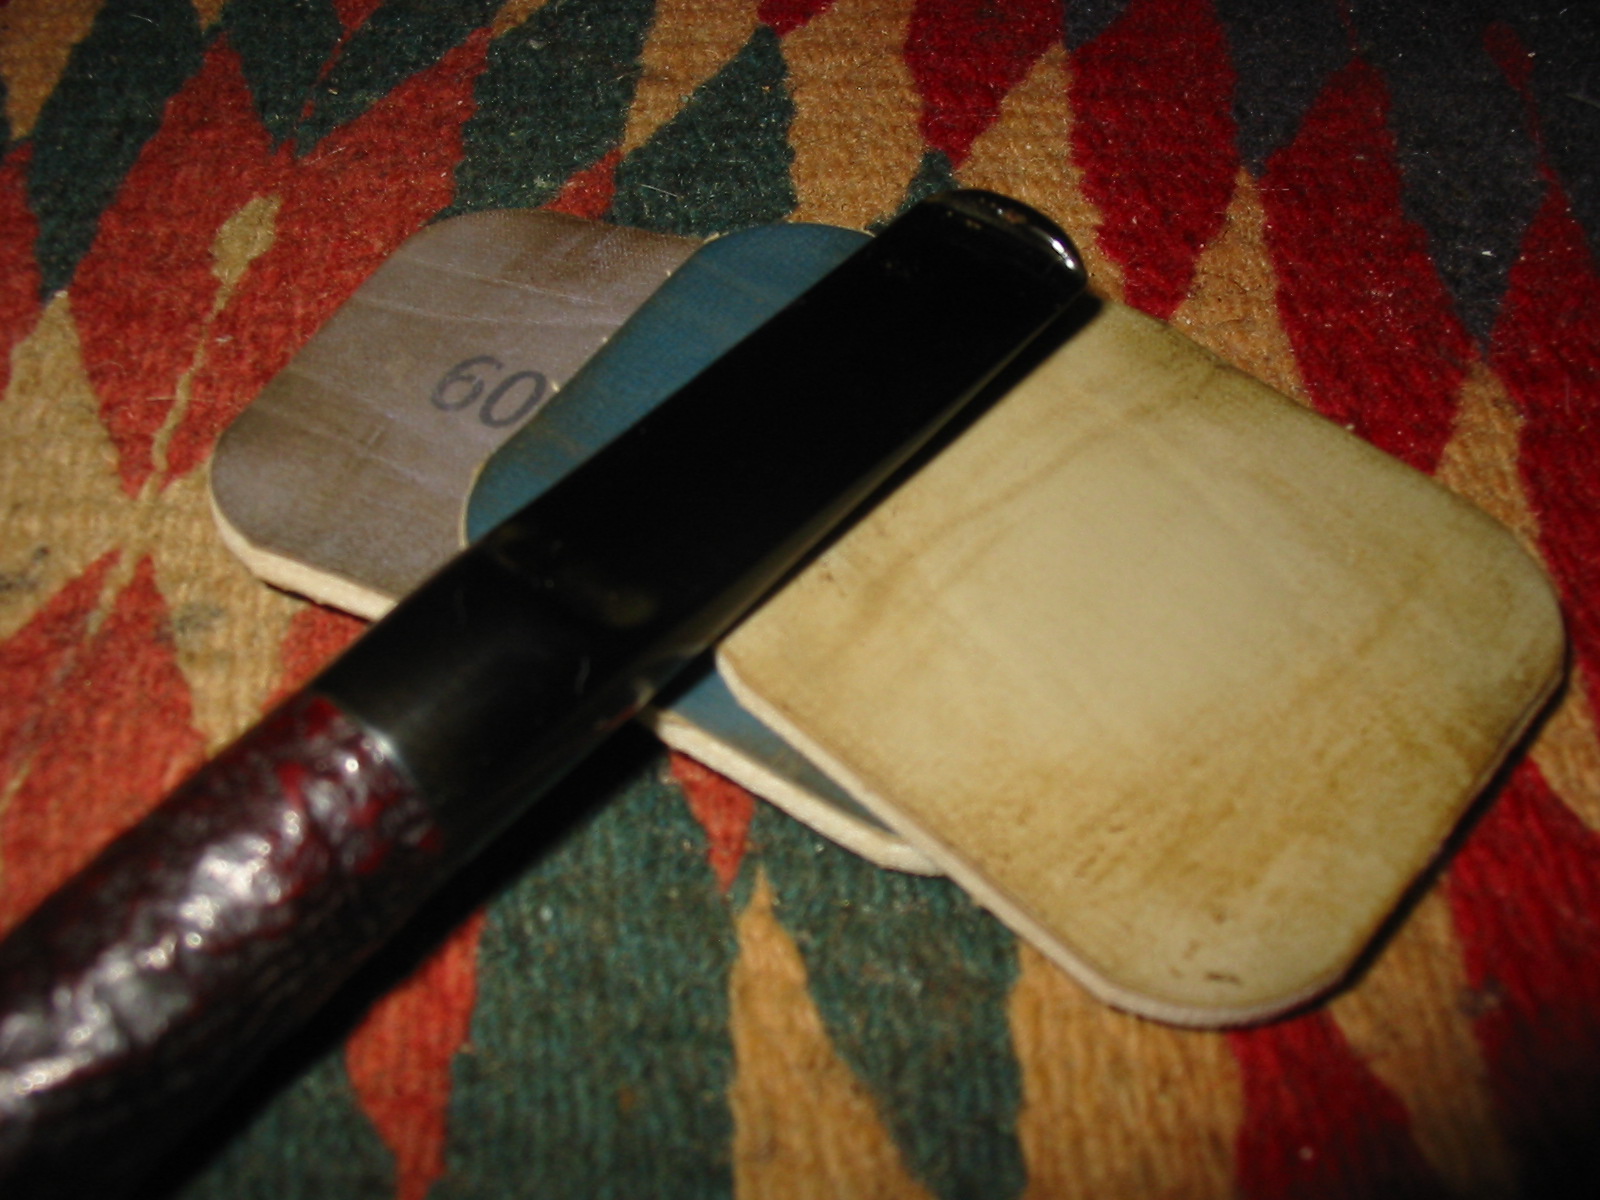
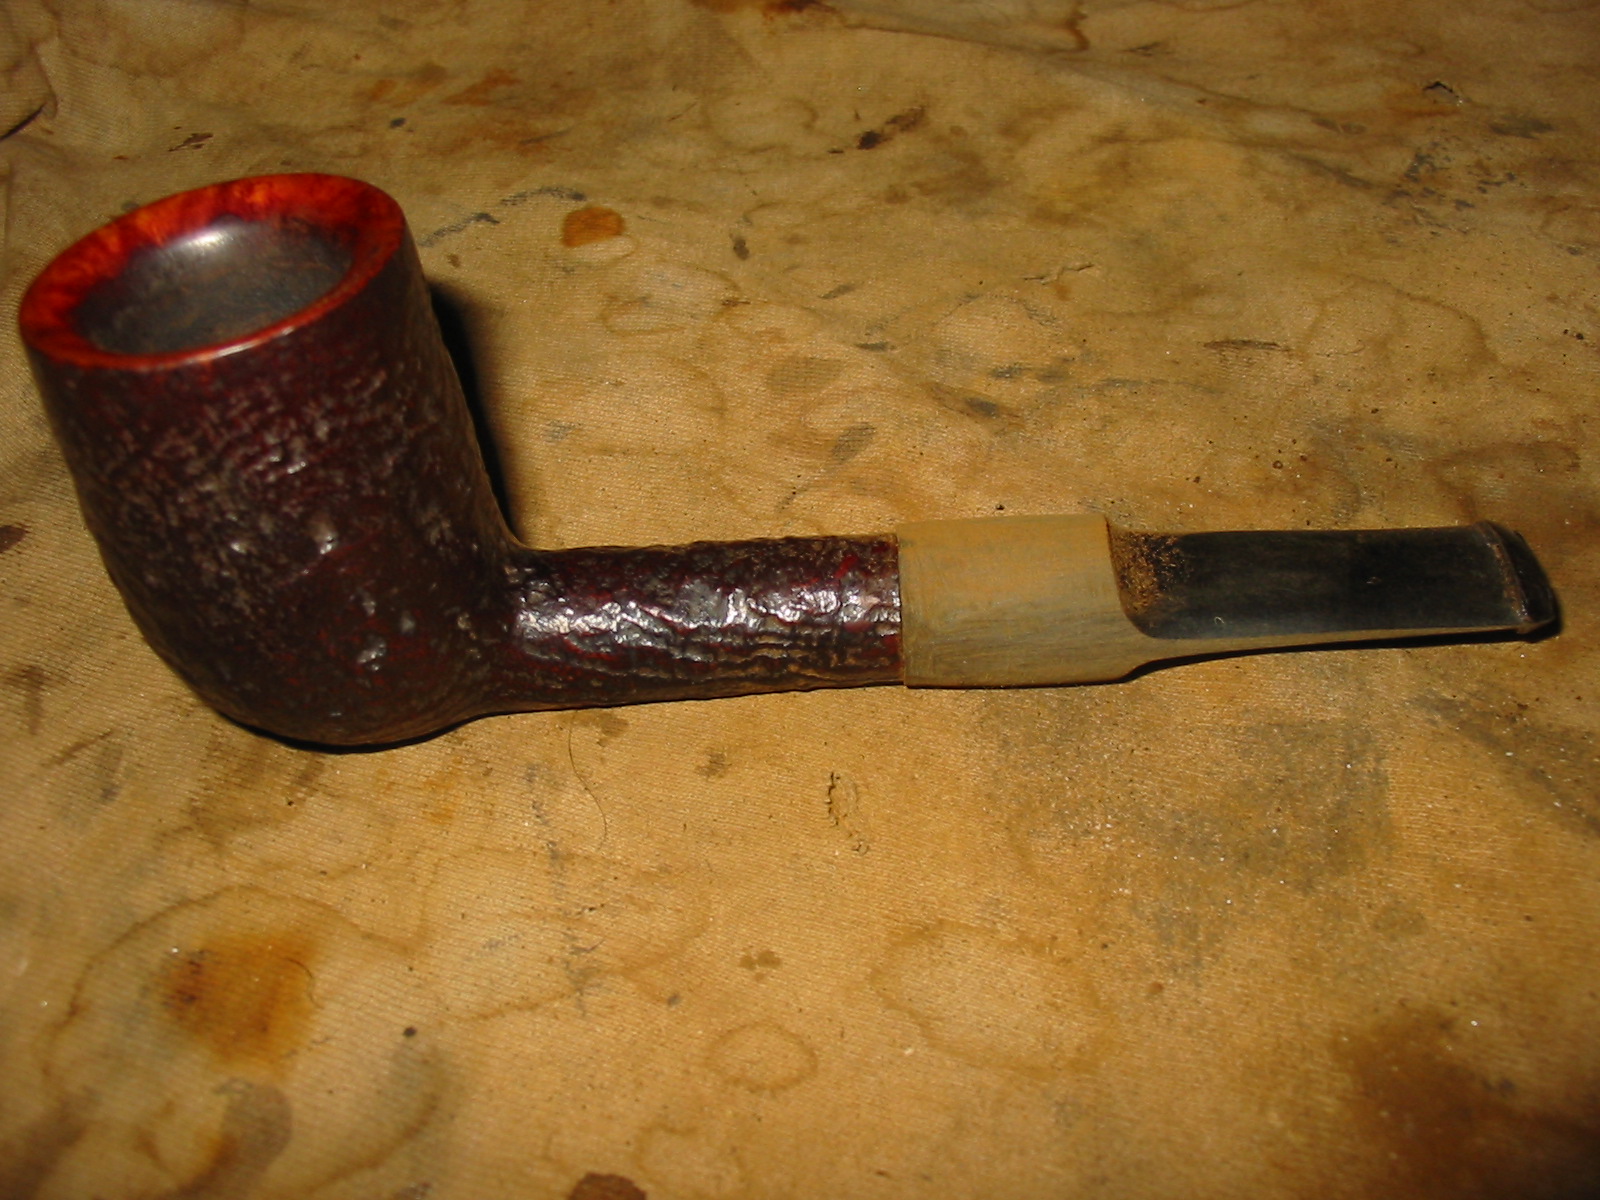
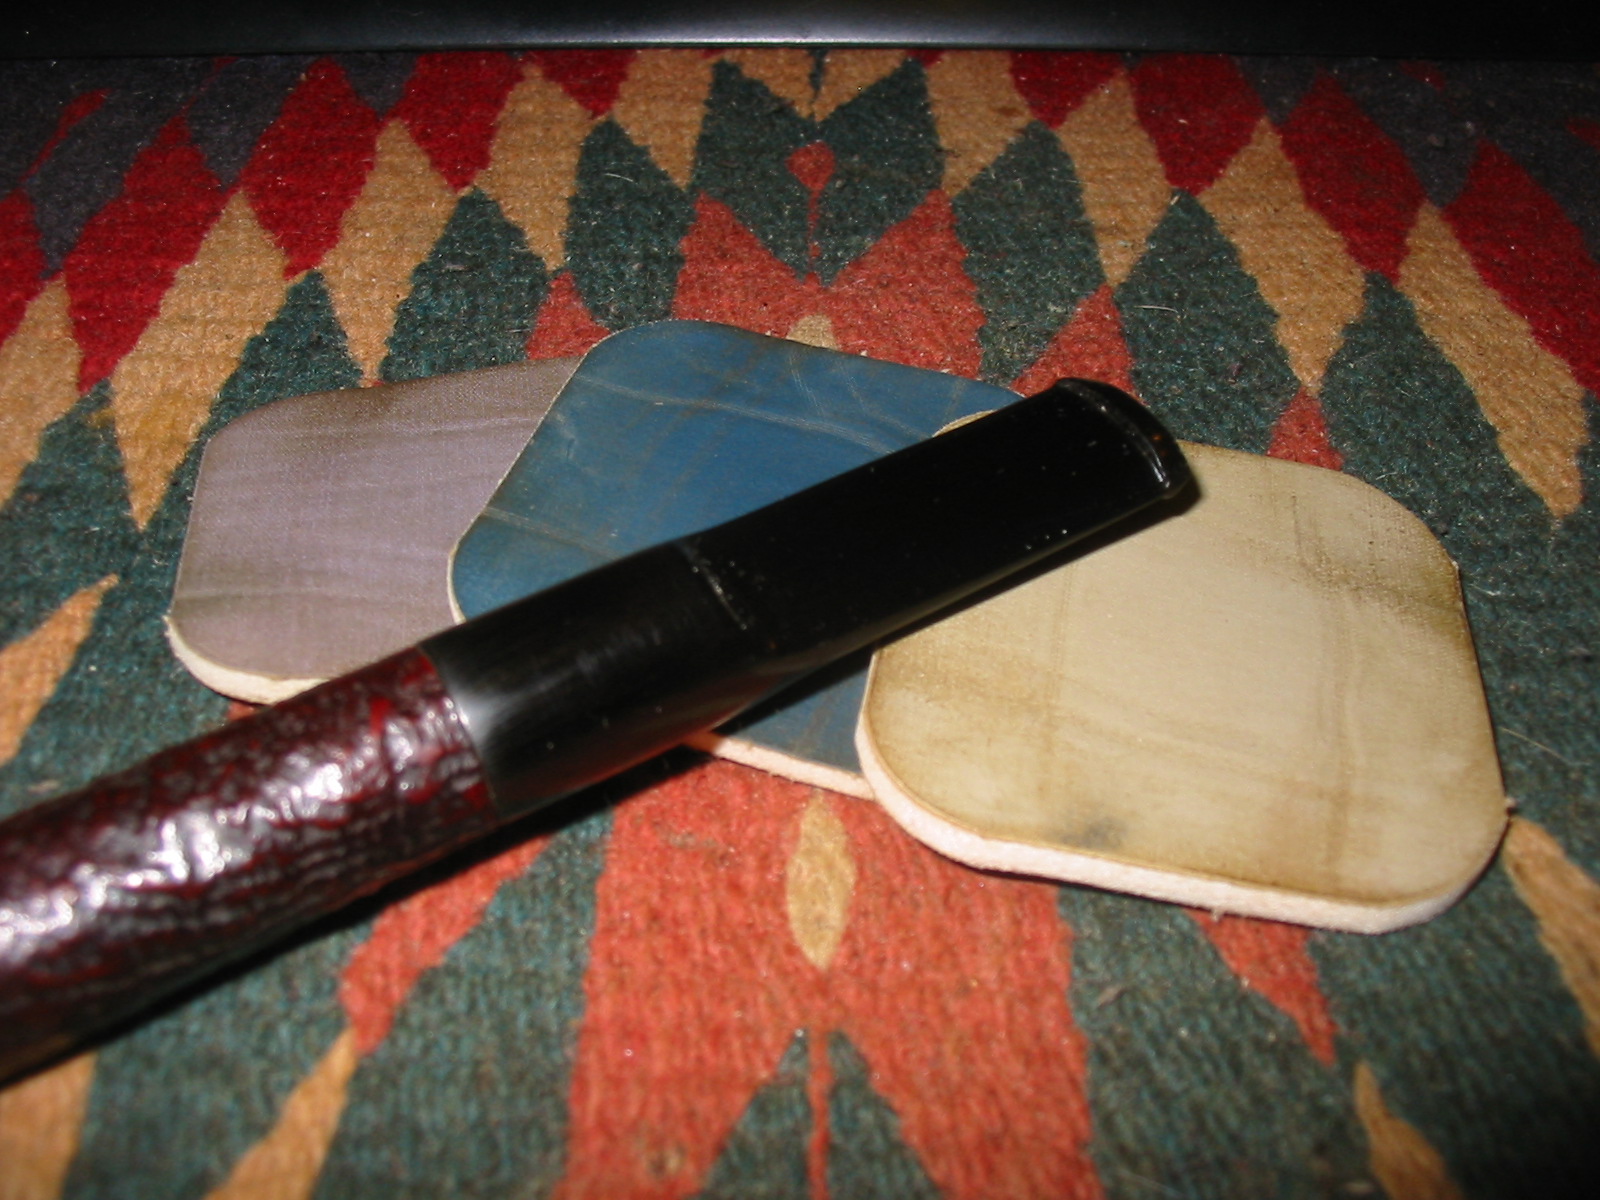
I trimmed the stem back until the two airways merged. I had to significantly shorten the stem to get to that point. I cut a new button and inserted it in the shank… problem – the stem was now too short for the look of the bowl. So… I have to cut a new stem for it. I have included a couple of photos of the short stem I cut so that you can see what I mean about the length being wrong.
With the stem being too short I started over. I found another stem in my can – longer than the previous one and turned the tenon to fit the shank. I stair stepped the tenon to make a good snug fit in the shank. I used the Dremel and the sanding drum to take off the excess vulcanite and fit the stem to the diameter of the shank. I purposely chose a stem that was slightly larger than the shank diameter because the shank on the pipe was slightly out of round. I fit the stem as close as possible to the shank with the sanding drum and then took it back to the worktable to shape by hand.
I sanded the stem with 220 grit sandpaper to bring the shape into line with the shank. It took quite a bit of hand sanding. I also shaped the stem with the sandpaper flattening the blade of the stem and smoothing and thinning the edges as well. I wanted the diameter of the stem to match from the shank to the saddle and then have straight lines back to the tip. This was all done by hand sanding with the 220 grit paper.

Once I had the lines straight from front to back I used a medium grit sanding sponge to smooth out the surface of the stem and reduce the scratches left by the sandpaper. I opened up the button with needle files to make it easier for a pipe cleaner to go in and out of the pipe.
I sanded the stem with my usual run of micromesh sanding pads – wetsanding with 1500-2400 grit and then dry sanding with 3200-12,000 grit pads. I buffed the stem with red tripoli between the wet and dry sanding and then when finished I buffed it with White Diamond. I rubbed the stem down with Obsidian Oil to protect it and when it was dry hand buffed it.

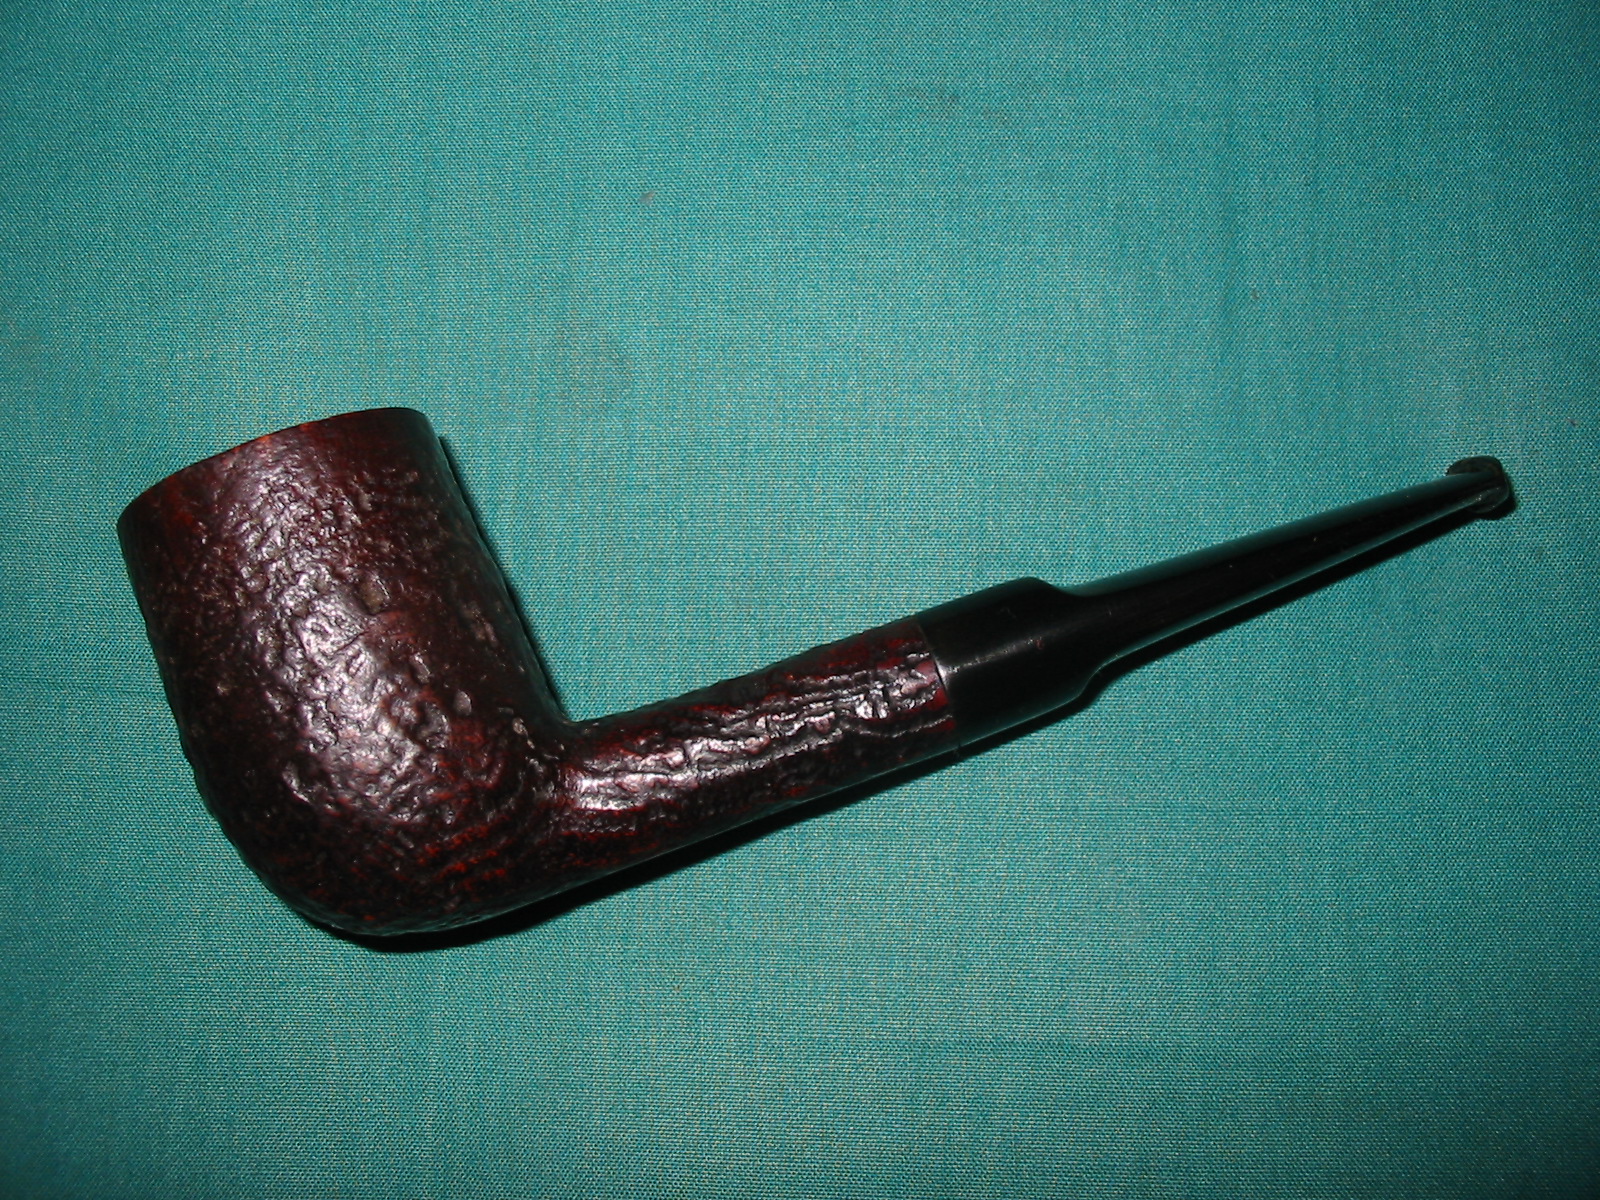
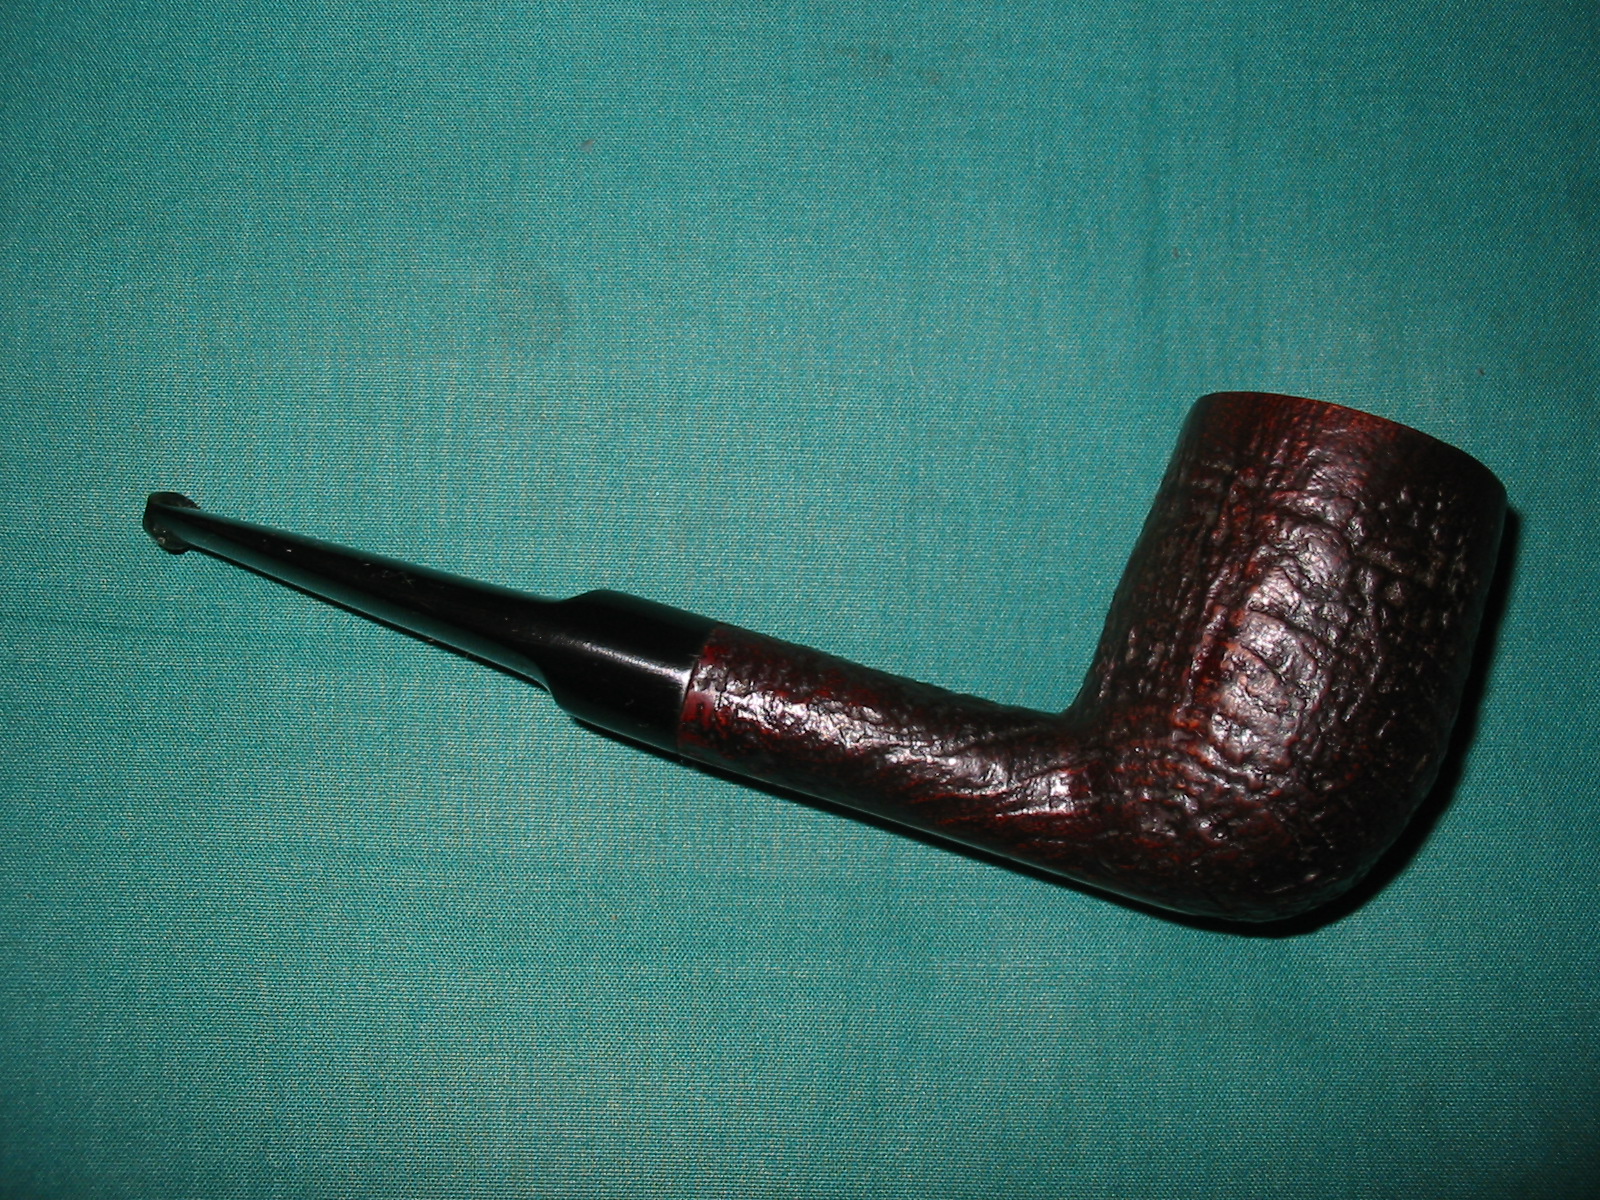
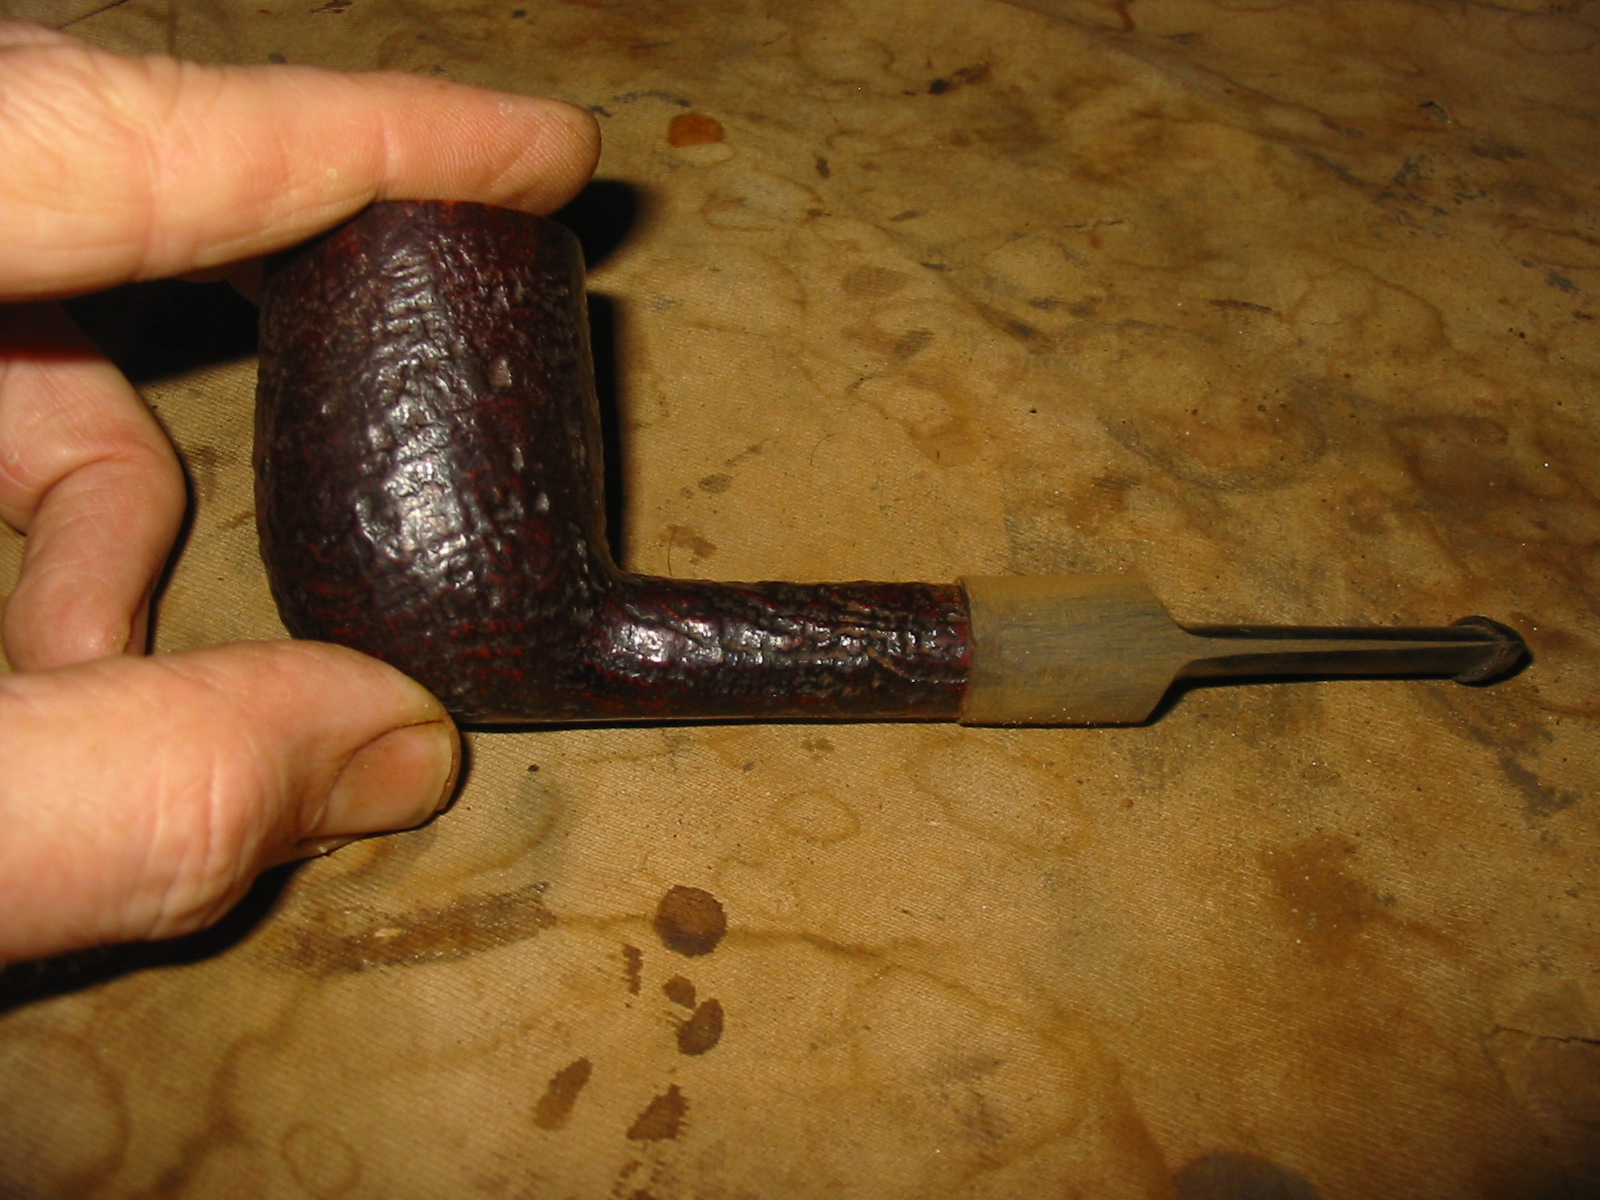
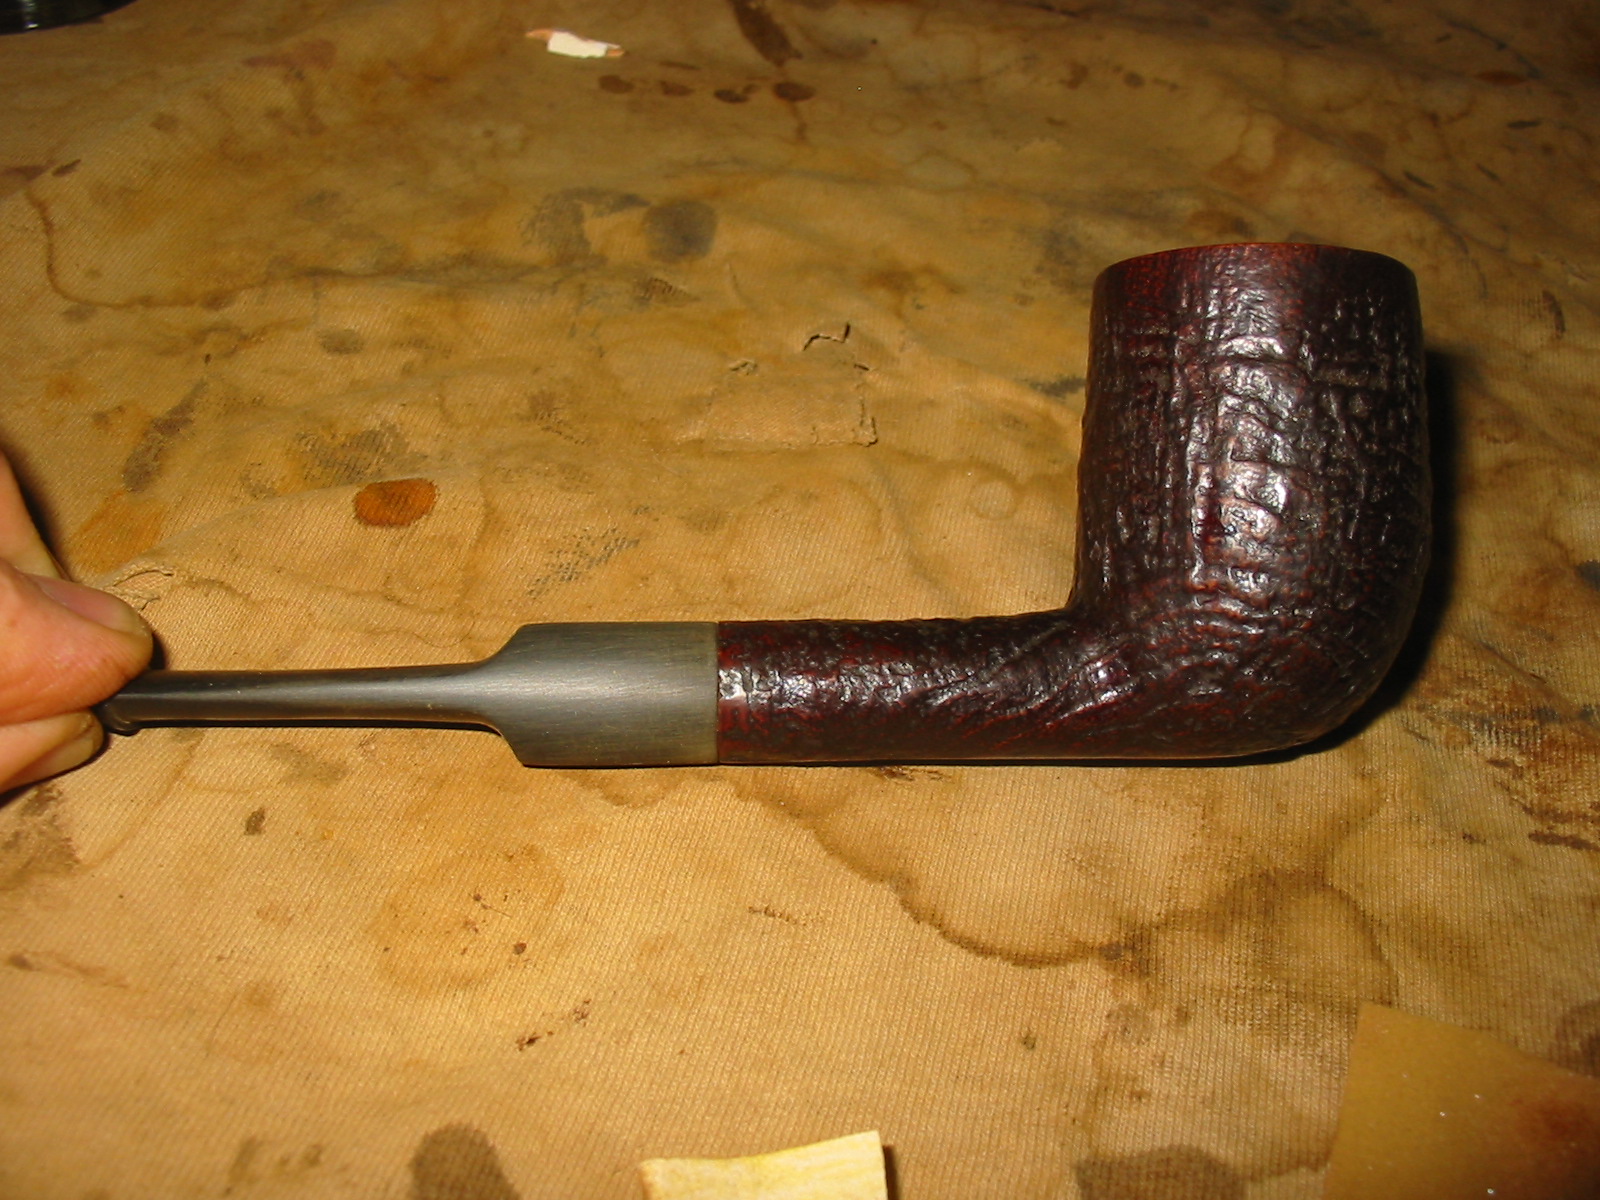
When I finished with the stem I lightly buffed the whole pipe with White Diamond and then gave the stem multiple coats of carnauba wax. I used Halcyon II wax on the bowl as I had above and then hand buffed the bowl and shank with a shoe brush. The finished pipe is picture below. I think that the Lovat style stem is an improvement to the look of the pipe. The new stem is approximately ¾ of an inch shorter than the stem that came with the pipe. I also am much happier with a regular slotted stem in place of the twin bore that I pictured earlier.
This pipe is really quite symbolic of what can happen when refurbishing a pipe. In many ways it is a bit of the story of some of my pipe refurbishing. It sometimes takes two or three tries to get the pipe to where I want it to be. Thanks for hanging in there with me in the process of this refurb!